
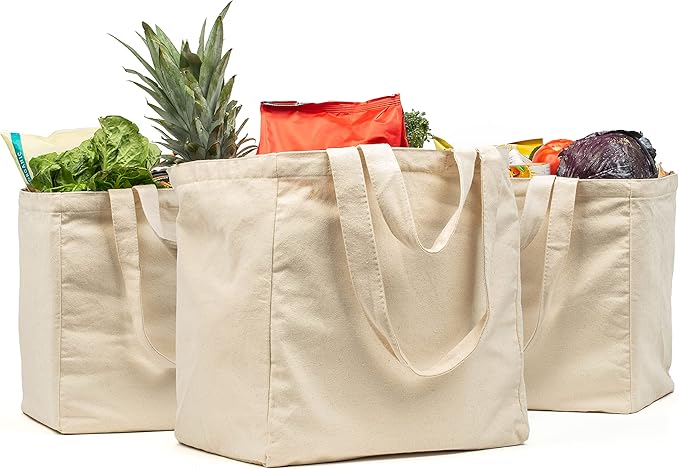
I know it’s hard to believe, but 10-15 years ago it was not common for most folks to bring their own reusable grocery bags to the store. I did have a collection of off-white canvas bags back then but they ended up being used all over the house for other things…like library books or beach towels. However, they are still available for sale on Amazon.
Plastic bags (single use!) were everywhere and stores printed store names on the bags for advertising. Many of the first reusable grocery bags also had store names and colorful pictures on them. I had quite a collection of those, but I was always uncomfortable taking my Giant bag into Wegmans and my Trader Joe’s bag into Giant (why, I don’t know!). I ended up with quite a pile of store-specific bags cluttering up the car. Recently, I bought 5 matching bags with the Penn State logo on them…no store name (even though I got them at Wegmans!) I’m happy using them everywhere!
Then, around the same time as reusable grocery bags became popular, the trend was to always carry a thin nylon tote bag that would fit in my pocket…just in case I needed one. They were very thin often with uncomfortable handles. I could never get them folded up back into their little pouches and they never quite made it back into my purse! Very frustrating!
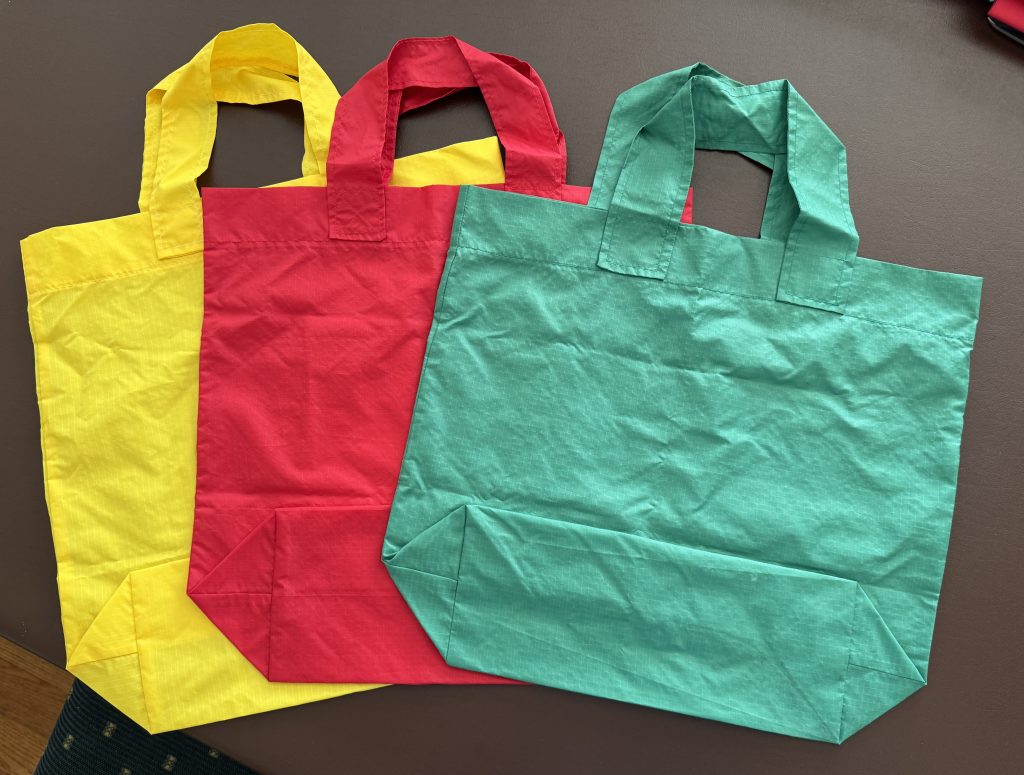
Finally, years ago I decided I could make my own nylon tote bags…even a bunch of them…to use as reusable grocery bags. I have carried at least one in my purse since then. I made them in four colors and ended up giving most of them away. Recently, I gave some garden vegetables to my brother and his wife in one of the bags I had in my purse. When I came home to grab a replacement to put in my purse, I realized I had only 3 left! Yikes! Time to find my stash of fabric to make some more!
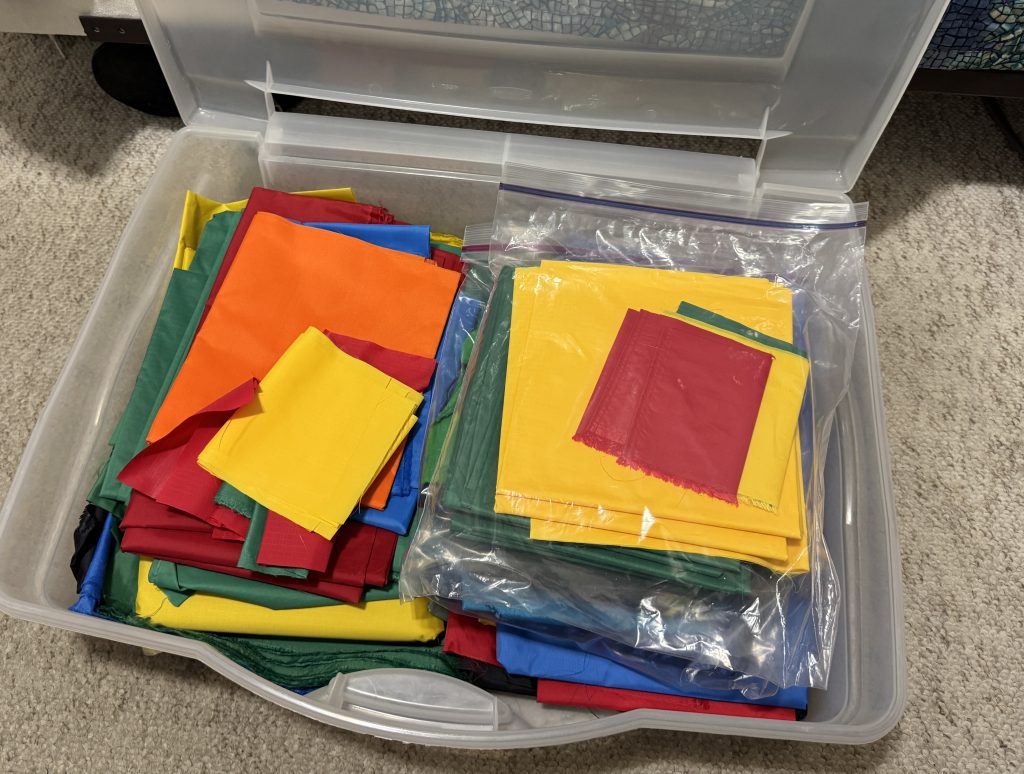
All this time, I’ve had a bin under a guest bed with my stash of rip-stop nylon fabric.
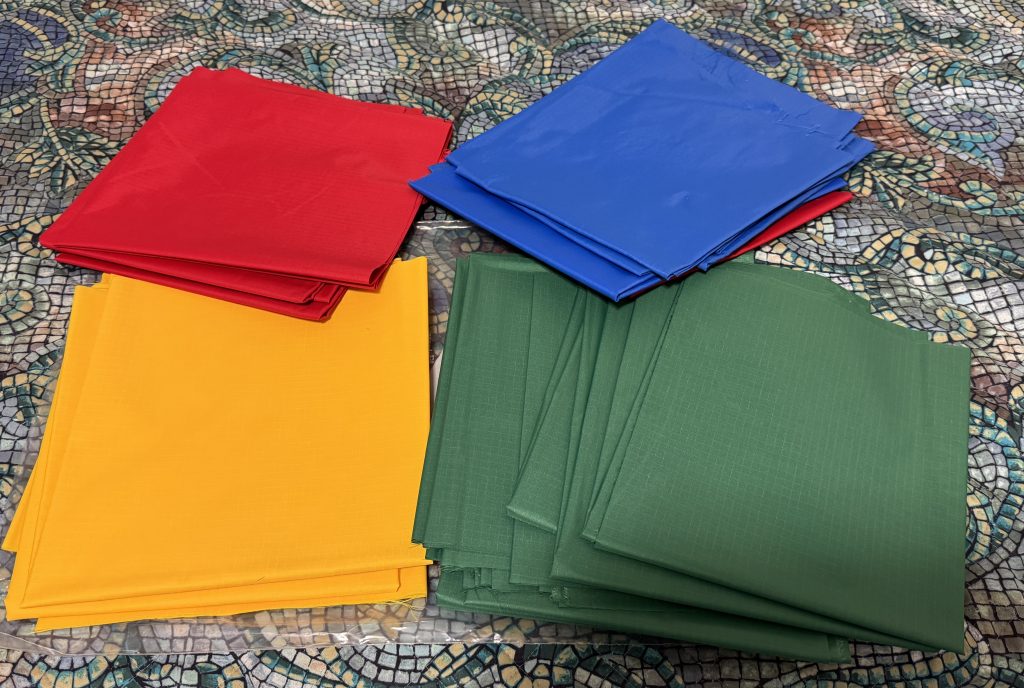
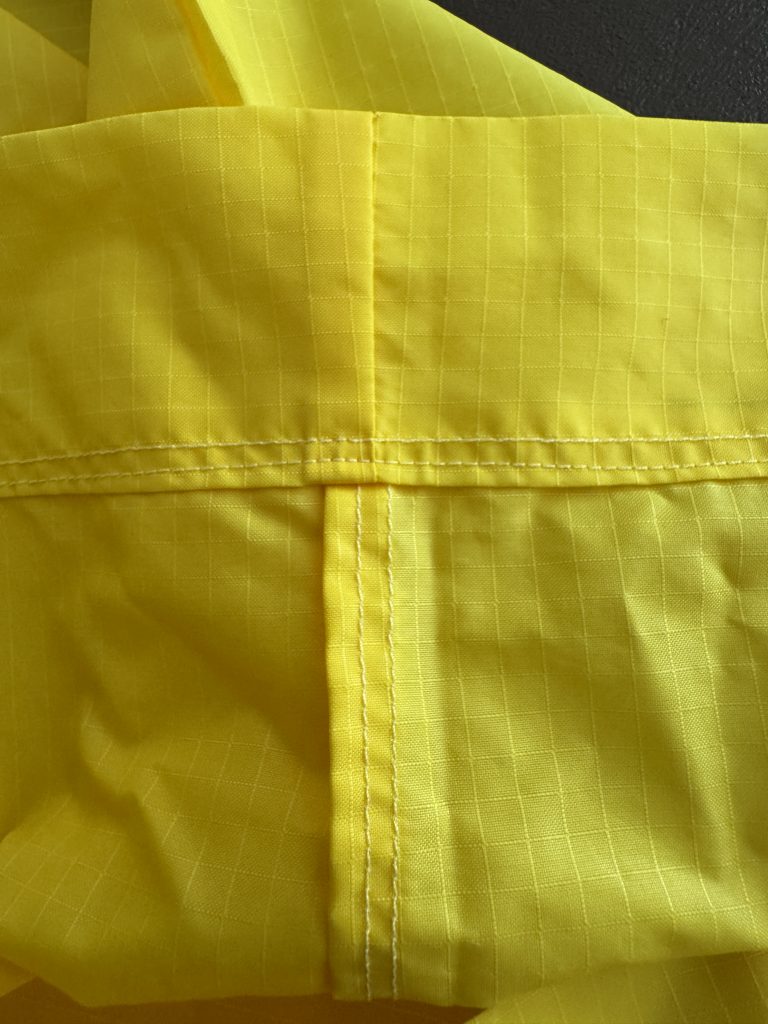
This is considered a utility fabric with a strong thread running through the fabric. If you get a tear in the fabric it doesn’t run like a nylon stocking. That’s why it’s called “rip-stop” nylon. Here’s a closeup of the fabric…I hope you can see the grid of strong threads:

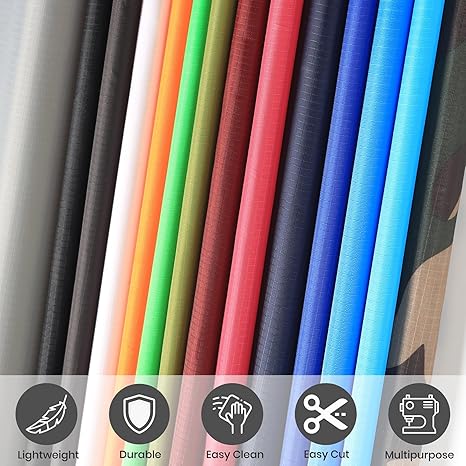
This fabric is available at Amazon in many colors. It comes in precut 2-yard pieces for about $11. (I can make four tote bags out of 2 yards of fabric.)
Figuring Out the Pattern
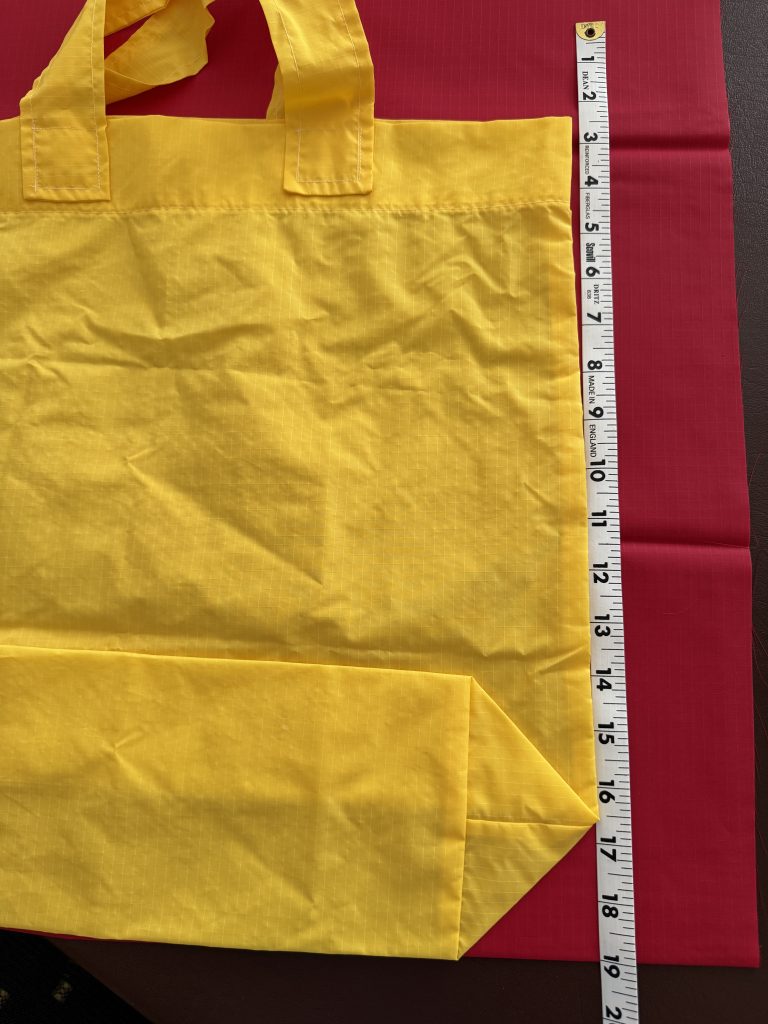
Keep in mind, I’ve made a LOT of tote bags in the last 20-30 years. I just couldn’t remember EXACTLY how I made the rip-stop nylon ones…and of course I never did have a pattern. Luckily, I still had three tote bags left so I measured a bag. Then I made this drawing. Don’t you just love how I make a pattern! (smile)

The bag measured 19″ from the bottom fold to the top…allowing 2″ for the top hem.
The top hem was 2″ finished.
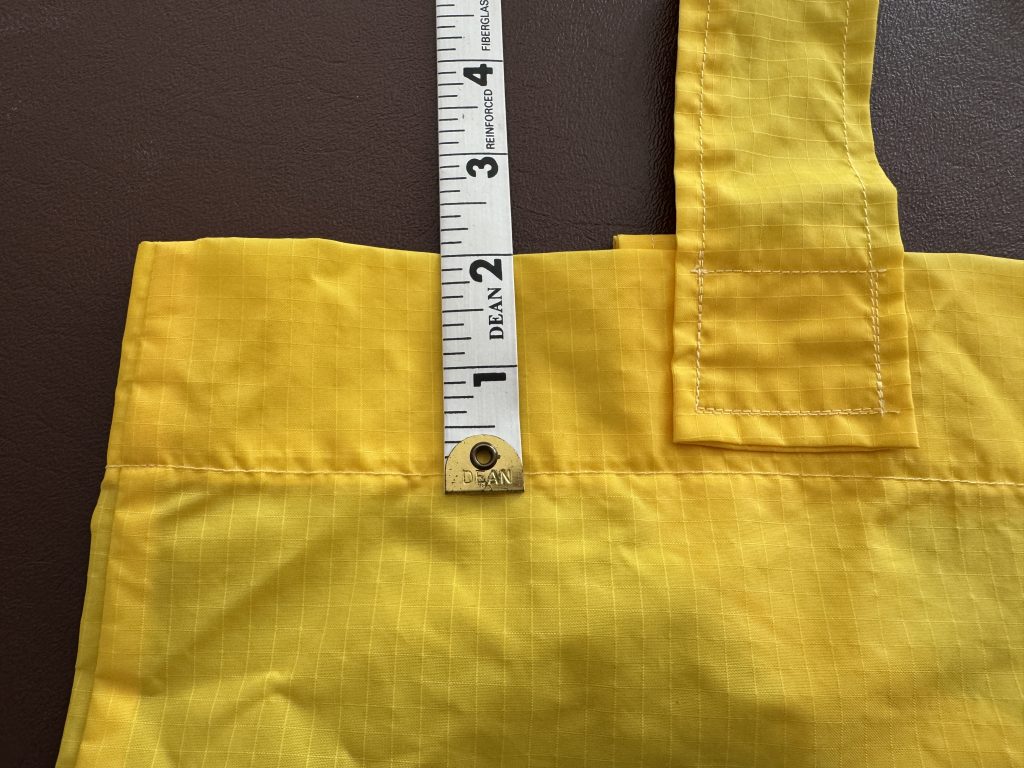
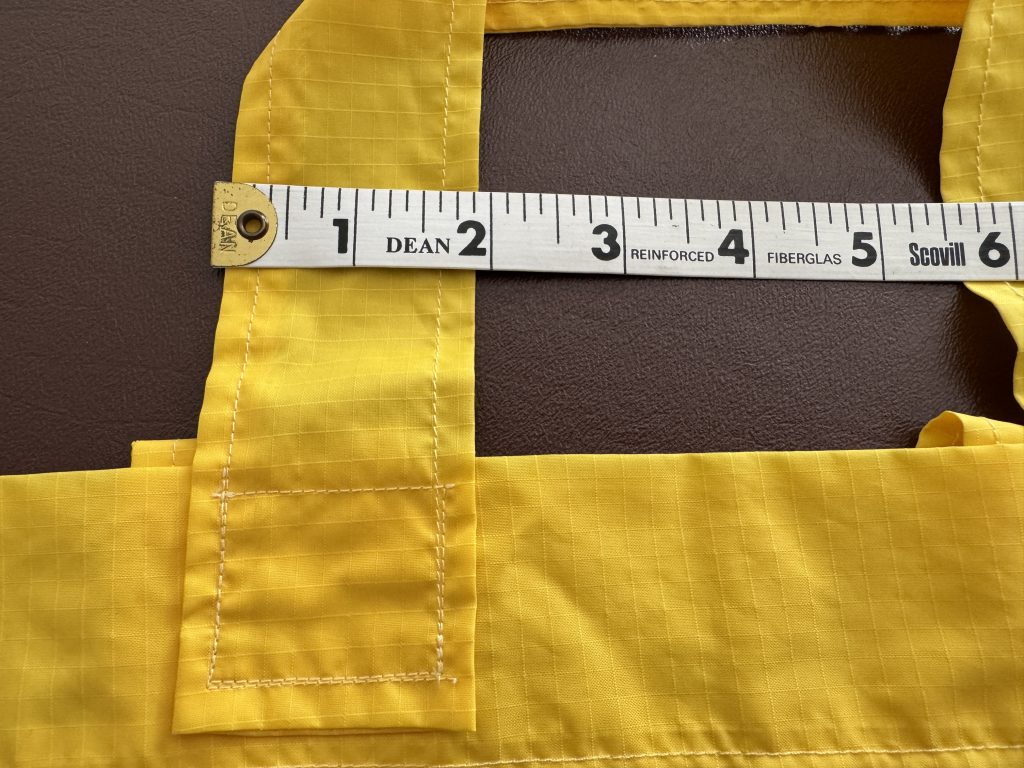
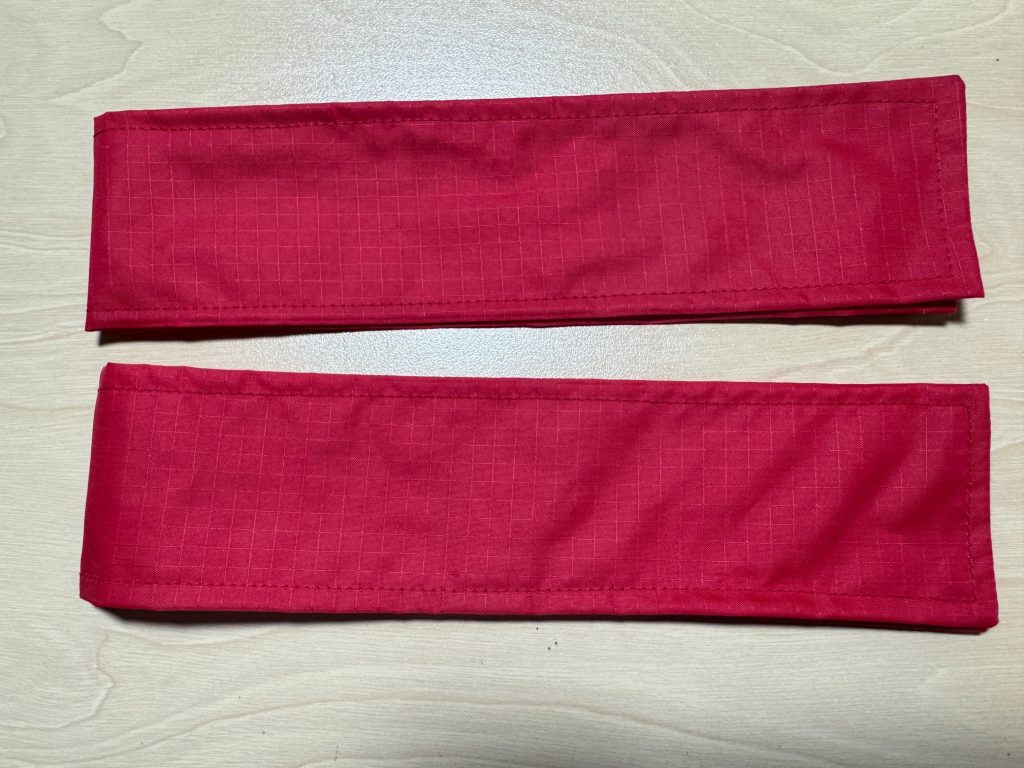
The handles were 2″ wide by 18″ so they were cut 5″ wide by 18″.
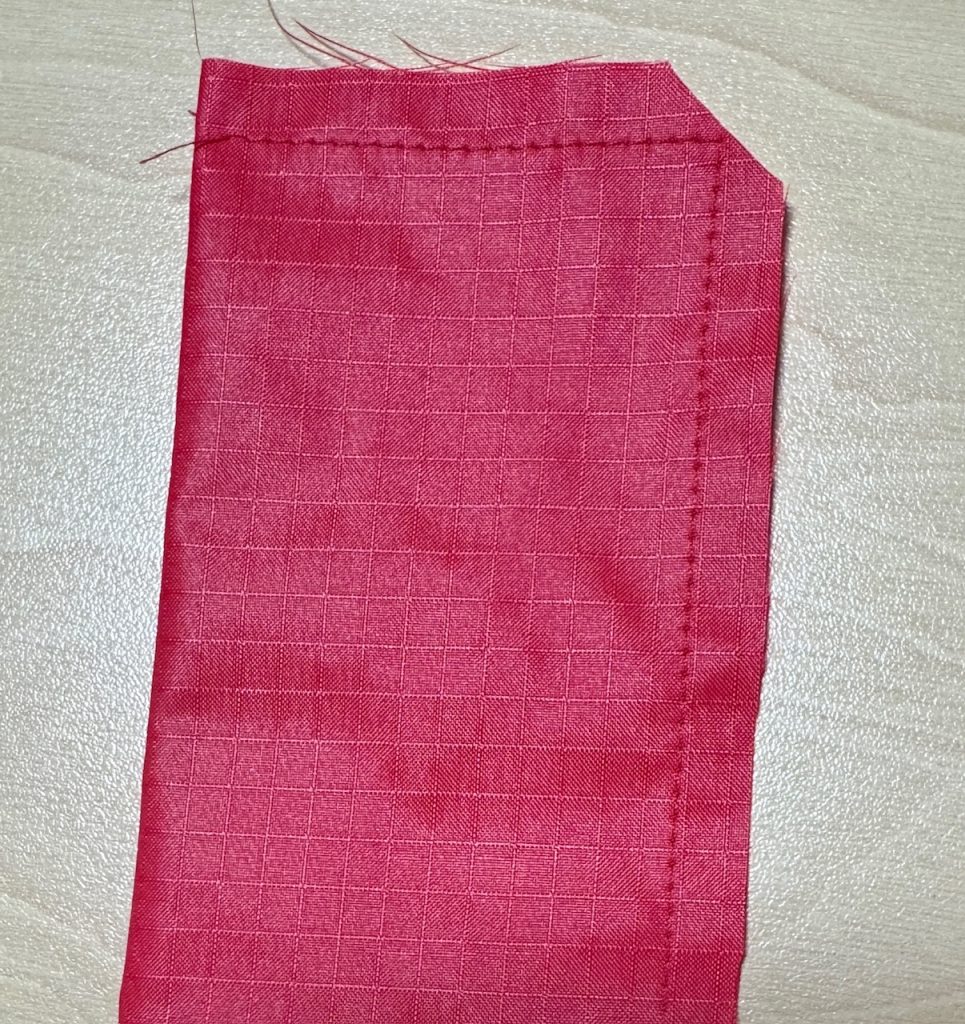
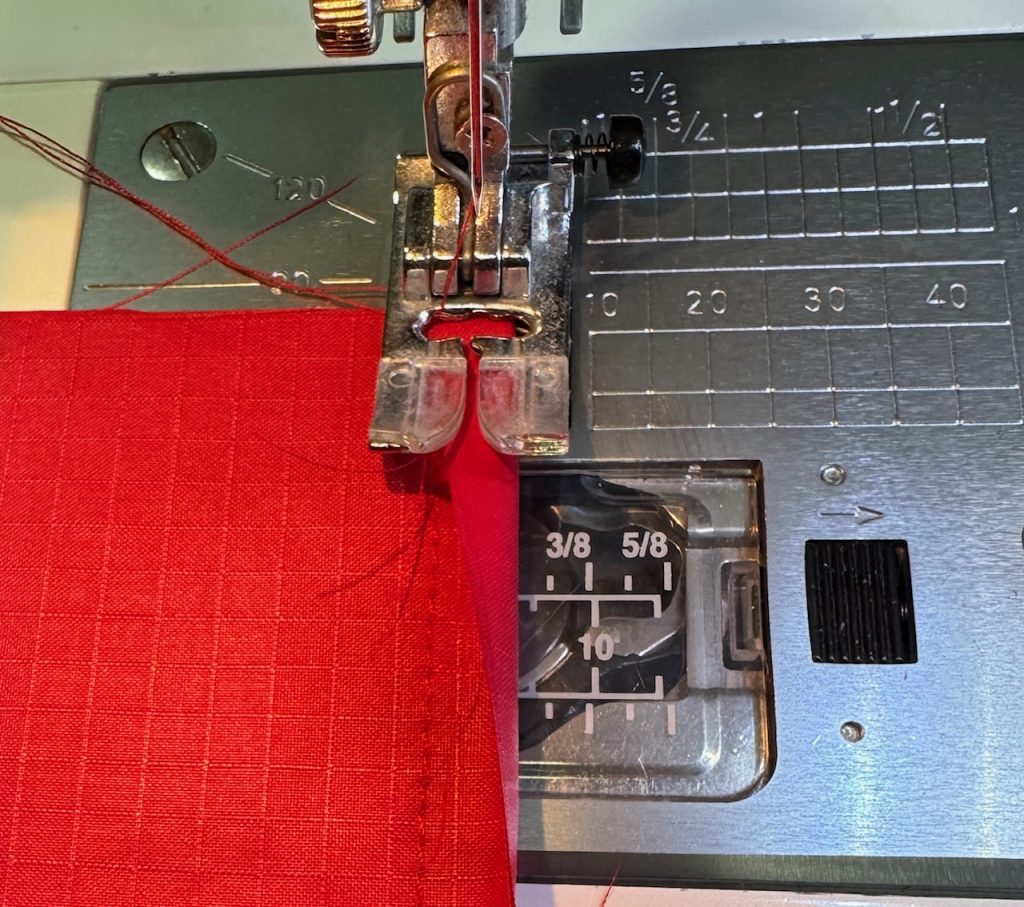
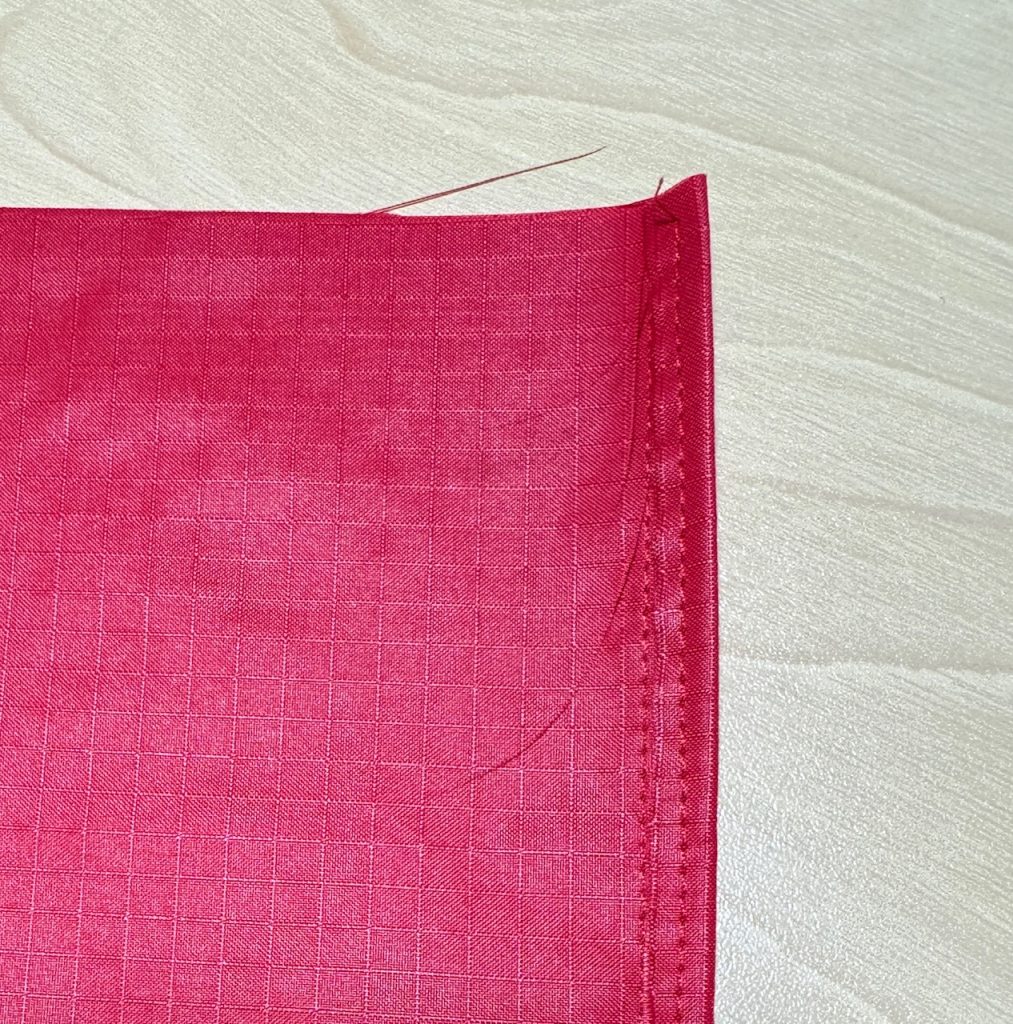
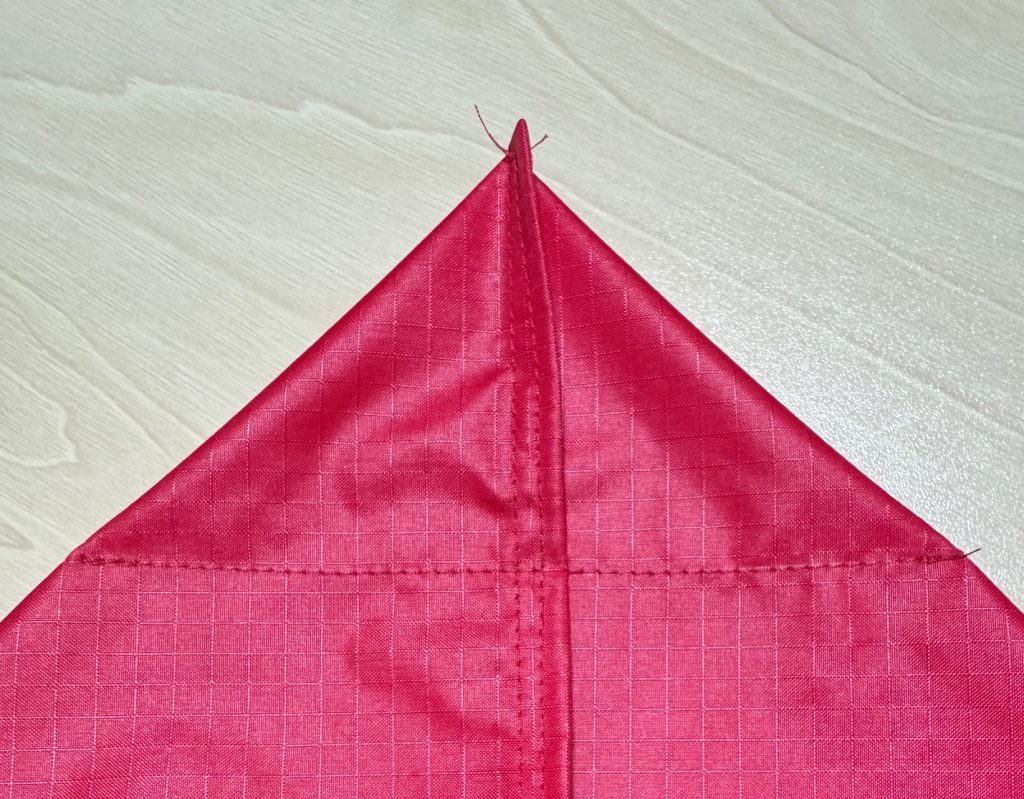
Then I checked inside to jog my memory…it appears I sewed up the side seams first and then folded down the top. Every seam was stitched and then folded over and stitched again, just to keep the fabric from unraveling (funny…it doesn’t tear but it will unravel!).
Finally, the bottom measured 5″, so I’ll remember that when I make a new one.
Making a New Grocery Bag
In my stash, I discovered I had already cut some of the fabric into 18″ wide strips along the fold. I decided to start with the red fabric.
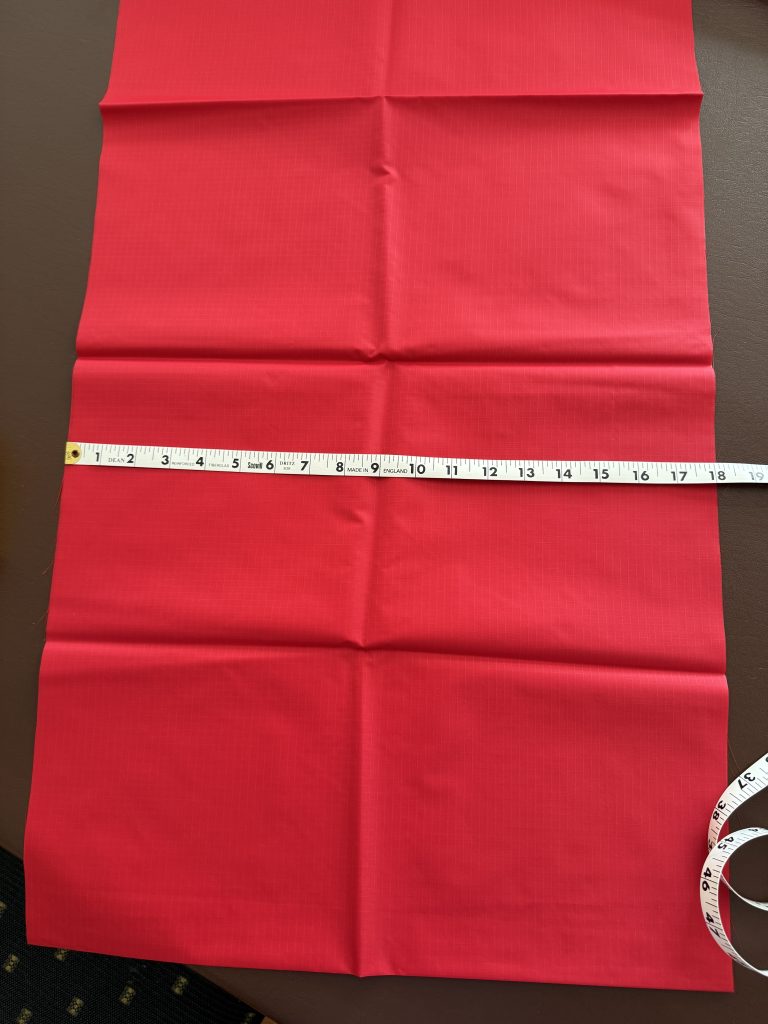
Following my hand-drawn diagram above, I cut a 19″ piece measured from the fold and an additional piece 5″ (which was 2 pieces) for the handles.
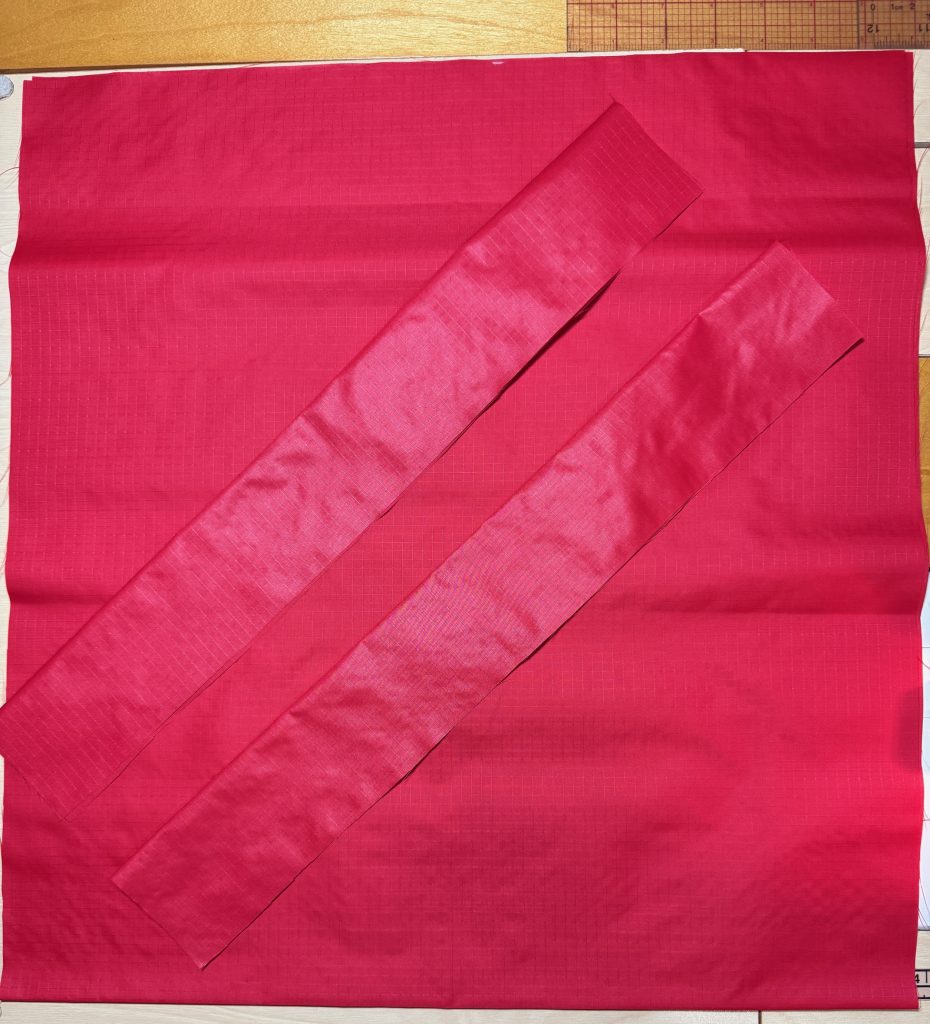
Making the Handles
With right sides together, I stitched along one end and down the length, leaving the bottom open.
Then I used a stick to turn the handle right side out.
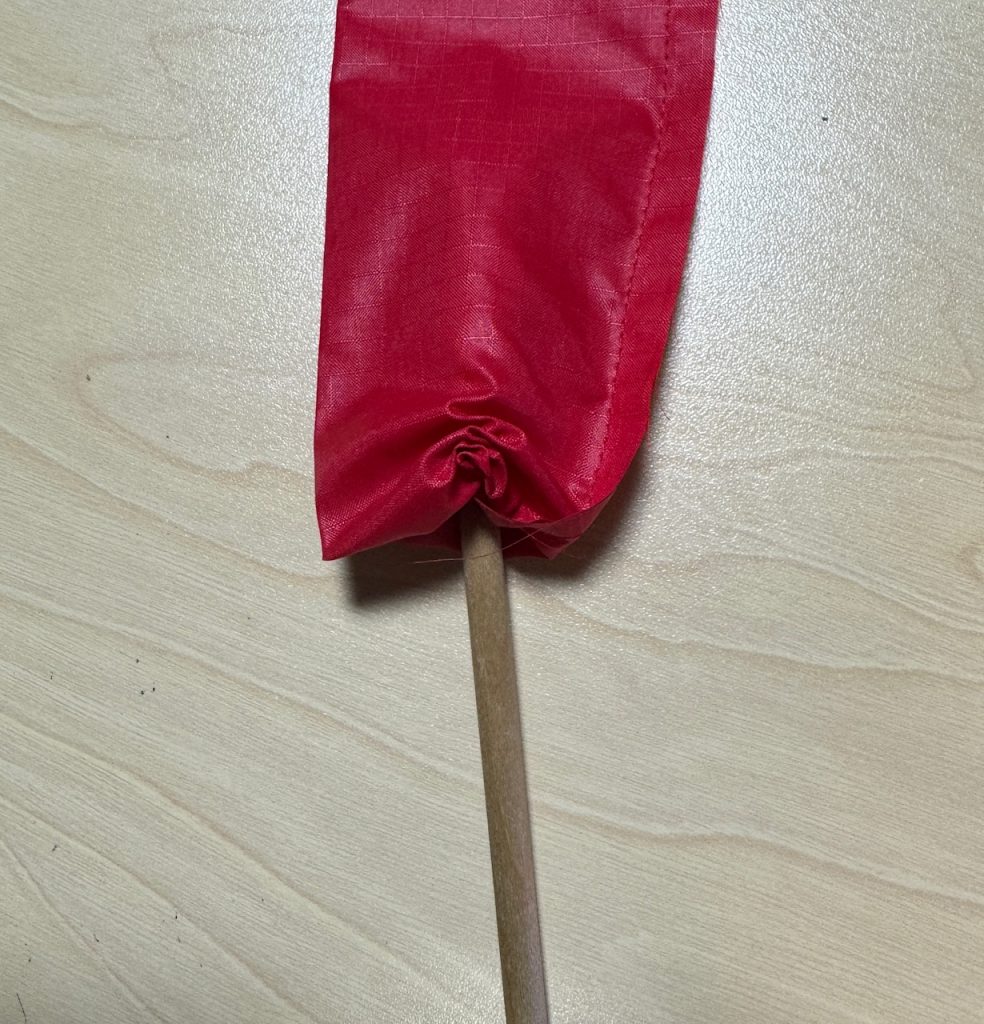
Finally, I top stitched all around the handle, folding in the open end.
Making the Bag
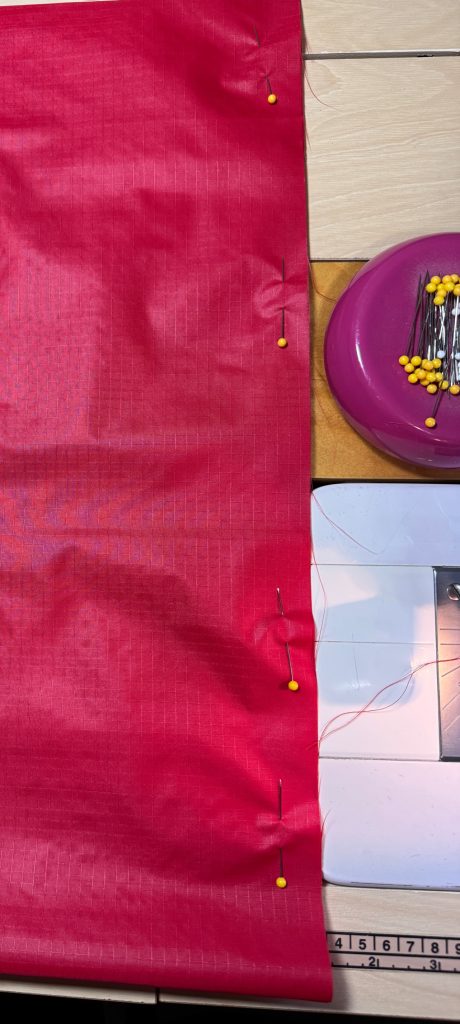
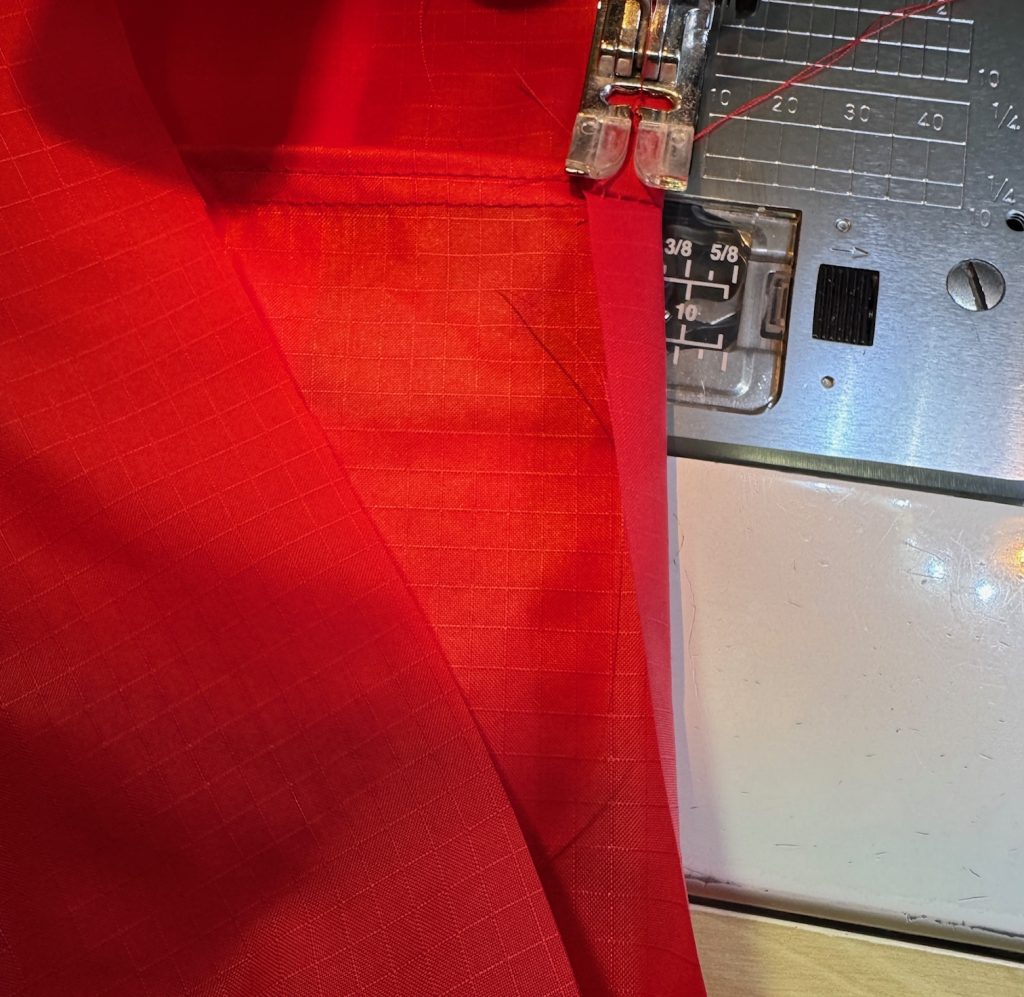
I stitched the side seams of the bag; then folded each seam over and stitched again. It could be zigzagged if you prefer.
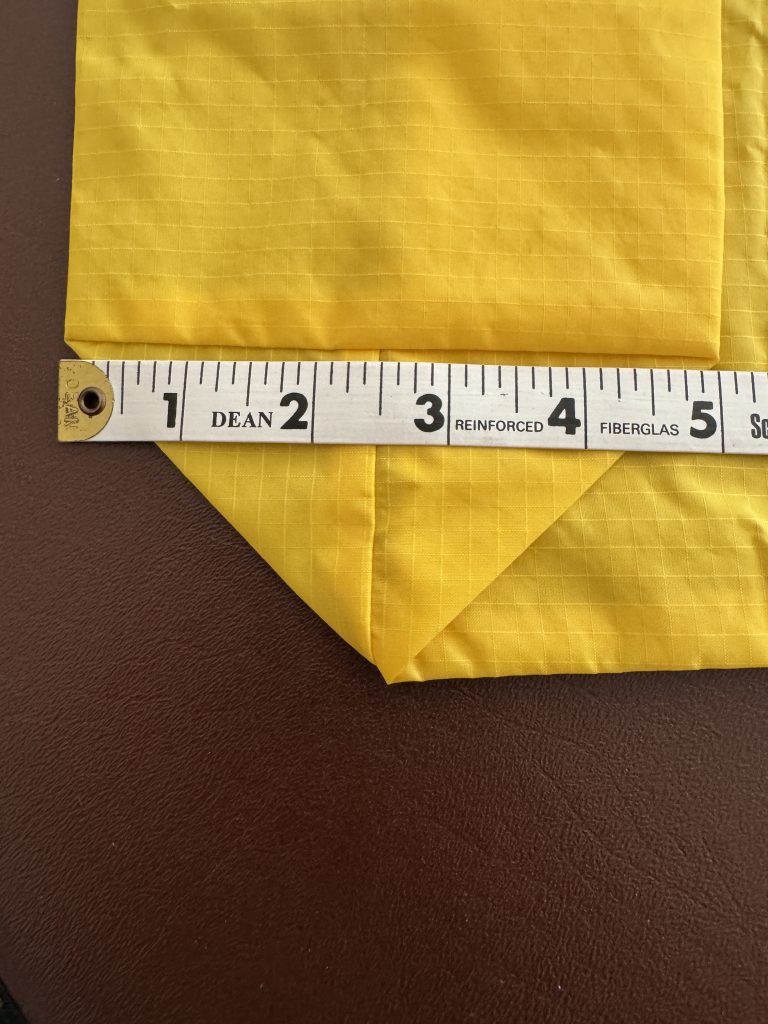
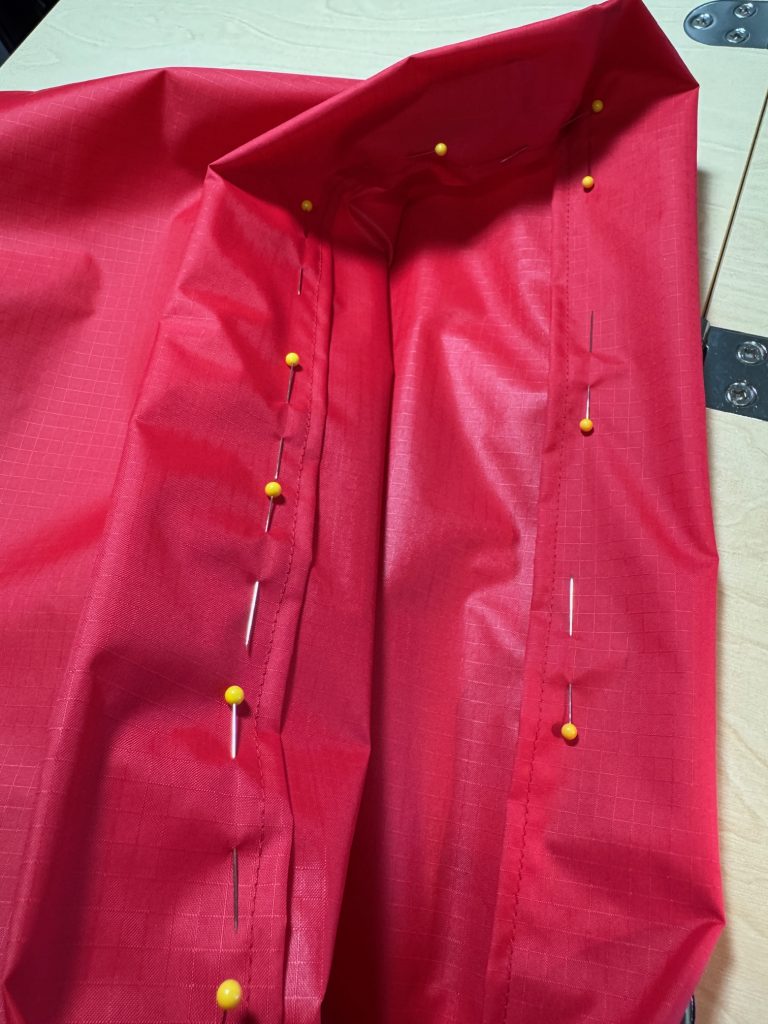
With the bag inside out, take one corner and flatten it out, matching the seam with the bottom fold of the fabric. Check by putting a pin along the seam and turning it over to make sure it lines up with the bottom fold.
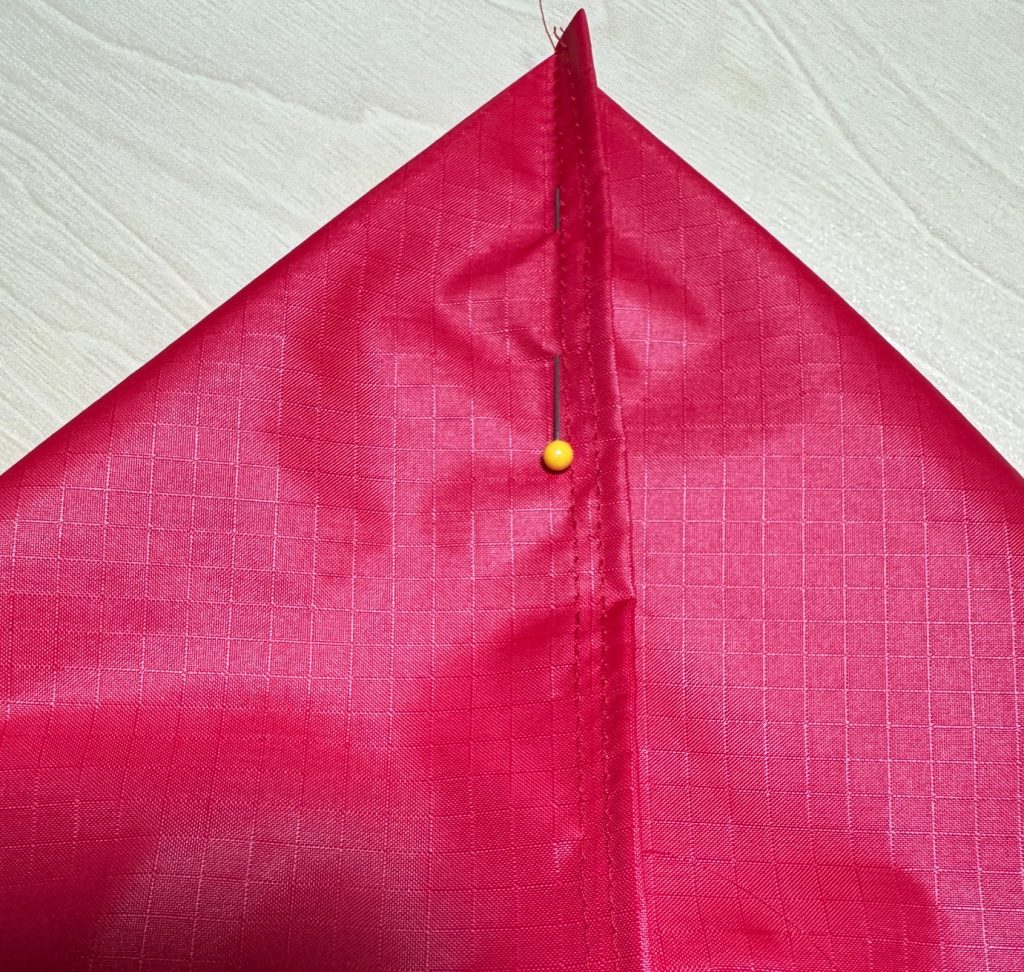
Now, lay a ruler along the flat corner. My measurement of the old tote bag showed the bottom was 5″ across. Lay the ruler with the center at 2 1/2″ with the ends at 0 and 5″ and mark the fabric:
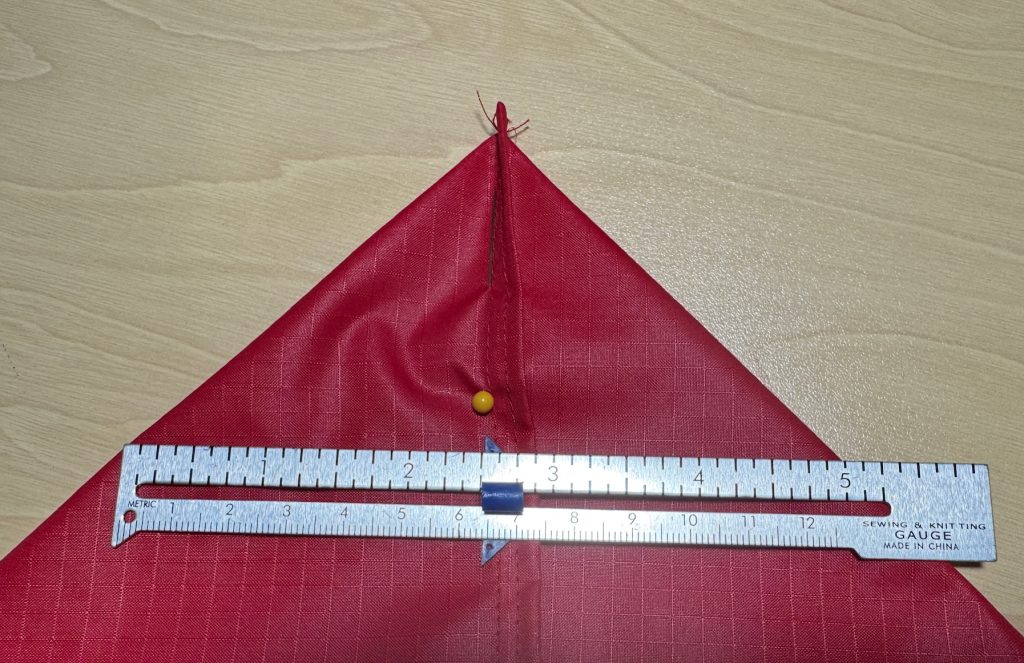

That is your stitching line.
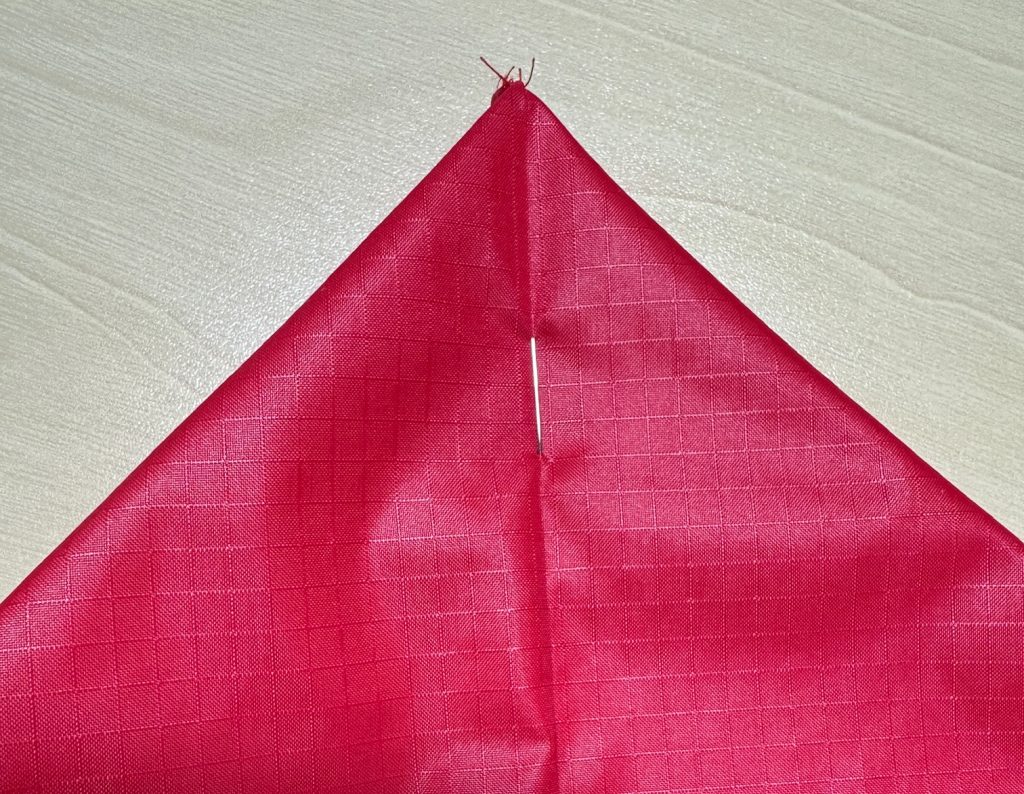
Cut off the point of the corner, leaving enough to fold and stitch the cut edge.
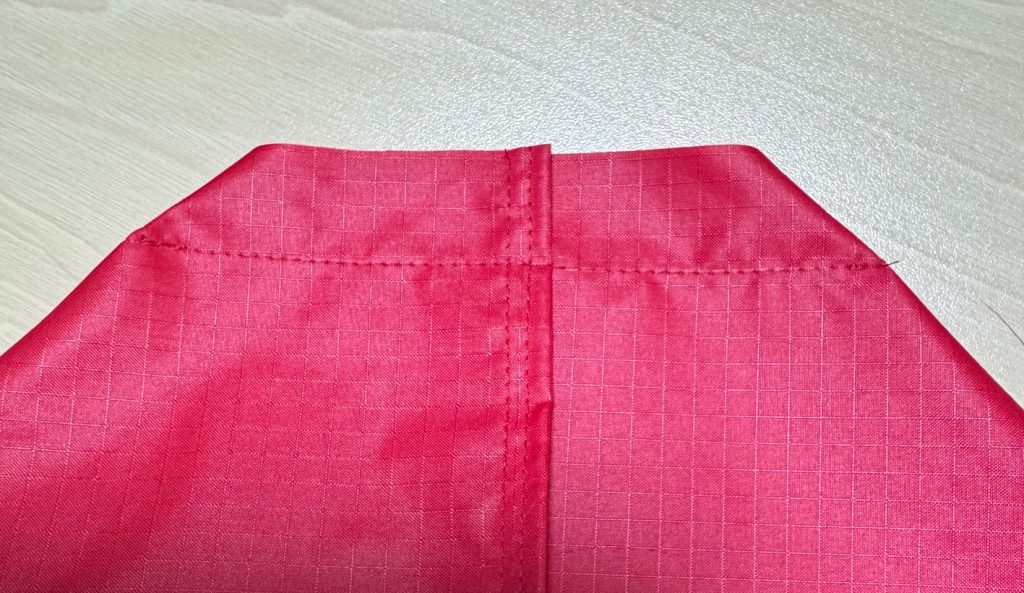
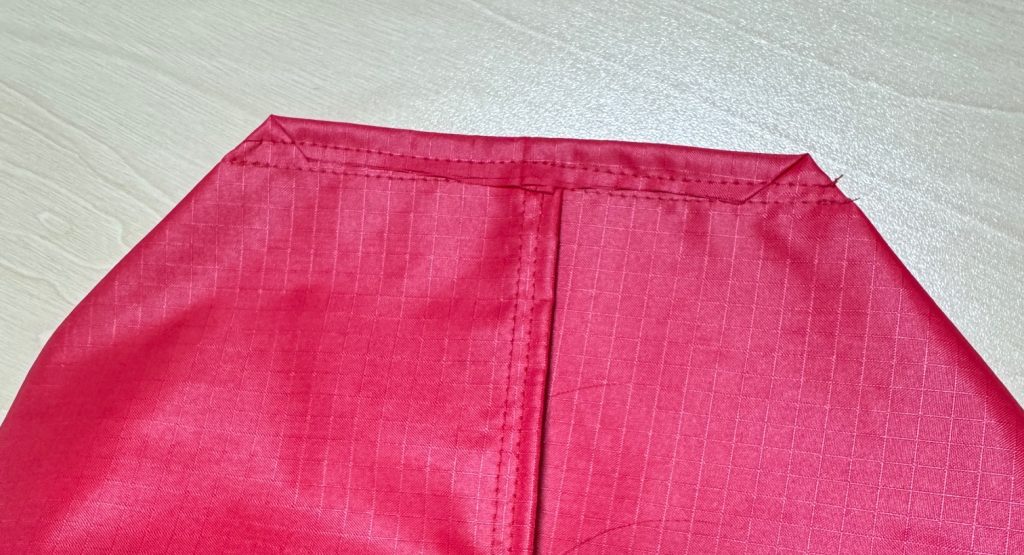
Repeat with the other corner.
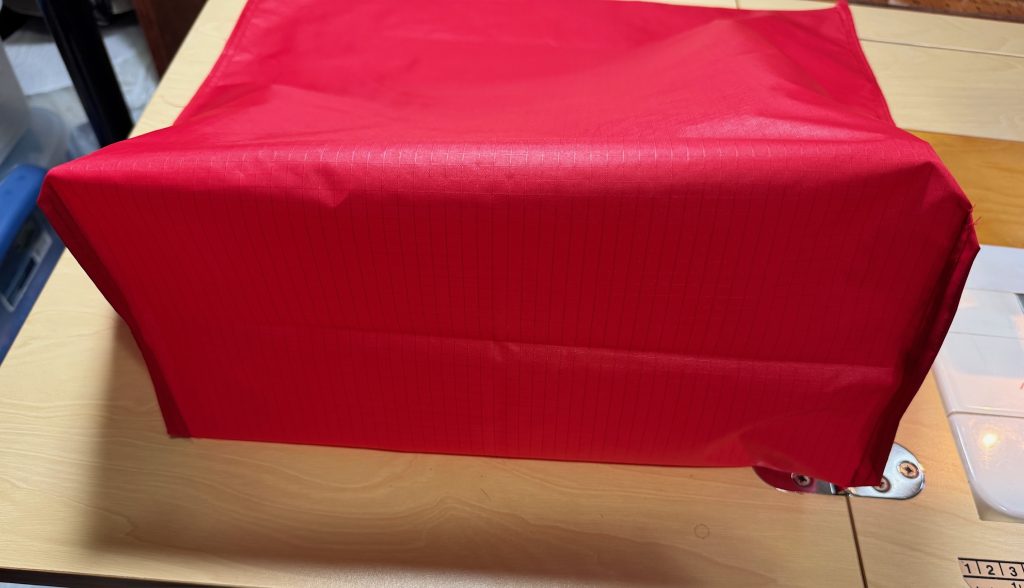
This is what the bottom of the tote bag looks like when it’s inside out.
Turn the bag right side out and stitch the top of the bag with a 1/4″ to 1/2″ fold.
Fold the top of the bag down 2″ and stitch again.
The bag is now ready for the handles.
Find the center point along the top edge. Measure 2″ on each side and mark. That’s the inside mark for the handles.
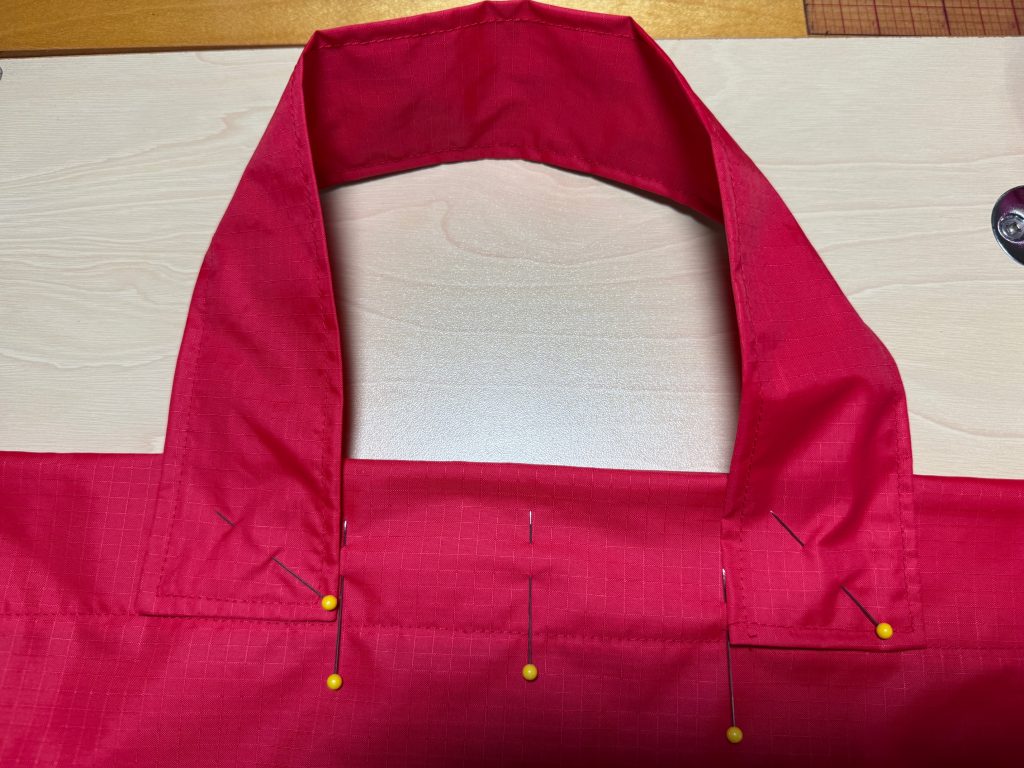
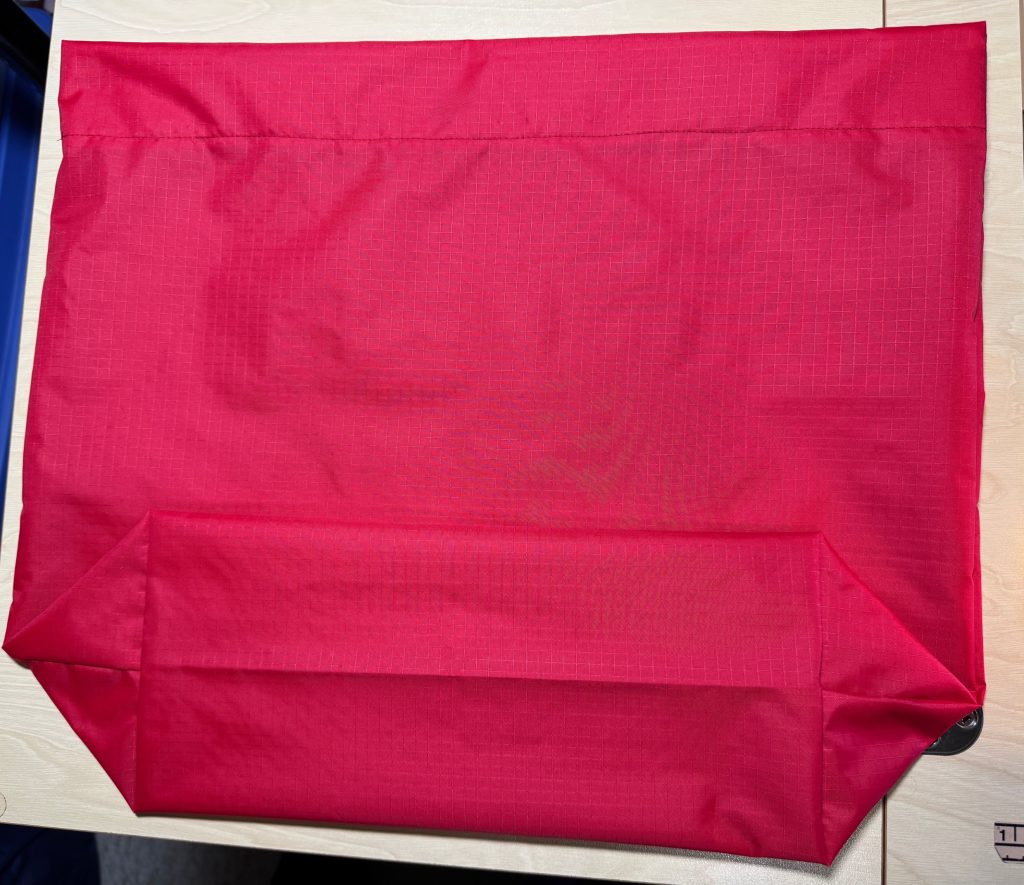
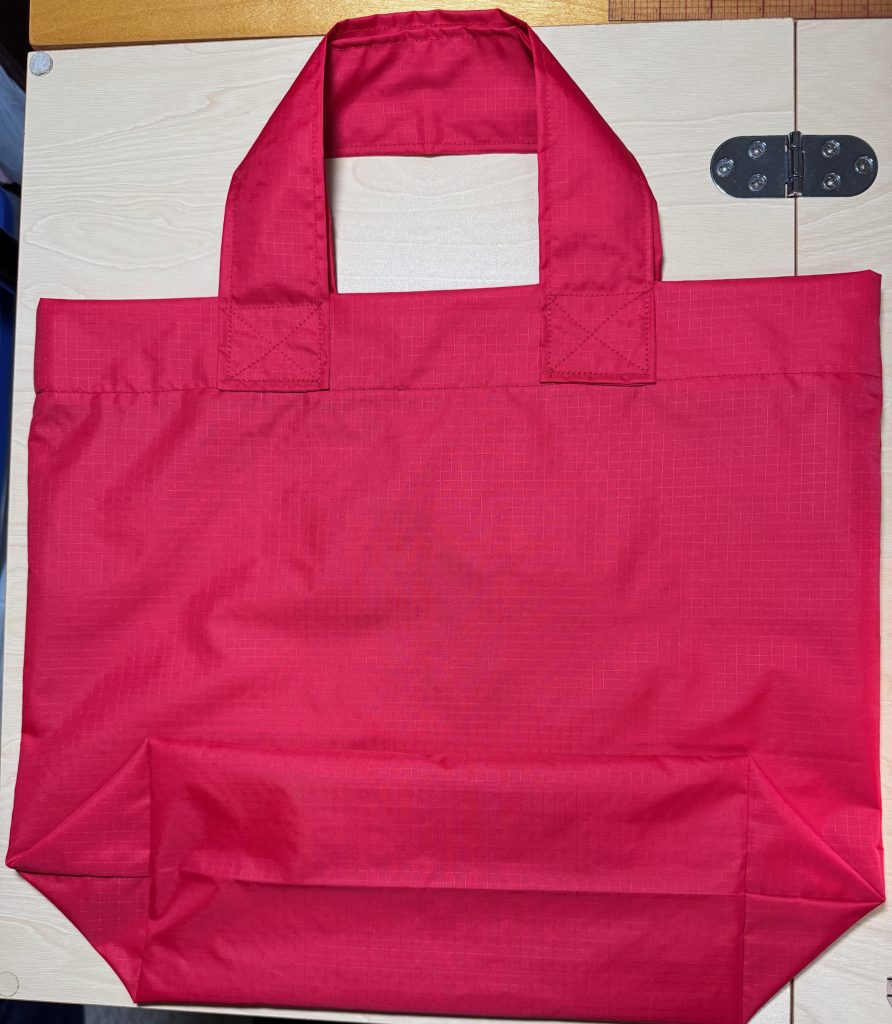
And…the bag is done!
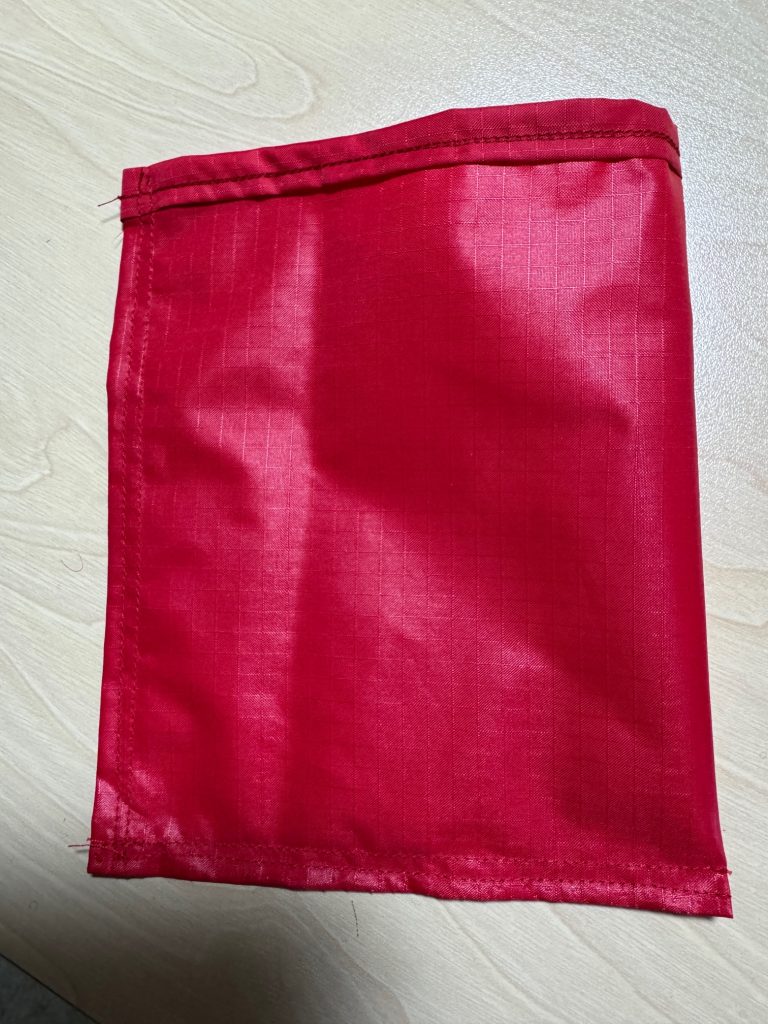
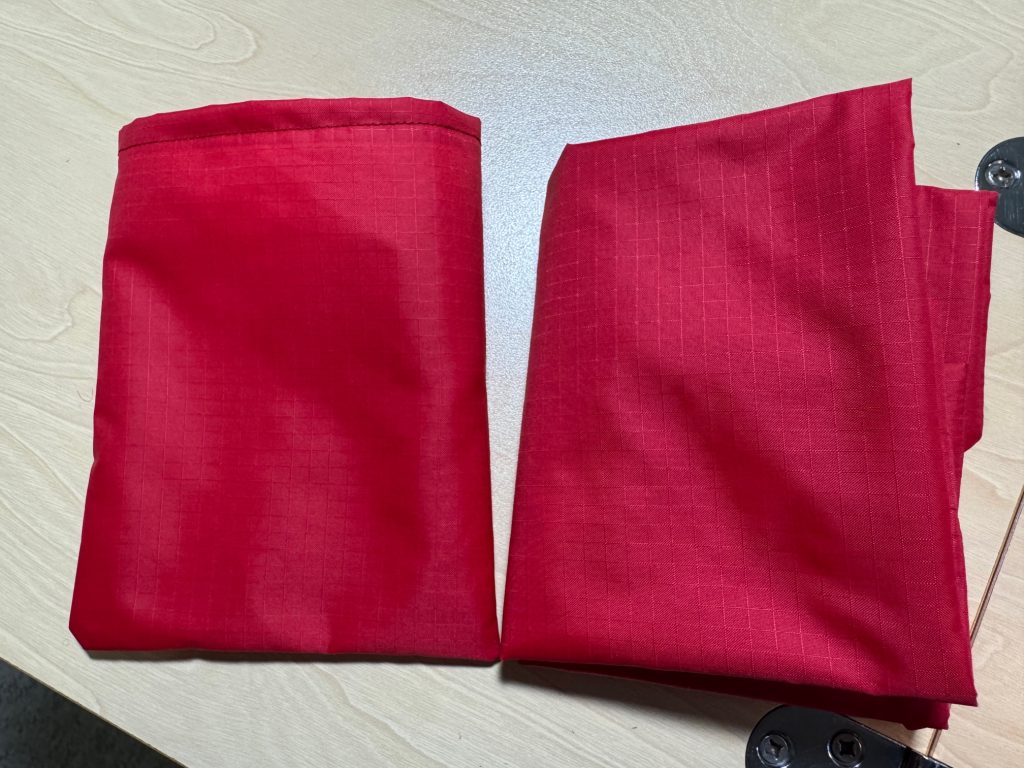
The little strip of leftover fabric was just enough to make a little case for the bag.
Now I just need to whip up a few more so I won’t feel bad if I end up giving them away! Try it yourself! Enjoy!
If you have comments or questions, please email me directly at maryjkisner@gmail.com.