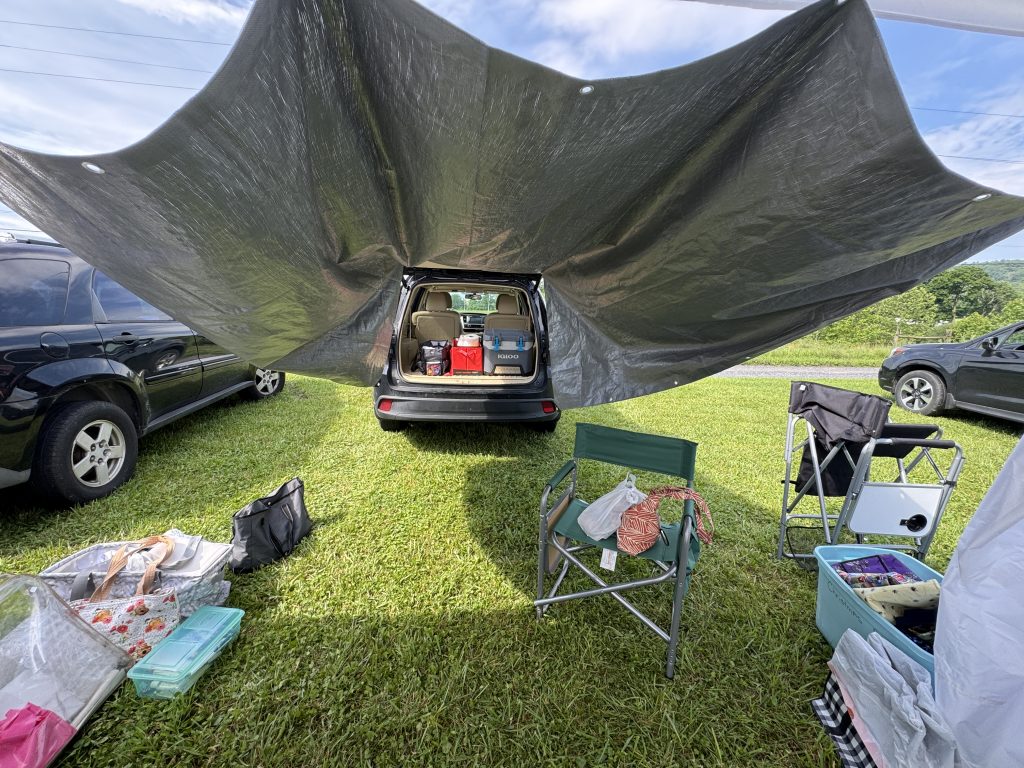
Sorry for the blog silence for more than a week! Cleaning up from the festival was just one activity this week. Then the garden started producing and suddenly I needed to make decisions about the tomatoes, green beans and cucumbers! Then I found out Nittany Greyhounds needed belly bands and coats (more about that in a minute). In the middle of all that, we took a few hours to drive north to have lunch with my brother and his wife!
Cleaning up from the Festival
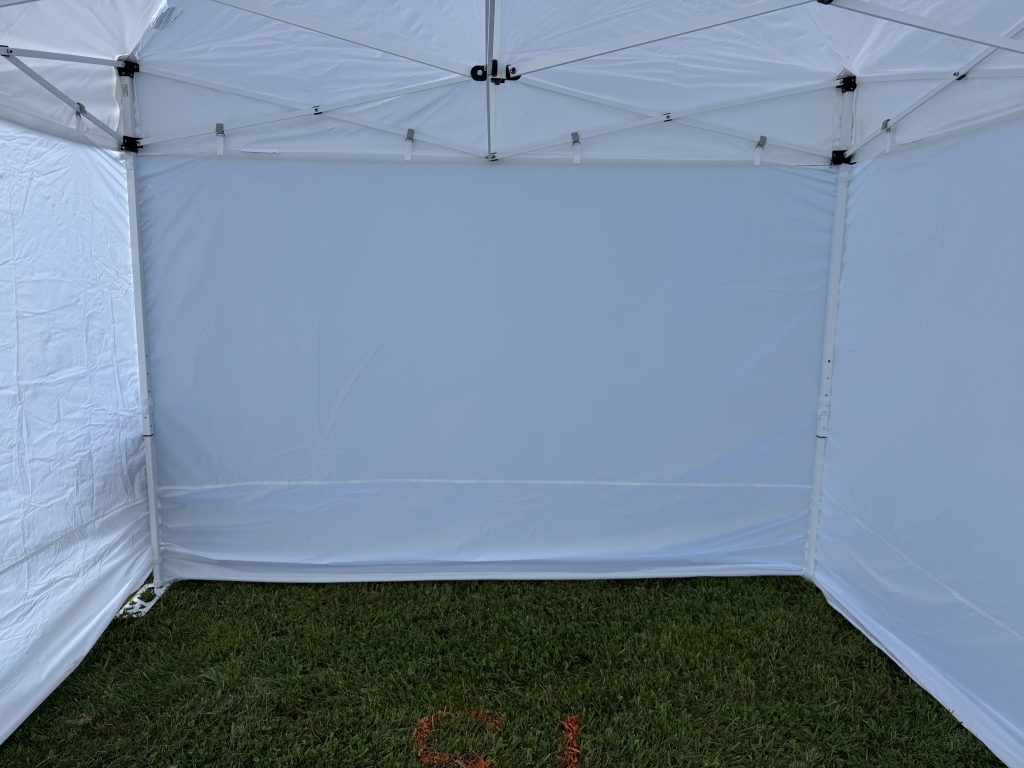
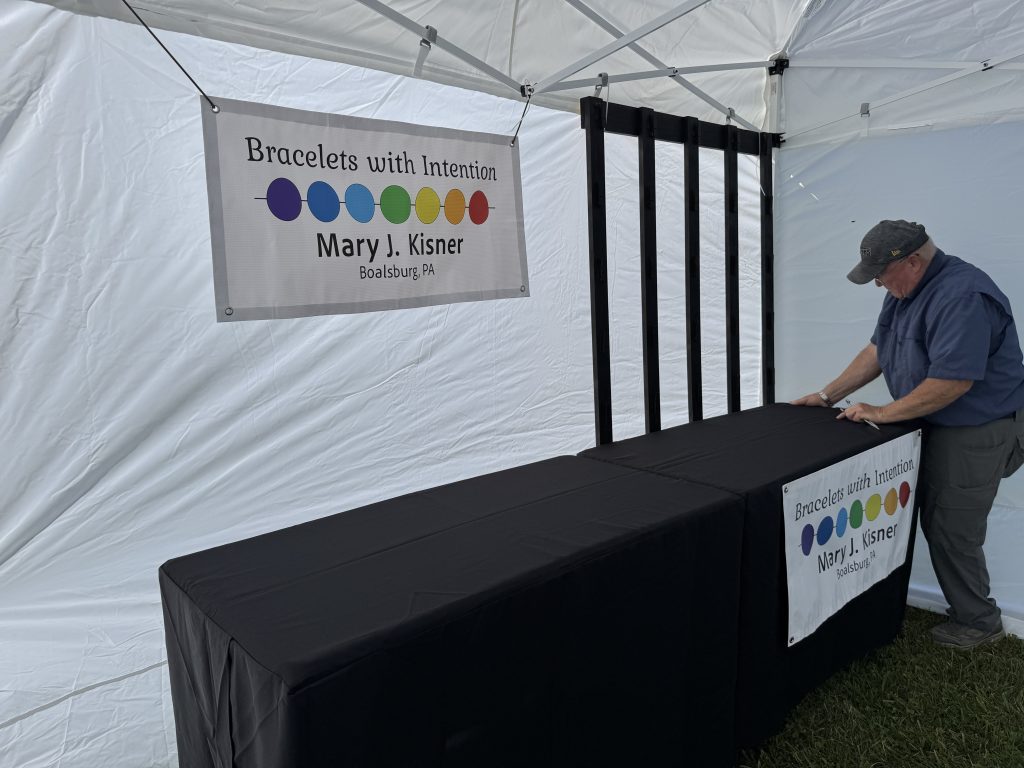
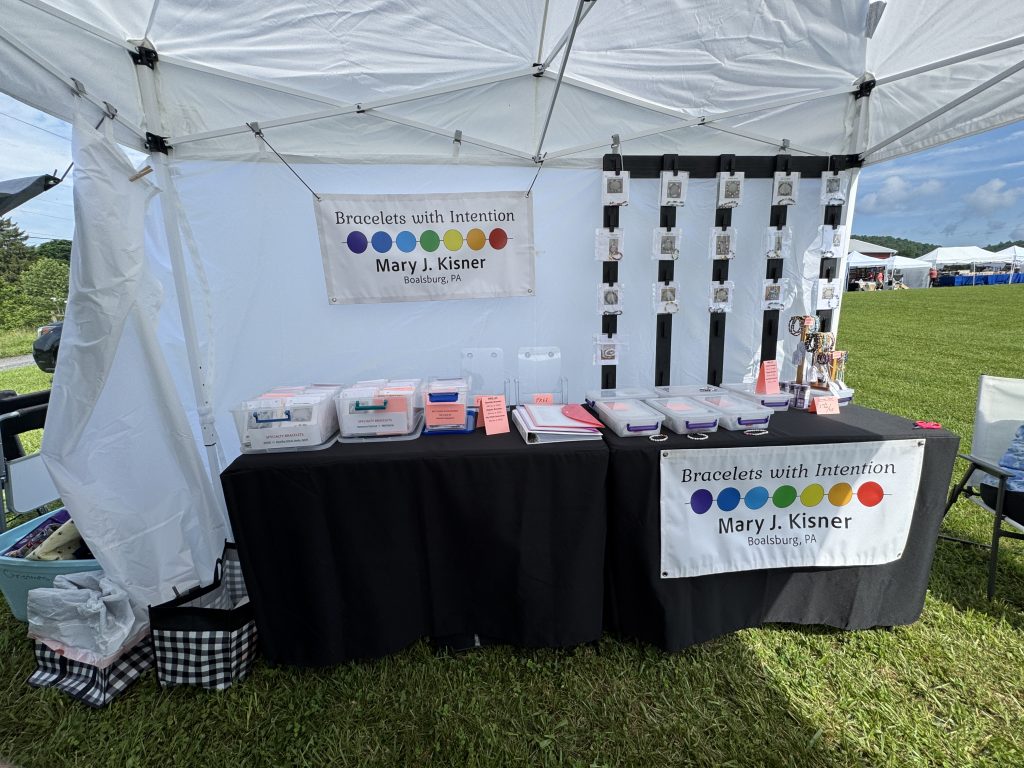
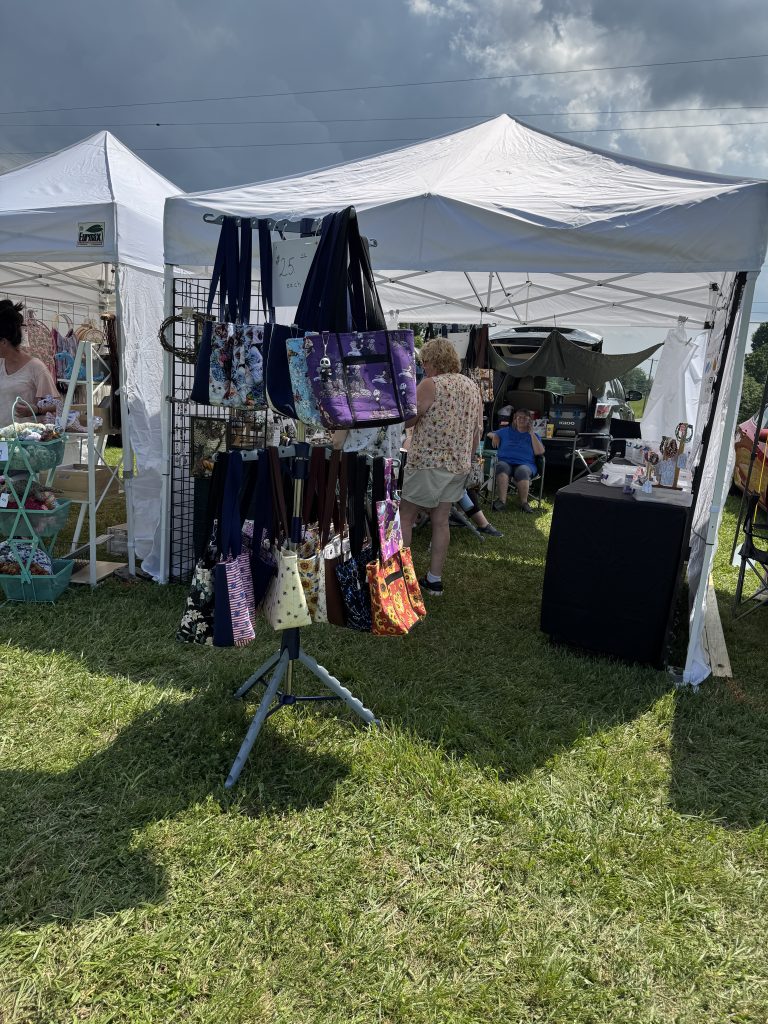
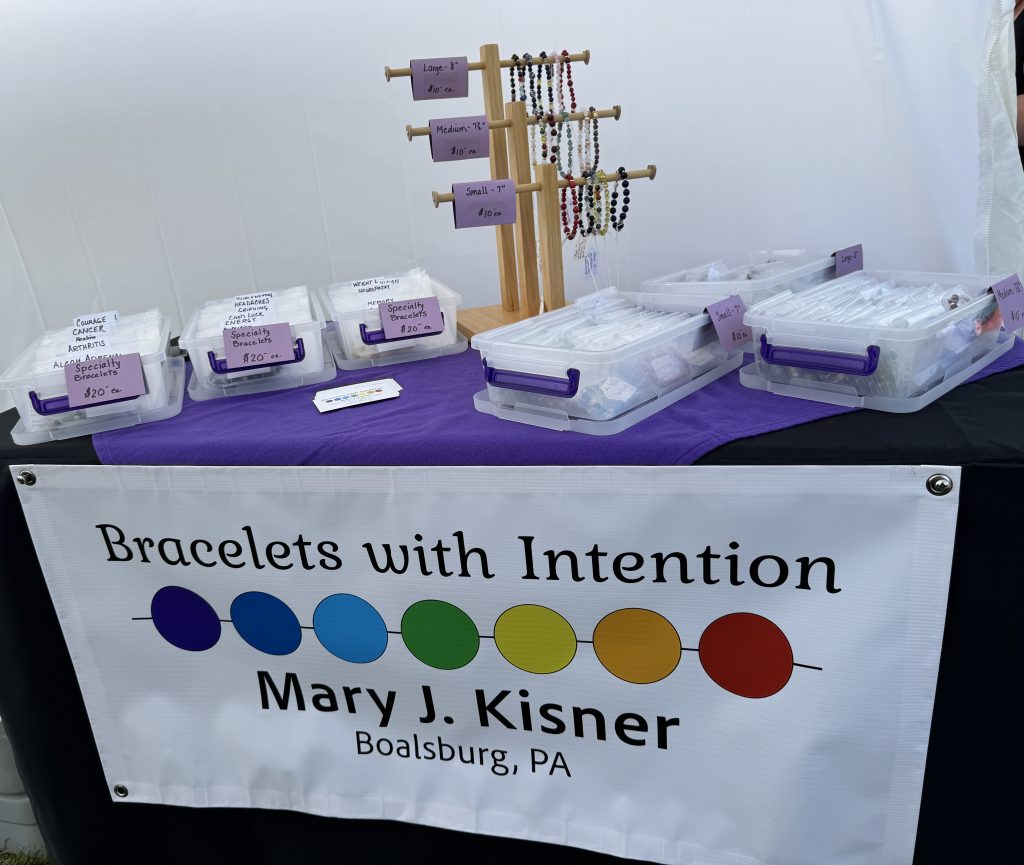
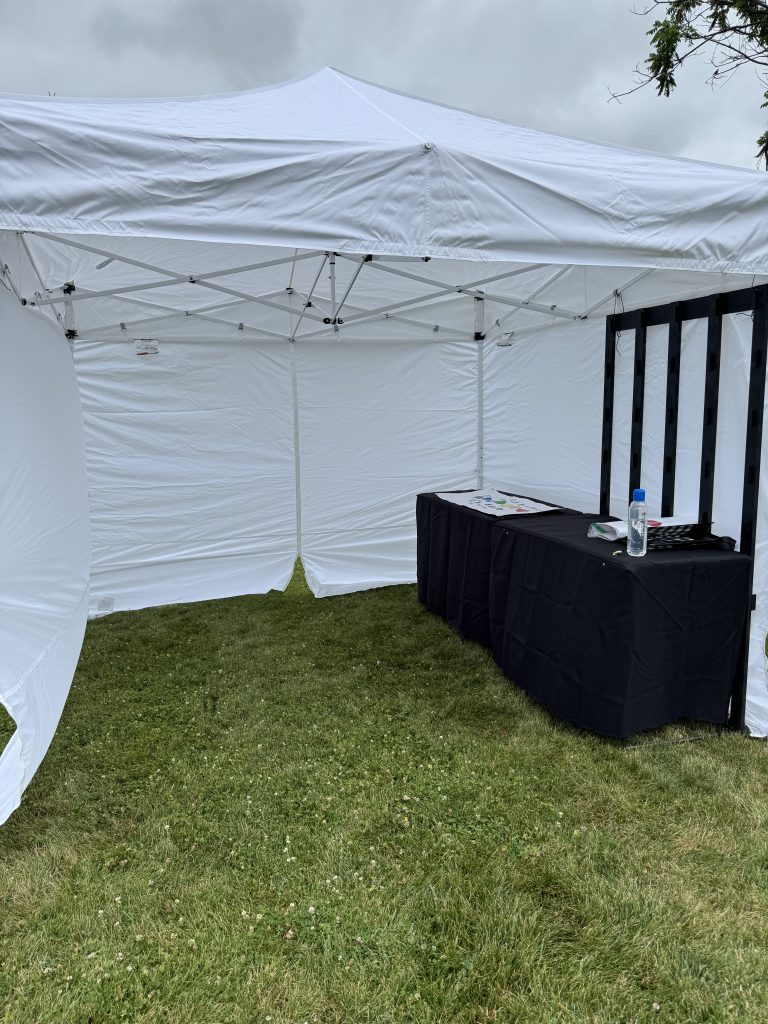
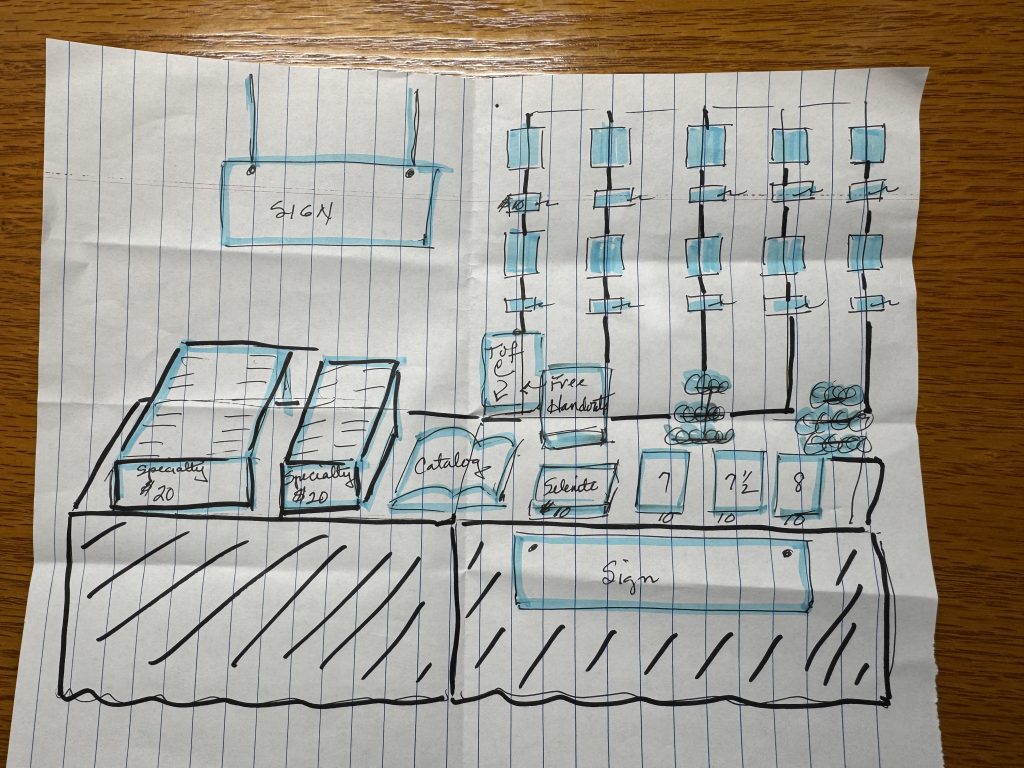
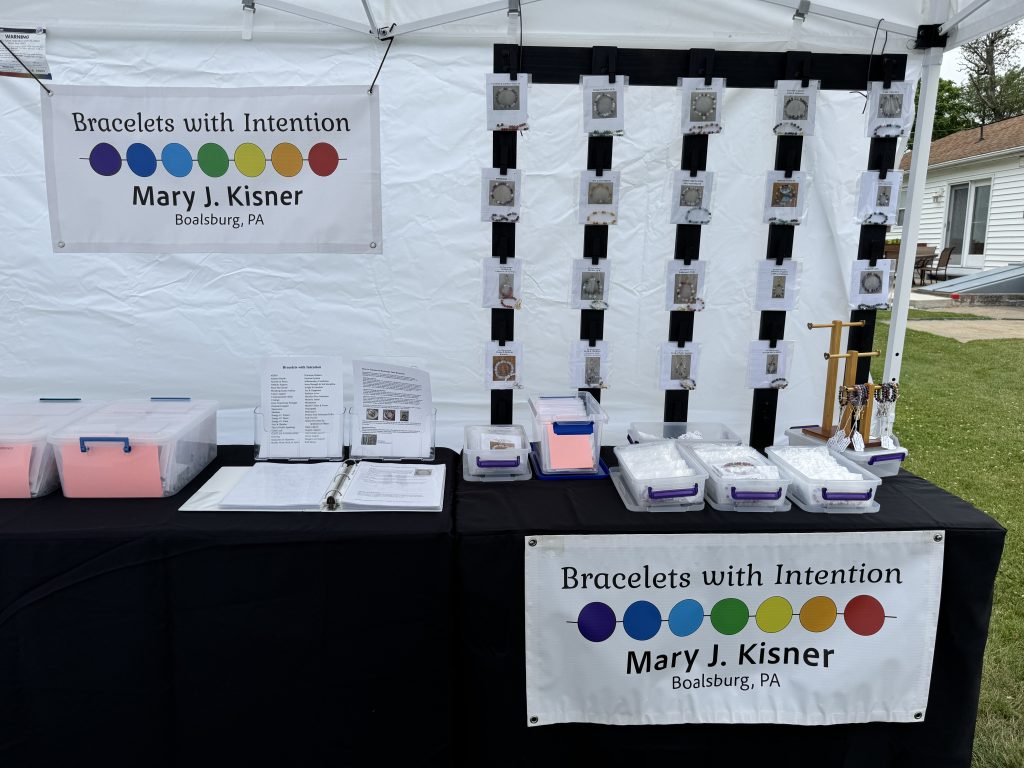
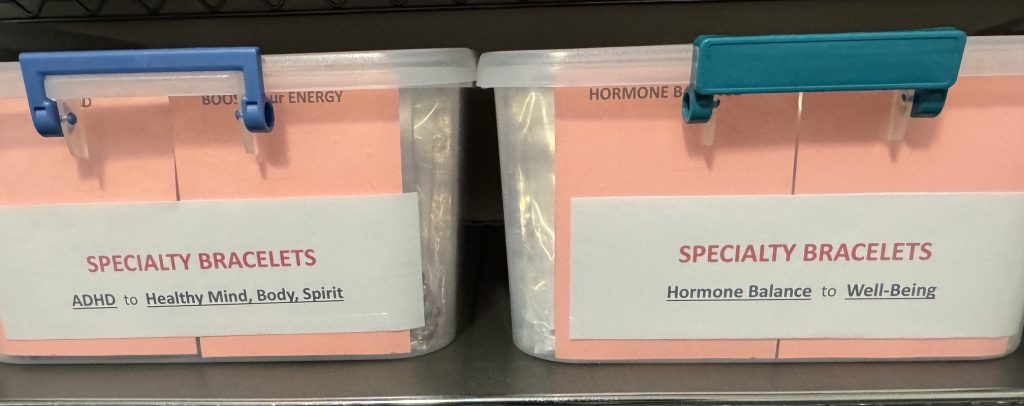
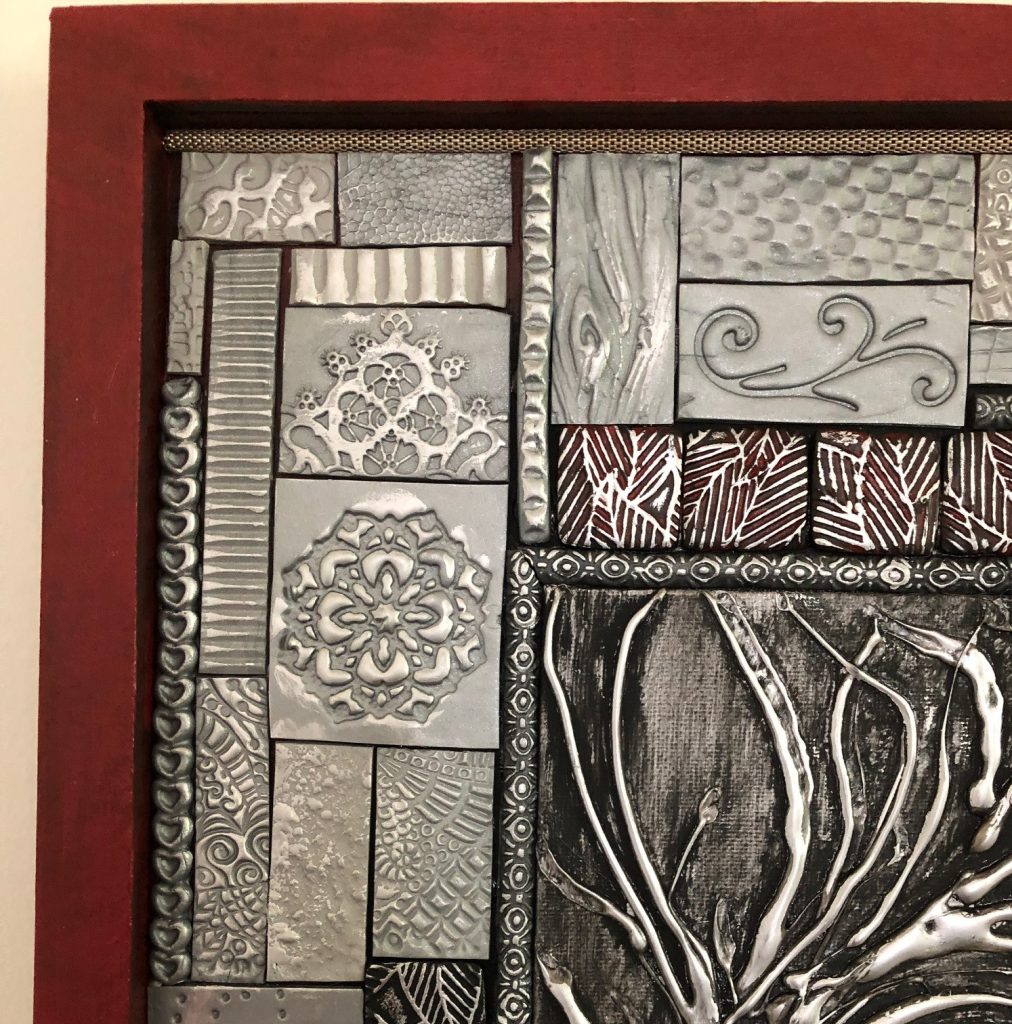
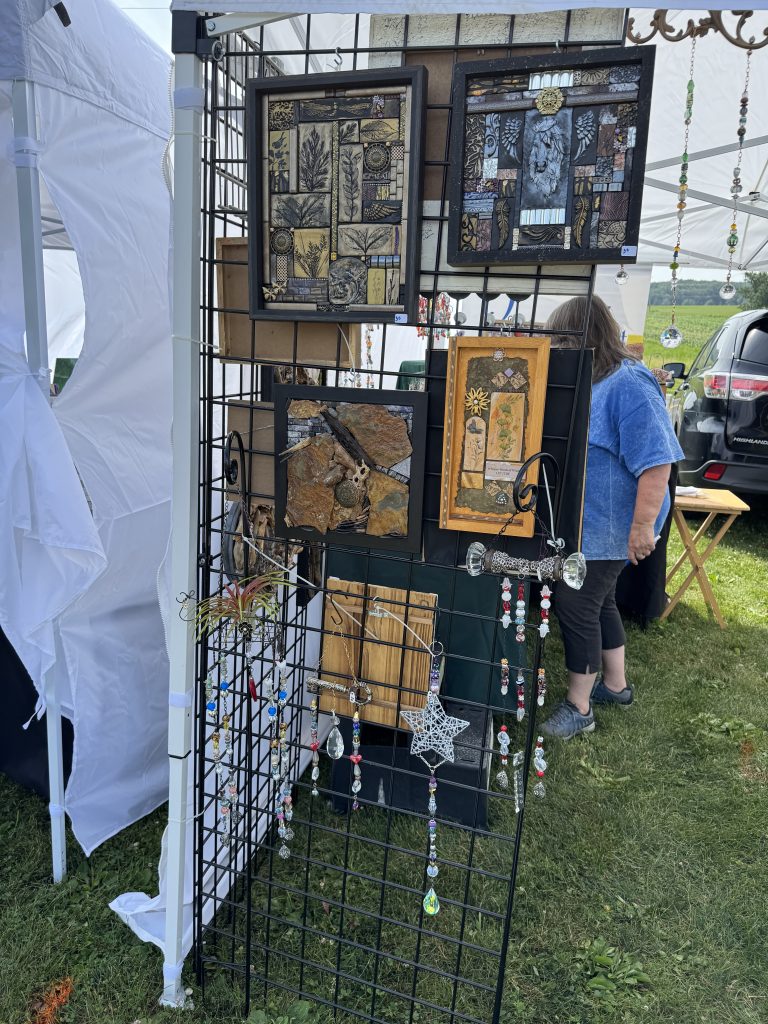
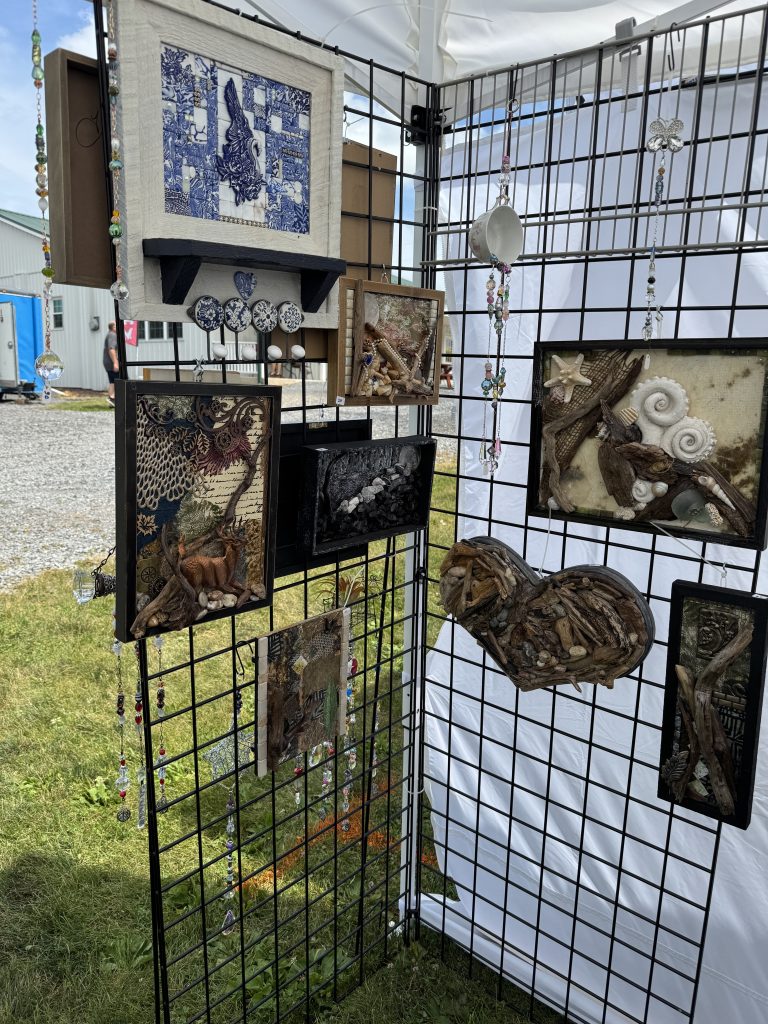
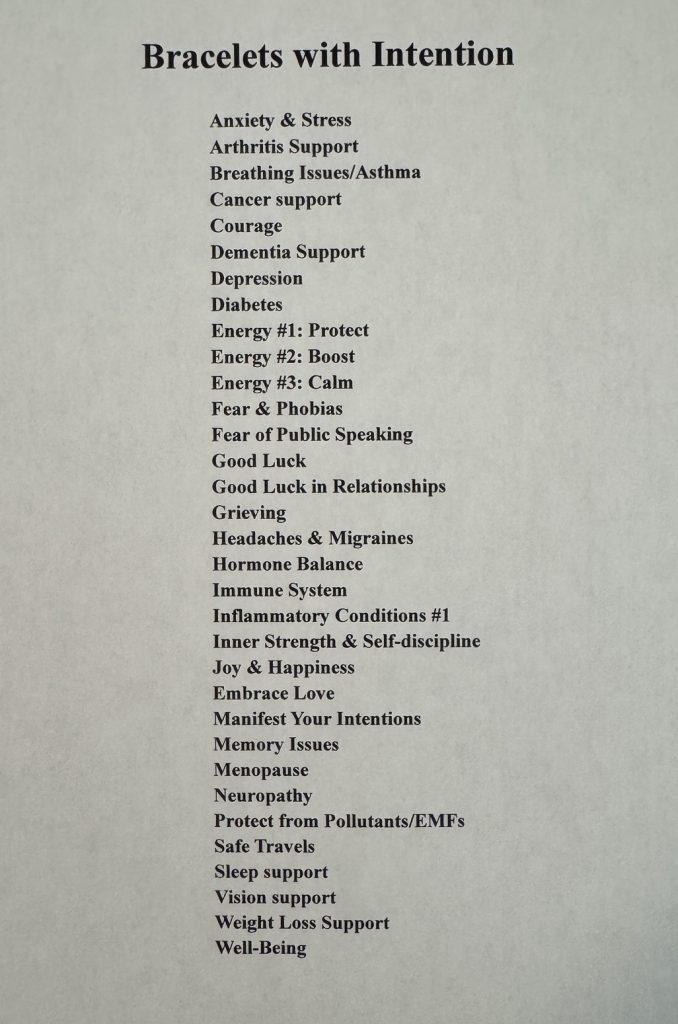
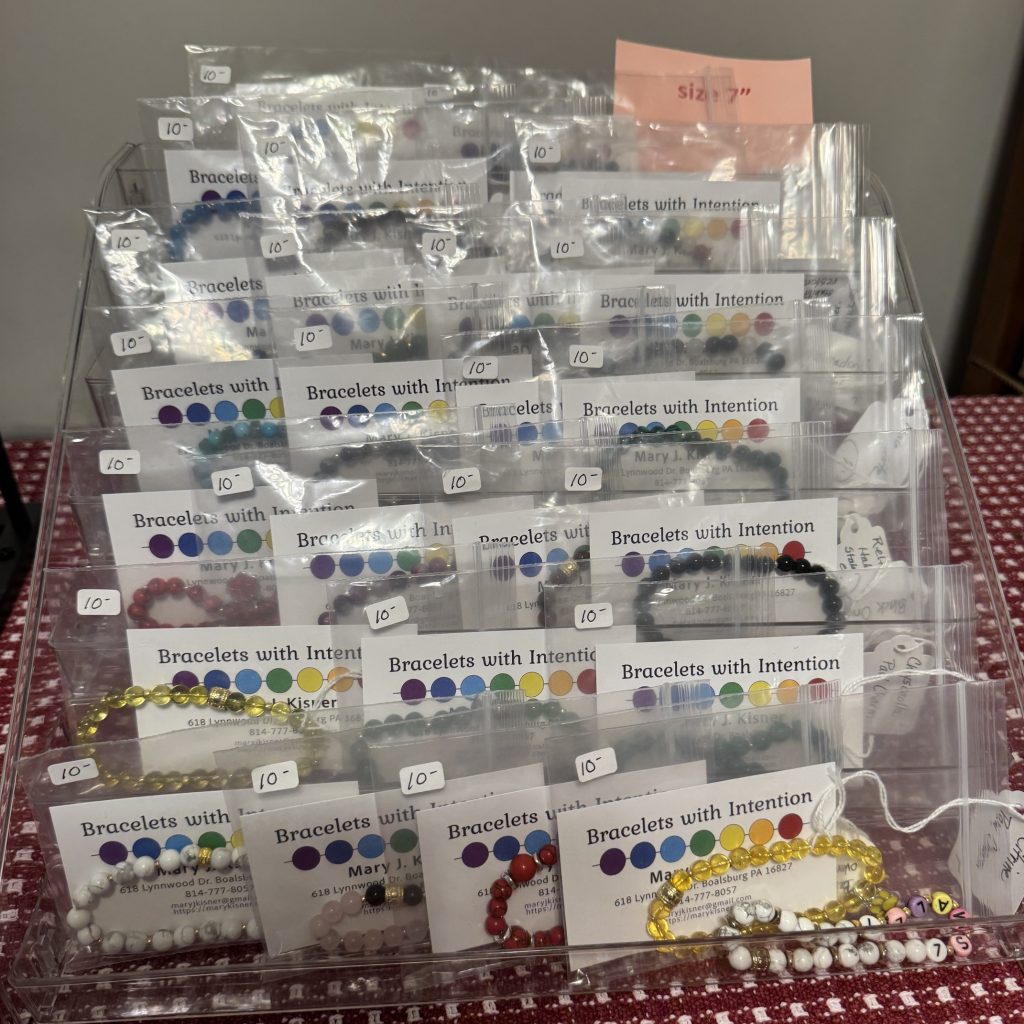
It seems like when I move from one major activity to another a whole lot of other stuff needs to be addressed. After putting away my bins of bracelets and beads, I needed to reassess and redesign my booth for future shows. I’ve decided I’ll stick with indoor craft shows of 1-2 days. I’m now signed up for a 1-day show at the Ferguson Township Lions Club on November 14. That means my table and display elements needed to be redesigned. Without a tent background my gridwall won’t work. My signs can’t be hung on the wall behind my tables. My bracelets needed a better display. I quickly did some research on how other vendors display similar items. I ended up getting several new pieces. I needed to find a way to display my bracelets and still keep most of them in their packaging. Here are the three different racks.
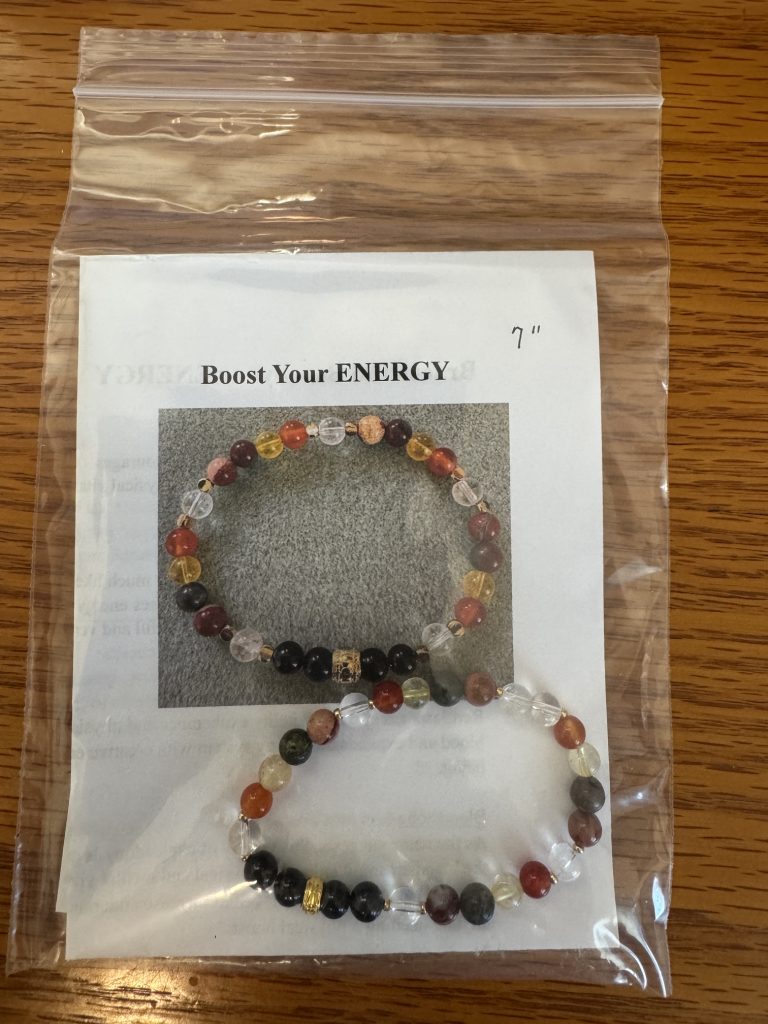
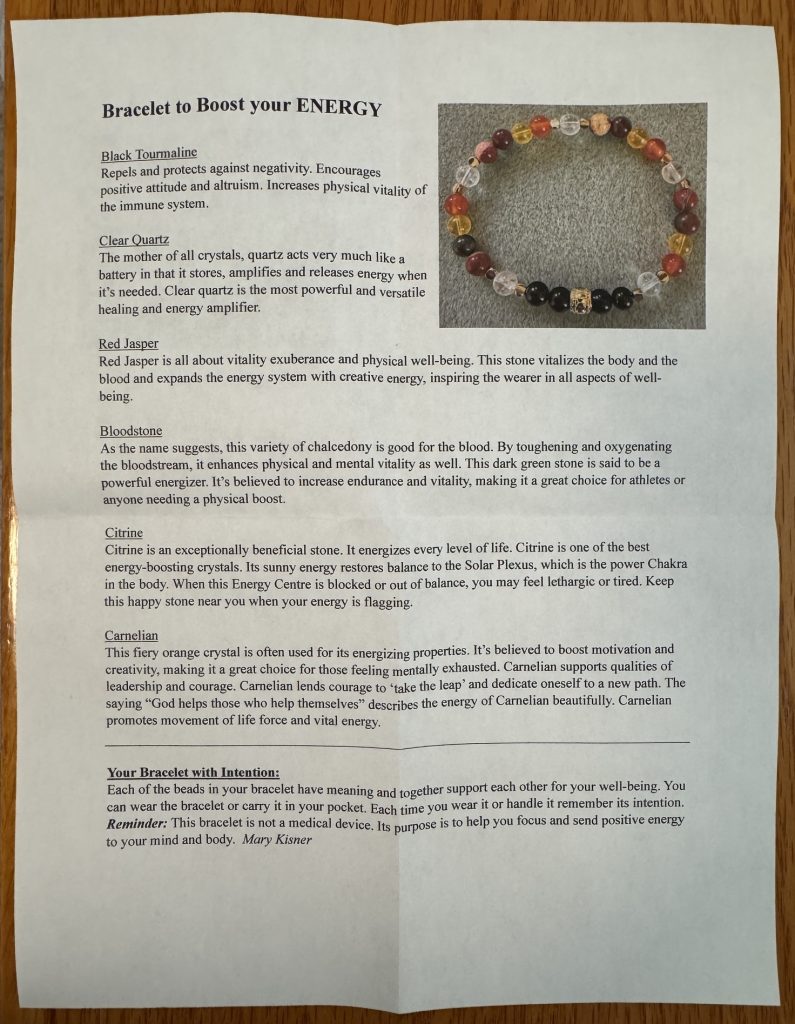
For my individual packets of specialty bracelets, I purchased two of these table top racks that rotate:

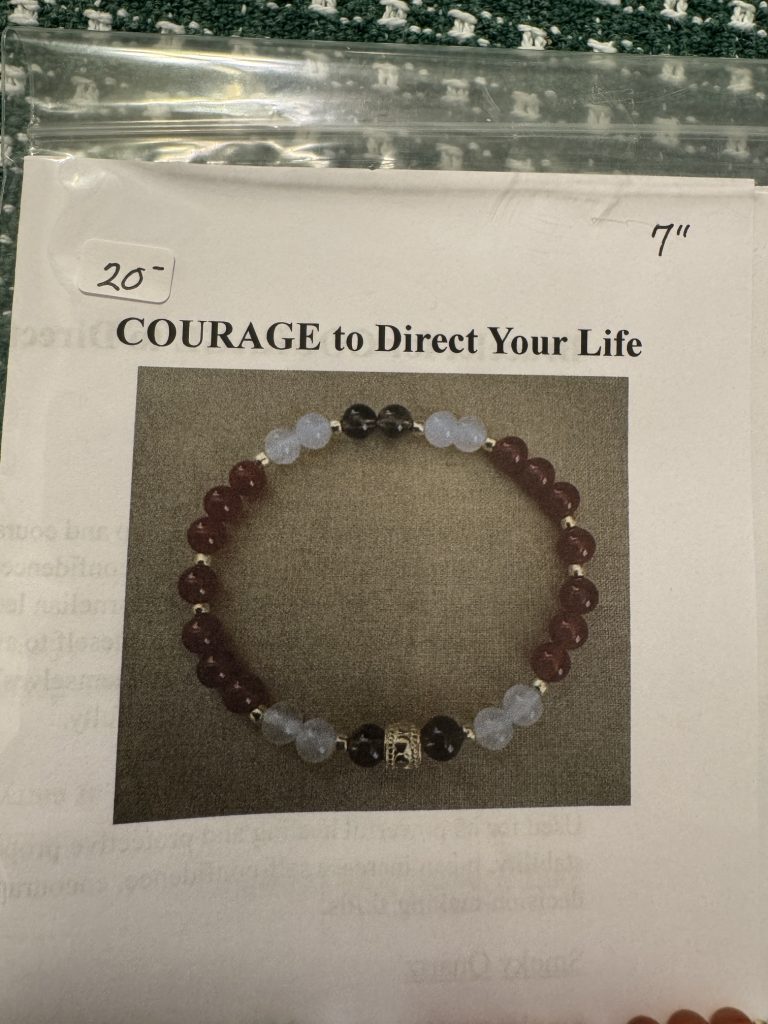
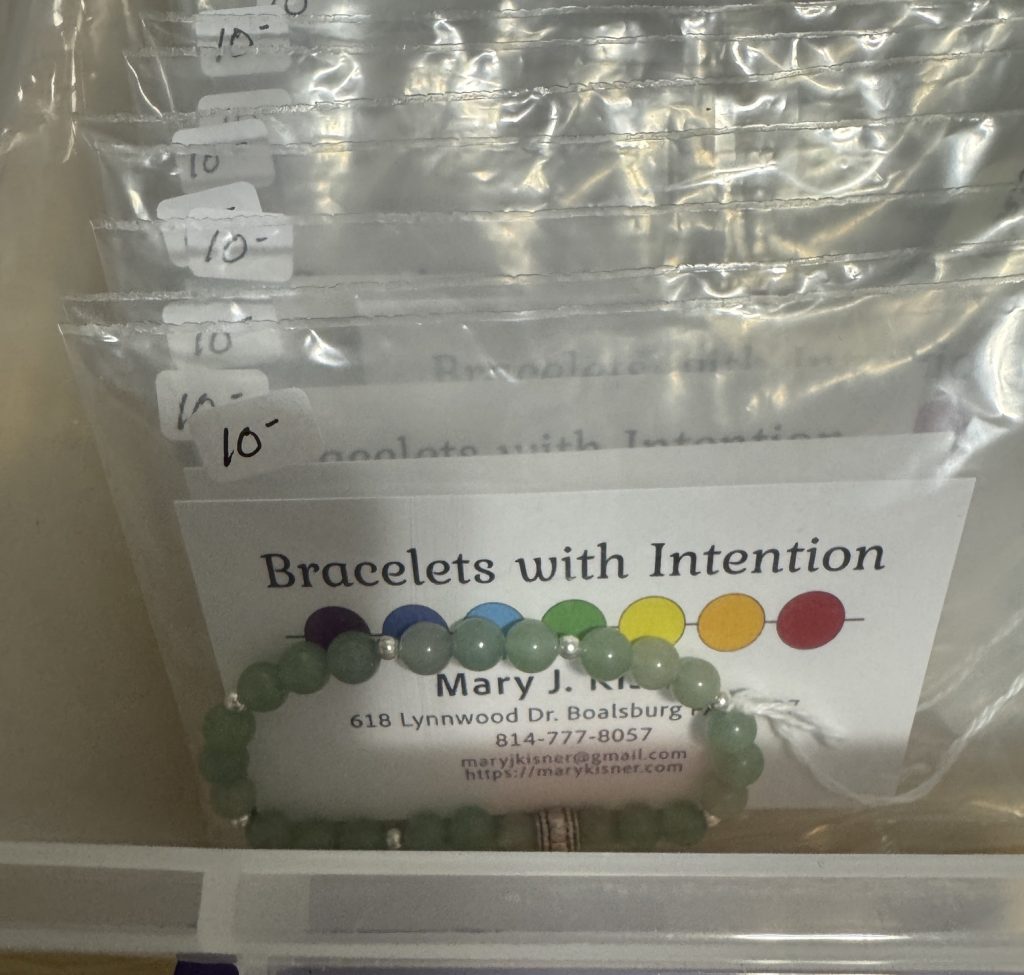
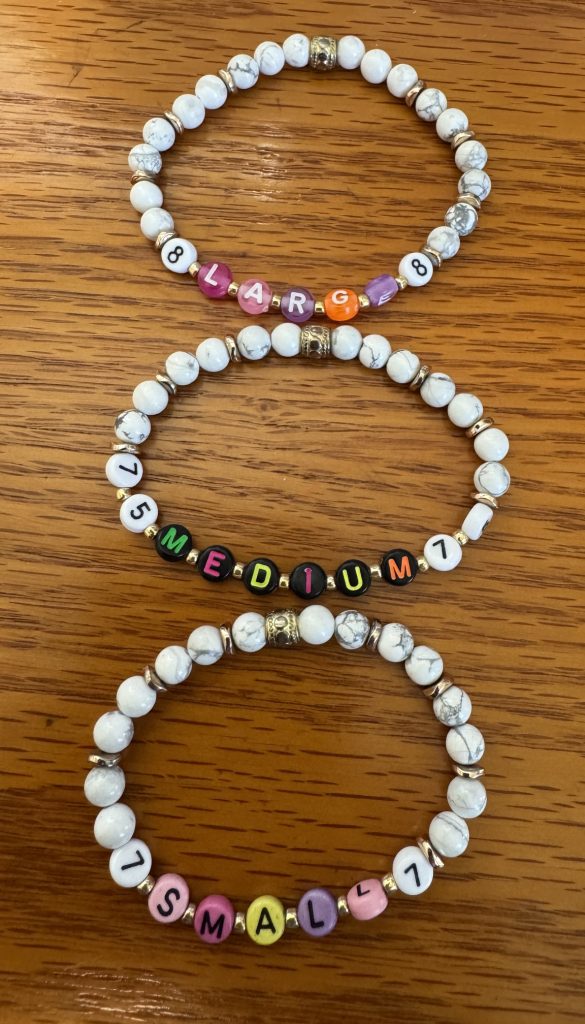
For my smaller packages, these simple racks can display bracelets by size and the tags that extend outside the package can be seen. They have the size, the stone names and a short phrase about the meaning of the stones. I bought three racks…one for each size:
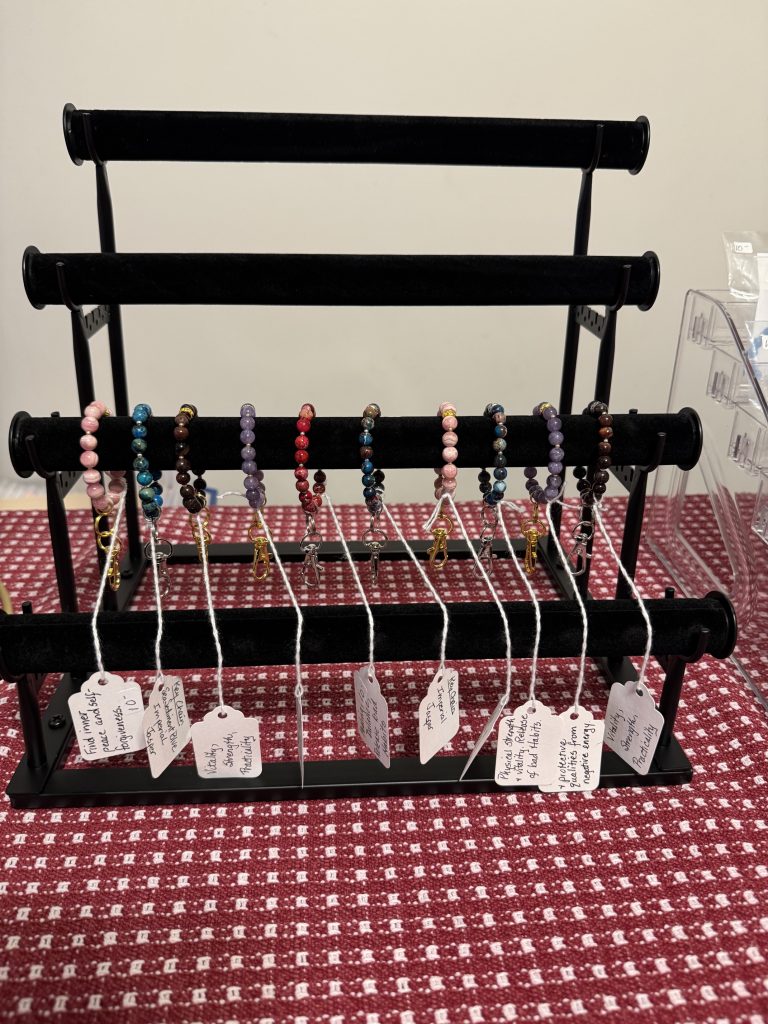
Finally, this display rack will handle the key chains and aromatherapy bracelets that just have their tag but don’t need to be in a plastic bag.
I’ve now disassembled all the racks and will store them until November!
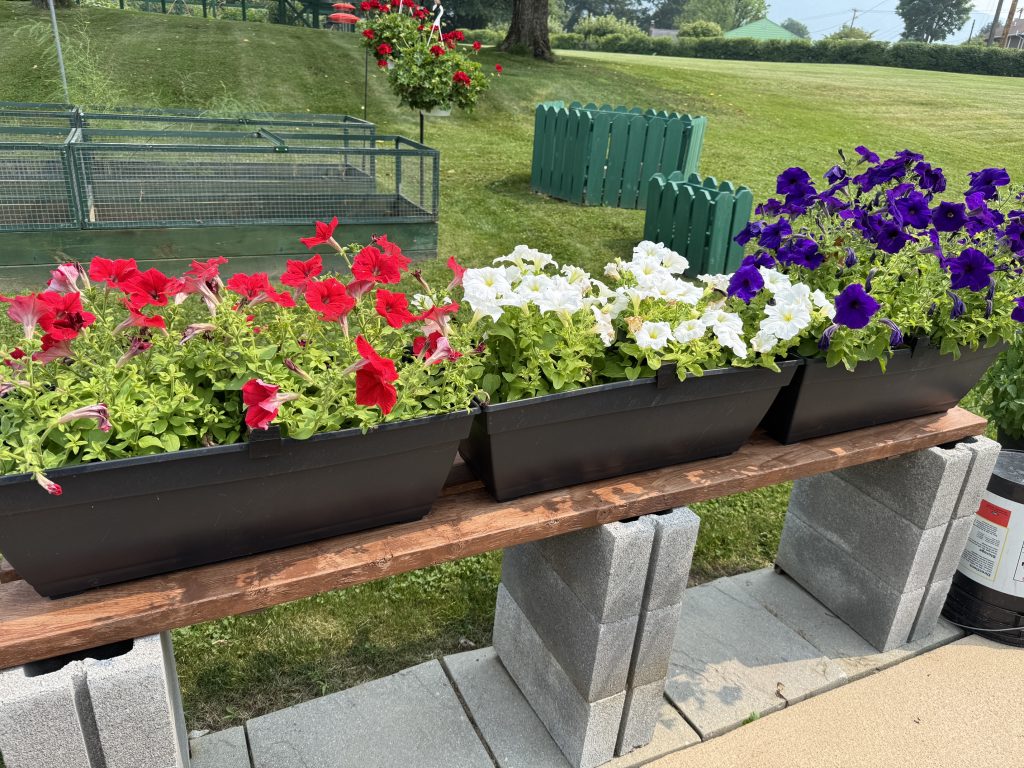
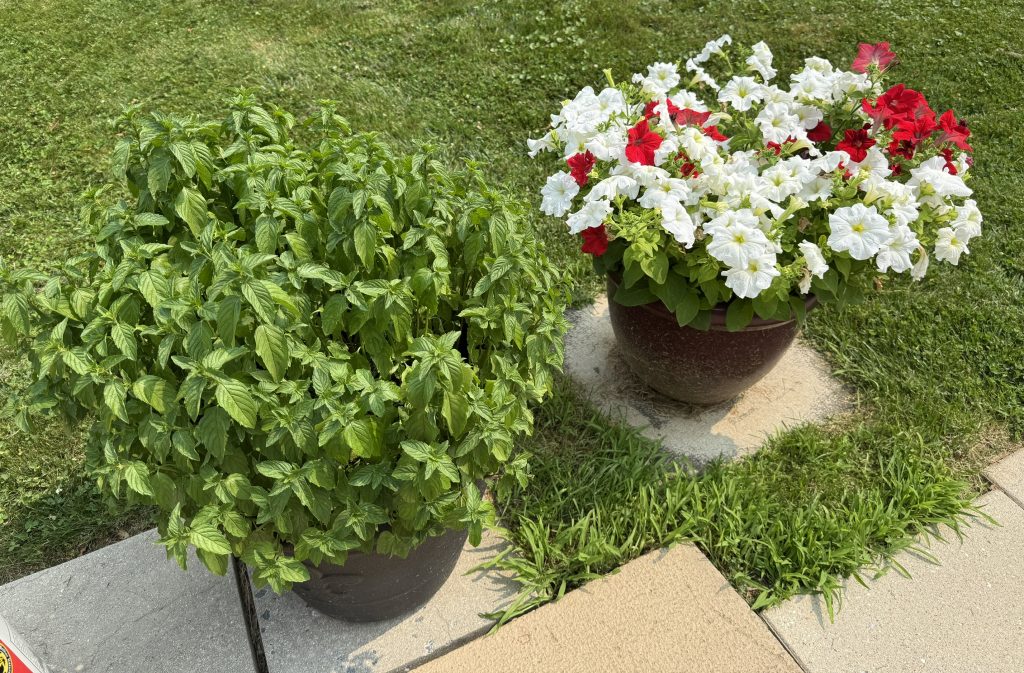
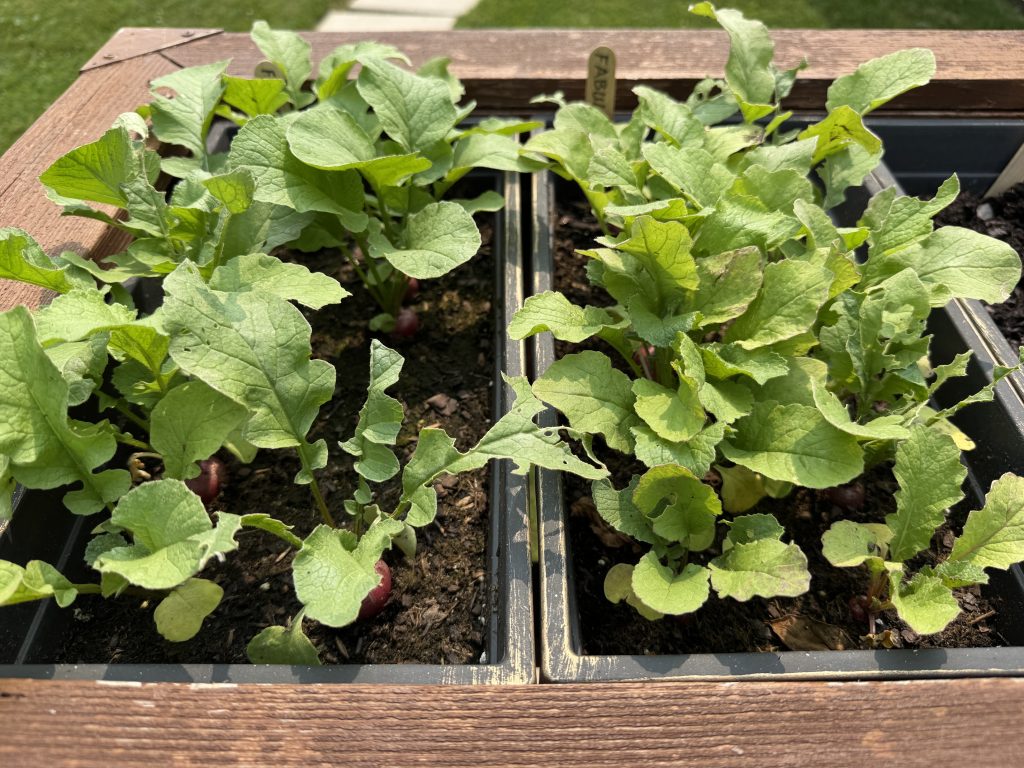
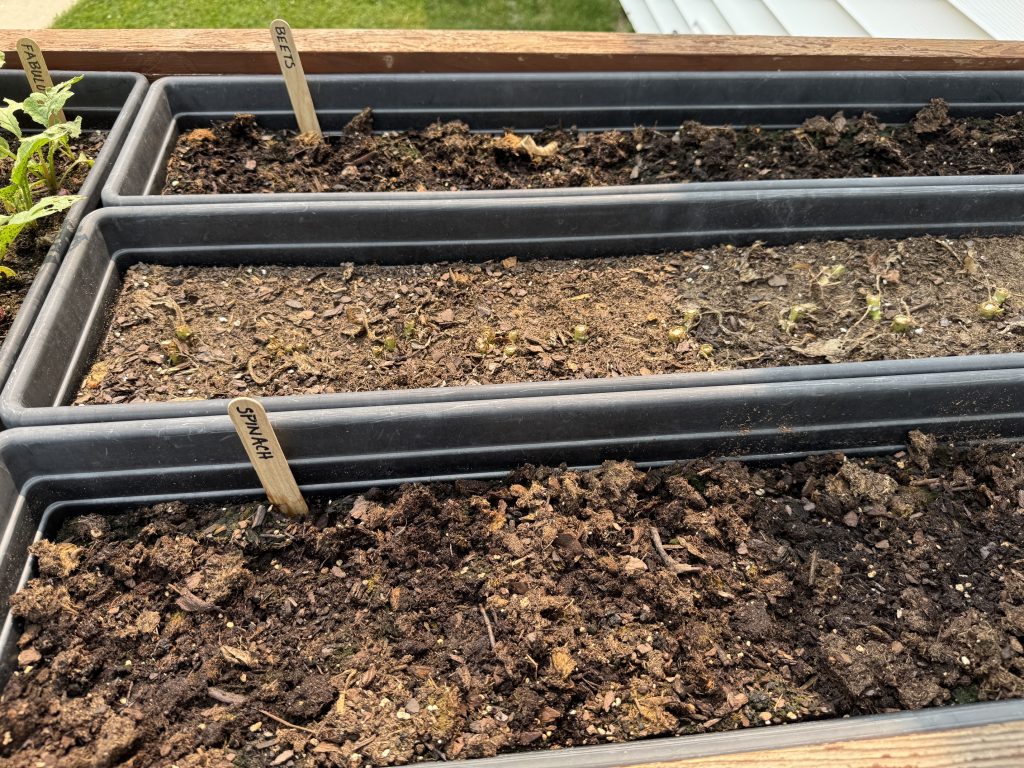
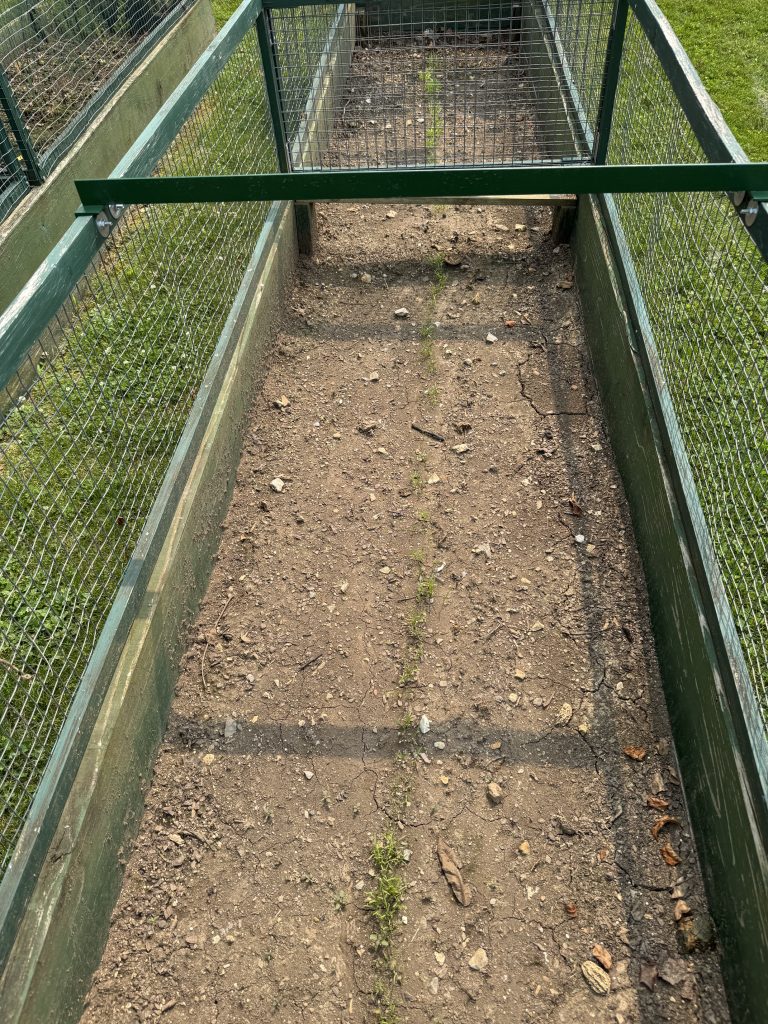
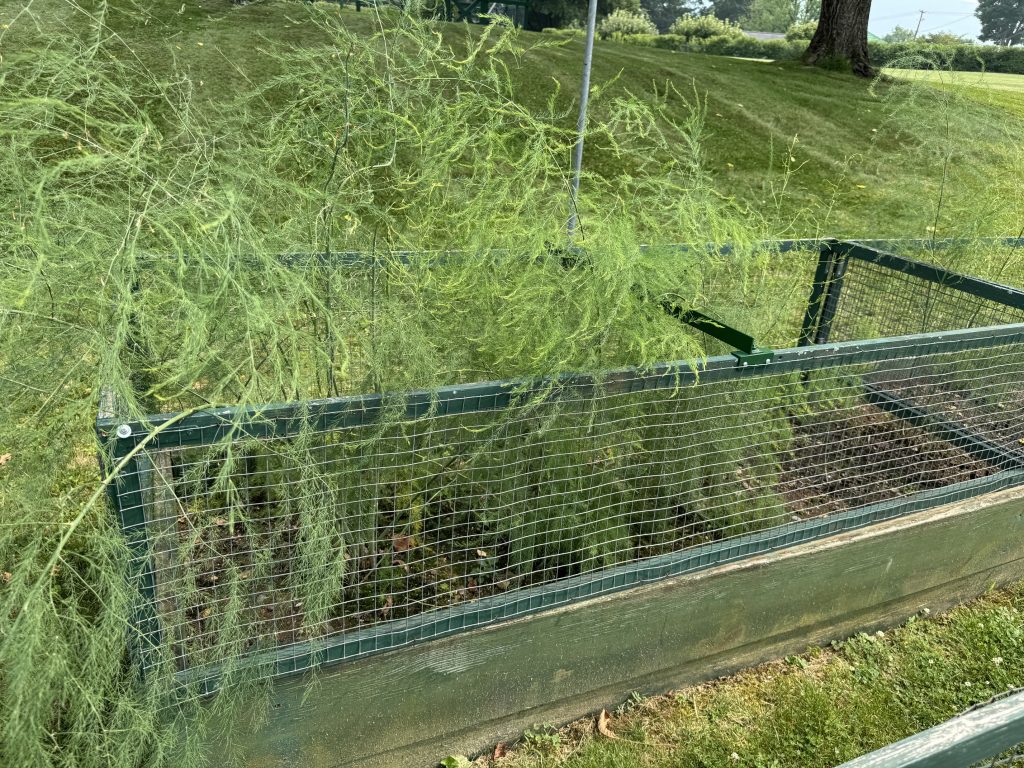
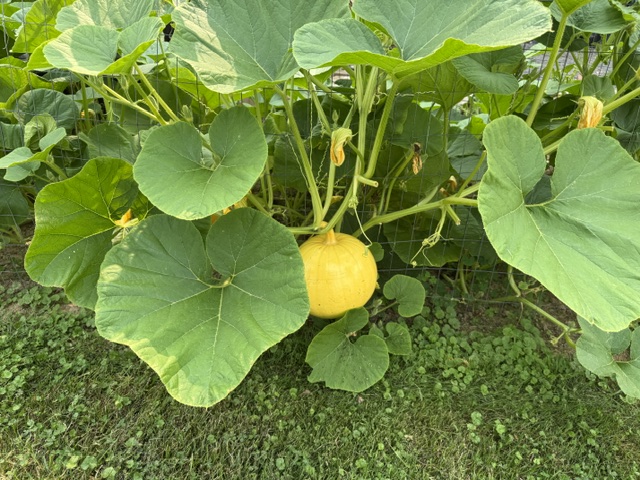
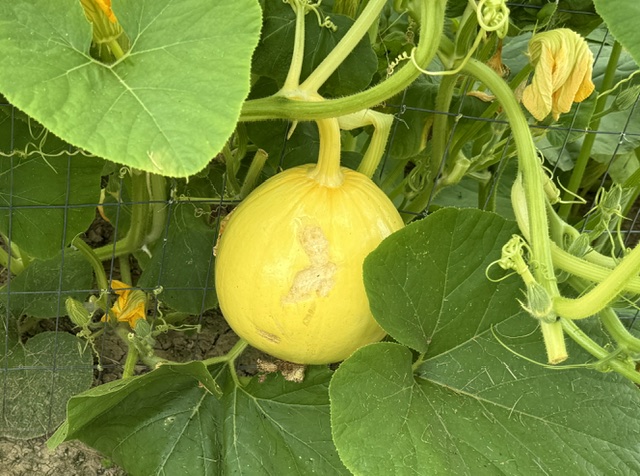
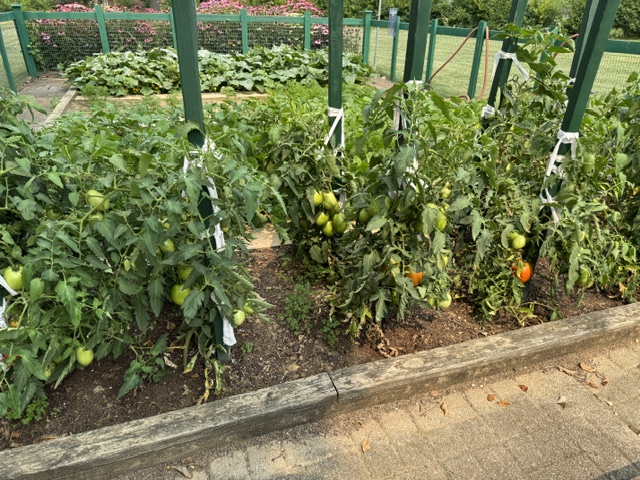
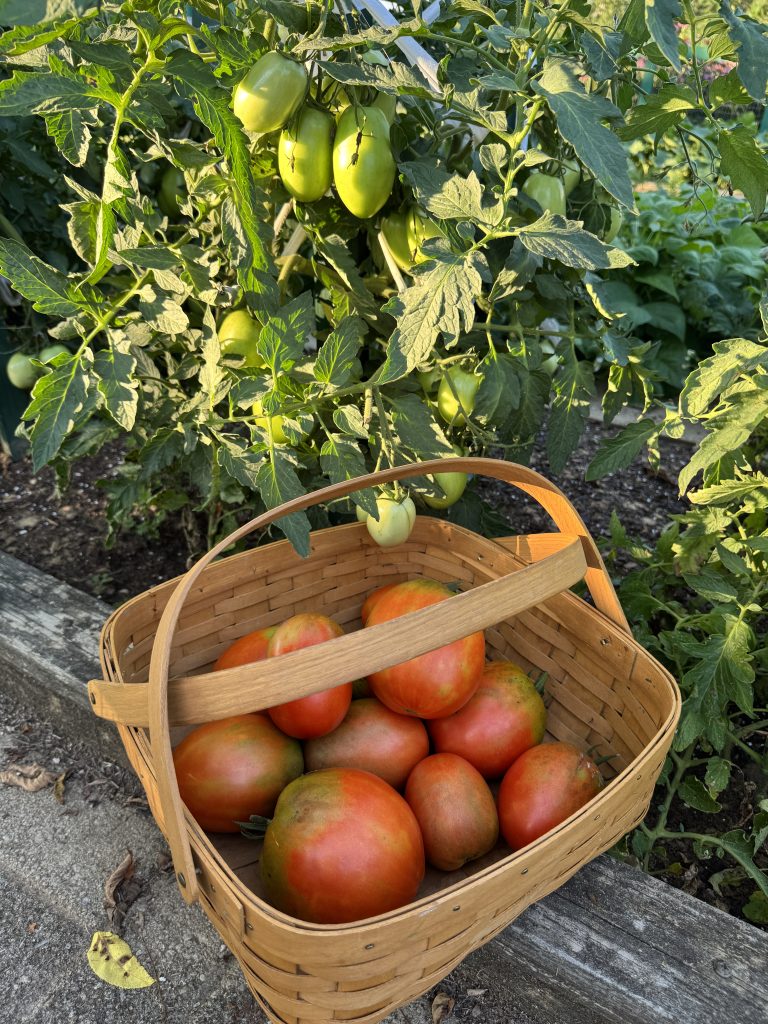
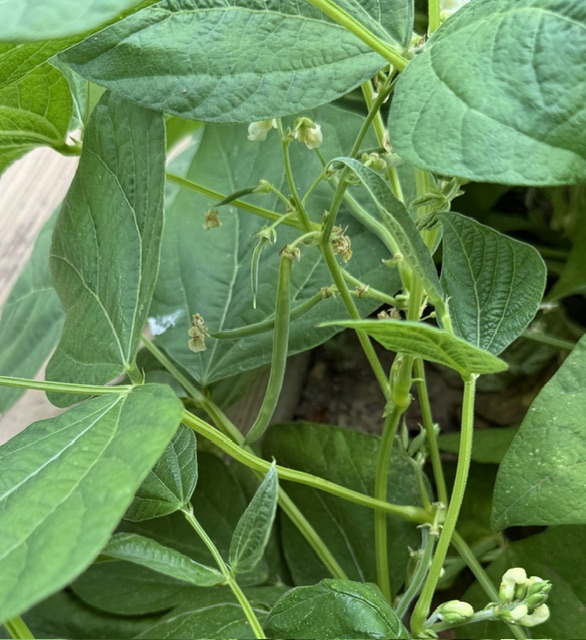
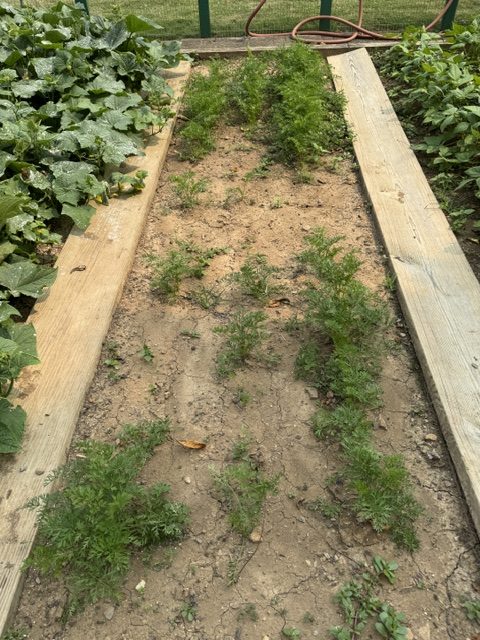
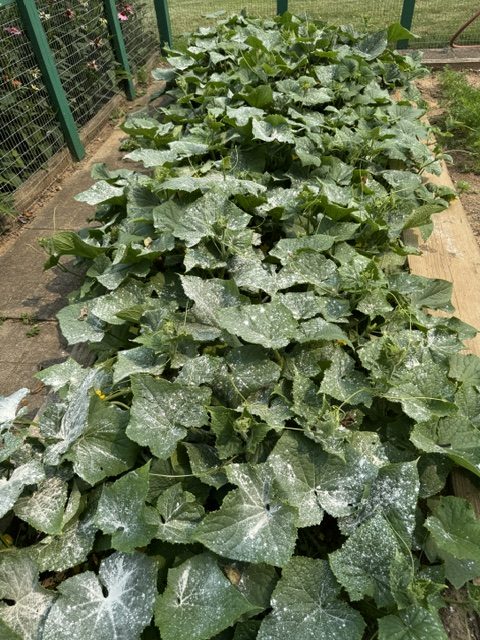
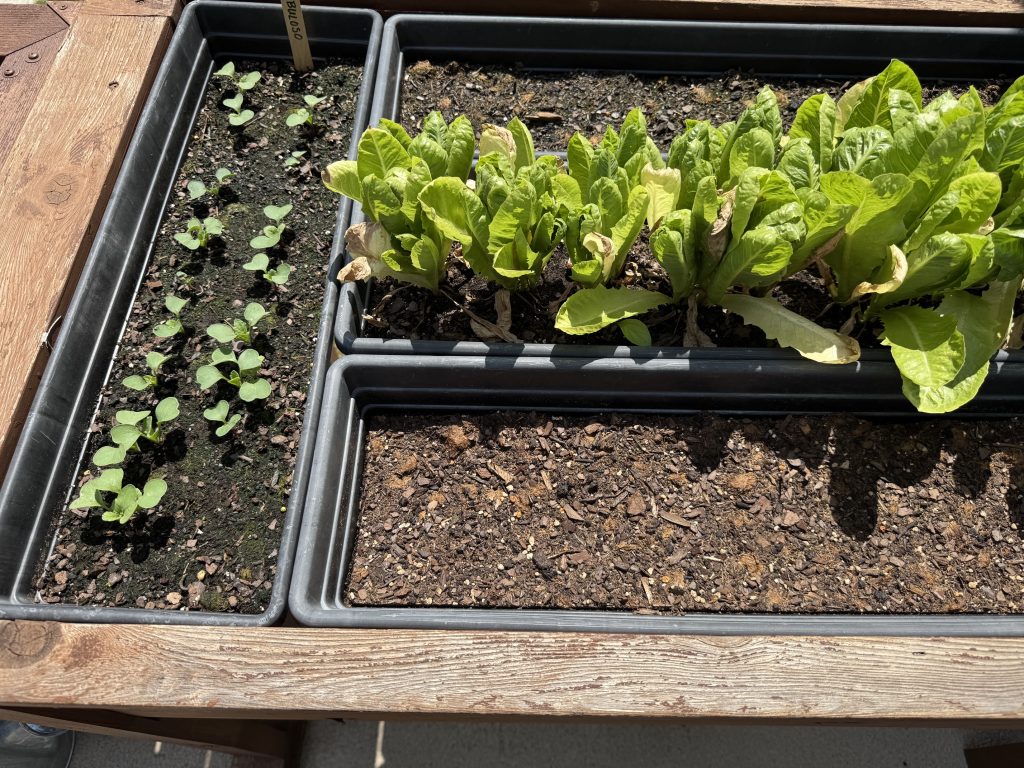
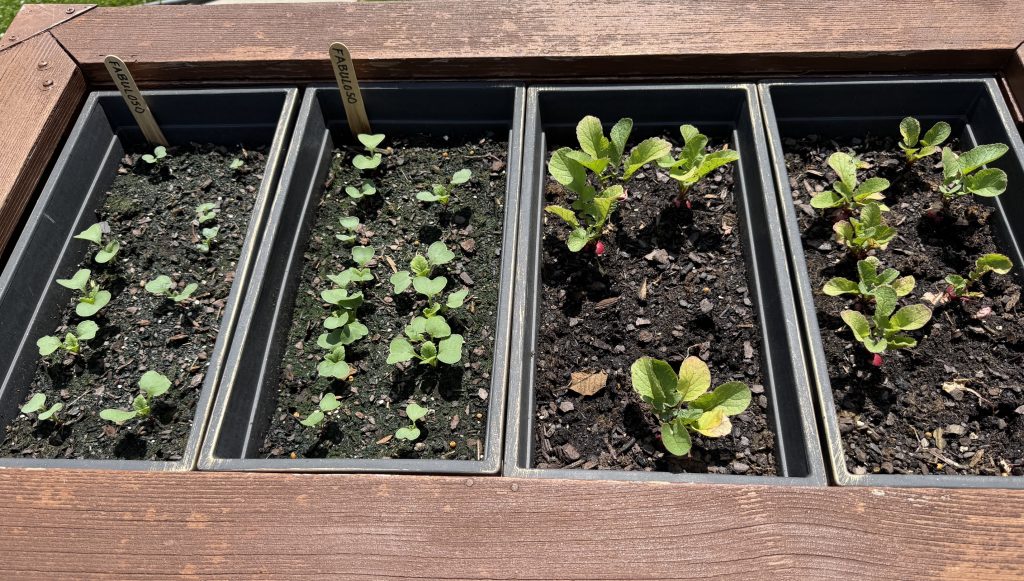
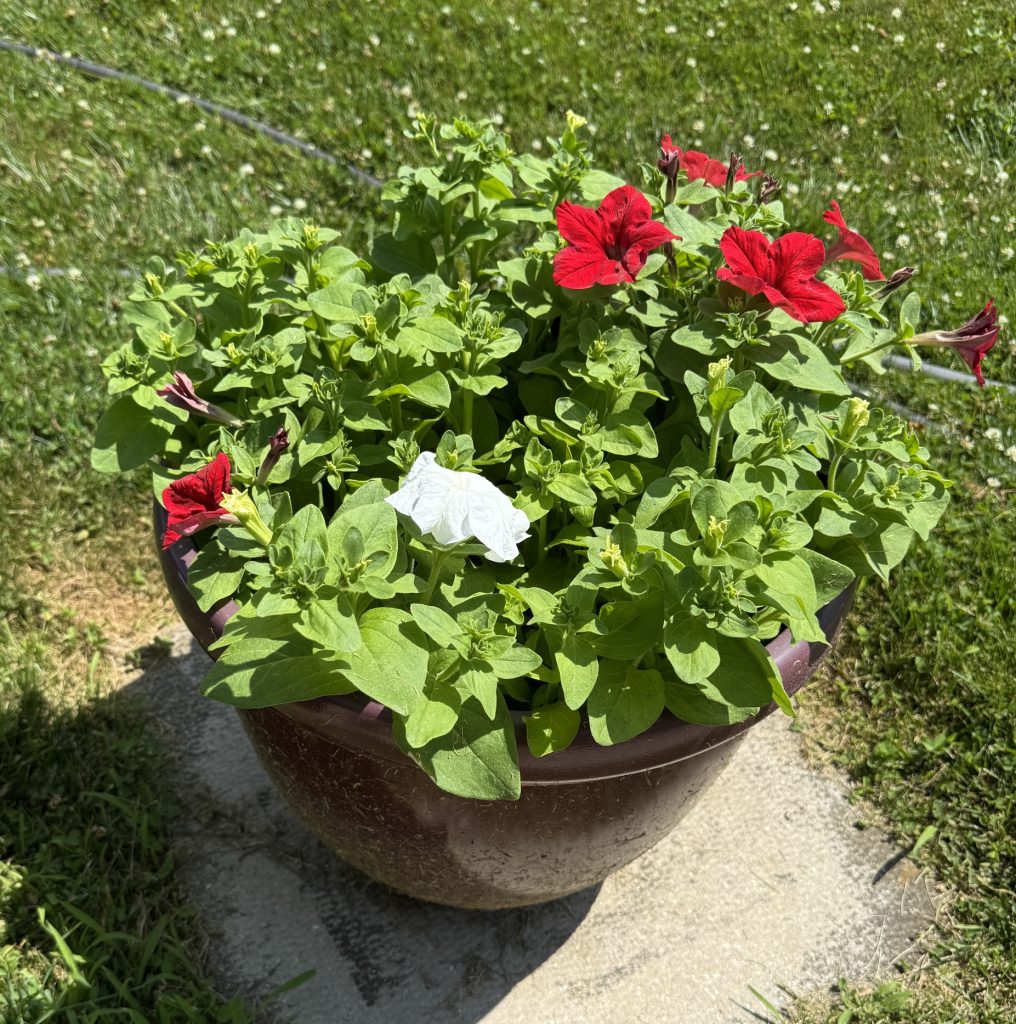
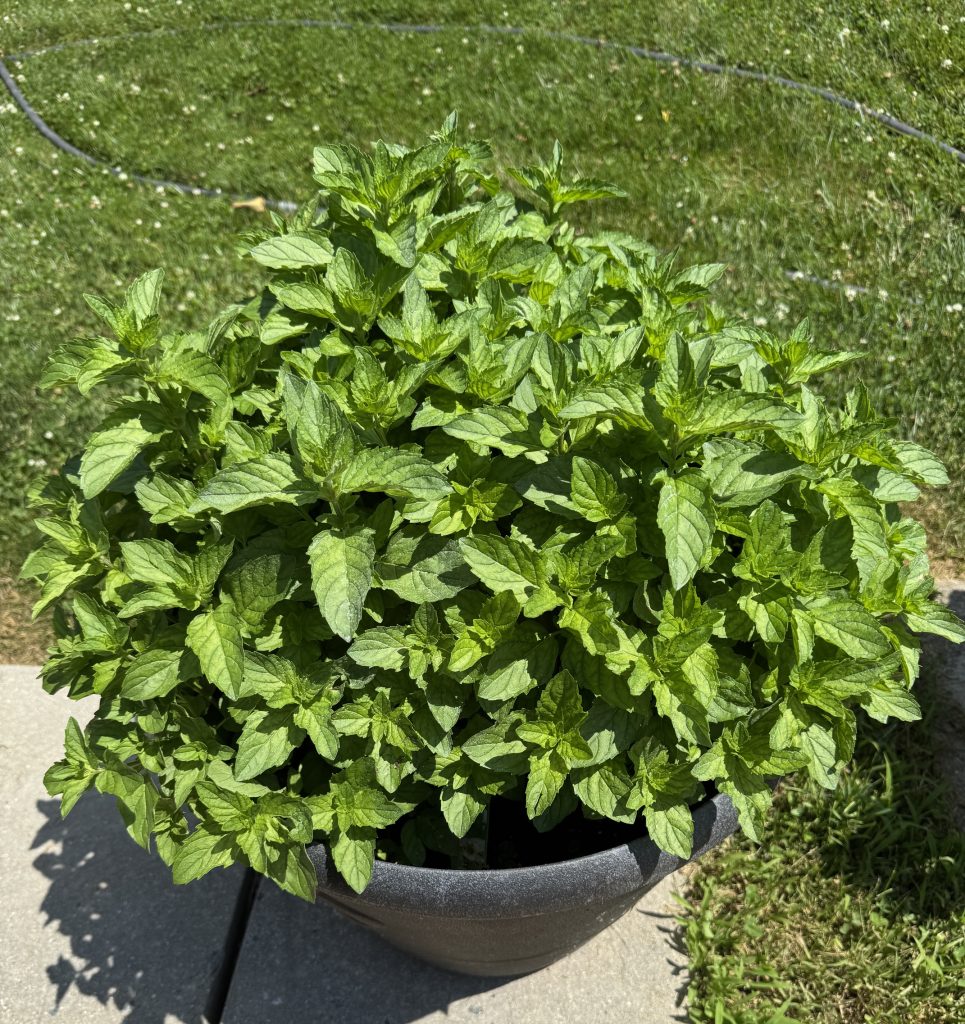
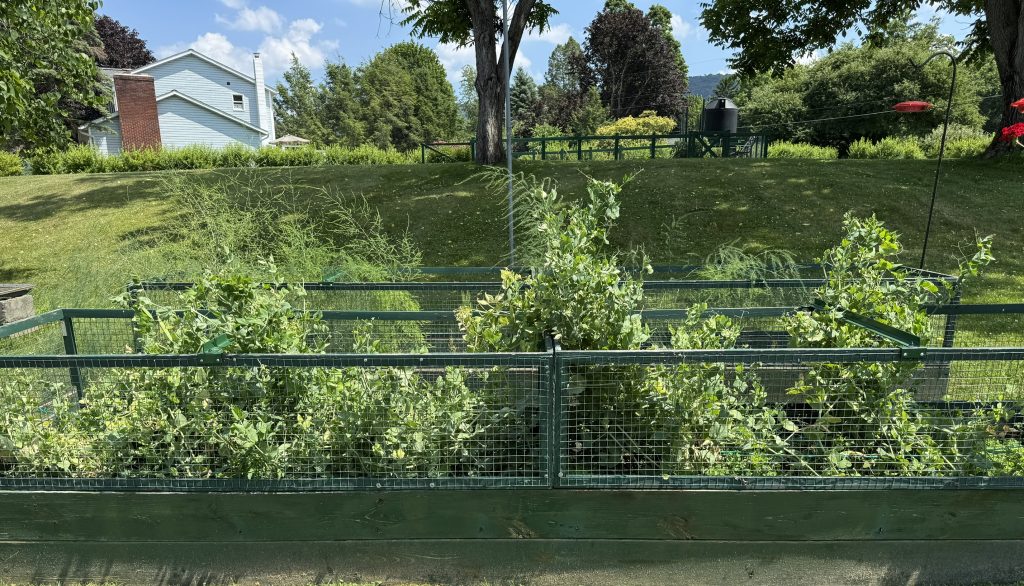
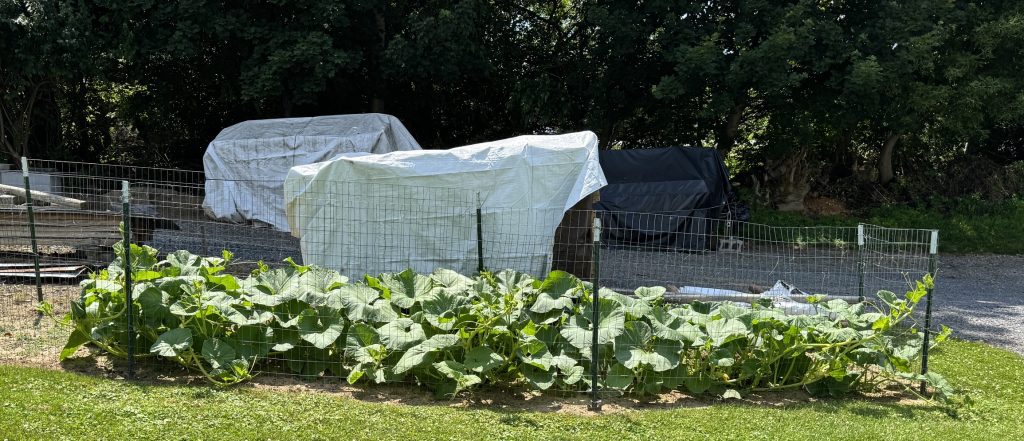
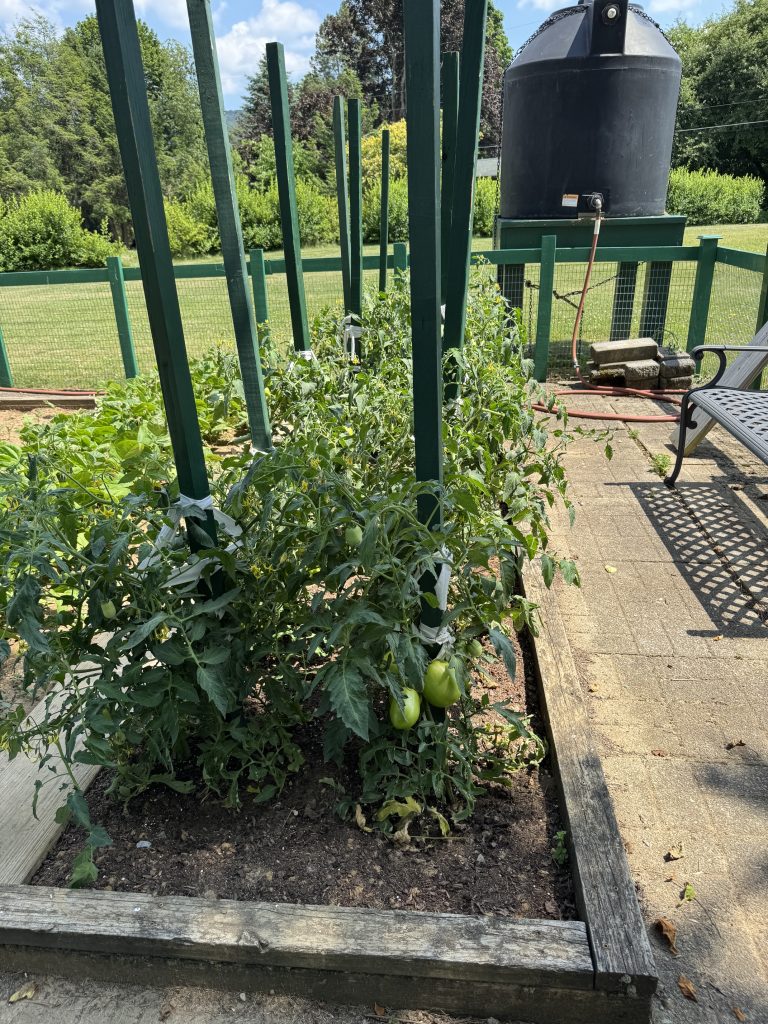
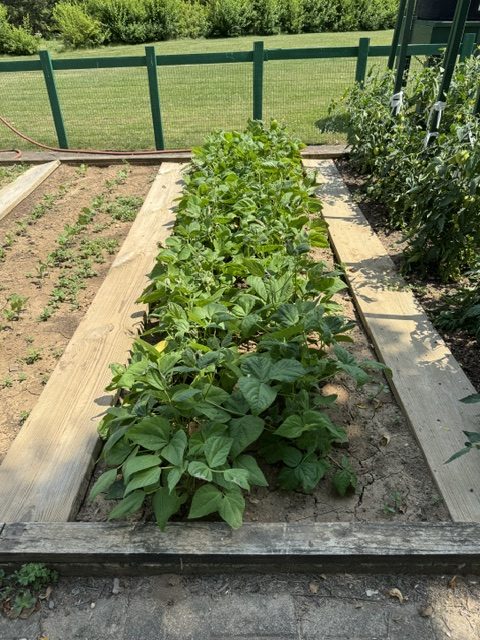
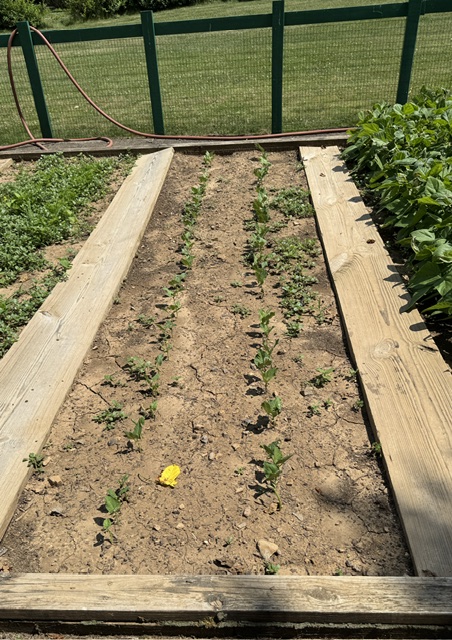
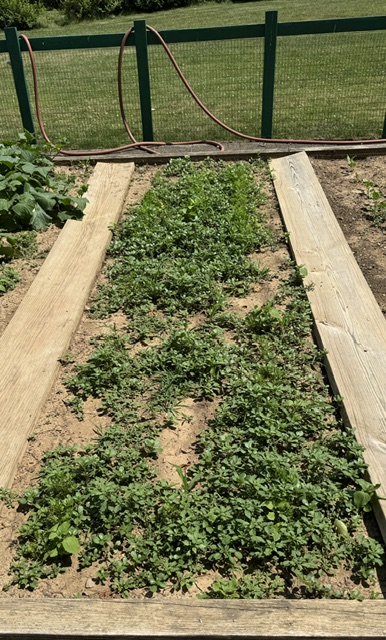
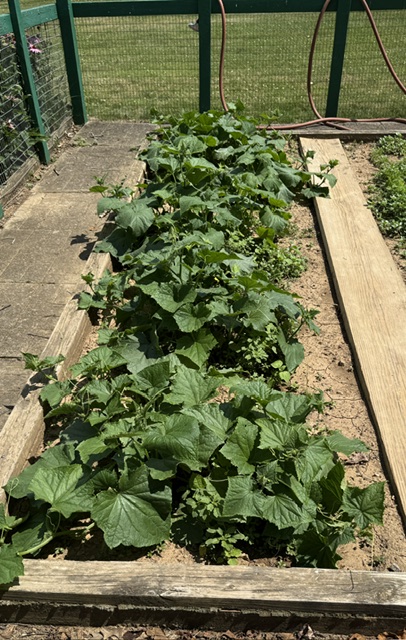
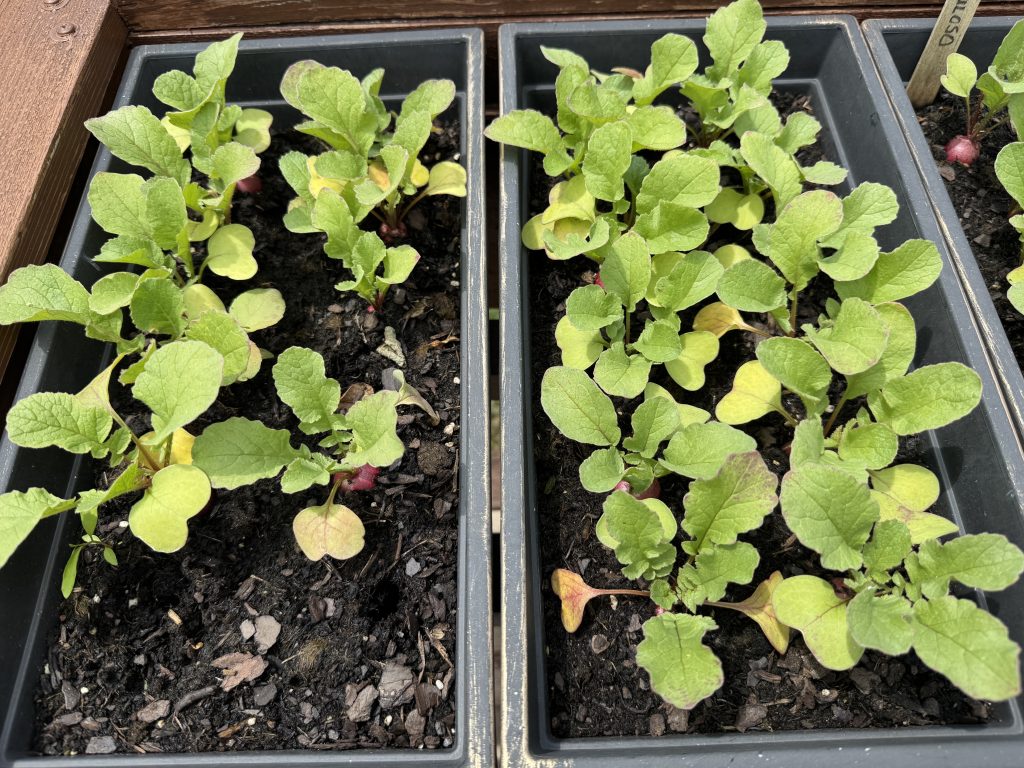
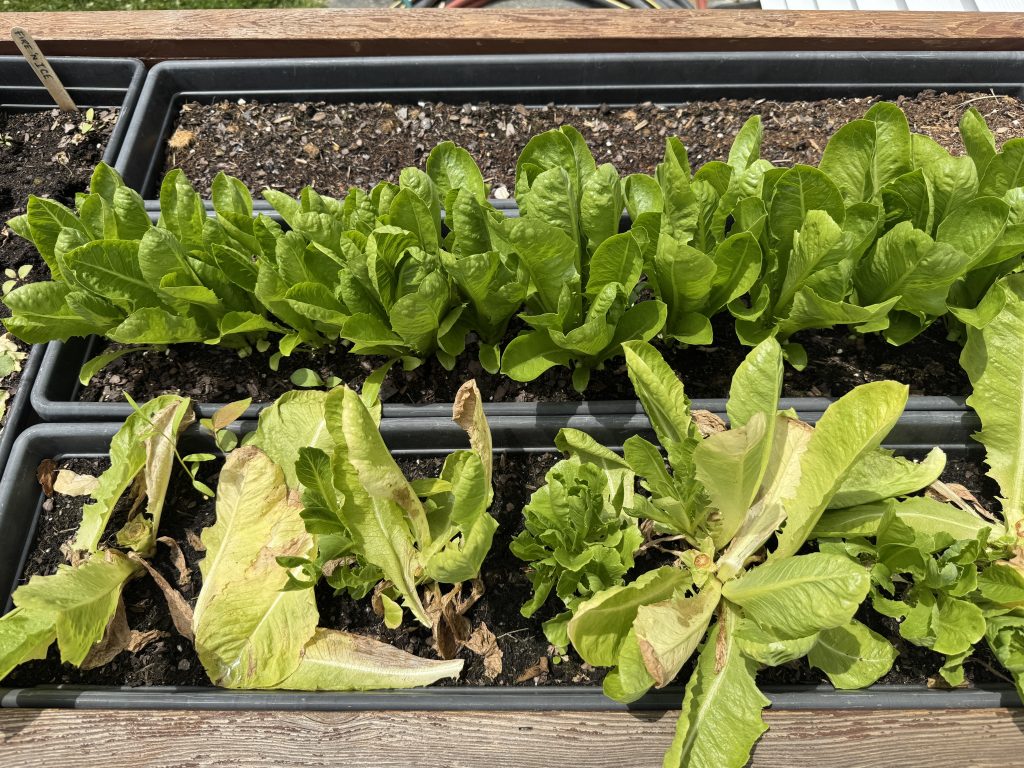
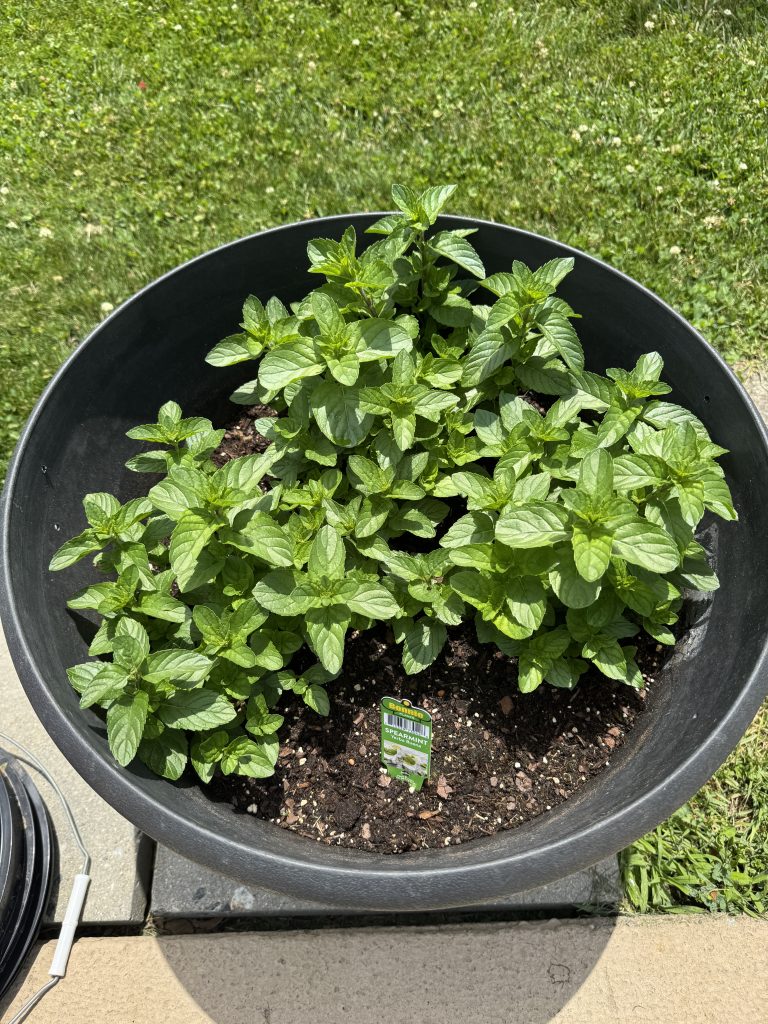
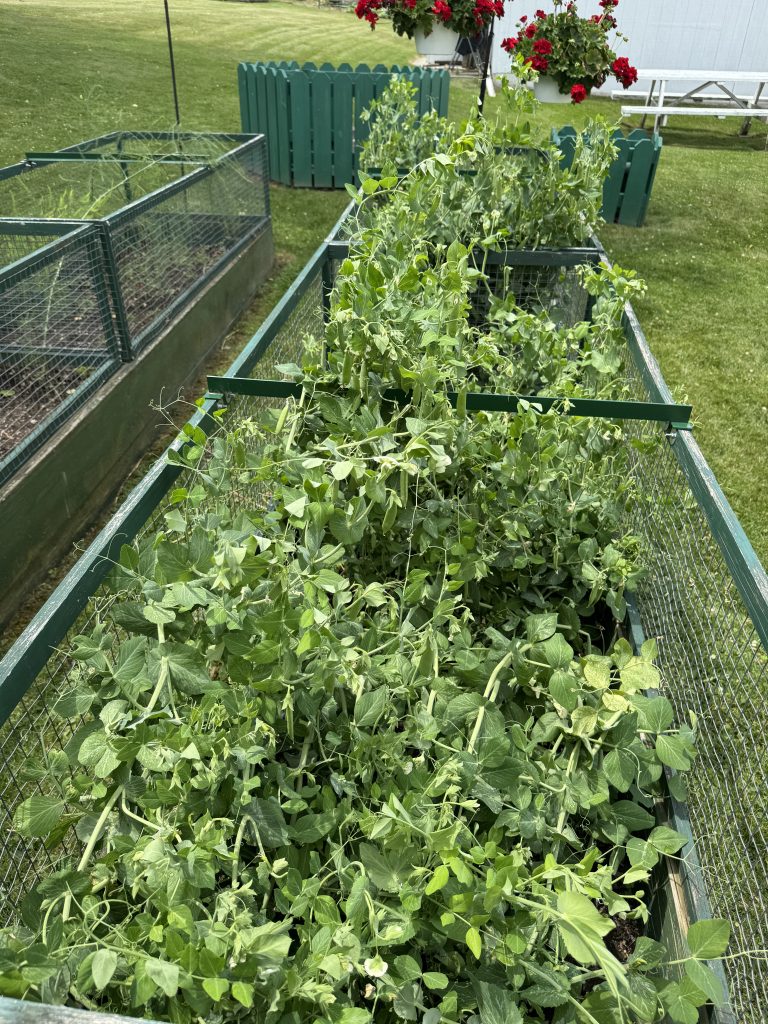
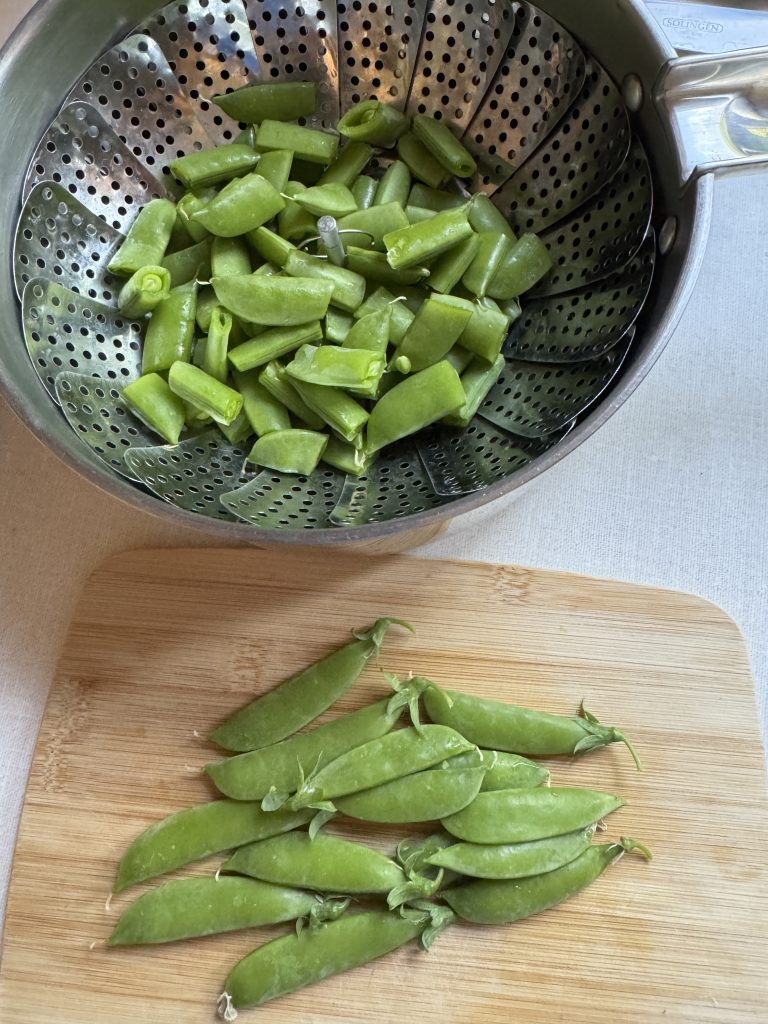
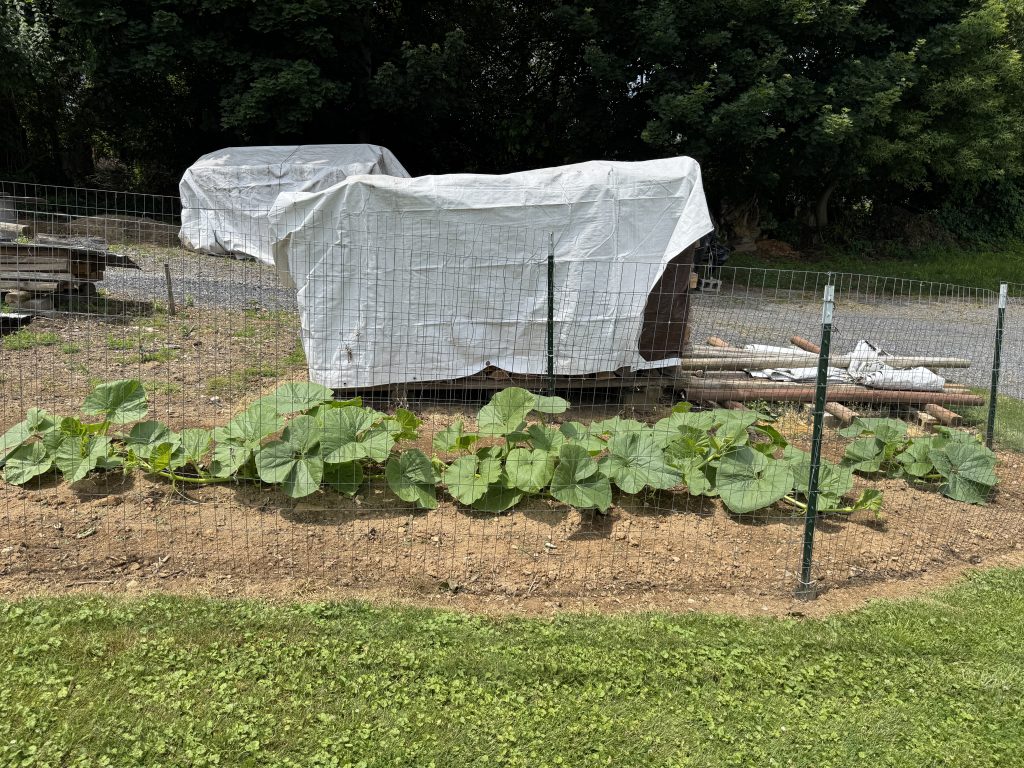
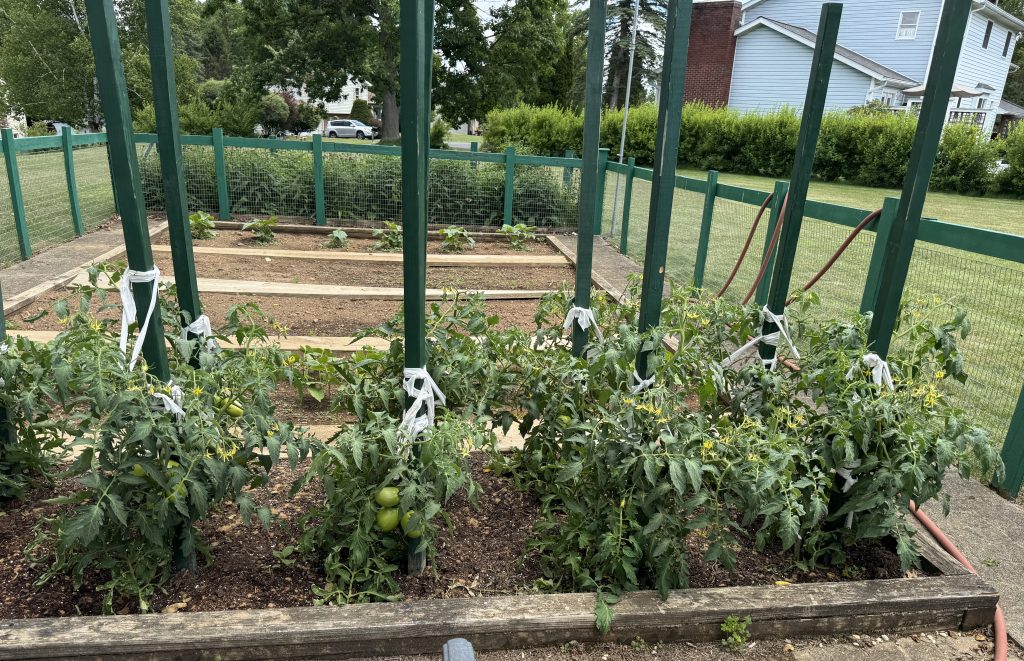
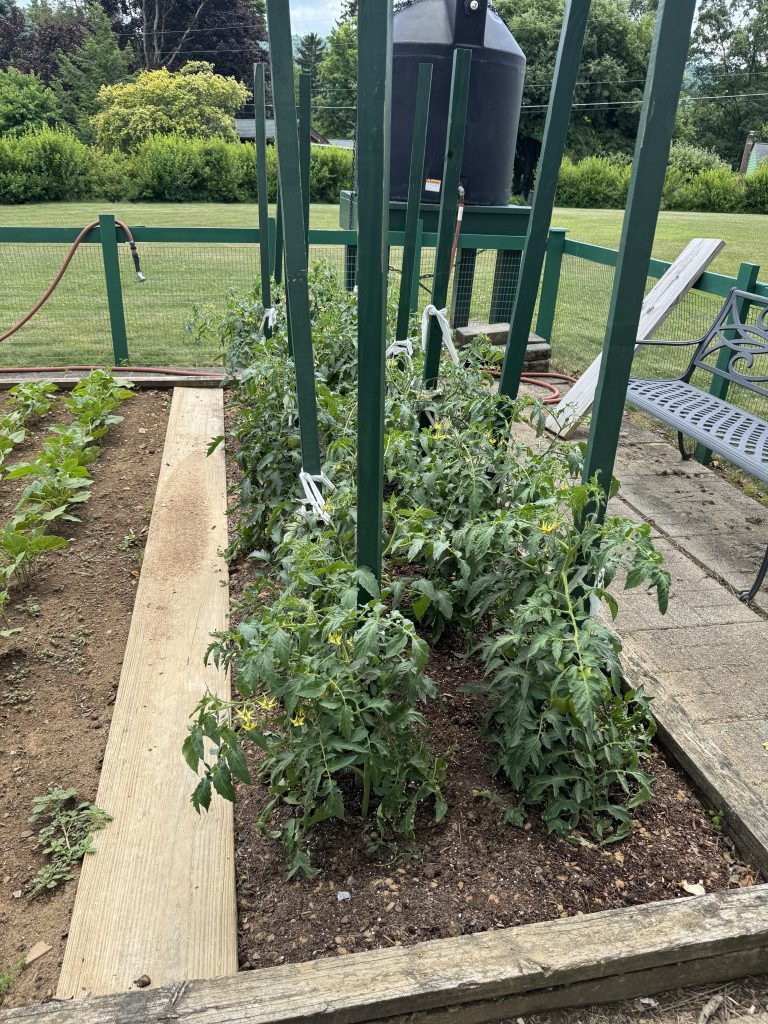
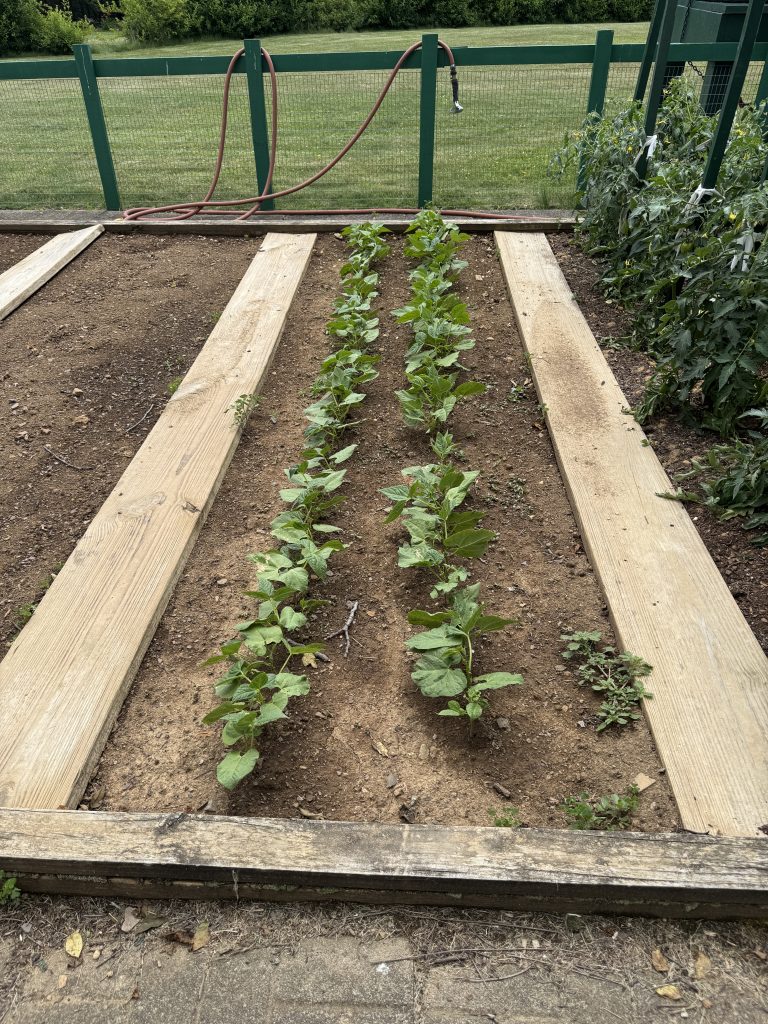
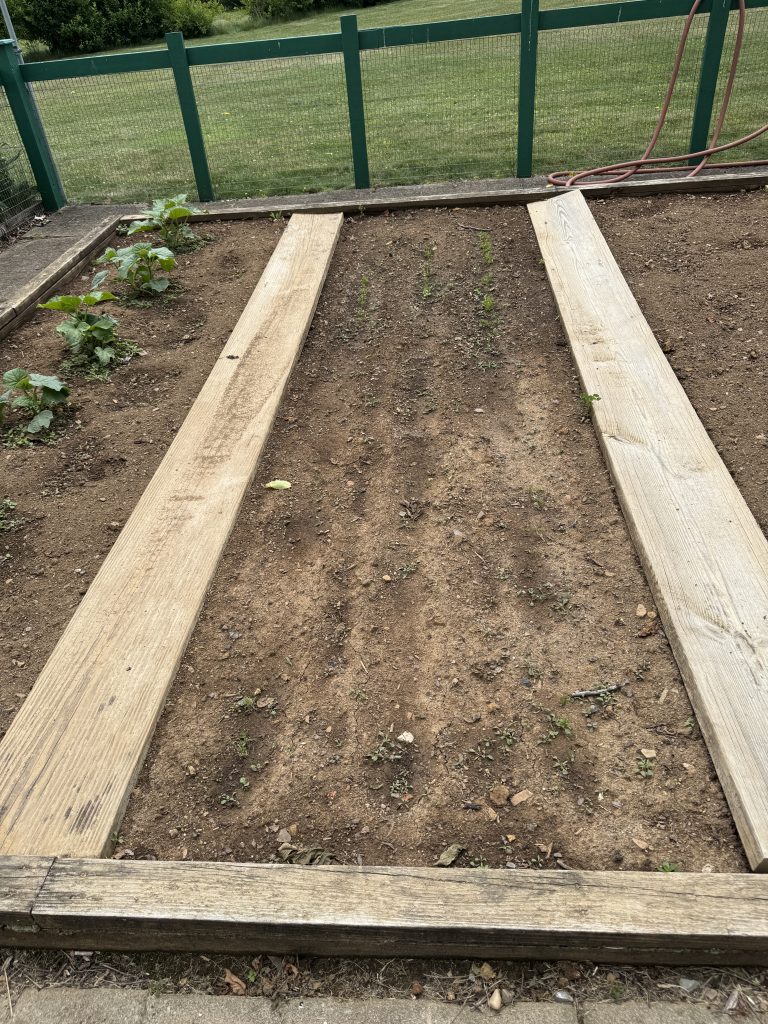
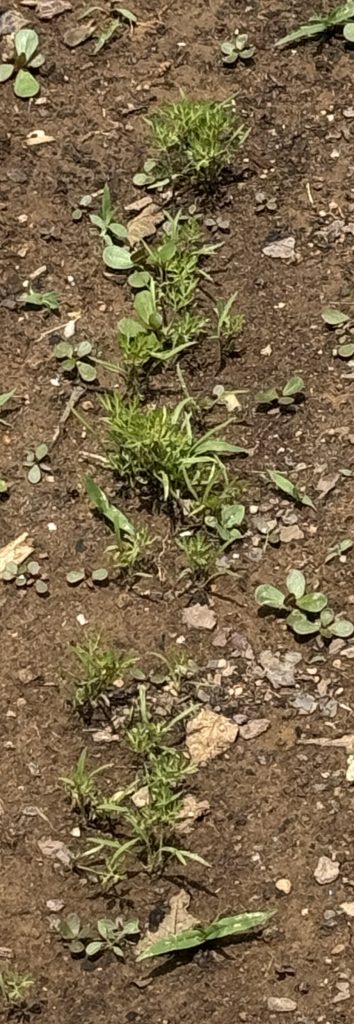
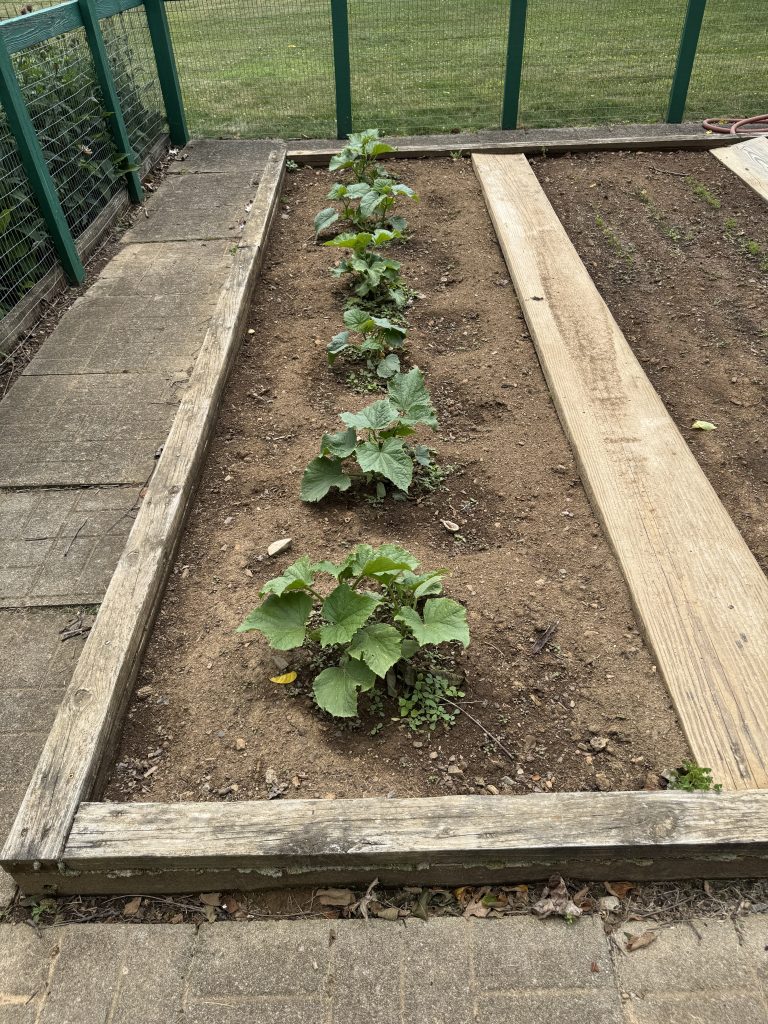
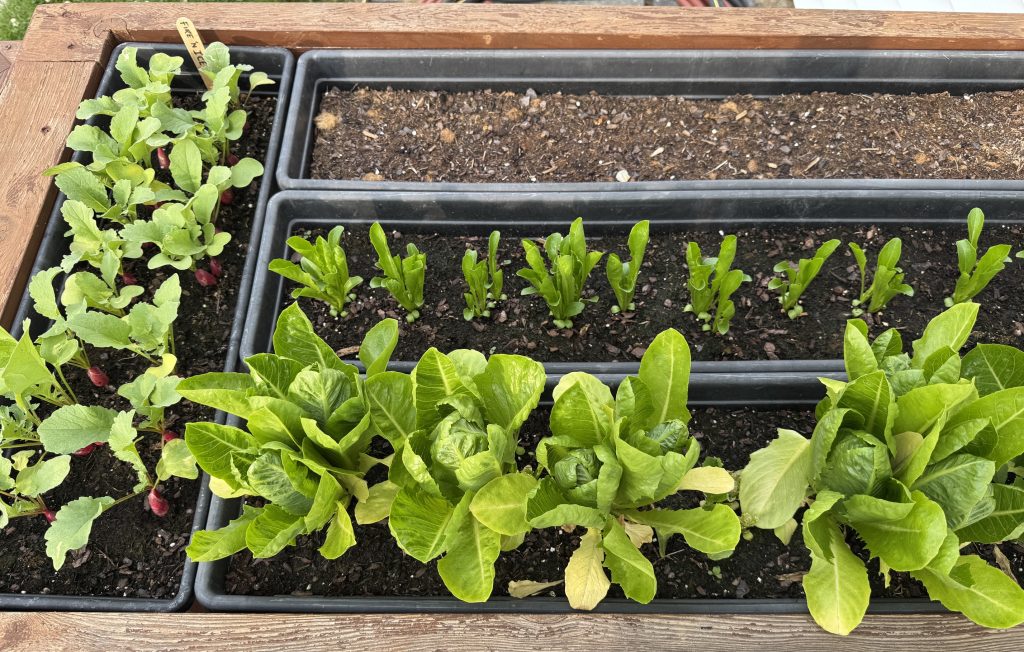
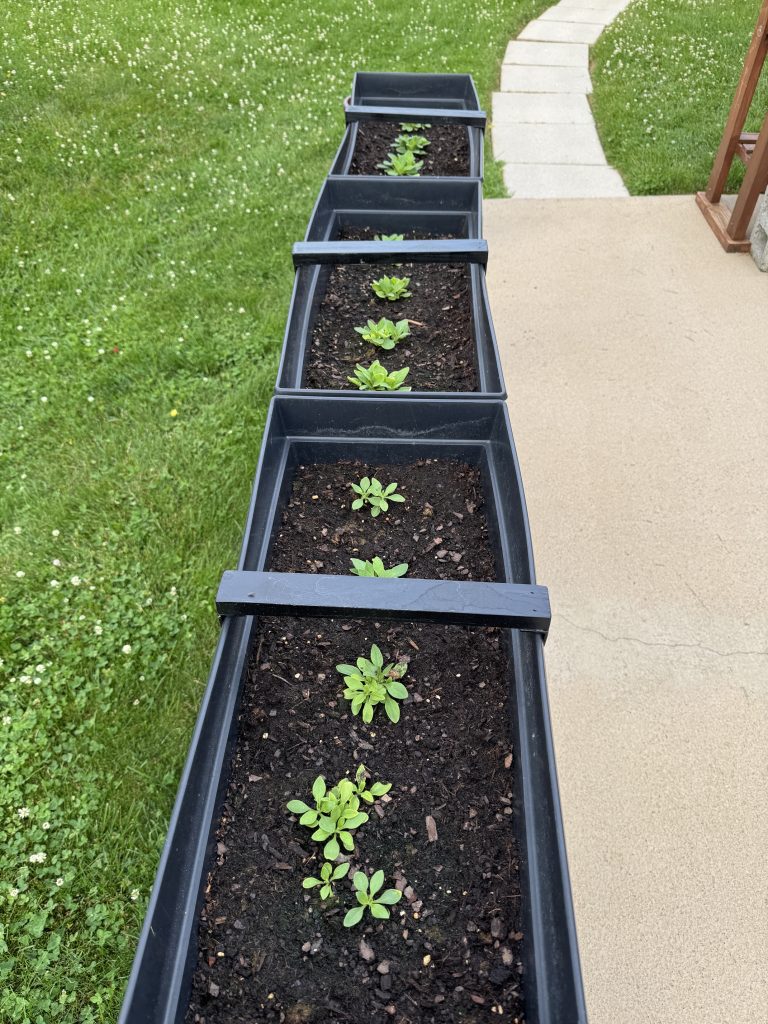
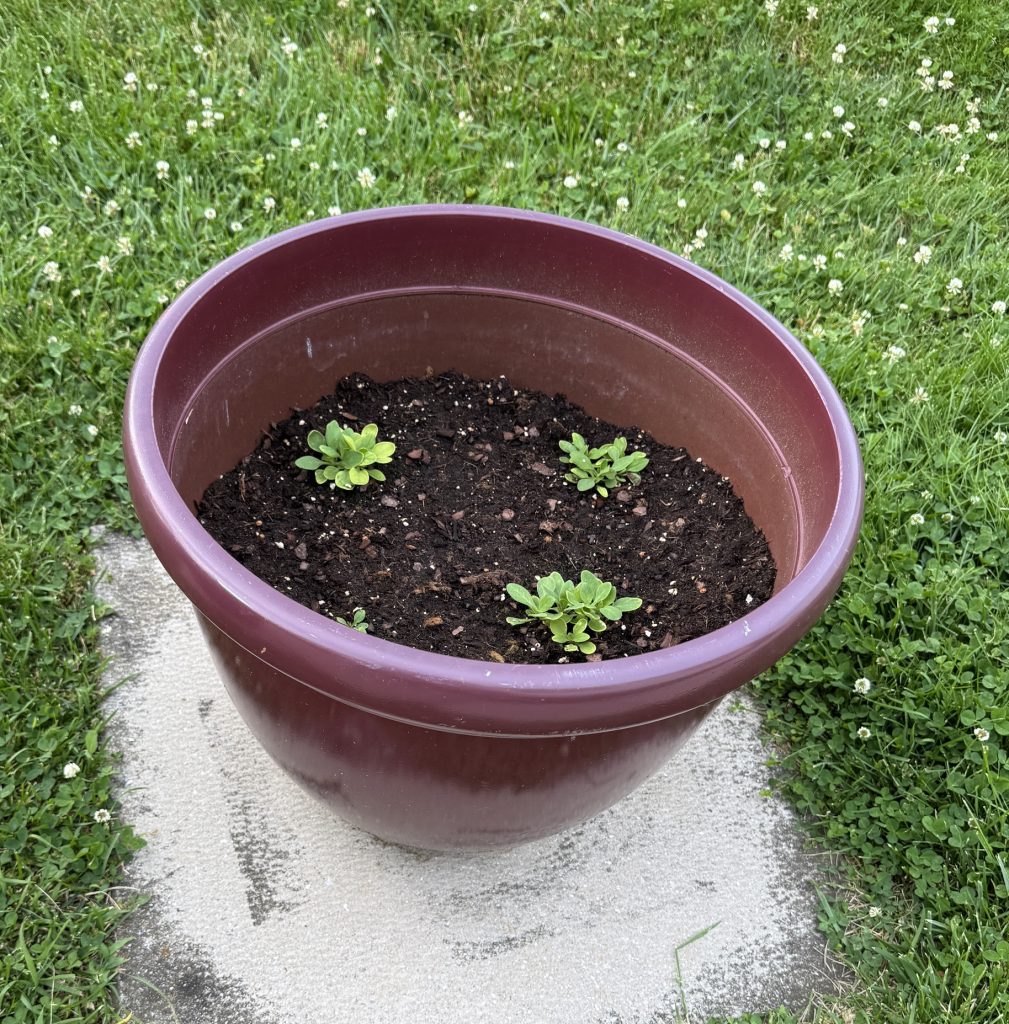
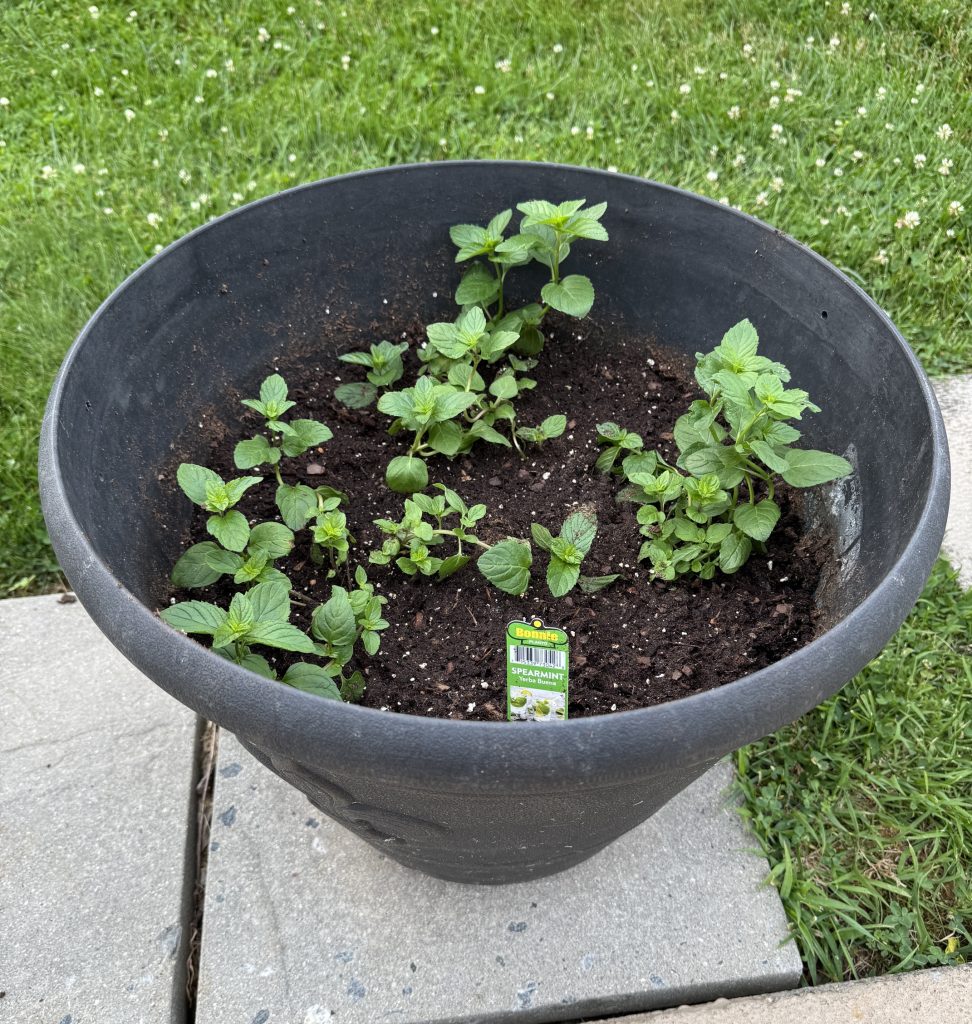
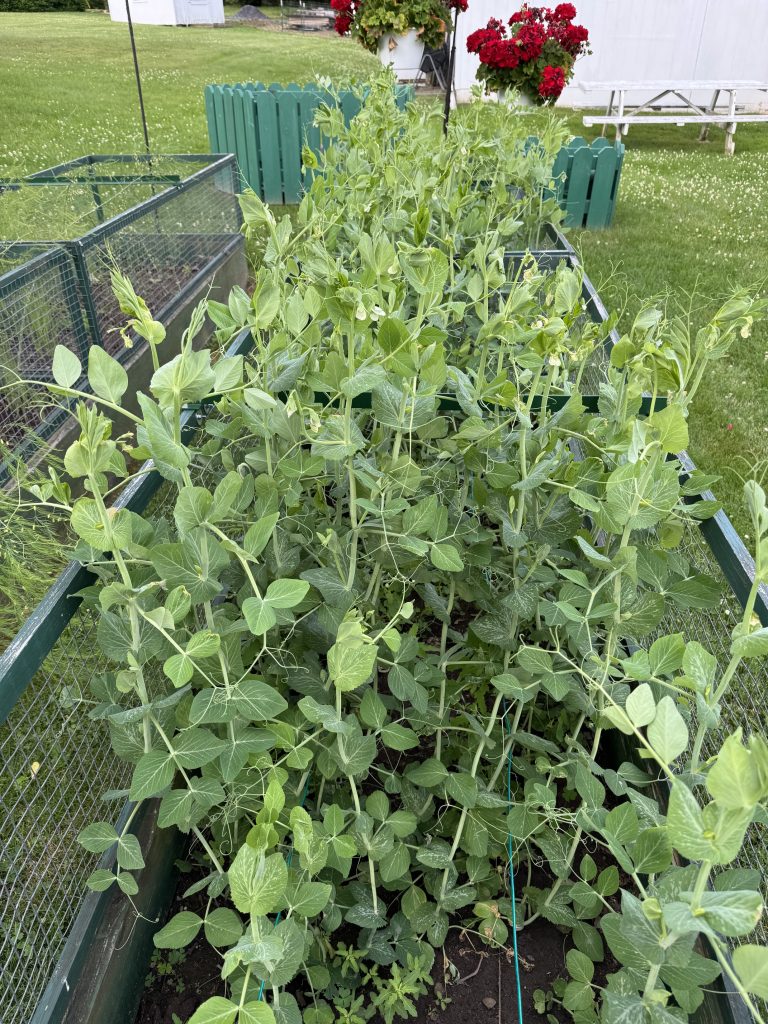
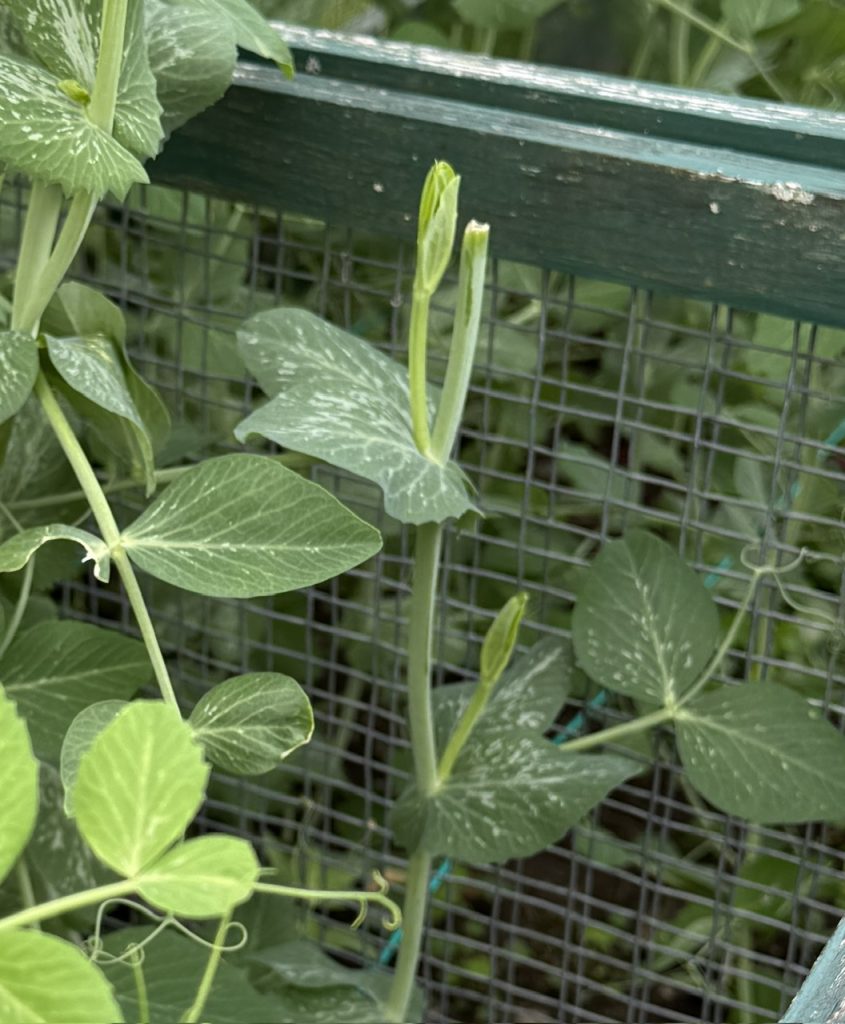
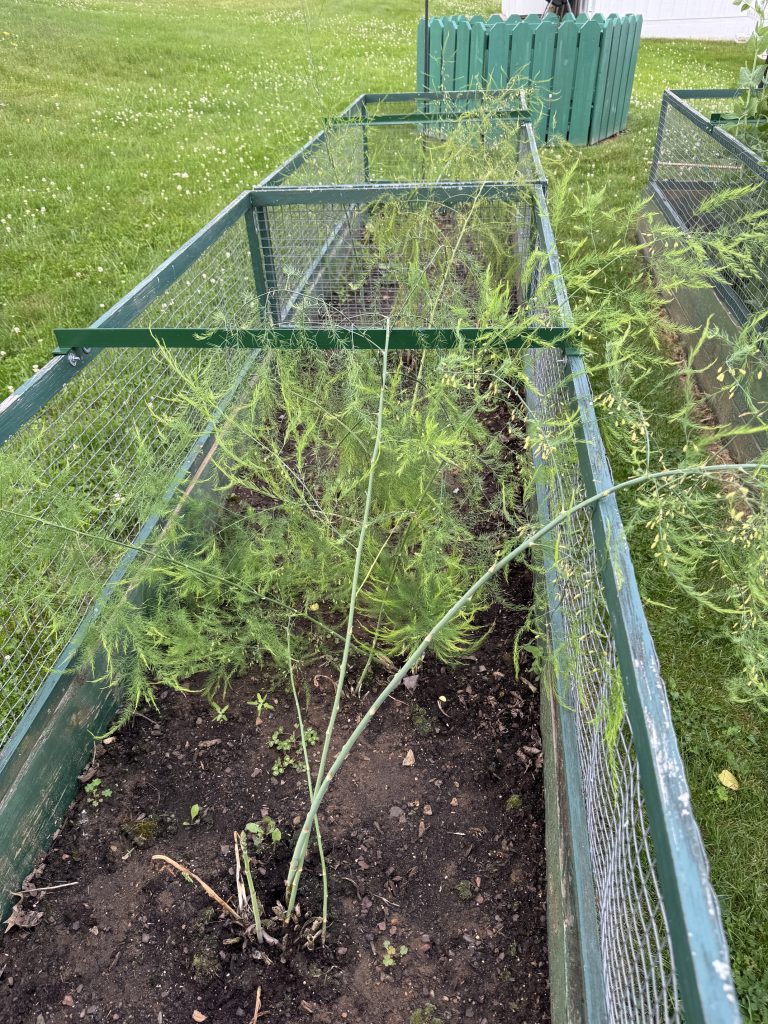
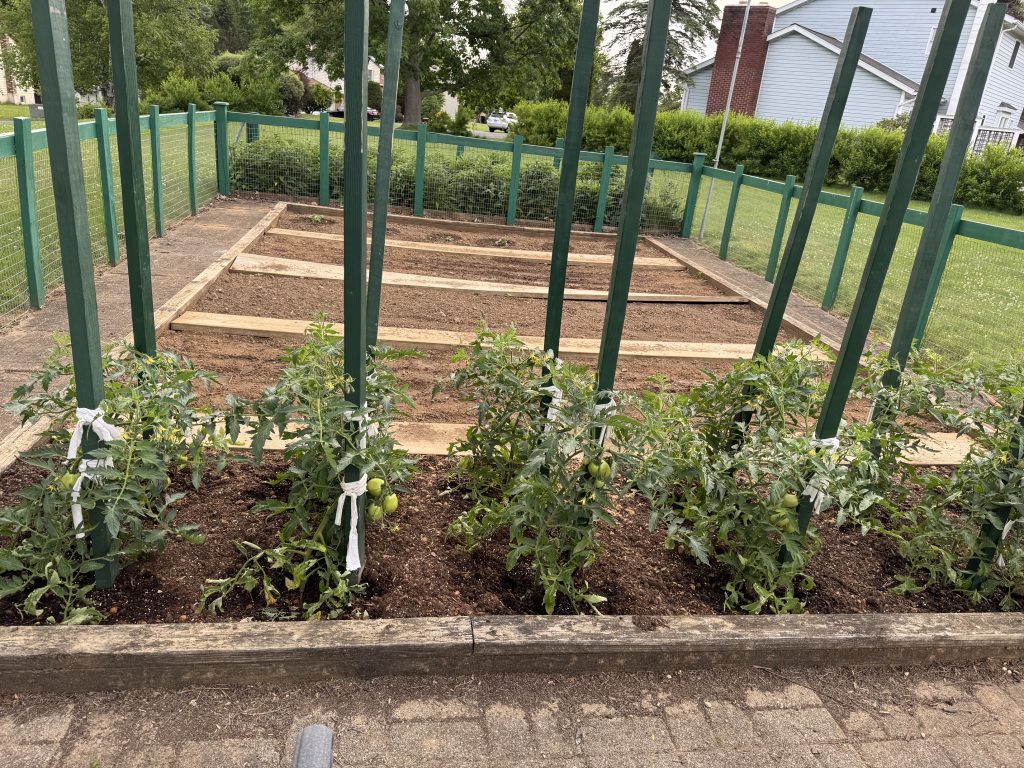
Garden Produce
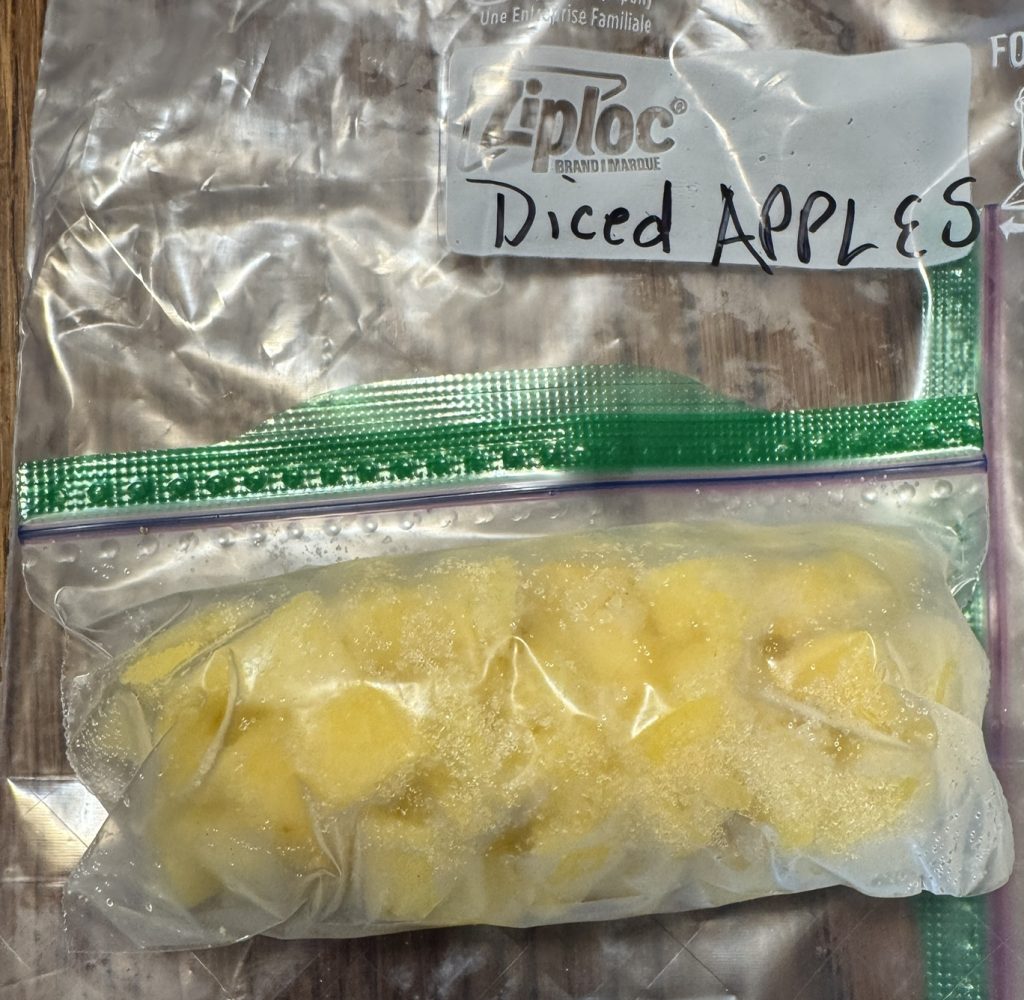
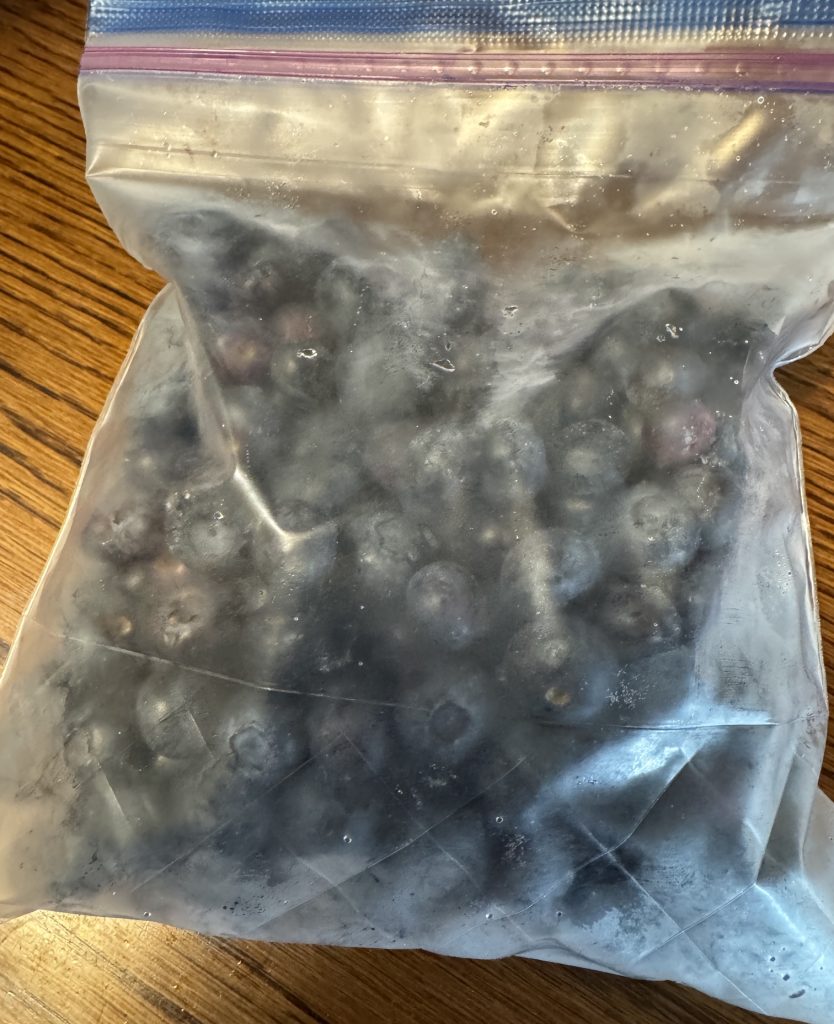
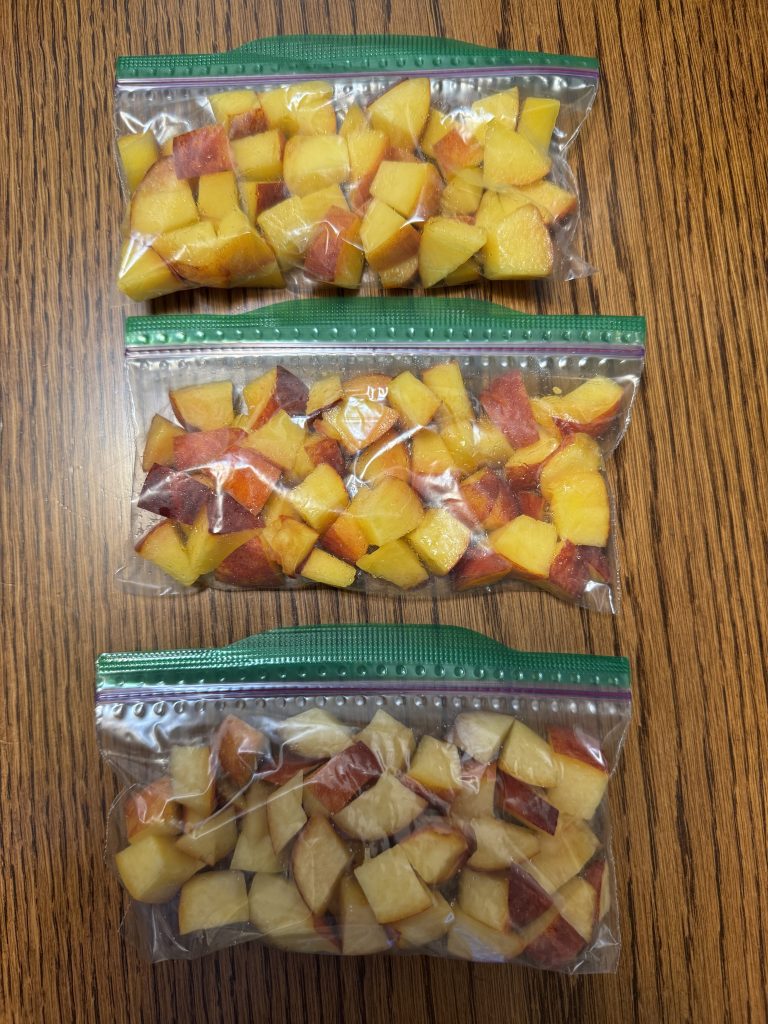
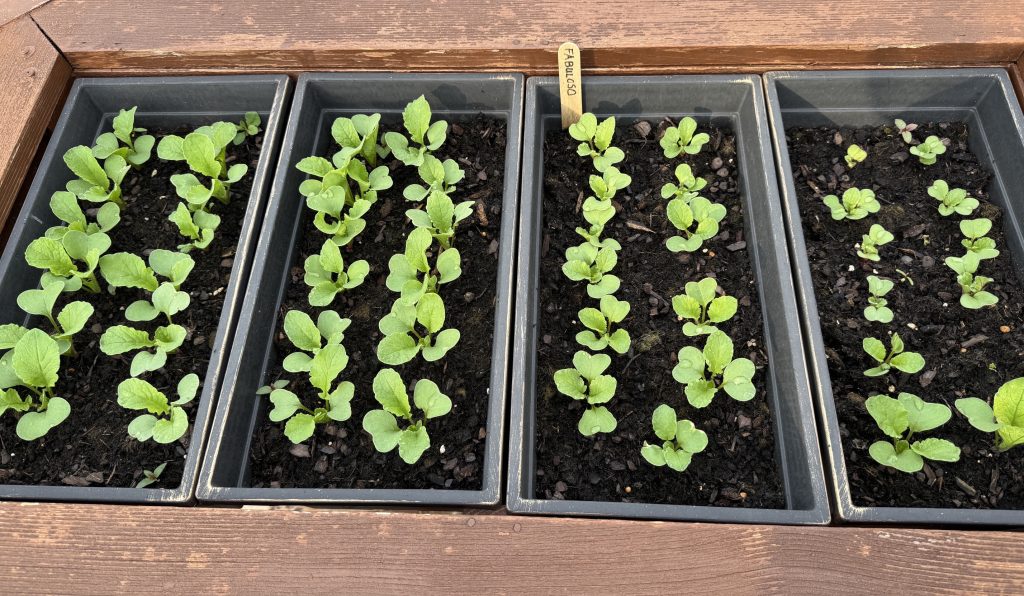
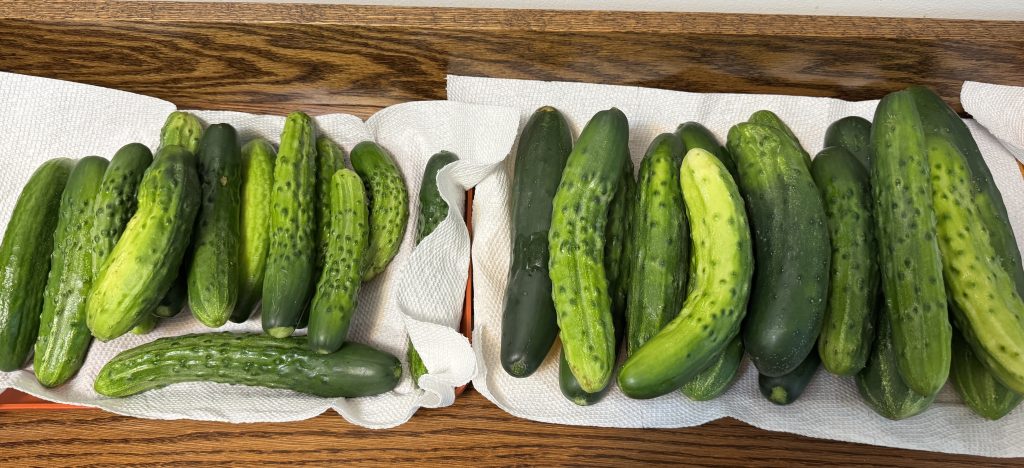
In the last week we’ve continued to pick tomatoes, picked yellow beans twice and discovered the cucumbers are going nuts! Thank goodness I have a few friends that don’t mind taking some off my hands! This is how many we picked today!
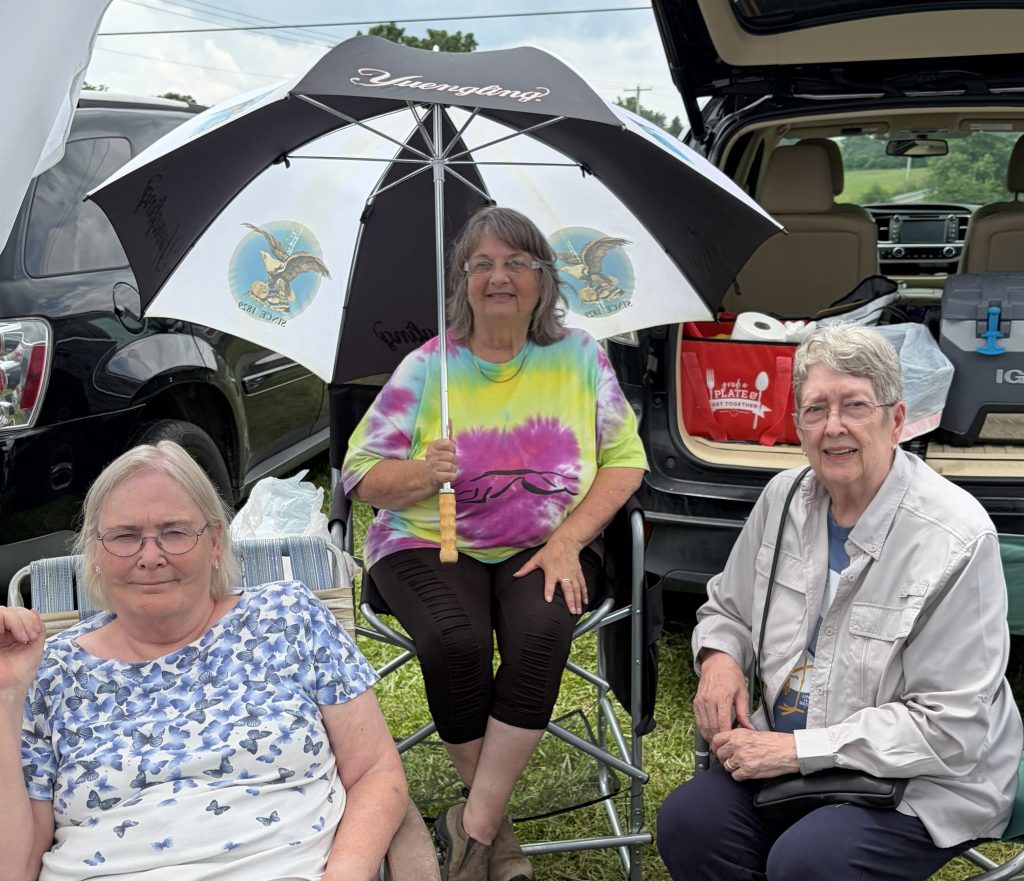
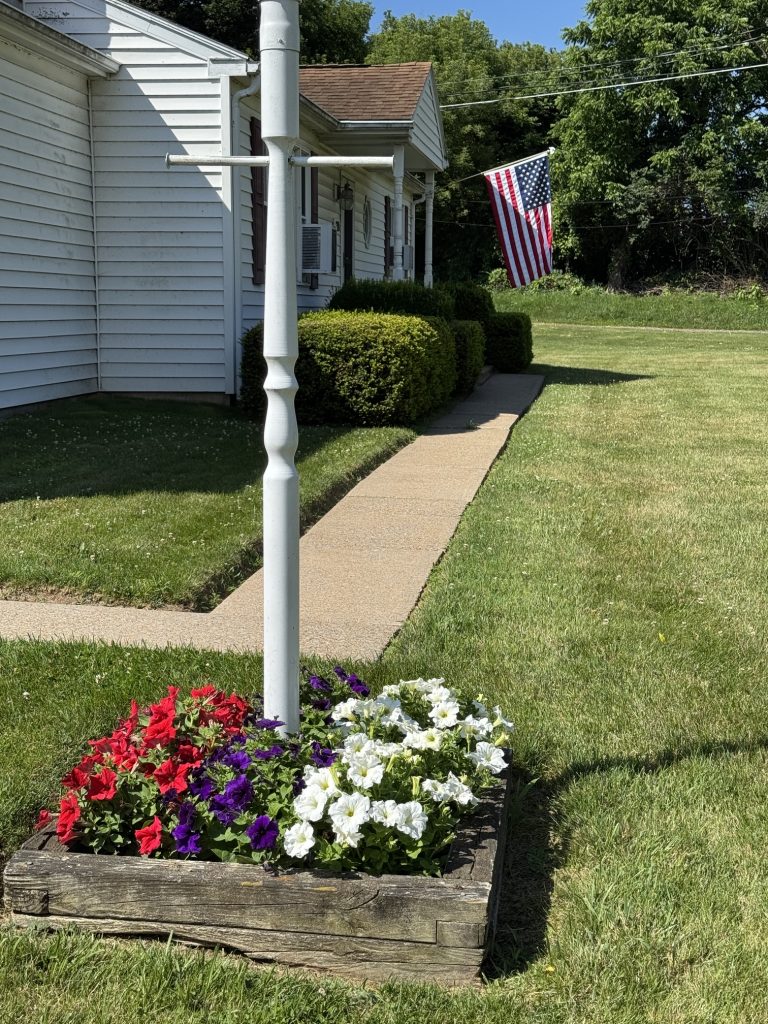
Lunch with my brother
We also finally made time to drive up to Salladasburg to have lunch with my brother and his wife. We’ve been talking about that for weeks and finally found a day with no medical appointments for all of us!
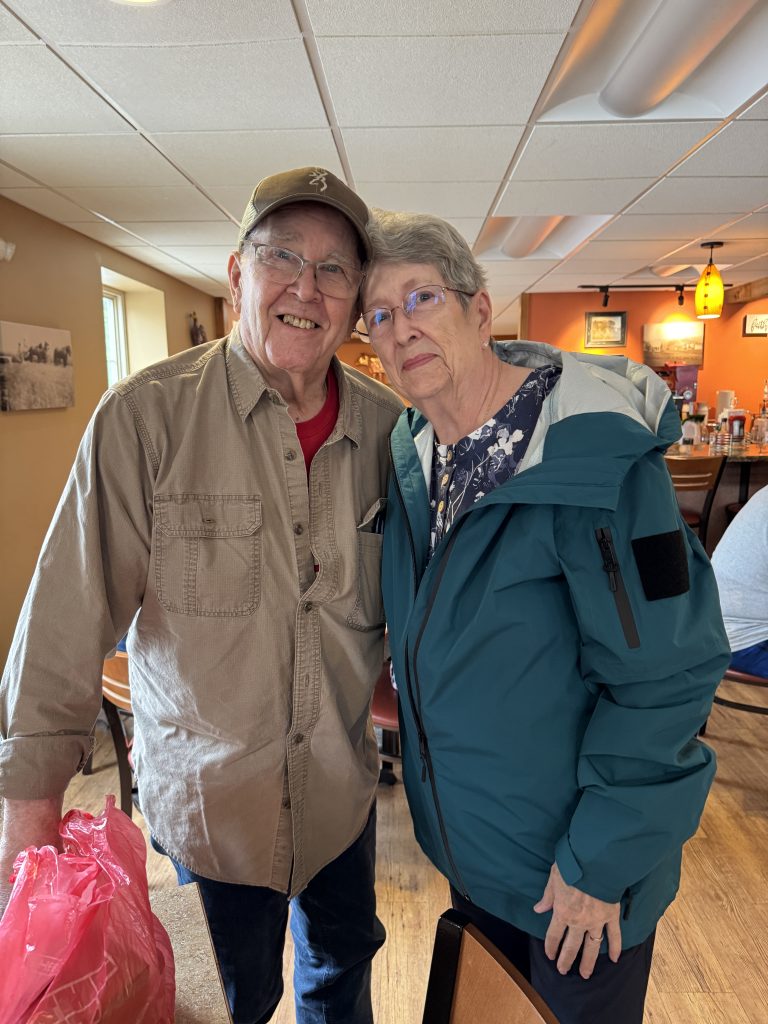
Mark and Mary
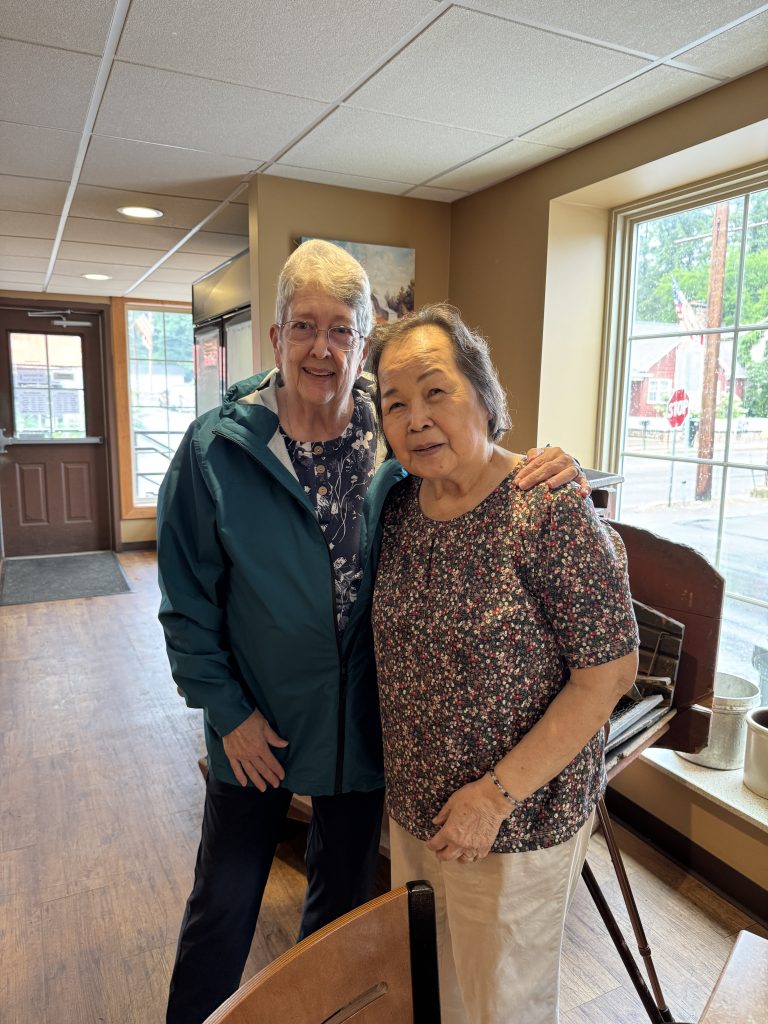
Mary and Lita
Making Belly Bands for Greyhounds
One of the benefits of writing this blog is the wealth of information I’ve saved that I can refer to when I want to make something again. Most of my posts involve pictures of how I did something and often I’m reminded how the pattern needed to be changed. Nittany Greyhounds needed belly bands, so I located the post I did about making them…#137… https://marykisner.com/belly-bands-for-greyhounds/ You can check out the whole article, but I’ll quote the first two paragraphs that I wrote about them:
“What is a belly band? A new fashion statement for our beloved greyhounds? Haha…no! Picture this…you have just adopted a 2 yr. old male greyhound from your nearby adoption kennel. You are ready to make him comfortable in your home and take him off his leash. He wanders around the living room…the kitchen…your bedroom. You show him his kennel or cozy bed in the corner. You let him explore on his own while you take off your coat and put things away. Very quickly you realize that he is lifting his leg and marking the corners of the furniture and table legs. This is a natural response to a new environment, especially if you had other dogs in the house previously. AHHHH…now what?
Luckily, the adoption group predicted this might happen and had sent you home with a belly band, just in case. You had wondered what it was for. This simple denim band wraps around their abdominal region and gently keeps his private parts from being used until you can get him outside. Over the next few days as he gets more comfortable in your home you can train him that if he’s in the house he should not have to mark his territory. When you take him outside and remove the band THEN is the time to explore and mark his territory. The hope is that he won’t need the belly band for very long, but that depends on the dog.”
The belly band fits snug around the dog like this:
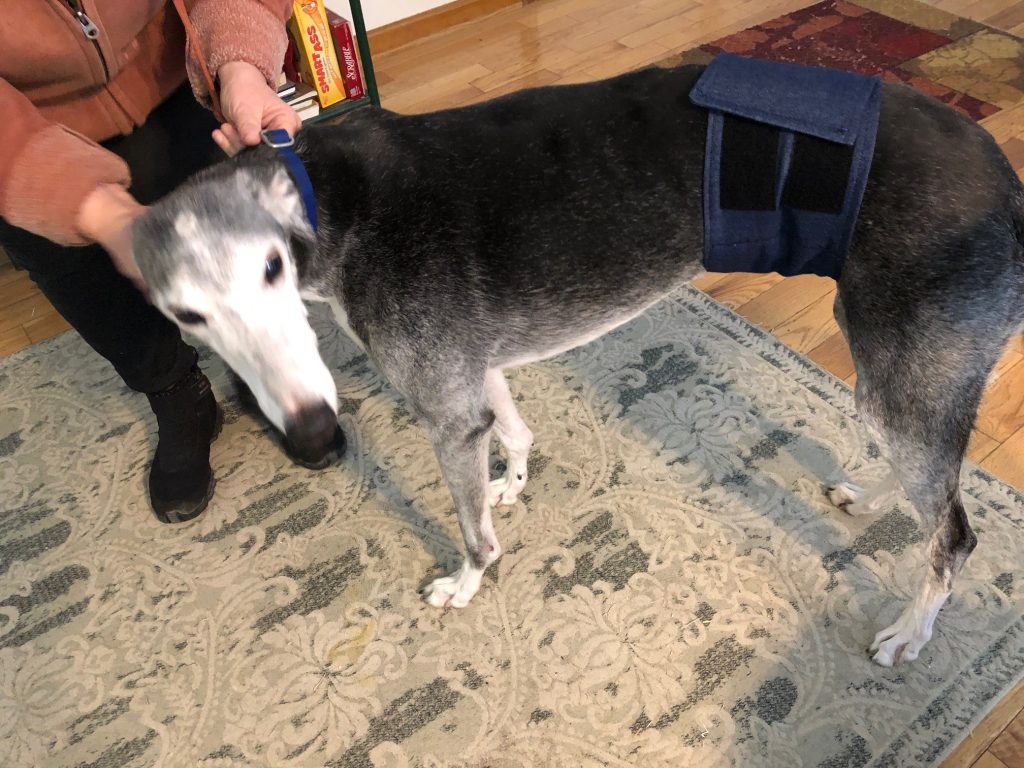
I use lots of Velcro so it can be adjusted for many different sizes of dogs. Of course, I had a memory that I should cut the denim to 27” long, so today I cut out enough to make 25 belly bands. THEN I checked my post from 2022 and saw that I had mentioned I should cut them 29”!! Yikes!
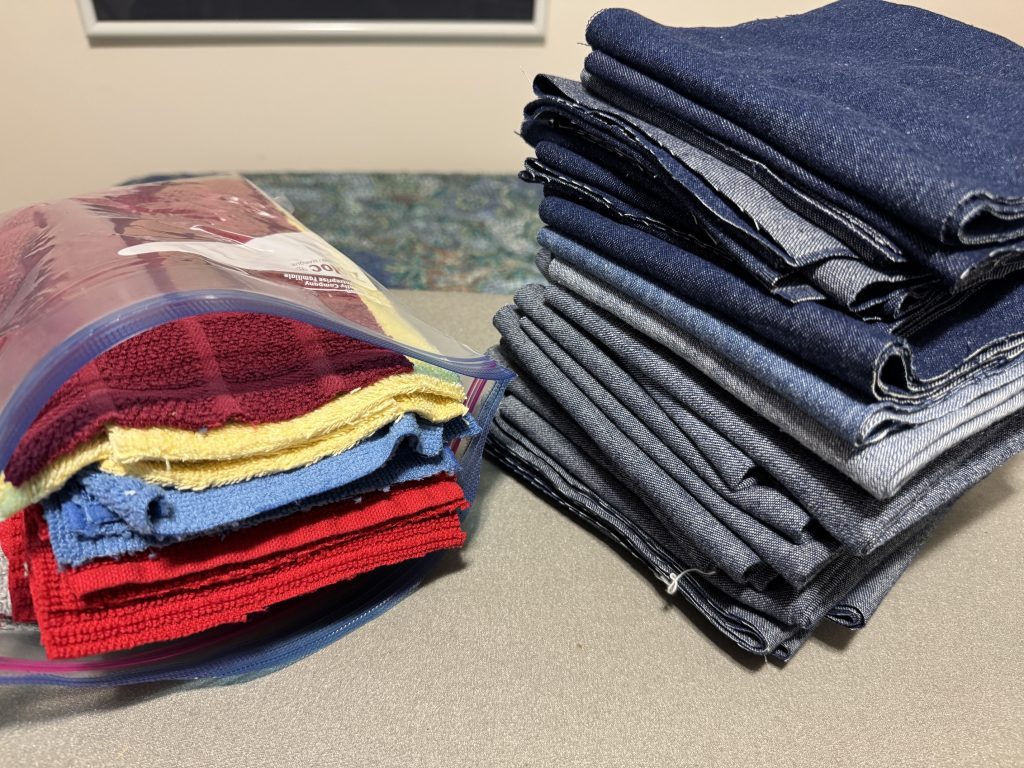
Note to self: read the instructions BEFORE cutting things out! I will make one first and try it on a dog before I go to the trouble to add 2” to each band!
So, that’s what I’ve been doing the last week and a half. I’ve now ordered enough fleece to make 16 coats, so you’ll know what I’m doing next! Have a good rest of your summer!
Please contact me directly if you have comments or questions: maryjkisner@gmail.com