
Making a memory pillow, stuffed bear or dog is more about the clothing it is made from than the actual item. The item is soft and huggable and the clothing is familiar. I have made pillows and bears but recently was asked to make stuffed dogs. In the past, the dogs I’ve made were made of fleece or fake fur…not from clothing so I didn’t know if I could make one dog out of one shirt. If you’d like to read about making a memory bear, see https://marykisner.com/making-a-memory-bear/.
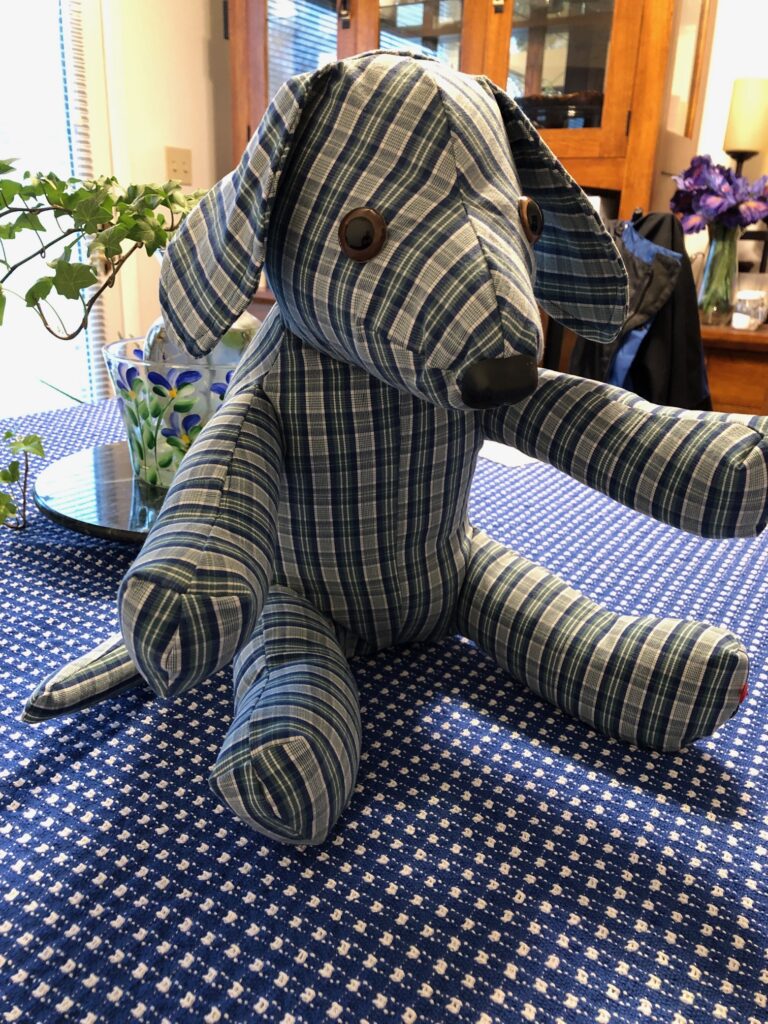
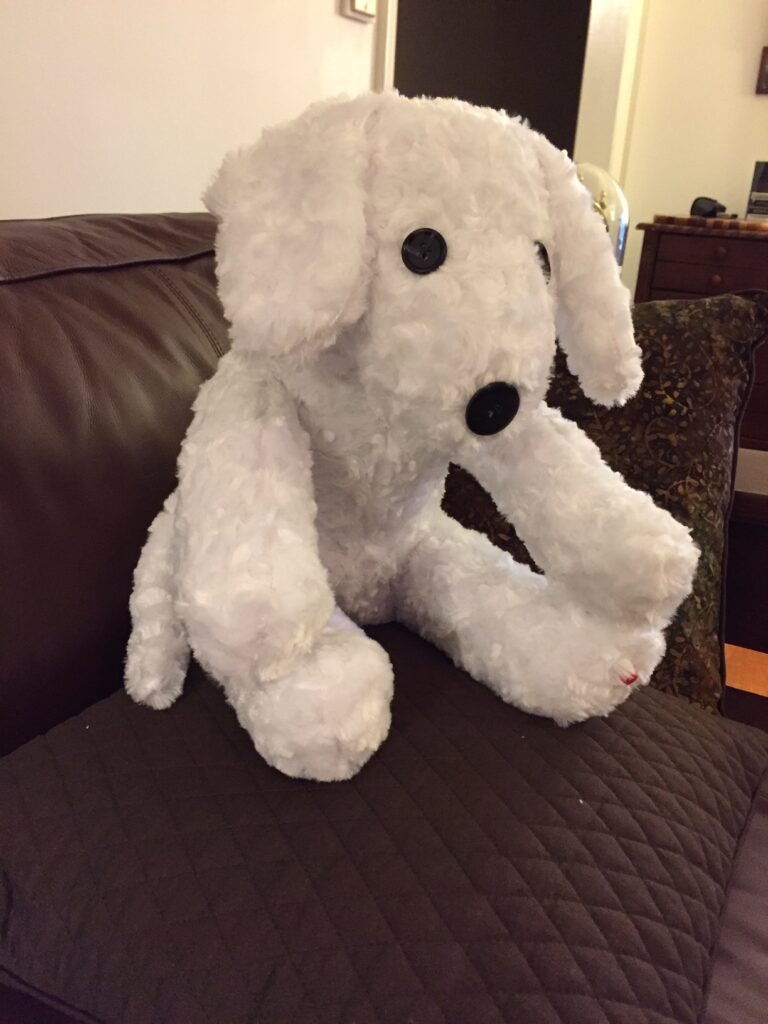
For this special order, I was sent four men’s shirts made of standard cotton and polyester. One was short-sleeved. The request was for three dogs and a bunch of little bears. I think the short-sleeved shirt will be helpful making the tiny bears but it won’t work for the larger dogs. So, I needed to figure out how to make a dog out of one shirt. The first stuffed dog turned out OK, but it wasn’t until I was done, I realized I had forgotten to take an pictures of the process. I did take a picture of the finished dog:
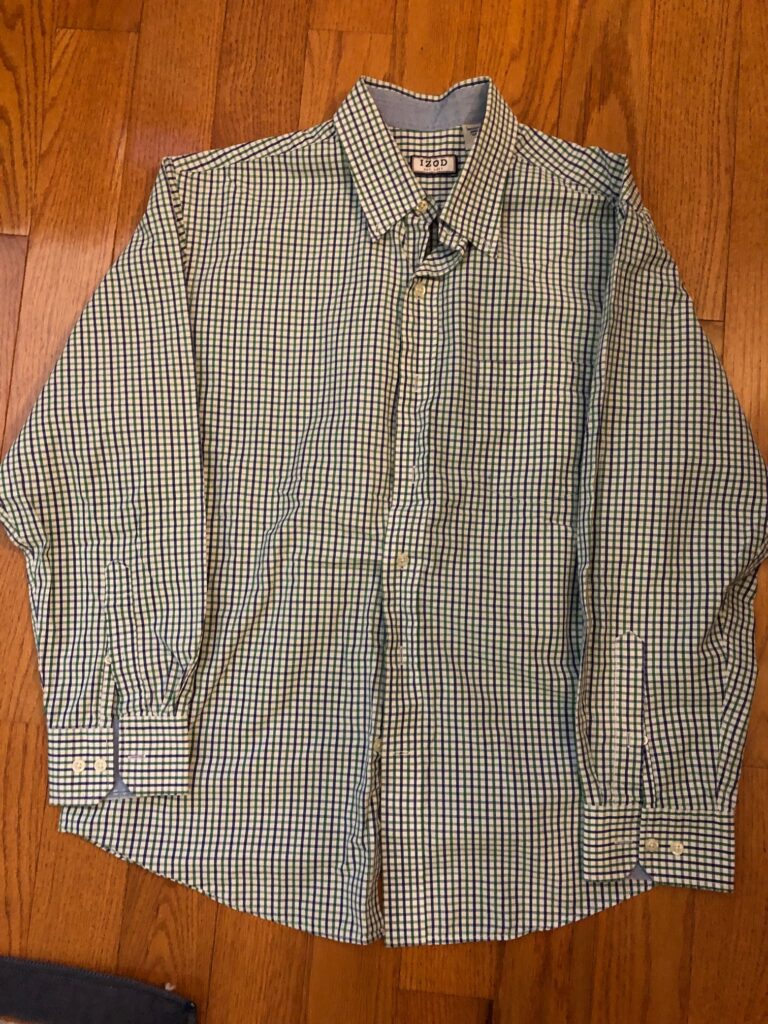
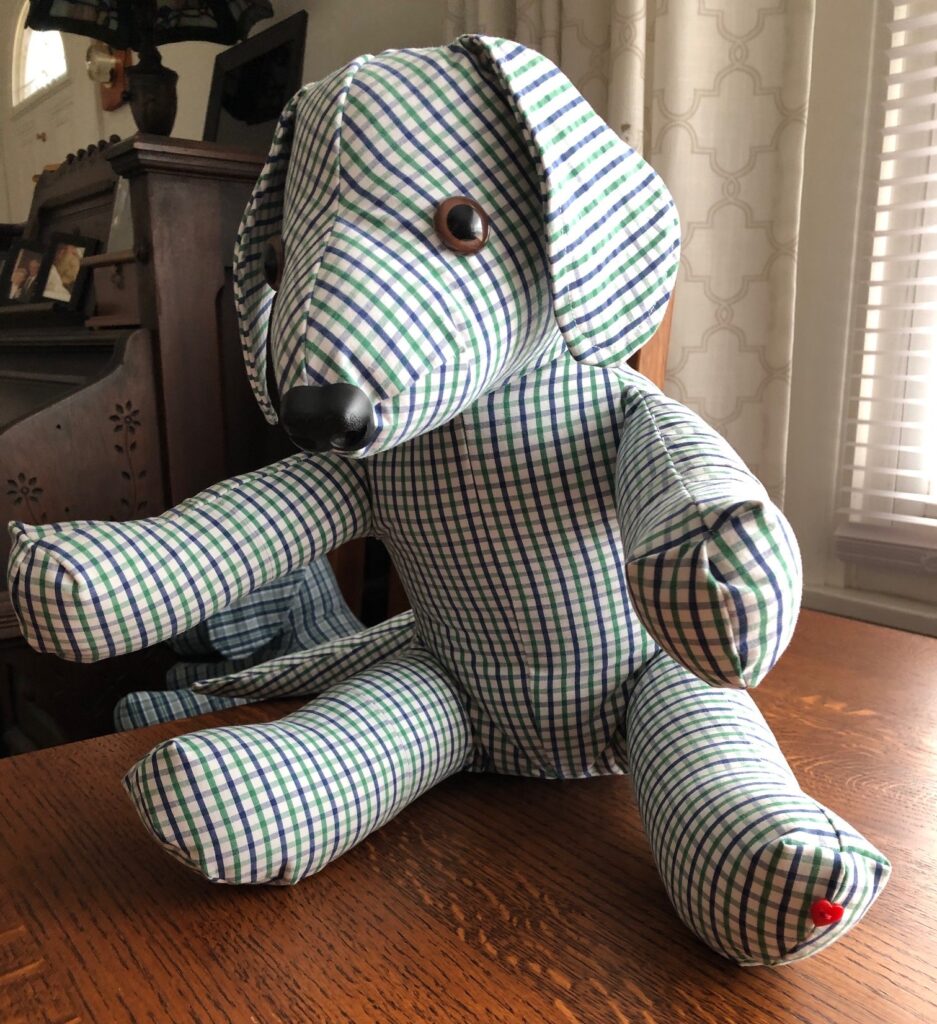
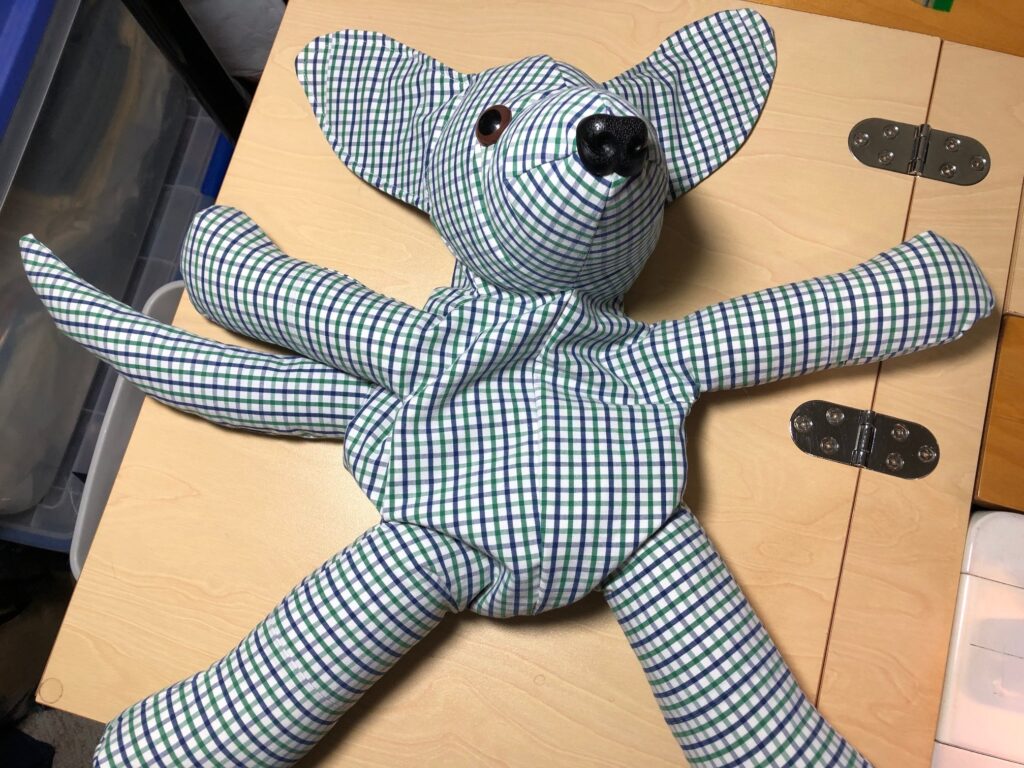
For the second dog, I tried to document the process so next time I won’t have to figure out how to do it again. Here was the second stuffed dog and the shirt it was made from:
How to Make a Memory Dog
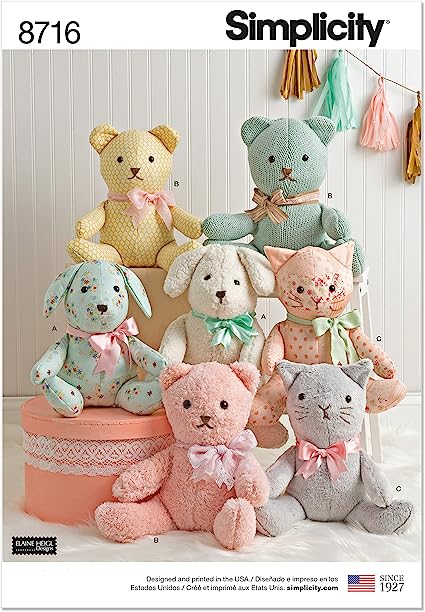
To make a stuffed memory animal, start with any pattern you are comfortable with. Here are two that could work for you:
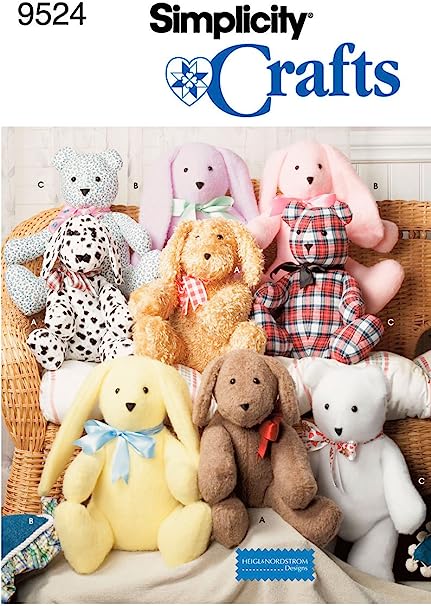
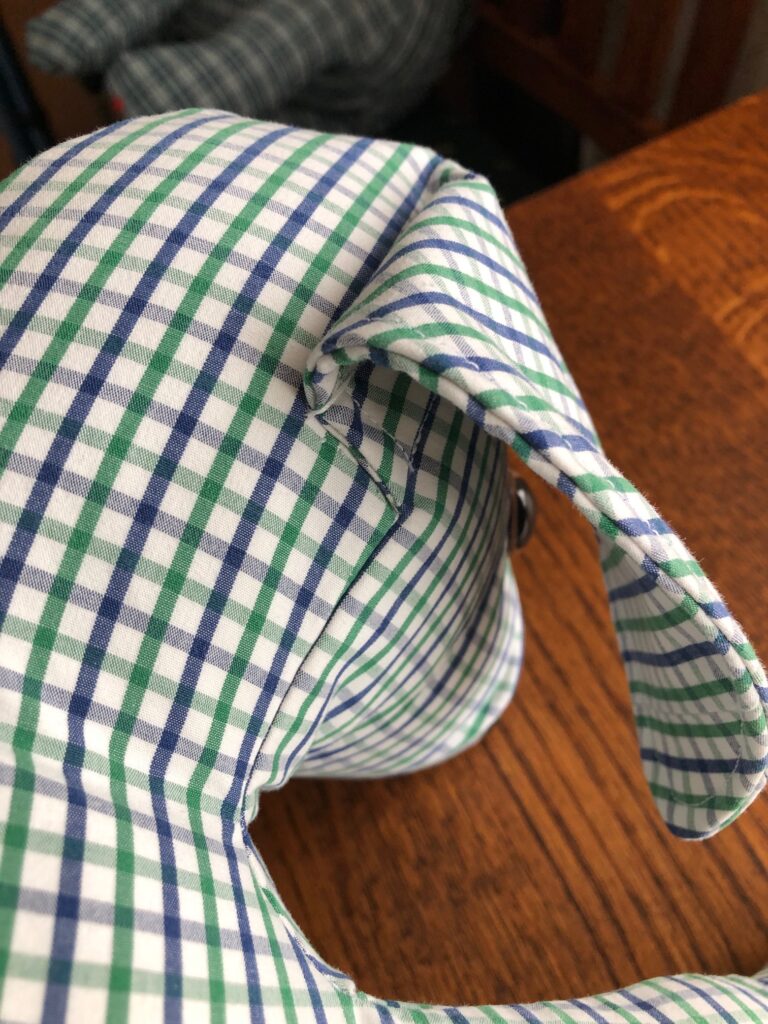
My pattern started like one of these, but it has been modified over the years to have a longer nose and different ears to represent the greyhounds I work with:
Don’t be afraid to experiment with ear shape to one you like. I made quite a few dogs until I was happy with the ears! I have another modification to represent ordinary dog ears like this:
If you are interested to try making a stuffed animal out of a loved ones shirt, here are the steps below. If you don’t sew, don’t feel obligated to read about it!
Steps to Making the Memory Dog
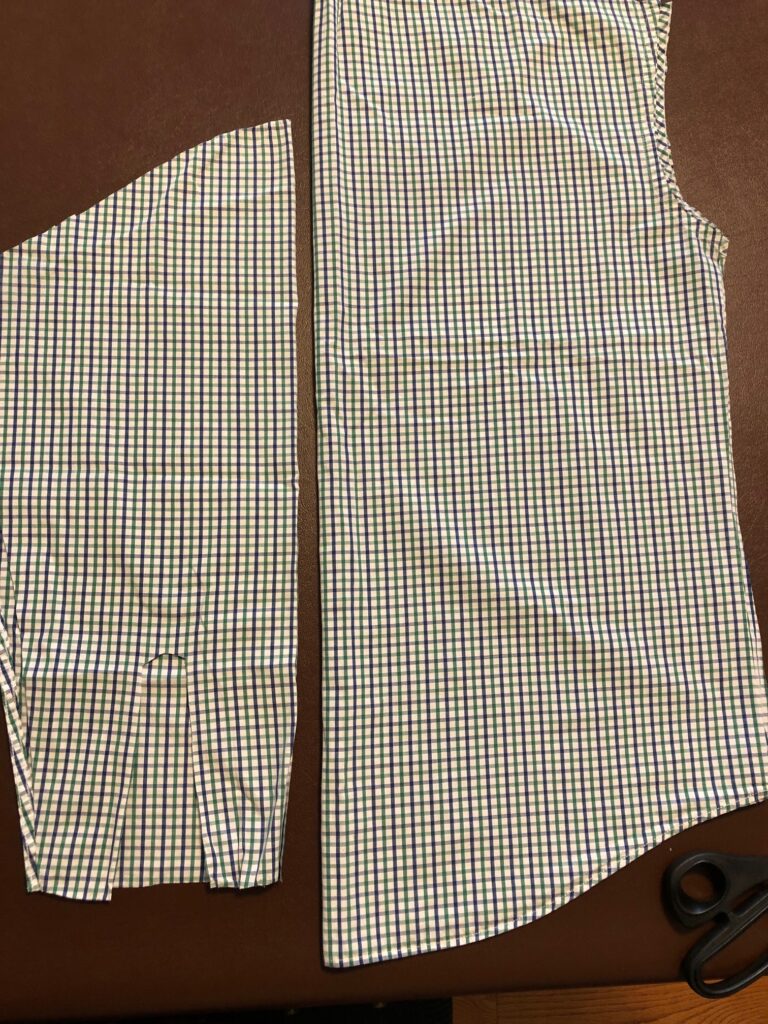
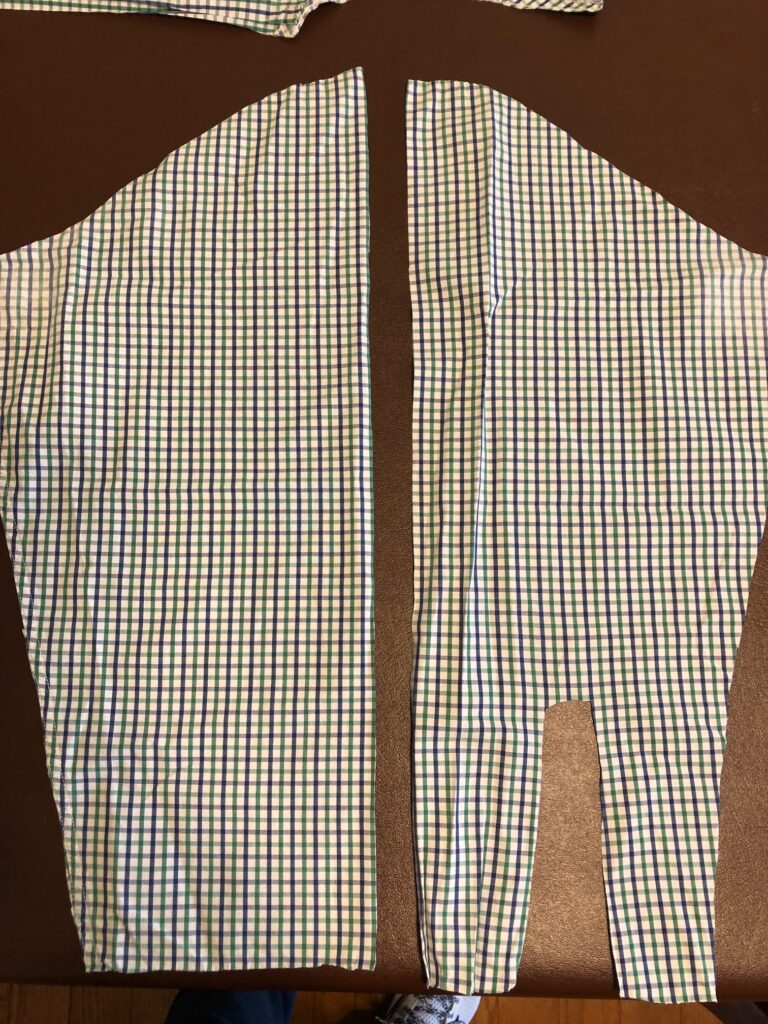
First, deconstruct the shirt. Cut the shirt apart close to the seams. Discard the collar, yoke, cuffs and front plackets. If you want to recycle the buttons into another project, remove them now.
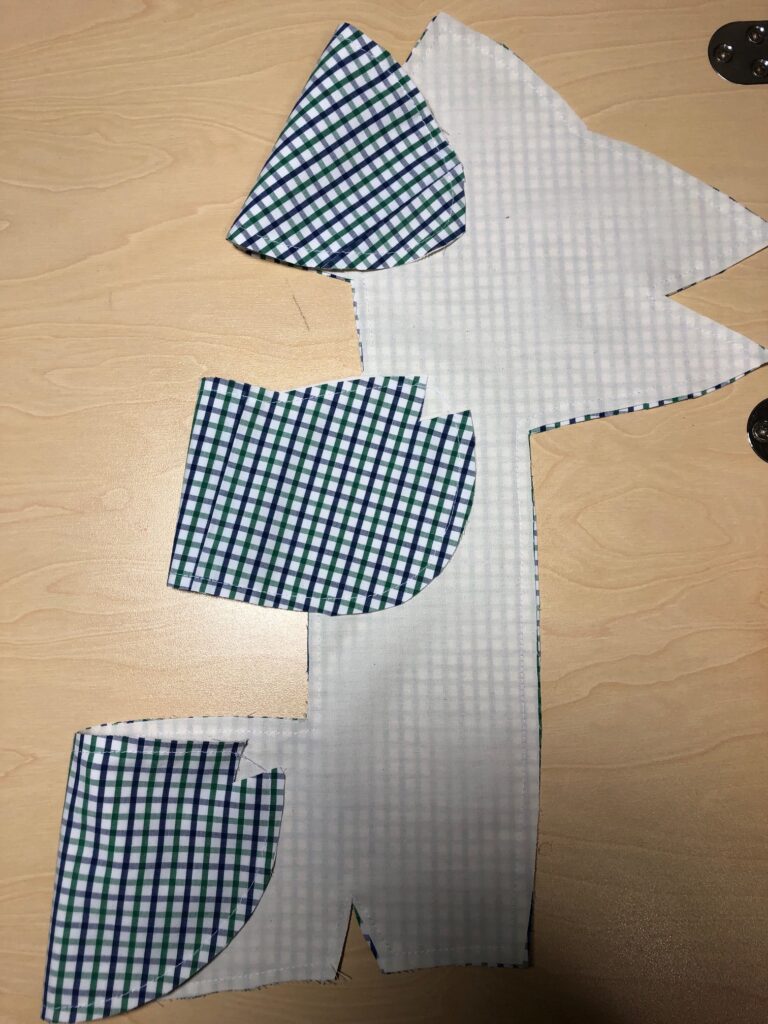
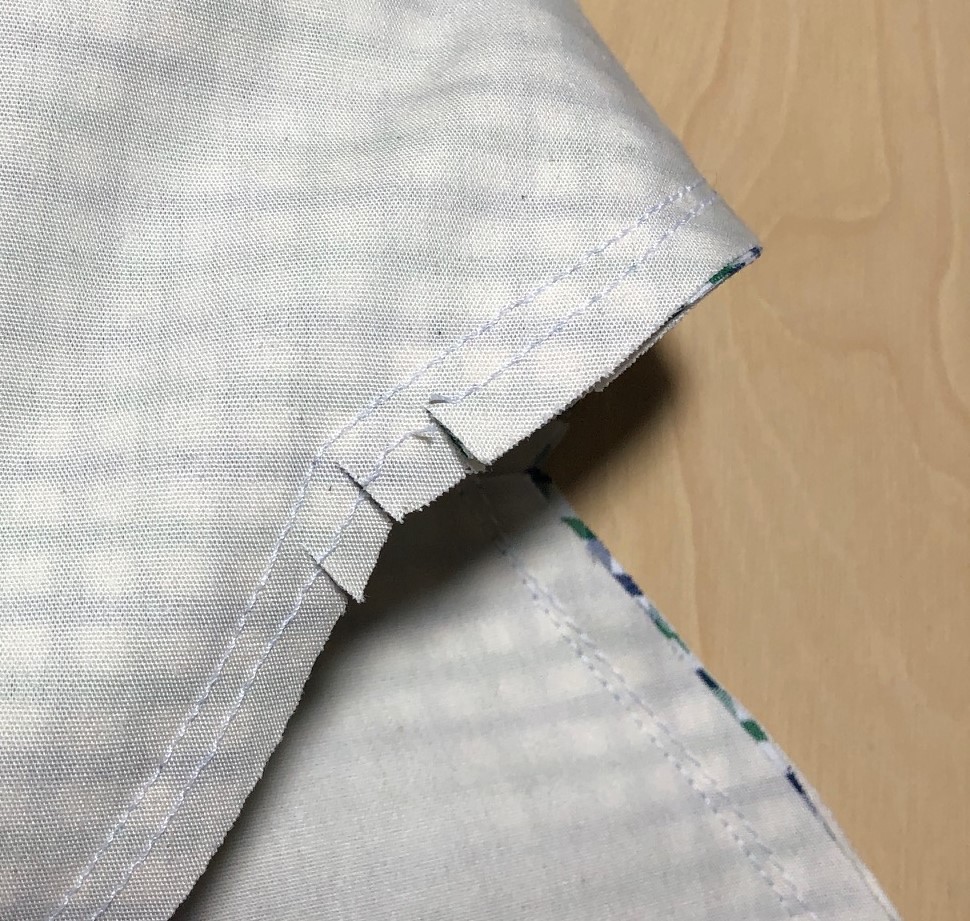
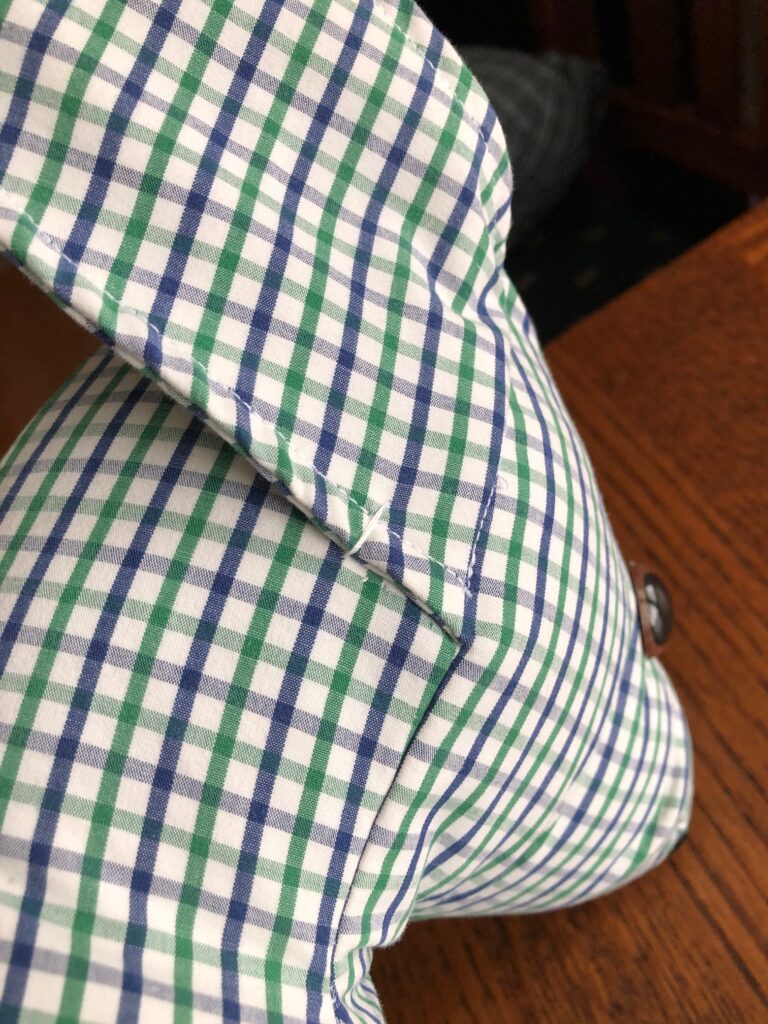
You now have a back section, two front sections and two sleeves. Each sleeve was cut in half and used to extend the front and back pieces so the pattern will fit. That means each arm/leg has a seam about halfway, but it doesn’t really show with the print.
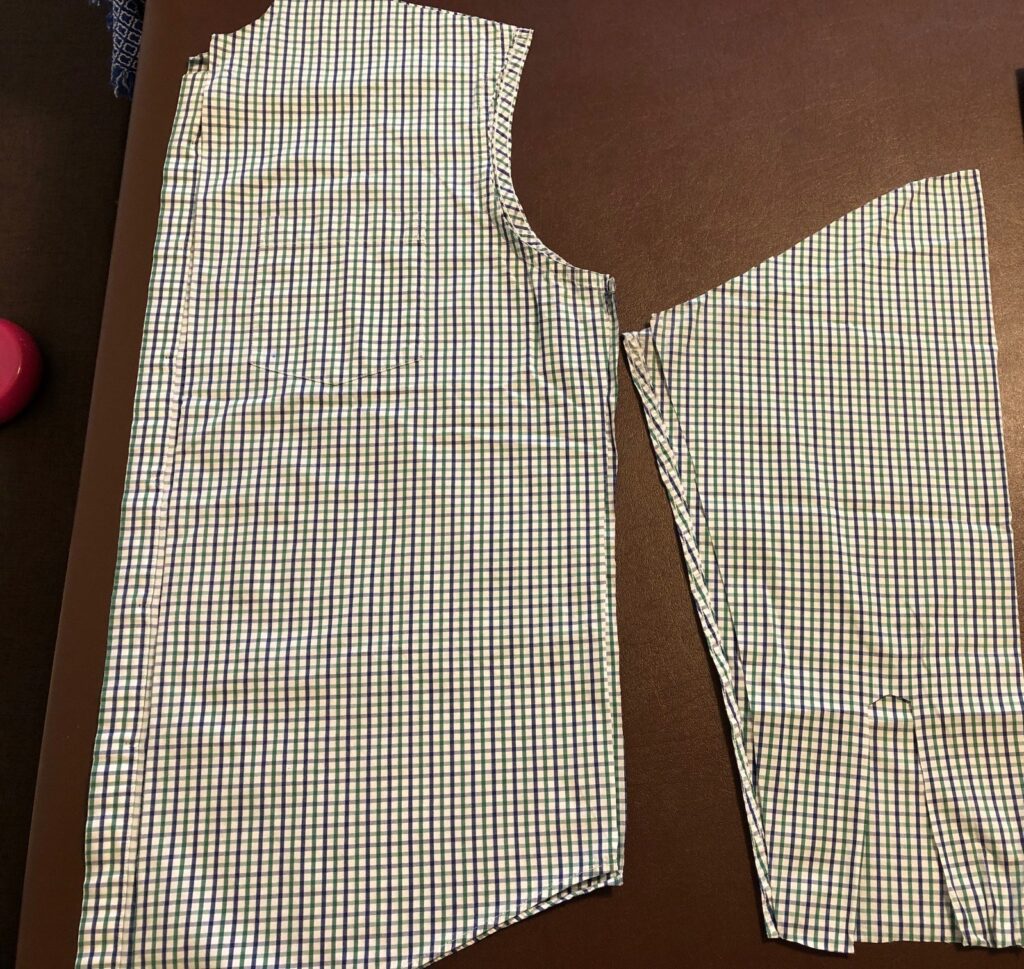
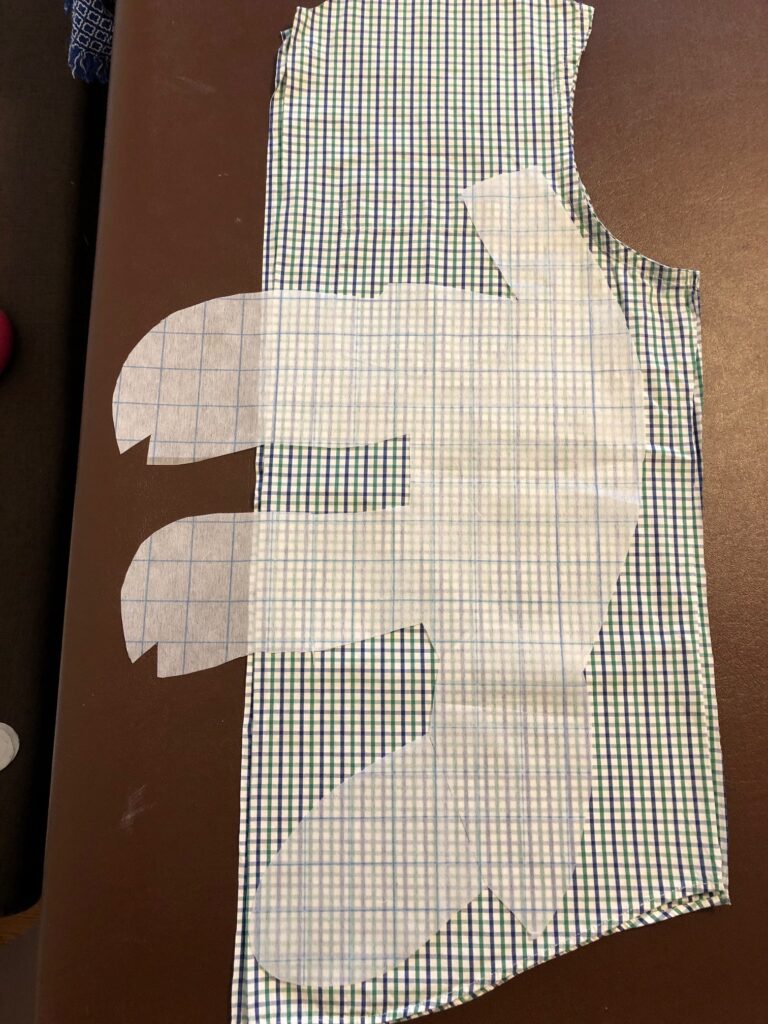
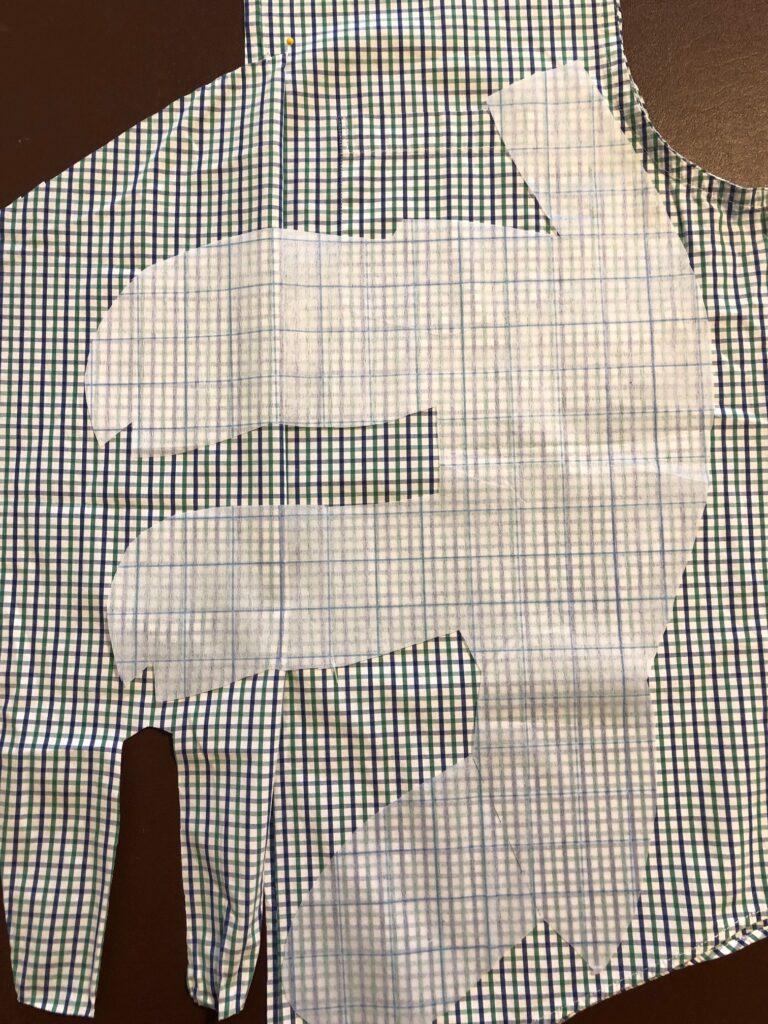
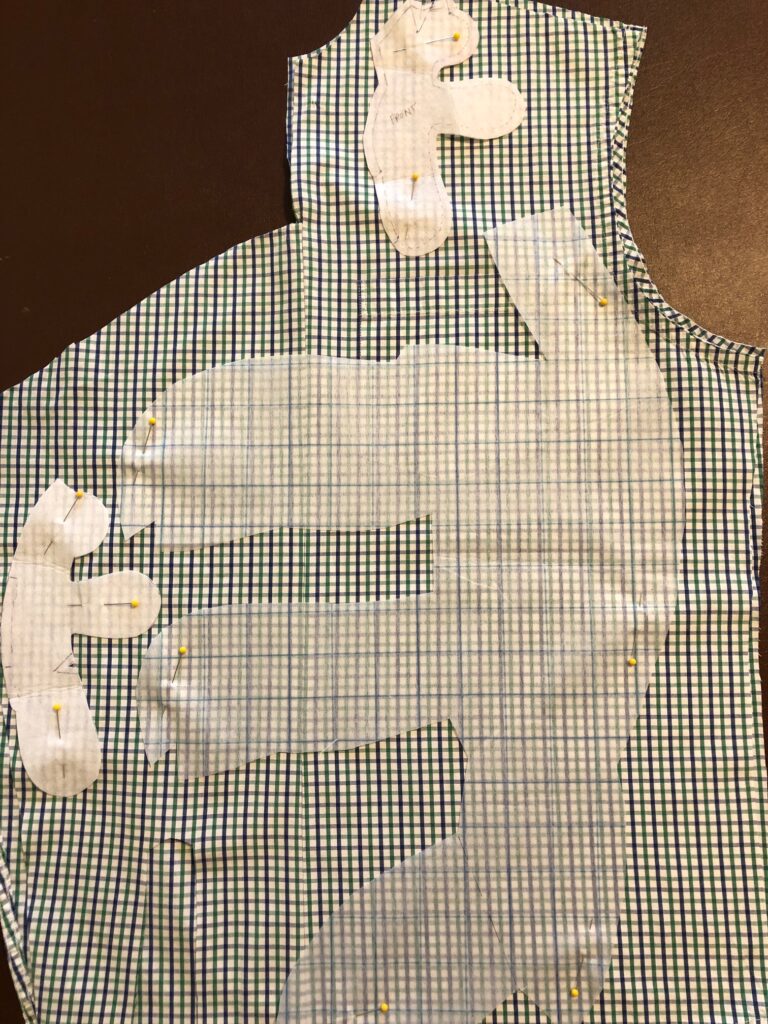
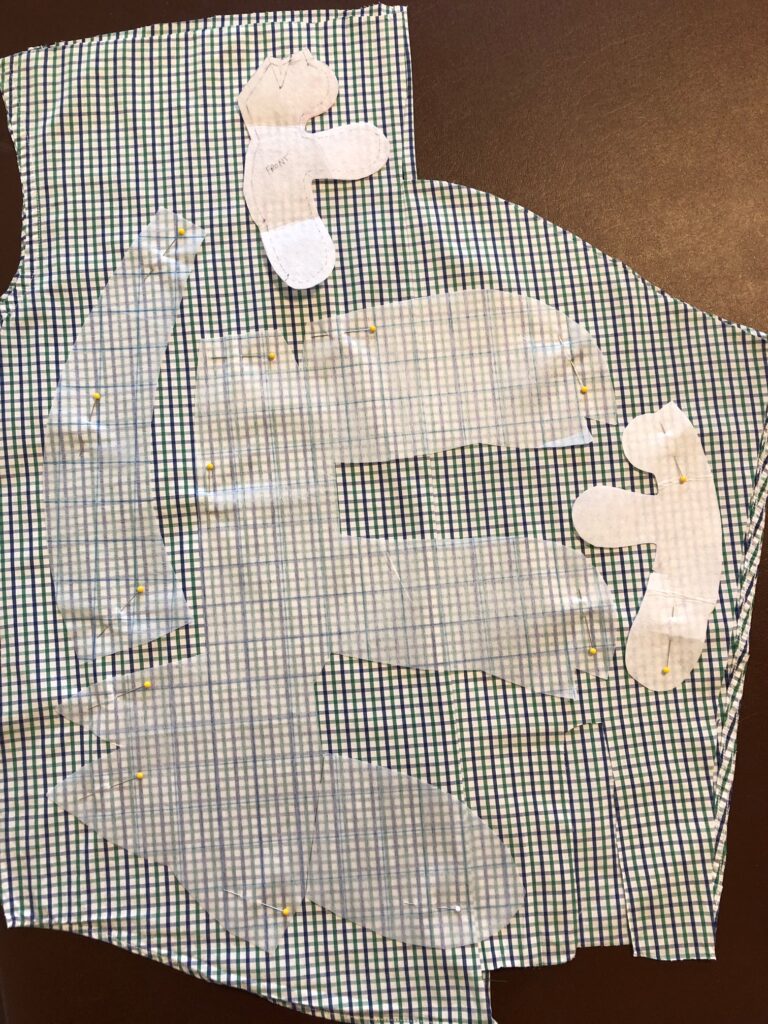
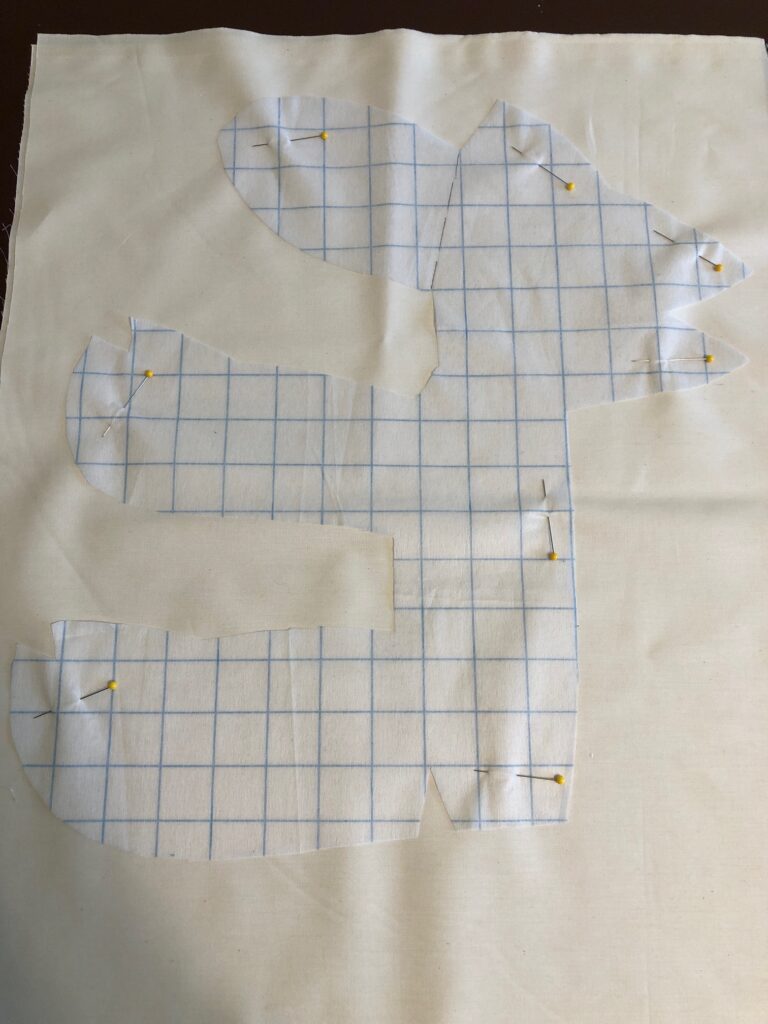
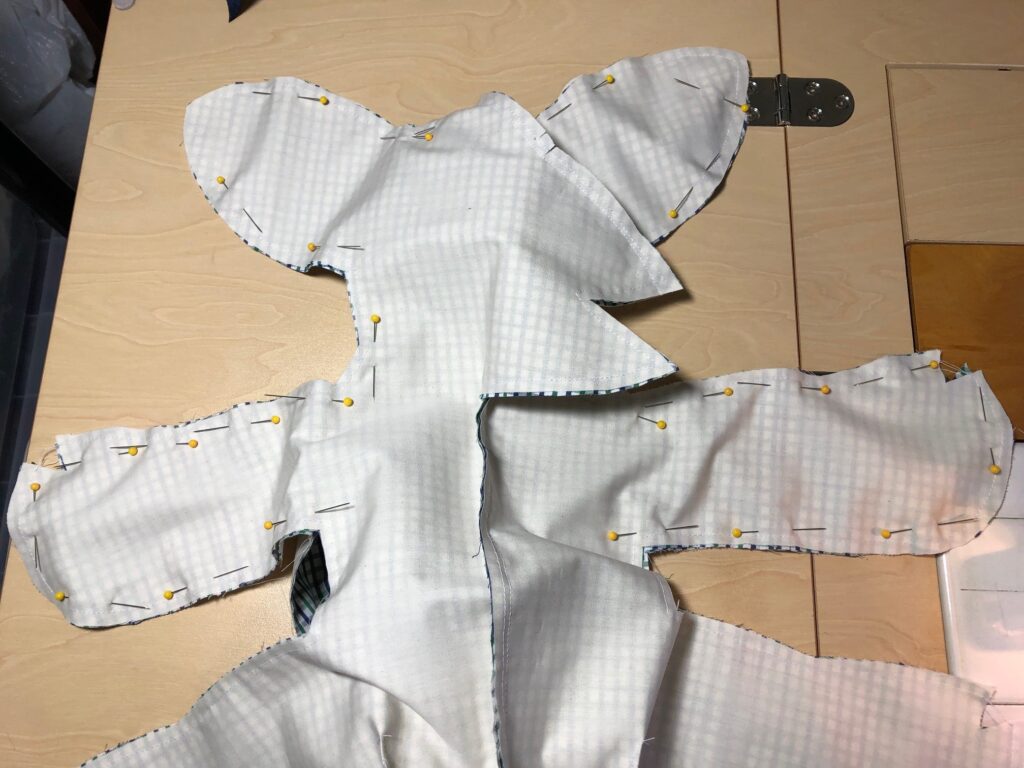
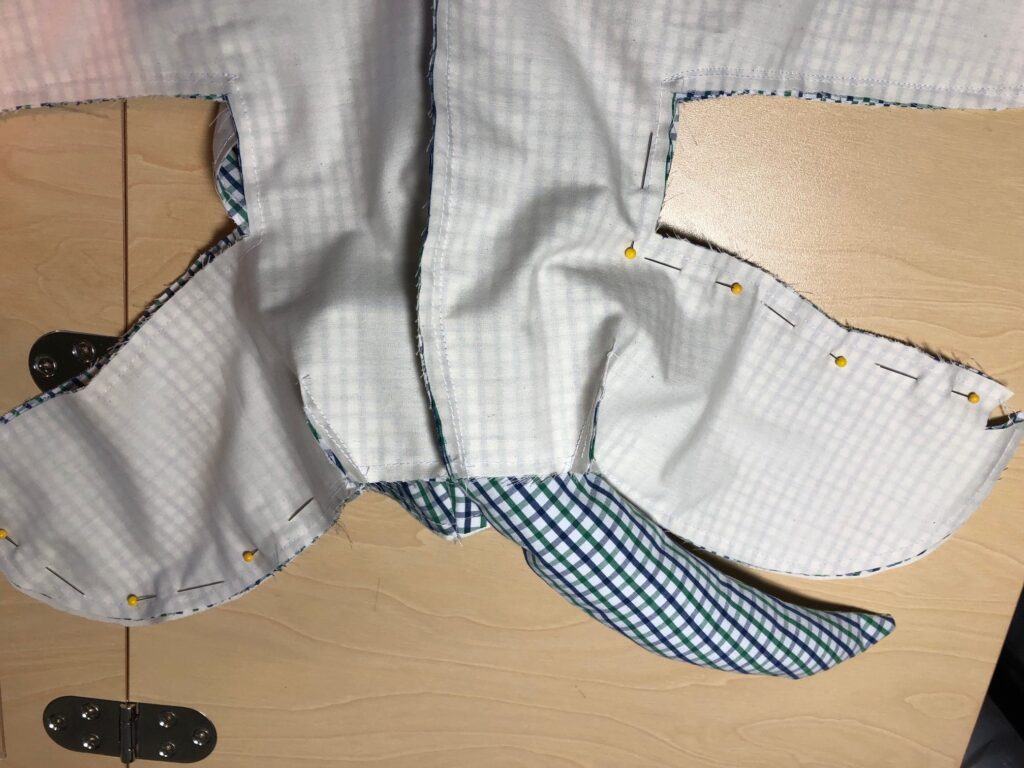
Next, lay out the pattern pieces on the shirt sections to see how it will fit. I needed to use the space where the shirt pocket was, so I laid the pattern so the double layers of fabric would end up on the animal’s bottom.


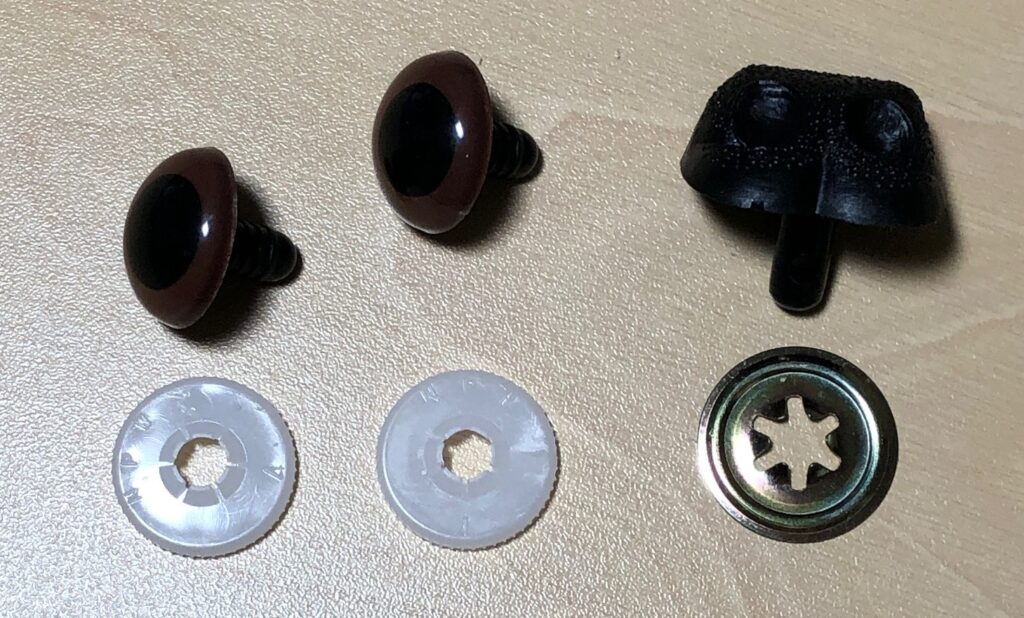
Although I prefer the look of buttons for the nose and eyes, I’ve learned they are hazards for little children. Since these dogs will be hugged by unknown persons (including children) I used the commercial eyes and plastic noses. They get pressed through a hole in the fabric (or through the missing stitches at the nose) and a plastic piece is secured on the back…inside the head.
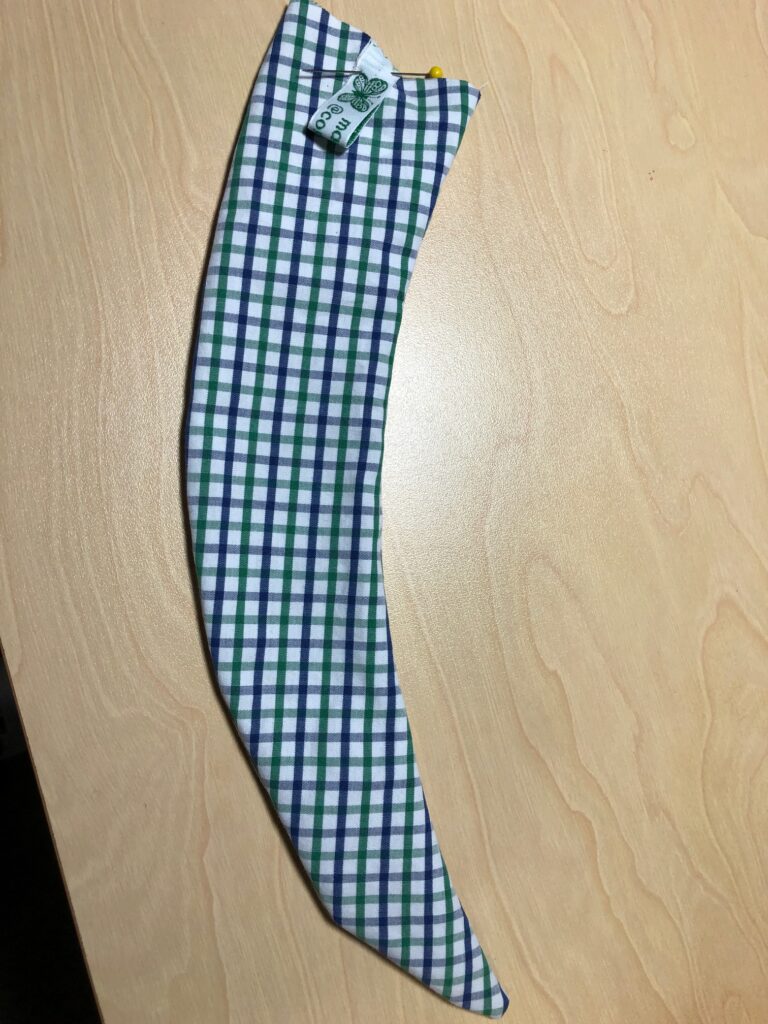
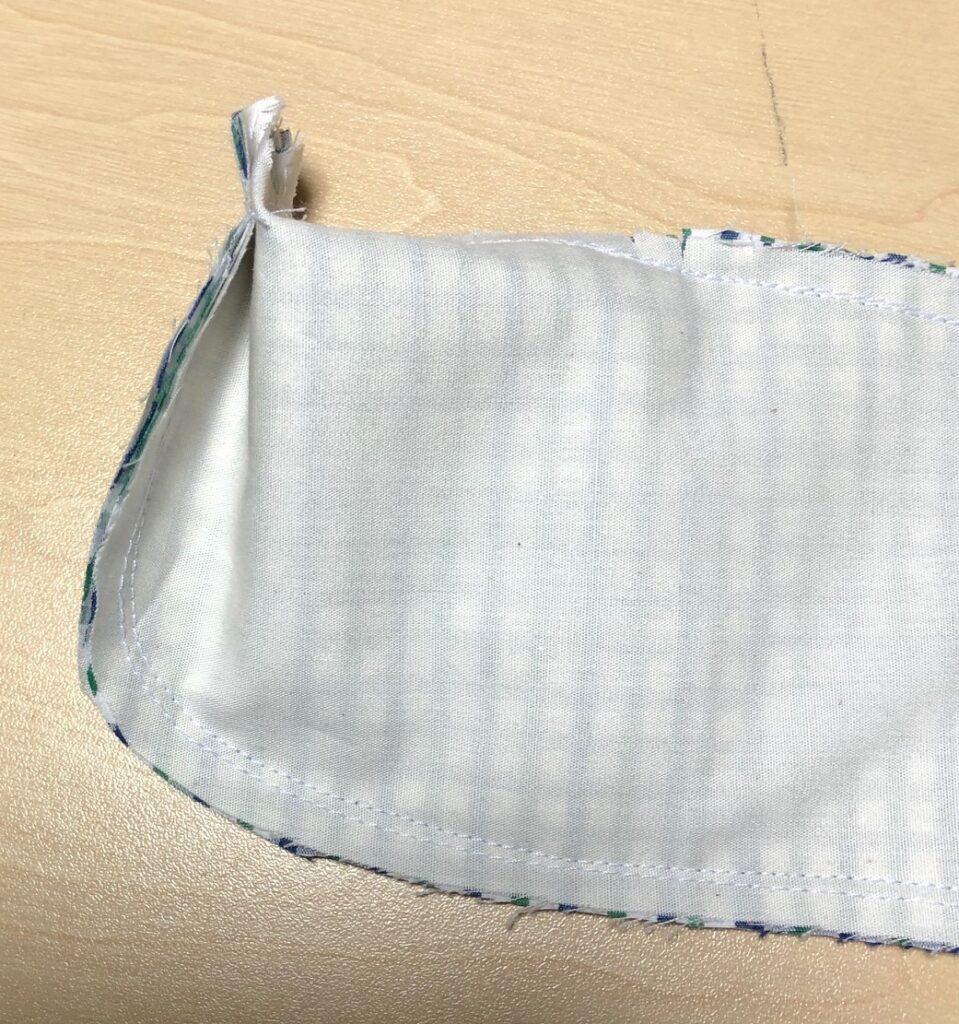
The ears are not stuffed but have stitching around the edge and along the side of the head. Stuff the head first, then the arms and legs, with the body last. A little less stuffing where the arms and legs join the body will keep them more movable.
Stitch up the opening in the back by hand.
To get the ears to hang right, see how they look when the dog is sitting up. I needed to tack a few stitches at the back of the ear so they would not hang so far forward.

Find a pattern you like and try it with one of your shirts for practice! Enjoy!