
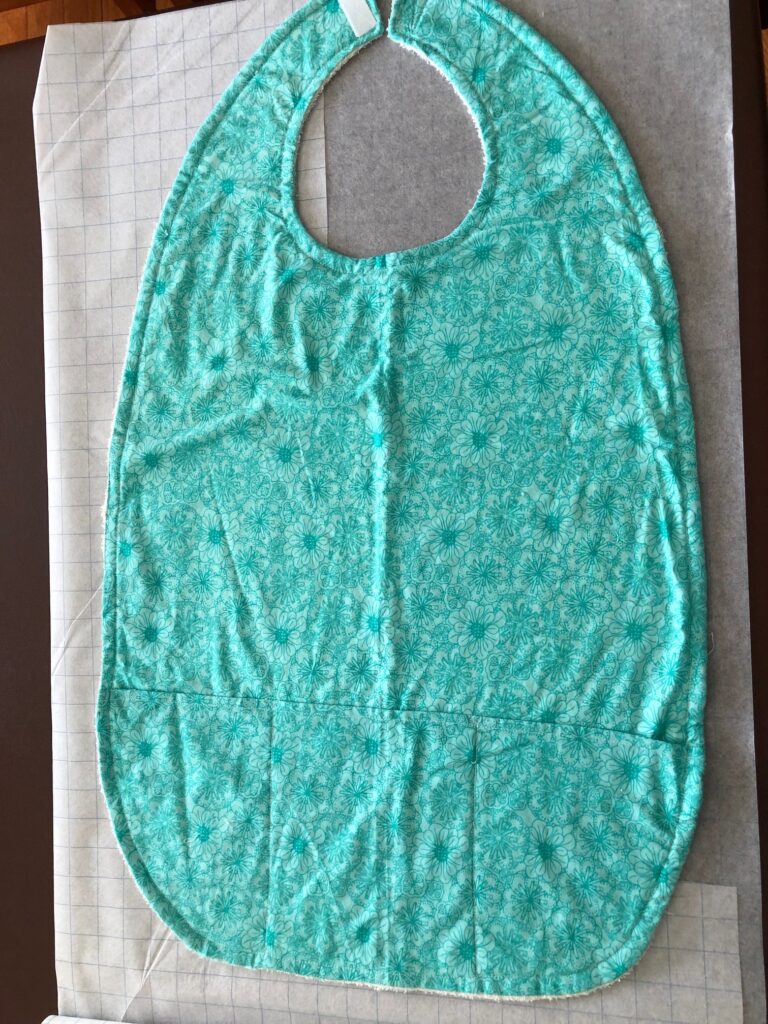
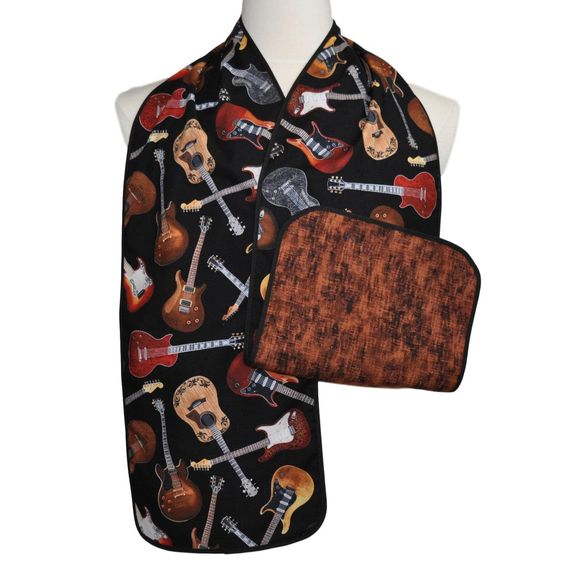
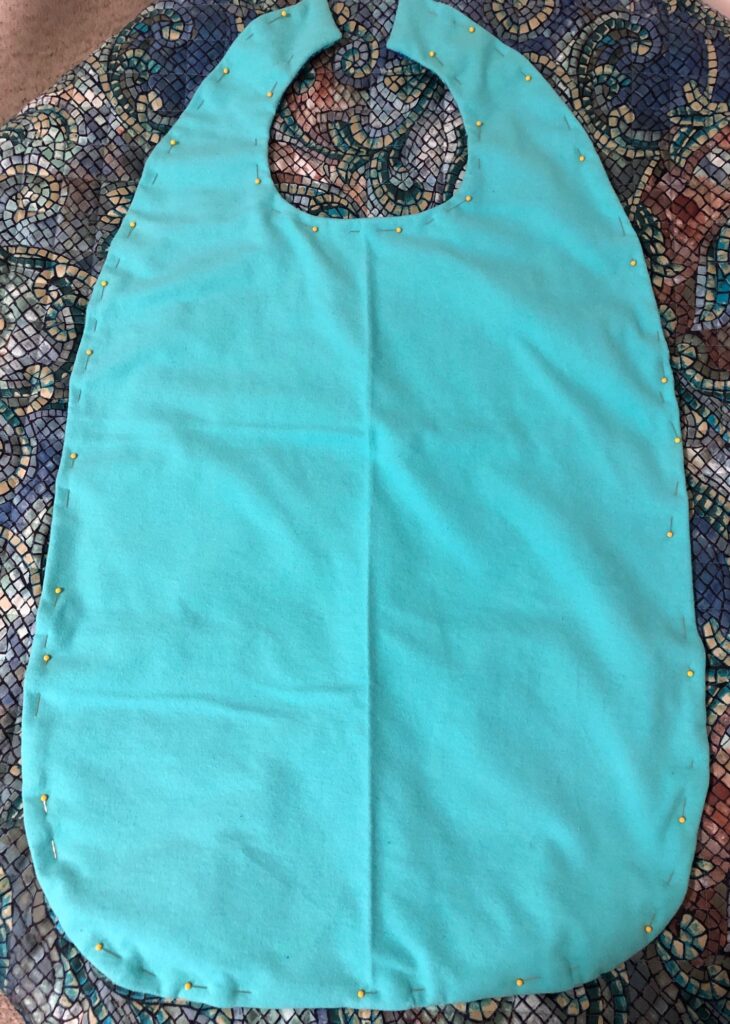
I never thought much about sewing an adult bib…but a friend asked if I could use one she had as a pattern and make another. Now at the moment, I don’t know anyone in a nursing home so it hasn’t occurred to me as a potential project. This is the bib she shared with me:
However, I do remember working with a female Professor at Penn State who spent much of her time traveling to Extension Offices around the state. She was always wearing a nice suit and always managed to show up for presentations looking very professional. I traveled with her once and was surprised she traveled with her suit on AND she stopped for fast food to eat on the way. She quickly grabbed something from the back seat and pulled a large bib-like towel over head. We continued on our trip while enjoying our lunch. When finished, she had hand wipes ready and removed the towel. Her suit remained spotless! What a good idea!
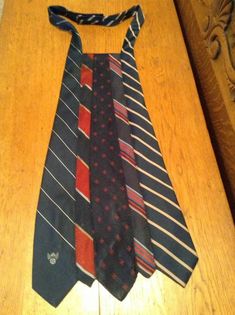
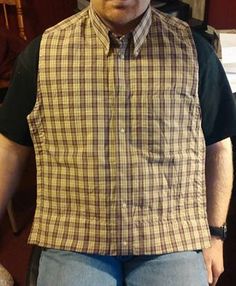
It wasn’t until I did a search on “adult bibs” on Pinterest that I found a whole world of ideas to make these bibs…or “dining vests” or “dining scarves.” Who knew! Here are some pictures of items others have made:

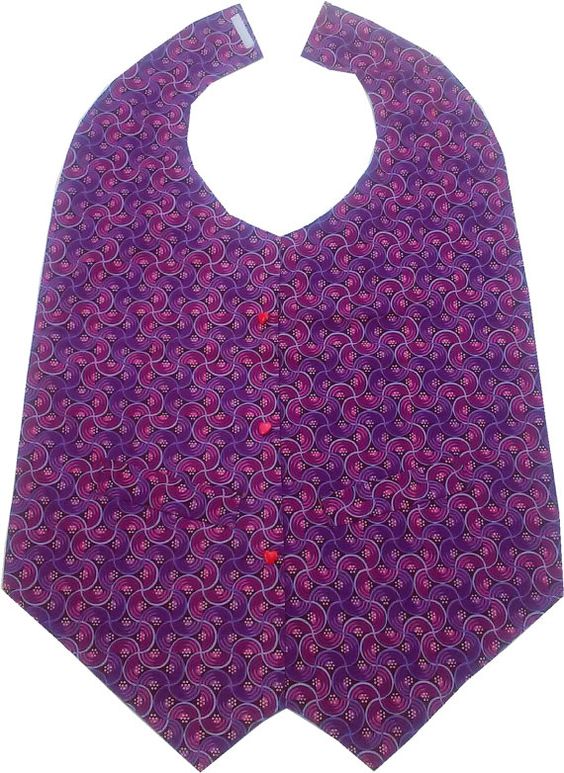


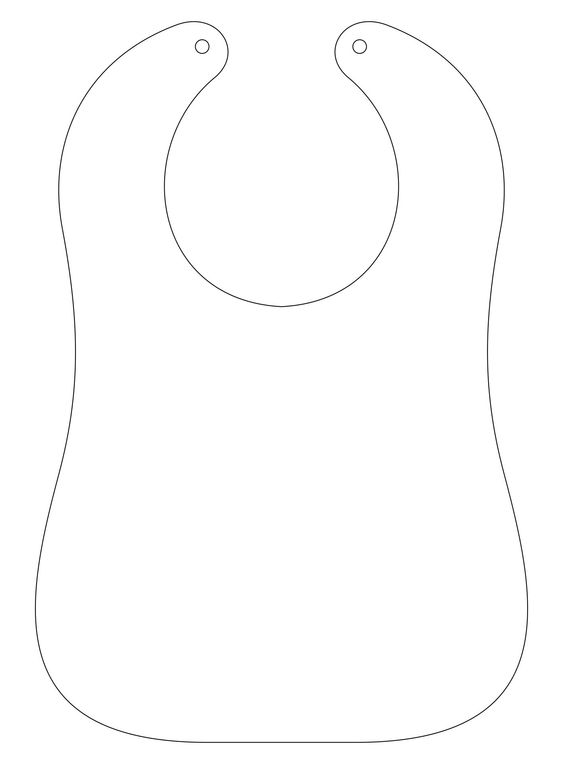
Well, almost too much information, but I sure got some good ideas for Christmas gifts! I did come across simple patterns like this one, which looked more like the one I was asked to make:
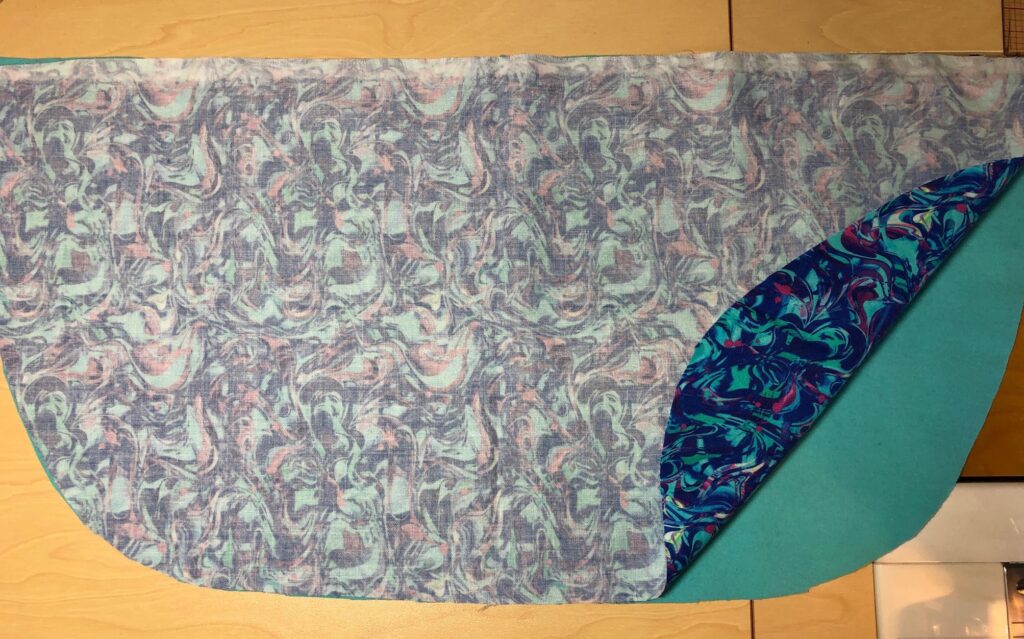
I started by making a pattern on quilting grid paper. This if very thin non-woven stuff with 1″ grid lines printed on it. I laid out the sample bib (see the first picture above) and basically drew around it, adding about 1/2″ for the seam allowance.
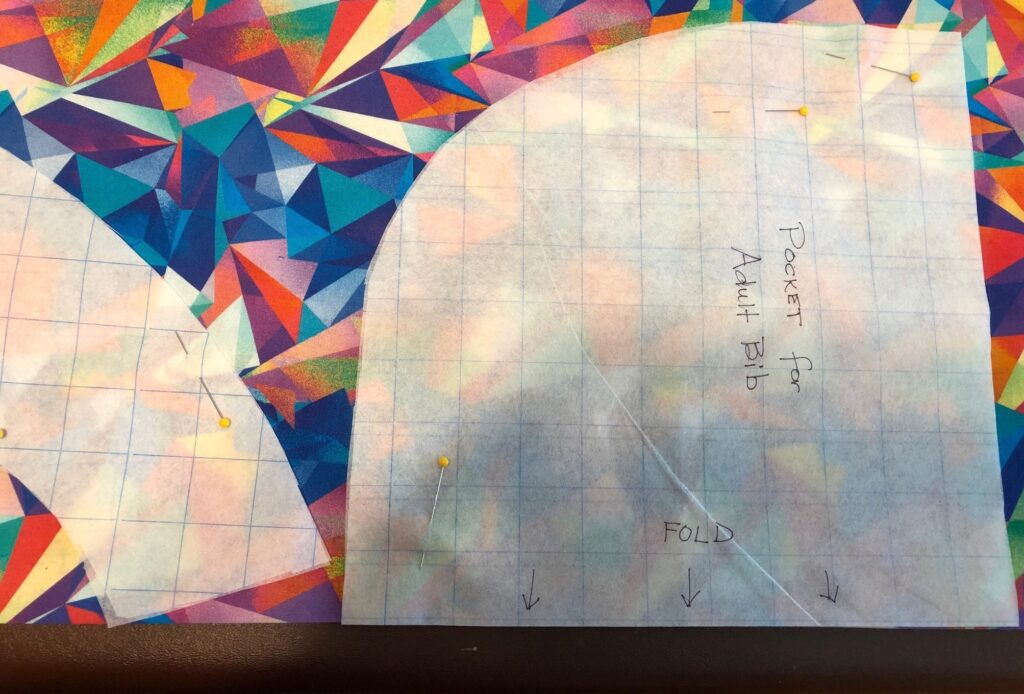
After cutting it out, I folded it in half lengthwise to trim it so the two sides are the same. Now I can lay the pattern on the fold of the fabric. Much easier to cut out. I copied the curve along the bottom to make a deep pocket pattern.
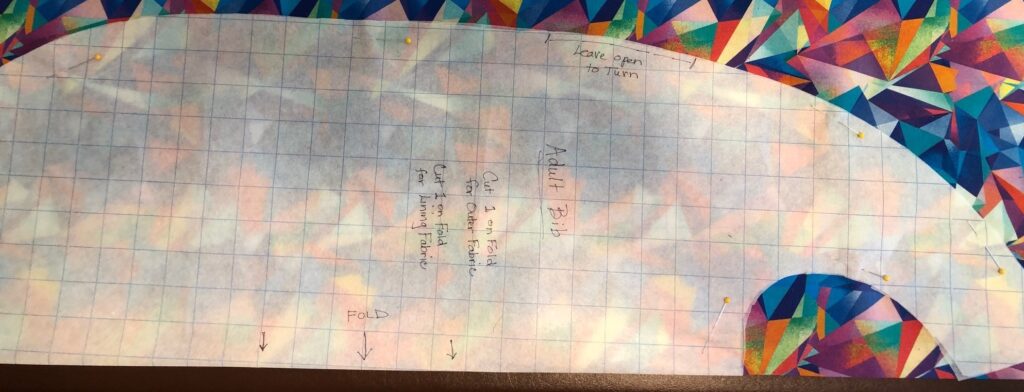
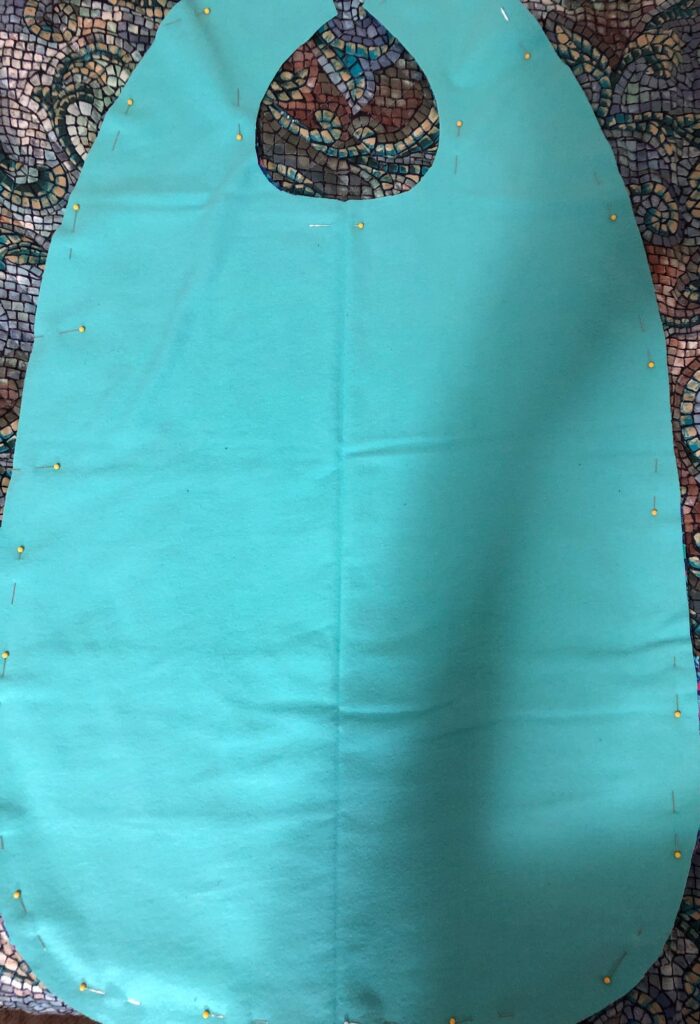
I cut out two bibs with linings of flannel in two colors. I will make one and have my friend try it before I make the other one. She may decide the pocket is unnecessary.
Making the Bib
Materials:
1 1/2 yards of washable fabric for the outside of the bib and pocket.
1 1/2 yards of washable fabric for the lining of the bib and pocket.
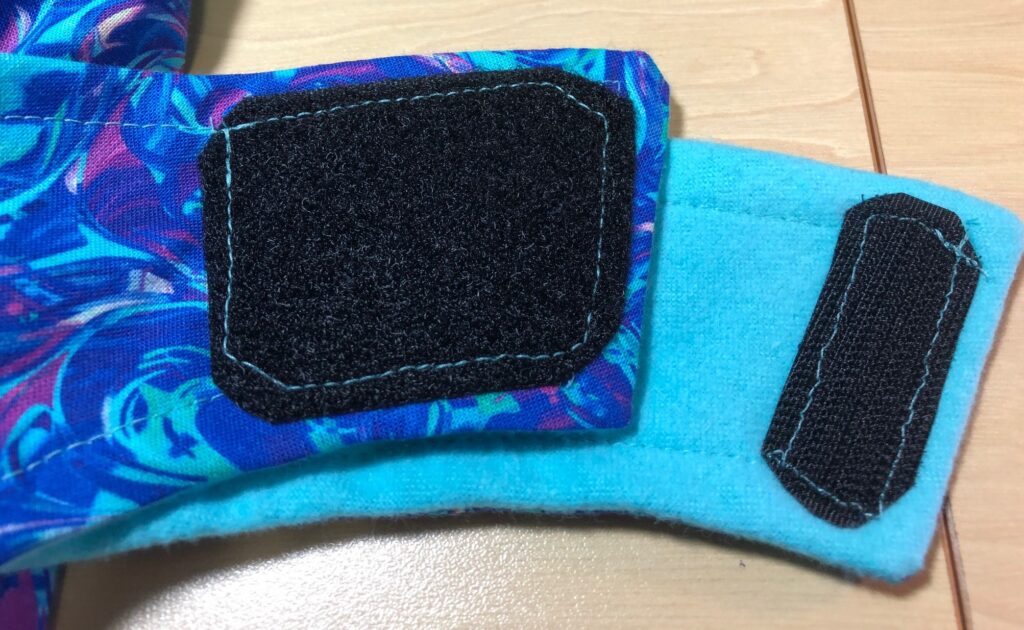
1 piece of Velcro hook about 1″ x 2″
1 piece of Velcro loop about 2″ x 2″ (or two 2″ strips of 1″ Velcro loop)
Thread
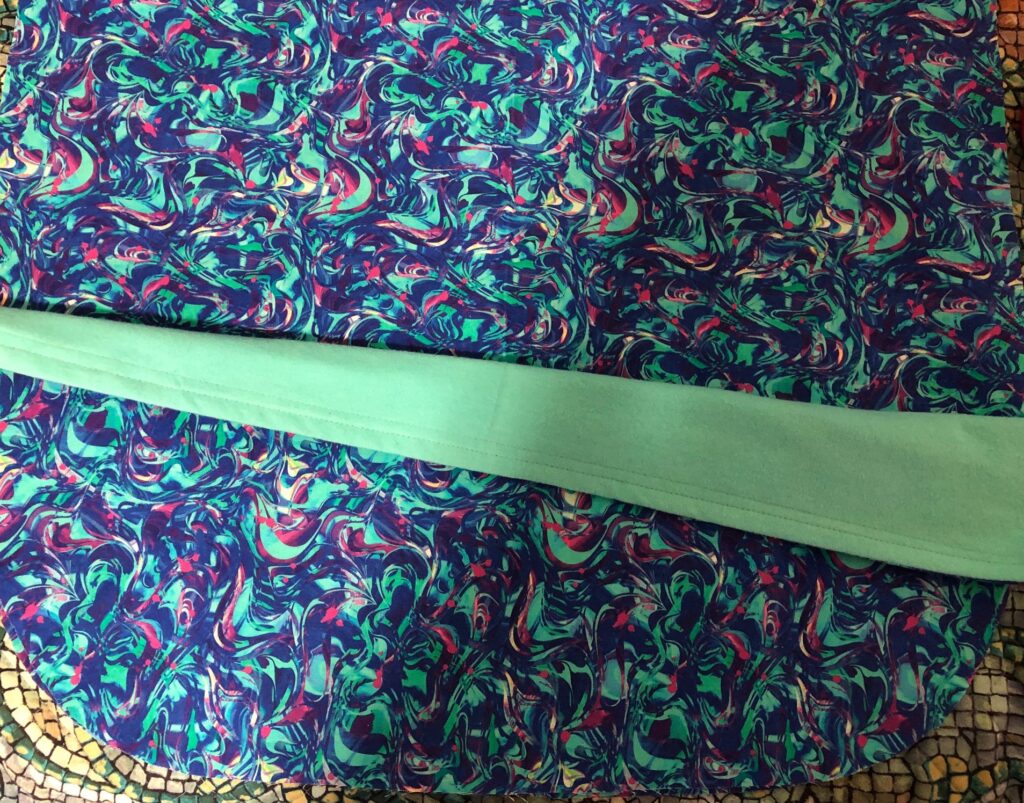
Step 1: Prep the Pocket. Place the pocket and lining pieces right sides together. Stitch the straight side using a 1/2″ seam allowance.
Step 2: Finish the Pocket: Turn right side out and top stitch along the straight edge. This is the top of the pocket.
Step 3: Place the pocket onto the right side of the bib fabric, matching the edges along the curve.
Step 4: Place the lining piece, right sides together, onto the bib outside piece (covering up the pocket). Pin around the edges.
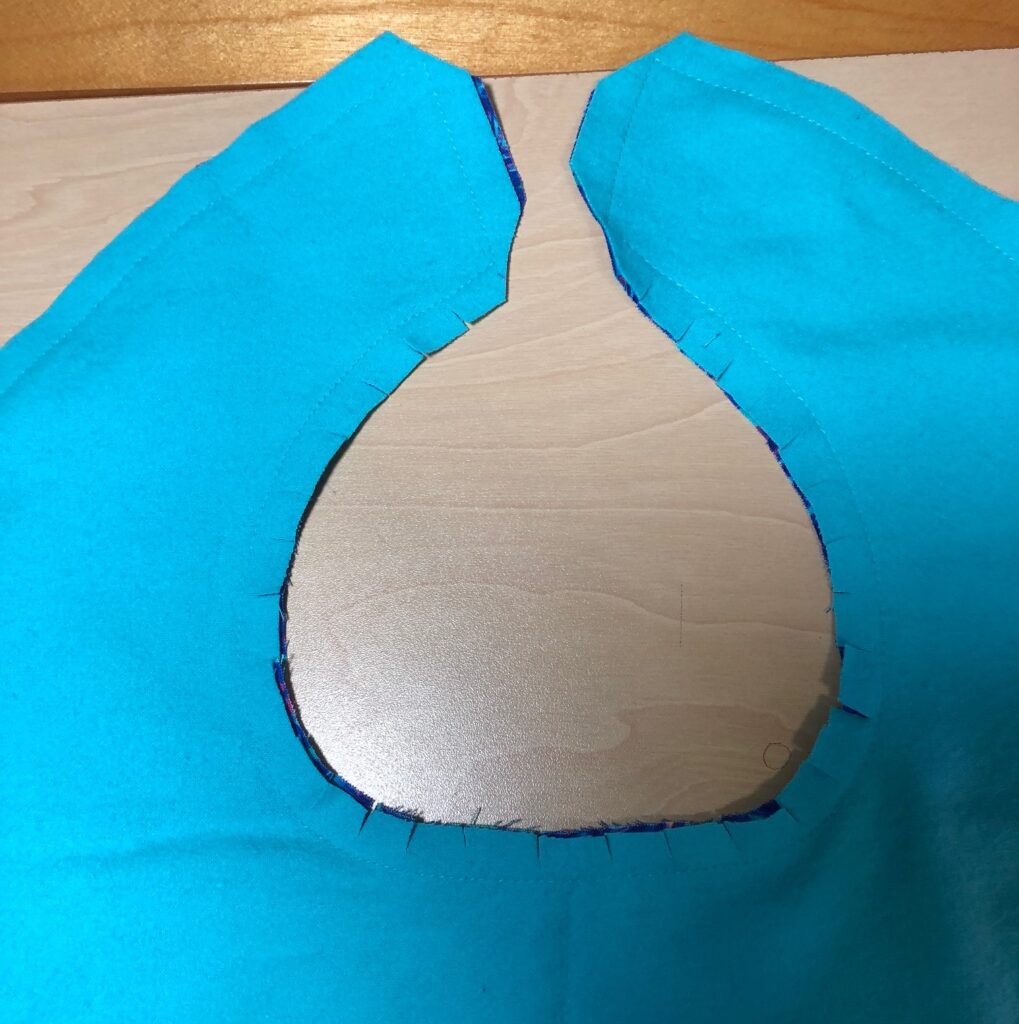
Step 5: Sew around the whole bib, leaving a 4″ space on one side (above the pocket) to allow for turning. Before turning, clip the neck opening to keep the seam lying flat after turning.
Step 6: Turn the bib right side out through the opening you did not stitch. Pin around all edges. Top stitch about 1/2″ from the edge.
Step 7: Prepare the Velcro. I use 2″ wide Velcro, so I needed one piece about 2″ x 2″ of the loop, and 1″ wide piece of the hook.

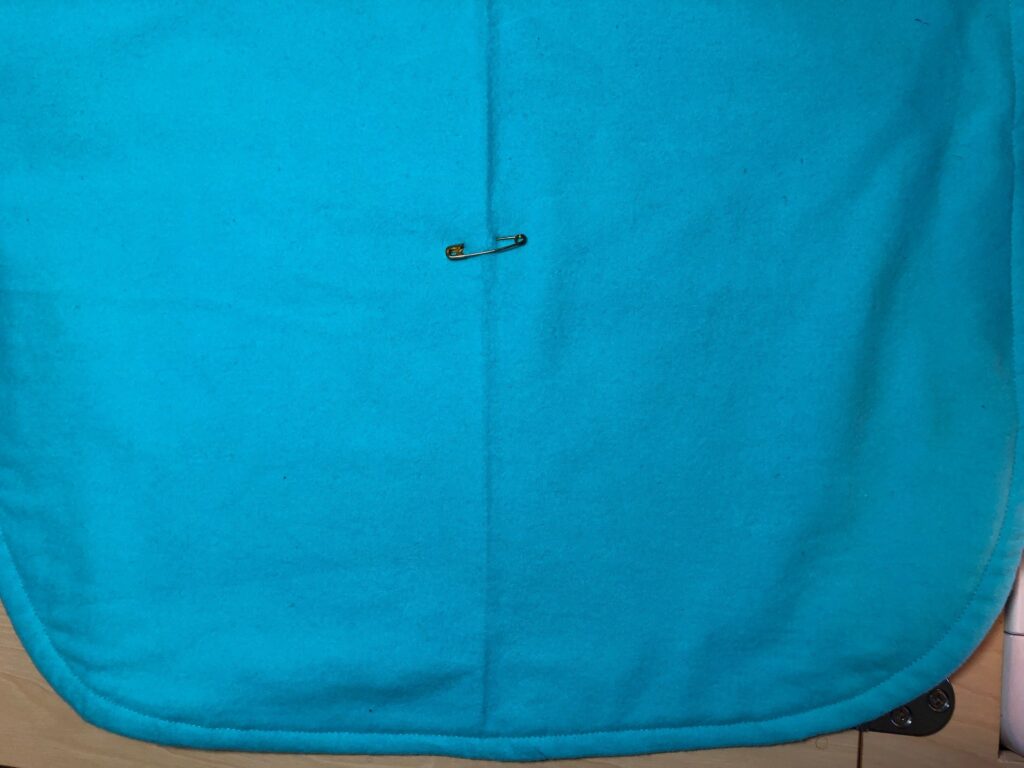
Step 7: When finished, hold up the bib and see if the pocket hangs open. You can top stitch sections to stabilize into small pockets. (See the original picture at the top.) I was asked to leave it open for now, so I added a safety pin through the back to hold the pocket snug to the bib. It could be removed for washing, or I can sew it down later.
It probably took me longer to make the pattern than to make the bib, so it’s pretty simple. Let your creativity make it special for the person you are giving it to! I’d love to see pictures if you try something unique! Enjoy!
Please comment or email me directly at marykisner@comcast.net.