
What is a belly band? A new fashion statement for our beloved greyhounds? Haha…no! Picture this…you have just adopted a 2 year old male greyhound from your nearby adoption kennel. You are ready to make him comfortable in your home and take him off his leash. He wanders around the living room…the kitchen…your bedroom. You show him his kennel or cozy bed in the corner. You let him explore on his own while you take off your coat and put things away. Very quickly you realize that he is lifting his leg and marking the corners of the furniture and table legs. This is a natural response to a new environment, especially if you had other dogs in the house previously. AHHHH…now what?
Luckily, the adoption group predicted this might happen and had sent you home with a belly band, just in case. You had wondered what it was for. This simple denim band wraps around their abdominal region and gently keeps his private parts from being used until you can get him outside. Over the next few days as he gets more comfortable in your home you can train him that if he’s in the house he should not have to mark his territory. When you take him outside and remove the band THEN is the time to explore and mark his territory. The hope is that he won’t need the belly band for very long, but that depends on the dog.

Making a Belly Band
I’d like to show you how I make these simple bands.
Materials:
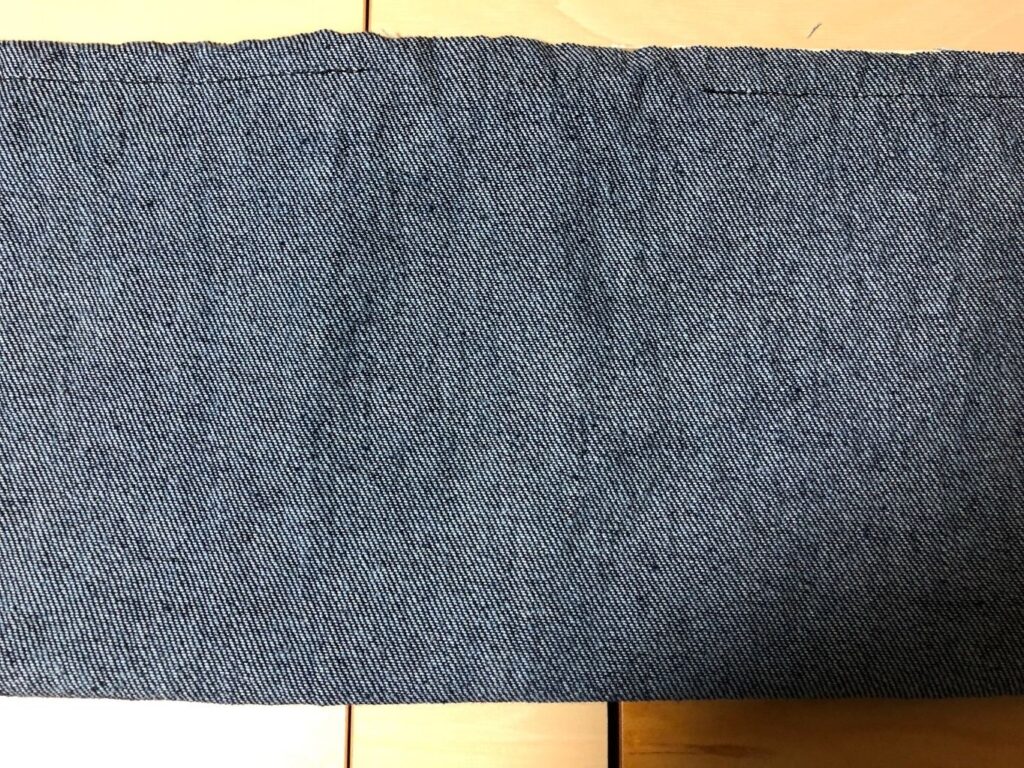
One piece of 12 oz. denim, 12″ x 29″ (all cotton, non-stretch)
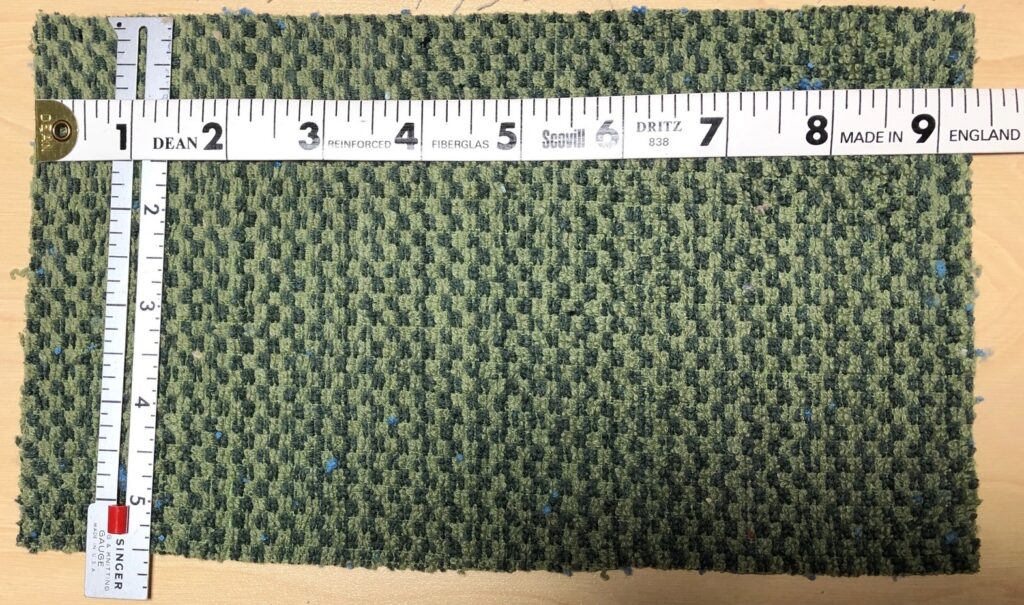
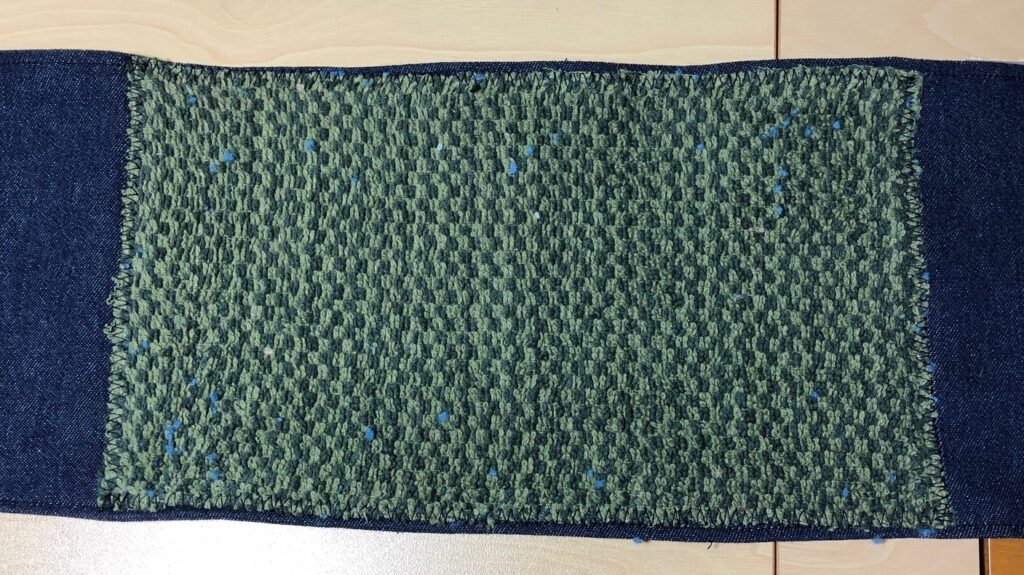
One piece of terry cloth, 5 1/2″ x 9″ (I cut up an old clean hand towel)
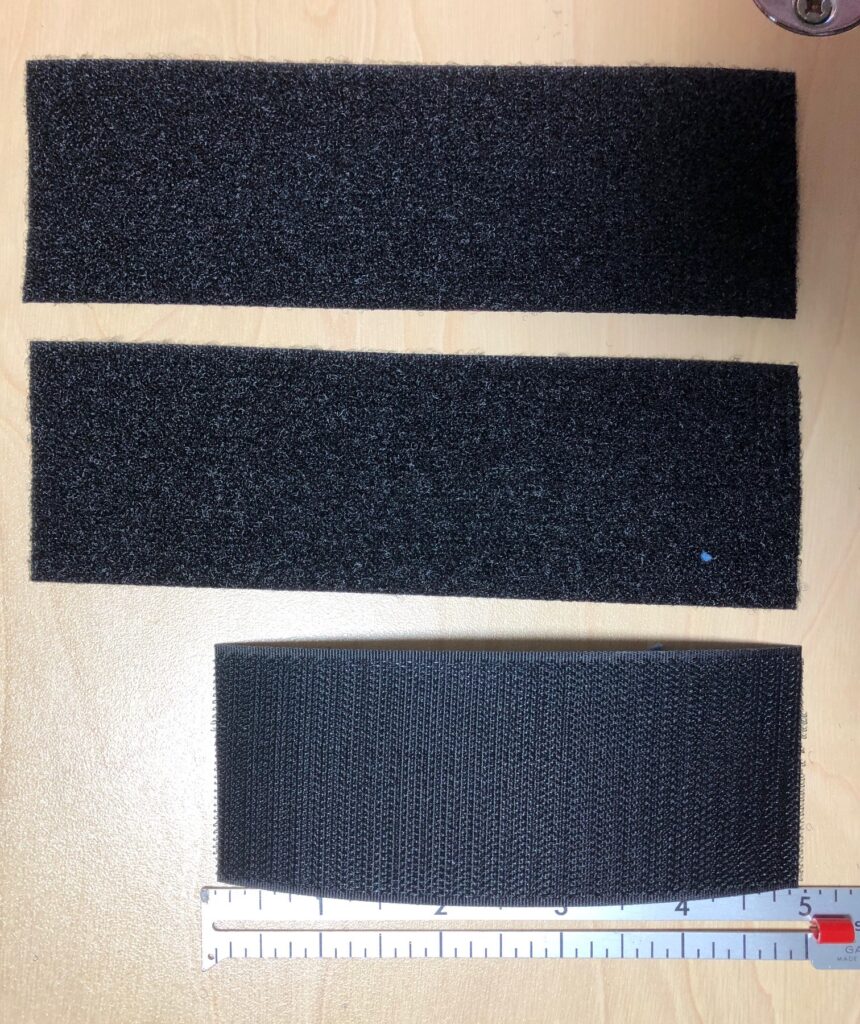
One piece of Velcro hook, 2″ wide x 5″ long (I buy my Velcro from https://www.calthread.com)
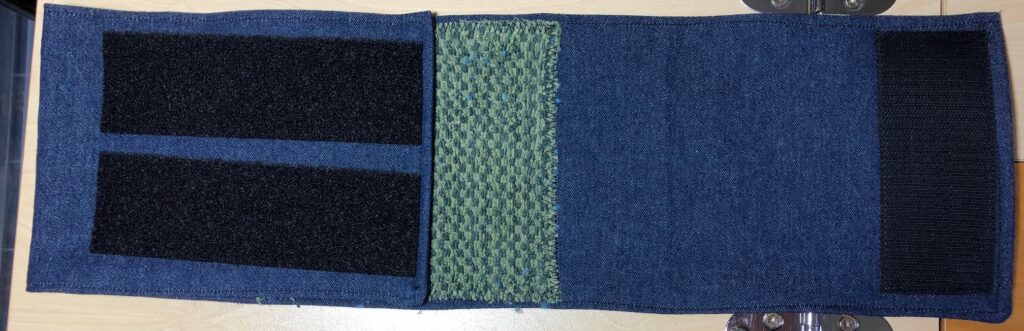
Two pieces of Velcro loop, 2″ wide x 8″ long

Instructions:
- Fold the fabric in half lengthwise, right sides together and stitch, leaving 3″ space for turning.
2. Turn right side out. Top stitch around the whole band.

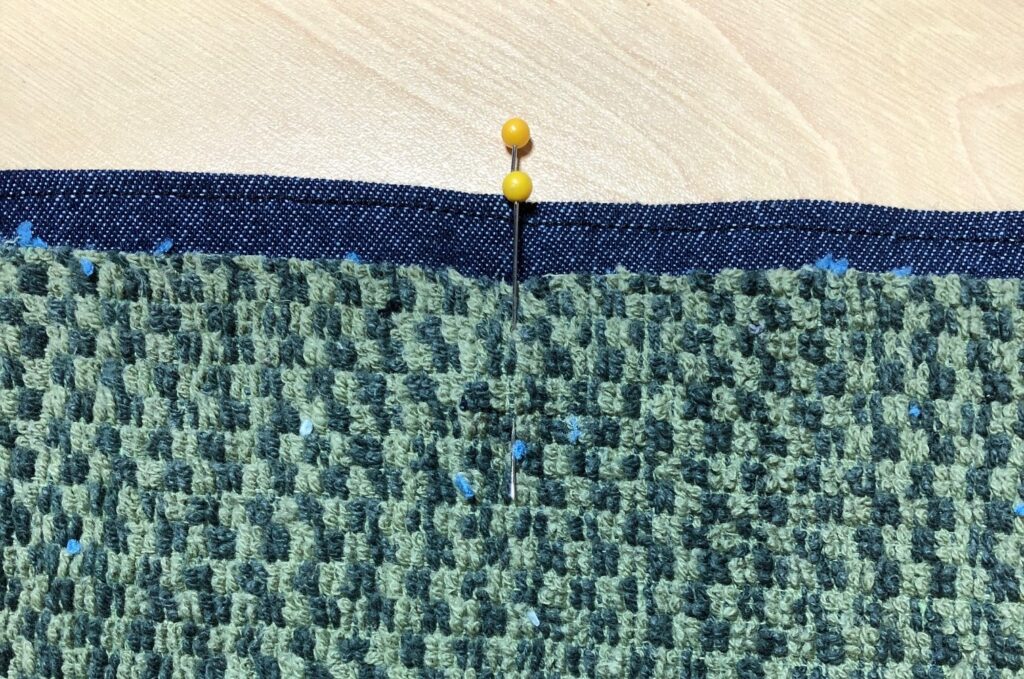
3. Find the center of the band and mark with a pin. Find the center of the terry cloth piece and mark with a pin.
4. Place the terry cloth piece on the center of the band, matching the center points.
5. Trim the terry cloth piece to fit exactly the width or a little smaller than the band.

6. Zig zag stitch around the outside of the terry cloth piece.
7. Place the 5″ piece of Velcro (hook) along one end of the band and stitch around it. A straight stitch works best.
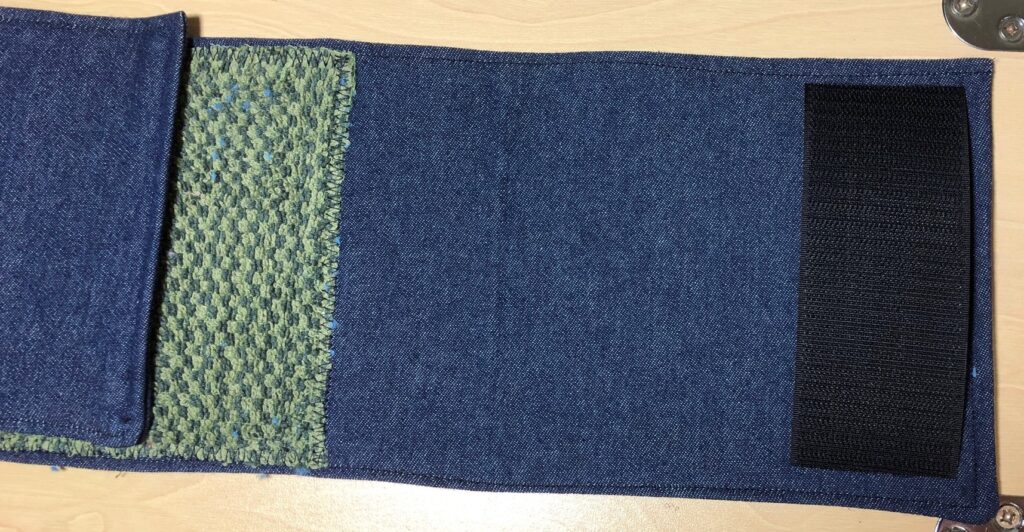
8. Notice that the opposite end of the band will be folded over and overlap with the Velcro hook. Place the Velcro loop pieces on the other end from the hook and stitch as below:
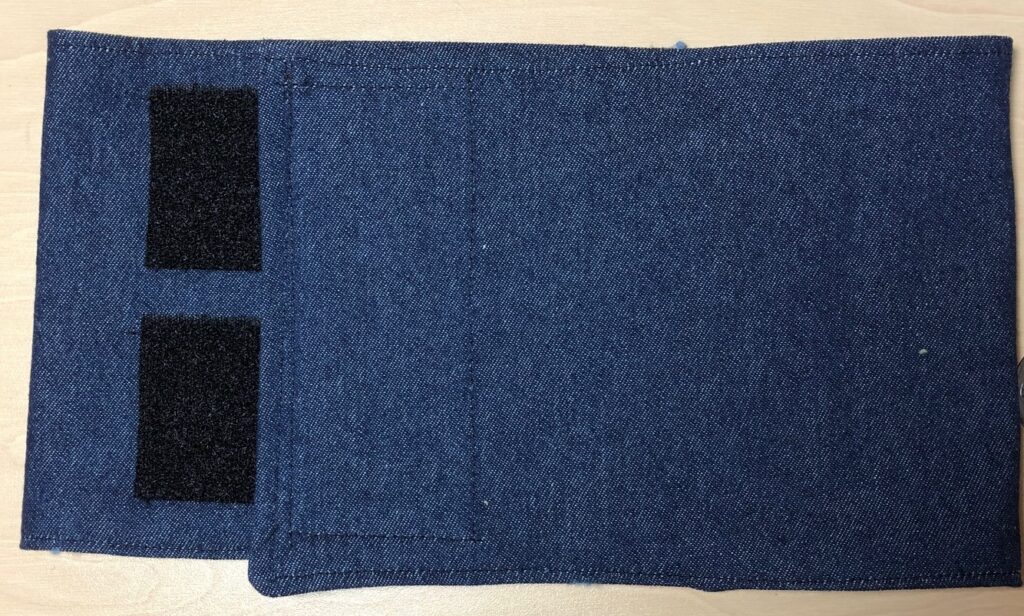
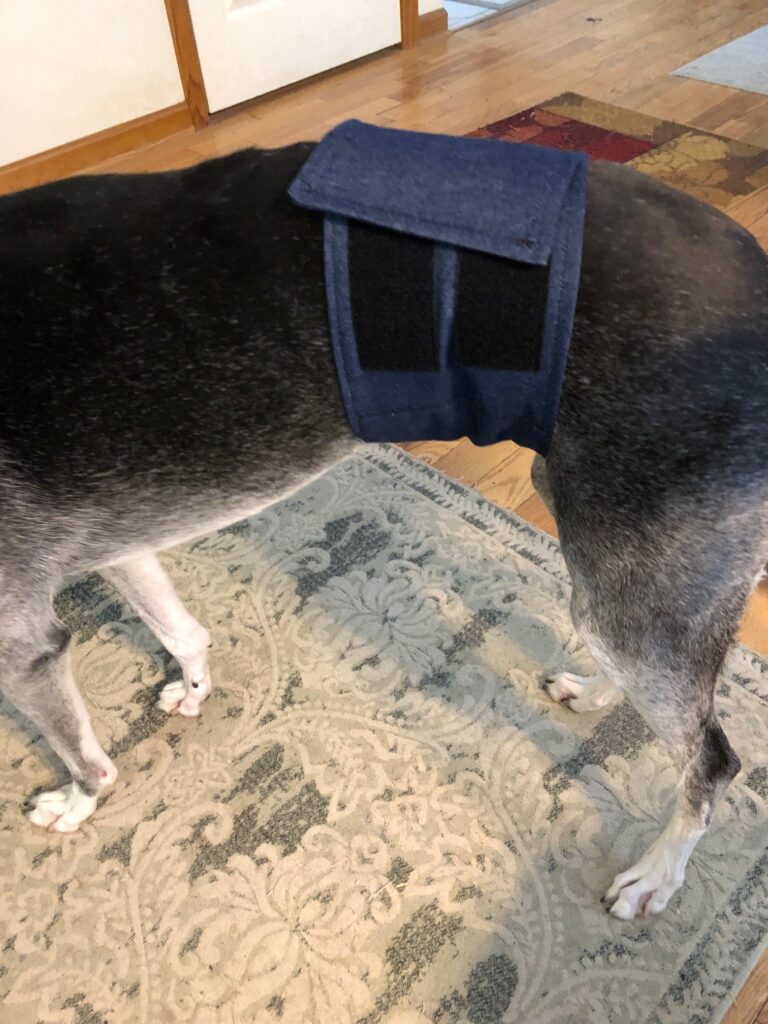
This band can wrap quickly around the dog’s abdomen and is sturdy enough to stay put.
(Note: The belly band has also been used by the females after being spayed. It keeps them from bothering their incision and stitches.)
So, a greyhound belly band is not a fashion accessory but an important tool to make an adoption successful! Give it a try or share this tutorial with your adoption group! Enjoy!
Please comment or email me directly if you have questions at marykisner@comcast.net.