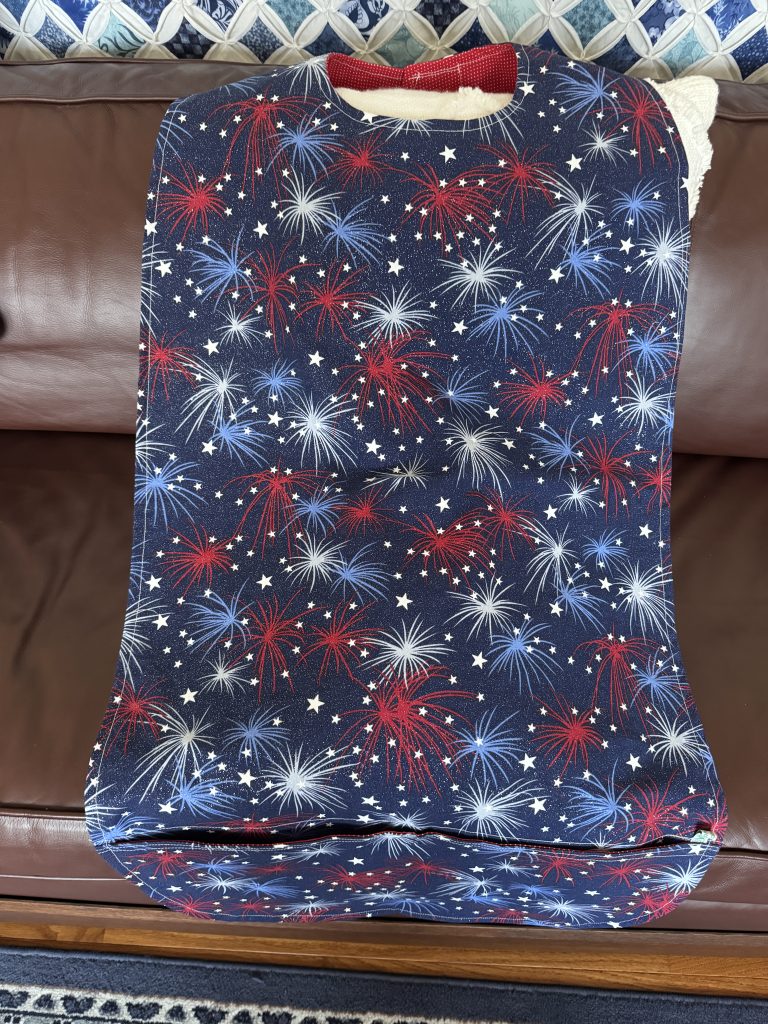
My latest sewing project involved making another adult bib for a friend. My pattern makes an especially LONG bib with a pocket at the bottom to collect crumbs while a person is sitting. Usually, I don’t try to make two of the same fabric, but this time I decided to see if I could squeeze two side-by-side on the fabric.
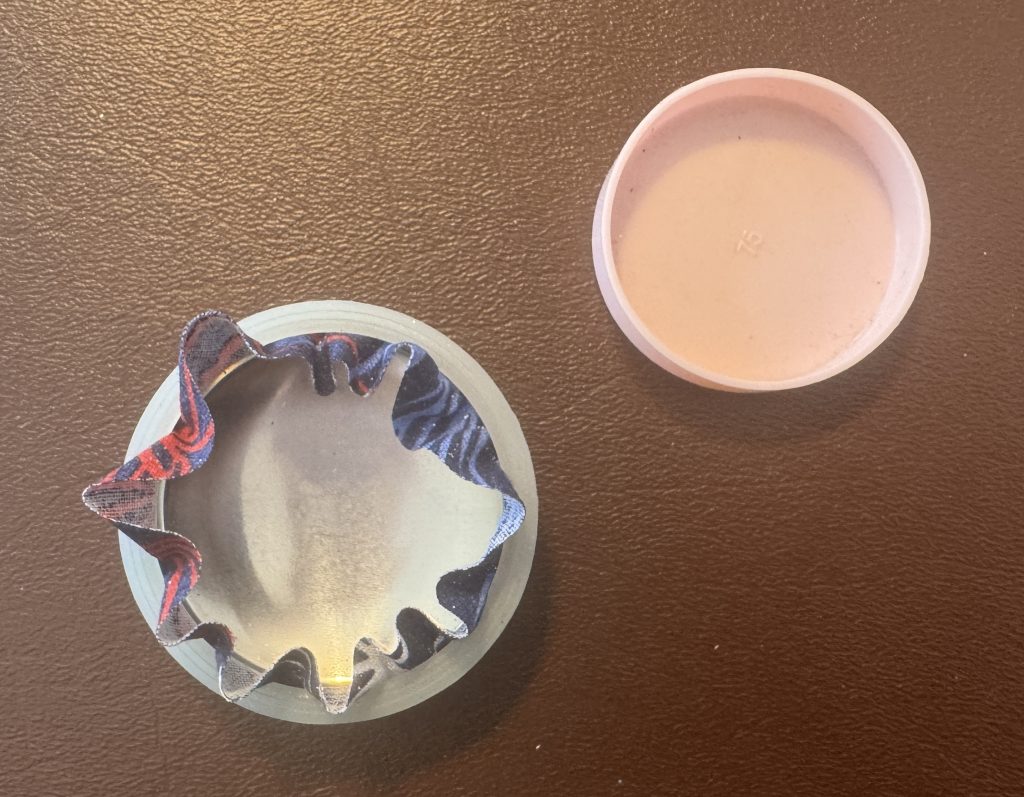
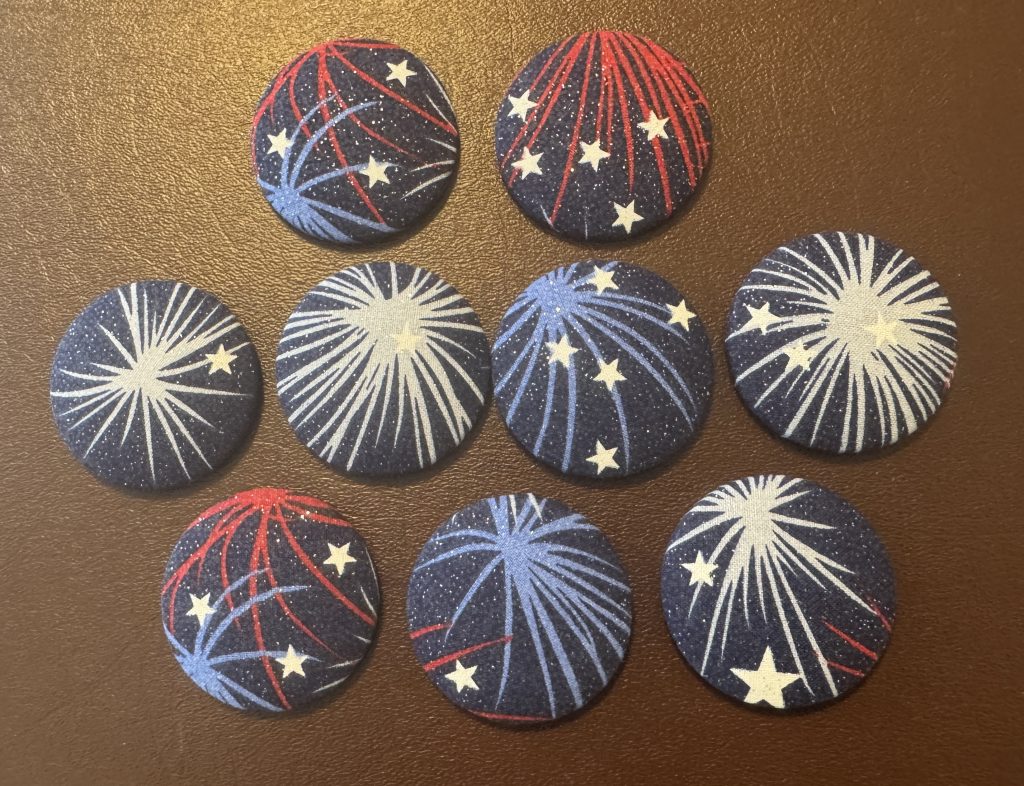
I bought two yards of fireworks fabric and two yards of plain red with tiny dots for the lining. After washing the fabric, I ironed it so I had a crease down the middle. Then I opened it up and folded the selvage edges to the middle, giving me two long folded edges. I ended up having enough fabric left over to make four bowl cozies and 8 refrigerator magnets. This was a fun day!
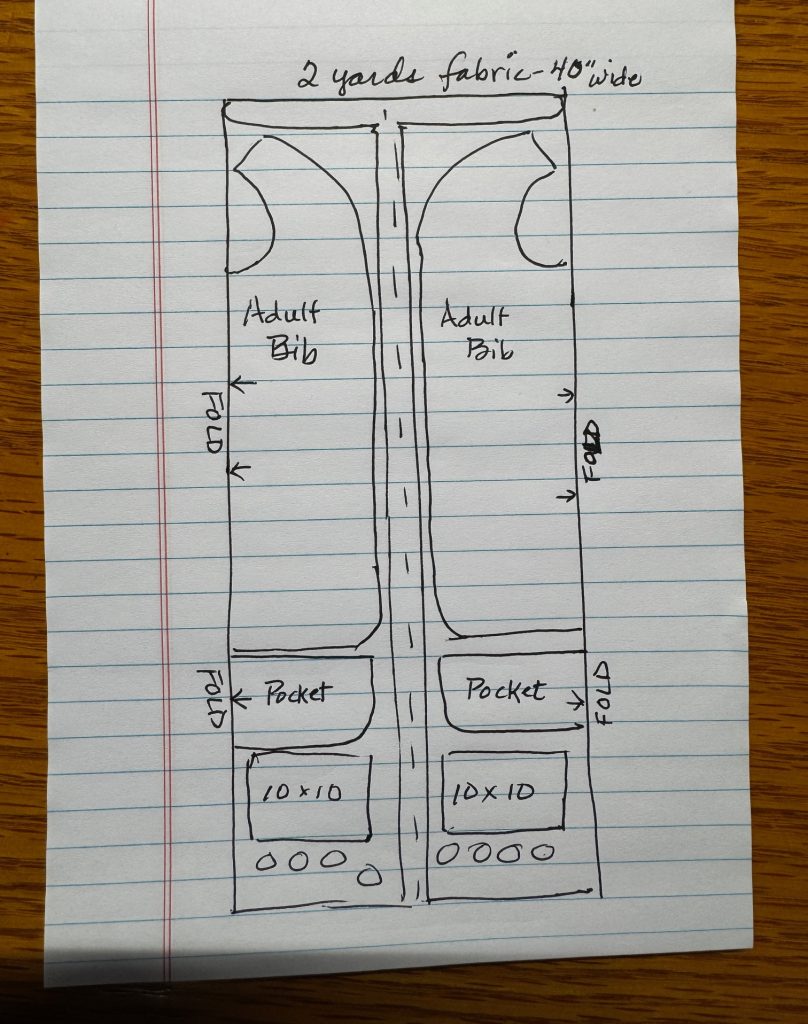
Here’s a sketch of how I laid out the pattern pieces:
I was pleased to be able to make two bibs that used up 1 1/2 yards of fabric and lining.
It appears I have not written a step-by-step set of instructions to make this long adult bib yet. If you’d like me to do that, please send me an email (maryjkisner@gmail.com) and I’ll put that together next.
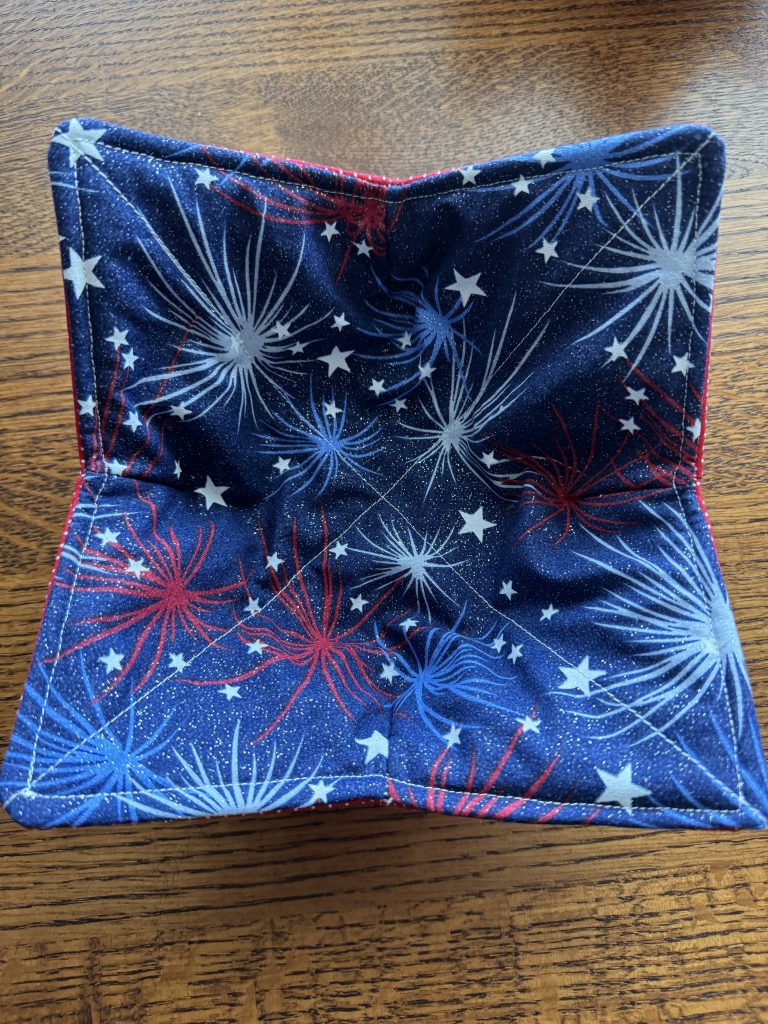
With the 1/2 yard (18 inches) of fabric I had left after cutting out the bibs, I decided to cut out four 10 x 10″ squares out of both fabrics to make bowl cozies. You can read about making these bowl cozies at https://marykisner.com/making-three-sizes-of-hot-pad-cozies/
I’ve had it! There is a reason why I wear dark or black blouses and t-shirts…I will inevitably spill or drip something right in the middle no matter how careful I try to be. I recently bought several lovely blouses in bright blue, purple and white. Of course, the first time I wore one my salad dressing dripped…just one drop…right in the middle of the front of my new blouse! Grrr! I had to spray and wash the blouse twice to get the stain out. I needed a solution or go back to my navy and black tops.
Some of you may remember last September I wrote about making an adult bib for a friend (https://marykisner.com/adult-bibs-are-not-just-for-nursing-homes/). At the time I was surprised to see the many variations of ways to protect your clothing from food spills. Some were standard bibs; others were clever cover-ups. I had never thought of a solution that could protect my clothing and still look nice out in public.
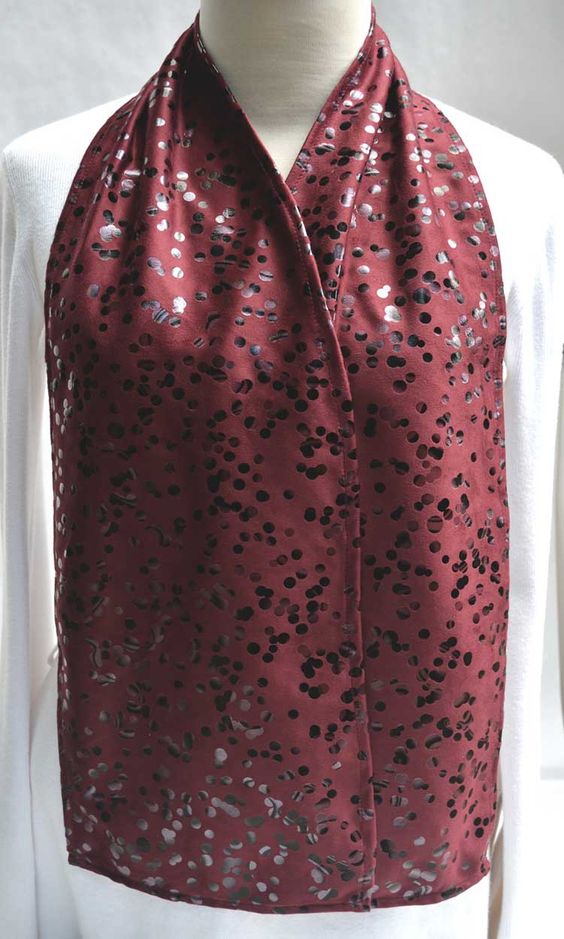
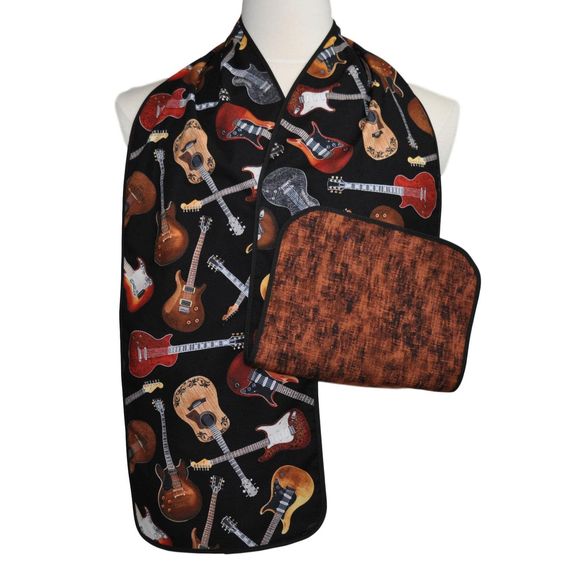
These two pictures (from a Pinterest search for “dining scarves”) caught my attention:
This one looked really dressy and slippery. I think it would need a snap, Velcro or dressy pin to hold it together.I can imagine all the novelty fabrics that could make something like this!
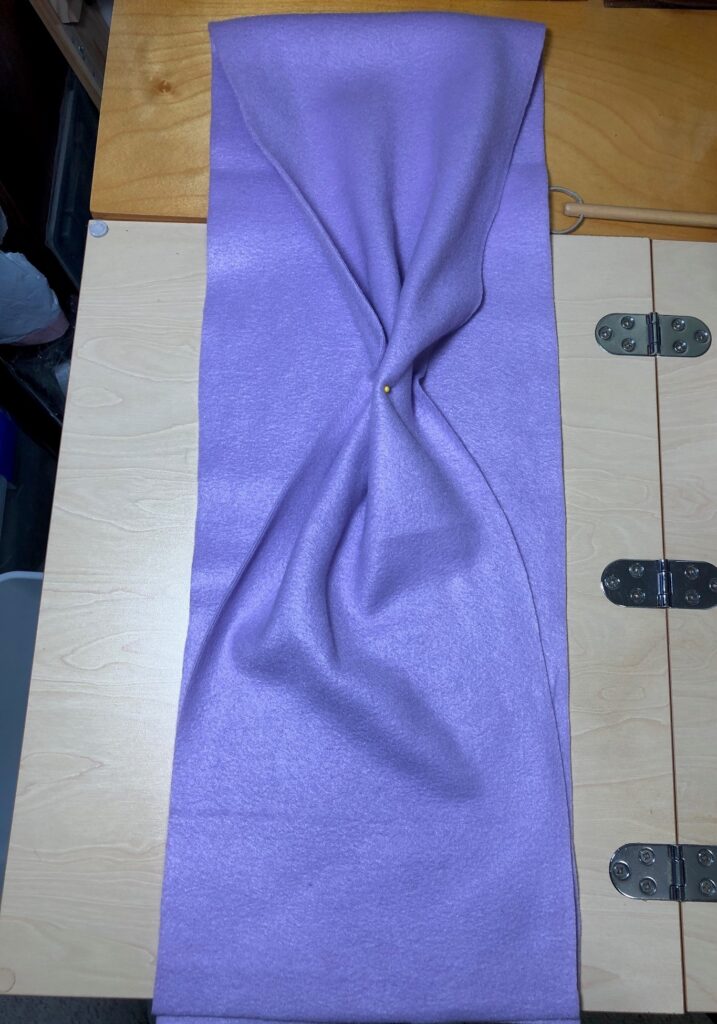
Time to experiment! I took a fleece scarf and put it around my neck. I pinched it about where it needed to start getting skinnier to wrap more closely around my neck.
Since I was going to use fabric I had available, I knew I would need to seam the scarf at the center back.
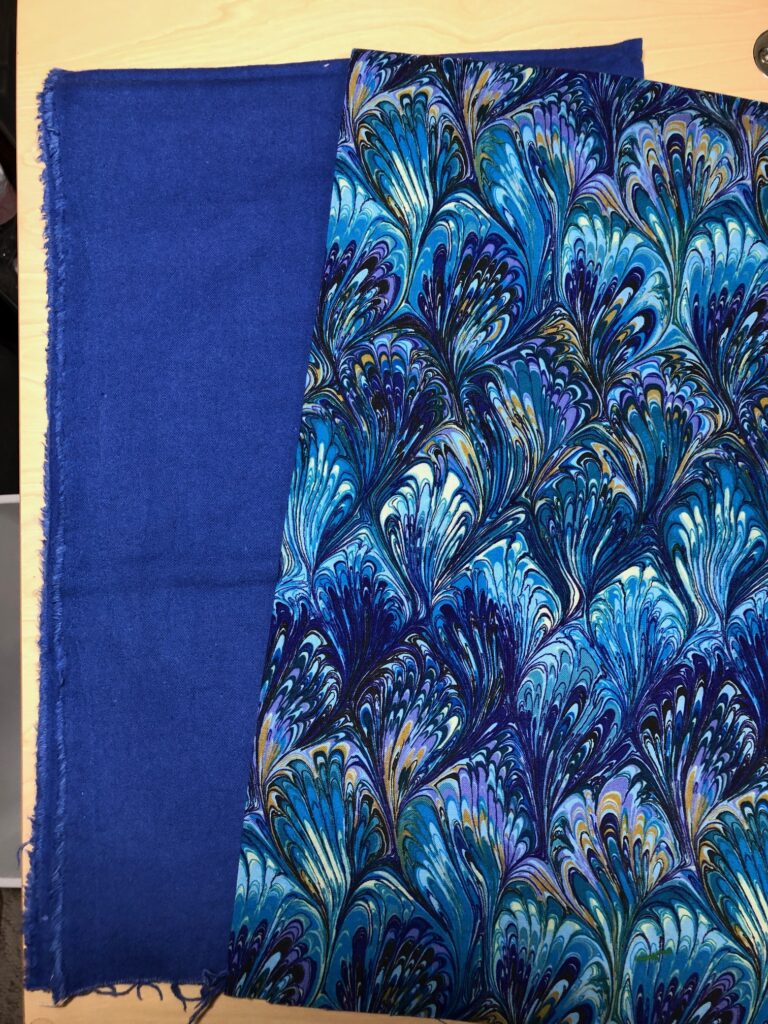
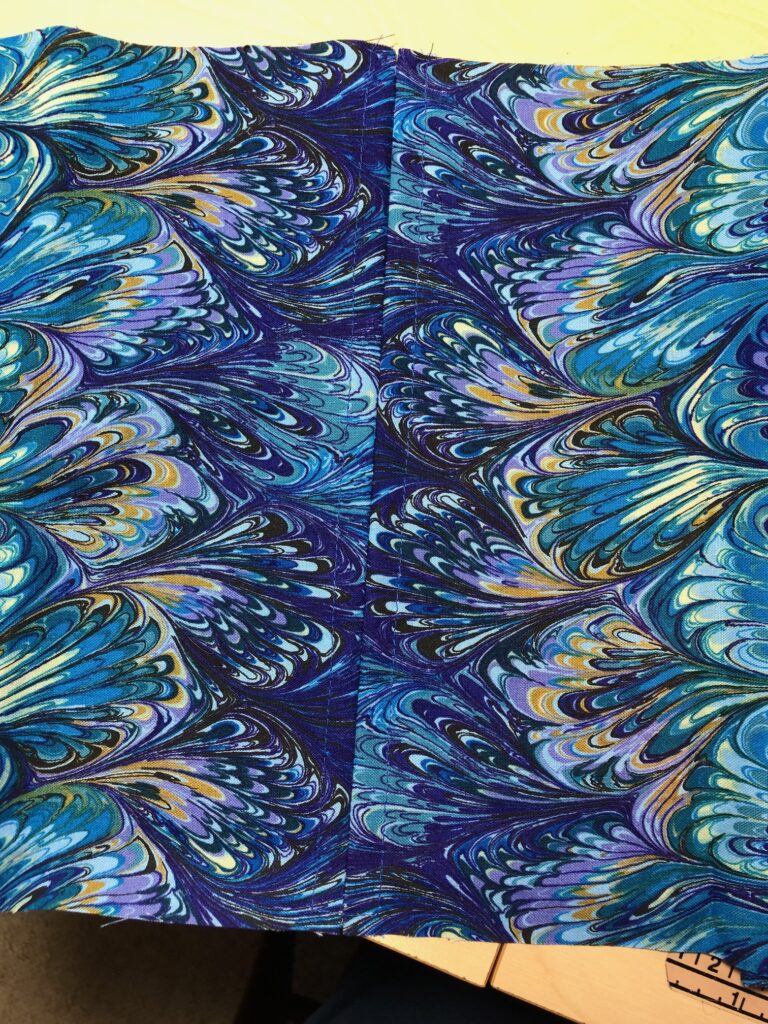
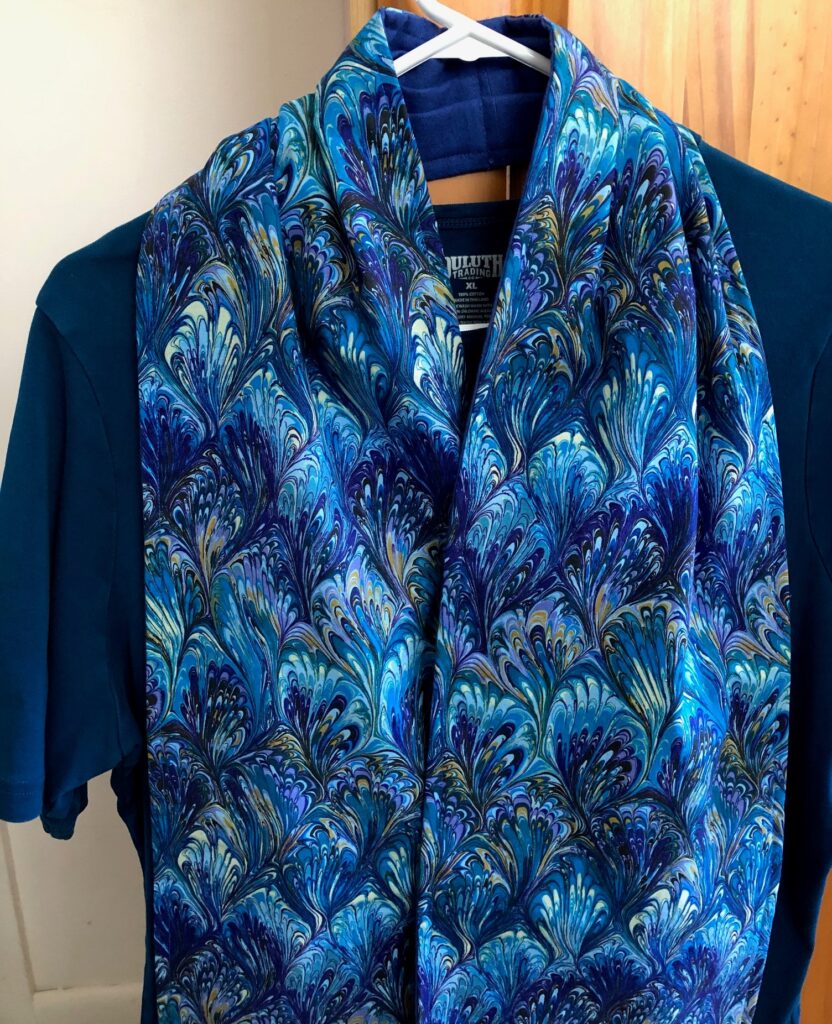
I figured this print would hide all kinds of spills!
Using the fleece scarf as a pattern, I folded it in half and cut two pieces of the outer fabric…about 10″ by 27″. I then cut matching flannel for the lining. I’m hoping the flannel back will sort of cling to my shirt underneath so it wouldn’t need a fastener to stay put.
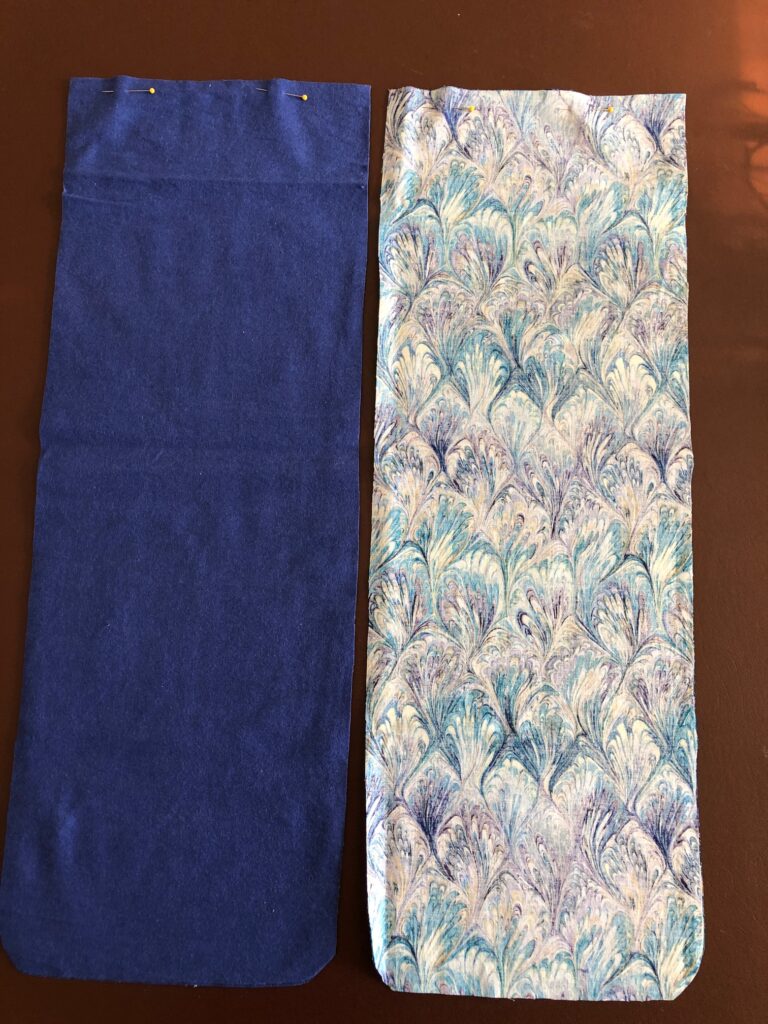
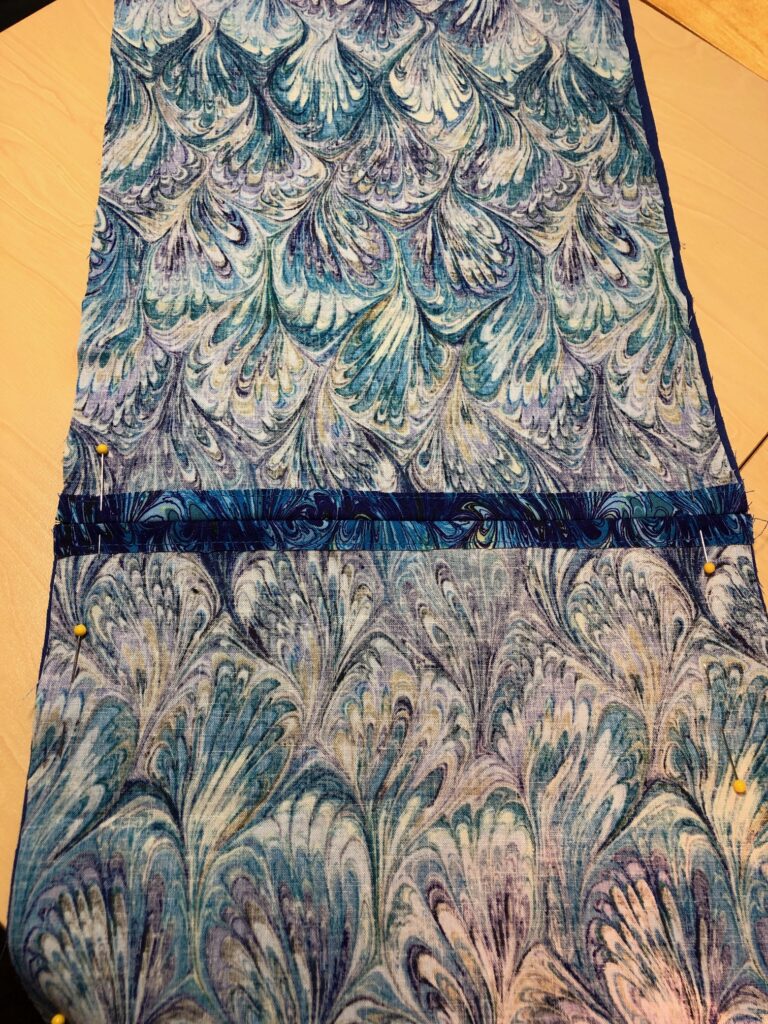
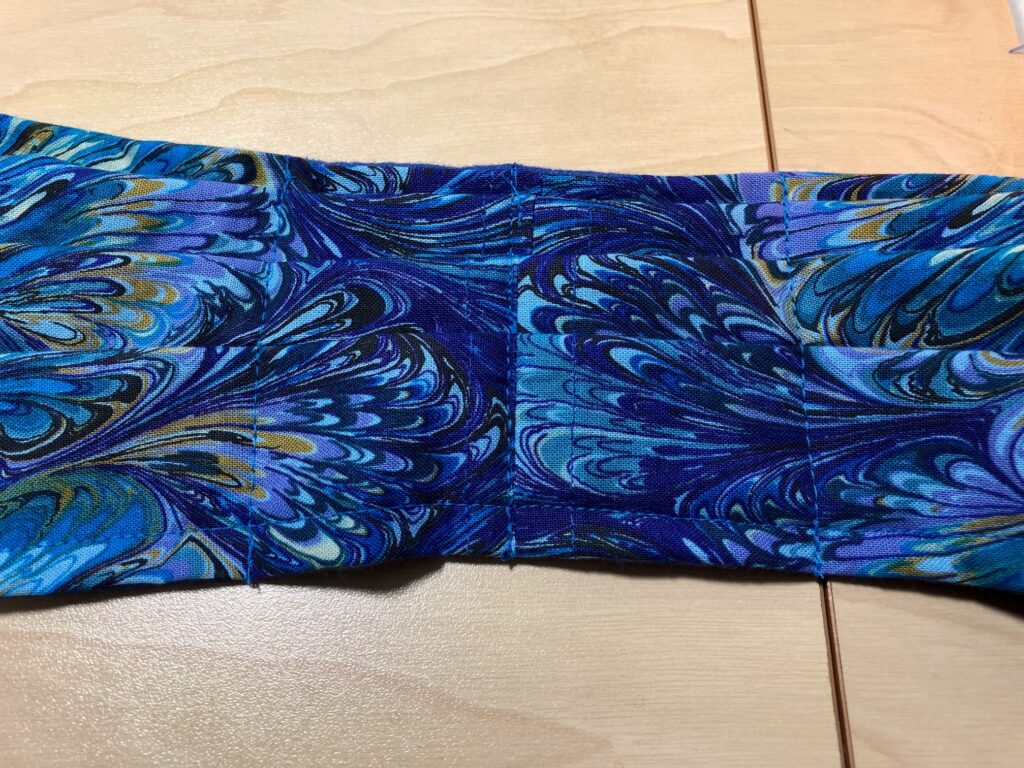
Two pieces of outer and lining fabric, right sides together, ready to stitch together at one end to make one long scarf.I sewed the scarf pieces end to end and then stitched the seam down.Here is the seam that will be at the back of the neck when finished.The scarf and lining, right sides together.
Leave a 5″ opening close to the back center seam for turning right side out.
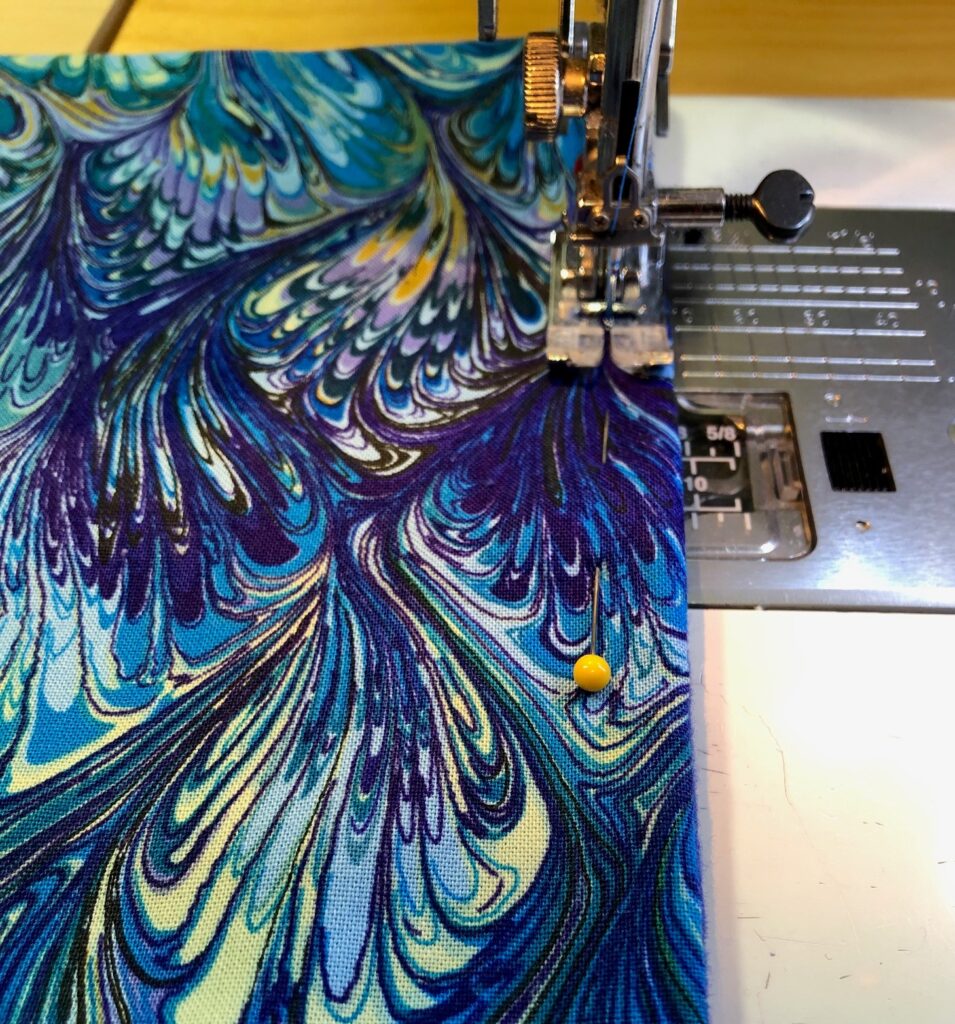
Turn right side out and finger press the seam all around the scarf.
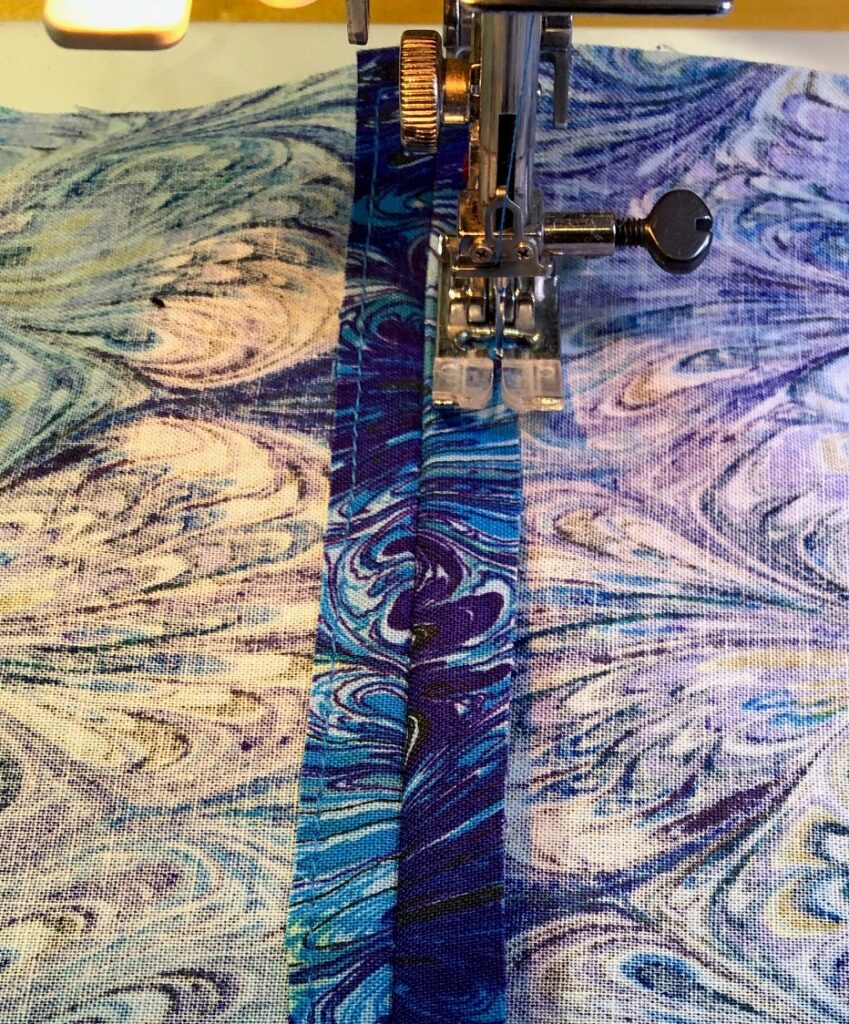
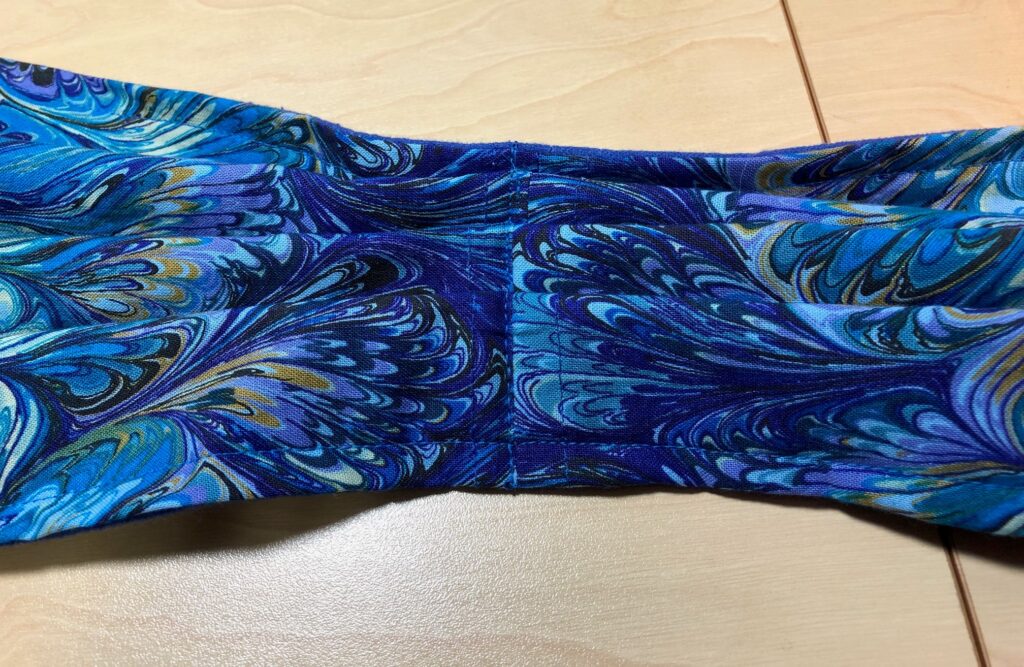
Top stitch 1/2″ all around the edge of the scarf.At the center back of the scarf, fold 3 pleats to reduce the bulk at the back of the neck. Top stitch the pleats down.About 2″ from the center seam on each side, top stitch the pleats down again.The scarf should lay smoothly over your shoulders. The flannel lining should make any kind of fastener unnecessary. A decorative pin could also hold it in place while dining.
I’ll have to see how this scarf works the next time I eat out at a restaurant…it might be a good solution to avoid stained blouses! Enjoy!
I never thought much about sewing an adult bib…but a friend asked if I could use one she had as a pattern and make another. Now at the moment, I don’t know anyone in a nursing home so it hasn’t occurred to me as a potential project. This is the bib she shared with me:
However, I do remember working with a female Professor at Penn State who spent much of her time traveling to Extension Offices around the state. She was always wearing a nice suit and always managed to show up for presentations looking very professional. I traveled with her once and was surprised she traveled with her suit on AND she stopped for fast food to eat on the way. She quickly grabbed something from the back seat and pulled a large bib-like towel over head. We continued on our trip while enjoying our lunch. When finished, she had hand wipes ready and removed the towel. Her suit remained spotless! What a good idea!
It wasn’t until I did a search on “adult bibs” on Pinterest that I found a whole world of ideas to make these bibs…or “dining vests” or “dining scarves.” Who knew! Here are some pictures of items others have made:
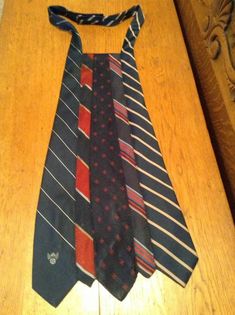
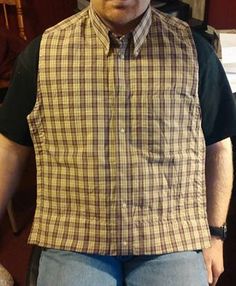
My professor friend had something like this!Clever!This is cool, but make sure the ties are washable…the inks often run when wet!No need for a pattern…just recycle the front of a favorite shirt!A dining scarf for your favorite guy!I’ve got to make something like this to keep in my purse!This is what I was expecting for an adult bib!
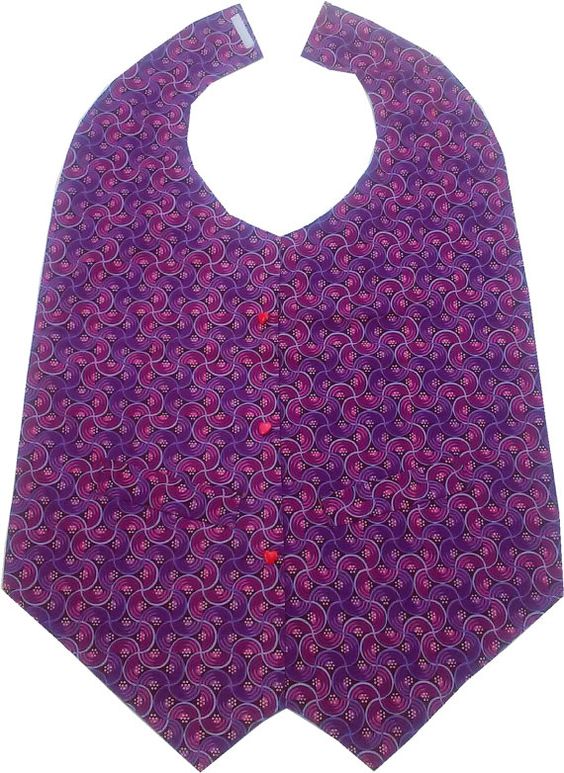
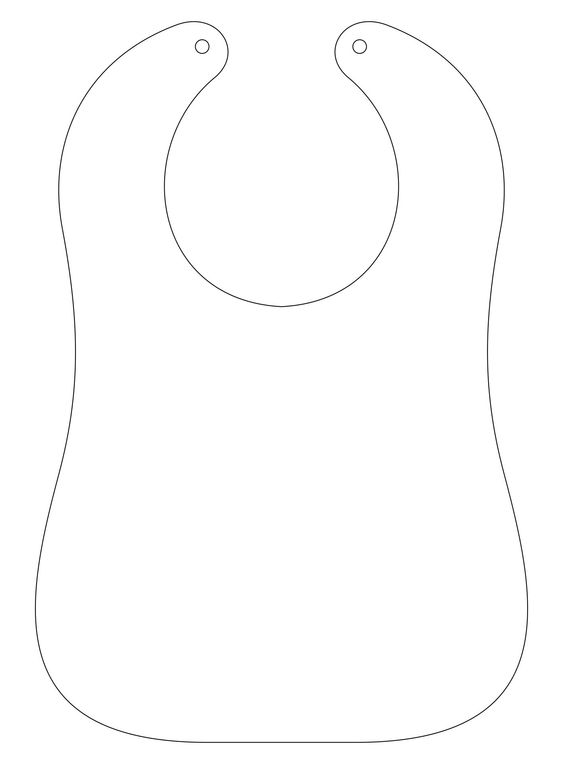
Well, almost too much information, but I sure got some good ideas for Christmas gifts! I did come across simple patterns like this one, which looked more like the one I was asked to make:
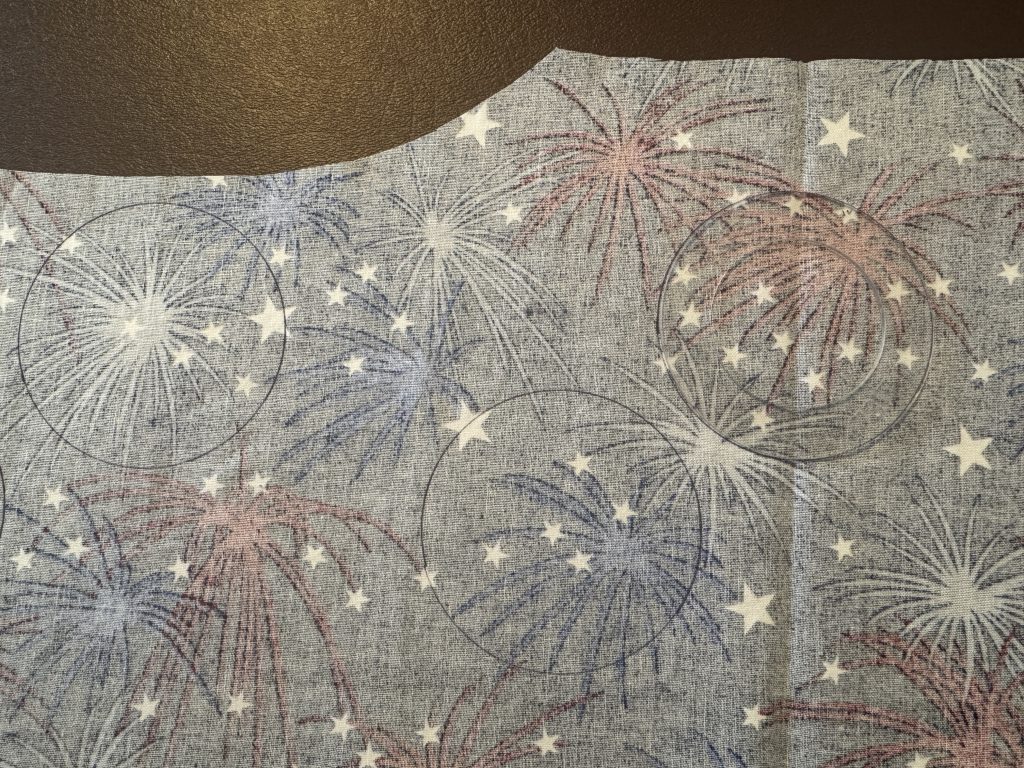
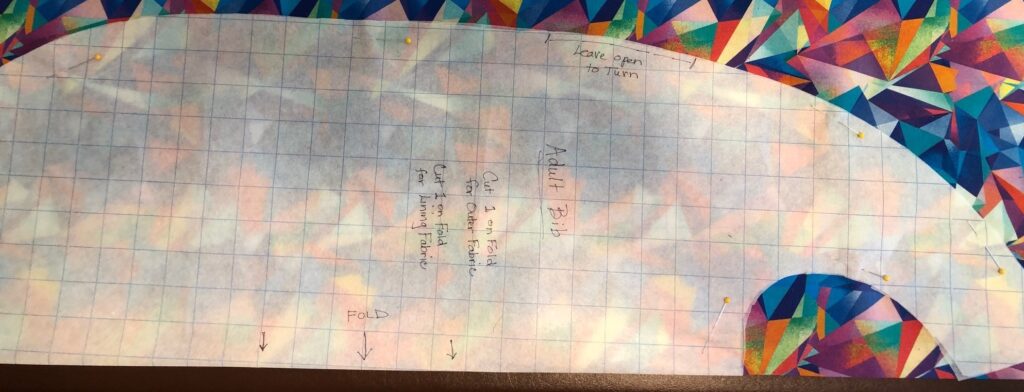
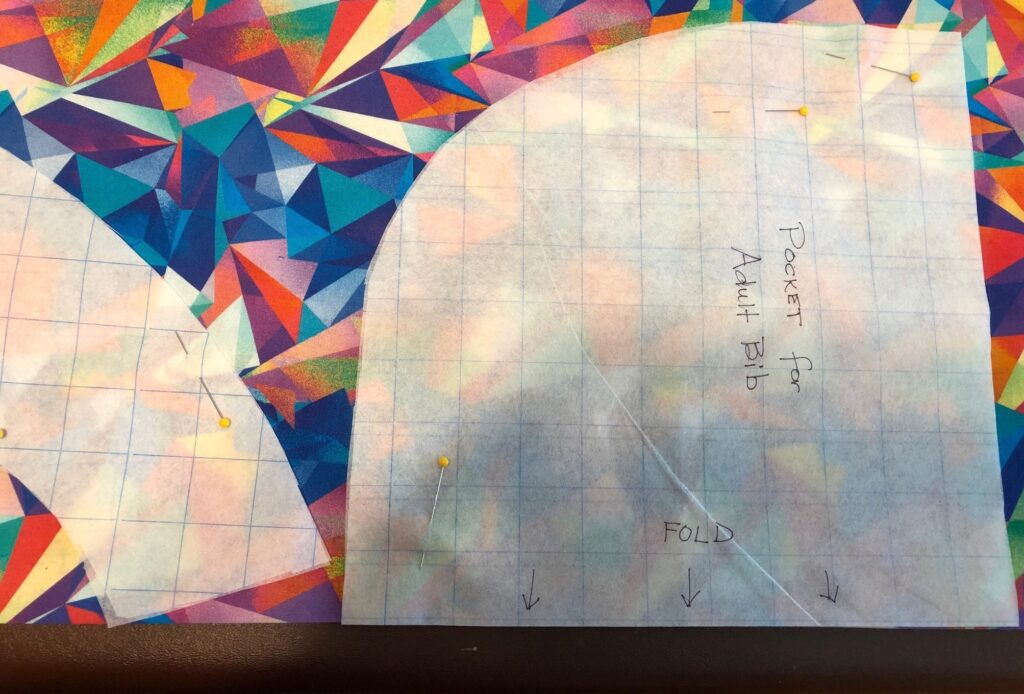
I started by making a pattern on quilting grid paper. This if very thin non-woven stuff with 1″ grid lines printed on it. I laid out the sample bib (see the first picture above) and basically drew around it, adding about 1/2″ for the seam allowance.
After cutting it out, I folded it in half lengthwise to trim it so the two sides are the same. Now I can lay the pattern on the fold of the fabric. Much easier to cut out. I copied the curve along the bottom to make a deep pocket pattern.
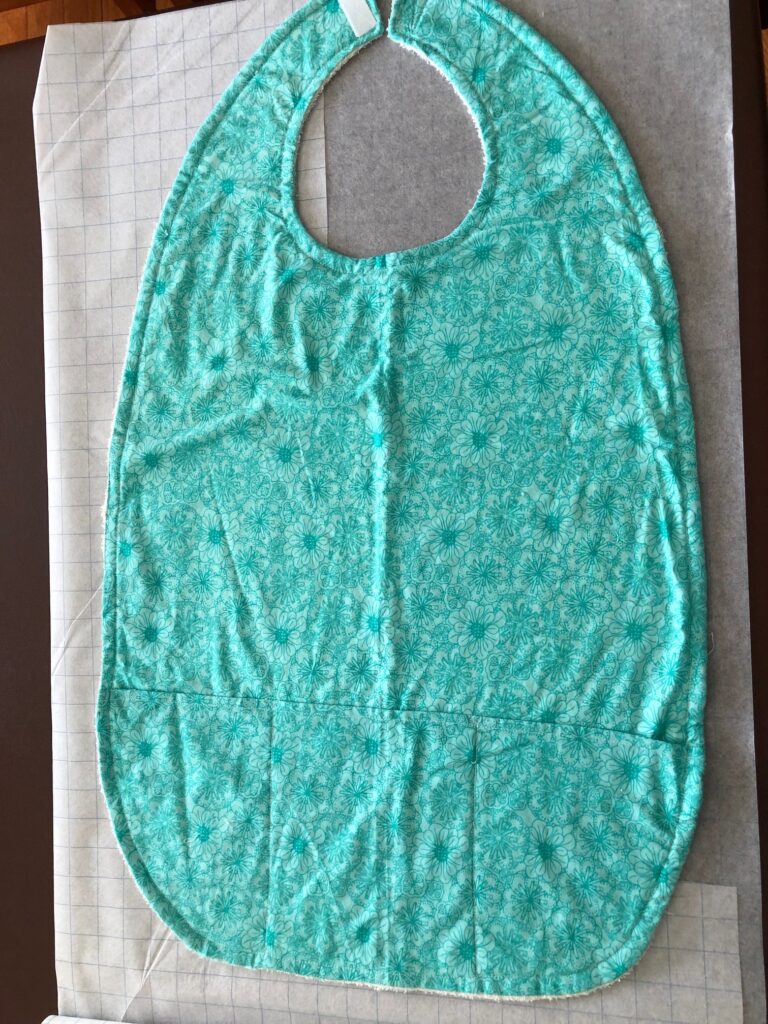
This is the pattern on one of the two fabrics I chose. Figured it wouldn’t show anything…from soup to spaghetti sauce!This is the pocket pattern…on the fold.
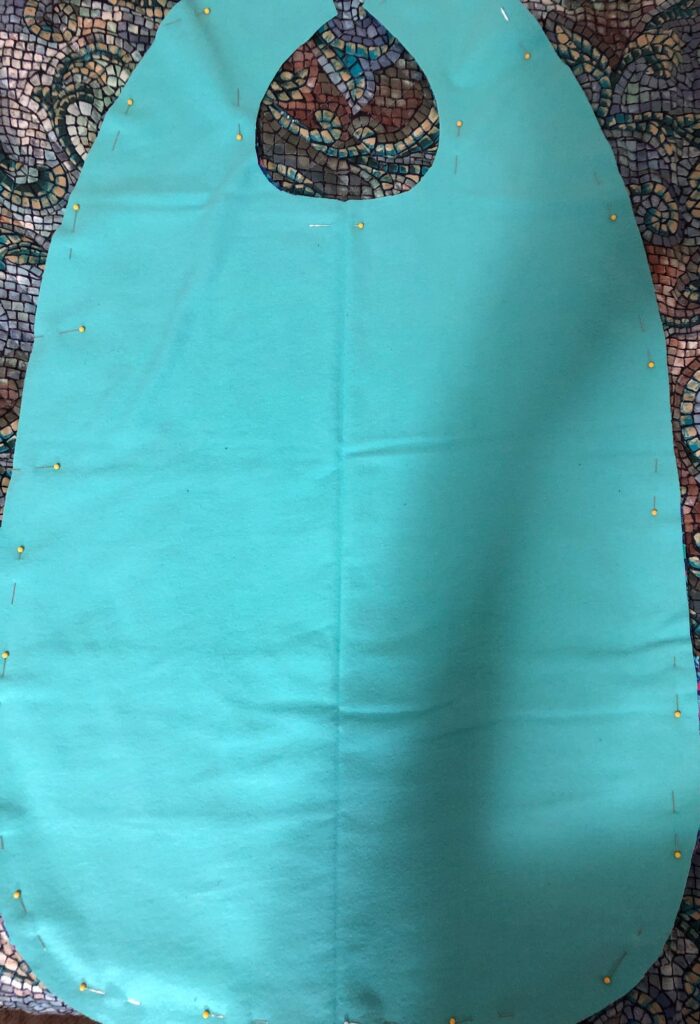
I cut out two bibs with linings of flannel in two colors. I will make one and have my friend try it before I make the other one. She may decide the pocket is unnecessary.
Making the Bib
Materials:
1 1/2 yards of washable fabric for the outside of the bib and pocket.
1 1/2 yards of washable fabric for the lining of the bib and pocket.
1 piece of Velcro hook about 1″ x 2″
1 piece of Velcro loop about 2″ x 2″ (or two 2″ strips of 1″ Velcro loop)
Thread
Step 1: Prep the Pocket. Place the pocket and lining pieces right sides together. Stitch the straight side using a 1/2″ seam allowance.
Step 2: Finish the Pocket: Turn right side out and top stitch along the straight edge. This is the top of the pocket.
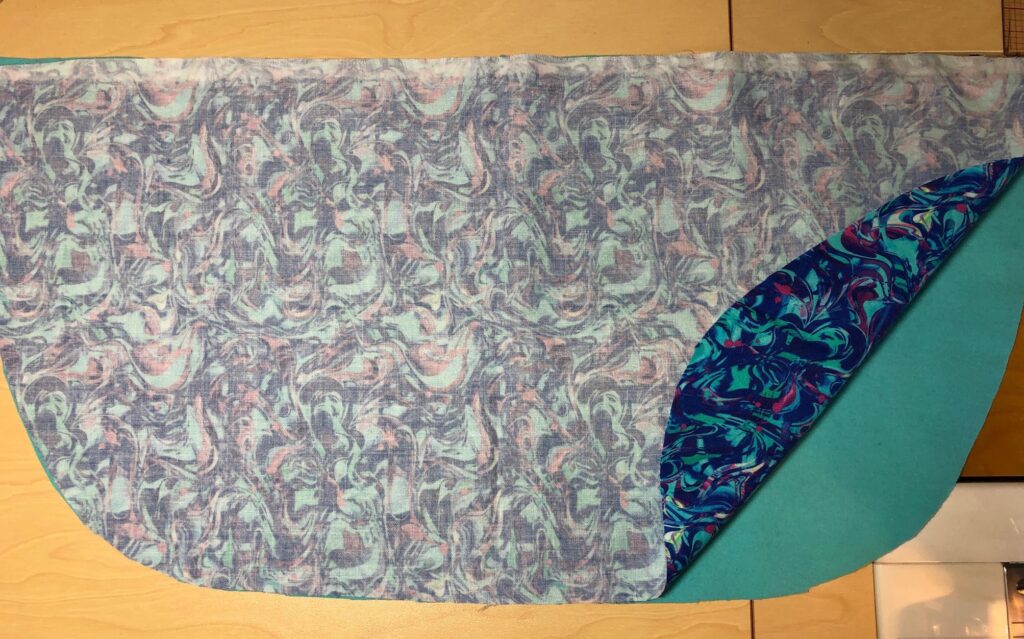
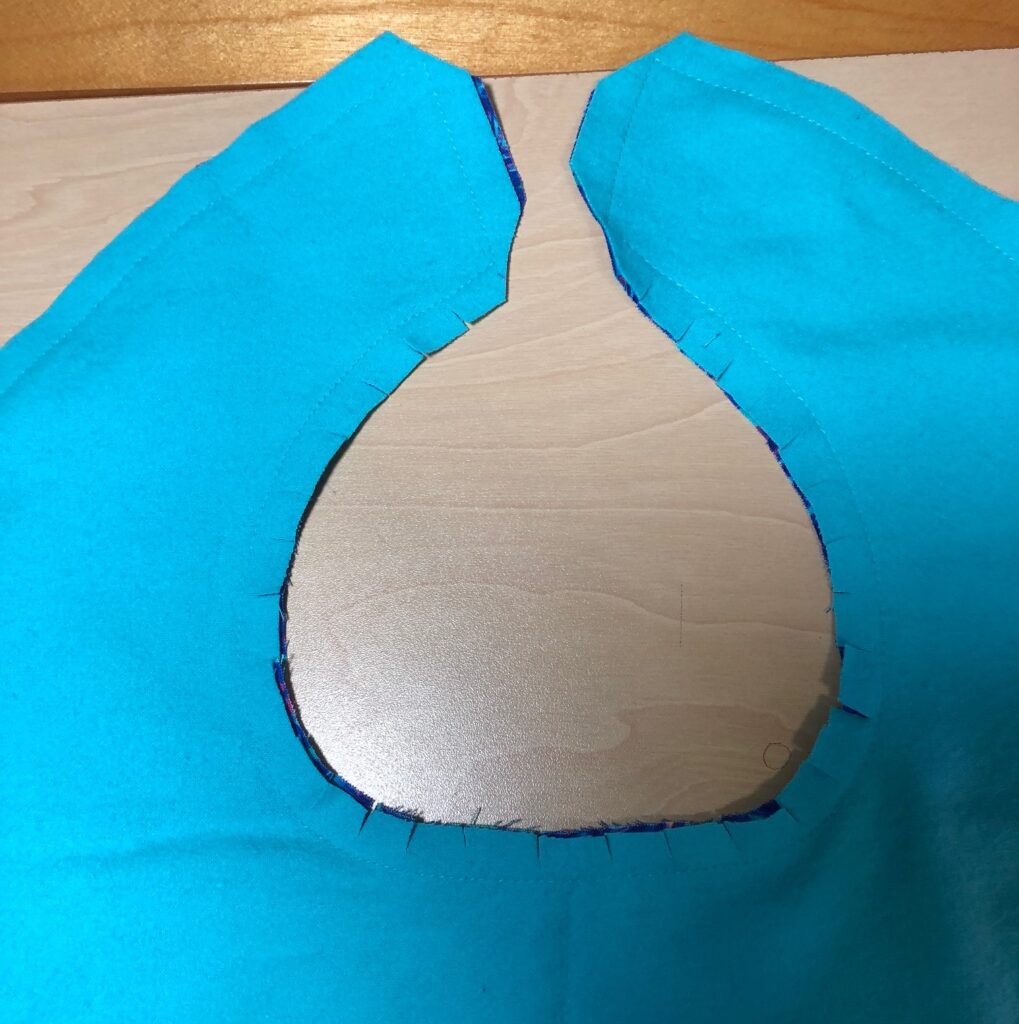
Step 3: Place the pocket onto the right side of the bib fabric, matching the edges along the curve.
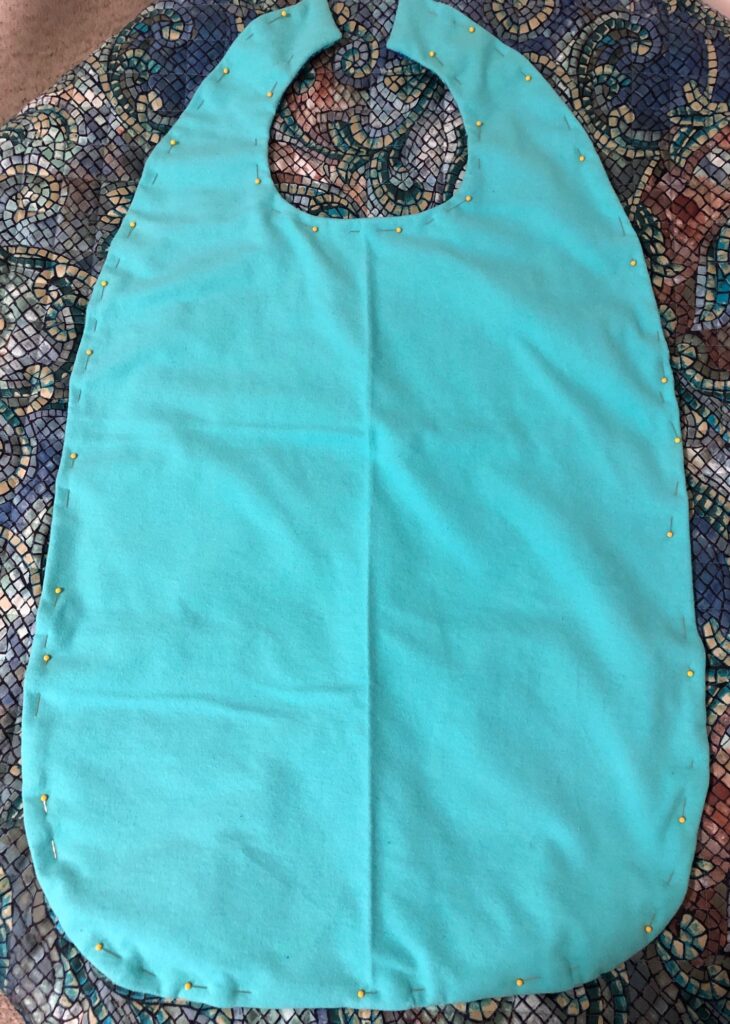
Step 4: Place the lining piece, right sides together, onto the bib outside piece (covering up the pocket). Pin around the edges.
Step 5: Sew around the whole bib, leaving a 4″ space on one side (above the pocket) to allow for turning. Before turning, clip the neck opening to keep the seam lying flat after turning.
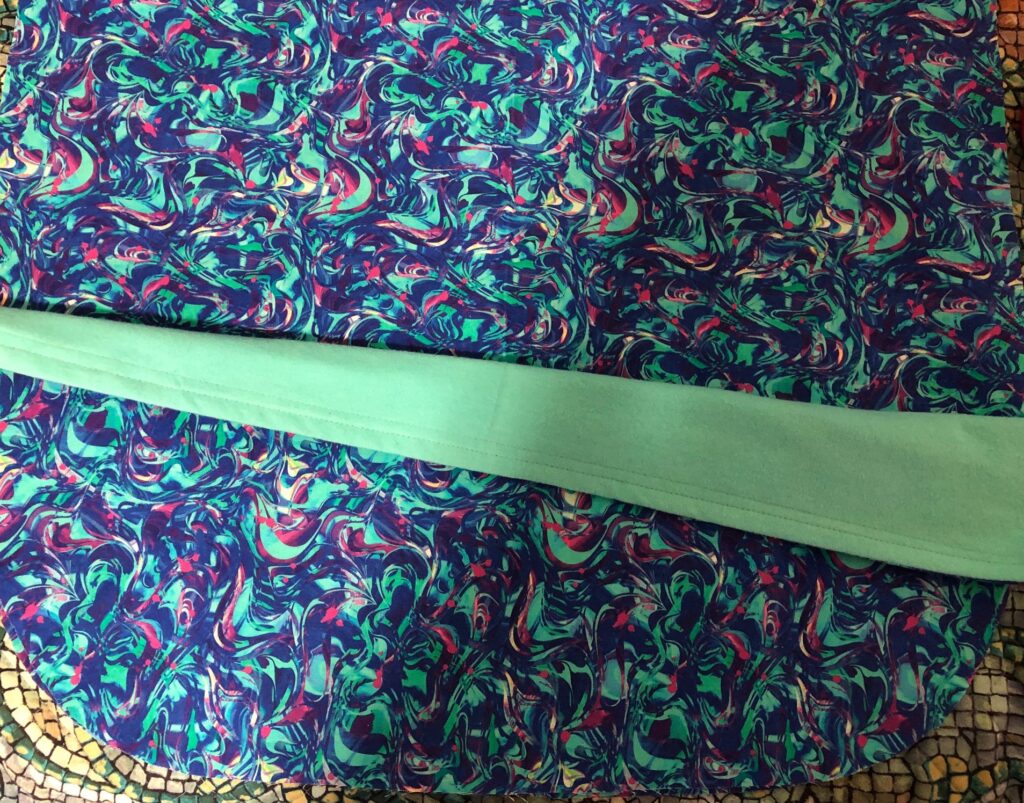
Step 6: Turn the bib right side out through the opening you did not stitch. Pin around all edges. Top stitch about 1/2″ from the edge.
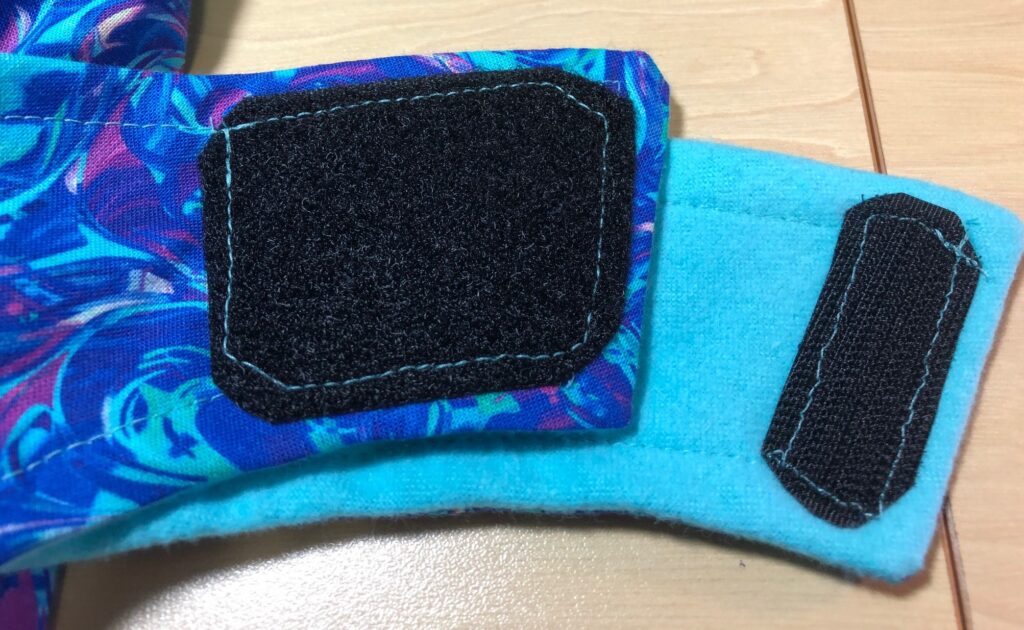
Step 7: Prepare the Velcro. I use 2″ wide Velcro, so I needed one piece about 2″ x 2″ of the loop, and 1″ wide piece of the hook.
Note: If you are using 1″ wide Velcro, use two pieces of the loop side by side to make a wider patch for the hook to find. Much easier to close the hook on a larger patch of hook.This is how the Velcro look sewed down.
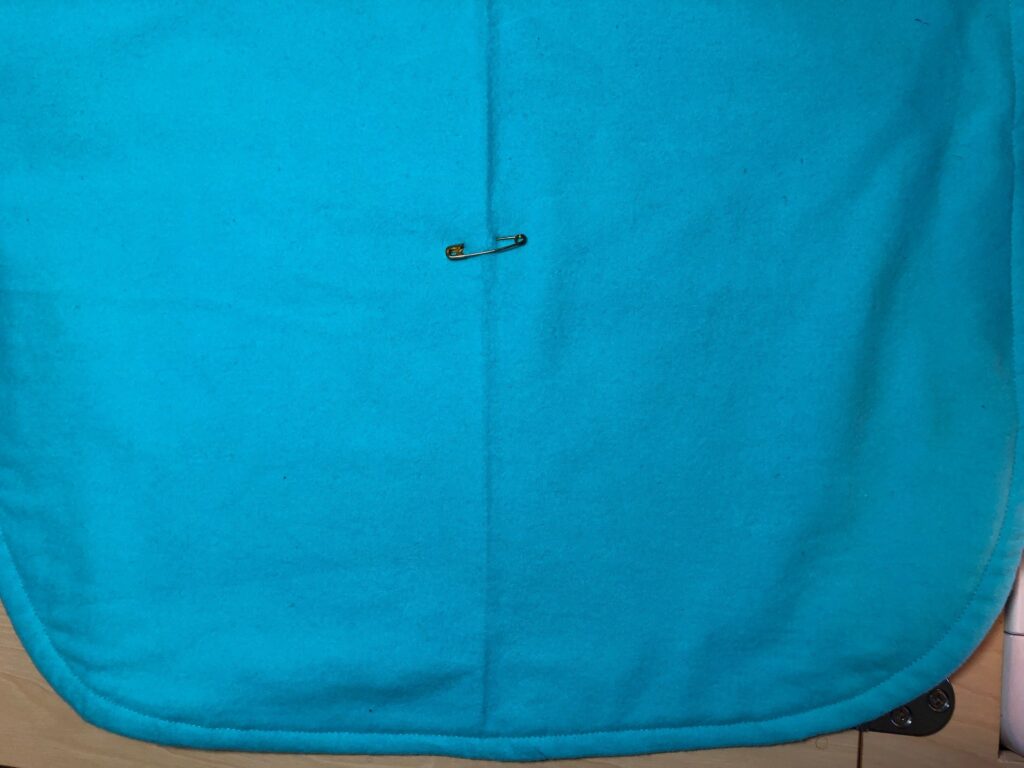
Step 7: When finished, hold up the bib and see if the pocket hangs open. You can top stitch sections to stabilize into small pockets. (See the original picture at the top.) I was asked to leave it open for now, so I added a safety pin through the back to hold the pocket snug to the bib. It could be removed for washing, or I can sew it down later.
It probably took me longer to make the pattern than to make the bib, so it’s pretty simple. Let your creativity make it special for the person you are giving it to! I’d love to see pictures if you try something unique! Enjoy!