Making the Most of 4 Yards of Fabric

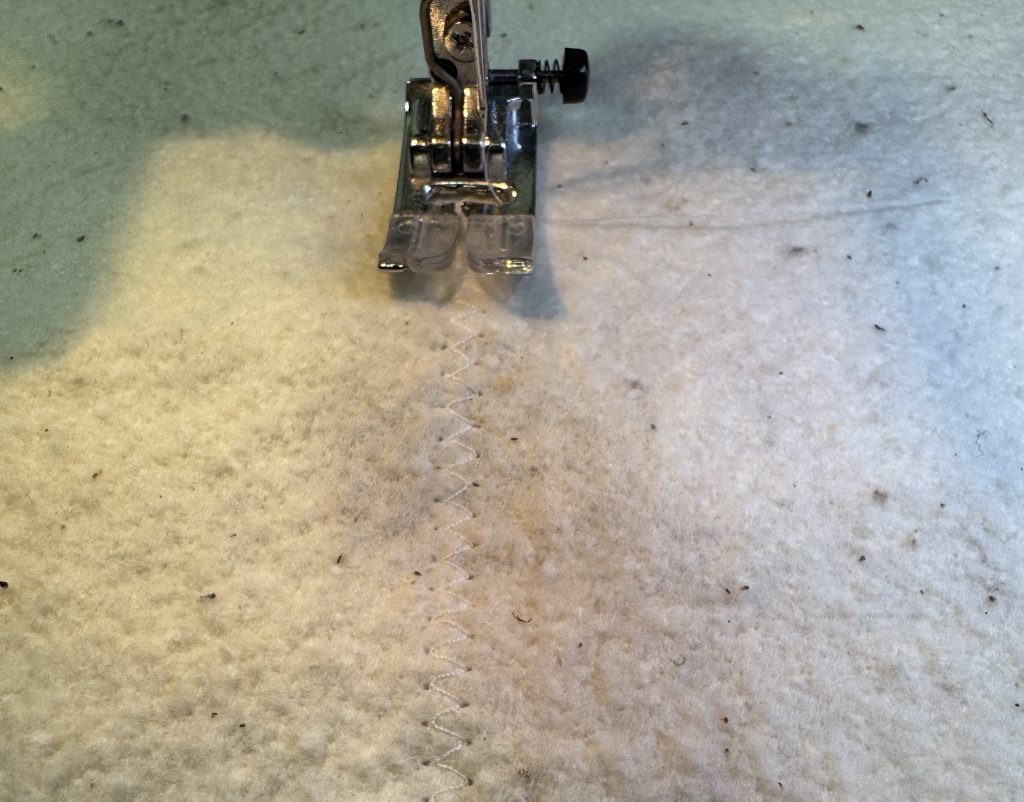
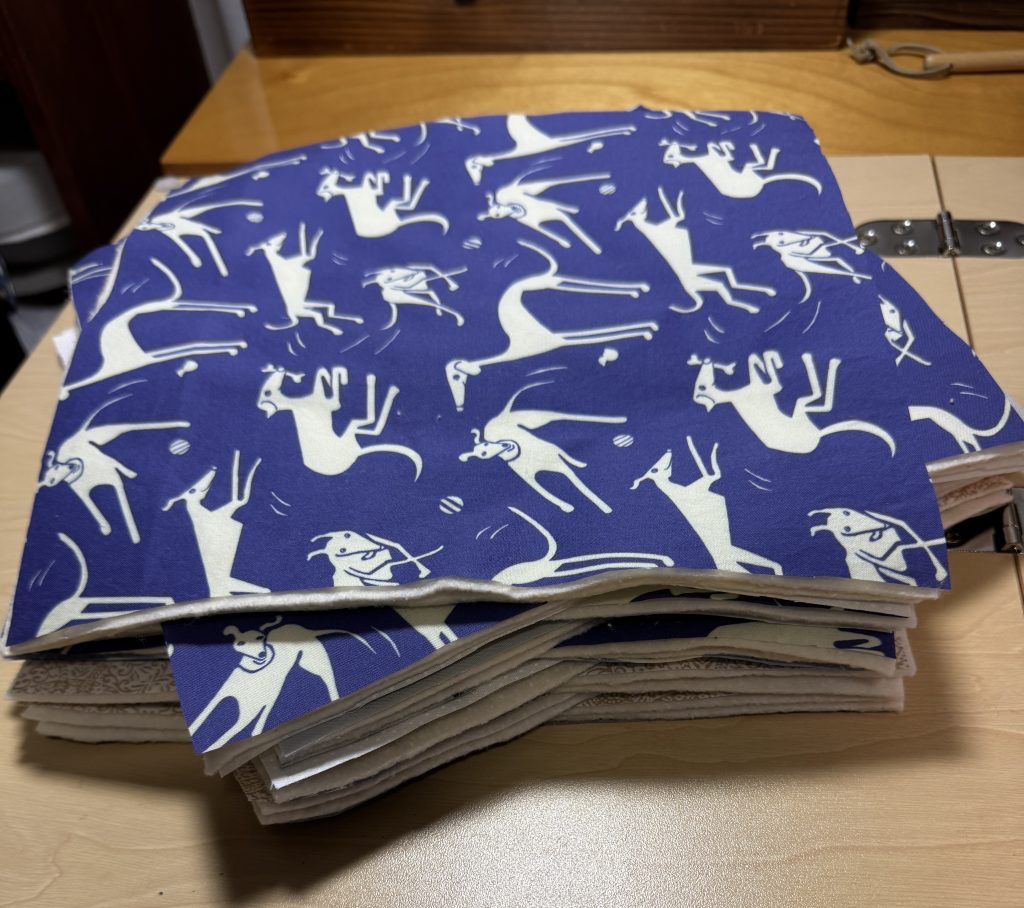
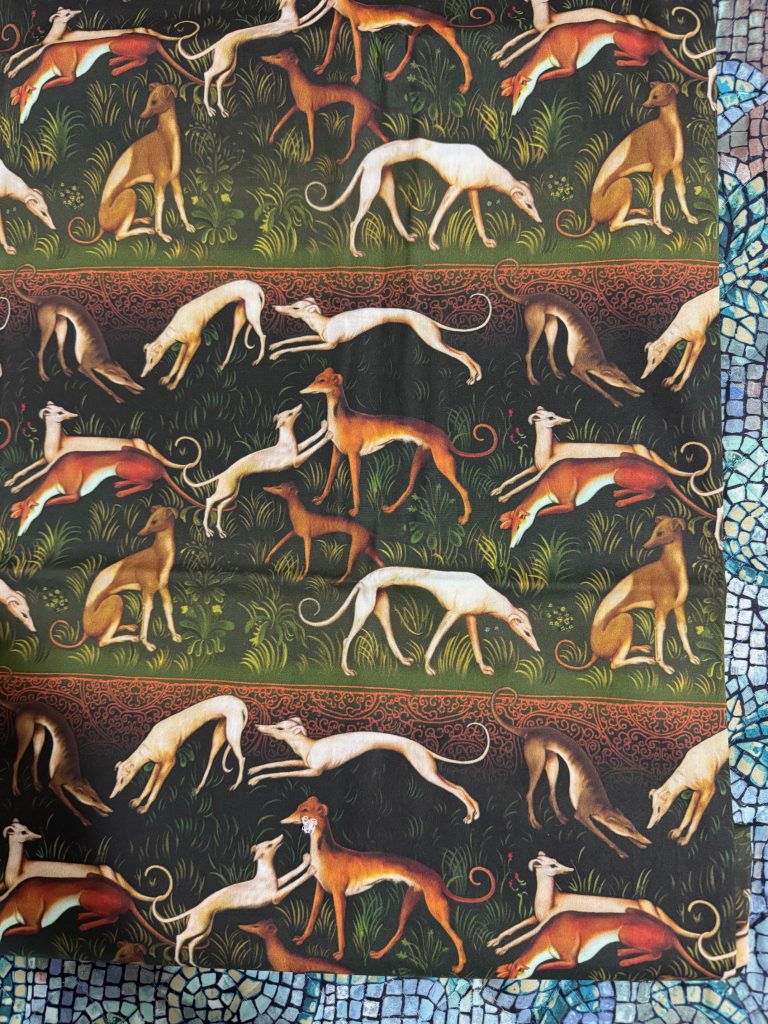
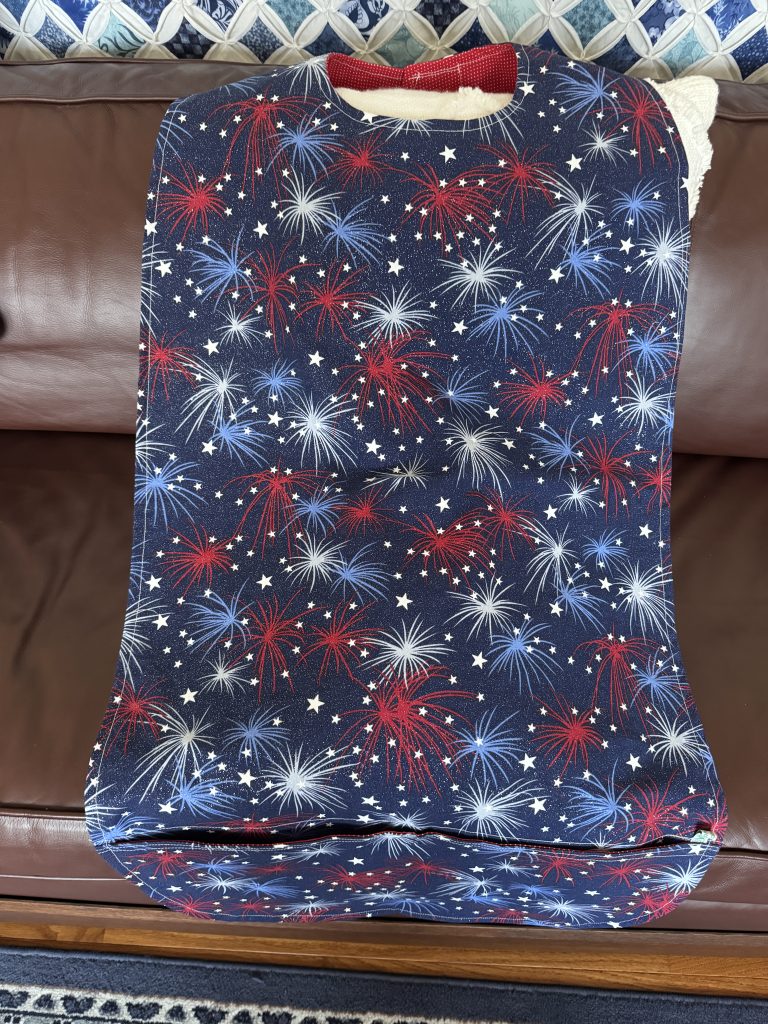
My latest sewing project involved making another adult bib for a friend. My pattern makes an especially LONG bib with a pocket at the bottom to collect crumbs while a person is sitting. Usually, I don’t try to make two of the same fabric, but this time I decided to see if I could squeeze two side-by-side on the fabric.

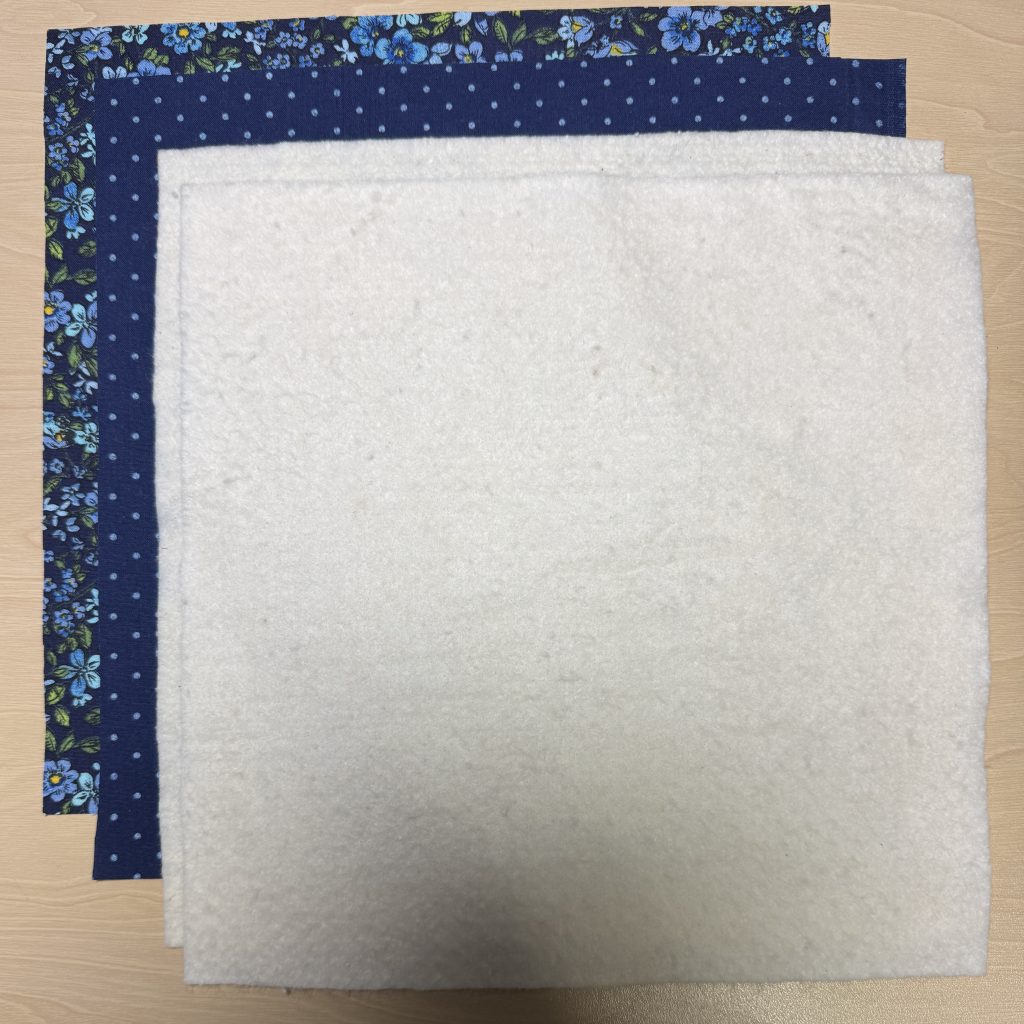
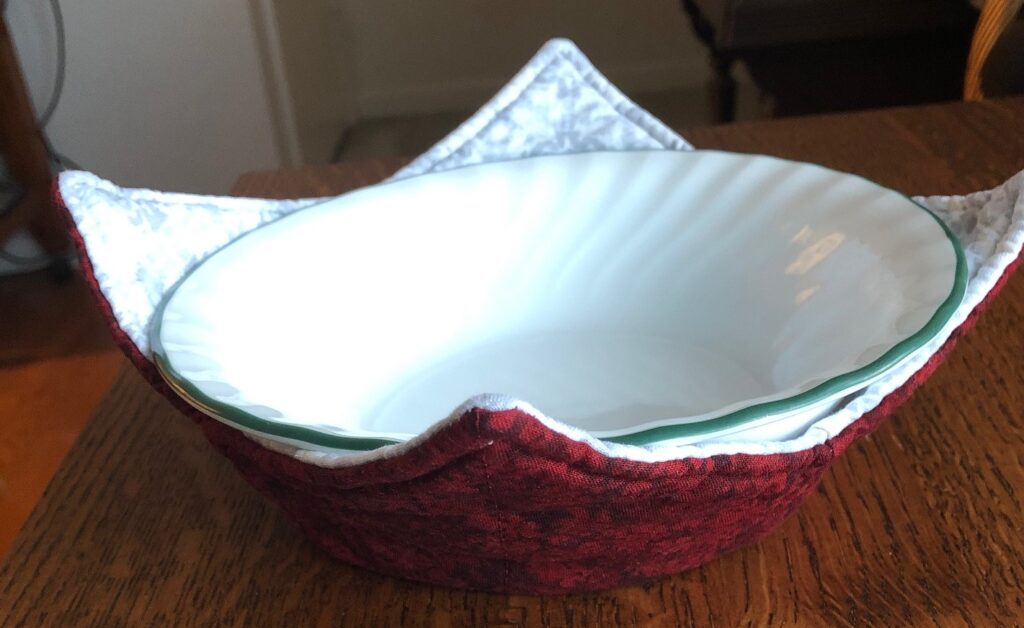
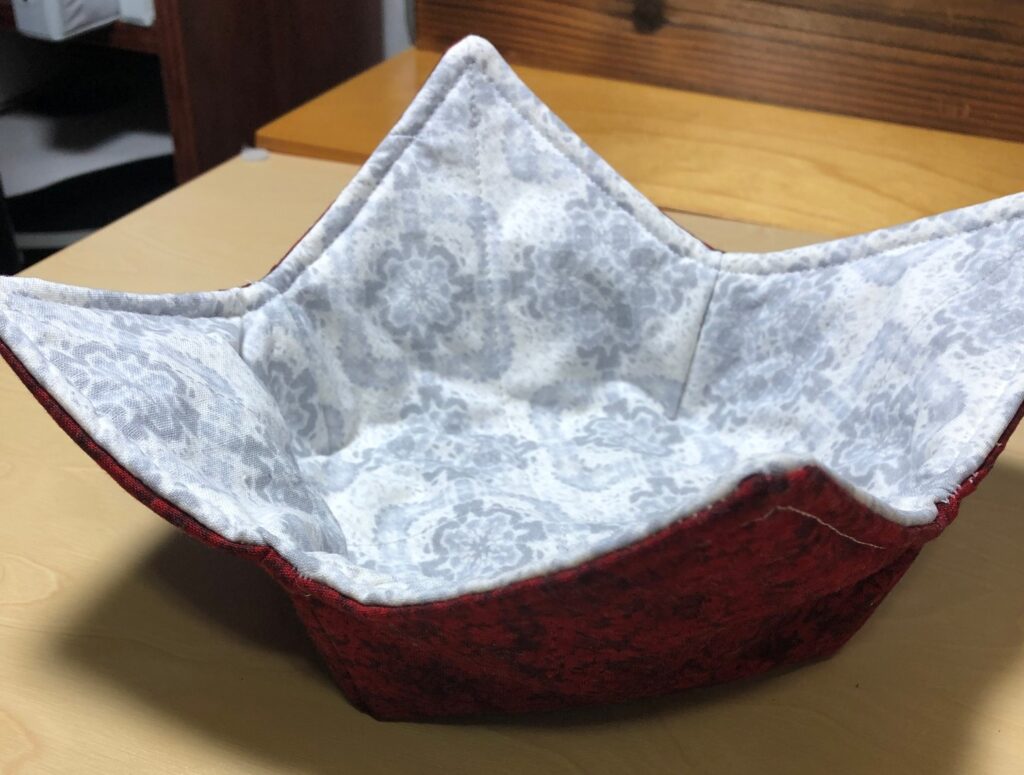
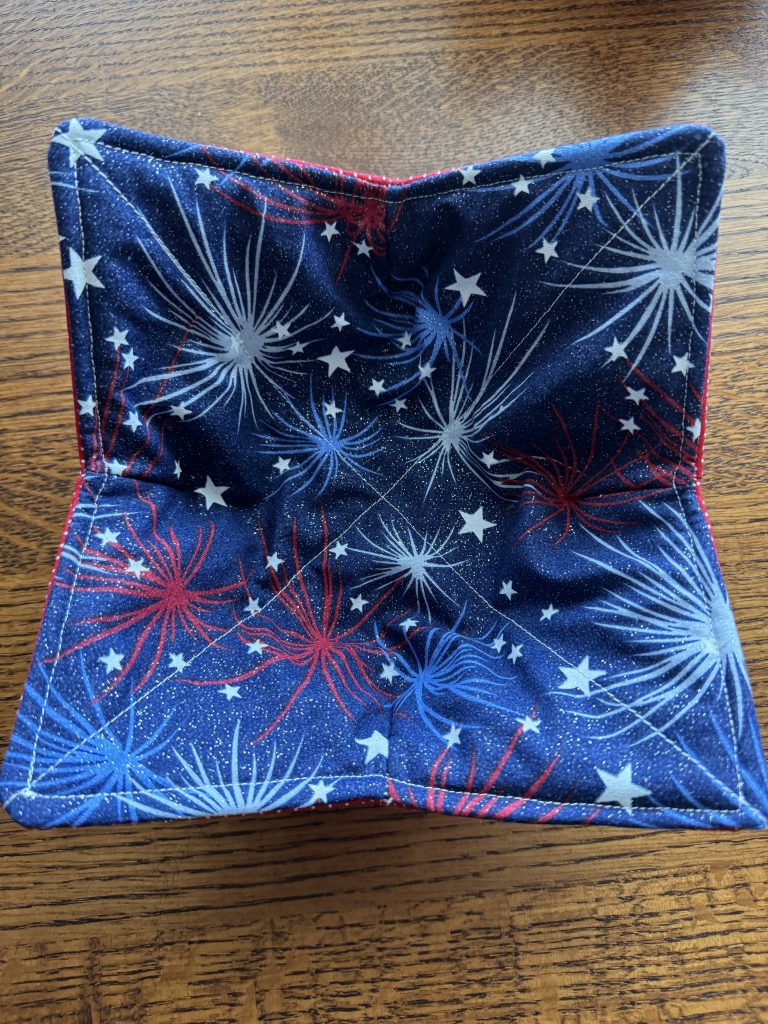
I bought two yards of fireworks fabric and two yards of plain red with tiny dots for the lining. After washing the fabric, I ironed it so I had a crease down the middle. Then I opened it up and folded the selvage edges to the middle, giving me two long folded edges. I ended up having enough fabric left over to make four bowl cozies and 8 refrigerator magnets. This was a fun day!

Here’s a sketch of how I laid out the pattern pieces:

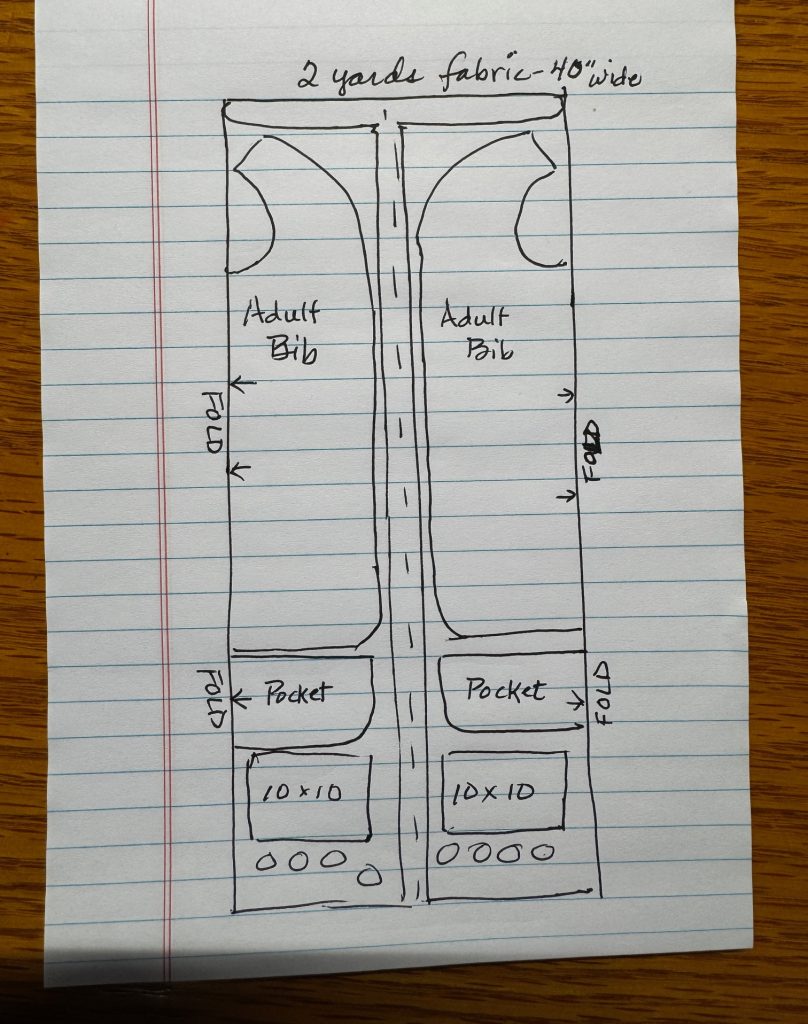
I was pleased to be able to make two bibs that used up 1 1/2 yards of fabric and lining.

I wrote an overview about making adult bibs at https://marykisner.com/adult-bibs-are-not-just-for-nursing-homes/

It appears I have not written a step-by-step set of instructions to make this long adult bib yet. If you’d like me to do that, please send me an email (maryjkisner@gmail.com) and I’ll put that together next.

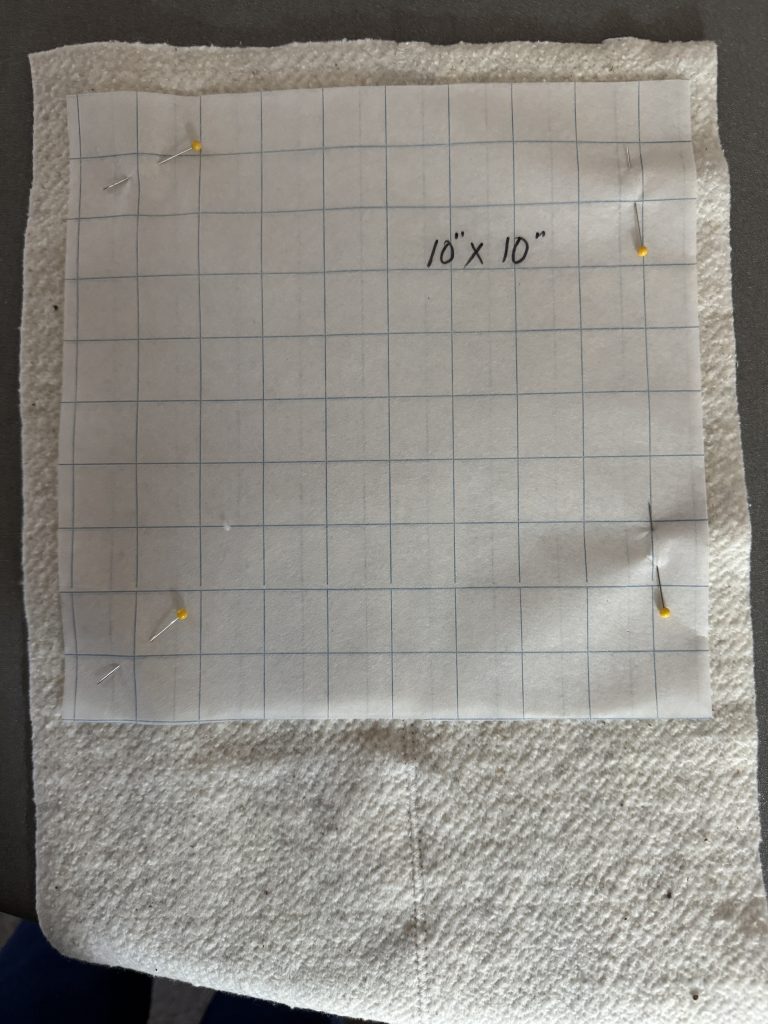
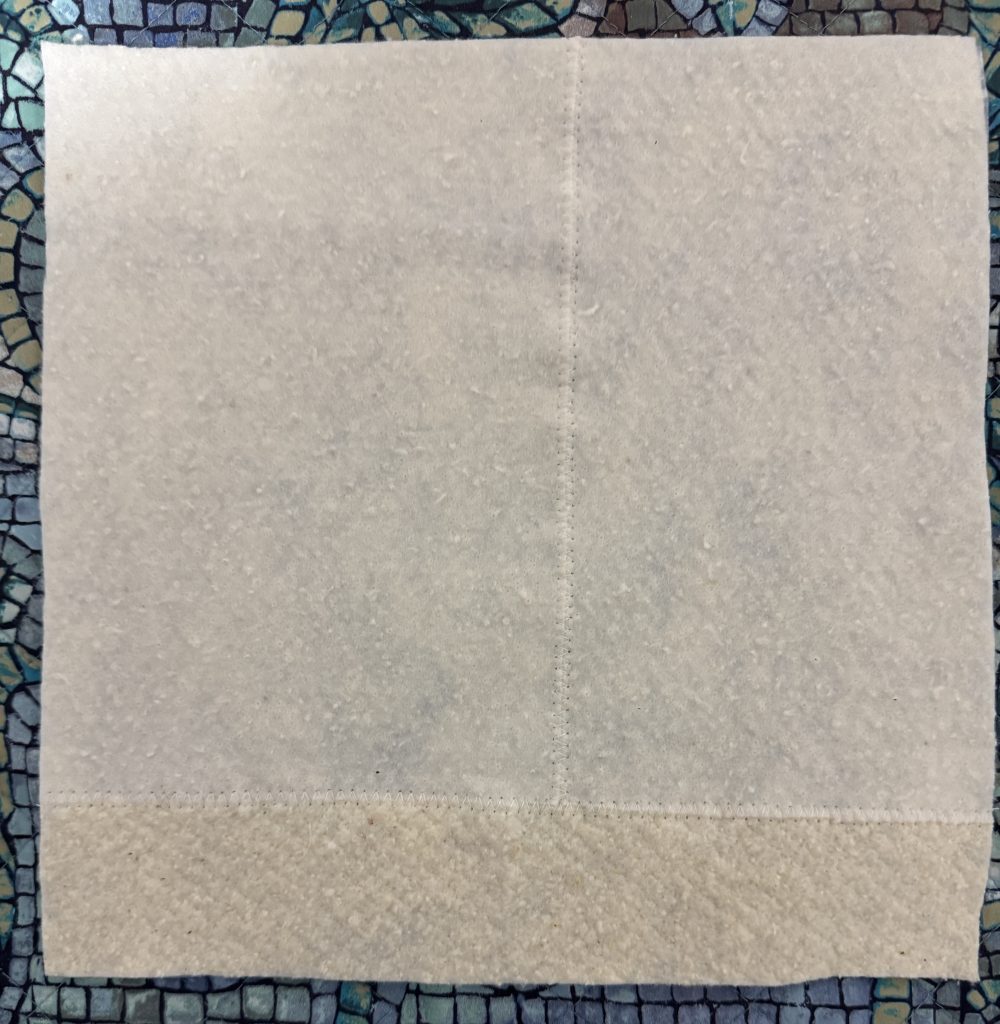
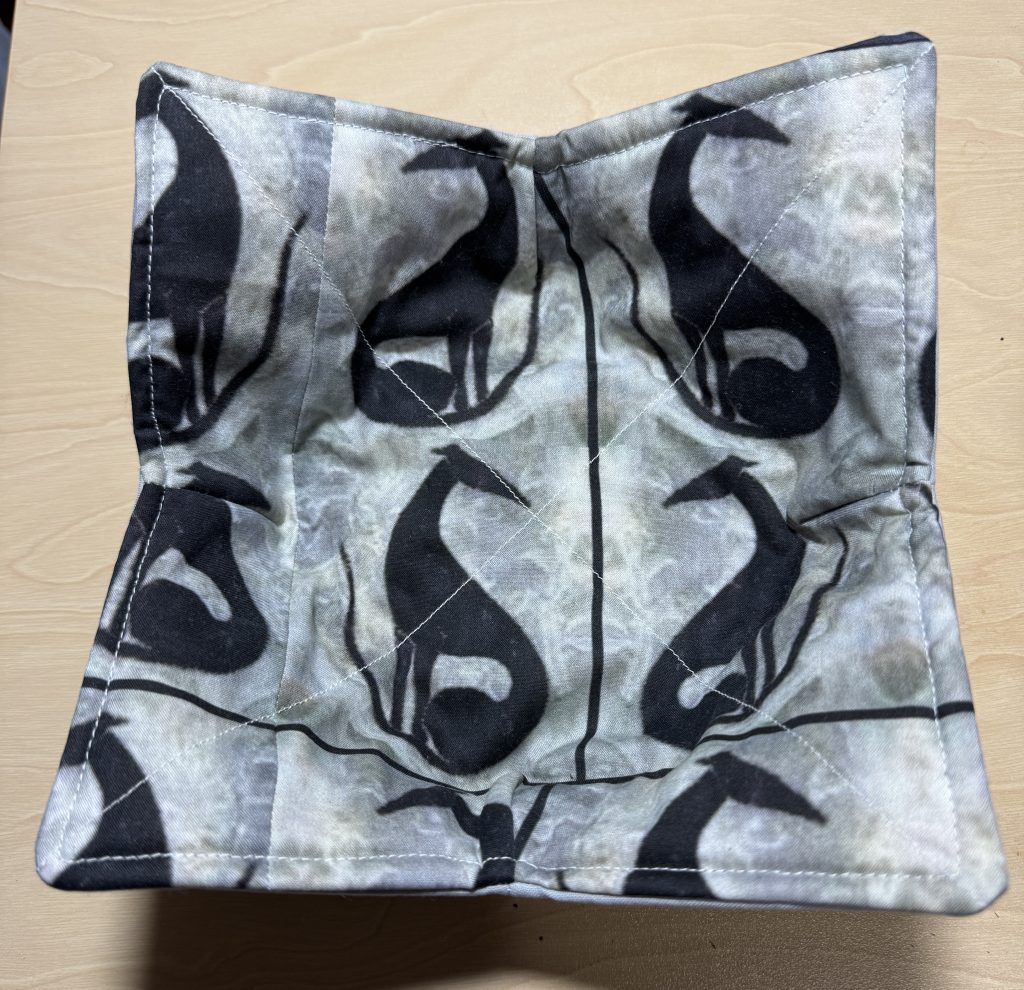
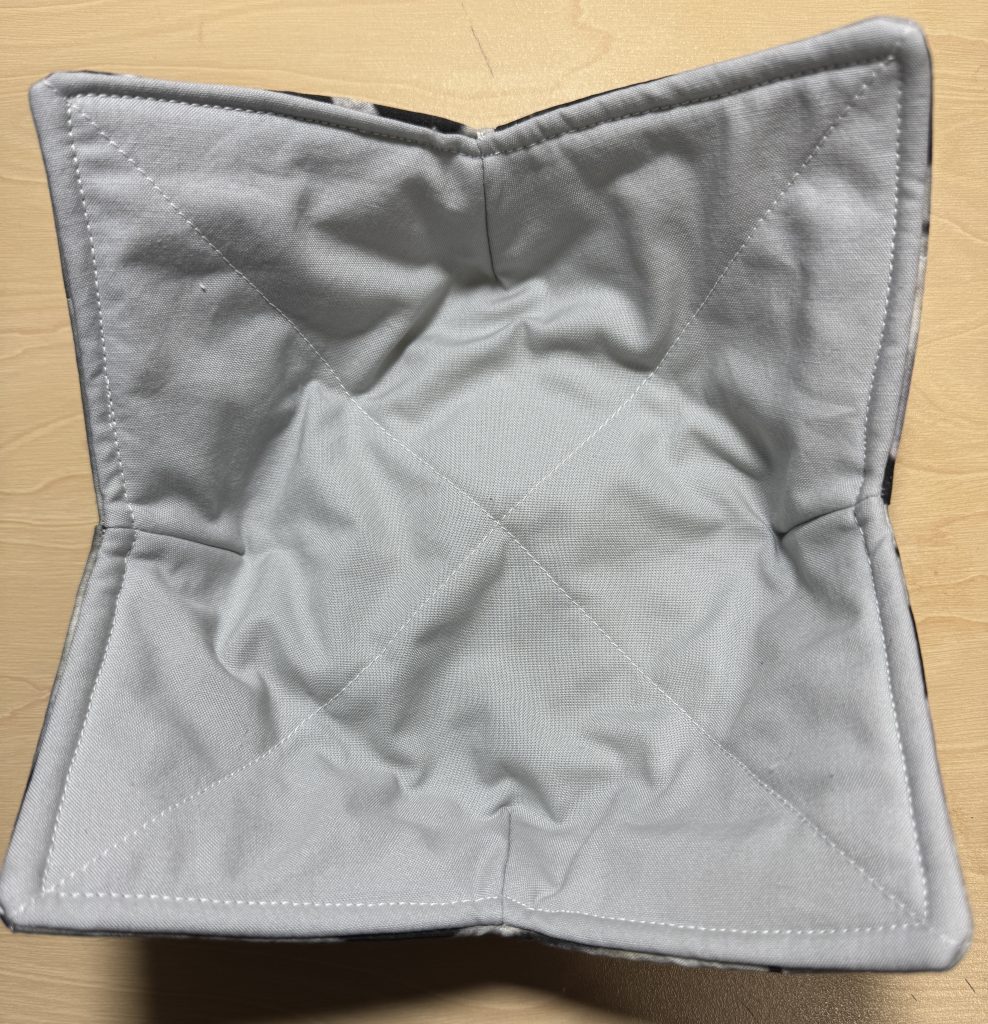
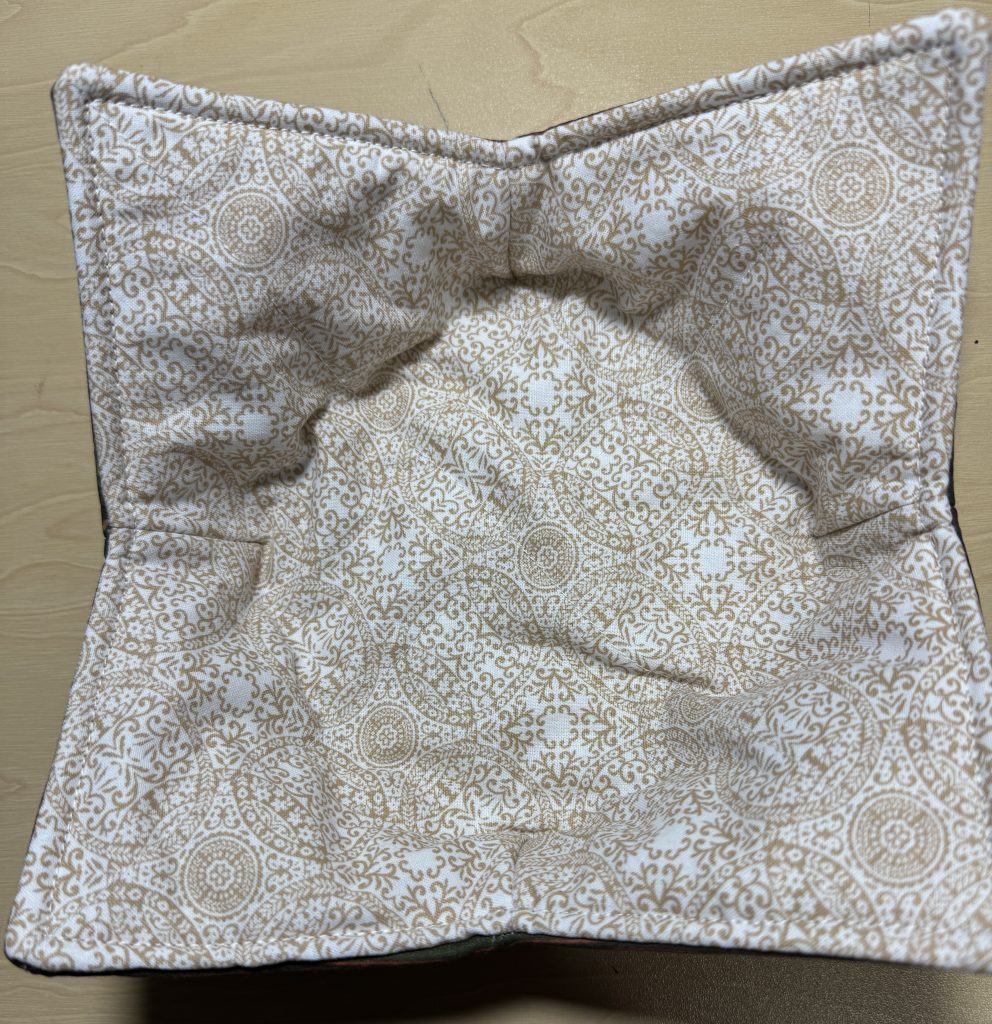
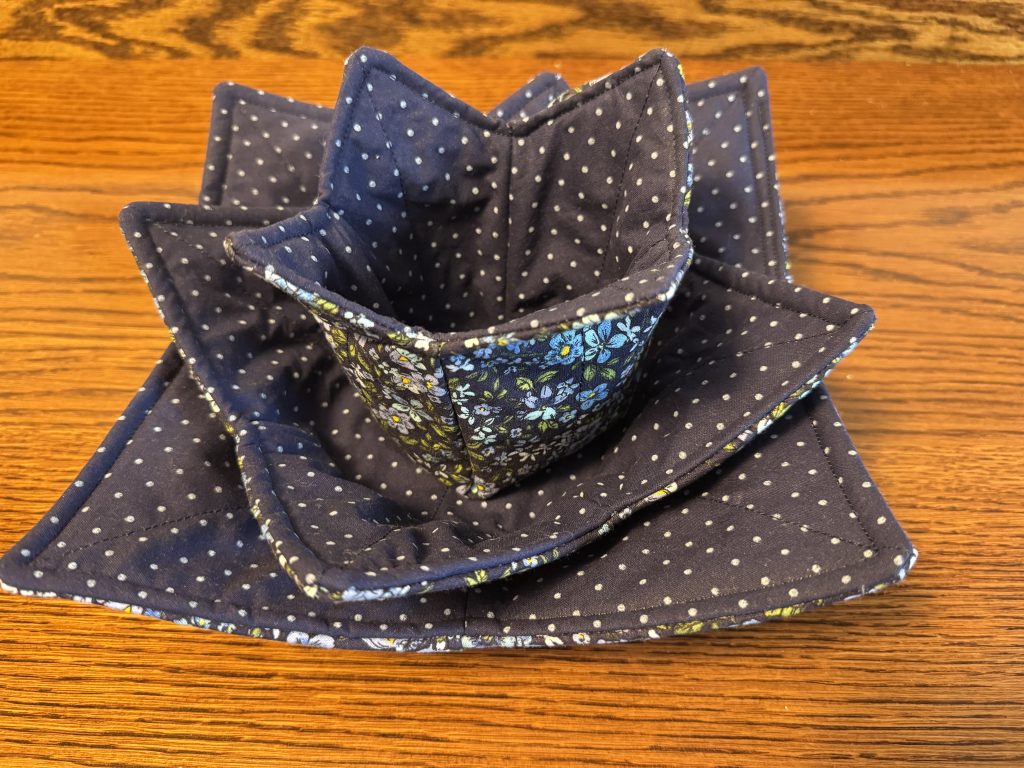
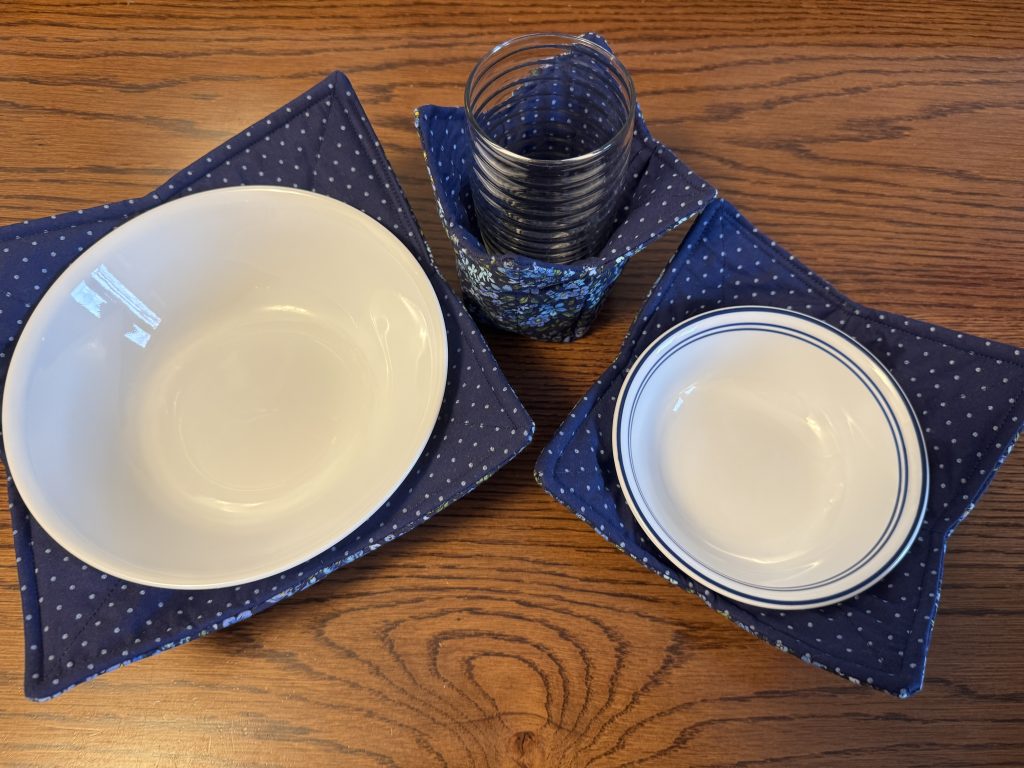
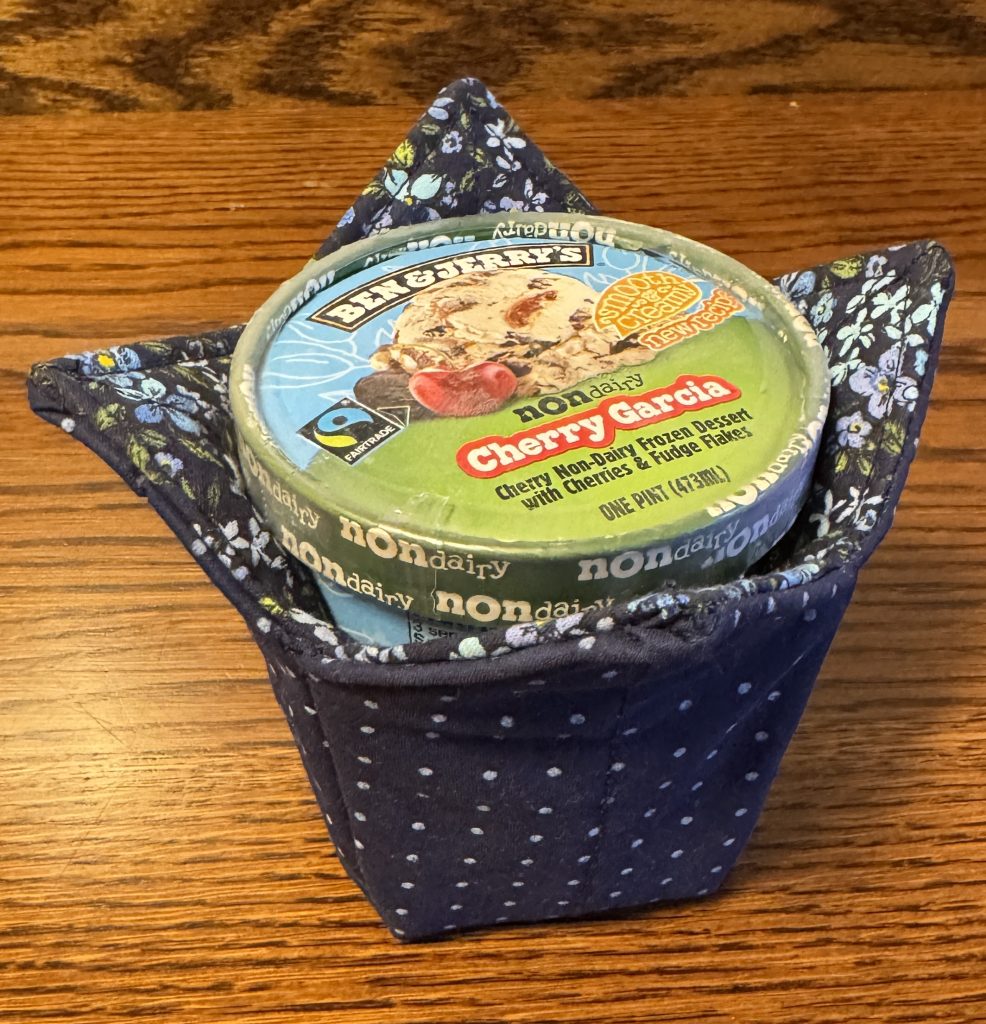
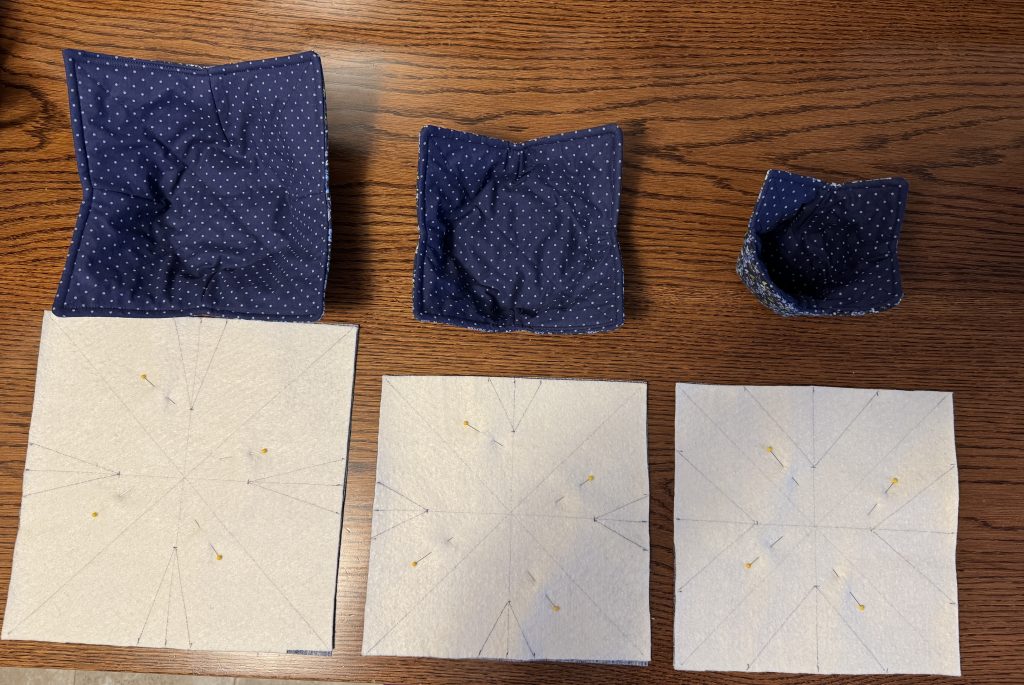
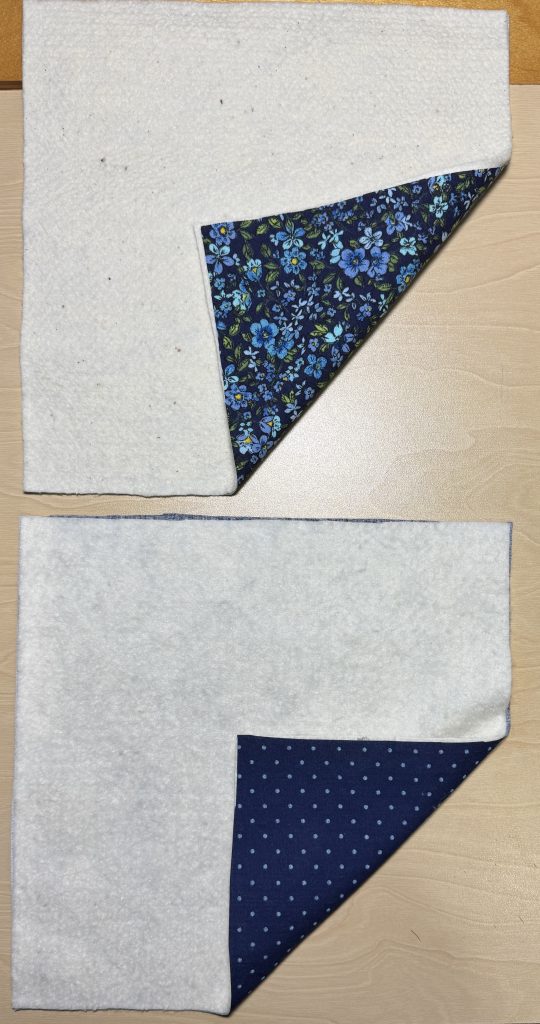
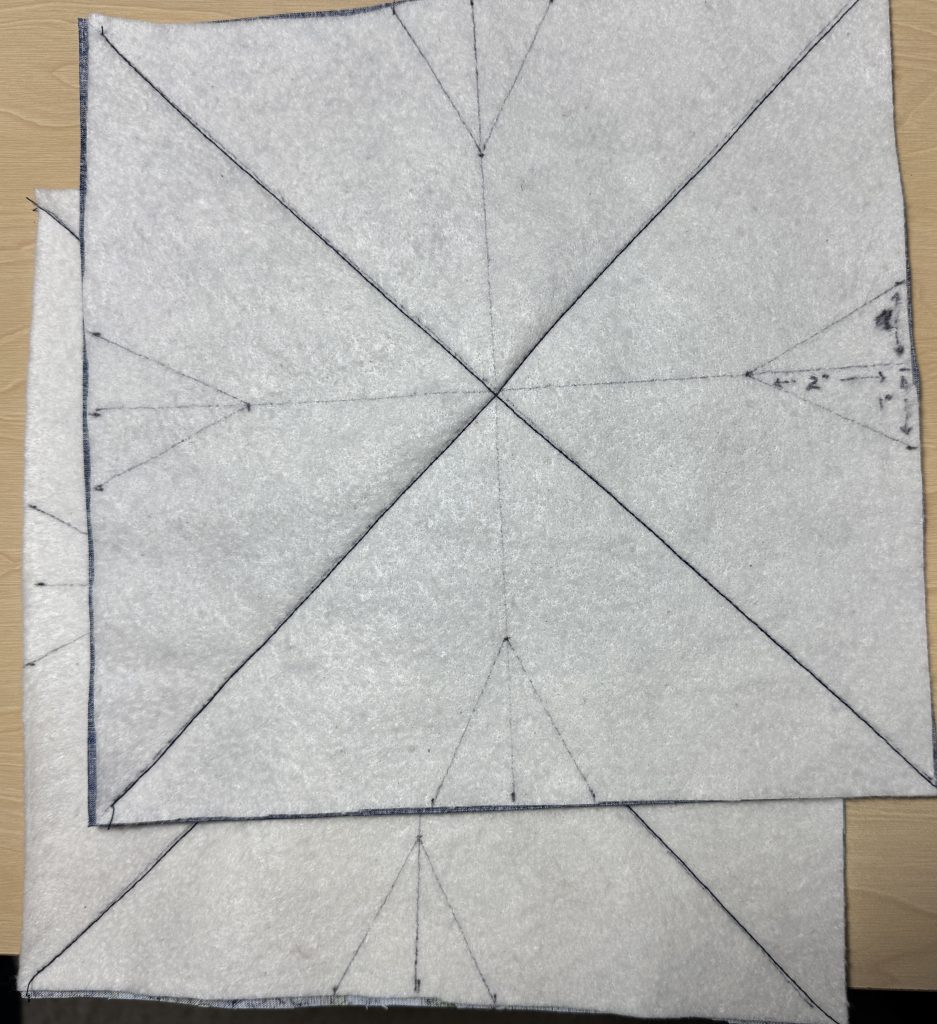
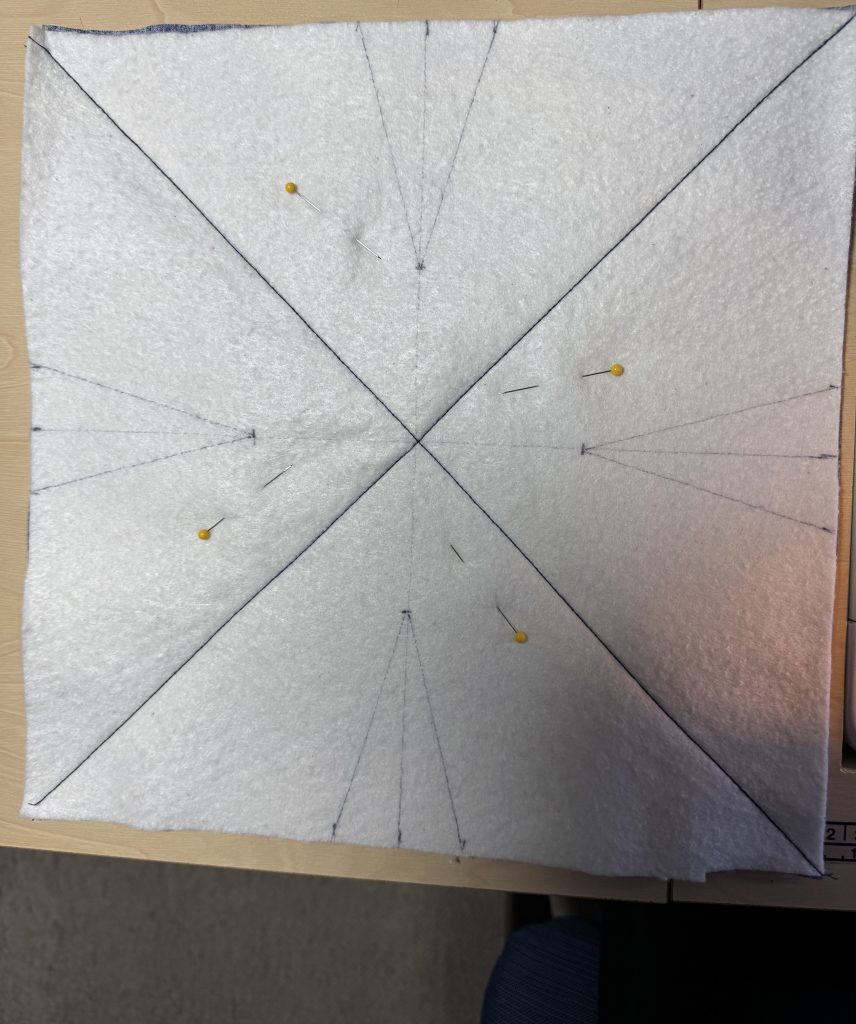
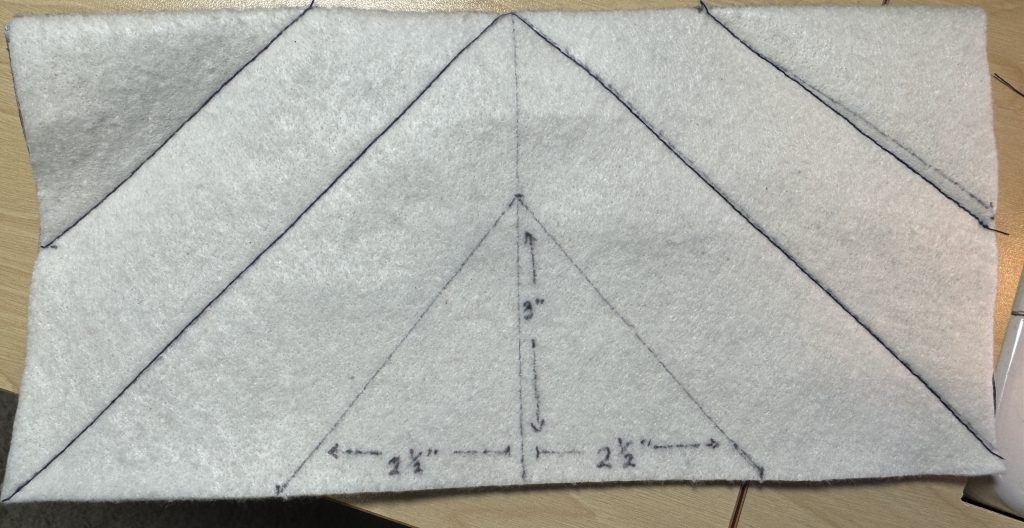
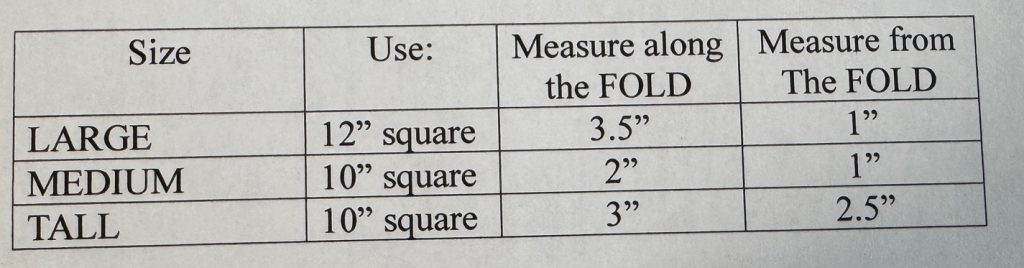
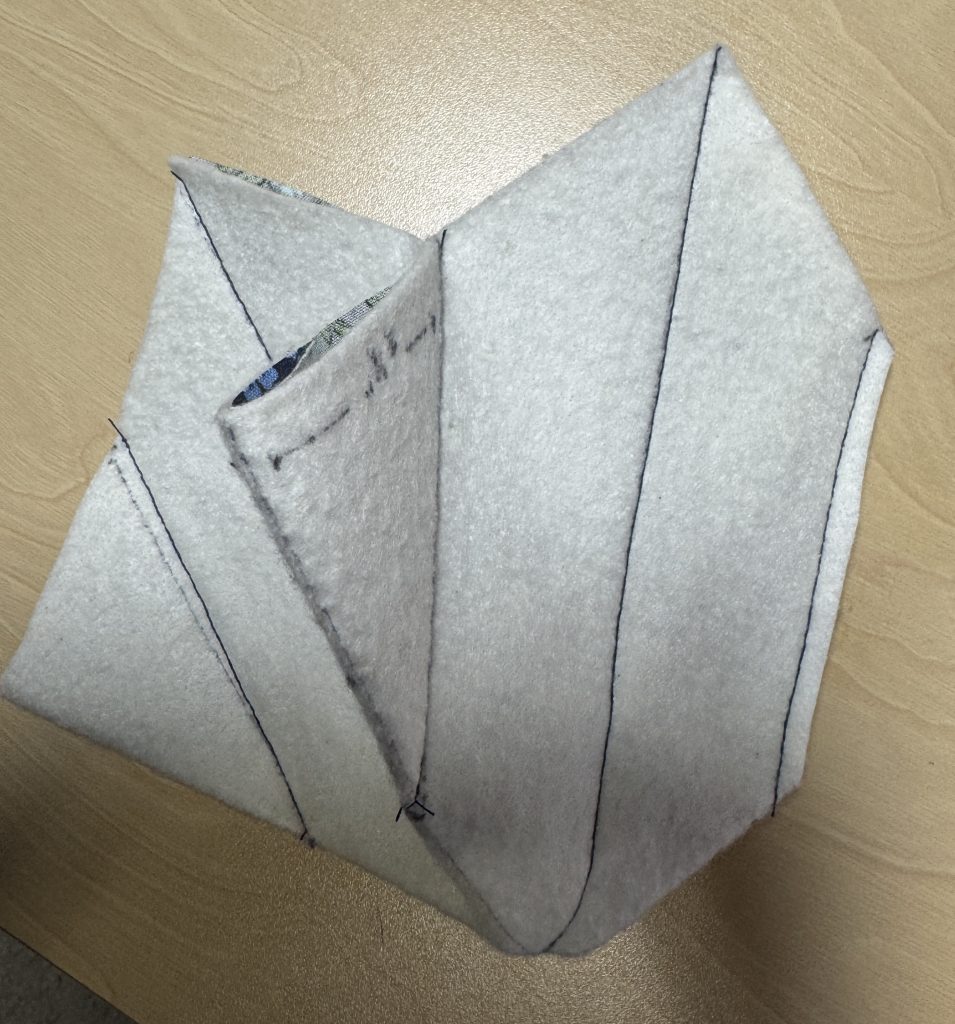
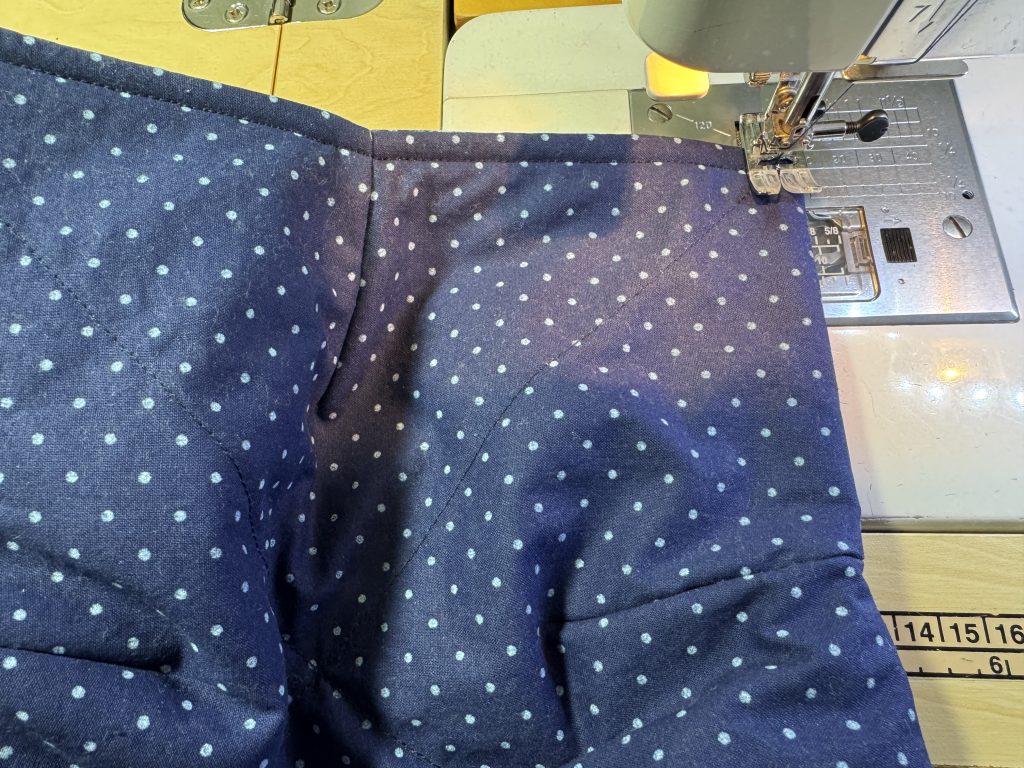
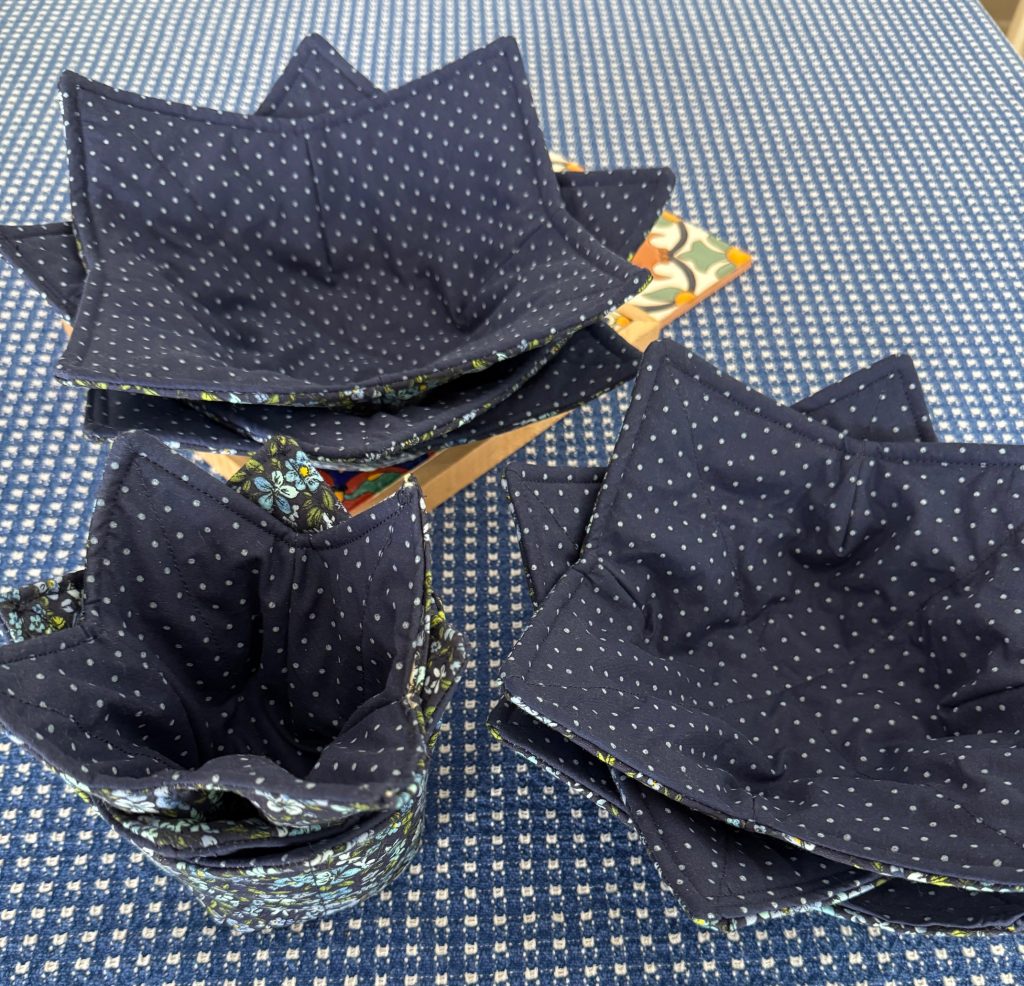
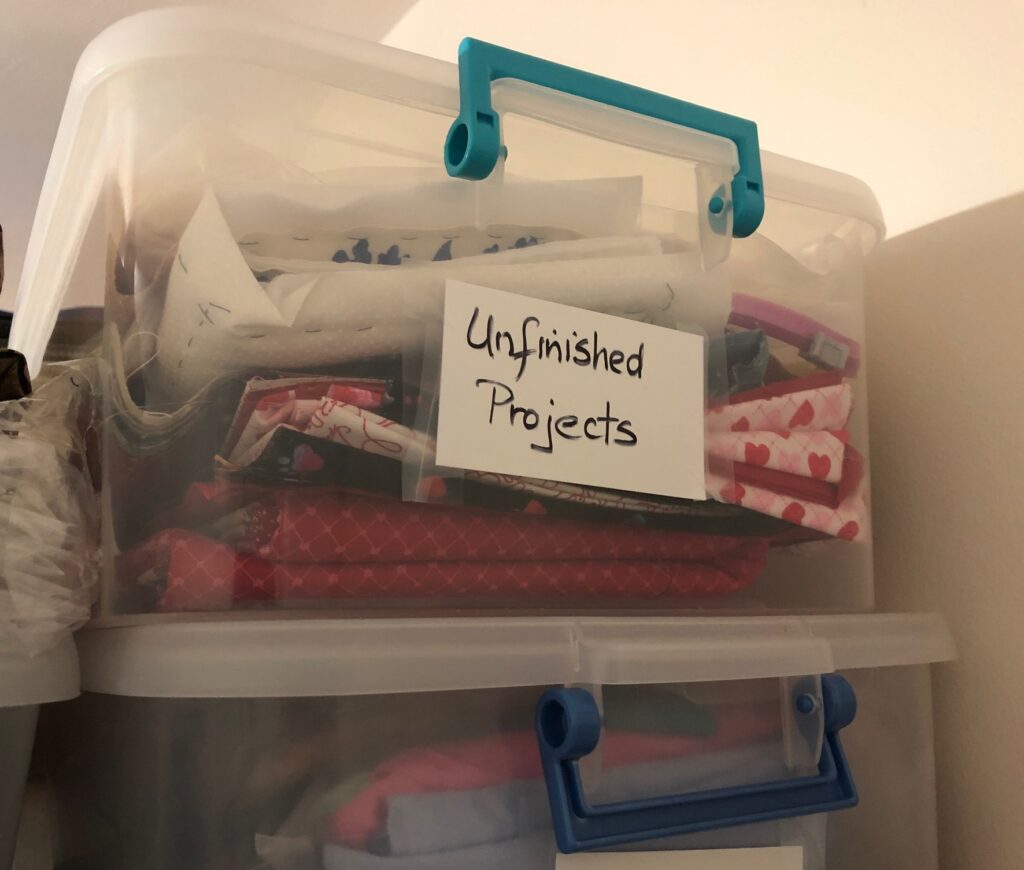
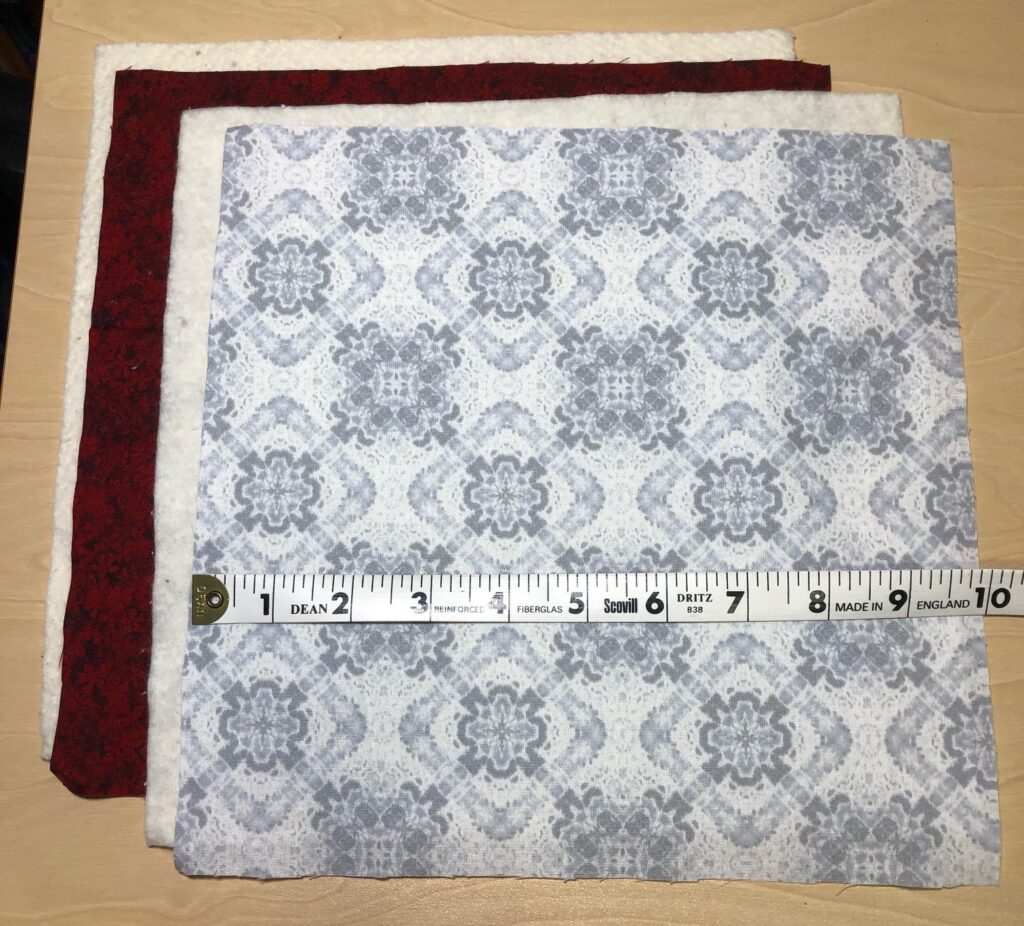
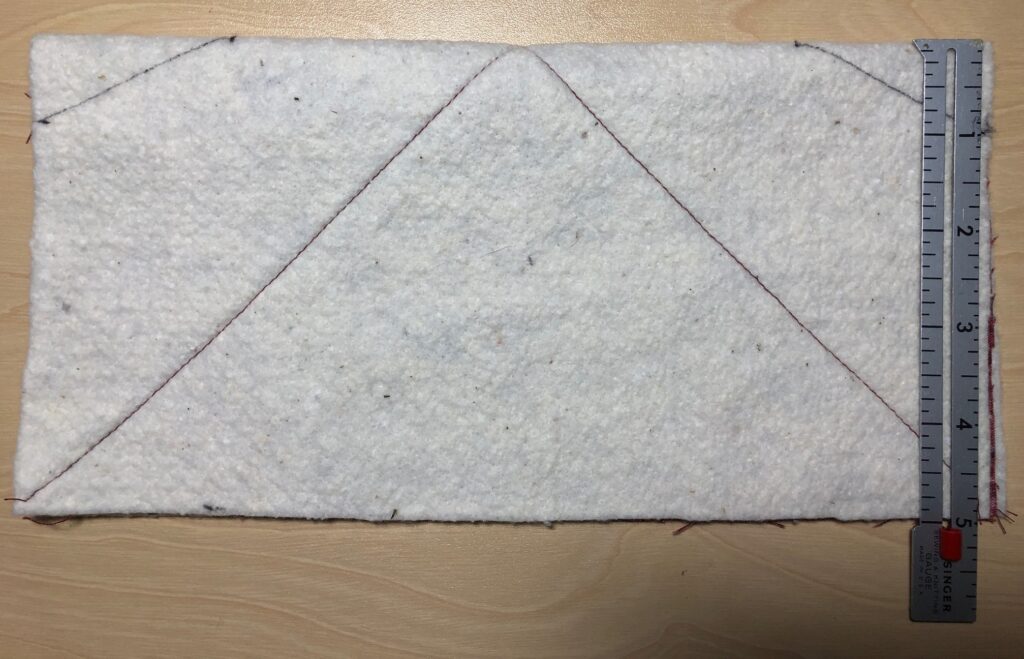
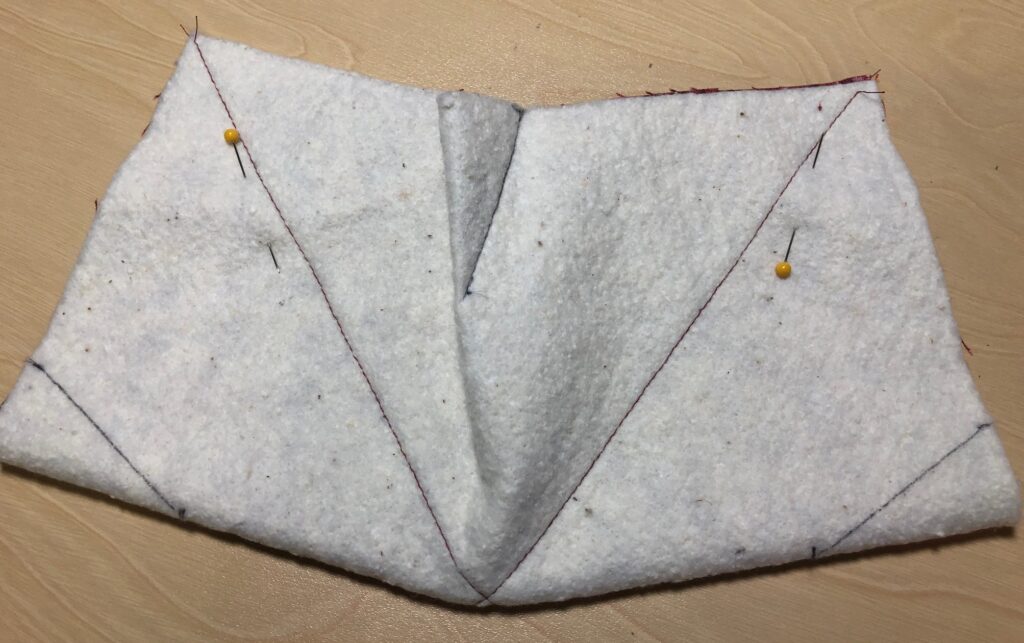
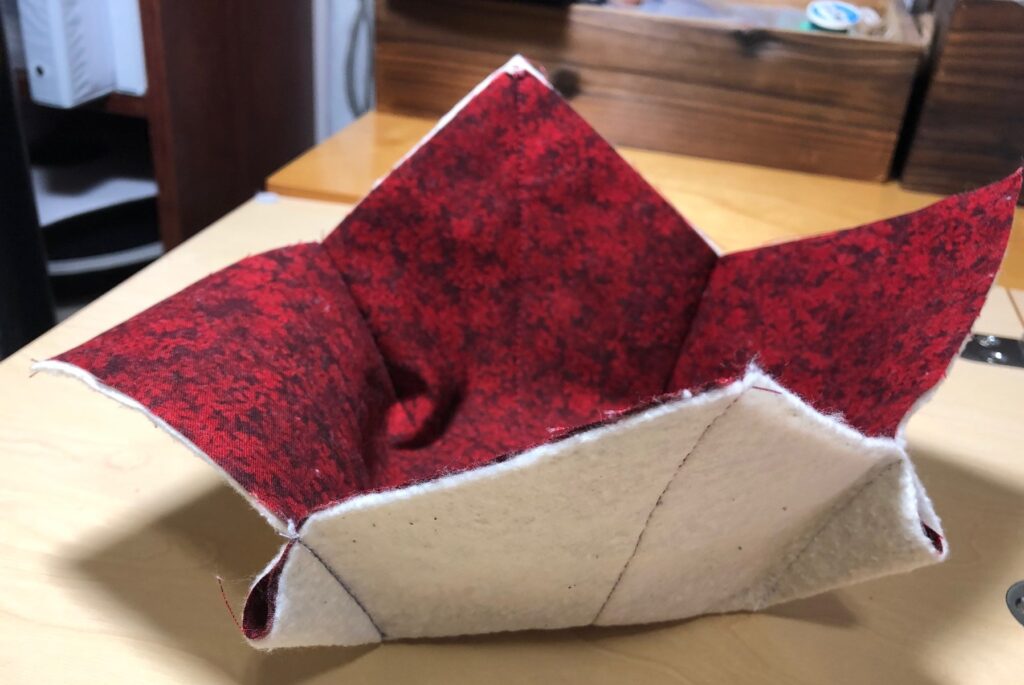
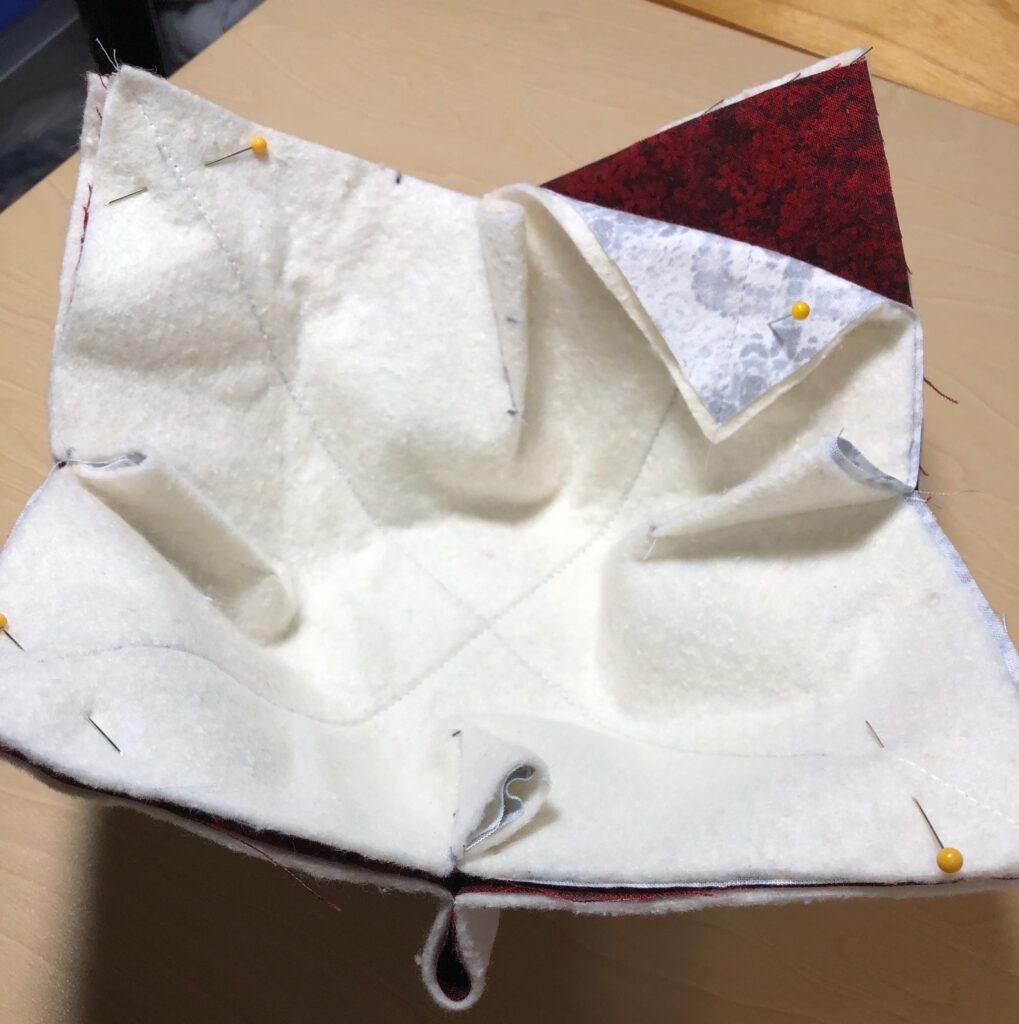
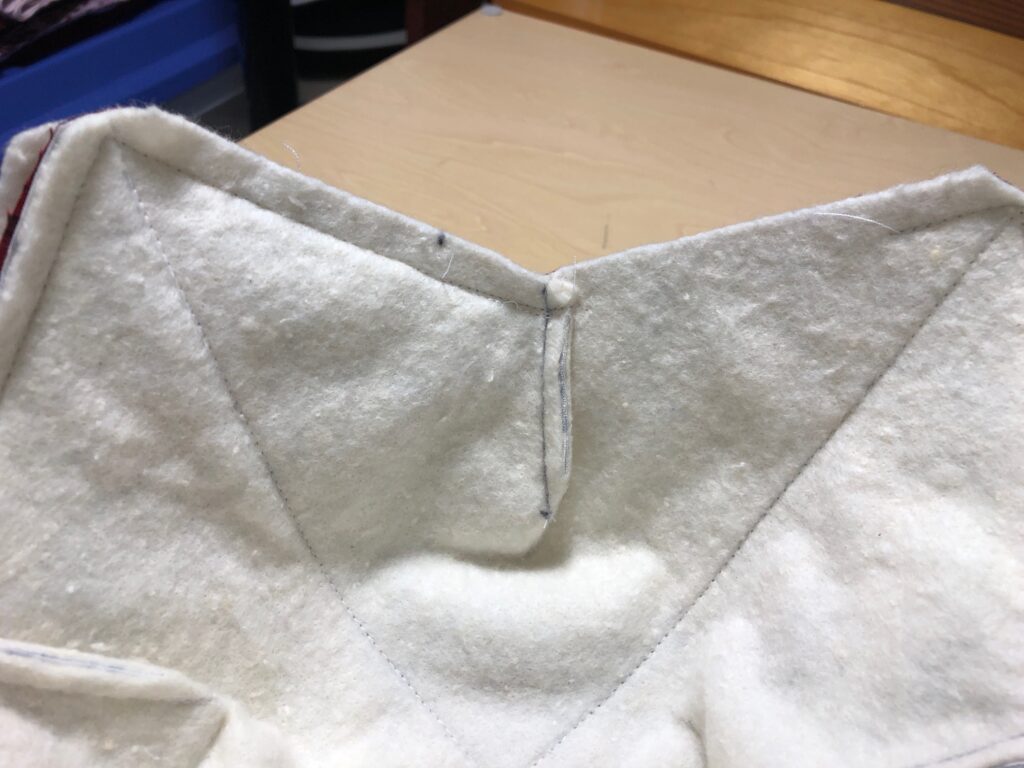
With the 1/2 yard (18 inches) of fabric I had left after cutting out the bibs, I decided to cut out four 10 x 10″ squares out of both fabrics to make bowl cozies. You can read about making these bowl cozies at https://marykisner.com/making-three-sizes-of-hot-pad-cozies/

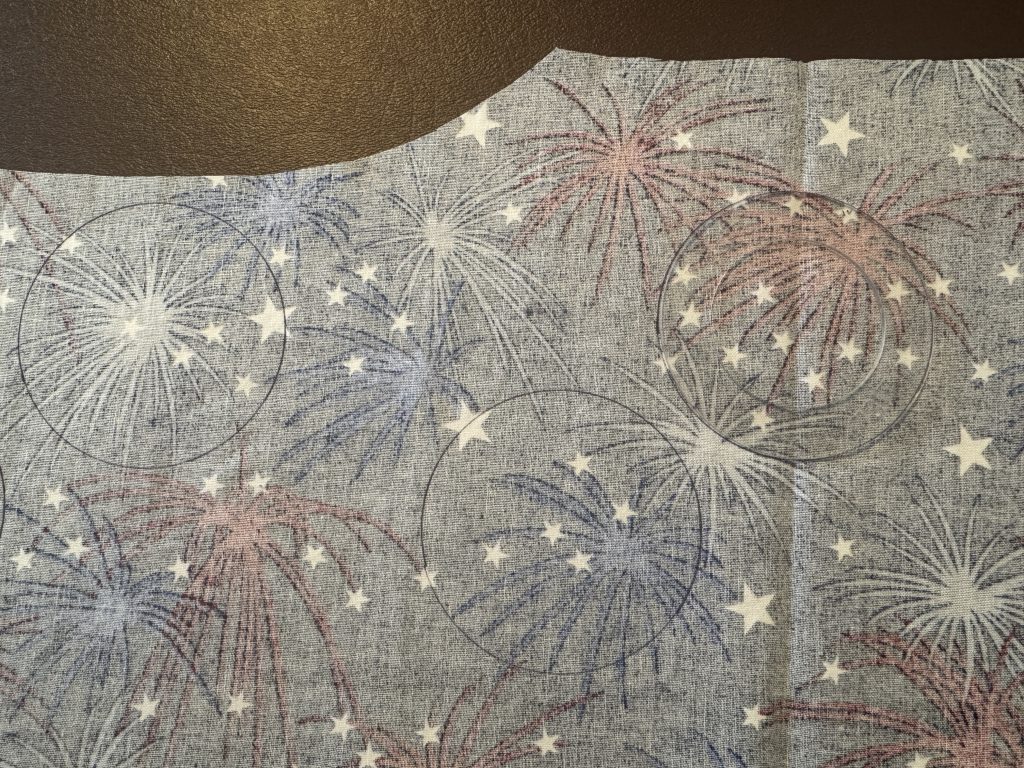
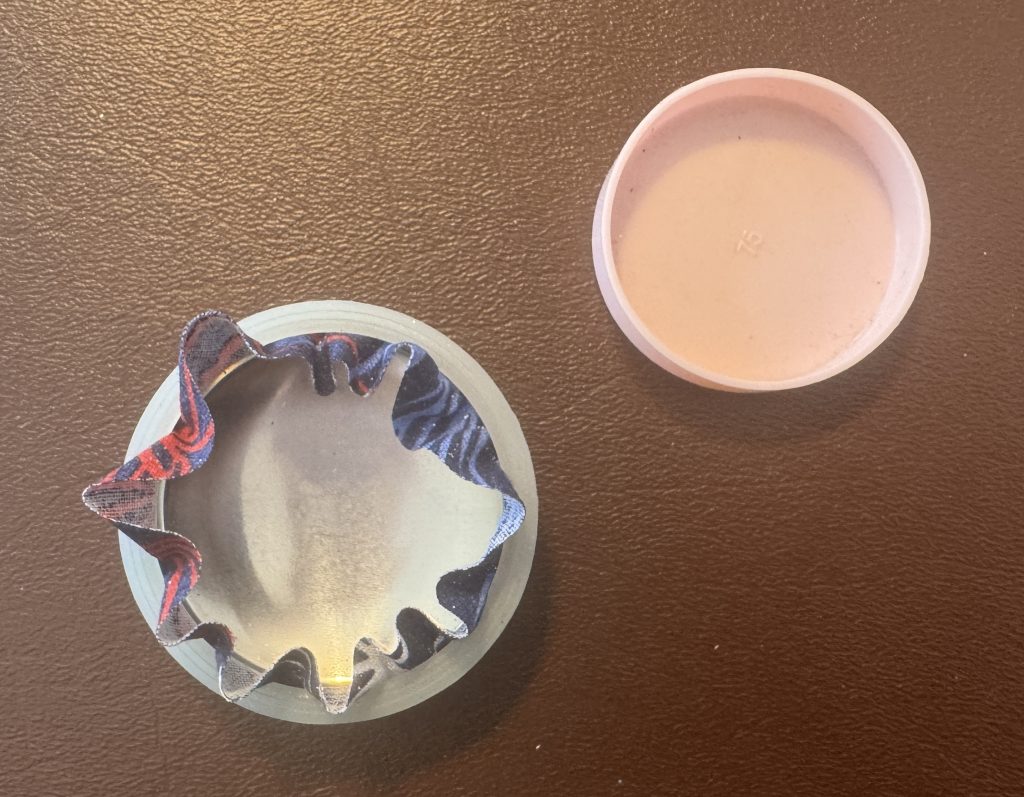
Finally, with the few inches of fabric I had left, I pulled out my supplies to make refrigerator magnets. You can read more about making these covered button magnets at https://marykisner.com/more-than-just-a-refrigerator-magnet/

I had not made these in quite a while, so I was glad I had saved all the assorted tools and supplies. The fireworks fabric made nice magnets.

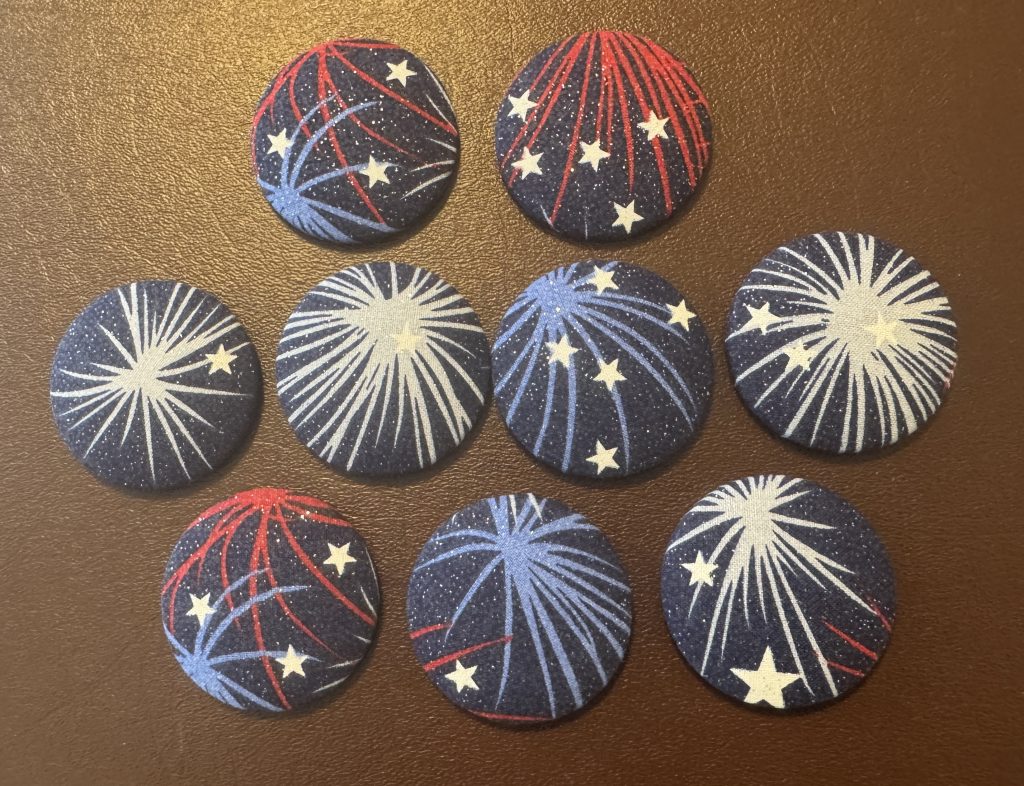
I was so pleased to be able to share all these additional goodies with my friend…2 bibs, 4 bowl cozies and 8 magnets! Such fun!

Rescuing Batting Scraps

Sometimes my inspiration for new projects is triggered when I clean up from a previous one! When I finished making multiple sizes of the hot pad cozies in my last post, I had a pile of batting scraps left over. Usually, I stuff them into a clear tote I have on the shelf. These scraps are handy when I need just a small piece of batting for a small project. However, I was still thinking about the hot pad cozies and I knew I’d need 10″ to 12″ squares of batting to make more.

Luckily, that same day I was brainstorming with Toni…my friend with Nittany Greyhounds…about items that could be sold at the next conference. Why not hot pad cozies with greyhound fabric! This special-order fabric is adorable, with prints of greyhounds…but it is VERY expensive. I wondered if I had any scraps left from various projects to try my experiment. I found a pile in my stash I could play with!

Making the Batting Squares

I was determined to try these hot pad cozies without buying anything new. That meant I needed to start with my pile of batting scraps. I started by laying out the pieces and pulling together those that could be stitched together to make 10″ squares.

All my batting pieces are natural cotton and they are all similar weight. They seem to be more “natural” on one side and whiter on the other.

First, I trim the edges that I’ll sew together so they’ll lay flat.

Next, using a zigzag seam, I sew the two sides together. If that doesn’t make 10″ I’ll add another strip to the width. If the total square doesn’t make the 10″ I’ll add another strip along the bottom.

When I’ve pieced a large enough square, I put the pattern on and cut out the 10″ square.

Here are two finished blocks of batting:

Making the Hot Pad Cozies

You can read the details about how to make these cozies at my previous post:

https://marykisner.com/making-three-sizes-of-hot-pad-cozies/

With enough batting squares made, I started cutting 10″ squares of greyhound fabric. I found scraps of coordinating fabric to make the reverse sides.

I started with one of each print, just to see which print worked best. The first one was a very large print of a greyhound. I barely had enough fabric to make just one square. I think the large print doesn’t work…too many extraneous body parts on the edges!

The second cozy I made used a border repeat pattern:

The pattern was wider than the print so it didn’t make good use of the fabric. I did not want to cut off too many heads.

The third cozy I made used an all-over pattern of small greyhounds. I had enough fabric to use the same fabric for the lining; otherwise I’ll use white.

I think if we choose the greyhound fabric wisely, with a small overall print, we could make the best use of the expensive fabric.

For all the sewers out there…save your batting scraps! You never know when you’ll need them! Enjoy!

Making Three Sizes of Hot Pad Cozies

This week I’ve been working on a request from a friend…based on the hot pad cozies I had given her several years ago. She needed a wedding gift for her soon-to-be-married granddaughter. I wrote about these hot pads right at the beginning of my blogging adventure (https://marykisner.com/make-a-bowl-cozy-for-soup-or-ice-cream/)

For this project, I needed to make three sizes of cozies. I’ll start with a picture of my finished products:

These shaped potholders can be used in the microwave (not the oven) and are great when I want to reheat a bowl of soup or hold a serving bowl of vegetables so it can be passed around the table. The tallest one holds a cold drink with ice or a pint of ice cream!

What a thoughtful gift for a young person setting up a new kitchen!

The difference between the three sizes of cozies involves the size of the squares you start with and size of the darts that make the bowl shapes.

Supplies

To make these shaped hot pads, here are a few things you’ll need to have:

  1. A ruler, fine point marker and basic sewing supplies.

2. Fabric, batting and thread must be all cotton. Check labels for any sign of polyester, nylon or synthetic components…they will melt in the microwave. I look for all cotton quilting fabric, all cotton batting (sometimes labeled as “natural”) and all cotton thread. I’ve ordered thread online like this:

Of course, the cone-shaped spools have to sit behind my sewing machine but they are heavy enough to stay put.

All three sizes of hot pad cozies are made the same way. The LARGE hot pad, made for a serving bowl, begins with two 12″ squares of fabric and two 12″ squares of batting. The MEDIUM and TALL sizes begin with two 10″ squares of fabric and batting.

Instructions for Making the Hot Pad Cozies

  1. Cut two squares of fabric in coordinating colors (the cozies are reversible):

2. Place a square of batting on the wrong side of each fabric square:

3. Working on the batting side, use a ruler to draw a stitching line from corner to corner. Stitch on the lines.

4. Next, measure the midpoint of each side and draw lines through the center. These are your FOLD lines.

MEDIUM Size shown below (10″ square)

LARGE Size (12″ square) shown below:

TALL Size (10″ square) shown below:

The size of the darts depends on the size hot pad you are making. Here’s a table to determine those measurements. Draw the stitching lines right on the batting.

The rest of these illustrations are for the TALL hot pad cozy.

5. Fold the square in half along the FOLD line. Stitch the corner darts (see the picture above):

6. Open the square and fold the other way. Stitch on those corner dart lines:

Trim the darts to 1/4″ to decrease bulk.

7. When you open the squares, they will sit like a bowl.

8. Repeat with the other 10″ square. This will make the lining piece.

9. Nest the two finished “bowls” right sides together. Pin the two halves together lining up the darts.

10. Sew around the edges with a 1/4″ seam, turning your needle at the corners and the darts. Leave about 3″ open for turning right side out. Trim the corners.

11. Turn right side out through the opening. Poke out the corners with a stick or chopstick.

12. Top stitch all around the top edge of the cozy.

And, FINISHED! I ended up making 3 of each size, so the newlyweds will have plenty to get started!!

Enjoy!

Make a Bowl Cozy for Soup or Ice cream

I seem to have collected an assortment of unfinished projects. I don’t notice them because they are stuffed into a bin waaaay up high on a shelf!

However, I needed another bowl cozy and remembered to check that bin today. Imagine that! I have several already cut out, ready to sew!

Several years ago, I was on a roll and made dozens in these colors for my high school friends (maroon and gray were our high school colors). Obviously, I had a few extra cut out.

These shaped potholders are great when I want to reheat a bowl of soup in the microwave. I lay a paper towel on top to catch spatters. When I take the hot bowl out of the microwave, I have a potholder already in place! It has saved me a lot of spilled soup and burned fingers. I have other friends that have discovered they are great to hold their cold bowl of ice cream!

You may have seen stacks of these potholders at craft fairs…all sizes. The larger ones are great for hot dishes. This size fits a standard cereal bowl.

Here are the instructions:

Step 1:

Cut out two 10″ squares of cotton fabric (not polyester…it may melt in the microwave).

Cut out two 10″ squares of lightweight cotton batting.

Step 2:

Place each square of fabric on top of a square of batting, right side up.

Stitch on the diagonal on both pieces of the fabric/batting sandwiches. I stitch with the batting on top to decrease the amount of lint that goes into the machine.

Step 3:

Fold each piece in half, right sides together.

Mark a stitching line, 1″ from the fold, and 2″ along the fold, as shown below.

Sew along both lines, on both pieces.

Step 4:

Open the squares and fold the other way. Mark and stitch again.

Step 5:

When you open the squares, they will sit like a bowl.

Trim seam allowance to 1/8″ to decrease bulk of darts.

Step 6:

Turn one piece right side up and the other right side down.

Pin the two halves with right sides together, lining up the darts.

Sew around the edges with a 1/4″ seam, turning your needle at the corners and the darts.

Leave about 3″ open for turning right side out.

Oops…in this picture I hadn’t trimmed the darts yet!

Step 7:

Trim corners. Turn cozy right side out, pushing corners out and nesting the two halves.

Step 8:

Top stitch around the edge of the bowl, folding in the opening 1/4″ to close. The cozy is reversible.

If you want a larger cozy, start with a larger square…11″, 12″, etc.

And that’s it! Enjoy your next bowl of soup or ice cream!

If you have comments or questions, leave a comment or email me directly at marykisner@comcast.net! Enjoy!