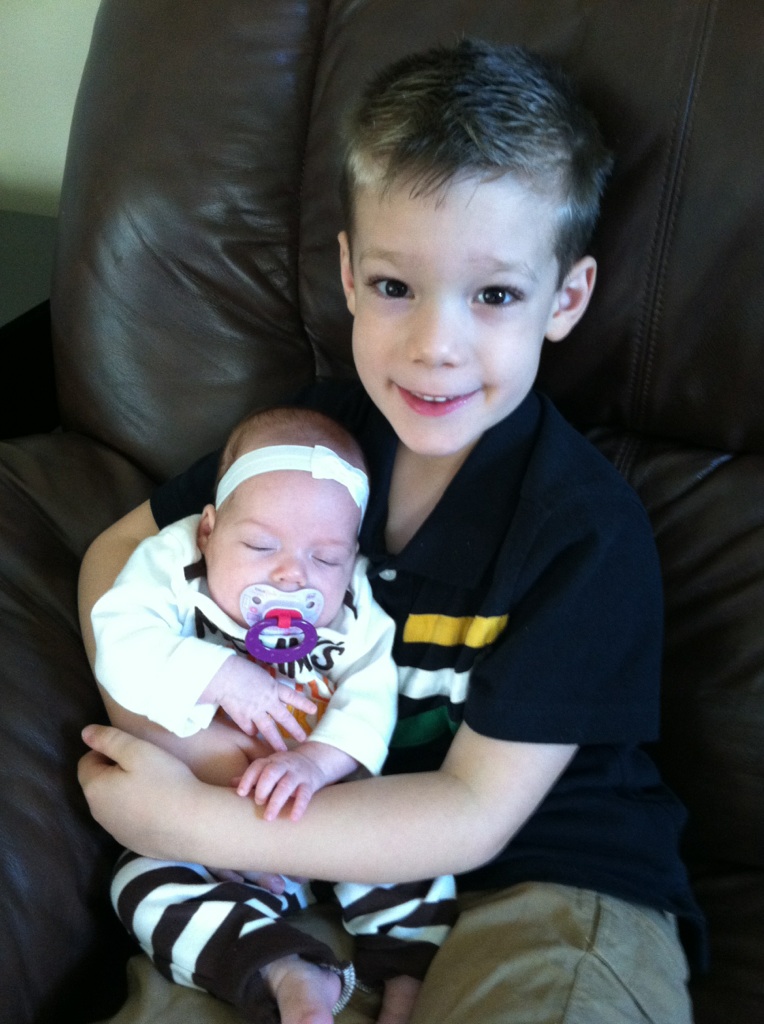
As September rolls around I’m reminded that my dear granddaughter Anna has a birthday! I can’t believe she’ll blow out 11 candles this weekend! She started out so tiny, under 4 lbs. and didn’t come home from the hospital until October that year. She was a fighter and to this day, she’s an independent delightful young lady. Even big brother Ben was learning how to take care of her.
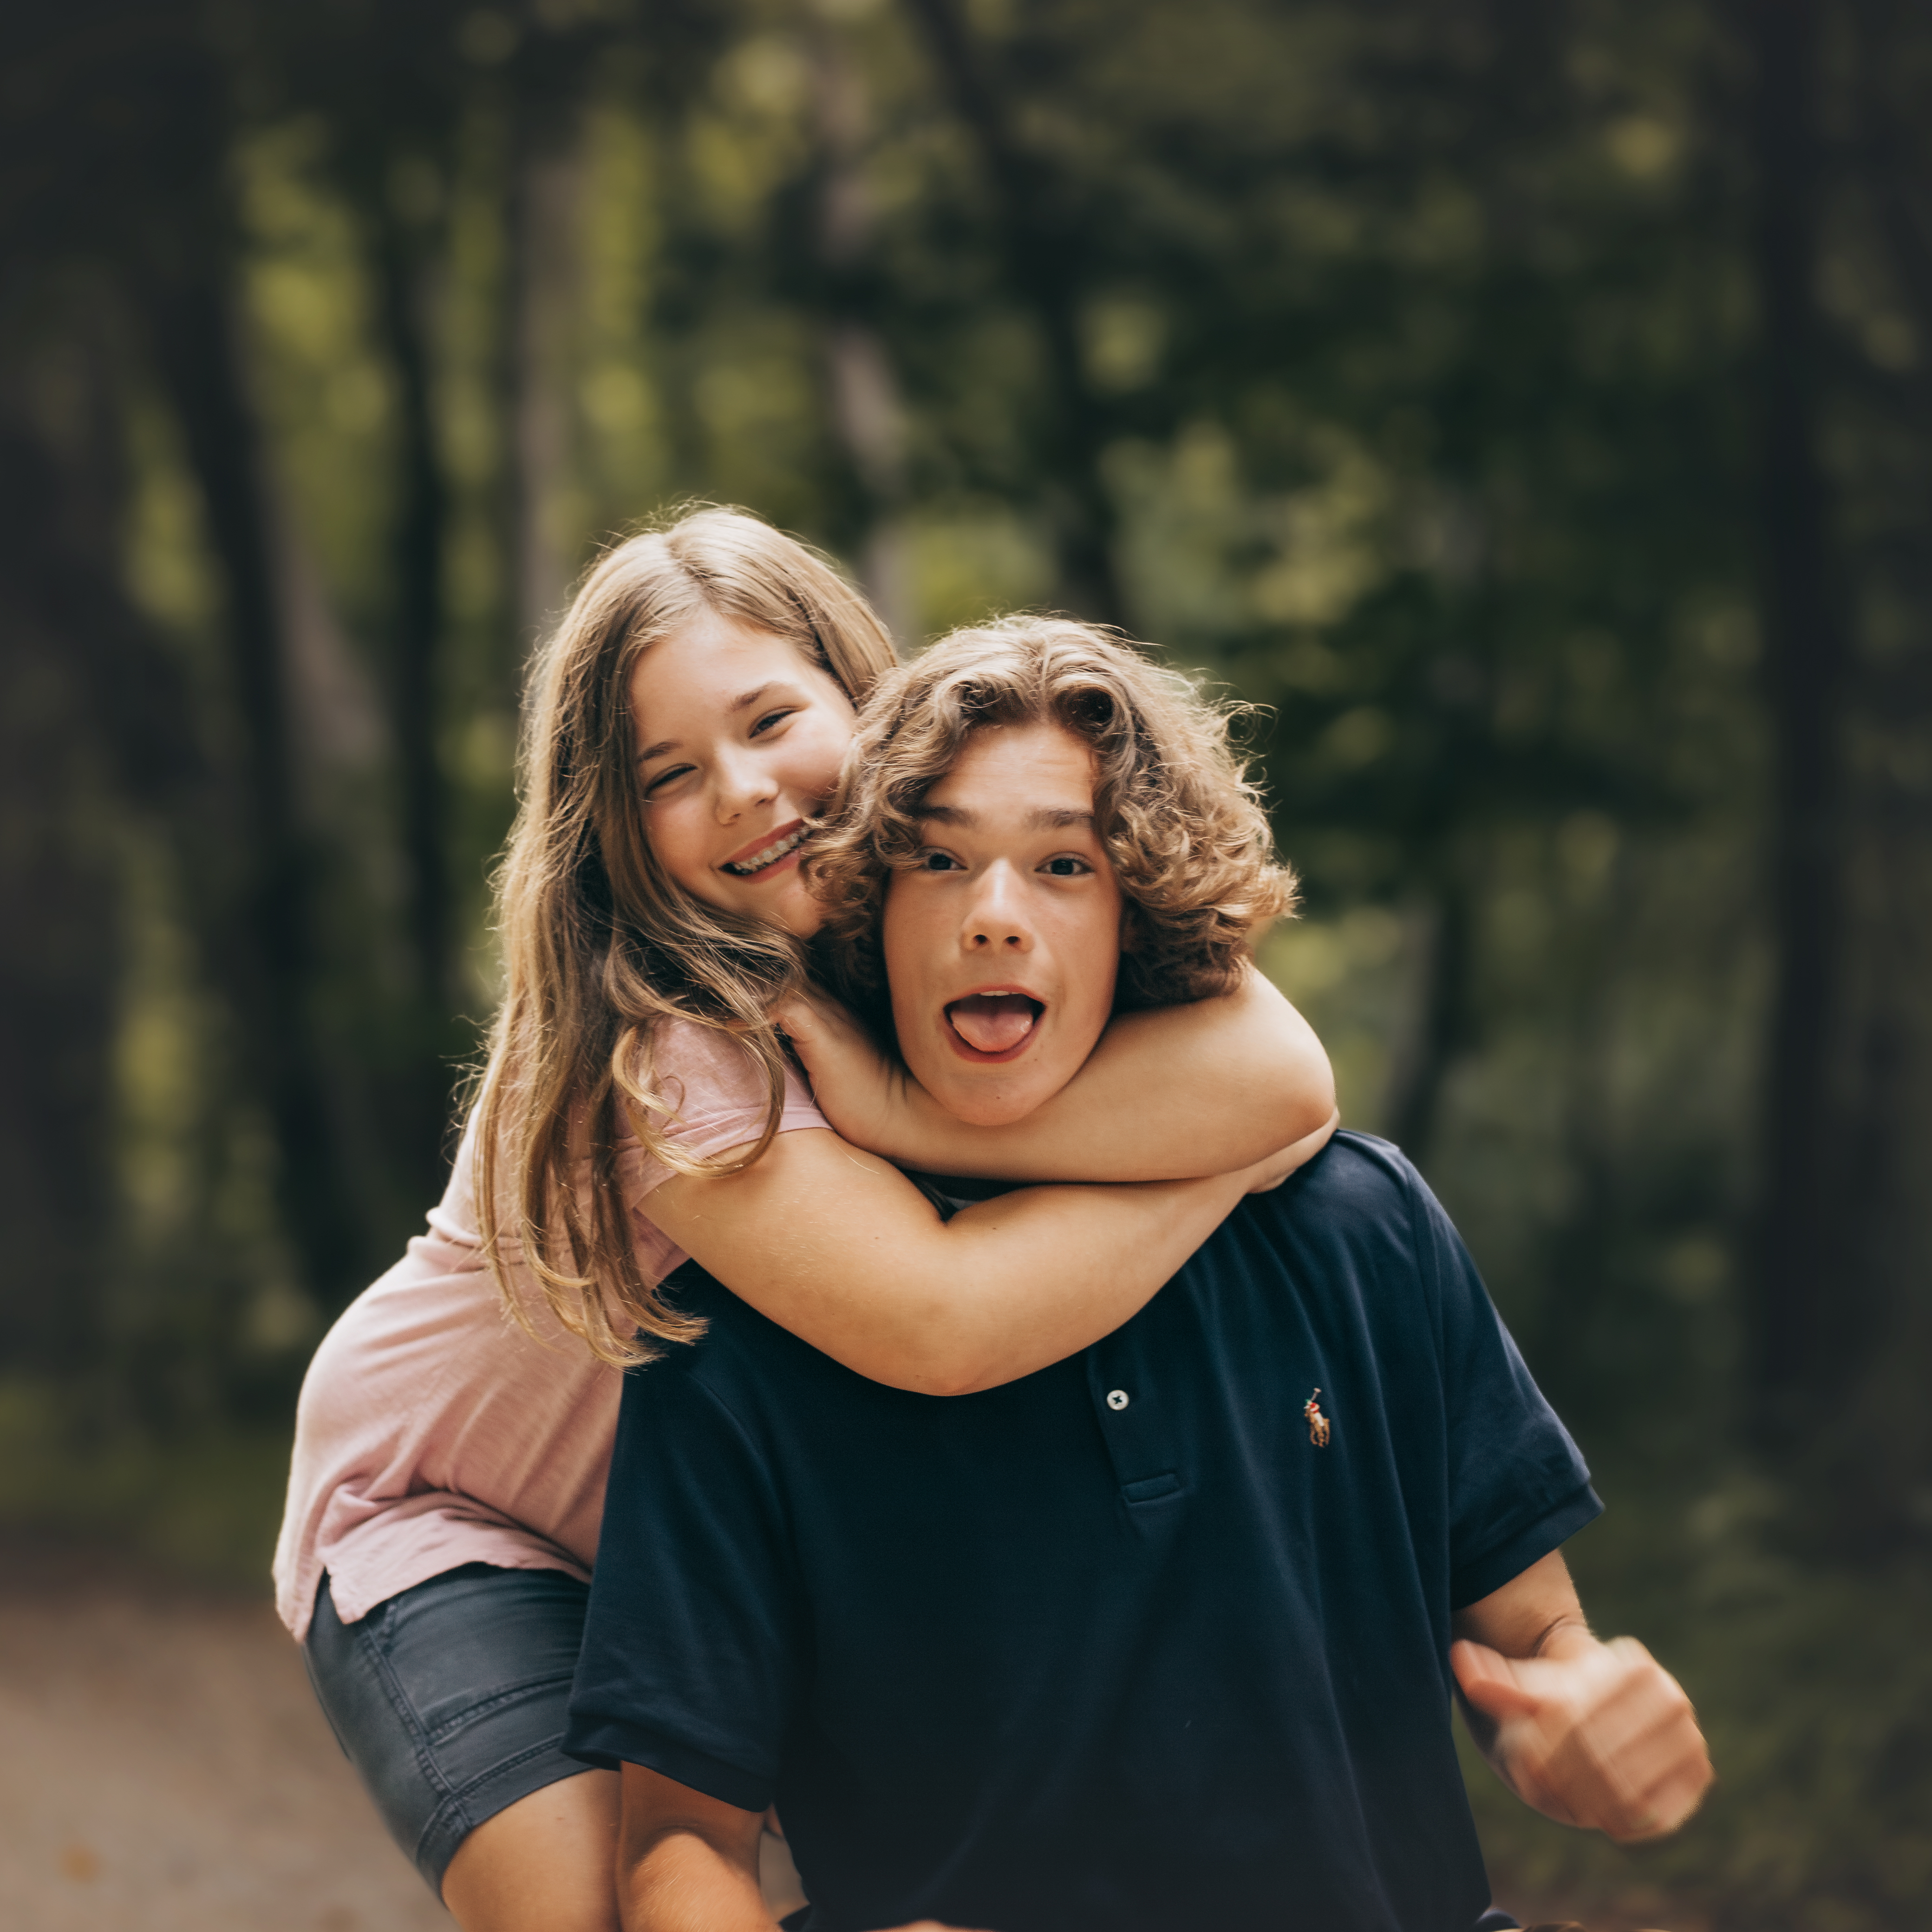
Of course, now she tests the limits of Ben’s patience with hugging! Makes us laugh!
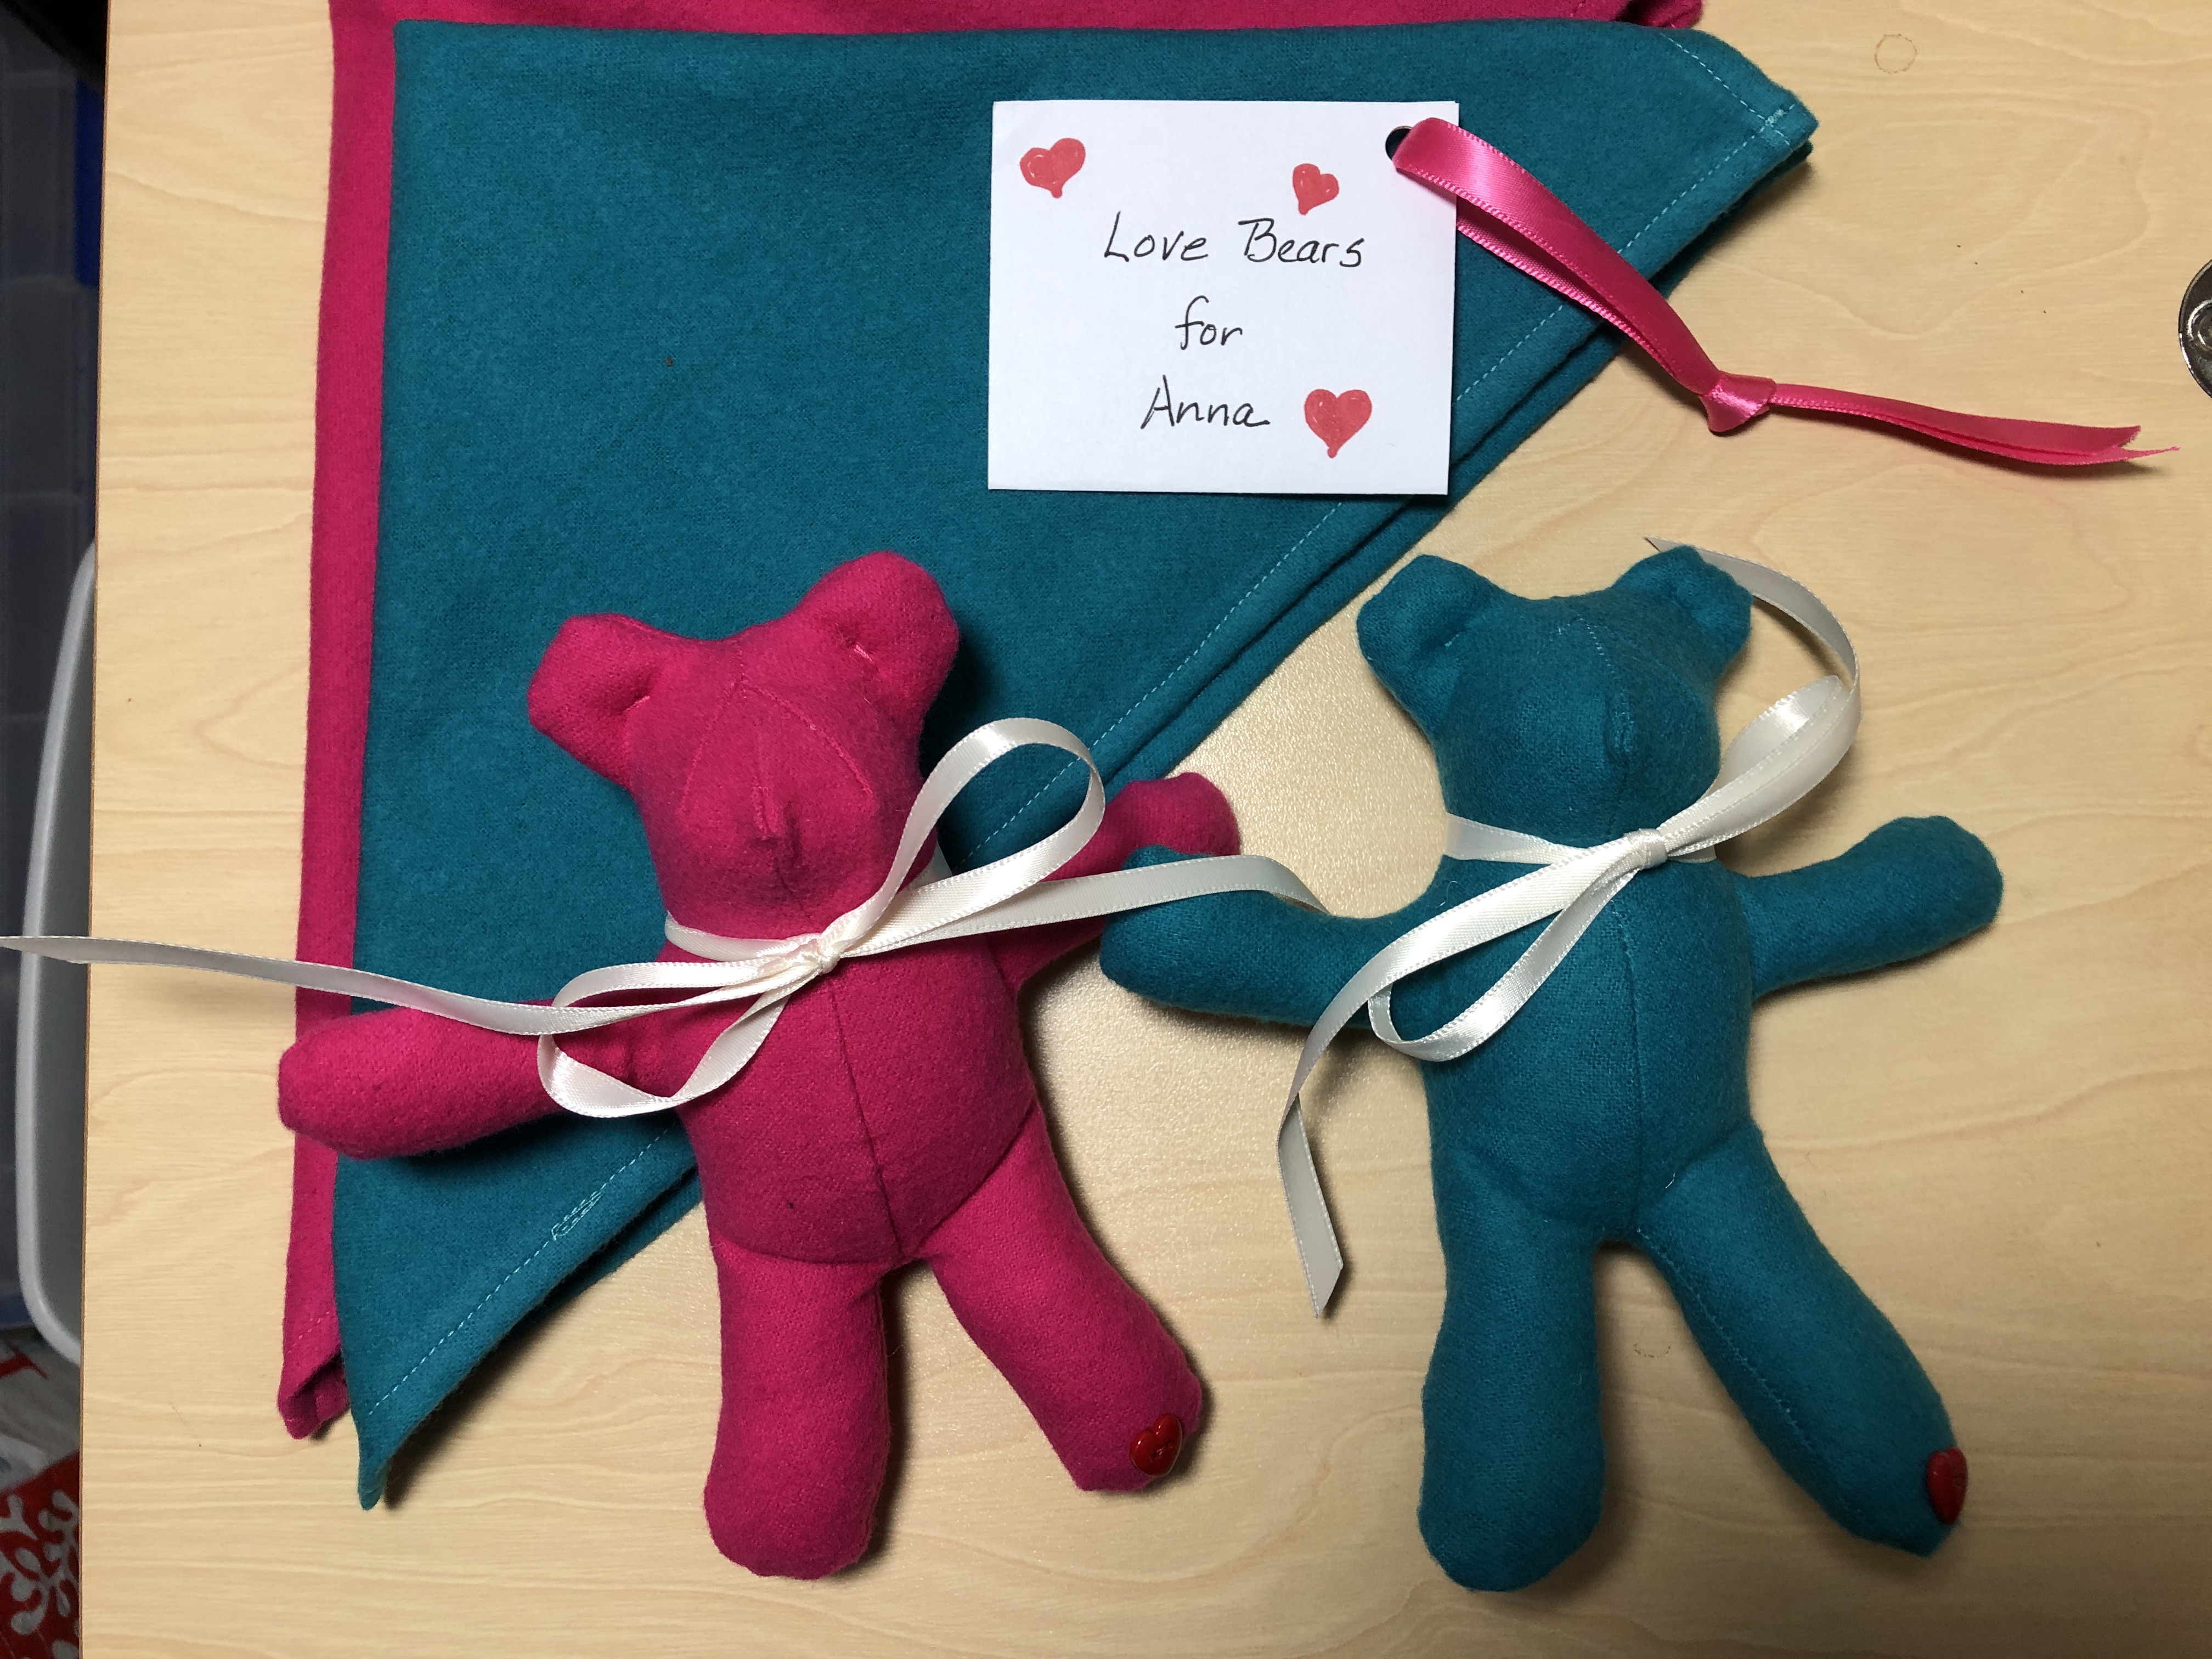
When I traveled with Anna and Kathy to Minnesota recently for a family reunion, I was sharing with extended family about the memory bears I make out of a loved one’s clothing…including tiny bears that could be used as Christmas ornaments or just to hug. Anna piped up… “Gee, I’d like a tiny bear!”
I could not imagine I hadn’t made her some bears already! I certainly can’t compete with all the lovely assortment of stuffed animals she already has. However, who knows, maybe a tiny one or two from Grandma would be good for a hug now and then.
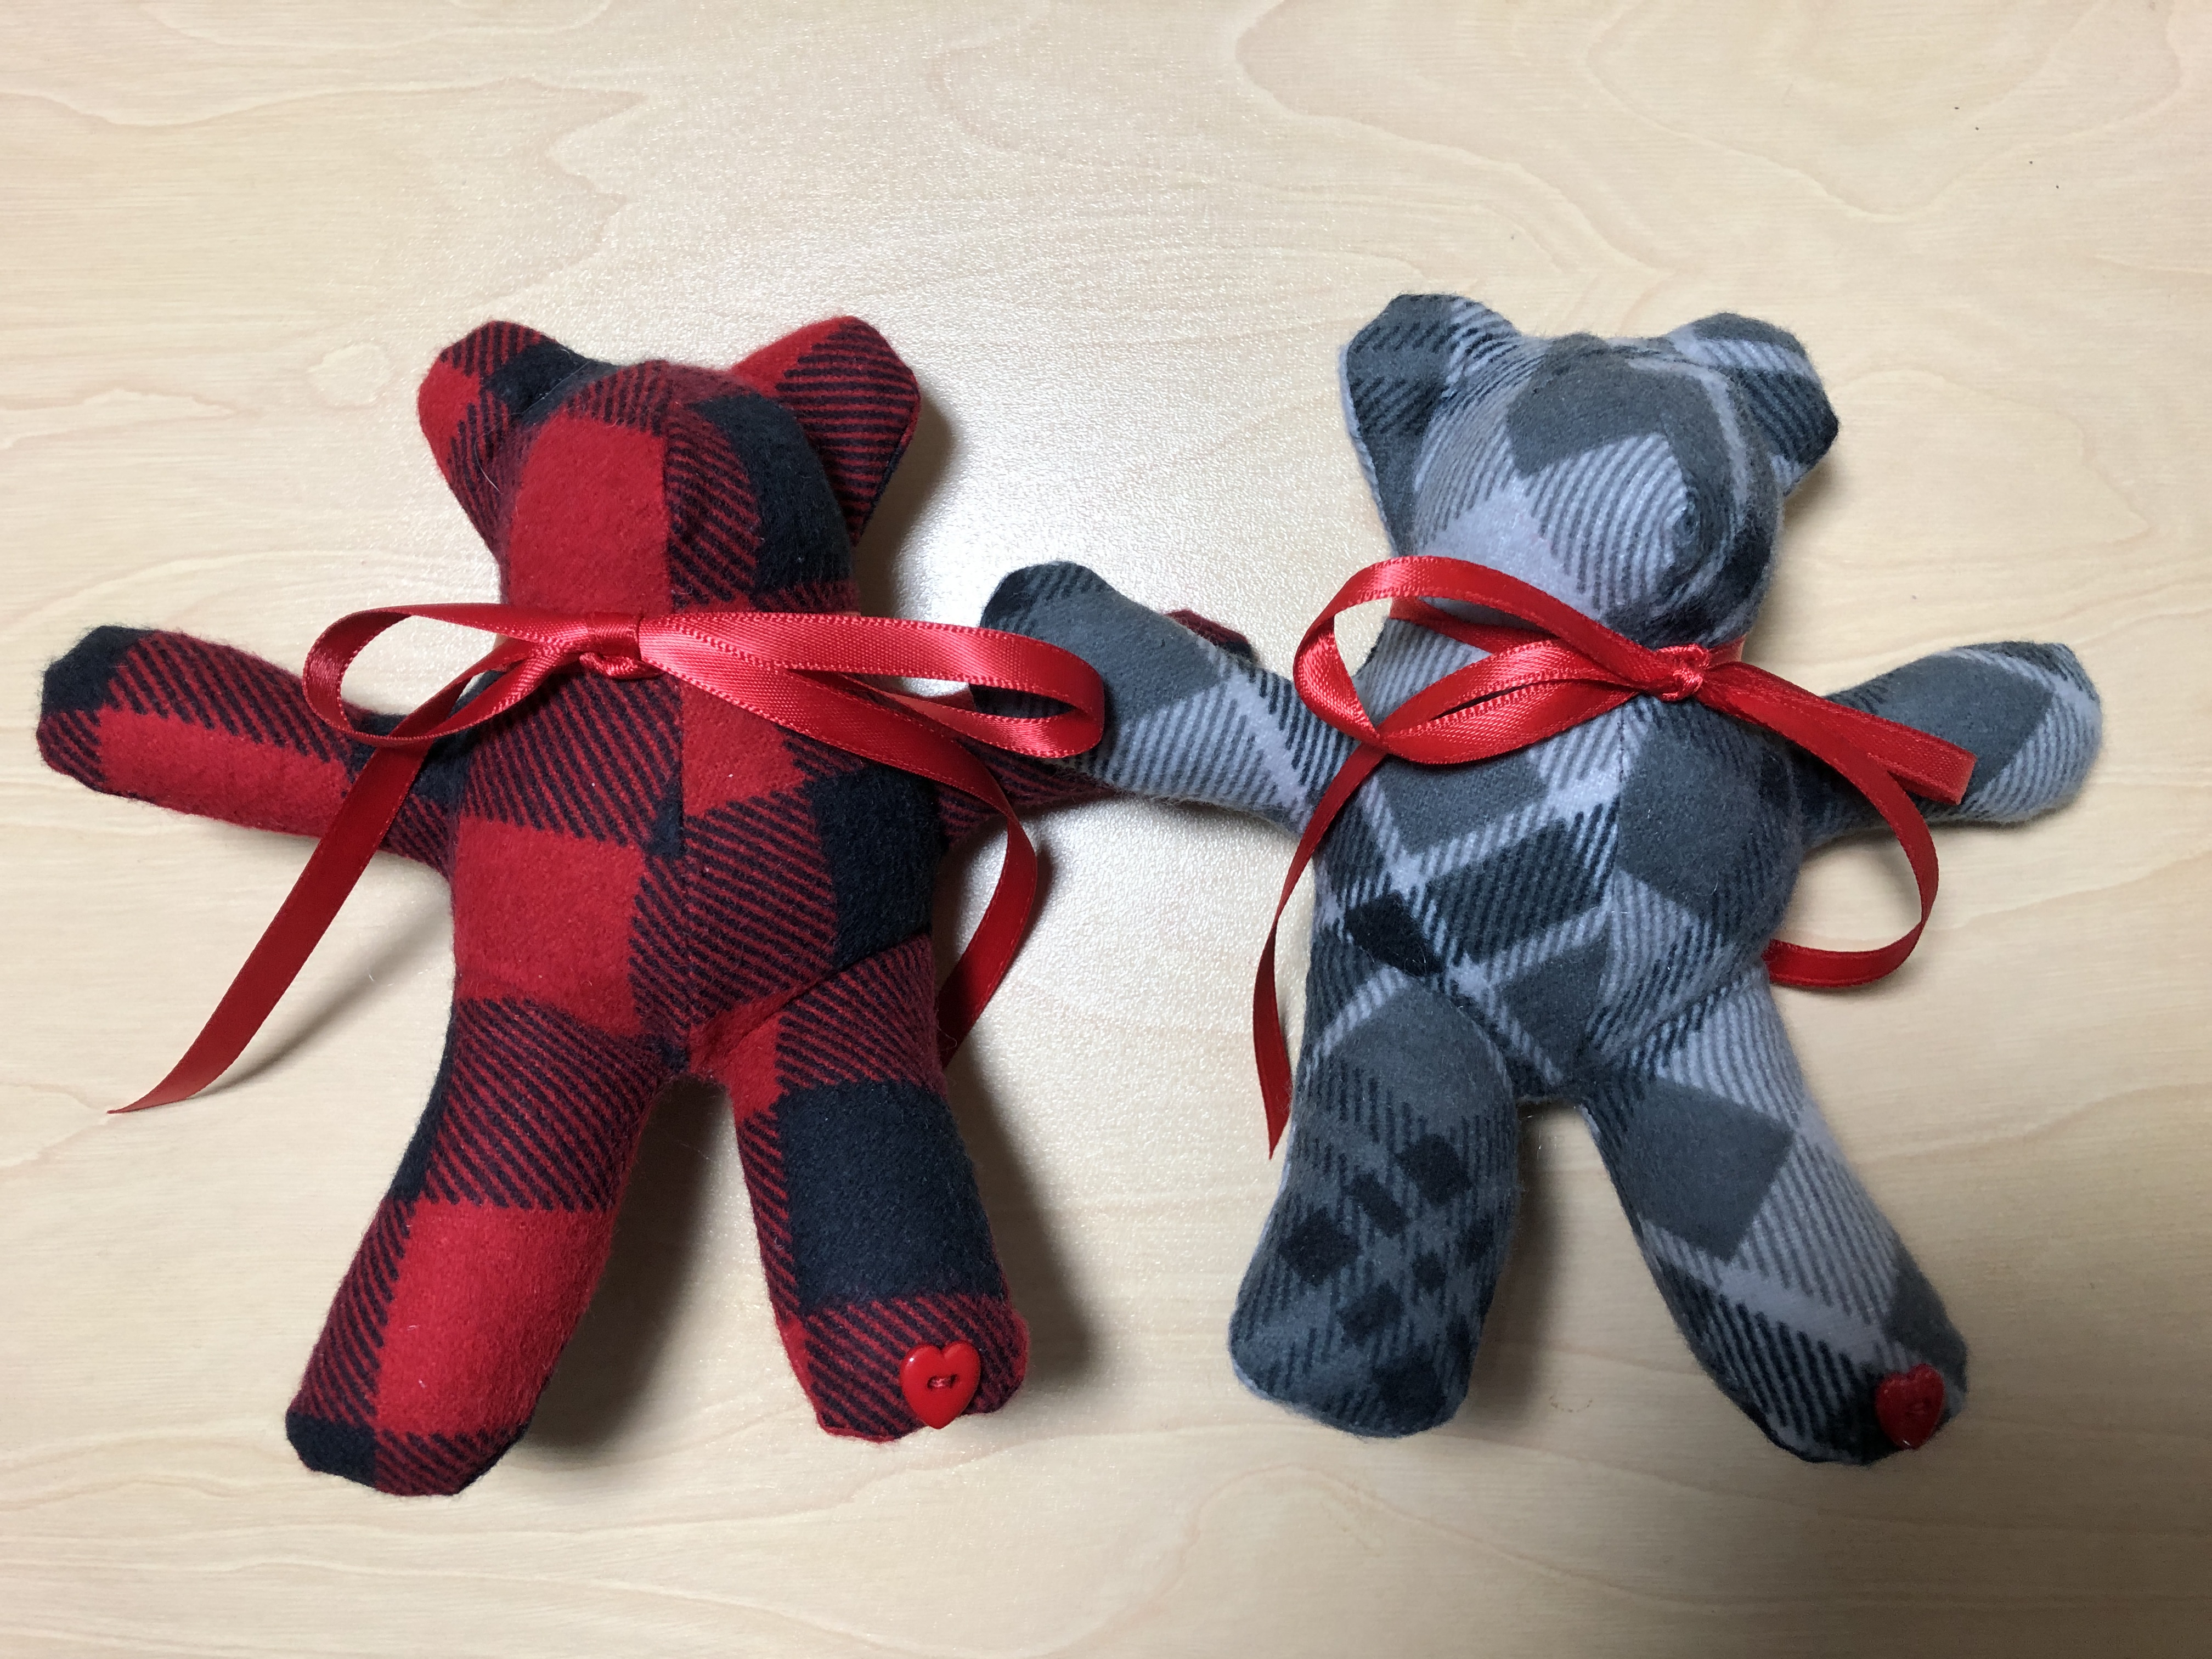
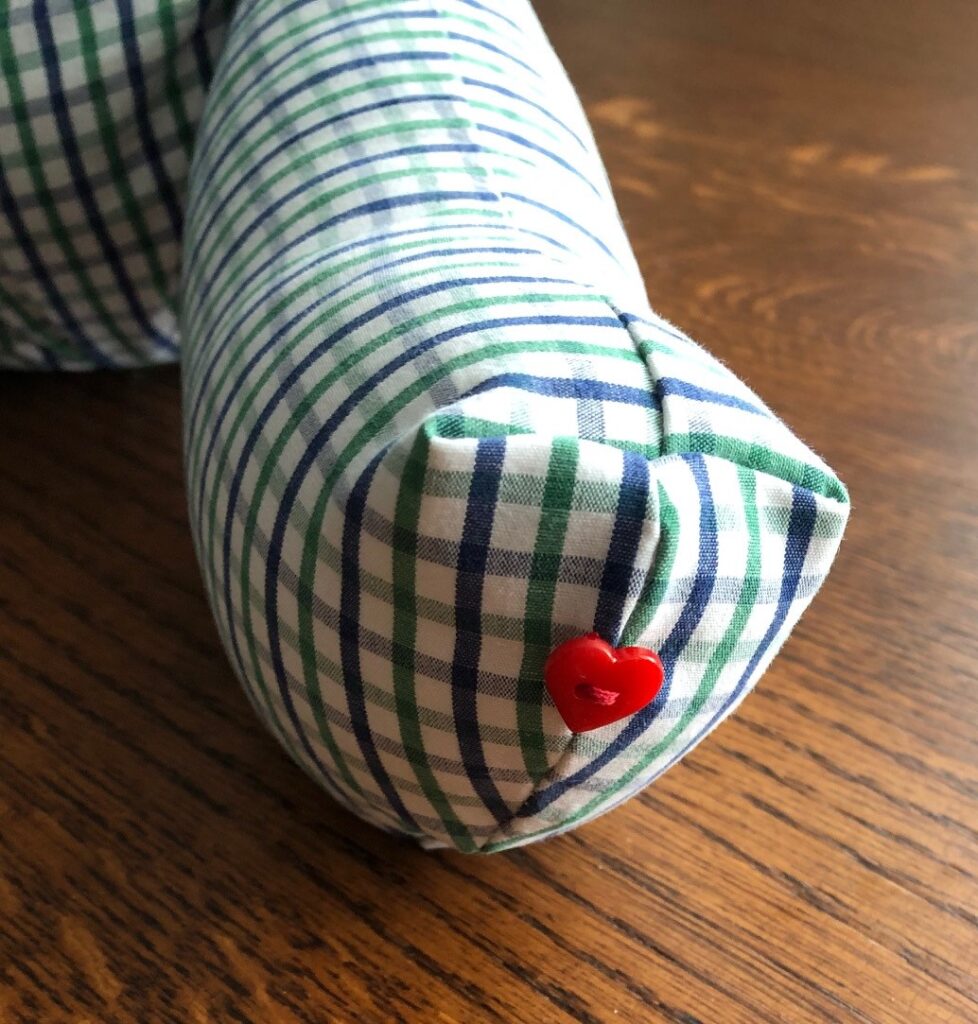
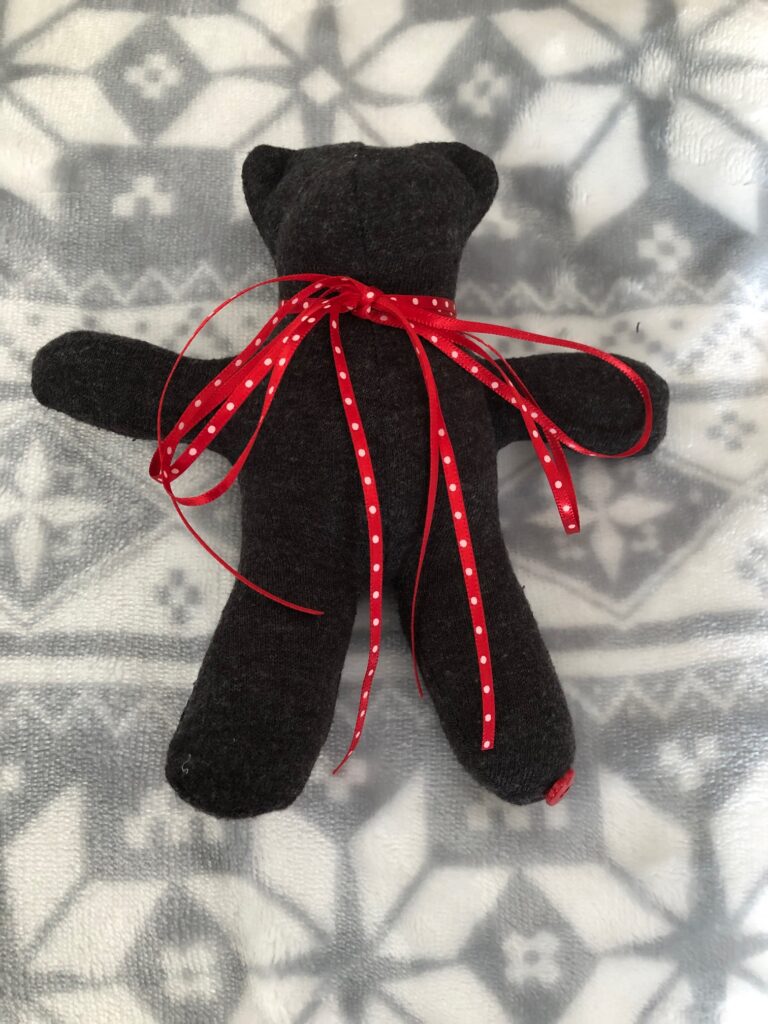
Here are two tiny bears made from men’s flannel shirts. They are about 6″ long. I add a tiny heart button to the toe, unless it will be a gift for a baby.
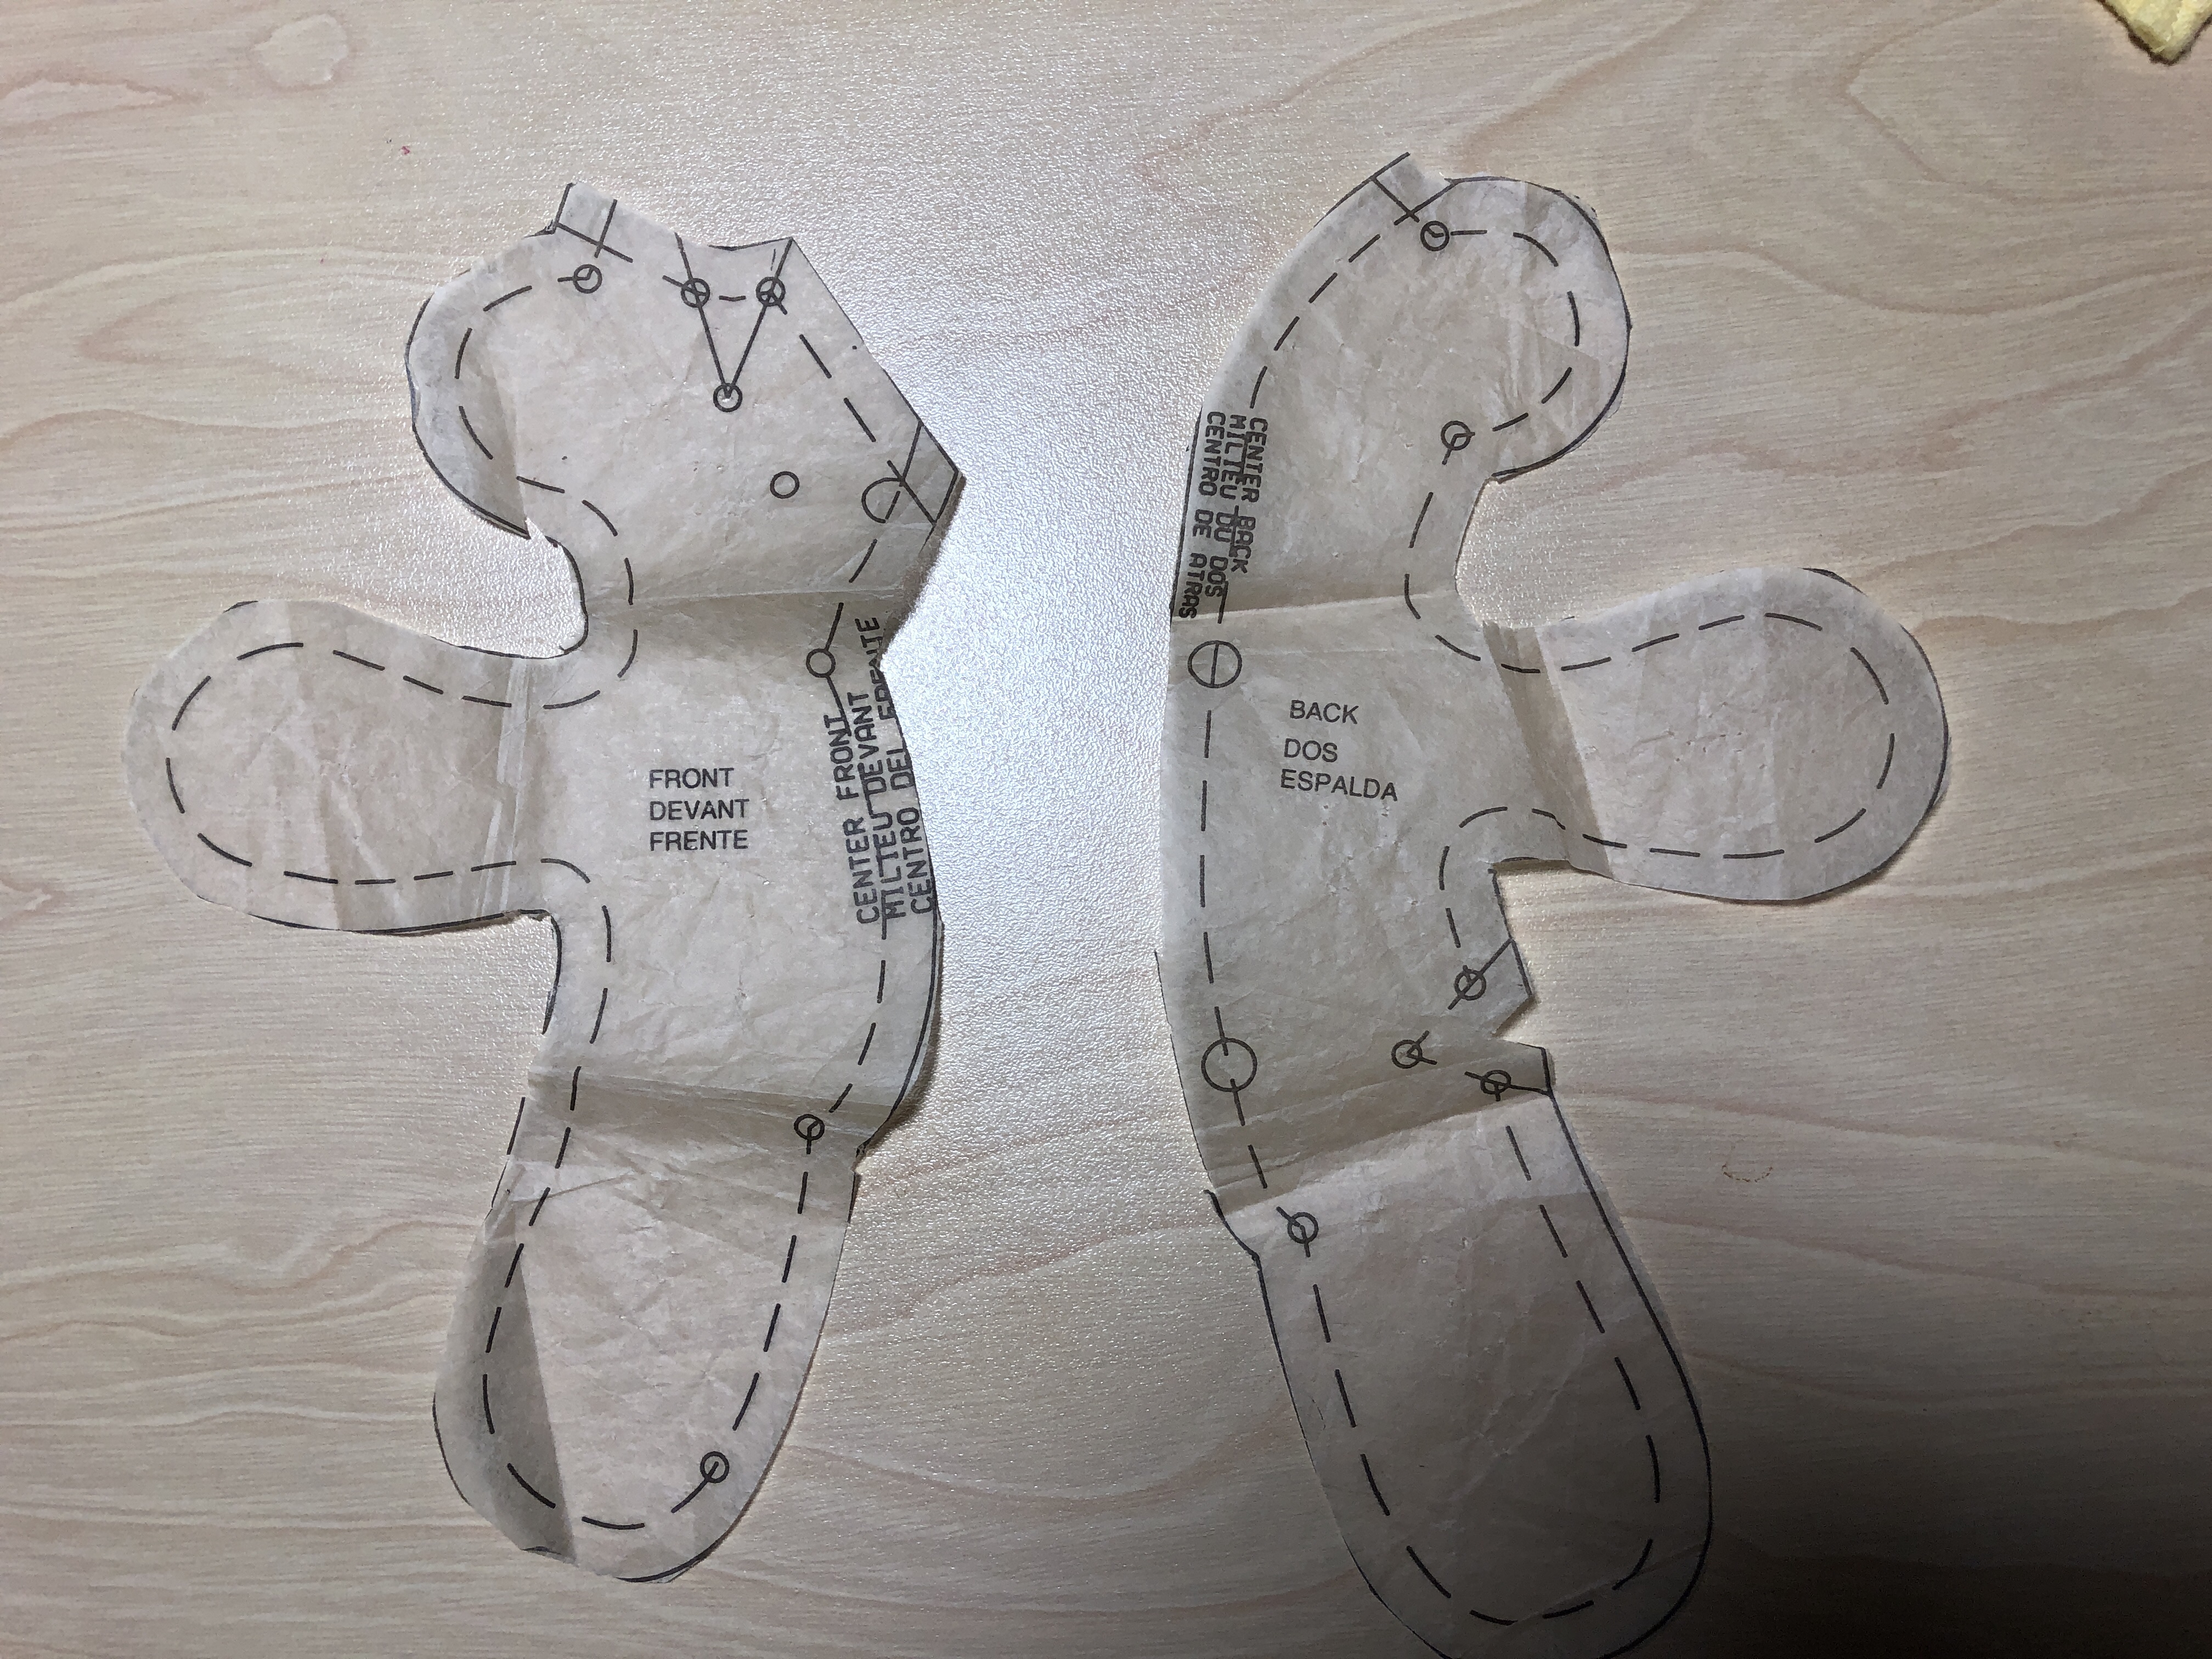
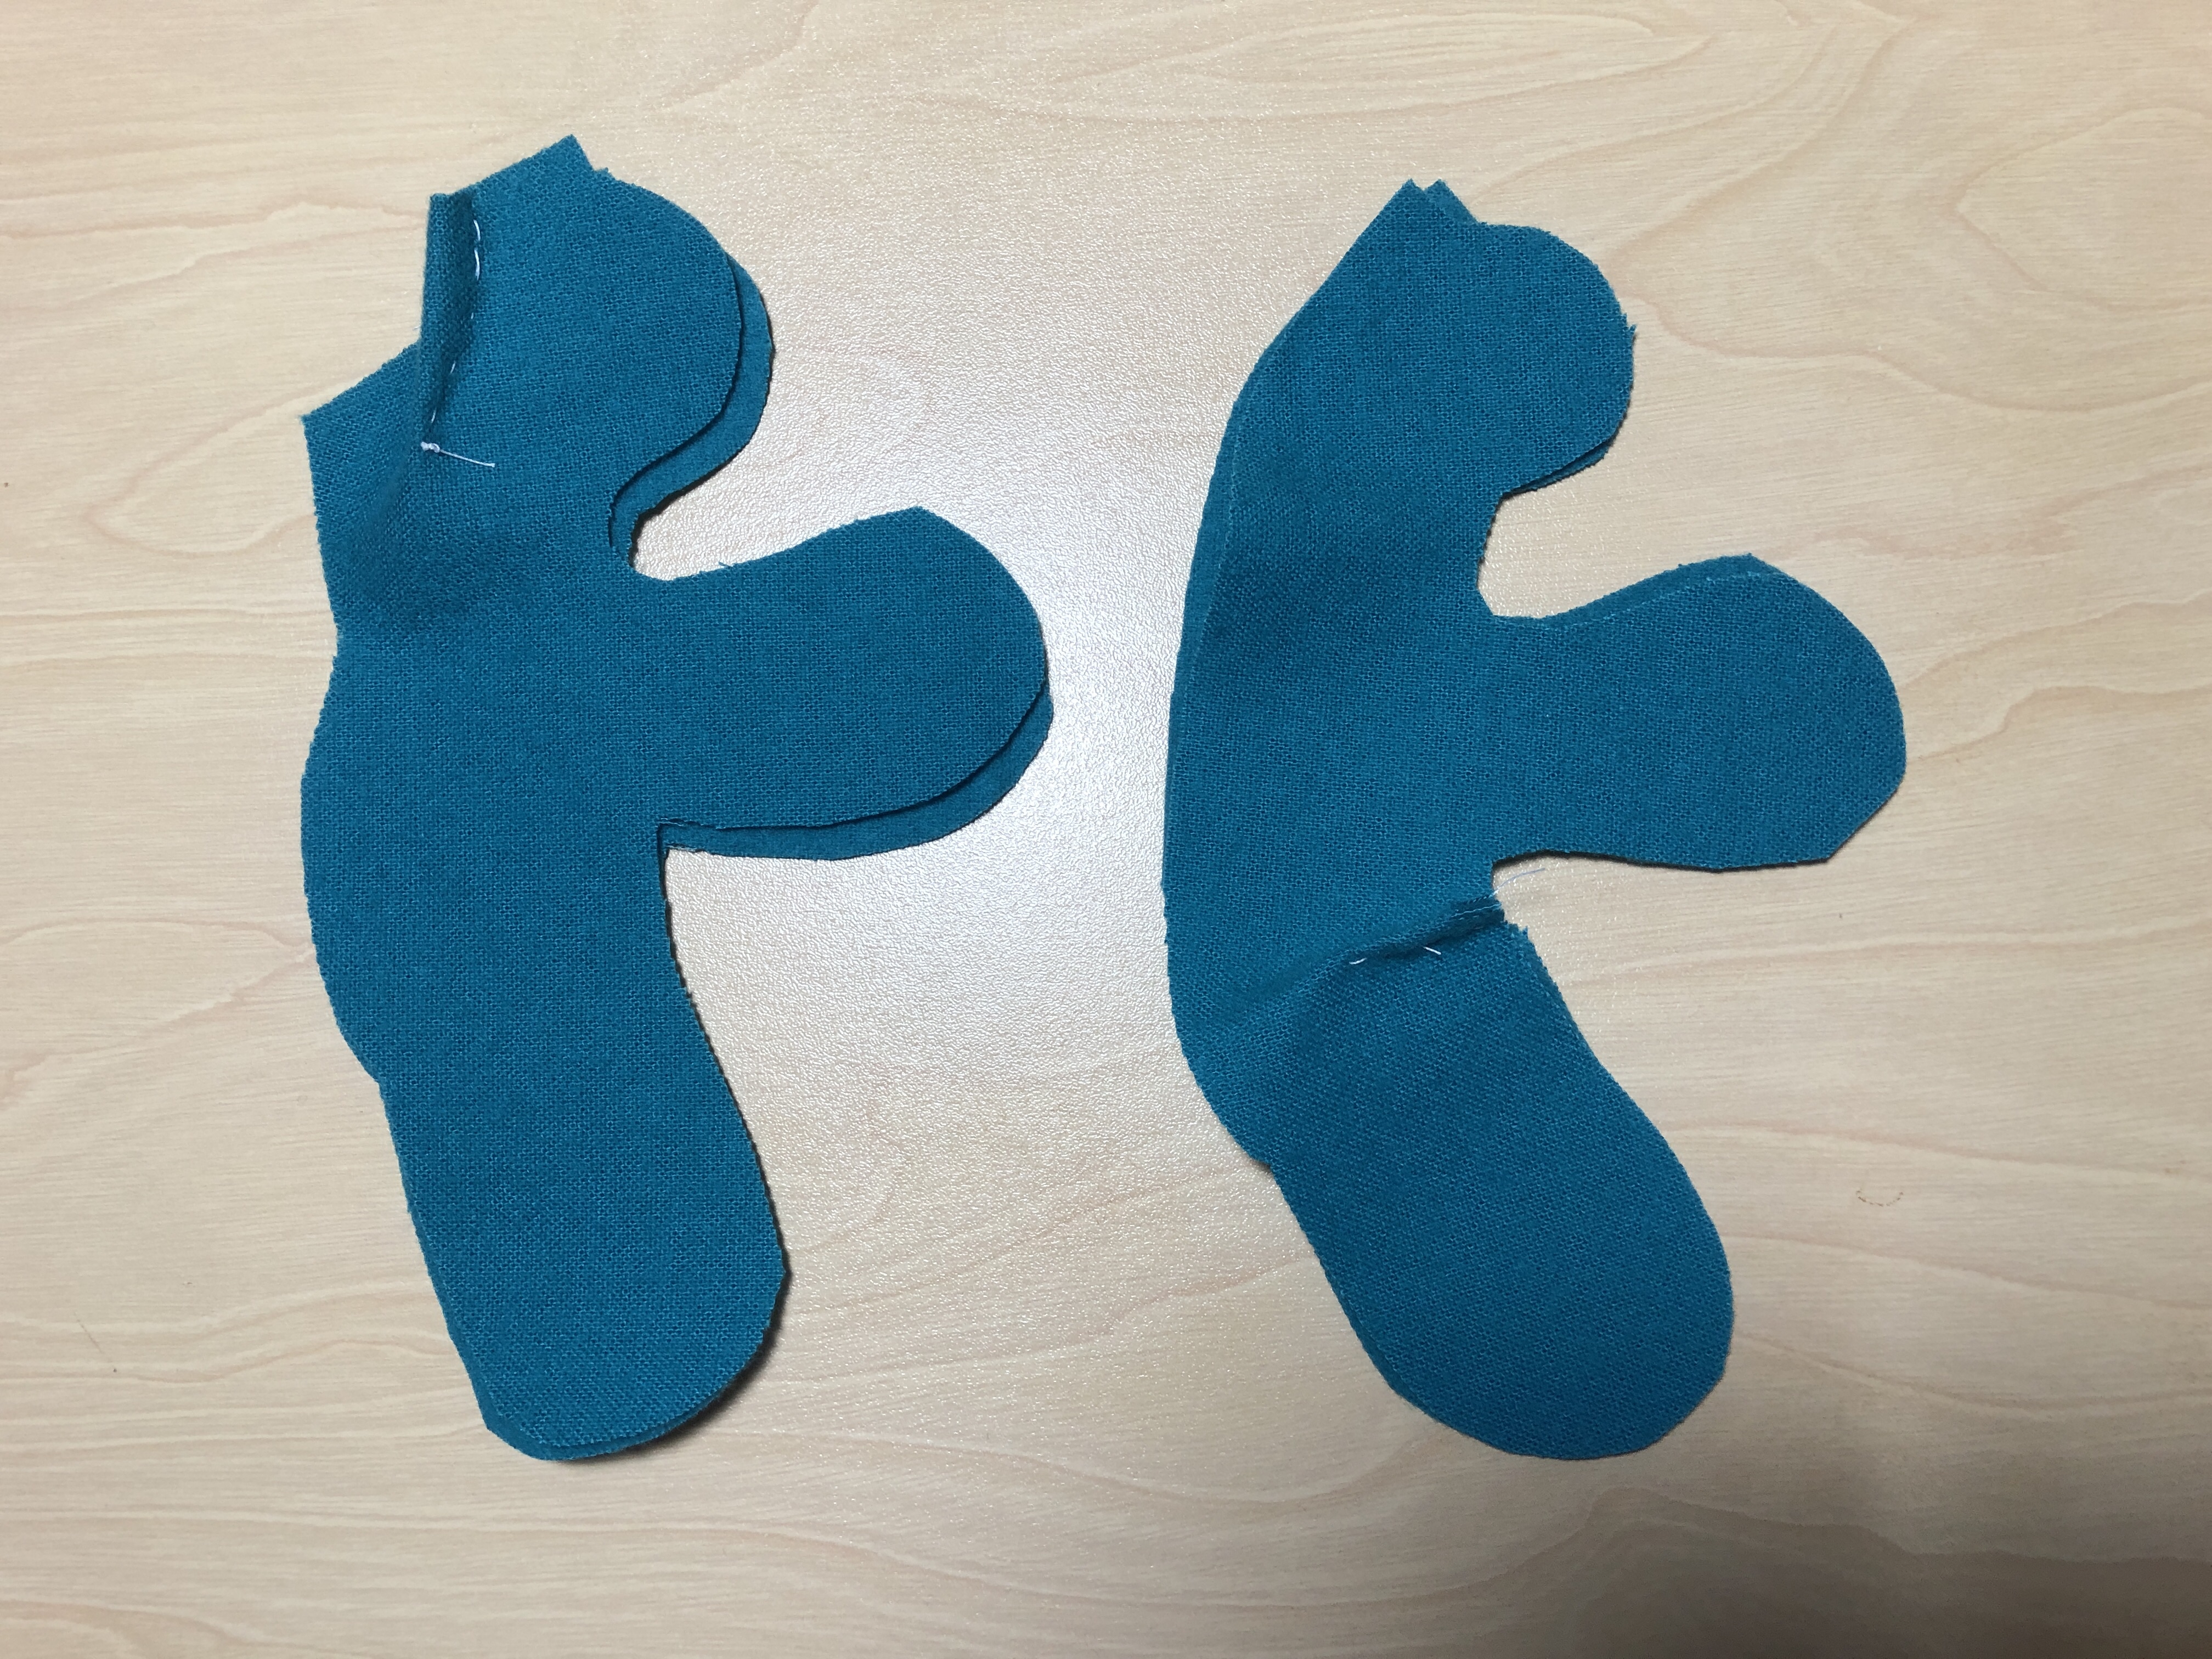
So, I pulled out the pattern and some leftover flannel and got busy.
Because the bears are so little, I baste the darts by hand first.
The rest goes pretty quickly, so now when I go to the birthday party this weekend, I’ll bring along some love bears!
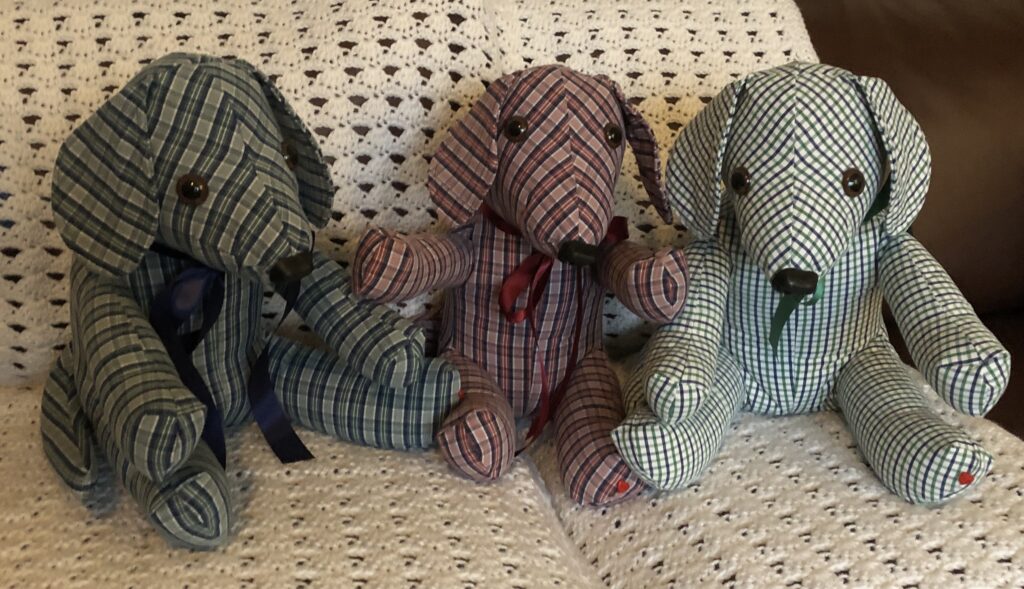
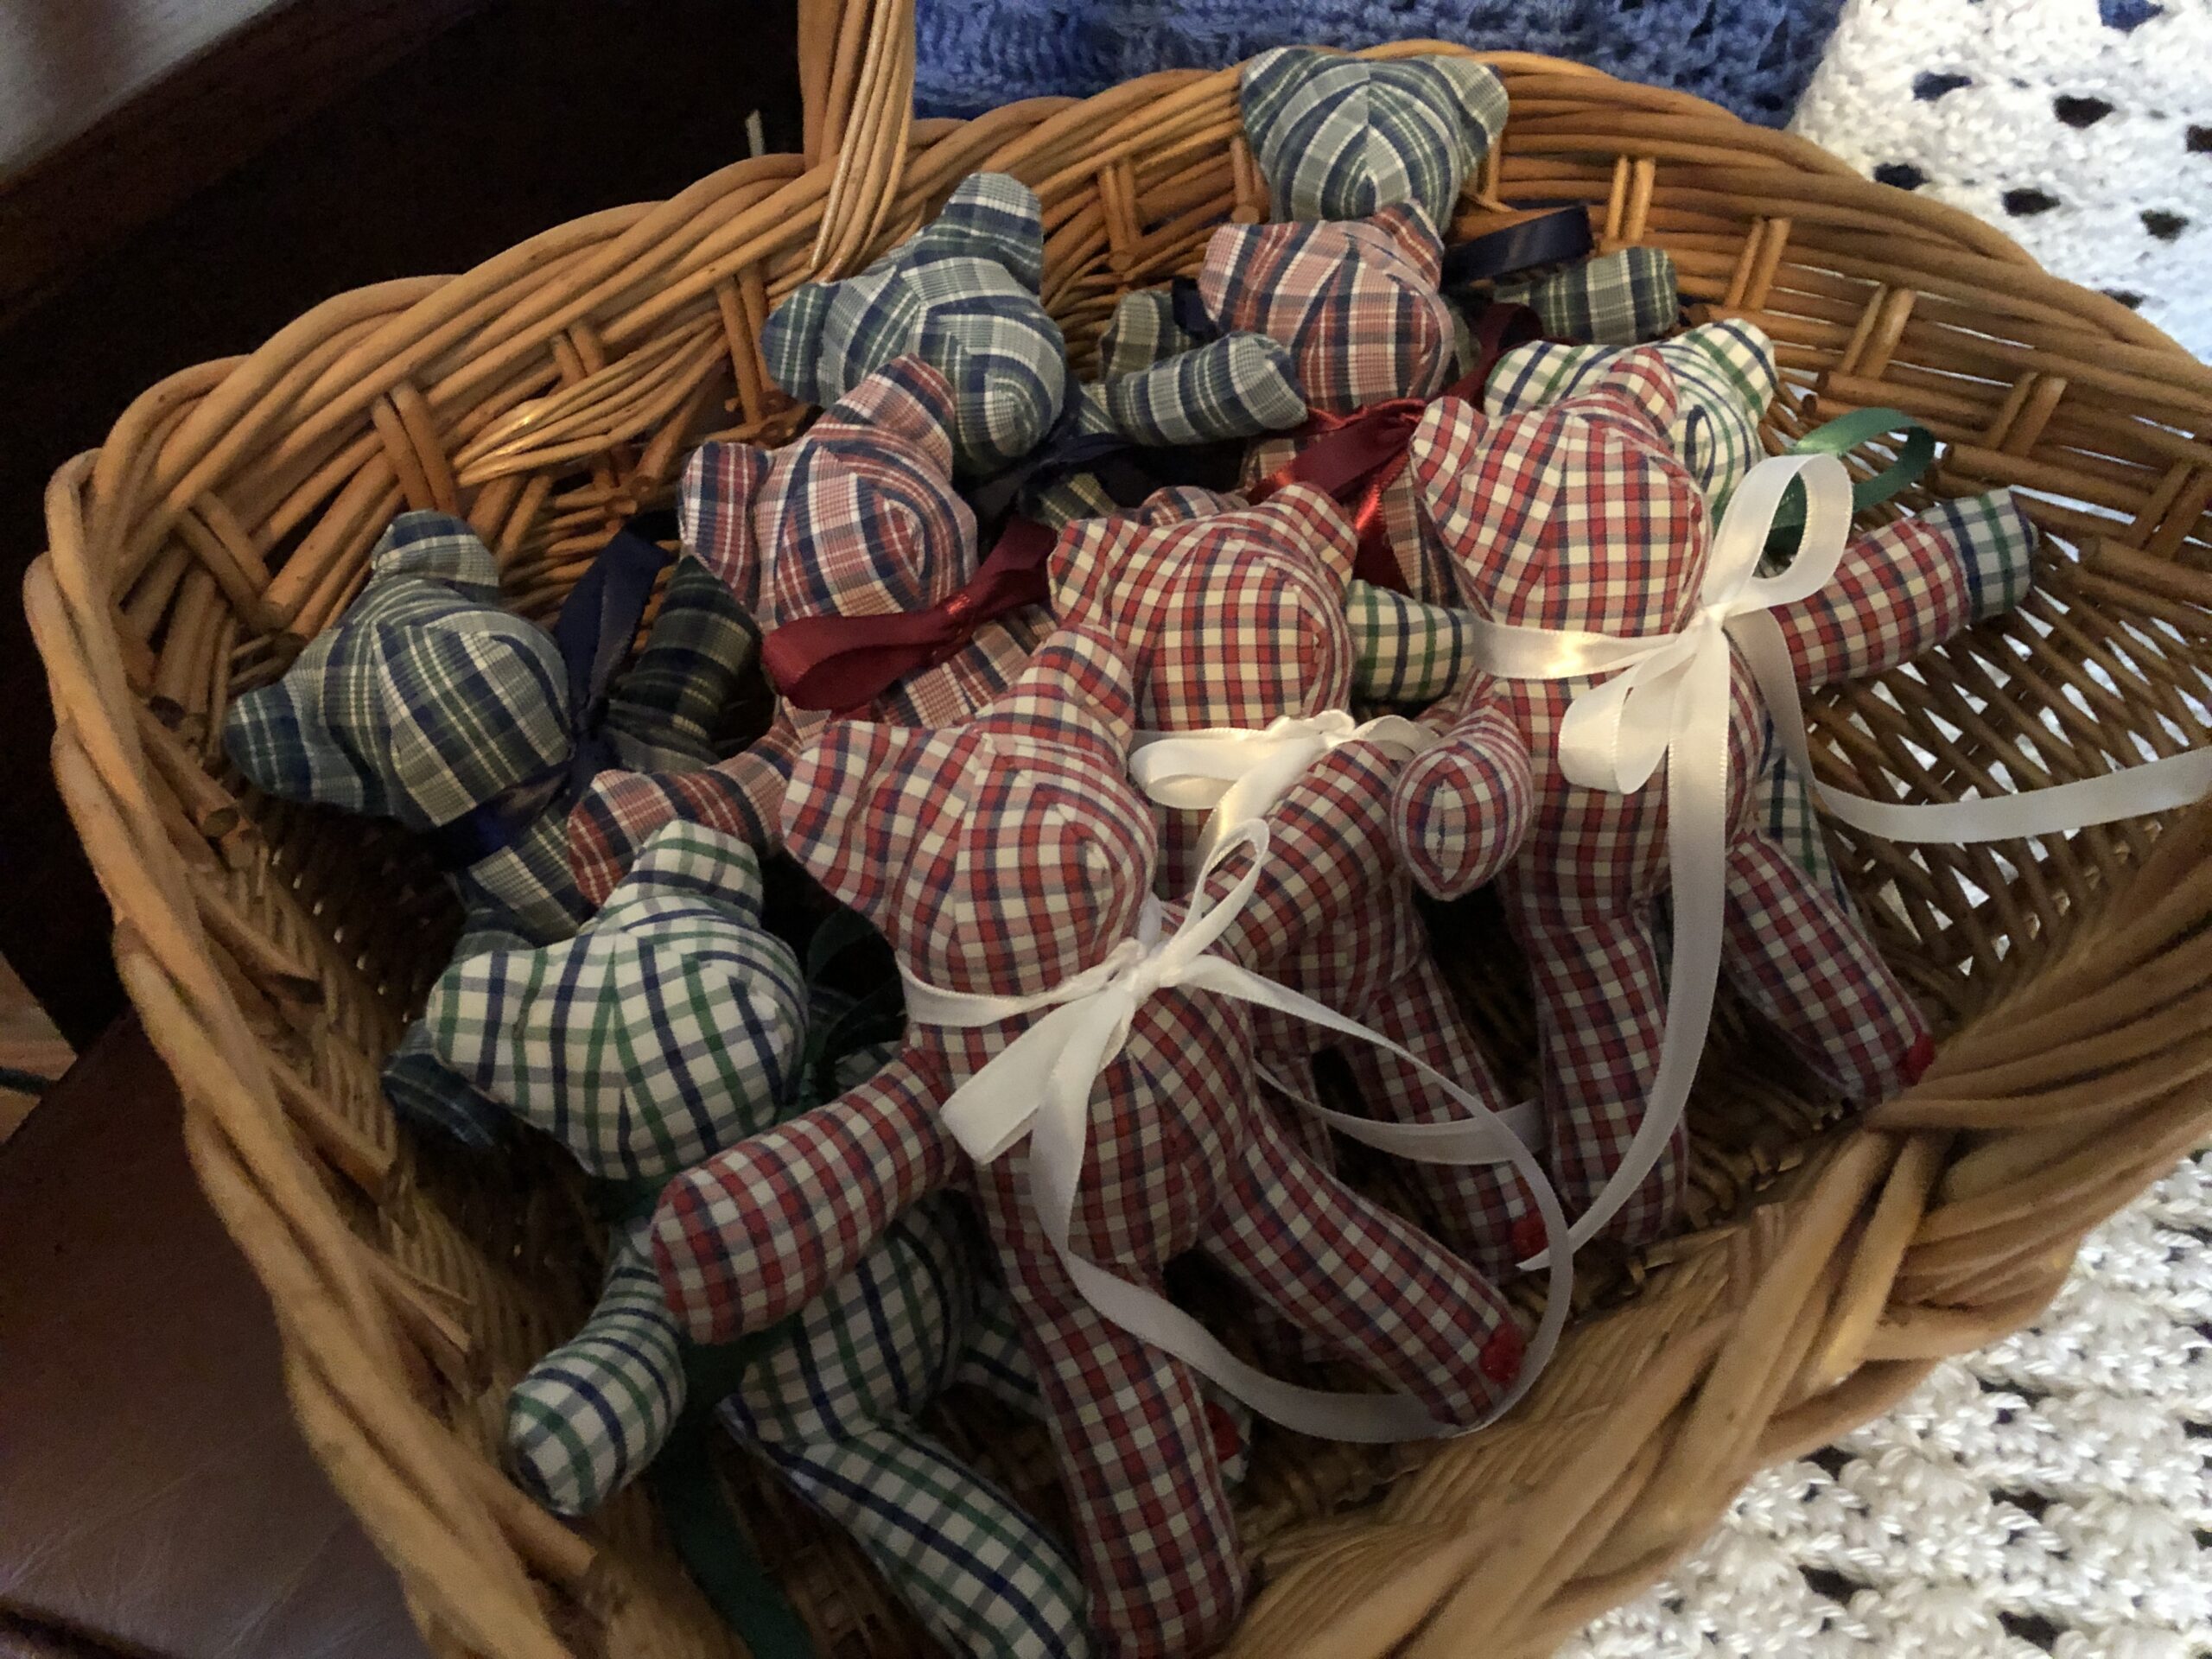
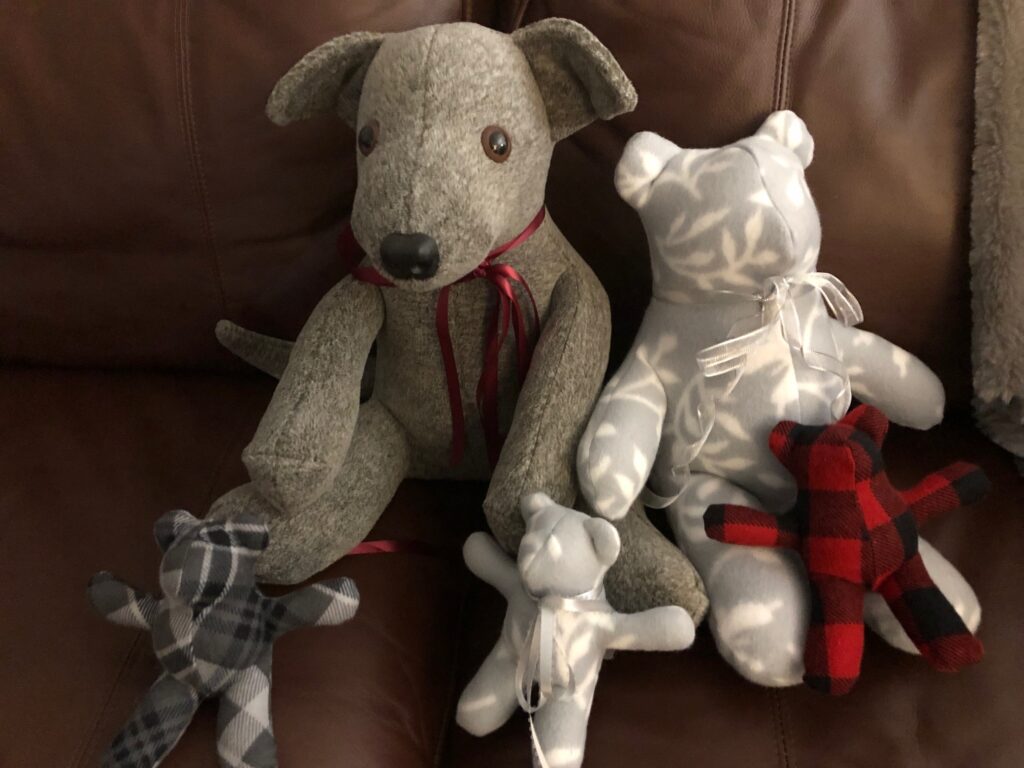
Just wanted to share the finished memory dogs and tiny bears that I finally got in the mail last week. They turned out fine, even with shirt fabric that was not stretchy but should satisfy anyone that has a memory of the loved one in those shirts. You can read about how I made them in the previous post, https://marykisner.com/making-a-memory-dog/. I started with three long sleeved shirts and one short sleeved shirt. I hope they bring hugs and smiles to a family in Fort Worth, Texas.
Making a memory pillow, stuffed bear or dog is more about the clothing it is made from than the actual item. The item is soft and huggable and the clothing is familiar. I have made pillows and bears but recently was asked to make stuffed dogs. In the past, the dogs I’ve made were made of fleece or fake fur…not from clothing so I didn’t know if I could make one dog out of one shirt. If you’d like to read about making a memory bear, see https://marykisner.com/making-a-memory-bear/.
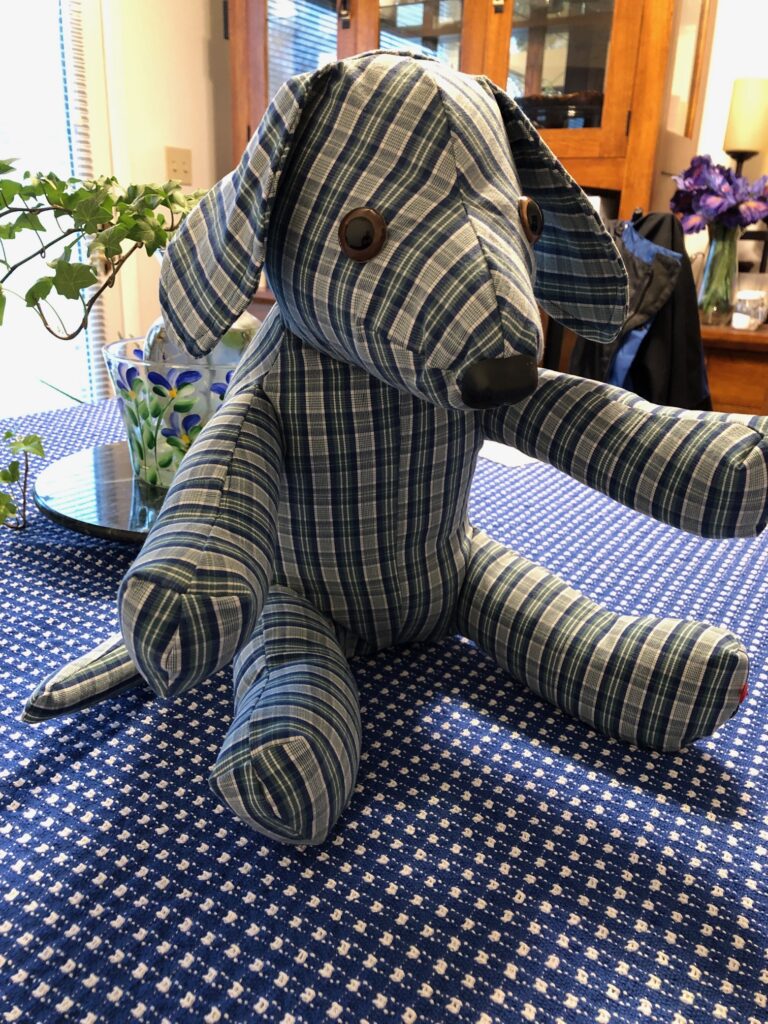
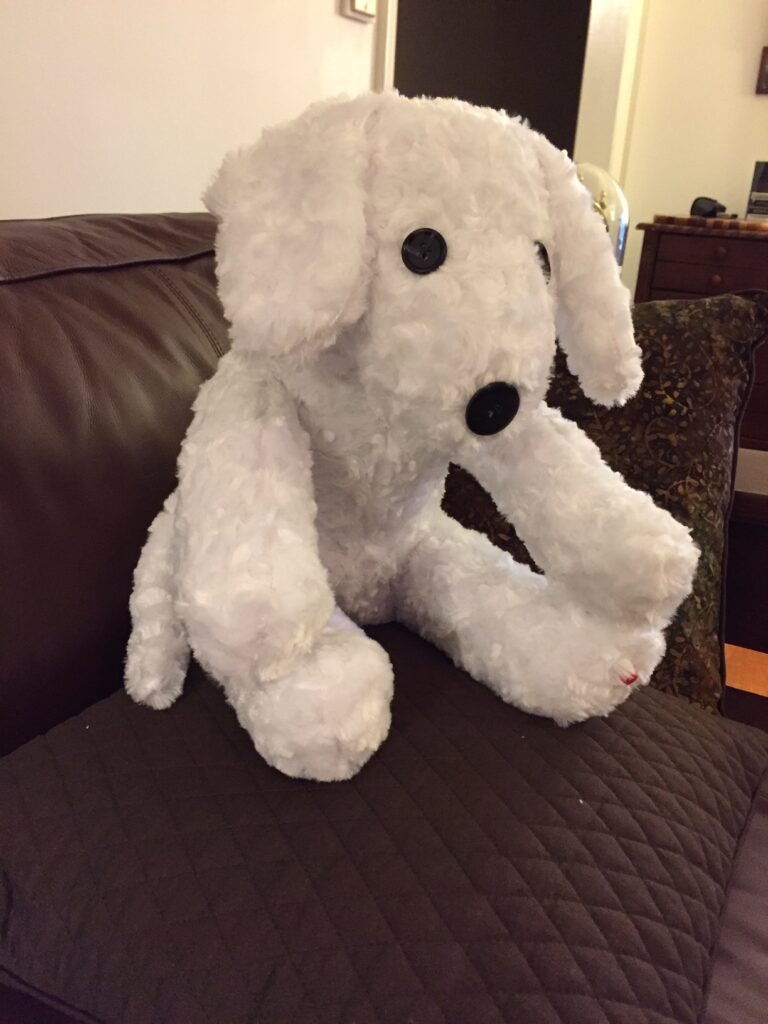
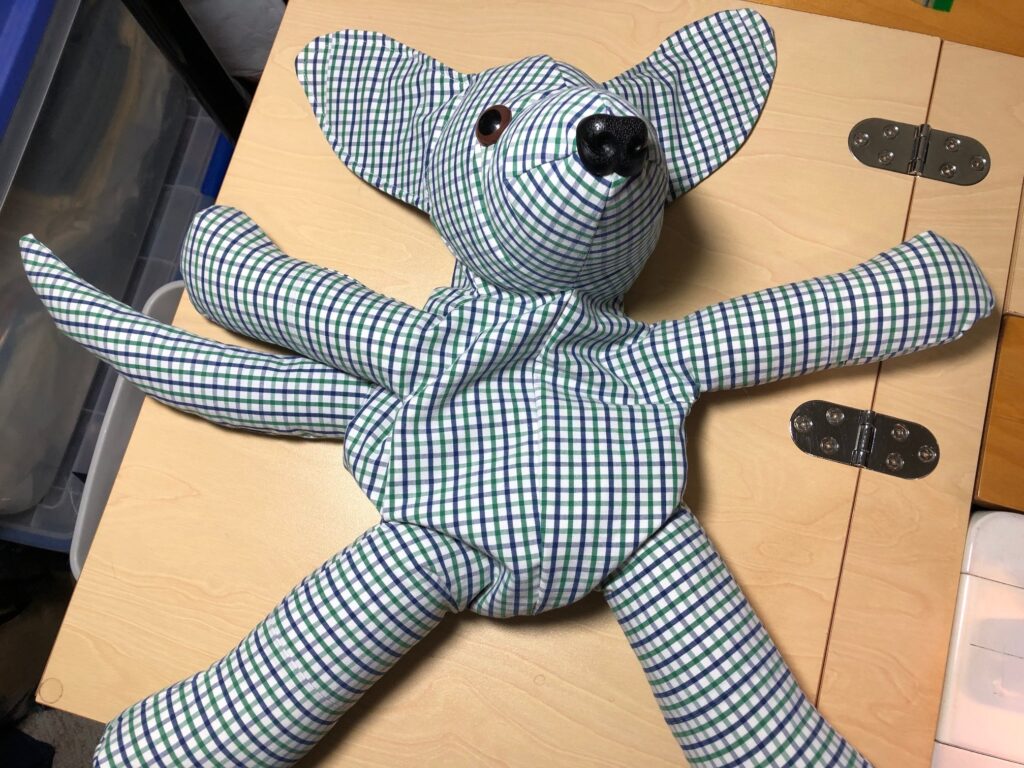
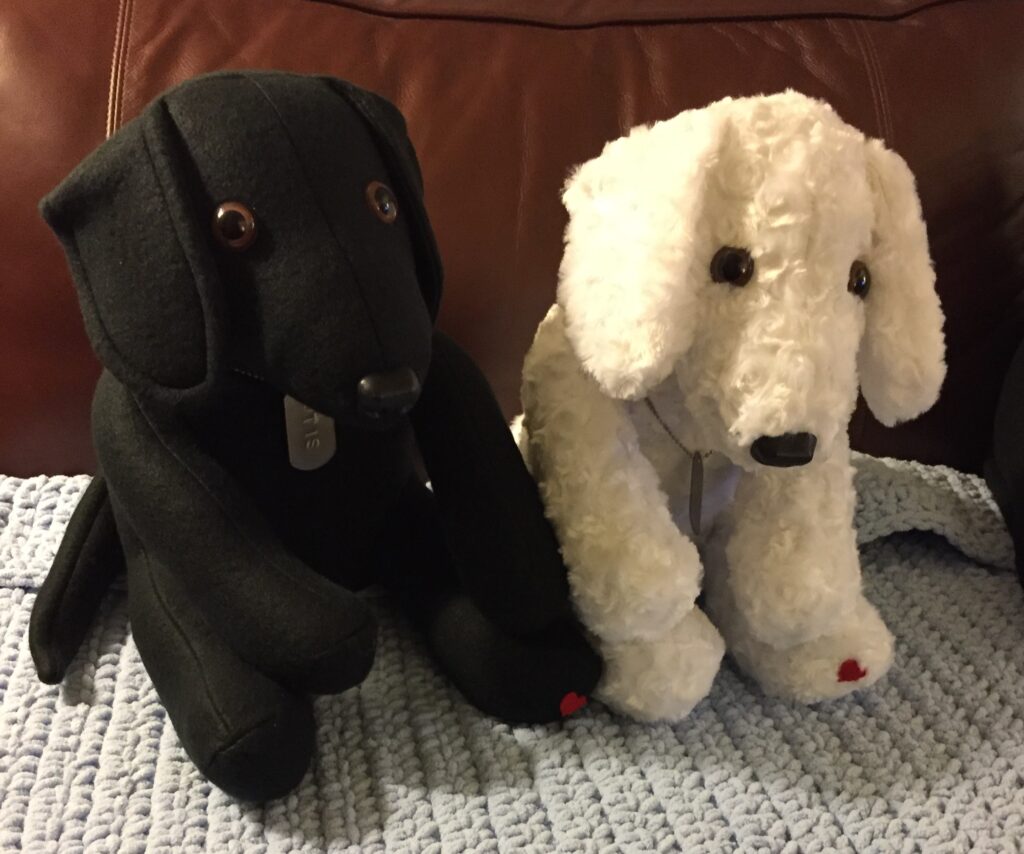
For this special order, I was sent four men’s shirts made of standard cotton and polyester. One was short-sleeved. The request was for three dogs and a bunch of little bears. I think the short-sleeved shirt will be helpful making the tiny bears but it won’t work for the larger dogs. So, I needed to figure out how to make a dog out of one shirt. The first stuffed dog turned out OK, but it wasn’t until I was done, I realized I had forgotten to take an pictures of the process. I did take a picture of the finished dog:
I will include a wide ribbon tied in a bow around the neck…probably navy or green.
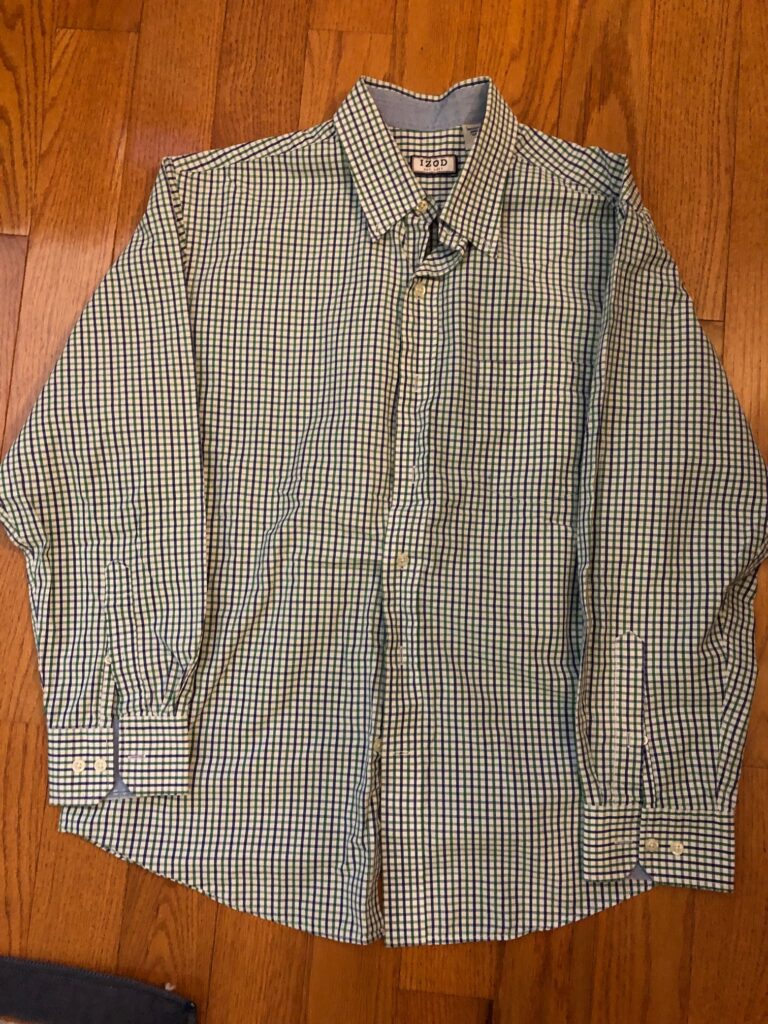
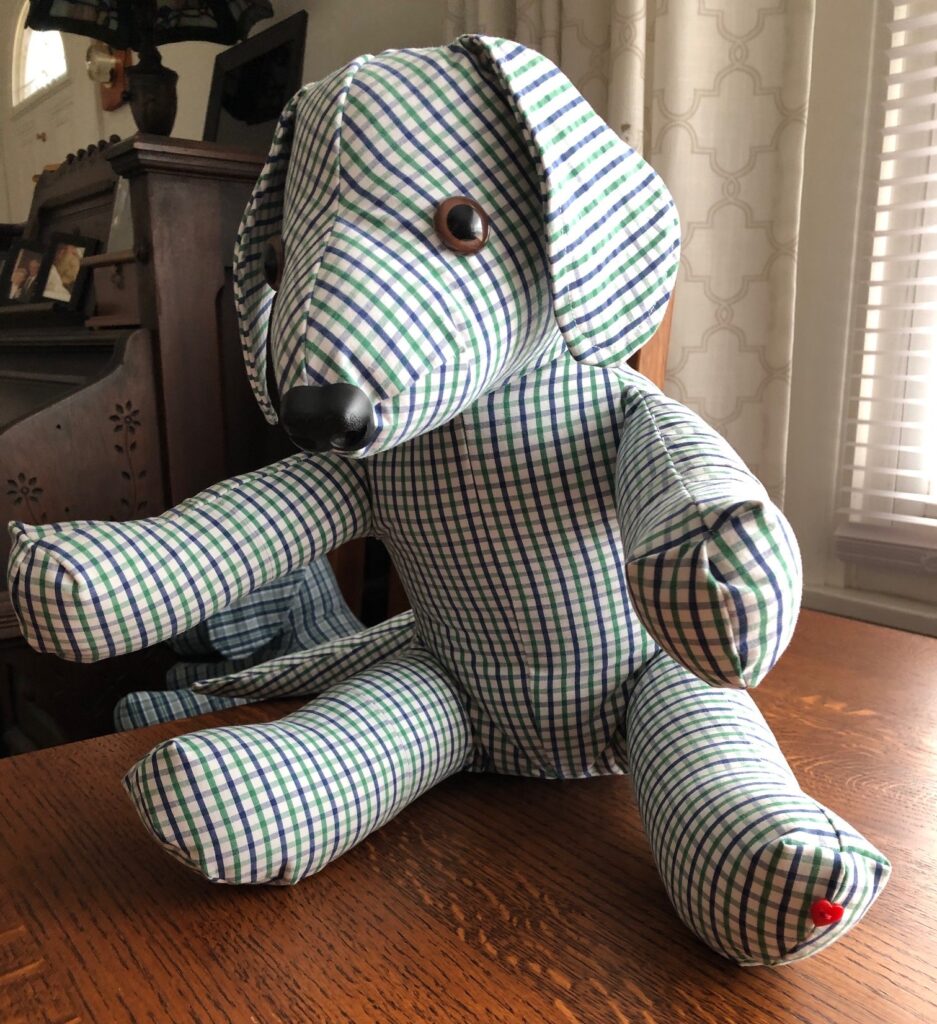
For the second dog, I tried to document the process so next time I won’t have to figure out how to do it again. Here was the second stuffed dog and the shirt it was made from:
I think these dogs will be great keepsake for the family. They are soft and huggable and would feel like hugging Dad.
How to Make a Memory Dog
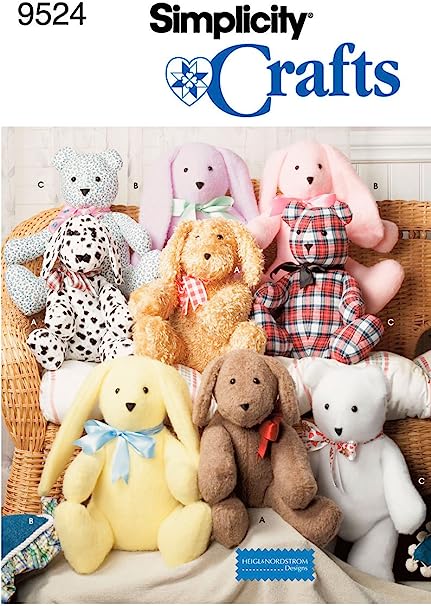
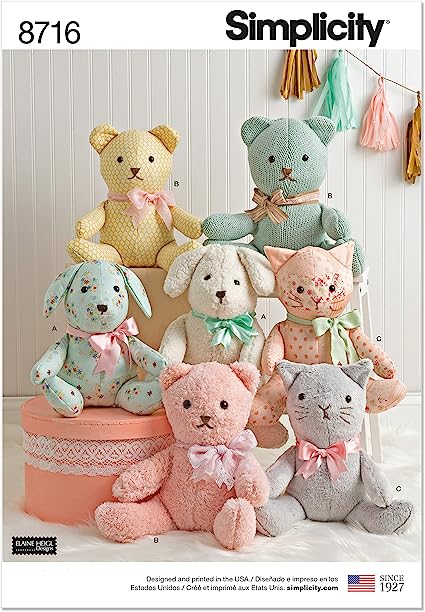
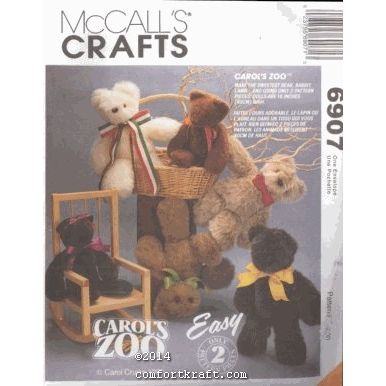
To make a stuffed memory animal, start with any pattern you are comfortable with. Here are two that could work for you:
My pattern started like one of these, but it has been modified over the years to have a longer nose and different ears to represent the greyhounds I work with:
Don’t be afraid to experiment with ear shape to one you like. I made quite a few dogs until I was happy with the ears! I have another modification to represent ordinary dog ears like this:
If you are interested to try making a stuffed animal out of a loved ones shirt, here are the steps below. If you don’t sew, don’t feel obligated to read about it!
Steps to Making the Memory Dog
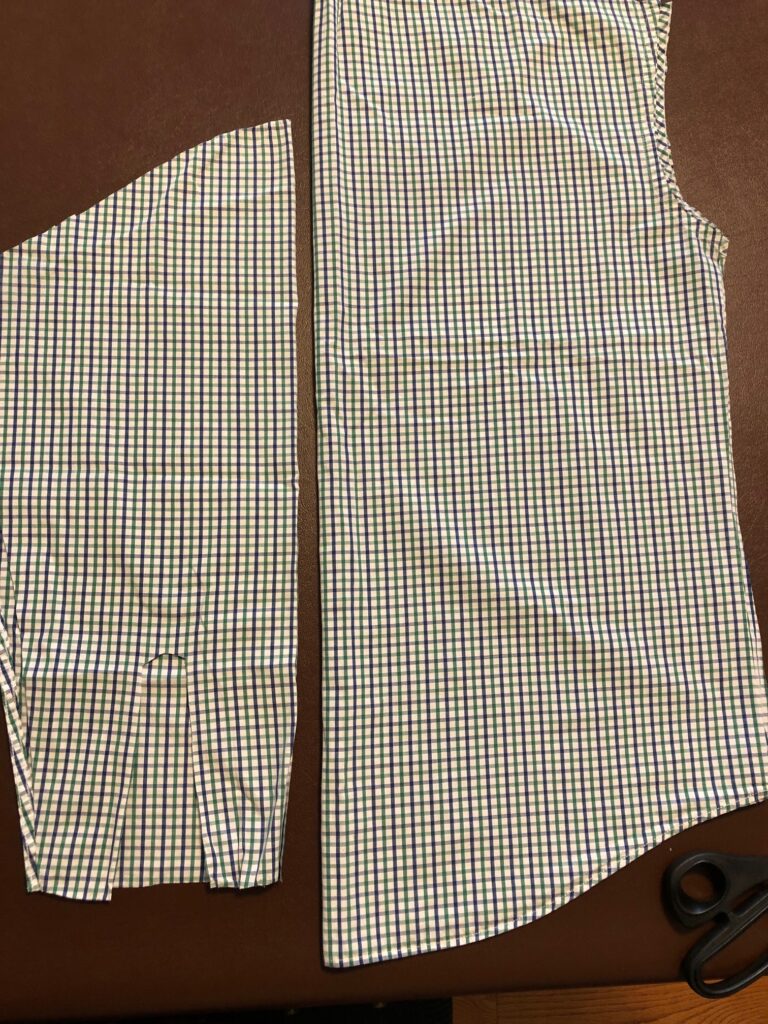
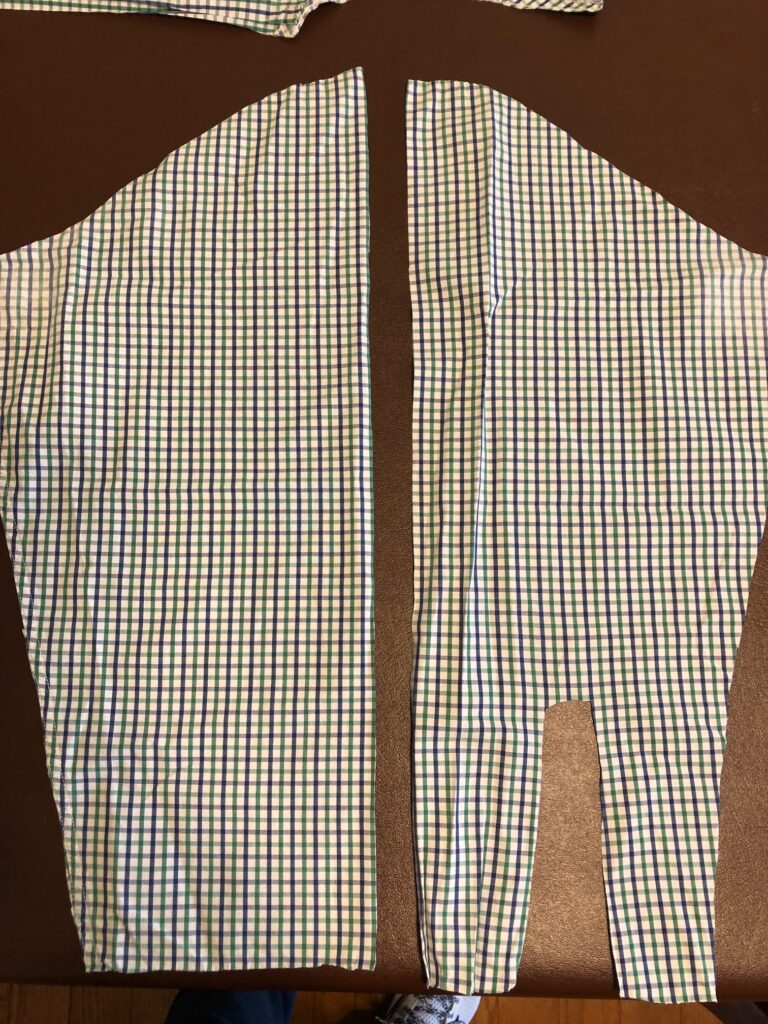
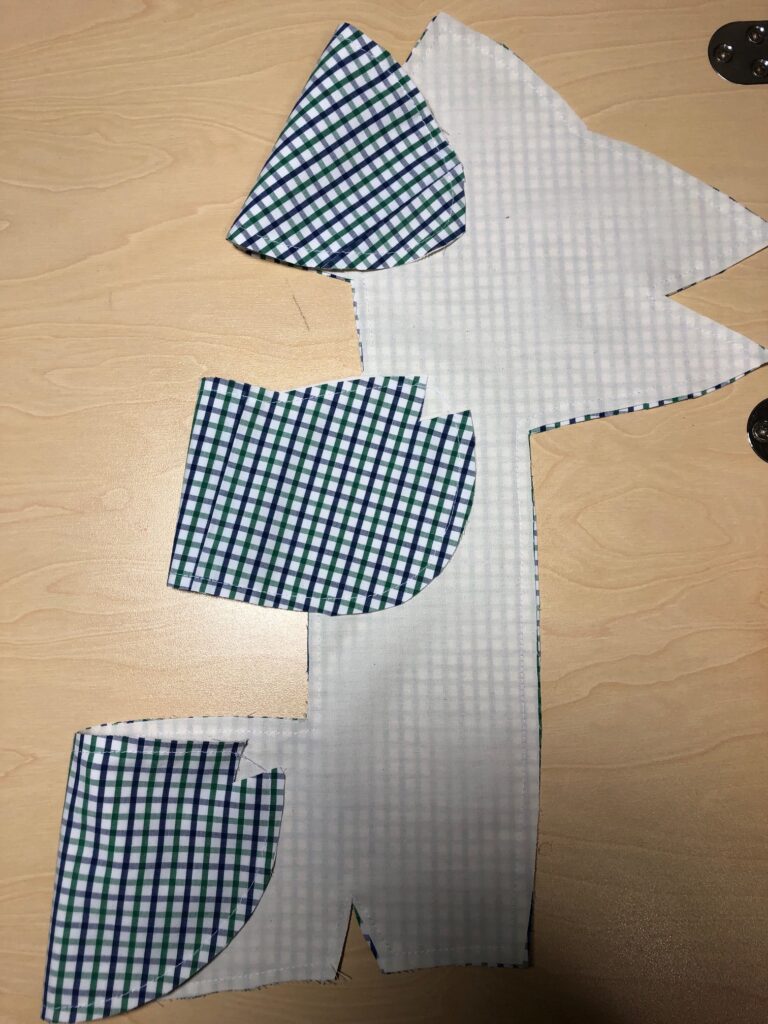
First, deconstruct the shirt. Cut the shirt apart close to the seams. Discard the collar, yoke, cuffs and front plackets. If you want to recycle the buttons into another project, remove them now.
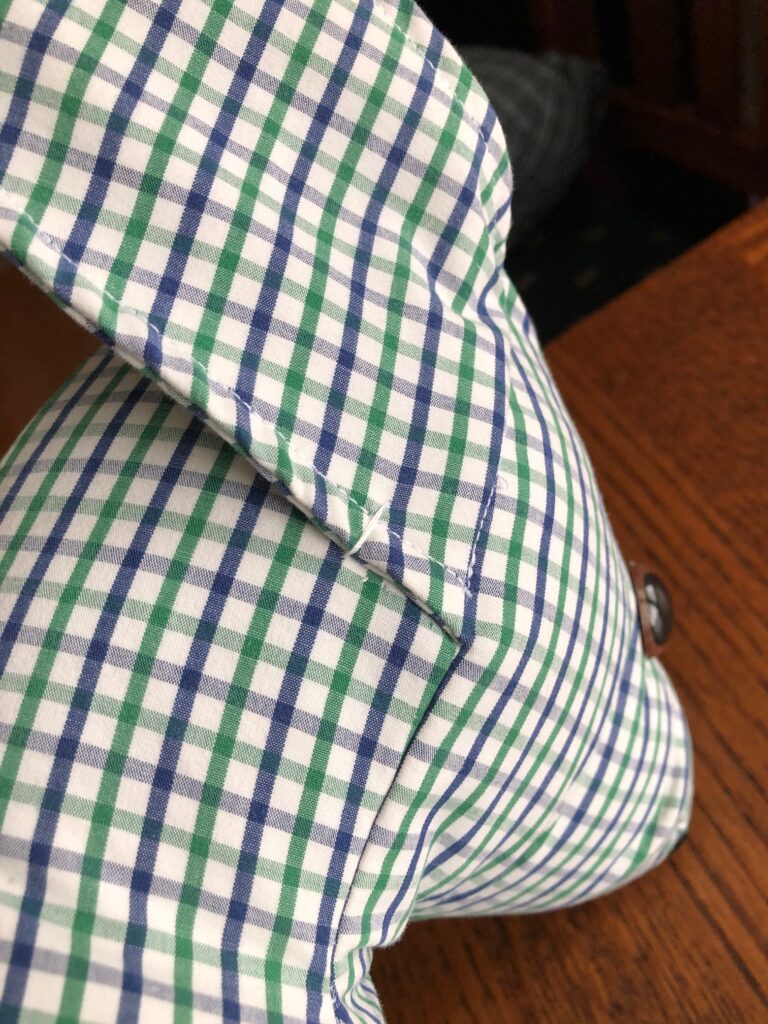
You now have a back section, two front sections and two sleeves. Each sleeve was cut in half and used to extend the front and back pieces so the pattern will fit. That means each arm/leg has a seam about halfway, but it doesn’t really show with the print.
One sleeve cut in half, ready to sew on the sides of the back of the shirt.The other sleeve, cut in half, ready to sew on the sides of the front of the shirt.
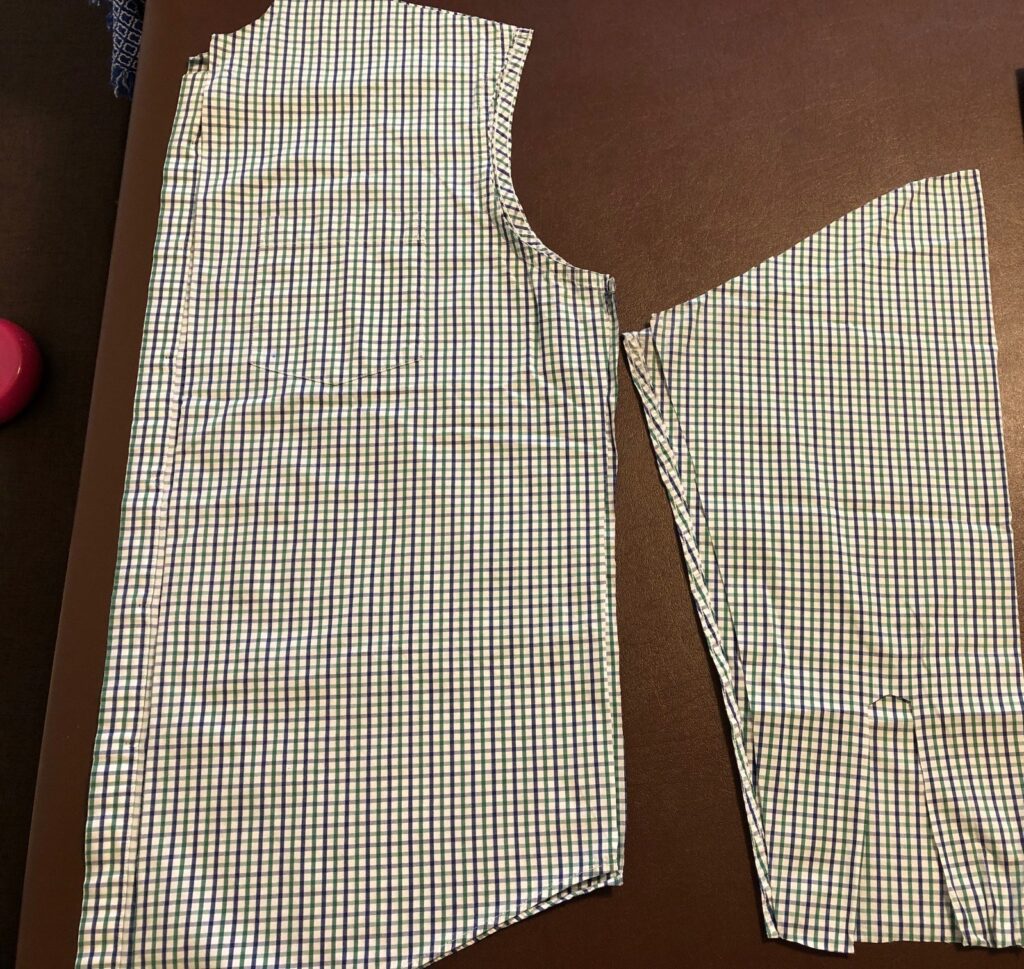
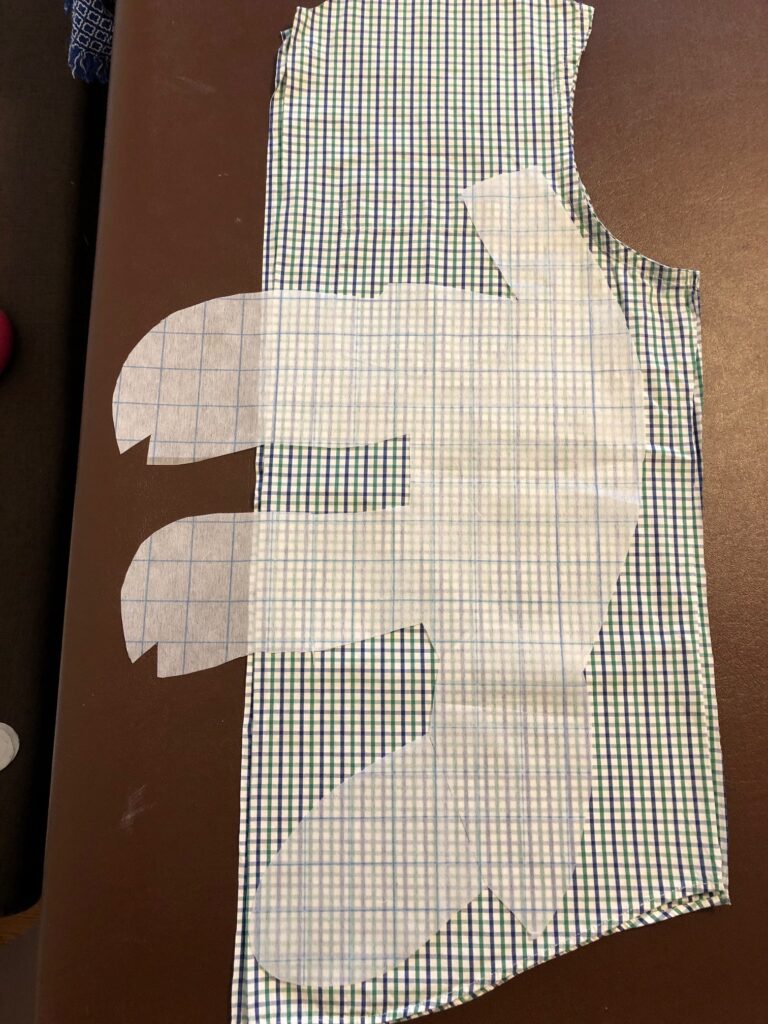
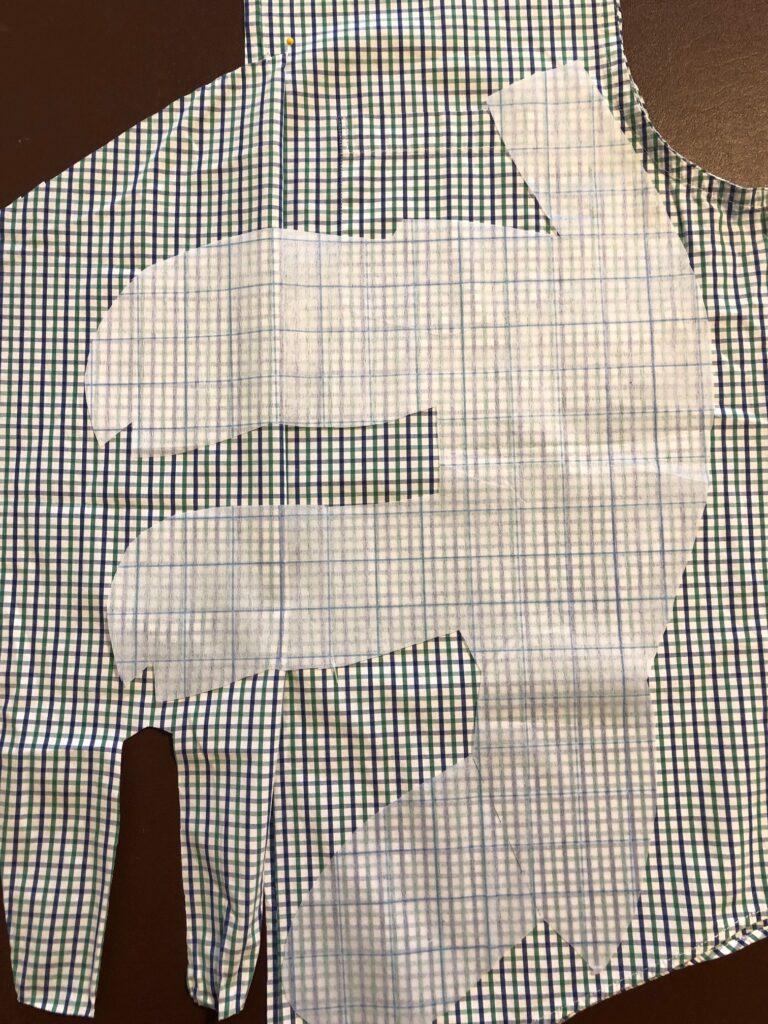
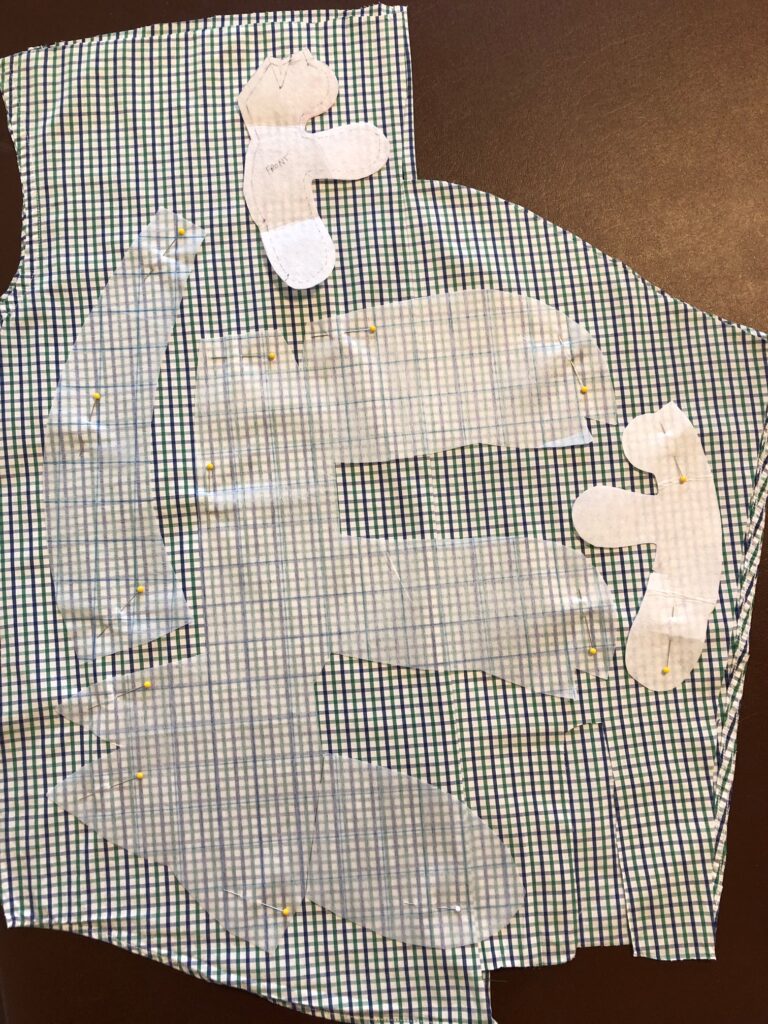
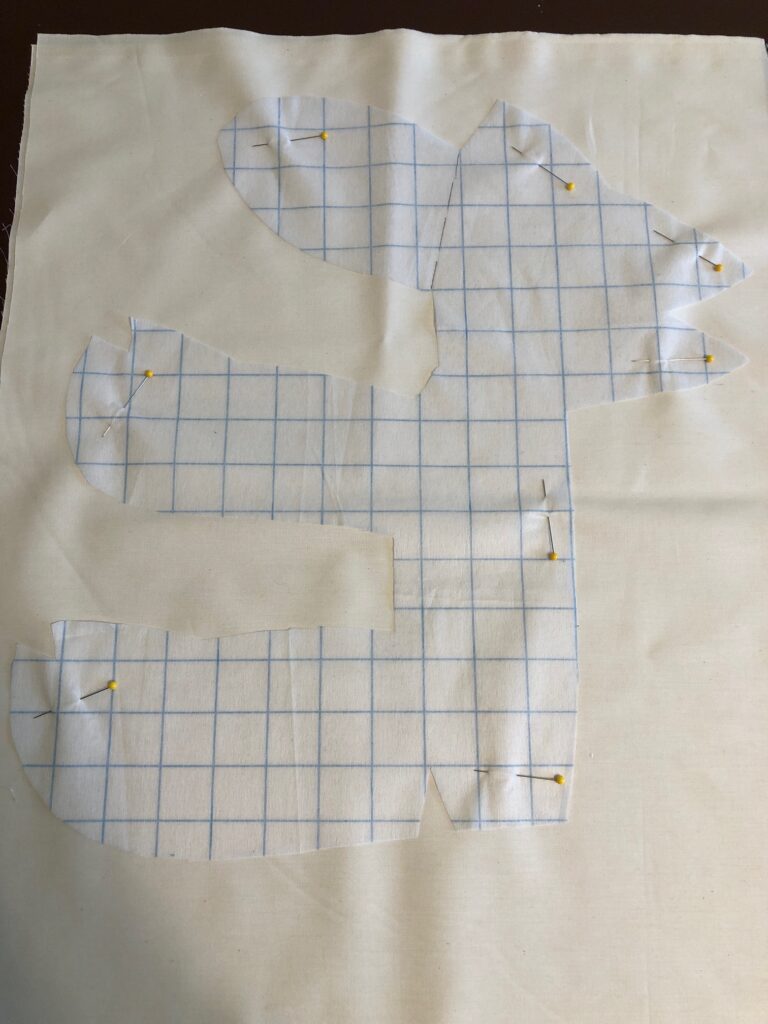
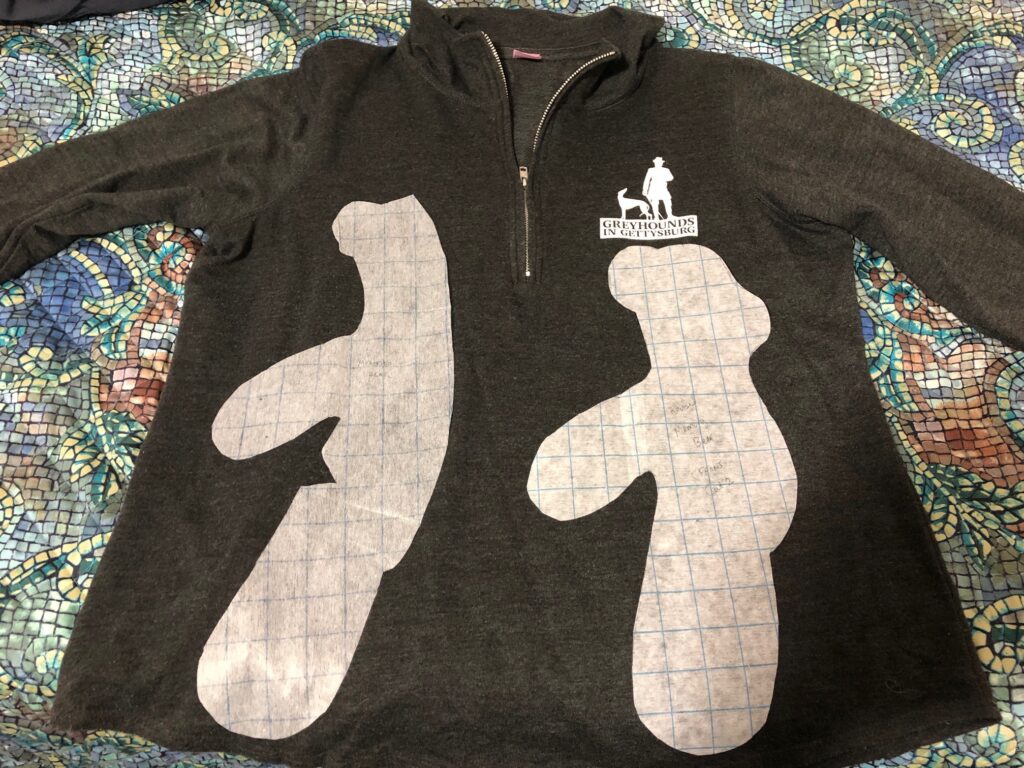
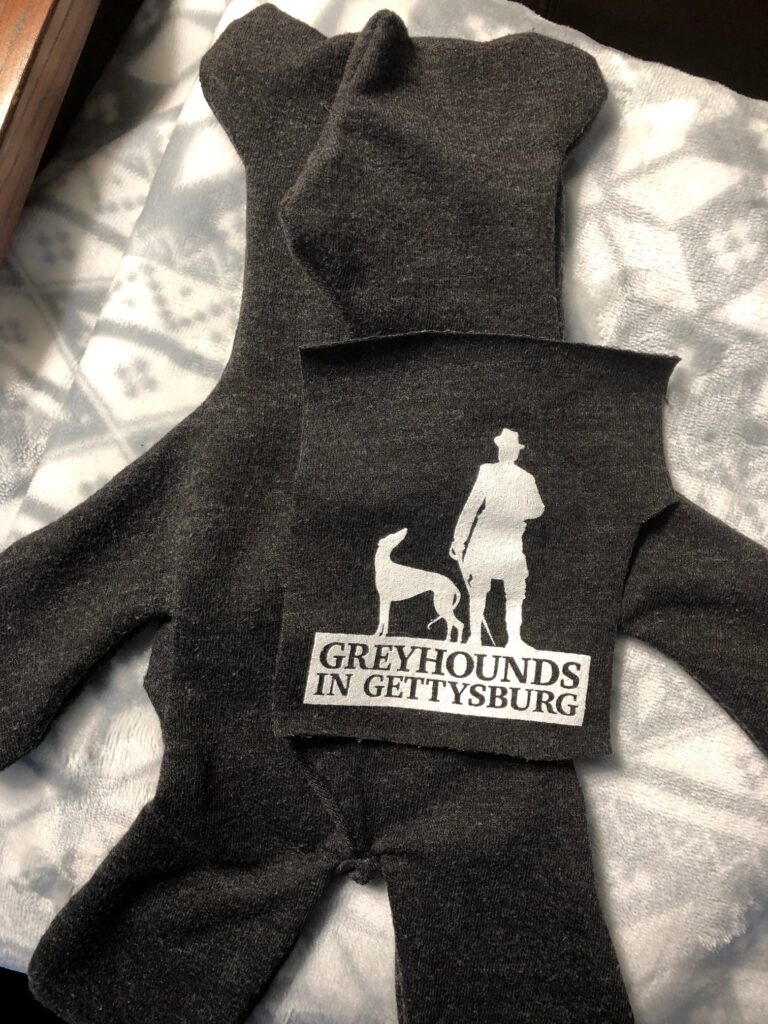
Next, lay out the pattern pieces on the shirt sections to see how it will fit. I needed to use the space where the shirt pocket was, so I laid the pattern so the double layers of fabric would end up on the animal’s bottom.
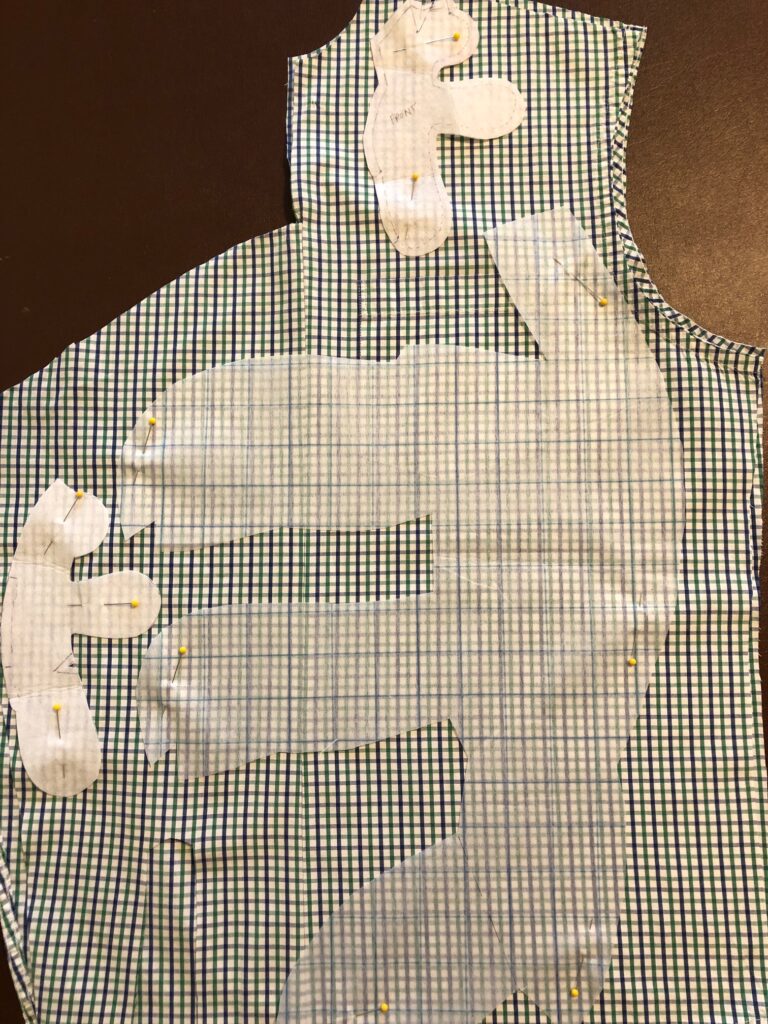
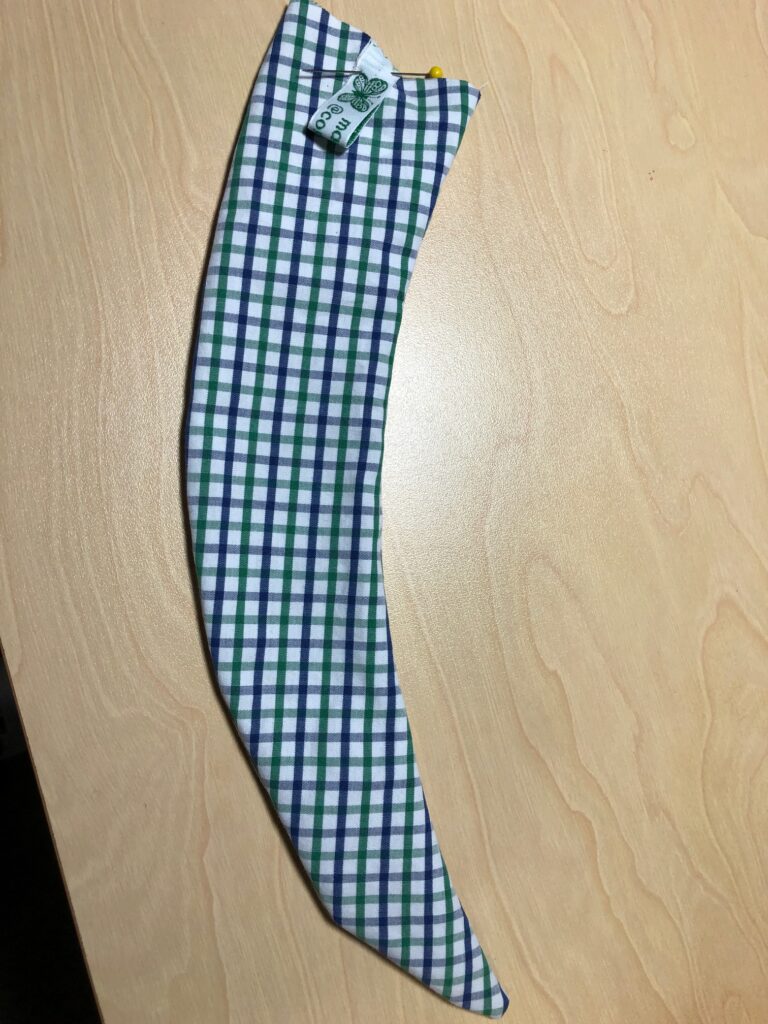
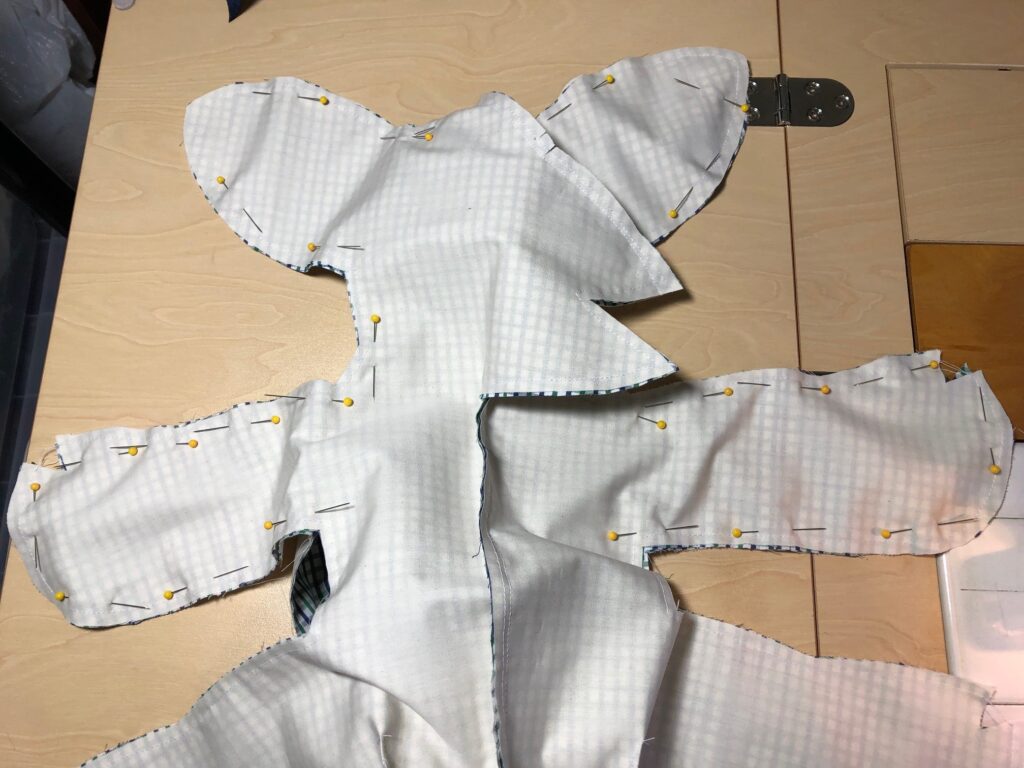
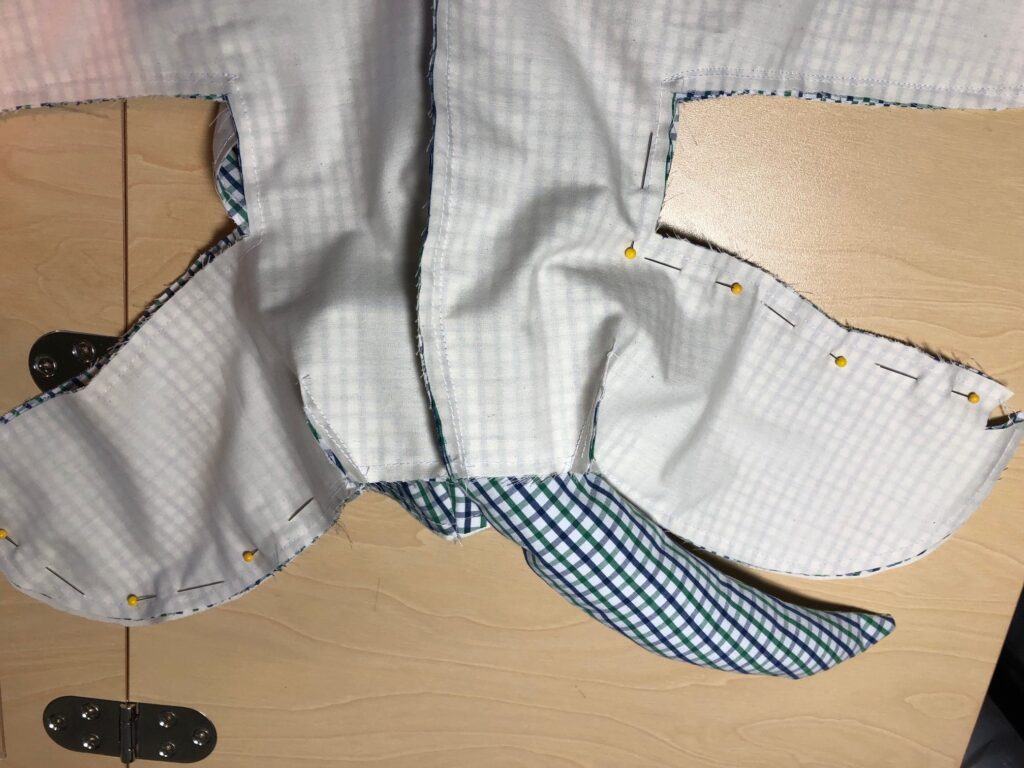
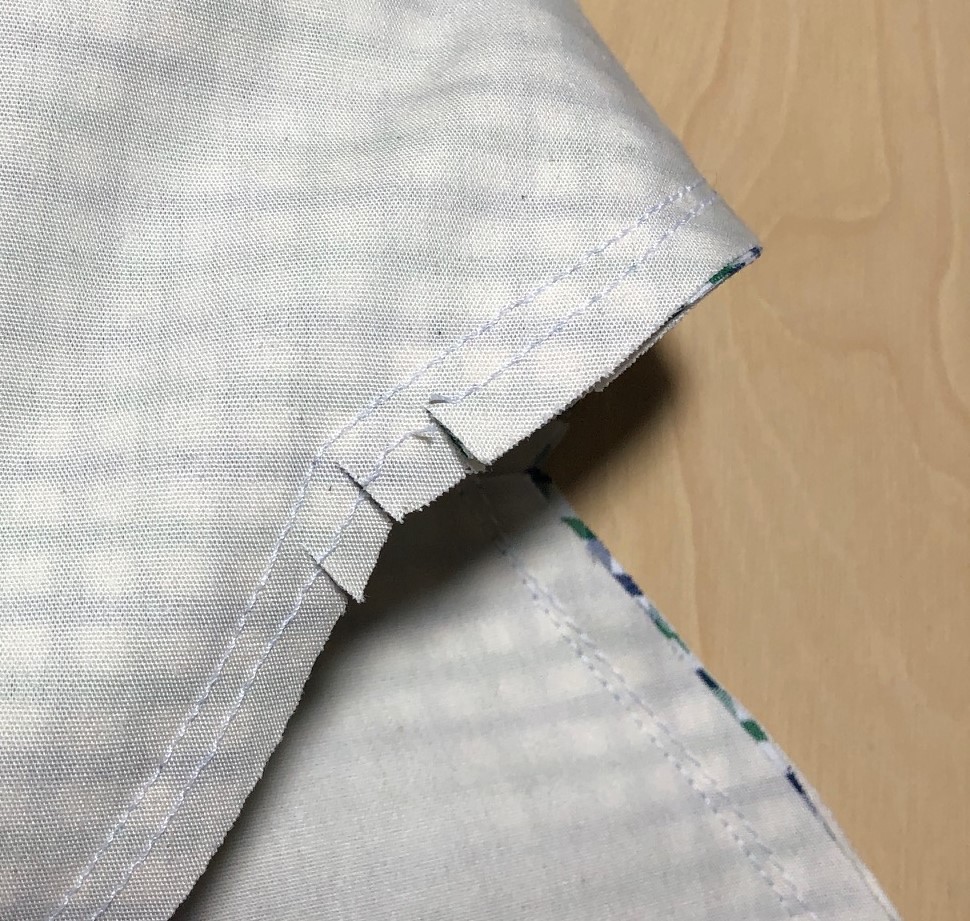
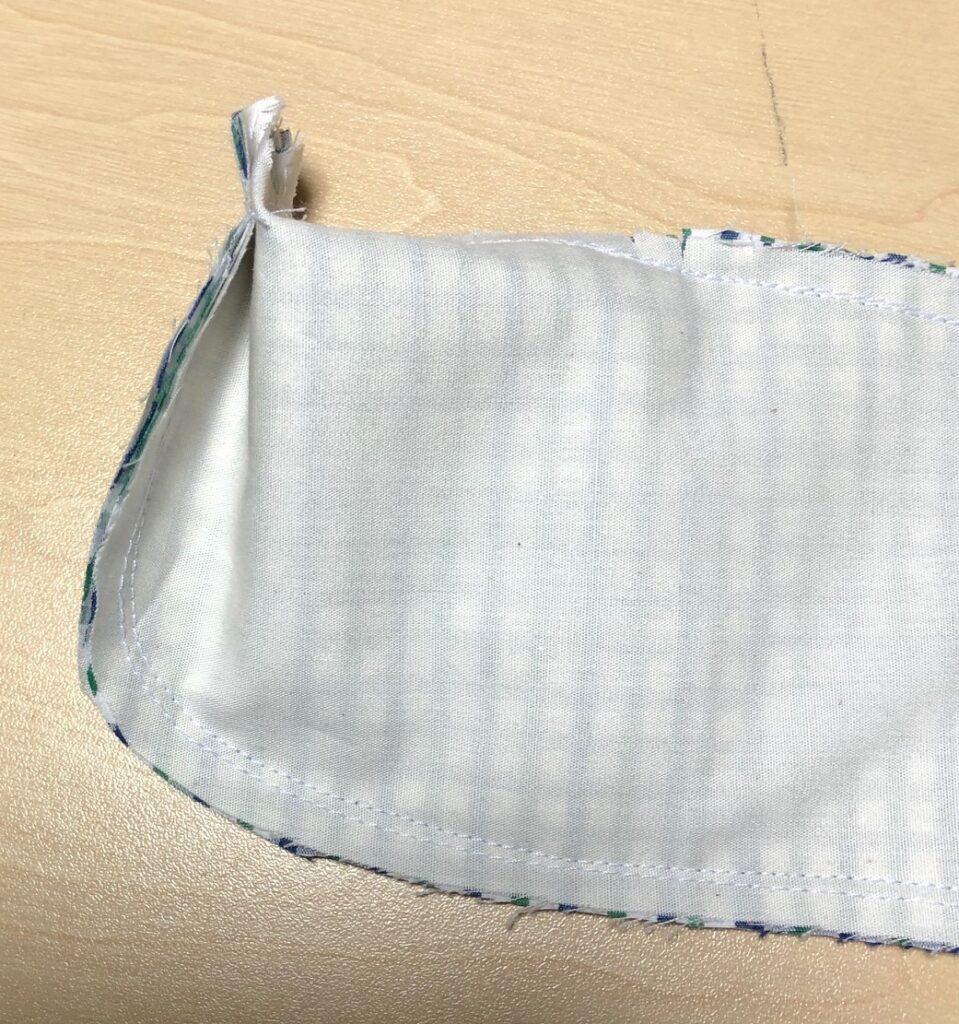
I cut each sleeve in half and used the fabric to extend the back and front, as shown below:I wanted to get at least one or two small bears out of the shirt fabric too.Can’t forget about the tail pattern! It fit beside the dog front pieces.To make the fabric sturdier for stuffing, I lined each piece with muslin.I stitched around the muslin and then treated it as one piece of fabric.The tail was stuffed very lightly and my tag was sewn into the seam.The two fronts and two backs were sewn together. Then the front was sewn to the back. I did the top half first and then pinned and sewed the bottom half…making sure the tail was tucked inside.Didn’t want the tail to get in the way so it needed to be tucked inside.Tail is tucked inside.Clip all seams before turning right side out.When sewing the tip of the nose, leave a few stitches open so the plastic nose can be easily pushed through from the front.Each leg and arm had a cross dart that gave them shape.
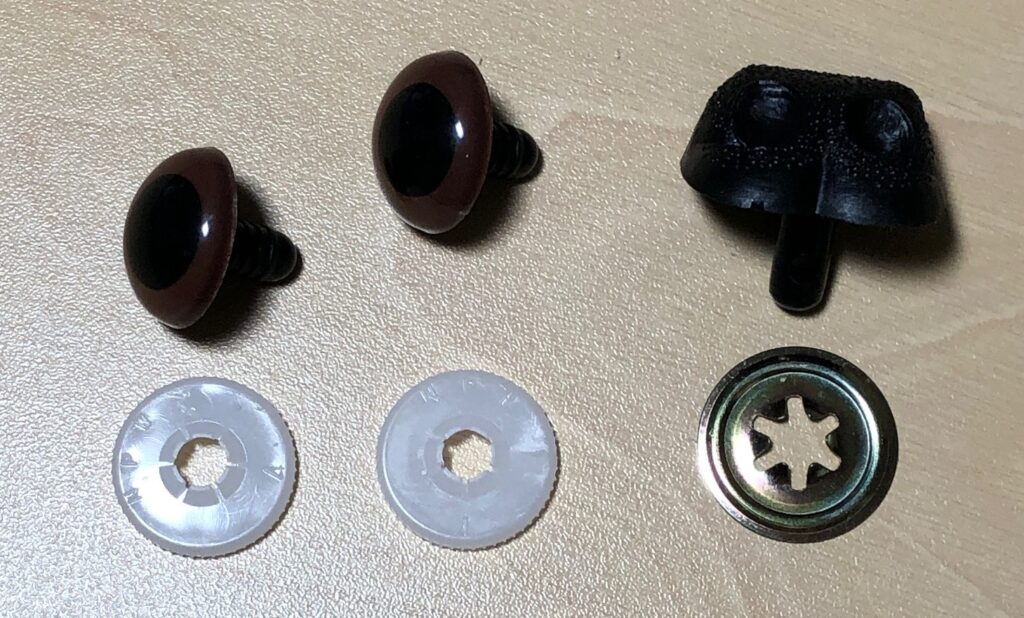
Although I prefer the look of buttons for the nose and eyes, I’ve learned they are hazards for little children. Since these dogs will be hugged by unknown persons (including children) I used the commercial eyes and plastic noses. They get pressed through a hole in the fabric (or through the missing stitches at the nose) and a plastic piece is secured on the back…inside the head.
Commercial eyes and nose.
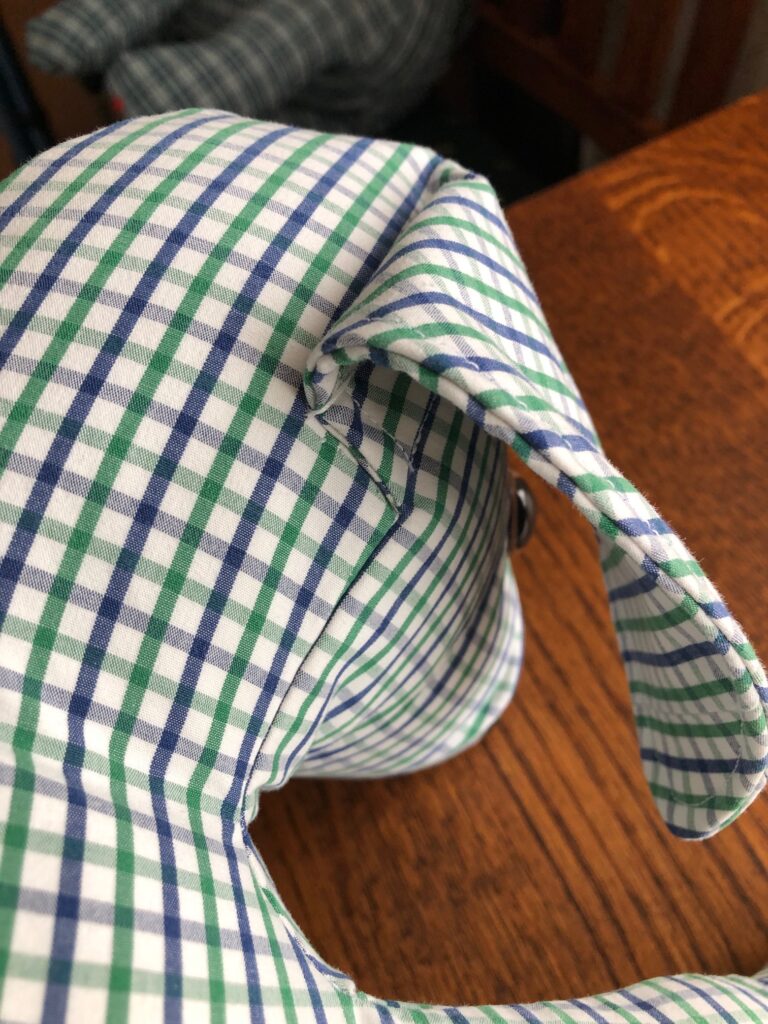
The ears are not stuffed but have stitching around the edge and along the side of the head. Stuff the head first, then the arms and legs, with the body last. A little less stuffing where the arms and legs join the body will keep them more movable.
Stitch up the opening in the back by hand.
To get the ears to hang right, see how they look when the dog is sitting up. I needed to tack a few stitches at the back of the ear so they would not hang so far forward.
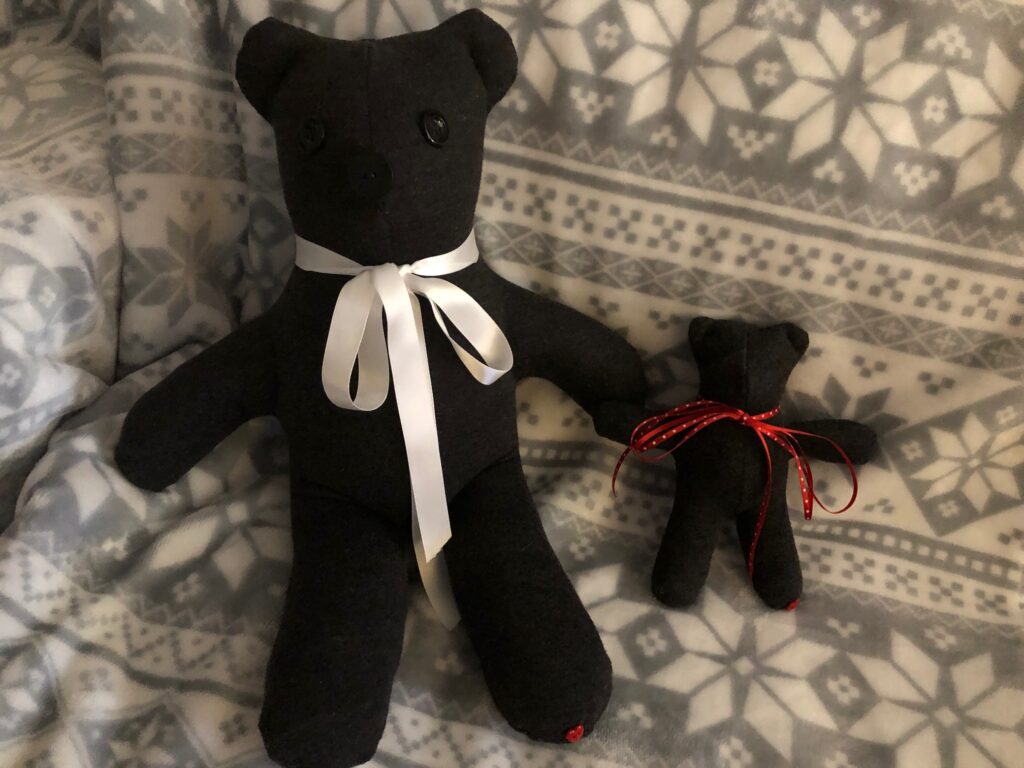
Finally, I add a heart button to the foot of each bear or dog I make, letting the family I had their loved one in my thoughts as I was creating their memory bear or dog.I think I’ll add a white ribbon to this one!
Find a pattern you like and try it with one of your shirts for practice! Enjoy!
Recently, I was asked about how I got involved with making memory bears; and then this morning, Facebook reminded me that one year ago I posted the story with instructions about making bears. If you did not have a chance to read that post, I thought I’d post the link to that story. (https://marykisner.com/making-a-memory-bear/)
Making memory bears is more about saving a memory than creating a fancy stuffed bear. Almost any stuffed pattern can be used…it’s the fabric that matters. This could be from a favorite shirt, pajamas or bathrobe worn by a loved one.
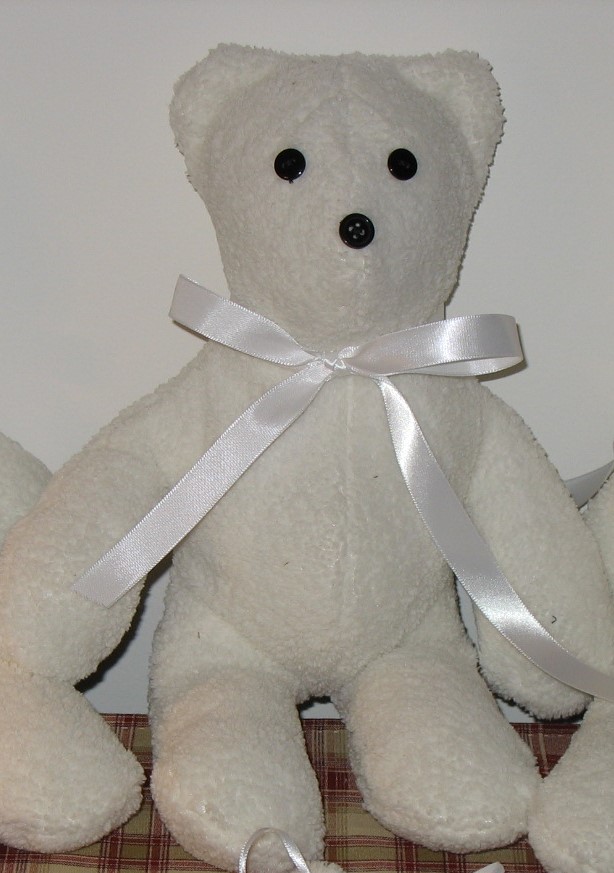
This is the first set of memory bears I made from a young mother’s bathrobe. Really touched my heart!
My first bears were made with a simple pattern. Then I chose a different pattern that gave a little more shape to the bear. I love being able to add a little heart button to the foot of a bear, and simple buttons for the eyes and nose keep it looking homemade. I have had to be mindful to ask if the bear will be used as a toy by a small child considering the risk of a child choking on a loose button. Sometimes I have had to use no buttons at all so it’s safe.
Please enjoy a few of the many pictures of bears (and dogs!) I’ve made over the years and see the instructions how to do it yourself. It has been a while, but I have fond memories of making memory bears. Enjoy!
I adapted a pattern for a stuffed dog so I could honor my daughter’s dog Otis and his best friend Max. Bert also stamped “dog tags” with their names.
About 10 years ago I volunteered my sewing skills to make memory bears for a local Hospice organization. Over several years I made over 100 bears for families who had lost loved ones. I learned a lot about how to make a stuffed bear from almost any kind of fabric.
All of my work was arranged through a volunteer coordinator and a Chaplain with the Hospice organization. It was very rewarding work. Over the years, the volunteer coordinator’s position changed and memory bears have not been requested for a long time. I miss making those bears…and I think they meant a lot to the families.
I’d like to share pictures of a few of those first bears. Then I’d like to show you how you could make one too, or at least what kind of fabric makes the best bears. You might want to save something from a loved one in the future.
The very first bears I made were for a family who had just lost a young mother. They gave me a while fluffy bathrobe that she wore in her last days. It seemed pretty morbid at the time, but I found it very healing to be able to offer a way to remember her.
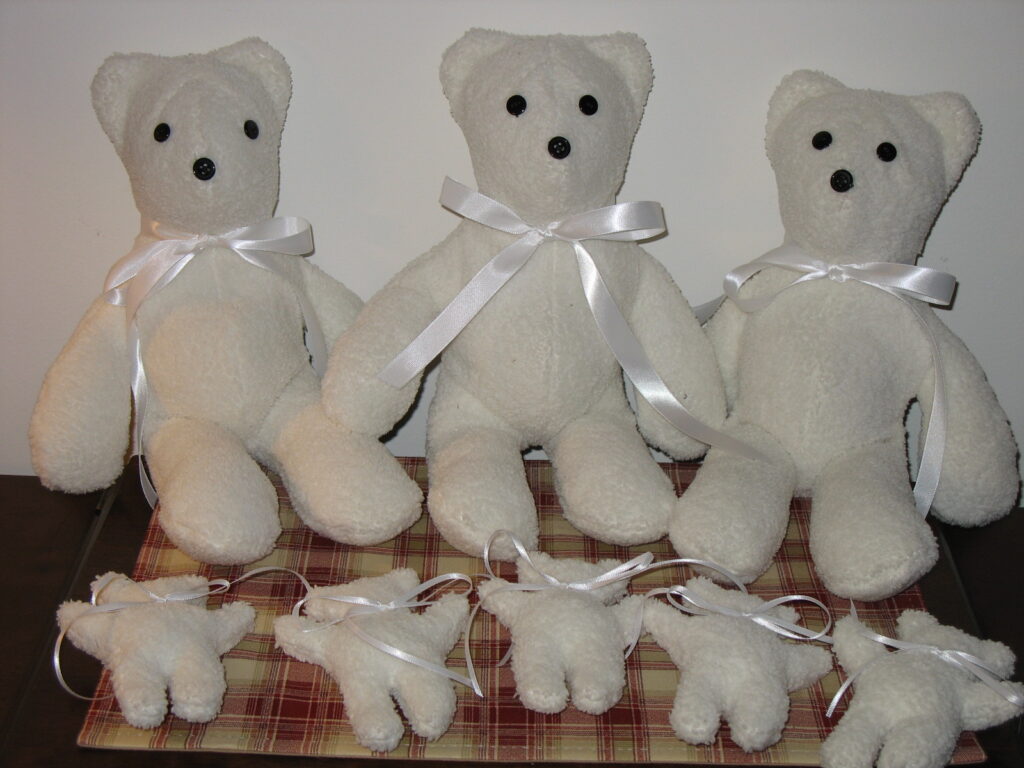
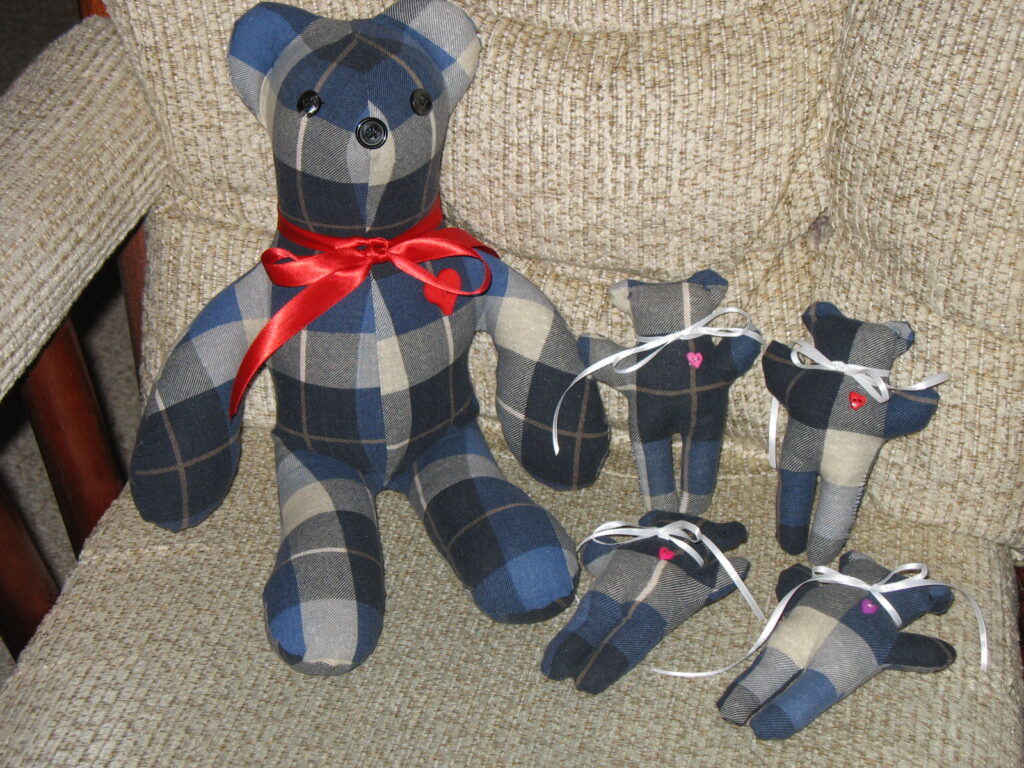
Since it was a full-length bathrobe, I couldn’t make just one bear and throw away the rest of the robe. So, I kept going and made three large bears and then was able to make 5 little ones too. They were shared with the extended family. This first project was the most meaningful for me!
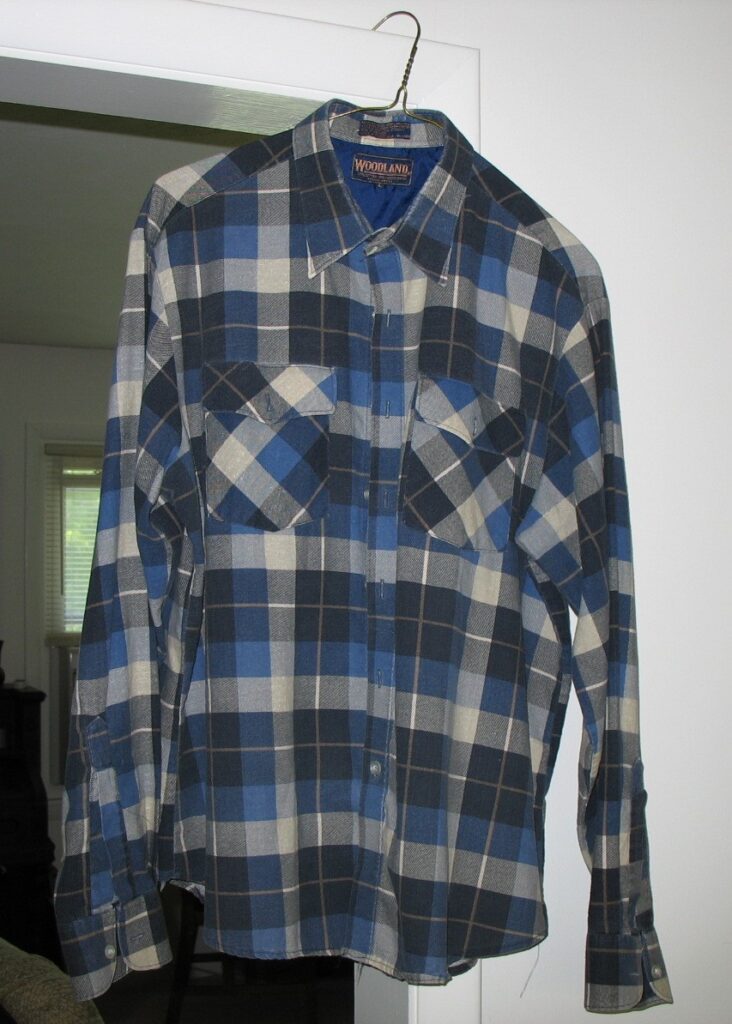
These bears were made from one full-length bathrobe.These bears were made from a single flannel shirt, in memory of a Grandpa.
While I was waiting to get more requests from the Hospice volunteer coordinator I went to Goodwill and picked up a flannel shirt to make a sample for the Chaplain to show families.
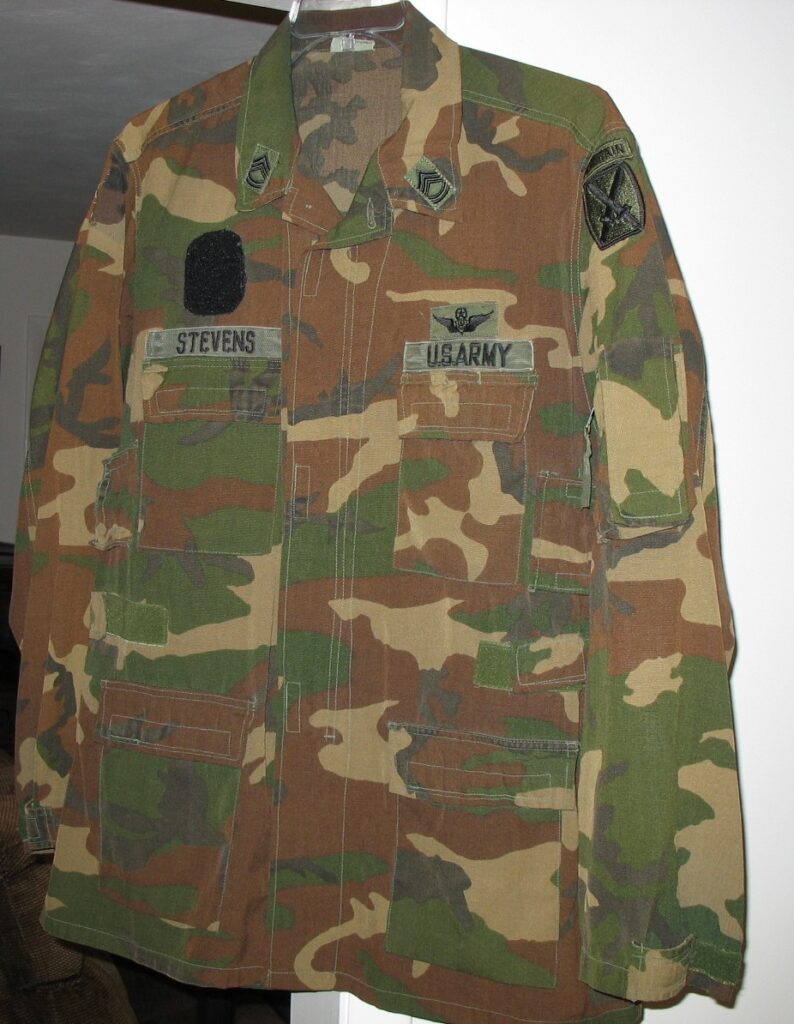
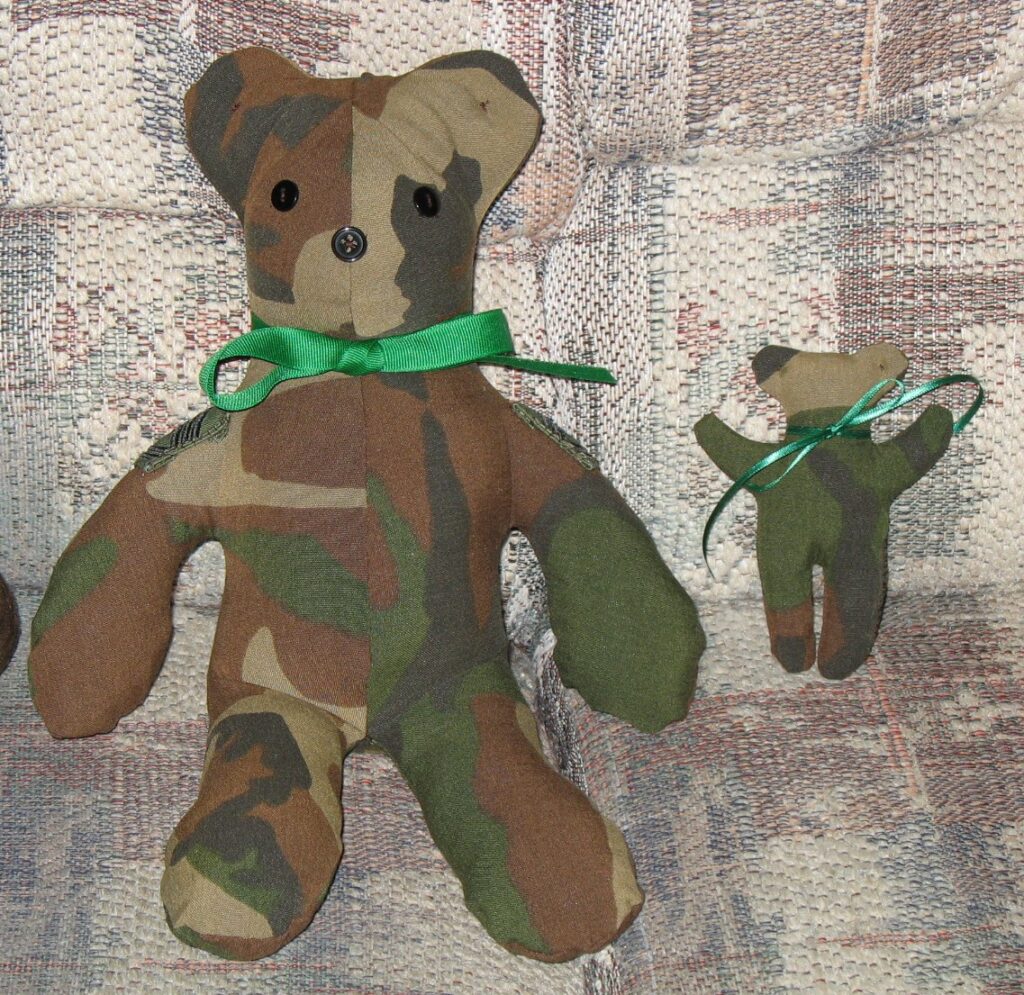
I also went to the Army/Navy surplus store and found a camouflage shirt. I thought I might get requests from a military family and wanted a sample to share. The military shirt was a major challenge…very little fabric available that didn’t have pockets all over it! (Incidently, I did not have a single request from a military family. I guess around this area we don’t have a huge military presence.)
This was the first pattern I used. I have since tweaked the pattern so I liked the shape better. I found the tiny bear pattern on another stuffed animal pattern…like a toy for the stuffed animal!
Almost any stuffed bear pattern would work, but the simpler patterns were the easiest to work with. If I were making just one bear, a complex one would make a nicer bear but would take longer to make and need more fabric. Since this was a volunteer project and I was making multiple bears, the most important part was the actual fabric of the loved one…that’s where the memory resided. When I start with a loved ones’ clothing, I feel compelled to make as many bears as I can with it. The little bears even make good Christmas ornaments!
Of course, by now the only bears I have around the house are a few I made out of soft fabric for my grandkids (along with a few stuffed dogs!).
Of course, I had to try a stuffed greyhound puppy…I worked hard to figure out the ears!This is how we remember Otis and Max. I even made dog tags with their names on them.
Steps to make a memory bear
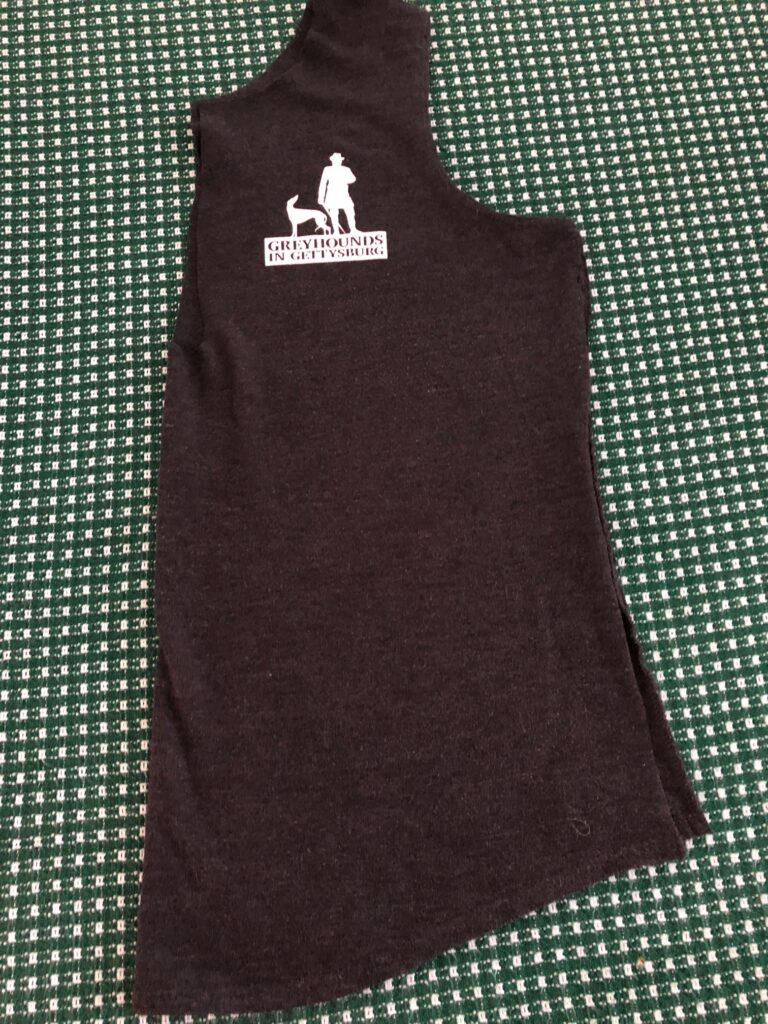
I managed to persuade a friend to let go of a soft fleece shirt that she didn’t wear anymore so I could take pictures as I made a bear. I prefer to work with flannel…it doesn’t stretch as much and is more colorful.
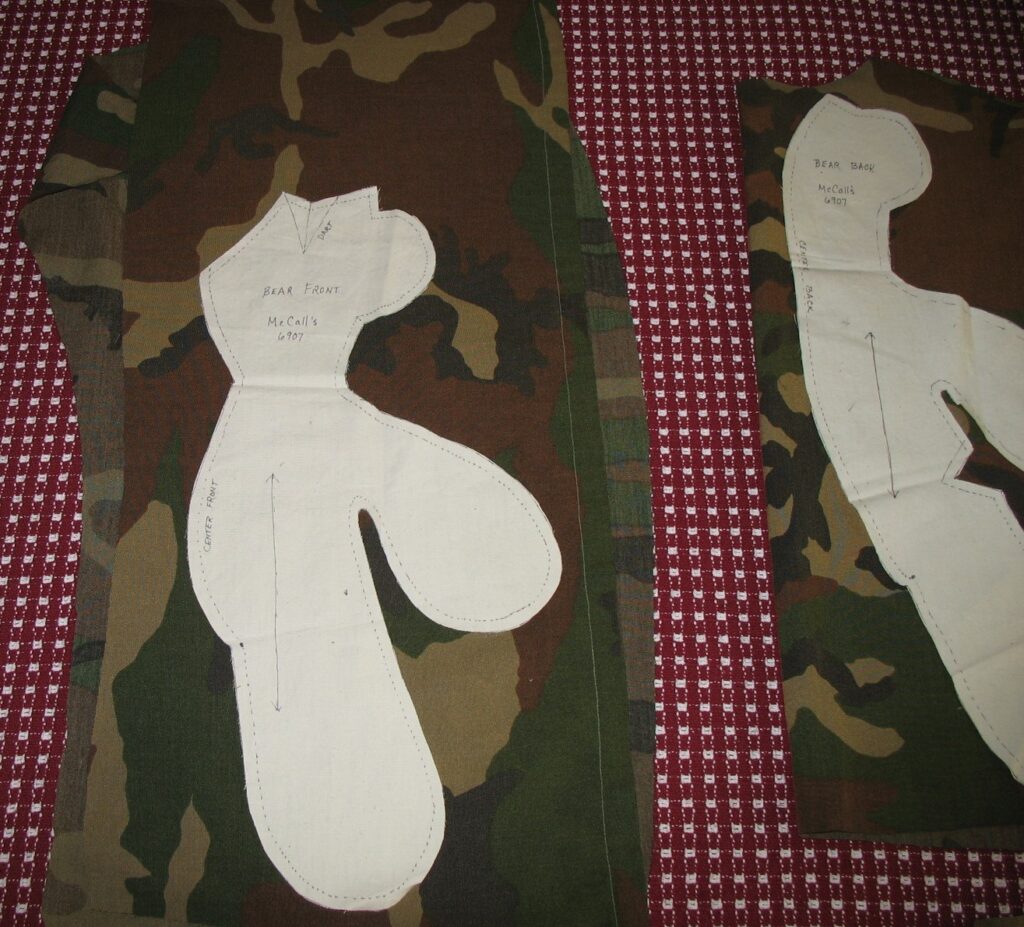
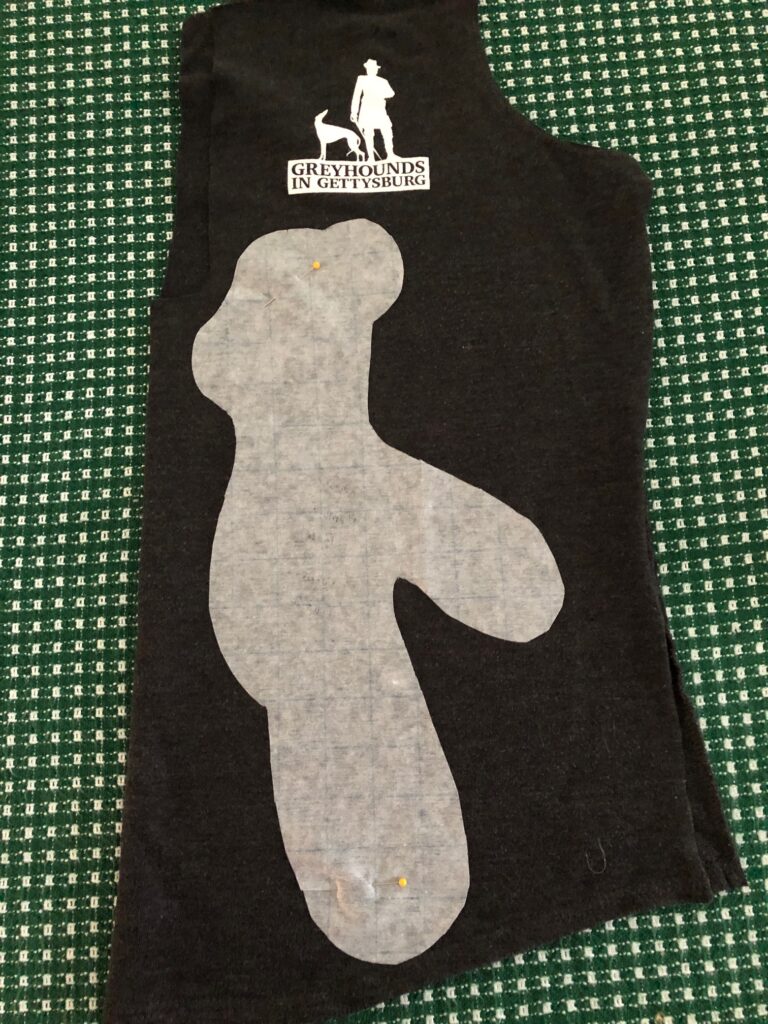
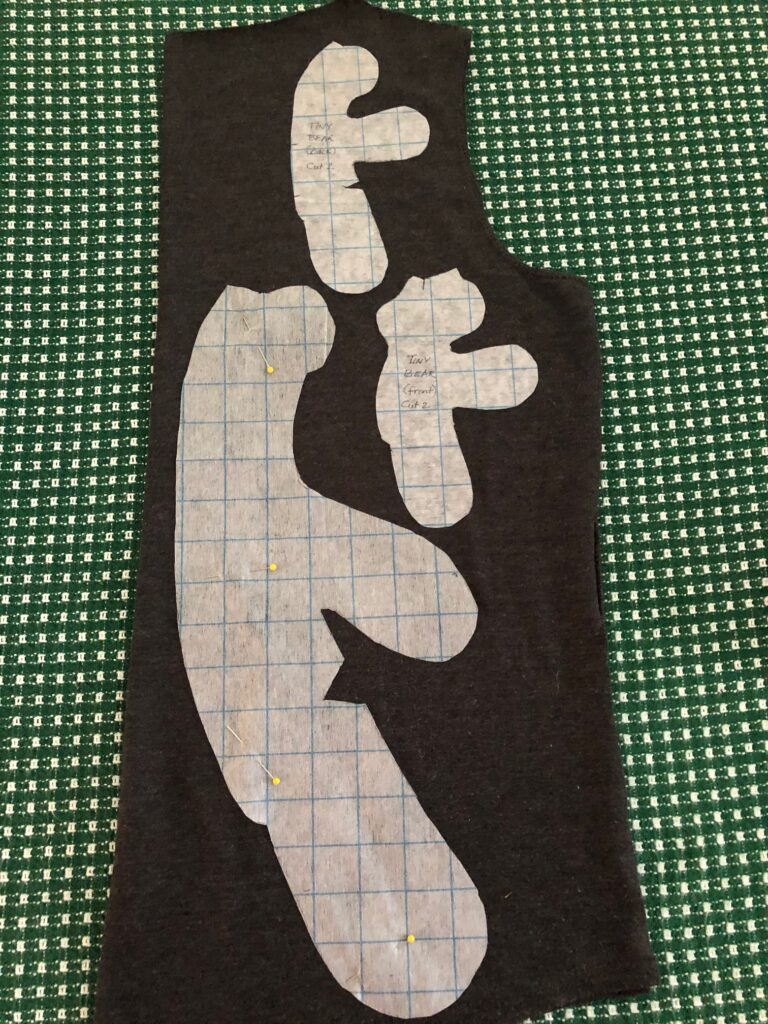
First, I laid the pattern pieces on the shirt to make sure there was enough fabric to make the bear.
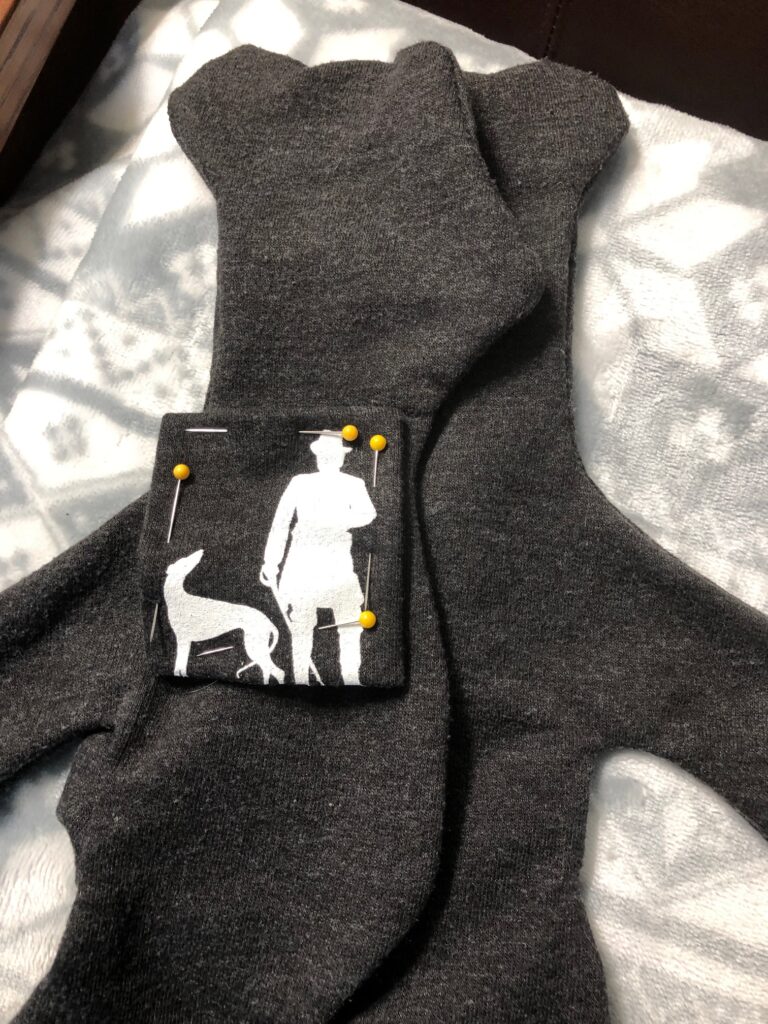
Sometimes a logo can be appliqued to the finished bear. I’ll make the bear first and then see if the picture/logo will fit.
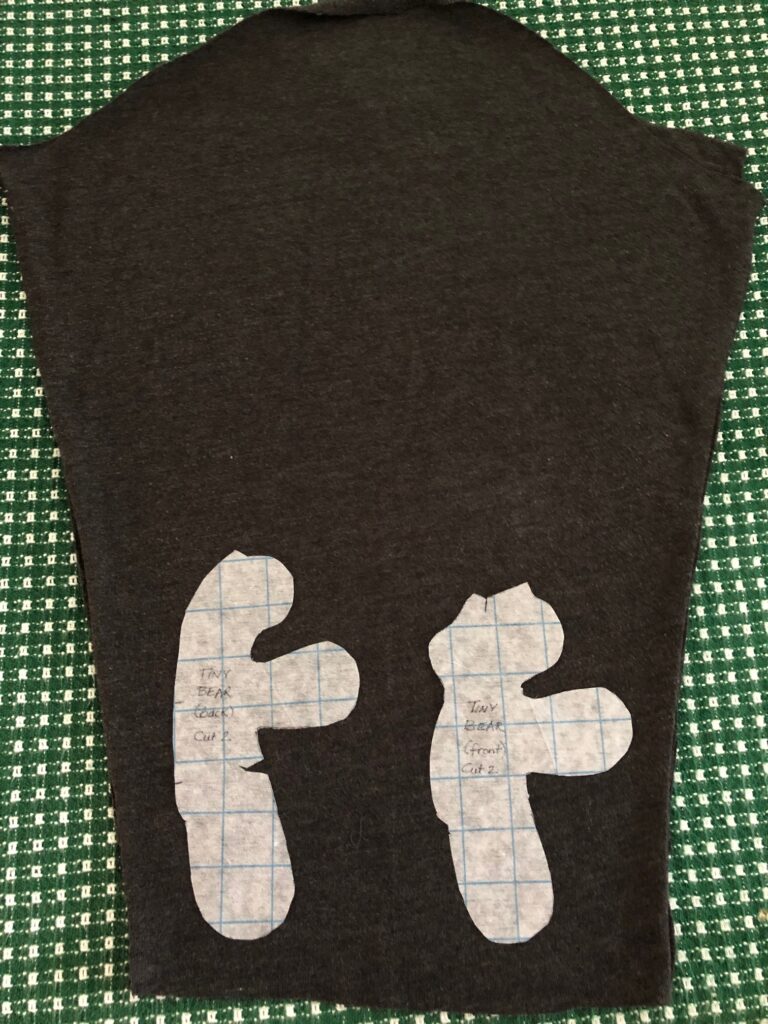
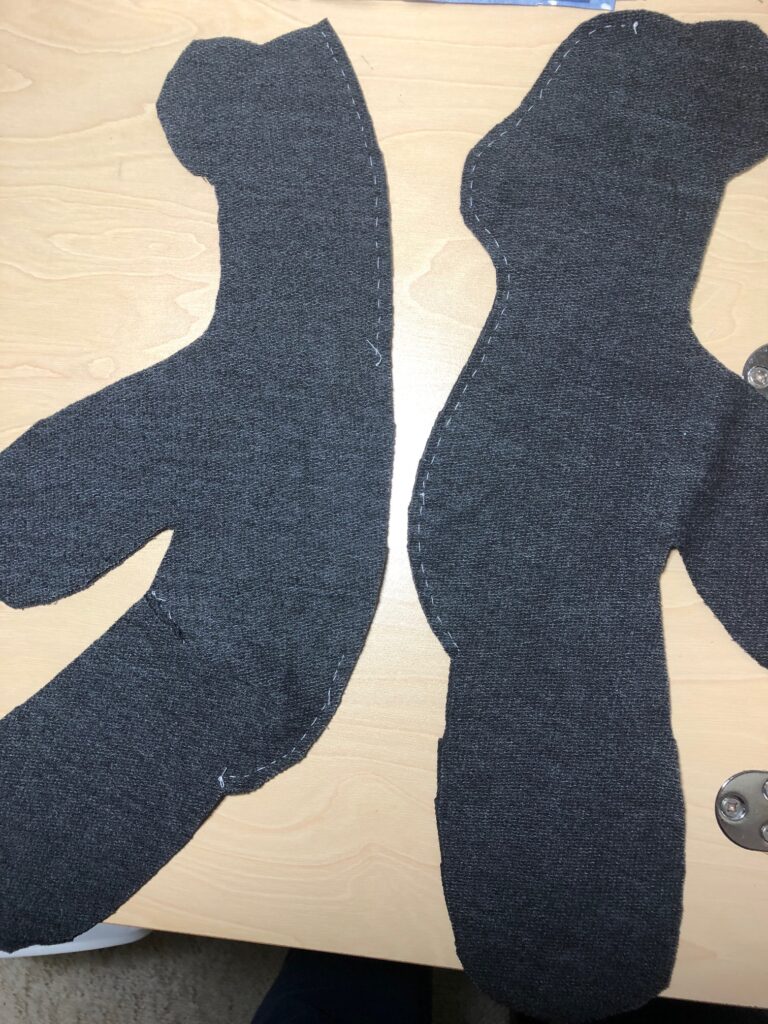
The next step is to cut the shirt apart along the seams. I removed the zipper and discarded the collar. (My mother would be proud of me…I saved the zipper!) The front is folded to cut two of the front pieces; the back is folded to cut two backs. The sleeves when opened up work well for the smaller bears.
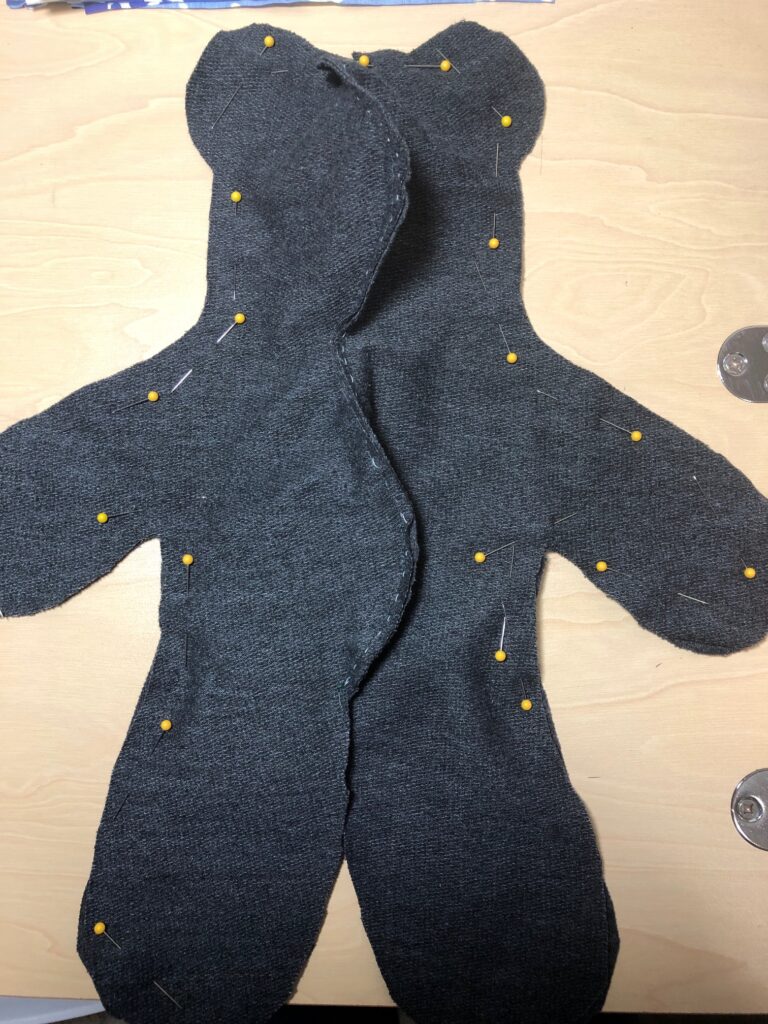
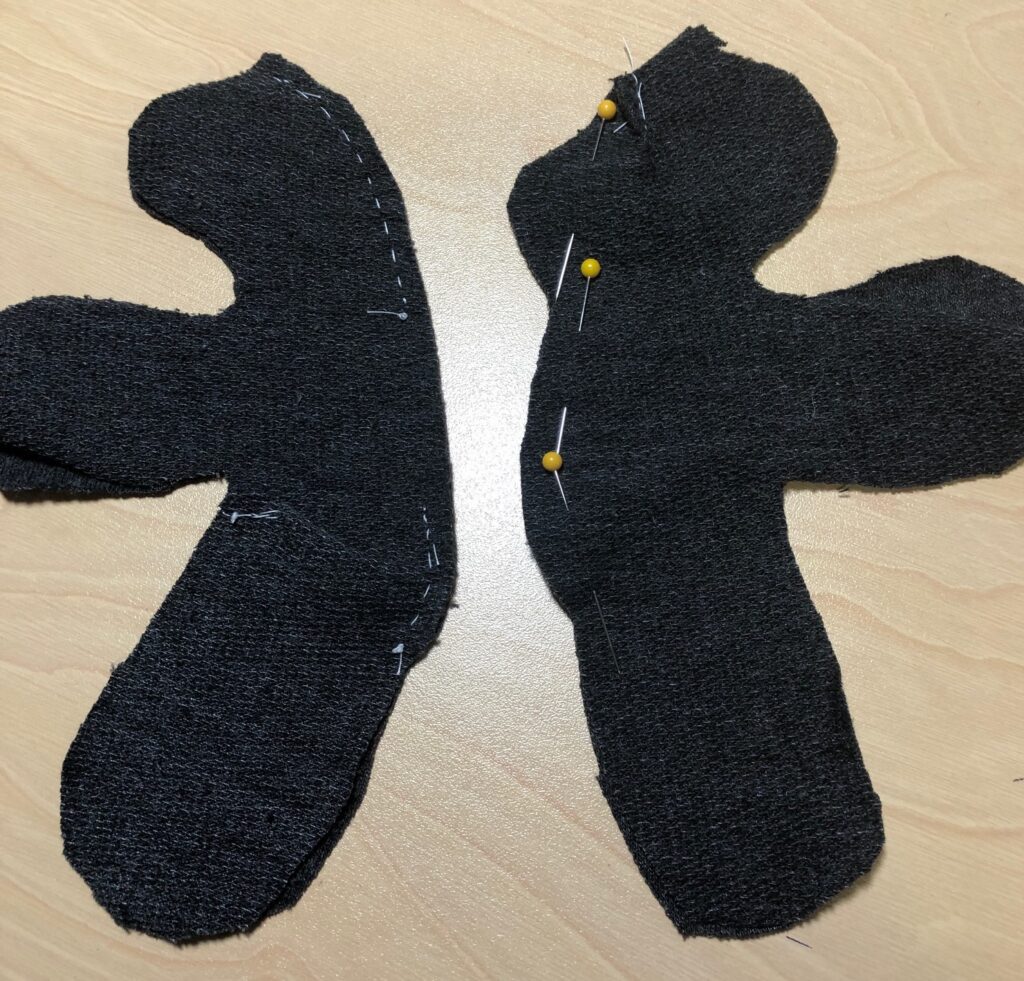
I baste pieces together by hand first because the fabric is so stretchy that sewing around the curves makes it hard to keep the two pieces aligned.
Basting is especially helpful on the tiny bear!
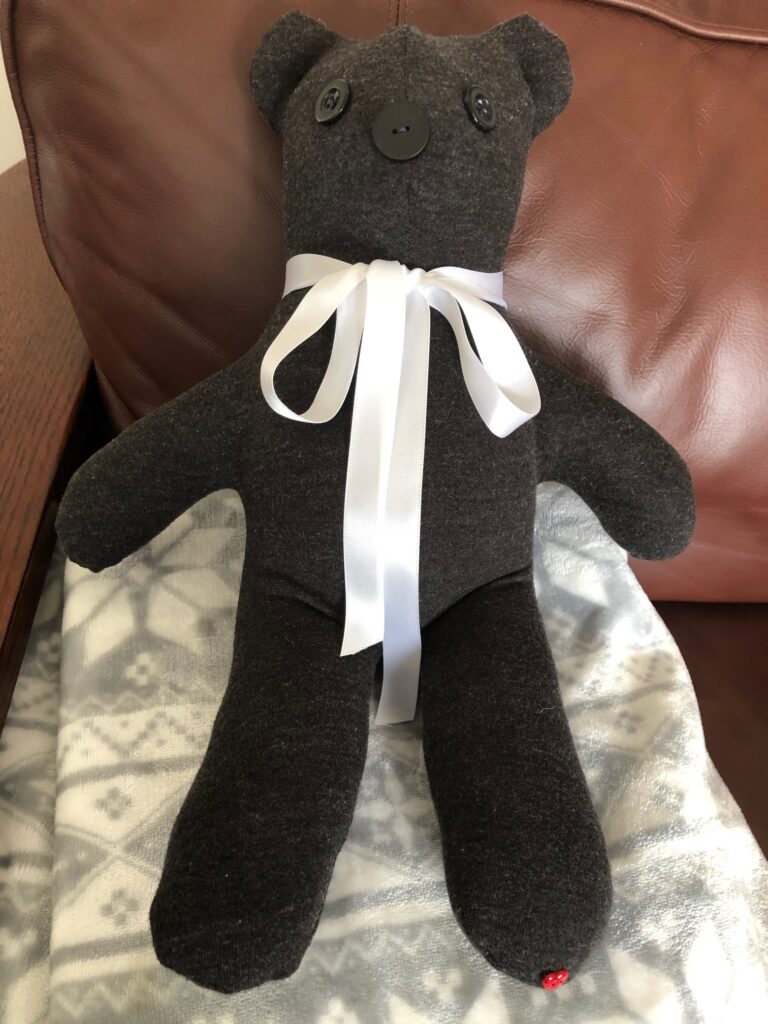
My finishing touches include tacking the ears, adding button eyes and nose, a ribbon and a small red heart button on the foot. If I know a bear will be loved by a child, I’ll use the eyes that are fastened through the fabric…see the dogs above…but I really prefer buttons. The tiny bears have only the heart button, so it can be cut off if necessary.
I still haven’t decided whether to add the logo from the shirt. I will have to make it smaller by using just the picture and not the words. It just feels too big, but I’ll ask the recipient first. What do you think?
Making memory bears for Hospice families was one of the most rewarding volunteer activities I’ve ever done. It was more than just making stuffed bears…it was preserving memories of a loved one. Enjoy!