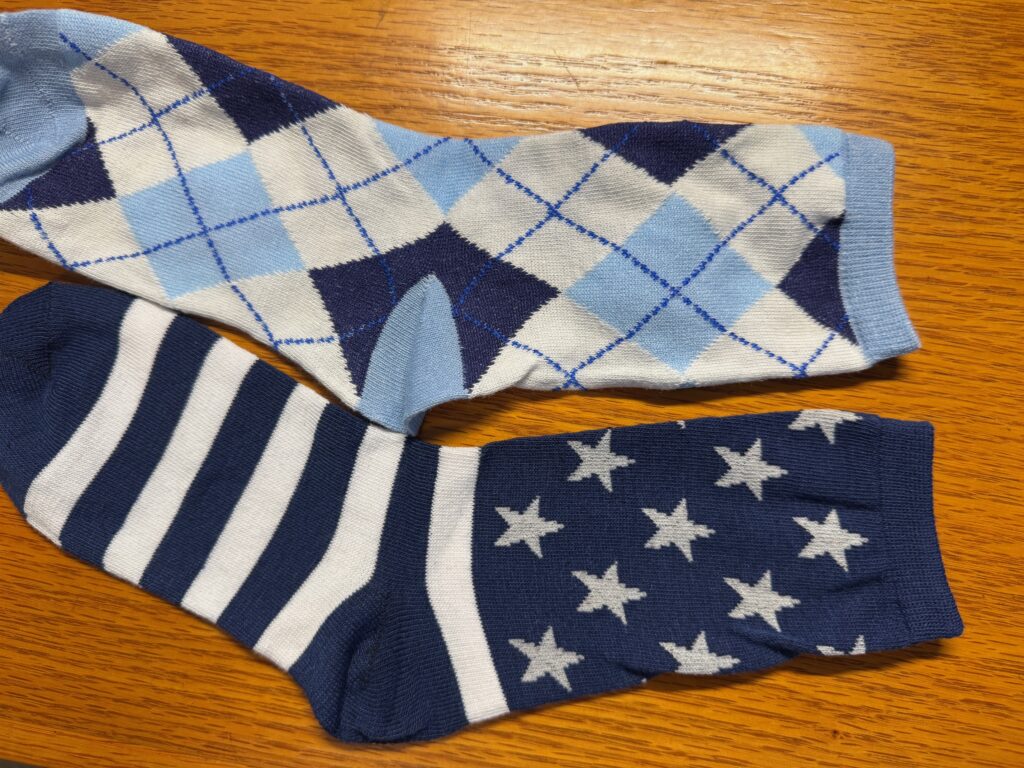
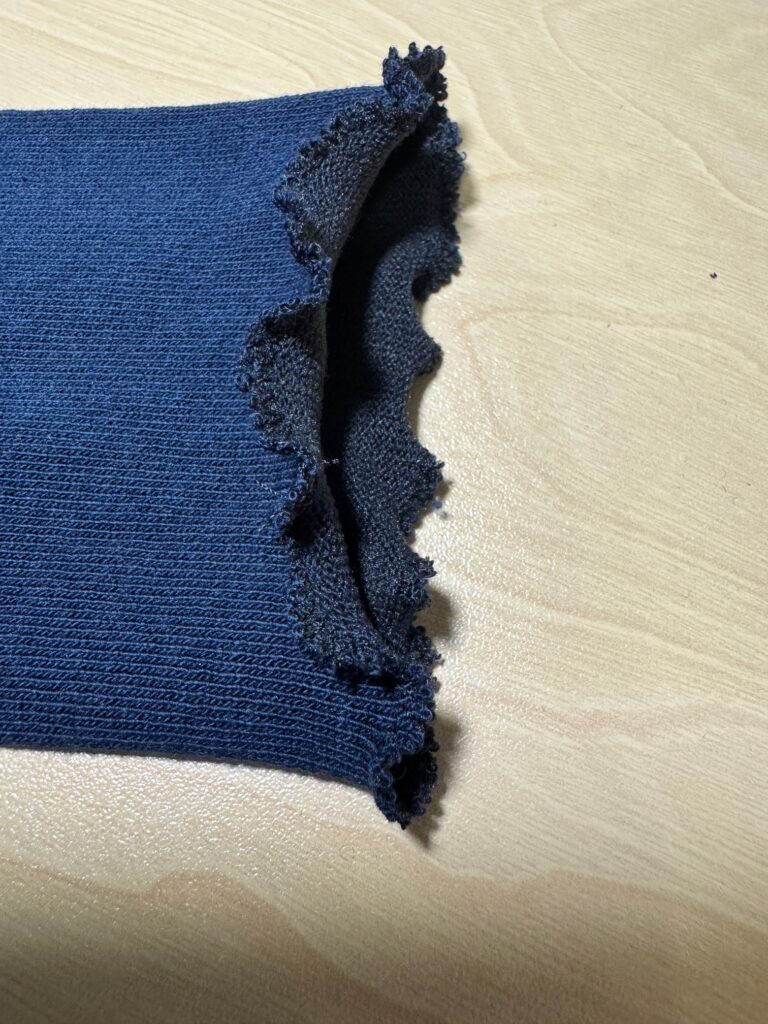
It’s the little things that can be annoying! I have yet to buy a new pair of socks that are comfortable right out of the package! I have a whole drawer full of socks that are almost OK. Since I don’t like tight socks…at my toes or my ankle…I try to buy a bigger size. However, then my feet slide around in my shoes. If I buy the correct size, the top of the sock usually has a ‘hem’ or several strings of tight elastic that drives me nuts. Here are two socks that show the tight hem at the top. I have yet to fix these so I can wear them.
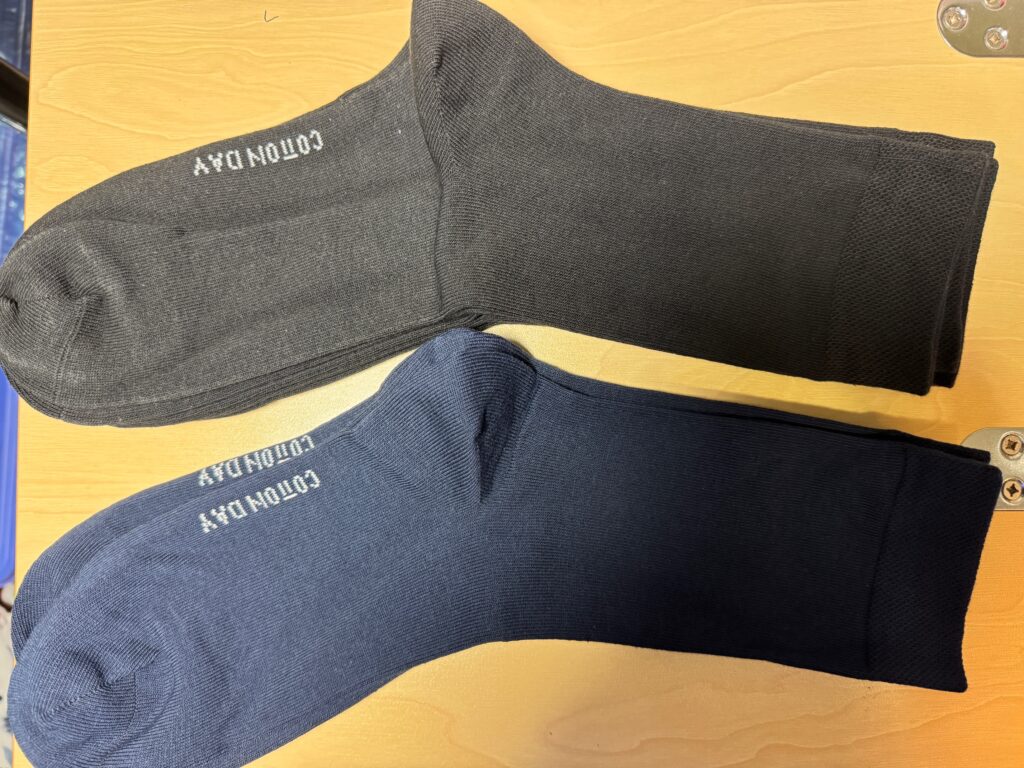
I just ordered new socks that did have mostly cotton with added stretchy fibers. They looked (online) like the top might lay flat.
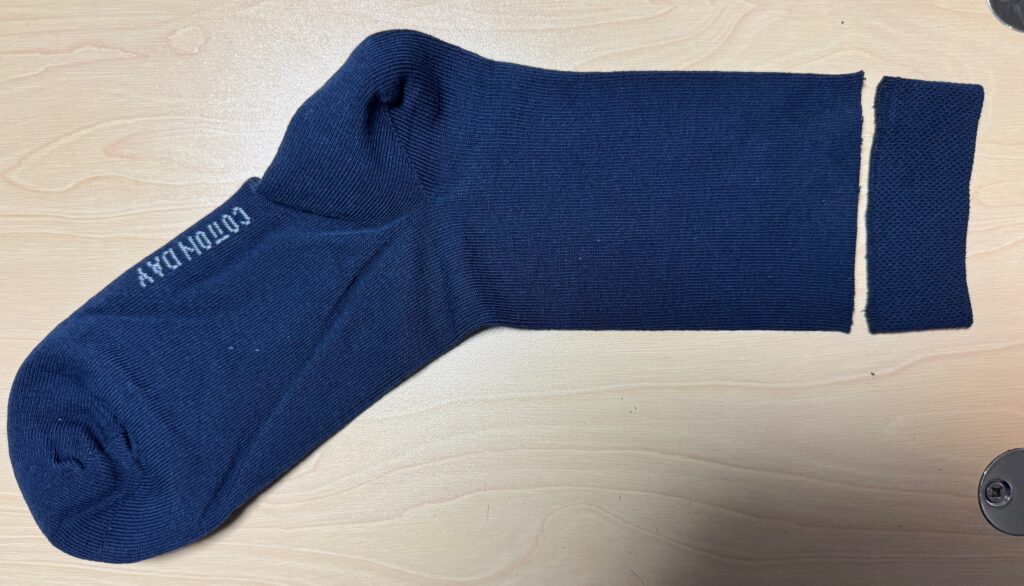
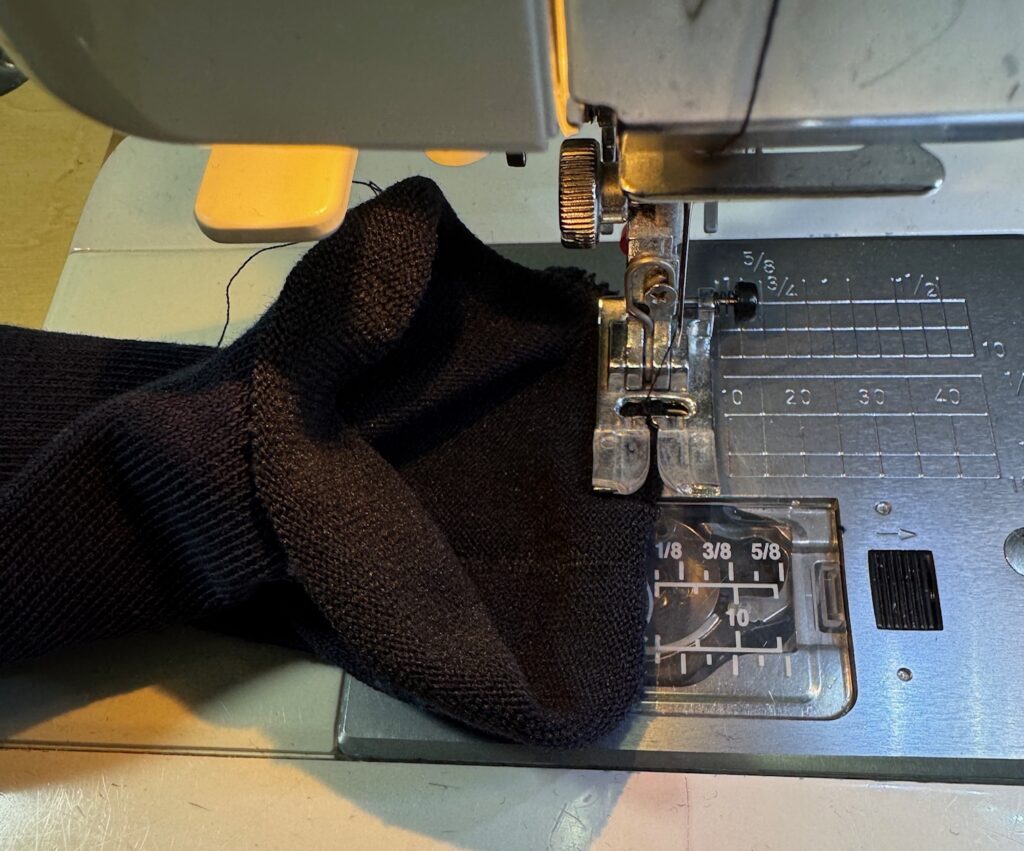
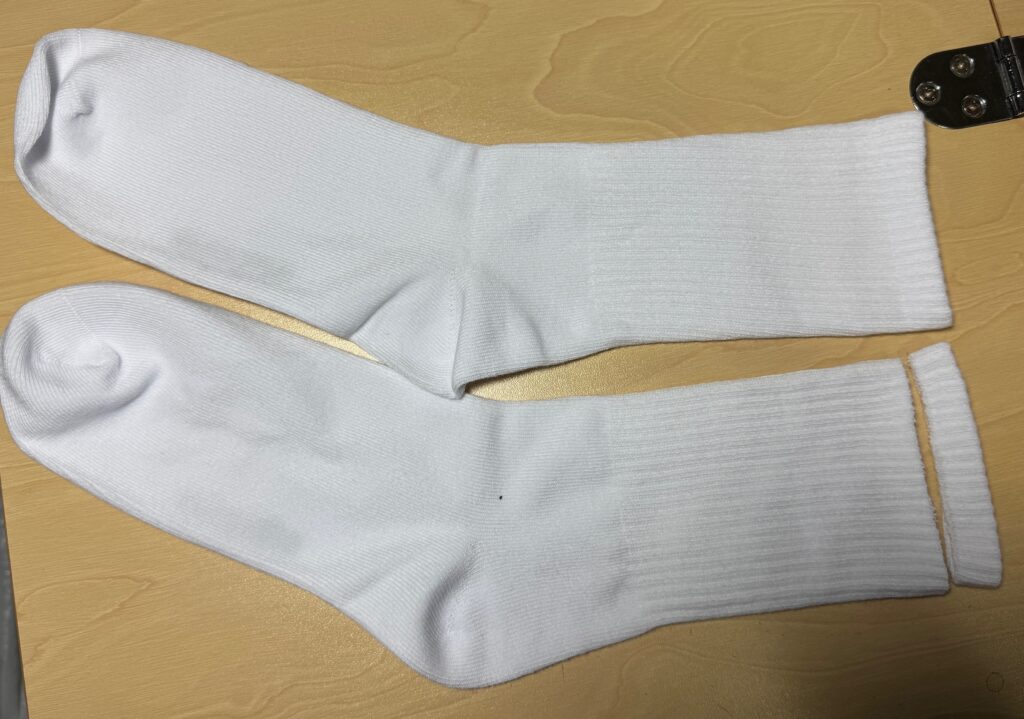
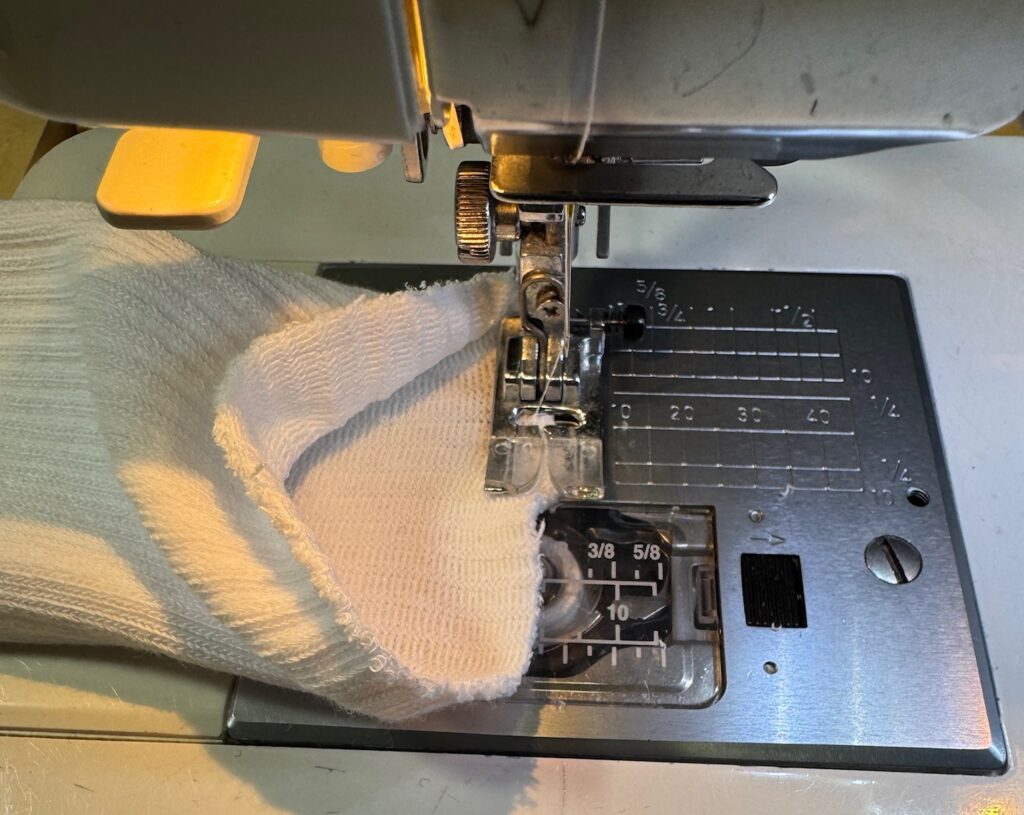
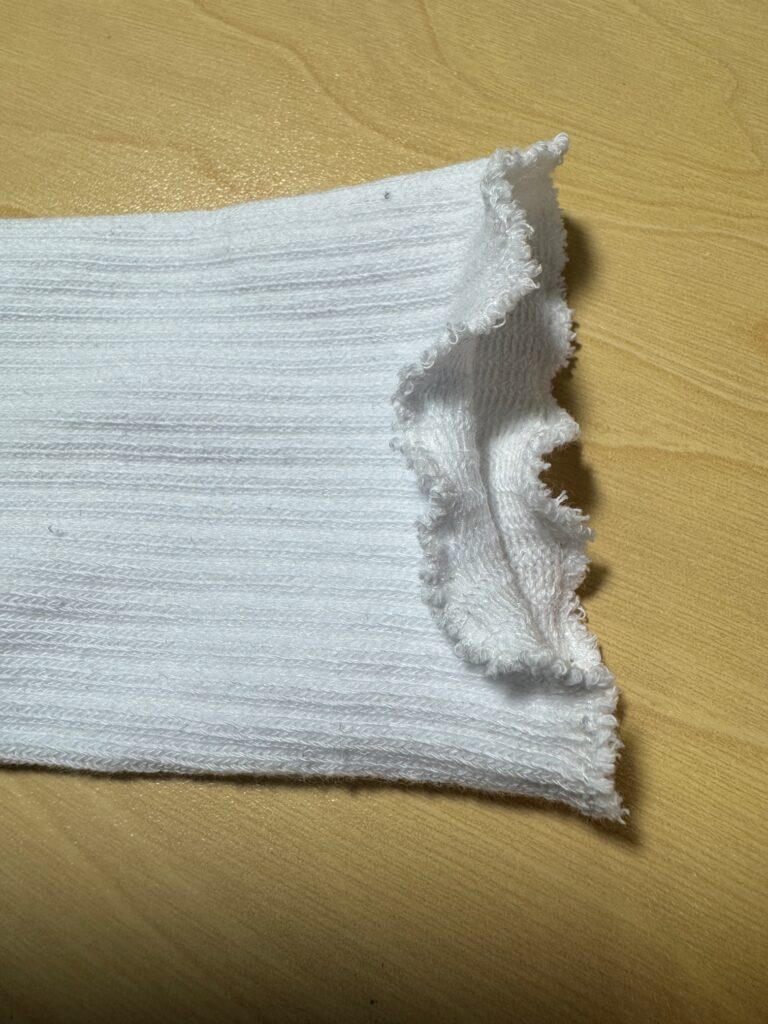
Amazingly, the socks fit well but, of course, the band at the top was too snug for me. So, I did what I usually do to make them more comfortable…I cut off the band and zigzagged the edges. When flat, the top looks ruffled, but when I put them on, they lay flat on my lower calf. The sock has enough stretch to stay up and top doesn’t drive me nuts! I ended up cutting the top band off all 9 pairs of socks and zigzagged the edges. Here are the pictures…pretty simple and worked great! Time to clean out my sock drawer and fix all the ones driving me nuts!
Here are better pictures with the white socks.
Nothing better than socks that fit AND are comfortable!
If you have questions or comments, please email me directly at maryjkisner@gmail.com.
Never in a million years did I think I would want to learn how to mend my socks! Now that I’ve finally found the perfect socks (from https://maggiesorganics.com) I was very distressed to find I had worn a hole at the toe. So sad…both my mother and Bert’s mother passed away over 30 years ago and I couldn’t ask them how they did it! Believe it or not, I found dozens of articles and YouTube videos with instructions online!
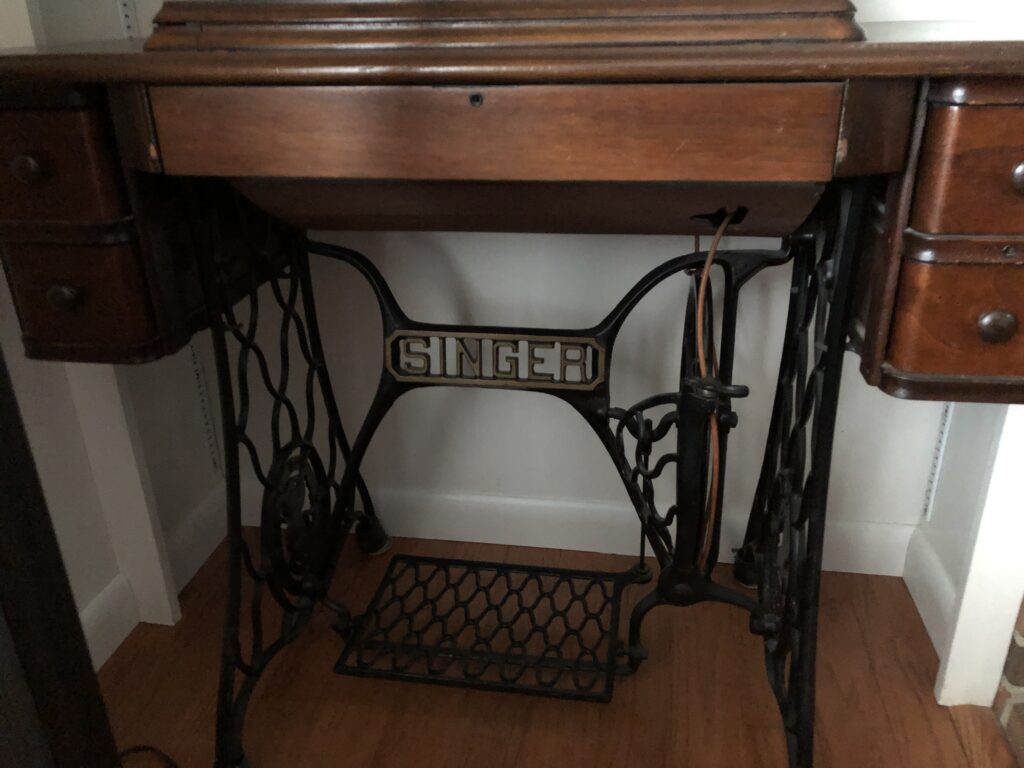
I realized I needed a “darning egg” that would fit inside the sock to stabilize the place I wanted to sew. I remembered seeing such a thing in one of the drawers of my treadle sewing machine. It seemed small…like it would work in a child’s sock.
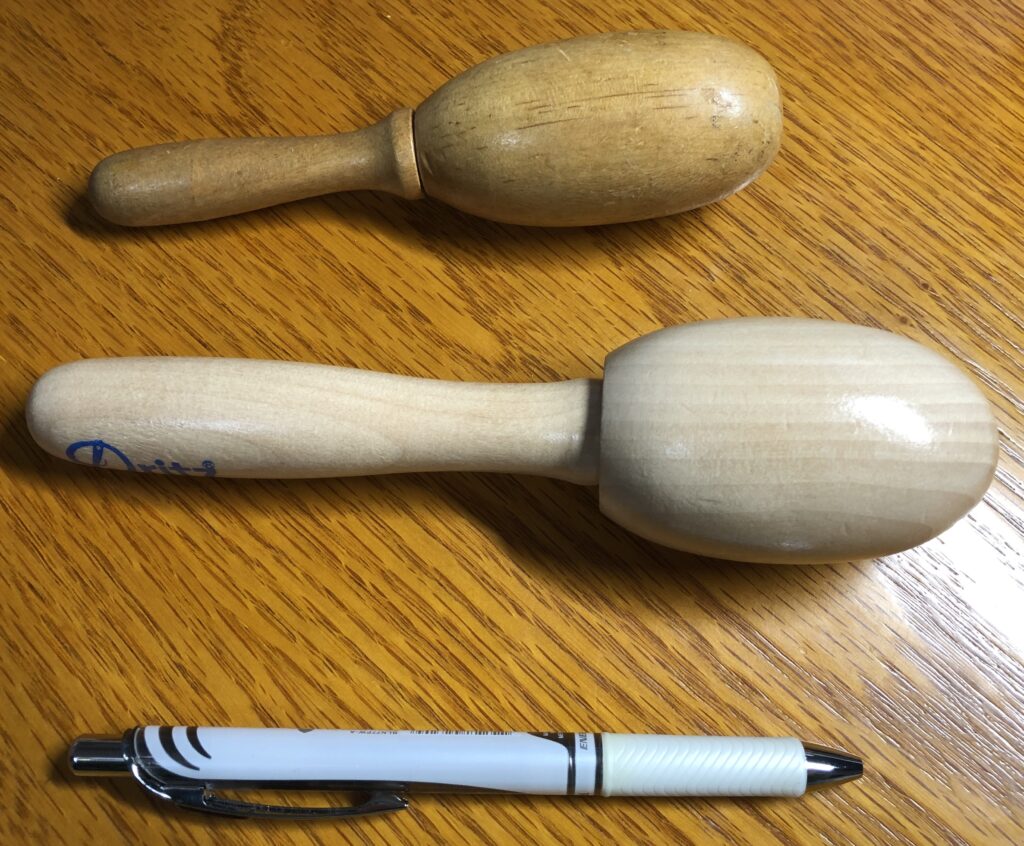
Then I realized I needed appropriate thread! So, I headed to JoAnn’s to see what they had. Lo and behold…they also had a new (larger) darning egg!
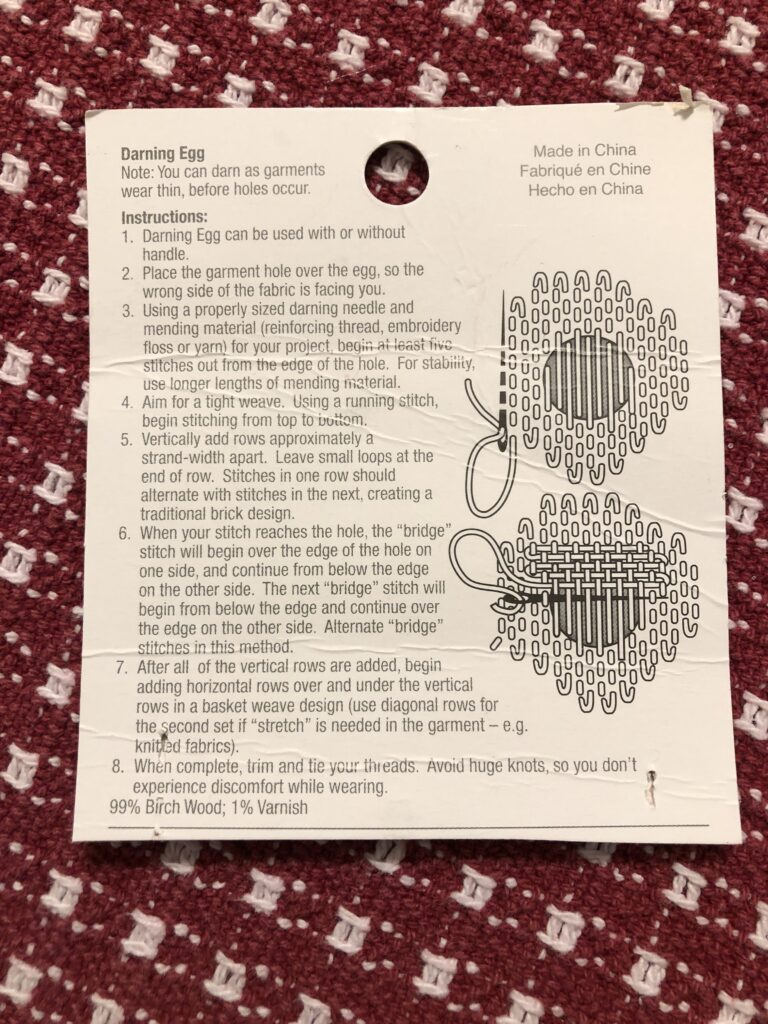
The smaller “darning egg” above is old and used. The new one is larger and made of hardwood. On the back of the packaging for the new one, were these instructions:
Looks so simple, right? Besides needing a magnifying glass to read the instructions, somehow the actual sock wasn’t so precise!
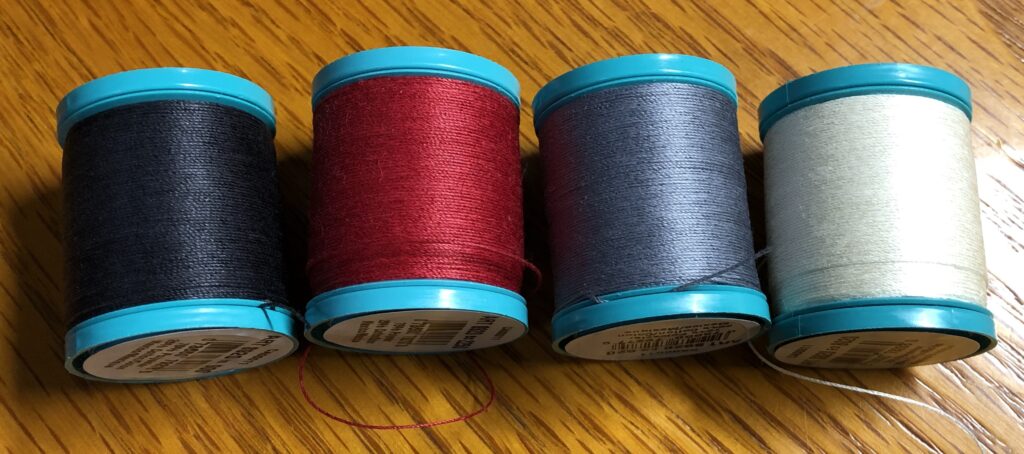
At JoAnn’s I also picked up thread (called “Button & Craft” thread) in four colors, I don’t actually have socks in red or lavender, but I thought it didn’t matter…my socks are usually inside a shoe!
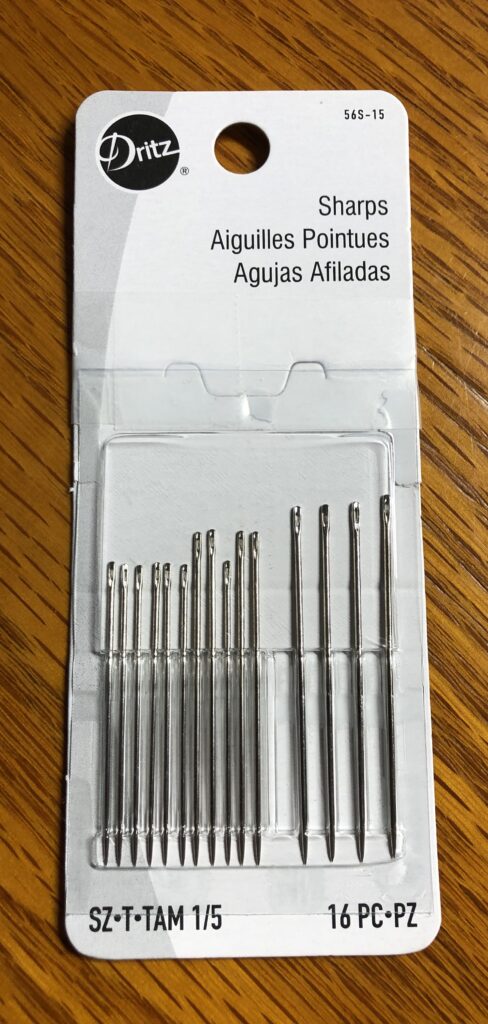
Then I grabbed a packet of needles, with larger holes just in case my regular hand sewing needles were too small:
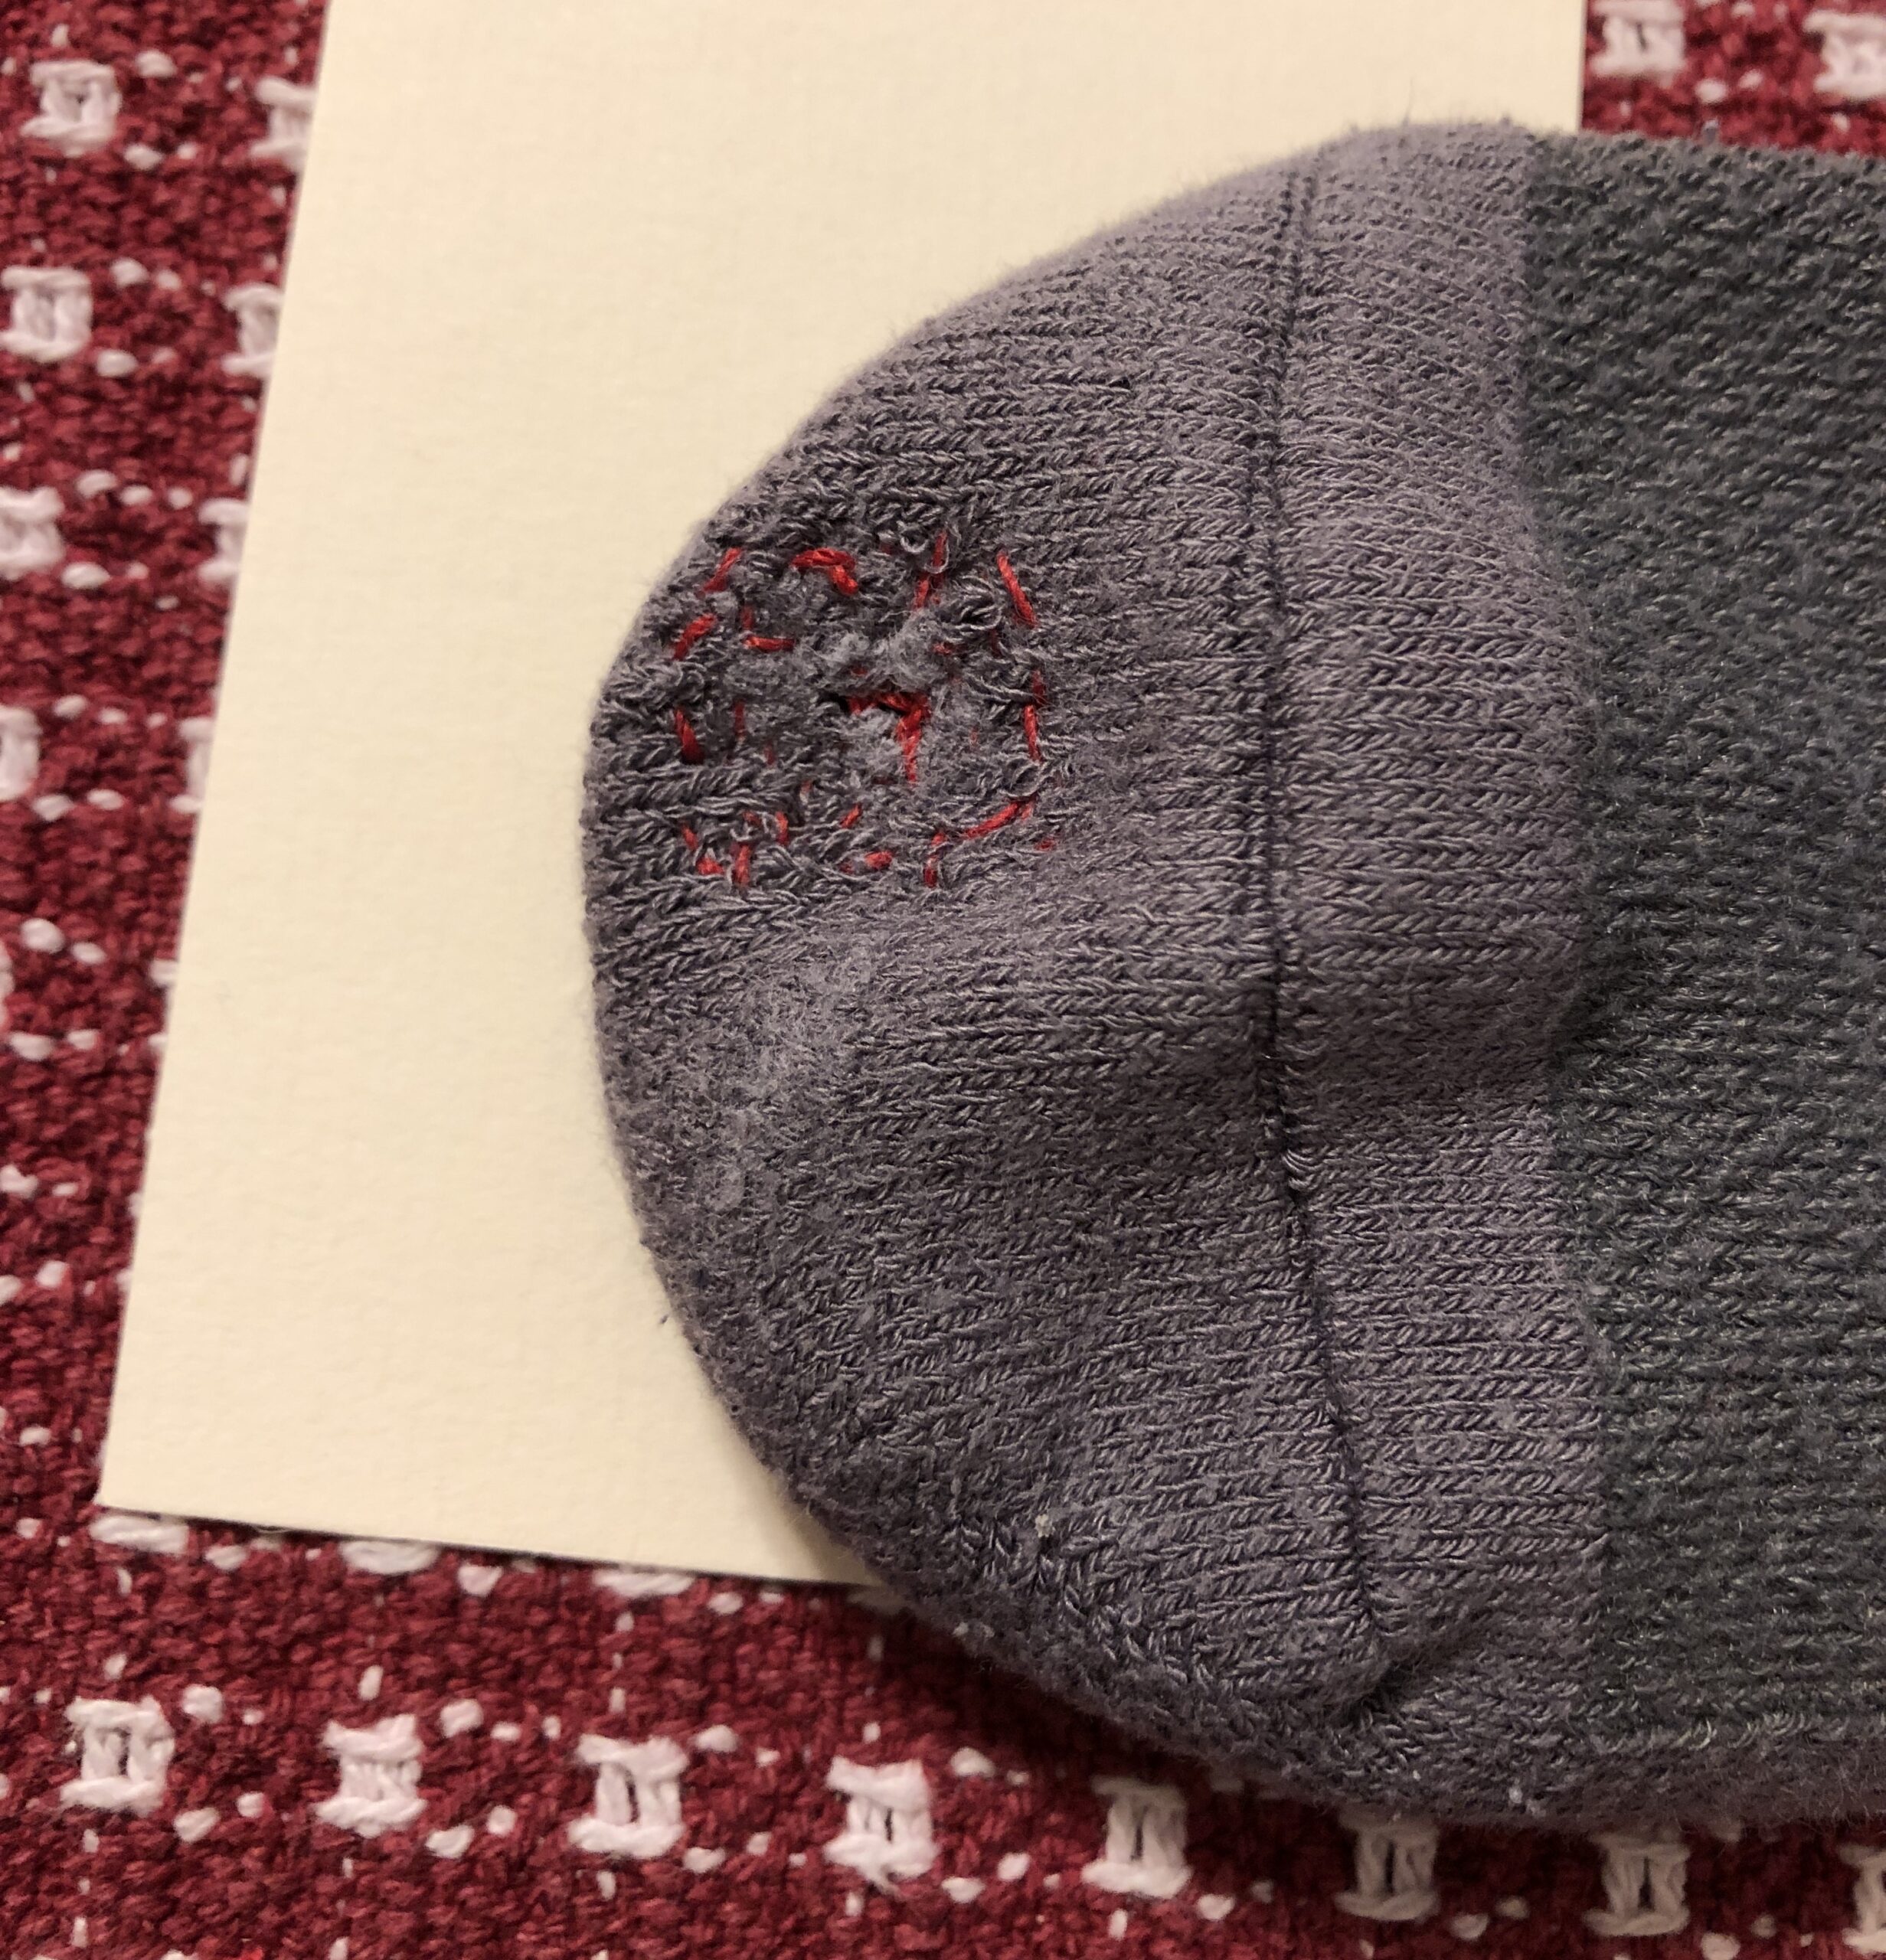
Sock #1
This was an older sock that I felt I could practice with. The first set of instructions I read told me to put the darning egg inside the sock…so I did.
Next, I was to make a row of running stitches around the hole. I used red thread on purpose so it would show up in these pictures. I made a knot at the beginning, before the first stitch. I planned to cut off the knot when I was done.
Then I read the instruction that came with the new darning egg and it said to turn the sock inside out before starting!! Of course! So, I removed the egg and carefully turned the sock inside out…and got the needle to the outside. Geez!
OK…continuing on the inside of the sock…I started making long stitches to create the beginning of the patch.
Then, I tried to weave stitches across the long ones going perpendicular to the first stitches. Then I just went over the whole pile on the diagonal.
Looks crazy and messy, I know! But it did look like I had covered the whole from the inside.
Time to turn the sock right side out to see what I had!
Now the proof of success will be to wear the sock and see if it’s comfortable!
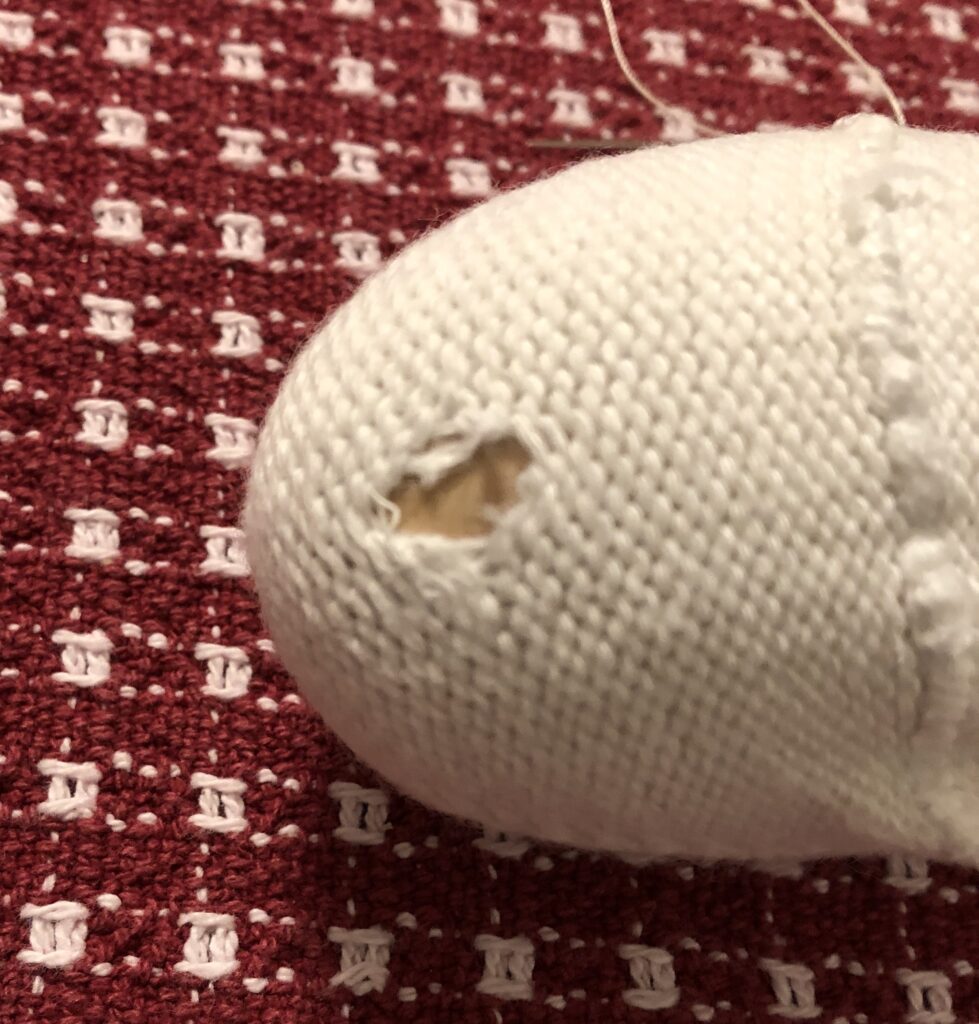
Sock #2
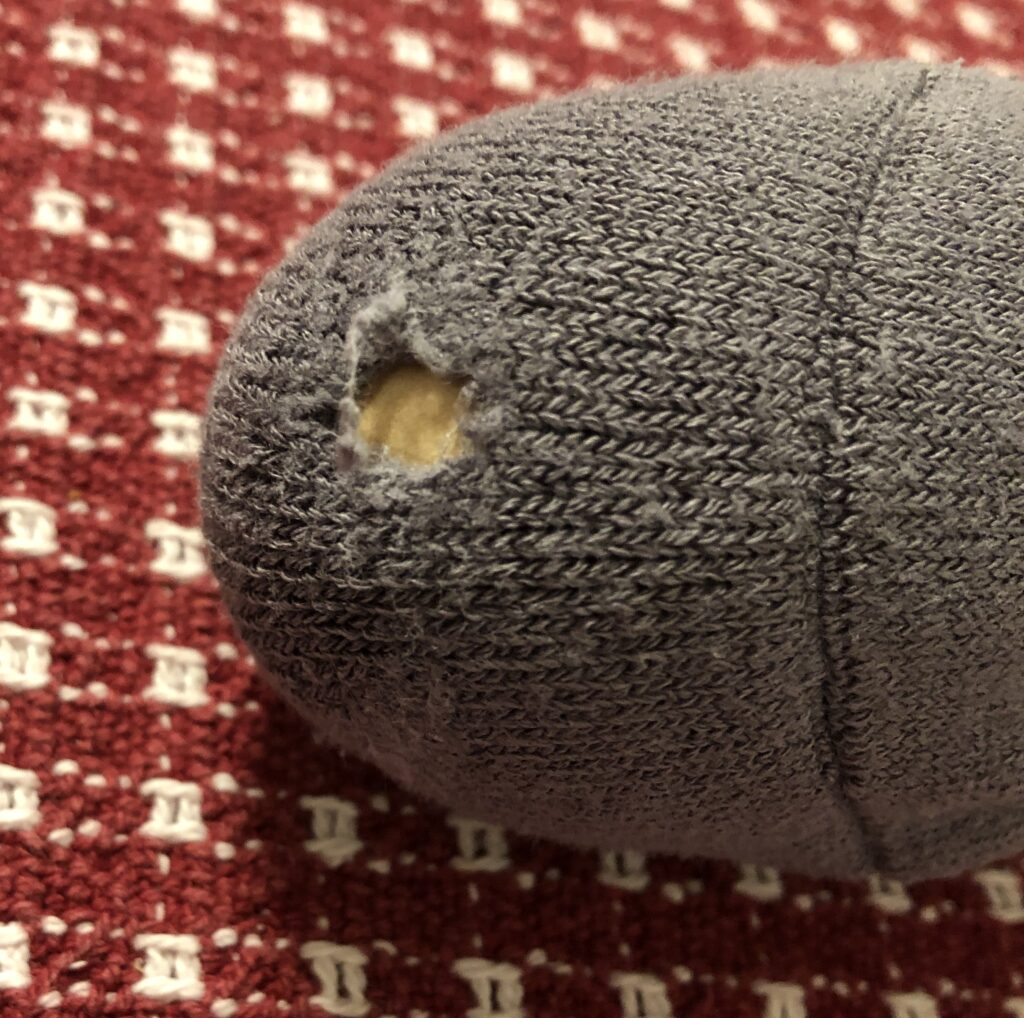
One more time. Here is one of my favorite socks…organic cotton from Maggies Organics. I really didn’t want to throw it away!
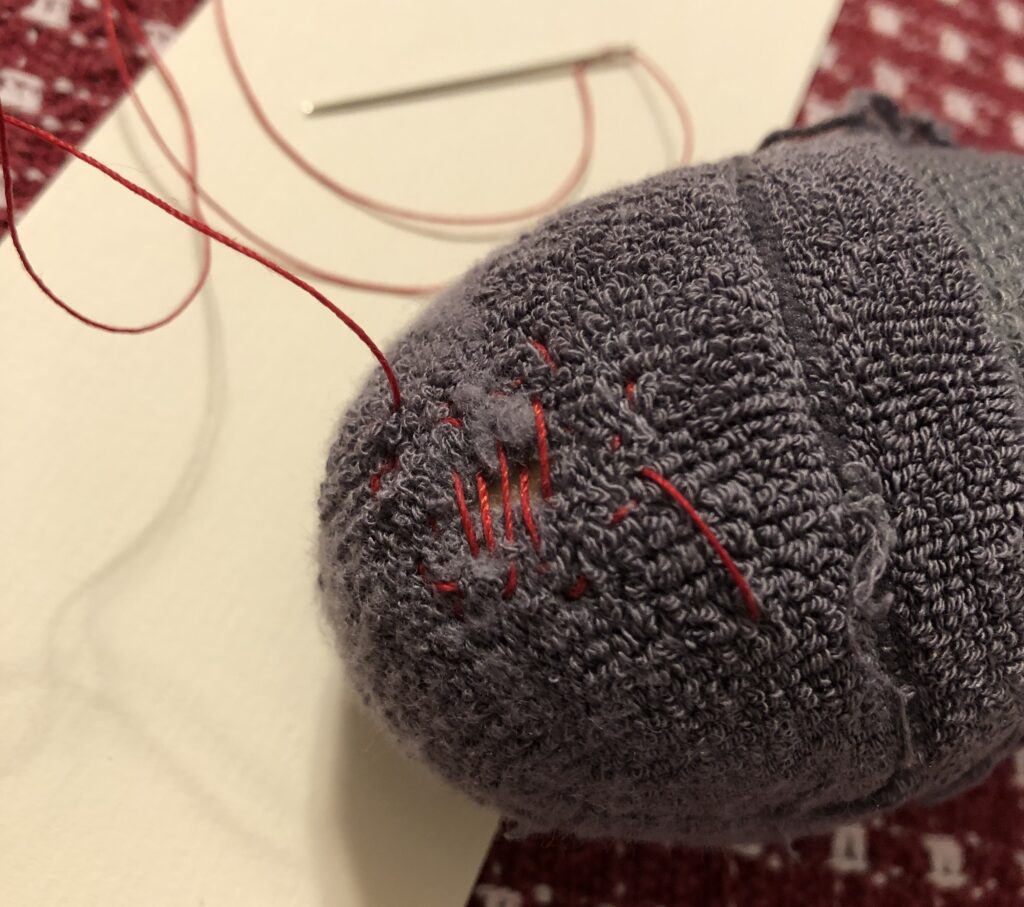
With the sock turned wrong side out I dropped in the darning egg. I started with the row of stitches around the hole. Then I started filling in with long stitches across the hole. I pulled the sides of the hole together a little as I snugged up the stitches. Finally, I wove stitches across the long stitches.
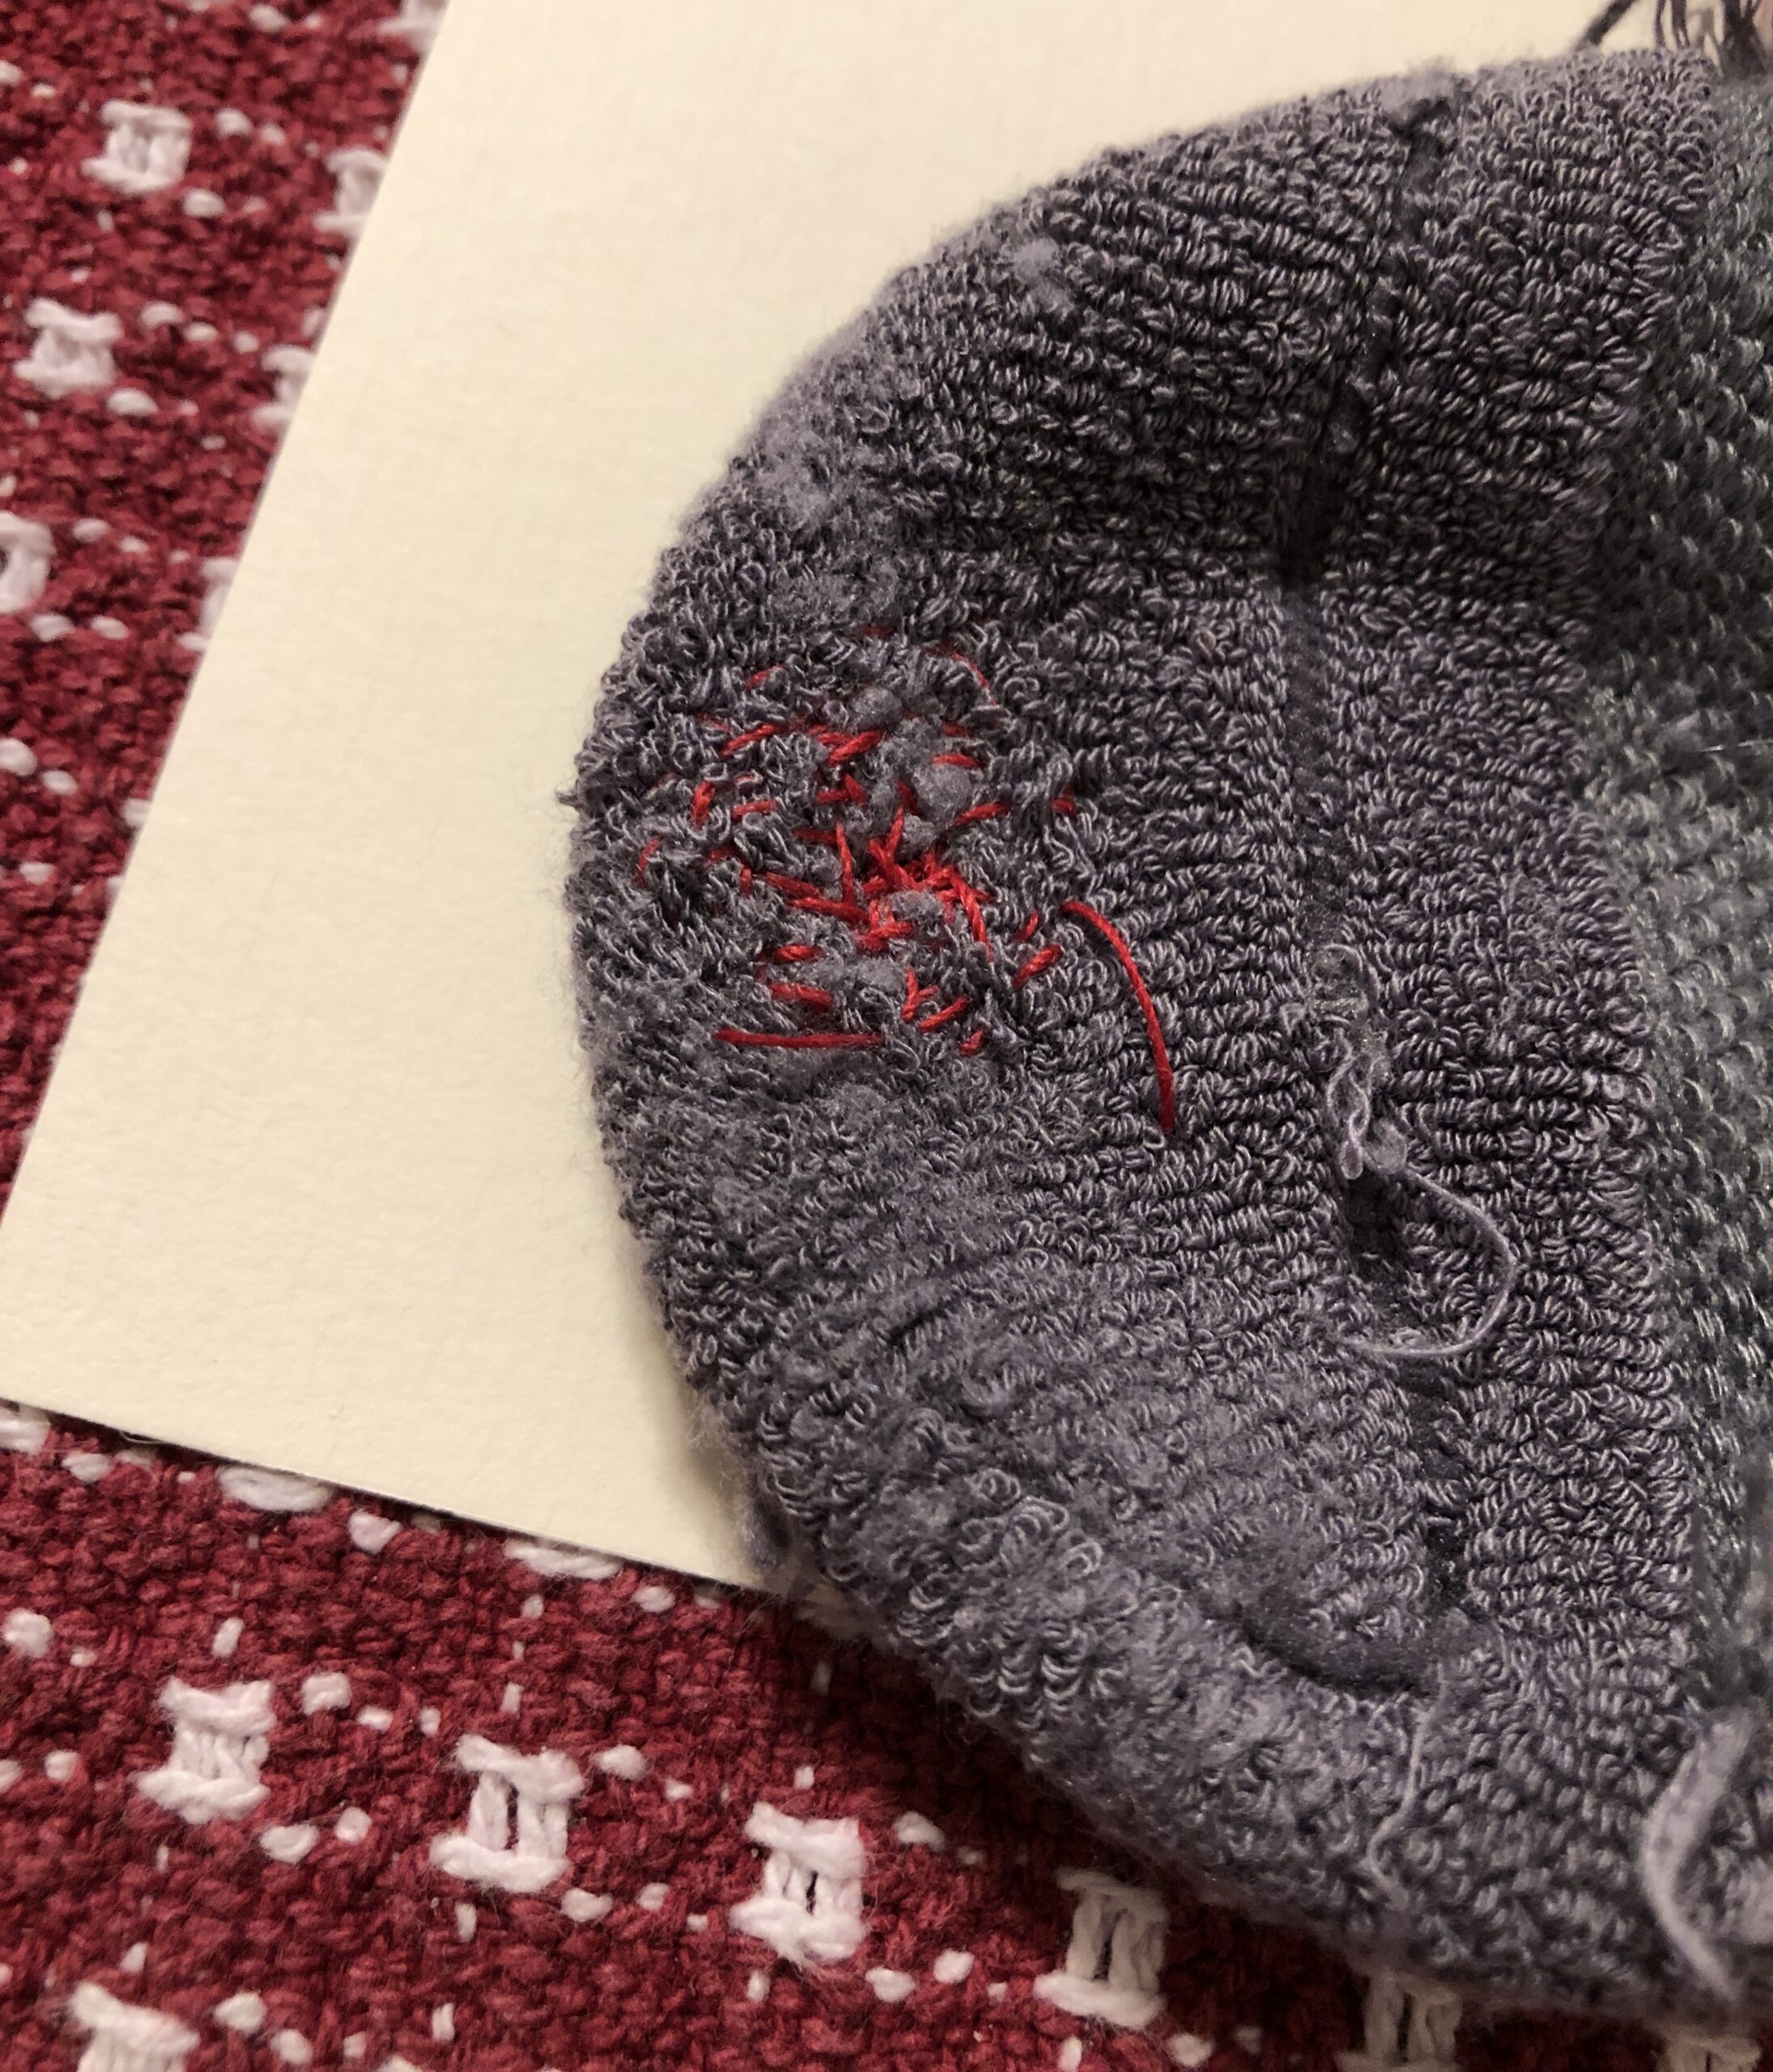
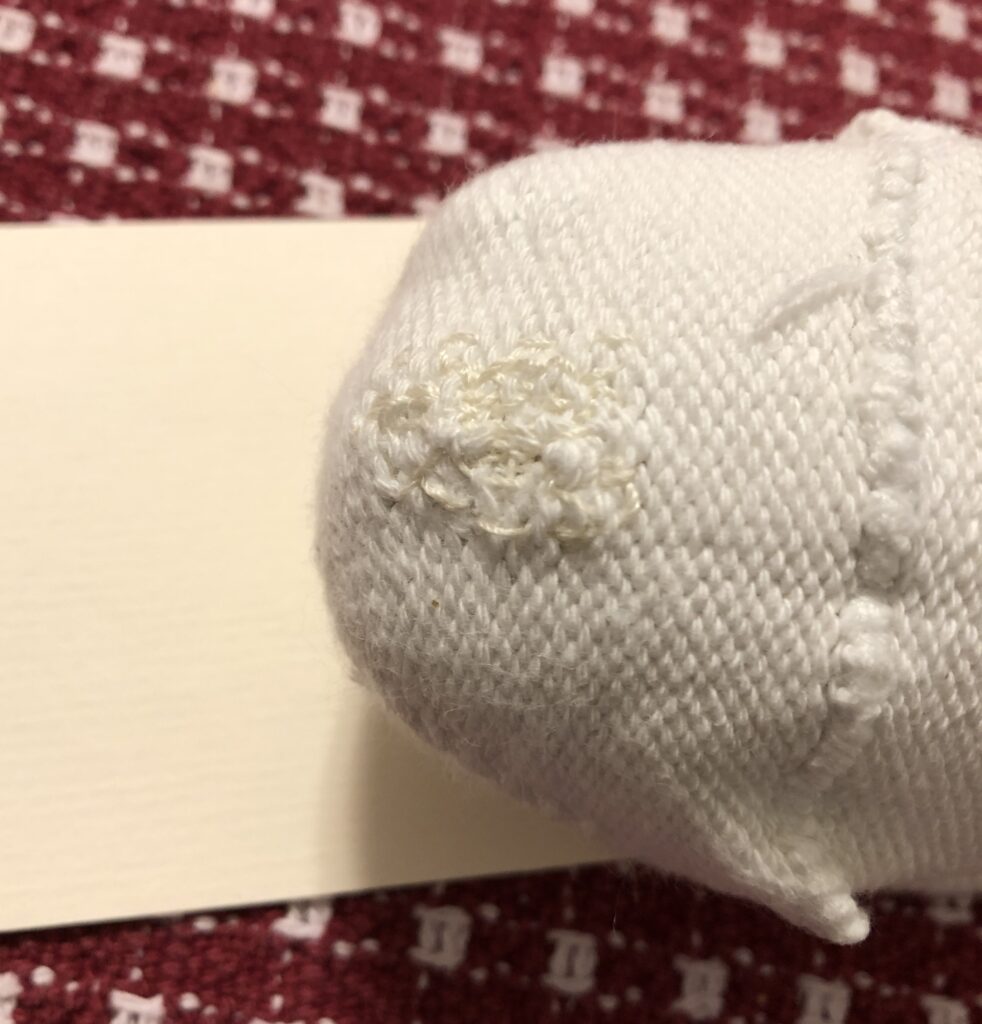
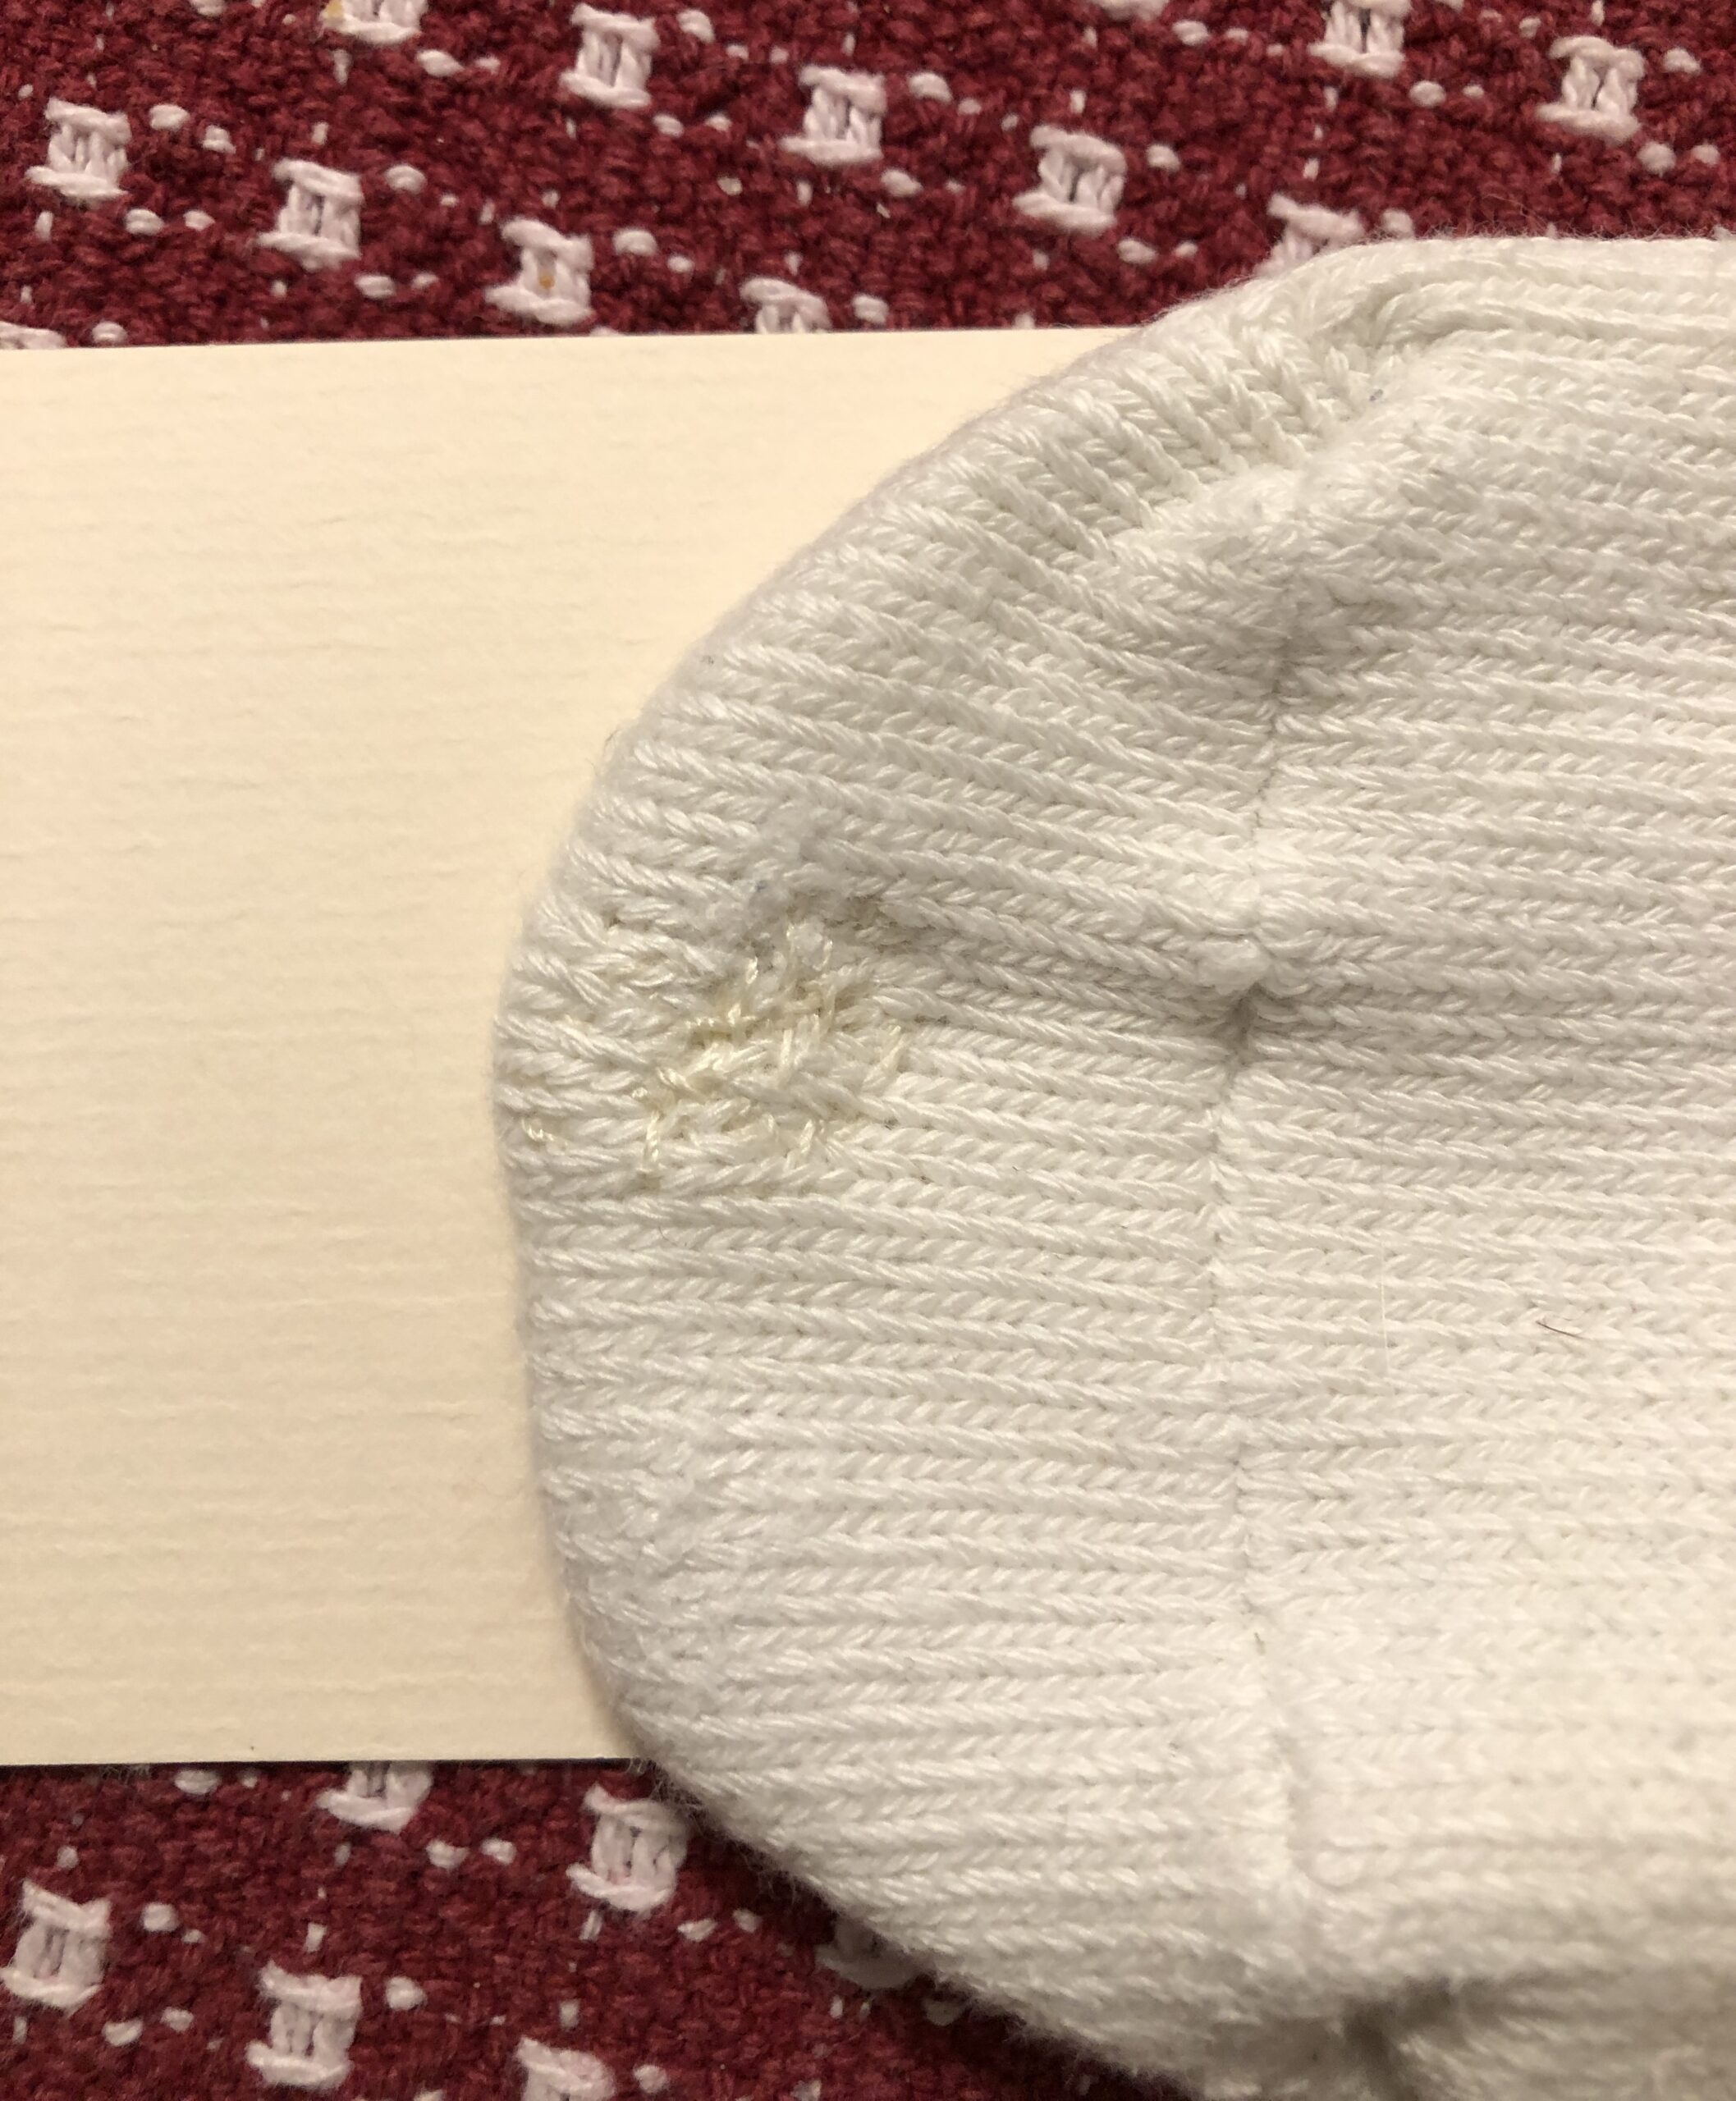
And the final result from the right side:
I hope my mother would have been proud that I saved a sock! Bert and I both remember our mothers darning socks. I probably wouldn’t have bothered this time, but I really like these socks and they were expensive! Now I’ll see if the repair patch is comfortable! At least now I have the right supplies to fix other socks!
This is my Grandpuppy Daisy. She doesn’t need a winter coat but she sure loves her toys.
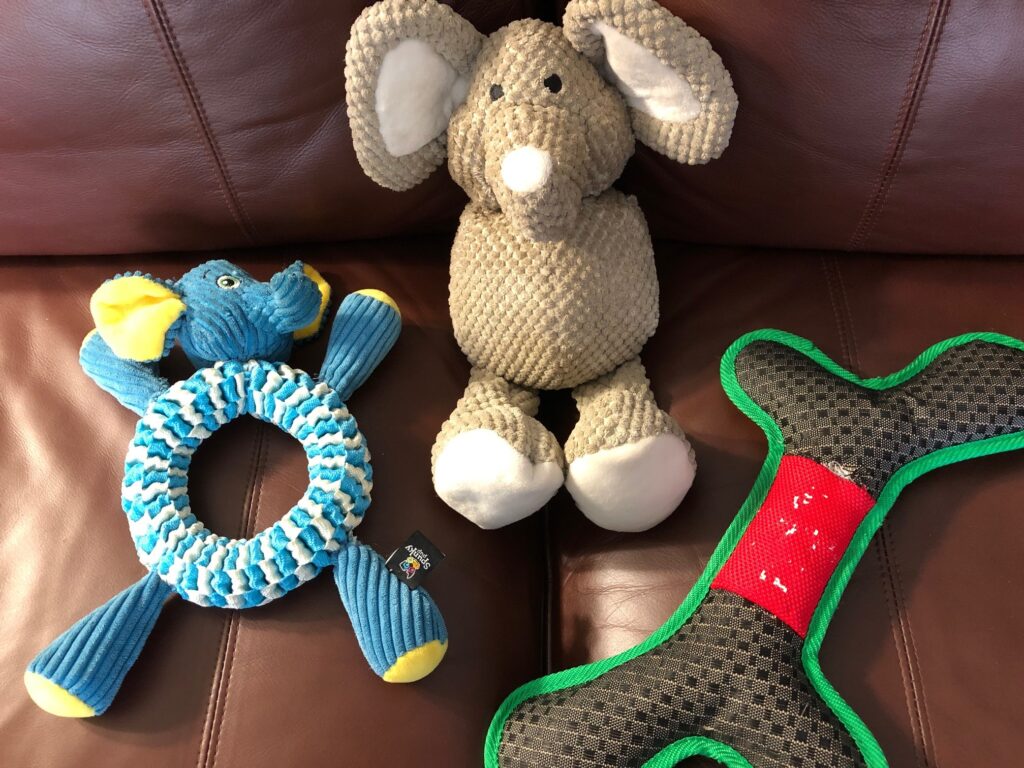
Each time I come to visit my daughter’s family I’m handed a bag of toys that have met their match with Daisy. She loves to chew them and rip them apart. Unfortunately, she sometimes eats the pieces…so the toys are put aside to see if Grandma can fix them. This last visit I collected three toys needing some TLC.
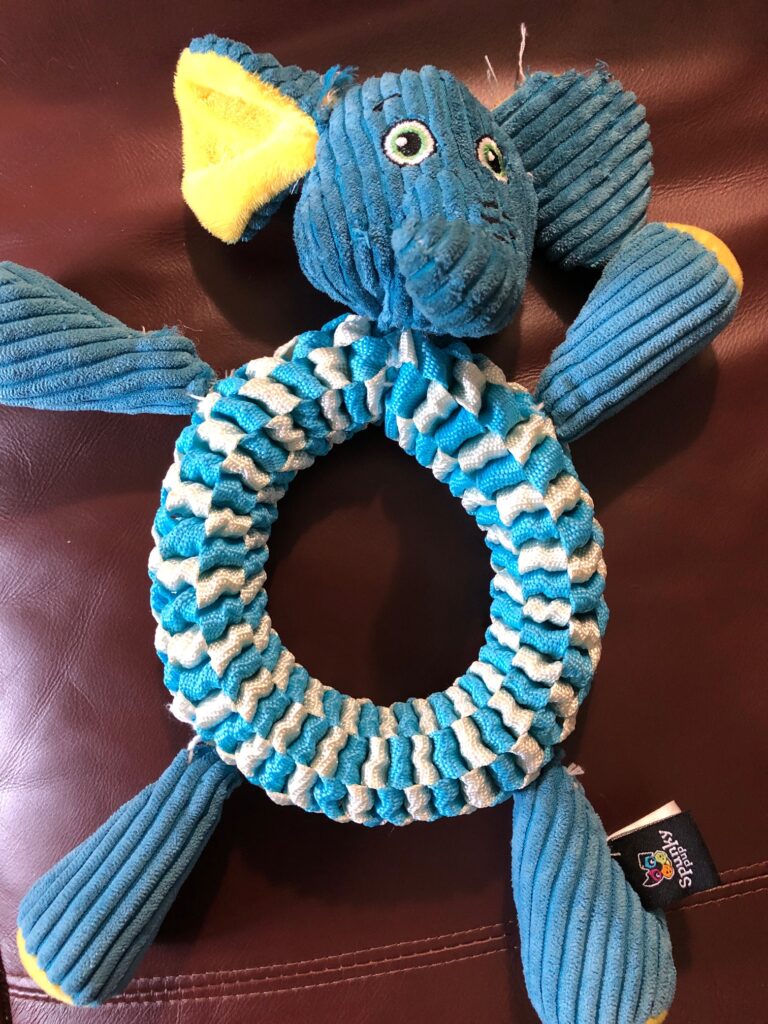
I’m amazed the variety of ways toys for dogs are made…some are like stuffed animals like a small child might enjoy. Others are tough and hard to destroy. The first one that needed help was both!
The center of the toy was very stiff and indestructible material. The head, arms and legs were soft and squishy. Of course, most of the damage was right where the soft pieces joined the tough center. One ear was also falling off. This was hard to sew by hand because while my needle would easily go through the soft material, I practically needed plyers to get the needle through the hard vinyl webbing that made up the center. I’m going to recommend when the pieces get pulled off again, they should just cut them off and Daisy will have a ring to chew on.
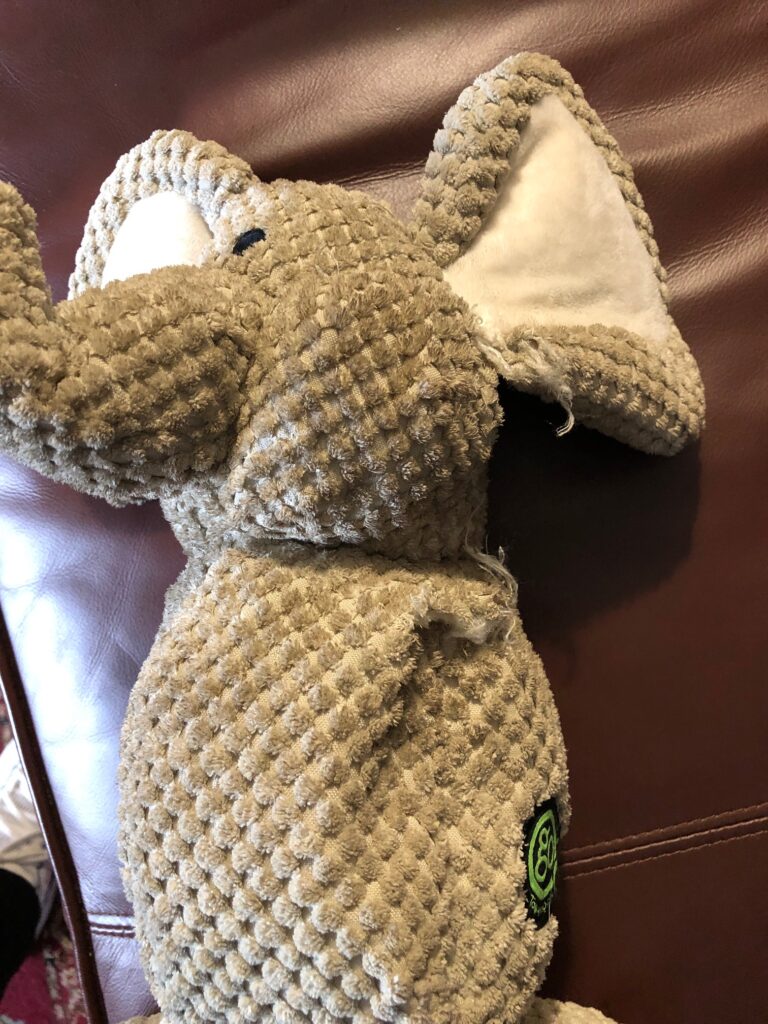
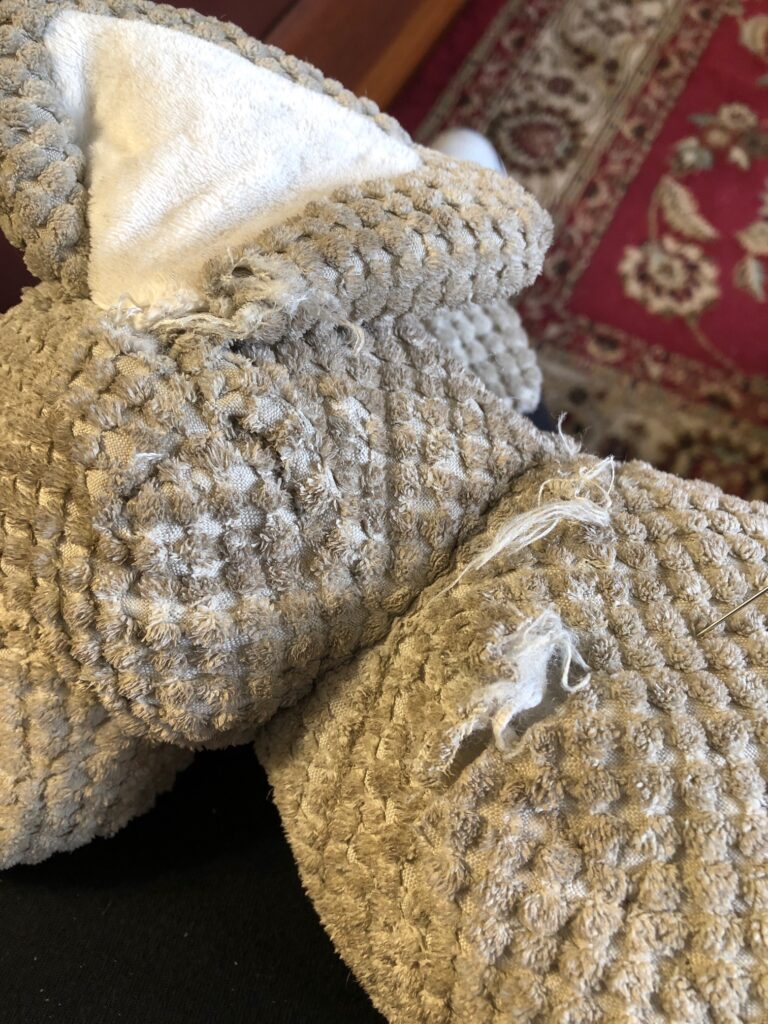
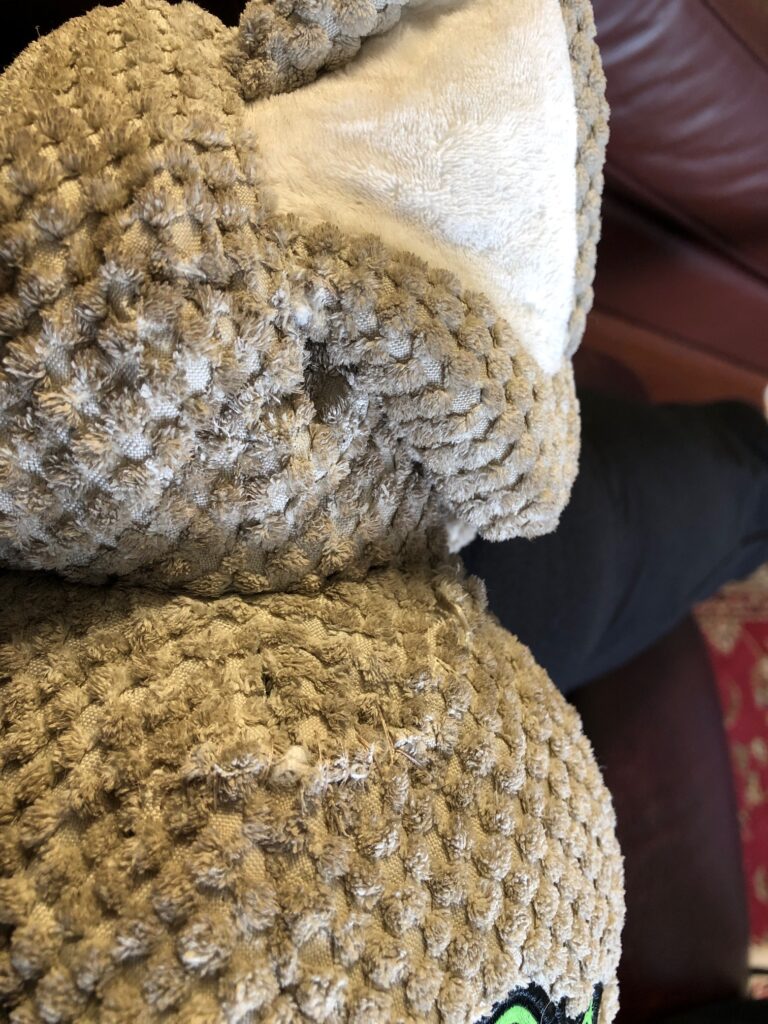
The second toy was one I’ve seen before! The arms are missing completely so the holes needed to be sewn shut. Then there were a few other holes evidently caused by Daisy’s teeth.
This animal just needed the ear reattached and the holes mended. It must be soft in her mouth because it’s well loved.
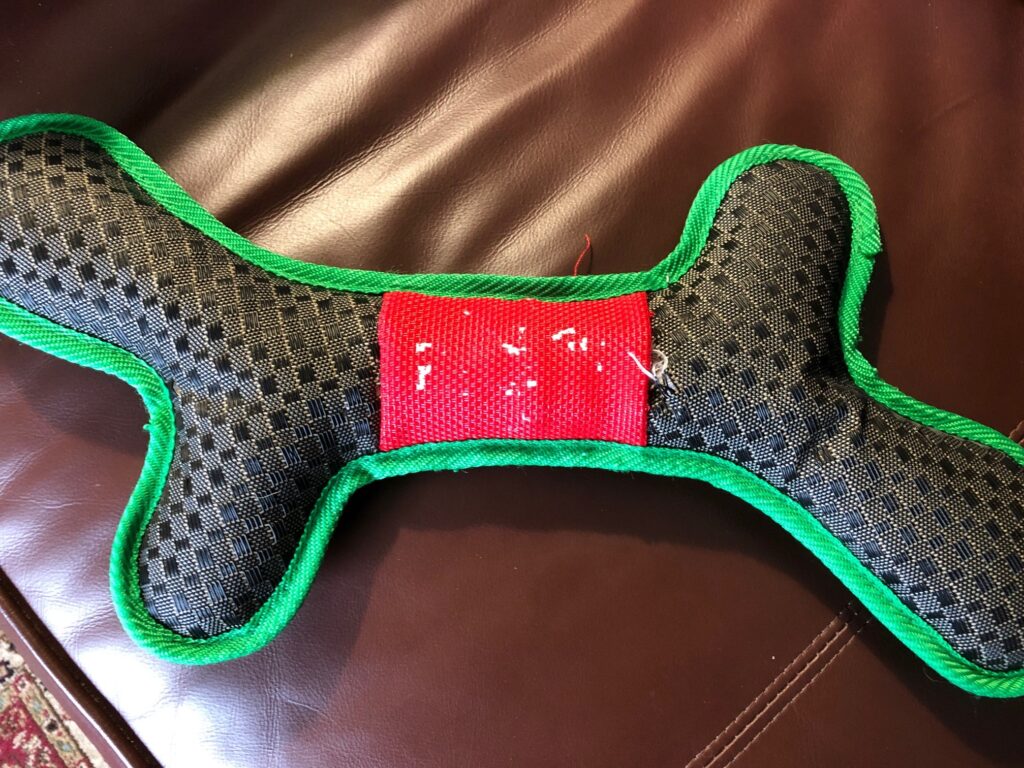
The third toy was a tough bone-shaped toy with an additional stripe of red across the middle. The fabric was like nylon webbing material that is used to make lawn furniture. That one little piece of red must have gotten caught by a tooth and pulled away…shredding some of the webbing material. This toy should also be discarded the next time it needs to be repaired.
When I finished, the toys looked better and they’re ready for Daisy!
Then, while I was watching TV to keep me entertained while sewing, I saw an ad for a new kind of toy for dogs where the ears, arms and legs of a toy were attached with Velcro. They are from Tearrible Instincts. I found them online. They are a new company, https://tearribles.com. I checked them out to see exactly how they attached the arms and legs.
They had 4 different “animals” for sale.
Here was a picture of how they came apart, but I really can’t tell how they attach. A short video is on the website showing how they are put back together…each arm fits into a pocket on the side of the animal, so the arms have to be tucked into the pocket where the matching Velcro piece is attached.
I ordered two of the toys and maybe I can figure out how to make them myself before I give them to Daisy for Christmas! Enjoy!
My dear son-in-law gave me a new challenge at Christmas time. He is in construction and landscaping and his hard work is reflected in these sweatshirts! (I do suspect he asks me to try to mend things just for fun.)
This particular challenge involved two hooded sweatshirts that probably should be thrown out, but the main issue was the pocket pouch on the front of each. They were ripped and shredded because he shoves his keys and tools, etc. into them. He also gave me a third sweatshirt that I could use as replacement fabric. Apparently, he wants to have his company logo visible, not a football team. I offered to buy him a new sweatshirt, but noooo, he thought I should try to fix these! See what I mean…he’s teasing me!
Here are the steps I followed to mend them:
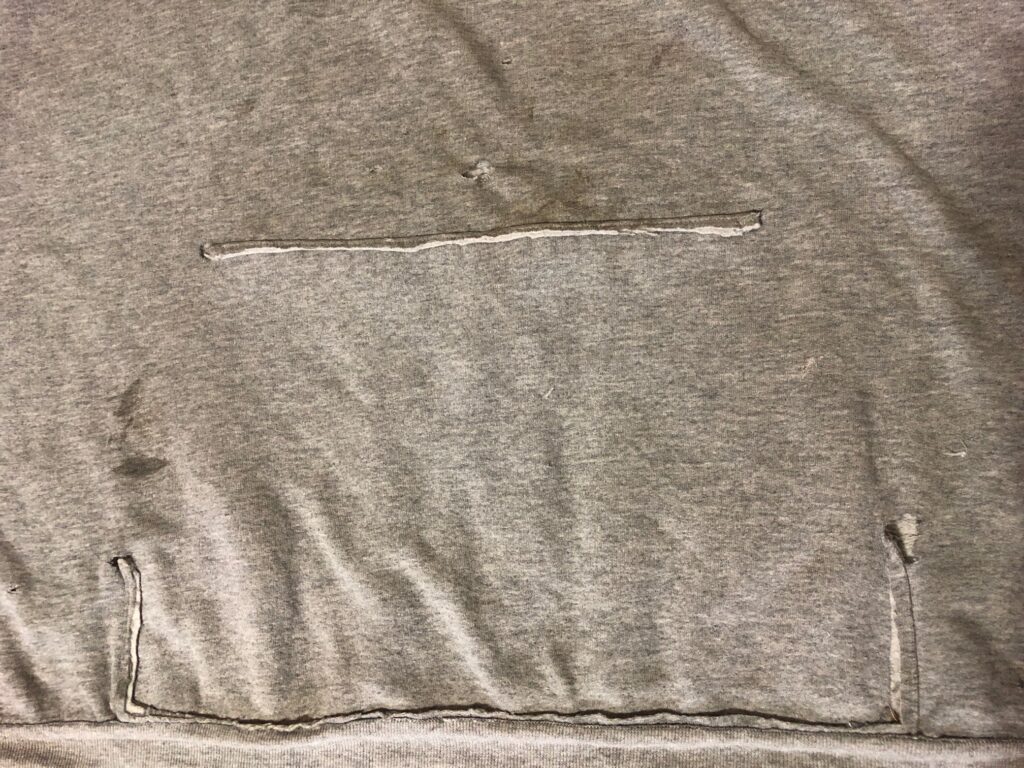
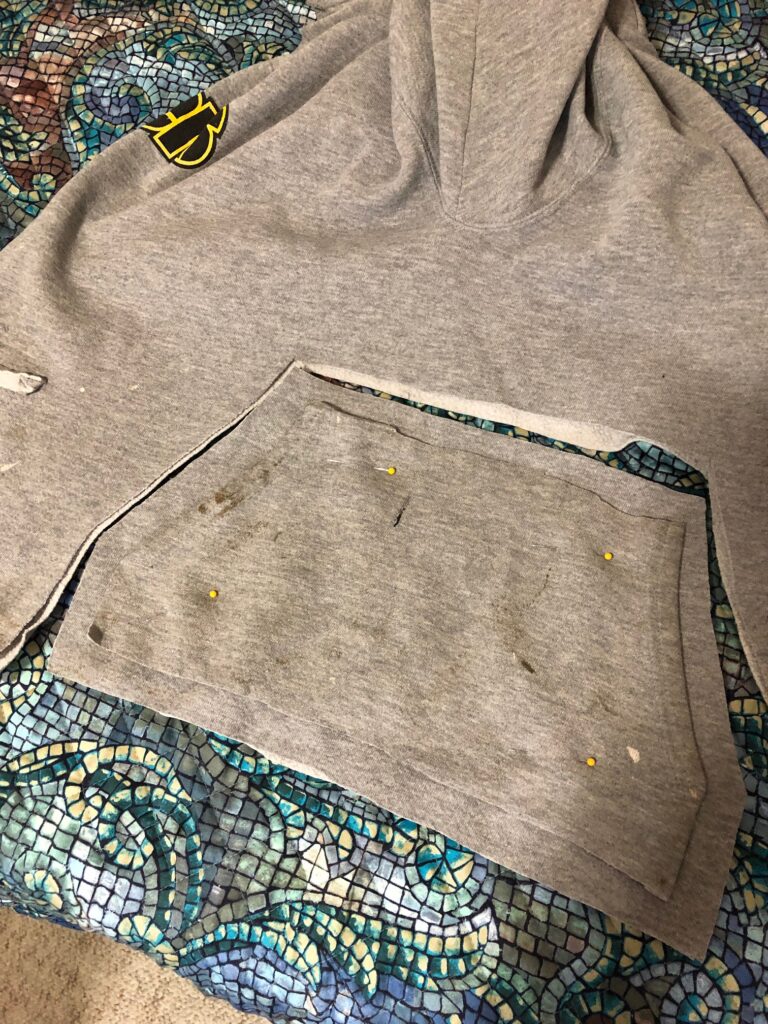
First, I cut the damaged pocket pouches off the shirts.
Note the stress holes where the old pocket was attached.
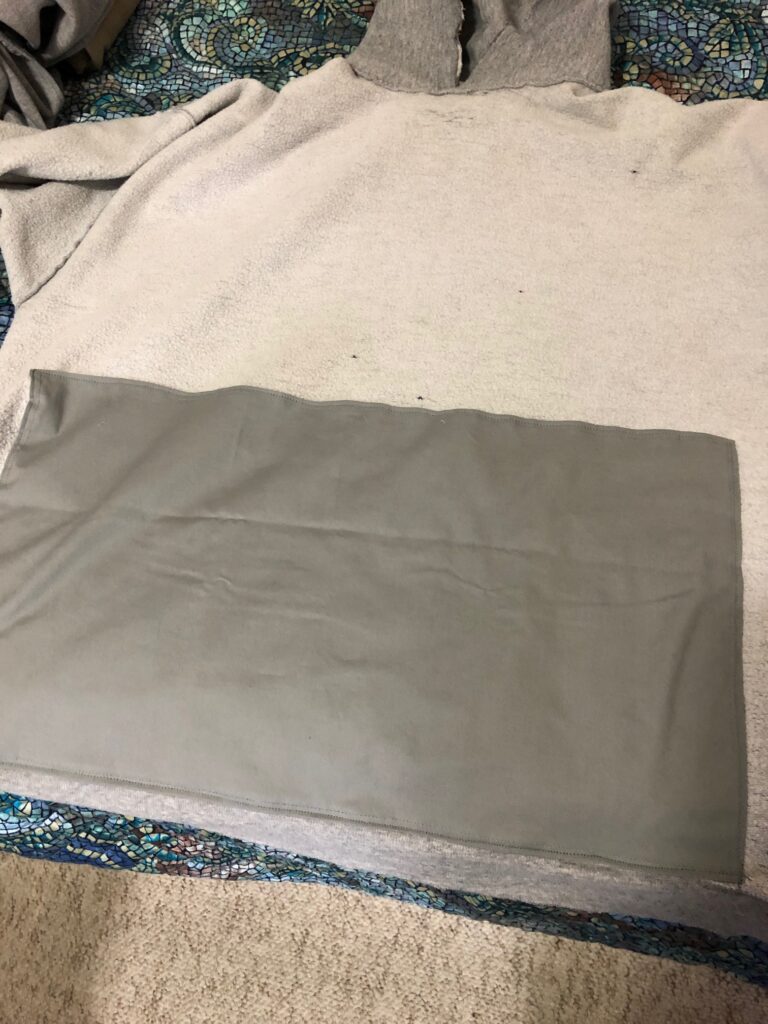
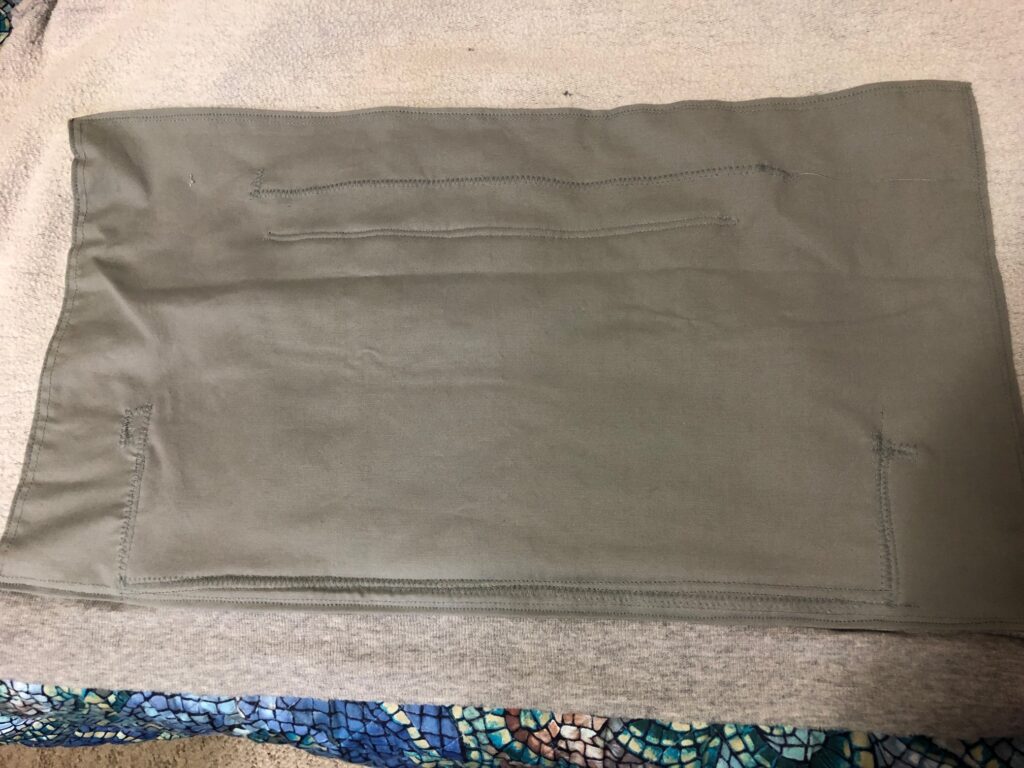
Next, I prepped the inside front of the shirt with a large piece of sturdy cotton so the pocket would have a stable base to be sewn to.
Then I used the old pocket as a pattern on the extra sweatshirt to cut two new pockets. I used the fabric under the arm because it didn’t have much wear and tear.
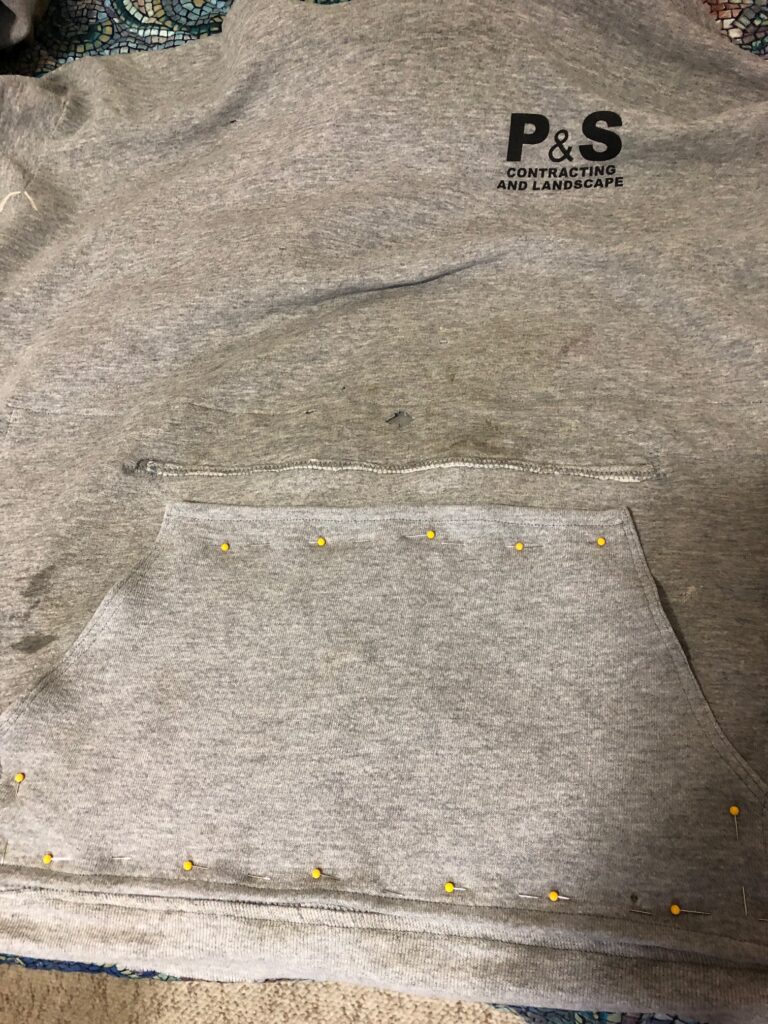
I sewed a hem on the curved sides of each pocket and placed them on the front of the shirt. I was not about to try to unstitch the leftover pieces of the old pocket. They aren’t pretty, but don’t affect the new pocket’s use.
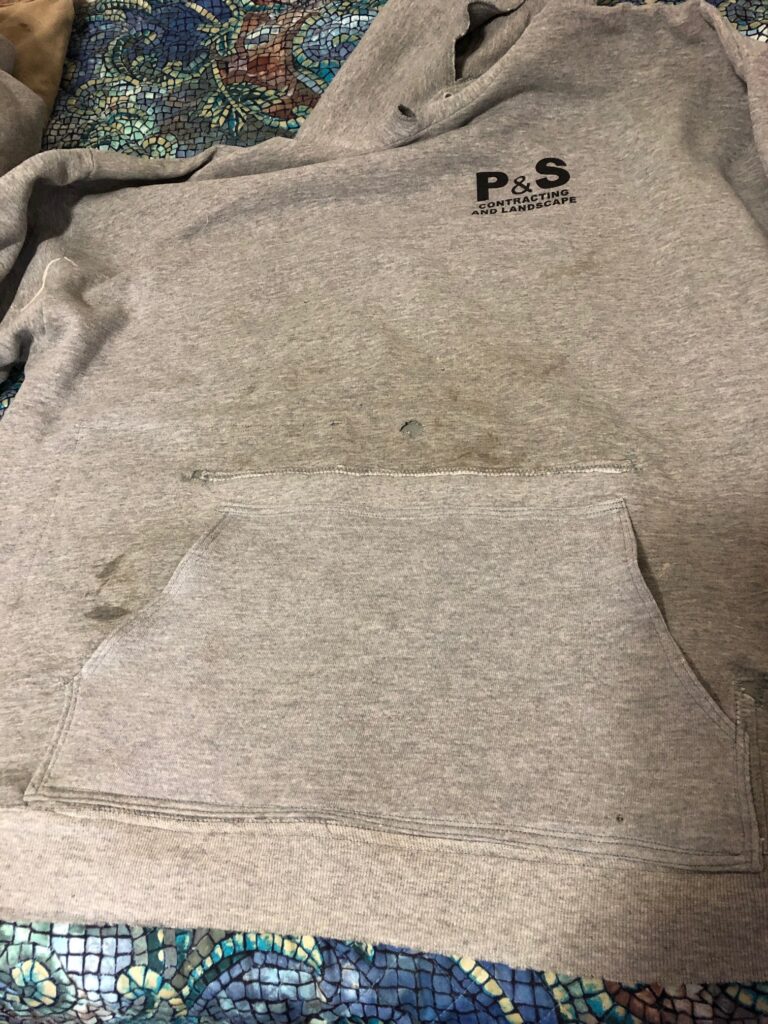
I pinned and sewed the new pocket down.
The inside looks like this.
I also took the ribbing off the bottom edge of one of the old shirts because it was shredded. I used the ribbing off the replacement shirt and fixed that too.
If either of these sweatshirts end up back in my mending basket, I guarantee they will be disposed of! However, each time I take on a job like this, I learn something new! Enjoy!
Frequently when I visit Kathy and family, I come home with some interesting mending projects. I think our son-in-law enjoys providing me with a sewing challenge…just because he knows I’ll humor him and produce something different! I’m up for the challenge!
He works very hard with his contracting and landscape business and his work clothes show it. This time, I came home with three items…a stuffed toy their dog Daisy had ripped with her teeth (obviously not related to his work) and two pairs of work shorts with rips in embarrassing places.
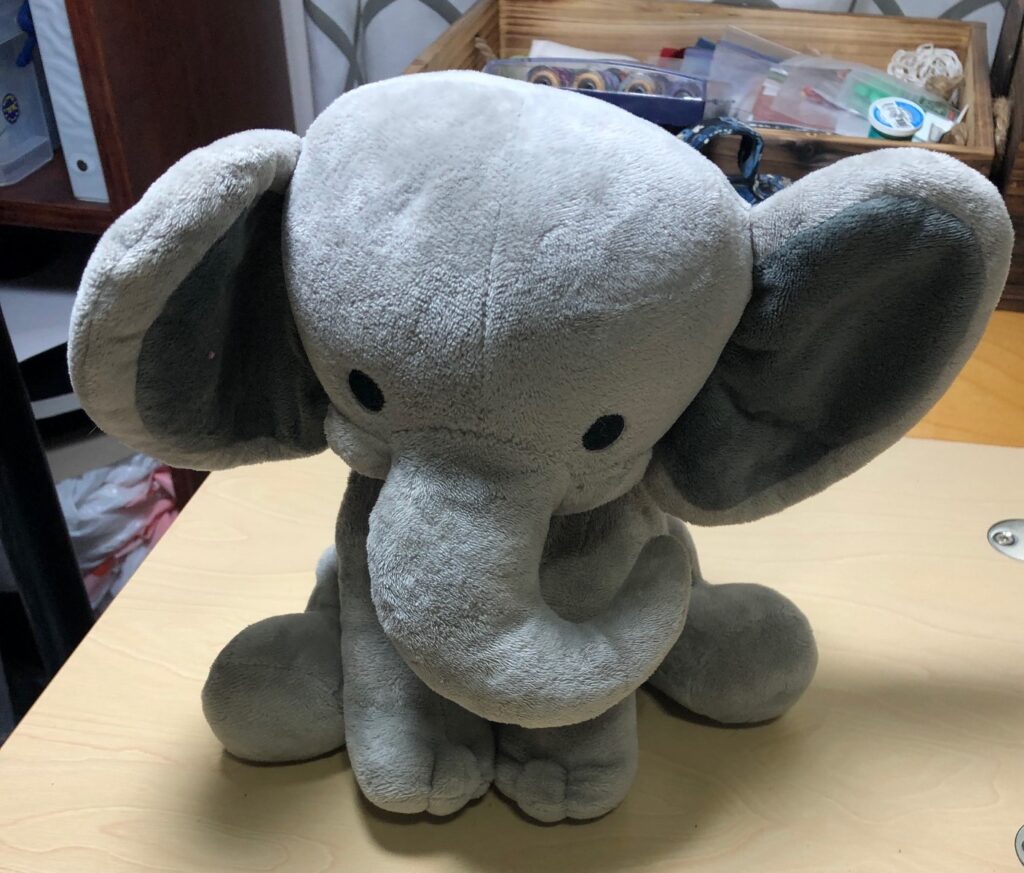
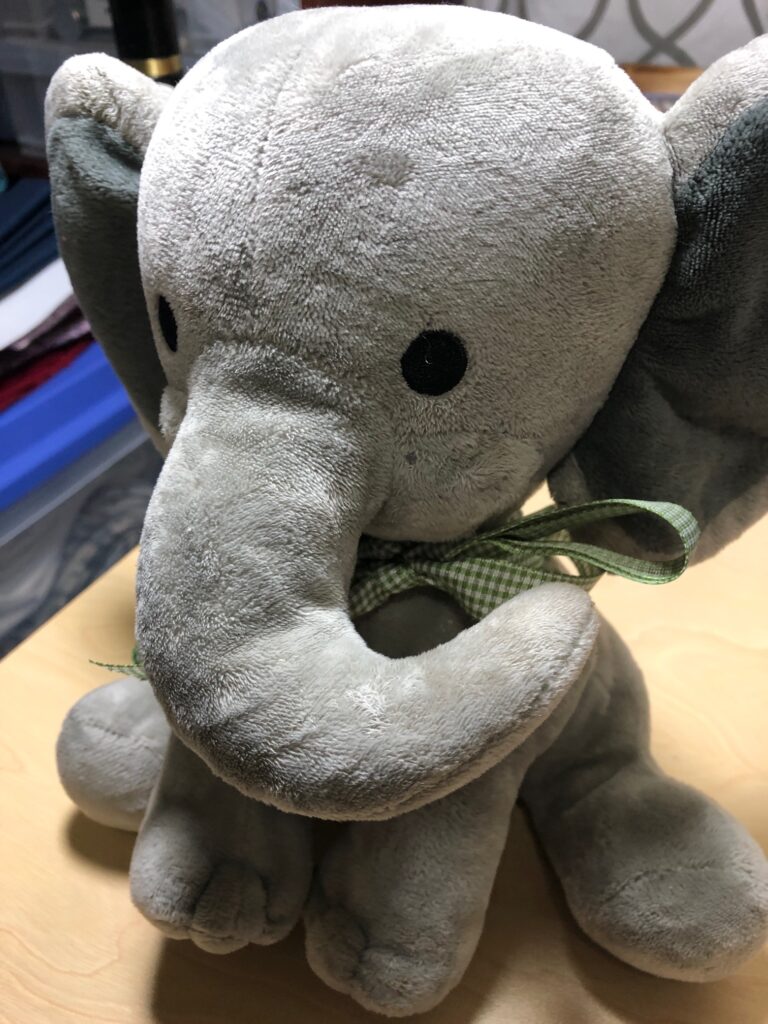
First, I worked on the dog toy. This elephant is really not a dog toy, but Daisy loves it and really doesn’t shred it; her teeth just seem to catch on the soft fabric.
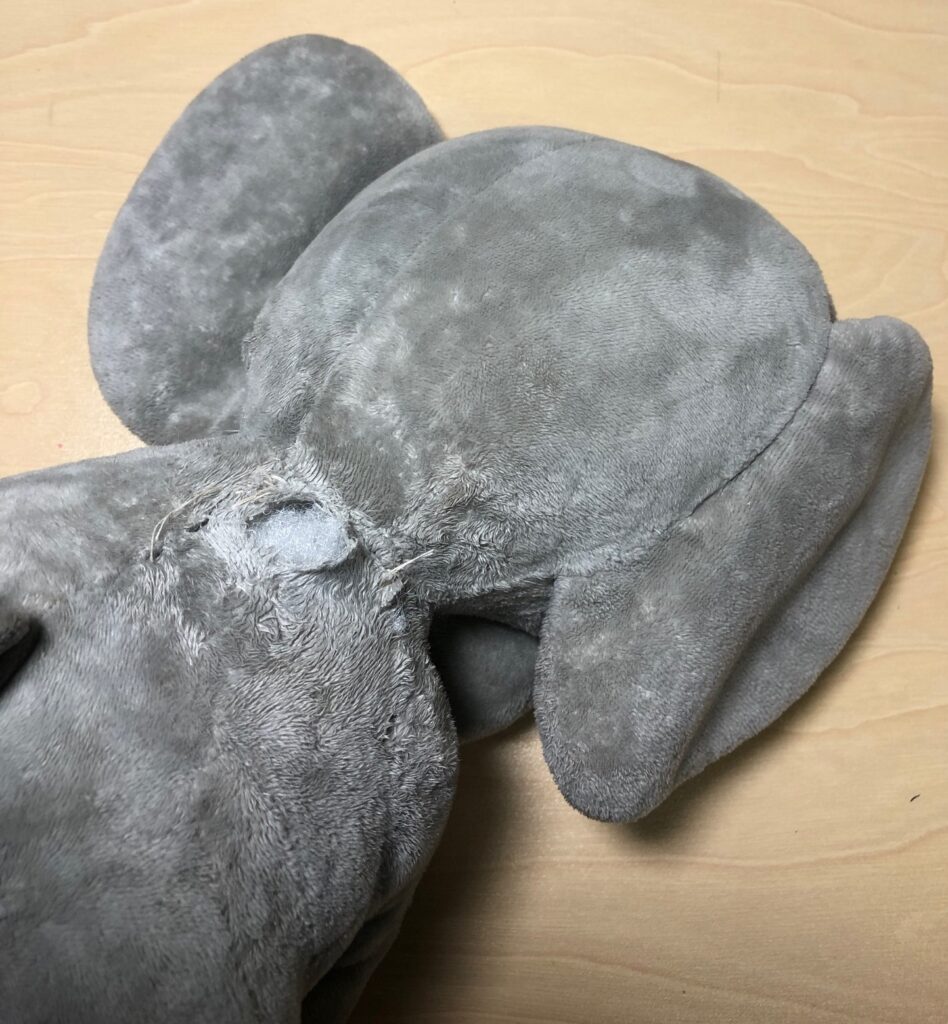
The damage seemed to be right at the back of the neck. It looks like I had mended this item several times already!
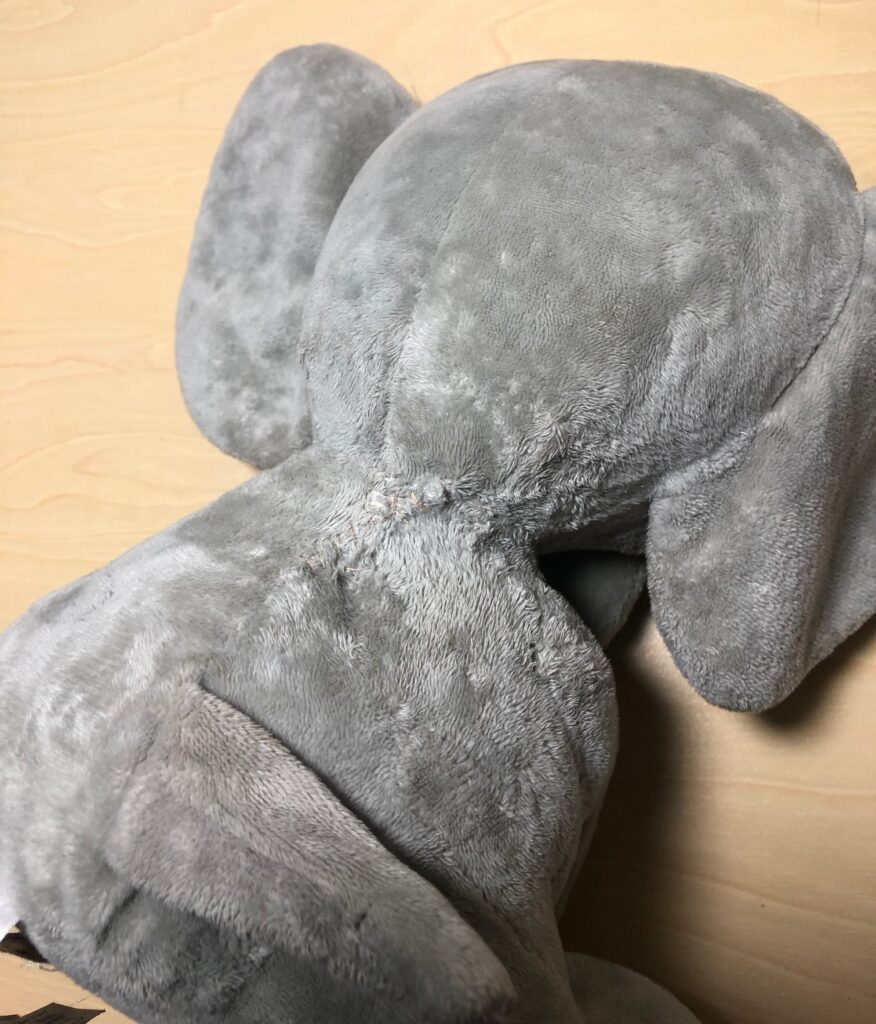
First, I just pulled the sides of the hole and sewed it shut…again…with some strong thread.
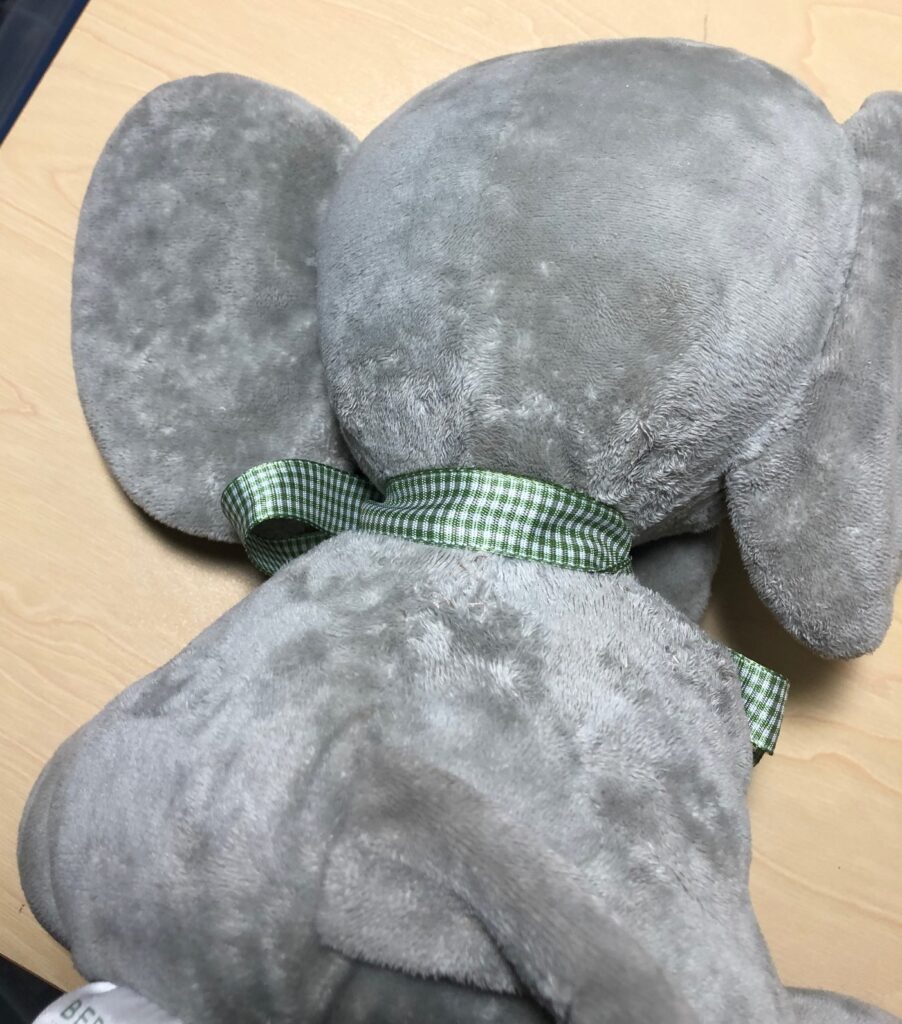
Then I added a double layer of pretty hefty ribbon around the neck, right over the repair. With double knots in the ribbon, the bow might come untied but the ribbon should protect my repair. Maybe the ribbon will give Daisy something new to play with.
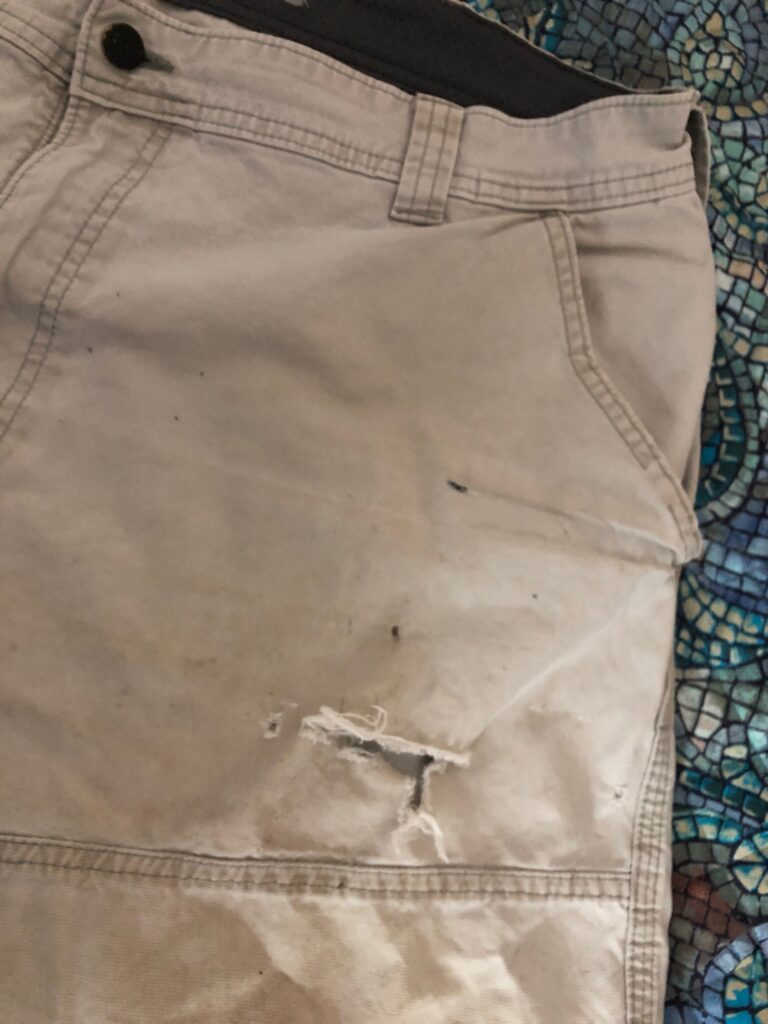
Now, on to the work shorts. The first pair had a big rip right in front.
Pair number 1
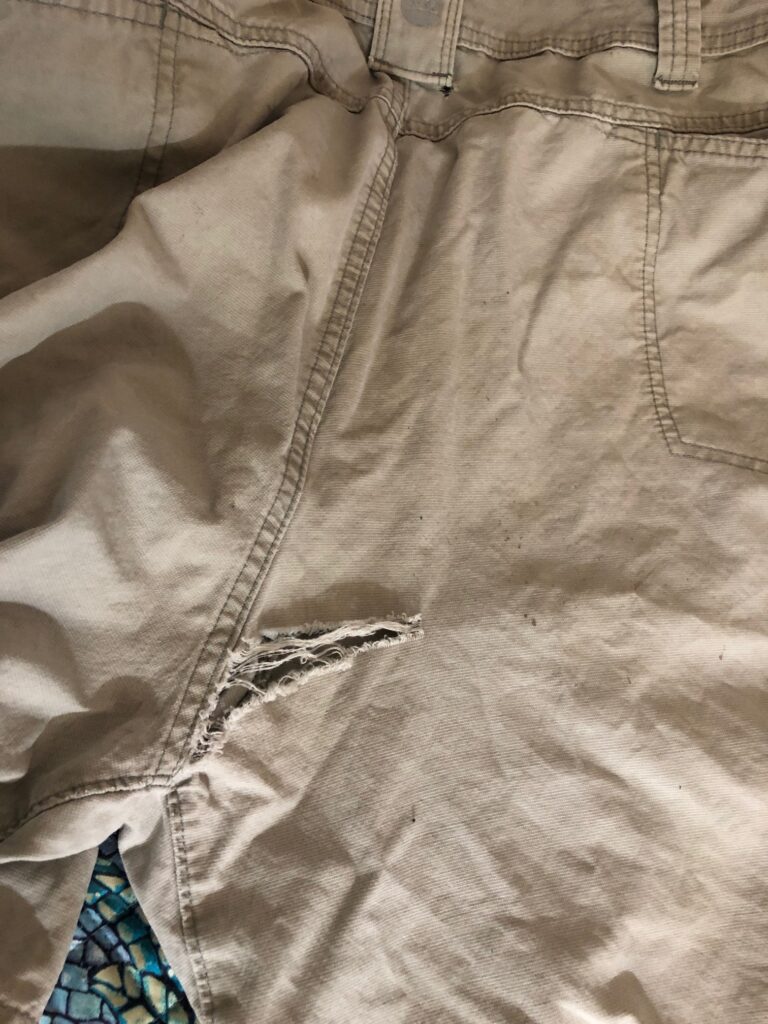
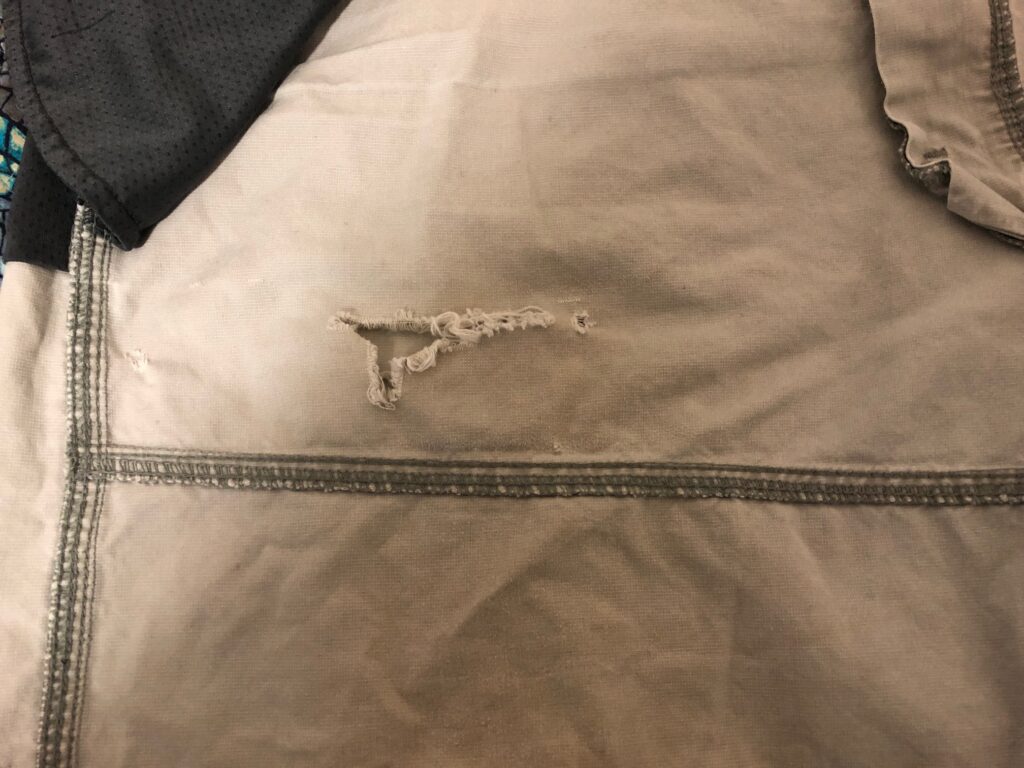
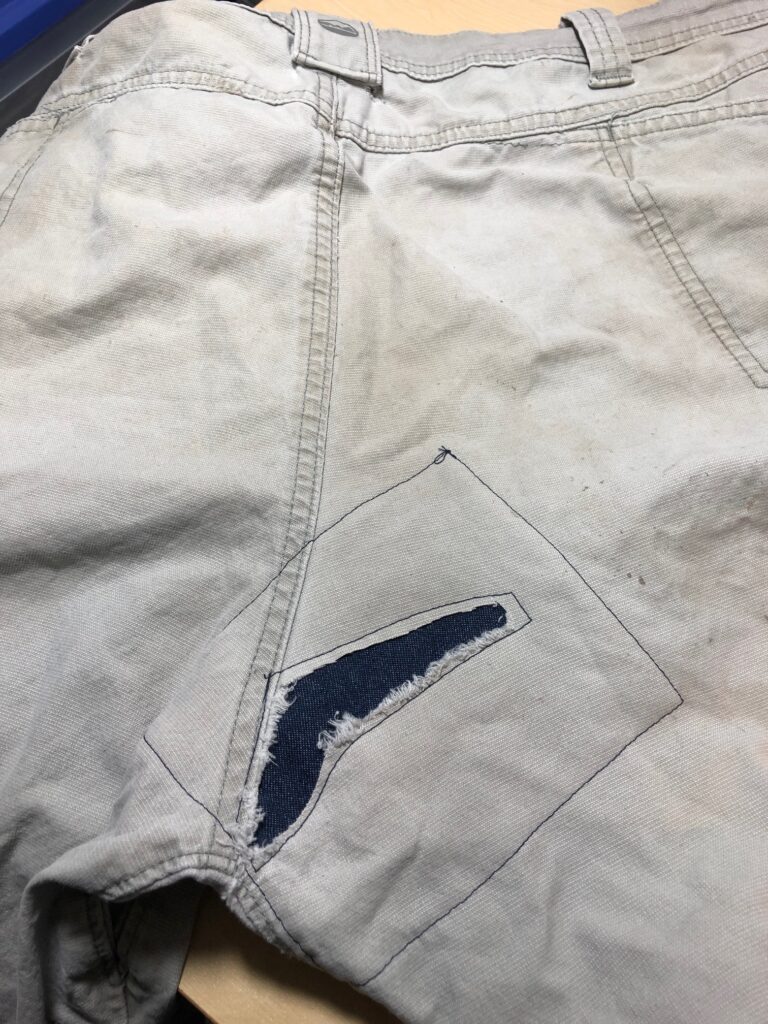
The second pair was pretty shredded through the crotch!
Pair number 2
PAIR NUMBER 1
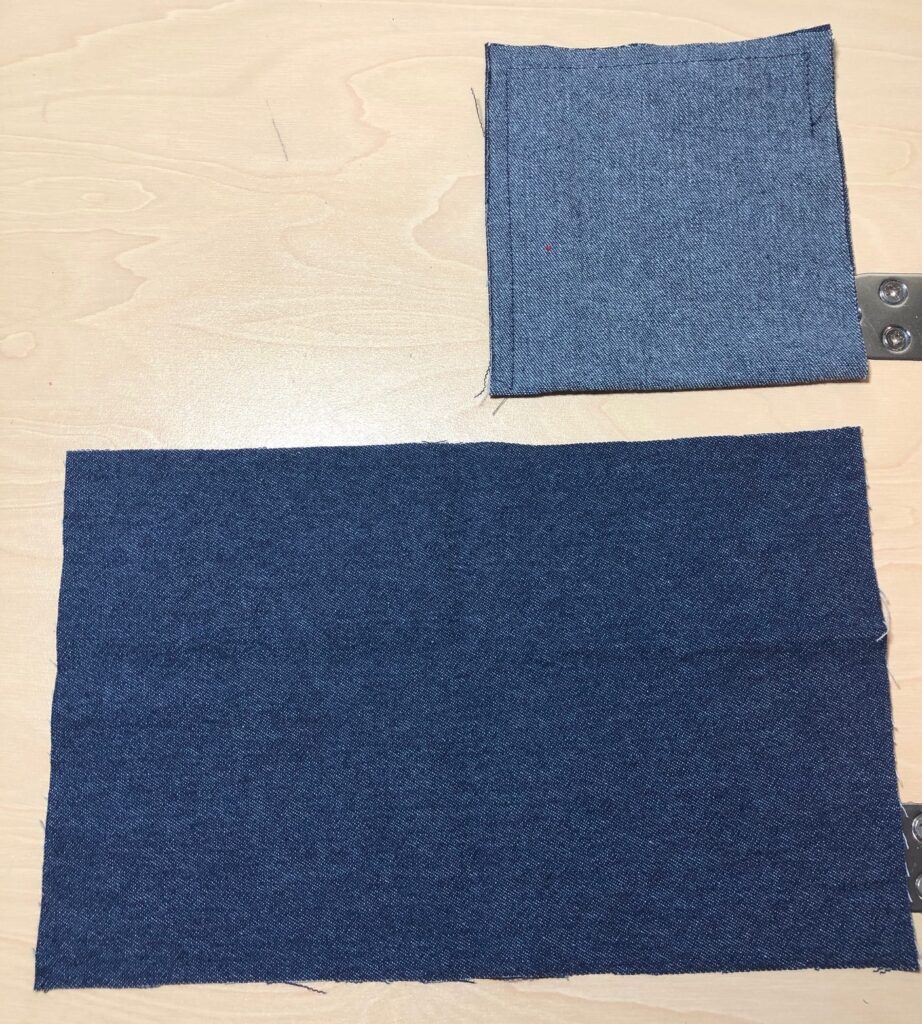
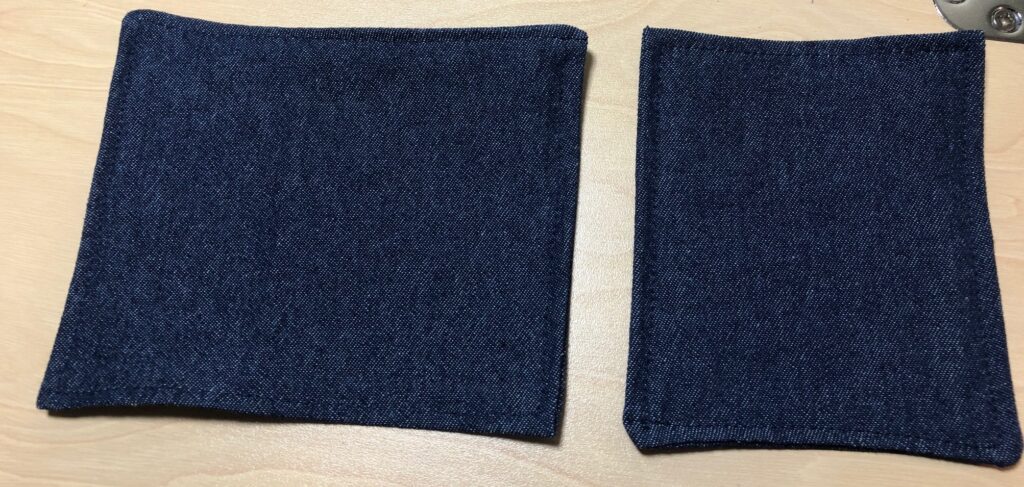
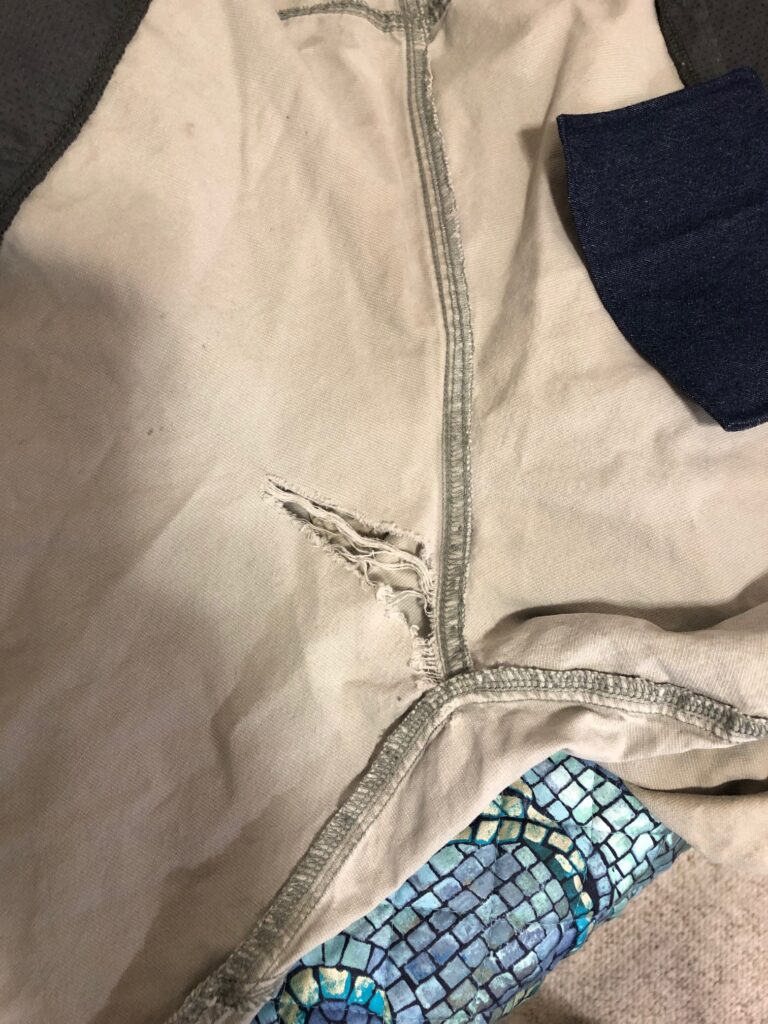
First, I prepared two patches that would cover the holes. I cut two pieces of lightweight denim, folded them in half (right sides together) and stitched around the open sides, leaving about 3 inches to turn them right side out.
I turned them right side out and top stitched around both patches. Now the edges of the patches are finished and will not unravel when washed.
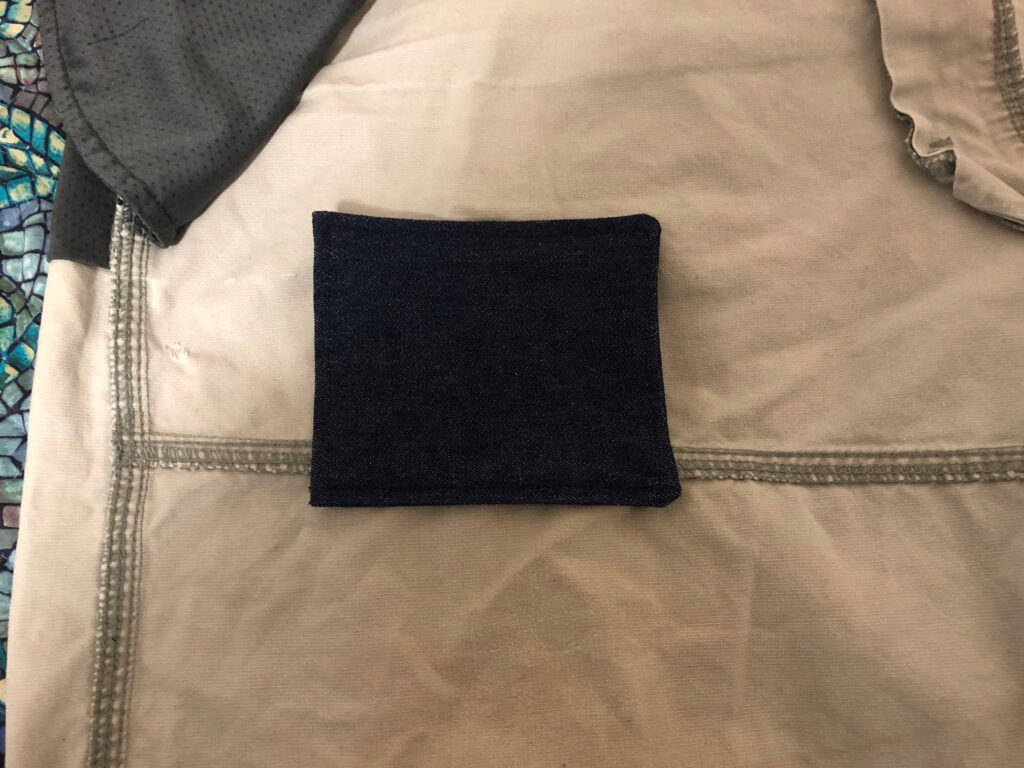
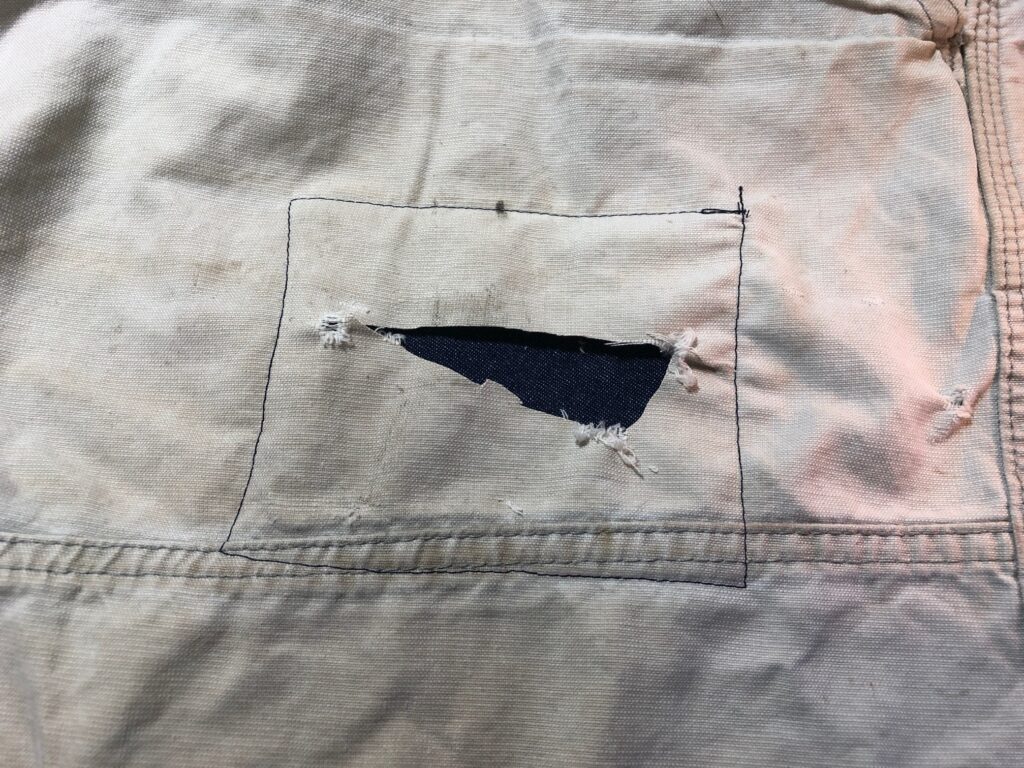
Starting with the smaller patch, I turned the shorts inside out and placed the patch over the rip, making sure it was covered by the patch.
From the outside, you can see the patch through the hole. I trimmed the ragged edges around the rip so they wouldn’t bunch up under the outer patch.
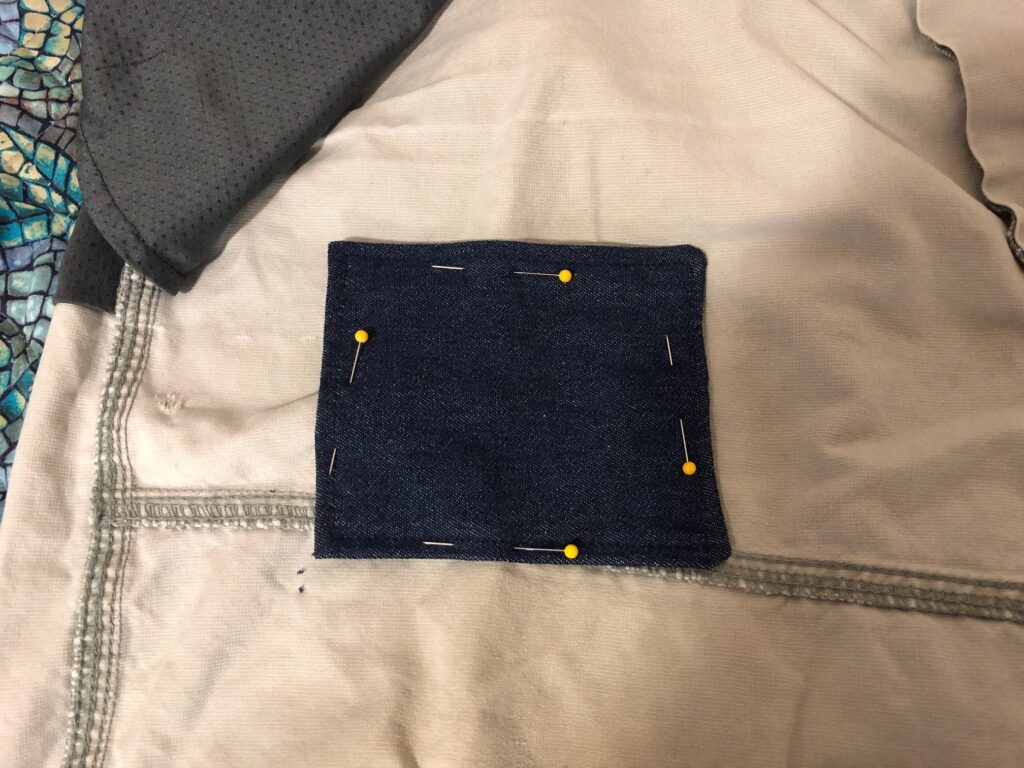
Then I stitched around the hole.
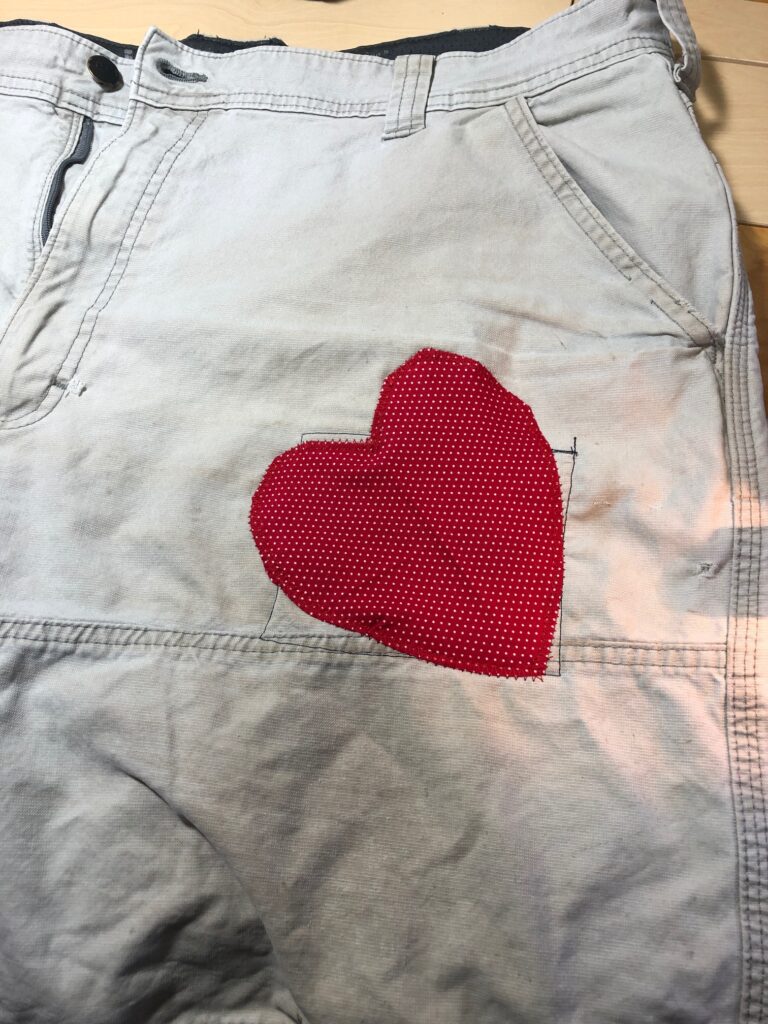
Now it’s ready for the outside patch. I could have just put another plain patch to match the shorts. However, where’s the fun in that! How about a big red heart! I turned the edge of the heart and stitched it before putting it on the shorts.
As long as it covers the hole it’s just fine.
Do you think he’ll know I love him now?
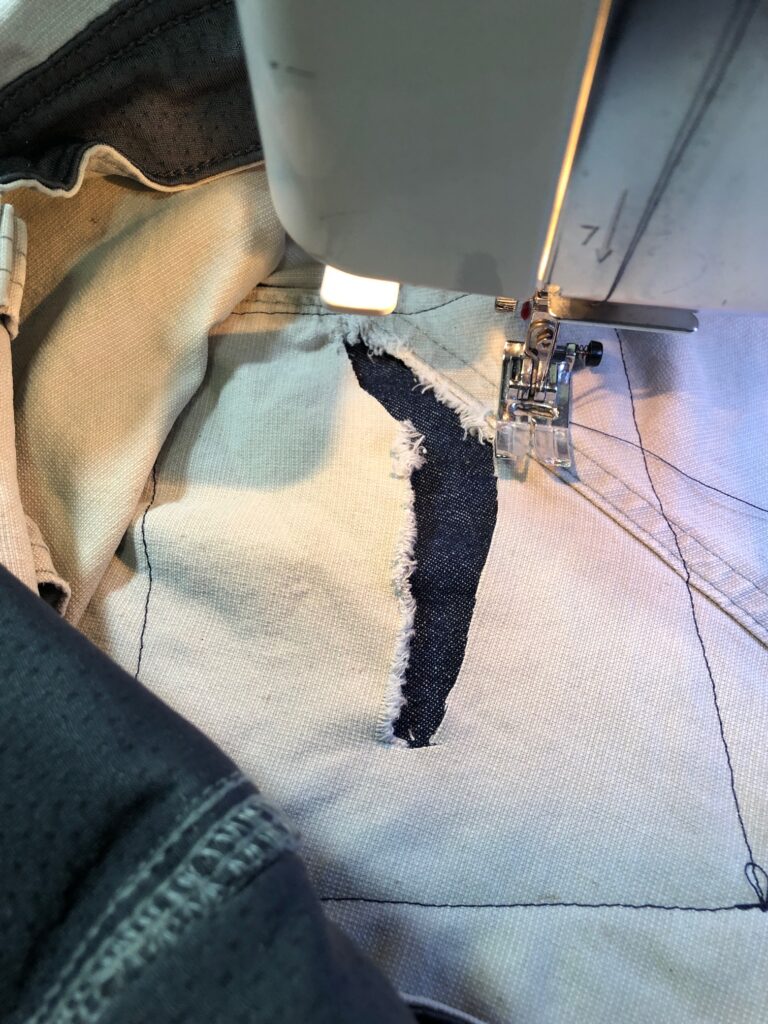
PAIR NUMBER 2
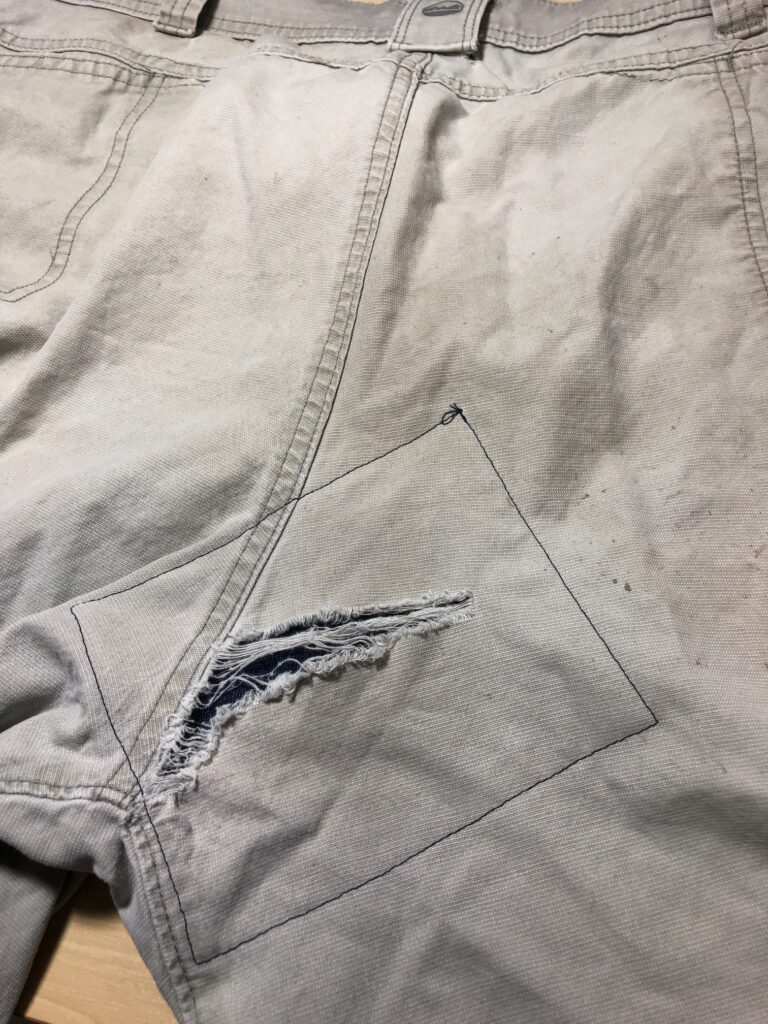
On the second pair of shorts, I follow the same procedure. It’s a little more awkward getting the patch and shorts under the sewing machine.
After sewing the patch on the inside, turn the shorts right side out and clean up the rip by trimming the shredded fabric.
Then add a top patch of your choice (in this case, another heart!). I figure maybe it will embarrass him to go get some new work shorts! HaHaHa…actually he loves them and shows them off on the job! Go figure!
If these were good shorts, I would have used thread that matched the garment and I would have chosen a matching fabric for the patch. I guess I could have just thrown them away, but where’s the challenge in that!
So, that was my mending challenge of the week! Hopefully everyone will be entertained on the job!