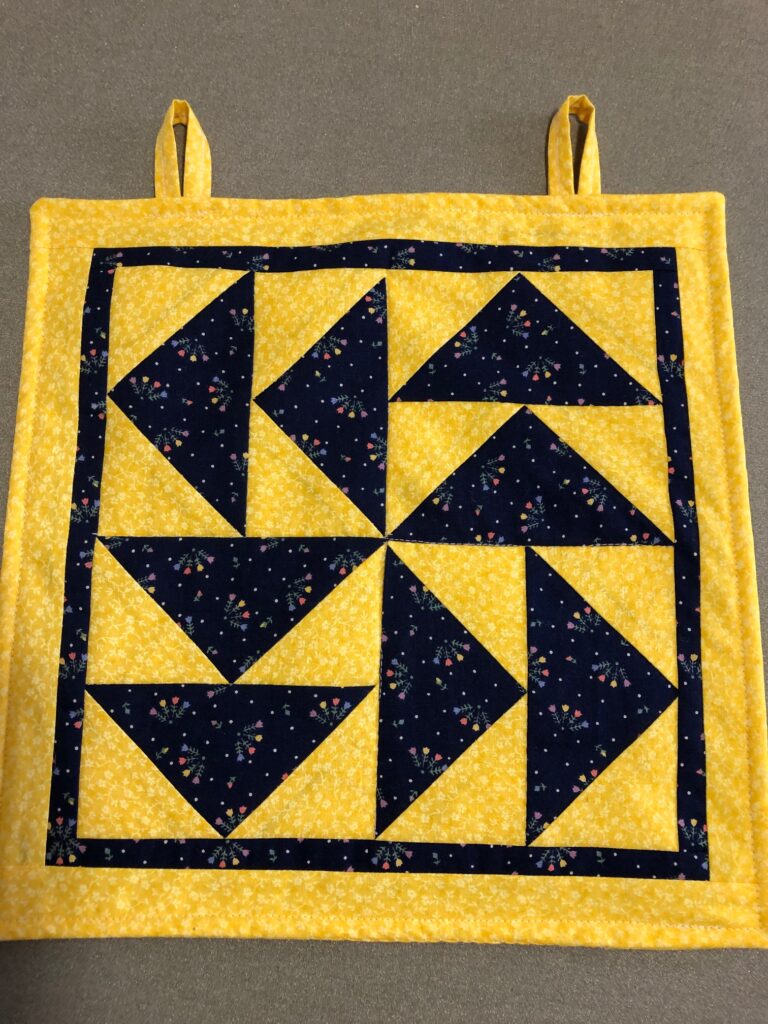
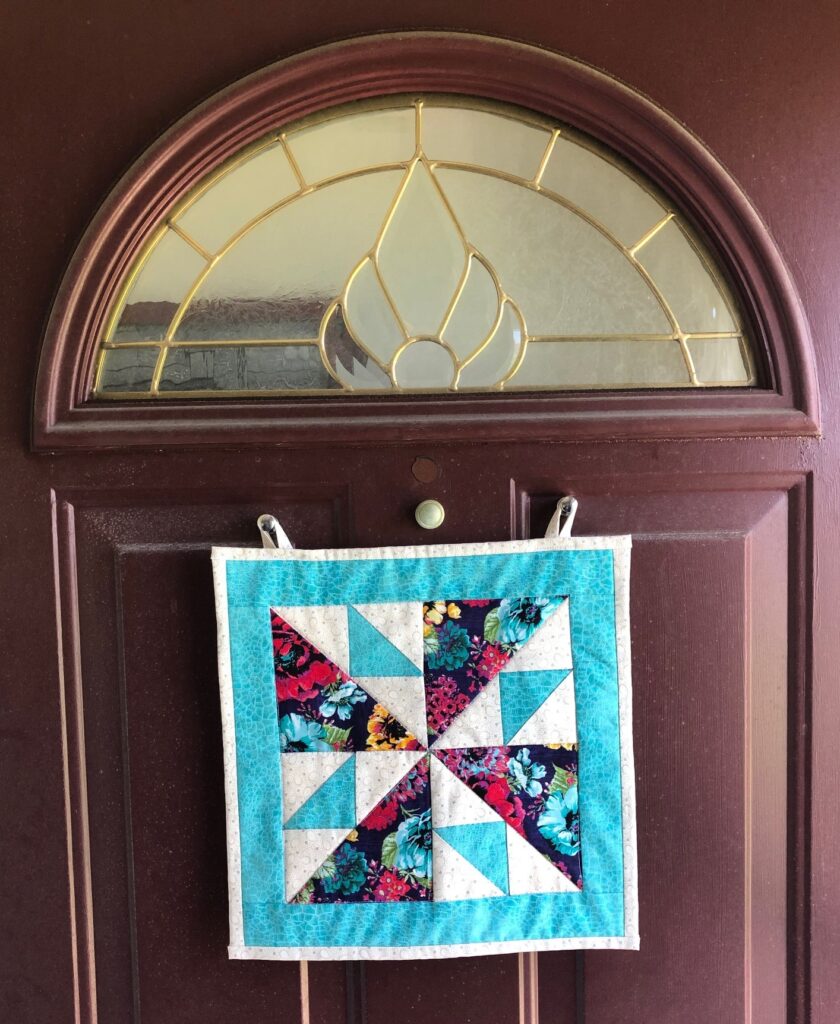
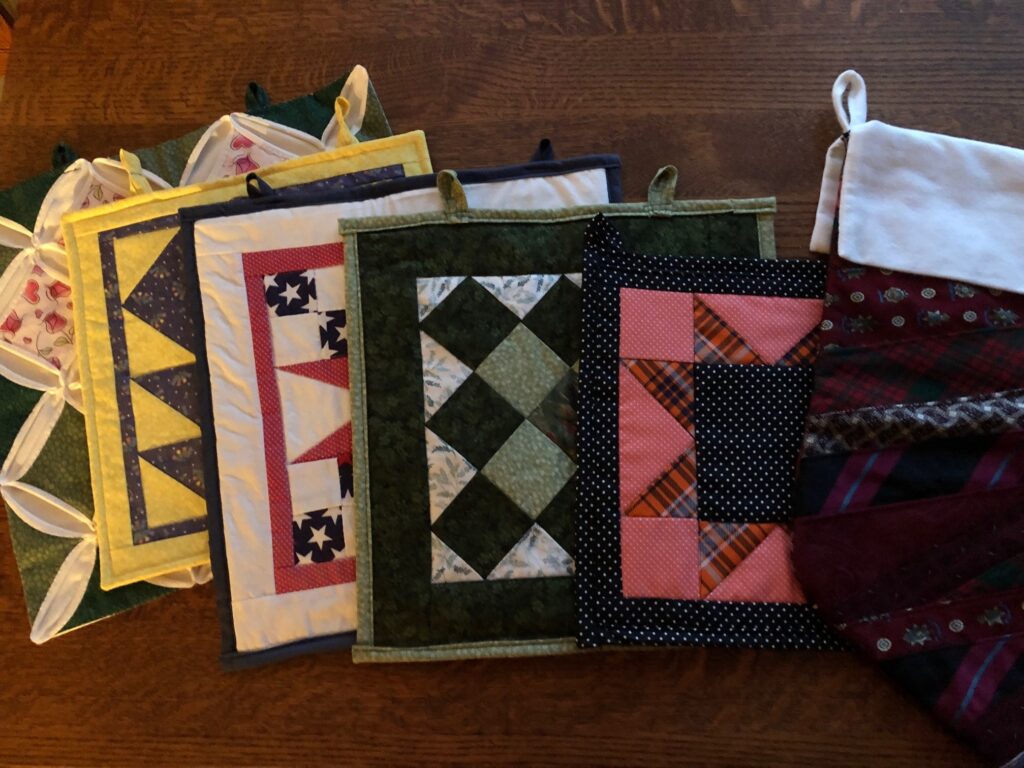
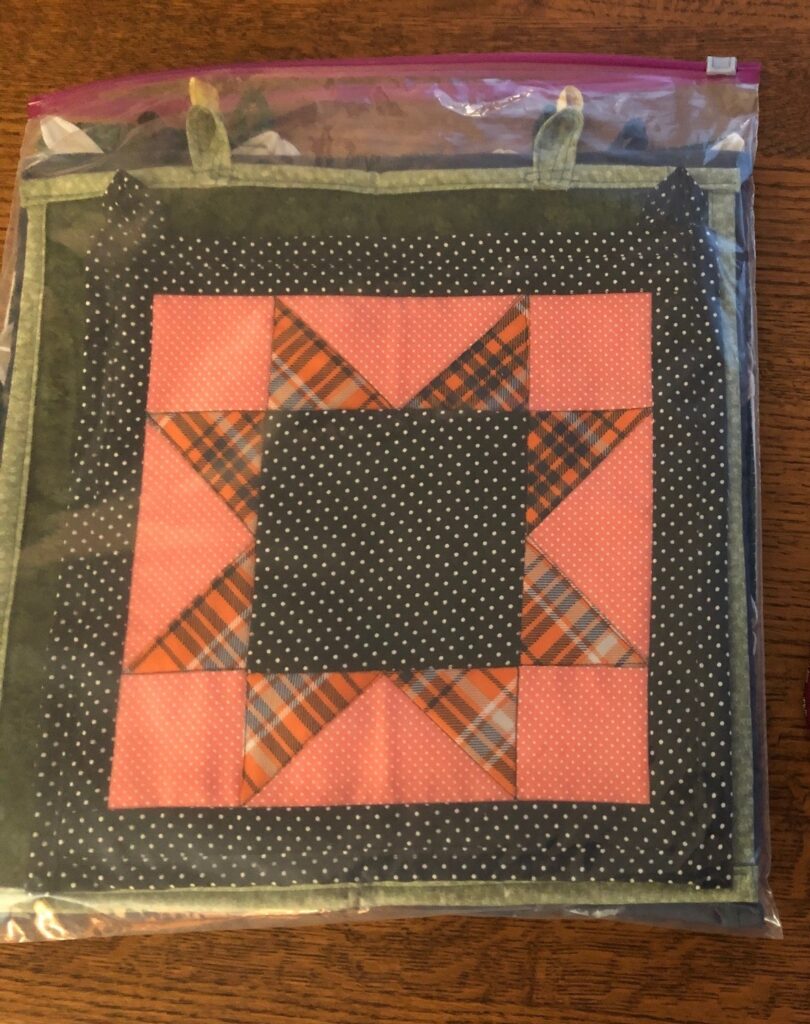
I finally finished my first attempt to make a door quilt on a piece of 12″ x 12″ plywood. I was determined to make this painting on wood that hopefully would maintain it’s bright colors. Fabric quilt blocks were my original solution to needing a door decoration that would fit in the flatter space between the front door and the screen door. Last year I managed to make six quilt blocks that solved the problem, but when I started pulling them out this year the colors had faded and looked pretty sad. (See https://marykisner.com/prepping-for-new-door-quilts/).
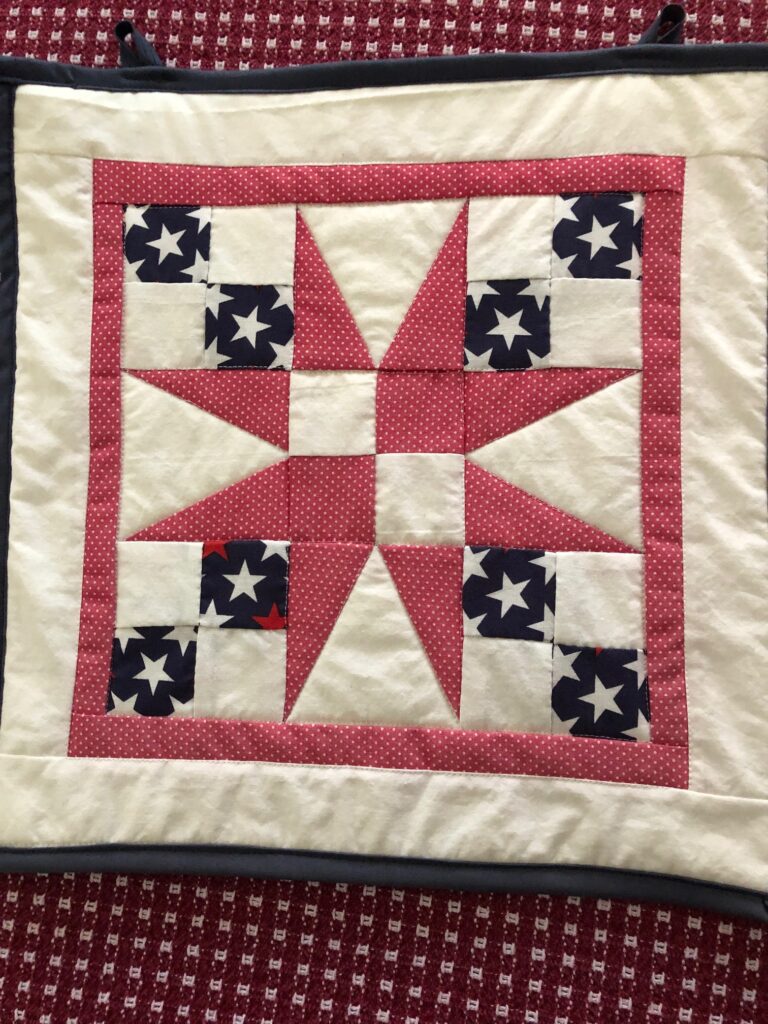
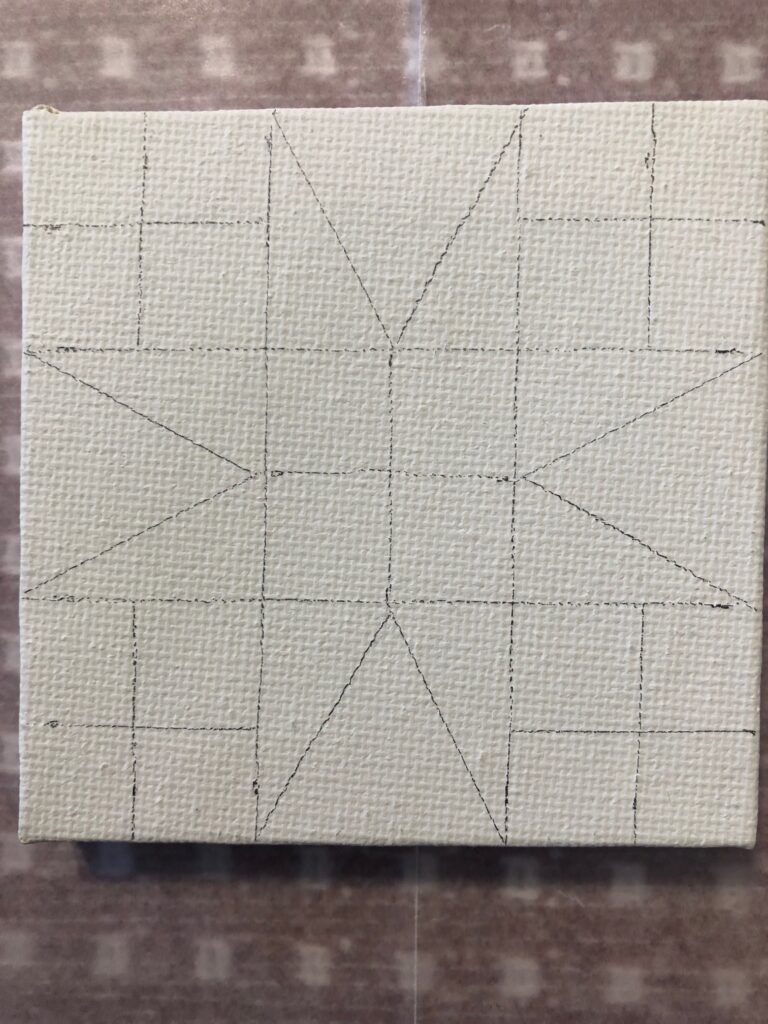
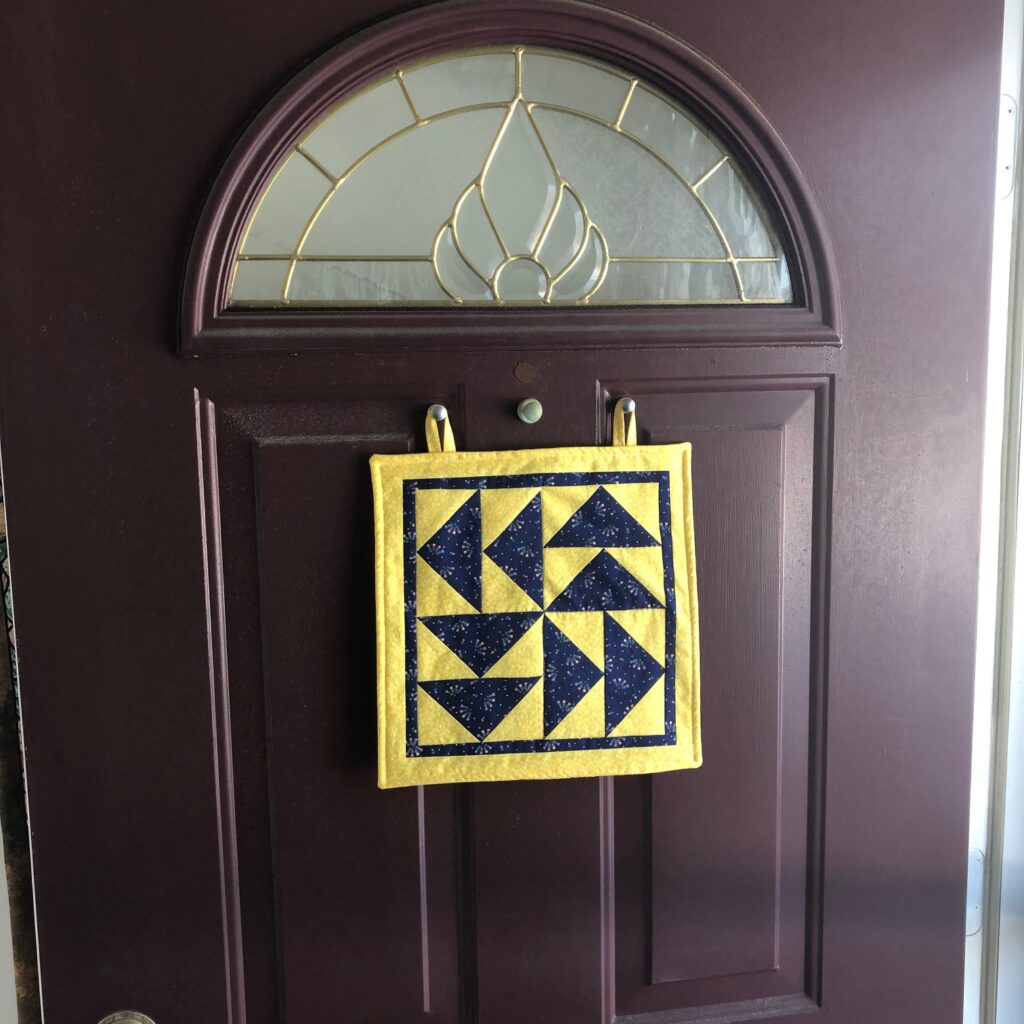
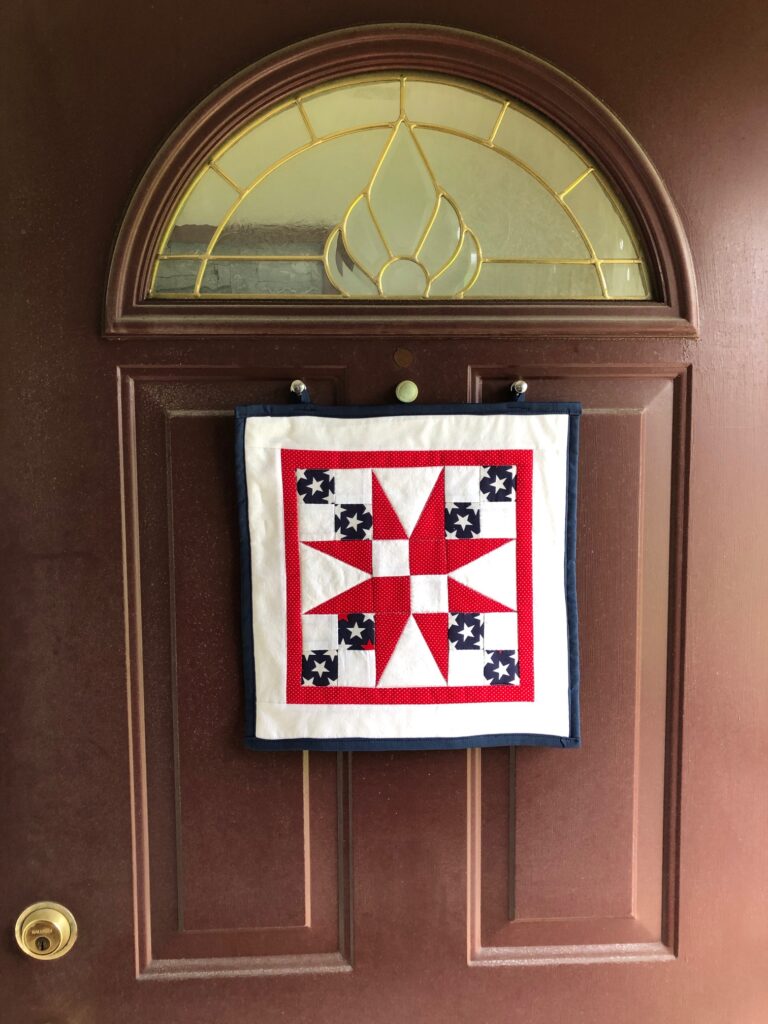
So, I had Bert cut two pieces of 12″ x 12″ plywood for me to play with (just in case it didn’t work, no point in having a bunch cut out!). First, I wanted to replace the fabric patriotic quilt block that was on the door right now:
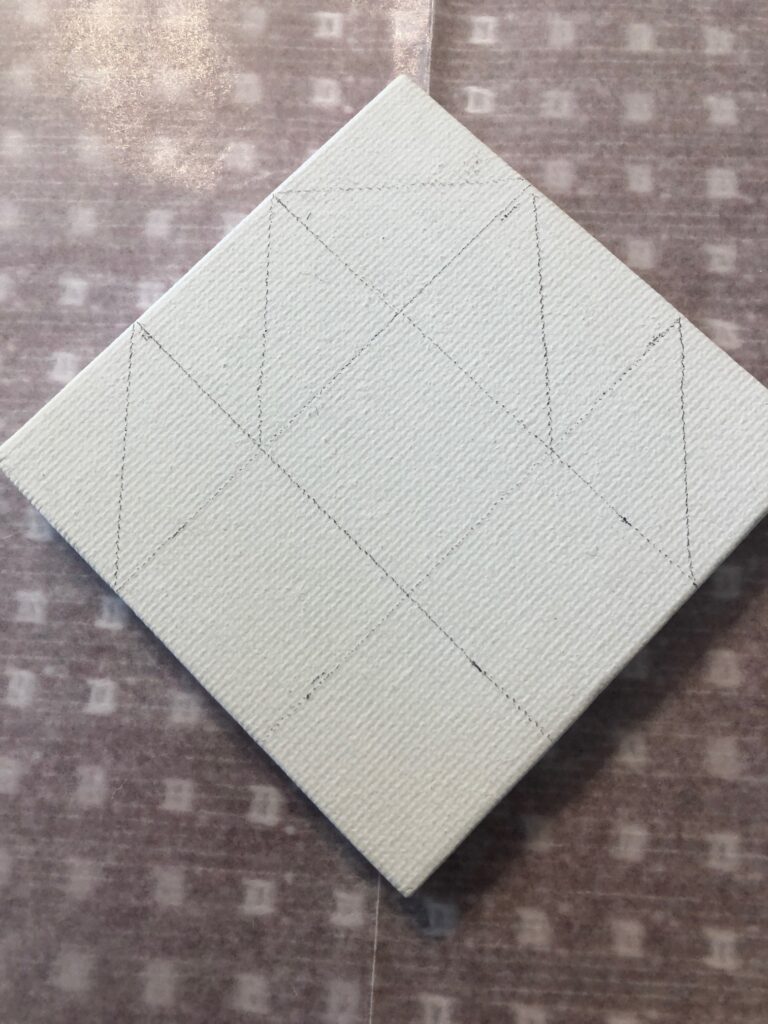
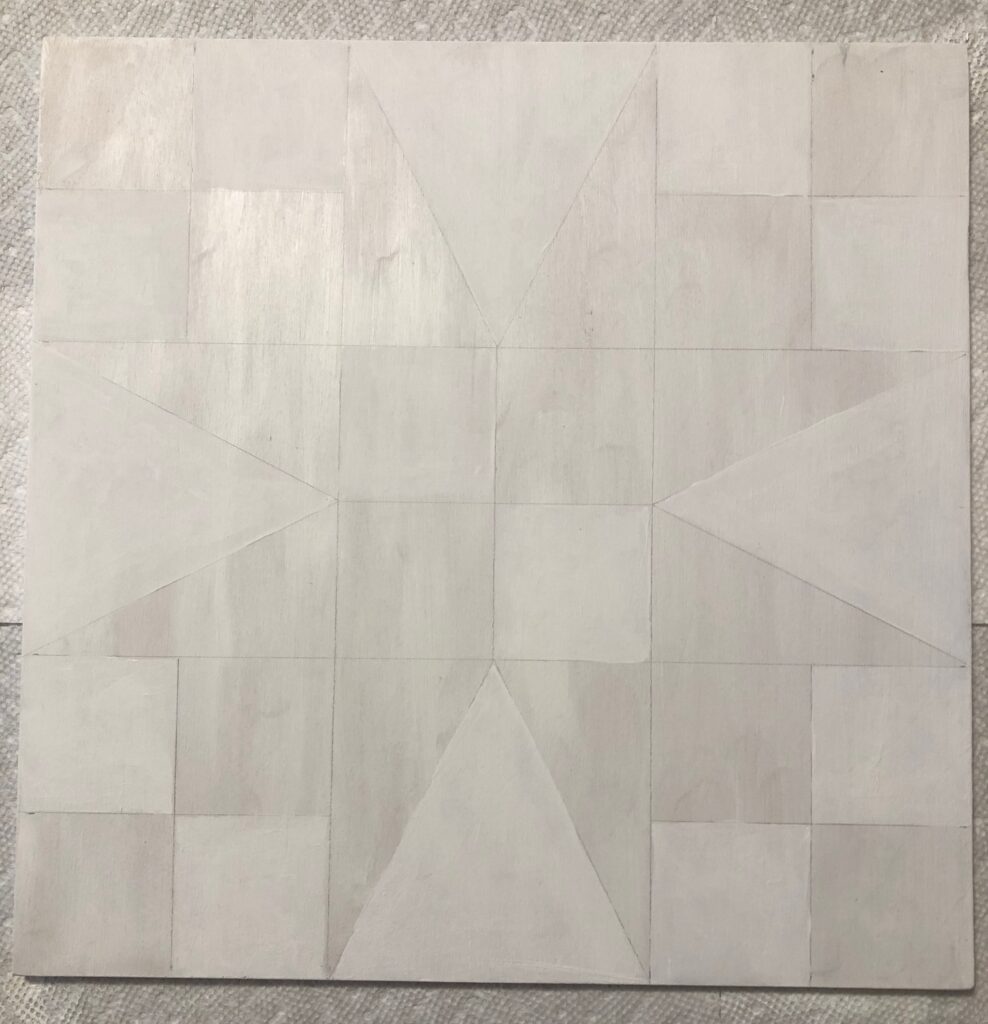
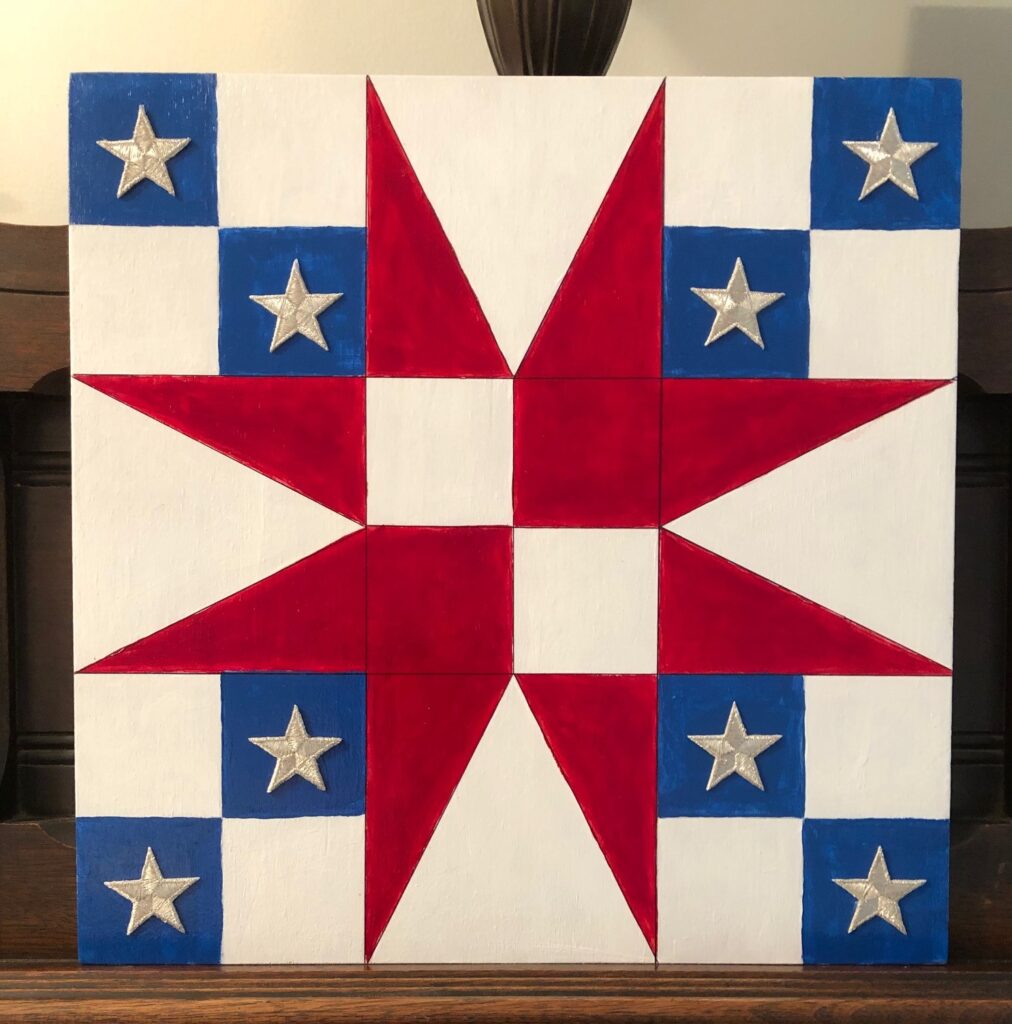
I first painted the block, both sides, with a base coat of white. When dry I sketched out the pattern and put a second coat of white paint on the corresponding white sections:
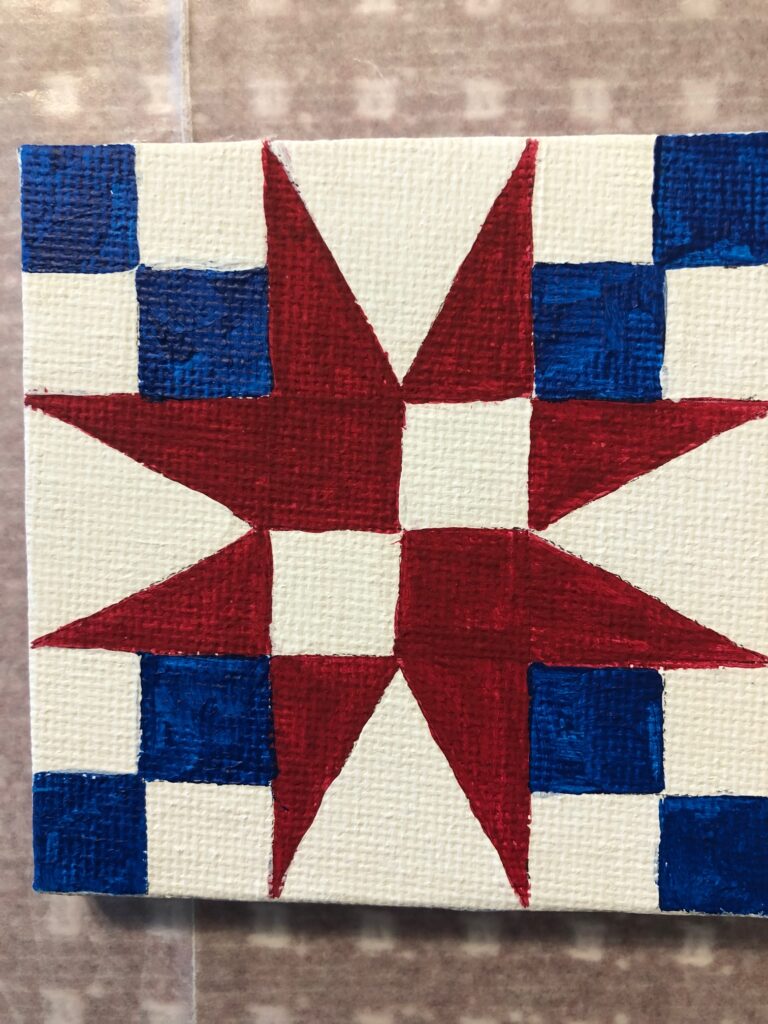
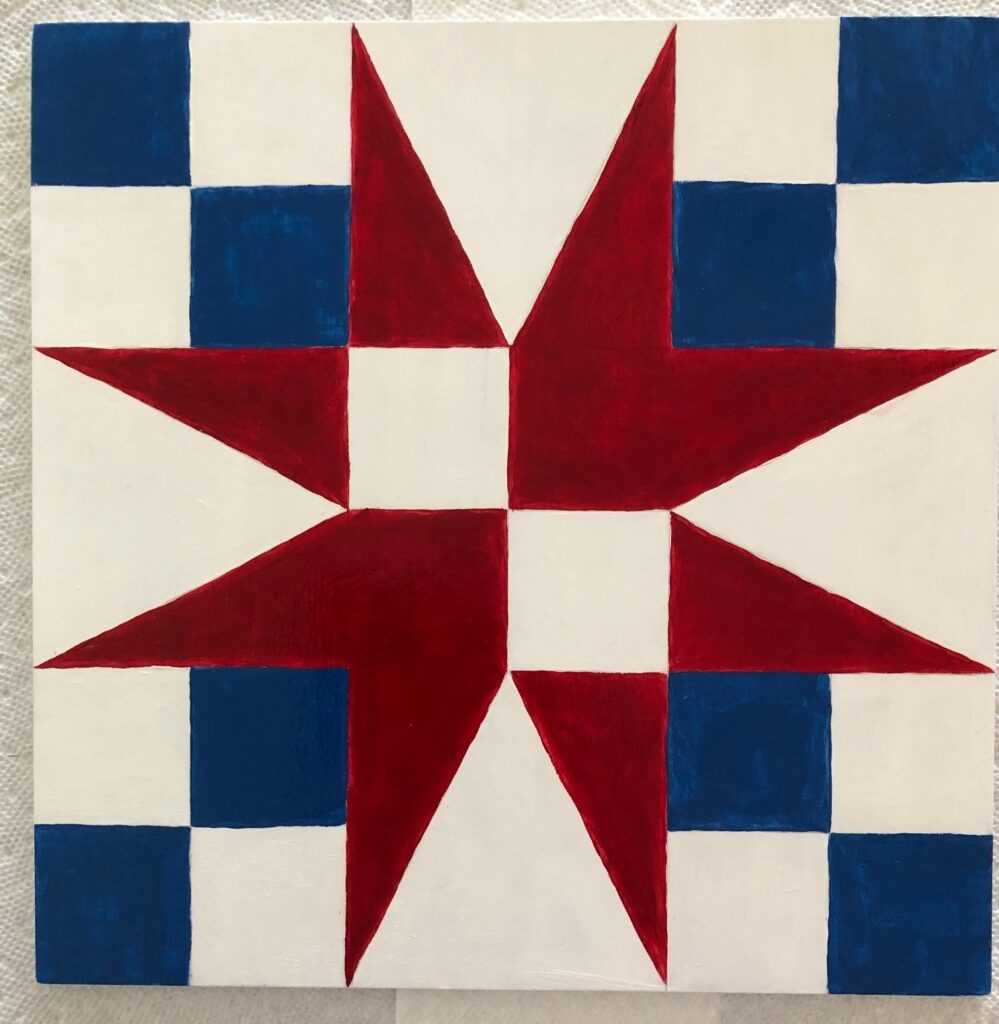
Then I started with the red paint and filled in those sections. It took a second coat to get the solid color.

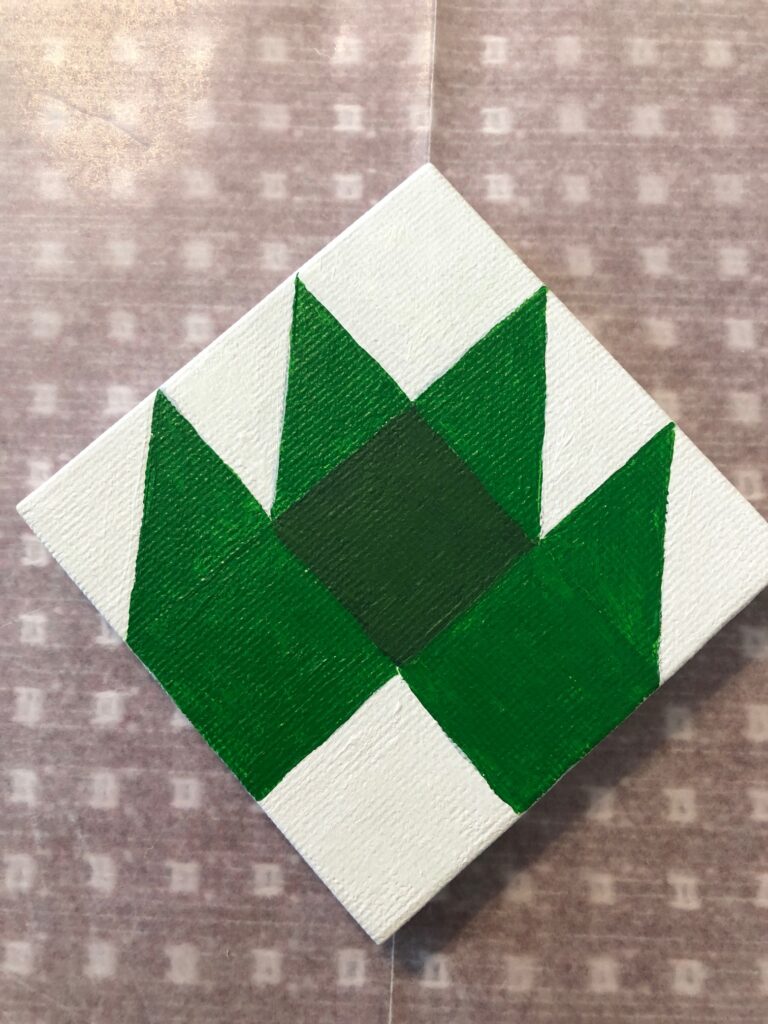
Then I filled in the blue sections:
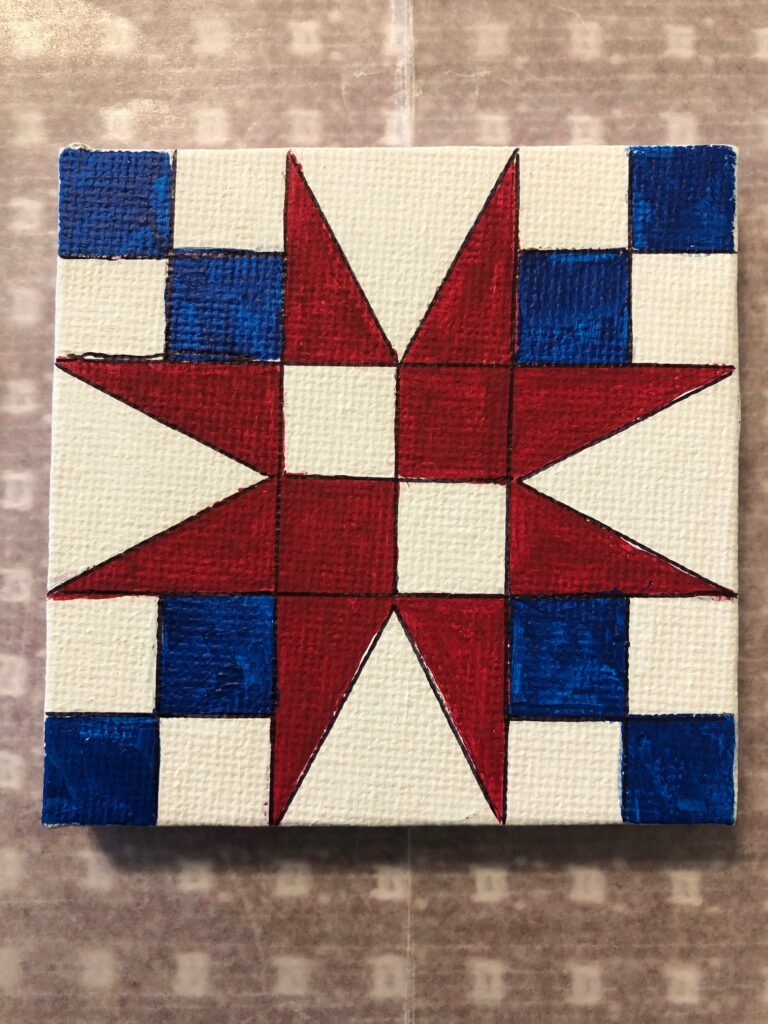
Now the dilemma…the original pattern had white stars on the blue squares. I did that with some fabric that had stars in the pattern and managed to get at least one white star centered in the block. However, how to do that with paint? After seeing how unsteady I was with a tiny brush, I did a quick run to JoAnn Fabric Store and picked up some embroidered appliques of stars. Perfect!
After finishing the block with a satin finish acrylic spray, I just glued the stars to the blue squares!
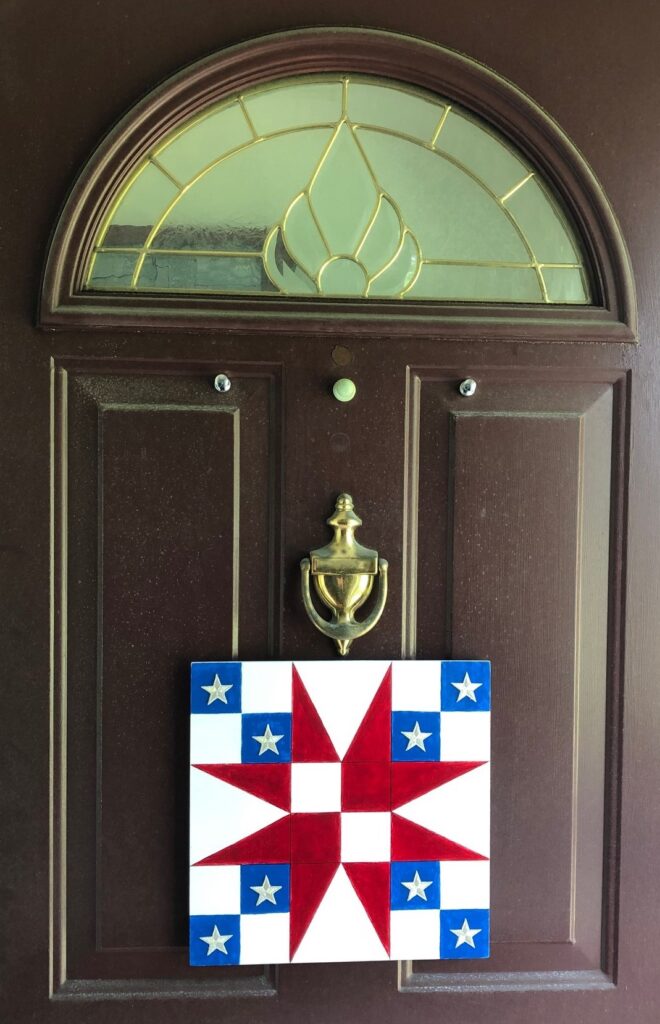
The block sat on my old organ by the front door for a week until Bert had time to figure out how to hang it on the front door. It couldn’t be hung the way the fabric blocks were because we have a door knocker right in the middle. The fabric blocks just draped over that with no problem.
Bert finally had to put magnets on the back (the door is metal under the paint!).

Now the block has to sit below the door knocker.
Oh well…now to see if the paint fades over time. This block should be appropriate through the 4th of July holiday. I’ll have to think about whether it’s worth it to make more in wood. Enjoy!
Please comment or email me directly at marykisner@comcast.net.