Follow-up with the Retro Dress and Aprons

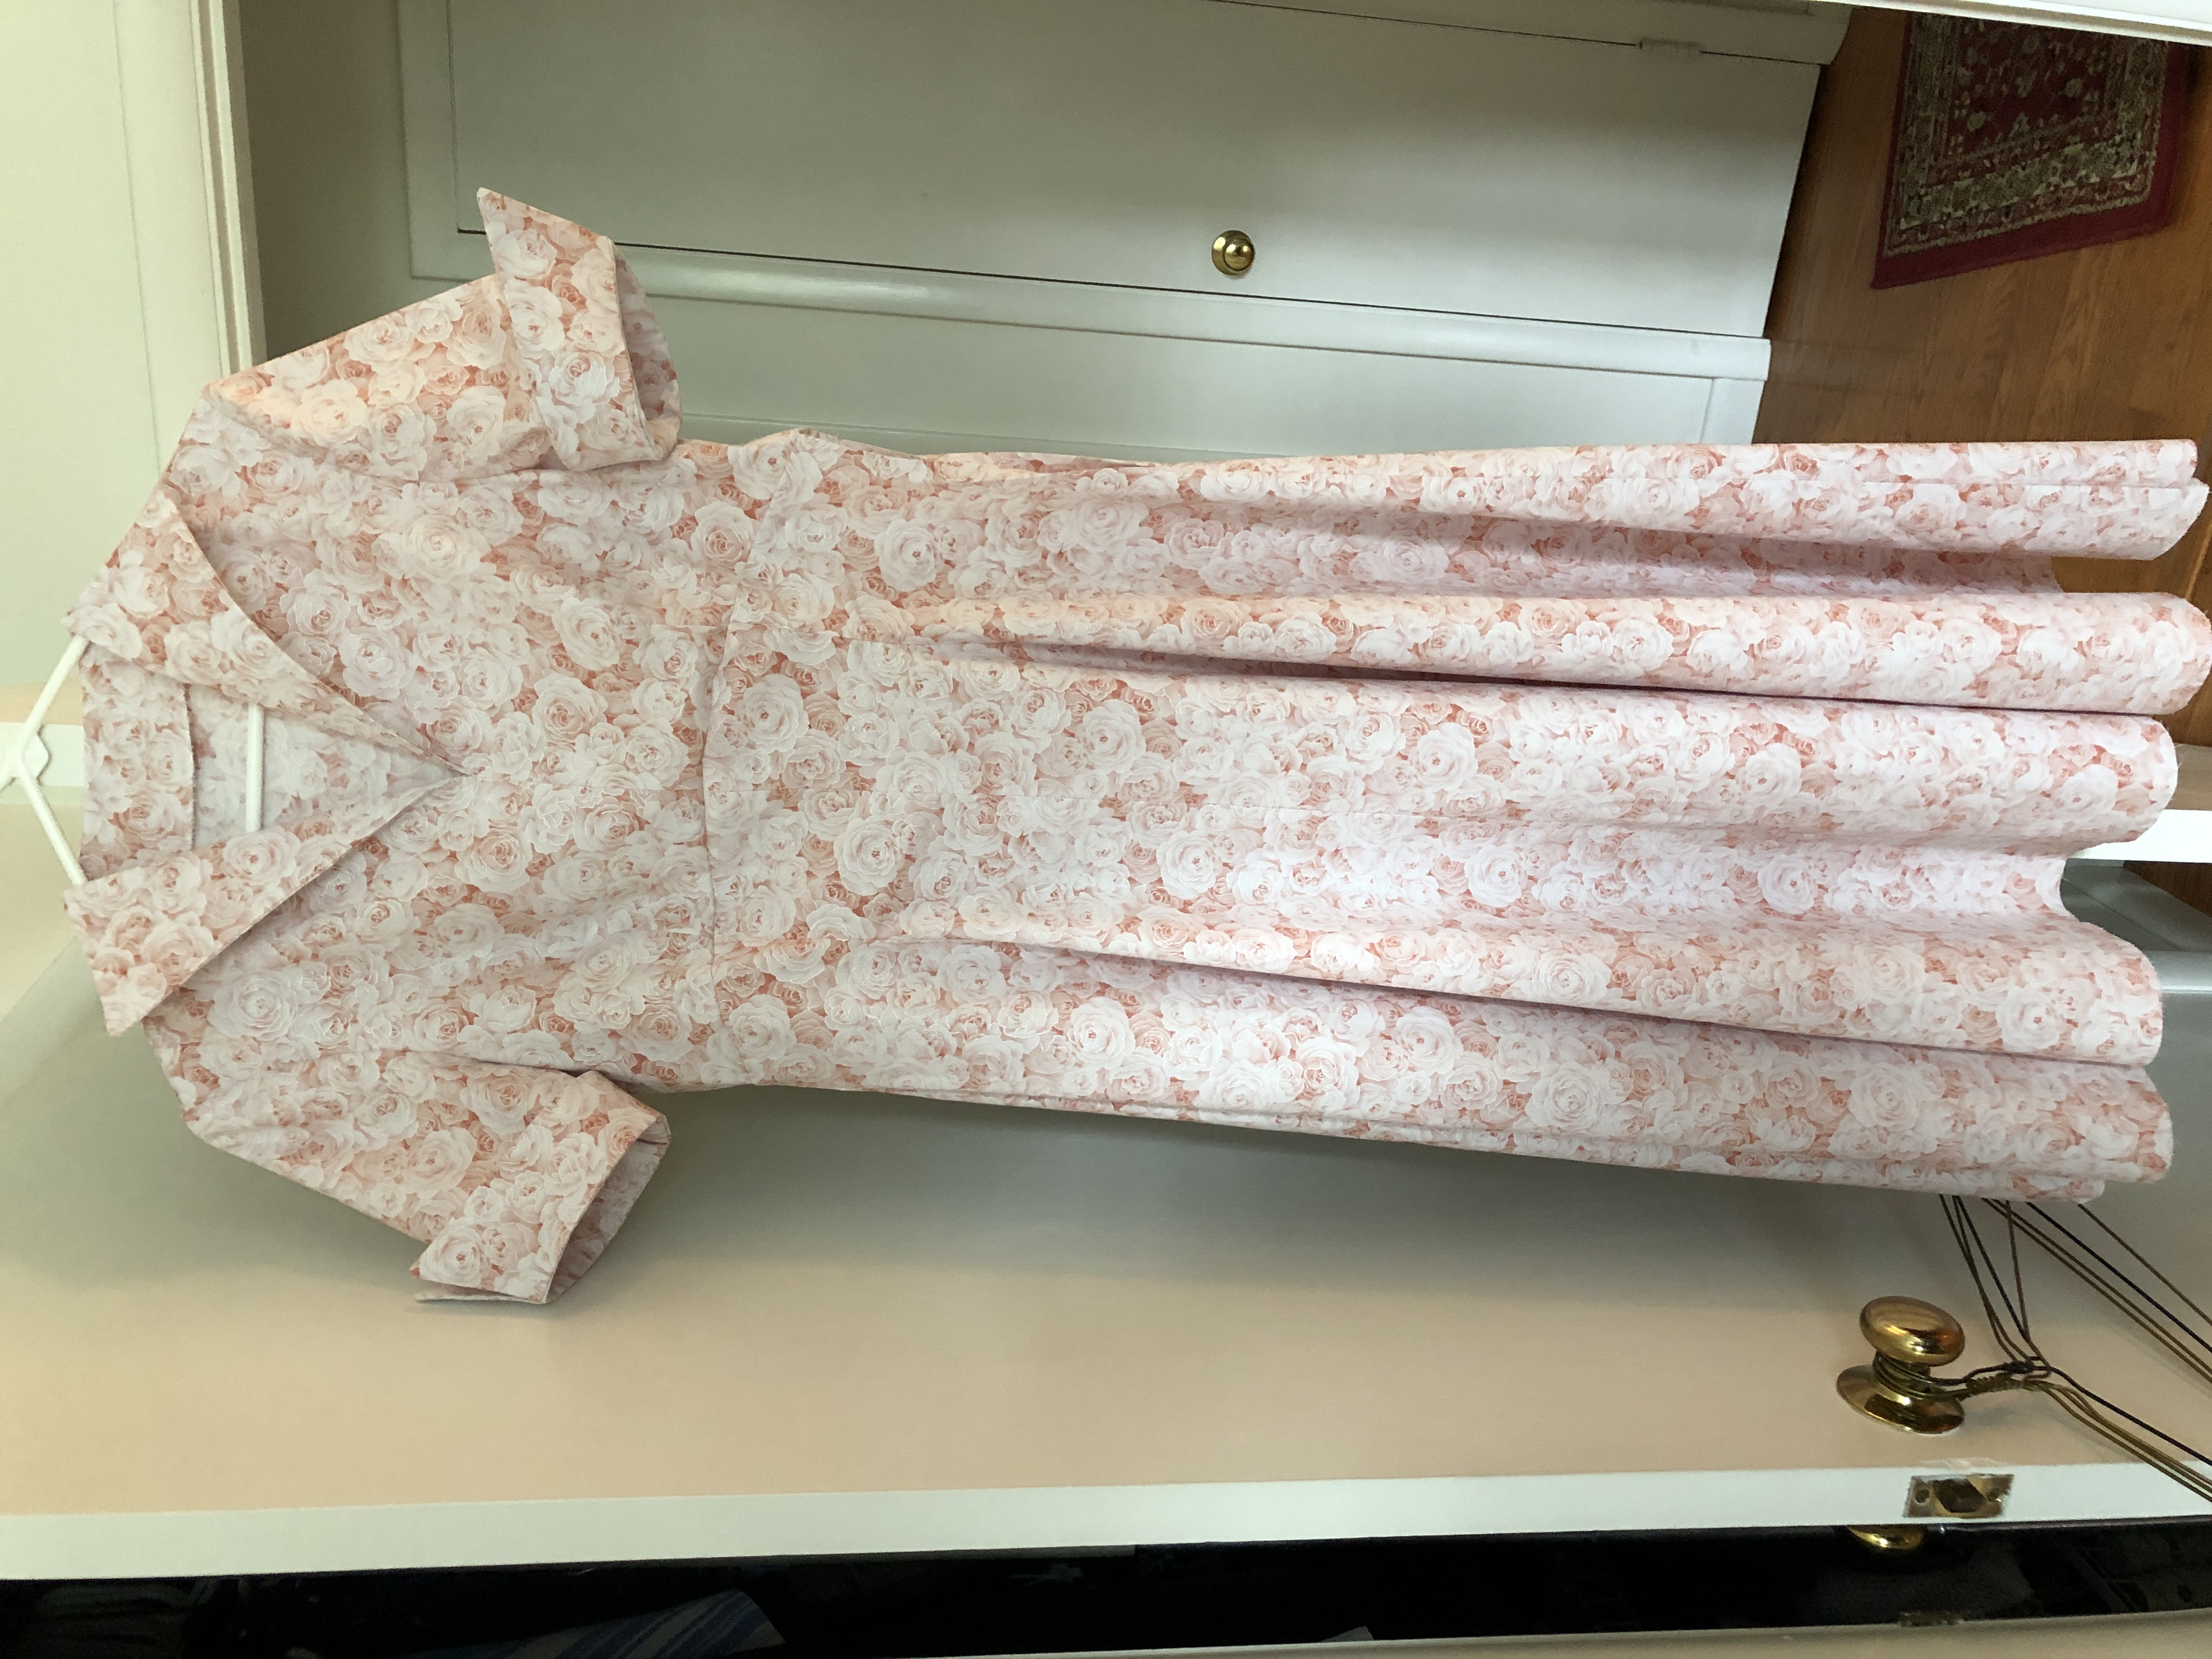
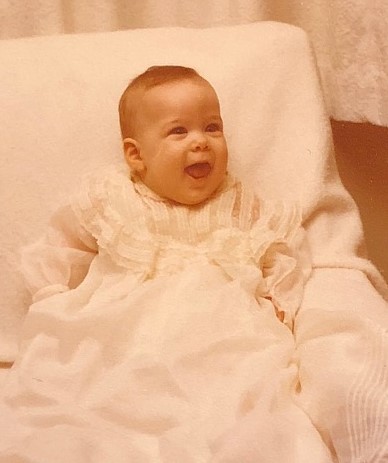
Just a quick post to show you the final pictures of the retro 1952 dress and the retro 1940s aprons. The dress was made for my oldest granddaughter (17) in California. She and her family visited this past summer and spent time in several thrift shops and the local antique store looking for “vintage” clothing. We had fun at the fabric store finding patterns for retro clothing…meaning made new but in a vintage style.

Follow-up of the Retro 1952 Dress

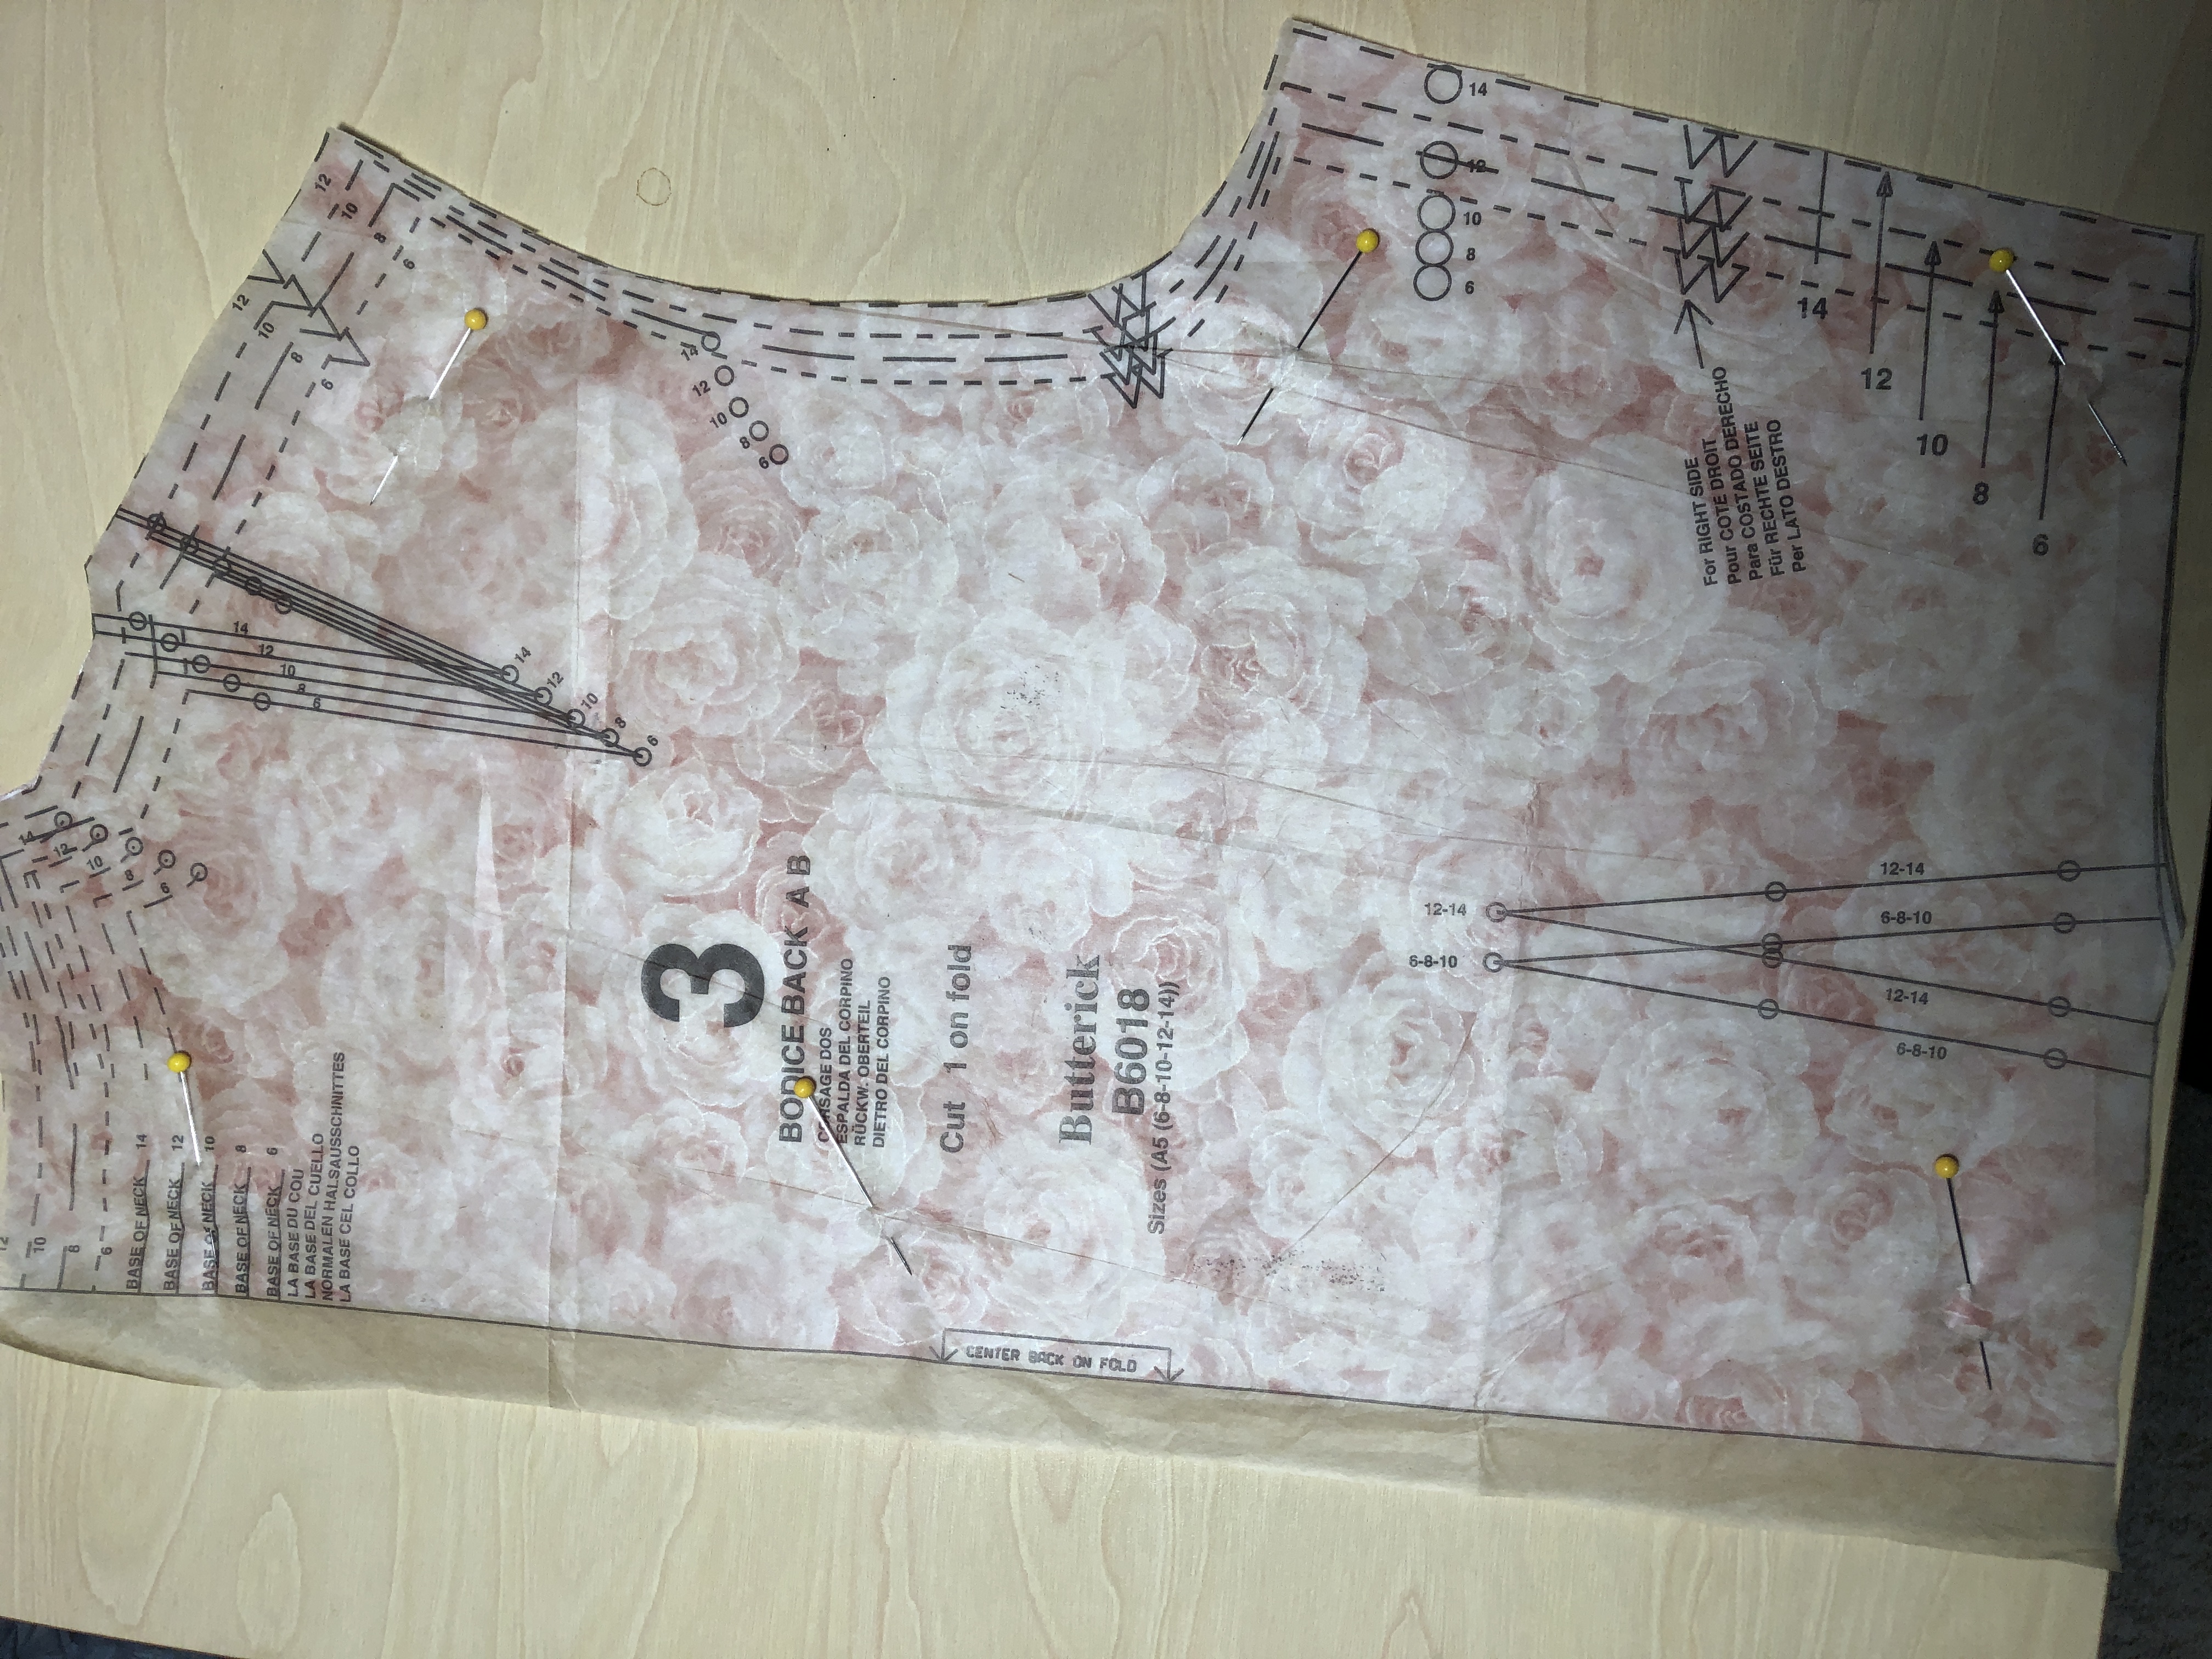
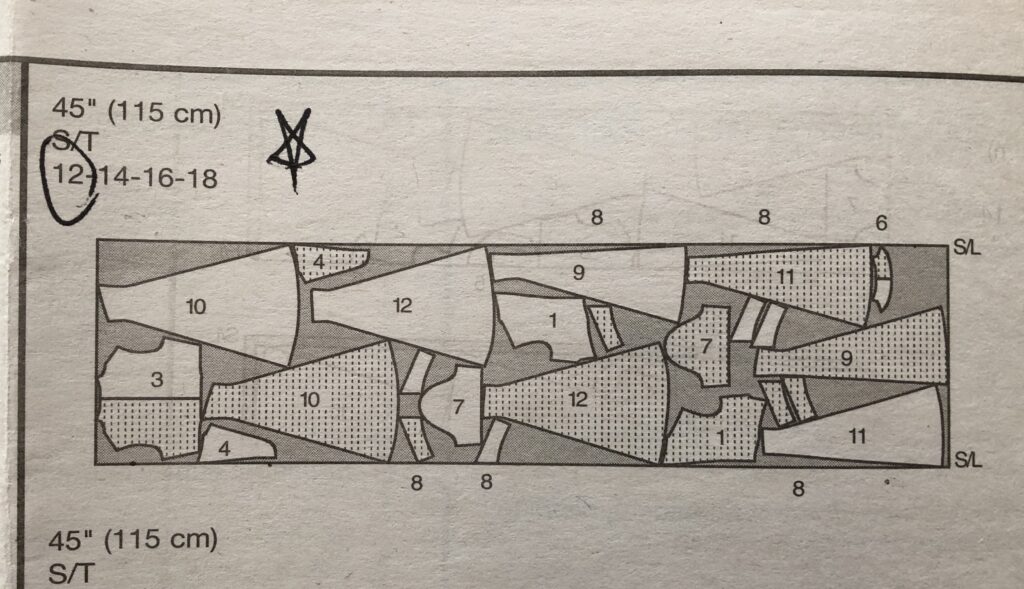
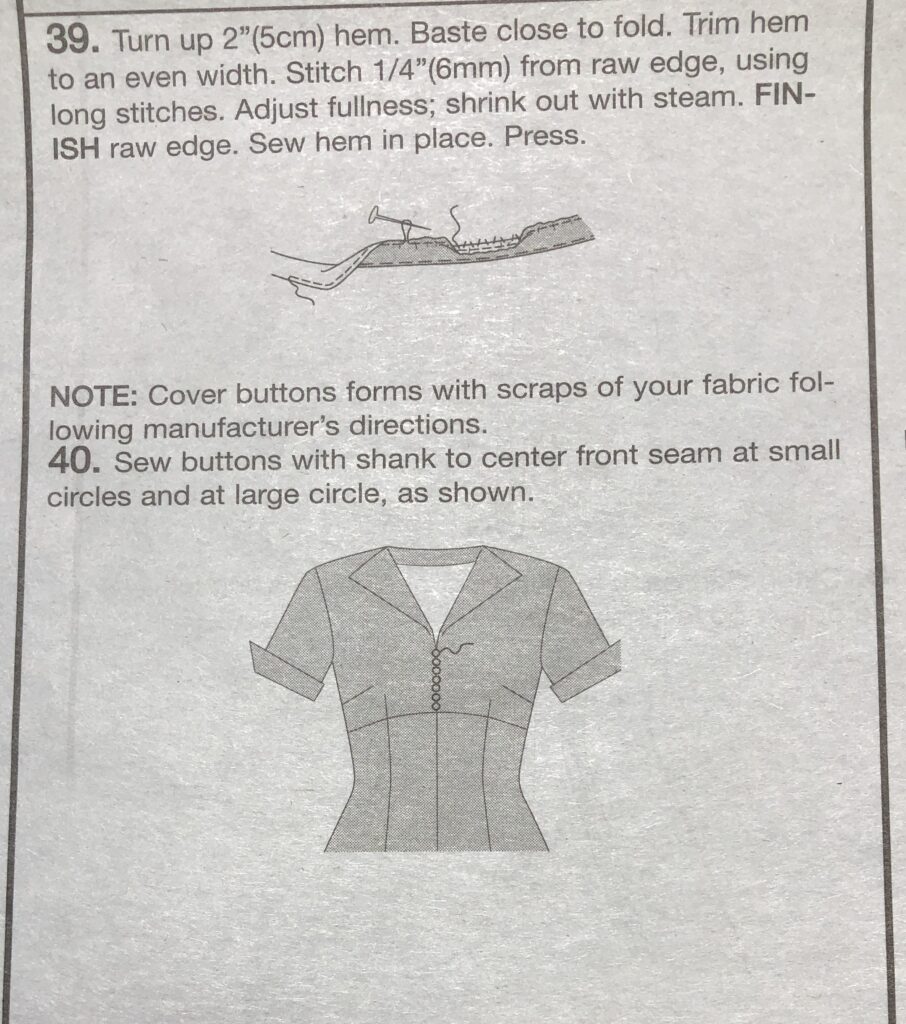
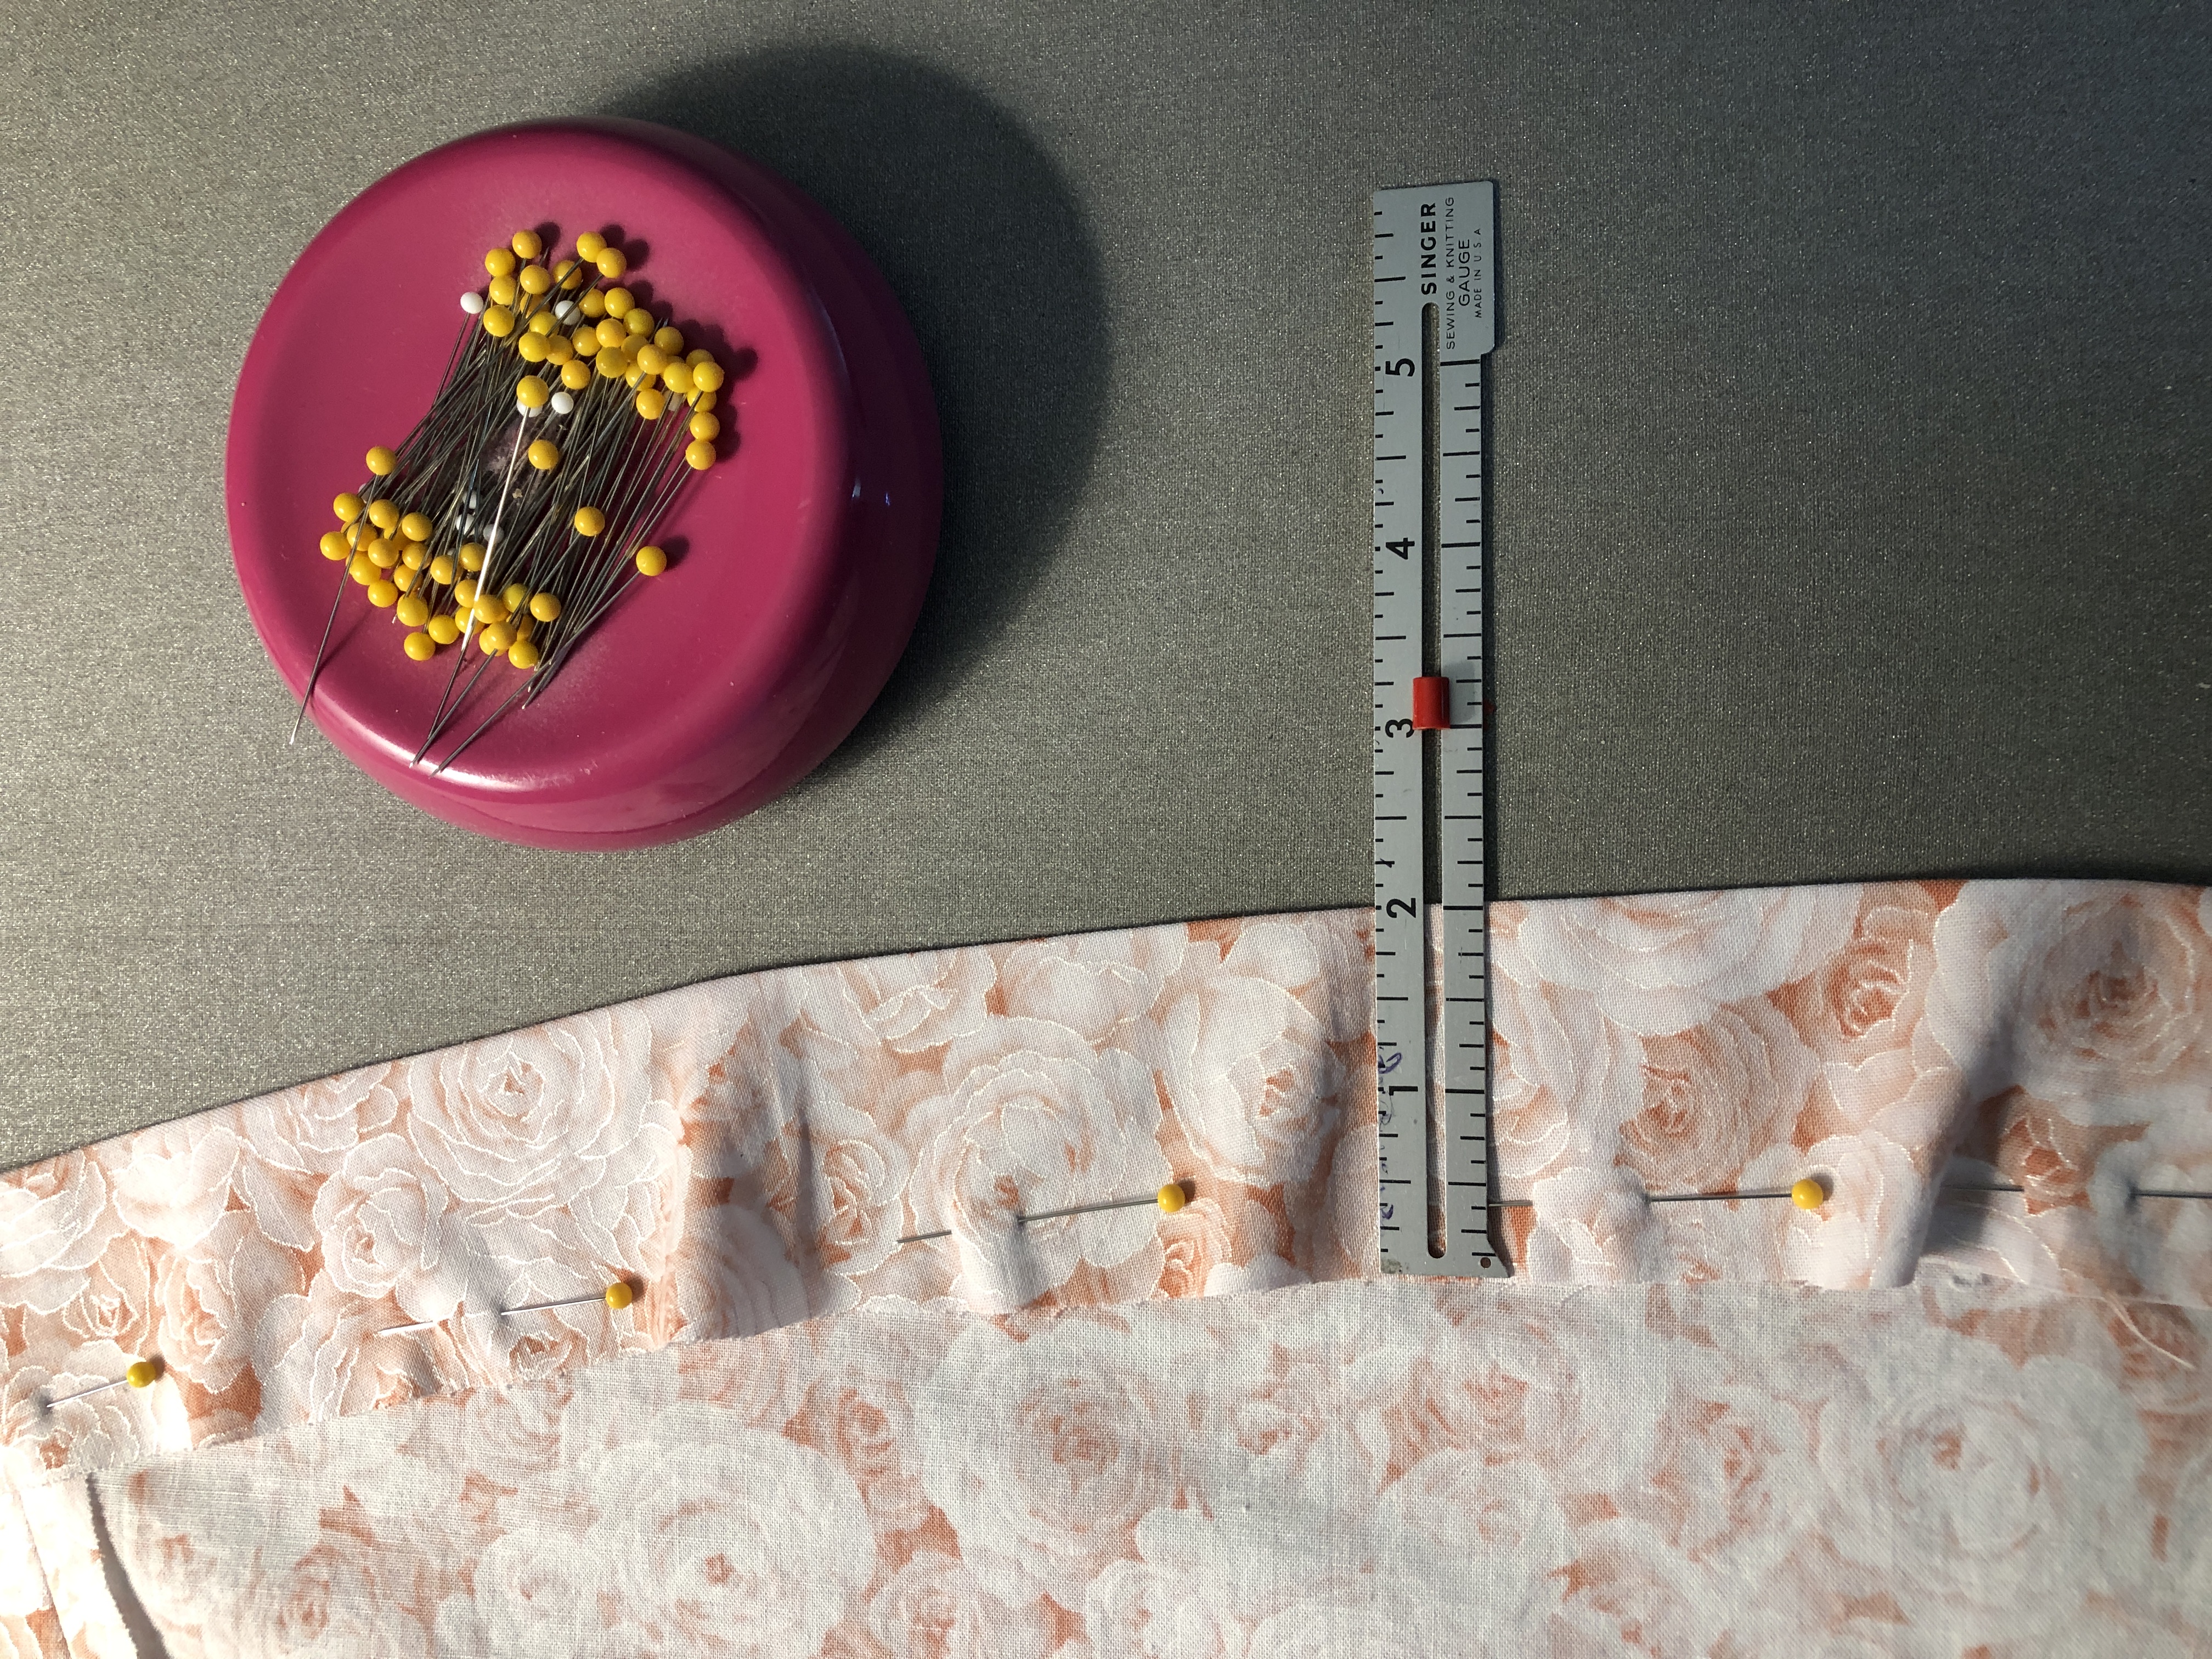
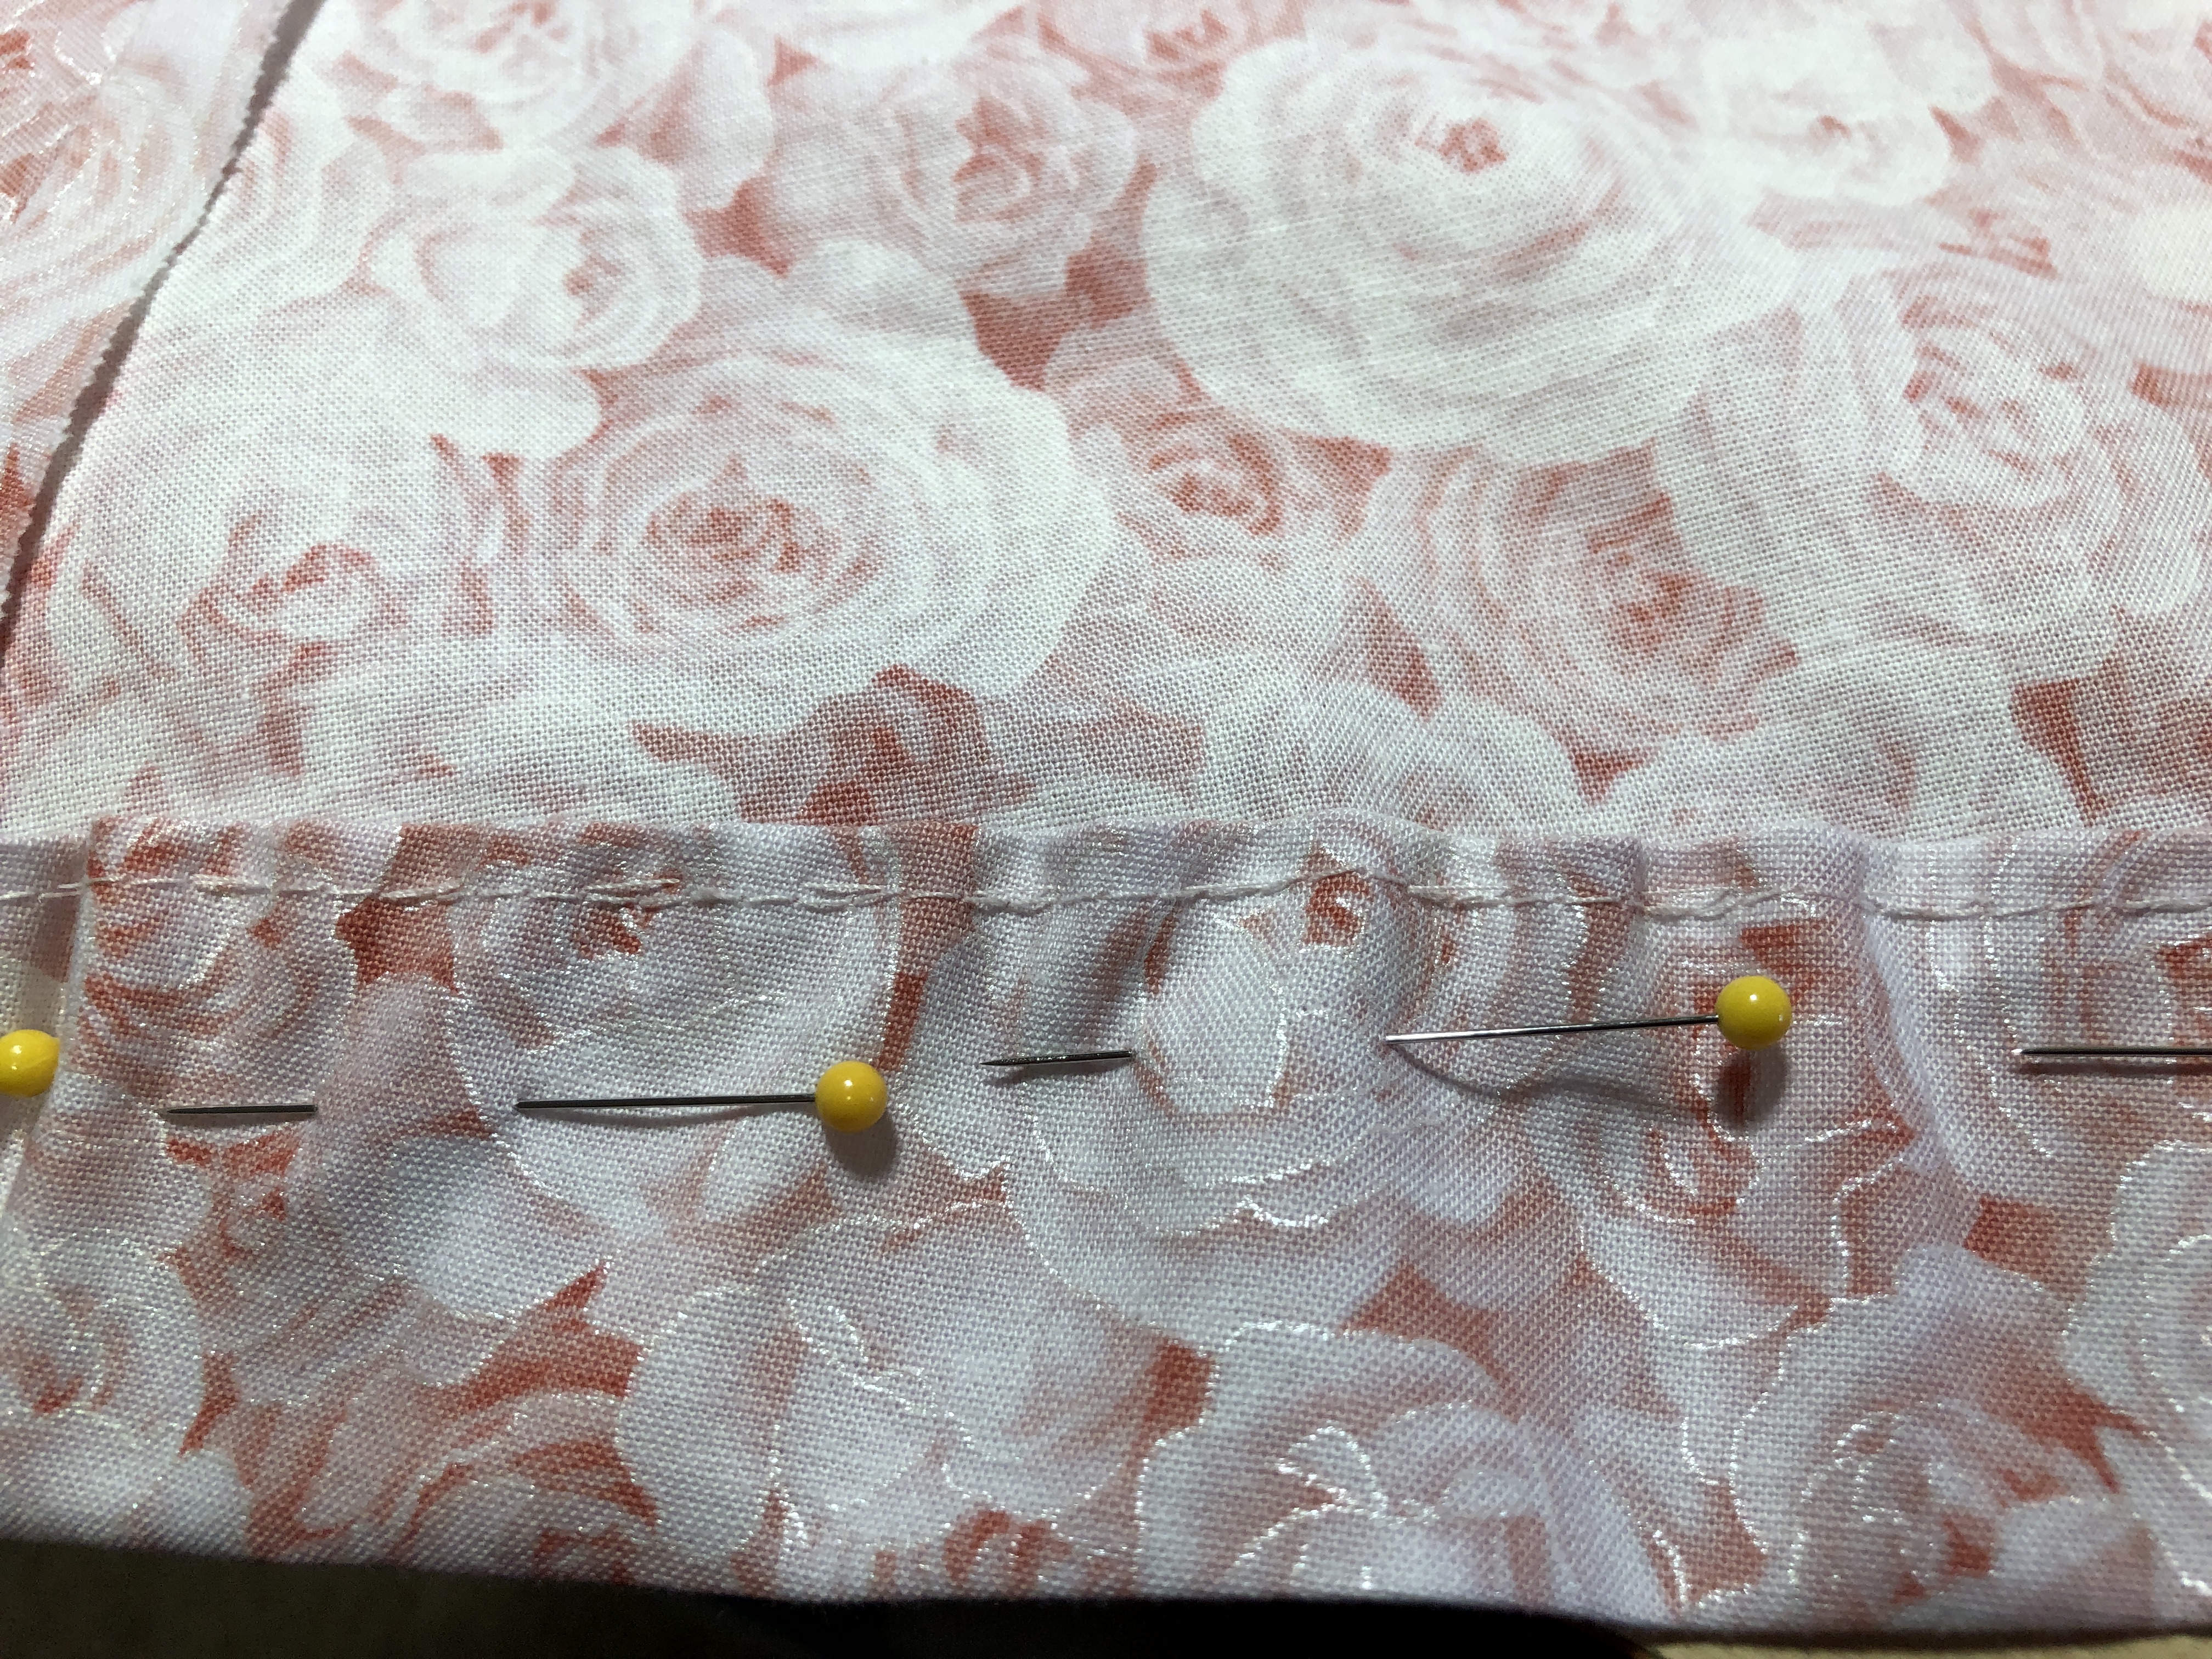
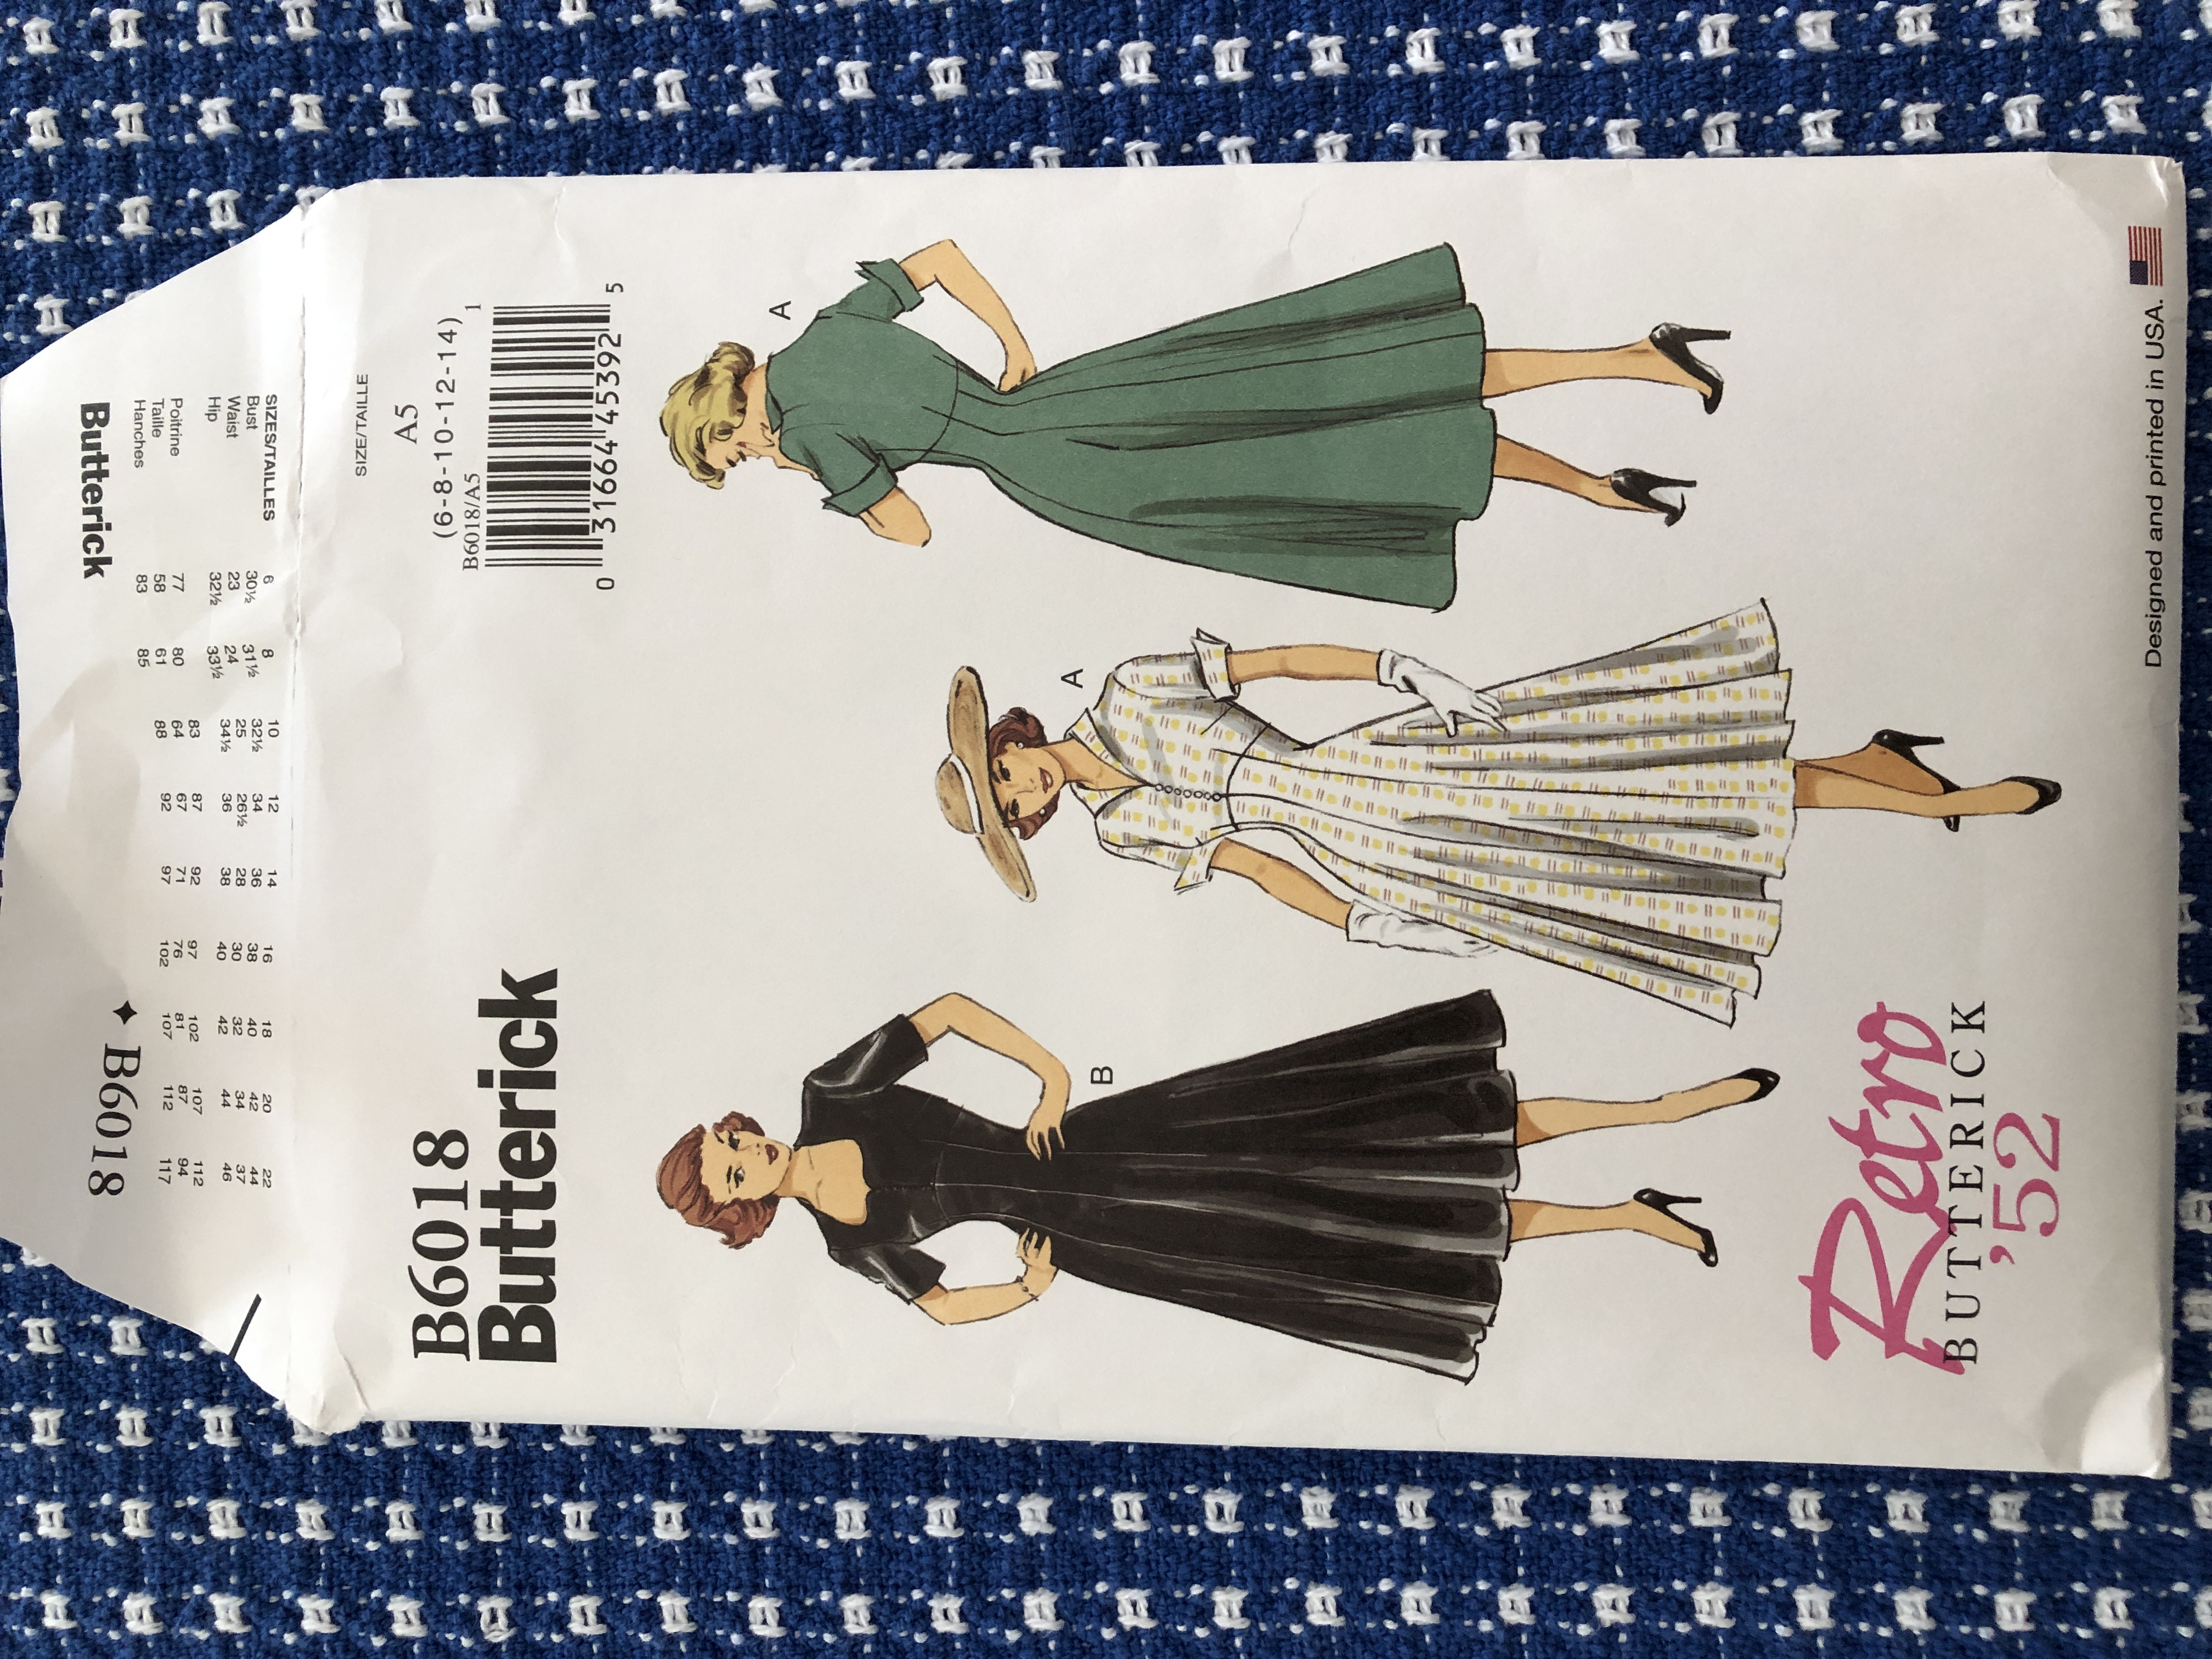
We ended up with this pattern.

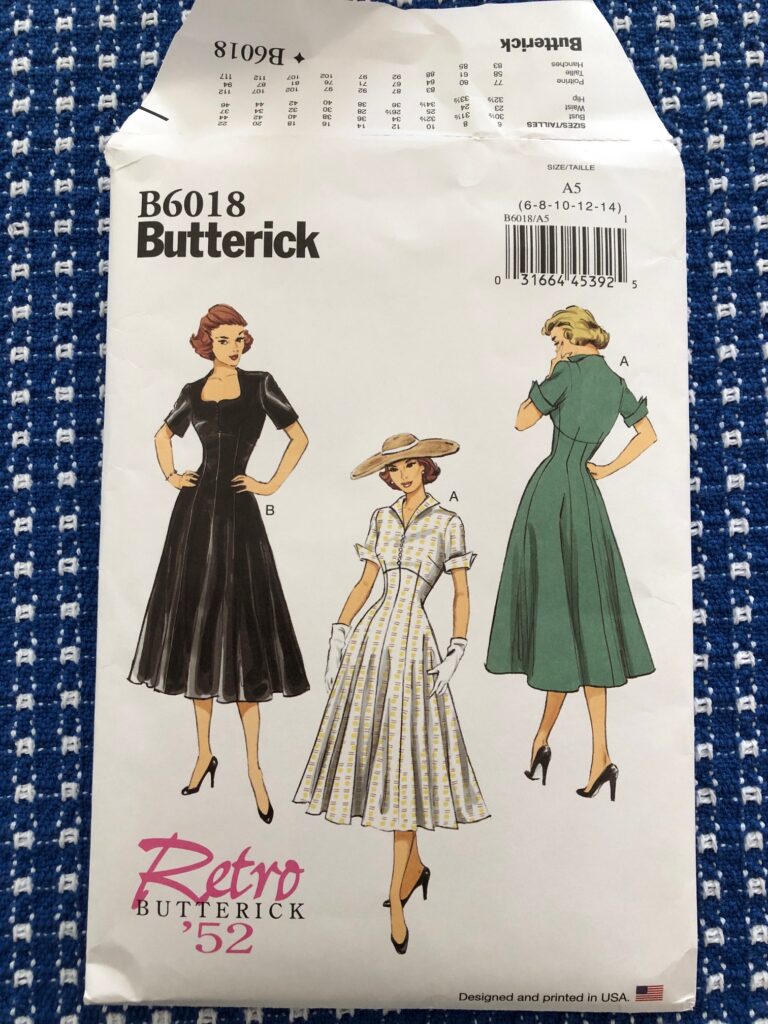
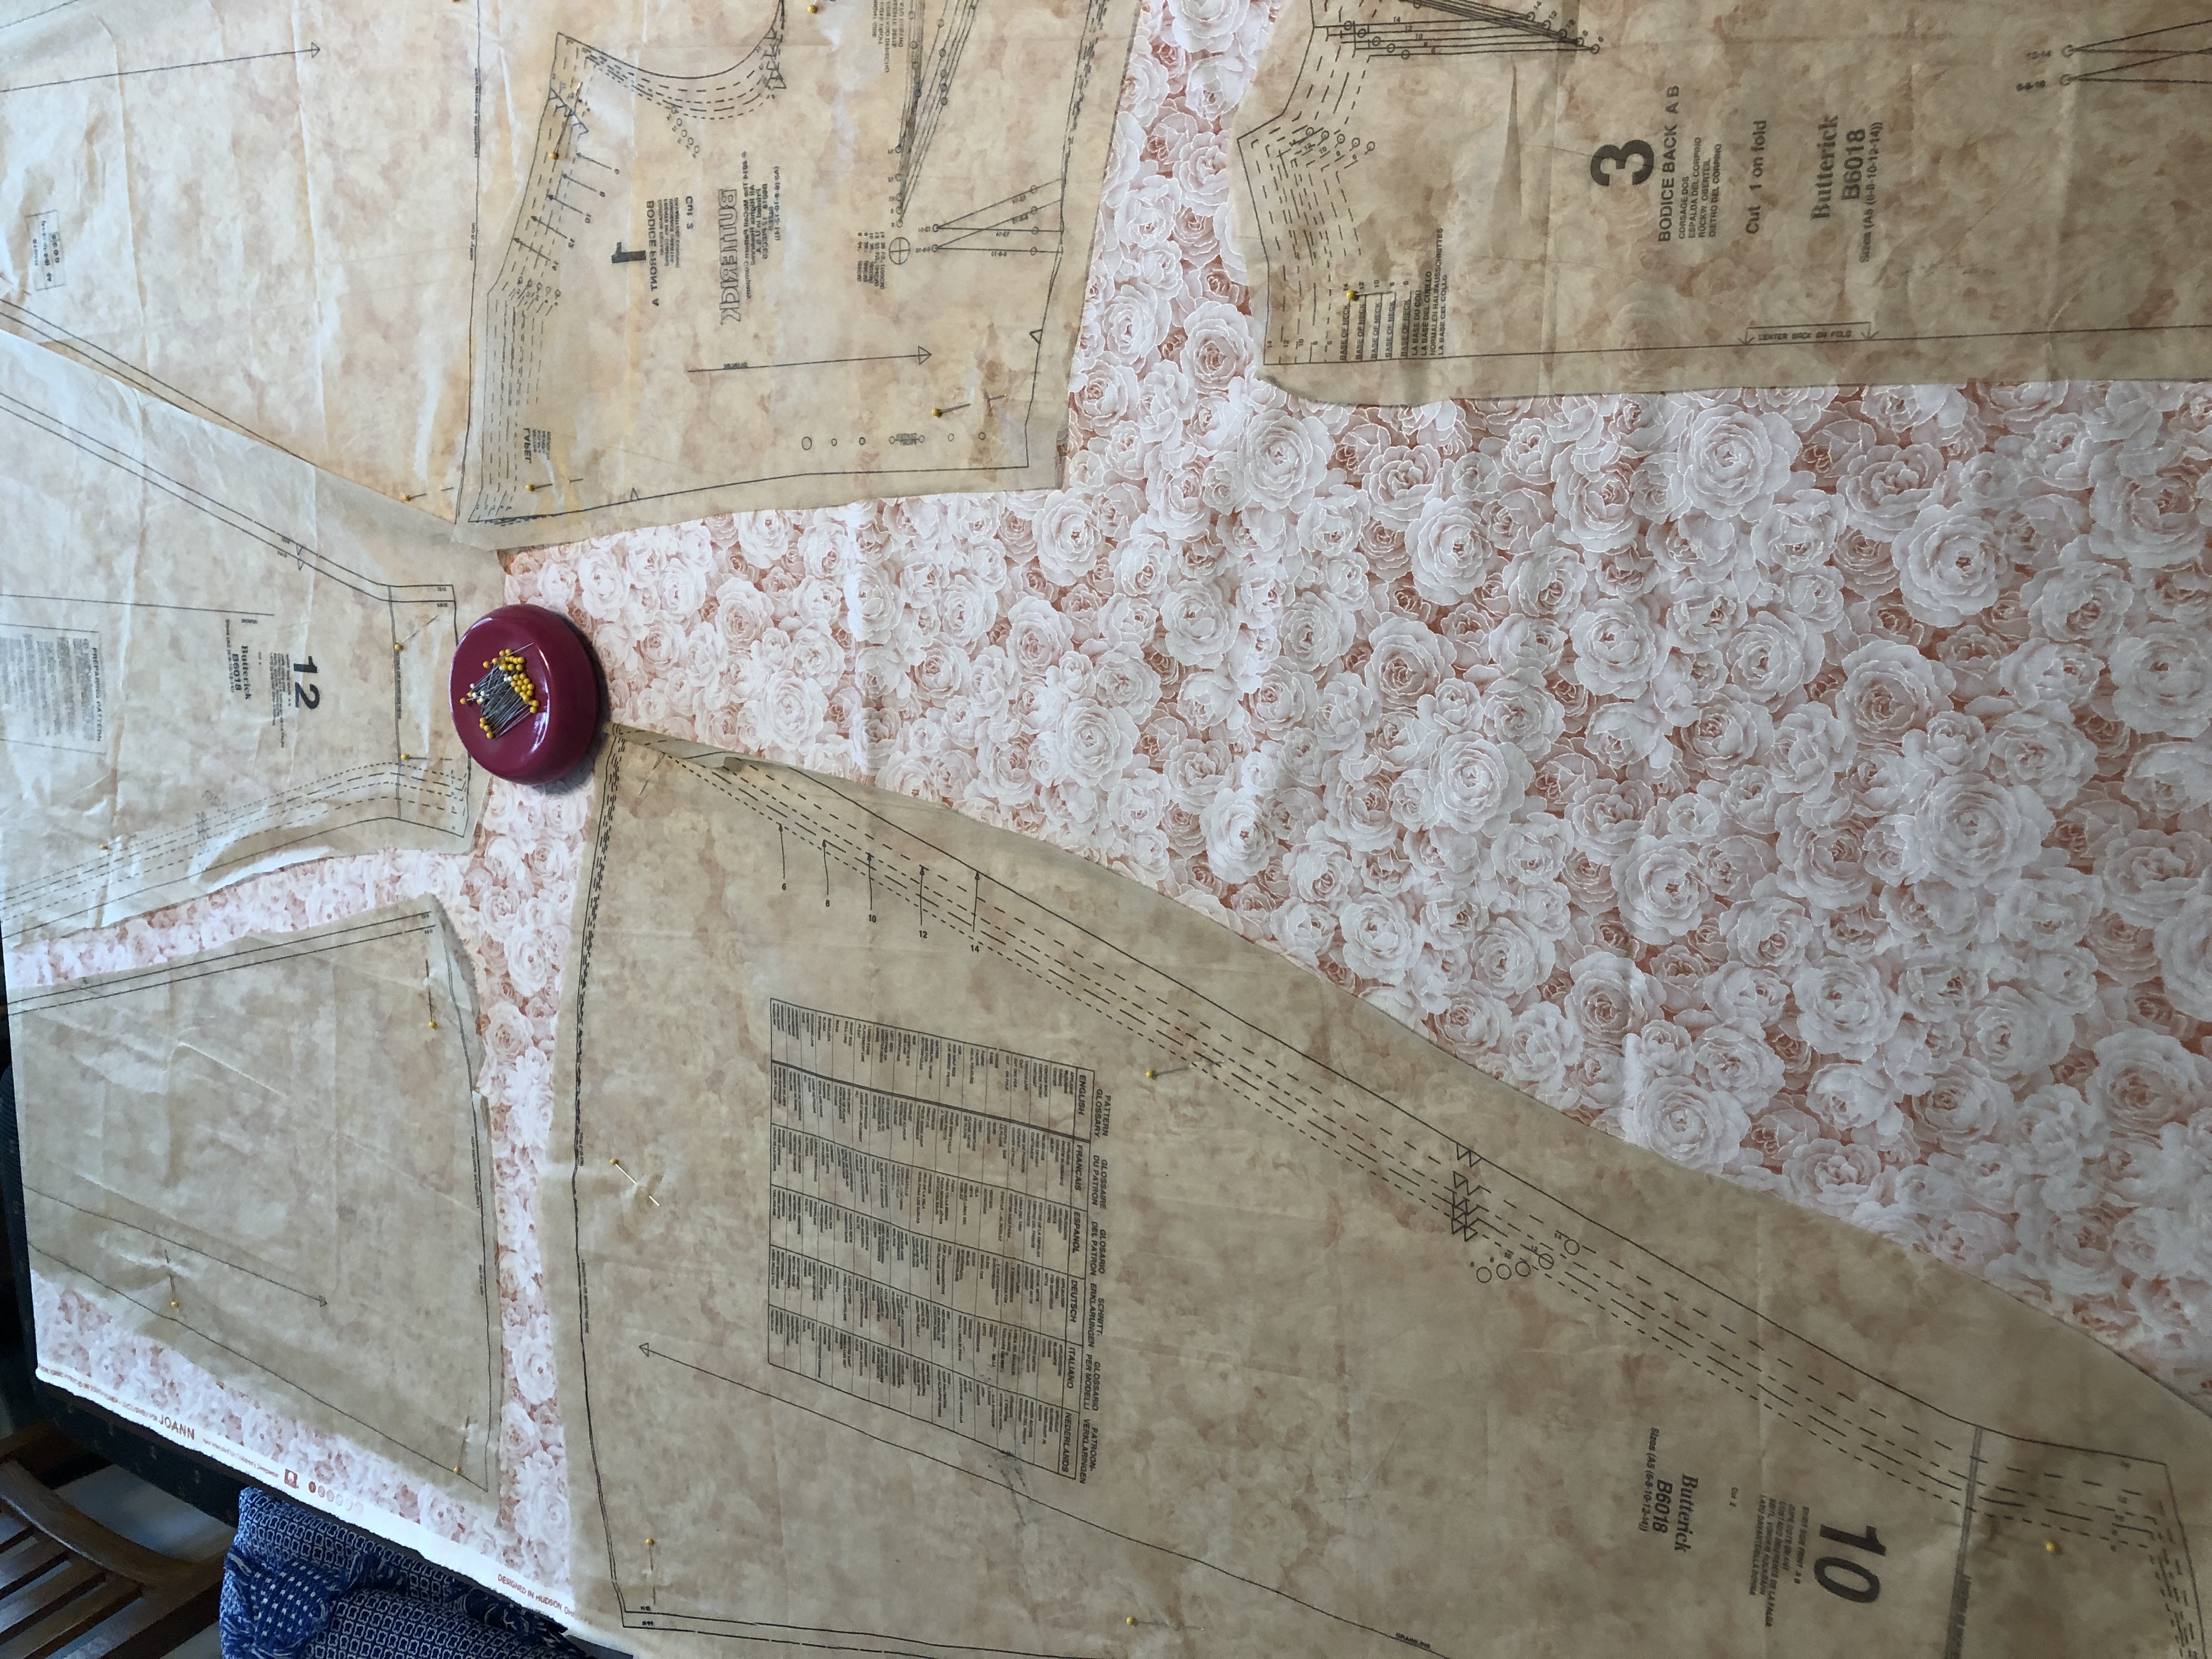
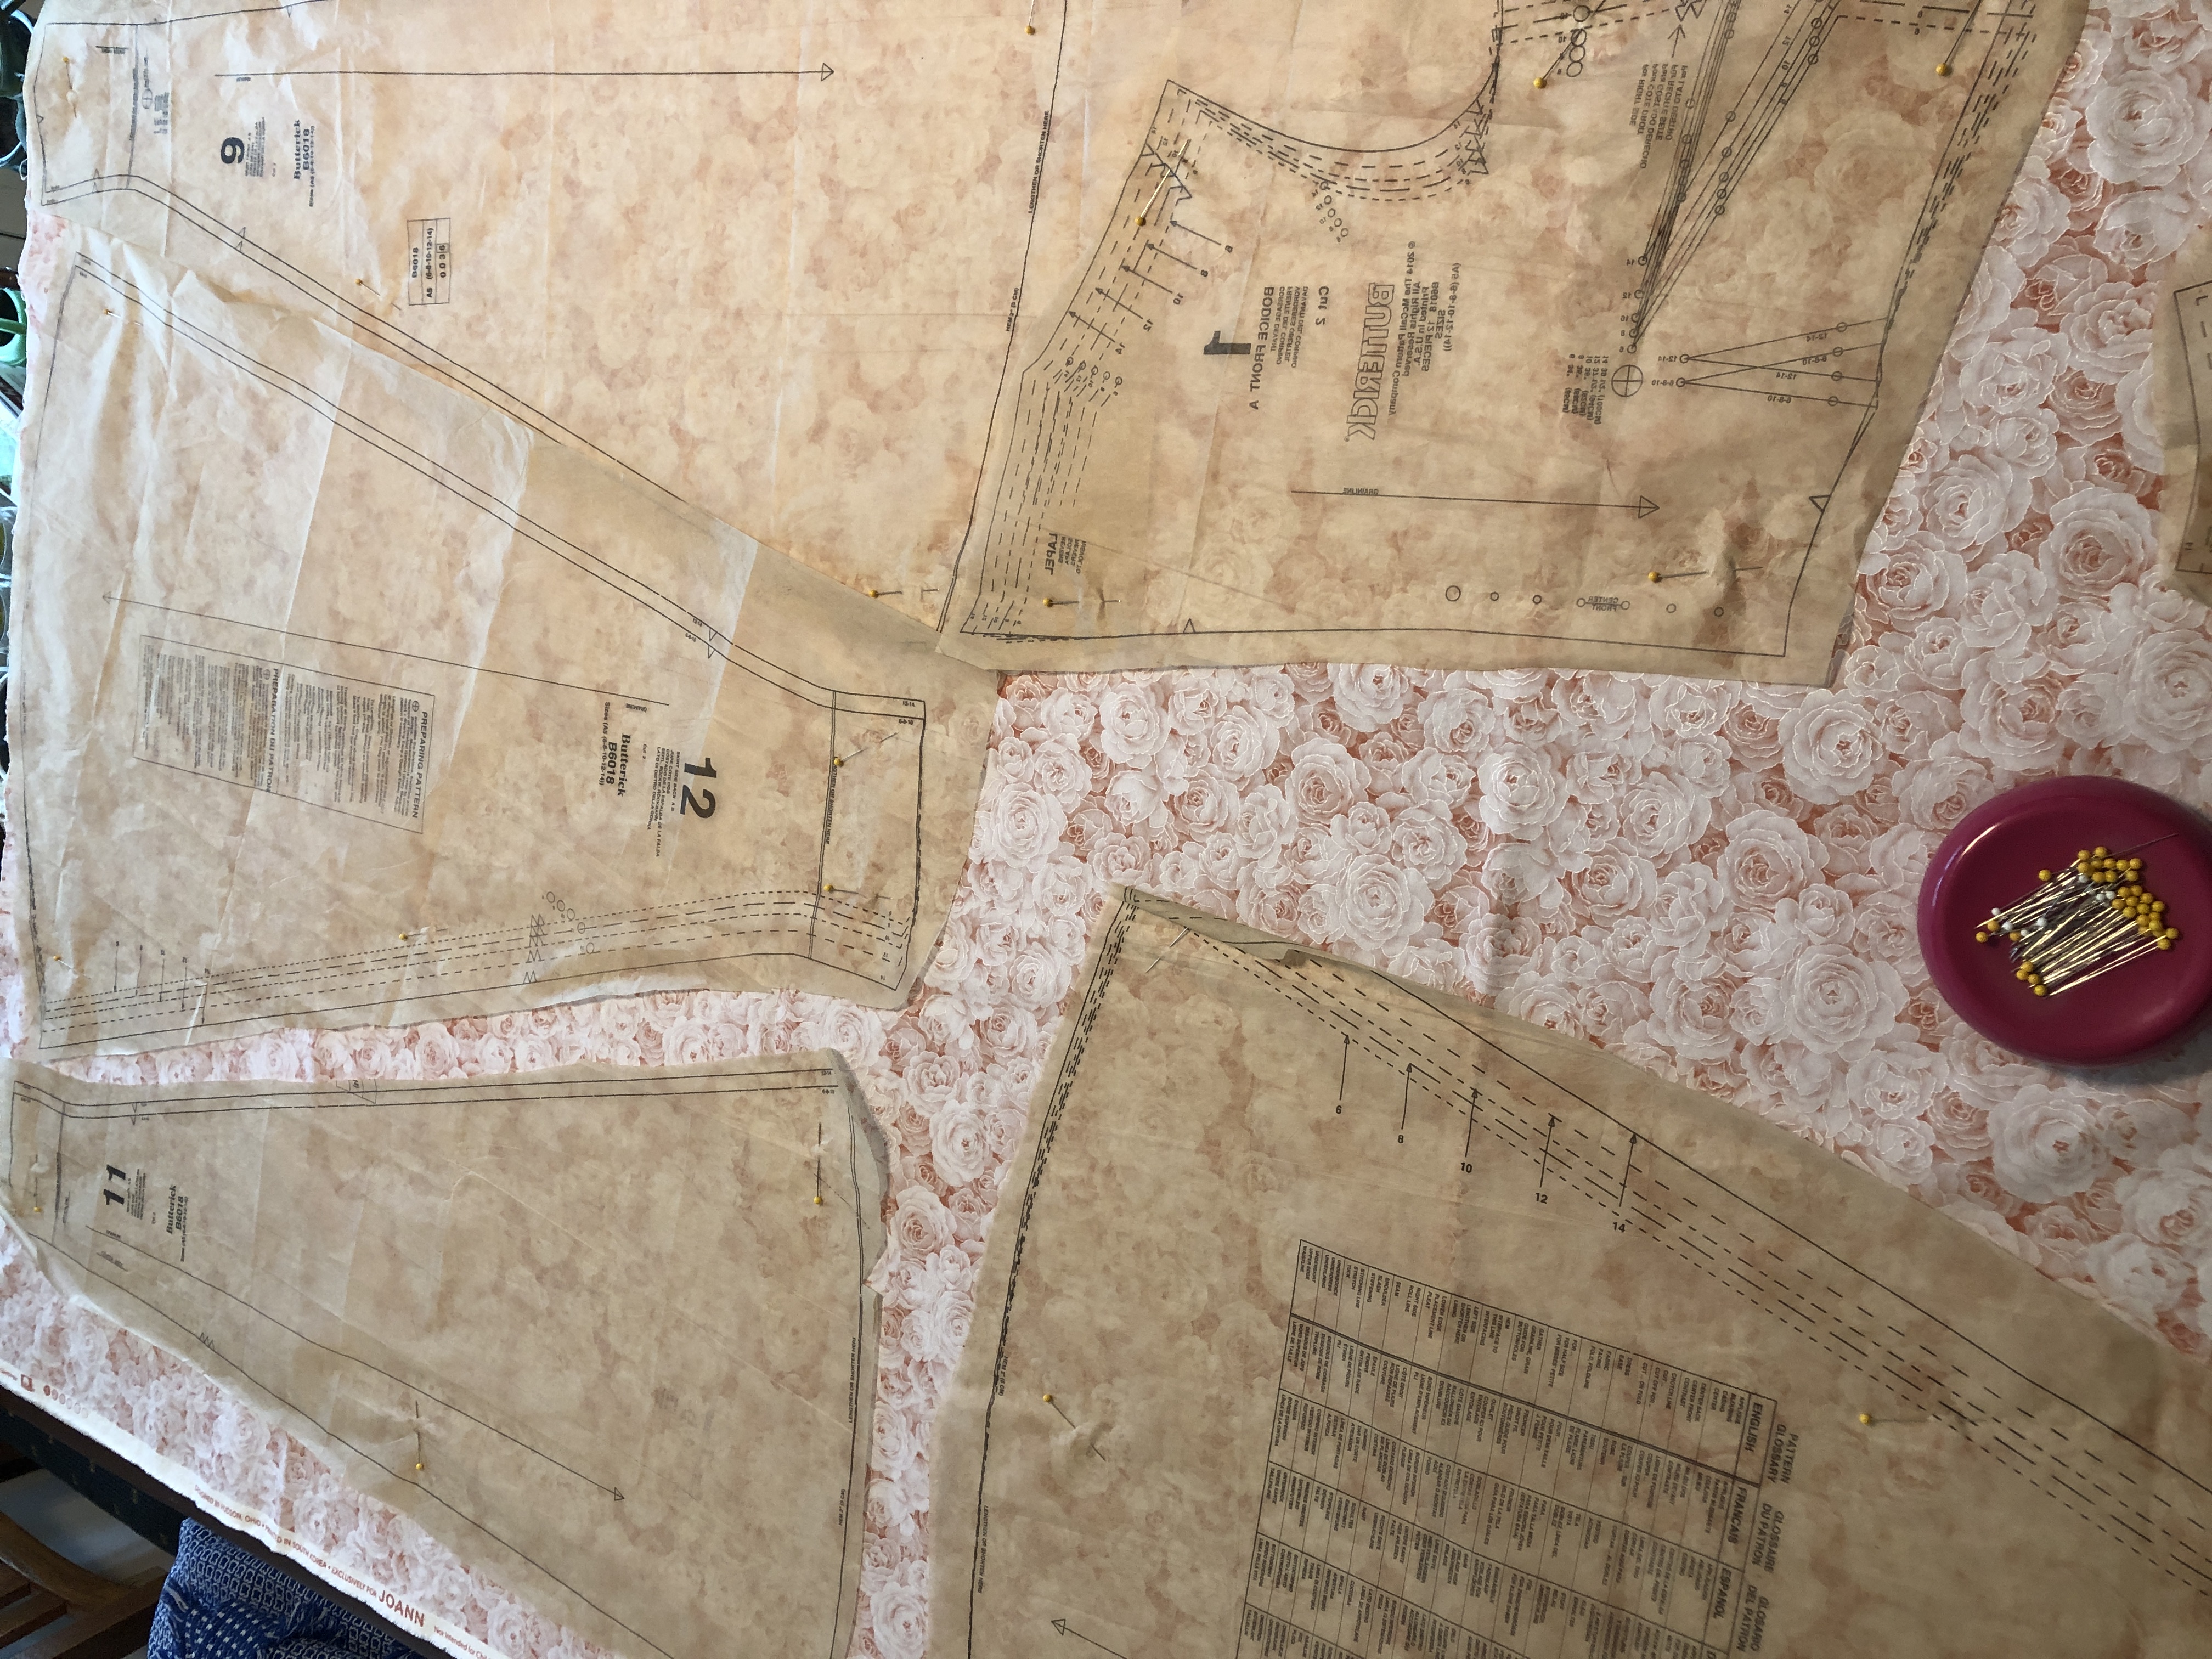
After she and her family left town, I had the challenge of making the dress with no way to “fit” it to her…I had just her measurements! You can read about the process of making the dress at this link:

https://marykisner.com/making-a-retro-1952-dress/

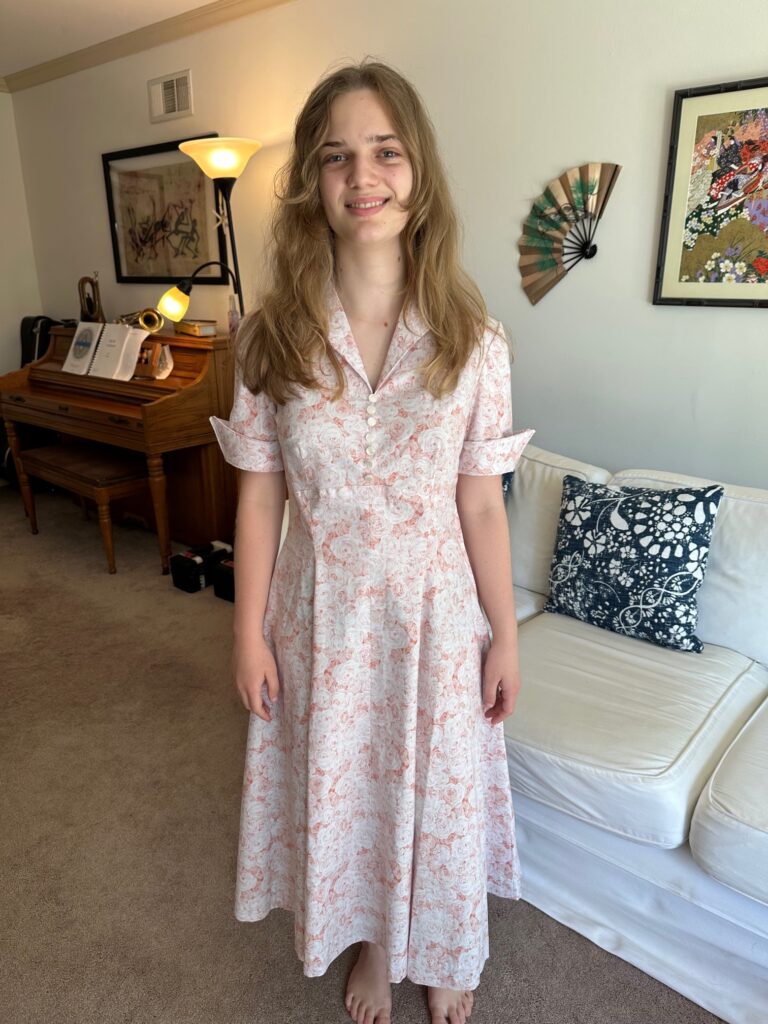
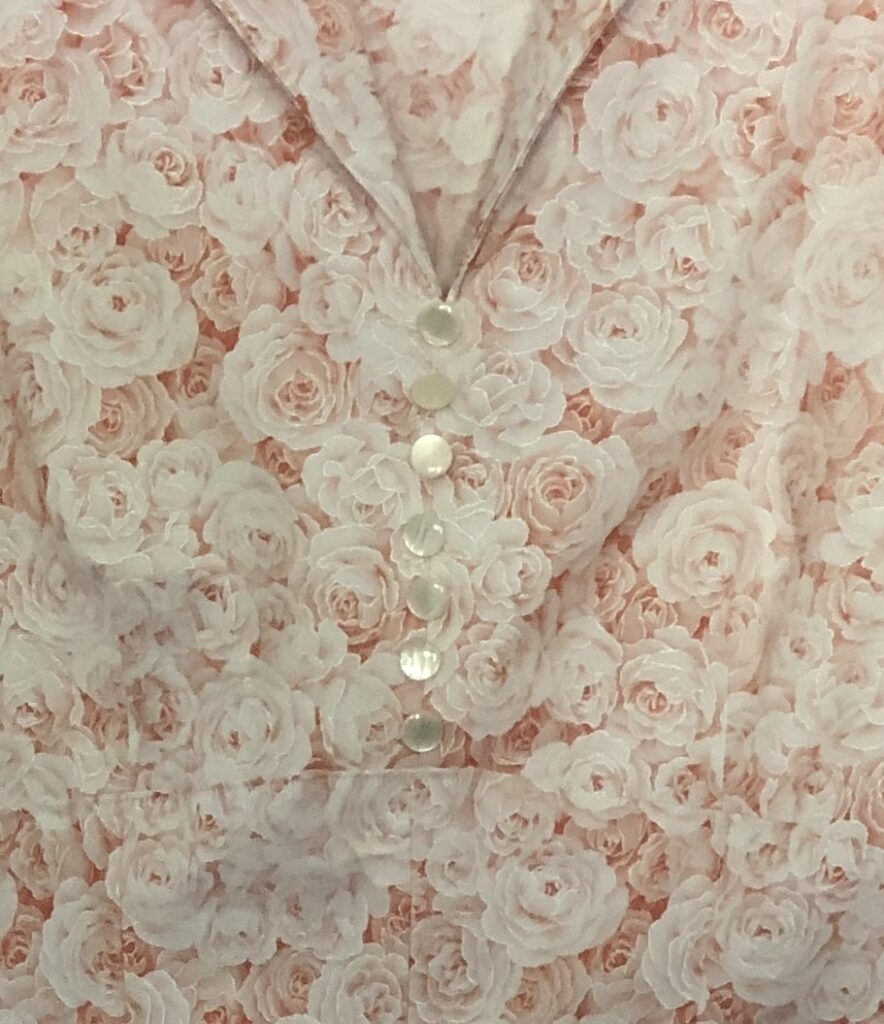
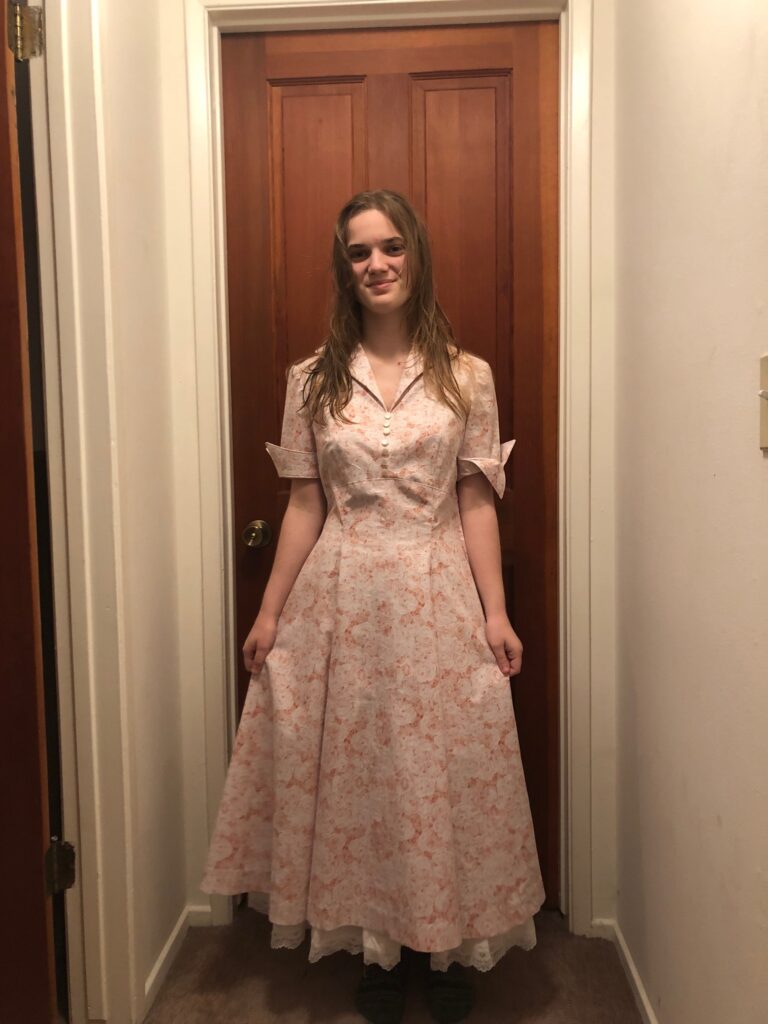
Fortunately, the dress fit just fine, but it didn’t “look” like the pattern picture.

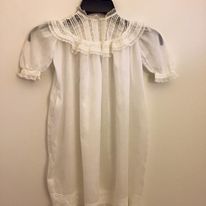
I finally figured out the skirt was full, but it just didn’t look full. It needed a gathered slip to give it shape! So, I ordered a slip and mailed it to her. Now, the dress looks like what I imagined…EXCEPT…since she wasn’t here, I couldn’t estimate the length of the slip. I left it alone and mailed it to California. Of course, the slip is about 4″ too long!

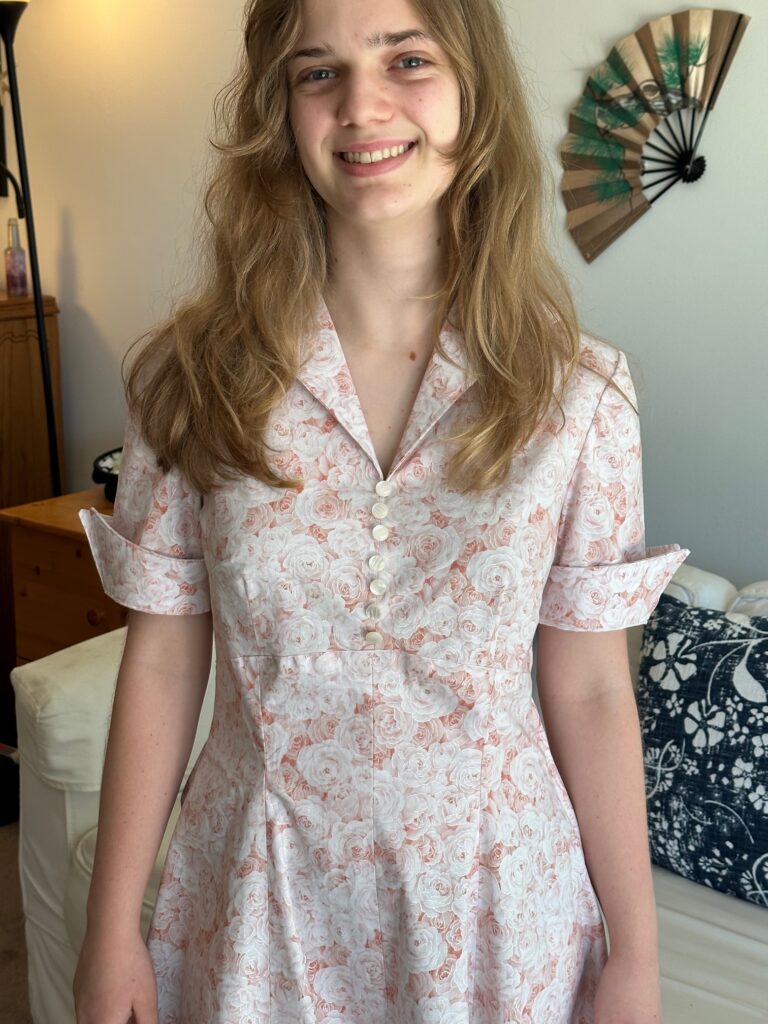
However, she loves it! I guess it could be a new fashion statement…with the lace showing. Warning to my son…if she decides she doesn’t want the slip showing, you’ll either have to mail it back to me or cut it off and hem it yourself! (Luckily, he knows how to do that!)

Follow-up of the Retro Aprons

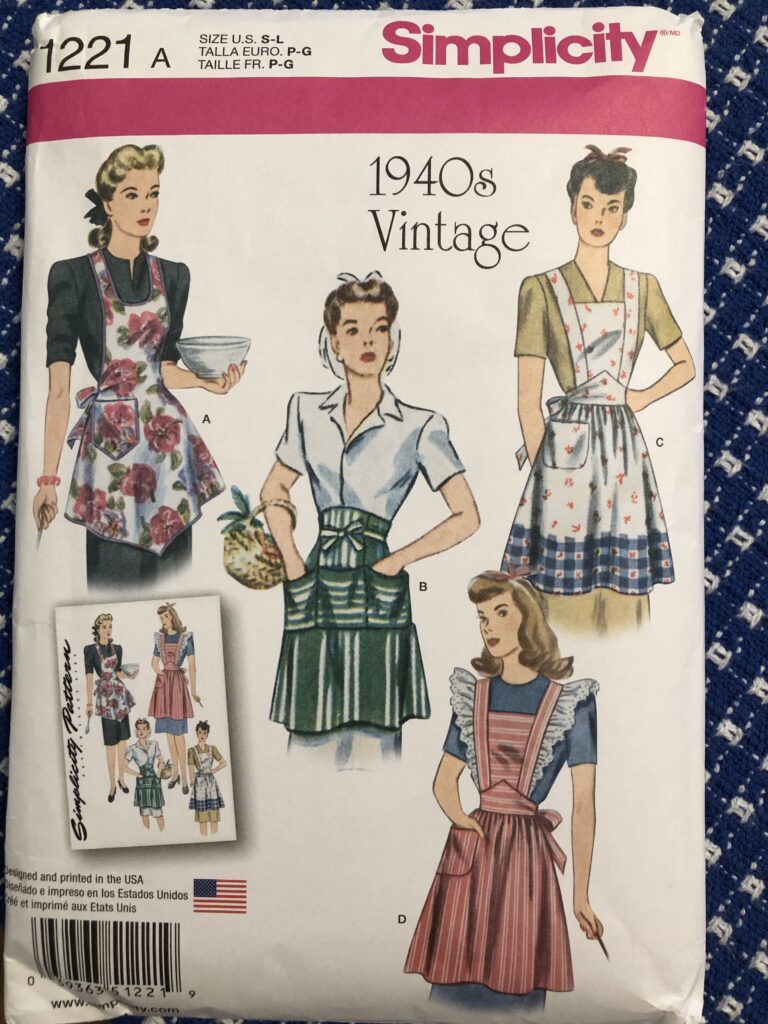
Then, I found a pattern for a set of Retro 1940s aprons.

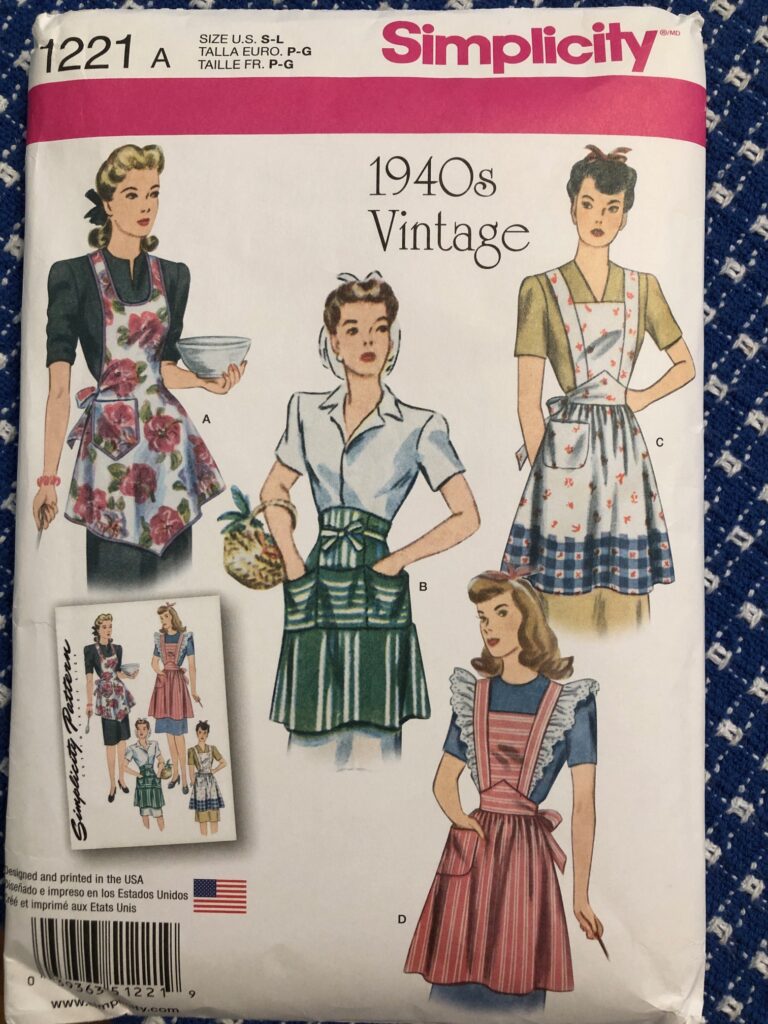
I knew I wanted to make one like the pinafore apron and possibly the half apron, like the one in green on the pattern. If I made two, then both my granddaughters could bake together! You can read about making these aprons here: https://marykisner.com/making-a-retro-1940s-apron/

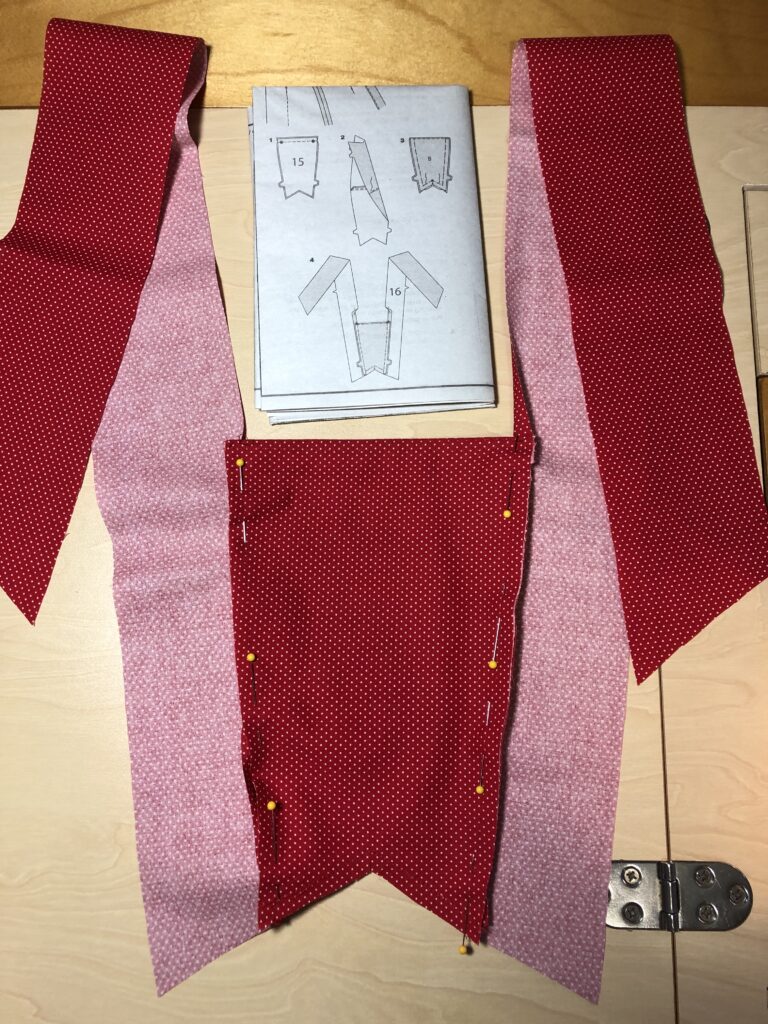
The pinafore apron was a real challenge and the half apron with pockets was much too complicated! (I don’t remember the apron I made in Home Ec. class around 1960 being this complicated.)

I can’t decide if I’m just out of practice in following complex instructions or if clothing construction procedures have been simplified over the years.

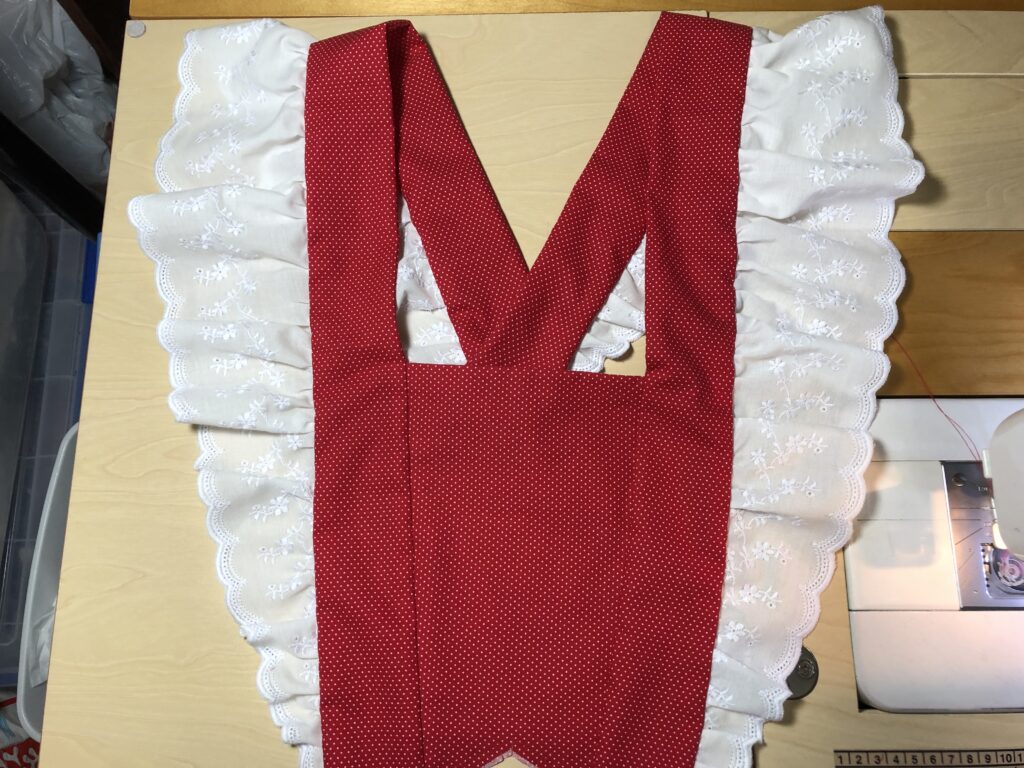
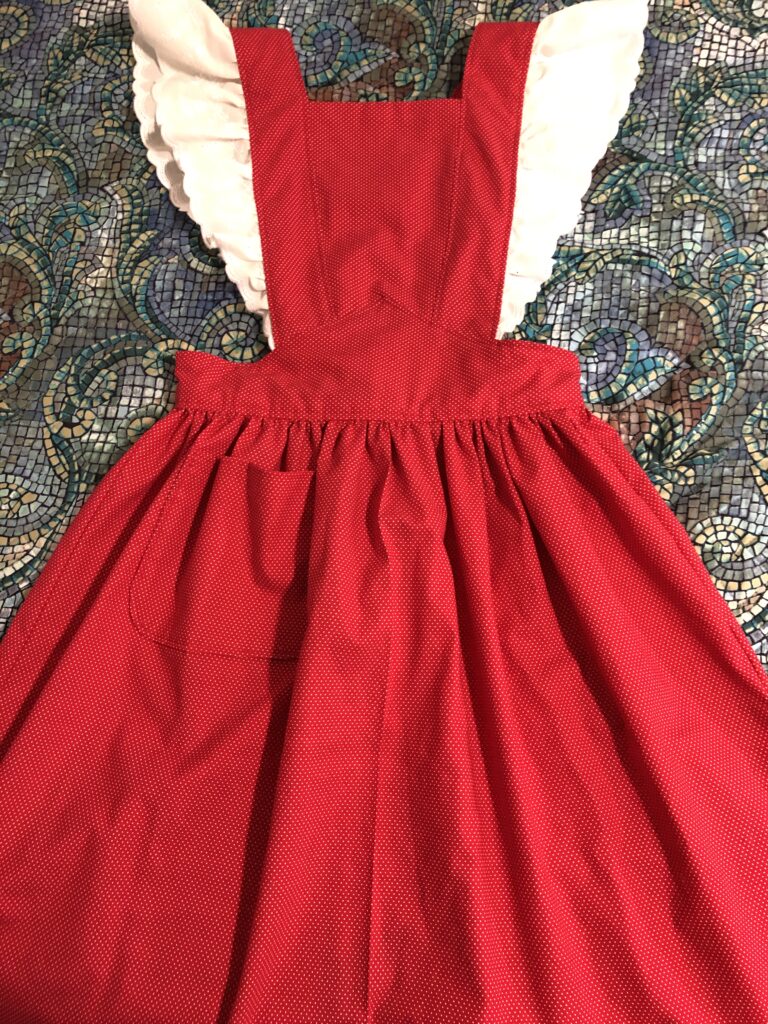
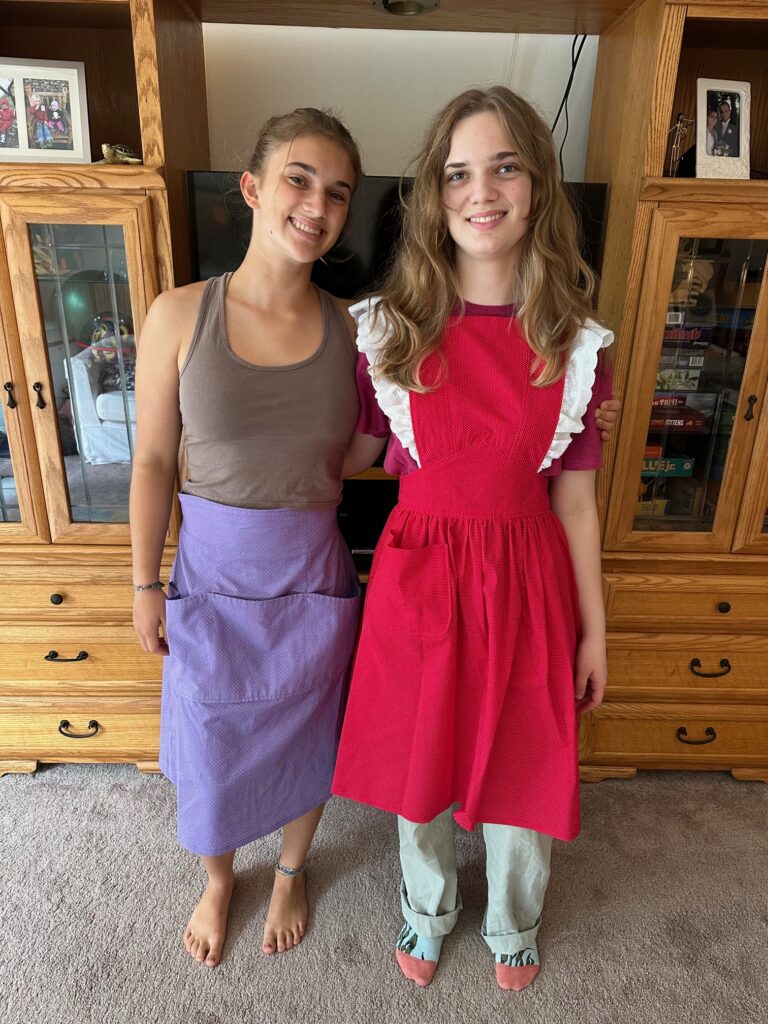
The pinafore apron turned out fine:

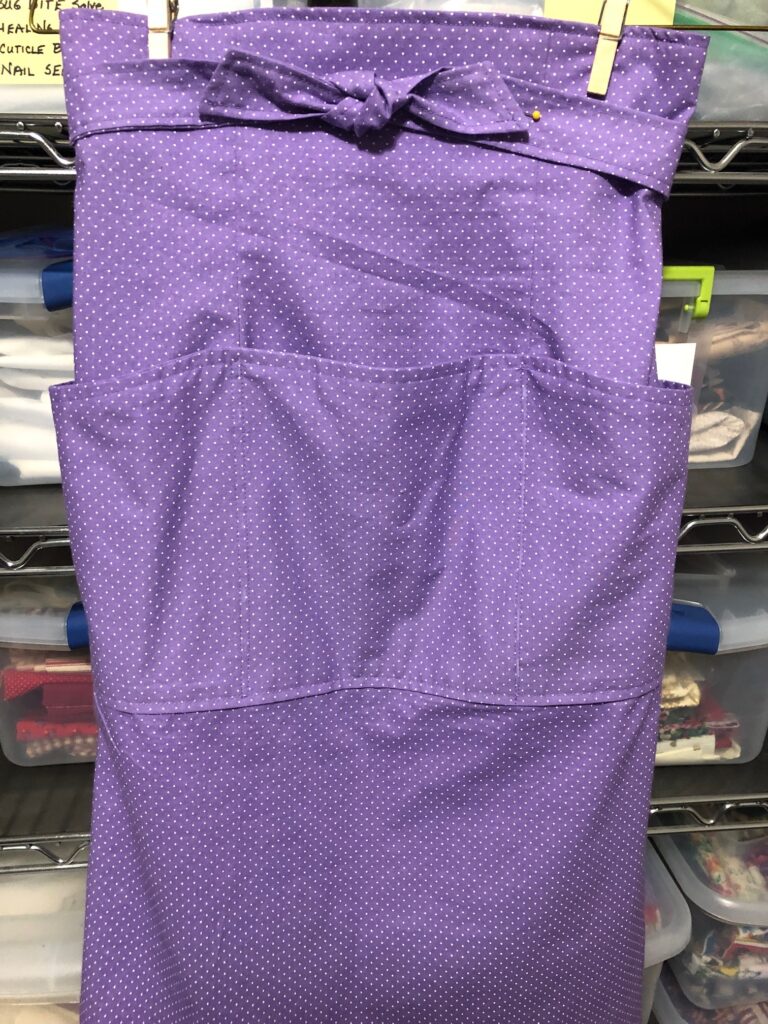
The half apron (in purple) was hard to photograph and needed to sit above the waist.

Of course, without my granddaughters nearby I couldn’t check the aprons for length. Turns out they were willing to put them on and send me a picture. They said they loved them! Hopefully, the next time they bake cookies they’ll remember to wear them!

That’s the story of Mary making retro clothing so far. Who knows what I might try next?

Making a Retro 1940s Apron

When was the last time you wore an apron? Do you have a novelty one to use when you barbeque, or a heat resistant one to protect you when you drop that Thanksgiving turkey into boiling oil? Maybe your job has an apron as part of your uniform or you grab one when you’re dressed up and want to pull a dish out of the oven. I don’t think I have a single apron anywhere in my house and I haven’t made one since 7th grade Home Economics class…a long time ago!!

In the 1930s and 1940s when fabric was scarce our grandmothers and great grandmothers used aprons to protect their expensive clothing. Those aprons were often made from colorful feed-sacks or repurposed sheets to save money. My mother seemed to have a hankie in every pocket…long before affordable paper tissues. Bert remembers his grandmother always had wrapped homemade candy in her apron pockets that he looked forward to with every visit.

With my granddaughter’s interest in vintage clothing, I thought I could easily make an apron like the ones from the 1940s. Haha! Easy is not the right word to describe making retro 1940s anything!

I should know better by now. A few weeks ago I made her a dress from the 1950s and was amazed how complicated every step was. Maybe I just haven’t made clothing for many years but it feels like in the last 10 or 15 years the methods of construction have been simplified or the instructions in patterns have better step-by-step illustrations. You can see more about the dress I made at https://marykisner.com/making-a-retro-1952-dress/ and the final result on my granddaughter at https://marykisner.com/success-with-the-retro-1952-dress/.

I’ve been bothered for several weeks that something was missing with the dress. She loved it but you really can’t see how full the skirt is. I finally figured out that the dress needed a half slip…it could even be a crinoline (remember that stiff scratchy stuff?) No, that would be too much. I just ordered her a cotton slip with gathered layers. That might make the dress look more like the picture…at least if she wants to look like 1952! We’ll see!

Anyway, she was so happy about the dress and I was feeling accomplished about making it. I started looking at other retro patterns. I found this Retro 1940s Apron pattern and figured it didn’t look too hard. Again…haha!

I was interested in trying the red one with the lace along the side of the bib. This would be called a pinafore apron. She hasn’t really asked for an apron, so it will be a surprise. Who knows? Maybe it will be useful as a Halloween costume or on stage in a play. She’s headed off to college next year but she does like to bake. Actually, this project will keep Grandma Mary busy, so that’s all that matters.

I won’t try to go step by step, but here are a few pictures as I worked on the apron:

Gathering the eyelet lace:

Figuring out how the bib and straps went together:

Getting the lace attached:

Here is the front of the finished apron:

And the back, with the straps crossed:

If I decide I need an apron, I don’t think I’ll make a Retro 1940s one…at least not from this pattern. If you need an apron, may I suggest choosing one from a kitchen supply store or a novelty one with a clever saying!

Success With the Retro 1952 Dress

Just a quick update in case you’ve been following the last two posts about my attempt to make a dress for my granddaughter (age 17). Her interest in trying to find a vintage dress from the 1950s led us to finding a retro pattern at JoAnn’s to make such a dress. The previous posts included understanding the difference between vintage and retro, and the steps I went through to actually make the dress. (See: https://marykisner.com/understanding-antique-vintage-and-retro-clothing/ and https://marykisner.com/making-a-retro-1952-dress/)

I mailed the dress to my granddaughter in California and held my breath. Would it fit? Would it require major adjustments? Would she like it?

Yesterday I received pictures and a heartfelt message that it was “wonderful” and “Thank you so much!” Very rewarding to connect with my granddaughter this way! Made my day!

This grandma is very pleased! I just might have to try some more Retro clothing.

Making a Retro 1952 Dress

On the request of my 17 yr. old granddaughter, who was visiting a few weeks ago, I volunteered to make her a dress, in the style of the 1950s. She had been trying to find “vintage” and “retro” clothing in thrift shops, but around here they were hard to find. (to see the difference between “vintage” and “retro” check out my last post, https://marykisner.com/understanding-antique-vintage-and-retro-clothing/.

Luckily, we found a pattern at JoAnn’s labeled “Retro ’52”, so we picked out fabric, buttons, zipper and thread for the project.

This is the pattern we chose:

I was convinced I could just read the pattern, follow the directions, and whip out a dress! HA! This project brought back so many memories of my high school Home Economics classes…my teachers would be so proud that I actually did it! (Thank you, Mrs. Shaffer and Mrs. Krause!)

I think it turned out pretty well…hopefully it will fit when it gets to California! Here is the final dress (looks kind of flat without a body in it!).

Some very basic differences in sewing a dress in the style of the 1950s compared to today:

Fabric choices…suggested fabrics were light to medium weight woven fabrics like broadcloth, linen and taffeta. This means no extra stretch and the final dress will definitely need a hot iron! Does my granddaughter even know how to iron?

Side zipper…I had forgotten about the zipper tucked under the armpit! The pattern had pretty good instructions but it still took me two tries to get it right! (Gee, I hate to rip out stuff!)

Fitted sleeves…just looking at the shape of the sleeve pattern told me it would be a restrictive sleeve. We are so spoiled with soft stretchy t-shirts!

Full skirt…making the hem a tedious half-day task by hand.

Complexity of the pattern itself…this pattern had 5 sizes in one, from size 6 to 14. To do that every pattern piece had 5 cutting lines, 5 sets of circles, etc.

Cutting Out the Dress

I cut out the dress on a day when I had no distractions. The suggested layout was intimidating:

This layout had me cutting out each piece in a single twice and after stewing about this, I went back to JoAnn’s and bought another yard of fabric so I could do it my way. I just knew I would forget to flip each piece.

I folded the full width fabric in half and cut two of each piece at once so I was sure to have matching pieces. The extra yard I used to cut out all the little pieces, like the collar, cuffs, facings and sleeves. The length and shapes of the skirt pieces limited my choices of placement on the fabric.

Once I had all the pattern pieces cut correctly, I kept them pinned together until I was ready to use the piece. Then I transferred the various markings (like darts and circles) with pins or a pencil. All the skirt pieces looked alike without the patterns, so I think that was a wise move.

Making the Dress

Step 1: Iron (fuse) the interfacing to neck facings and cuffs

Step 2: Assemble the Bodice

Step 3: Cuffs and Sleeves

Step 4: Sew skirt pieces together and add to bodice.

Step 5: Sew in side zipper.

NO NO NO!!!

Now I remember that’s not how to hide the zipper! Rip it out!

I only had to rip out one side of the zipper!

Much better!!

Step 6: Hem the skirt.

Instructions say to sew the edge 1/4″ with a long stitch. I didn’t make it long enough so I couldn’t pull the thread and ease the fullness. I had to make a basting stitch by hand along the 1/4″ stitching to lightly gather the edge to fit. Boo Hiss! Took hours to hem the skirt!

Step 7: Finally, add the decorative buttons down the front of the dress.

I carefully folded the dress up and put it in the mail to my granddaughter in California! I have no idea if it will fit! We agreed that this first dress was an experiment. Alterations may involve her sending the dress back to me. Or…it might make a good Halloween costume for someone!?!

I’ll have an update in the next week or two! Enjoy!

Understanding Antique, Vintage and Retro Clothing

Spending time with my 17 yr. old granddaughter during her family’s visit this month was a wonderful way to get to know her. I was especially interested in talking with her about her hunt for vintage clothing. I took her to the local antique co-op to check out a few racks of clothing on display. I was curious about the styles that appealed to her and finally took her to JoAnn’s to look at patterns. She was able to point out various dresses and fabric designs that looked interesting to her.

So, of course, we picked up a pattern and fabric. I agreed to make her a dress! The next post will be the details about that!

Because the pattern was labeled Retro ’52, I knew I needed to understand the definitions of “antique”, “vintage” and “retro”. This is what I found.

Antique: At least 100 years old

The only “antique” clothing I have saved is the Lowry family baptism dress, worn by my mother in 1912. It has been used by various babies in the family over the last 100 years.

Worn by my daughter in 1978.

You can read more about the dress at https://marykisner.com/the-travels-of-the-lowry-baptism-dress/

Vintage: From a specific year from the 1920s to 2000 (or 20 years ago).

Examples of Vintage clothing by Era include:

1920s: Flapper dresses, heeled Mary Jane shoes

1930s: Puffed and fluttery sleeves, peep-toe shoes

1940s: Straight tweed and wool plaid skirts, platform shoes

1950s: Full skirts and petticoats, shirtwaist dresses, twin sweater sets

1960s: Elegant box-jacket suits and pillbox hats (like Jackie Kennedy); and bell-bottom jeans and flowing tops

1970s: Flare jeans, khaki, boots

1980s: Blazers and sweaters with strong shoulder pads, stilettos

1990s: Leggings, big sweaters, baggy flannel shirts

(List above from Ashley Kane, https://www.liveabout.com/definition-of-vintage-clothing-3420100/ )

If you want to buy vintage clothing, look in shops that have vintage in the name or description or in second-hand shops.

The most important piece of information I found is a word of caution about sizing! Women’s dress sizes have changed significantly over time. I measured my granddaughter. She said she buys size 6. When I looked at the pattern where it lists measurements, I needed to make a size 12 for it to fit! I’ll make the size 12 dress…then we’ll see if it works for her. Too bad she lives in California…I think we may be mailing the dress back and forth until we get it right!

Read about sizing changes over the years at https://www.eonline.com/news/687475/a-brief-history-of-women-s-clothing-sizes-and-why-you-just-went-up-a-size/

Retro: Made recently to look like vintage style.

Clothing that has been made recently with the intention of imitating the fashion of the past is considered “retro”, thus the label on the pattern we chose…Retro ’52.

I recall making clothing during the 50s and 60s so just reading the pattern was enough to give me heart palpitations! Cotton fabric (no stretch), fitted sleeves, side zipper!! Yikes! I had forgotten even how to read a pattern this complex!

My granddaughter and I agreed that this first dress would be for “practice” in case it didn’t turn out, or fit right, or I messed up. I’m still working on the dress and hope to post the details in a few days.