
I’m always looking for new ways to experiment with essential oils. I now have enough supplies to try almost any recipe I come across. It wasn’t until I was cutting my fingernails the other day that I realized I needed something to help them be stronger and less ridged. I wasn’t familiar with even commercial products out there. I always just used hand cream to help dry, cracked cuticles, hoping the nails would benefit. I started researching products to help my nails.
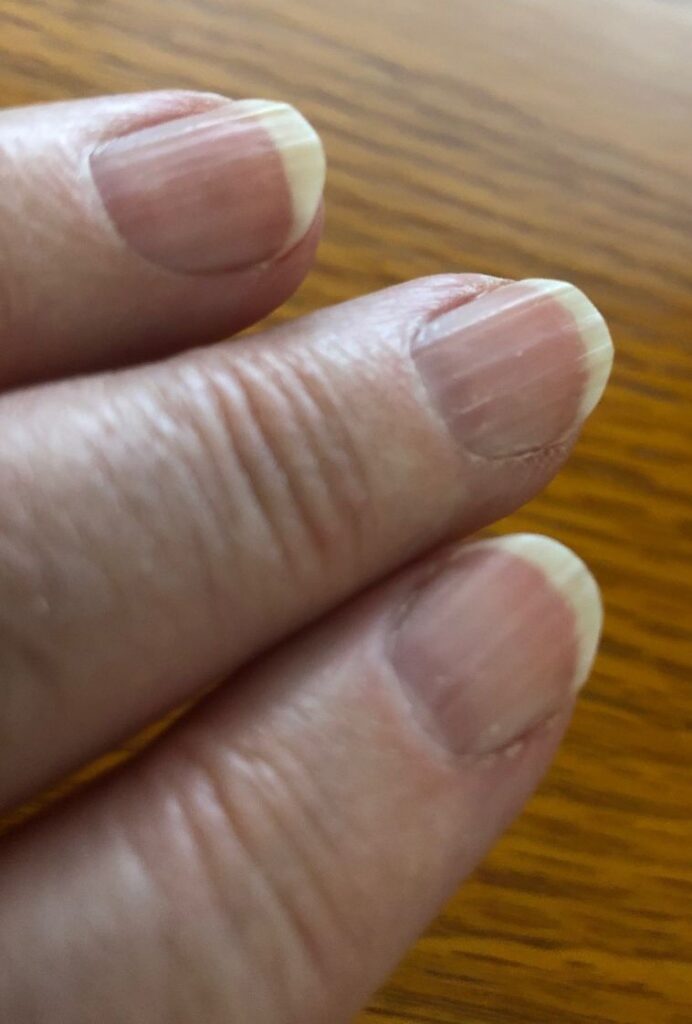
I read an article from one of my favorite websites: https://strategiclivingblog.com. Gaye Levy is the author and she has been blogging since 2010. Her philosophy of life really appealed to me and I check in with her website frequently. She recently posted an article called, DIY Nail Serum for Damaged Nails. This serum is applied right to the edge of the cuticle where it meets the nail. She came up with a simple serum to help her nails grow stronger. With her background as a licensed manicurist she knew that, “the issues with my nails stemmed from the nail matrix. This is the area underneath and below the cuticle and this is where all the nail bed and nail plate nourishment comes from.”
Then I came across a recipe for a Cuticle Butter with essential oils that also might help. I’m not sure where the recipe came from, but it was probably one of the following sites: https://joybileefarm.com or https://www.pinterest.com.
I decided to make both of these products to see if I liked the way they felt and if they worked for me.
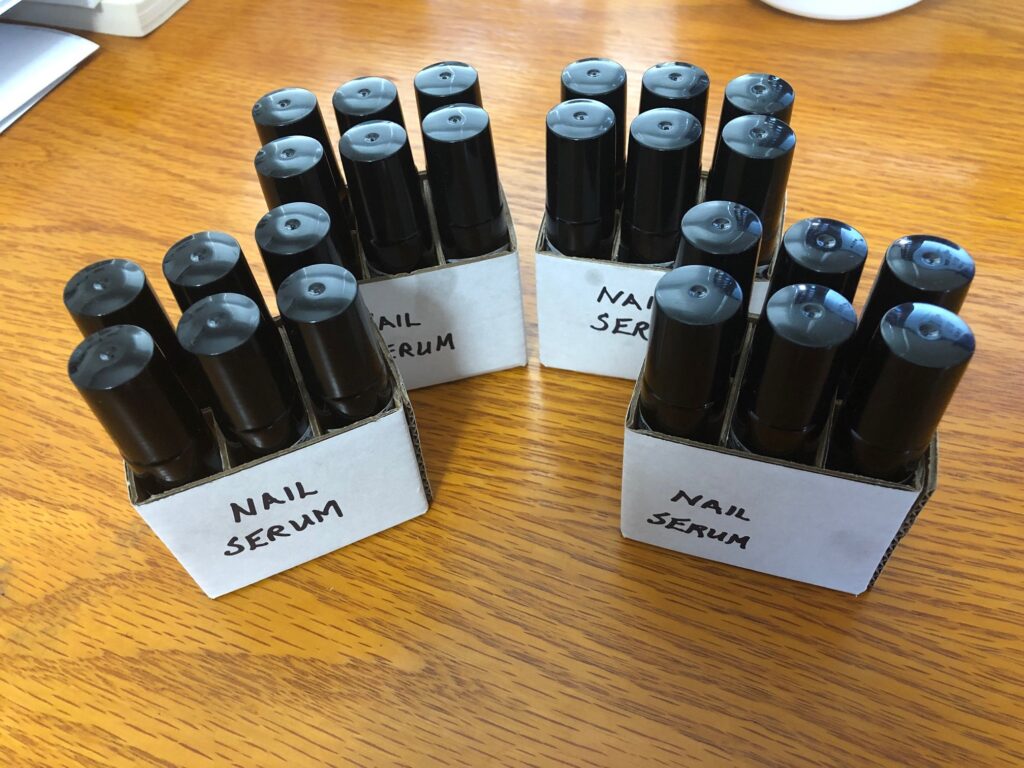
NAIL SERUM
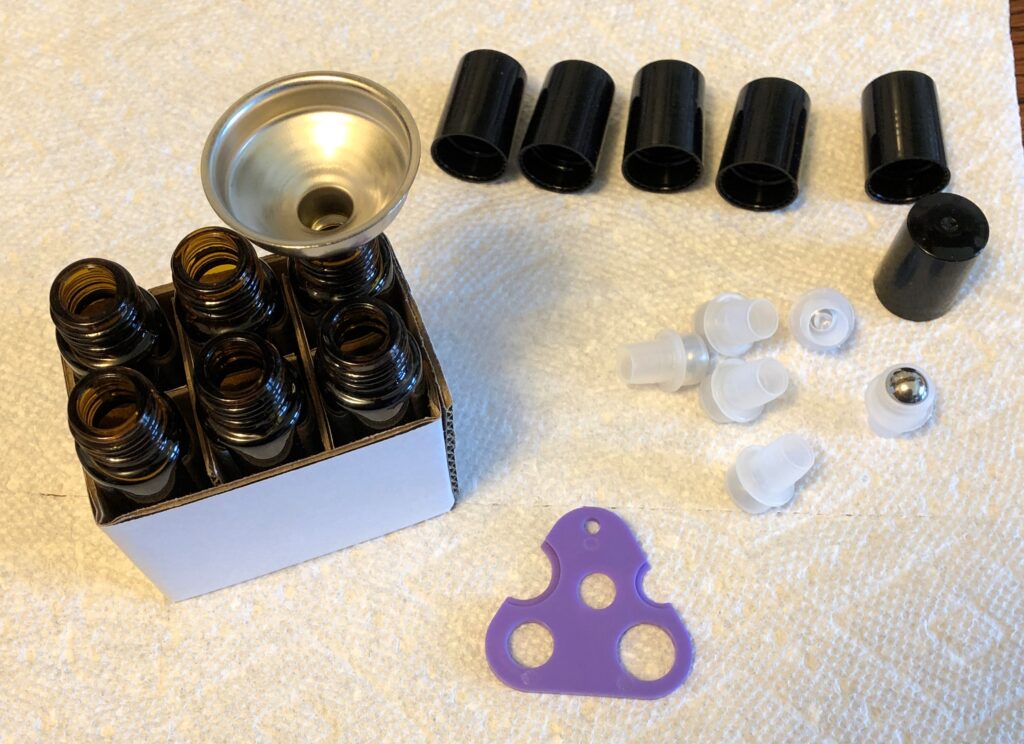
This product is mixed up directly in a roller ball. I ordered them from Amazon, and luckily, they came with a tiny funnel, labels and a plastic tool that helps to lift the roller ball out of the glass bottle. I had never worked with roller balls before so these were very helpful. I have since ordered a packet of six tiny metal funnels, seen in the picture below:
The ingredient list was pretty simple:
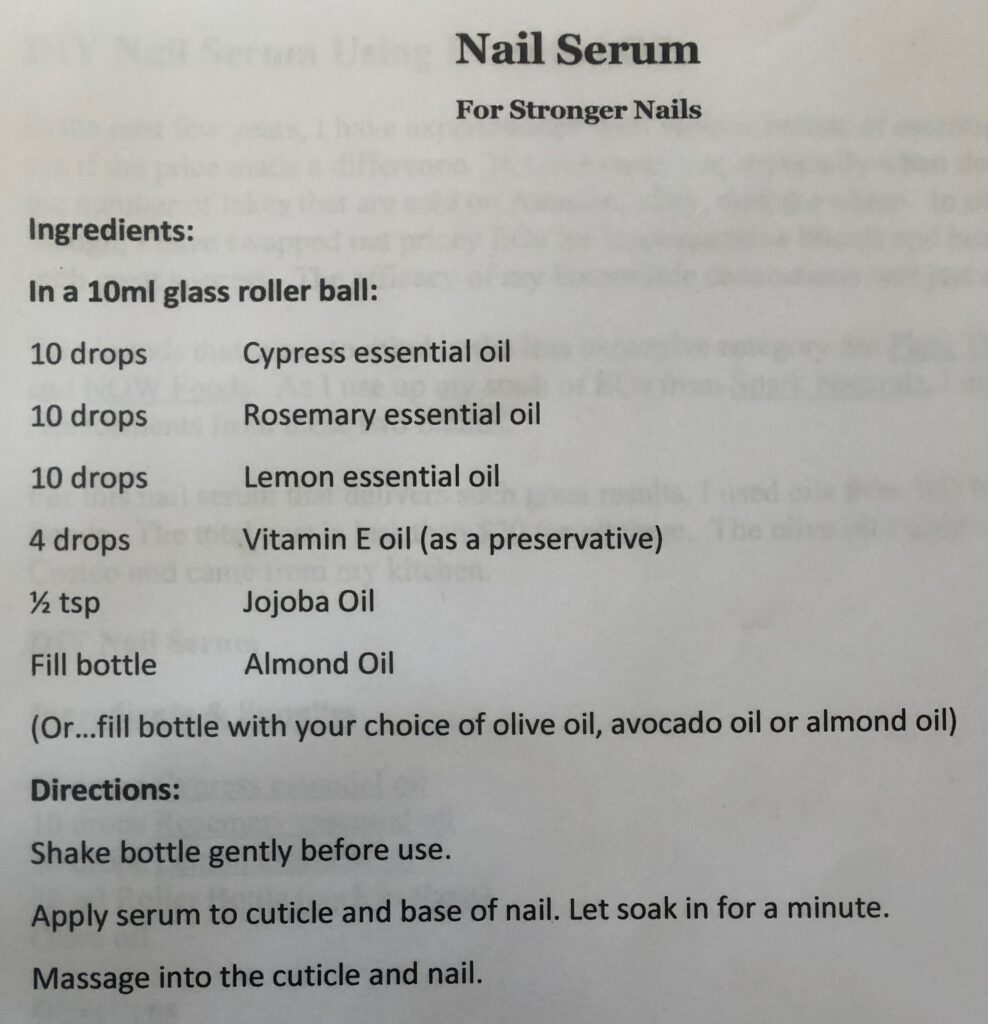
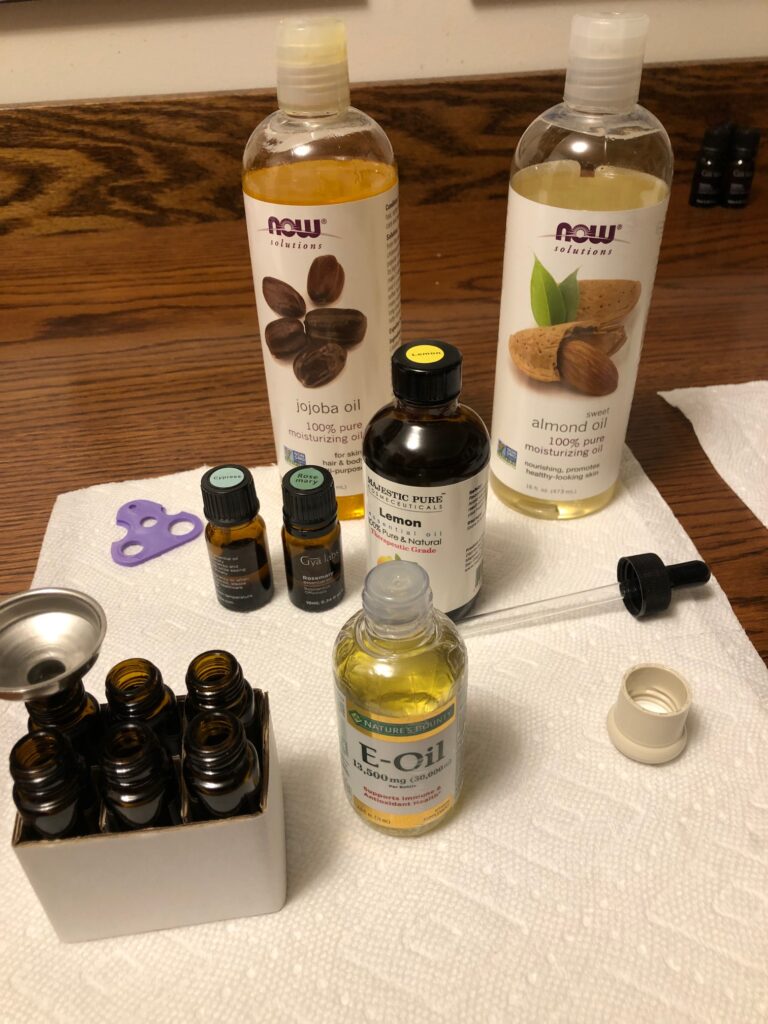
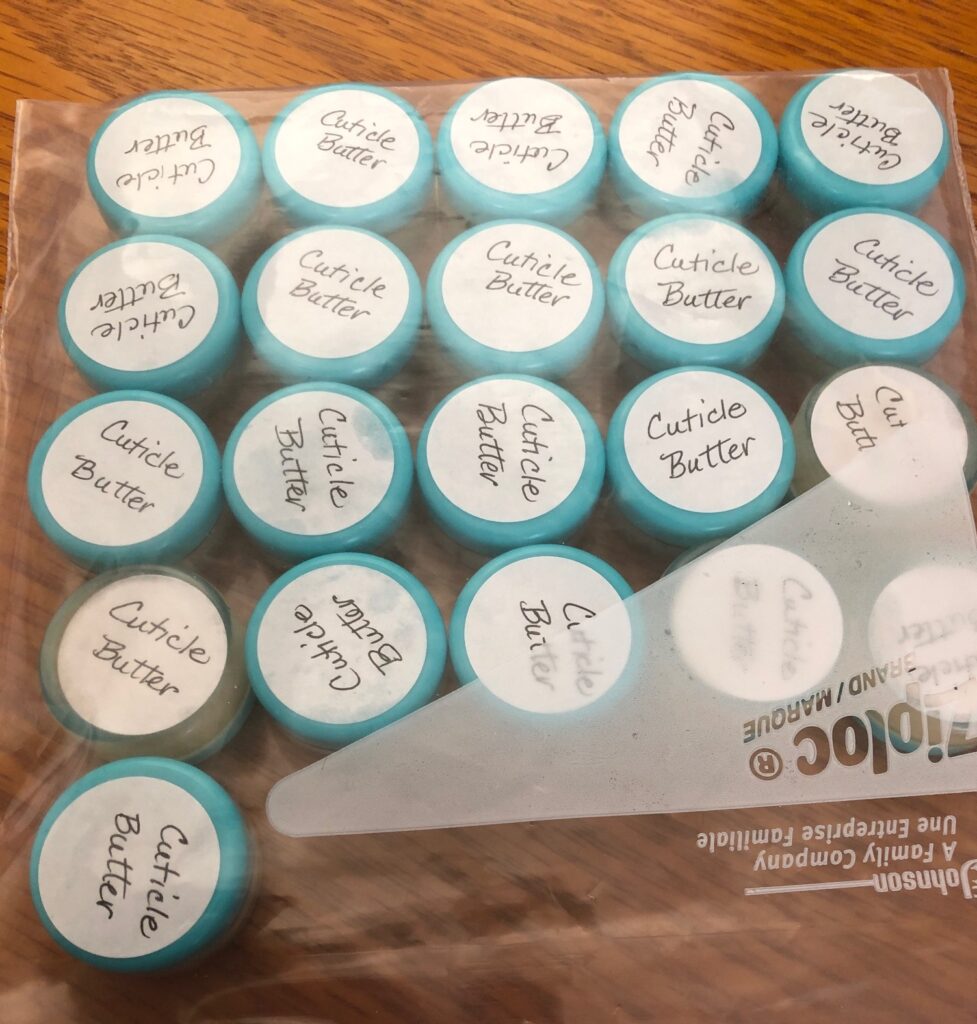
I just added the drops of oil to each bottle. I did six at a time, so I added the 4 drops of Vitamin E oil to each roller balls; then I added the lemon essential oil…10 drops to each bottle; etc. In the end, I had 24 roller balls filled with the Nail Serum…enough to share!
CUTICLE BUTTER
This recipe is also pretty simple:

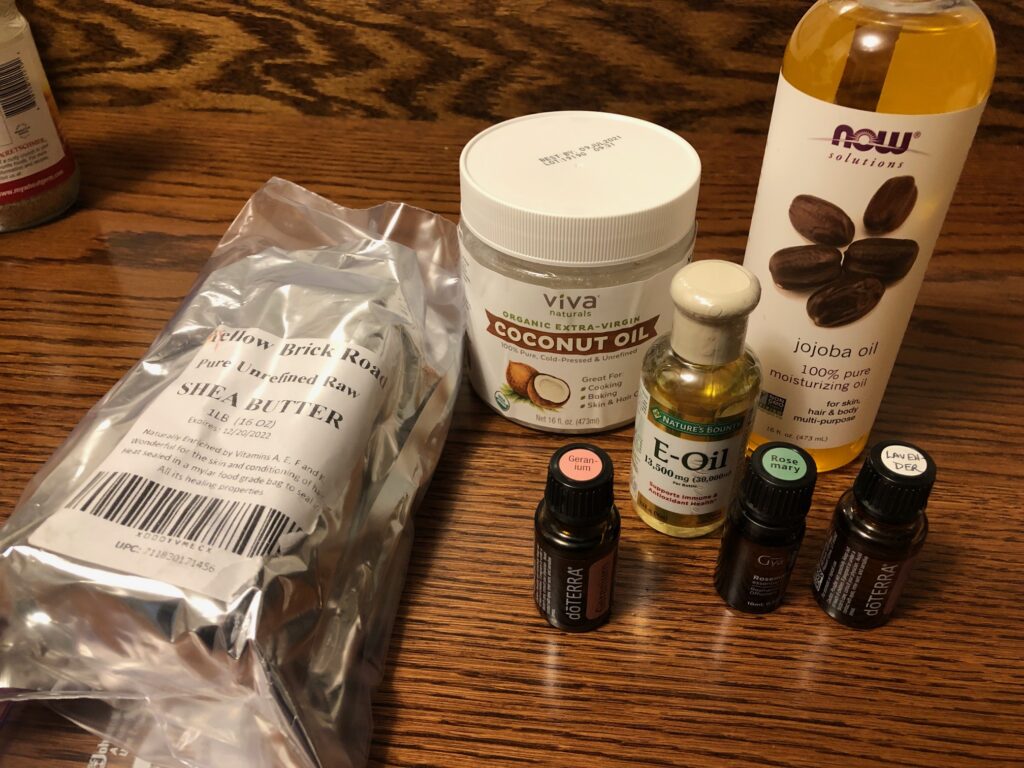
Step 1: Melt the Shea Butter and the Coconut Oil.
Step 2: Add the Jojoba Oil, Vitamin E Oil and Essential Oils of Lavender, Geranium and Rosemary, and stir well. Pour into containers.
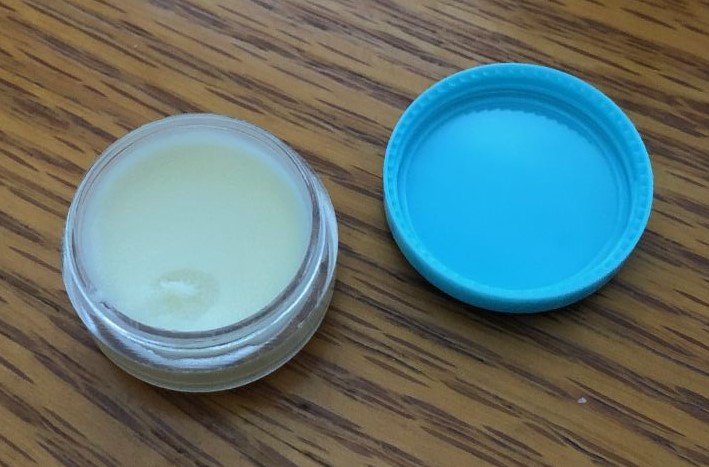
This was a messy process! The containers I chose were just 1″ across. They filled up so quickly I couldn’t stop pouring in time!
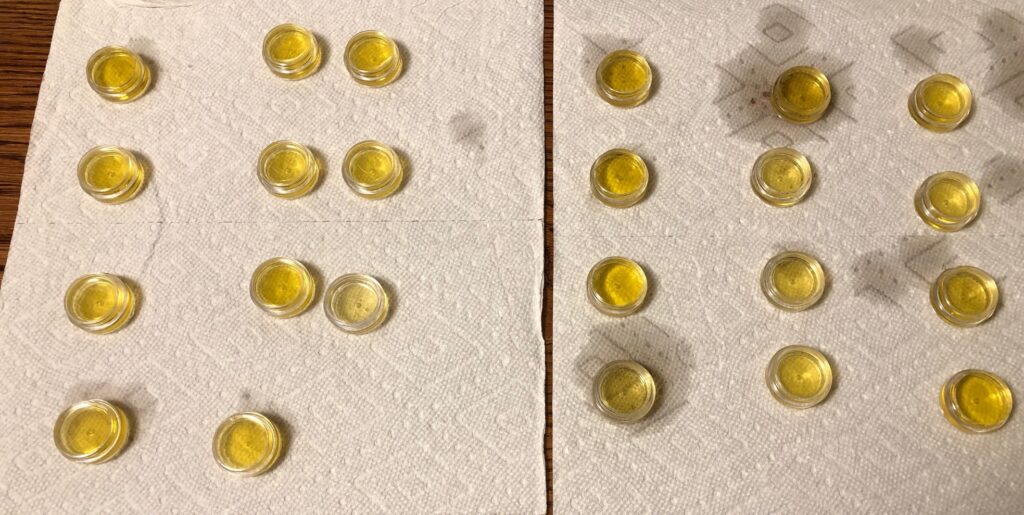
Then I waited for it to set up…which was…never! I guess over two days or so it might, but basically it stayed liquid. I tried pouring one into a roller ball, but that was a waste because it did finally get thicker and then wouldn’t come out of the roller ball. I threw that one away!
Second Try
I poured all of the oil from the tiny containers back into the measuring cup, put it back on the stove and added more Shea Butter (you can see the recipe above has 1/4 cup crossed out with 1/2 cup penciled in).
The next time I poured, I set the tiny containers on a tray so I could slide them into the refrigerator. I hoped that would help them set up more quickly. It wasn’t pretty the second time I poured!
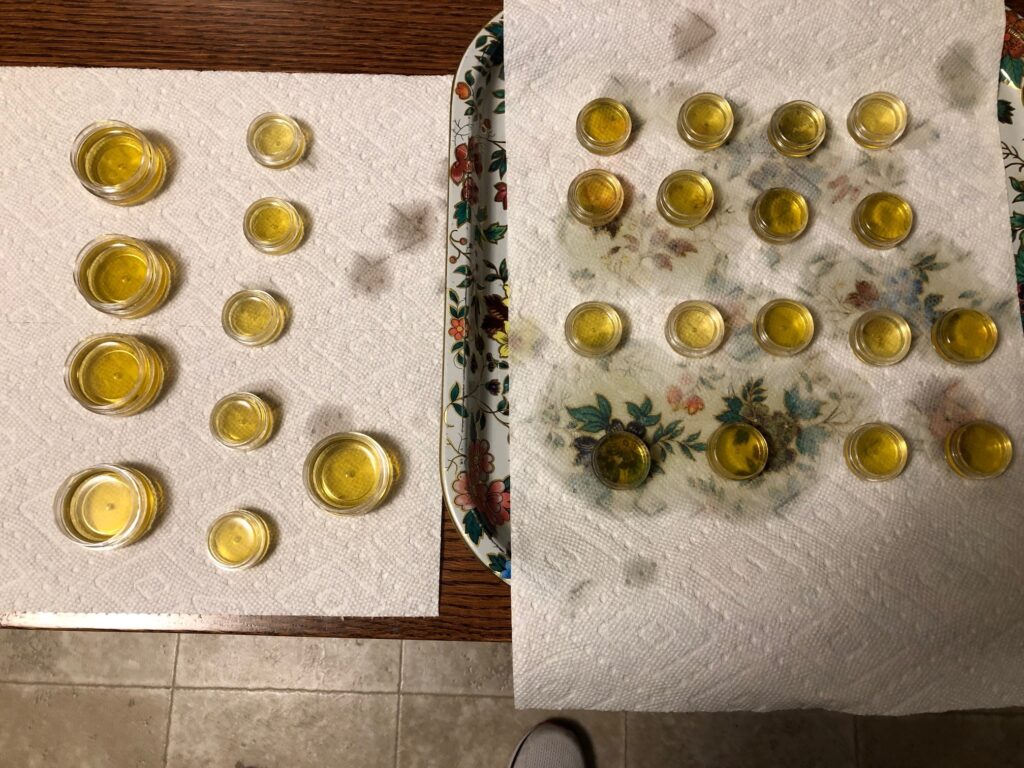
Increasing the Shea Butter and setting the tray in the refrigerator made all the difference. It made a very soft salve that melted in nicely to my cuticles. You can see how soft it is…my finger just barely touched the top of the salve and it left a dent. On a hot summer day I might want to keep it in the refrigerator.
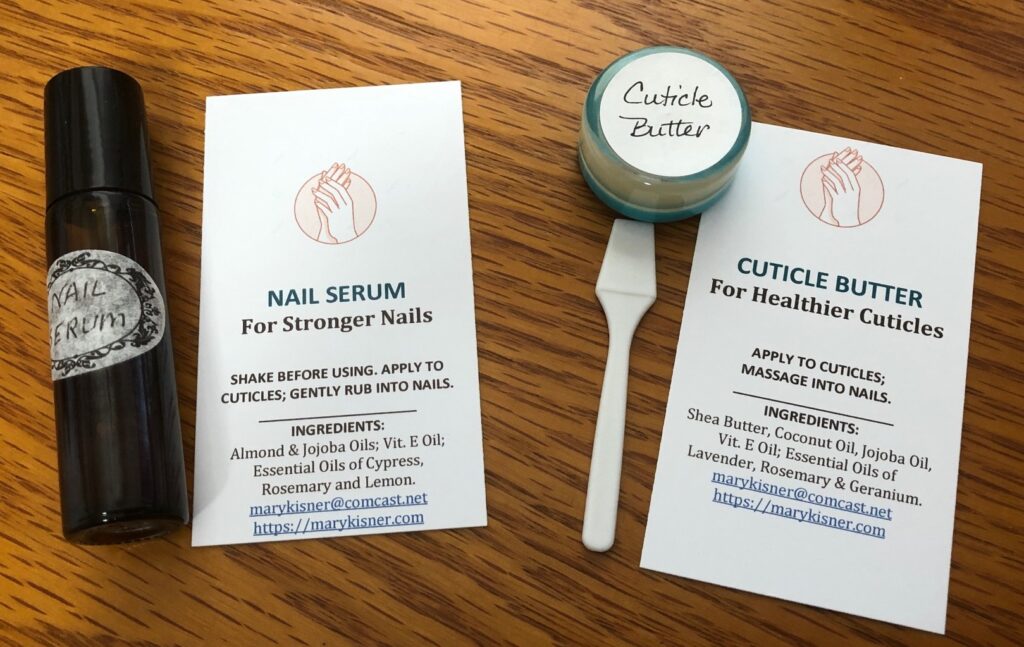
My next step is to share these two products with friends to see if helps our nails. I’ll package them together and ask for feedback on which product is easier to apply.
I’m not sure if I’ll have great nails by Christmas, but maybe by Spring I’ll know if they work! Enjoy!
Please comment or email me directly if you have questions at marykisner@comcast.net.