
Are you looking for a simple project that could be helpful to caregivers working with hospice patients? Making comfort shirts might also be a project suitable for a scout troop or by a teen who needs community service hours. A comfort shirt is a t-shirt that is split up the back, ties or Velcro added and the neckline decorated with buttons or beads. It provides a way for a caregiver to dress a bed-bound patient easily without having to work head and arms through holes. It also provides a little color for those visiting the patient.
Over ten years ago I was working with a local hospice service making memory bears for the families of their patients. A request was submitted by the nursing staff to try to make colorful shirts that would be easier for them to put on the patients. Regular hospital gowns were drab, too long and not comfortable over the long haul. Most patients were bed-bound and were covered below the waist when they had visitors. Thus, adapting a colorful t-shirt sounded possible.
To make a comfort shirt, you’ll need a t-shirt, ribbon (1/4″ to 3/8″ wide, 2 yards) OR Velcro hook and loop fasteners; assorted buttons or beads to decorate the neckline; a sewing machine to hem the back edges and needle and thread to hand sew the decorations to the front of the t-shirt.
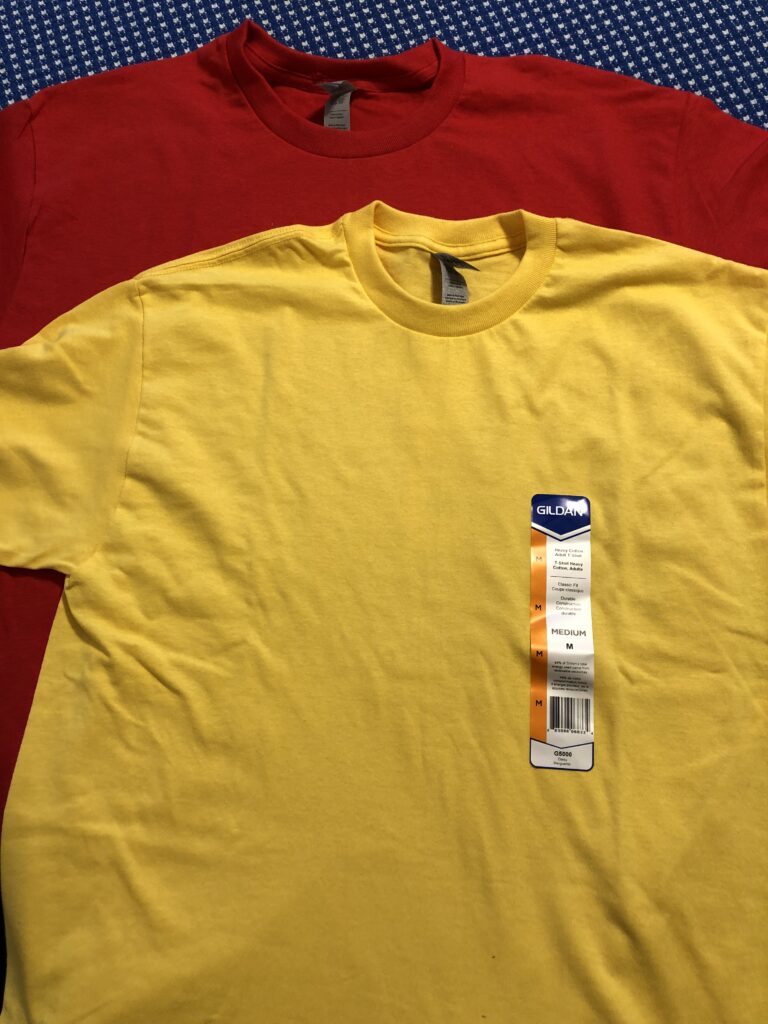
I started by finding inexpensive t-shirts at JoAnn’s Fabric store…they were stocked in all sizes to be used in art projects. I chose mostly the Adult Medium size. All shirts were washed in hot water and dried in the dryer…which is how they will be washed in the future.
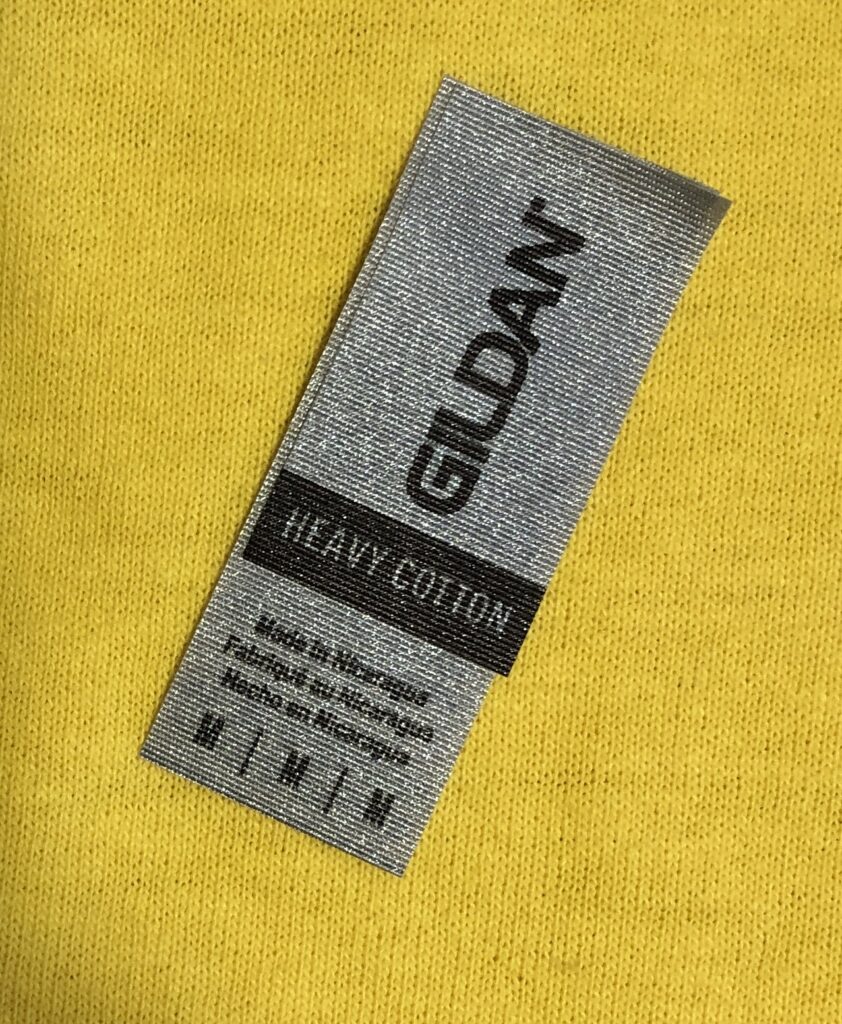
Step 1: I removed the tag at the neckline and saved it. Later, I’ll sew it down low in the back so caregivers know what size it is.
Step 2: I turned the t-shirt over and drew a line from the center back neckline to the hem. I cut the shirt up the back.
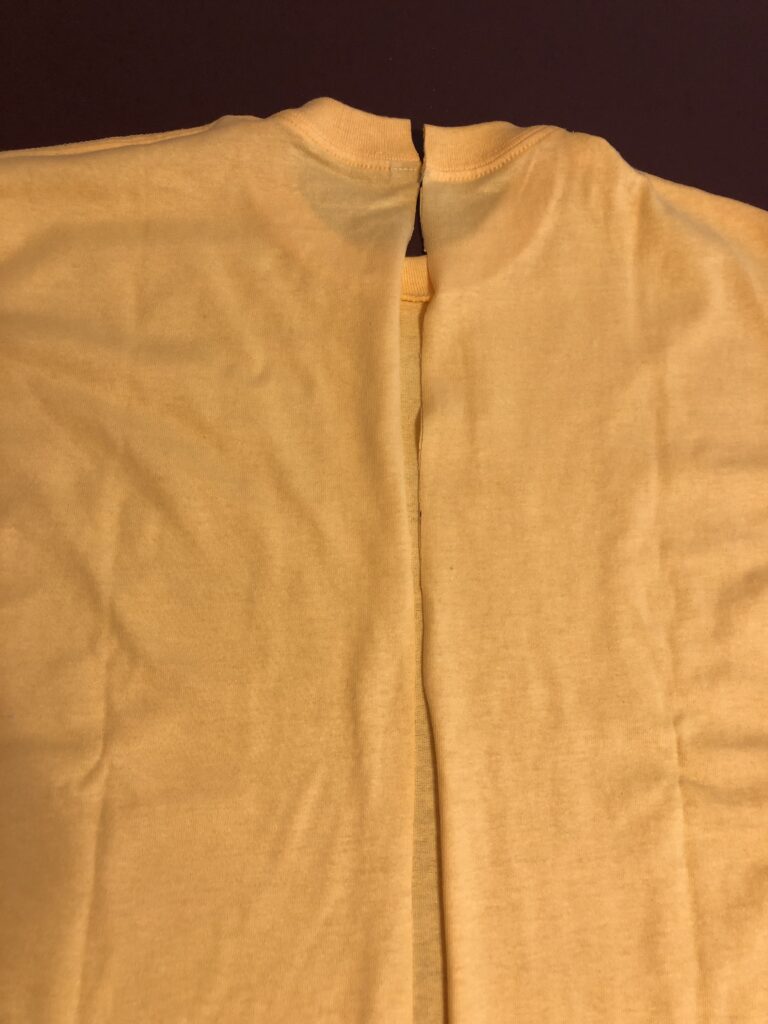
Step 3: I folded each cut side over about 1/2 inch and stitch it down. You can fold it again and stitch it a second time to make it sturdier.
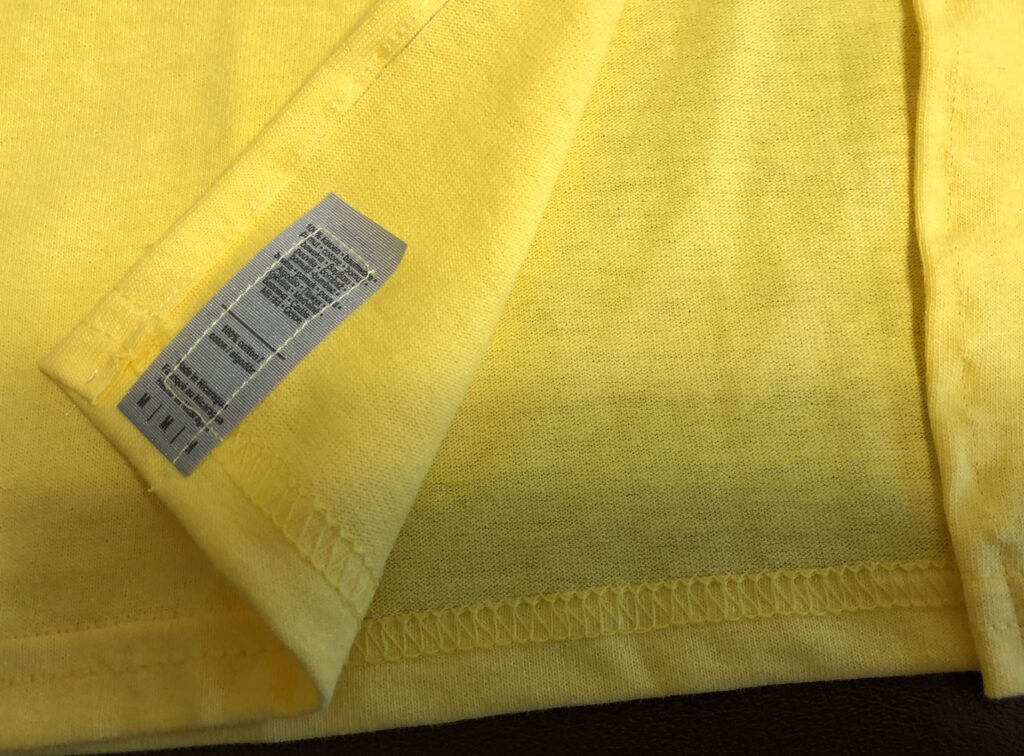
Step 4: Sew the tag to the inside bottom of the t-shirt in the back.
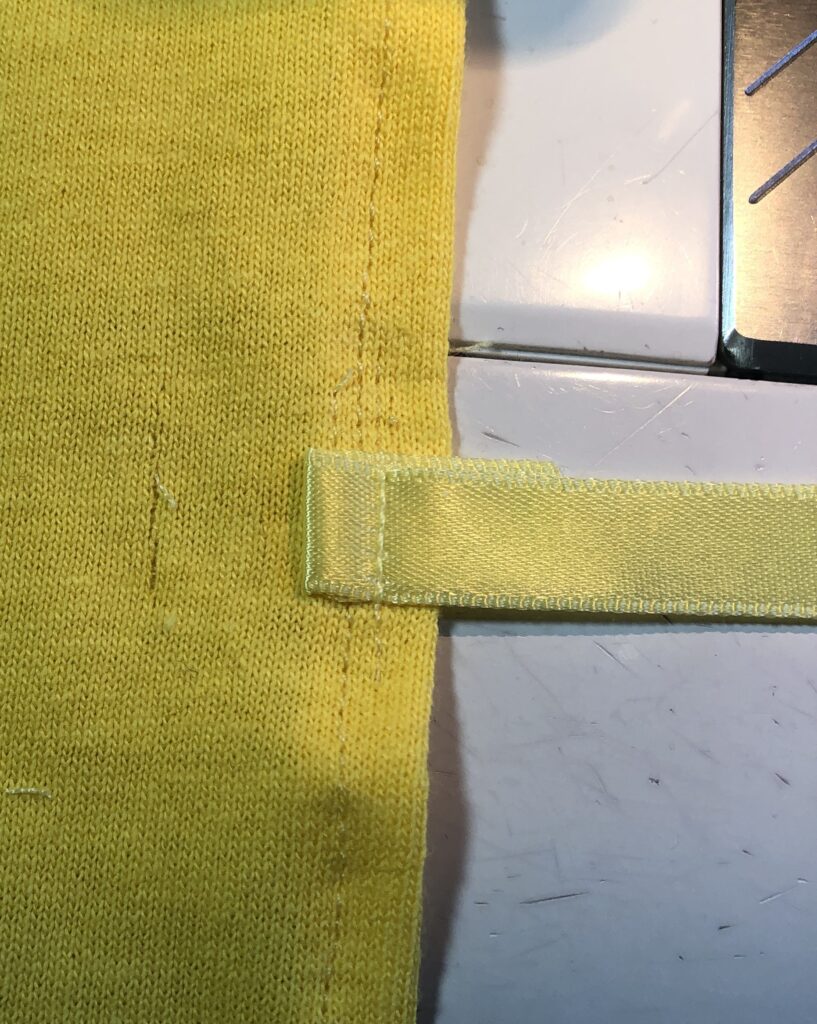
Step 5: Use 1/4″ to 3/8″ wide ribbon OR Velcro for the fasteners. I marked the location of the ties with one near the neckline, another about mid-back. I stitched each ribbon twice…first facing away from the opening and then folded it back and stitched it again in the right direction. This hid the raw edge of the ribbon.

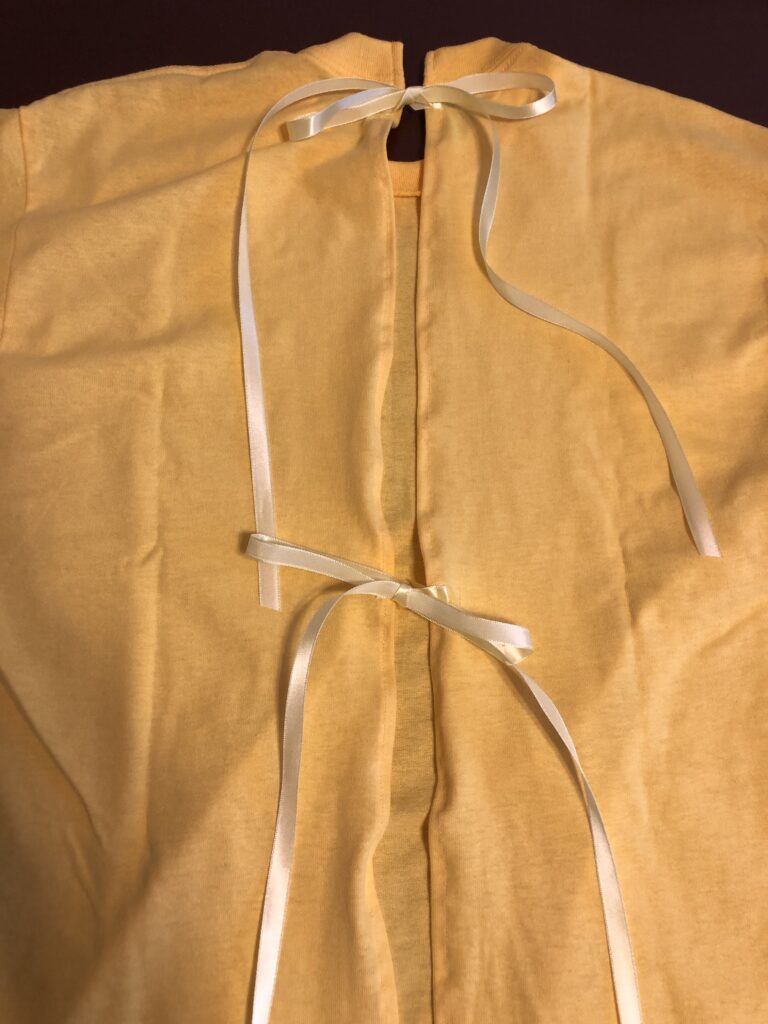
Here are the final ribbon ties.
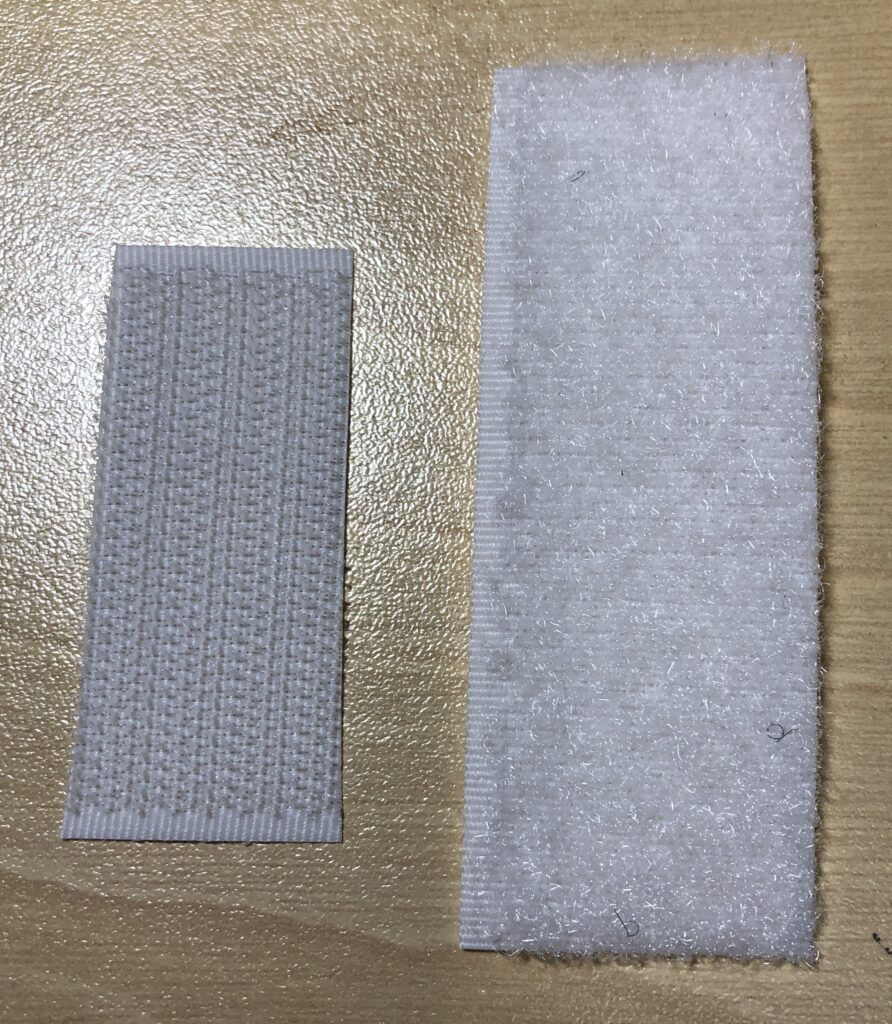
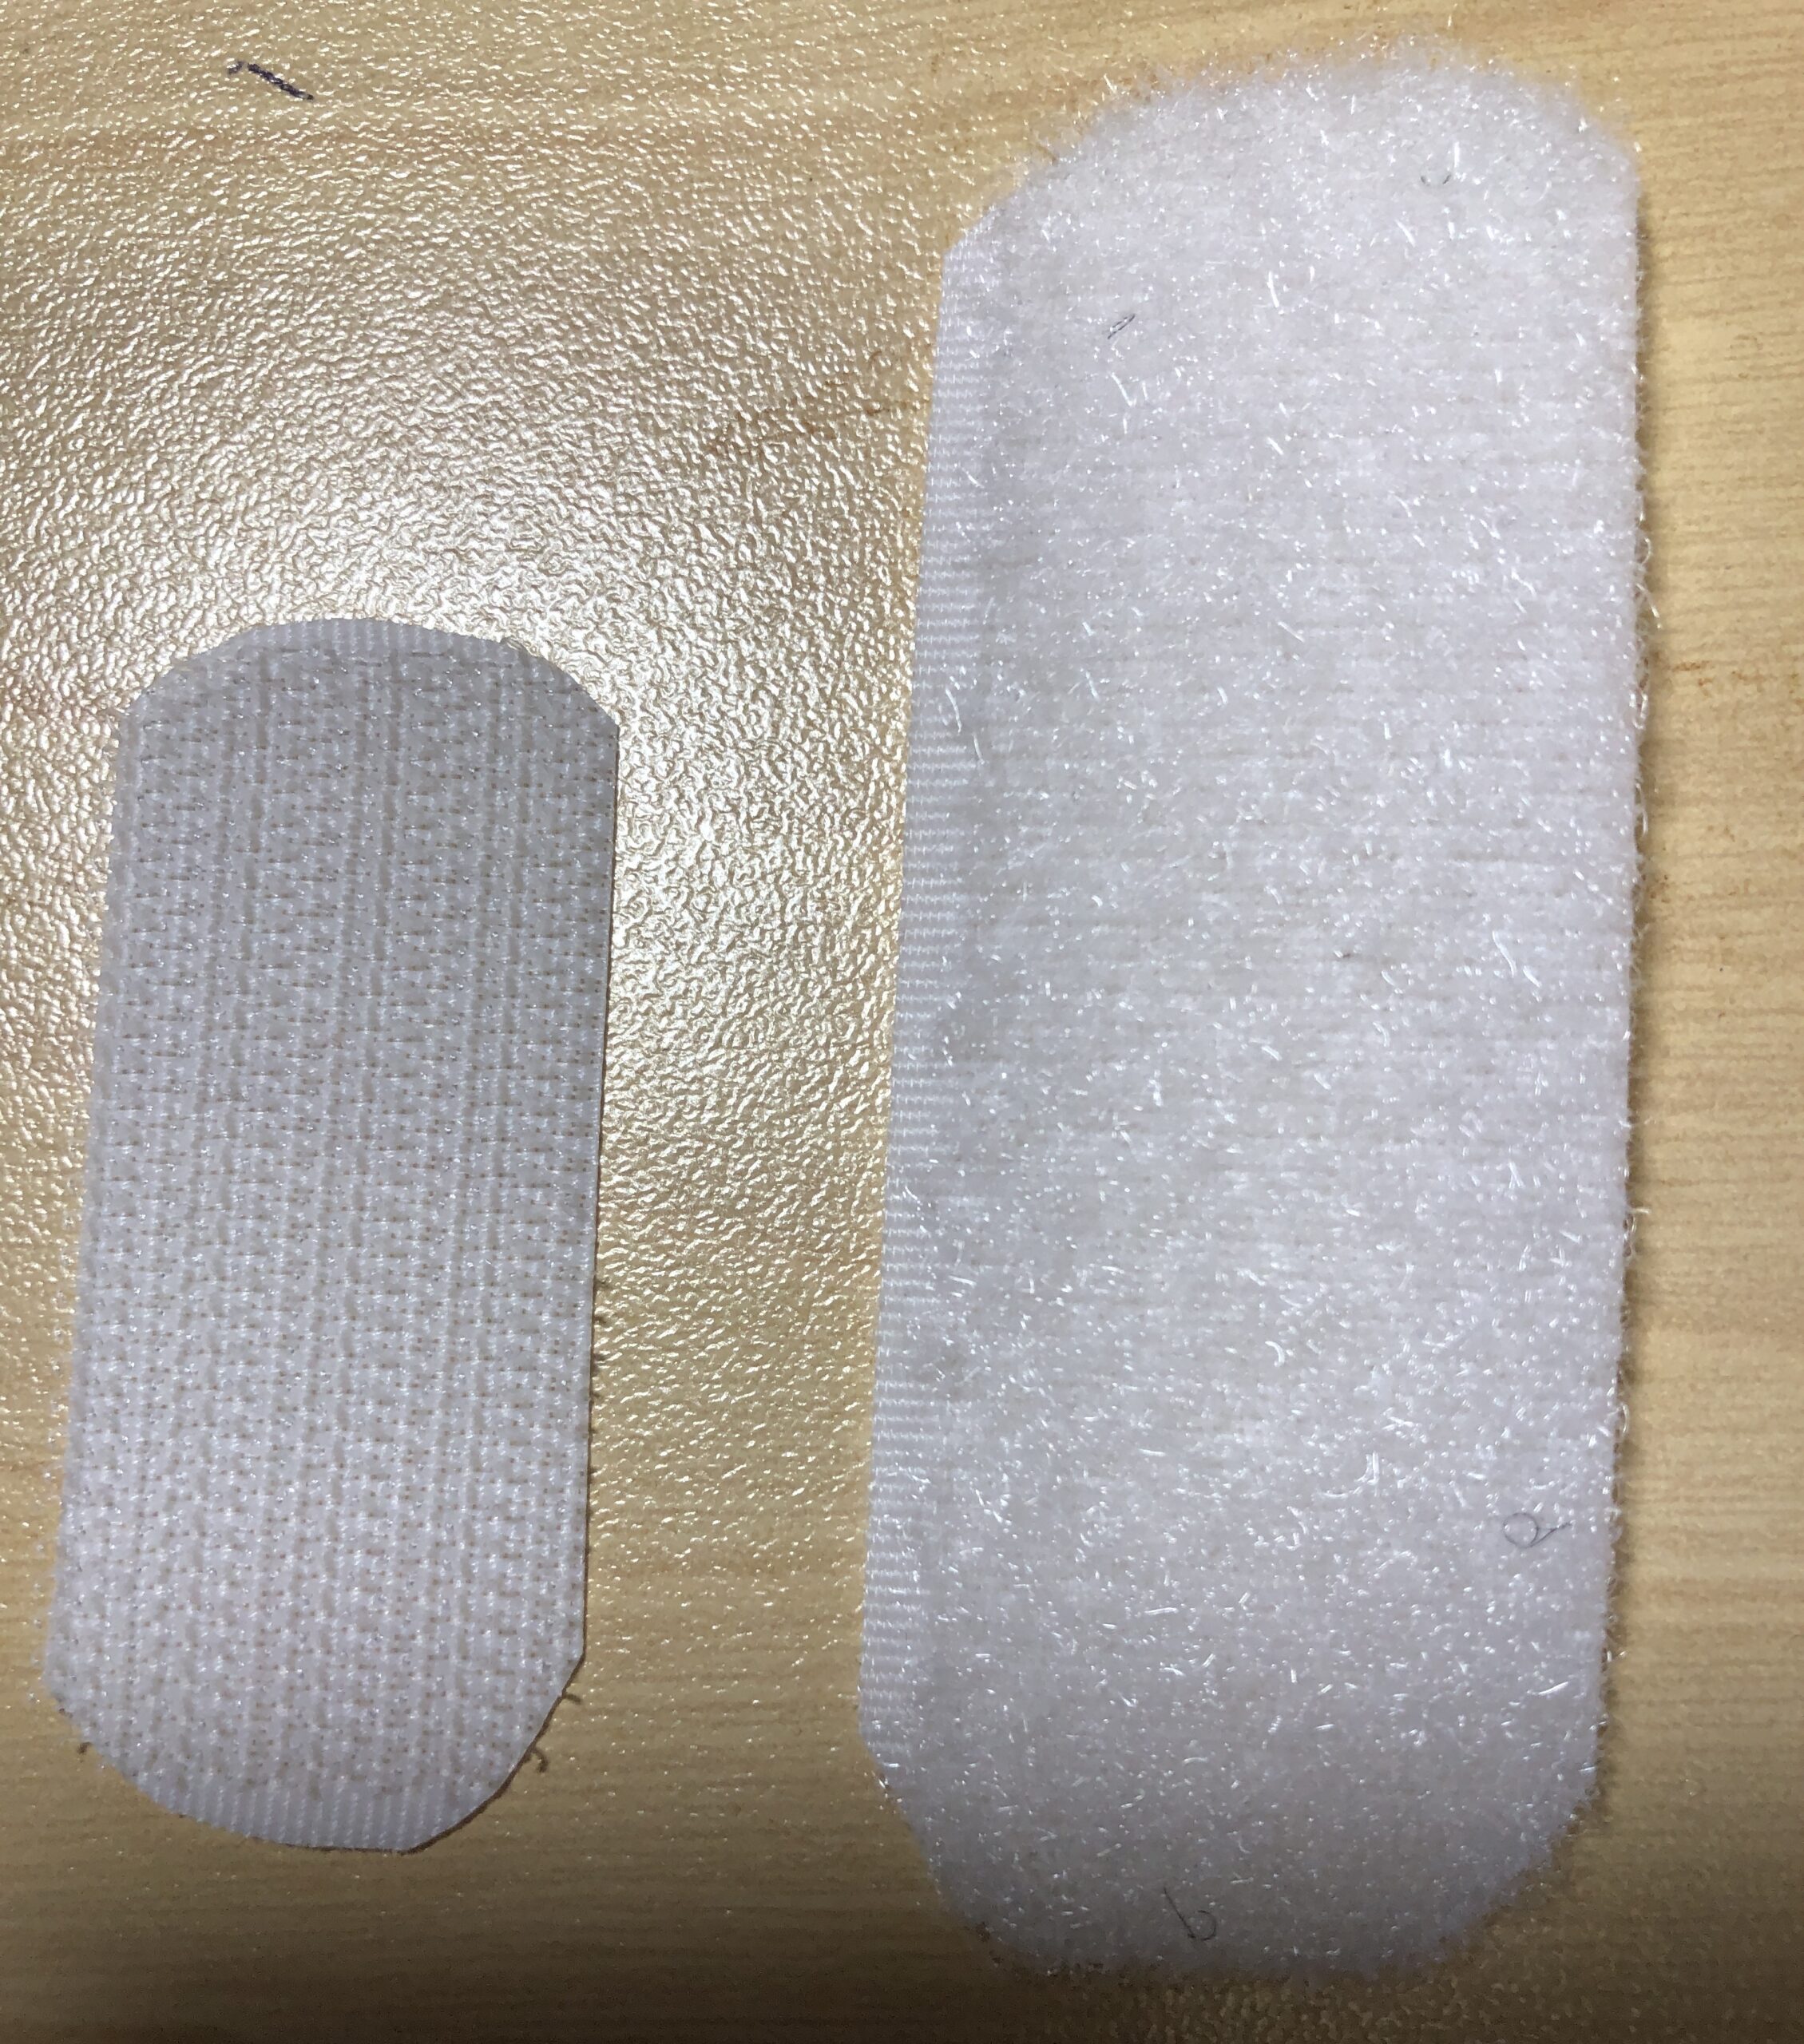
NOTE: If you decide to use Velcro, which my caregivers preferred, I made sure all the corners of the Velcro were trimmed and rounded so the corners didn’t stab the patient in the back. I’ve also learned the Hook part of the Velcro can be smaller than the Loop part…it doesn’t have to be exactly situated to “stick” to a larger loop piece. The Hook part can be about 1″ x 2″ and the Loop part can be about 1″ x 3″.
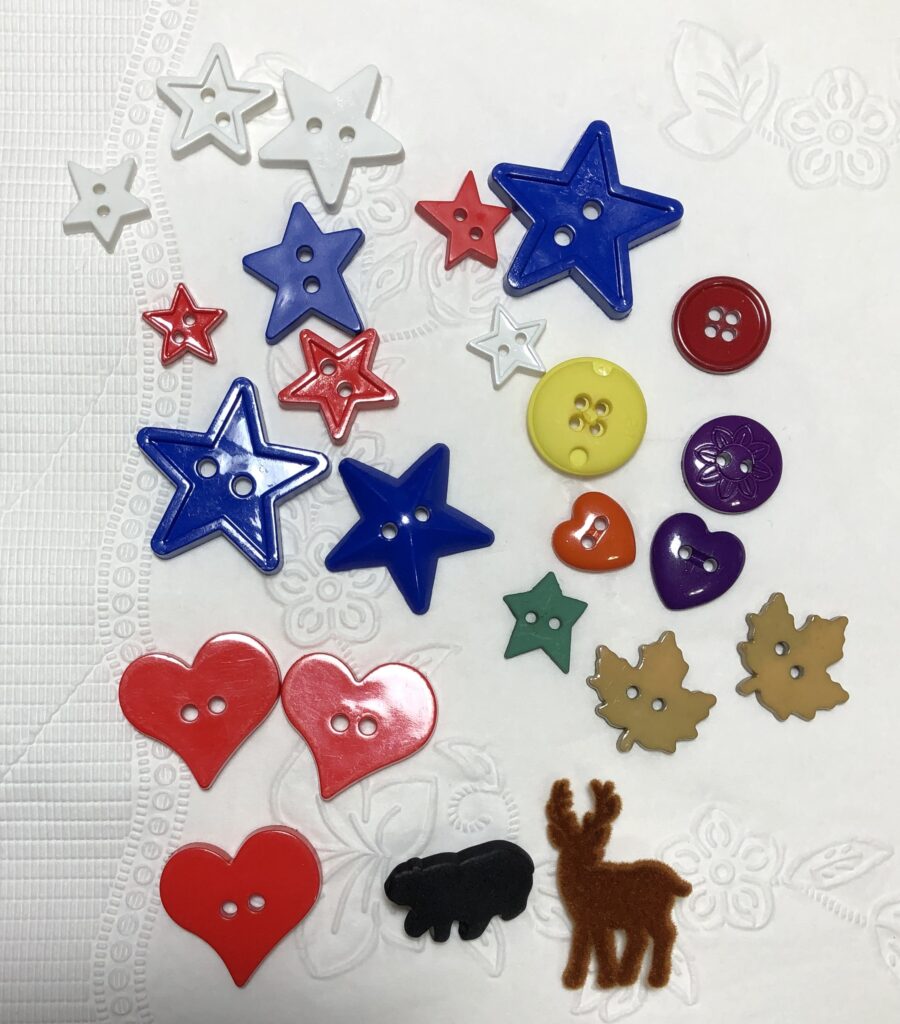
Step 6: Choose buttons or beads to decorate the neckline. Mark the locations about 1″ below the ribbed neckline and hand sew them to the shirt.
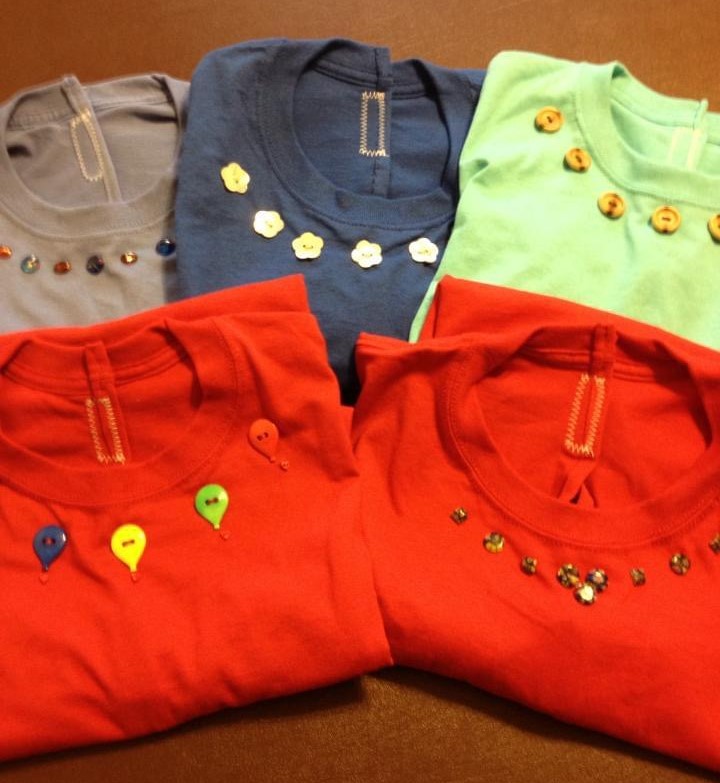
Here are a few of the comfort shirts I’ve made:
Check around in your local community and see if comfort shirts would be useful to caregivers. Great project for folks of all ages! Enjoy!