
Before I invest in more polymer clay to make my garden signs, I thought I should figure out if it will even work. I collected up my pile of partially used bits of clay leftover from other projects and spent the day making some samples.
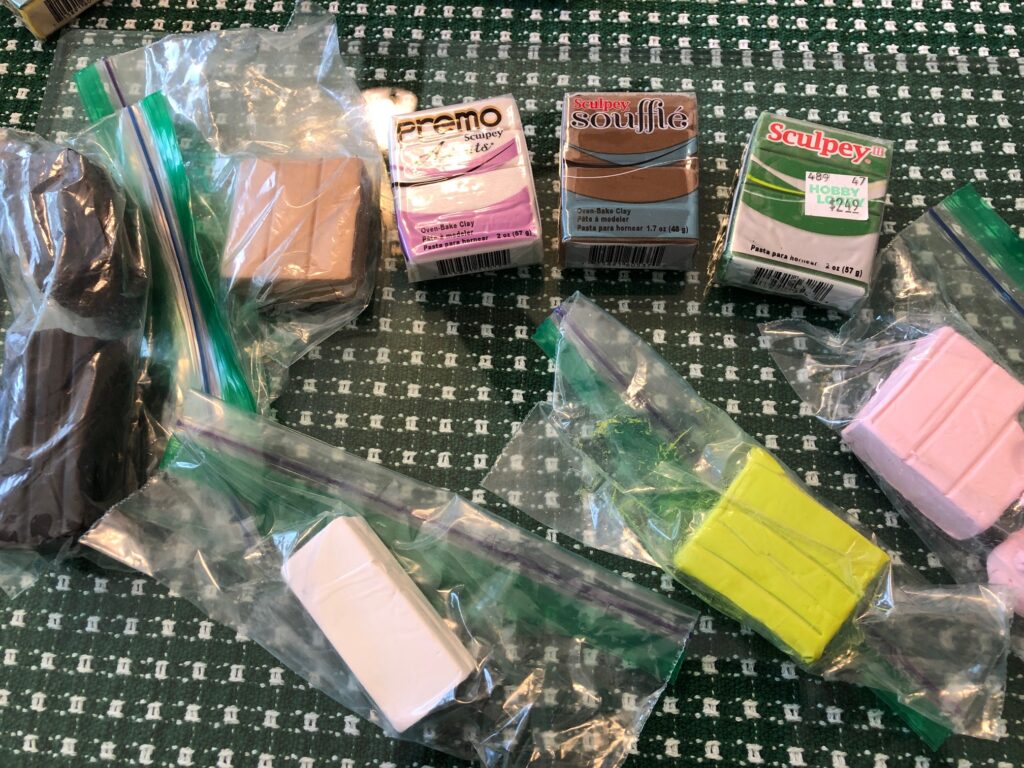
I haven’t worked with clay for many months but the clay seemed to survive just fine in plastic bags. My first goal was to see if one color worked better than others and how I should write on them. My second goal was to figure out what shape worked best and how to attach the stick that will go in the ground.
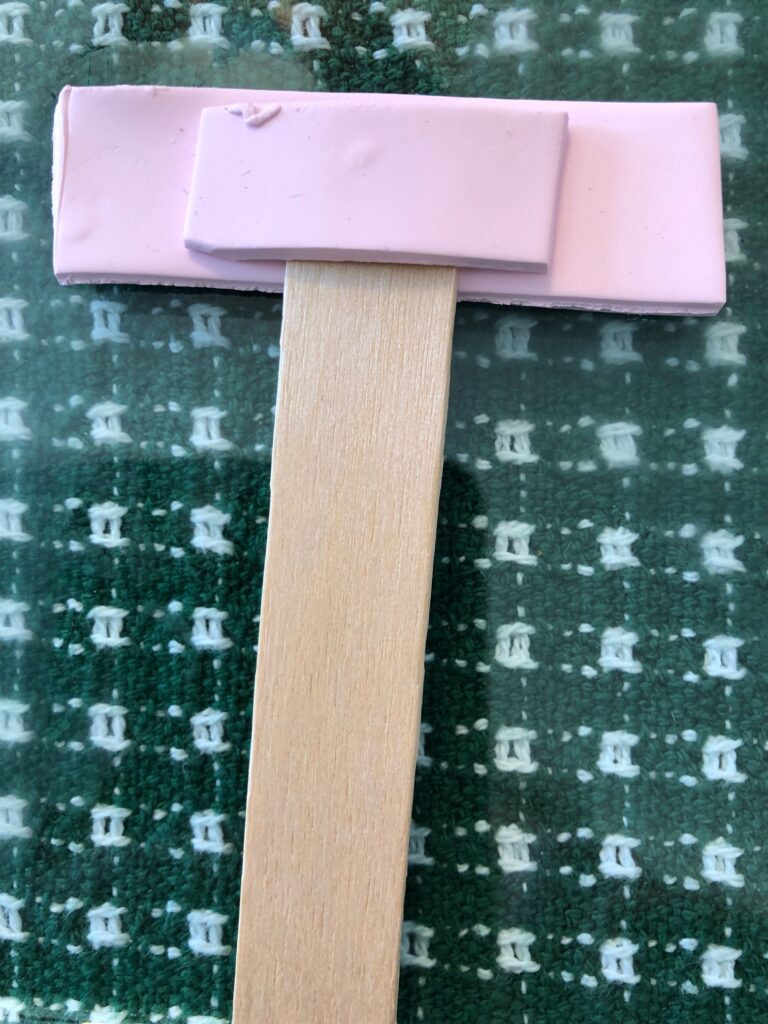
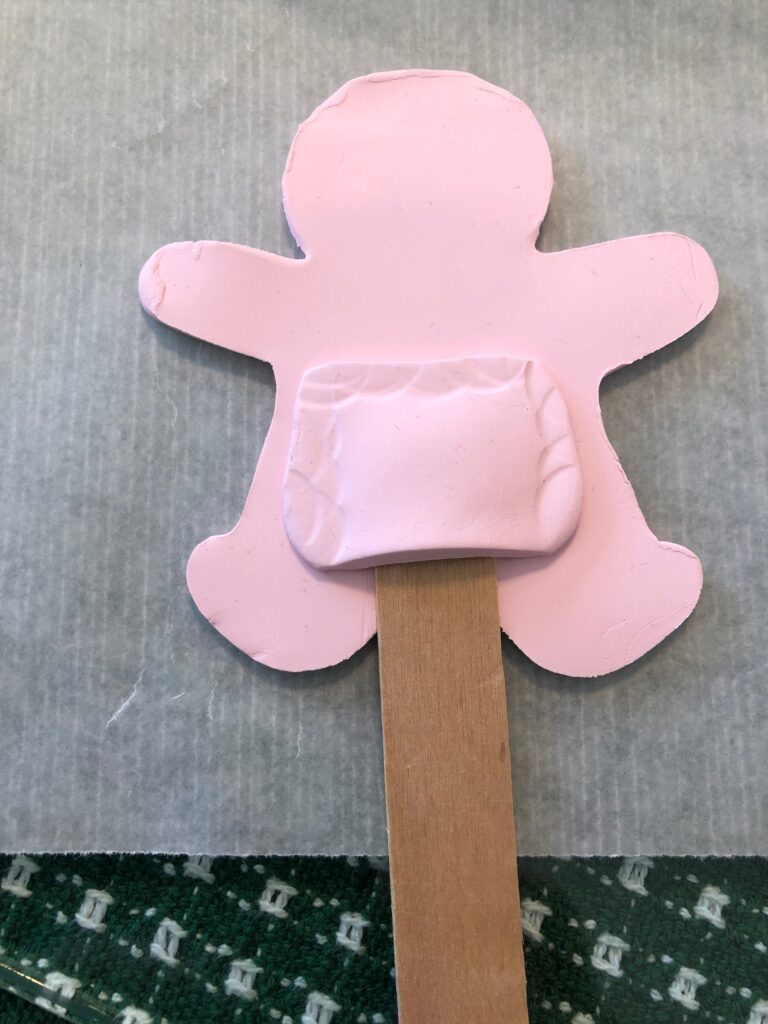
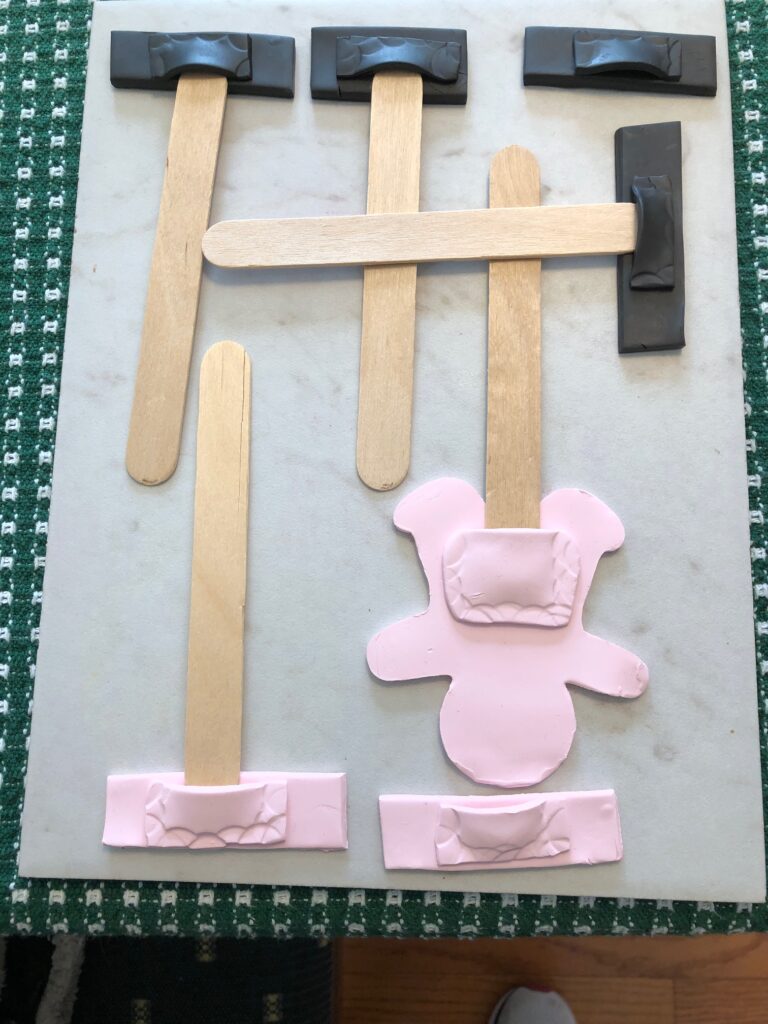
The first color I chose was a pale pink. I thought I could write on it with a black marker. I also didn’t need anything too large because five of the signs could be small…they will be in the smallest planters on the patio. These small signs would be for the Radishes, Lettuce, Spinach, Radicchio and Swiss Chard. I put a piece of clay on the back that would make a pocket to hold the stick.
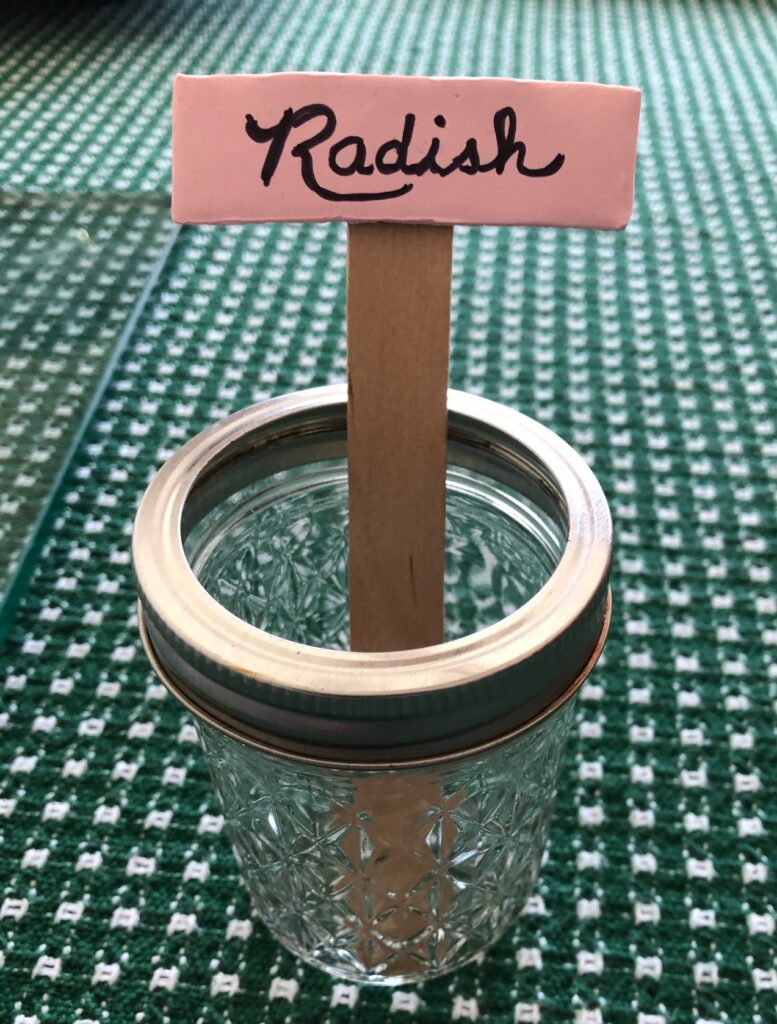
After baking in my toaster oven (275 degrees for 30 minutes), I wrote Radish on the sign with a permanent marker. The sign looked like this:
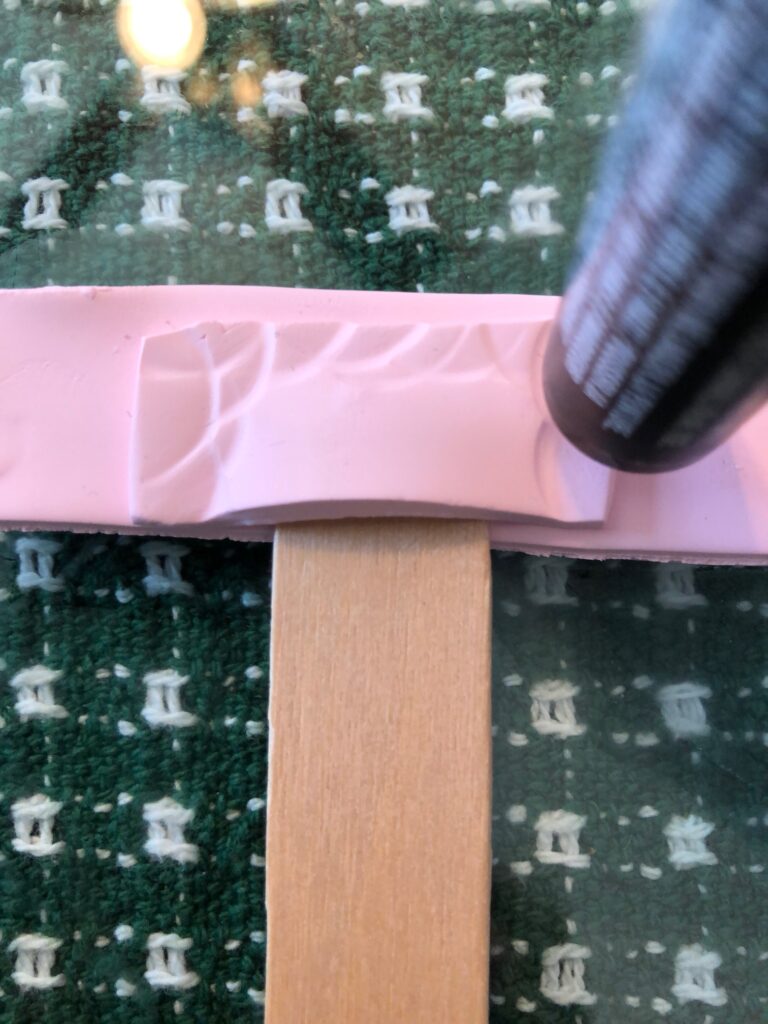
Just for fun, I chose a cookie cutter of a gingerbread man to make a larger sign. I added the pocket piece to the back and tapped the edge down.
After baking, I glued the stick into the pocket using fast-drying E6000 glue. These are the ones I made today:
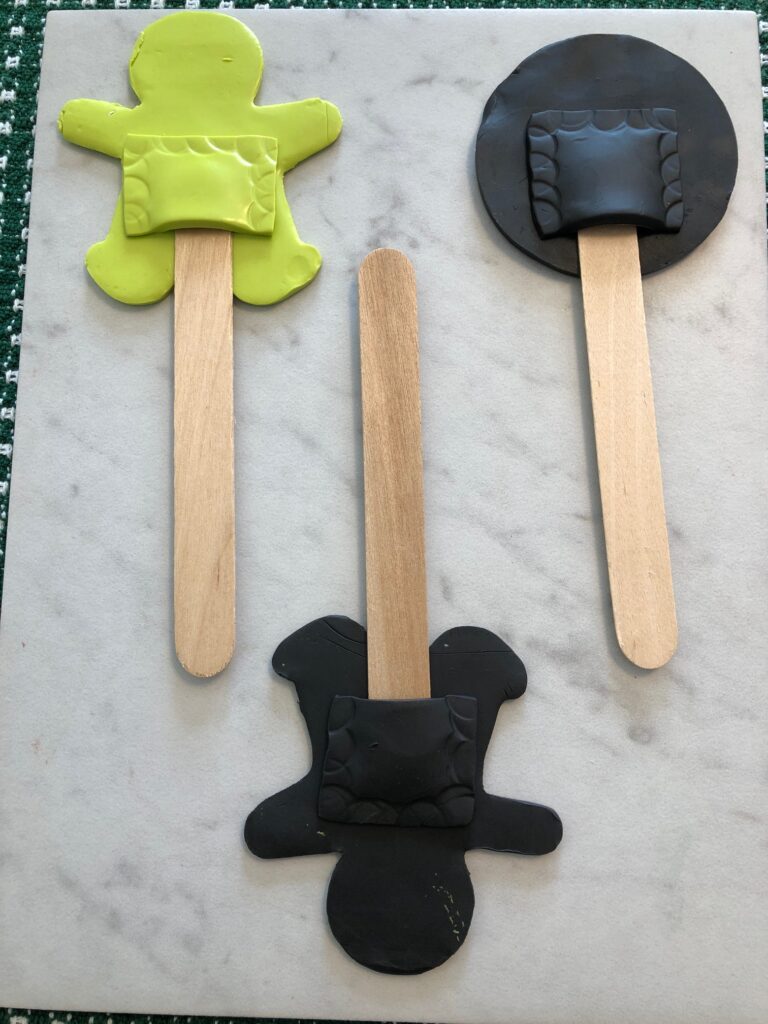
When the signs were cool, I turned them over and wrote on the black ones with yellow paint. I may have to make the rest larger than the round one above…too much to write so they need to be bigger.
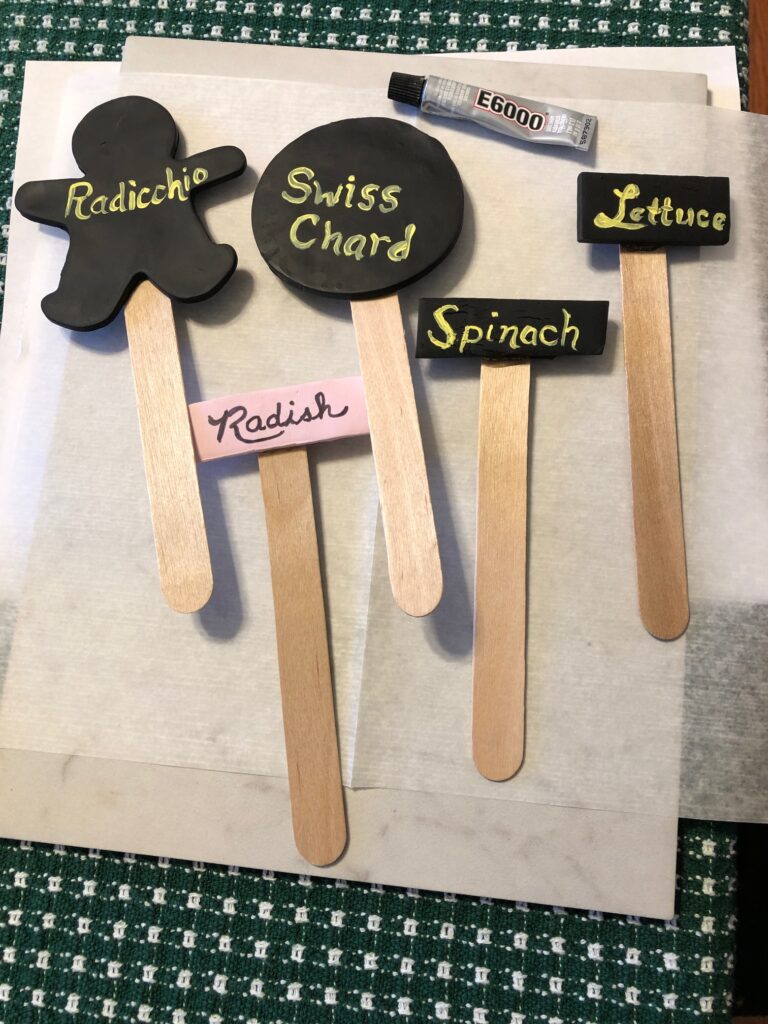
After writing all the words with yellow paint on black I think I like the light color clay with writing in black marker. It’s much easier, especially as the number of letters increase.
When they are all done, I’ll seal them with an acrylic spray to make them waterproof. I’m sure they could also be more decorative too! I’ll have to look up some ideas on Pinterest! Enjoy!
Please comment with suggestions or email me directly at marykisner@comcast.net.