
Do you find yourself collecting t-shirts with pictures of the places you visit? Or maybe you’ve saved t-shirts that your child has outgrown that just have special memories? Working with t-shirts presents a few unique issues that are not found in regular quilt-making.
First, t-shirt fabric is usually soft and stretchy. Second, the pictures are not all the same size. Sometimes the picture is small, like on a pocket. Sometimes it is huge, covering the whole front or back of a shirt. So, before you can begin putting the puzzle pieces together, you have to make the puzzle pieces!
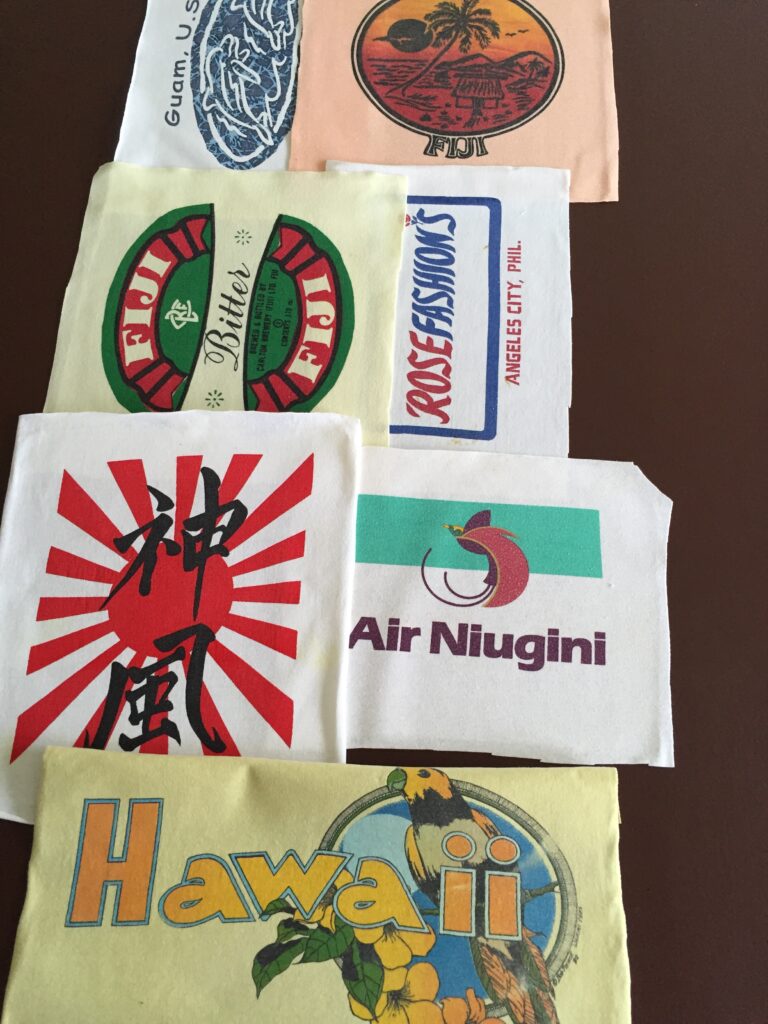
The first time I was asked to make a t -shirt quilt it was with a box of shirts a friend had saved from a career in the military…a mix of shirts from bars, world travel and military mementos…63 in all! Every picture had already been trimmed and the rest of the shirt was pitched so they wouldn’t take up so much space in storage. It was very overwhelming, since I had never attempted to make even a small t-shirt quilt.
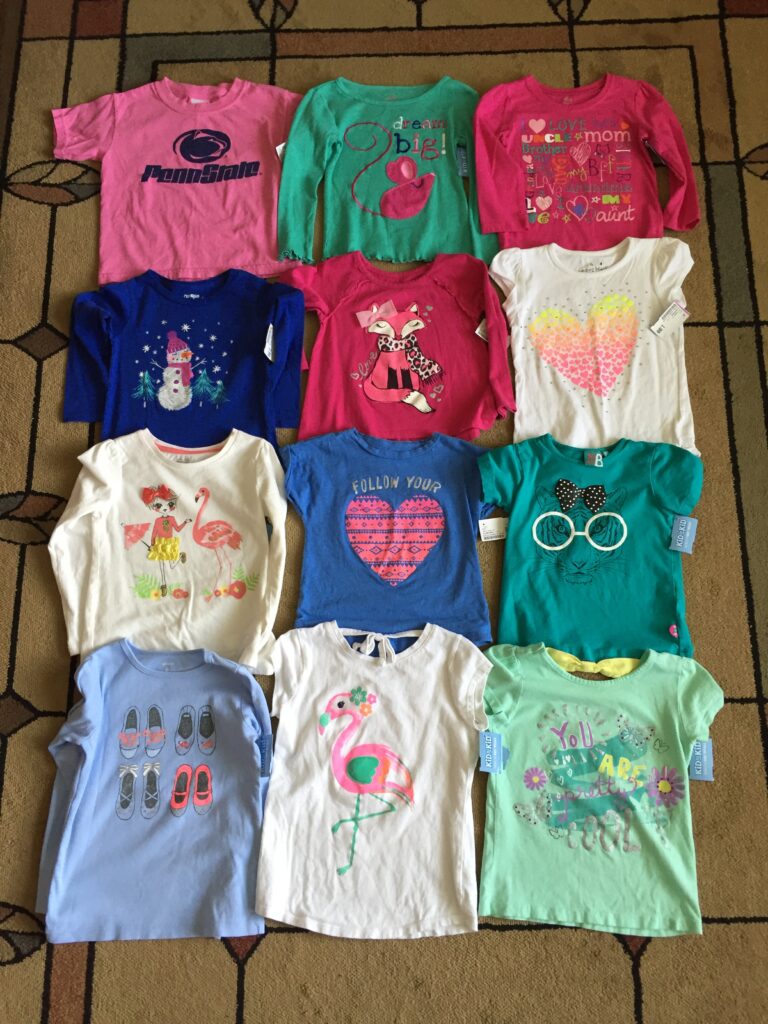
I decided I’d better try a small version before I cut into someone’s precious memories. I went to a local children’s resale shop and picked up a dozen cute t-shirts with interesting pictures on them.
I laid them out to get an idea of how they might look together.
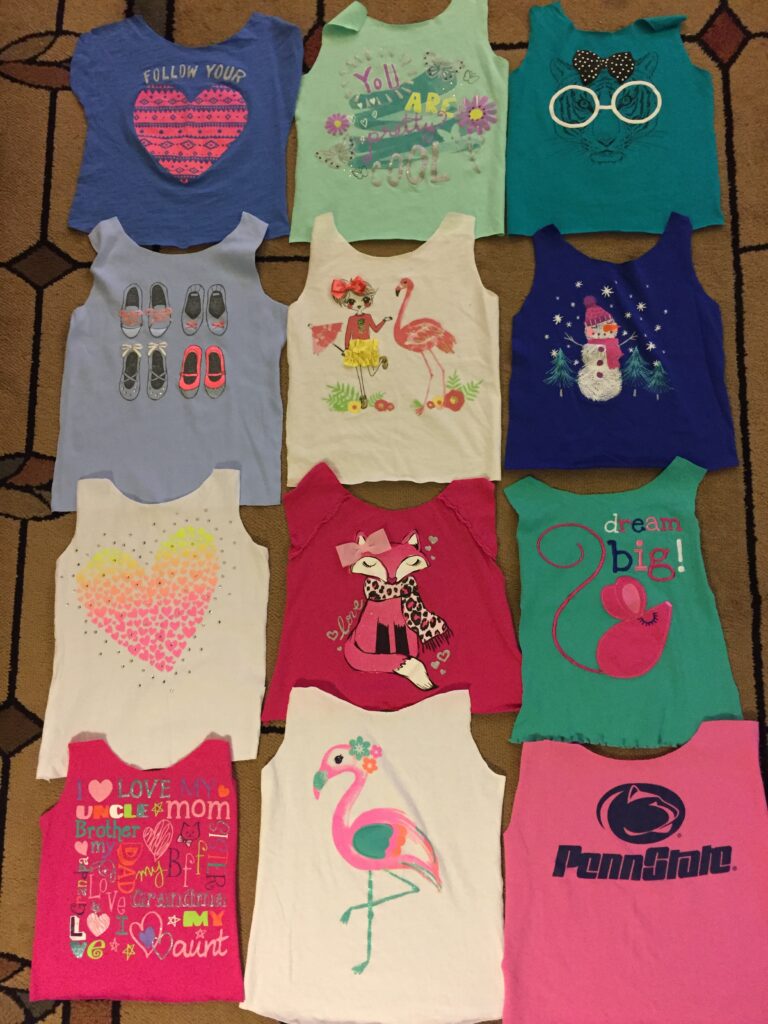
I ironed and trimmed each shirt, leaving just the picture with as much fabric around it and still lay flat.
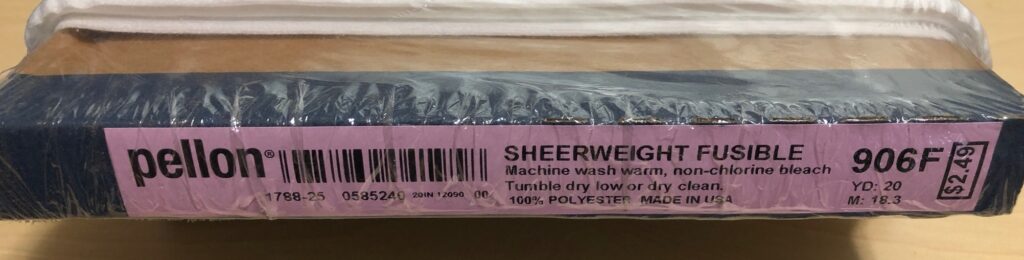
I used a lightweight non-woven iron-on interfacing and ironed a piece to the back of each shirt front.
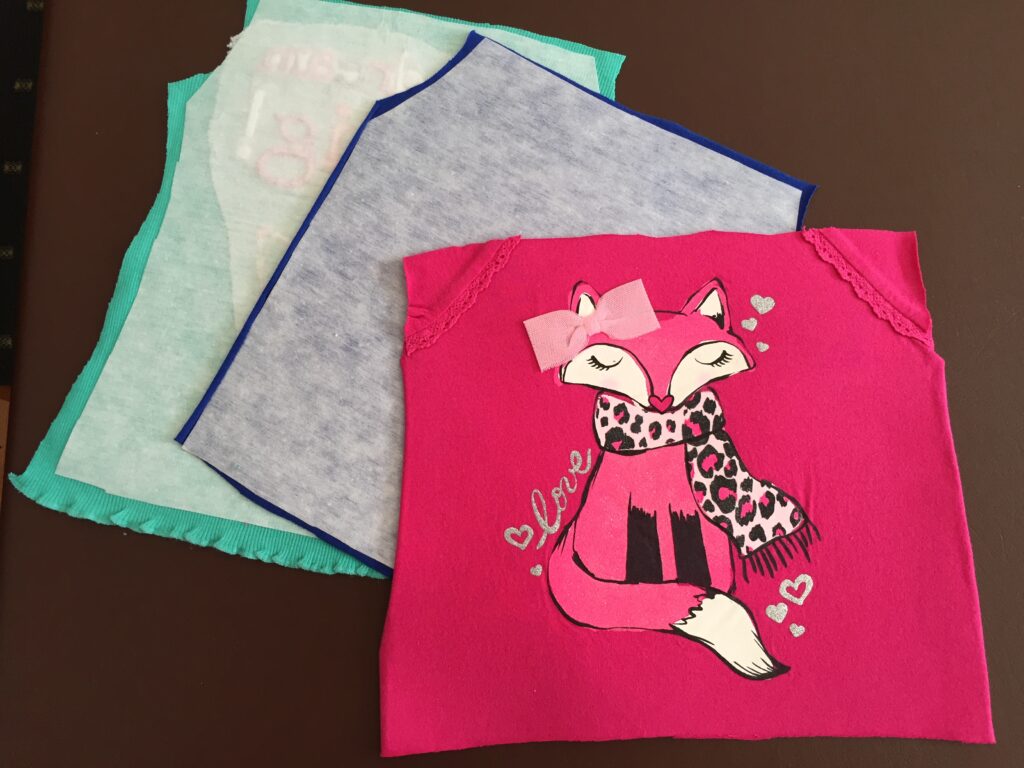
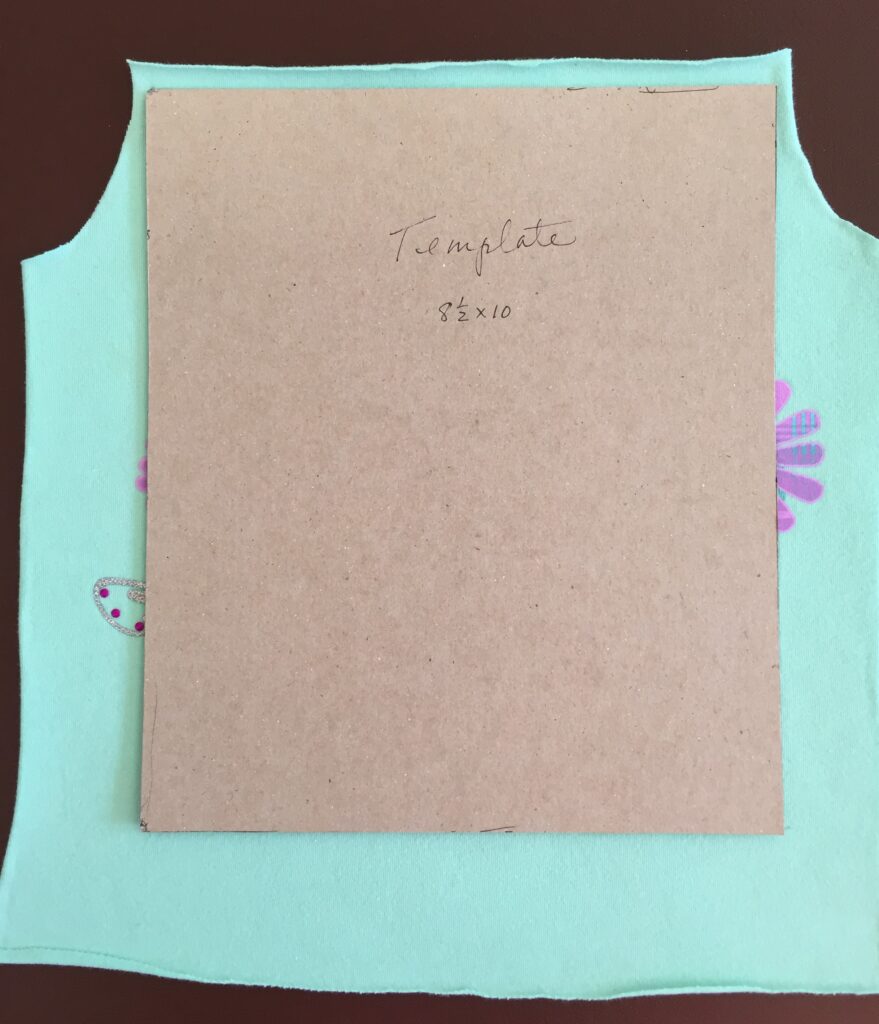
I had to decide on the size of the blocks that would allow most of each picture to be shown. The pink shirt above had raglan sleeves, so I left the pretty seam as part of the design. I ended up with a template 8 1/2″ by 10″.
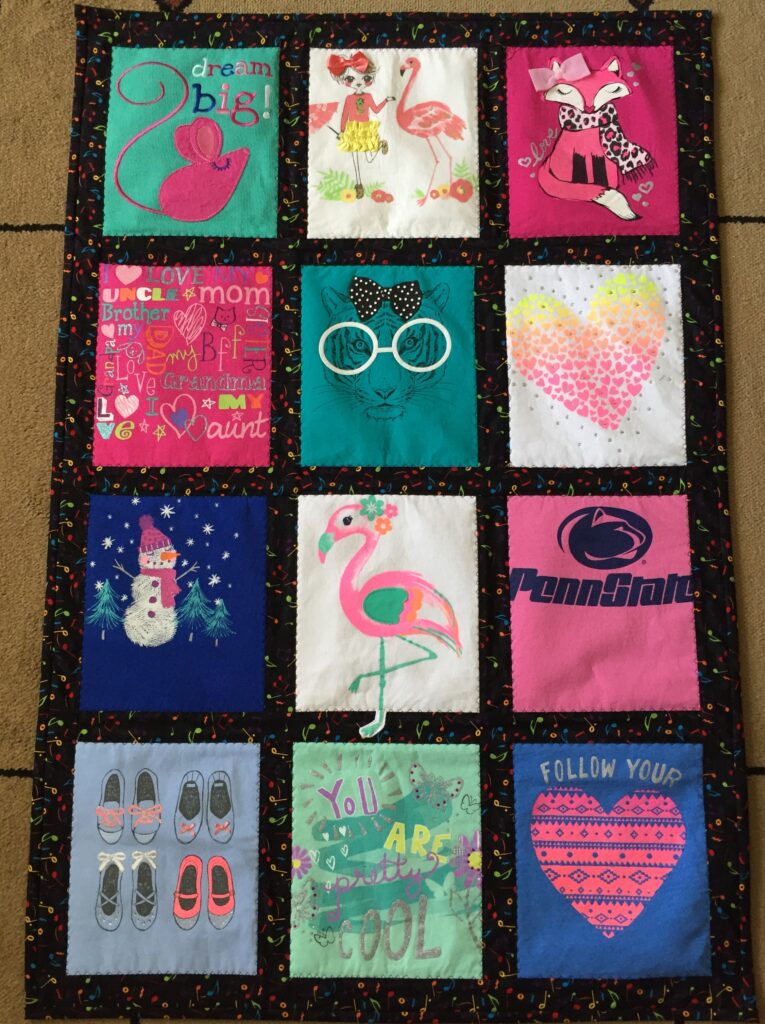
Once the fabric had been stabilized so it wouldn’t stretch, the blocks are assembled like any quilt top would be. I used strips as shown below for the inner borders. Of course, the flamingo’s foot was going to be cut off, so I cut around it and appliqued it to the border.
I ended up printing out the directions and offered the quilt to the resale shop for them to use as a display in case other mothers would like to try it.
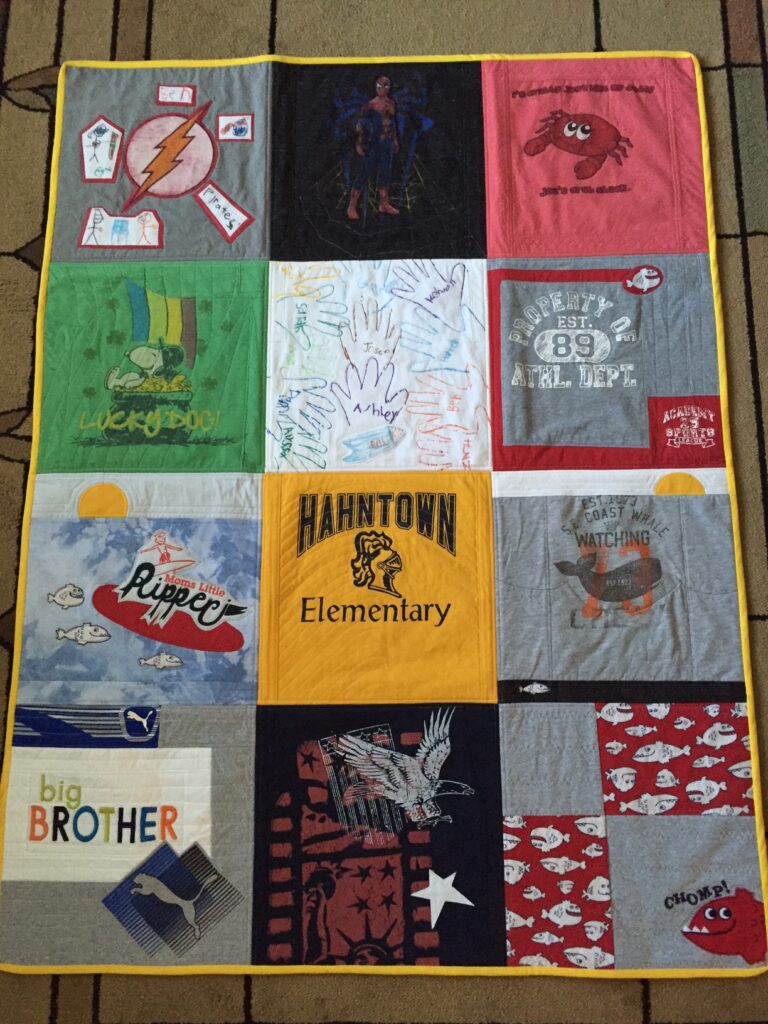
Next, I offered to make a memory quilt for my daughter. She had saved a pile of t-shirts from my grandson’s elementary school years. This time I decided to not separate the blocks with an inner border. A few blocks had to be pieced or small pieces were appliqued to other blocks to make the size consistent and to make use of some smaller pictures.
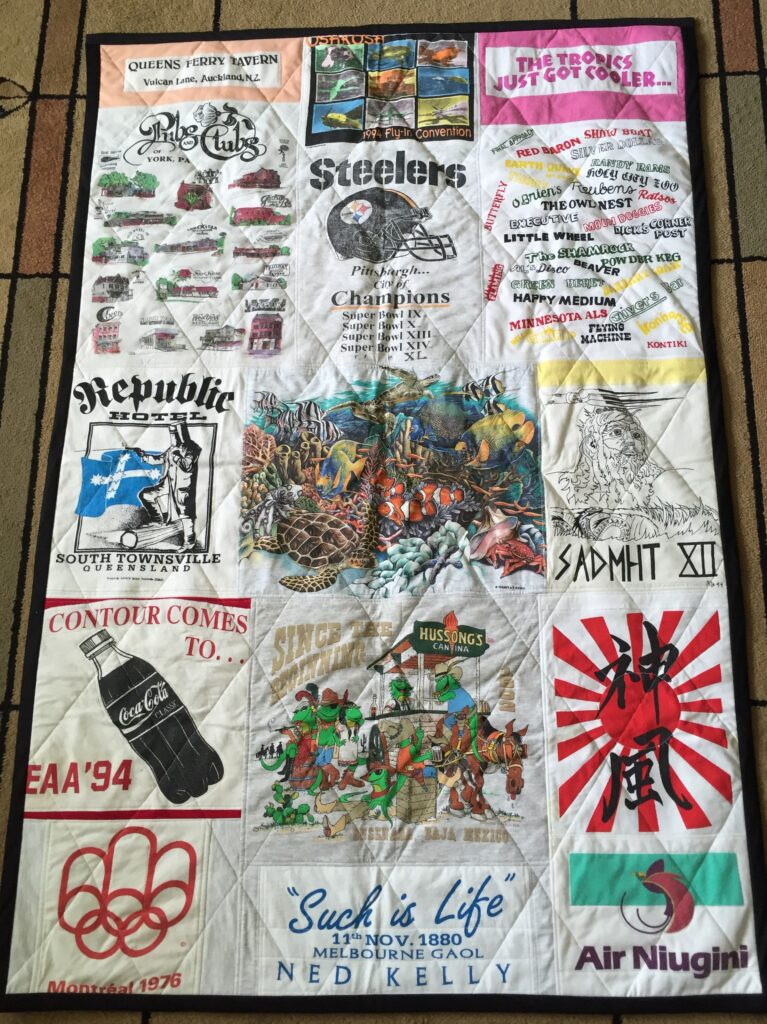
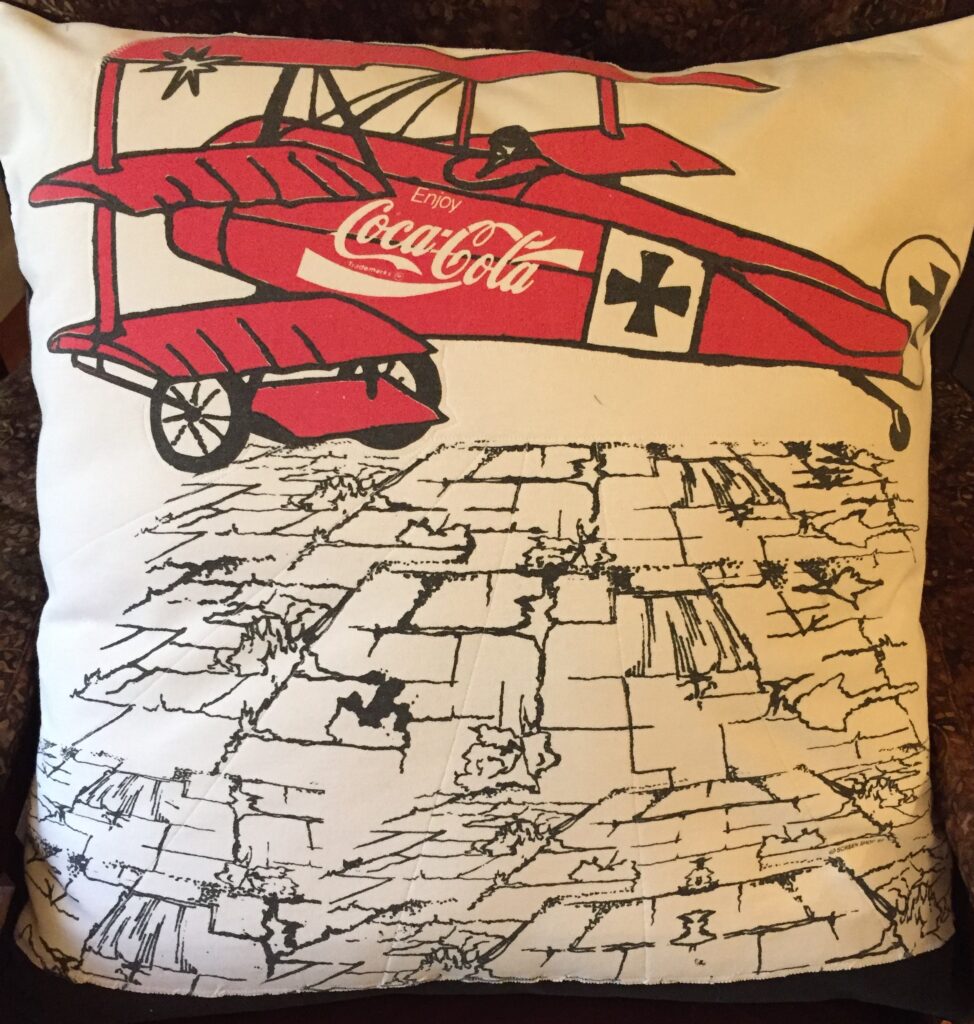
Finally, I felt ready to attack the huge box of career-long memory t-shirts. I consider this a major accomplishment that took over a month to assemble. Because the pictures had already been trimmed it was impossible to make a design with consistent-sized blocks. After ironing the lightweight interfacing to each picture, I worked with long strips of backing material and arranged the various sizes of blocks down the strips. Starting at one end I methodically stitched each picture to the backing material…kind of like doing a crazy quilt…one piece at a time. As I worked, the pictures were rearranged multiple times until I got them all in!
I sewed the strips together to make one large quilt, one smaller quilt and two giant floor pillows. I especially loved the one from Bali! I was sorry to give that one back! Whew! Quite the learning experience!


A word of advice, if you are asking someone to make a memory quilt for you…don’t trim the shirts before handing them over! The extra fabric can be useful in piecing odd size pictures.
When finished, the extra t-shirt material can be disposed of (actually the soft knit material is great to make tiny doll clothes!)
Save those memory t-shirts, or start a new collection! A t-shirt quilt is a great way to preserve those memories! Enjoy!