Making Calendula-infused oil for topical salves

Calendula officinalis or Pot Marigold is a favorite of herbalists. Do not confuse it with the common variety of marigold of the Tagets genus, planted in many gardens.

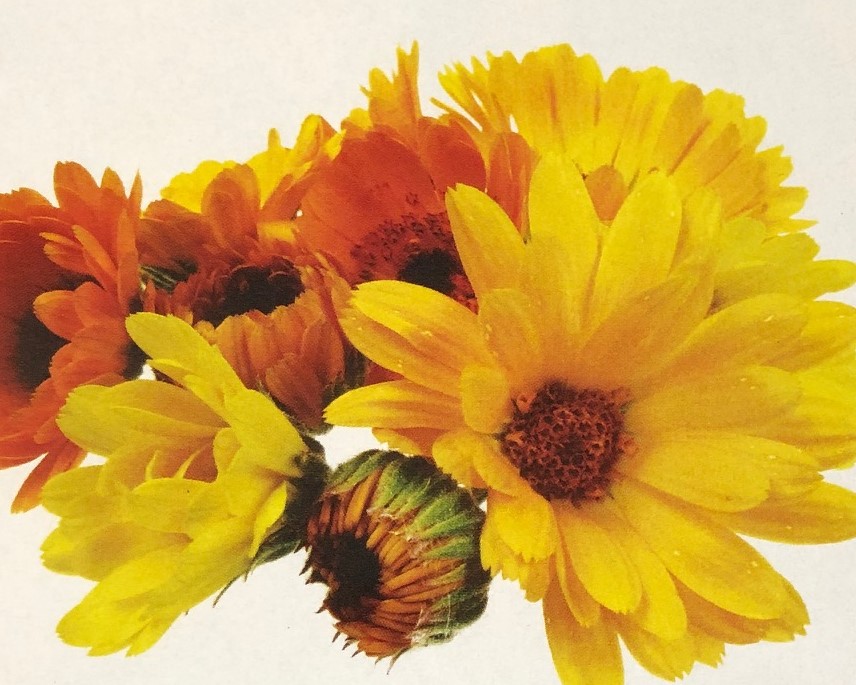
We planted Calendula in our garden last year and it did well. I wanted to dry the flowers so I could use them in my salves and soaps. They are small plants and the flowers are quite “sticky” so the flowers needed to be picked at their peak, otherwise tiny bugs collected on the petals.

When I realized the amount of work involved to get enough flowers for my projects, I finally ended up ordering a bag of dried flowers from STARWEST Botanicals online (www.starwestbotanicals.com). This company also has dried lavender, which I also use, and many other herbs. Great resource!

Calendula flowers are used externally for a wide range of skin problems and inflammations. An infusion (like tea) made from the petals can be used in a compress to help slow-healing wounds.

As part of a cream or lotion, Calendula-infused oil is good for many problems involving inflammation or dry skin wounds, dry eczema, scalds and sunburn.

Calendula oil has antifungal, anti-inflammatory, and antibacterial properties that might make it useful in healing wounds, soothing eczema and relieving diaper rash. It’s also used as an antiseptic.

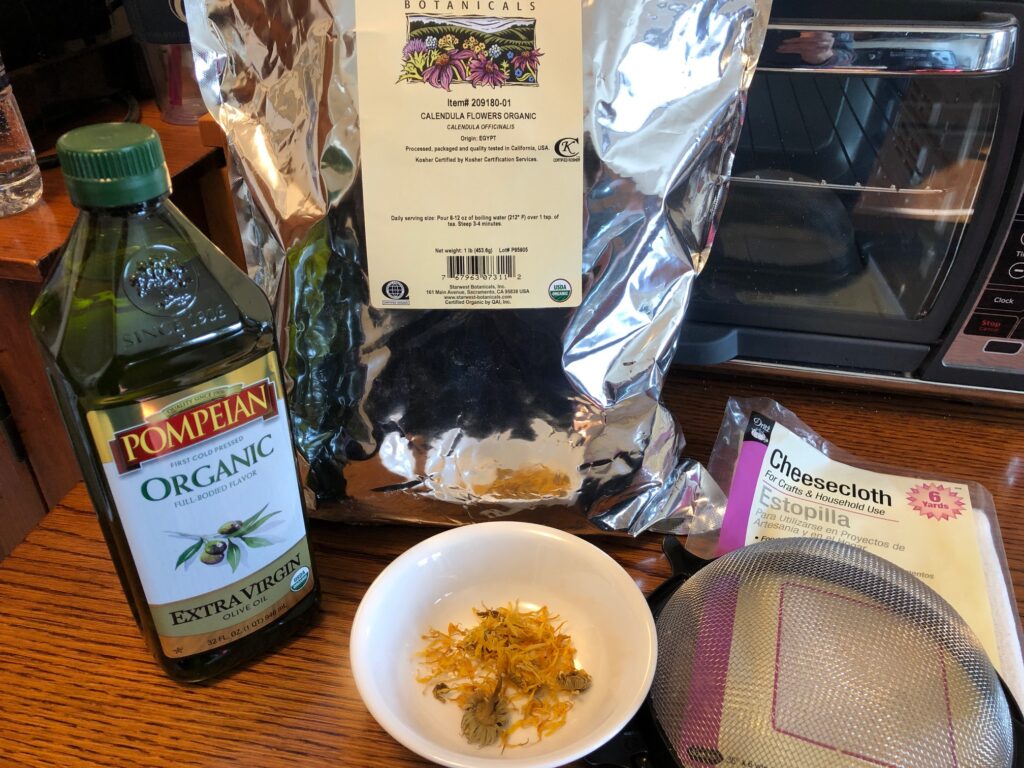
Calendula oil is made by infusing flowers in a carrier oil. I use organic extra virgin olive oil. This Calendula-infused oil can then be used on its own or to make ointments, creams or salves.

Here’s one of my favorite books about using herbs:

Making Calendula-infused oil

Here are the basic instructions:

First, I filled a quart jar with dried Calendula flowers. This 1 lb. bag of dried flowers will probably last me the rest of my life! After the challenge of growing, picking and drying the flowers myself, this was a great compromise!

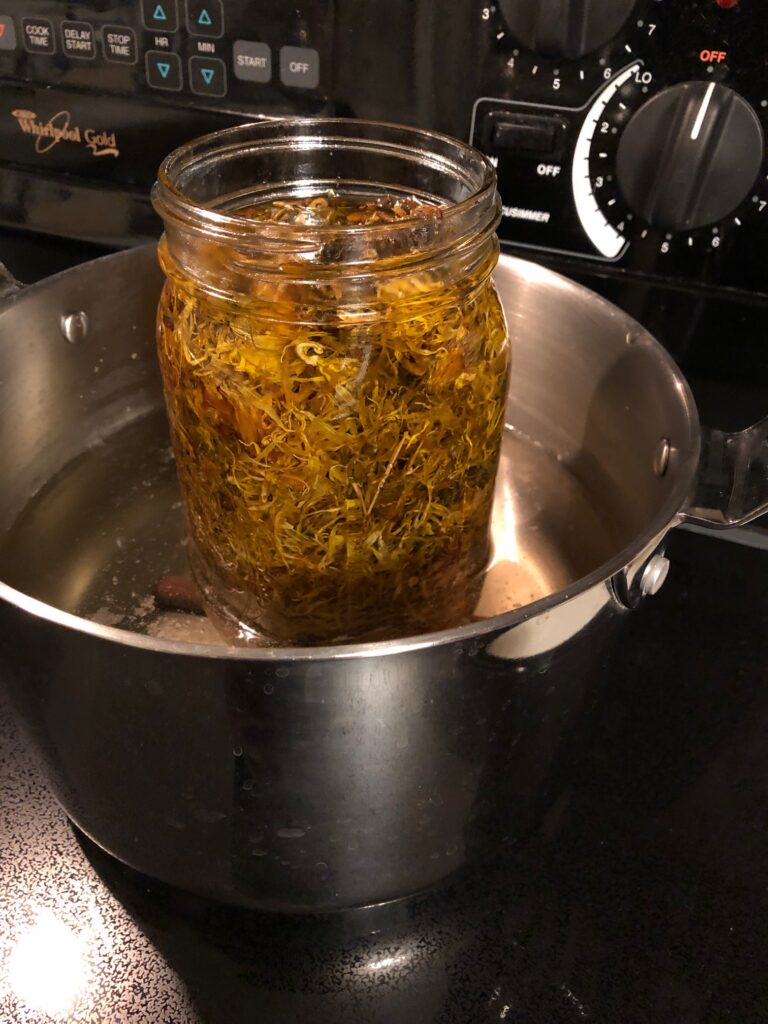
Then I poured olive oil over them and filled the jar. I used a long-handled spoon to gently poke the flowers to distribute oil. I set the jar into the sauce pan of water. I brought the water up to a boil and then lowered the temperature so it would just simmer for about 6 hours. I did have to add water to the sauce pan every hour or so as it evaporated.

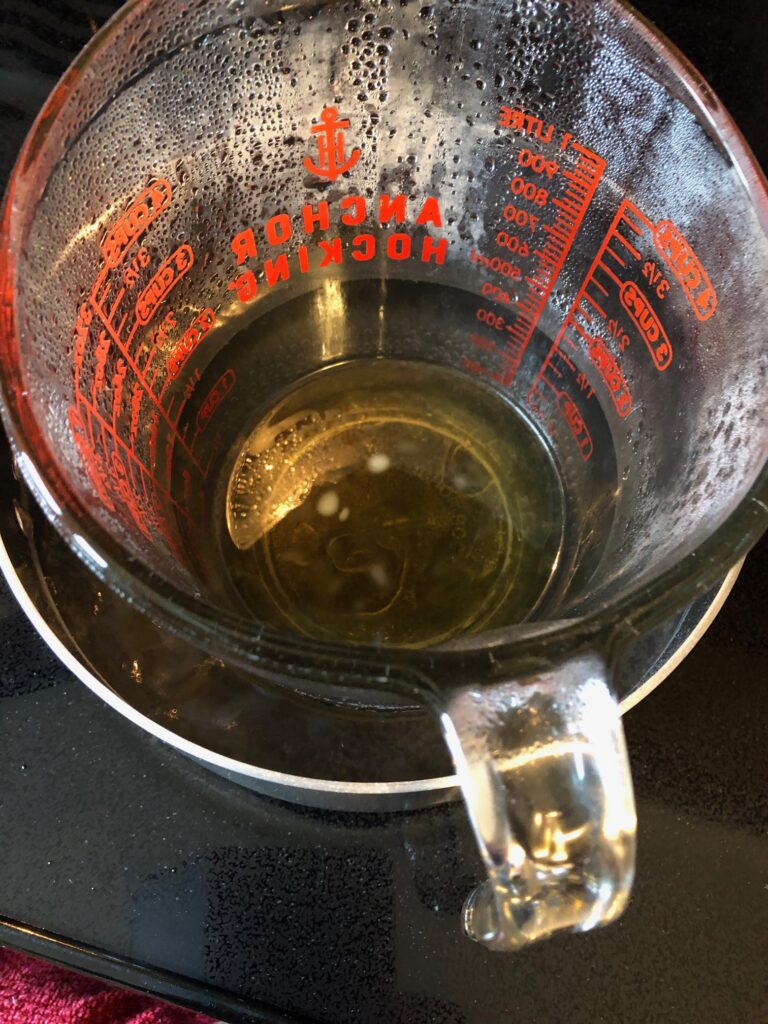
Then, I poured the oil/flower mixture through the strainer, disposing of the flowers. I strained it again by lining the strainer with cheesecloth to make sure I didn’t have any crumbs from the dried flowers.

I ended up with almost 2 cups of lovely calendula-infused olive oil. This strained oil will be used in my next two projects…the Calendula Salve and a Dog Paw Protection Wax…which will be described in the next two posts.

Check the next post about using this oil to make a wonderful salve. I’m counting on it to soothe my itches!

Leave a comment or email me directly at marykisner@comcast.net! Enjoy!

NOTE:

For Topical Use…do a skin patch test.

Do a skin patch test to ensure you’re not allergic to a new skin care product like this one. Apply a small amount of the product to a small patch of skin, like your inner wrist. Wait for 24-48 hours. If you see or feel irritation in that area after that time frame, discontinue use.

For Internal Use…not recommended without consulting a health professional.

How about a holder for the lip balm!

Now that I have a handful of lip balms to give away, I like to also hand someone the holder to put it in. I carry mine on my purse so I never have to dig for it. My grandkids have fastened them to their backpacks!

I first went to WalMart and Pinterest to get ideas. I bought a few to take apart. I basically experimented to find ways to end up with all the seams turned to the inside and still be possible with my sewing machine. After taking a few apart, I sketched out my pattern.

You might think I have a special pattern to make this holder. Ha! Let me show you what I use:

As I made a few samples I refined the process. So, here are the steps with pictures:

Step 1: Your materials

A piece of fabric 2 1/2″ by 12″; a piece of fabric 2 1/2″ by 3 1/2″; a 1/2″ D-ring

Step 2: Make the D-ring attachment

Using the 2 1/2″ by 3 1/2″ piece of fabric, fold the two ends to the center, then fold the piece in half. Top stitch the edges together.

Step 3: Attach the D-ring

Insert the tab through the D-ring and fold in half. Stitch close to the D-ring (I had to use my zipper foot to get close enough).

Step 4: Fold the 2 1/2″ by 12″ piece almost in half, leaving 1/4″ to fold over. Stitch the edge folded over and top stitch along the other folded edge.

Step 5: Attach the D-ring tab to the folded edge (on the right, above), stitching close to the D-ring. This is the inside of the holder.

Step 6: Fold the holder in half, right sides together. Stitch the sides with a 1/4″ to 3/8″ seam.

Step 7: Turn the holder right side out. I use a stick that came with my stuffing to help poke out the corners.

Step 8: Top stitch the sides with a 1/4″ to 3/8″ seam. (Depends on how big your lip balm is. Some lipsticks are larger around so the smaller seam is necessary).

I use a carabiner clip to attach my holder to my purse, and I include one with each holder I give away.

This works great to fasten my holder and all my grocery tags to the outside of my purse so I don’t have to hunt for them!

This same holder pattern could be enlarged to handle an essential oil roller ball or a small flashlight. Experiment!! Have fun! If you have questions, leave a comment or send me an email directly at marykisner@comcast.net. Enjoy!

The 28th Division Infantry Shrine, PA Military Museum, Boalsburg

Yesterday I went on the hunt…for flowers! I had seen many tulips and daffodils in yards around us. We do not have any bulbs planted (mostly because underground critters and bunnies have eaten them before we could enjoy them)! So, I thought I’d explore the Pennsylvania Military Museum grounds to see if any spring flowers were sprouting. I did find a huge tree that is showing signs of life.

So, I decided to keep exploring. Right in front of my car were the two giant cannons that came from the ship the USS Pennsylvania BB-38. The signs nearby explained the activities of the ship in battle during WWII and how Boalsburg came to acquire the cannons for display.

I decided to continue my tour, with my thoughts focused on all our service members who have served and are now serving away from home on this Easter weekend.

The Museum grounds are an impressive green space, with various memorials to many groups of the 28th Division Infantry. The Museum itself is closed at the moment and hopes to reopen by Fall, 2021 for tours. The grounds serve as a place for visitors to walk and reflect.

Beautiful day; beautiful weather; wonderful time to reflect this Easter weekend.

However, no flowers…anywhere!

Saved by the grocery store! I brought home two pots of daffodils! I should be able to plant the bulbs this fall and we’ll see if we can have them sprout next spring…before they get eaten!

I hope you had a lovely Easter too!

Make a regular batch of Honey Lip Balm

In the last post, I shared a kit that makes just one lip balm at a time. Great to know how to do it but I’d much prefer to spend almost the same amount of time and a few more ingredients to end up with more than one of something!

If I’m going to spend the day making bread, I’d sure rather have 6 loaves than just 3. I think it’s because I like to share a loaf with my neighbors! Same issue with lip balm, lotion bars and soap! Of course, that means I end up with stuff to share all the time. So be careful if you stop by, I might hand you a lip balm, a nifty bar of soap or a loaf of bread!

So, here’s the recipe to make a regular batch of Honey Lip Balm:

You will need a double boiler made with a sauce pan and a heat-safe measuring cup. This will melt the wax but keep it from getting too hot.

Some folks use the microwave, a few seconds at a time. It drives me nuts to open and close the door of the microwave every 10-20 seconds for several minutes and I can’t monitor the wax to make sure it doesn’t get too hot.

Sorry, no pictures of the wooden stick and the measuring spoon!

Before you start, decide what kind of container you want to put the finished melted lip balm into.

I purchased regular holders and I also have very small plastic containers. All can be purchased on Amazon. If you decide to use regular holders, make sure you also get the rack to hold them upright so you can pour directly into them.

Next, assemble your ingredients. I use white beeswax pellets, coconut oil, shea butter and oil. In this project I chose Almond oil.

Optional ingredients include: Vitamin E serves as a preservative; the Coconut essential oil gives it some flavor (you could choose citrus or vanilla); and a tiny bit of honey is always nice. All three of these ingredients are optional.

Before starting to melt the ingredients, attach the lip balm tubes to the holder, starting in the center so when the holder is flipped upright they are stable without having to be held. Open any small containers.

Measure the beeswax, coconut oil, shea butter and almond oil into the glass cup.

Place the cup into the sauce pan with several inches of water and bring the water to a gentle boil. Use the wooden stick to stir as needed.

When completely melted, turn off the burner.

Add the Vitamin oil and the Essential oil if desired. Stir well,

Add the honey. Mix thoroughly.

As you pour the wax into the holders, stop every now and then and stir again. The honey does not stay mixed easily.

While things are cooling, carefully wipe the wax out of your glass cup.

DO NOT POUR WARM WAX DOWN THE DRAIN. IT WILL CLOG YOUR DRAIN AS IT COOLS!

Once you have wiped out as much as you can, it is safe to put the cup in the dishwasher.

You can see I did not stir the mixture before pouring these last 4 containers. The honey settled to the bottom of the mixture.

Let the holders cool for at least an hour. Use a paper towel to wipe off any drips around the holders.

The Lip Balm holders come with labels (or they are sold near the holders). Regular circular labels work well on the small round containers.

After I make a batch of any body product, I make a card to go with it listing the ingredients. Many folks are sensitive to certain ingredients and I don’t want anyone to have a bad reaction to something I make.

NOTE: If you decide to make things like this to sell at craft fairs, PLEASE do the research about legal requirements for labeling your products.

As always, if you have questions, leave a comment or email me directly at marykisner@comcast.net. Enjoy!