Switching Gears from Bracelets to Belly Bands for Greyhounds

Sorry for the blog silence for more than a week! Cleaning up from the festival was just one activity this week. Then the garden started producing and suddenly I needed to make decisions about the tomatoes, green beans and cucumbers! Then I found out Nittany Greyhounds needed belly bands and coats (more about that in a minute). In the middle of all that, we took a few hours to drive north to have lunch with my brother and his wife!

Cleaning up from the Festival

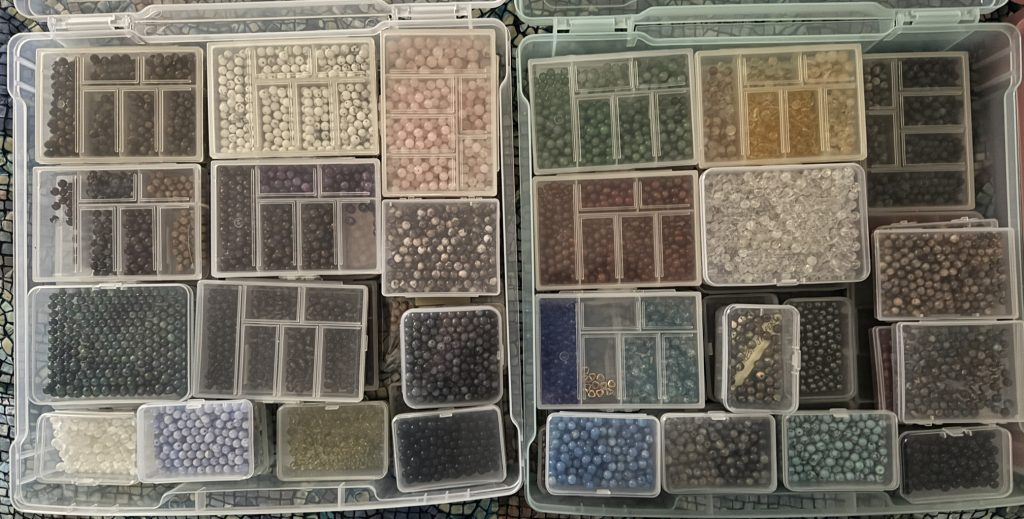
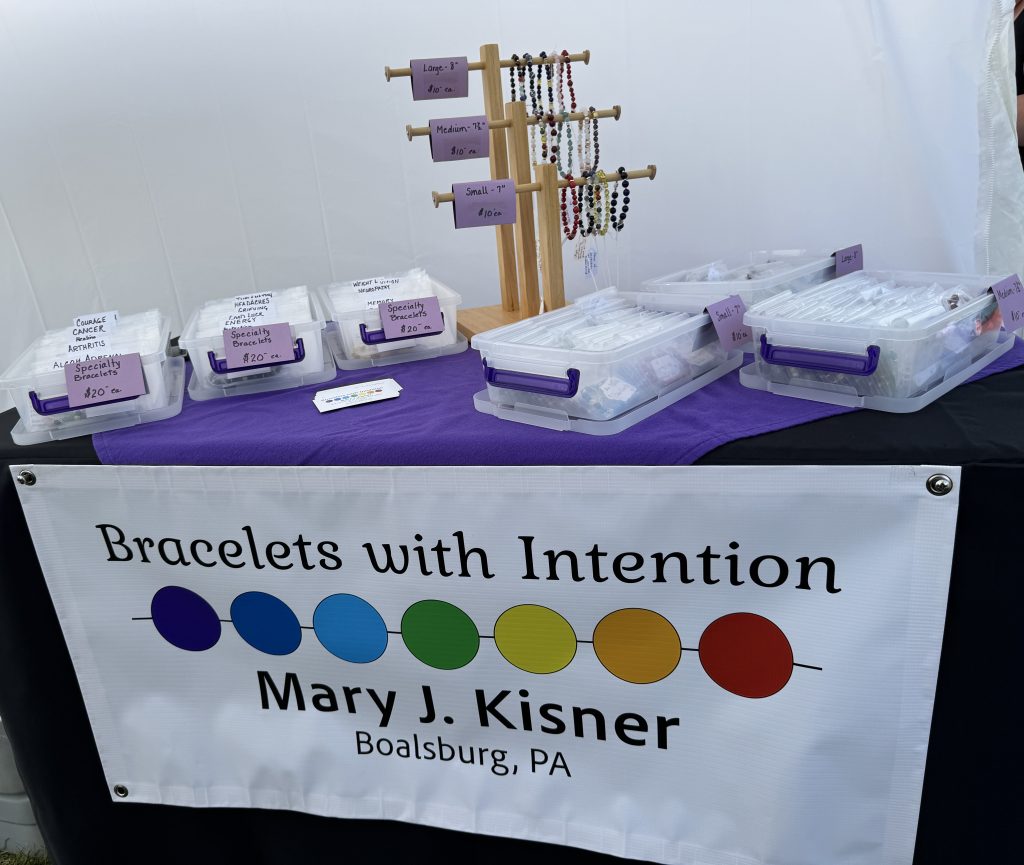
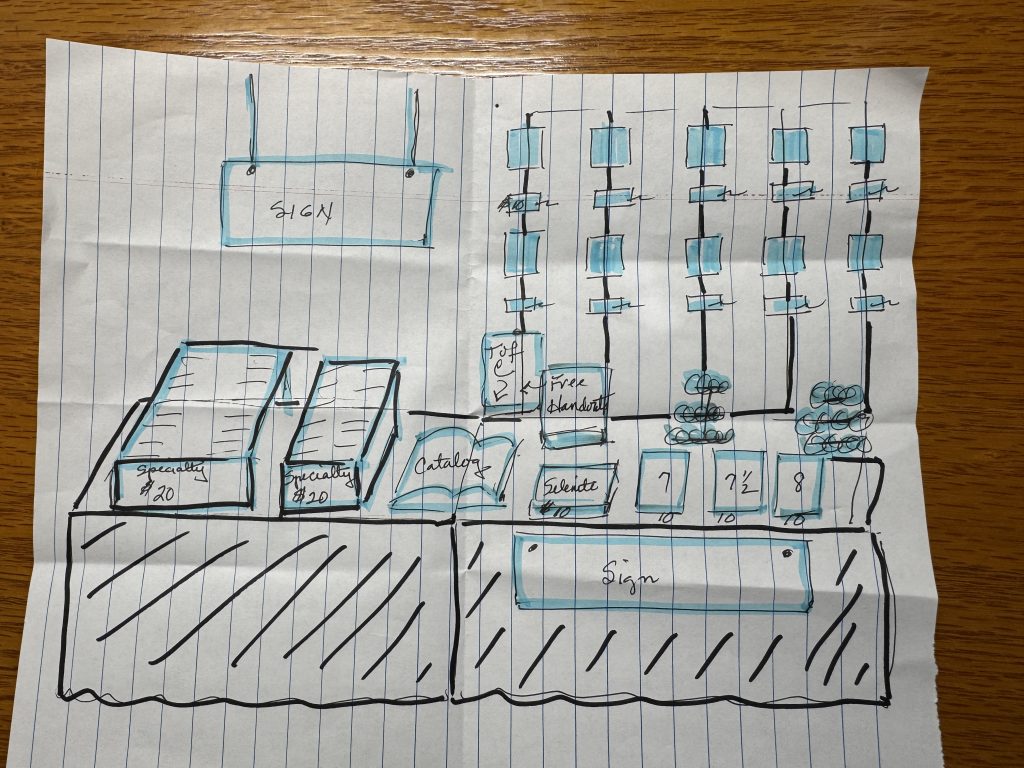
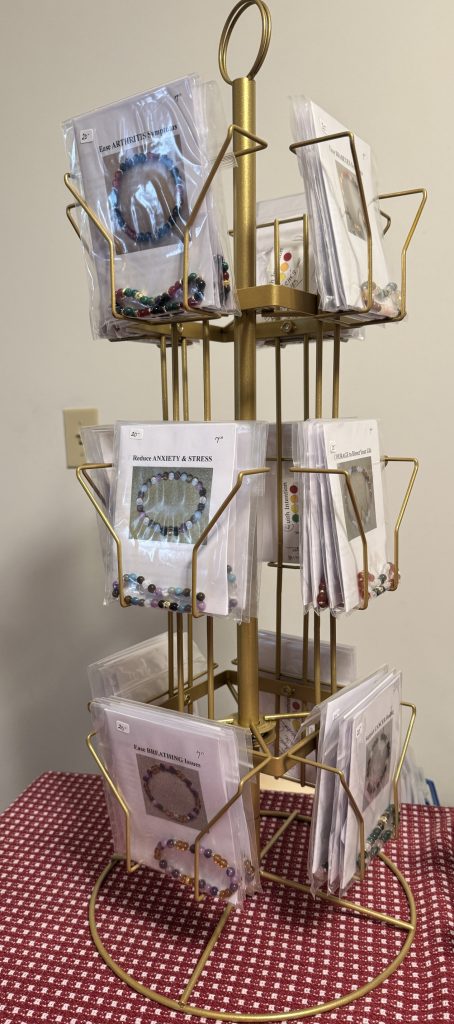
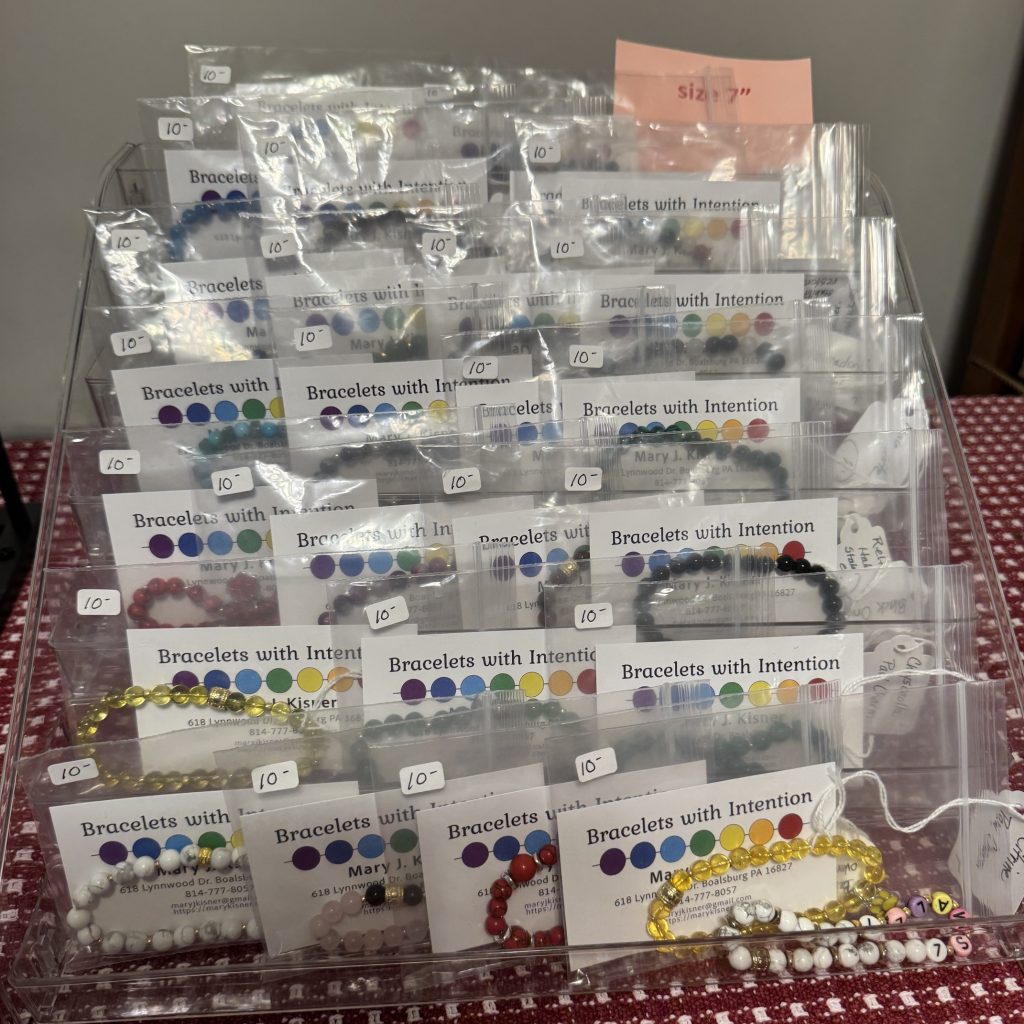
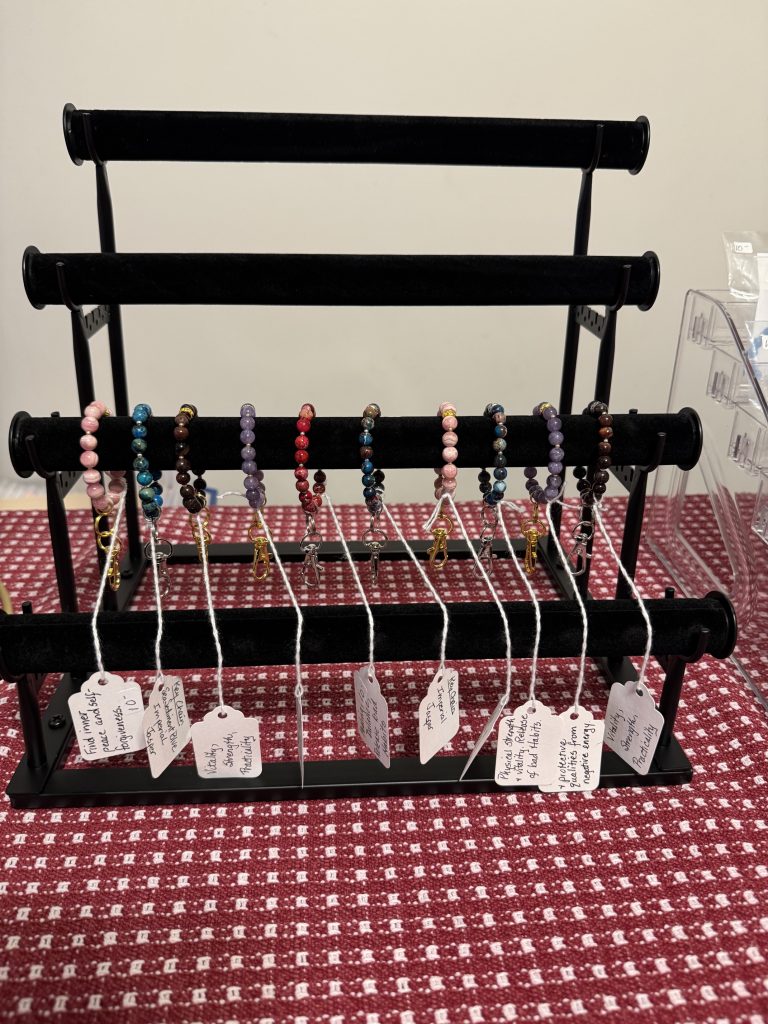
It seems like when I move from one major activity to another a whole lot of other stuff needs to be addressed. After putting away my bins of bracelets and beads, I needed to reassess and redesign my booth for future shows. I’ve decided I’ll stick with indoor craft shows of 1-2 days. I’m now signed up for a 1-day show at the Ferguson Township Lions Club on November 14. That means my table and display elements needed to be redesigned. Without a tent background my gridwall won’t work. My signs can’t be hung on the wall behind my tables. My bracelets needed a better display. I quickly did some research on how other vendors display similar items. I ended up getting several new pieces. I needed to find a way to display my bracelets and still keep most of them in their packaging. Here are the three different racks.

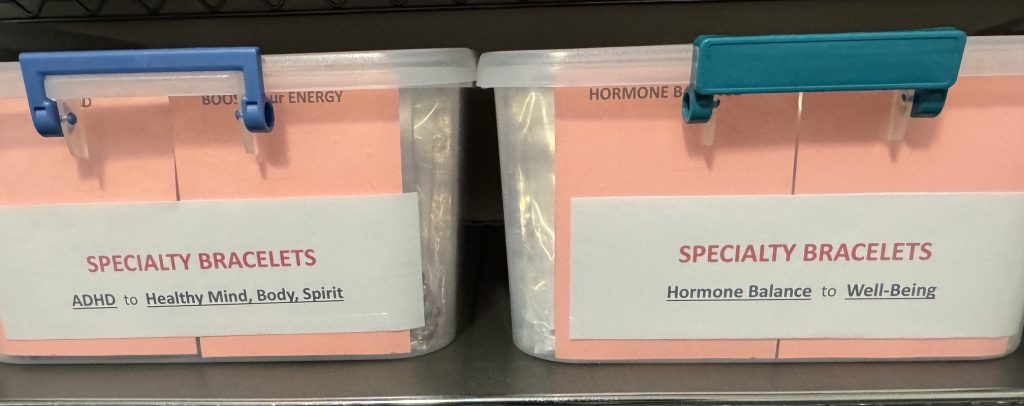
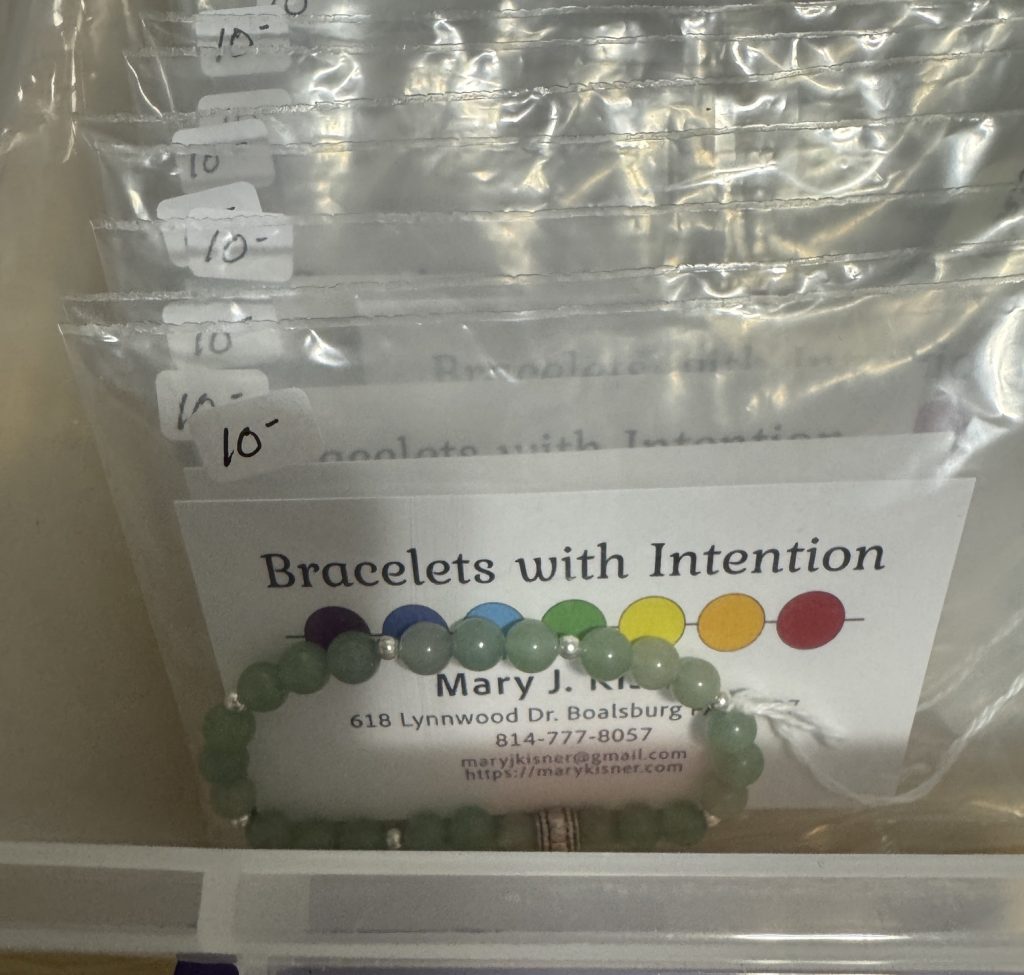
For my individual packets of specialty bracelets, I purchased two of these table top racks that rotate:
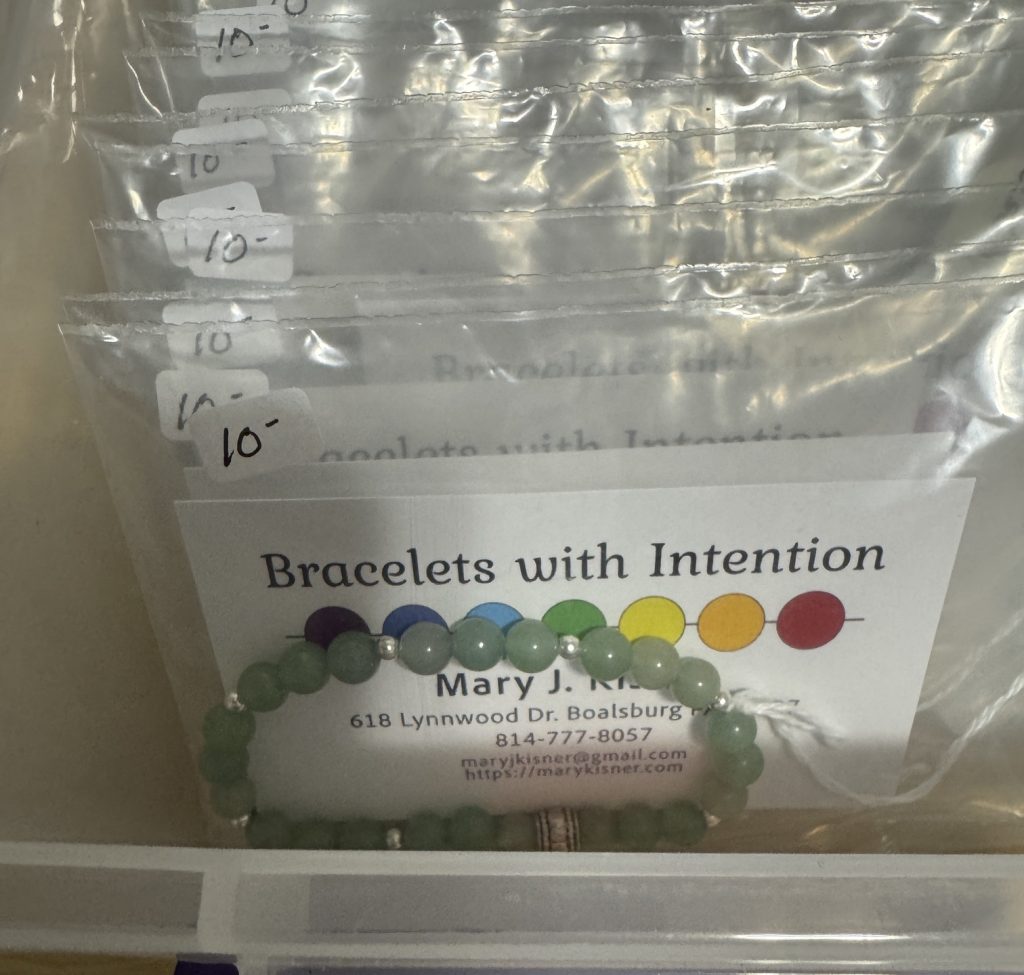
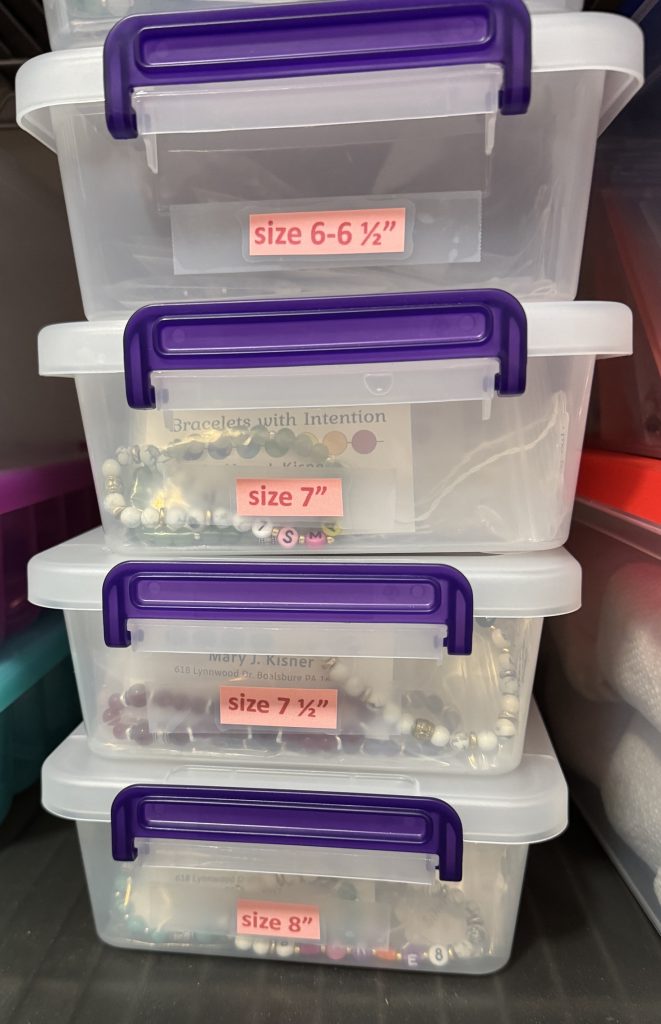
For my smaller packages, these simple racks can display bracelets by size and the tags that extend outside the package can be seen. They have the size, the stone names and a short phrase about the meaning of the stones. I bought three racks…one for each size:
Finally, this display rack will handle the key chains and aromatherapy bracelets that just have their tag but don’t need to be in a plastic bag.
I’ve now disassembled all the racks and will store them until November!

Garden Produce

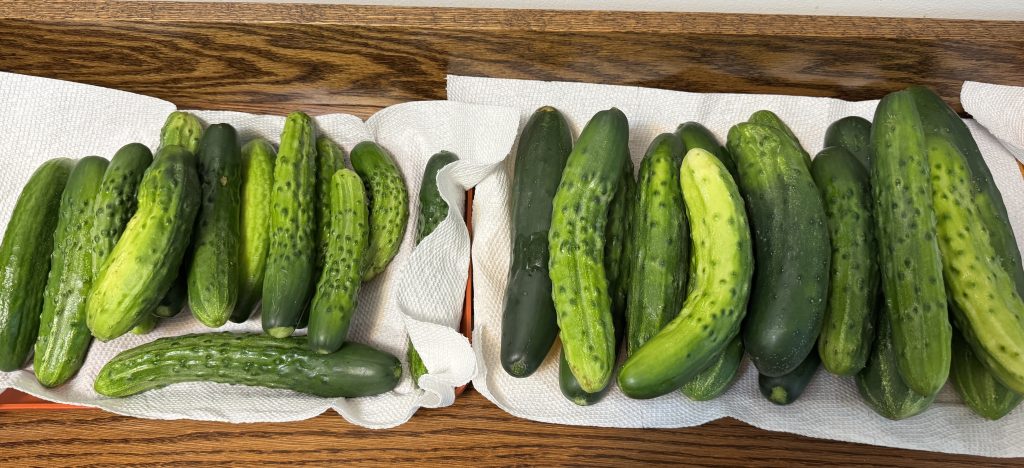
In the last week we’ve continued to pick tomatoes, picked yellow beans twice and discovered the cucumbers are going nuts! Thank goodness I have a few friends that don’t mind taking some off my hands! This is how many we picked today!
Lunch with my brother

We also finally made time to drive up to Salladasburg to have lunch with my brother and his wife. We’ve been talking about that for weeks and finally found a day with no medical appointments for all of us!
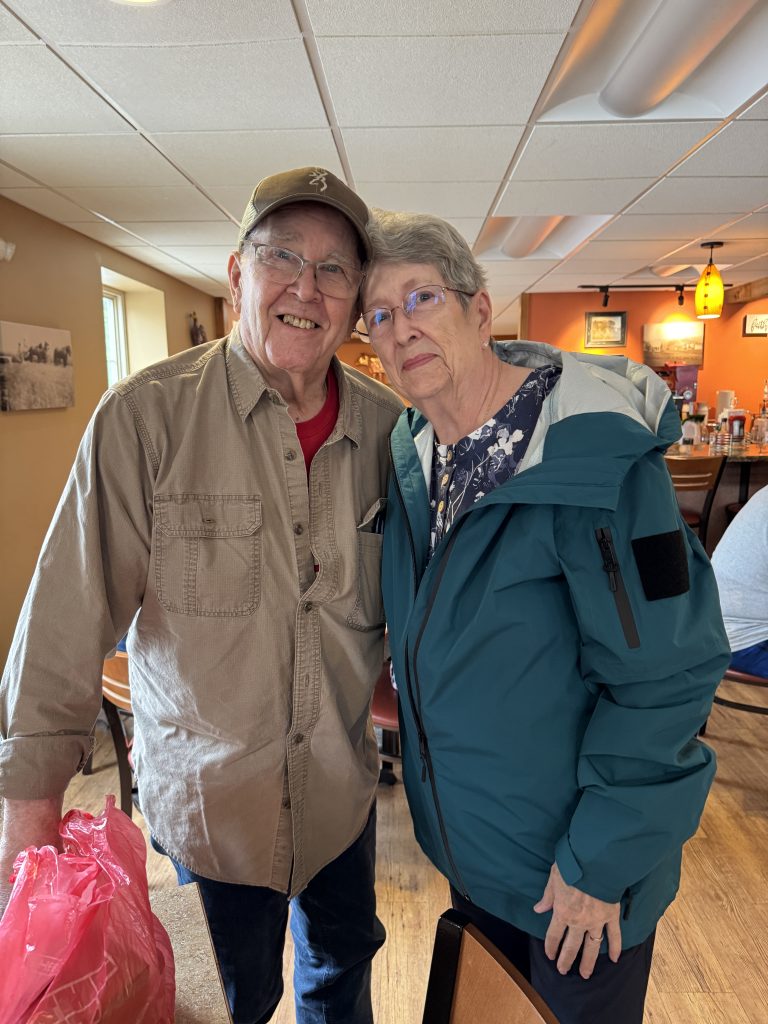
Mark and Mary
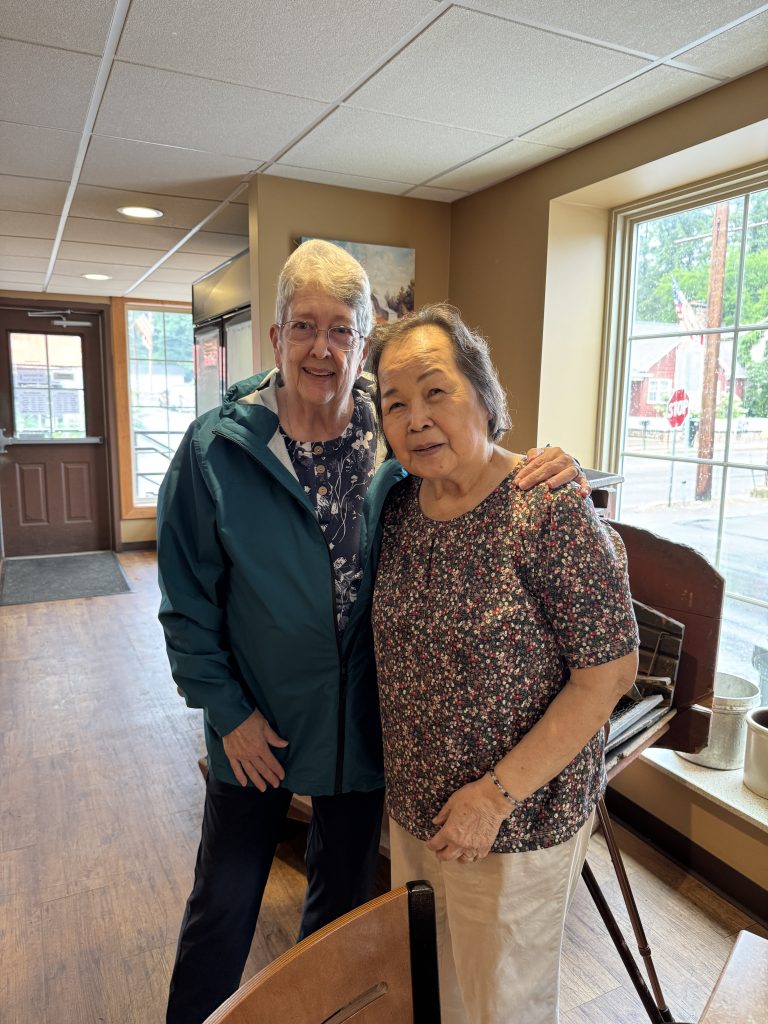
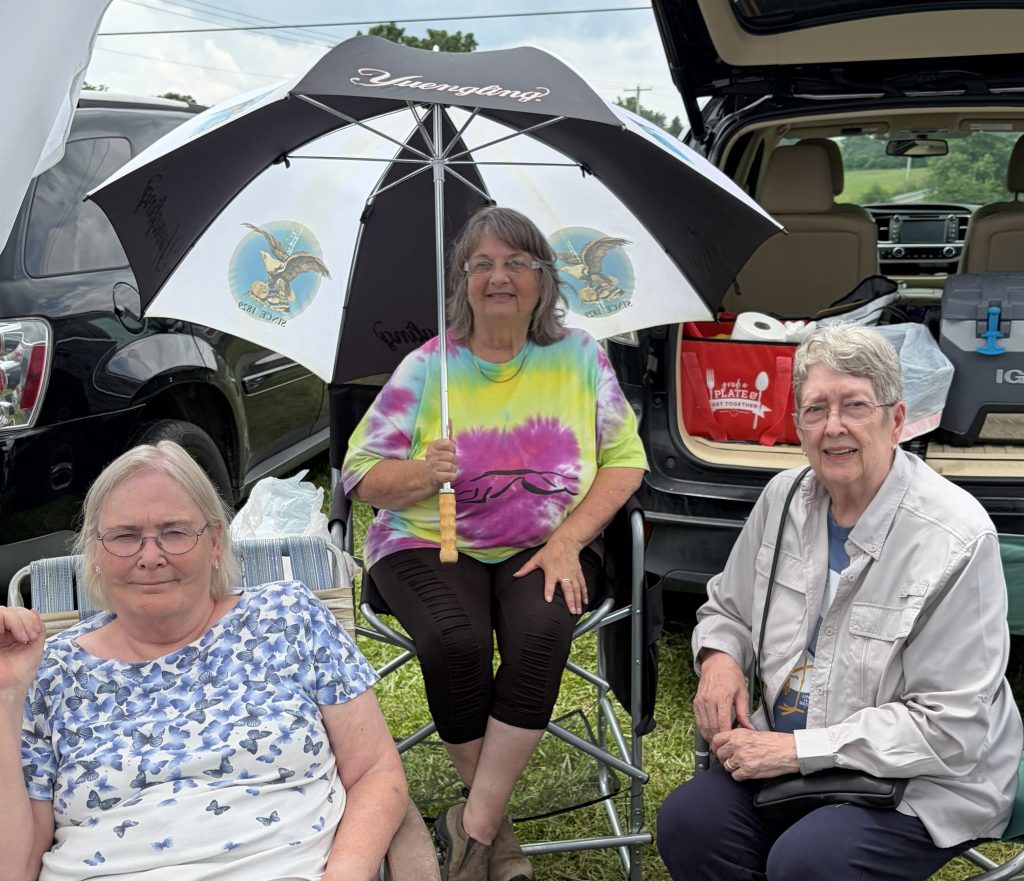
Mary and Lita

Making Belly Bands for Greyhounds

One of the benefits of writing this blog is the wealth of information I’ve saved that I can refer to when I want to make something again. Most of my posts involve pictures of how I did something and often I’m reminded how the pattern needed to be changed. Nittany Greyhounds needed belly bands, so I located the post I did about making them…#137… https://marykisner.com/belly-bands-for-greyhounds/  You can check out the whole article, but I’ll quote the first two paragraphs that I wrote about them:

“What is a belly band? A new fashion statement for our beloved greyhounds? Haha…no! Picture this…you have just adopted a 2 yr. old male greyhound from your nearby adoption kennel. You are ready to make him comfortable in your home and take him off his leash. He wanders around the living room…the kitchen…your bedroom. You show him his kennel or cozy bed in the corner. You let him explore on his own while you take off your coat and put things away. Very quickly you realize that he is lifting his leg and marking the corners of the furniture and table legs. This is a natural response to a new environment, especially if you had other dogs in the house previously. AHHHH…now what?

Luckily, the adoption group predicted this might happen and had sent you home with a belly band, just in case. You had wondered what it was for. This simple denim band wraps around their abdominal region and gently keeps his private parts from being used until you can get him outside. Over the next few days as he gets more comfortable in your home you can train him that if he’s in the house he should not have to mark his territory. When you take him outside and remove the band THEN is the time to explore and mark his territory. The hope is that he won’t need the belly band for very long, but that depends on the dog.”

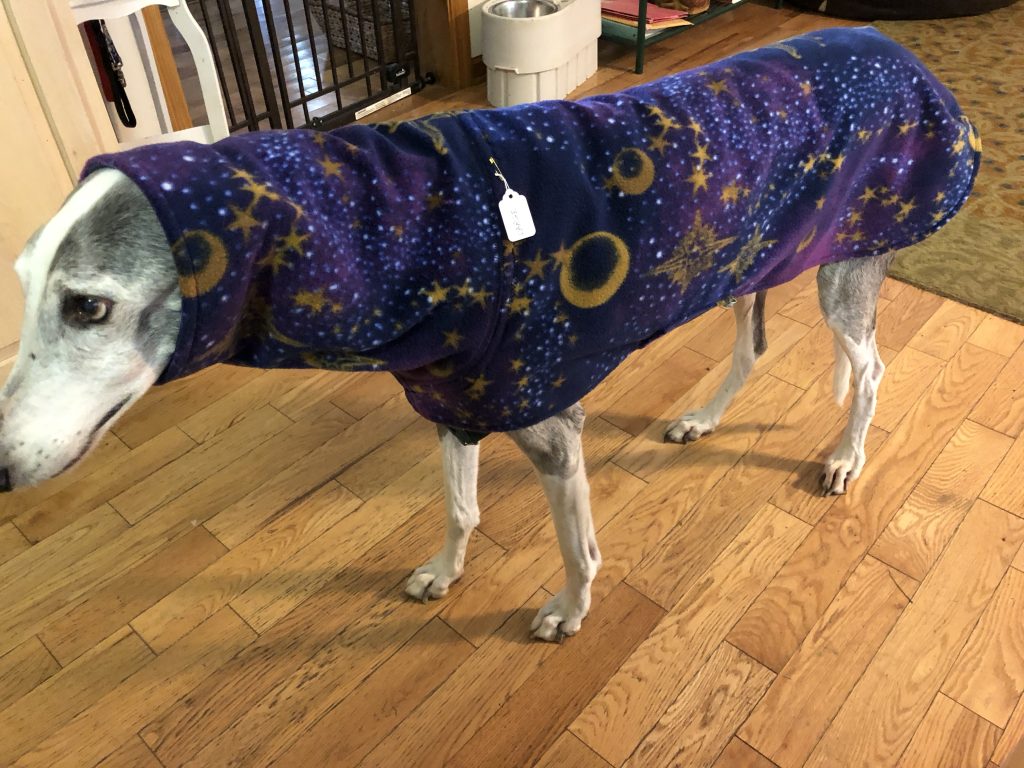
The belly band fits snug around the dog like this:
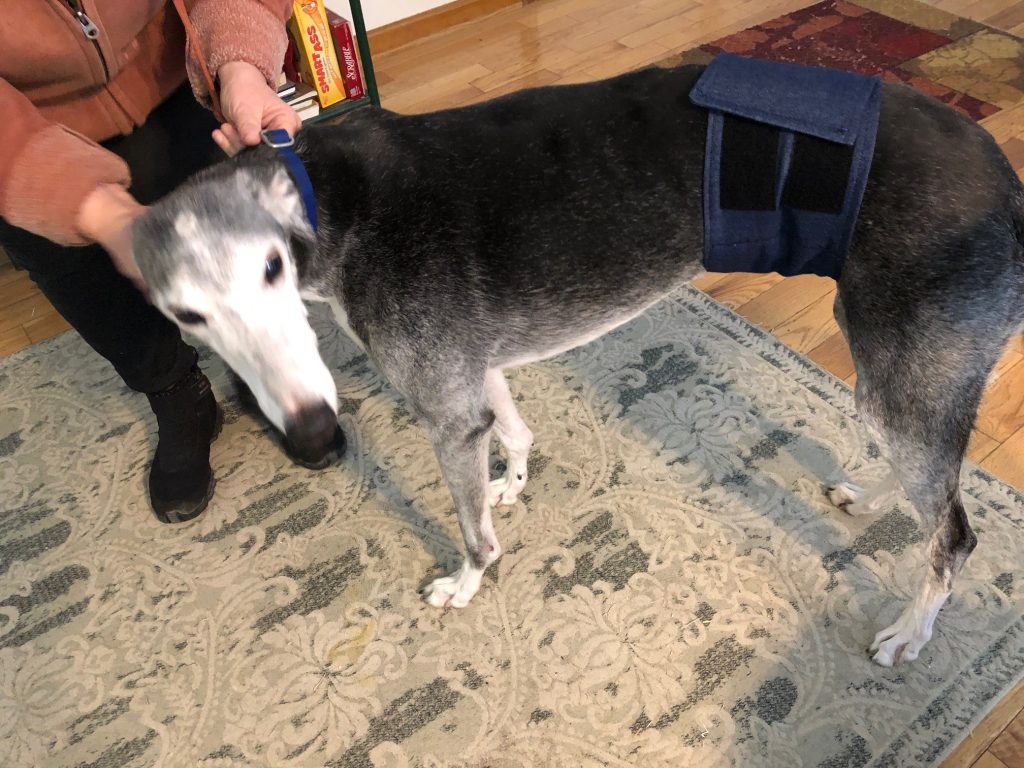
I use lots of Velcro so it can be adjusted for many different sizes of dogs. Of course, I had a memory that I should cut the denim to 27” long, so today I cut out enough to make 25 belly bands. THEN I checked my post from 2022 and saw that I had mentioned I should cut them 29”!! Yikes!
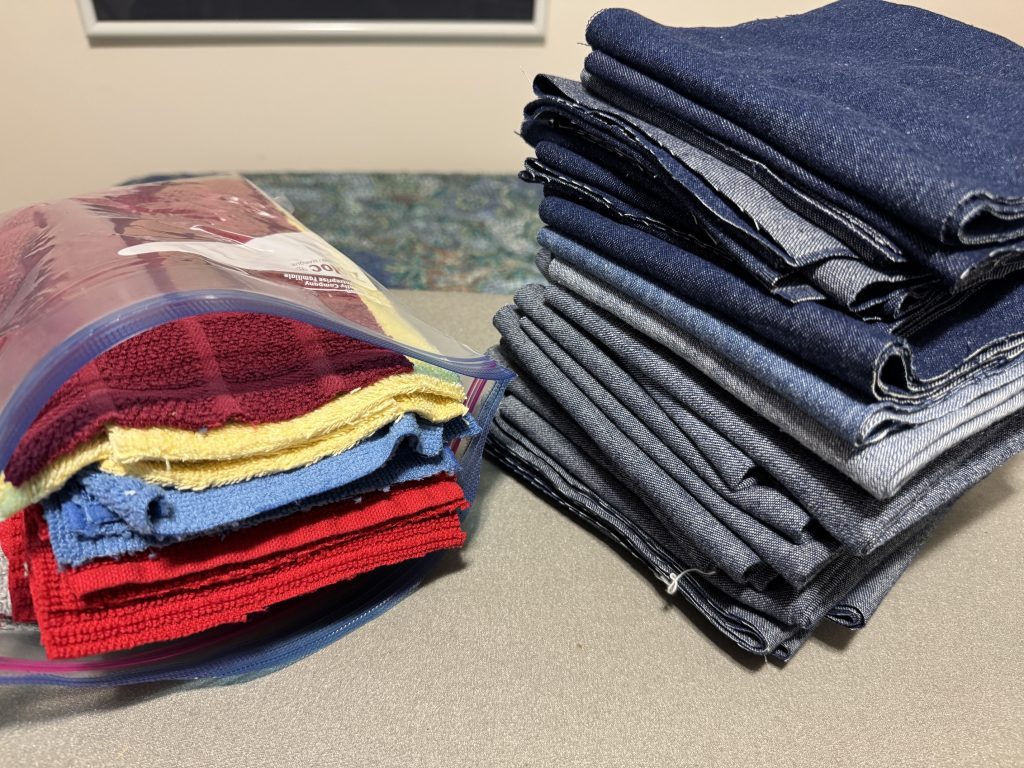
Note to self: read the instructions BEFORE cutting things out! I will make one first and try it on a dog before I go to the trouble to add 2” to each band!

So, that’s what I’ve been doing the last week and a half. I’ve now ordered enough fleece to make 16 coats, so you’ll know what I’m doing next! Have a good rest of your summer!

Please contact me directly if you have comments or questions: maryjkisner@gmail.com
Festival Wrap up 2026

The Art in the Orchard Festival at Way Fruit Farm in Stormstown was a 3-day event last week. I’d like to share how it went for me and two friends.

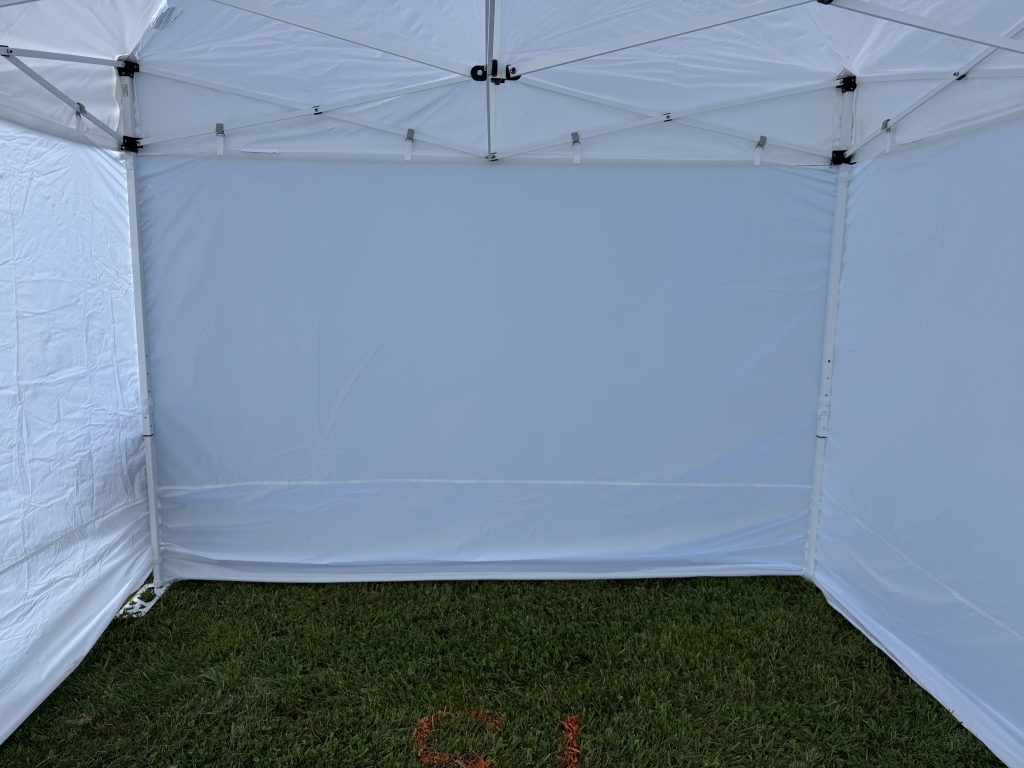
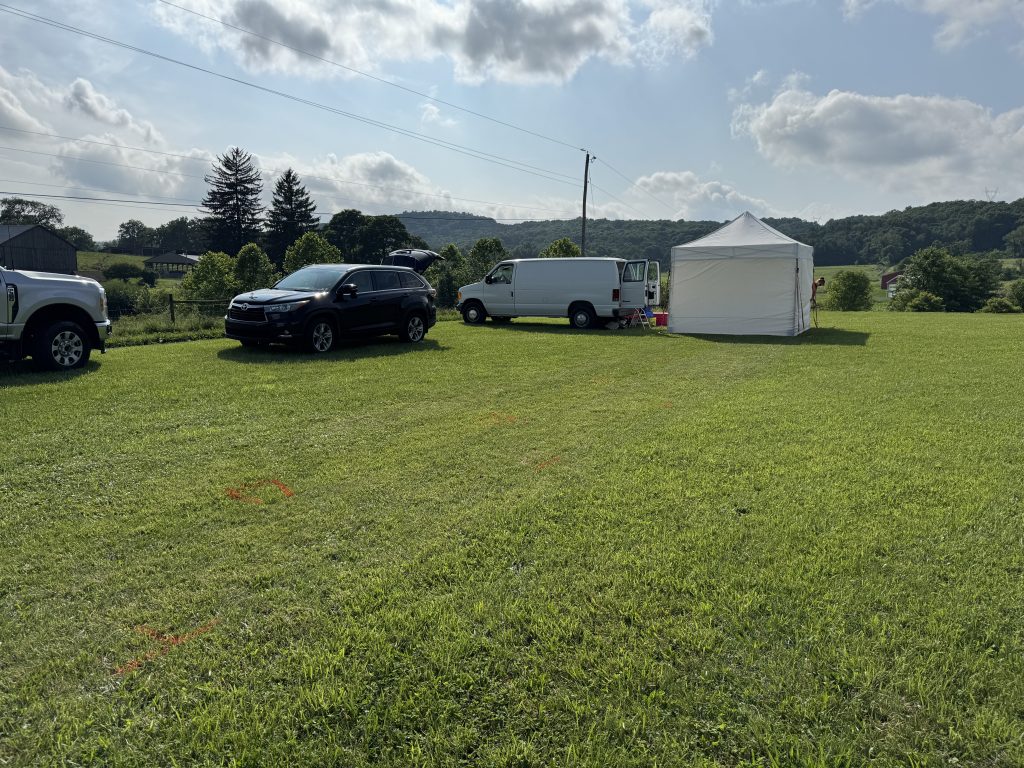
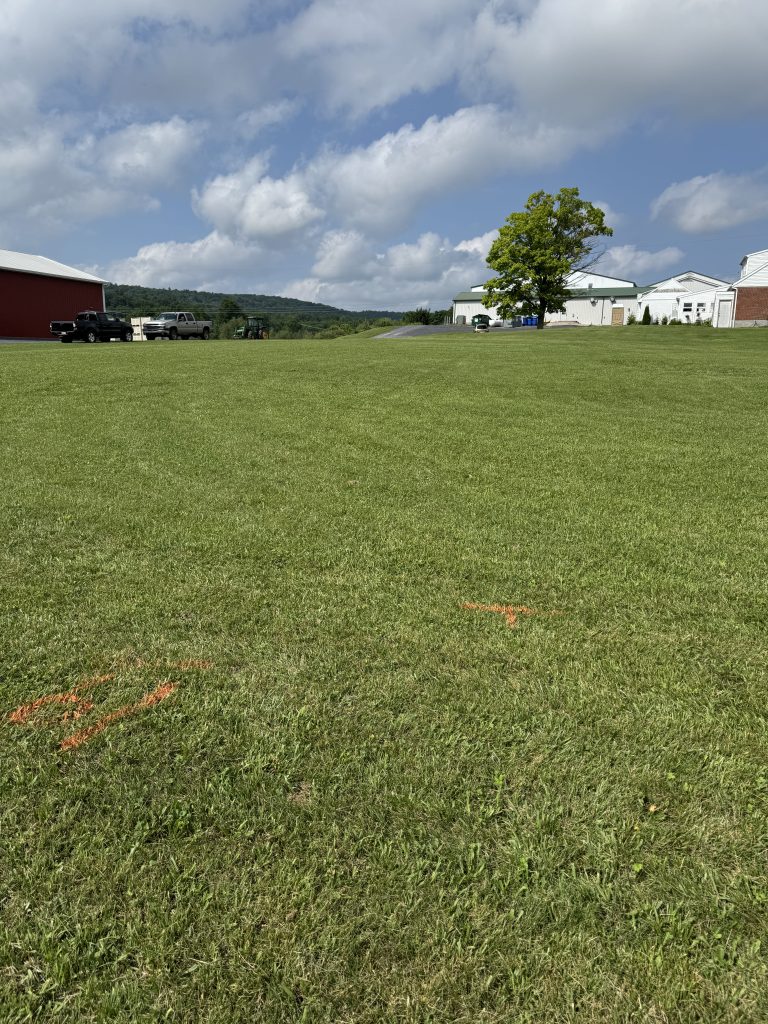
On Wednesday evening before the Festival (July 8) we were allowed to set up our tent. Most folks set up the morning the Festival started…on Thursday, July 9. I was glad we could do ours ahead of time. The vendor tents made a circle around a huge grassy field.

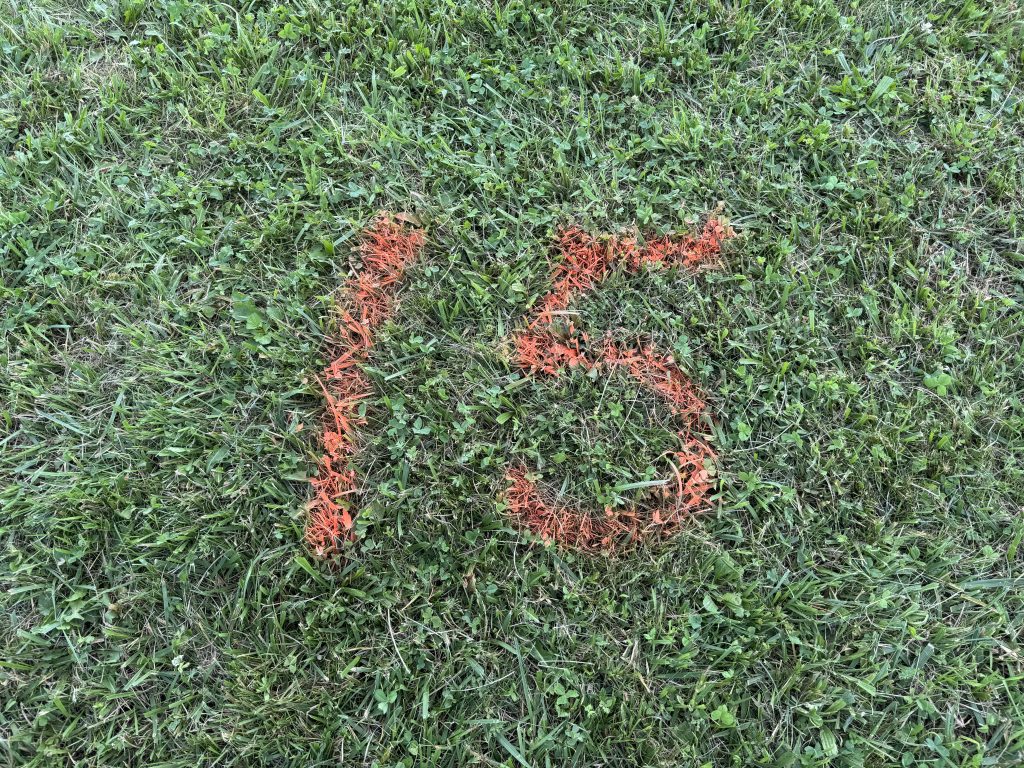
We were in space #15.

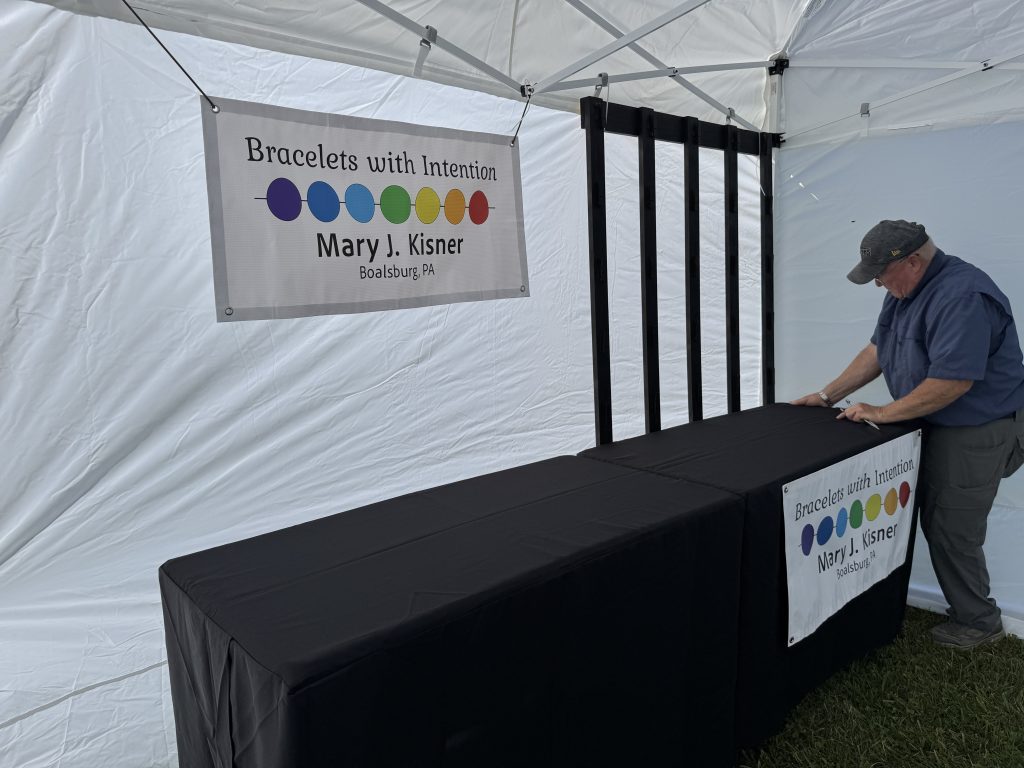
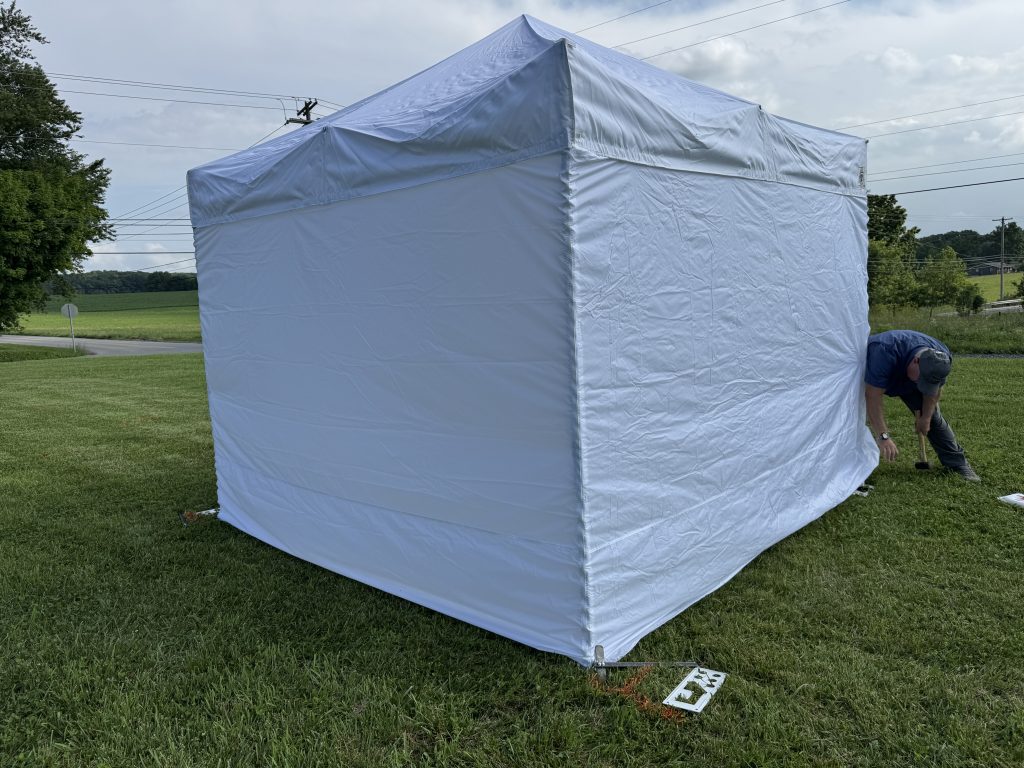
Bert and I were able to set up the tent and get everything ‘nailed’ down so it wouldn’t blow away overnight. I was able to set up my tables and the gridwall so it would be ready for me in the morning.

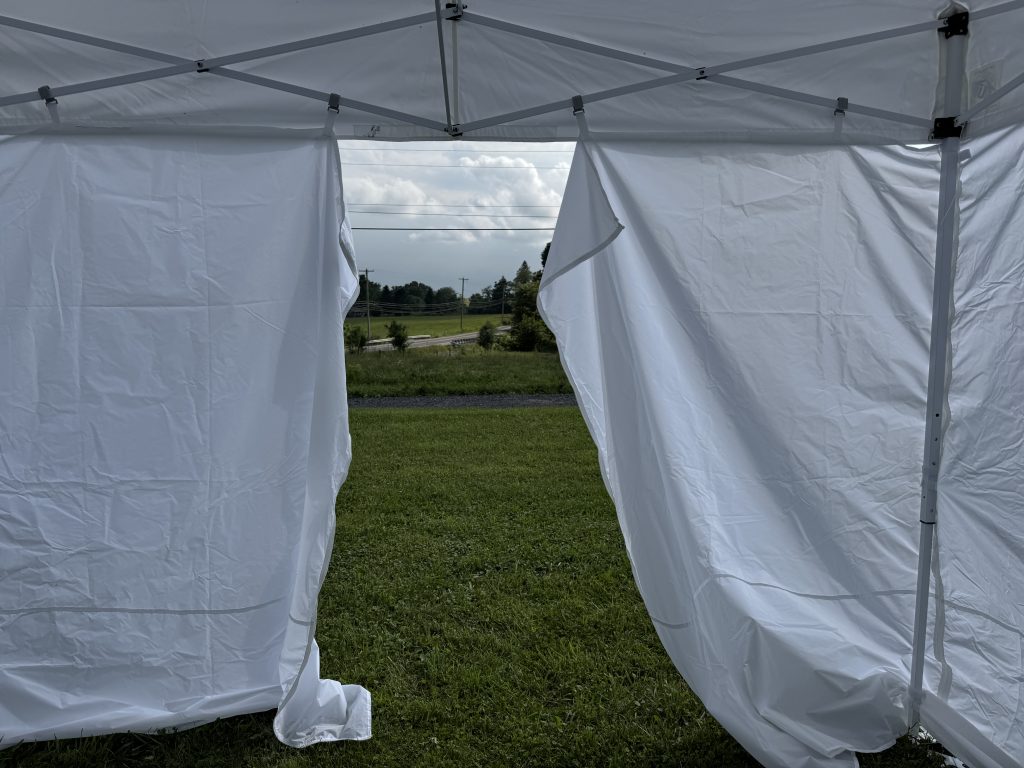
We zipped up the back wall and put a 2×4 along the bottom edge to keep the wind from lifting the tent.

The tent looked pretty lonesome all by itself, but another tent was going up nearby so we knew things would fill in eventually.

Here’s the neighboring tent going up:

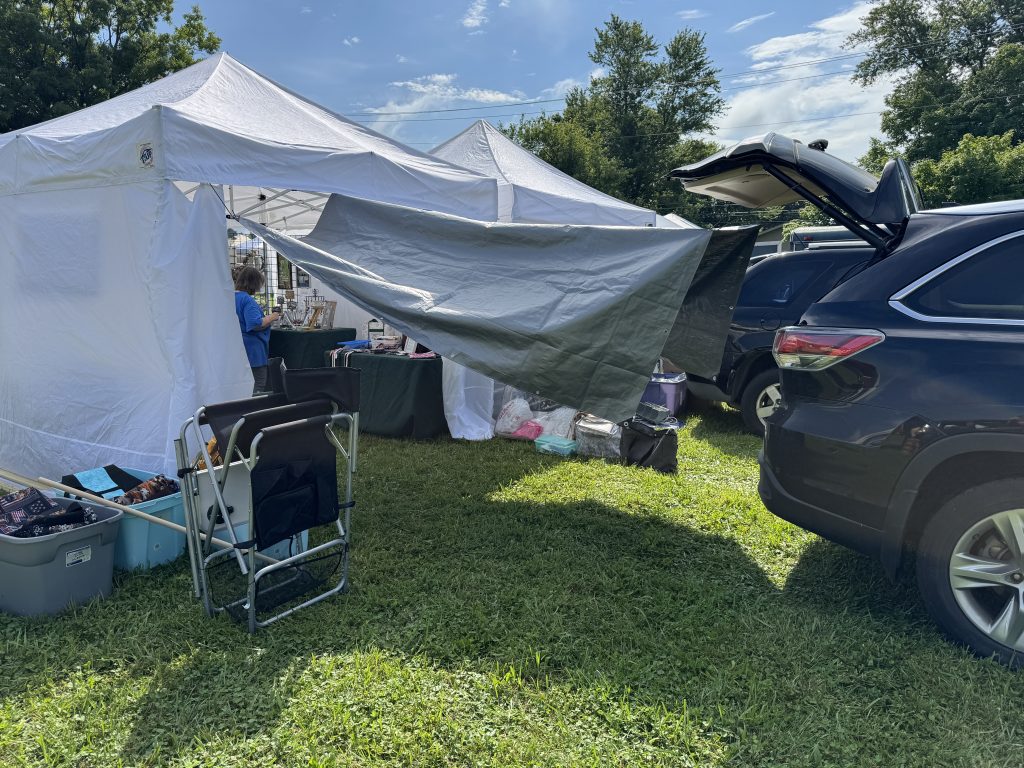
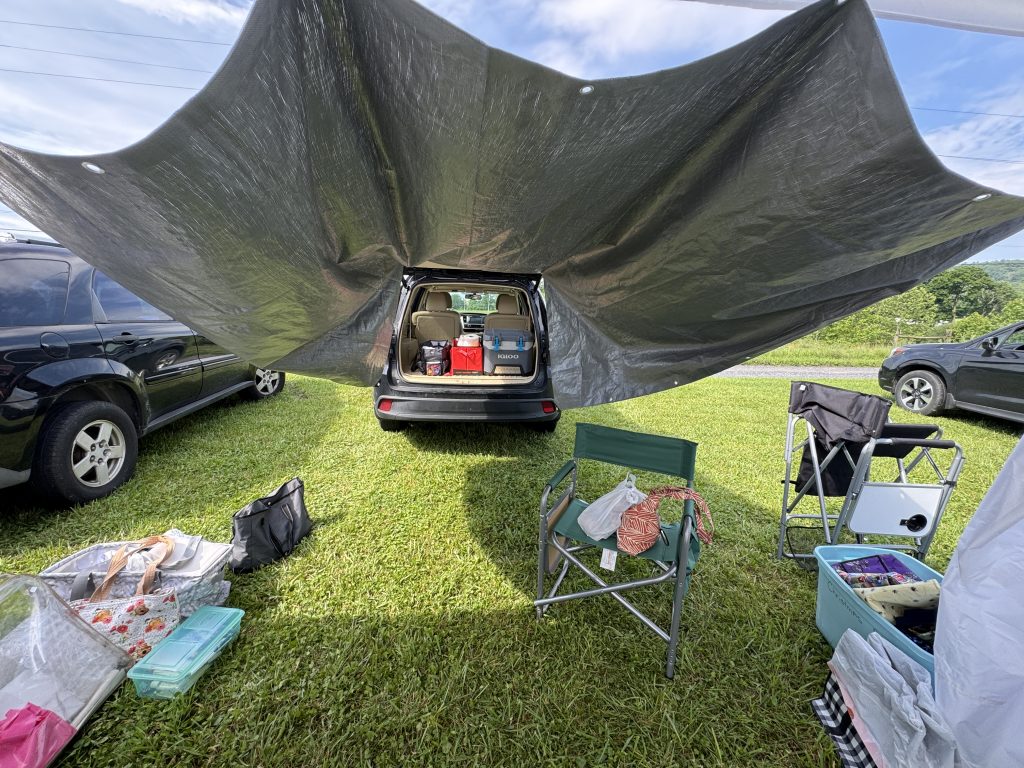
Day 1 involved 2-3 hours in the morning setting up our stuff in the booth. The festival was from Noon to 8 p.m. We knew it would be a hot day and shade was important. Bert had figured out how to rig up a tarp and fasten it between the car and the tent. It worked for a while, but by afternoon we had lost any shade as the sun moved overhead.

I thought this was an interesting picture, but you can see the angle of the sun kind of ruined any hope of shade.

My side was pretty easy to set up. The black grid wall was effective in enticing folks to check it out, but most people did not linger. I hardly had a chance to explain anything before they moved on.

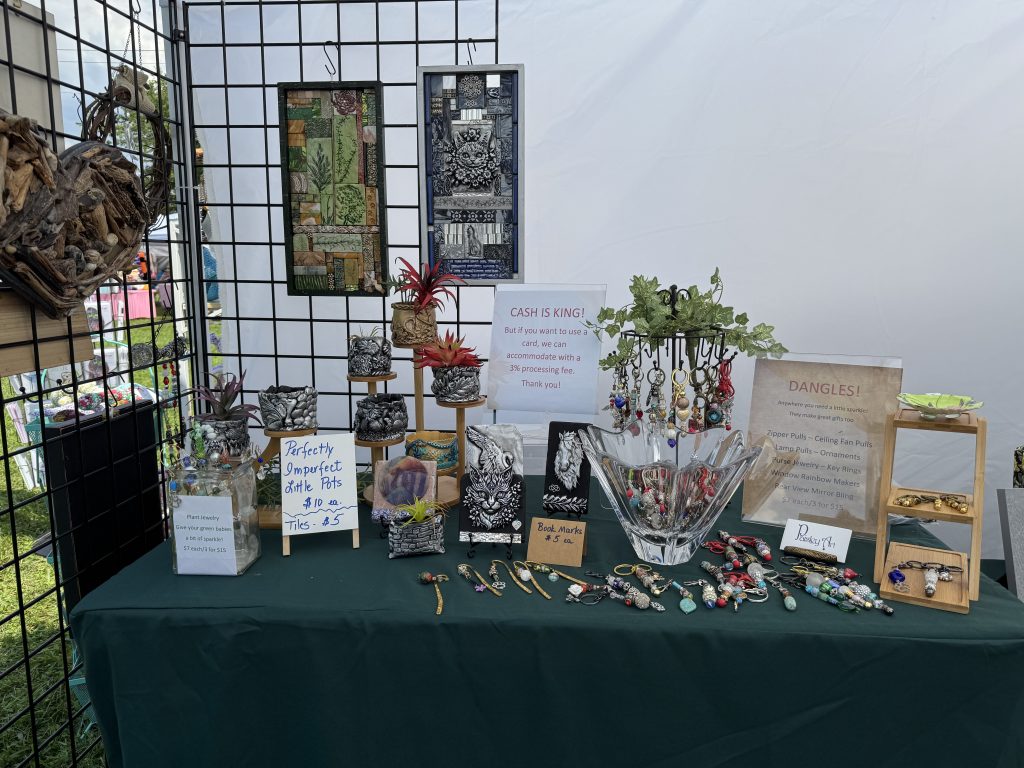
Toni’s artwork did attract people, so she had a chance to explain how she made things with polymer clay.

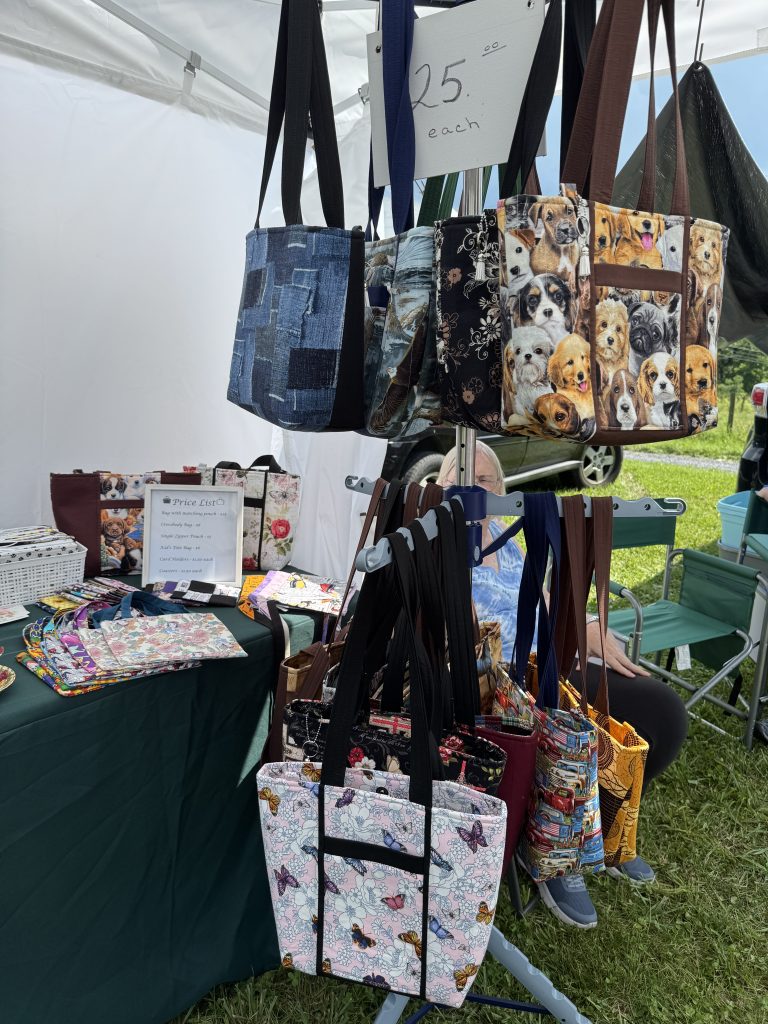
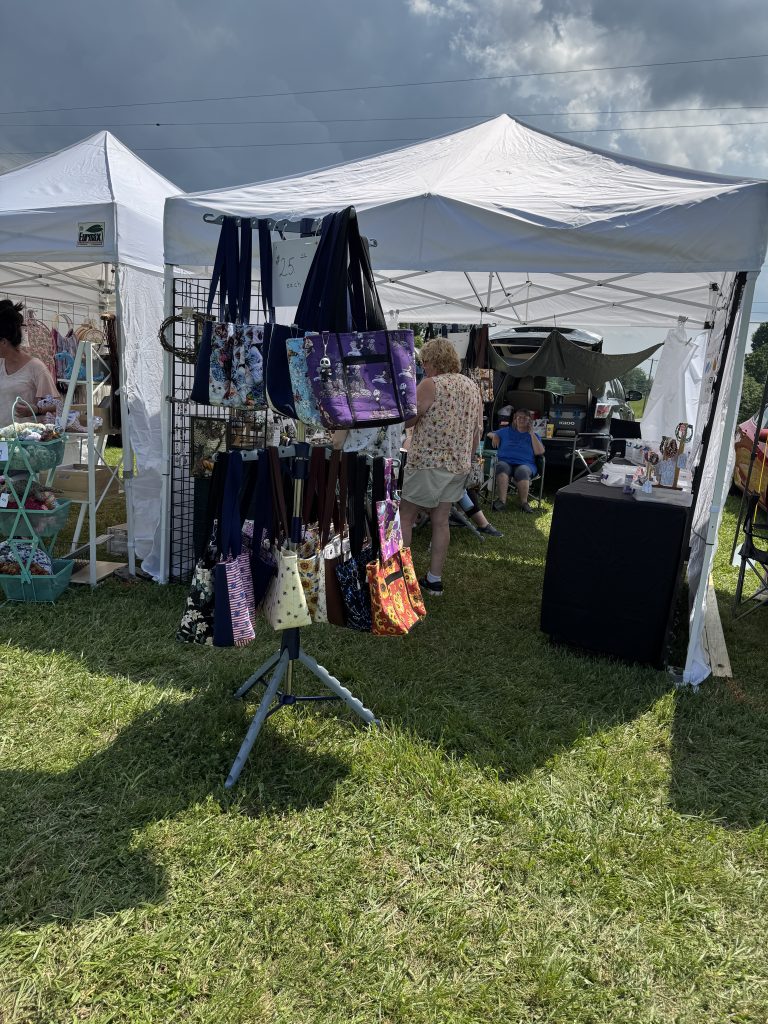
Sue’s bags on two display racks attracted attention because we could move the racks outside our tent where people could touch them as they walked by. She sold a lot of bags.

We started Day 2 smiling!

Day 2 started out fine, but a pop-up thunderstorm hit after lunch. We discovered the tent was not waterproof! Water dripped on all our stuff…and into my bins. Some ink on tags was starting to smudge. By 4 p.m. it had stopped raining and we were supposed to be there until 8 p.m. At that point, I gave up…packed up my stuff and shut down our booth. Really stupid of me…my two friends could have stayed and finished the day, although Sue wanted to get her bags dried out too. I guess folks continued to wander around the field, but I was a mess. Turns out I was hatching a real tummy ache and made it home just in time…maybe it was something I ate…you know all that good smelling ‘food truck’ food!

When I got home that day, my daughter and granddaughter were visiting so I put them to work. They dumped out all my bracelets, one bin at a time, on to towels on the dining room table. They dried off all the plastic bags and the bins. An hour and a half later, everything was back in bins ready for Day 3. Whew!

Day 3 weather called for sunny and hot but no rain. Haha! We made it until about 2:30 and a gusty thunderstorm moved through again. Luckily, I managed to put the lids on my bins just in time. Only the bracelets hanging on the grid wall got wet. So, we sat around inside the tent to stay dry and by the time the rain stopped it was 4 p.m. The festival was over at 5 p.m. so we all started packing up. A few folks were still wandering around but really no buyers. Bert showed up to help us break down the tent and we put everything away wet. Yesterday, we got all the pieces of tent hung up to dry before we put them away.

What did I learn?

First of all, I’m just not cut out to stand around outside for three days! I’m basically allergic to the sun, so I had to wear my long-sleeved sun shirt so I wouldn’t burn. Made it even hotter!

Second, my bracelets…with most packaged in plastic bags…did not attract attention. The few that I did hang on a small rack attracted attention, but the tags that are essential to describe each bracelet got tangled with the wind (and rain). An indoor venue might have been easier to display things. My bracelets really needed an explanation and that was very difficult in the outdoor setting.

Third, success with selling anything at an outdoor even depends on traffic…people wandering by. Attendance seemed to be down this year because the People’s Choice festival moved back to Boalsburg. Apparently, they were very crowded this year.

Plan for the Future

I have decided I will find local craft shows that are indoors and 1 or 2 days long. I will need to redesign my display to suit the indoor setting. I may even consider offering a workshop where folks could choose their own beads (from my extensive pile) and make their own bracelets. The teacher in me would find that satisfying!

I did end up making about $250 at this festival, but I did not find it an enjoyable experience. Live and Learn! I admire all the folks I met who go to multiple festivals during the year. They are competent at setting up tents by themselves and seem to know how to go with the flow when the weather changes. I don’t seem to have those skills! If you attend outdoor festivals, please appreciate the work involved for the vendors!

If you have comments or questions, please email me directly at maryjkisner@gmail.com.

Trial Run of Setting Up the Festival Booth

The Art in the Orchard Festival will be held July 9-11, 2026, at Way Fruit Farm in Stormstown, PA. It coincides with the other big festivals in the area…the Central PA Festival of the Arts in downtown State College, and the Peoples’ Choice Festival in Boalsburg, PA. So, if you’re in the mood to cruise arts and crafts festivals in Central Pennsylvania July 8-12, you’ll have a lot to choose from! Pack your sunscreen…it’s supposed to be hot and sunny!

I will be at the festival at Way Fruit Farm July 9th (12-8pm), 10th (10-8pm) and 11th (10-5pm). I’ll be sharing a booth with two friends that have their own specialty crafts so come check us out! Last week we did a trial run of setting up the tent…just to make sure we remembered how to do it!

Last year, if any of you remember, I had a single table with the beaded bracelets I had been working on. My display was not terribly exciting, but I think my sign was big enough! Understated as it was, I still made over $600!

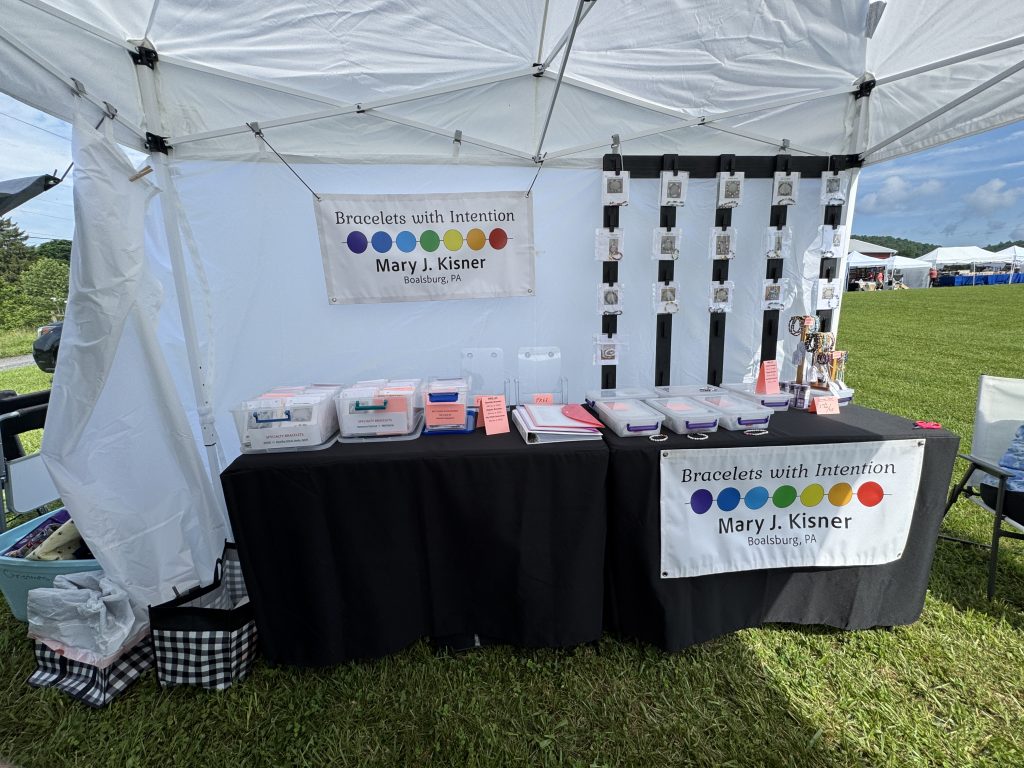
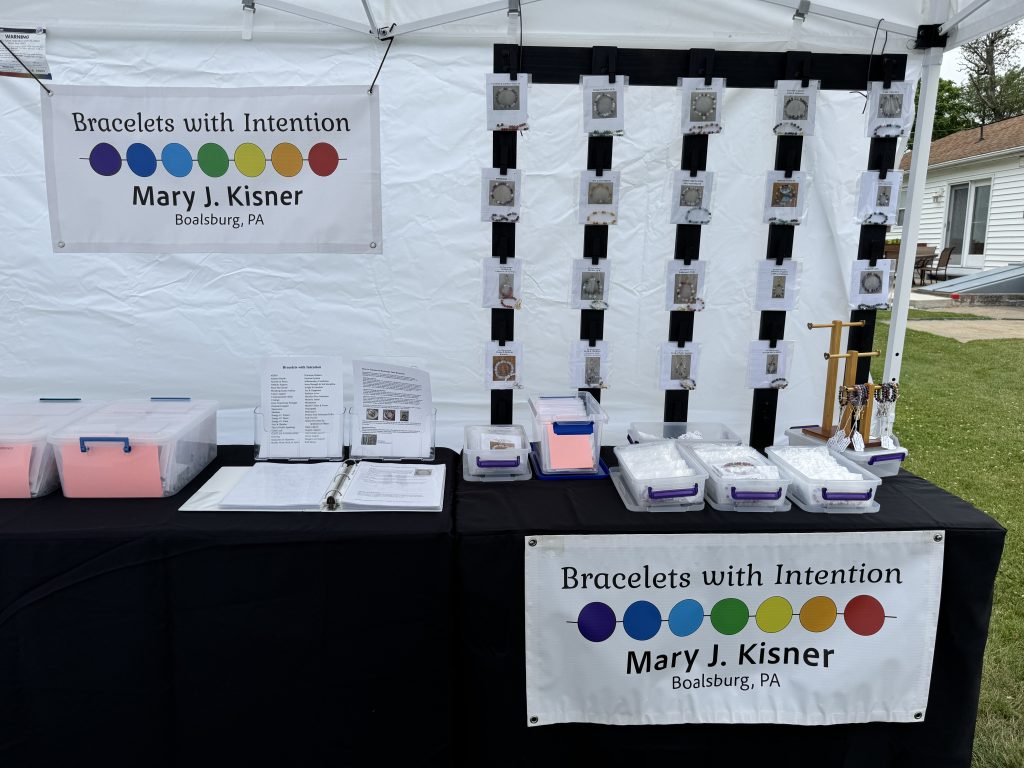
Here is last year’s booth:

This year I planned to expand to two tables and now have over 400 bracelets to display.

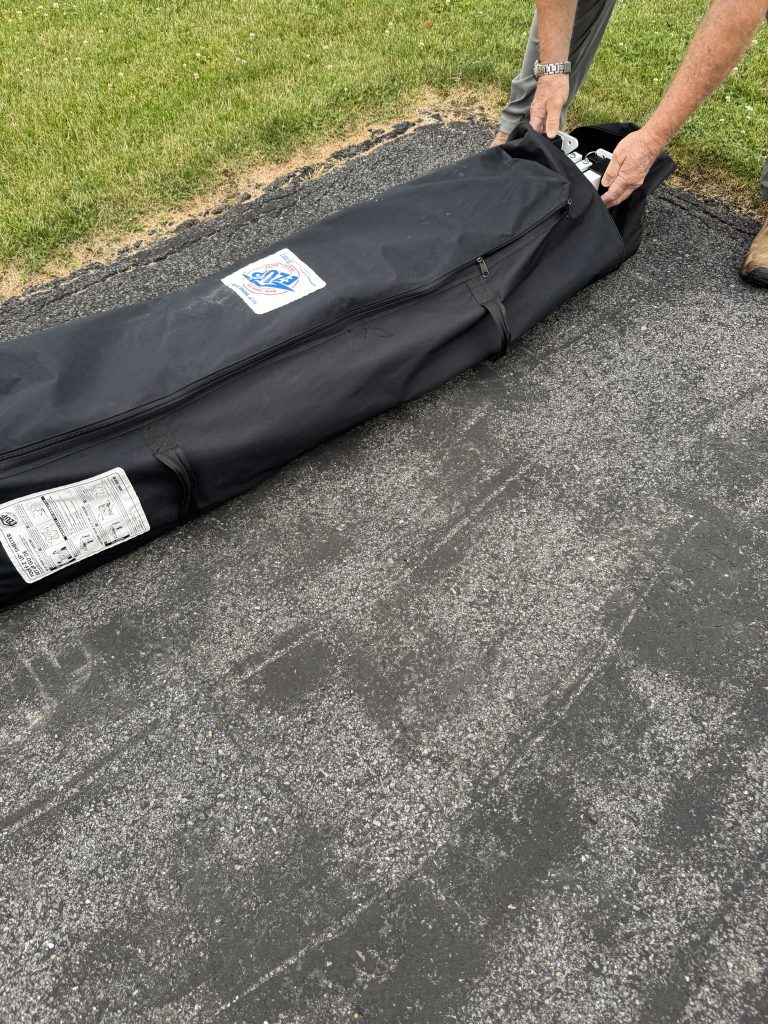
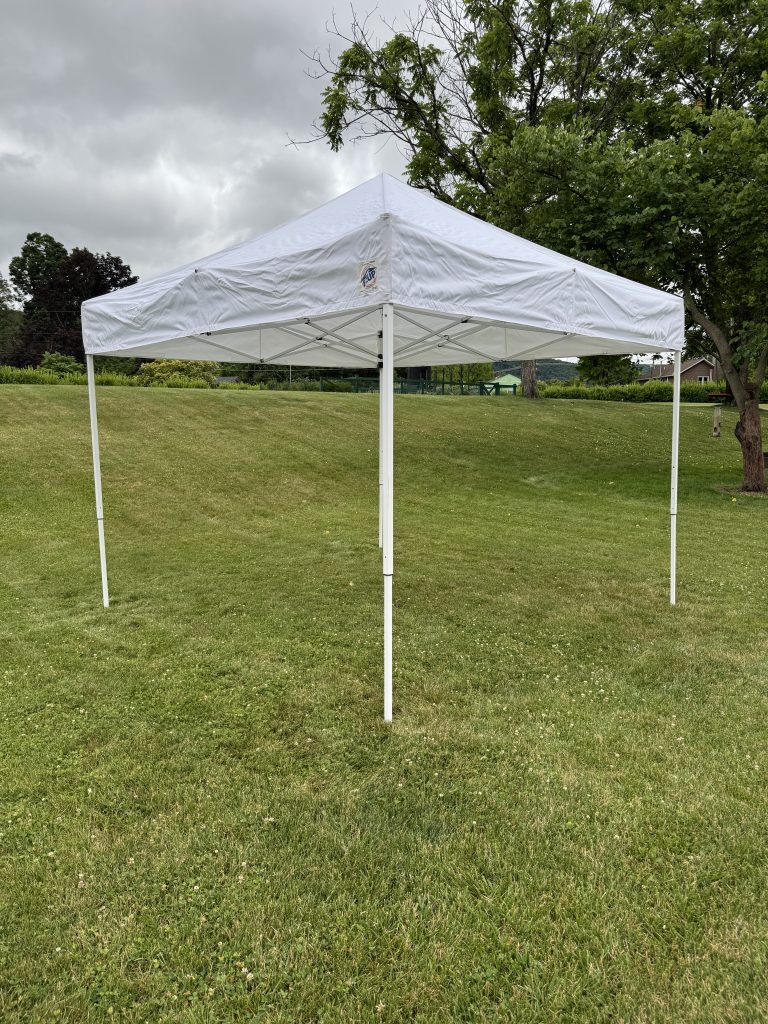
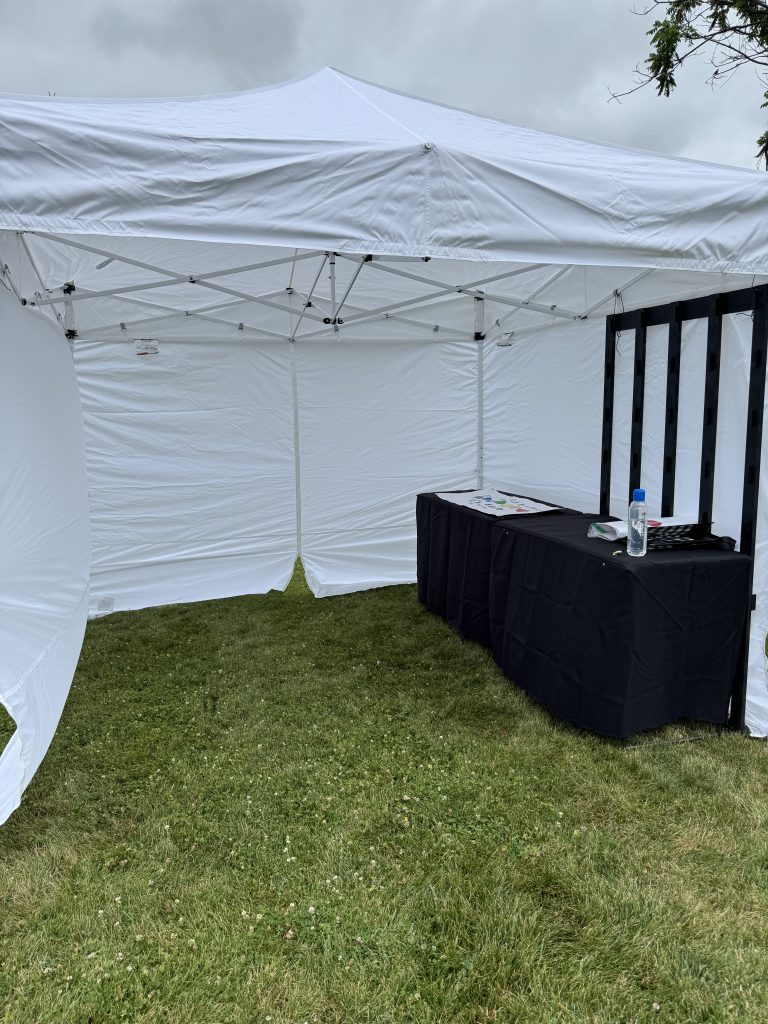
Last week we set up the tent in the backyard, just to make sure we had all the pieces and remembered how they all went together. Just getting the tent out of the bag was a challenge!

It really takes two people to coordinate and expand the legs of the tent.

We even added the sidewalls so we could see how my new grid backdrop would attach to the frame. I promise, I did leave a little room for Toni and Sue to display their stuff! (smile).

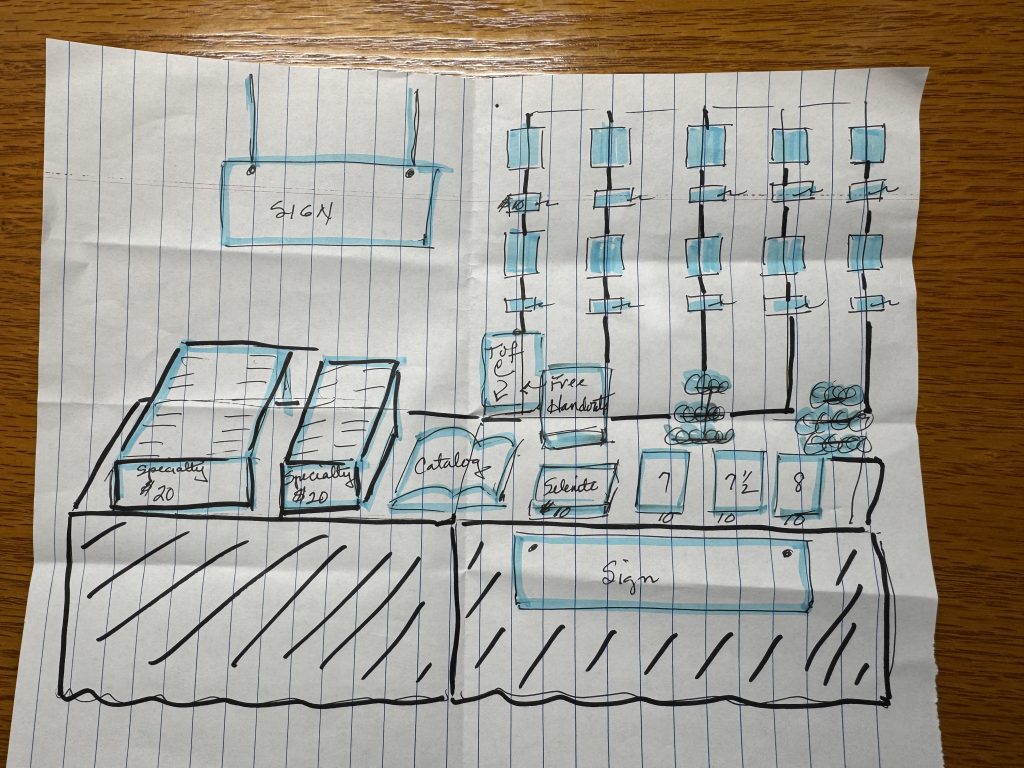
This was a sketch of how I thought my display would look. Since I had not tried to clip the bags of bracelets to the black frame, I was surprised how tall Bert had made it…I could almost not reach the top row of clips. We planned to bring a small stool so we can all reach the tops of our displays.

I think against the white sidewalls, the black frame and tables look pretty good!

Toni and Sue came over to check out the spaces I’ve left for them! They were very kind! I’ll post pictures of how the whole booth looks next weekend when we finally get everything set up.

A final step to be prepared for the festival next week, was to put a tiny price sticker on each item. No small task! With over 400 items, that was my evening entertainment for several days.

Specialty Bracelets

Today I’ve been making proper labels for all the various containers of bracelets.

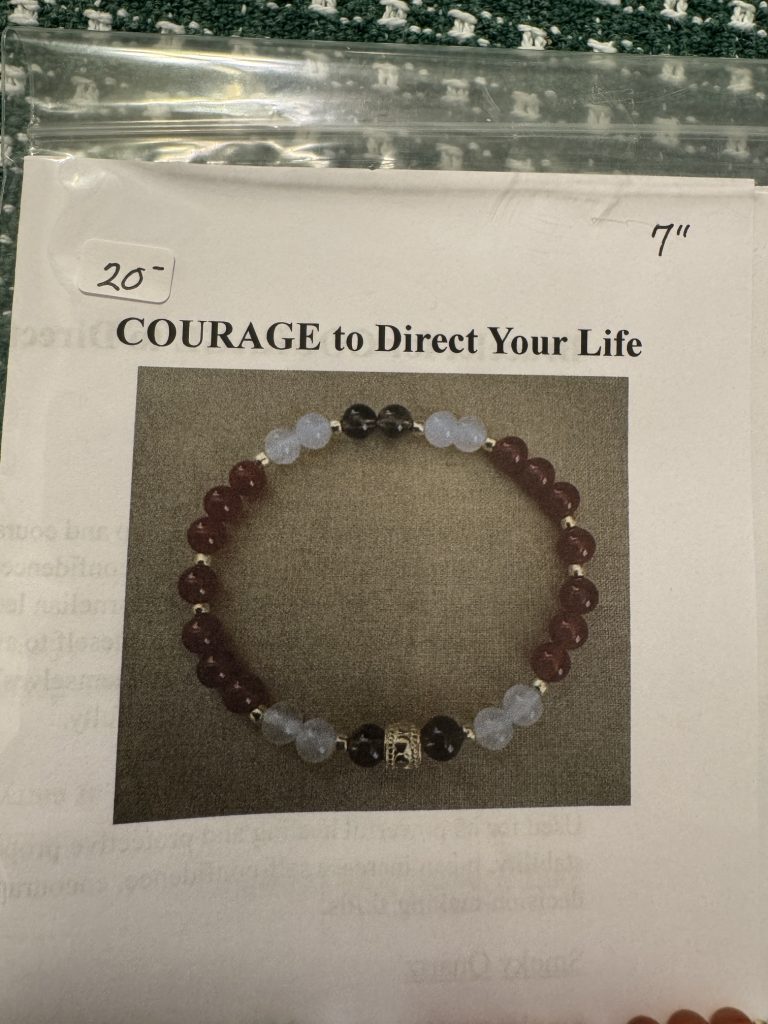
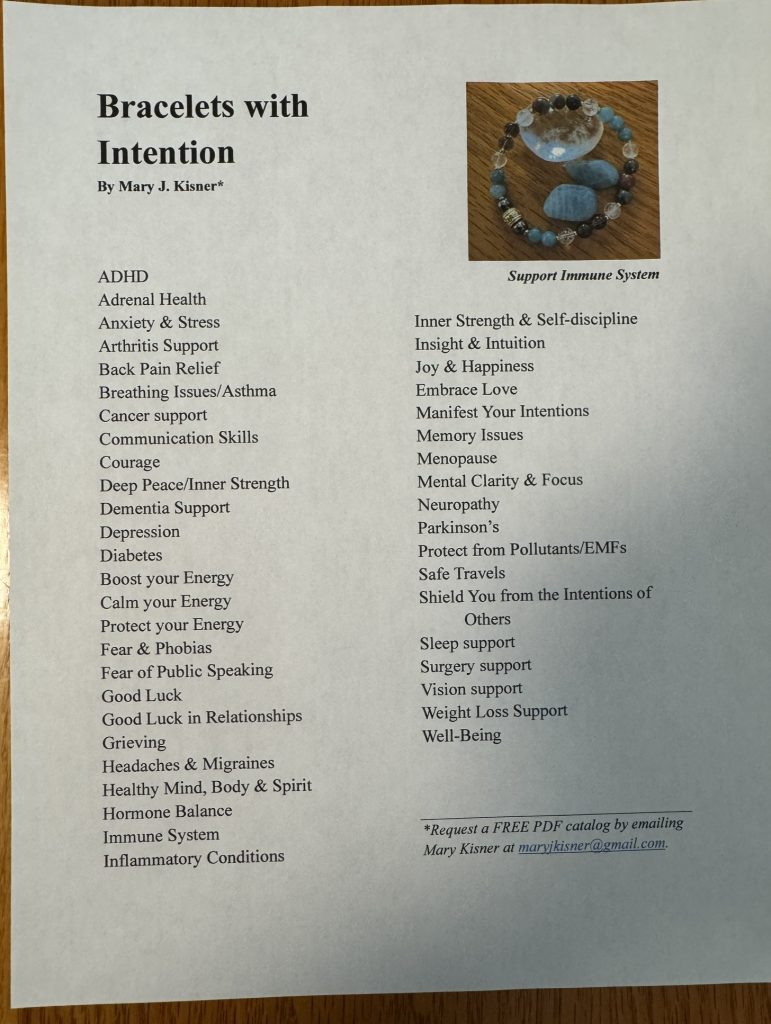
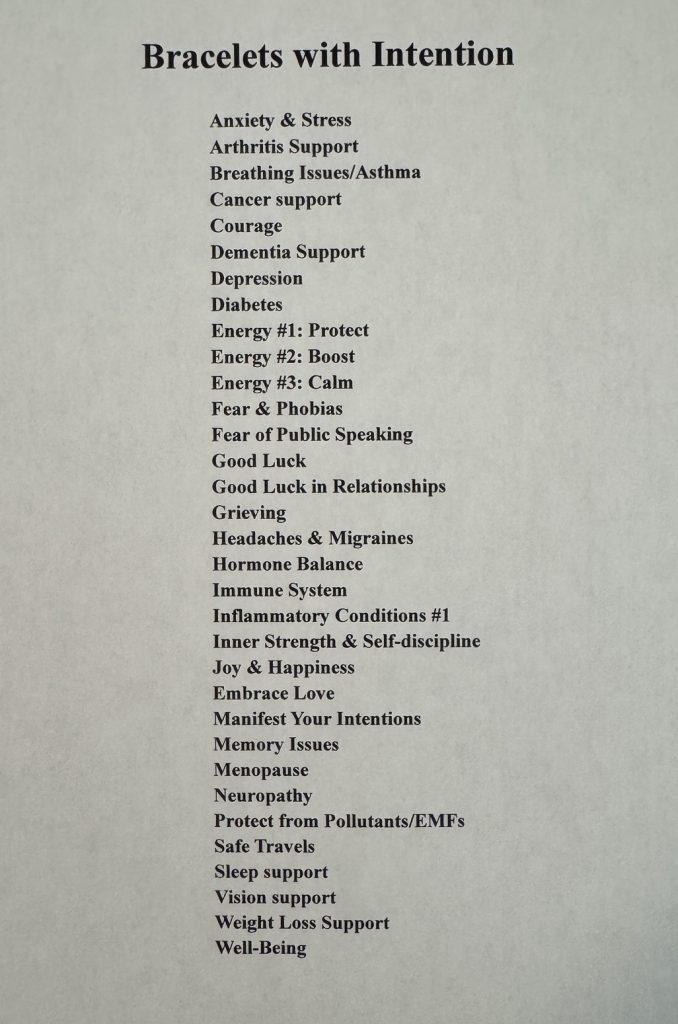
Below is a list of all the specialty bracelets I’ve made…most in three sizes.

I’ve also made Key Chain Accessories for ten of the specialty bracelets so you can keep the intention close by…on your keys or your purse. Those ten include:

Courage, Fear & Phobias, Fear-Public Speaking, Good Luck, Good Luck-Relationships, Embrace Love, Protect-Pollutants/EMFs, Safe Travels, and Well-Being.

I will wait to make more until I see if folks are interested in them.

Regular Bracelets

Finally, I’ve made almost 200 regular bracelets in three sizes just because I like the stone beads. They often have just one or two different beads and the intention for each bracelet is determined by the beads themselves.

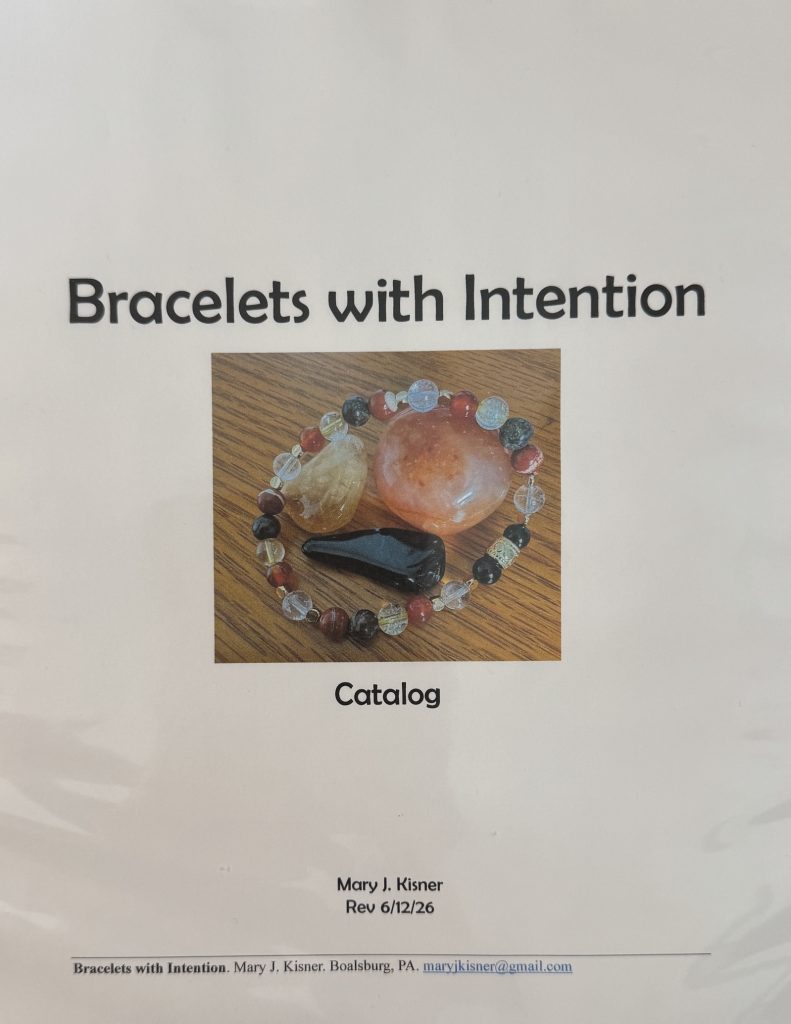
I now have a catalog of the Specialty Bracelets I’ve made, mostly to display at the festival. Because I really don’t have a convenient way to accept online orders, I’ve decided to stick with selling these bracelets at local festivals and fairs.

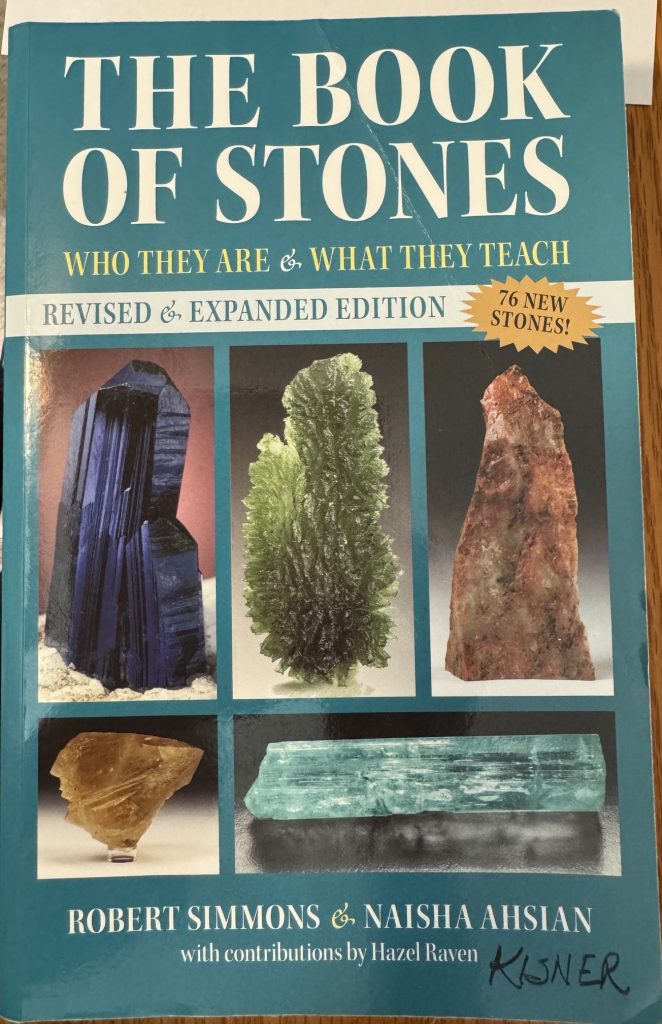
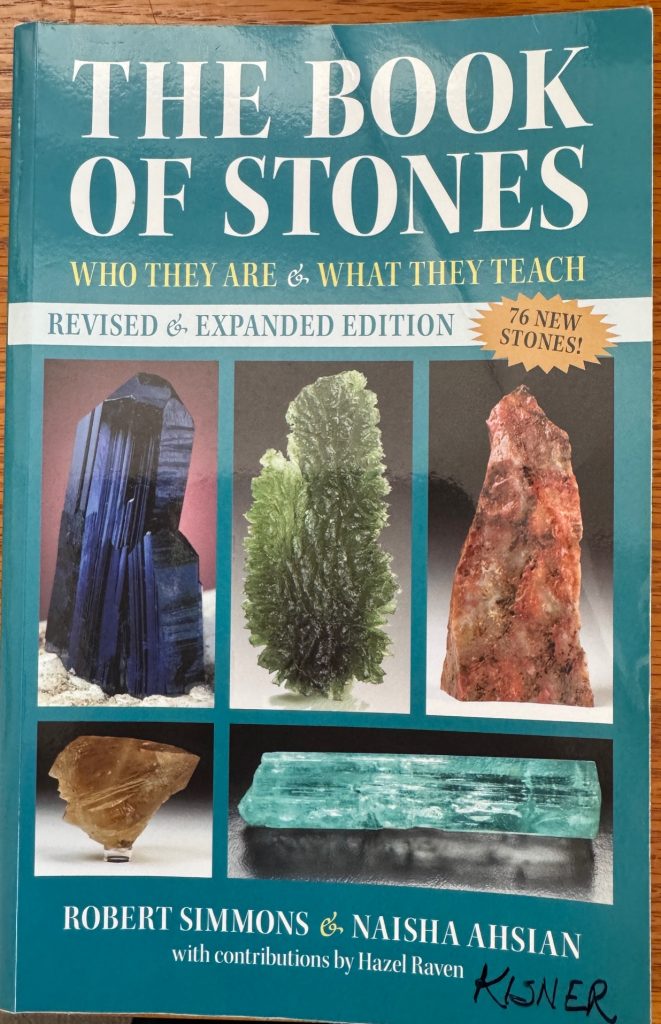
If you are interested in learning more about crystals and gemstones, I highly recommend The Book of Stones, by Robert Simmons & Naisha Ahsian. available on Amazon.

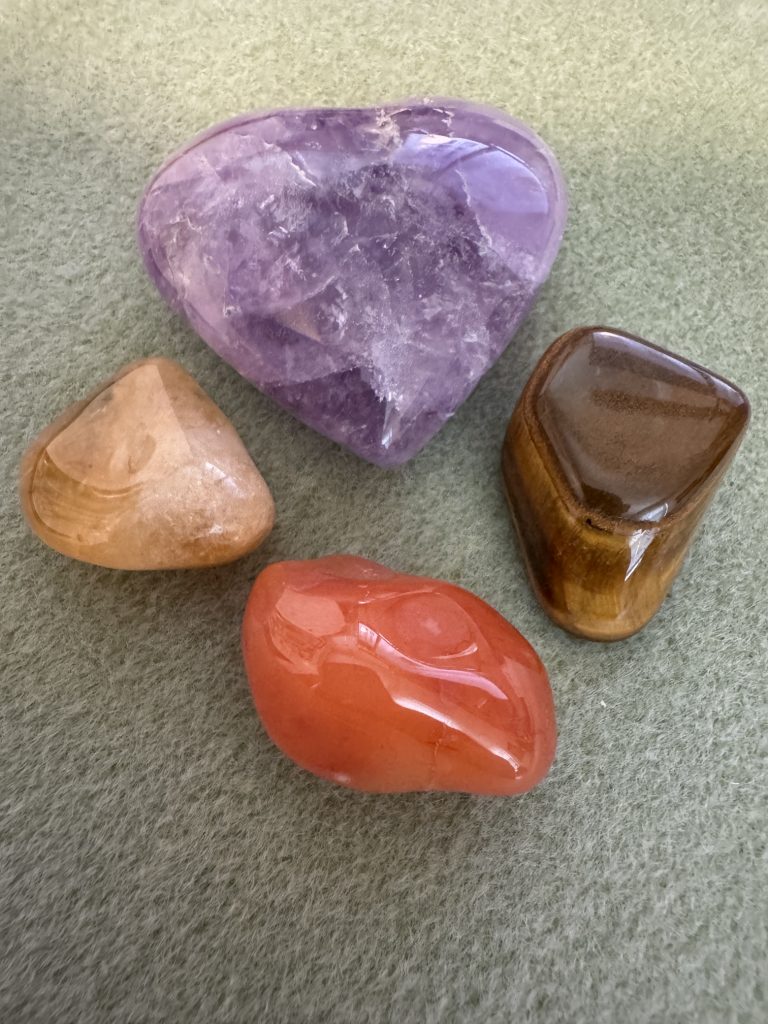
You can start the way I did and choose a few stones that appeal to you. I started my collection by ordering small polished stones through Sedona Crystal Vortex in Sedona, Arizona (https://sedonacrystalvortex.com) and learning about a few at a time.

Since everything I make is shared and is designed to encourage you to make it yourself, please explore the world of gemstone and crystal beads. You can make a bracelet that speaks to your own needs. There are many how-to instructions available on the internet!

I would be glad to share a copy of my catalog of Bracelets with Intention.

Please request a FREE PDF of my catalog by emailing me at maryjkisner@gmail.com.

If you have comments or questions, please email me directly at maryjkisner@gmail.com.

From a Collection to a Collage: Profile of an Artist updated

(This post is an update of one I wrote 5 years ago, now updated with new information.)

Today I’d like to tell you about a very talented and artistic friend of mine: Toni Duchi. She also happens to be my connection to Nittany Greyhounds and has been a friend for over 35 years.

While she has many creative talents, I think her current endeavors in making mixed media pieces have produced some stunning pieces. I call them collages, which is…an artistic composition of materials and objects pasted over a surface. Let me share an example of one she made specifically for me.

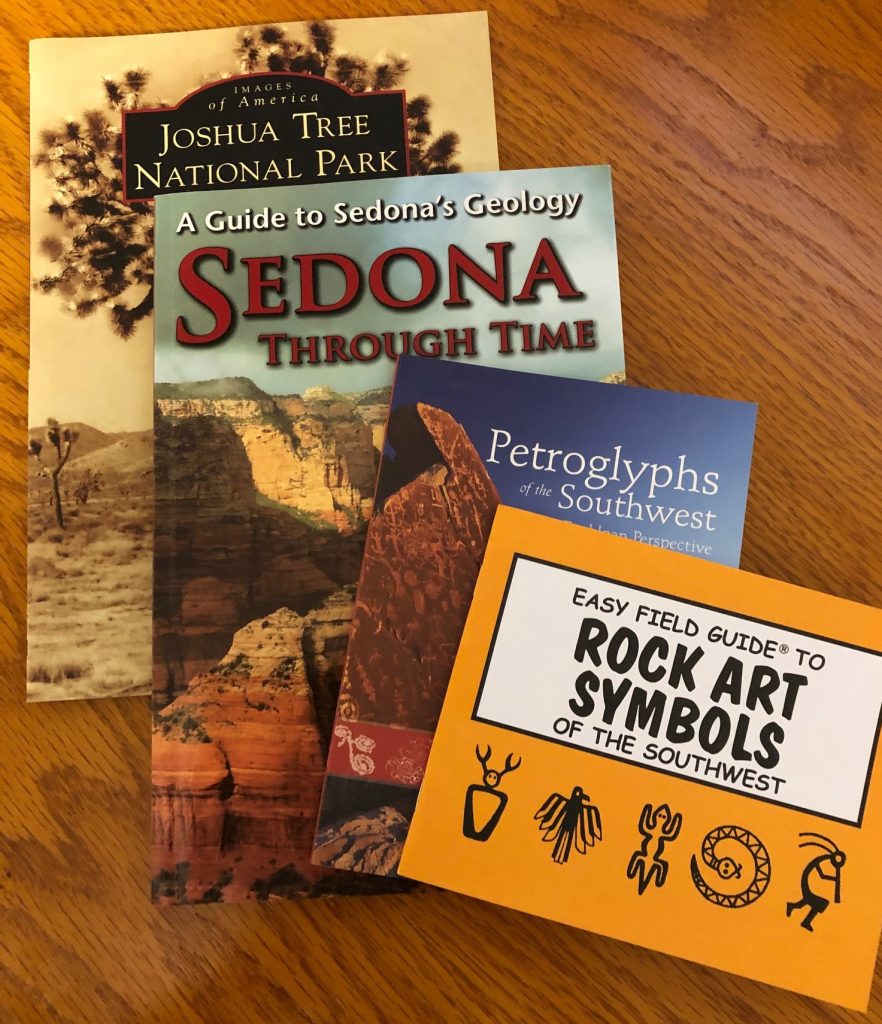
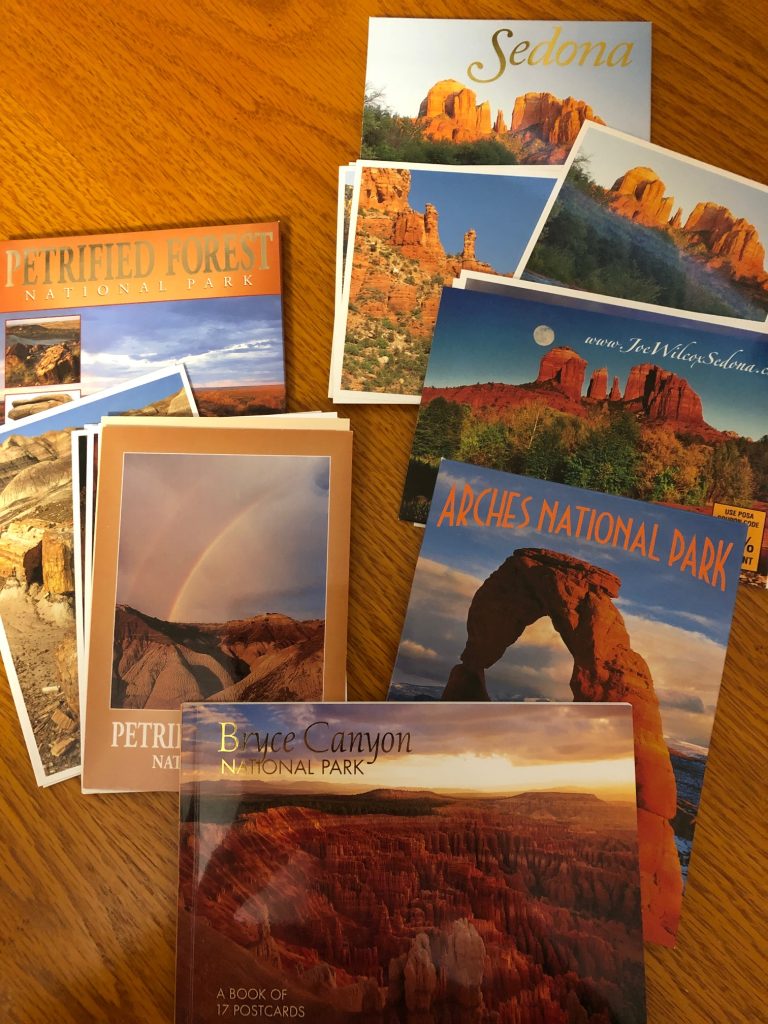
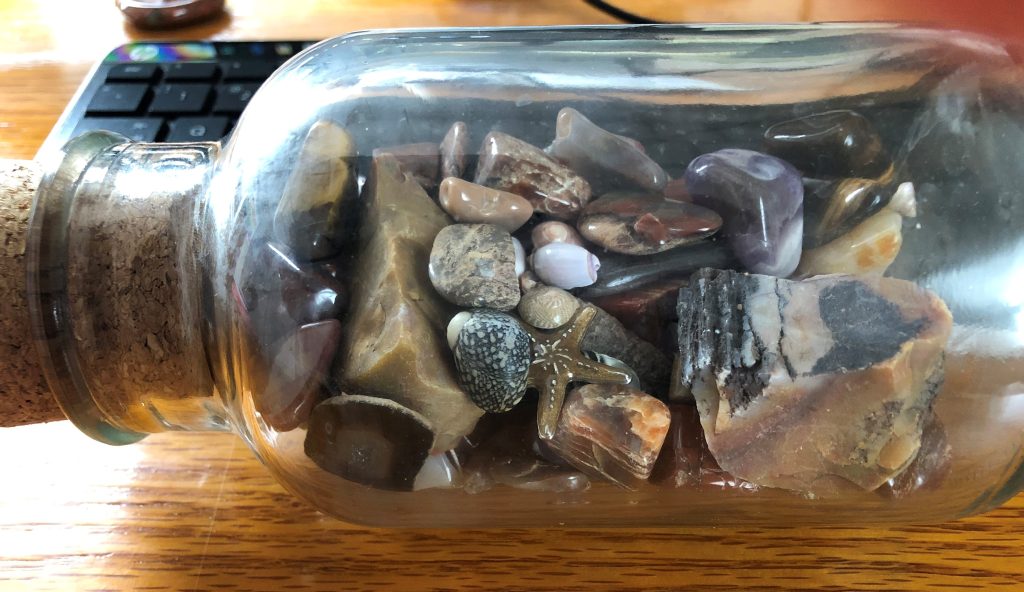
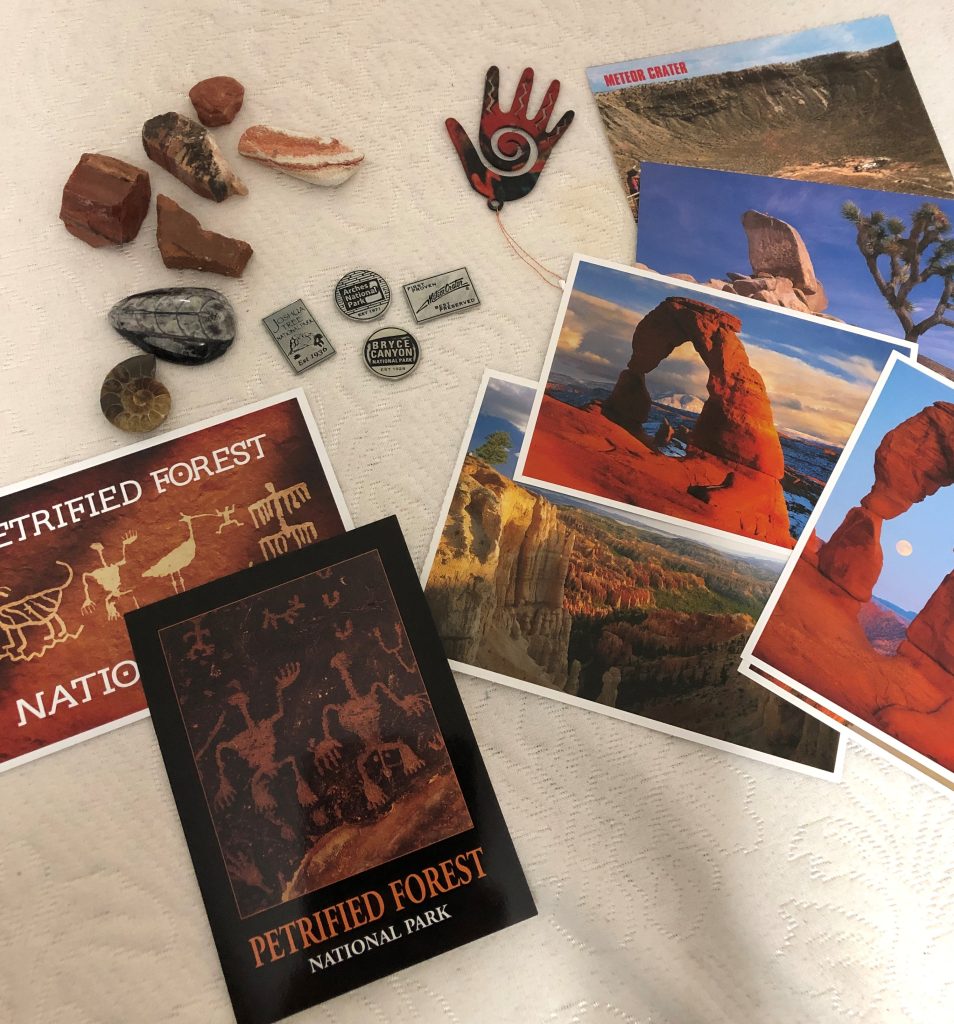
In 2019, Bert and I drove across the country to visit Ted’s family in California. We planned our trip to go through many National Parks along the way. As we traveled, I tried to NOT collect tacky t-shirts that I would never wear again. Instead, I picked up some books about the parks we were visiting and a few postcards that did the views justice. I did take a lot of pictures, but nothing was as good as the professionally done ones that got chosen to be on a postcard. At gift shops there were some tiny medallions representing each park, and even some polished rocks from the Petrified Forest. I wasn’t sure what I would do with these things, but they fit in my suitcase!

Books

Postcards

Rocks and Shells

When I got home, I had a pile of stuff (called a collection) that was fun to look at, but eventually ended up sitting on a shelf.

Making a Collage with a Collection

Finally, I begged for help. Toni told me to choose a section of the country/trip that had special meaning to me. It was obvious most of the stuff I had saved was from the Southwest; the landscape was so different from what I saw here in Pennsylvania.

I picked out an assortment of items from postcards, medallions, rocks, fossils and a Native American symbol (the metal hand below):

My Collection

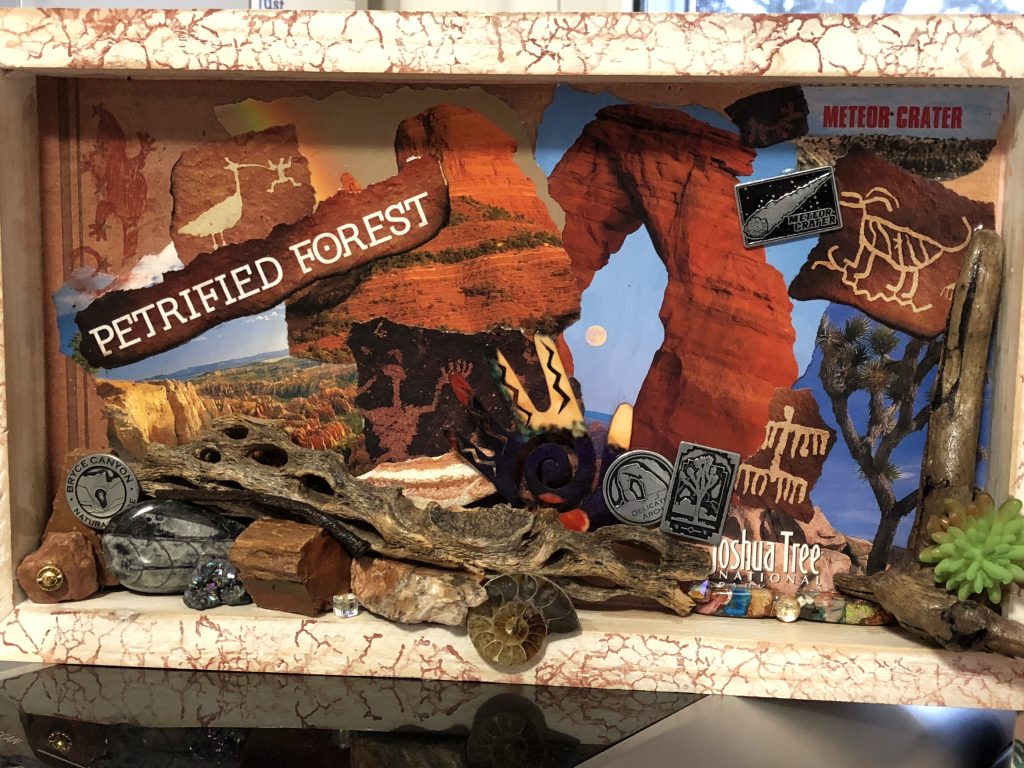
I handed this stuff over and had no idea what she would create with it. Several weeks later, this is what she brought me!

My Collage of the Southwest

This shadow box collage is 12 ½ inches by 7 ½ inches. It beautifully represents my memories of the Southwest. The postcards became the background and the three-dimensional pieces built up the scene. She added a few pieces of driftwood she had to pull it all together. Amazing!!! This now sits on my desk and I’m reminded everyday of the places we visited. The guide books are nearby if I want to read more. I still have more postcards and rocks leftover of the many other places we visited, but this collage pulls together a whole host of memories.

With all the various projects I enjoy doing, designing scenes like this is NOT one of my talents. Thank you, Toni!

A Second Request for Toni

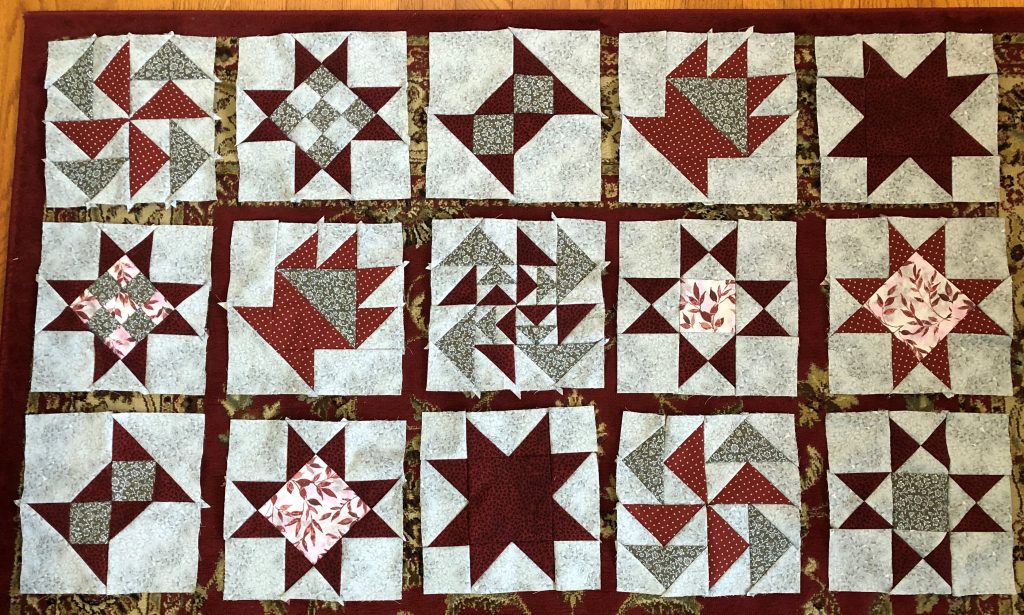
Soon after Toni made the collage of the Southwest, I had another design dilemma that she helped me with. I was working on a new wall hanging for my living room. It will be a sampler quilt wall hanging using new colors for the room…silver and burgundy. Here are the blocks laid out on the floor to show the colors:

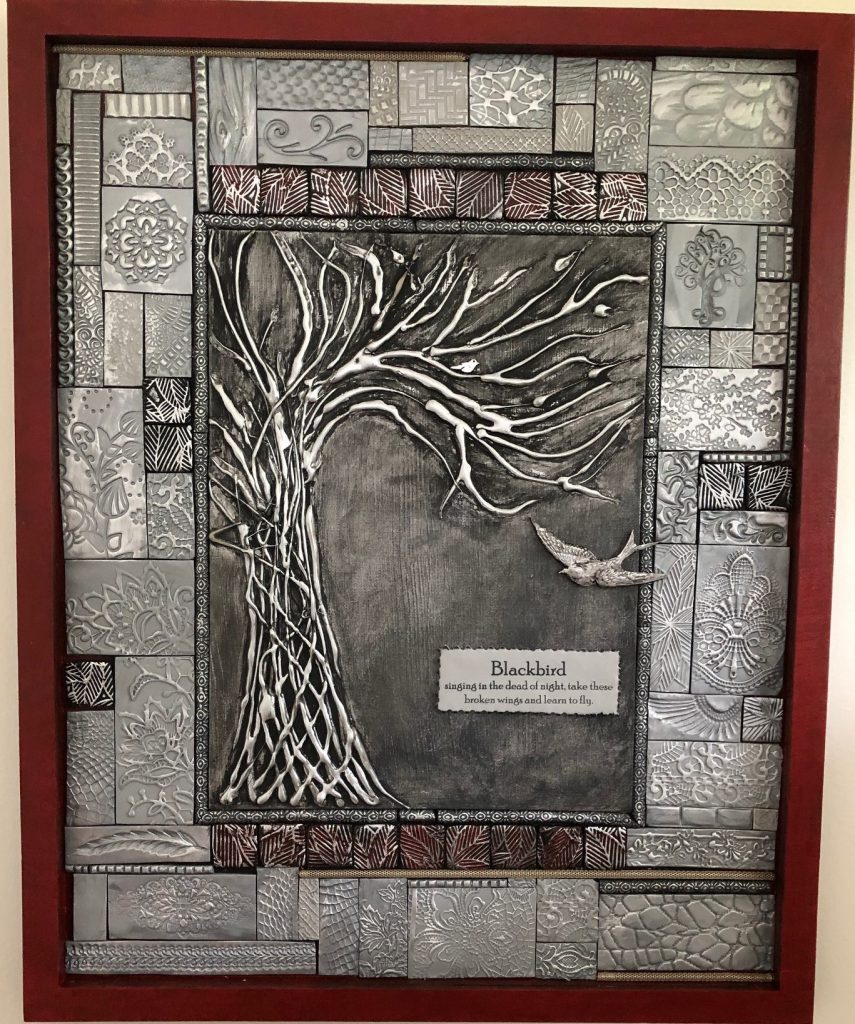
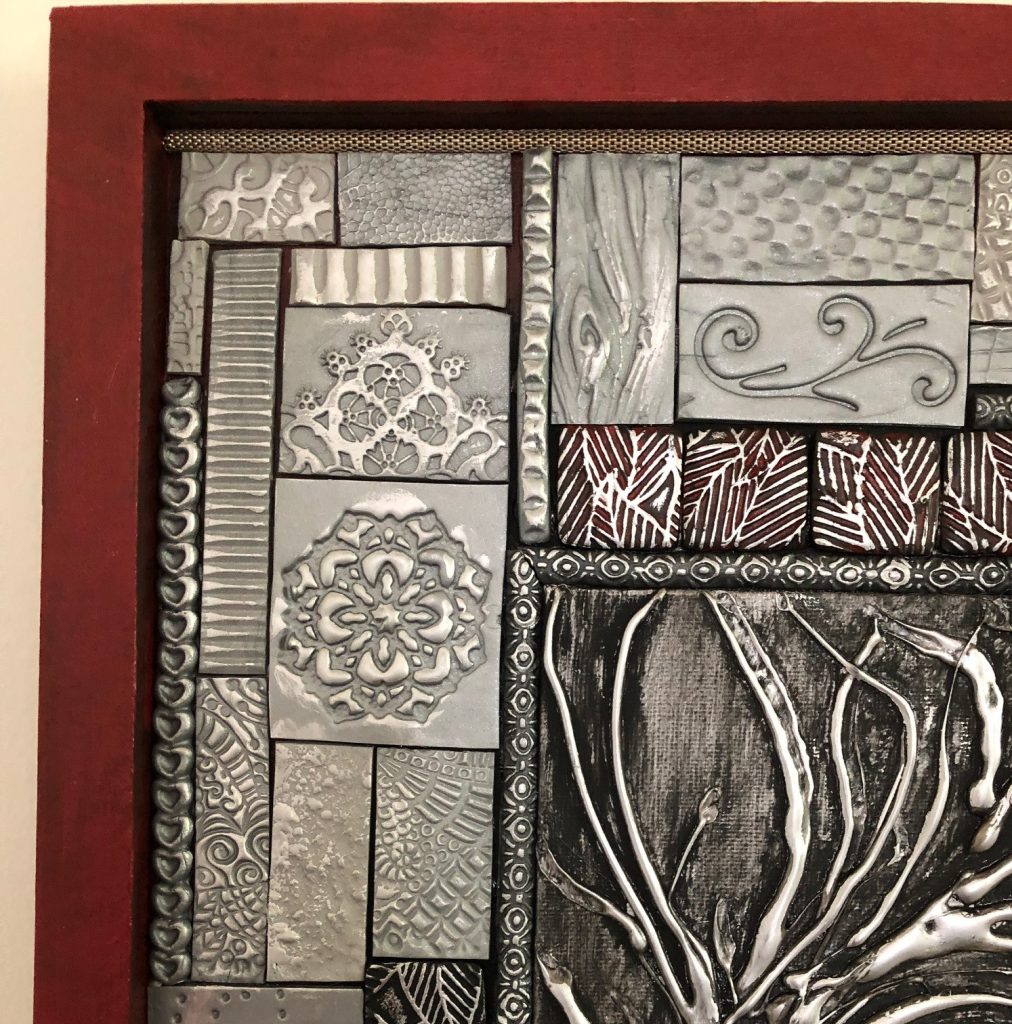
I showed these blocks to Toni and asked if she’d make me something to go on the wall by the front door. Using her talents with polymer clay, she made me a framed collage made of individual tiles in silver and burgundy. Here are some pictures!

This piece is 16 ½” by 20 ½”.

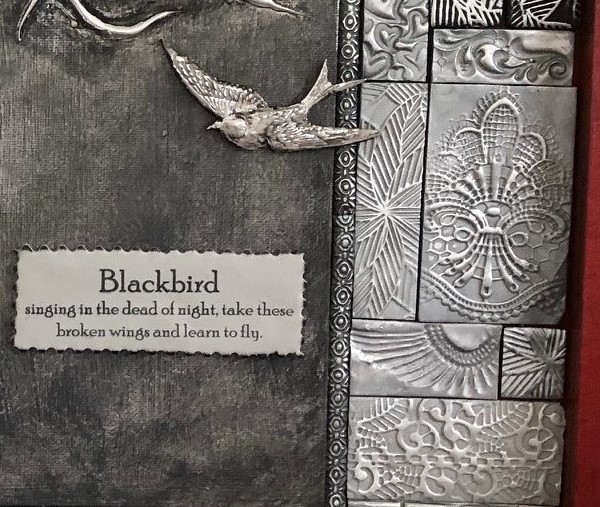
Here’s a close-up of the saying and the tiles:

Amazing! I will treasure this picture forever! Thank you, friend!

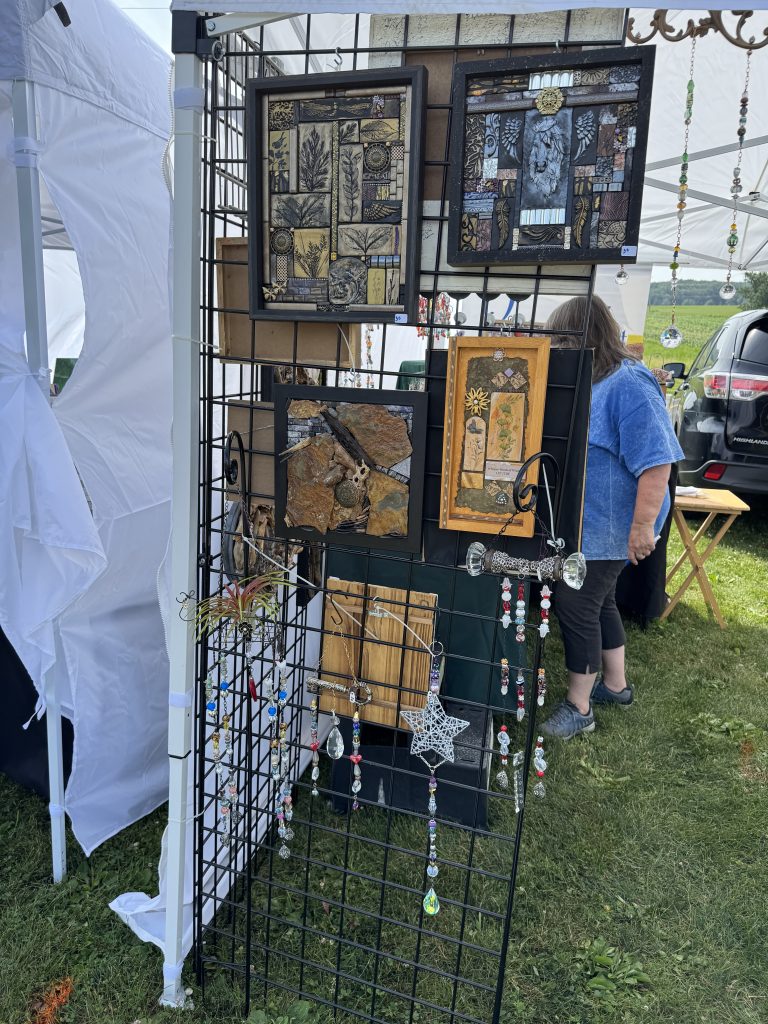
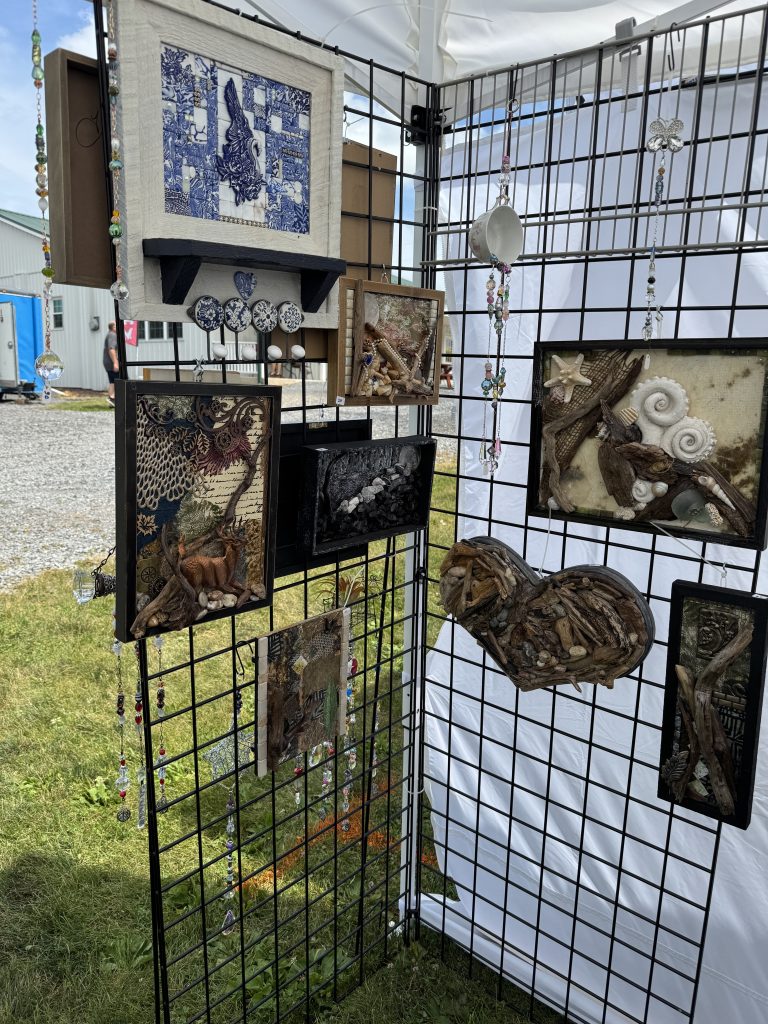
If you’d like to see more of Toni’s work, come see us at the Art in the Orchard Festival at Way Fruit Farm, July 9-11, 2026. We’ll be sharing a booth again! Here’s a picture of how she displays her wonderful art:

Come to the festival and meet Toni! You may find something you’d like! Please email me directly if you have questions or comments: maryjkisner@gmail.com
Getting Ready for the July 9 to 11, 2026 Festival

I’m looking forward to selling my beaded bracelets at the Art in the Orchard Festival, July 9-11. The festival is held on the ground of the Way Fruit Farm in Stormstown PA. They are located on Rt. 550 on the north outskirts of State College. I will be in a booth with two other artist. Luckily, we each have our specialty and I will be grateful to have some friends to talk with over the three days of the festival.

I’d like to share what I’ve been making with you but don’t plan to try to sell the bracelets online…yet. The hardest part is figuring out how to set up an actual ‘store front’ to handle the sales. At the moment, all sales will be in CASH at the festival in July. After the festival, I’ll see if there is enough interest to consider selling them online.

I now have a collection of 33 Specialty bracelets with a detailed description of each of the stone beads in the bracelet. Each come in three sizes. You can see that list below. When I say they are Bracelets with Intention, that means I have made the bracelet with intention…my thoughts are focused on the strengths of the individual beads and how they might be helpful in supporting the topic of the bracelet. When you wear the bracelet and consider the strengths of the individual beads, you reinforce the intention of the bracelet.

This disclaimer is on every bracelet package I make:

About your Gemstone Bracelet:

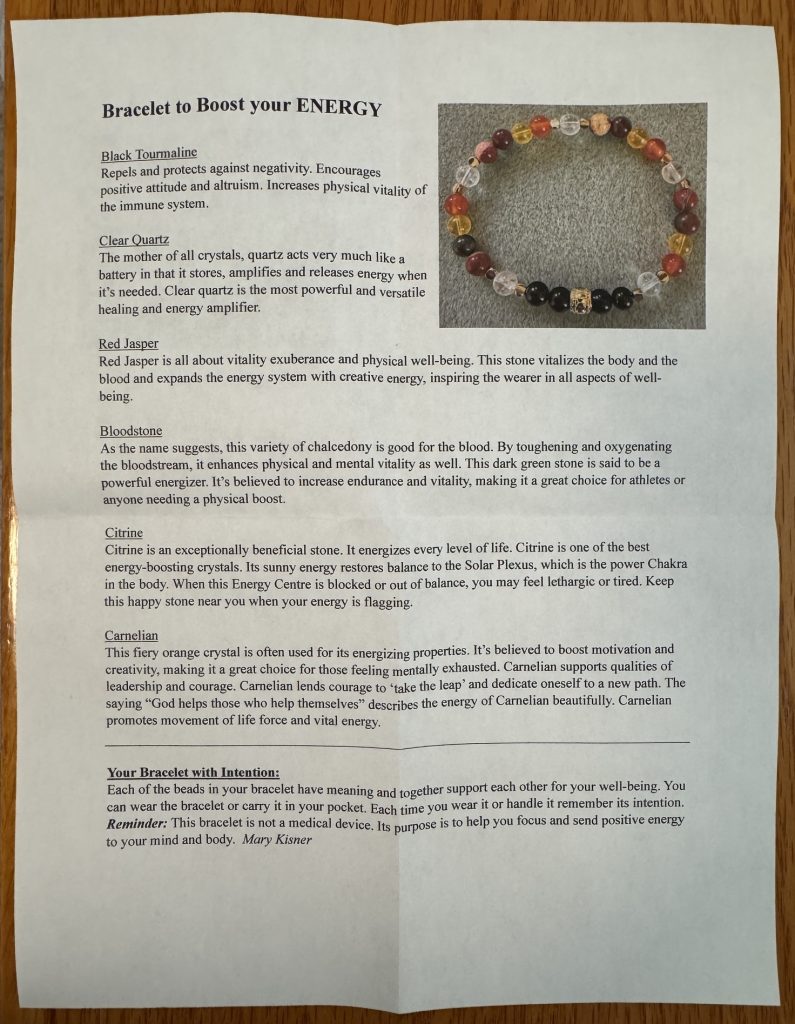
Each of the beads in your bracelet have meaning and together support each other for your well-being. They are described in the insert with your bracelet. You can wear the bracelet or carry it in your pocket. Each time you see it or handle it remember its intention as described on the tag, such as bringing you joy or lowering your stress level. Reminder: This bracelet is not a medical device. Its purpose is to help you focus and send positive energy to your mind and body. I have made your bracelet with love and the best of intentions for your well-being. Mary Kisner

Here is a list of the Specialty Bracelets:

For the festival, I also have an assortment of bracelets that have just one kind of bead, like amethyst or carnelian. While each stone bead has meaning by itself, I know I sometimes like to choose a specific color to match an outfit. Those bracelets are not listed in the catalog because I’m always making something new, however I have about 75 bracelets in three sizes that showcase a specific stone.

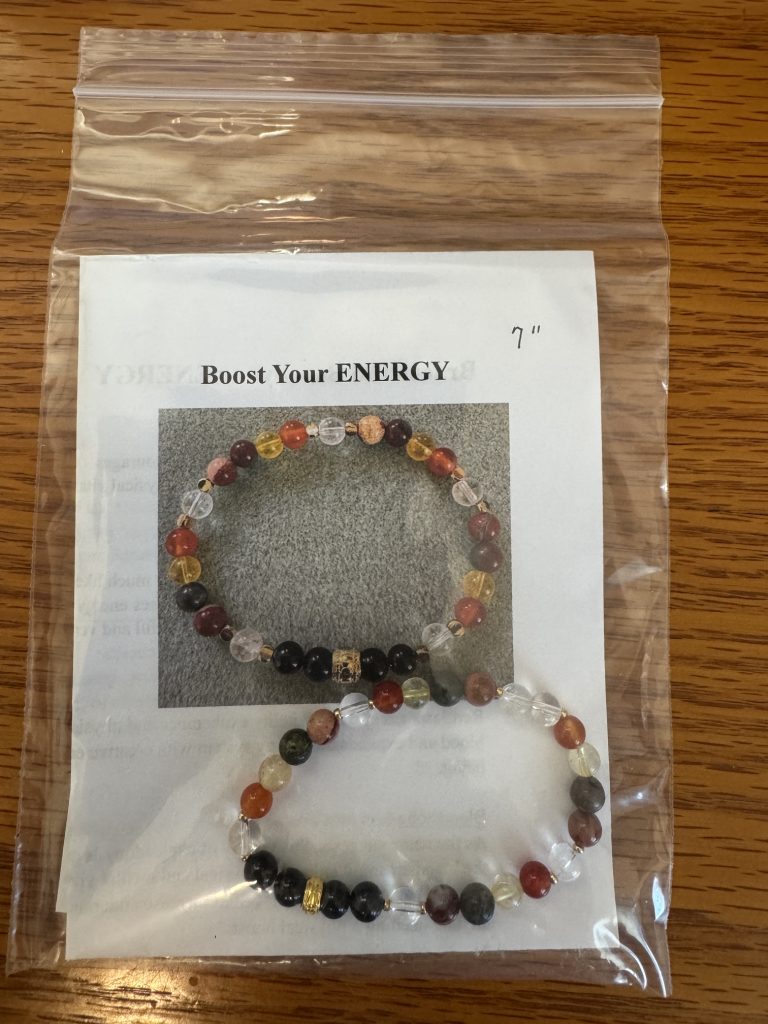
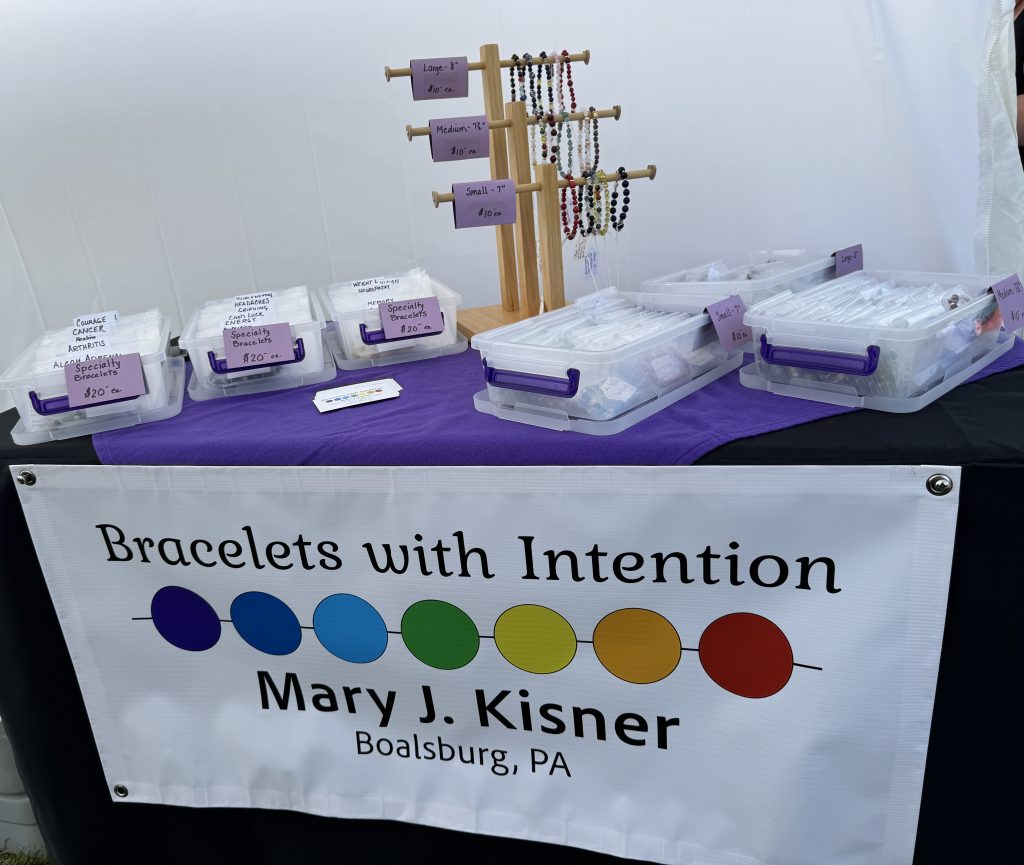
Designing my booth has always been difficult for me. My ability to string beads and design bracelets doesn’t seem to carry over to designing a big space. Last year my booth was pretty straight forward…and boring. This year I enticed Bert to make me a kind of rack with clips that could display my bracelets…which in turn required me to redesign my packaging! Luckily, I started that in January and as I make new bracelets, the packaging all matches! The bracelet is visible, and inside the folded label the individual beads are described.

Here is a picture of my booth last year (boring, I know!):

This year, (still under design!) my booth might look like this…I did get a second sign and will expand to a second table:

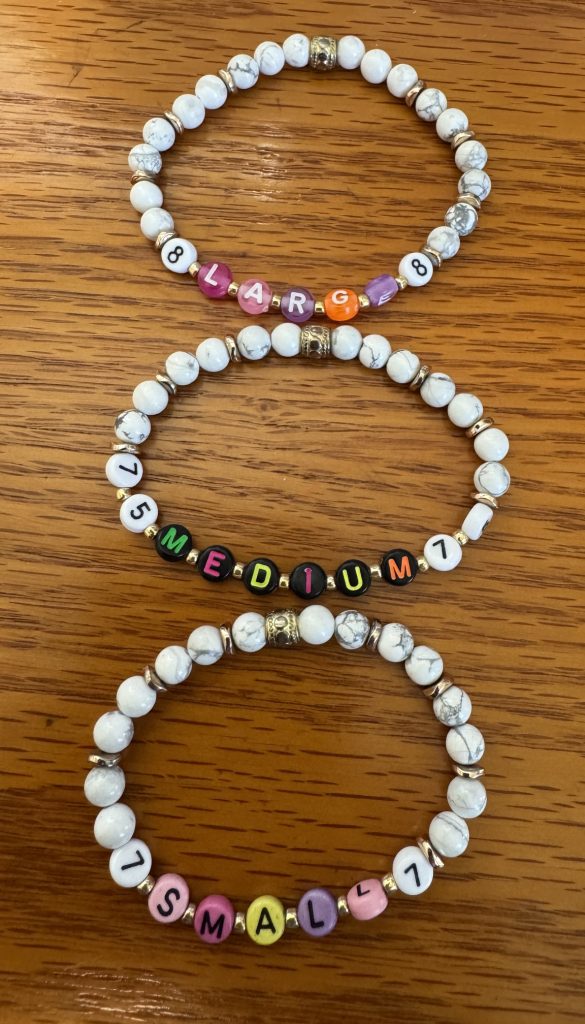
My problem is I like to keep the bracelets in their packaging but on display they attract attention. The new packaging allows folks to see the bracelet without opening it. I think I’ll hang a few loose, but keep most in their individual bags so folks can paw through the packaged items easily. Once they see something they like, they can open the package to try it on. I also have ‘tester’ bracelets so they know what size they are looking for.

So…that’s how my preparations are going for the Art in the Orchard Festival at Way Fruit Farm, July 9-11, 2026. I’d love to see you there!

For questions and comments, please email me directly at maryjkisner@gmail.com.

Using My Own Blog Info for Projects

I apologize for my silence for the last two weeks! It’s been a long slog of VERY cold weather and the lack of sunshine has been tough. We’re finally getting a few 20-degree days and occasional sunshine, so things are looking up. I have not been very motivated to do much except make bracelets and listen to music.

I wanted to share how my own blog posts have helped me think about projects I’ve done and what I’d like to try next. I also realized how nice it was I had pictures to remind me HOW I did things and if the results were worth it! I’d like to share 5 projects I worked on these last two weeks and how they pulled me through my mid-winter funk!

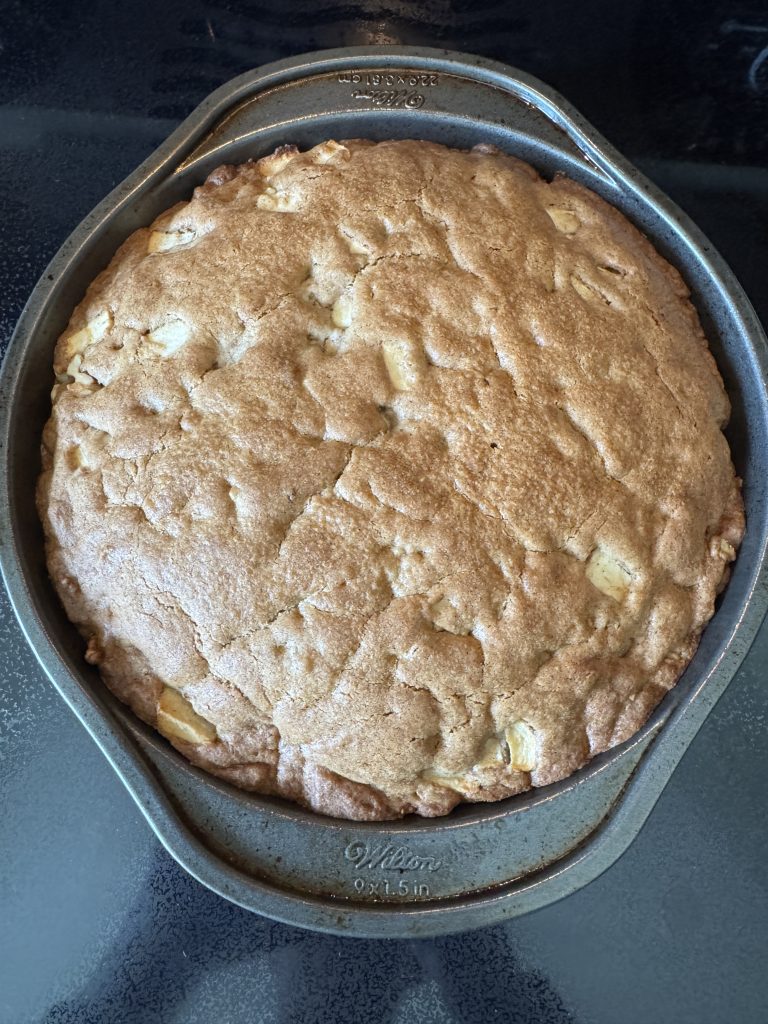
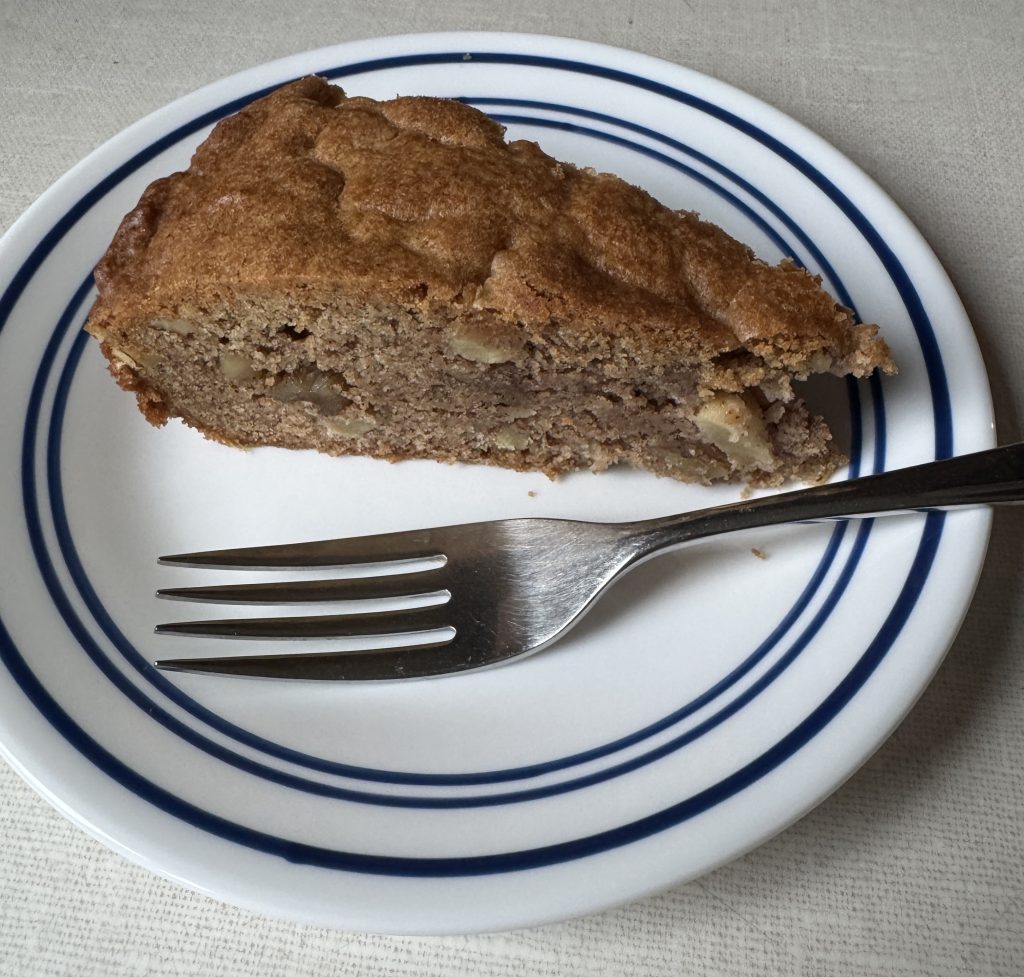
#1: Making Cinnamon Apple Cake

I had a few apples that needed to be eaten, cooked or pitched soon. Bert suggested I make an Apple Cake…but if you’ve followed along, I’ve made 4 different cakes and not all have been delicious. So, to help me remember, I looked up the four posts that described them. You can see them here:

https://marykisner.com/maple-bourbon-apple-cake/

https://marykisner.com/making-french-apple-cake/

https://marykisner.com/making-german-apple-cake/

https://marykisner.com/making-cinnamon-apple-cake/

After reading those four posts and looking at the pictures, we decided we liked the cinnamon apple cake the best, so that’s what I made last week.

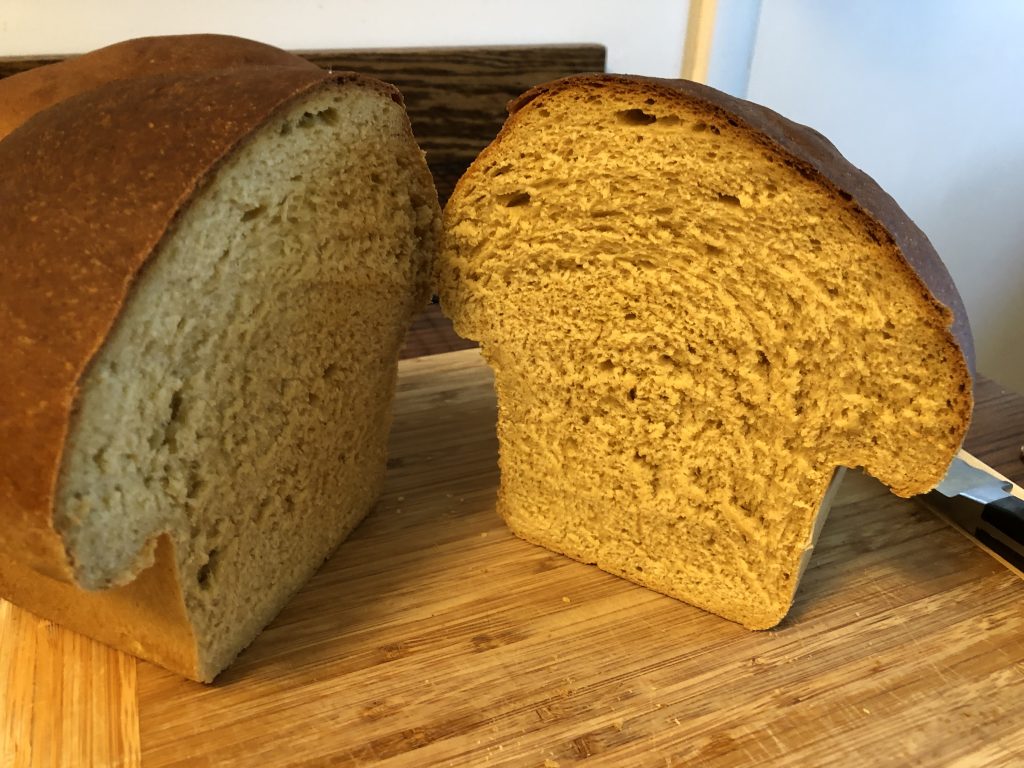
#2: Making Sweet Potato Yeast Bread

Next, I wanted to bake bread…my go-to-activity when it’s really cold and snowy! In the freezer I found mashed sweet potato (in a 1-cup container) and a bag of whole wheat flour that I had ground a few months ago. I found my post about making Sweet Potato Yeast bread (https://marykisner.com/making-sweet-potato-yeast-bread/). It made 3 small loaves…just right to go with homemade soup during the snowstorm!

When I got done, I remembered I had earlier made Vegan Sweet Potato Buns and could have made them instead. I’ll do that next time I feel like baking! Check out that recipe here: https://marykisner.com/making-vegan-sweet-potato-buns/

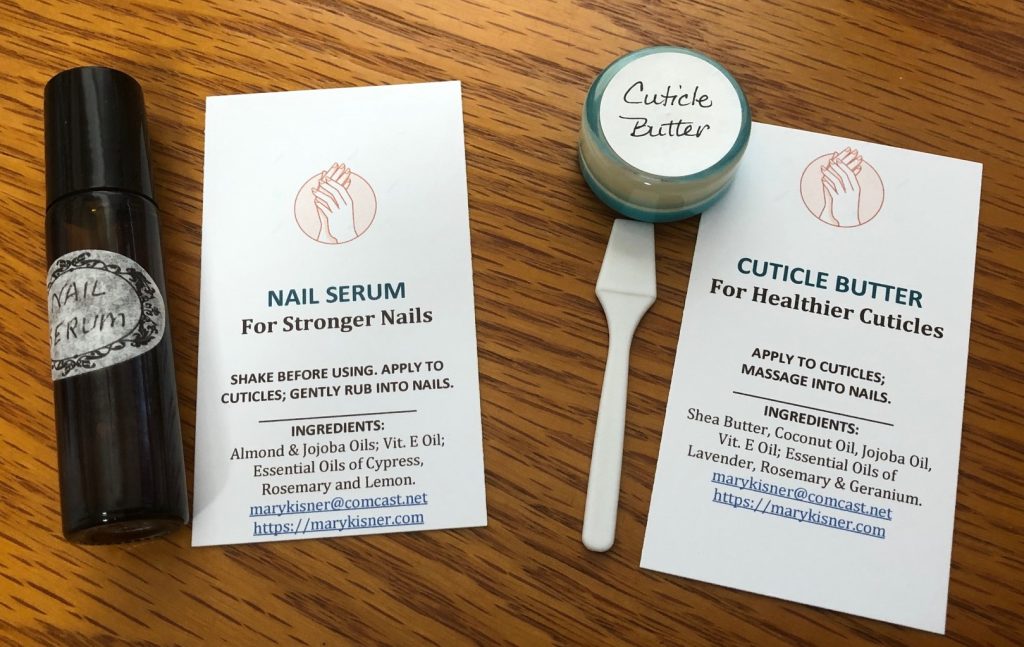
#3: Making Nail Serum for a Friend

While we were snowbound, I had a text from a friend who asked if I still had any of my nail serum and cuticle butter left. It’s been a while since I made both, so I sorted through my bins of stuff to see if I had any left.

I did have a bunch of tiny cuticle butter containers left but no nail serum (in rollerball containers). I pulled out the blog post for the recipe to make more nail serum. I ended up making a few. You can read about it here: https://marykisner.com/essential-oils-and-nail-care/

#4: Sharing Links about the Greyhounds

This last week I also had a query from a greyhound owner about whether I still made coats for greyhounds. I had to explain my dilemma about making the coats. I have not made coats for at least a year. I was basically burned out and was turning my attention to my bracelets. I am still able to do custom orders for coats, but now that JoAnn Fabrics is out of business, affordable fleece fabric is hard to find. I have found a few offerings on Amazon, but they are mostly solid colors and very expensive. To buy the fabric (in one color) to make one coat could cost $45-60. Then, my time to make the coat and mail it to a customer is another $50. I just don’t see that being feasible.

I ended up sharing with the greyhound owner the six blog posts I’ve written about my work with the greyhounds:

https://marykisner.com/greyhounds-in-my-heart/

https://marykisner.com/cozy-coats-for-greyhounds/

https://marykisner.com/ongoing-work-with-greyhound-coats/

https://marykisner.com/belly-bands-for-greyhounds/

https://marykisner.com/time-to-get-back-to-making-greyhound-coats/

https://marykisner.com/more-about-making-greyhound-coats/

As I’ve mentioned many times, I’m willing to share my patterns for the coats and teach someone else how to make them. We worked hard to design them so they fit well. I’m proud of how cozy they are. Of course, my work with Nittany Greyhounds was a volunteer job so there isn’t much money in making them although Nittany always paid for the fabric. I have seen coats being sold on Etsy for $75-100. I just can’t see it’s a lucrative activity without a good source of affordable fleece. So far, I have found few people who even know how to sew.

#5: Designing a New Bracelet for Well-Being

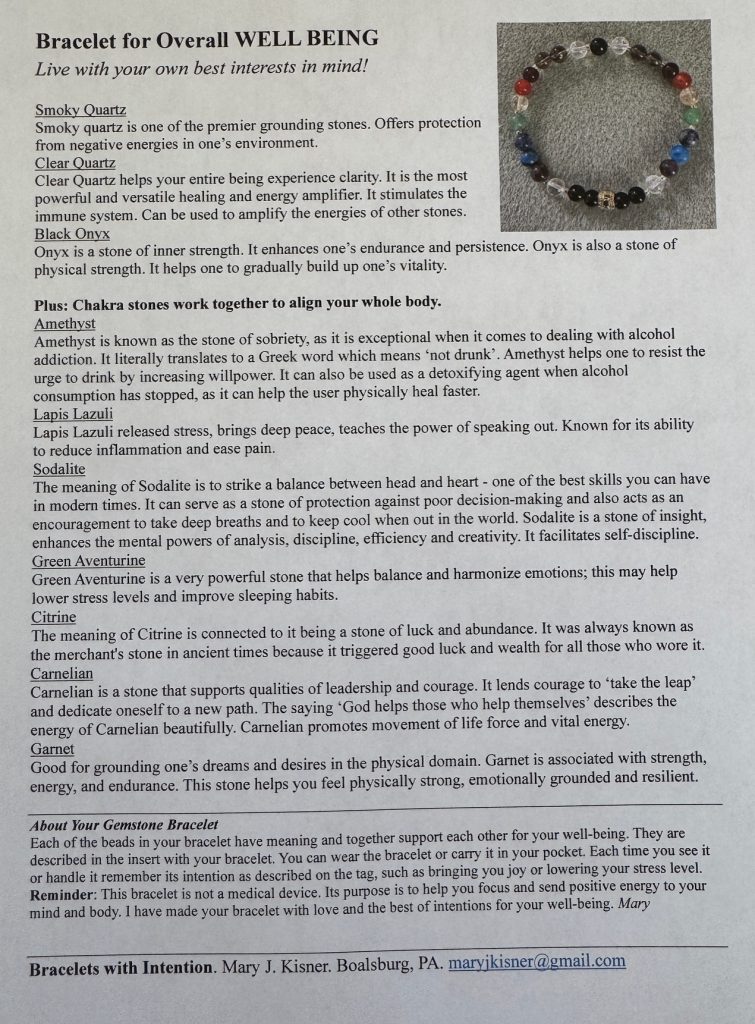
Finally, around all the baking, nail serum making and greyhound conversations I was thinking about designing a new bracelet for general well-being. Most of my specialty bracelets start with the idea that the best thing I can make will help a person stay balanced and is focused on keeping their chakras strong and aligned. The chakras are the energy centers in the body and when one is blocked or weak from illness, stress or environmental conditions my focused intentions always target bringing a person’s energy back into balance. The various stones have their own vibrations that help that intention.

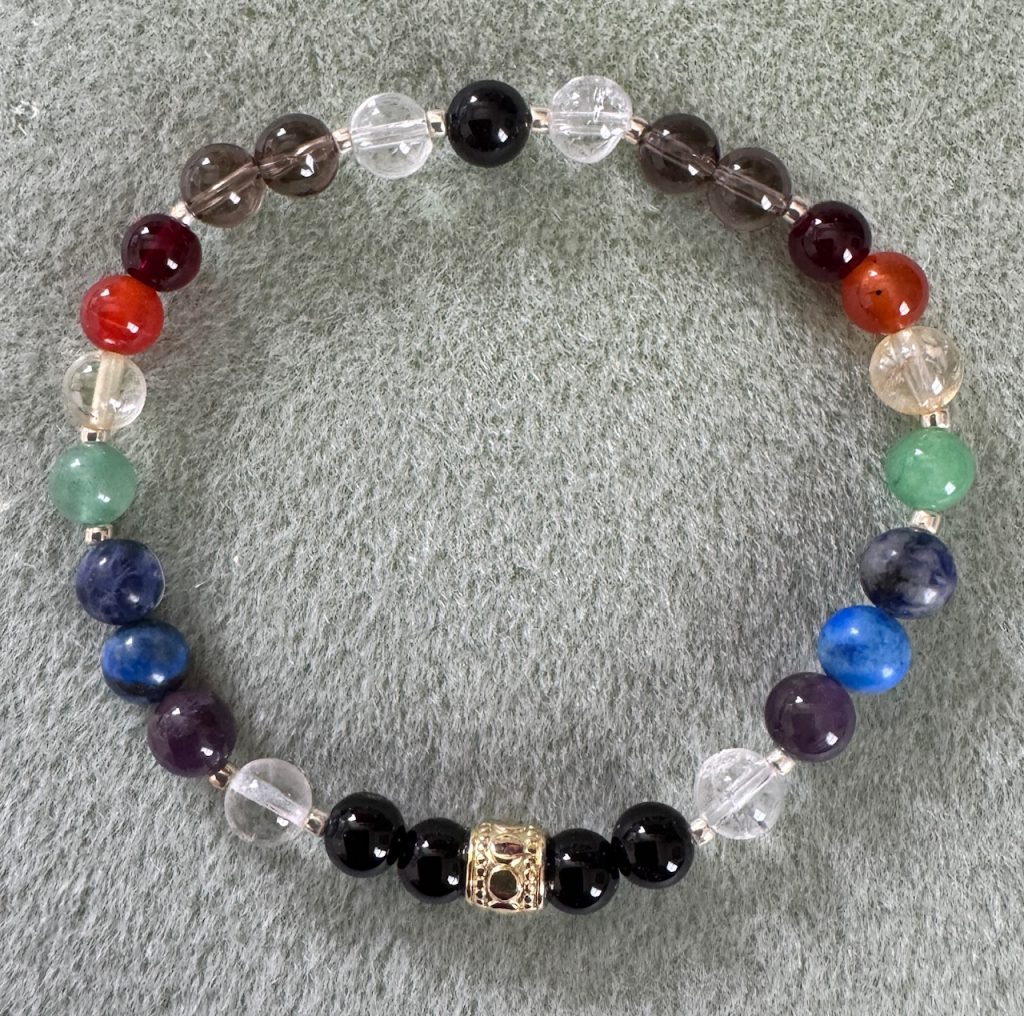
The latest bracelet I’ve made is based around two sets of the chakra stones, plus smoky quartz, clear quartz and black onyx. Those last three stones provide grounding, clarity and inner strength for whatever issue a person is facing.

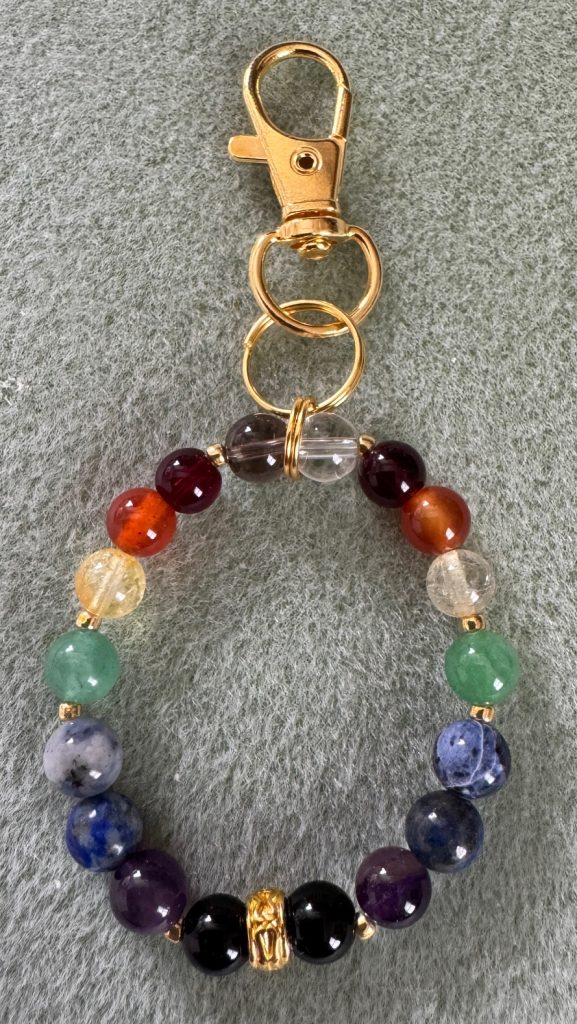
Then I made a key chain accessory to go with the bracelet so well-being can be carried with you. Making that set was fun and kept my mind busy as the snow piled up!

Here is the description that I include with each bracelet. The key chain accessory just has fewer beads but still has the two sets of chakra stones.

So, that’s what I’ve been doing! Silence doesn’t mean I’m not doing stuff. I may just be revisiting posts to try something again. I hope you are staying warm (or cool) depending where you live!

If you have comments or questions, please email me directly at maryjkisner@gmail.com.

How to Care for your Gemstone Bracelet

I’ve made hundreds of gemstone bracelets over the last two years. It has come to my attention that a few folks have been frustrated with their bracelets falling apart. Remember, the whole ‘bracelet’ fad started with plastic letter beads that were fairly indestructible. There were other fads that had string, cord or leather bracelets that could handle 24/7 wear. The stone beads that I use are just that…stones and crystals! They have their own individual properties that influence how they should be cared for. Each stone has a Mohs Hardness Score that provides some guidance about how it should be treated. When I create a bracelet that has several different stones, I’ve complicated the issue of how to care for the bracelet.

The following information is a general guideline for most bracelets that have more than one kind of stone. I hope it helps you keep your bracelets looking great!

How to Care for Your Gemstone Bracelet

Stone bracelets can contain a wide variety of gemstones, each with unique properties and care requirements. Common stones used in bracelets may include tiger’s eye, lapis lazuli, malachite and lepidolite. Each type of stone has its own hardness and porosity which influences its care.

Avoid Water Exposure

While most quartz beads (clear, rose and smoky) can withstand daily wear in the shower, any stone with a Mohs hardness score of less than 4 or 5 may begin to lose its luster. The very soft stones like selenite and amber (Mohs Score of 2) will begin to dissolve over time. Since most bracelets have a mixture of stones, it’s wise to not wear your gemstone bracelets in the shower, the pool, the hot tub or the ocean. These bracelets are strung with an elastic cord that will also degrade over time with water exposure. If your bracelet gets dirty, gently clean it with a soft damp cloth to wipe the surface and dry with a lint-free cloth.

Cleanse Your Bracelets

Gemstones can absorb energies from the environment as they come in contact with other stones, objects or people. Because gemstones can absorb and store low-frequency energies, it helps to cleanse them frequently. Cleansing can be done with salt, smudging and moonlight. Using selenite is the easiest.

Selenite is a transparent, crystalline form of the mineral gypsum. It has a hardness score of 2 on the Mohs scale, which means it is soft enough to be scratched by a fingernail and dissolves in water. In crystal healing, selenite is revered for its high vibrational energy and spiritual cleansing abilities. It is used to clear negative energy from spaces, people, and other crystals. It is said to create a protective barrier against negative energies and psychic interference.

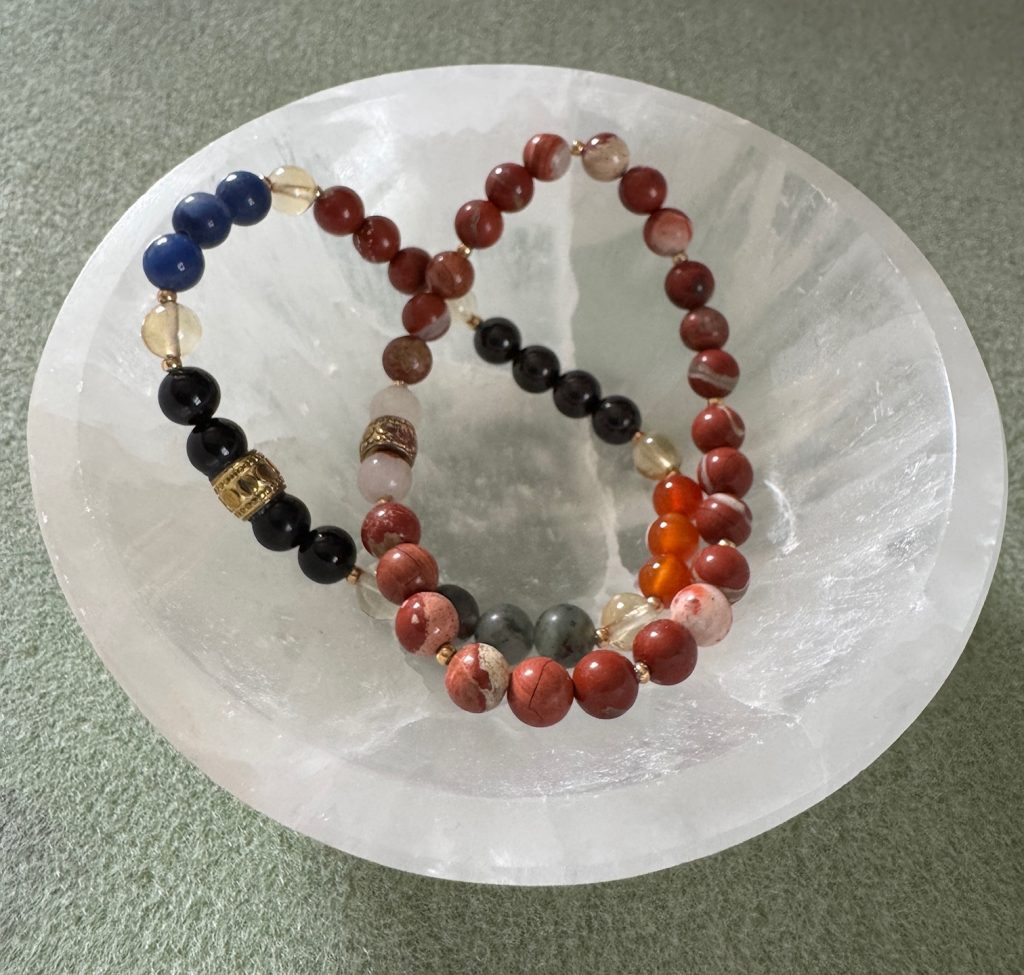
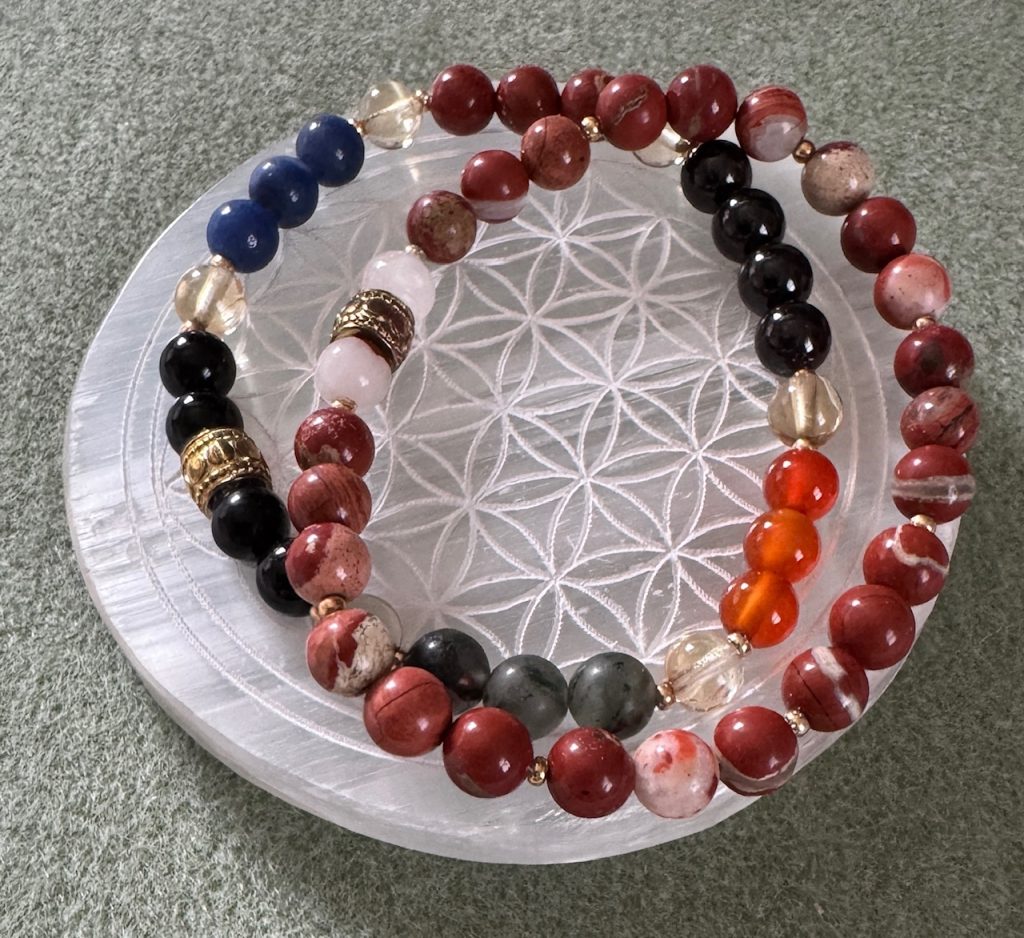
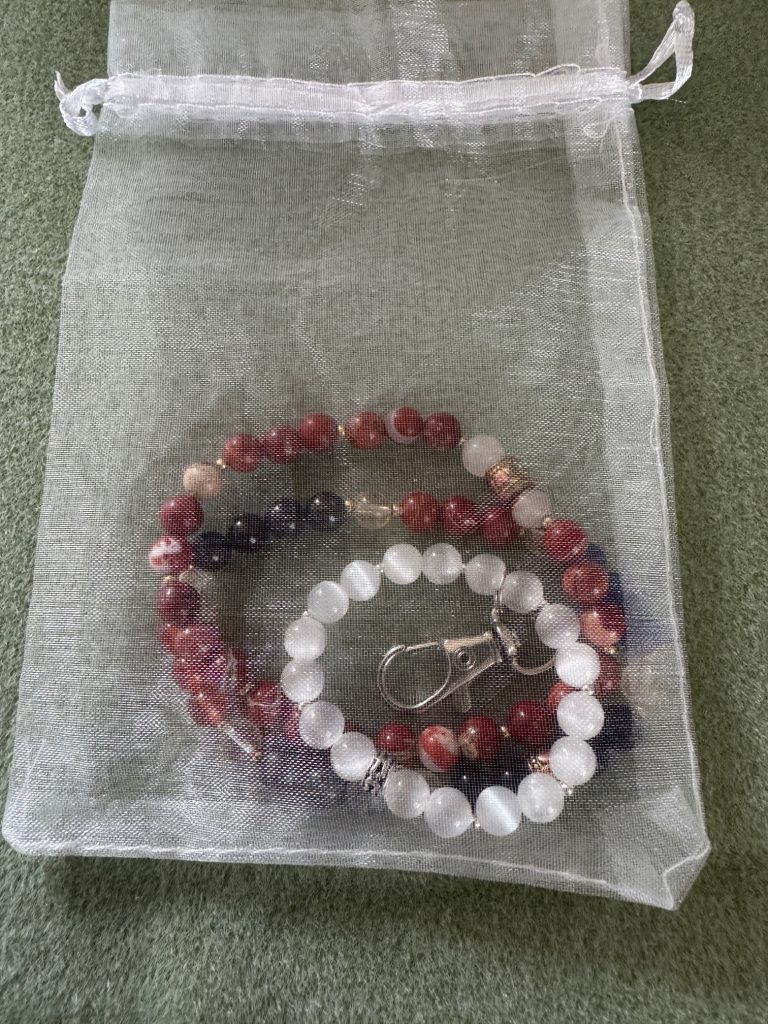
In general, you can easily cleanse your bracelets by placing them on a selenite plate or bowl overnight. These are available on Amazon and other rock shops on the internet. You can also place bracelets in a mesh bag with my Selenite Key Chain Accessory. My Key Chain Accessory is a small loop of Selenite beads that can be attached to a key chain or stored in a mesh bag. Your gemstone bracelets can be added to the bag overnight to cleanse them of any accumulated negative energies.

Recharge Your Bracelets

After your bracelet has been cleansed, recharge your bracelet with your intentions. Hold the bracelet in your hands and review the purpose of the bracelet. Refer to the intentions in the printout that came with the bracelet.

Storing Your Bracelets

When you are not wearing your bracelet, protect it from damage by storing it in a separate cloth bag, or arrange it so it will not be damaged by other jewelry. I like to see mine displayed, but I keep them separated from each other, away from direct sunlight.

Please email me directly if you have questions or comments. maryjkisner@gmail.com
Making Bracelets: How It All Started

My interest in making gemstone bead bracelets did not emerge overnight. It’s been over two years since I first started reading about these stones. It was a very different interest from all the other craft stuff I was already doing…sewing, fabric crafts, hand and body products with essential oils, cooking and baking recipes and gardening and preserving food each summer. When I first started reading about the gemstones, I wasn’t even thinking about bracelets!

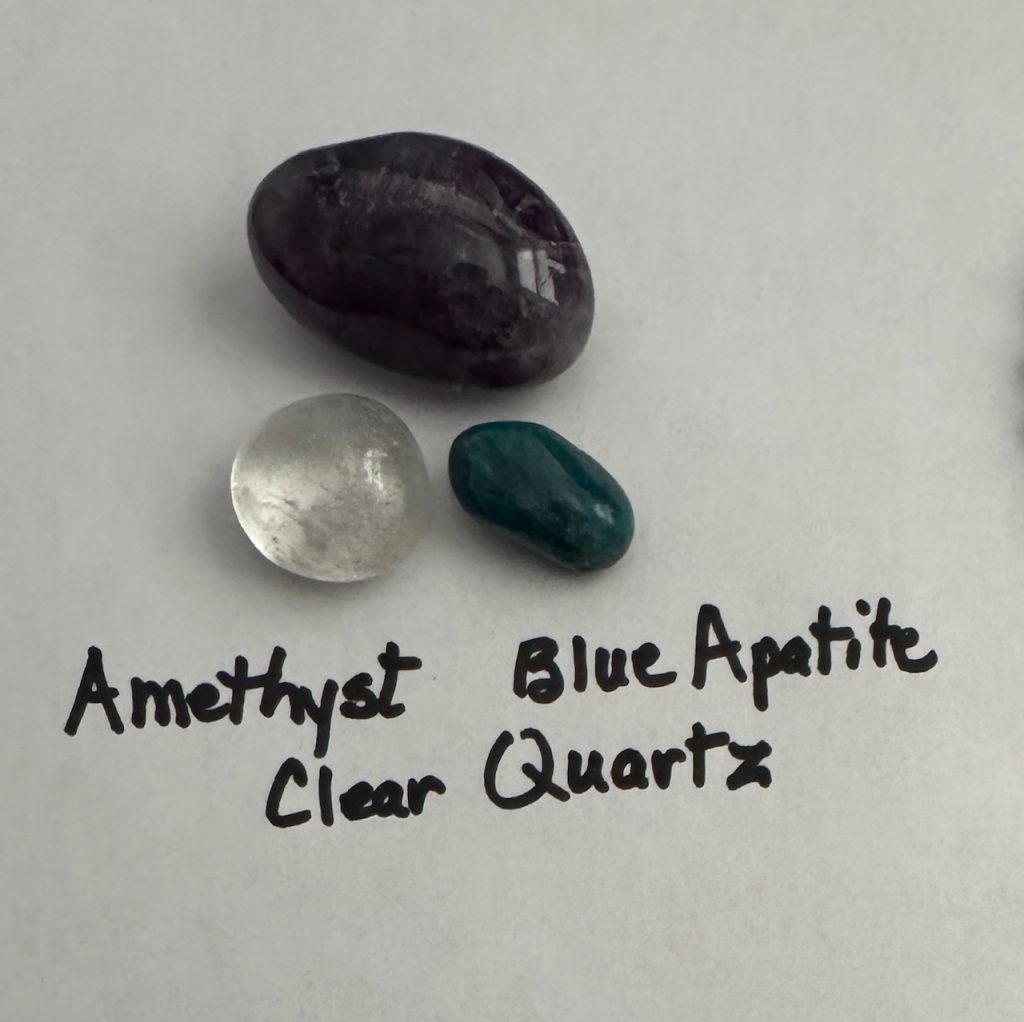
I think it all started with an advertisement from Sedona Crystal Vortex, a rock shop in Sedona (https://sedonacrystalvortex.com/). We had visited Sedona several years before and enjoyed the shops near our hotel. I seemed to be on their mailing list! One of the ads showed a little bag of stones that could be kept in my pocket. It said if I carried them in my pocket and handled them frequently throughout the day, they would help me lose weight. Riiiight! I was intrigued so I ordered them. There were 5 little stone chips in a tiny mesh bag tied tight. I started learning about those particular stones and carried them in my pocket for quite a while. Nothing magic, but every time I put my hand in my pocket, I noticed them and remembered the reason they were there. This ‘intention’ kept my focus on why I should pay attention to what I was eating. The picture below shows three of those stones that are now in my collection. I’m not sure what the other stones were, but it doesn’t matter. Three seemed to be the number of items I could focus on.

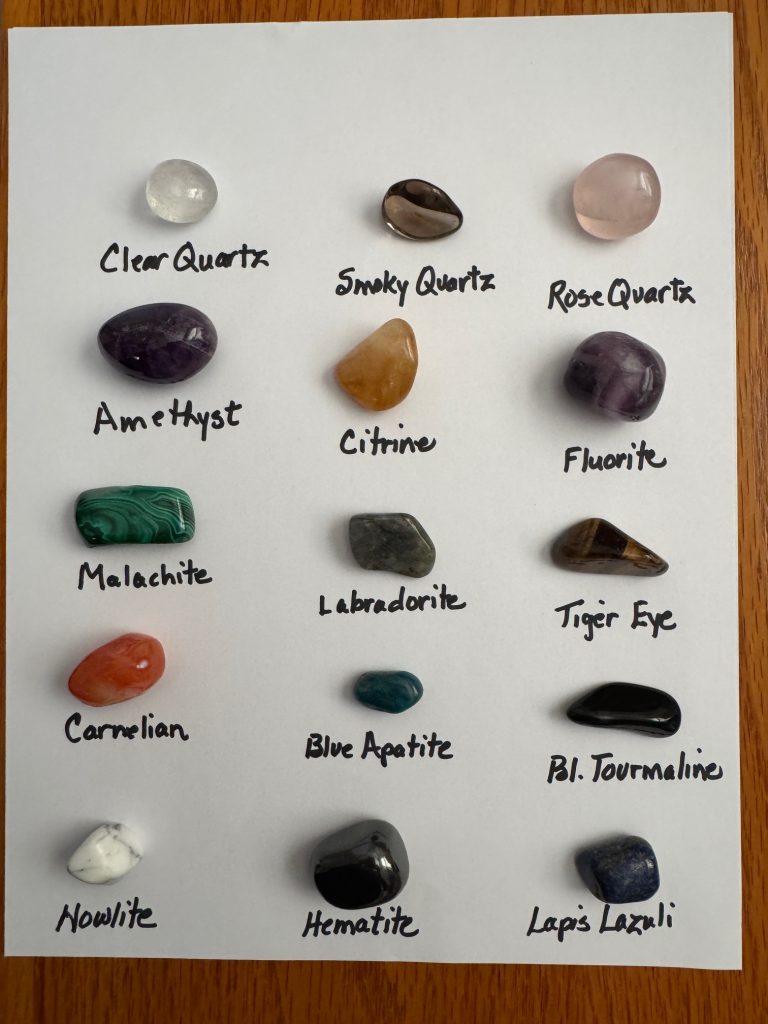
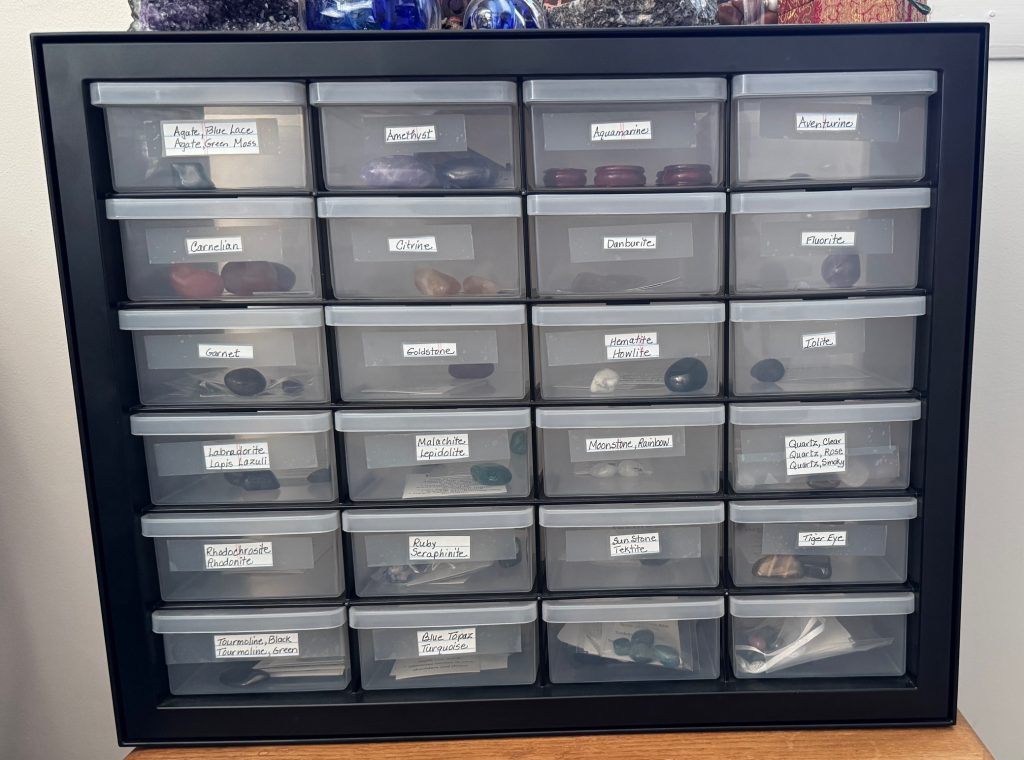
Over the next few months, I built the beginning of my stone collection. They were pretty and I enjoyed reading about their histories and how they were used in the past. I was so afraid I would mix them up I tried to make sure I labeled each one and put them into little drawers with the information cards about each stone.

This led to a set of drawers:

I learned about each stone and usually carried two or three in my pocket every day. Luckily, I was wearing cargo pants with deep pockets so none of the stones got lost!

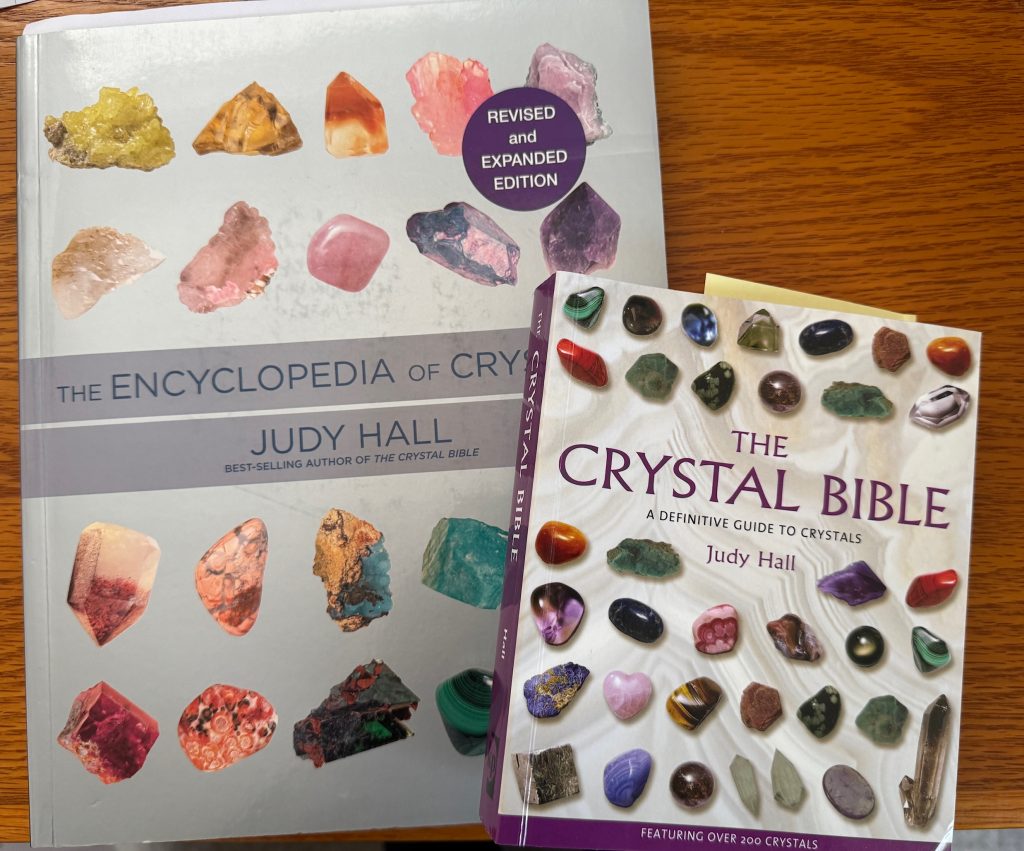
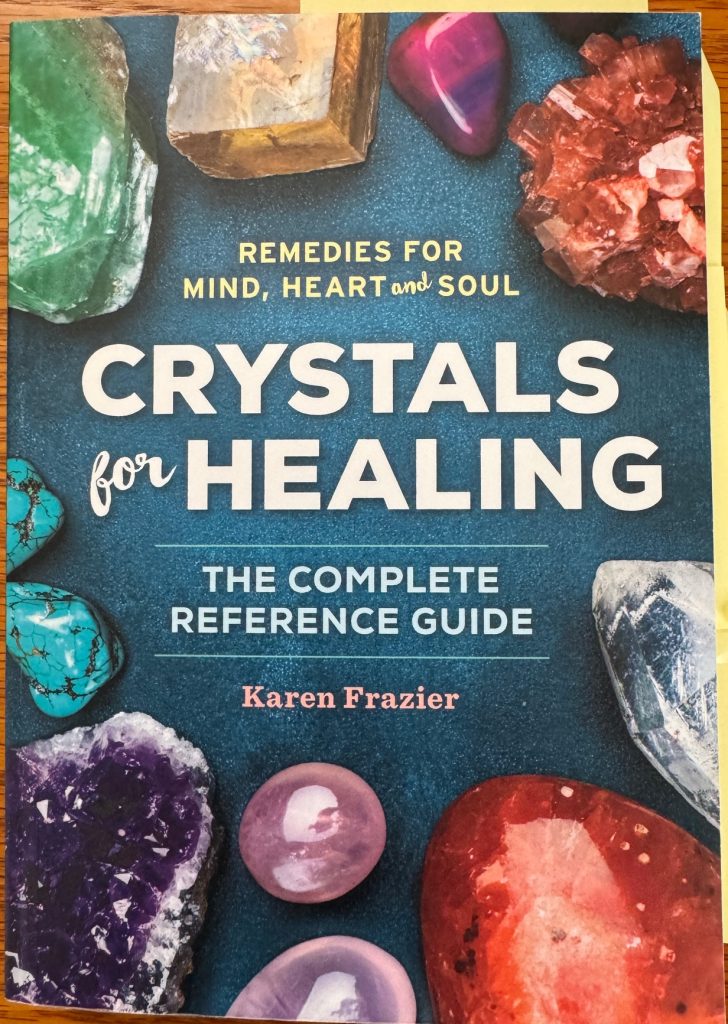
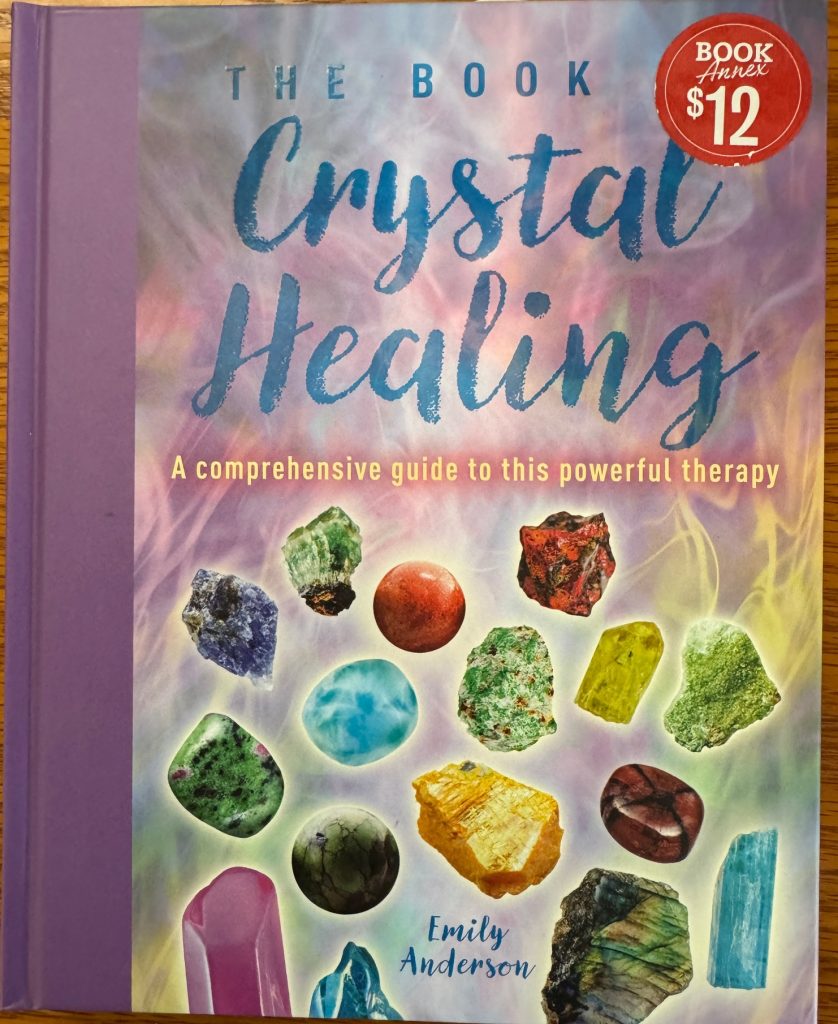
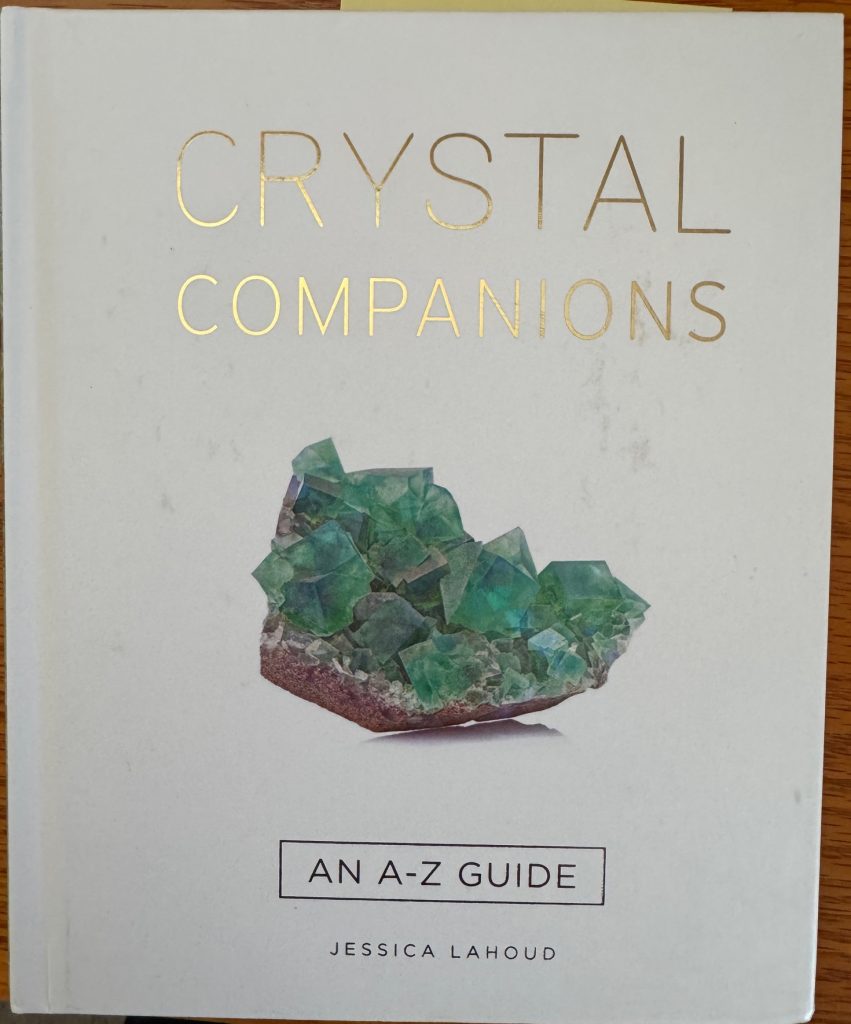
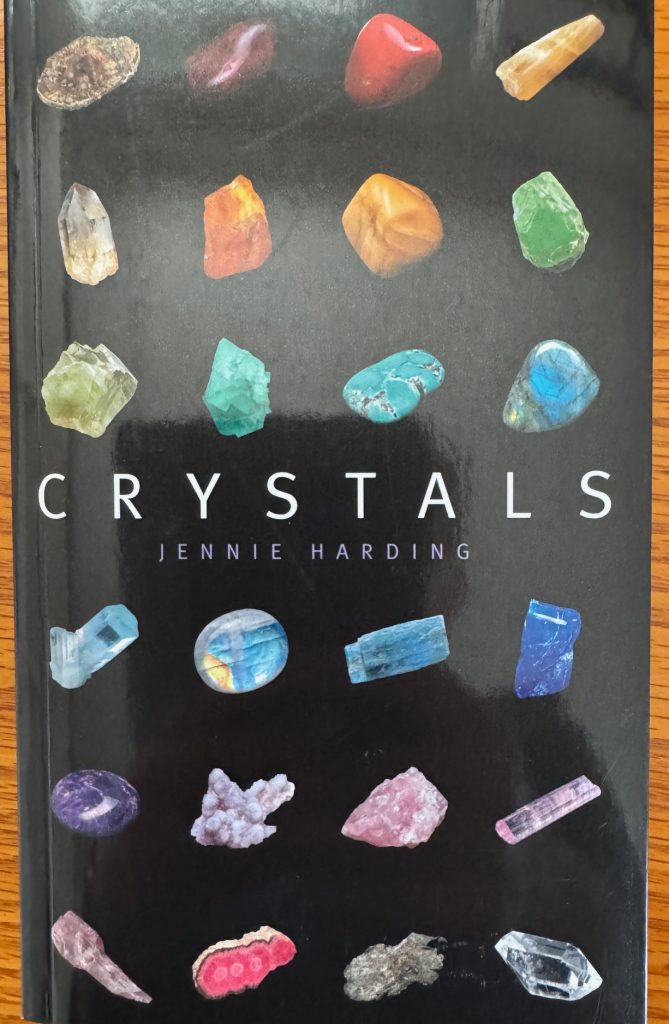
I also found quite a few books at Barnes & Noble bookstore about crystals and stones. Here are a few I still have on my shelf:

Finally, finding ‘The Book of Stones‘ by Robert Simmons and Naisha Ahsian was a turning point for me. Besides color pictures of the stones, each description includes where and when it was discovered, where it currently comes from, its color and hardness number and many more details that I was not interested in when I first started reading about the stones That first year, I was reading about the stones, ordering more small samples and carrying them in my pocket. Crazy, I know!

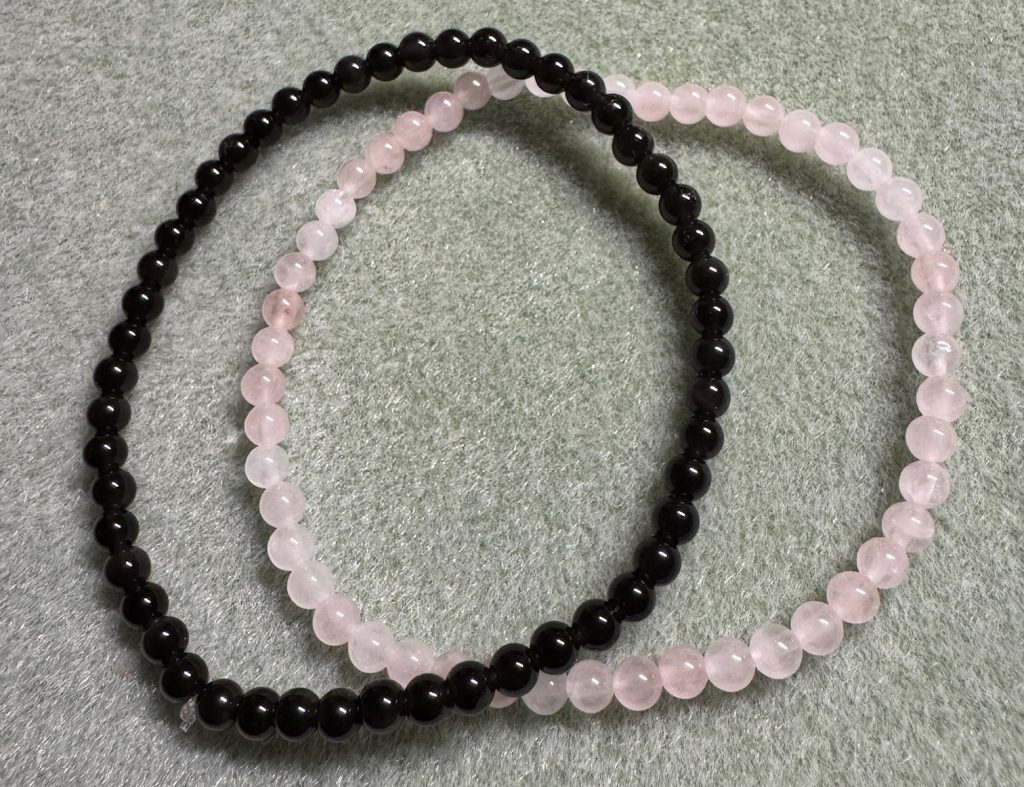
On Etsy, I discovered a seller that made bracelets with 4mm beads, all the same stone… I ended up buying quite a few. It was a much easier way to take the beads with me, rather than a pocket of stones! However, many of the stones I wanted weren’t available as bracelets and the bracelets didn’t fit well, so they stayed in the drawers!

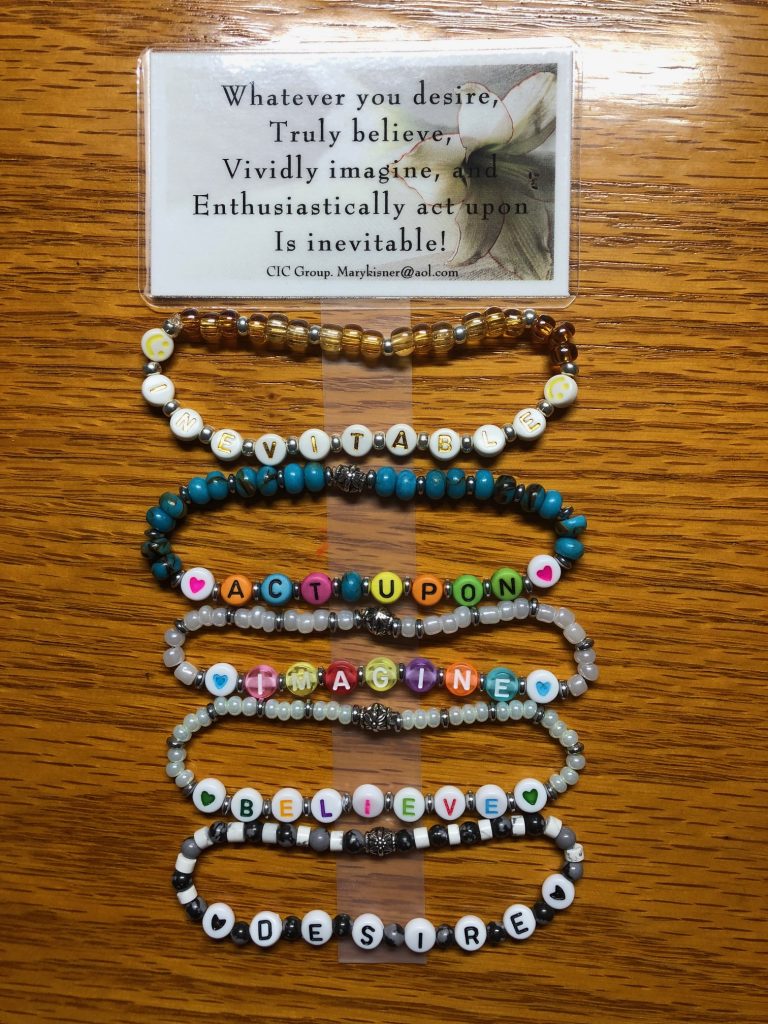
Then, the cultural shift of millions of folks following Taylor Swift around the world and instantly, beaded bracelets were all the rage! I thought how fun…a new craft! These friendship bracelets used plastic beads, often with letters to build messages. I tried a few, even some with PSU letters and blue and white beads…because I’m here in Penn State country! I had to buy letter packs of the whole alphabet! I could make about four bracelets with P S U and then I ran out of letters!

I tried making 5 bracelets with the words in a favorite poem but then I didn’t know what to do with them! Nobody cared about the poem except me!

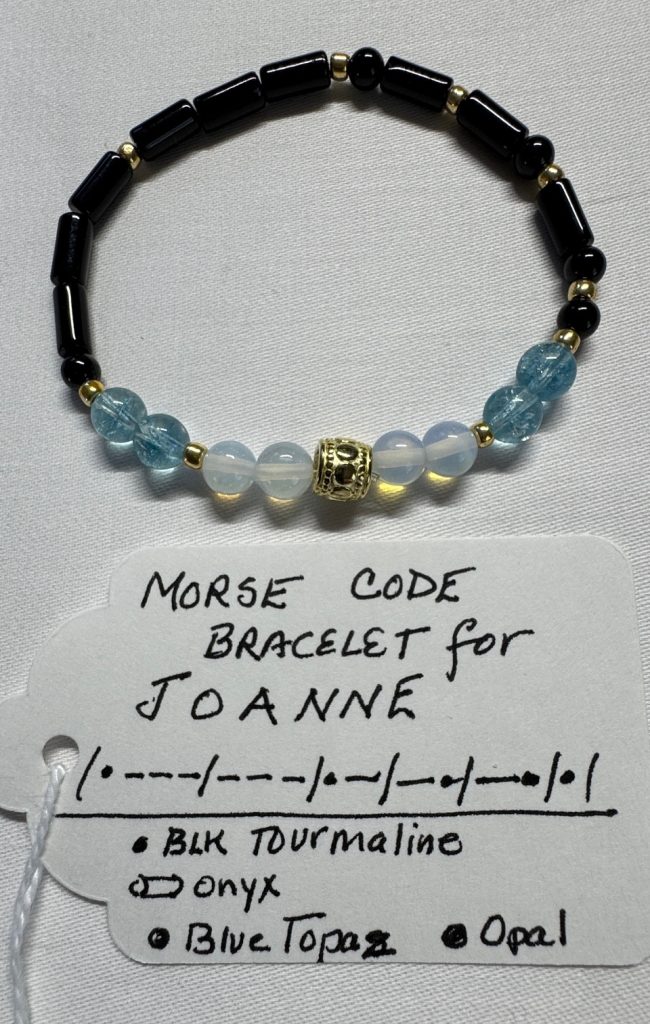
Then I tried bracelets with a person’s name spelled out in Morse Code! At least then I could use some of the beads that I was learning about. That was fun, but once I’d given one to everyone I knew, I still wanted to know more about the stones.

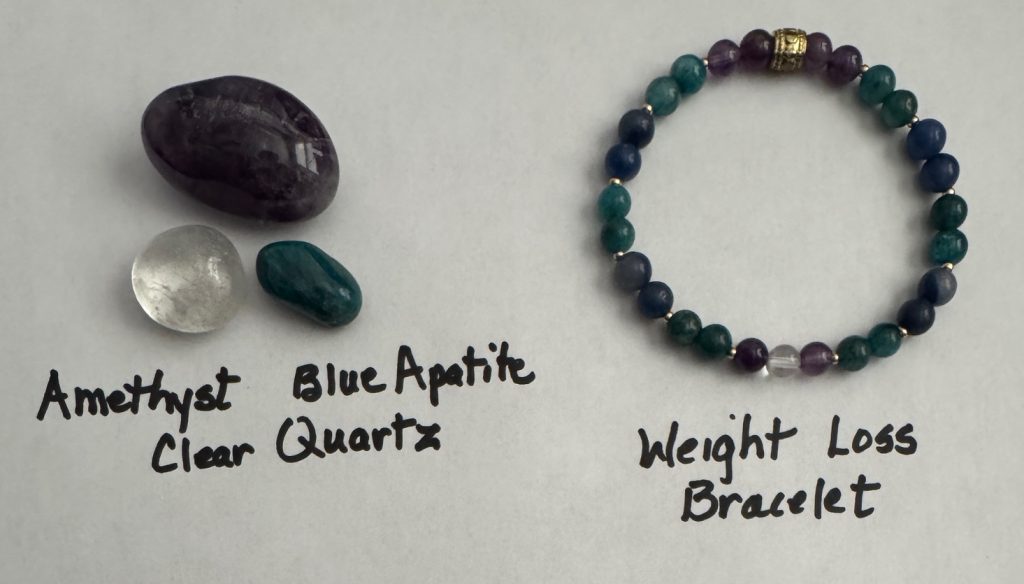
At this point, my interest in the stone beads led me to make bracelets that would address a specific issue…like joy or courage. The first bracelet was my weight loss bracelet, using the same stone beads as the stones I carried in my pocket!

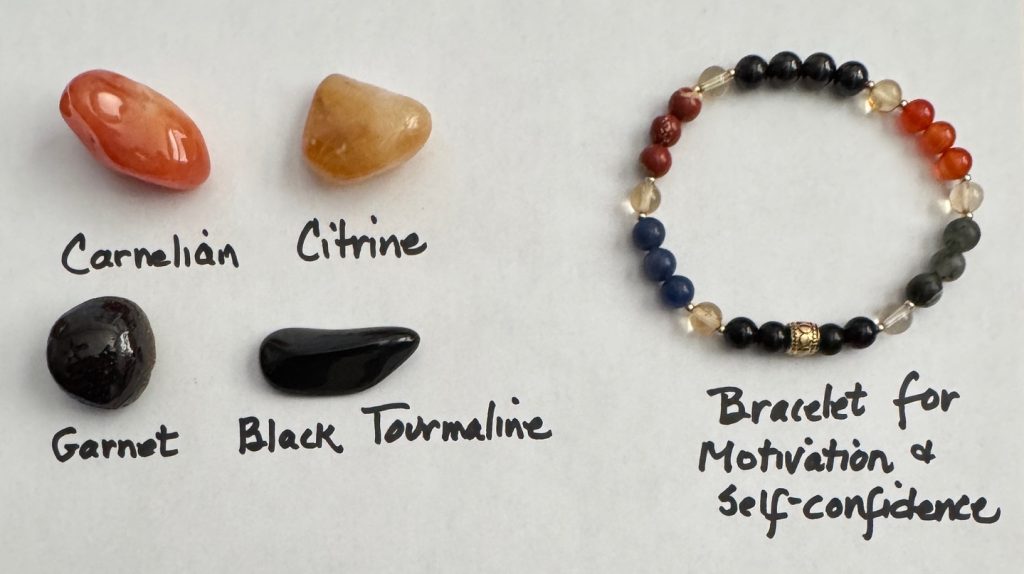
One of the most recent bracelets I’ve made had quite a few different beads, all to support motivation, energy, self-confidence and self-discipline. I made it just for me for days when I needed a kick to get me moving! It turns out several other people were interested in it also.

So, that’s how this all started! But…I have learned a lot…about how these stones were used in history, how they are still used in alternative health situations and how my creative mind can enjoy making these bracelets. My disclaimer with each bracelet reminds folks:

About Your Gemstone Bracelet

Each of the beads in your bracelet have meaning and together support each other for your well-being. They are described in the insert with your bracelet. You can wear the bracelet or carry it in your pocket. Each time you see it or handle it remember its intention as described on the tag, such as bringing you joy or lowering your stress level. Reminder: This bracelet is not a medical device. Its purpose is to help you focus and send positive energy to your mind and body. I have made your bracelet with love and the best of intentions for your well-being. Mary Kisner

I’ll try to not bore you with too many details about my bracelets. I do still cook, bake, garden, preserve food, sew, make soap, read fiction and now make bracelets! I’d love to hear from you, but remember to email me directly because too many spammers have drowned my website with junk!! I also post a link on my Facebook page to these articles, so you can comment there. Thanks! maryjkisner@gmail.com
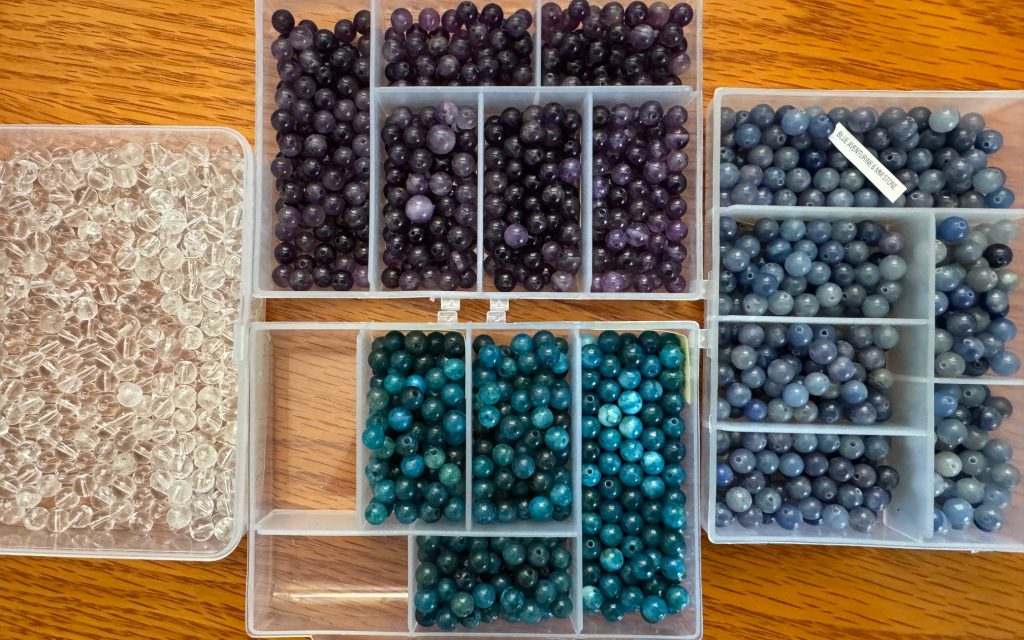
Clear Quartz, Amethyst, Blue Aventurine, Blue Apatite

Making a Simple Car Air Freshener Repost

I posted this story 4 years ago! Can’t believe it! This simple air freshener works as designed and doesn’t overwhelm me…even when it’s cold out and the heat is blasting through the car!

December 8, 2021

I recently bought an air freshener for my car at the drug store counter. It clipped onto the vent on the dash. I lasted about 3 minutes before I threw it out…the scent was so strong and sickening I couldn’t stand it. It seemed like a good idea at the time!

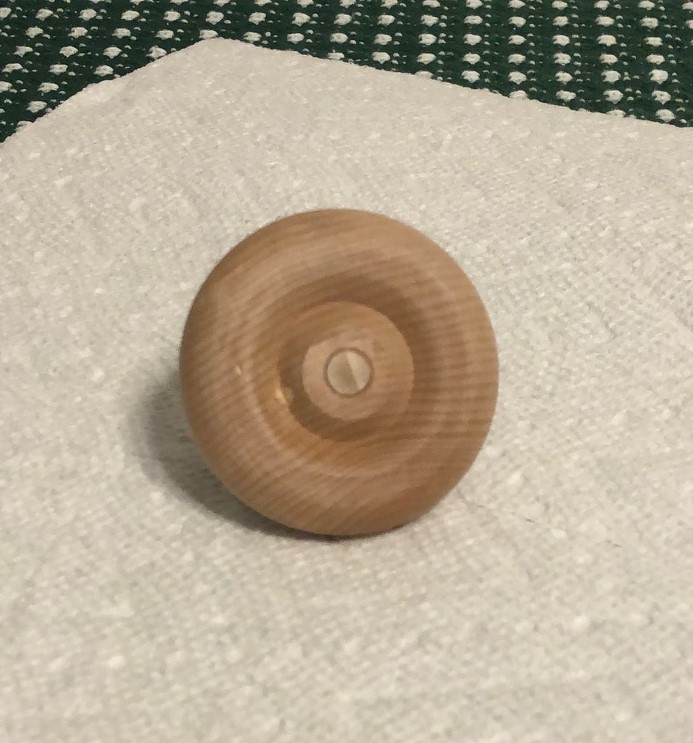
Then I saw an ad online that showed some air fresheners made of a simple chunk of wood with a clip attached. You were supposed to add drops of your own preferred essential or fragrance oil. At least I could choose the scent!

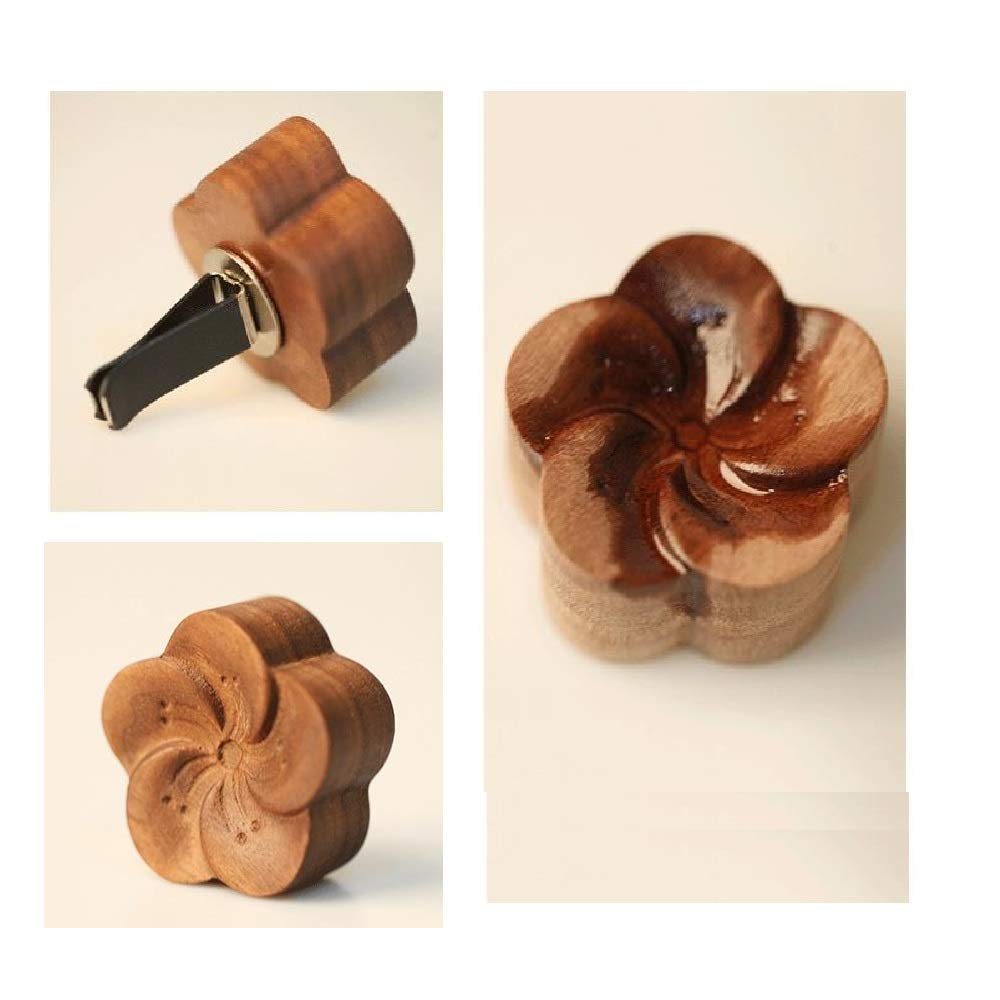
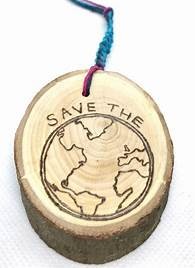
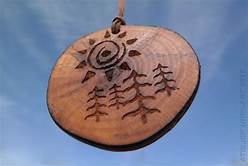
I found some samples online by just typing in “wood air freshener for the car.” There were interesting shapes like flowers with a clip on the back, or slices of a tree branch meant to hang on the mirror.

I wasn’t sure the oils would soak in properly and then provide a nice smell in the car without being overpowering.

With Bert’s help, and a bag full of wood scraps that he uses for all kinds of little projects, we gave it a try.

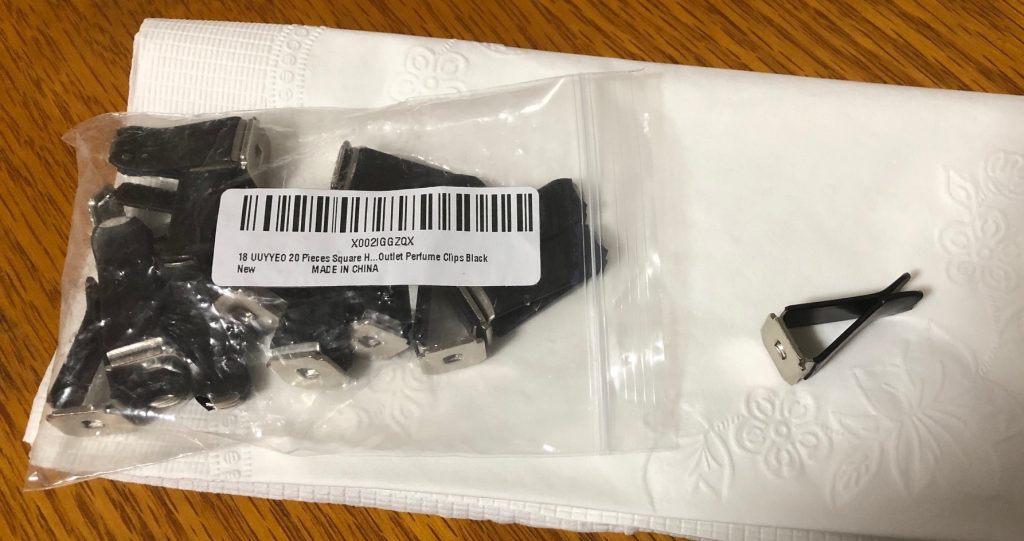
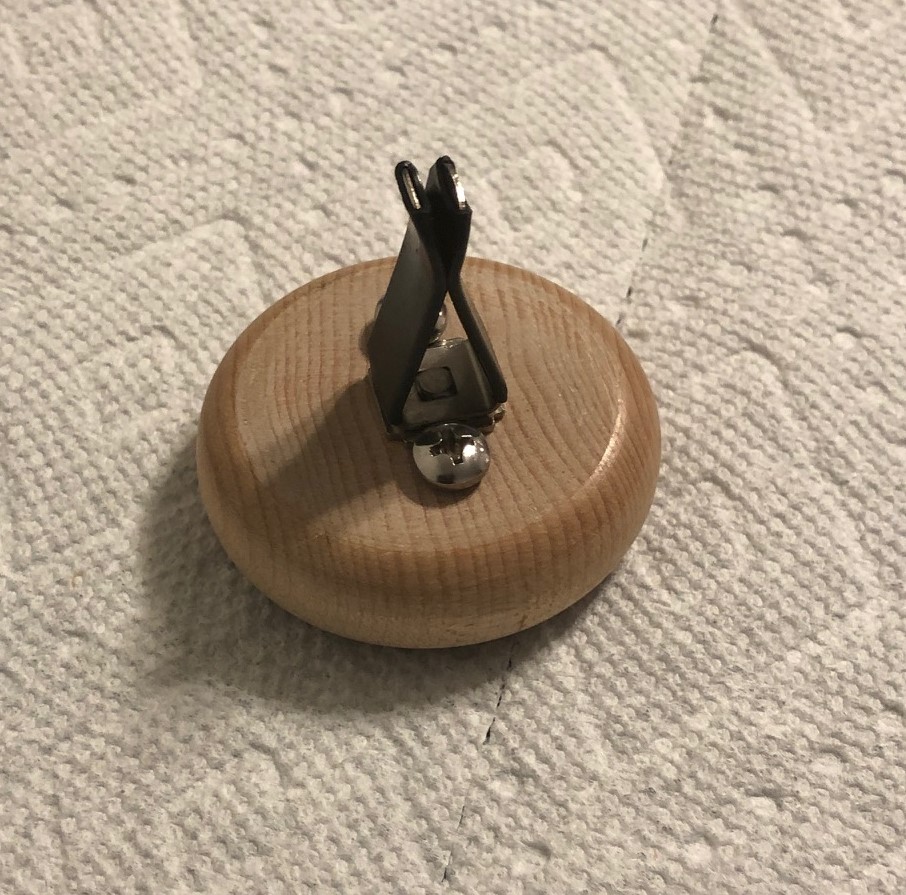
First, I ordered the clips from Amazon…they were called “Square Head Car Air Vent Clips.” A bag of 20 clips were $6.99.

They were a very tight clip. Next challenge…finding some chunks of wood. Bert came in with some round fairly flat disks to see if they might work. The groove around the center could capture the oil until it soaked in.

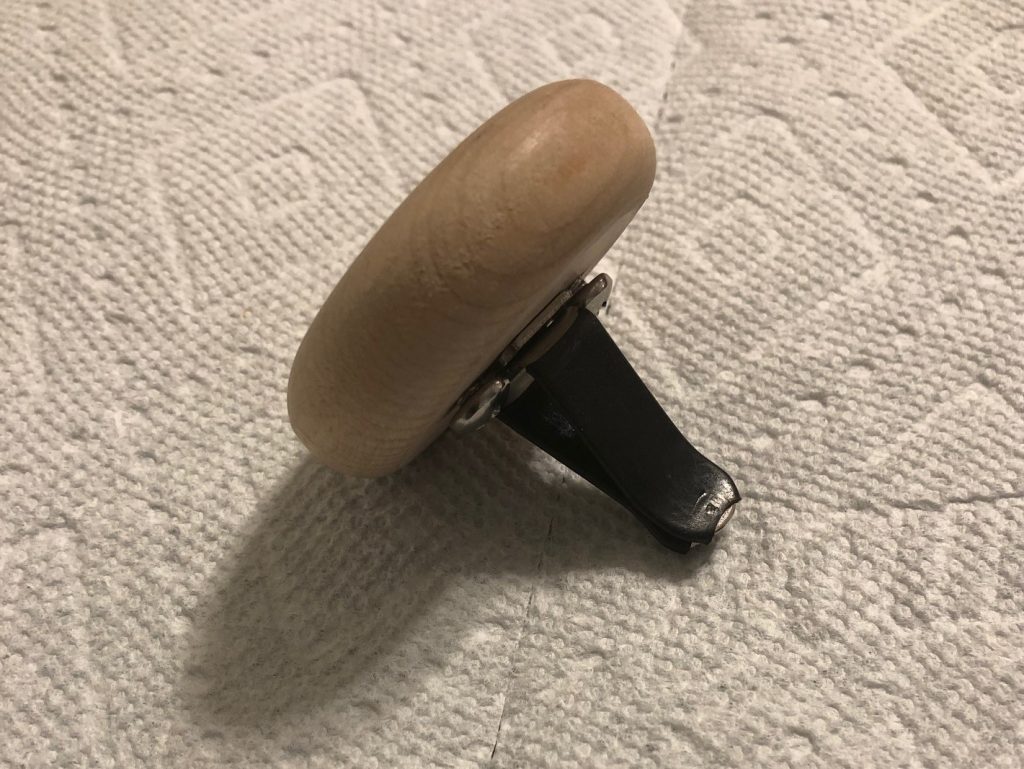
He experimented with how to attach the clip to the back. Plain glue would not work because of the kind of stress it would be under to pull it from the vent. He found a way to put a screw on each side of the base, with the edge of the screw overlapping the base. It worked great for now. He had some other ideas for the next batch.

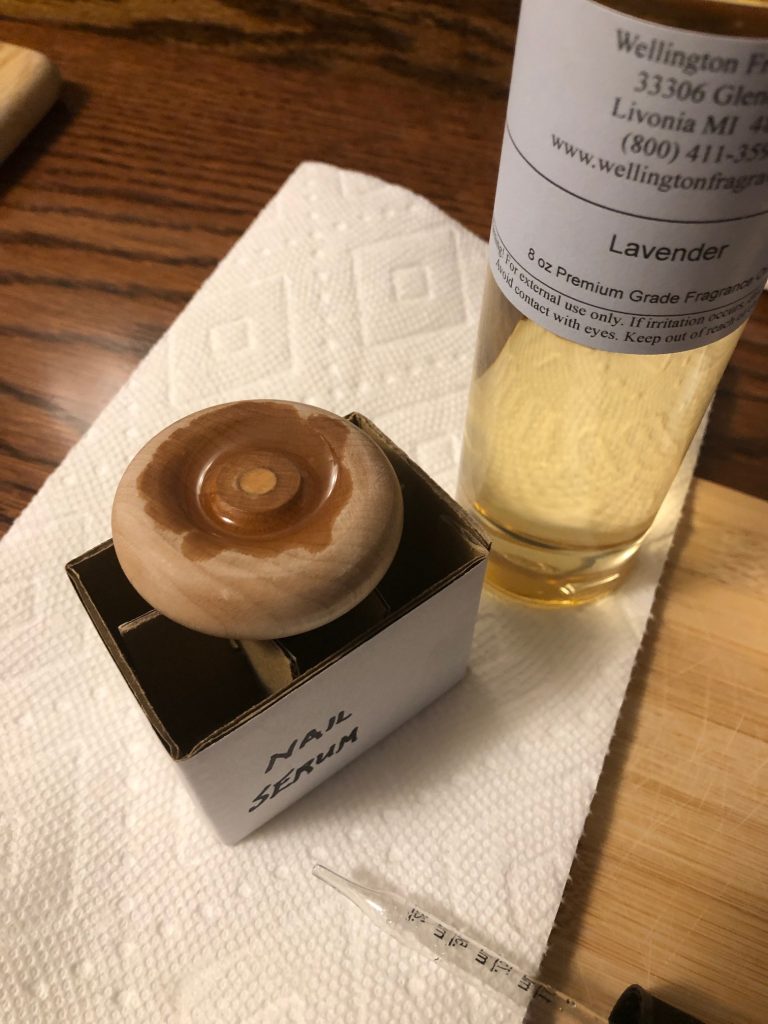
Now that the base was secured, I needed to add drops of scented oil…I chose Lavender fragrance oil…mostly because I had a big bottle of it, and I could stand the scent.

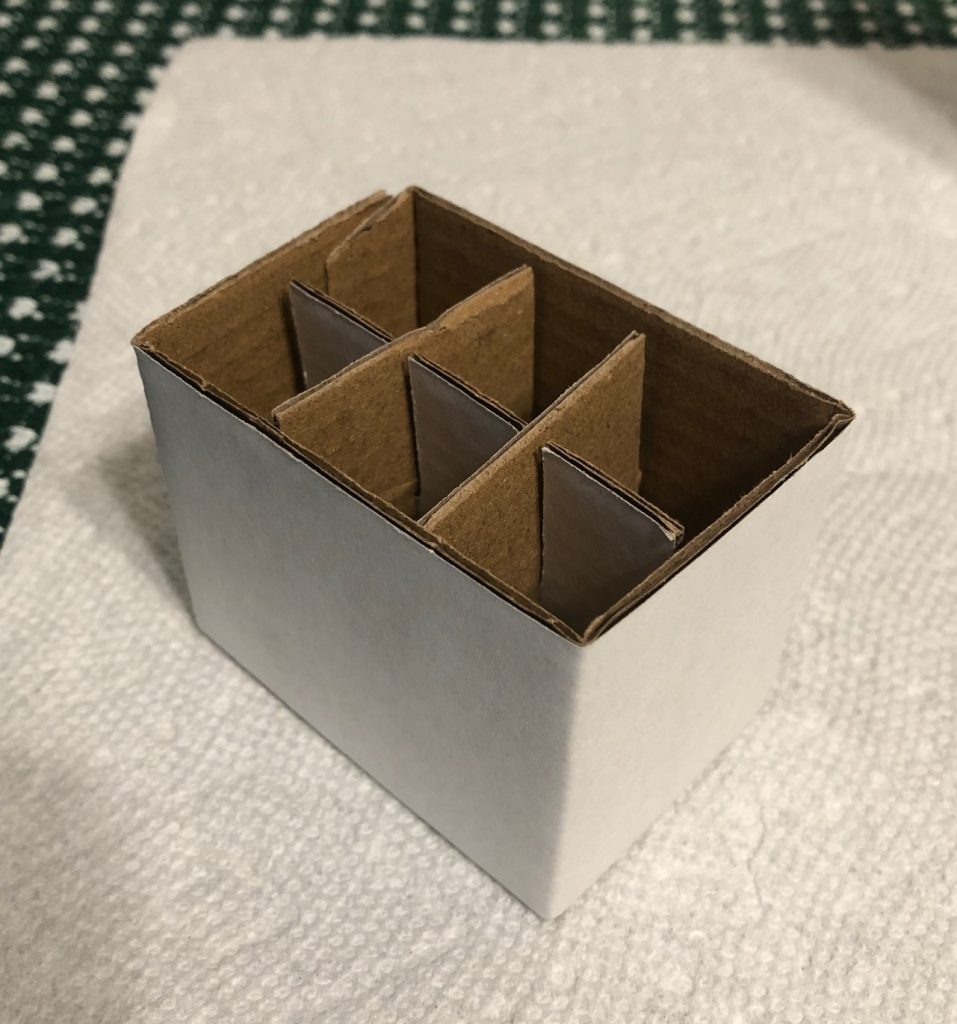
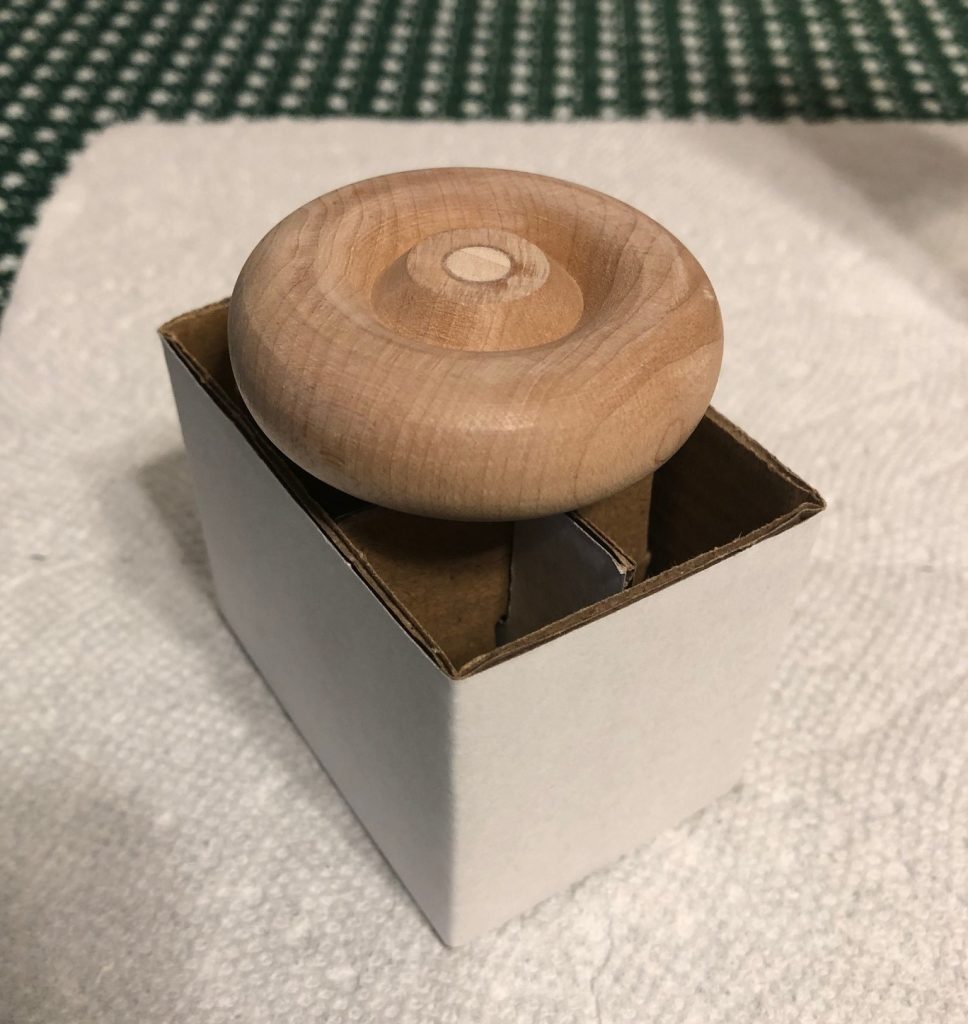
First, I had to figure out a way to keep the whole thing vertical so the oil wouldn’t drip off before it soaked into the wood. I had this small box that held the roller balls in shipping. The clip just fit over the center divider and kept it upright while I added the oil.

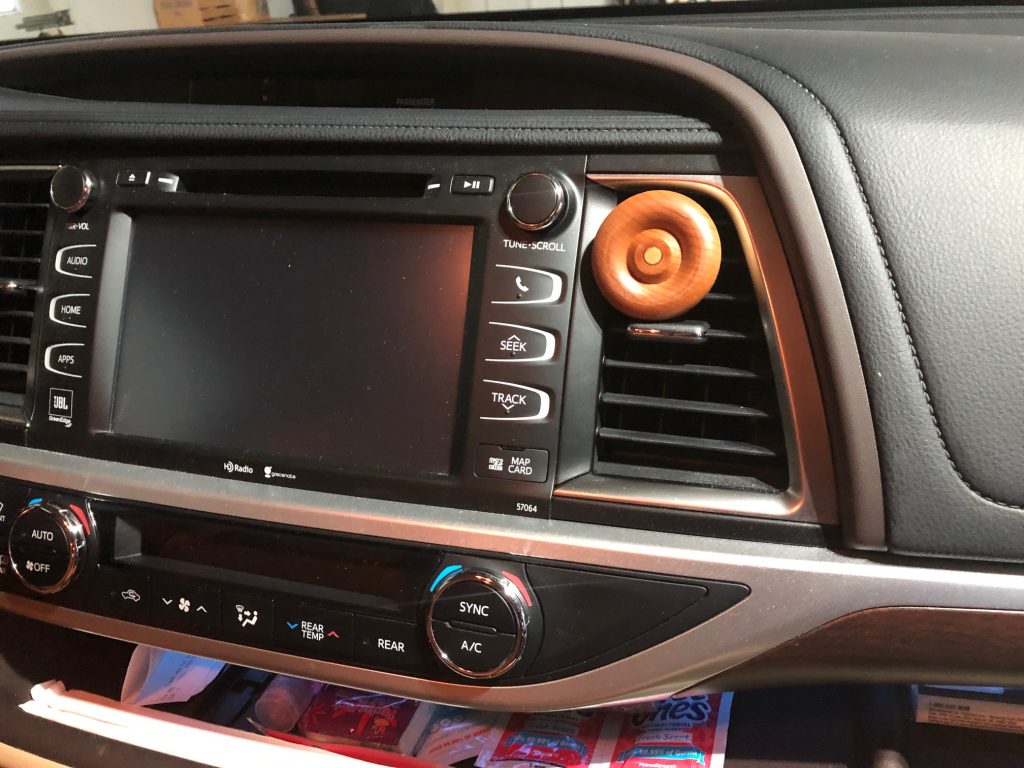
Using the dropper, I filled the center ring and let it soak in. I did that several times over the next few days. Then I put it in the car vent. It helped to be driving around with the heated air coming through the vent. The first day it was quite noticeable, but by the second day it was very pleasant. Not sure how long it will last, but when I can’t smell it anymore, I’ll pull it out of the vent, bring it into the house, add more oil and put it back in the car.

Bert did make me five of these so I could switch up the scents. I’ll store them in labeled zip bags so I know which one had which oil. Pretty slick! Try it yourself! Enjoy!

Please email me directly if you have comments or questions! maryjkisner@gmail.com
Christmas Favors Wrap Up

Thought it was time to wrap up my story about making Christmas favors for two groups of special folks. The first is the lovely group of about 14 women in the Ladies Auxiliary to the Boalsburg Fire Company. We will have our Christmas dinner next week at a local restaurant. The second group is from the State College High School class of 1964. Our group varies from month to month depending upon who is in town…often six to twelve folks. Next week we will have lunch at a local restaurant.
Obviously, many of these folks read my blog, so if you will be attending those events next week…shhh…please be ‘surprised’ when I hand out your favors. (smile)

I wrote about my preparations to make the Christmas favors two weeks ago (you can read about it at https://marykisner.com/planning-ahead-to-make-christmas-favors/) Now I’d like to share the finished products.

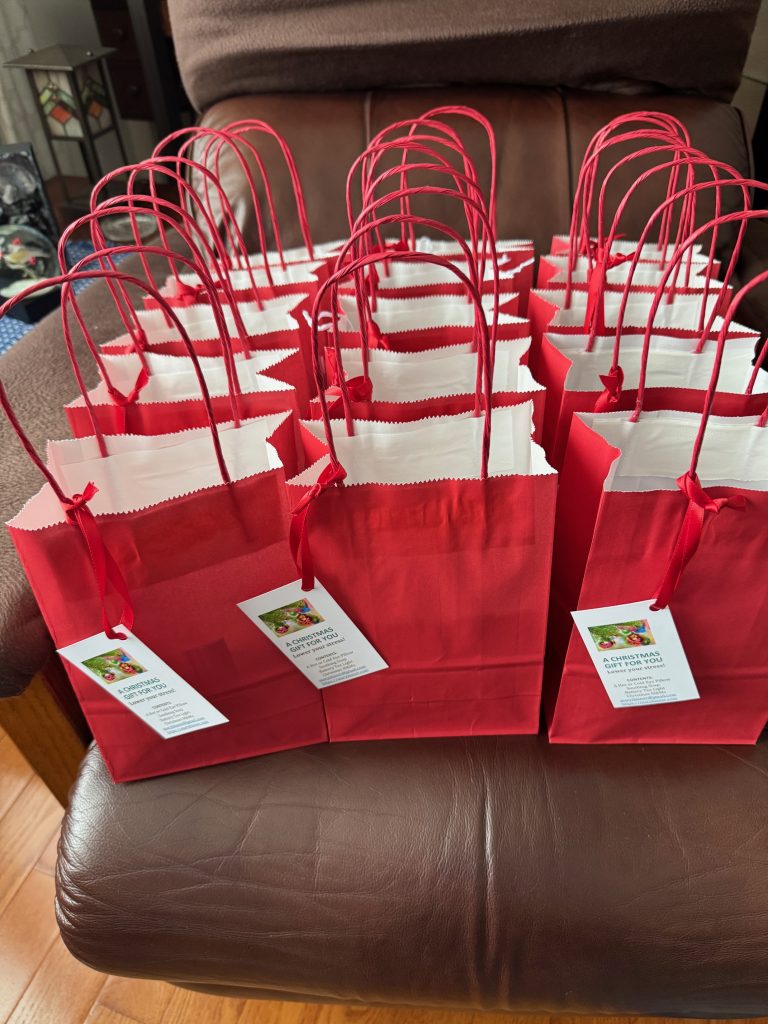
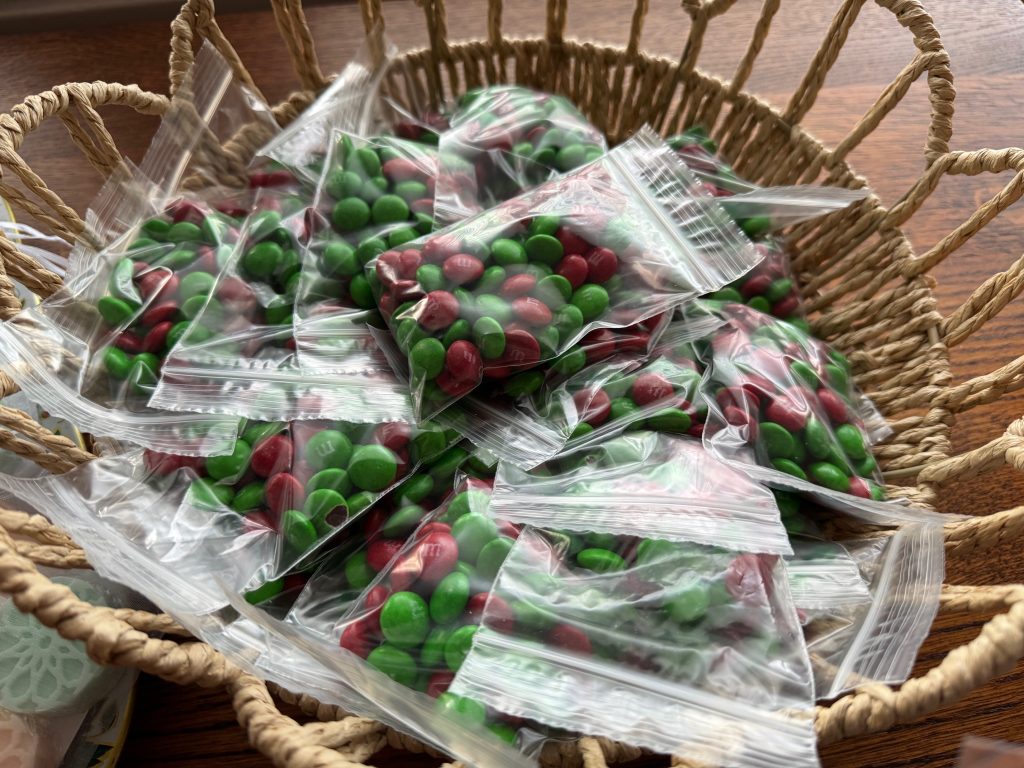
I decided to aim for 30 gift bags total to make sure I had enough. Each gift bag would have a small mesh bag of 3 small soaps, an eye pillow filled with flax seeds, a small bag of green and red M&Ms and a battery-operated votive candle. Just enough to take a relaxing break over the holidays! This was not an expensive gift bag…what I’m really giving is my time to make the soaps and eye pillows to some special folks. If nothing else, the items can be used up or re-gifted to someone else!

The Small Soaps

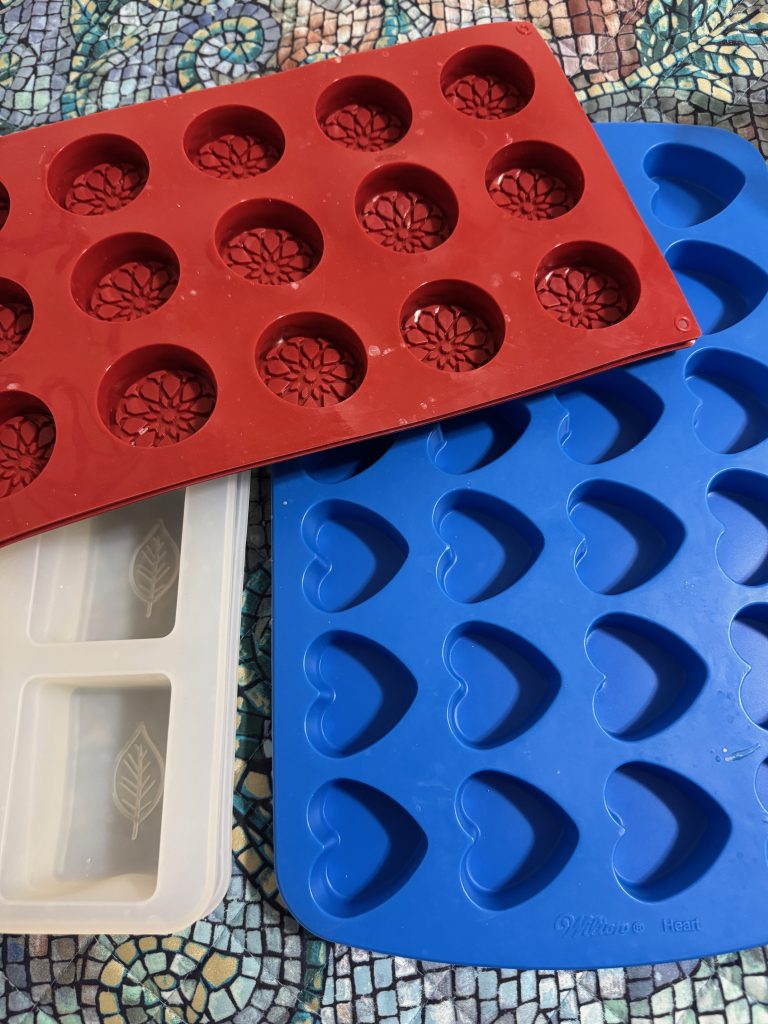
The first item that triggered my thinking for these gift bags was my extra Goats Milk Melt & Pour soap. The small soaps make great guest soaps and are easy to make. Most of the time is used waiting…waiting for the soap to melt and waiting for the soap to harden in the molds. Yes it’s a little tedious wrapping each tiny soap with plastic wrap, but it’s a necessary step. FYI…Melt & Pour soap is hydroscopic…and will eventually absorb moisture from the air and soften. Therefore, each tiny soap needed to be protected. (Regular hand-made soap bars made from scratch need to be open to the air to harden over a few weeks.)
The Melt & Pour soap just needed to be chopped up, melted over boiling water and poured into molds. The small molds worked well, but I had to make 90 individual soaps. That took a full day to melt the soap, pour it into molds, wait for it to harden and then pop out the soaps and wrap them individually in plastic wrap. Then I started over when the molds were free.

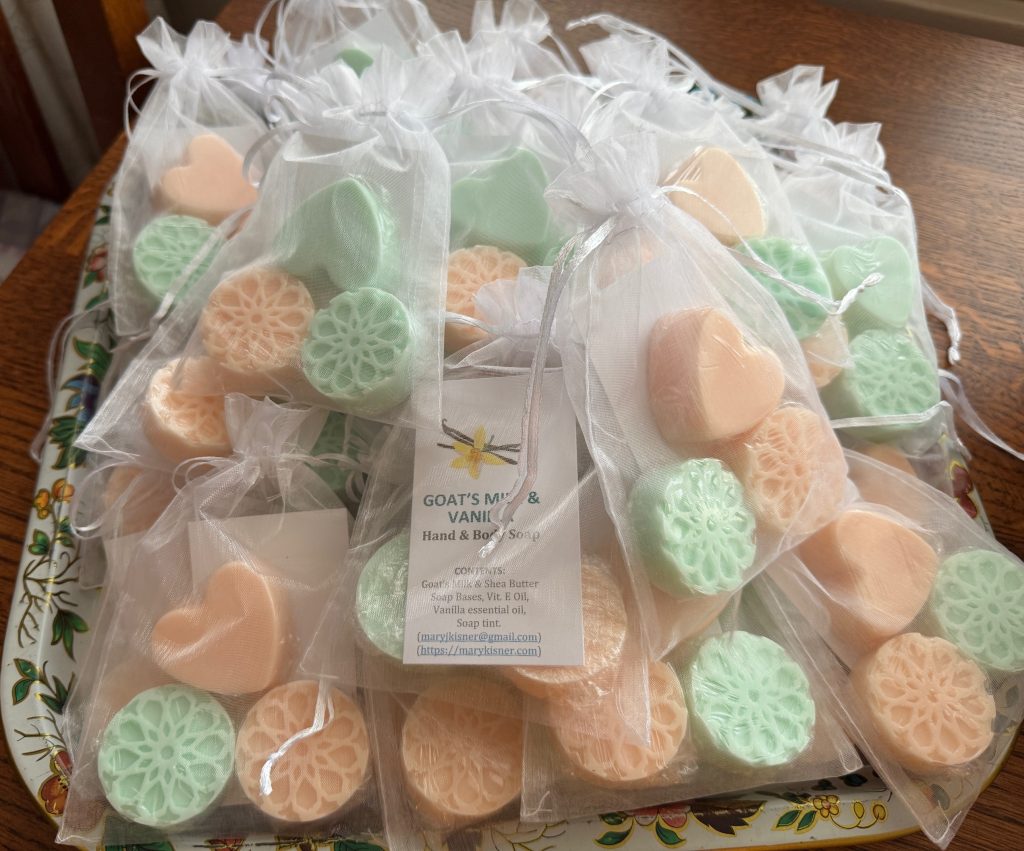
Here are the soaps ready for the gift bags:

When I was all finished, I had this pile of soaps left over. They may find their way to other gifts or Christmas stockings!

The Eye Pillows

The flaxseed-filled pillows can be heated in the microwave or put in the freezer. Very handy for tired eyes. I found cotton fabric at Walmart, but I had to order flannel from Amazon.

You can read about how to make the pillows at https://marykisner.com/making-a-hot-or-cold-eye-pillow-for-headaches-or-toothaches/

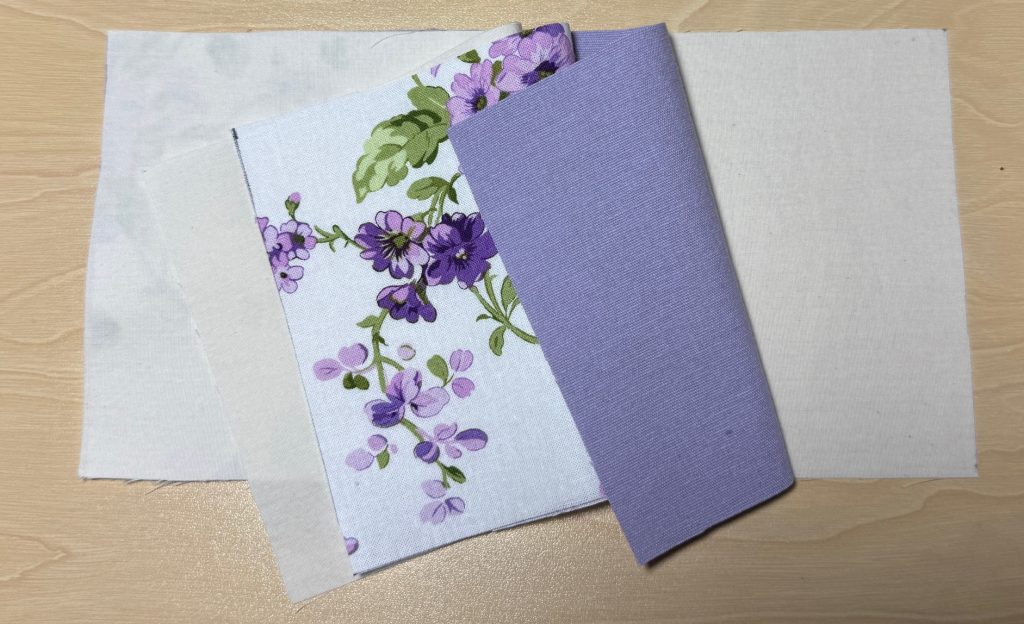
First, I cut out 30 sets of pillows…one front, one back and two muslin pieces for lining. The flax seeds have sharp points on each end and would poke right through the flannel without the lining.

The four pieces stacked like this:

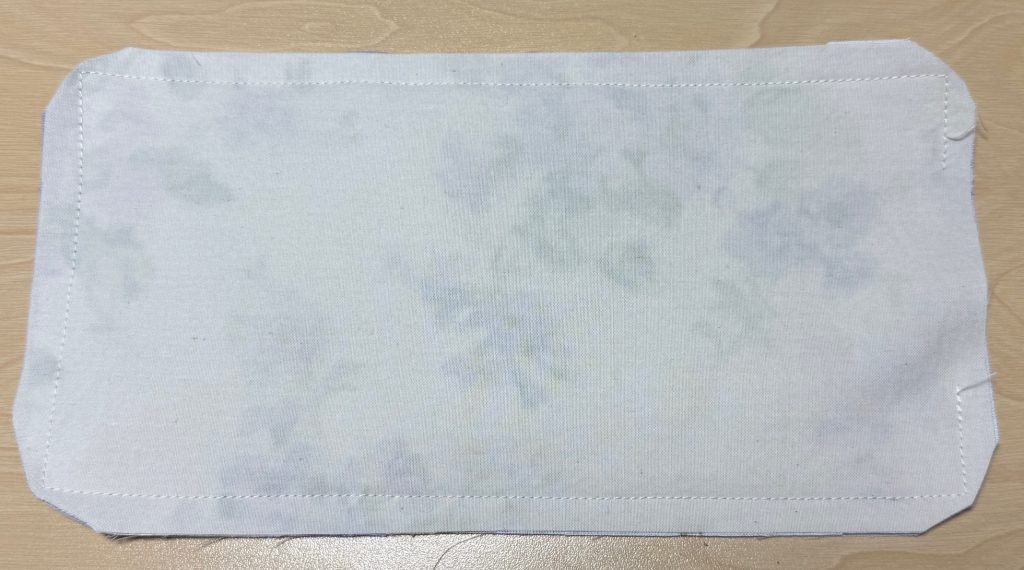
I stitched around the rectangle leaving an opening on one end.

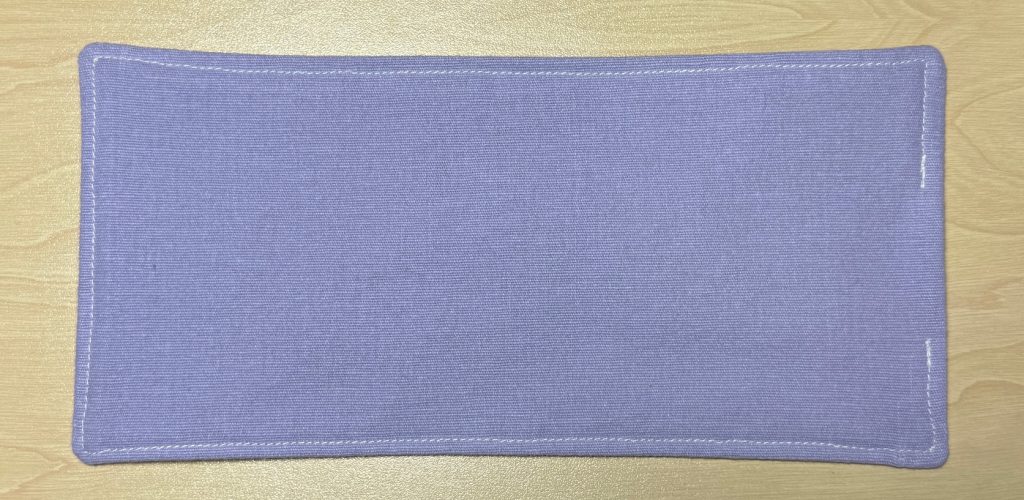
Turn the pillow right side out.

Top stitch all the way around the pillow…leaving the small opening. I used a funnel and a 1/4 cup measure to pour in the required 1 cup of flax seeds. Then, after shifting all the flax seed to the far end, I quickly sewed the opening closed.

I also wanted to keep each pillow clean in the gift bag, so I put each one in a gallon zip bag. That would help it stay nice between use, and would keep it clean if used as a cold pack when placed in the freezer.

The process to make 30 pillows took more than several days to complete. Thank goodness for Hallmark Movies to keep me entertained!

The Battery-operated Votive Candles

I’ve had this box of votive candles for several years. I used a few to put inside some clay candle holders I made out of polymer clay. So much for that project! I made a few and decided I didn’t need more than three…thus, there sat a box of candles on my shelf! (I did make sure they would still work before I put them in the gift bags!)

Red and Green M&Ms

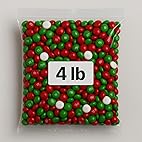
I’m sure the M&Ms were not necessary but they just seemed like the perfect touch! This 4 lb. bag of M&Ms just made 30 tiny bags…one for each gift bag!

Time to fill the bags!

I think this display will count as my Christmas decorating for the season! Enjoy!

Please email me directly if you have comments or questions: maryjkisner@gmail.com