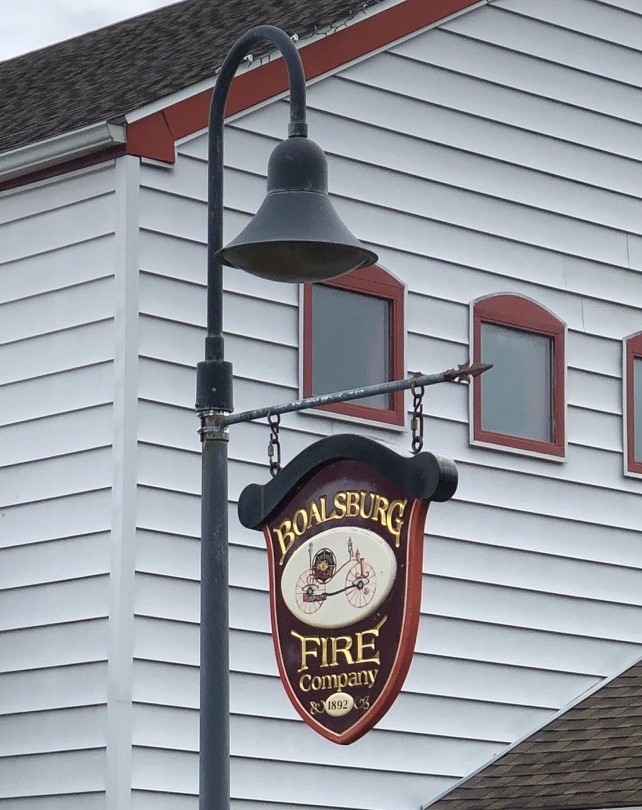
It’s that time again! The Ladies Auxiliary to the Boalsburg Fire Company will have their spring indoor flea market this weekend…Friday, April 28 and Saturday, April 29, 2023. We open the doors to the Fire Hall around 9:00 a.m. and end around 2:00 (depends on how busy we are and how tired we are!).
We have another flea market in late September. These events are major fund raisers for our group and much of it is passed on the Fire Company. Usually there are about 30 tables offered for a fee so locals can display their own wares. The Auxiliary has two or three tables with our donated stuff and the money from those items go directly into the till. We also have food available, like sloppy joe, hot dogs, packaged chips and desserts.
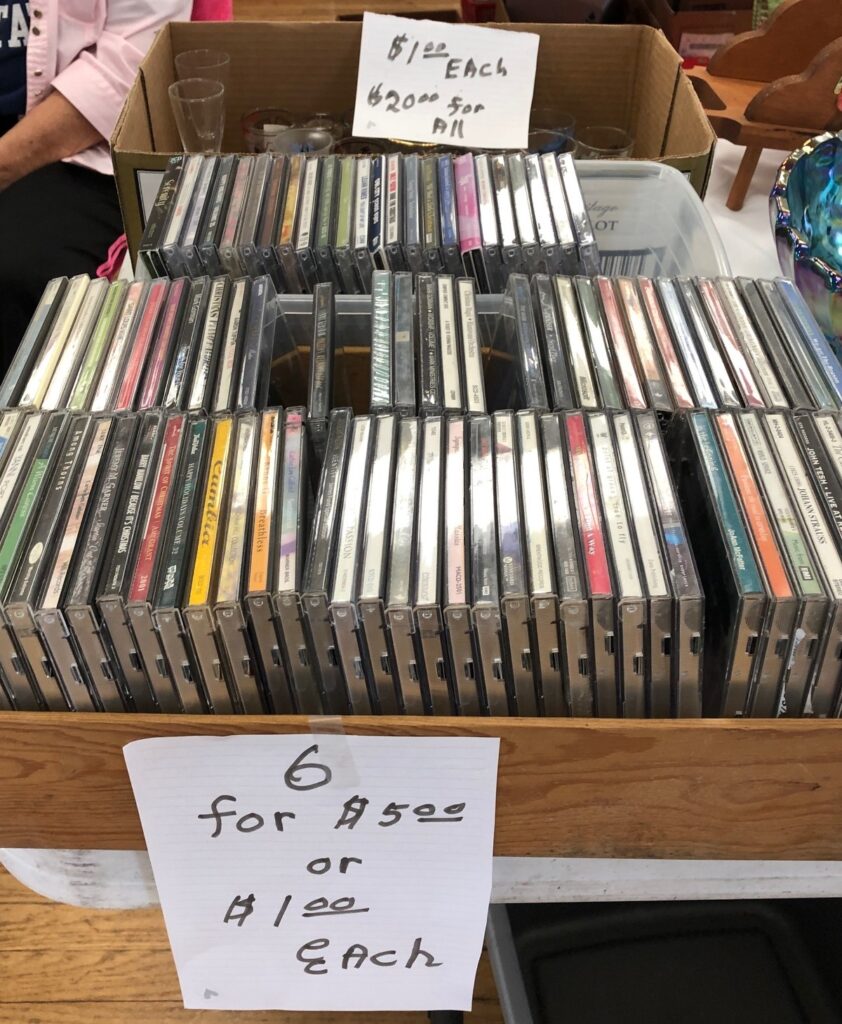
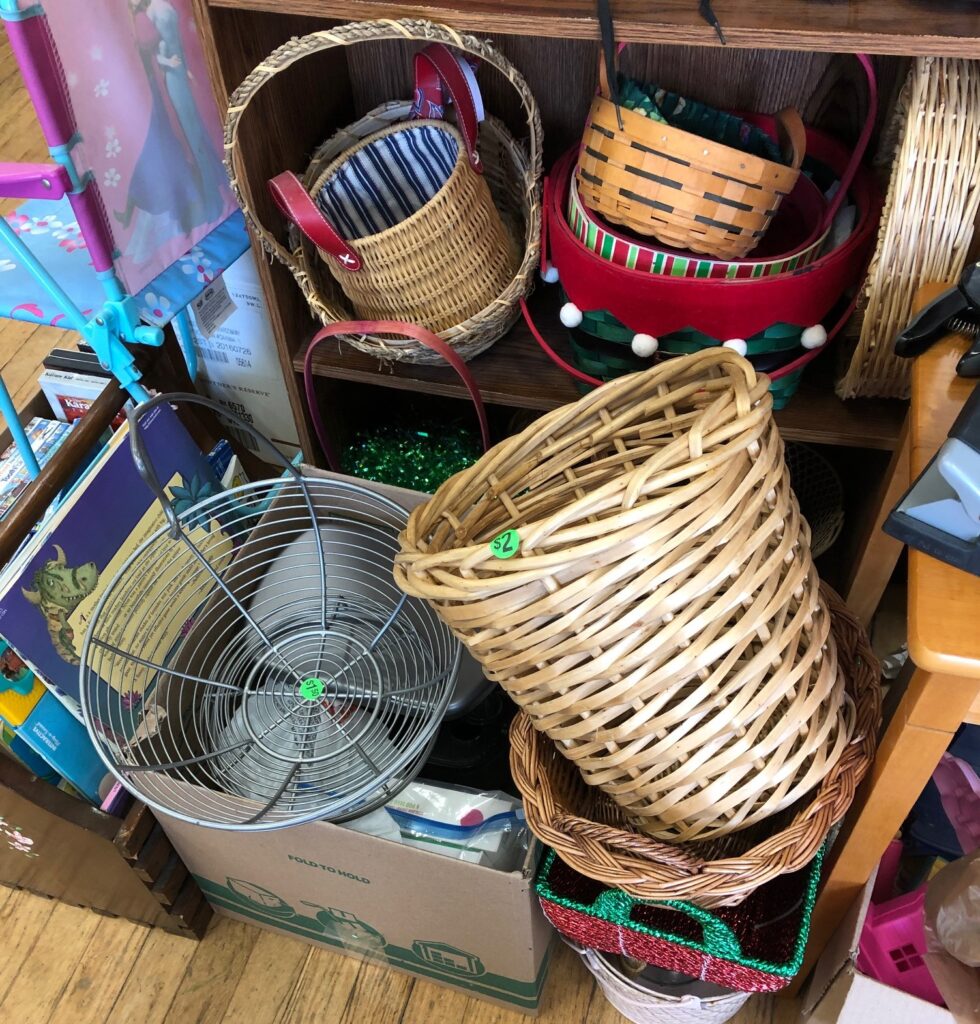
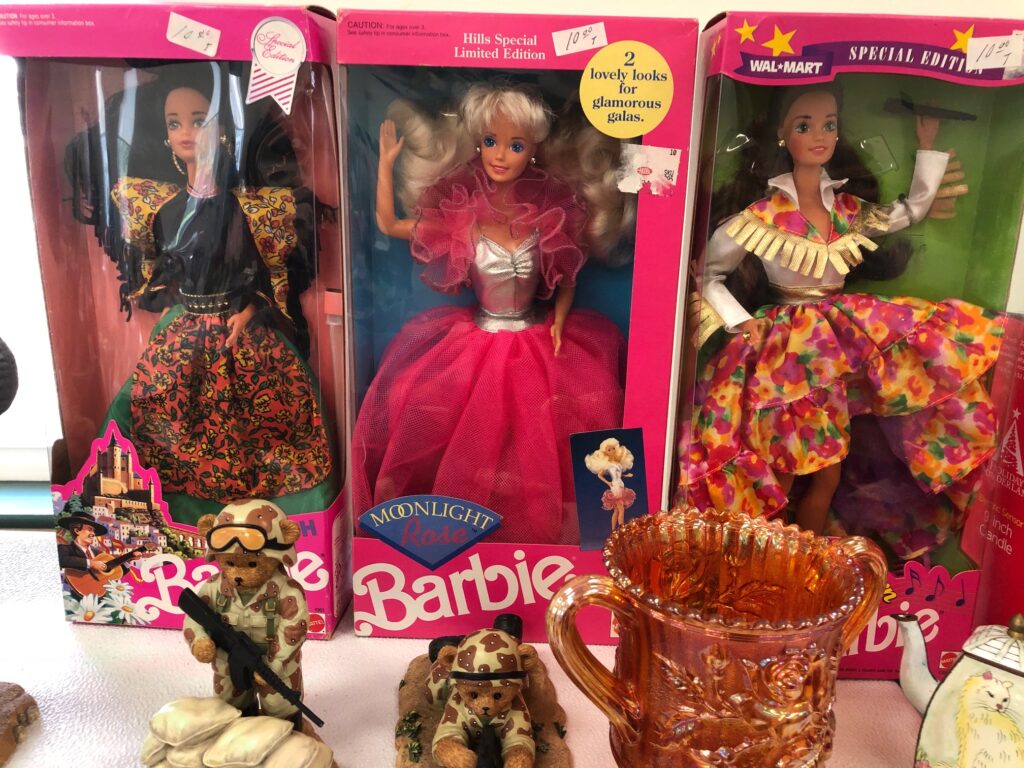
I have written about previous flea markets, but usually after the fact. I’ve had people say they wish they had known ahead of time, so this year I’ll post a few pictures from past flea markets and encourage you to come check us out!
I want to pause for a minute to share that I’ve now reached 250 postings on my website! I started this back in January, 2021, as a way to stay sane during the covid lockdowns. It has turned out to be a great way to keep my brain active and still have a record of the many projects I’ve done. I find I refer back to things I’ve written to find a recipe or see the pictures I’ve taken of how to make something.
I realize that WordPress has a feature that lets me add “tags” to each article, which then makes a kind of index to find things. Unfortunately, when I started this website I didn’t do that, and somehow didn’t think it was so important. Wrong! Oh well. At this point, I try to include links back to previous articles in a current post if I think that information is relevant.
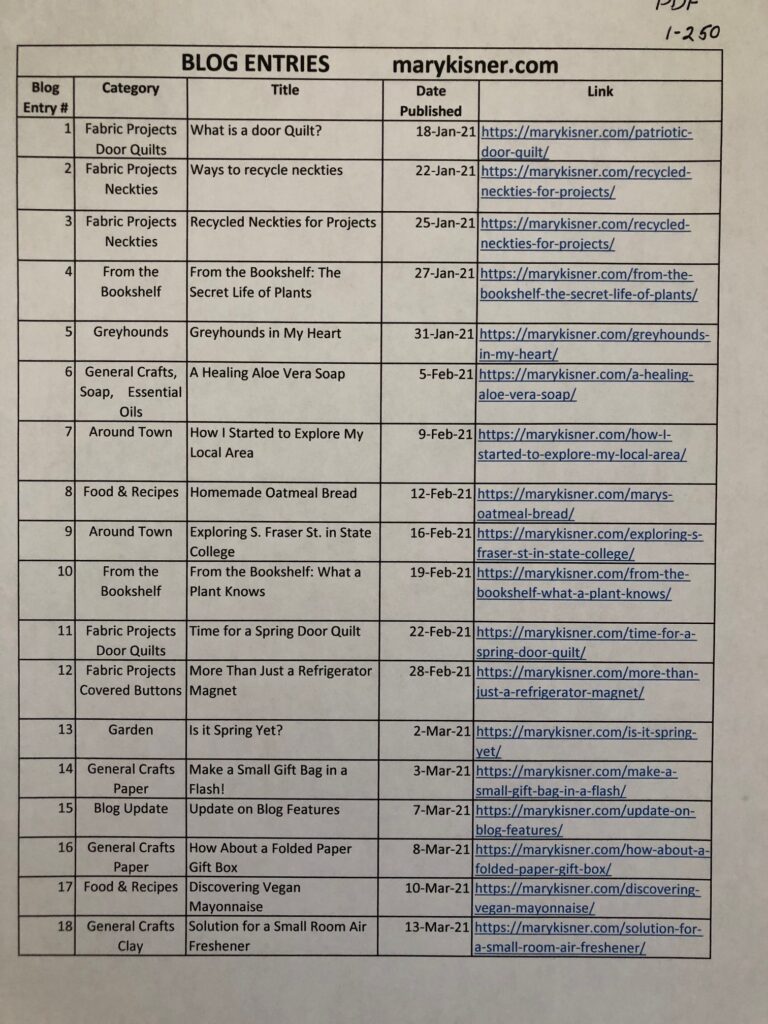
I’ve tried to keep a running list of everything I’ve posted in an Excel spreadsheet, making the links active so I can quickly go to the article I want. I’ll share it here, in case you’ve wanted to explore the whole pile of posts.
If you’d like to download a PDF list of all 250 posts with hot links to go directly to the story, click here and save it to your hard drive. Then you can scroll to the story you’d like to read and click on the hot link.
I will update the PDF frequently, but the most recent 10 posts are always listed on the Welcome Page.
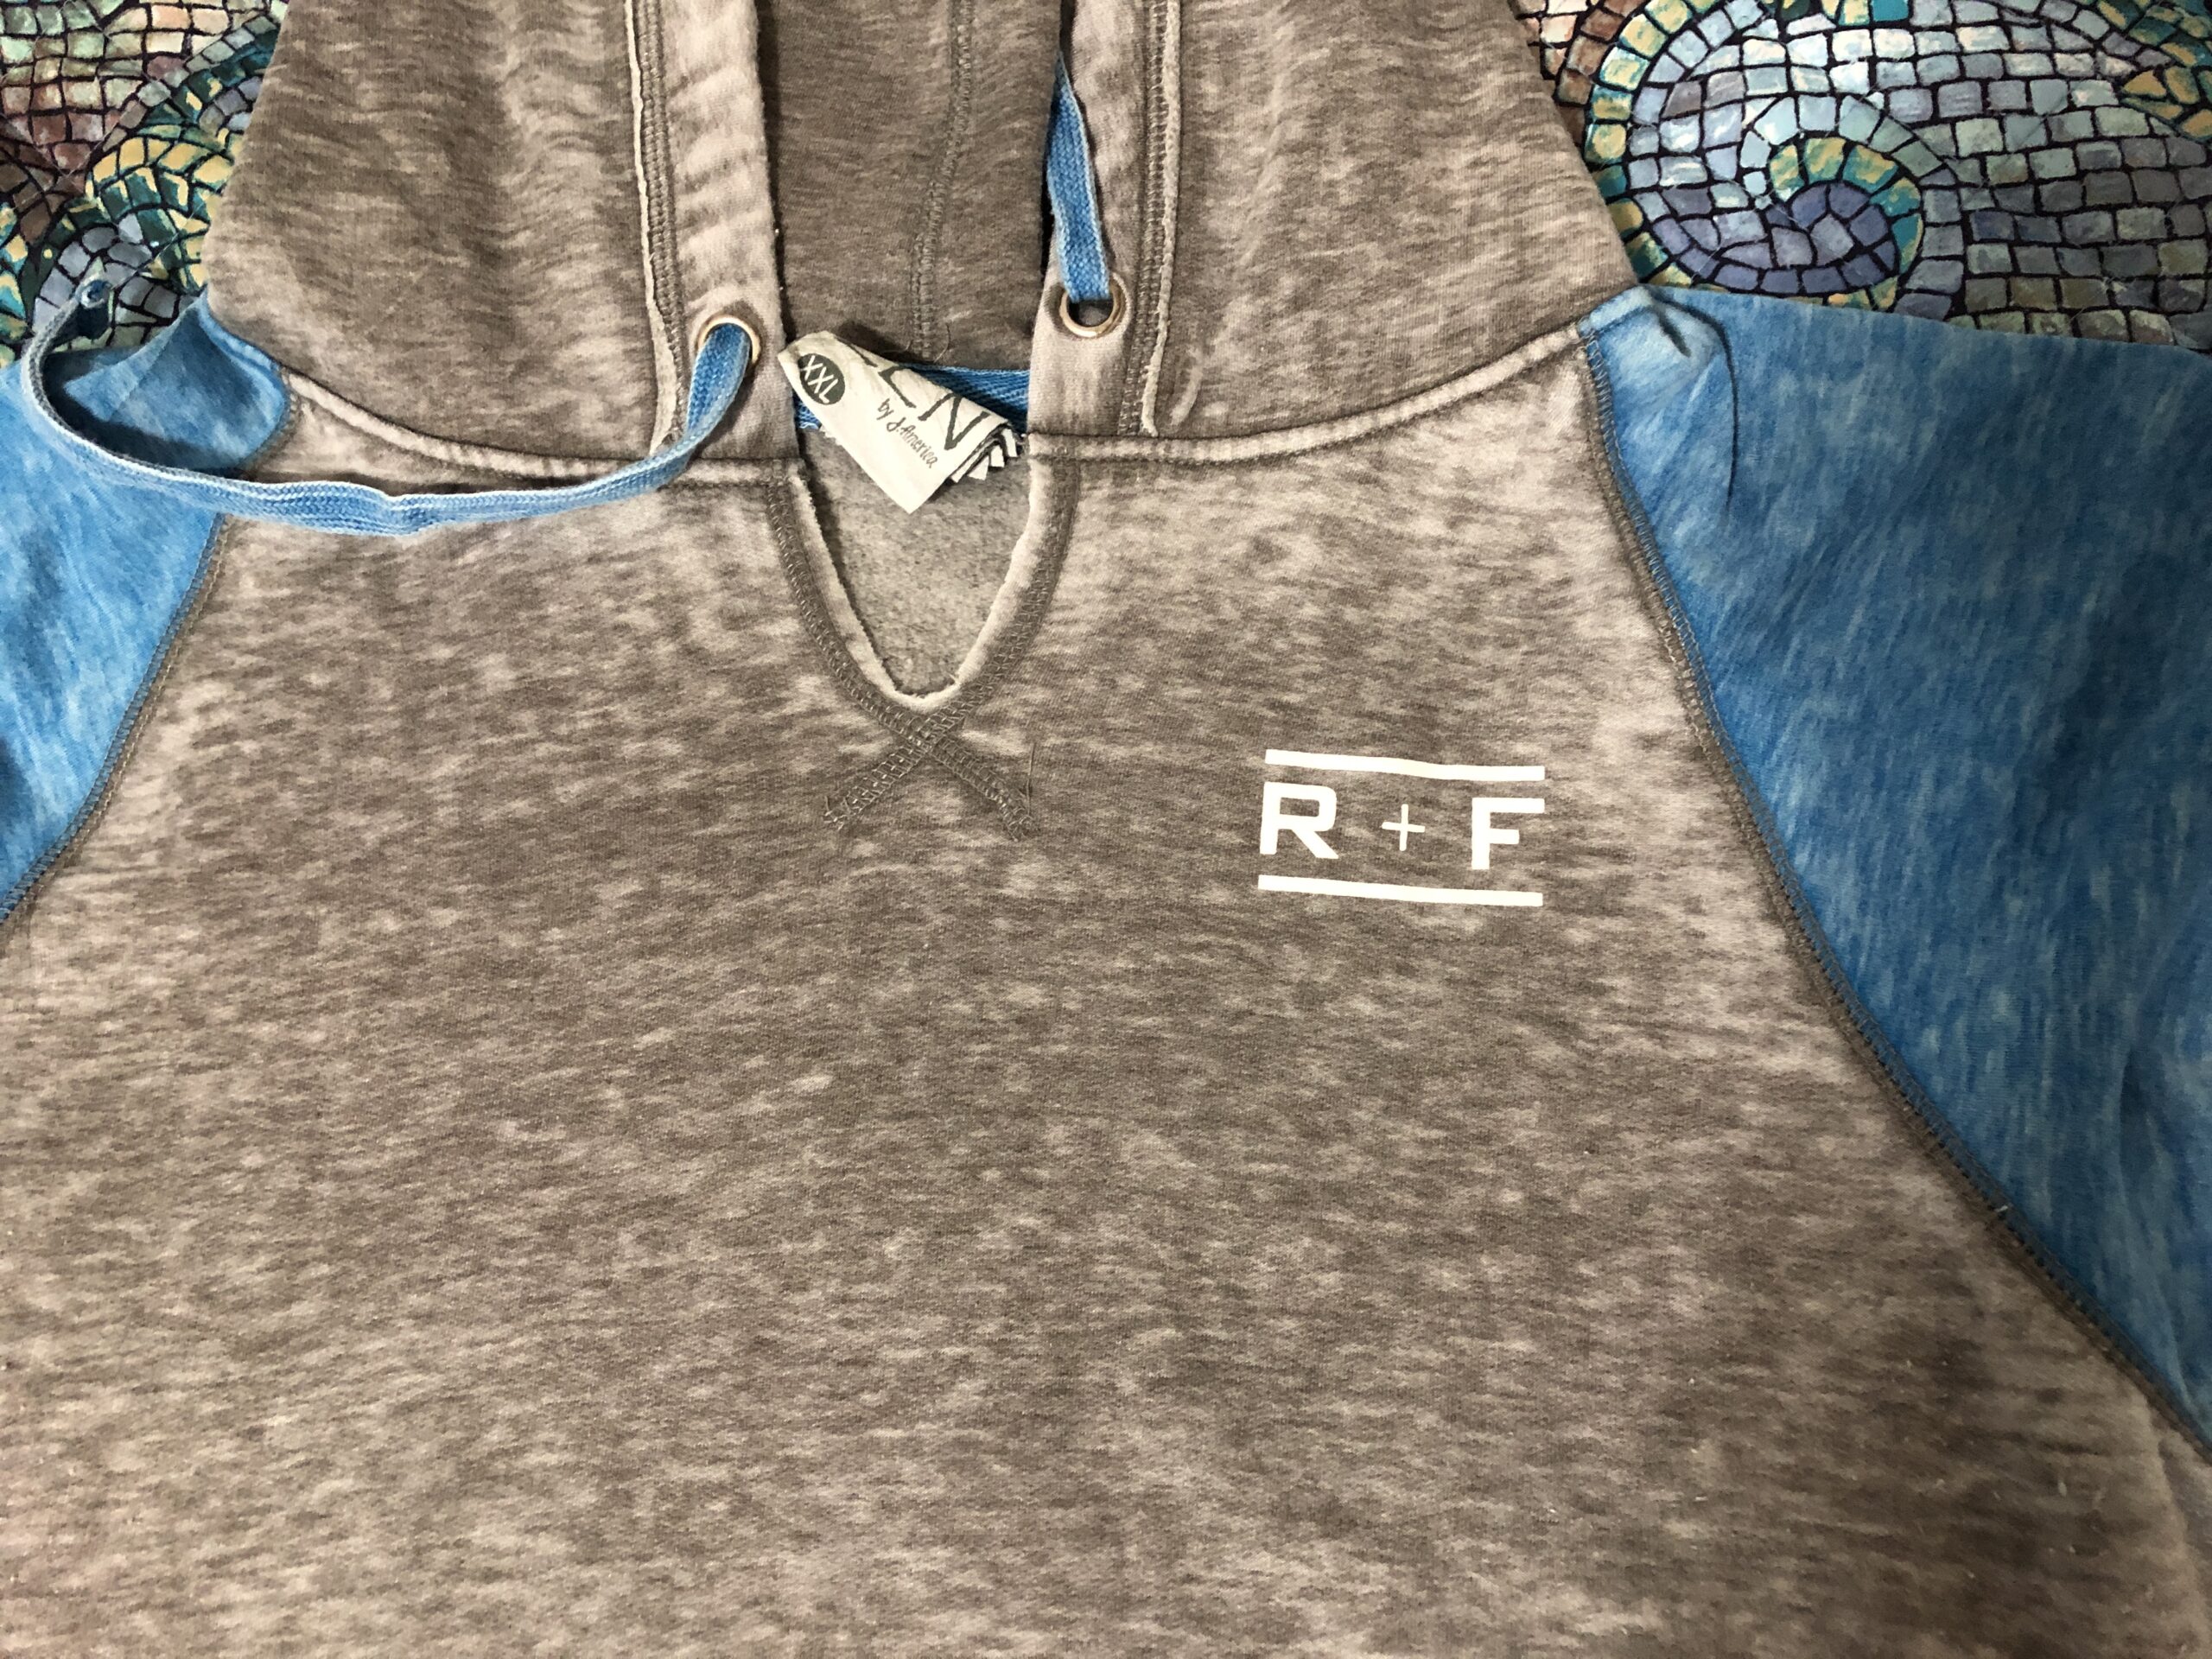
Do you have any shirts or sweatshirts that you like but don’t wear because of a small company logo prominently displayed on the front, back or sleeve? I’m not talking about a giant picture, cartoon or saying that you chose to buy and wear. I’m talking about smaller company logos like a company or bank who sponsored an event and provided a shirt to a group of participants.
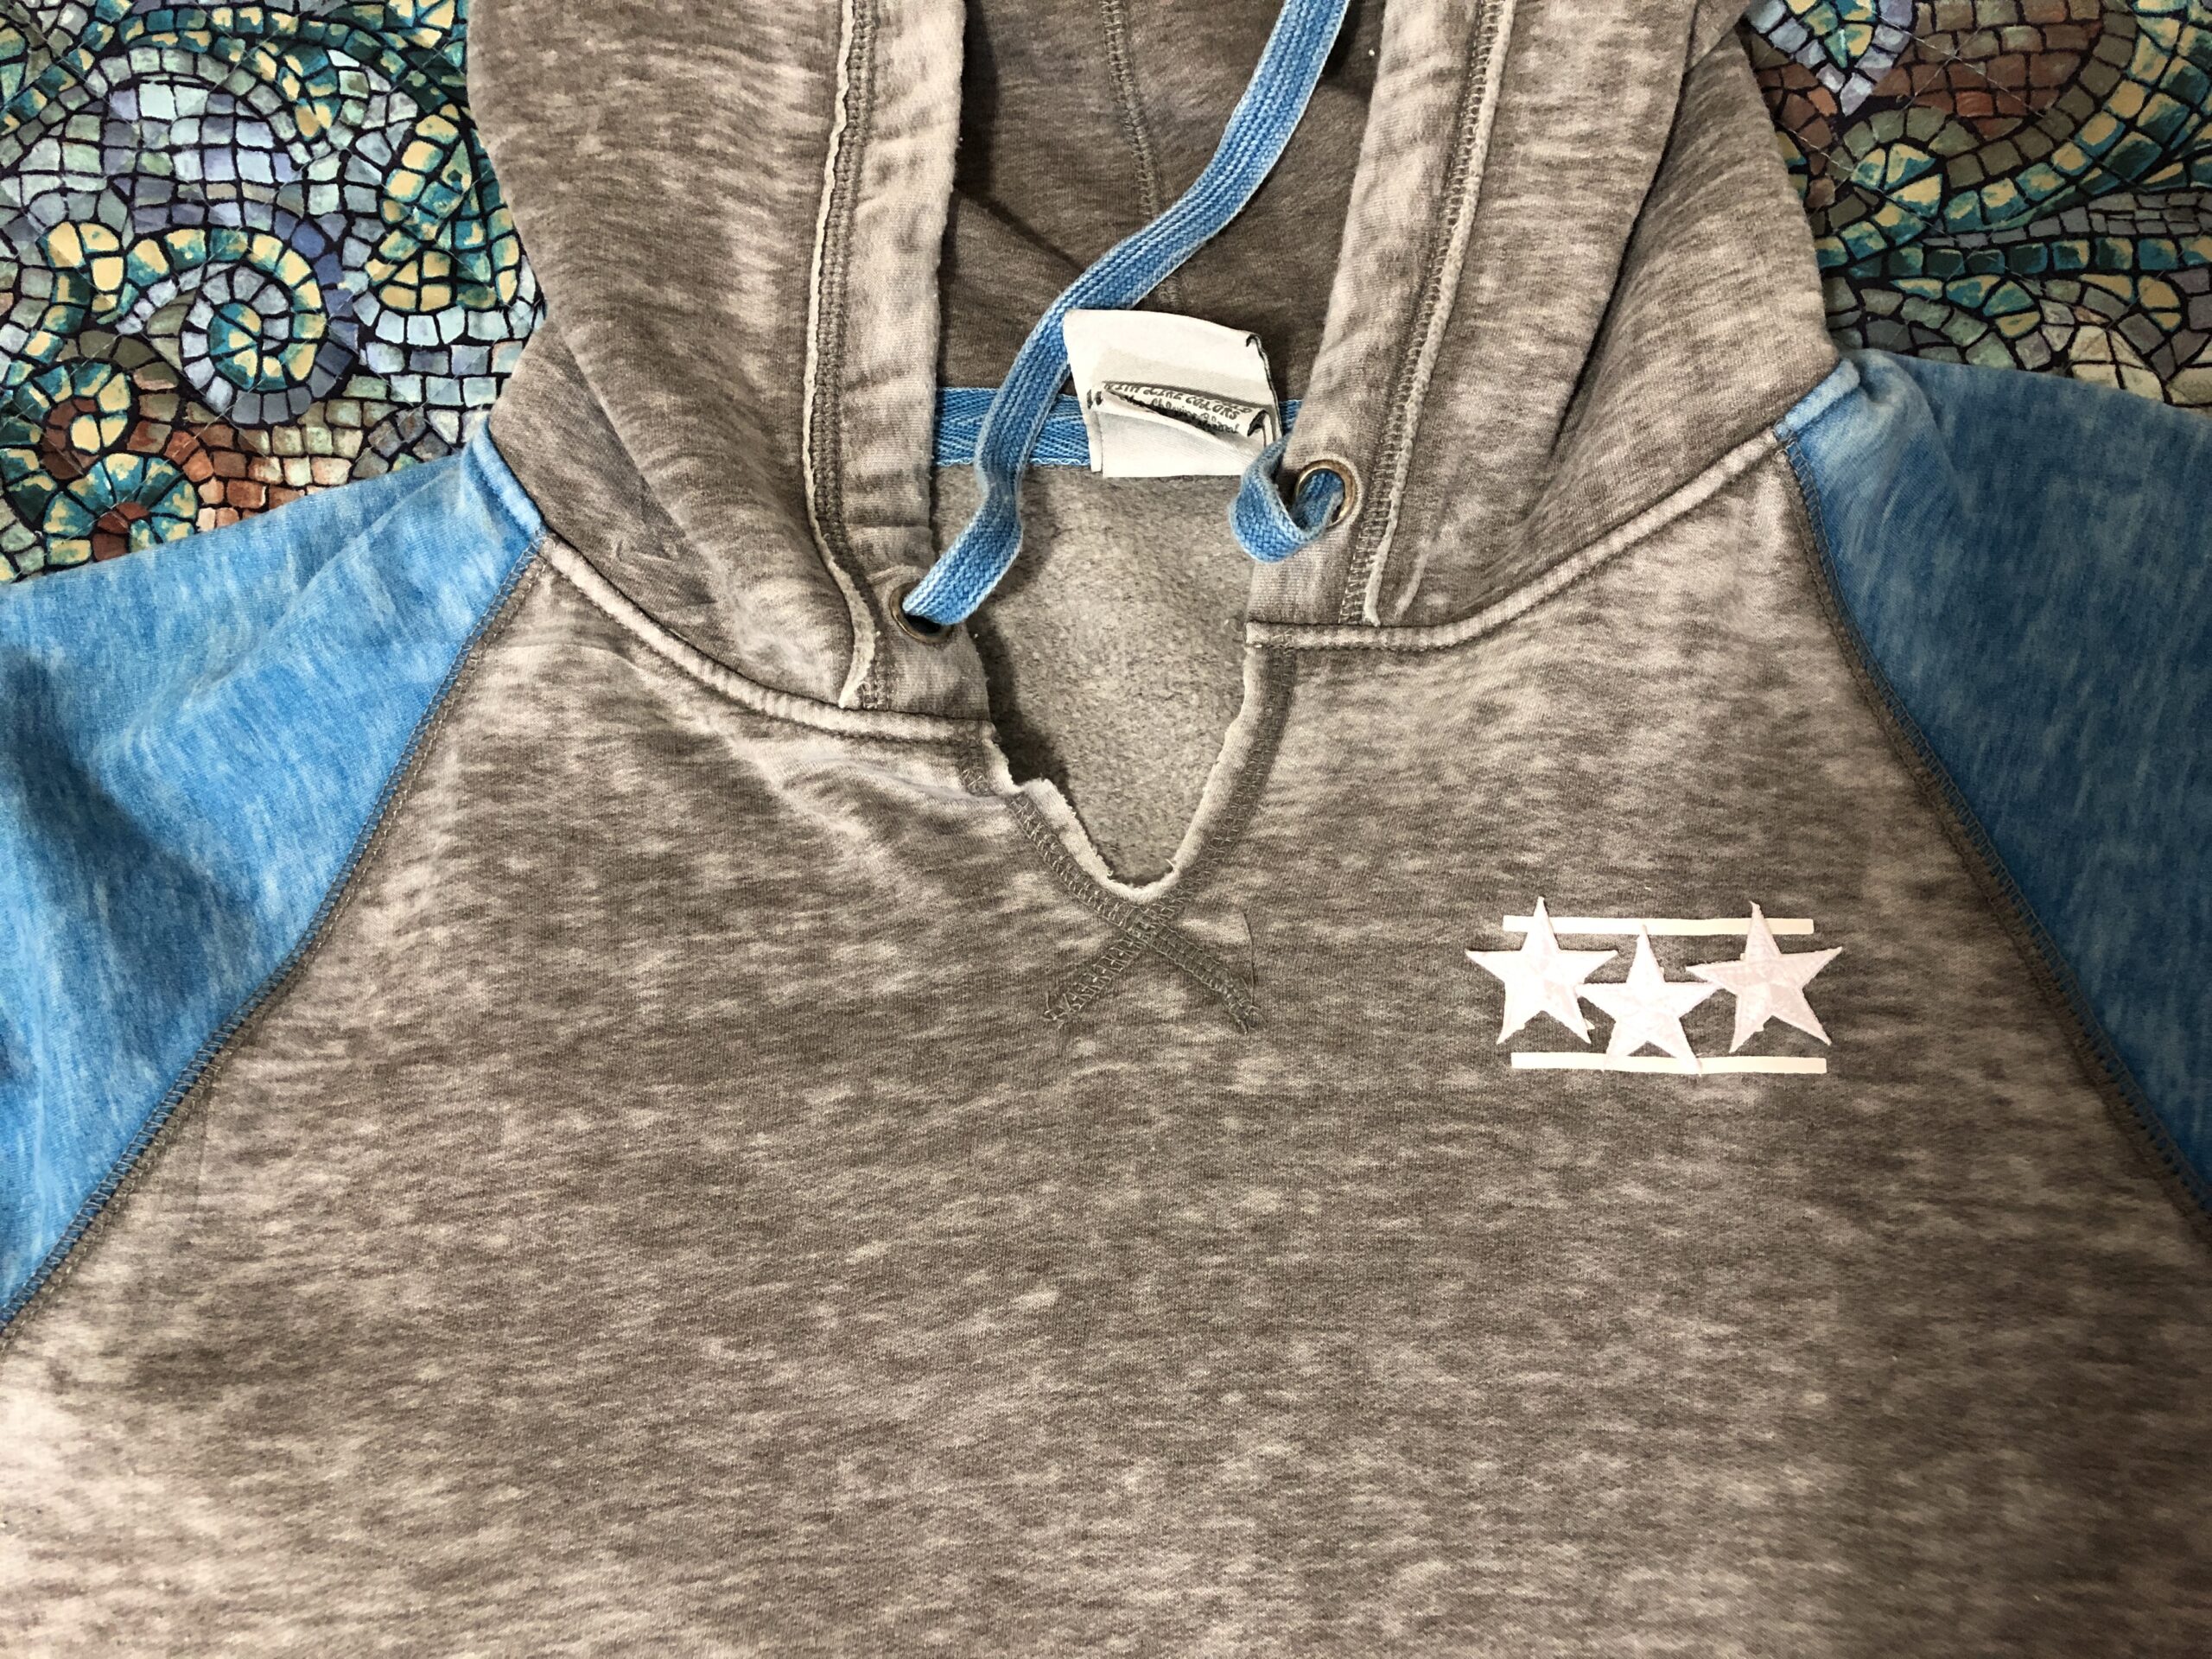
My daughter gave me the sweatshirt below, asking if I could do something to cover the company logo. I first thought of a giant white heart, but remembered my limited embroidery skills wouldn’t look very professional. I found some embroidered stars in my stash and gave them a try. They seemed to work. I sewed them down with a straight stitch.
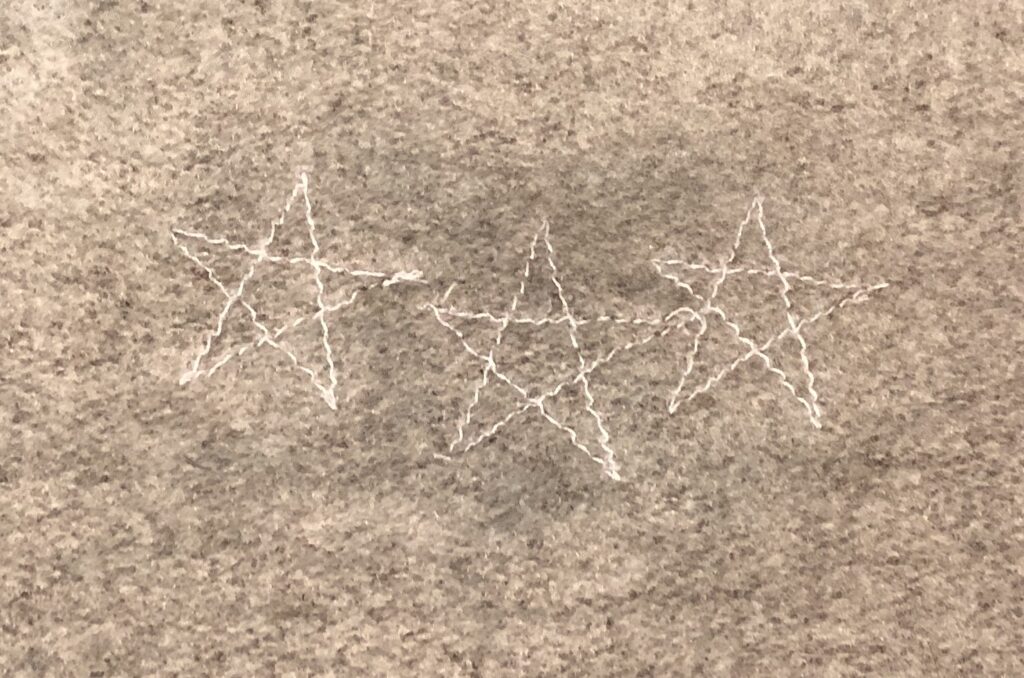
The inside shows my stitching:
I was curious what other options there were for already-made embroidered patches. I headed to JoAnn’s and all I could find were giant letters.
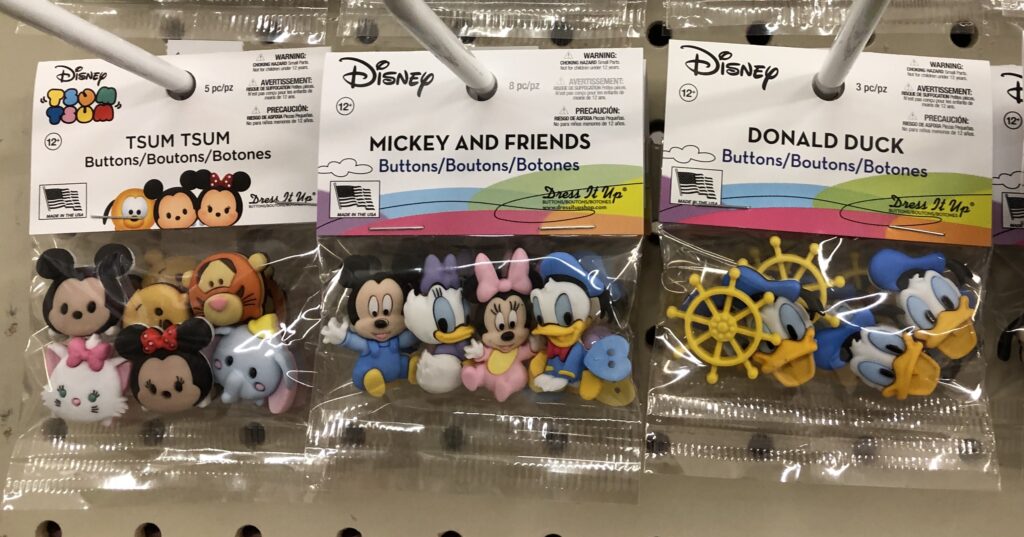
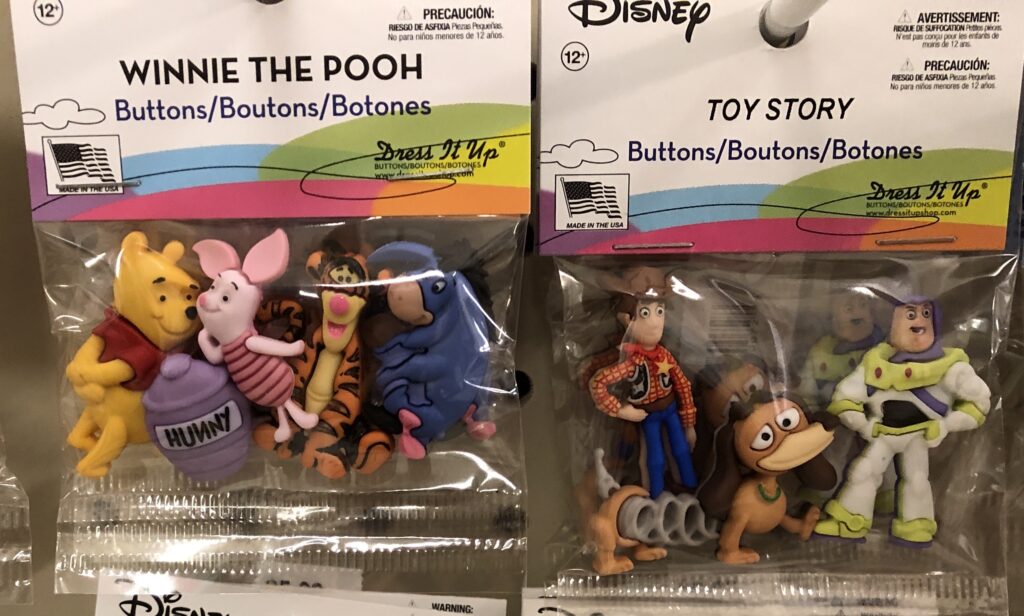
Next, I wandered to the button rack. I found some clever button sets that could be sewn over a logo. They could be fun:
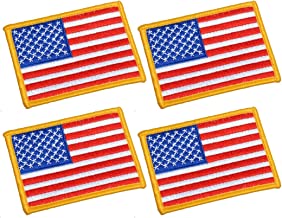
And then, of course, I checked out Amazon. That is a good place to find flags and stars.
Bert has several shirts from charity events that he doesn’t wear:
I don’t think he doesn’t wear them because of the logos. Bert won’t wear them because they don’t have pockets! So, I guess I won’t bother trying to cover the logos…and I don’t plan to add pockets!
However, embroidered patches and colorful buttons can extend the life of shirts that you love. Enjoy!
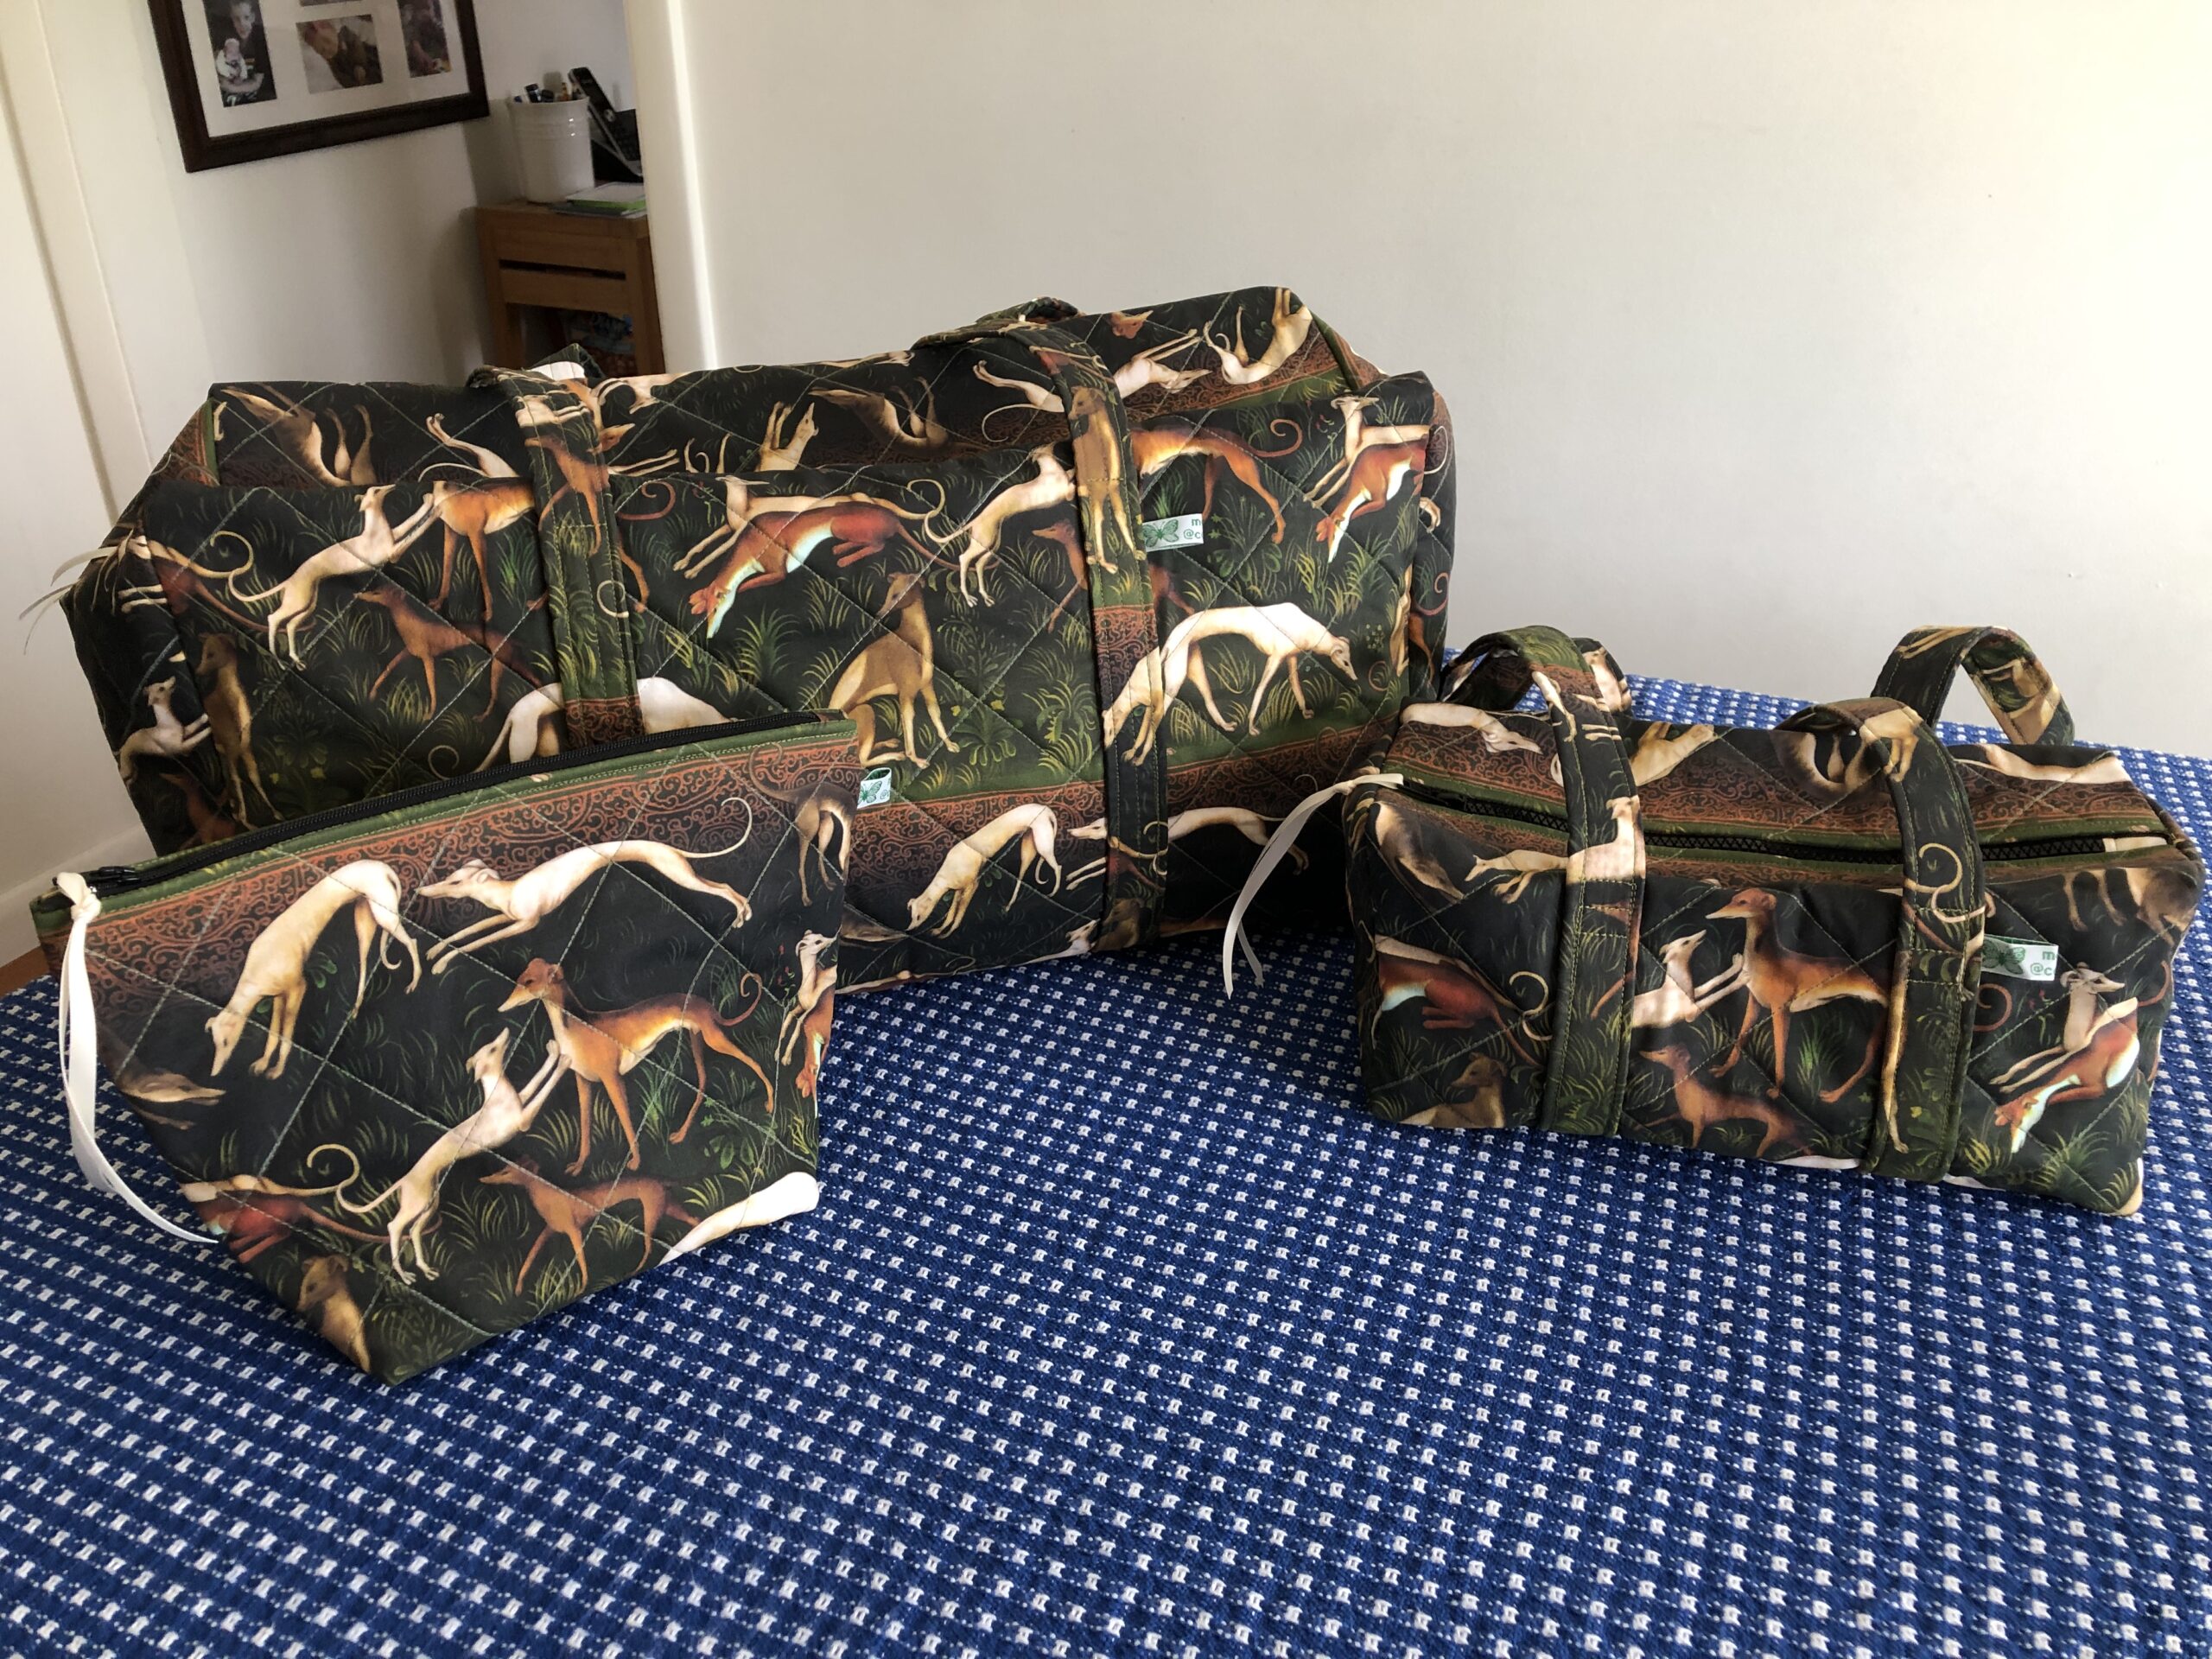
Duffle bags are easily the most common kind of bag to use when traveling or just the right size to transport stuff in your car. They are available with sports logos on the side or made of colorful prints; quilted cotton or waterproof fabric. For the last two weeks I’ve been making a set of three bags that will be auctioned off at a Greyhound Conference next weekend.
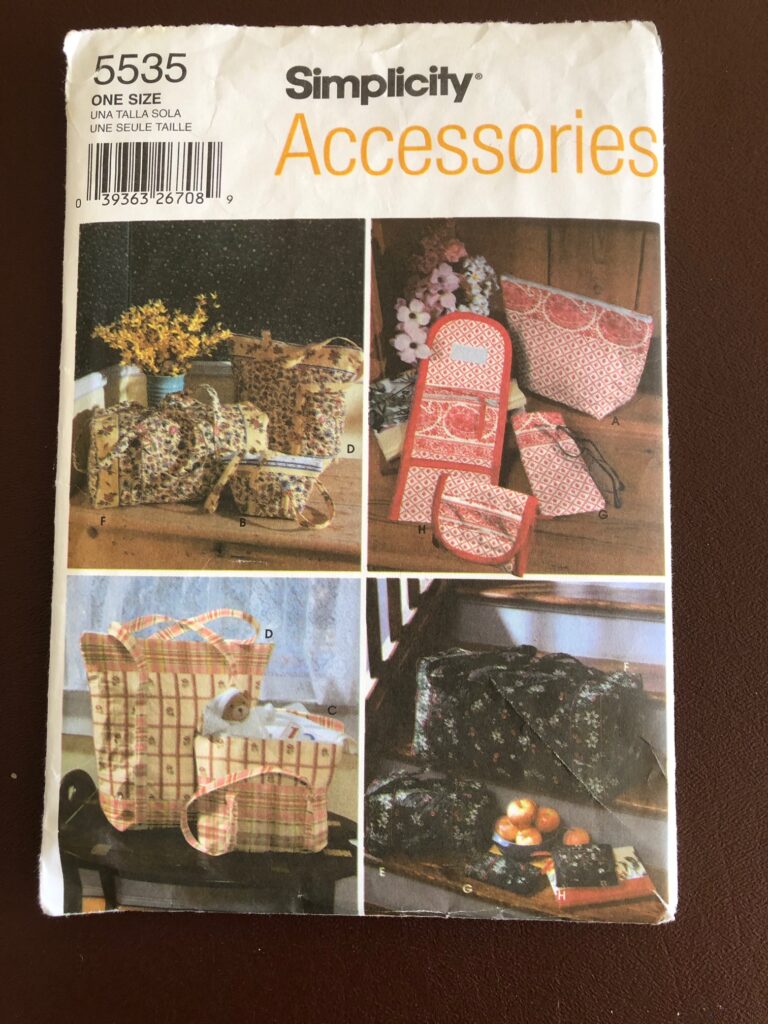
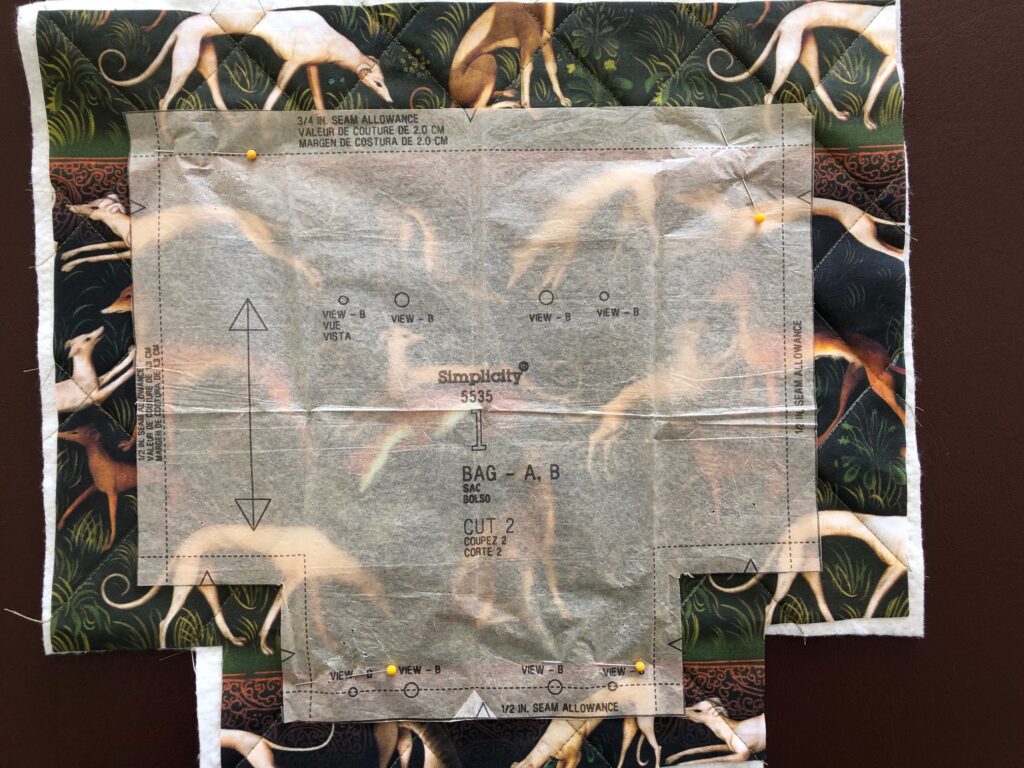
The request was for a large duffle bag, a small duffle bag and a small travel bag to be auctioned off as a set of luggage. The fabric needed to be prequilted before cutting out the final pieces. This is the pattern I’ve used several times:
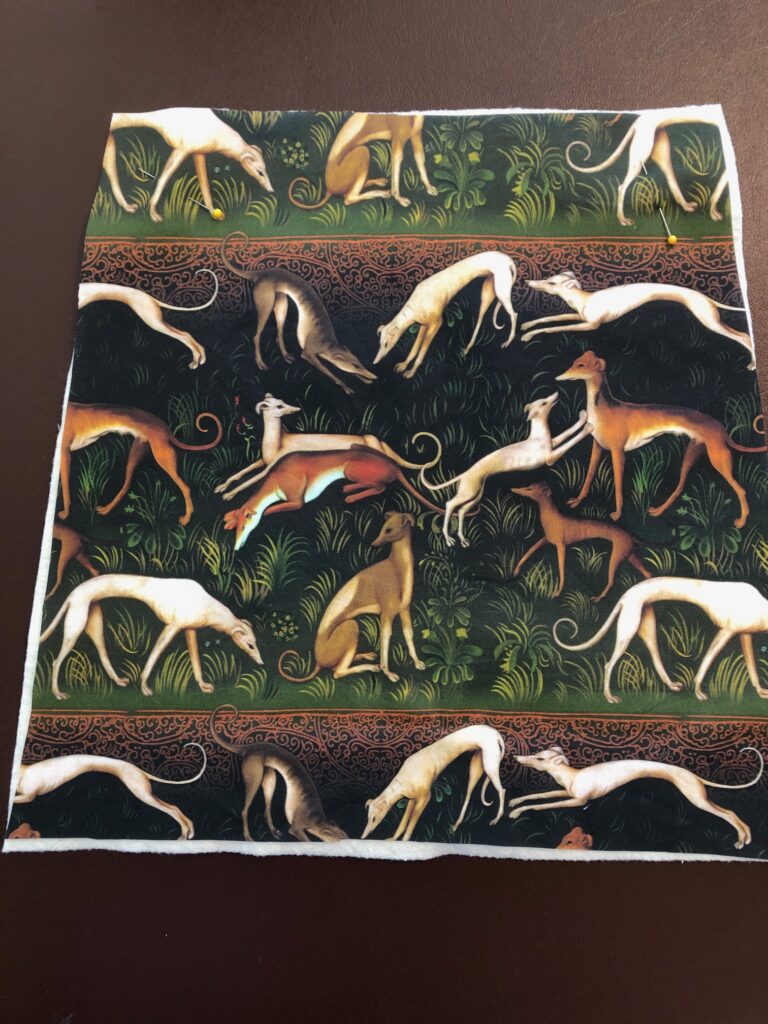
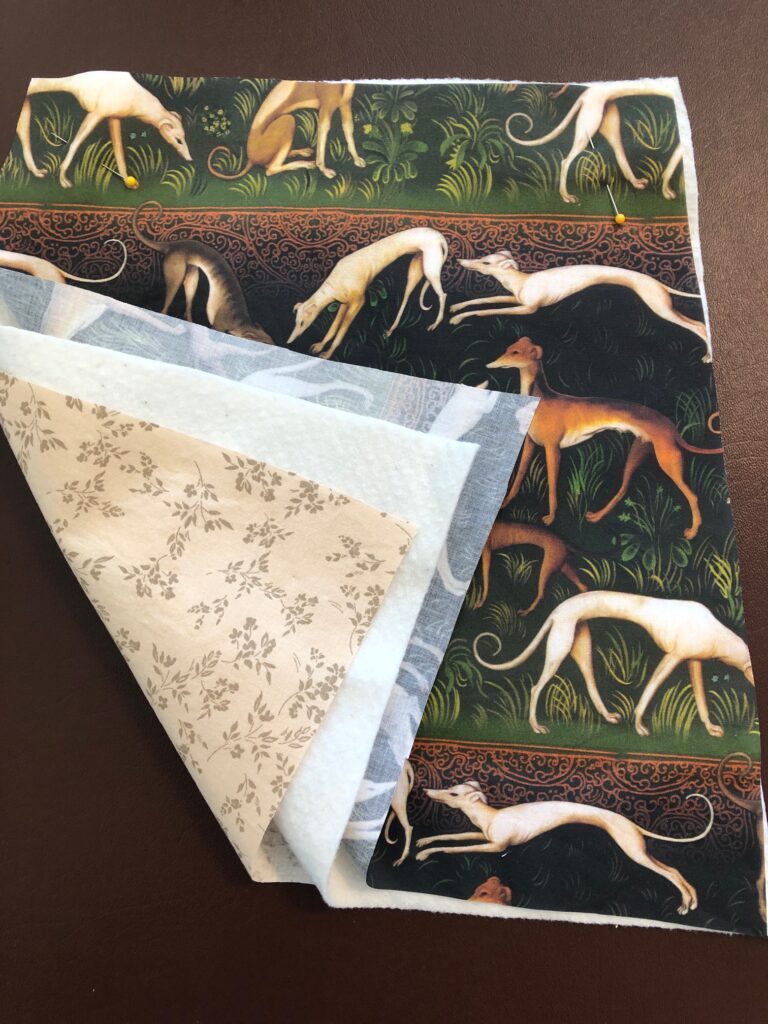
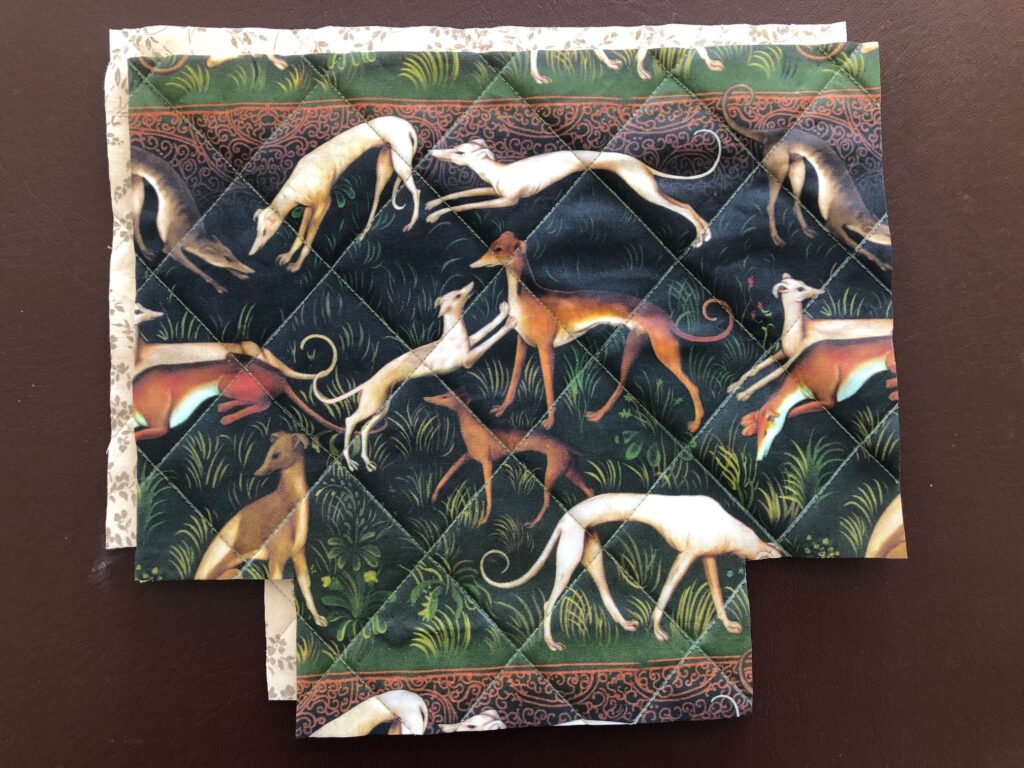
Of course, no ordinary fabric would be appropriate, so a heavy cotton fabric printed with greyhounds was ordered from www.spoonflower.com. This site has many choices to choose from (not just greyhounds!) and the fabric is printed when ordered.
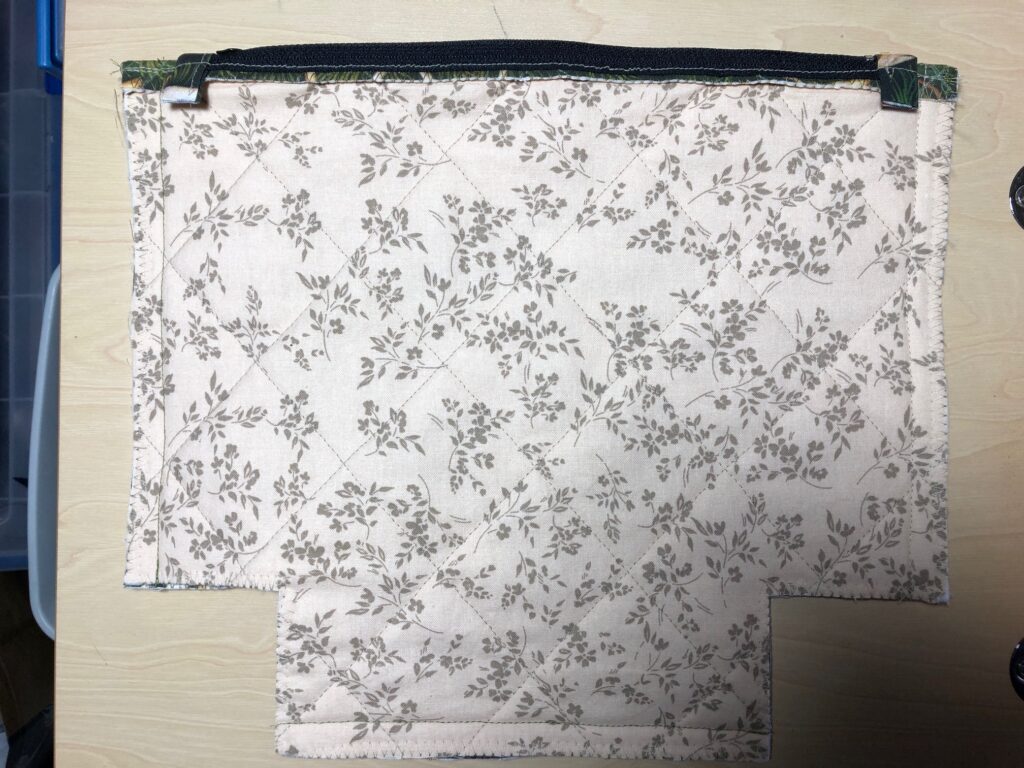
And here is the lining:
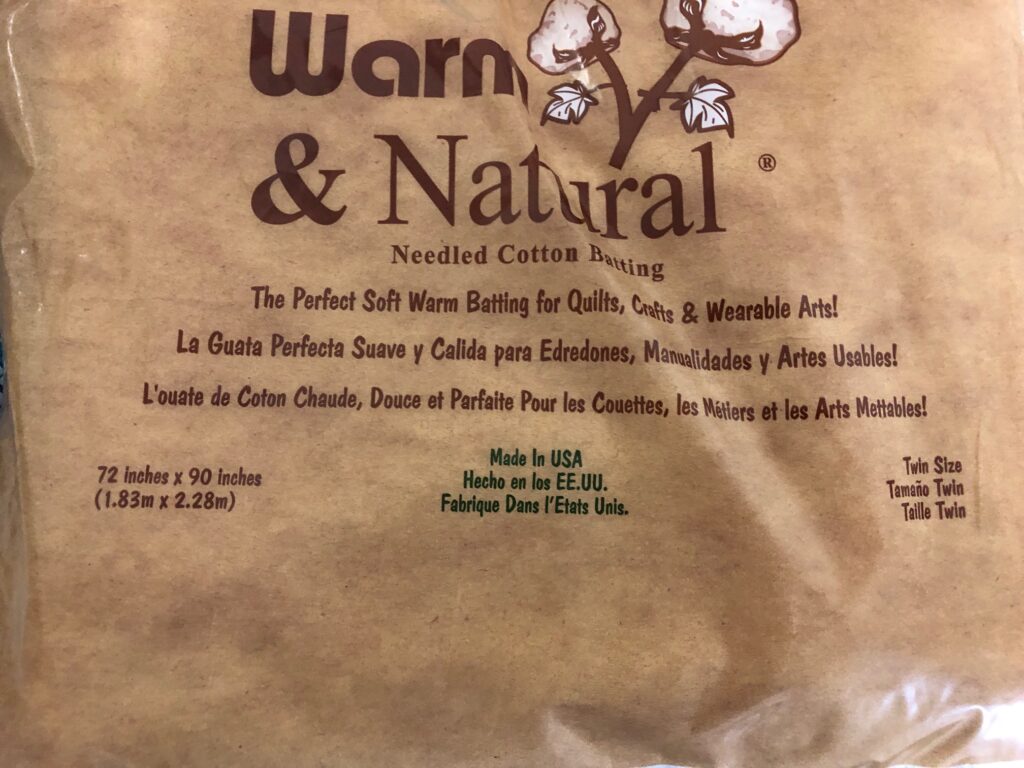
Finally, the batting I used was cotton and a twin-size package provided more than enough to make all three bags.
Making the Small Travel Bag
I will go through the steps to make the small travel bag. The same steps were followed to prep the fabric for the other two bags.
Step 1: Wash, dry and iron the fabric.
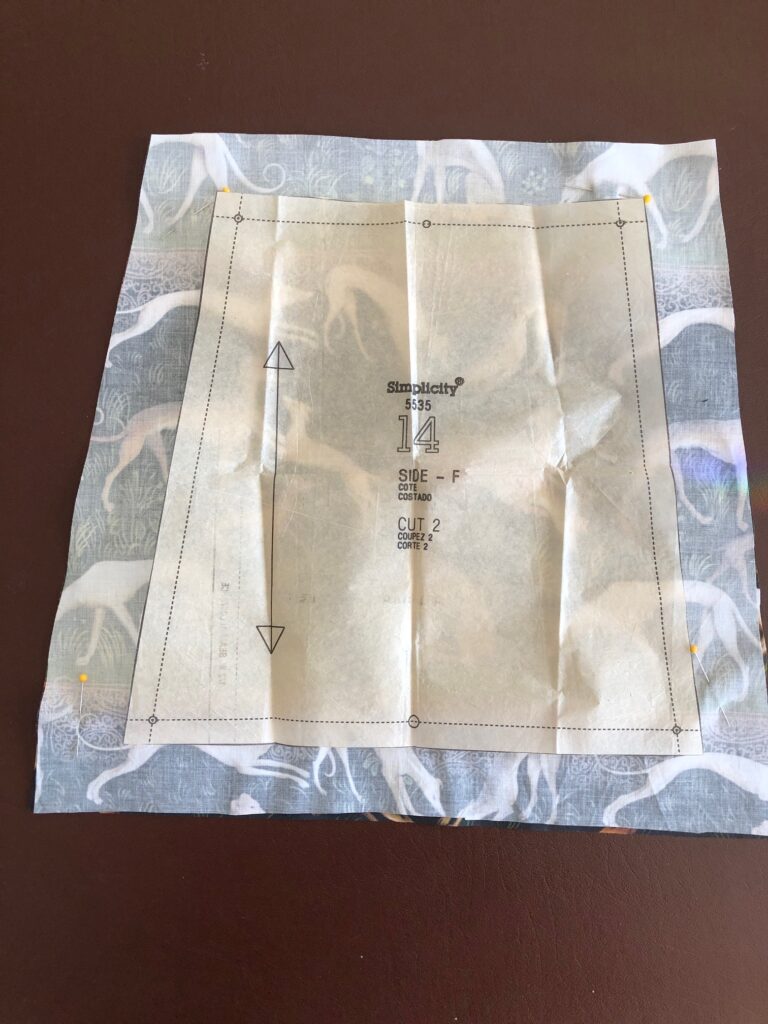
Step 2: Lay out each pattern piece but cut about 2″ larger all around of fabric, batting and lining.
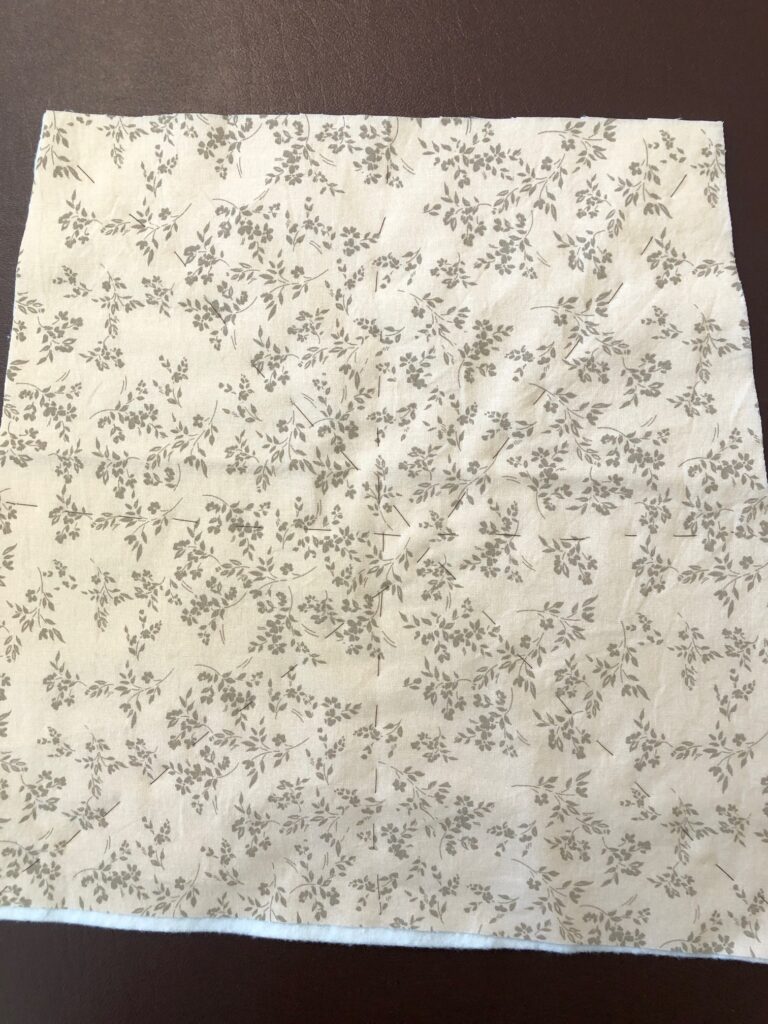
Step 3: Stack each piece into a quilt sandwich with the outer fabric, batting and lining.
Step 4: Baste the “sandwich” together to stabilize it as you quilt.
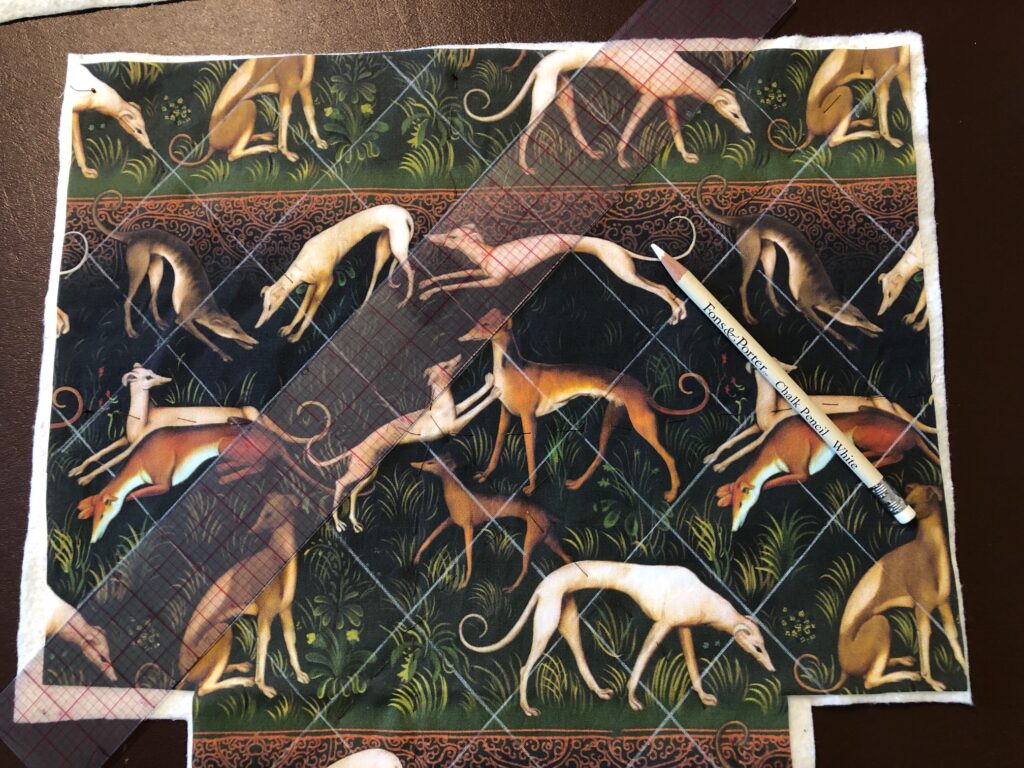
Step 5: Using a chalk pencil (that will disappear over time or with water) draw diagonal quilting lines to follow.
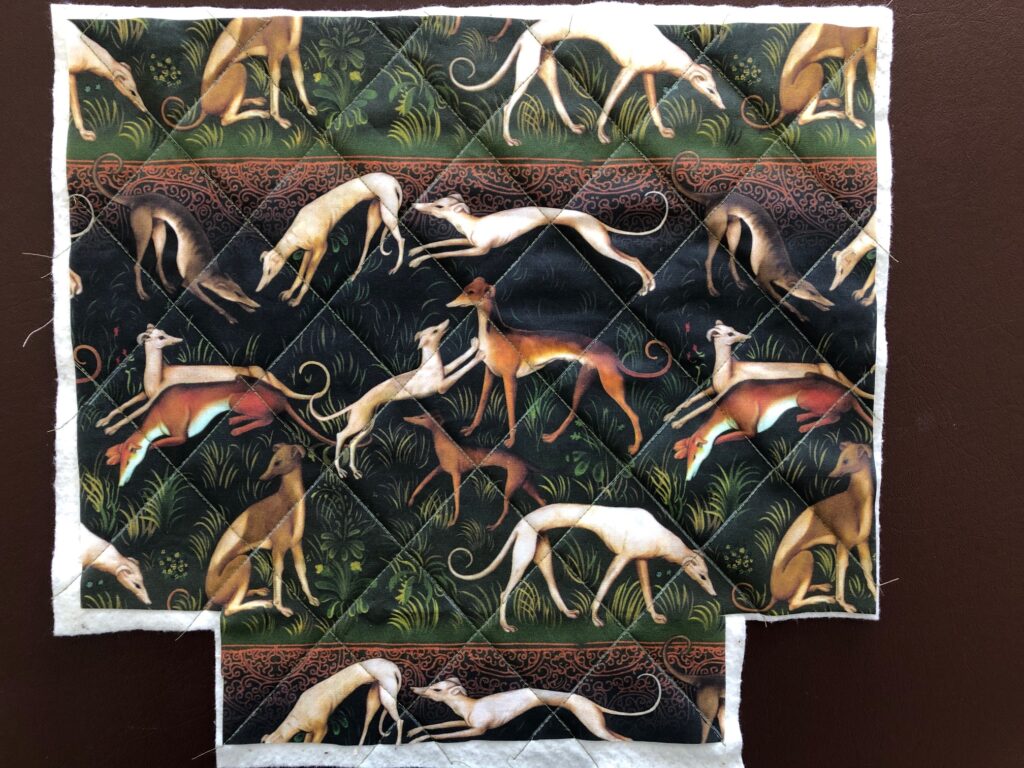
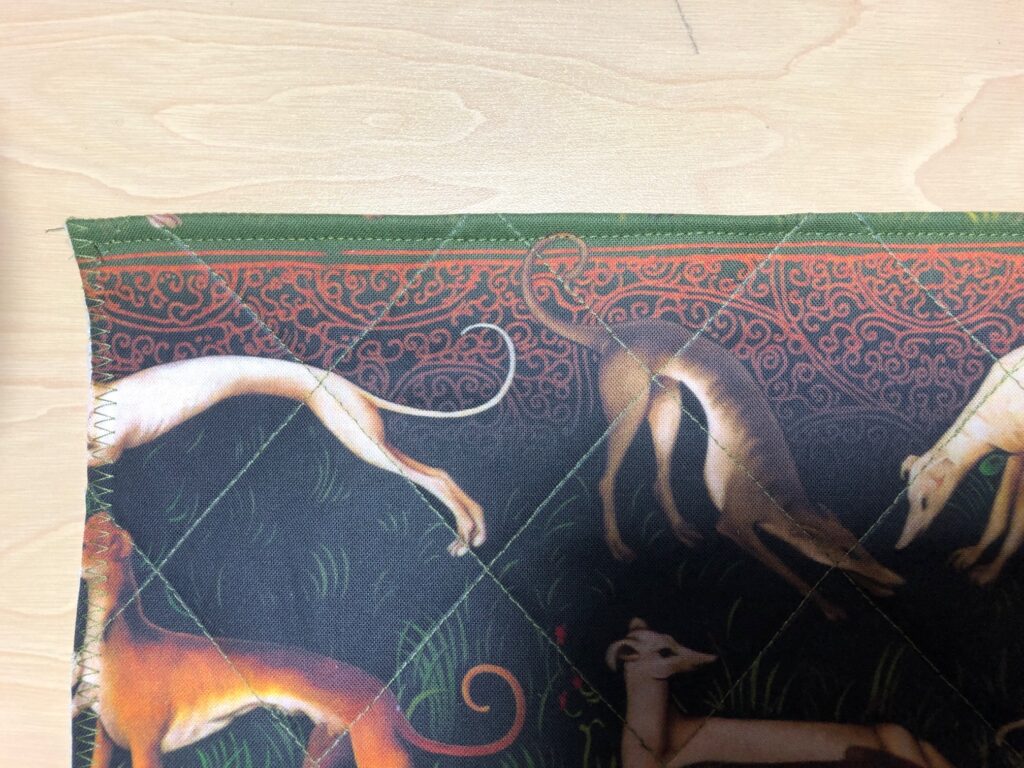
Step 6: When lines are drawn, stitch on the lines with a coordinating color thread. You can see why it’s necessary to start with fabric cut larger than the pattern…all that quilting tends to squish the fabric one way or the other. You need wiggle room.
Step 7: Lay the pattern piece on the finished quilted piece and determine the placement on the design. Cut out the final piece.
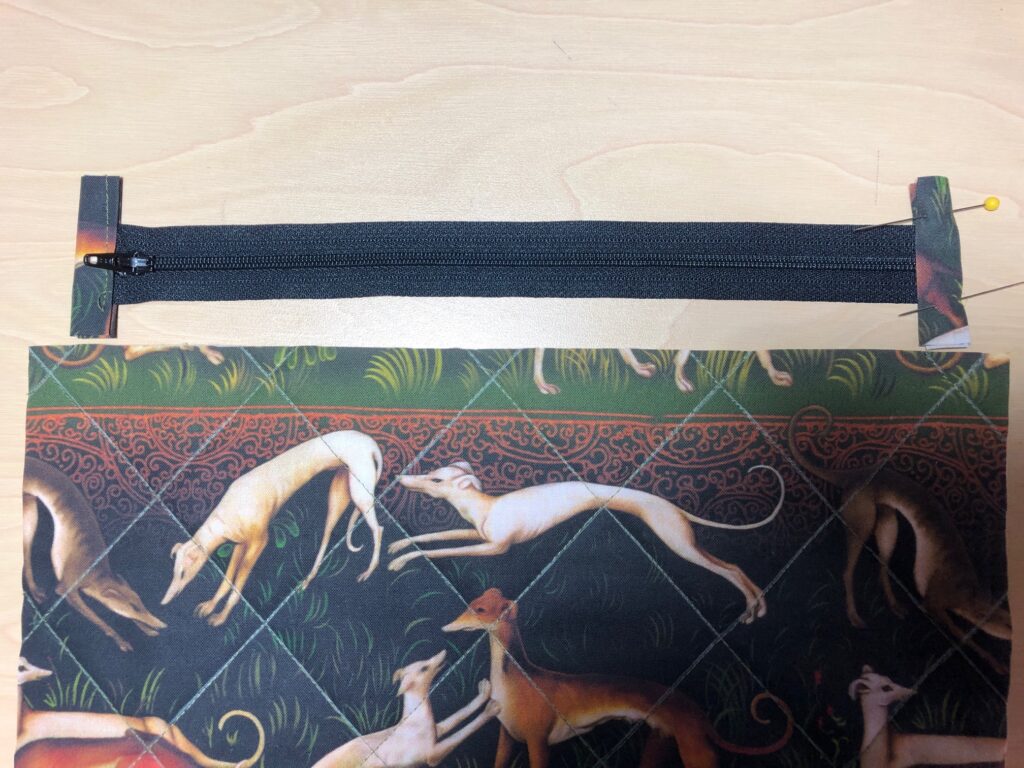
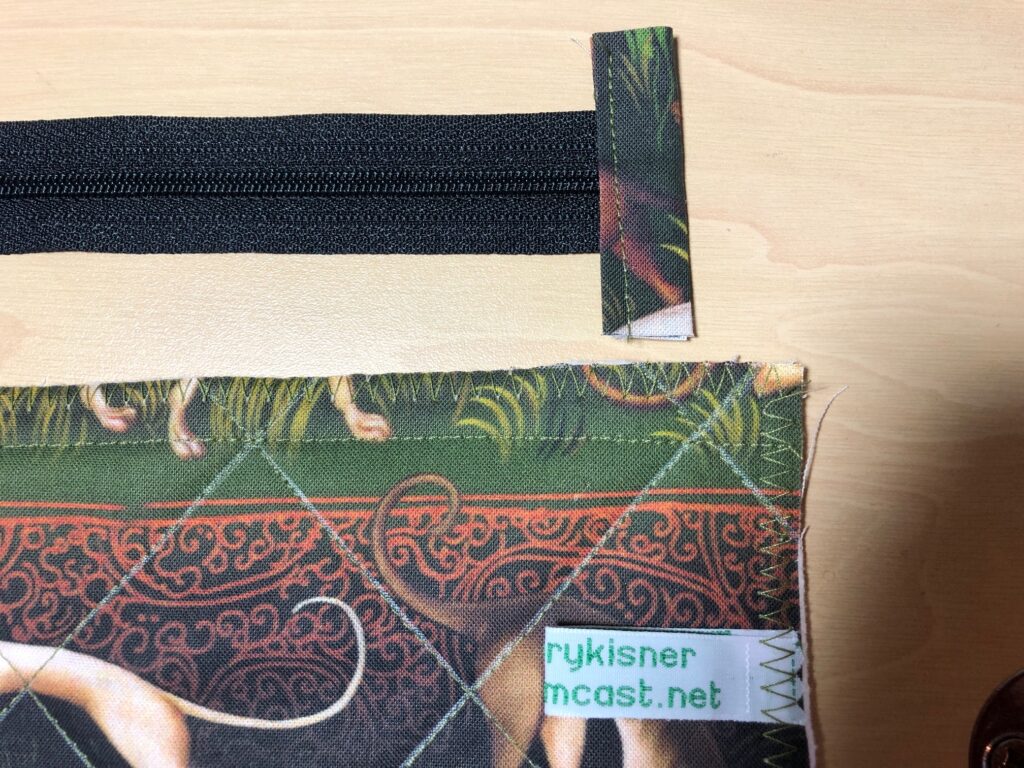
Step 8: Prepare the zipper. Cut out 2″x2″ squares of matching fabric to encase the ends of the zipper. Fold each square in half and then in half again, tucking the ends to the center.
Step 9: Take time now to zigzag around each piece of the bag. Then, run a row of stitching 1/2″ from the top edge. This will be your fold line to stitch to the zipper. (The quilted piece ends up being very stiff and it’s hard to fold just 1/2″ neatly.)
Here’s the folded top edge:
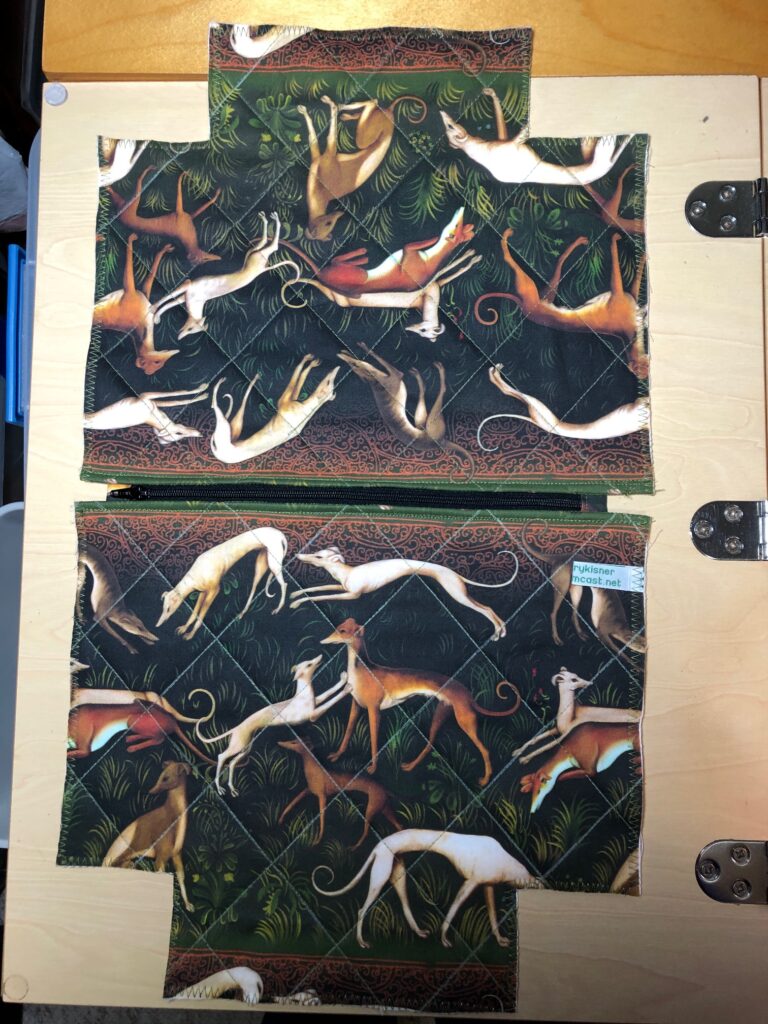
Step 10: Stitch both sides to the zipper.
Step 11: UNZIP THE ZIPPER! Fold the bag, right sides together and stitch the sides and bottom of the bag.
Step 12: Open the bag with your hands and sew the bottom corners closed.
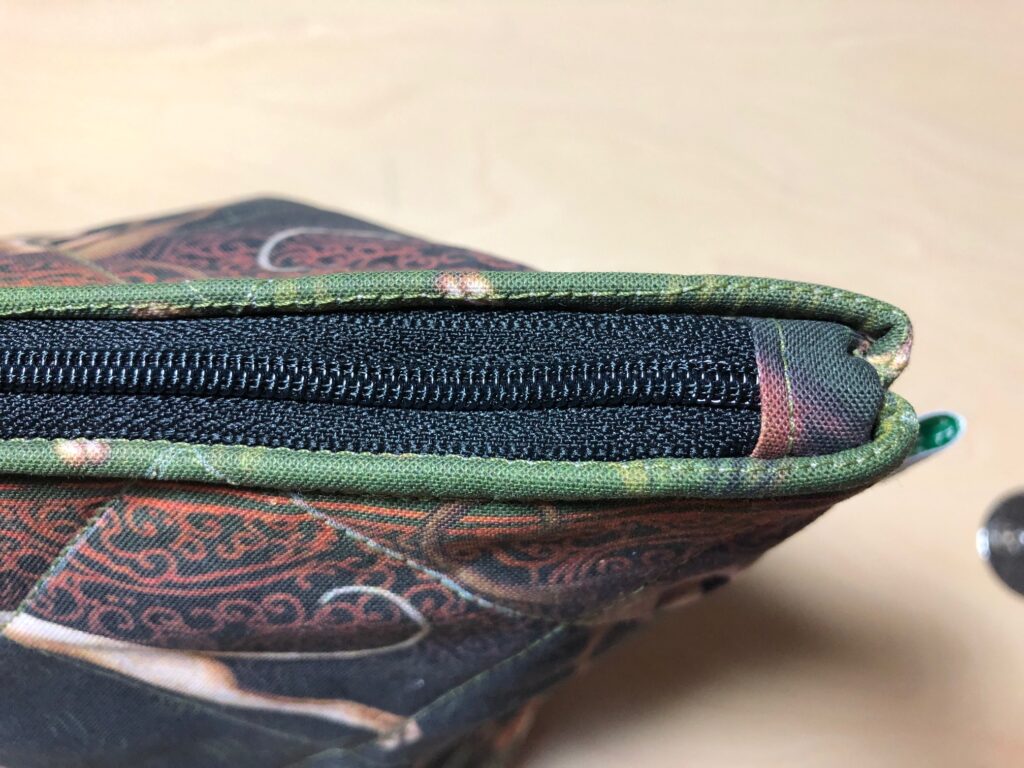
Step 13: Turn the bag right side out. You can see how nice the end caps on the zipper look.
Step 14: Finished Bag
The other two duffle bags follow similar instructions, with the added instruction about the handles and sewing the end pieces. I’ll write these specific instructions in a future post. At any rate, follow the directions with your pattern.
Making your own bags with a fabric of your choice makes for a very unique bag. For all you sewers out there…give it a try! Enjoy!
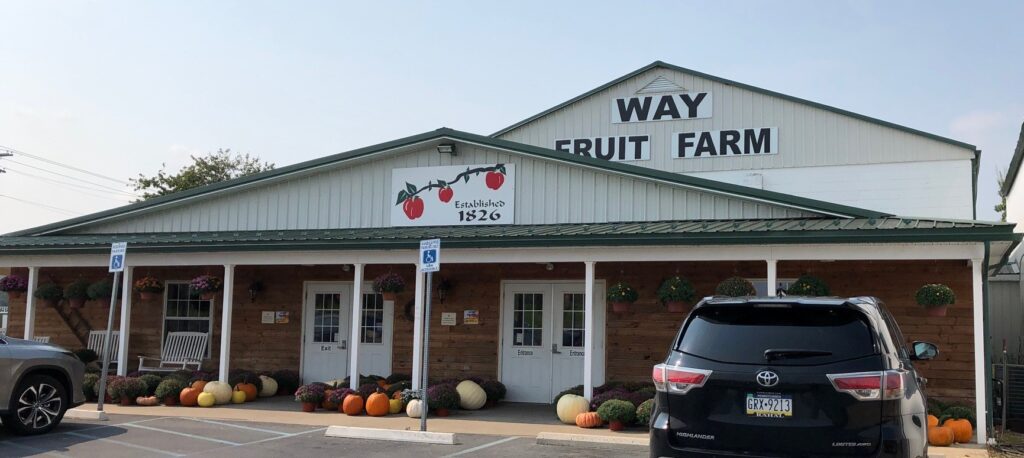
I spent a lovely lunchtime yesterday with a group of my high school friends yesterday. We enjoyed the small cafe at Way Fruit Farm on the north side of State College. I shared a lot of pictures of the facility in a post in the fall of 2021. You can check it out at https://marykisner.com/wonderful-lunch-with-high-school-friends/.
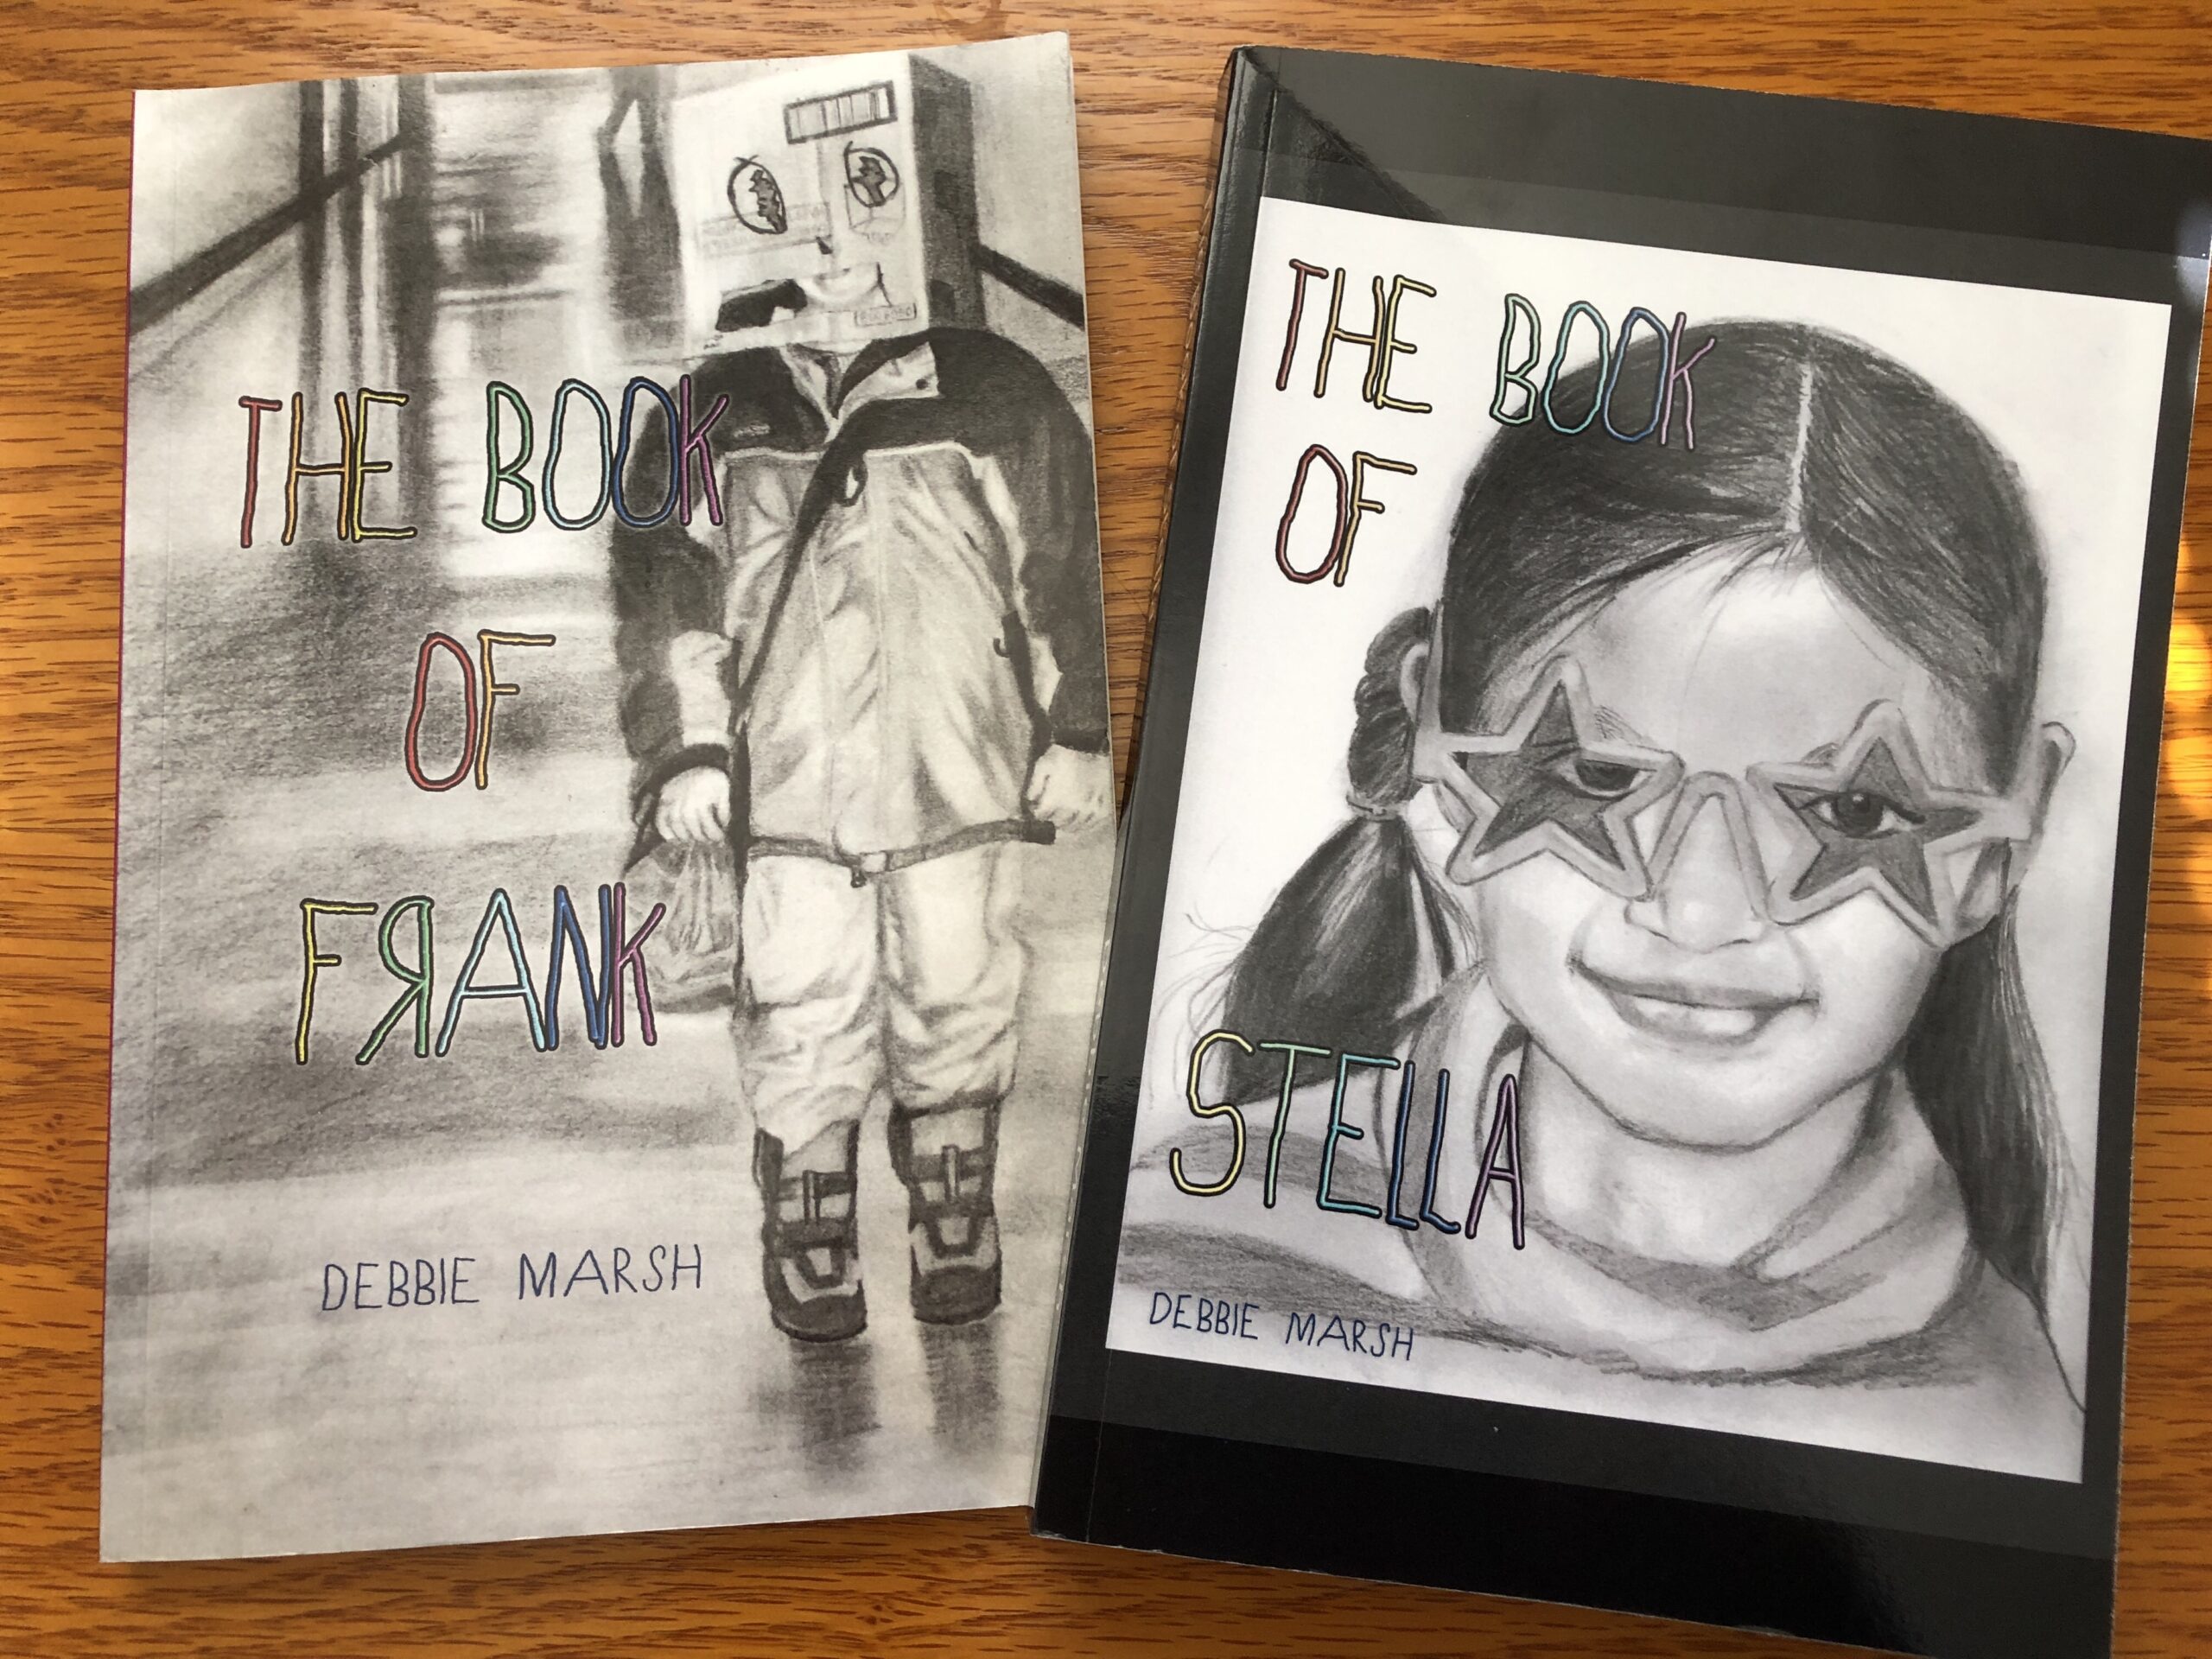
This time, I discovered a small display of books written by local authors hiding near the soda machine. These two books caught my attention because I had heard of the author, Debbie Marsh.
Debbie taught elementary grades in the State College Area for 30 years. She also wrote a monthly newspaper column called, “Notes From the Teacher,” for the Centre Daily Times. I remember reading her column and found her sense of humor and advice to parent of school age children very refreshing.
Her first book, The Book of Frank, is a series of stories based on her experiences with young children in the kindergarten classroom. The student named Frank in the stories represents a number of children she remembered. Absolutely spot on! The second book, The Book of Stella, continues her stories with more insights about the teacher’s role in the classroom.
The stories reminded me of my first two years of teaching, which were in kindergarten in the State College Area Schools! Almost every example she shared, I had had a similar experience. The whole book reminded me of the Art Linkletter television show from years past, Kids Say the Darndest Things (I think that was the name).
I know that classrooms today might have a totally different feel than when I started teaching in 1968, but many of Debbie’s challenges are still challenging today because 5-year-olds are FIVE YEARS OLD!
If you have folks in your life that are considering being a teacher of young children; or you are just starting to teach; or you have retired from teaching… you will love this book. I wish I had read it at the beginning of my career. But now, 45 years after I left elementary teaching it still gave me a chuckle and a shiver of memories from the 8 years I taught elementary school. I highly recommend both of these books.
Both books are available from Amazon. As of today, The Book of Frank by Debbie Marsh (published in 2014) is available as a Kindle and Kindle Unlimited book (free) or as a paperback ($3.46). The Book of Stella by Debbie Marsh (published in 2018) is also available as a Kindle and Kindle Unlimited book (free) and as a paperback ($10.99).
April weather is tricky. We’ve had temperatures up in the 70’s and blossoms are bursting out all over. That’s great…except Mother Nature is unpredictable and all those beautiful blossoms could be hit with cold temperatures, frost and even snow in April. Here are a few things we’re working on to get ready for garden season 2023.
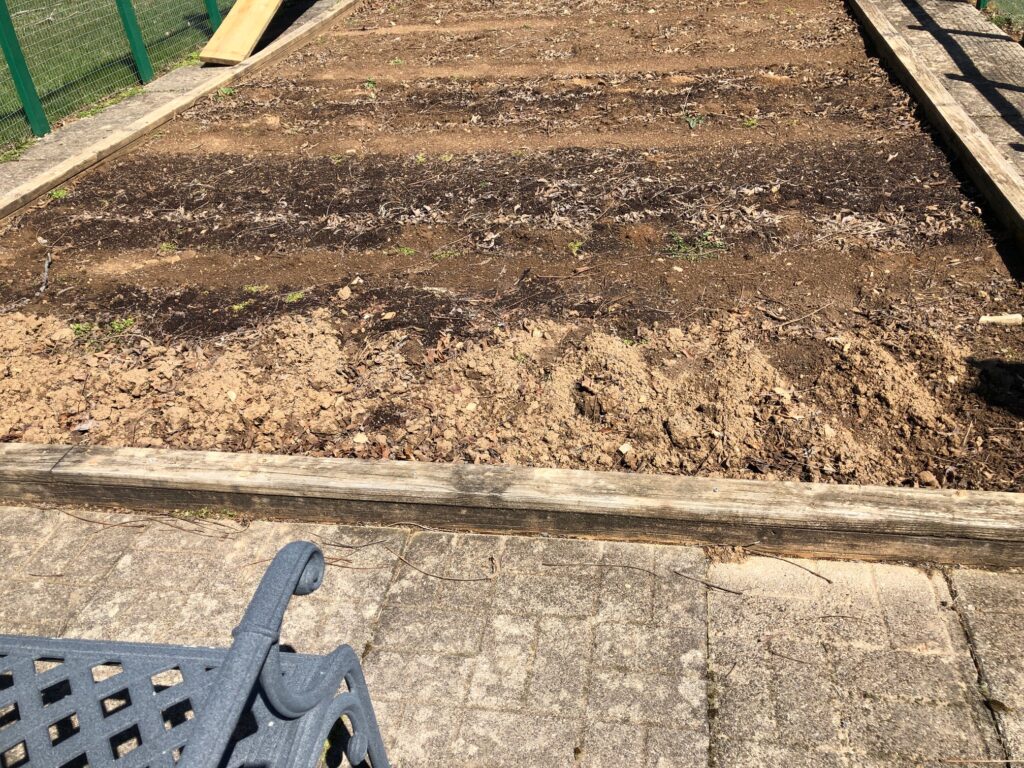
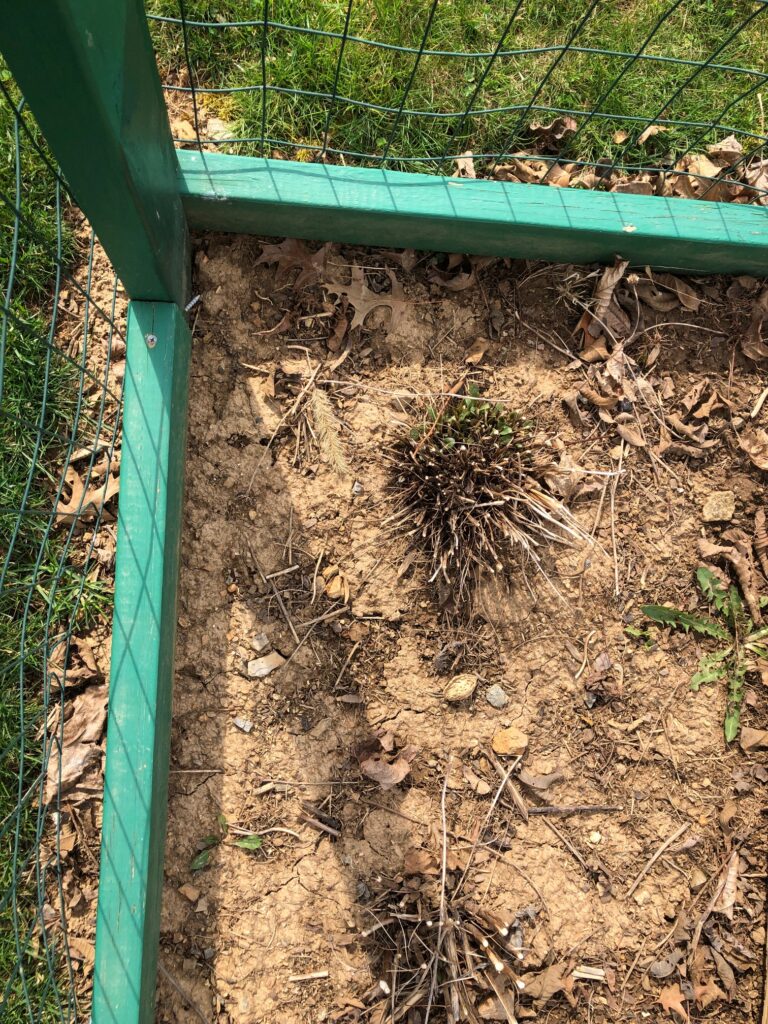
The lavender has struggled for two years. I really wanted a row of beautiful lavender (like the pictures of lavender fields in France) that I could dry for my skin care projects. We’ve decided I didn’t get the right variety. Bert has researched our choices and begun getting the row in the garden prepped for new plants. Step one was to dig out the old lavender:
Now when he rototills the garden that row will get turned over well and amended to meet the requirements of the new plants.
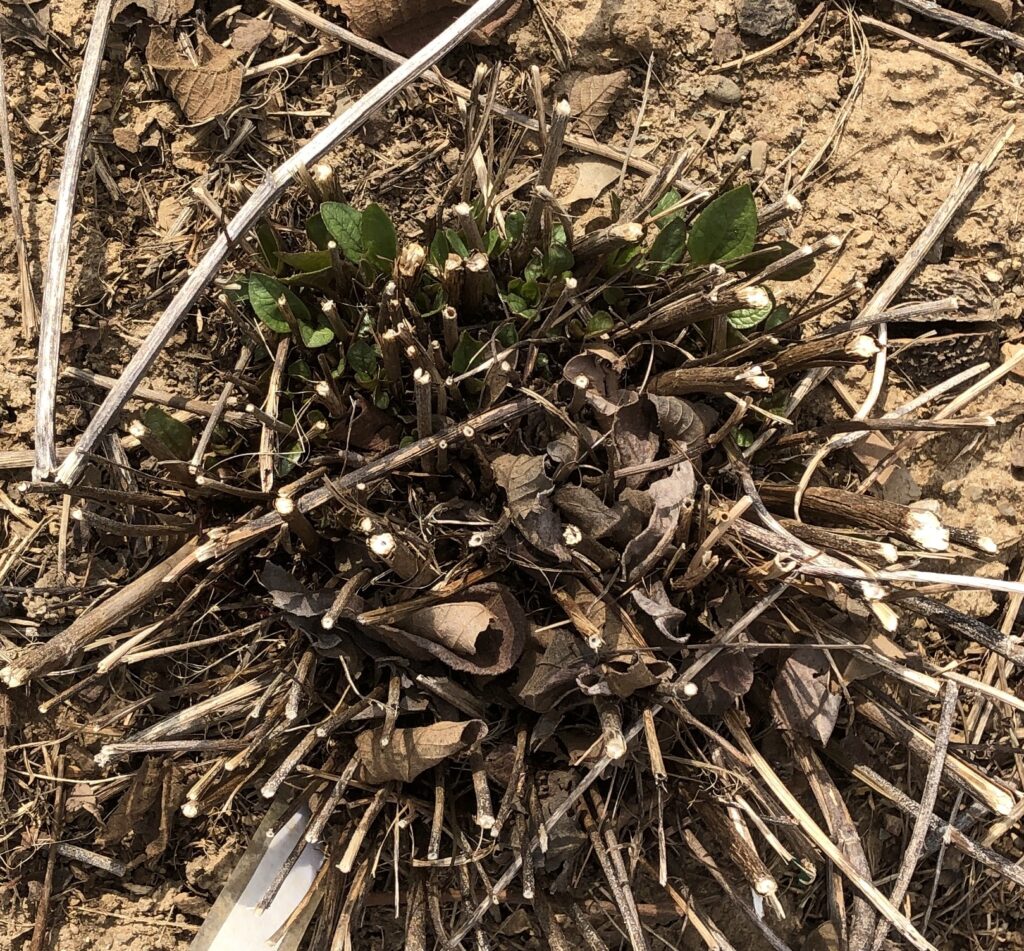
The echinacea doesn’t look very exciting yet…but up close we can see the potential!
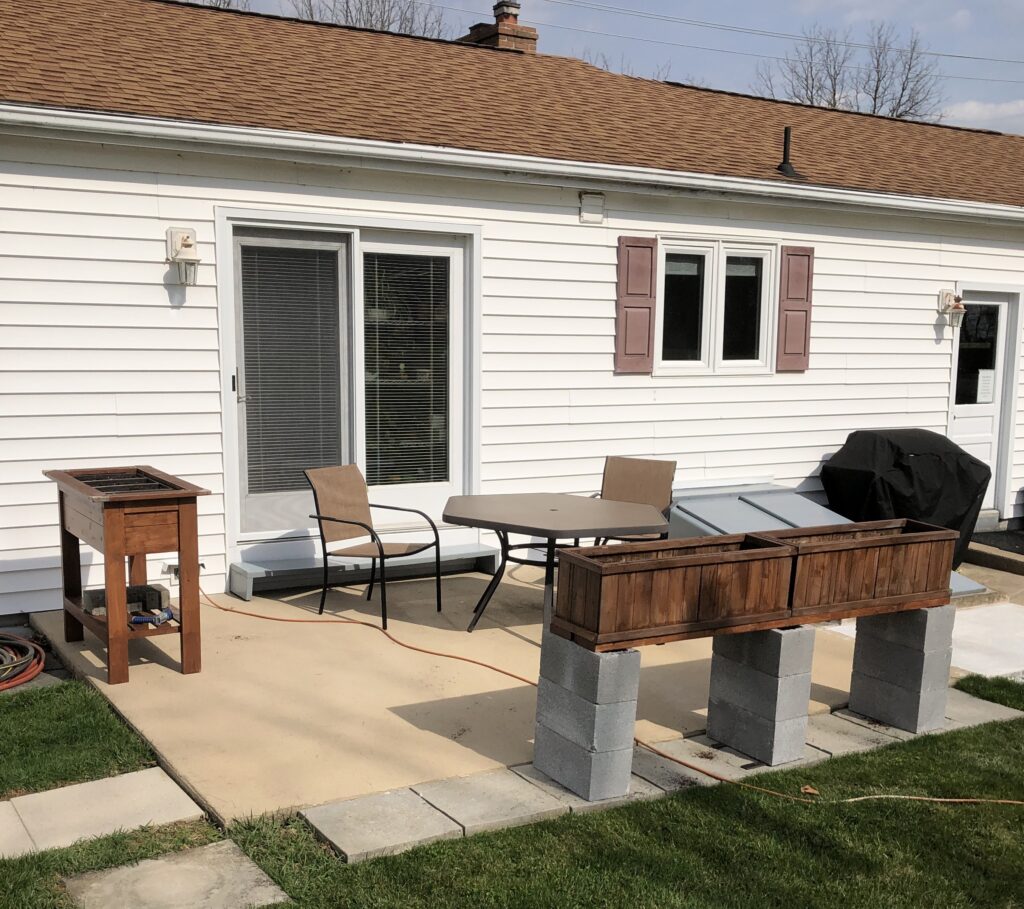
Bert has the small raised planter ready for my radishes. He added the other two raised planters (up on blocks) for my lettuce and spinach. It’s high enough the roving bunnies won’t find it for lunch.
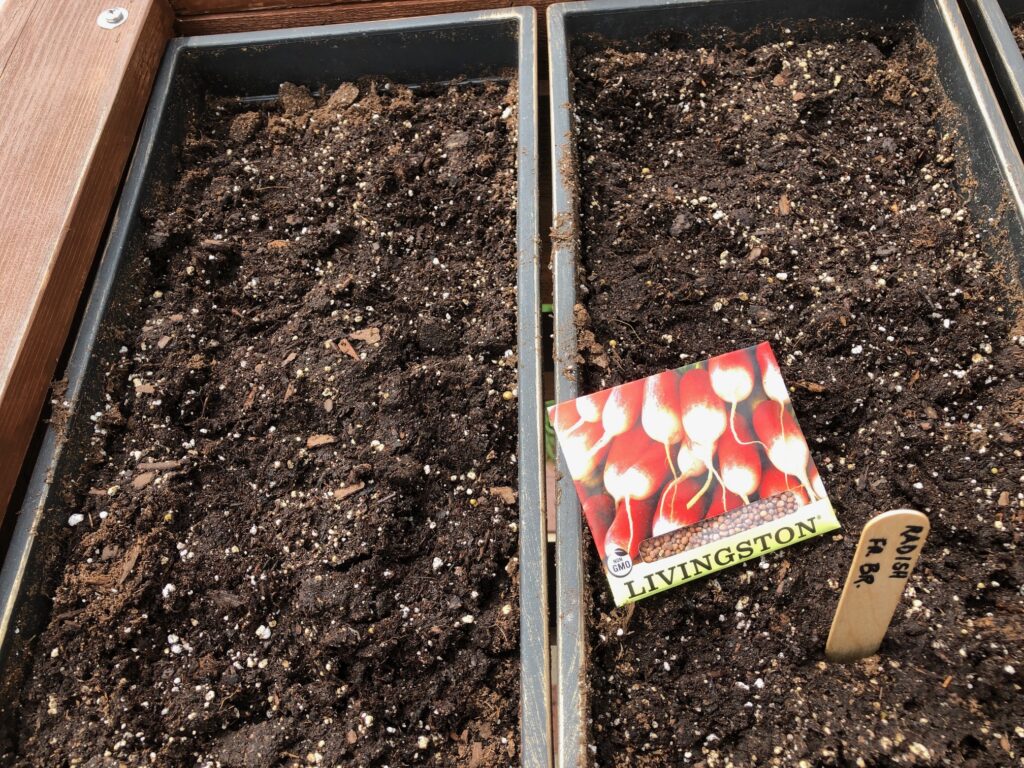
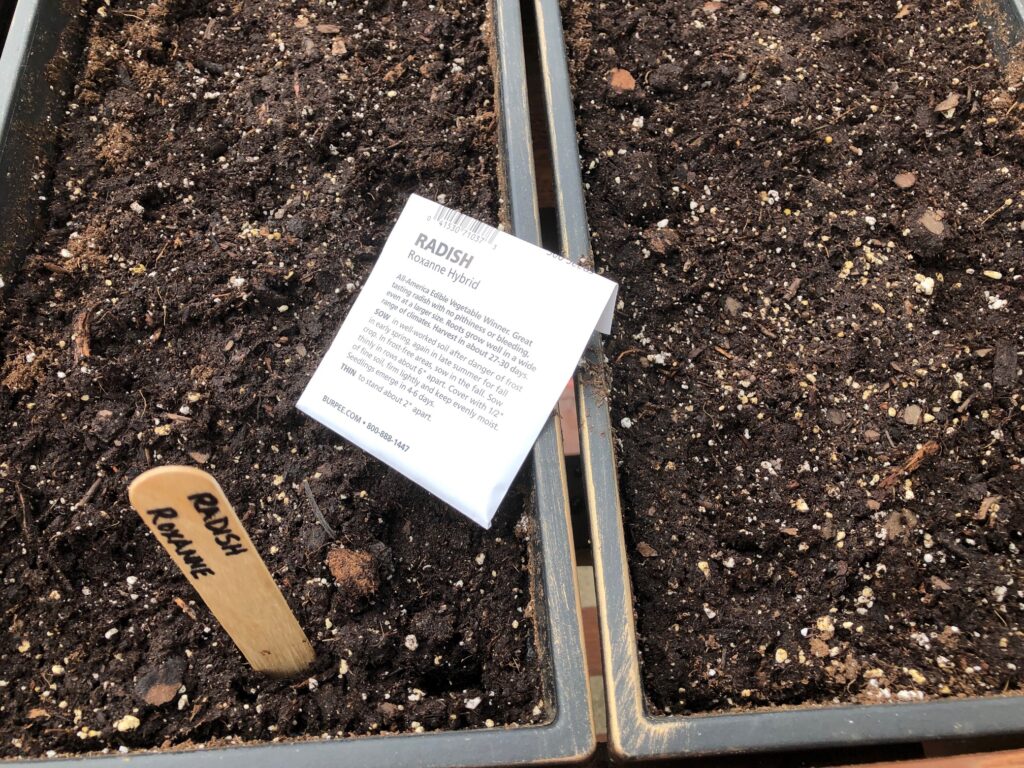
I’m trying two kinds of radishes. Each section has been planted with exactly 10 seeds so I shouldn’t have to thin them out.
I now have enough planter space to try 5 kinds of lettuce and spinach. The markers aren’t fancy but they should last until the seeds come up.
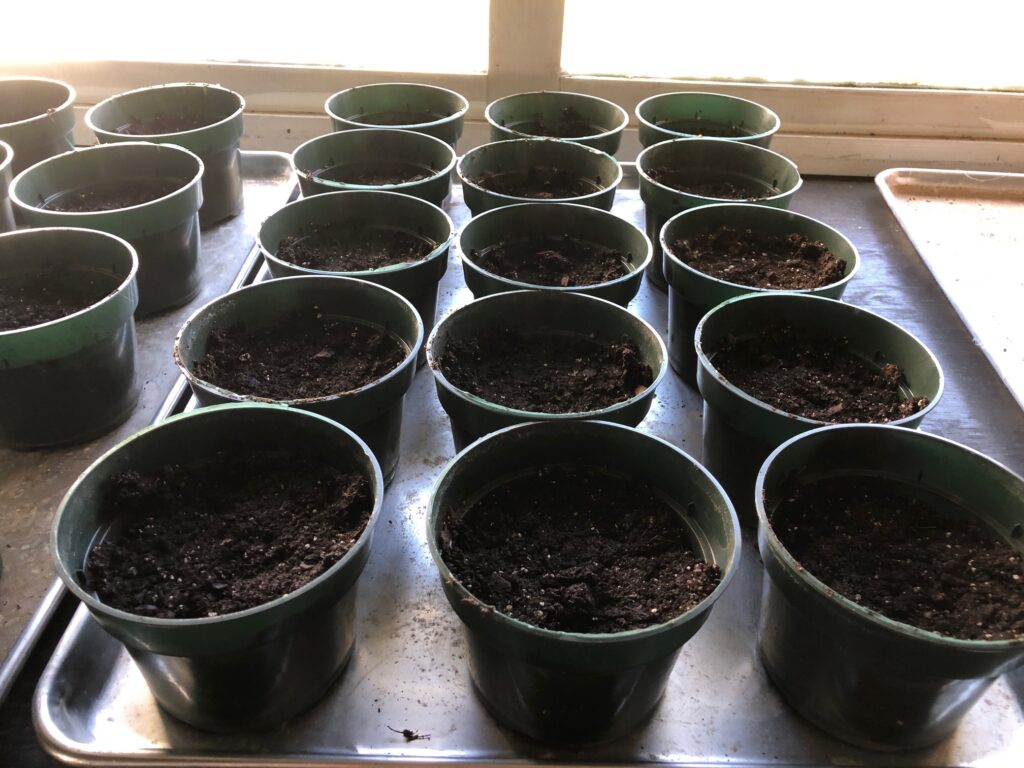
Our Super Sauce tomato seeds (from Burpee) are now in pots in the shop under grow lights.
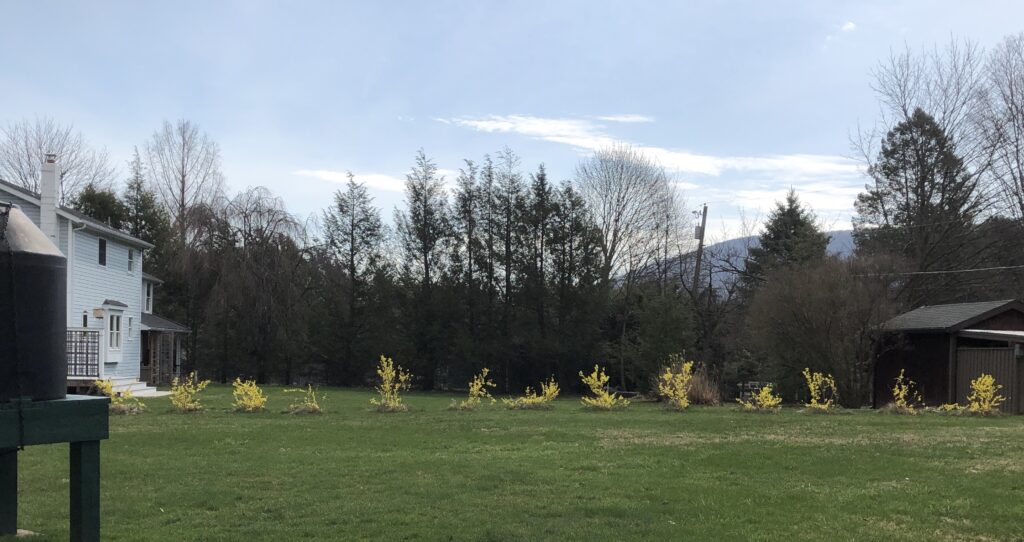
While it’s still too early to do much in the garden, the forsythia we planted last summer is surprising us with color. They make me smile! Enjoy!
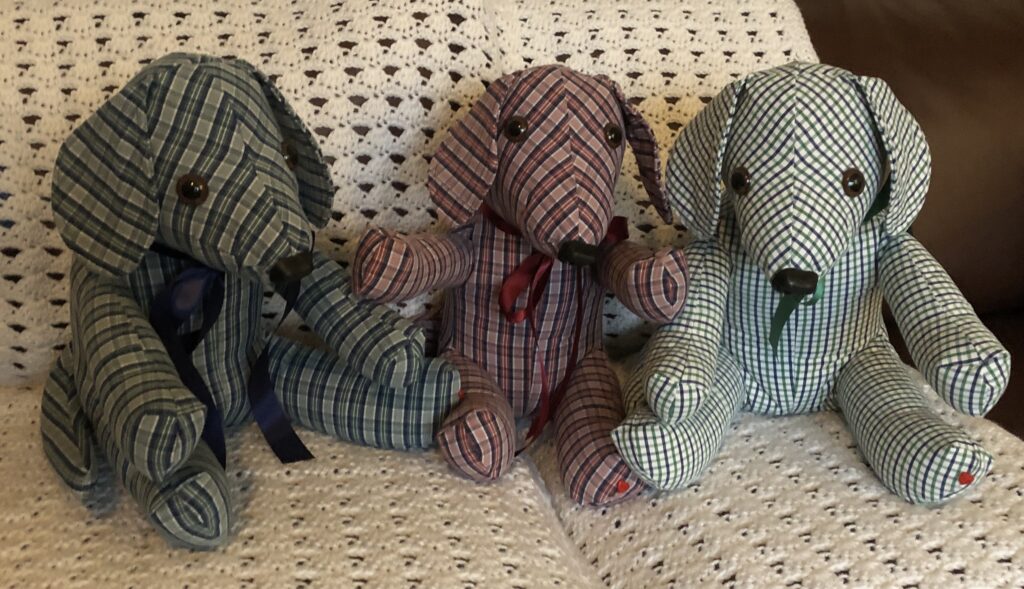
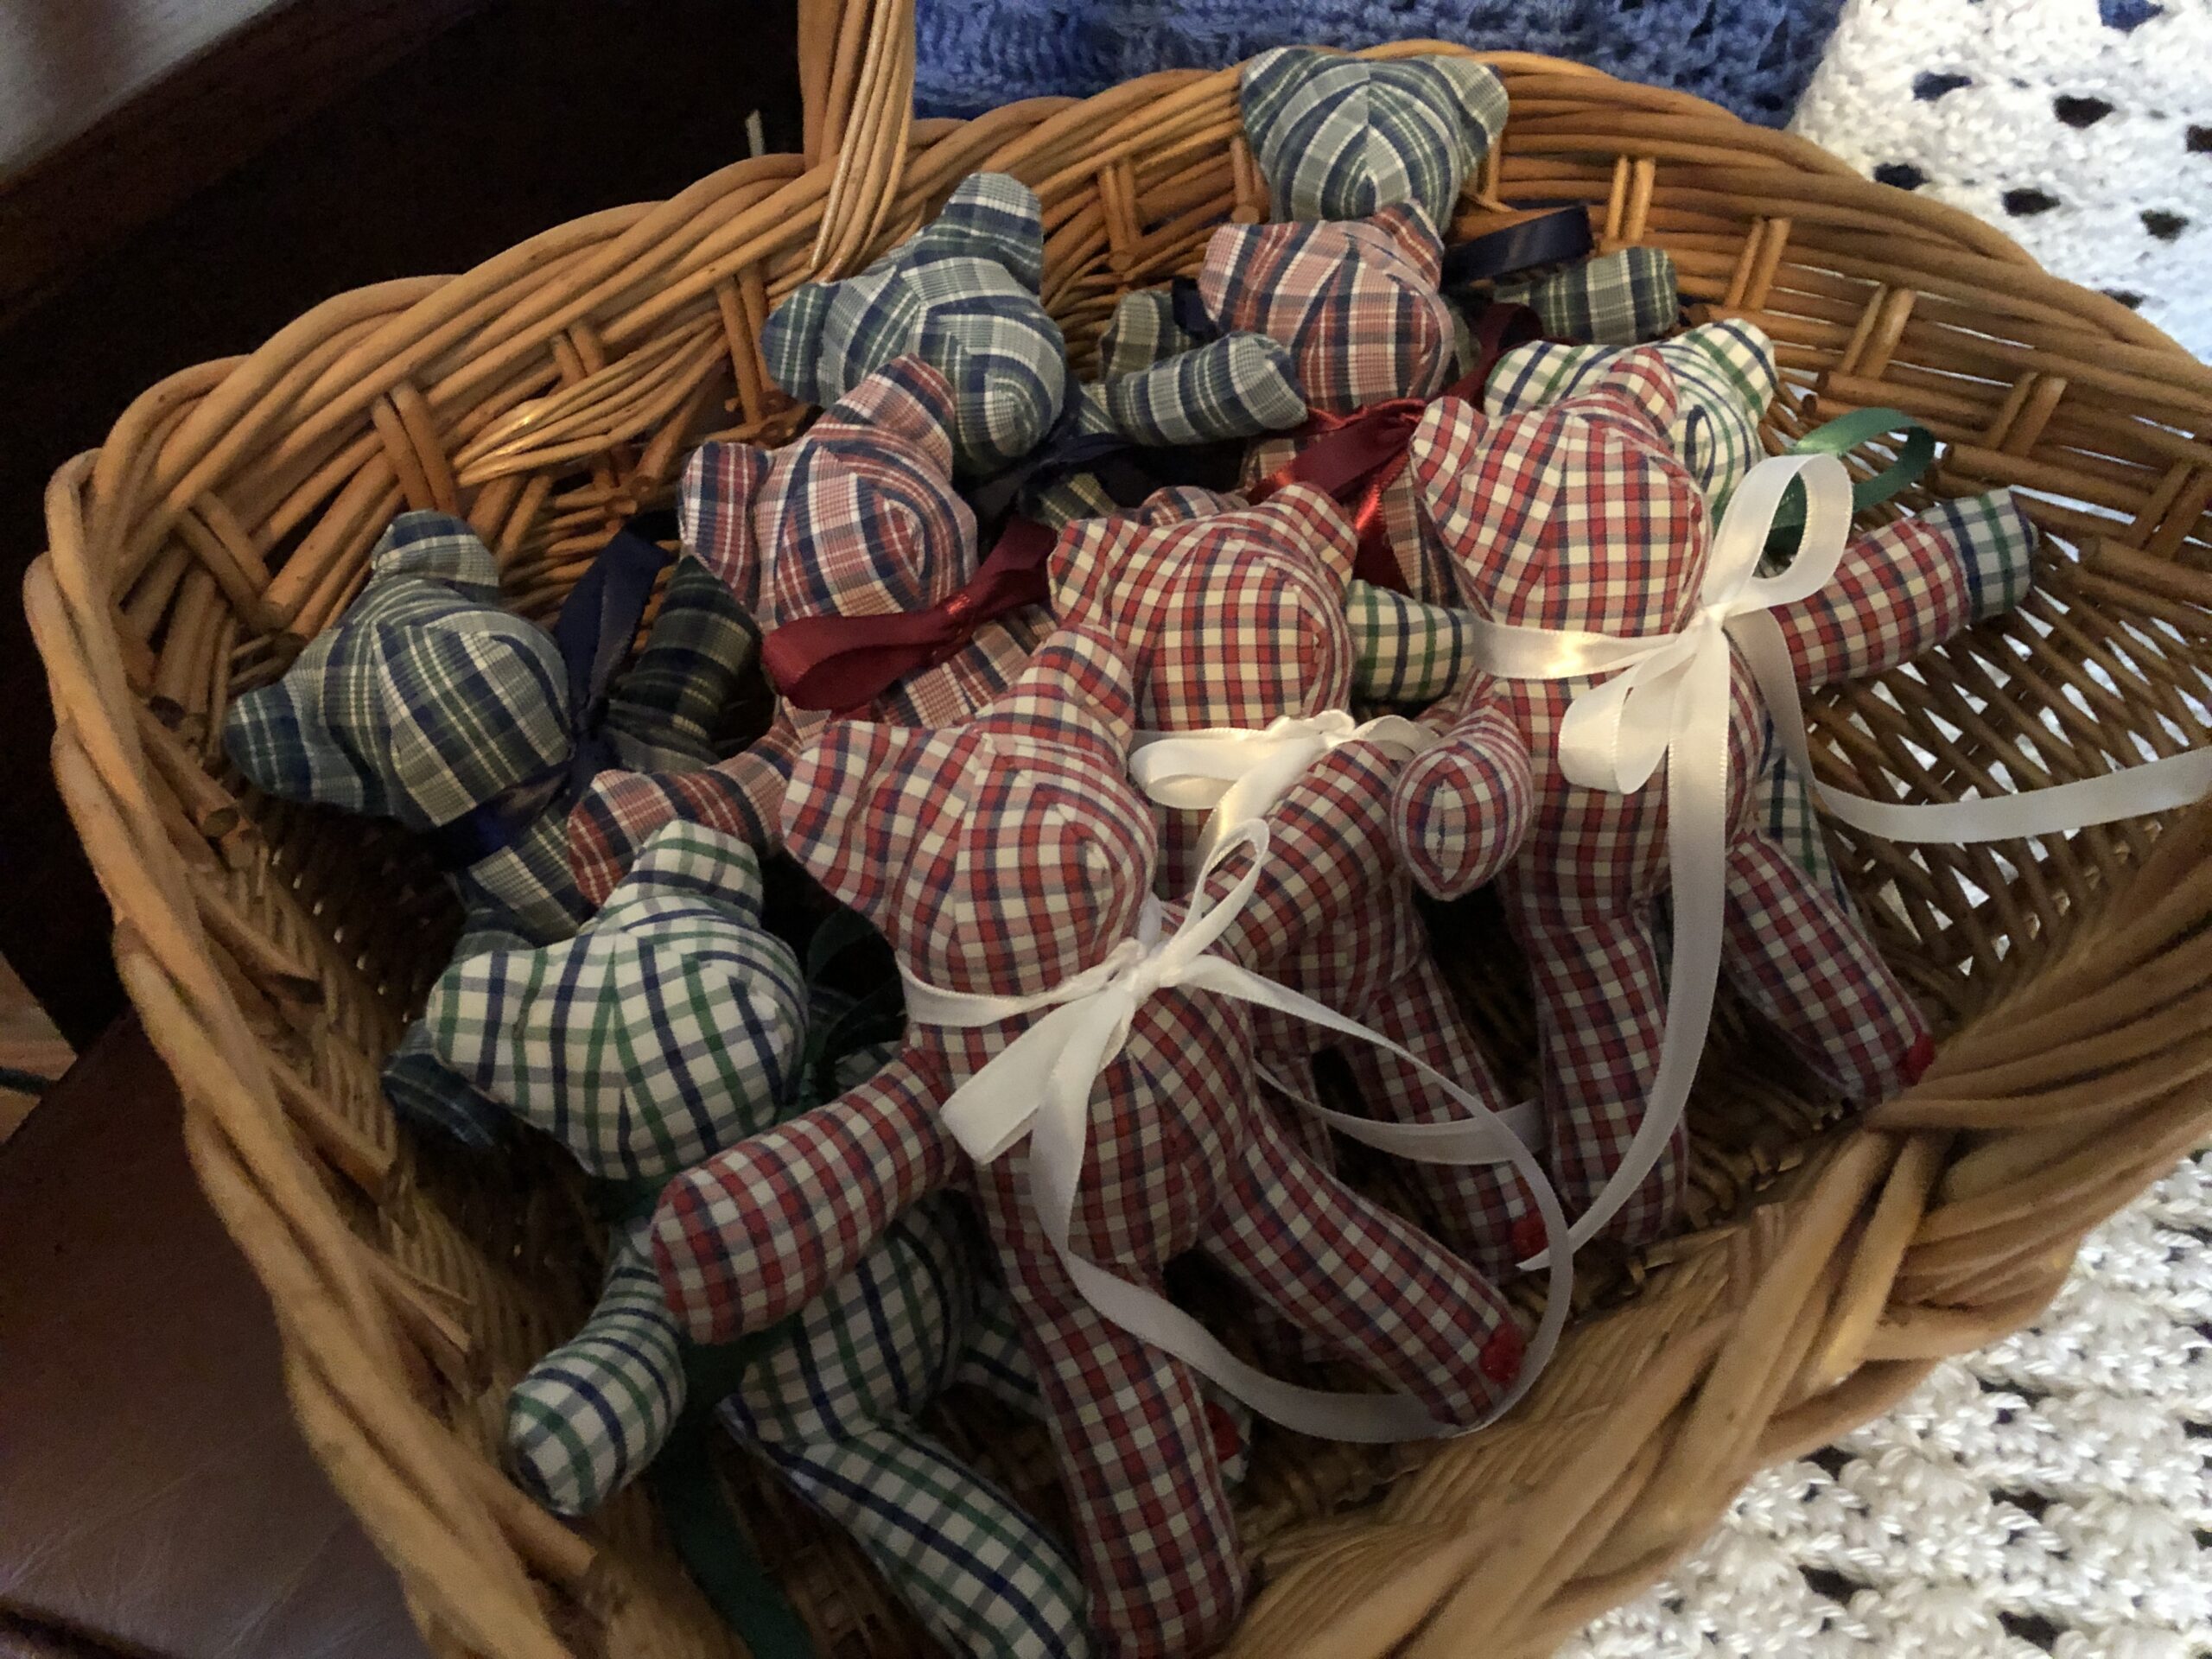
Just wanted to share the finished memory dogs and tiny bears that I finally got in the mail last week. They turned out fine, even with shirt fabric that was not stretchy but should satisfy anyone that has a memory of the loved one in those shirts. You can read about how I made them in the previous post, https://marykisner.com/making-a-memory-dog/. I started with three long sleeved shirts and one short sleeved shirt. I hope they bring hugs and smiles to a family in Fort Worth, Texas.