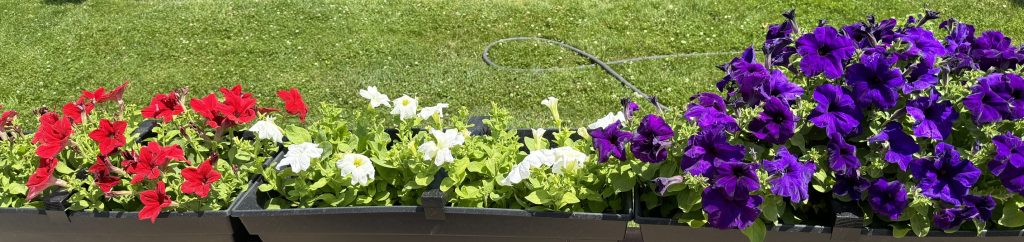
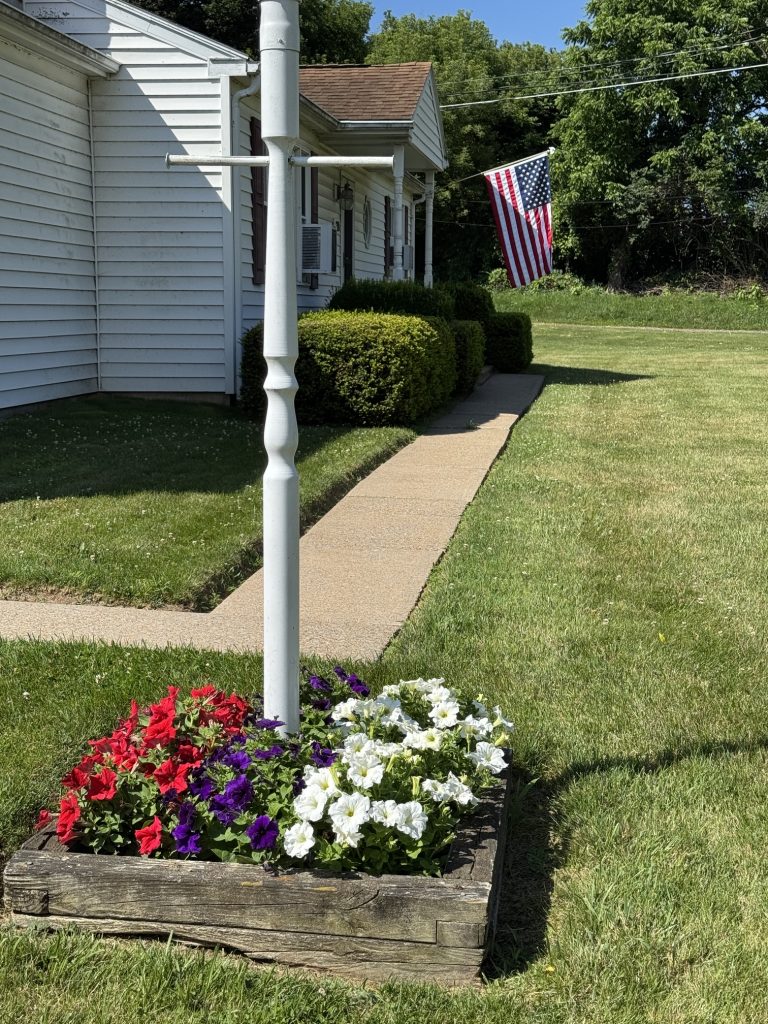
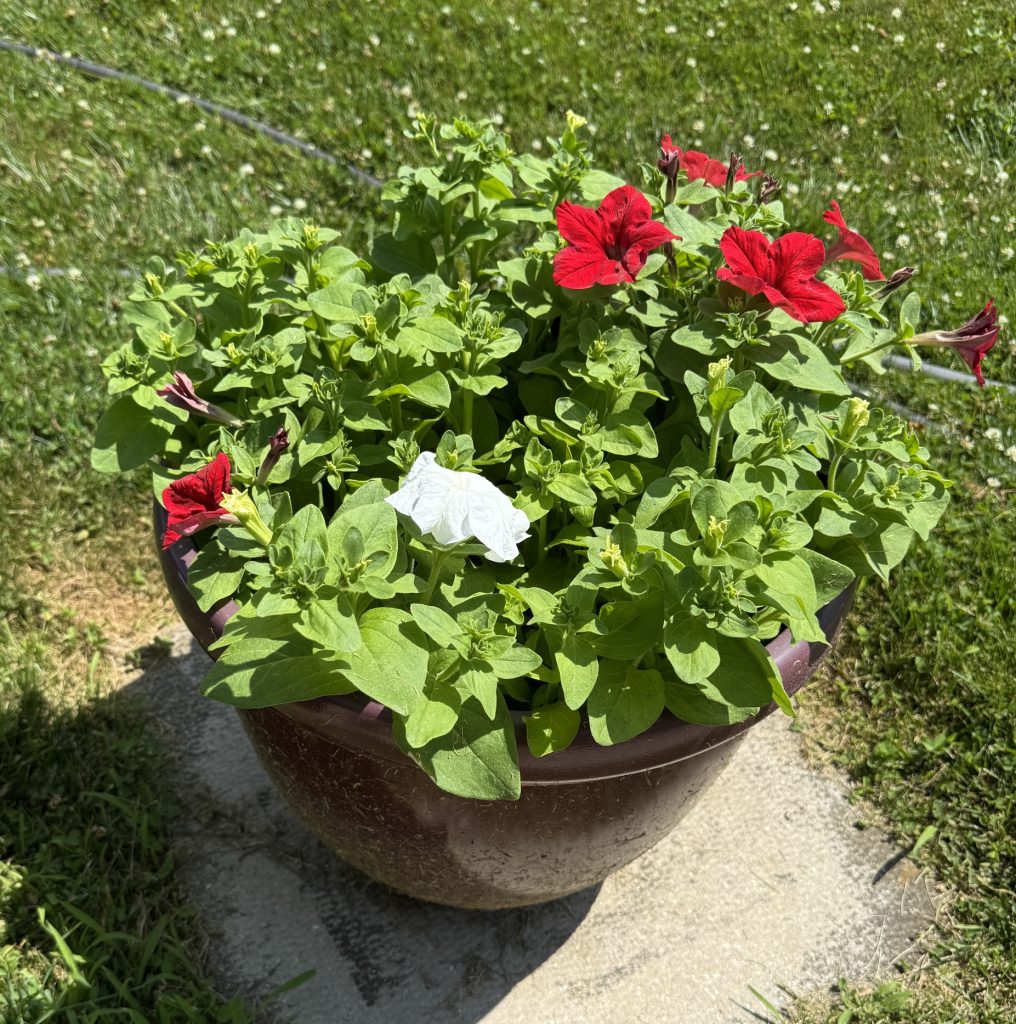
Happy 250th Birthday, America! We managed to get our red, white and blue petunias planted at just the right time to have them blooming today! Yay!
Of course, a week or so ago, the deer cruised by in the middle of the night and chomped off some of the red and white flowers so they aren’t all the same height. Luckily, they didn’t go out to the front lamp post so those flowers are all the same height!
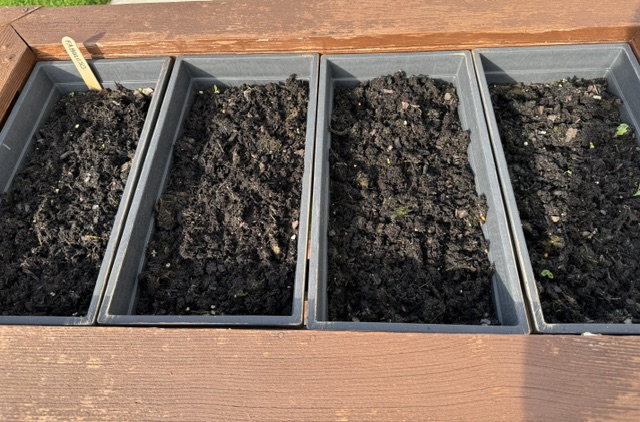
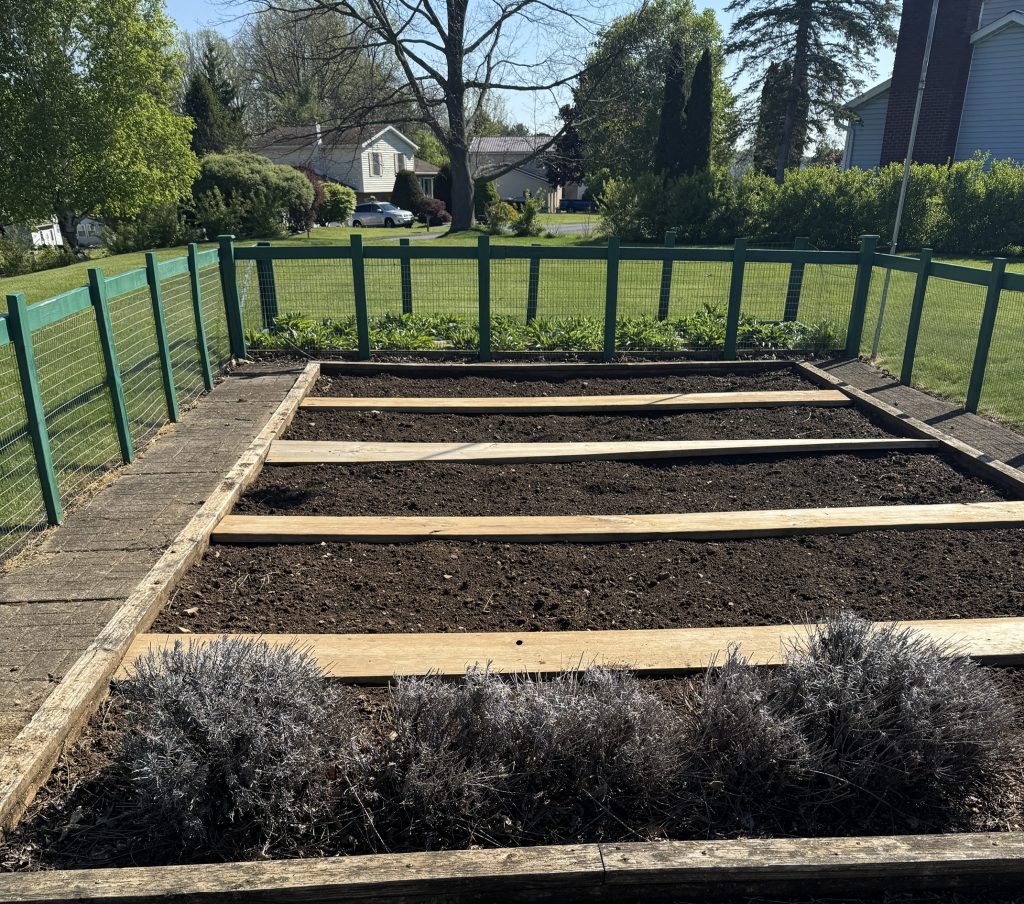
We’ve had a week of VERY hot days, with occasional thunderstorms. The plants in the garden are minding the heat. Hopefully, things will moderate soon. Here’s what’s happening in the garden today!
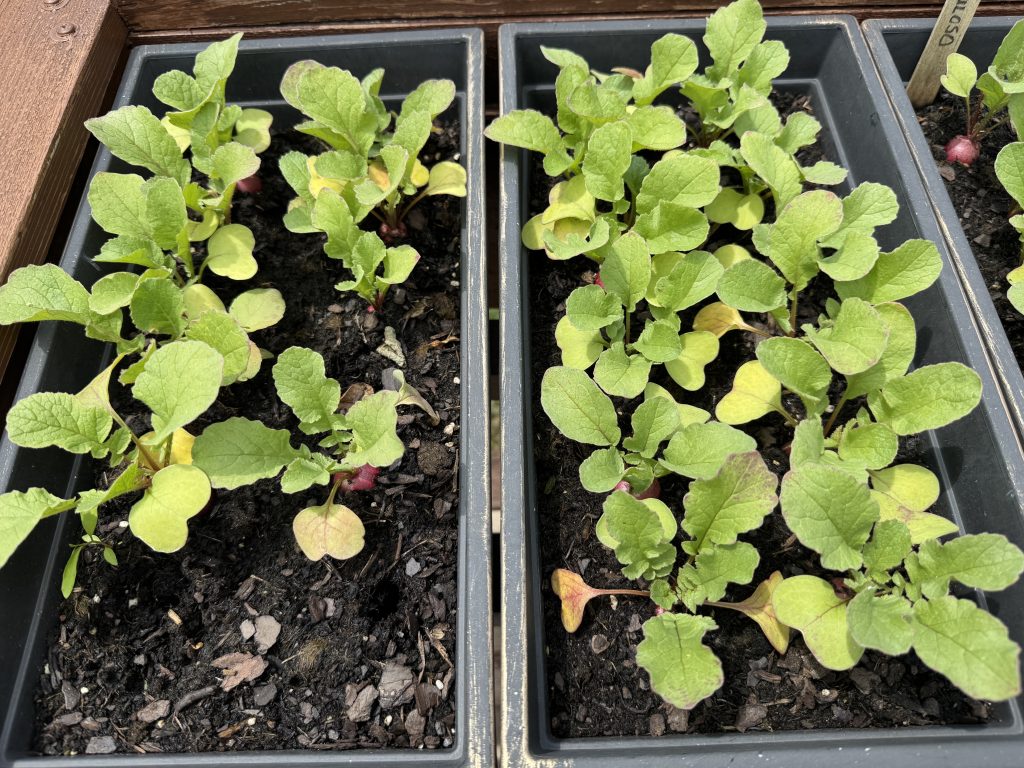
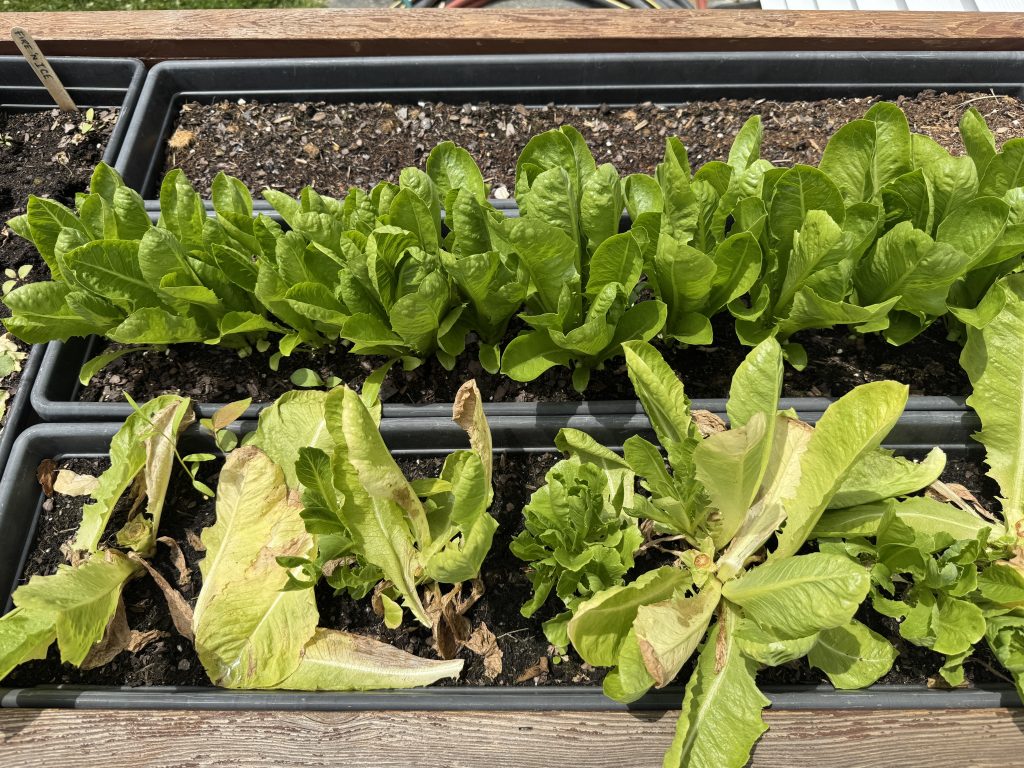
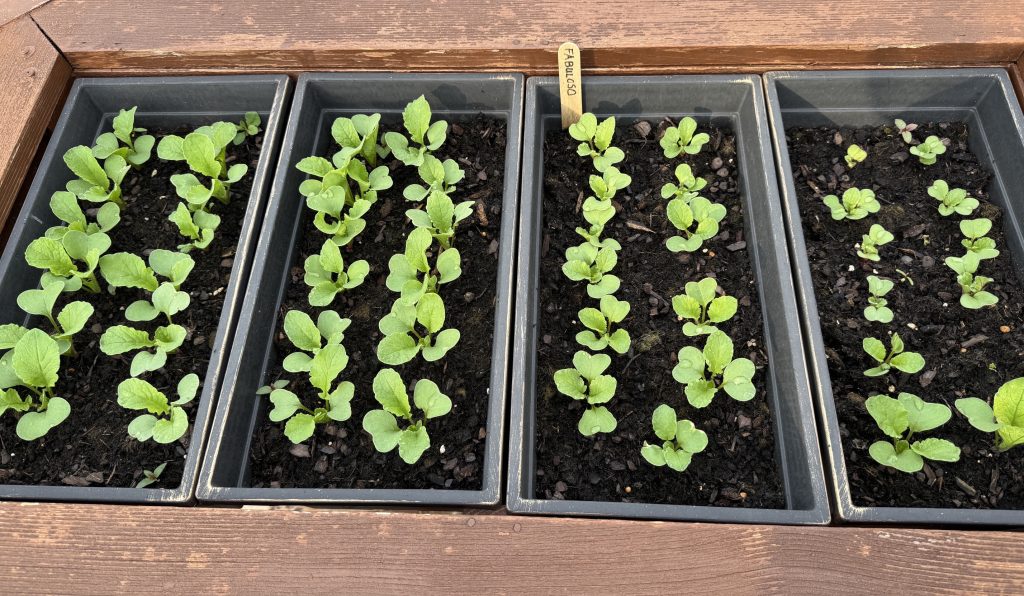
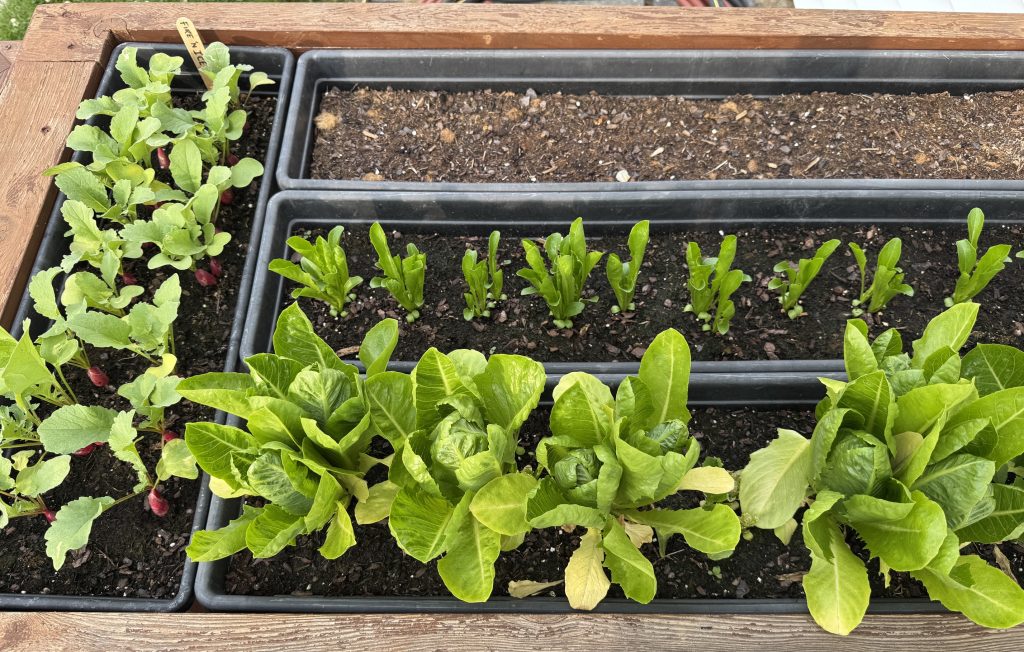
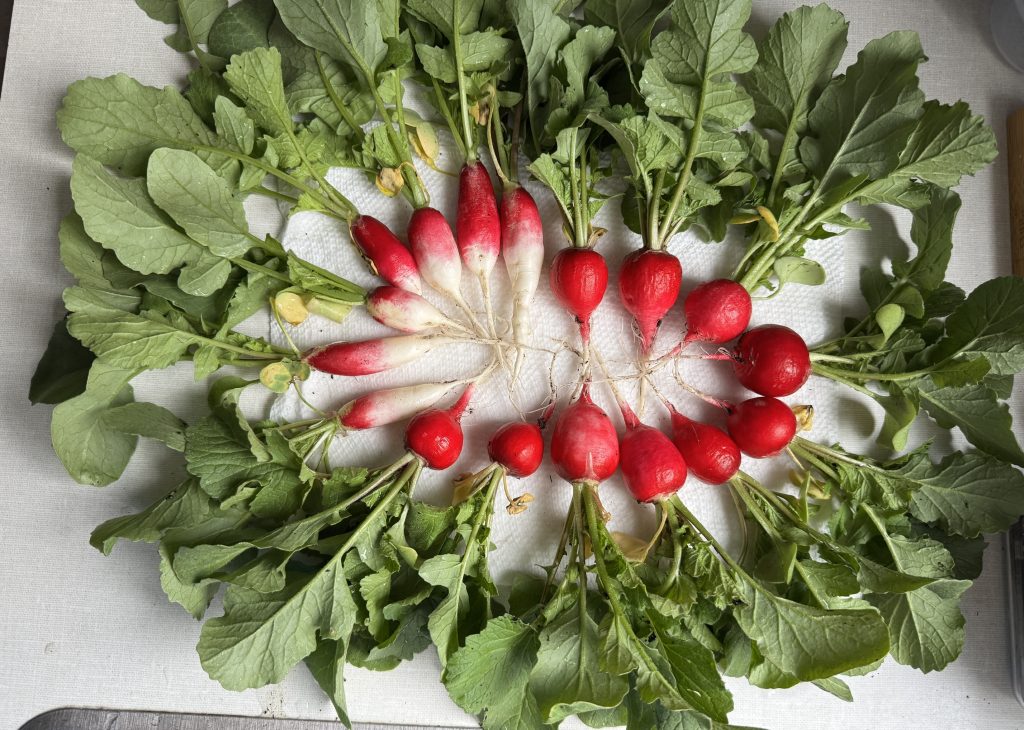
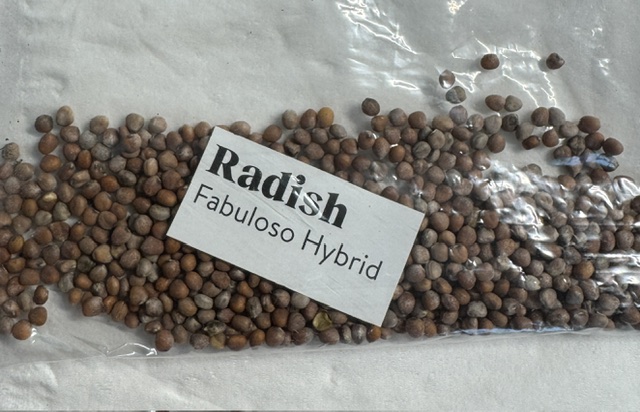
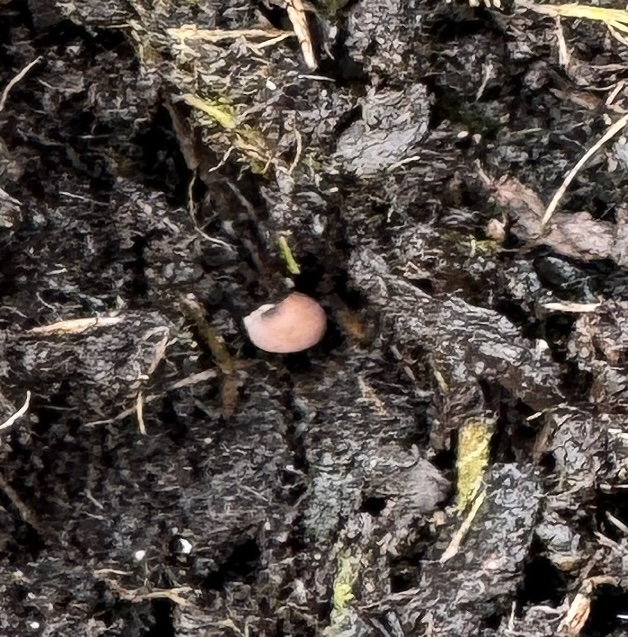
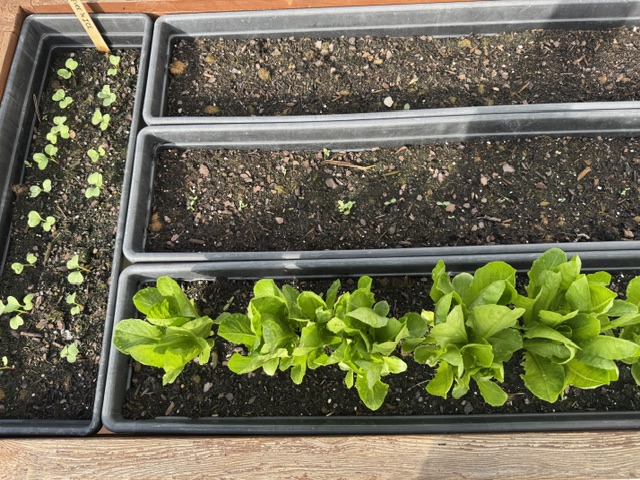
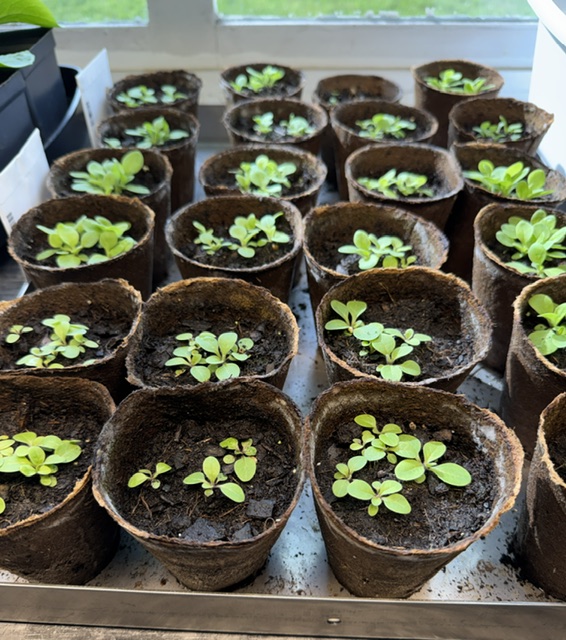
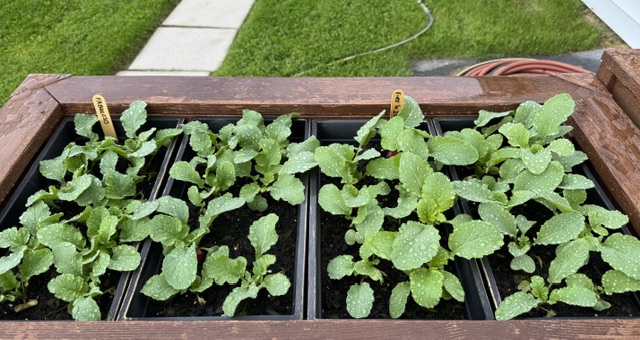
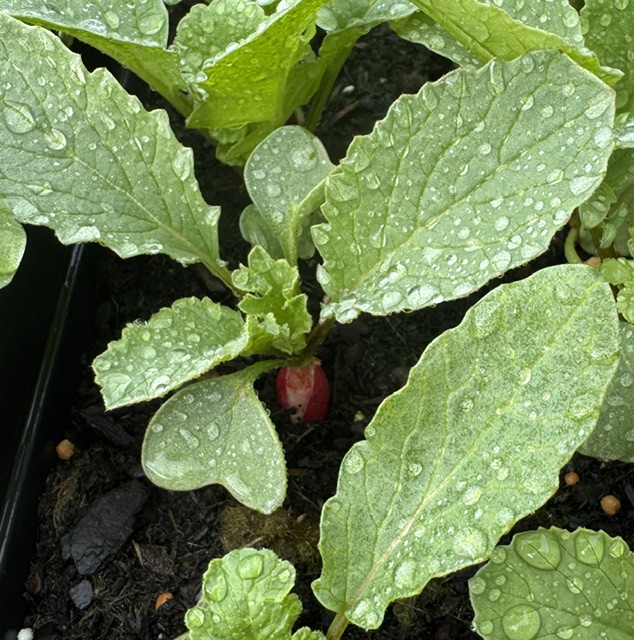
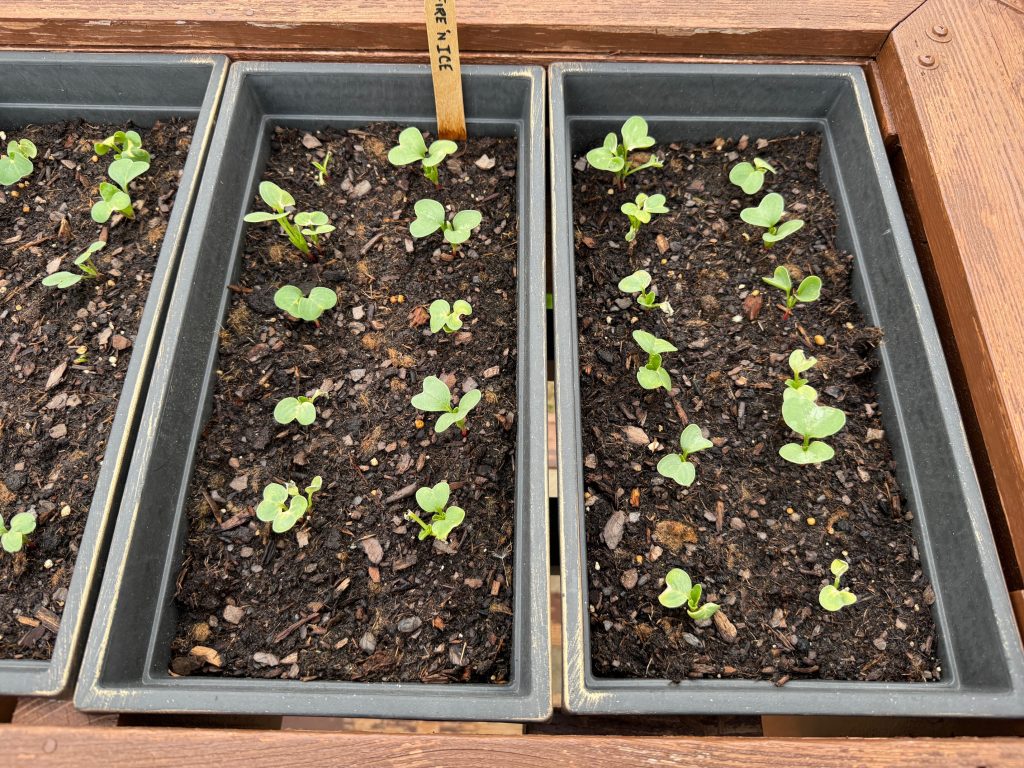
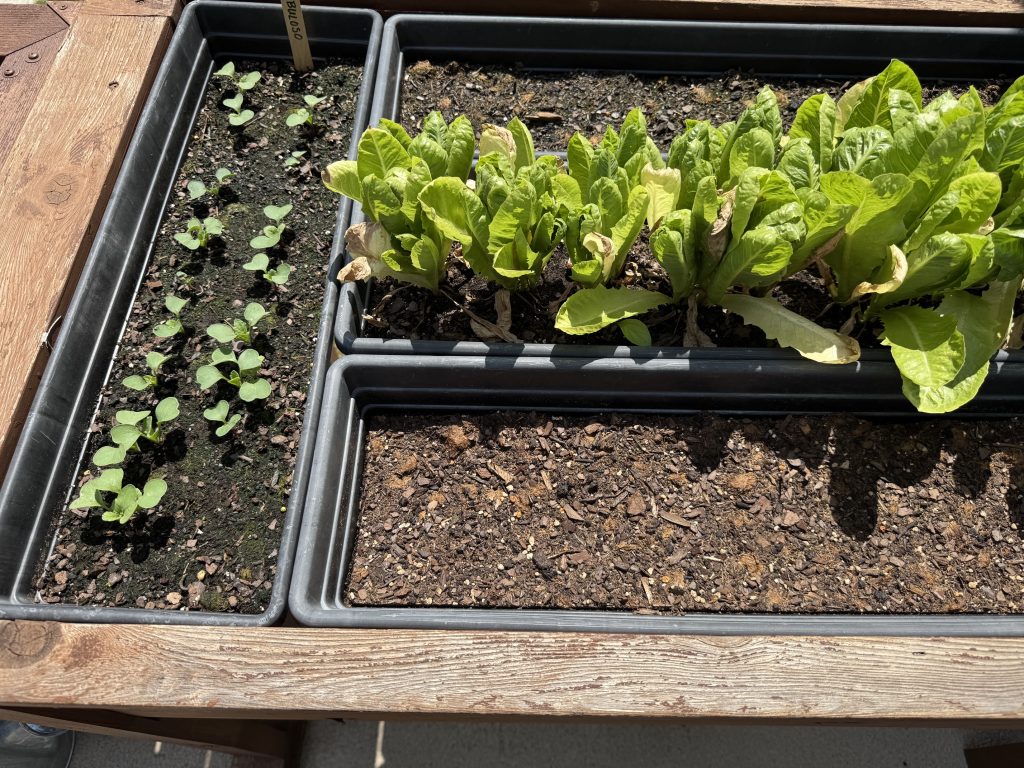
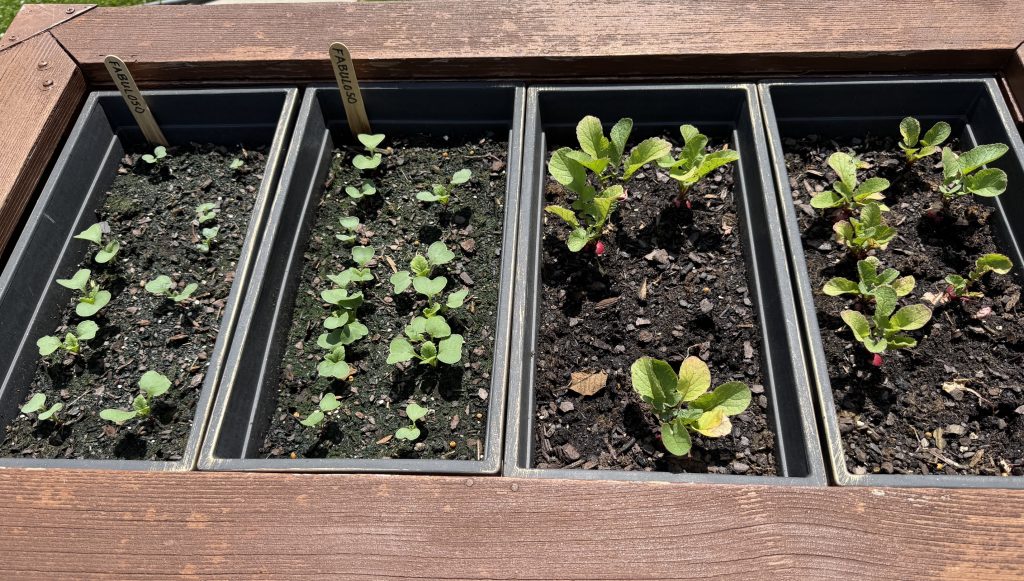
The lettuce looks like it is trying to make heads, but it is turning out quite bitter. Luckily, the plants will compost just fine (smile). The radishes are in various stages, but they still taste good.
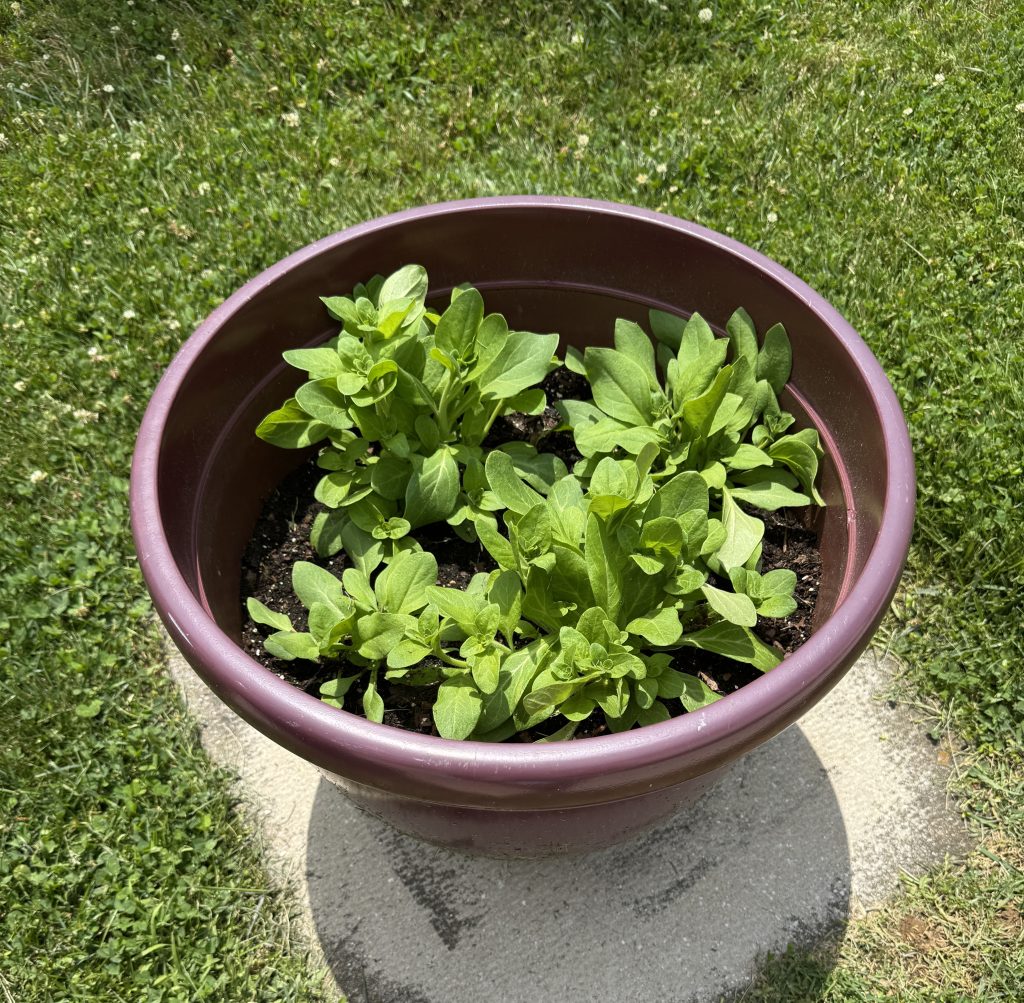
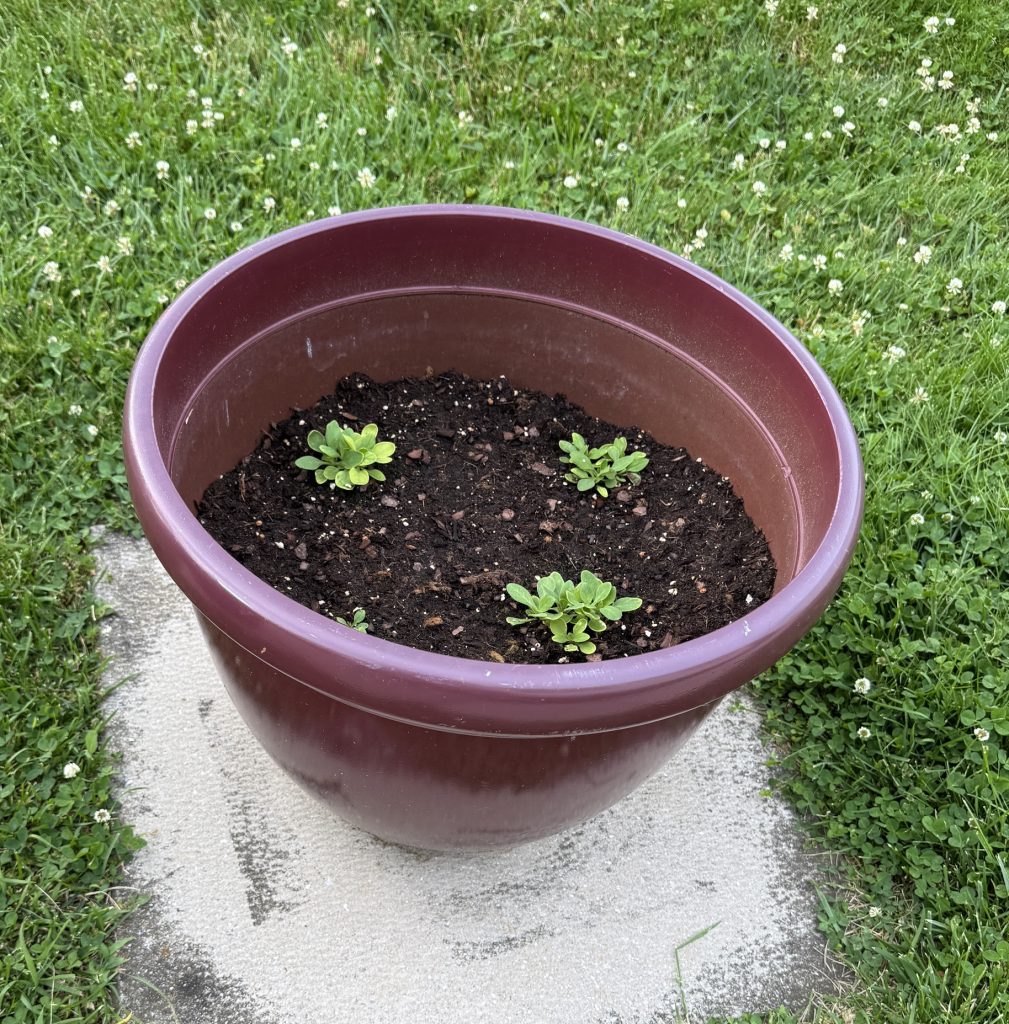
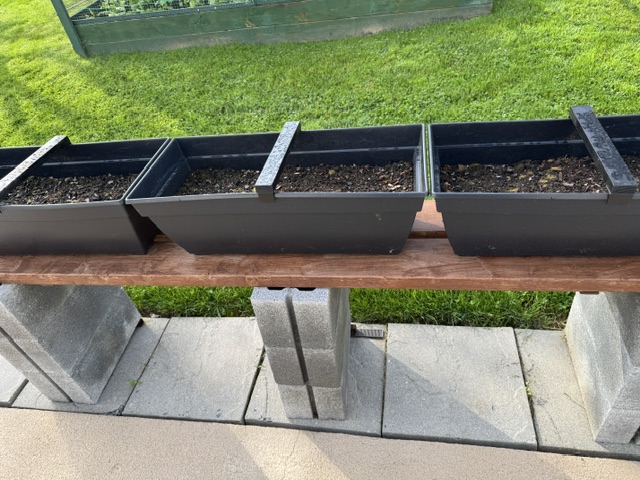
The petunias in the pot are hanging in there…I think a roving bunny has been tasting the flowers when we aren’t looking!
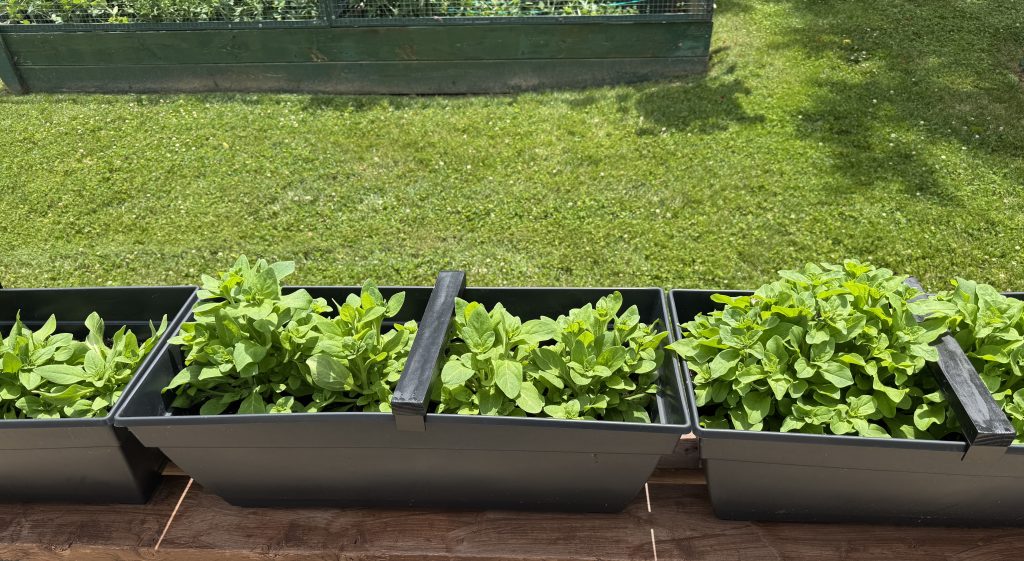
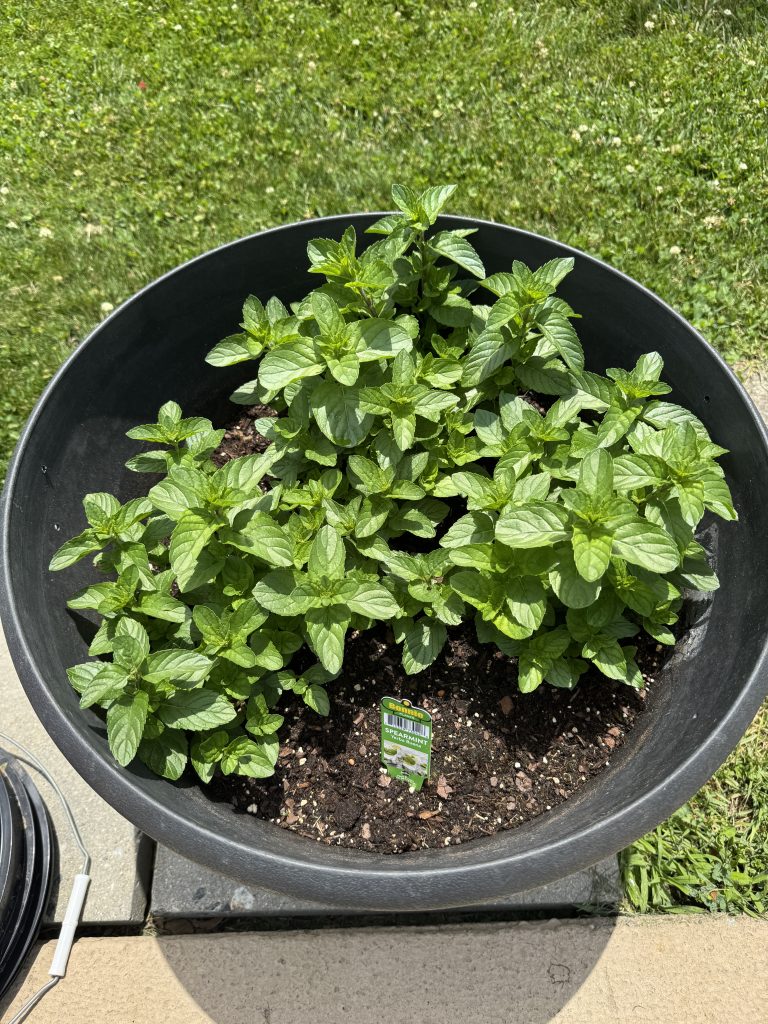
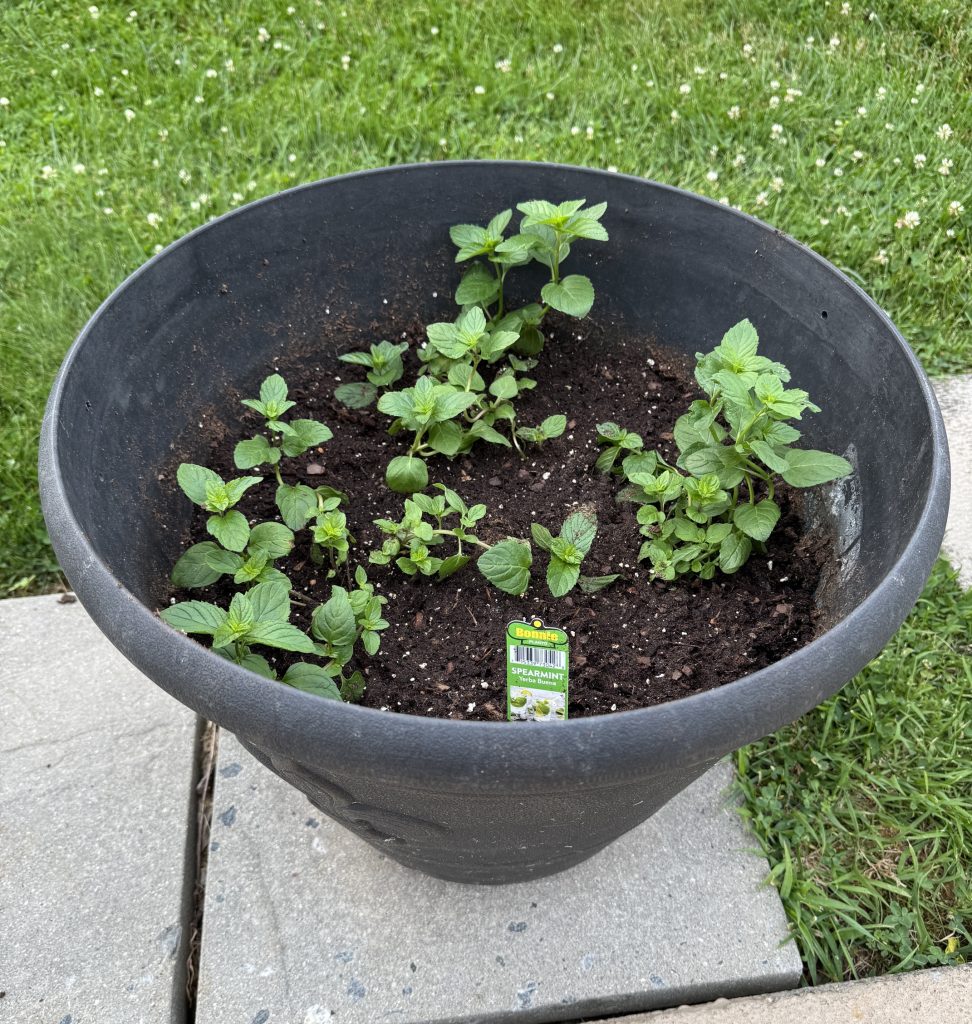
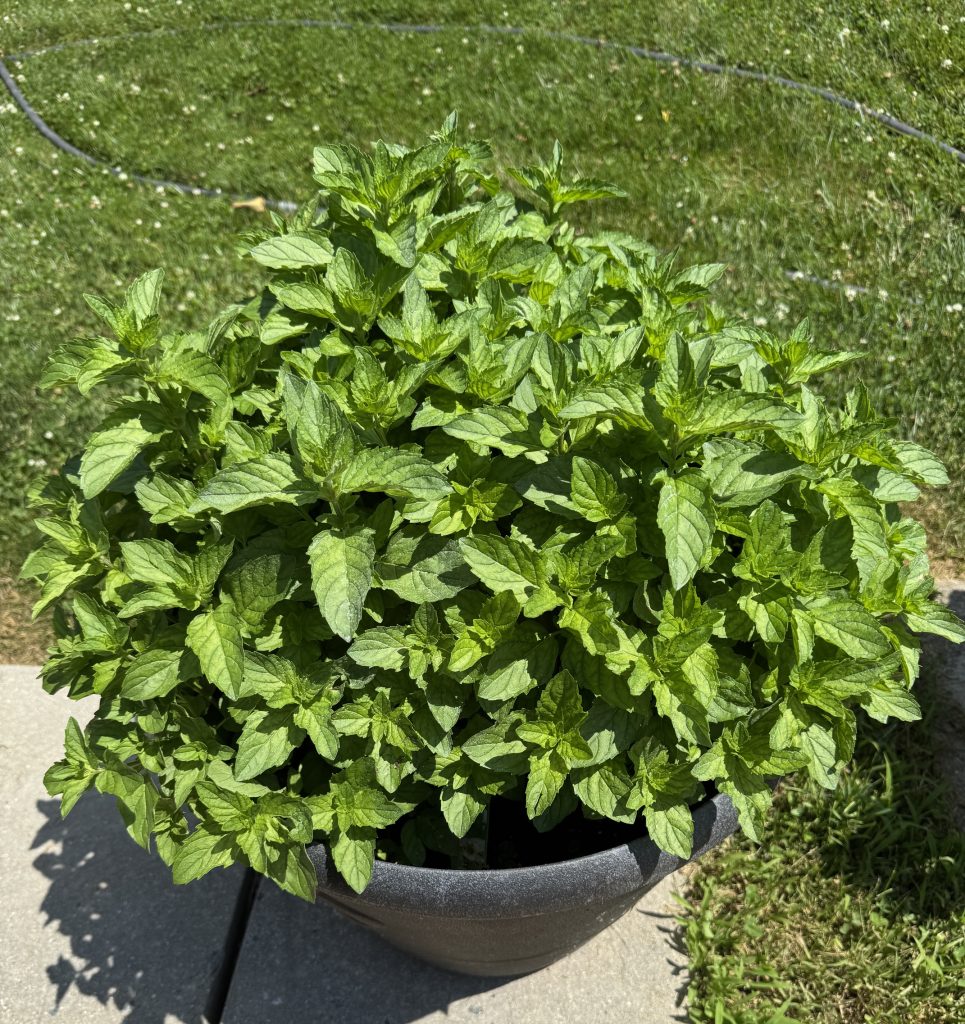
The Spearmint is going strong. I may decide to dehydrate some of the leaves, but I wanted it mostly to attract the bees. We’ll see.
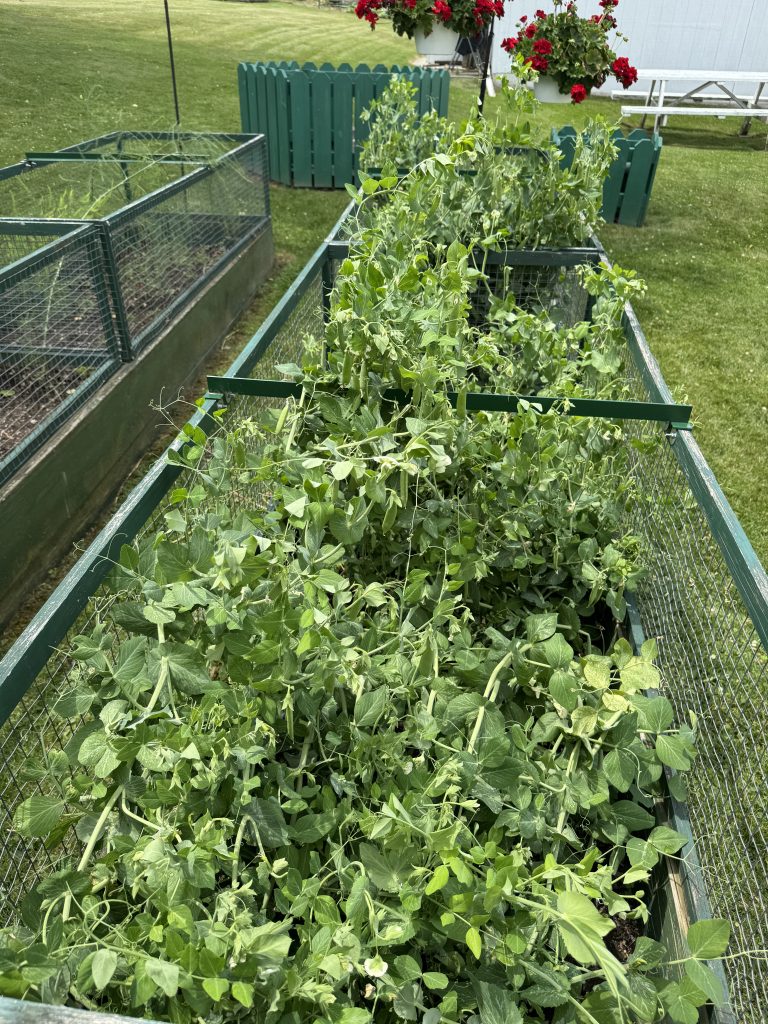
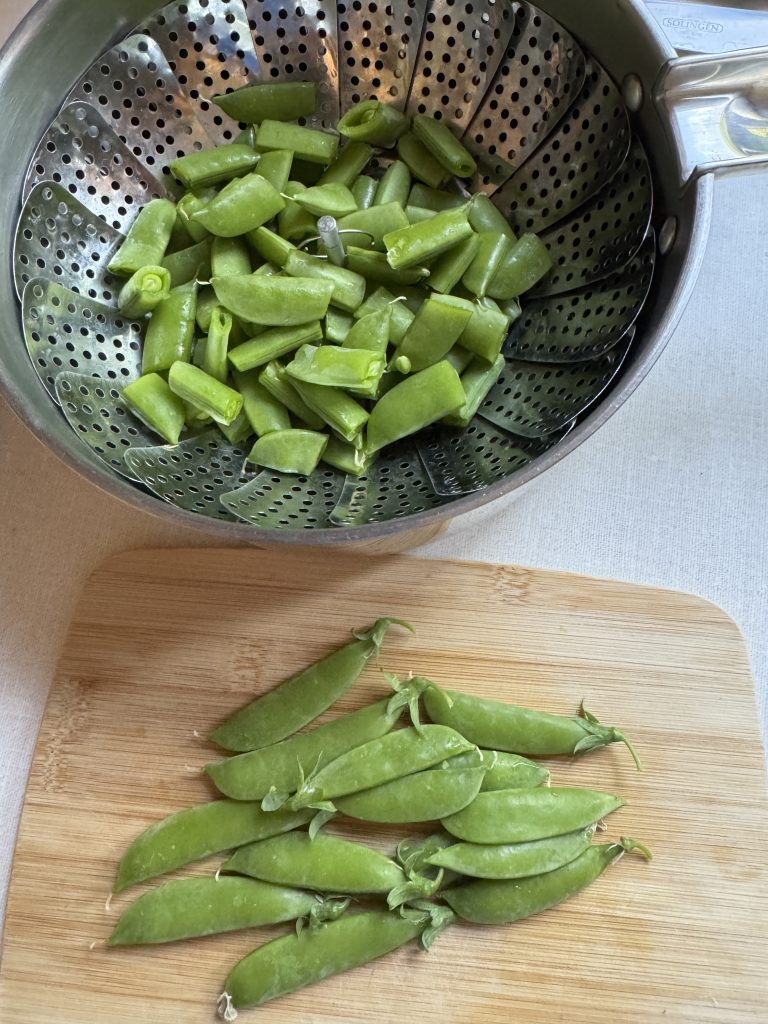
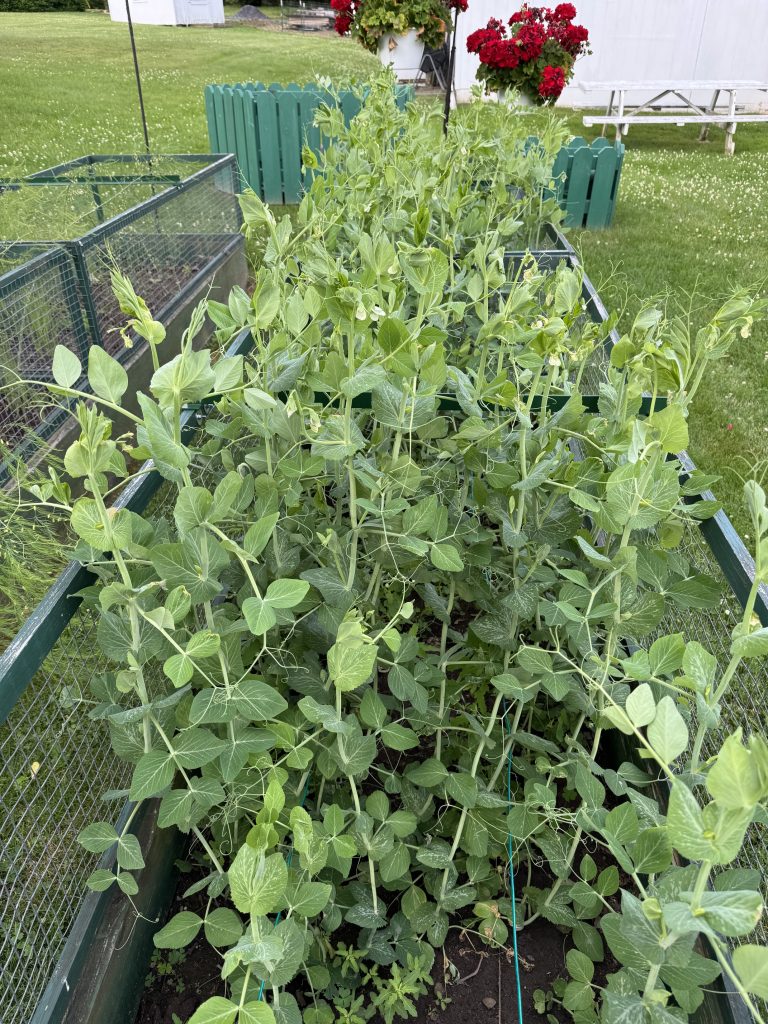
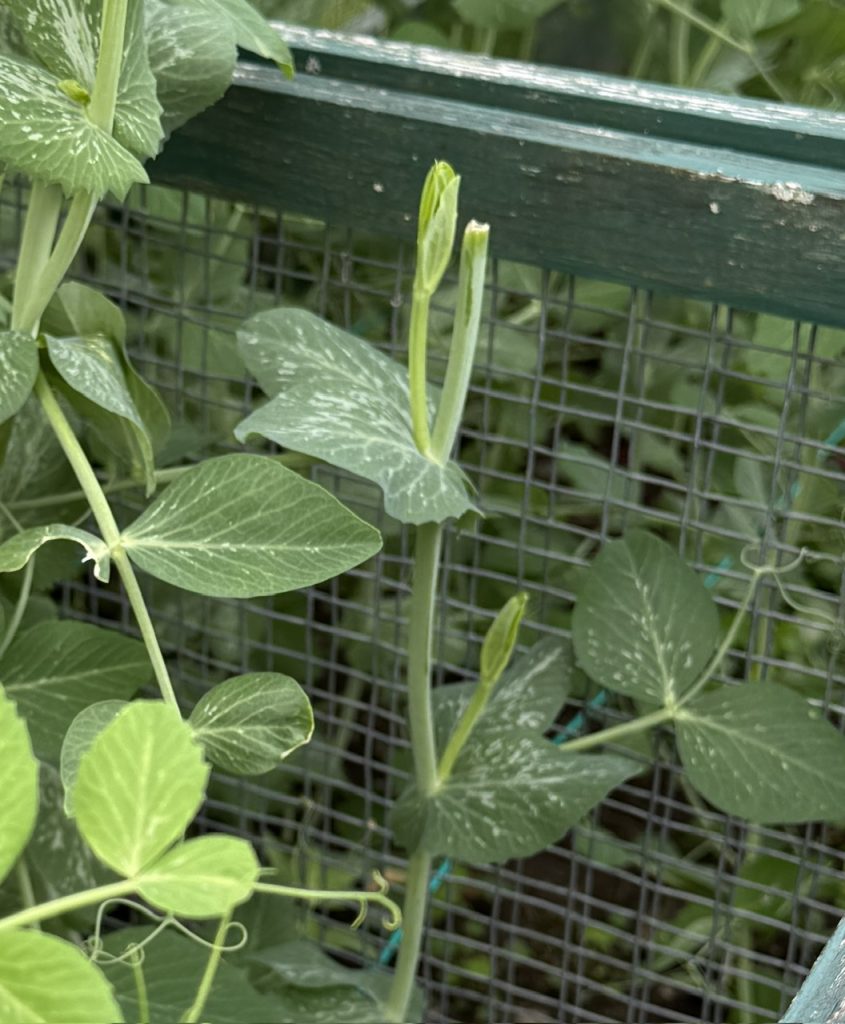
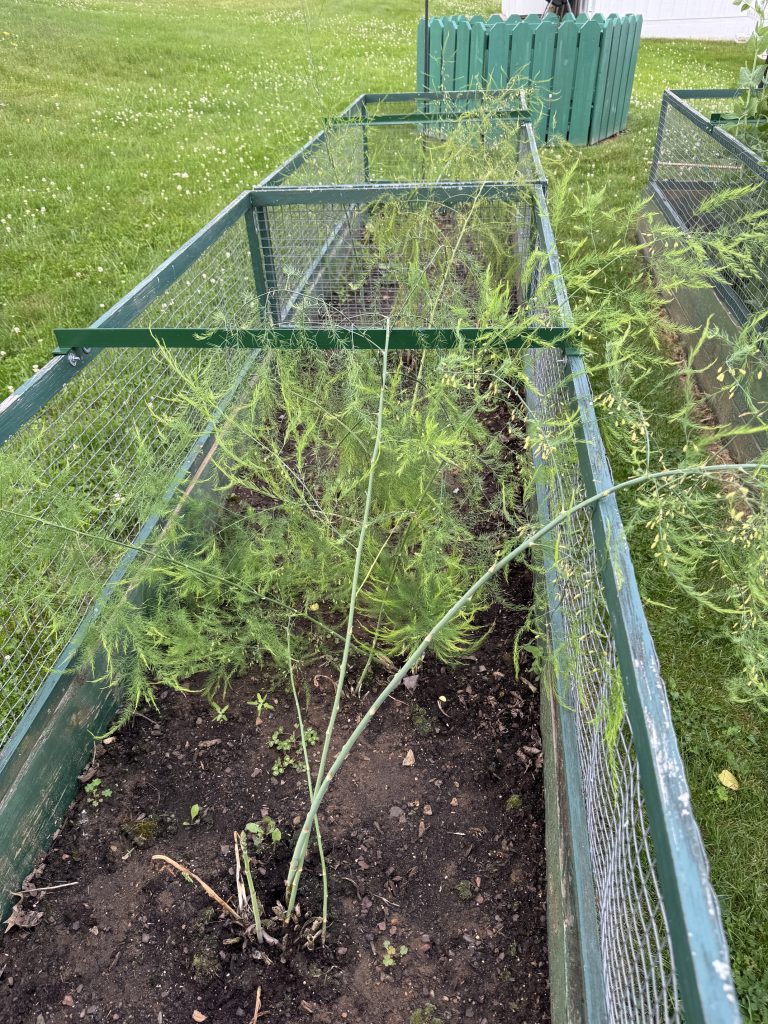
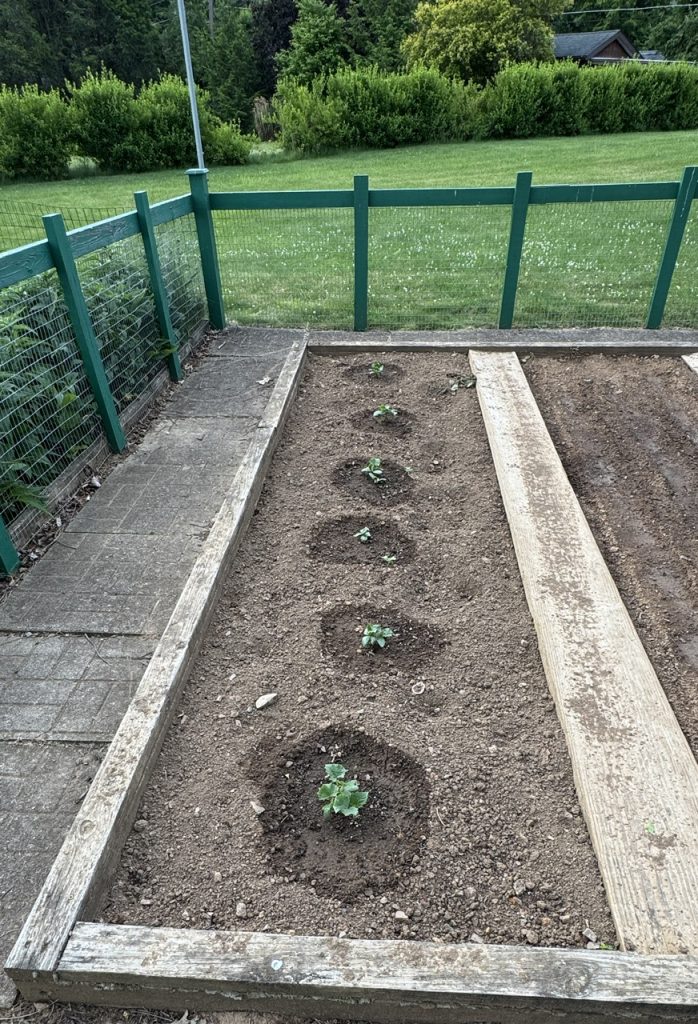
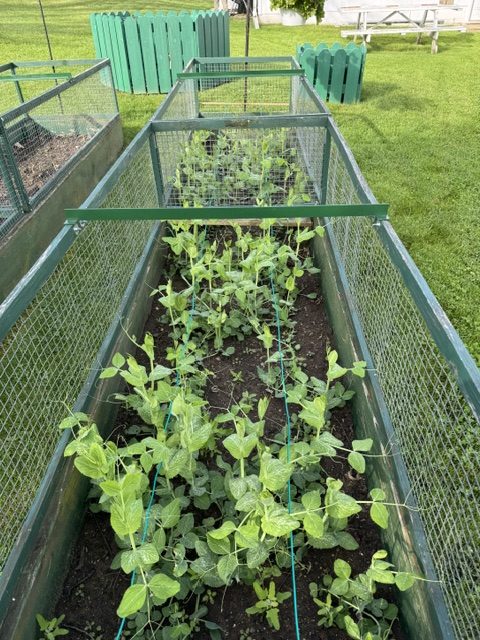
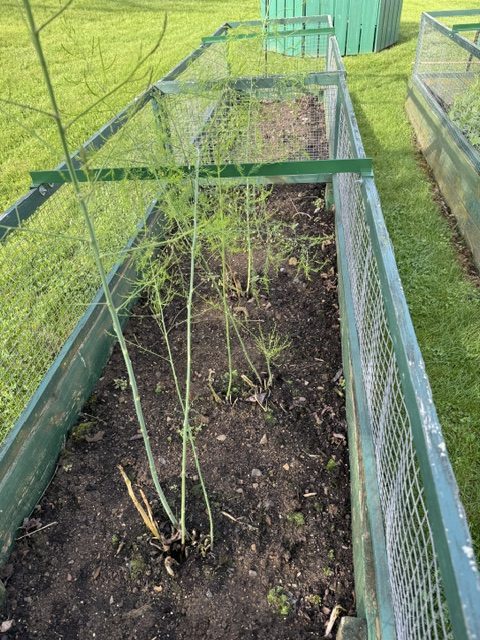
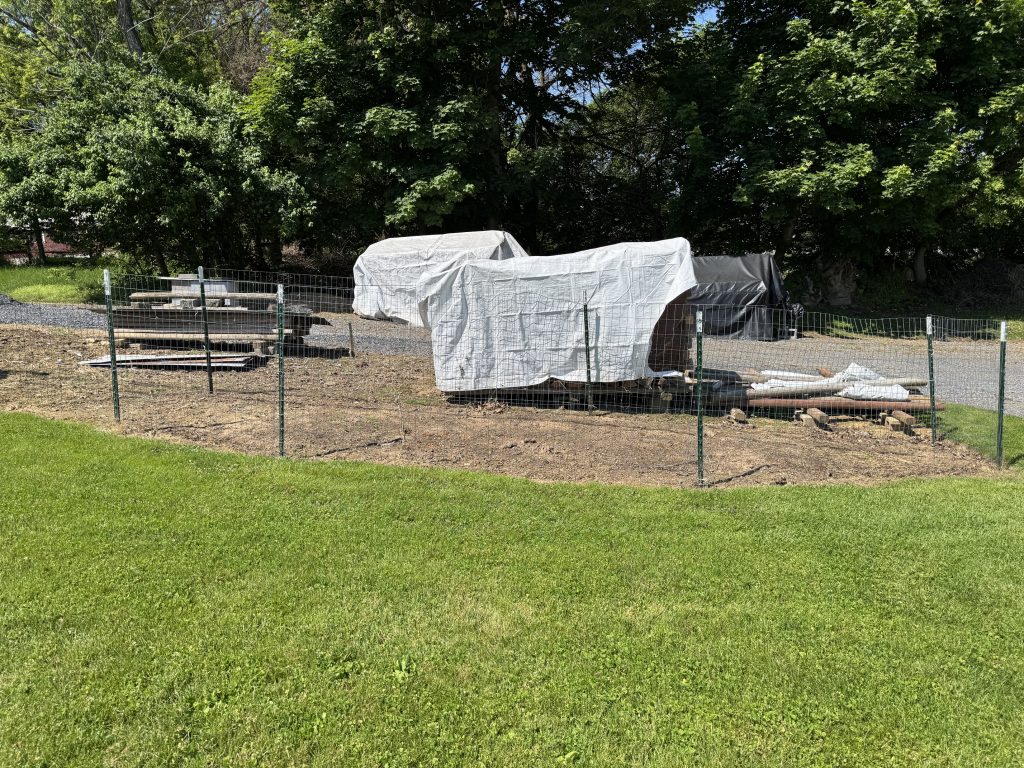
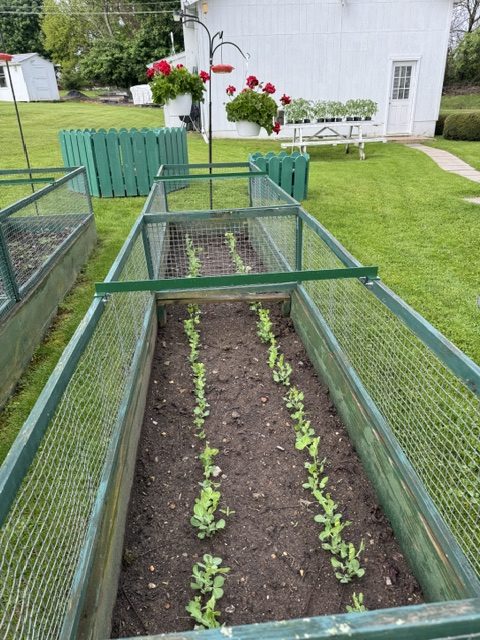
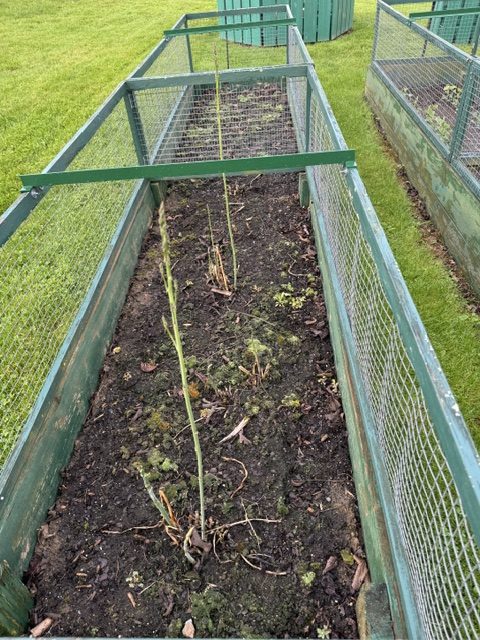
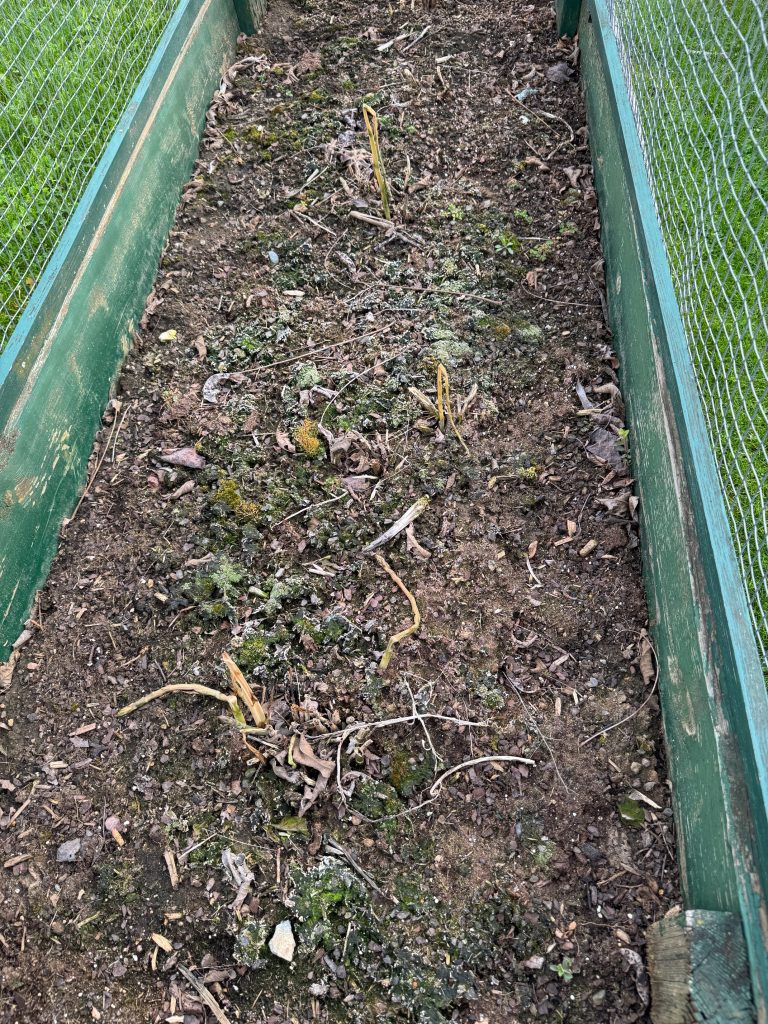
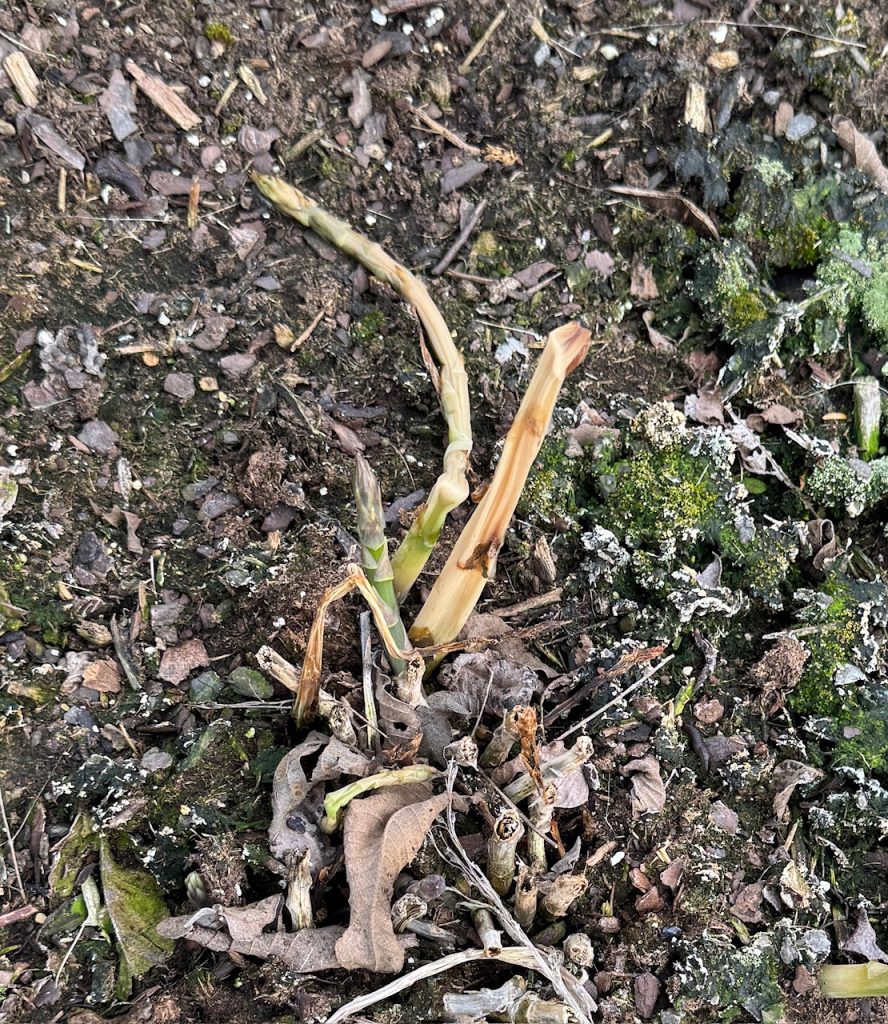
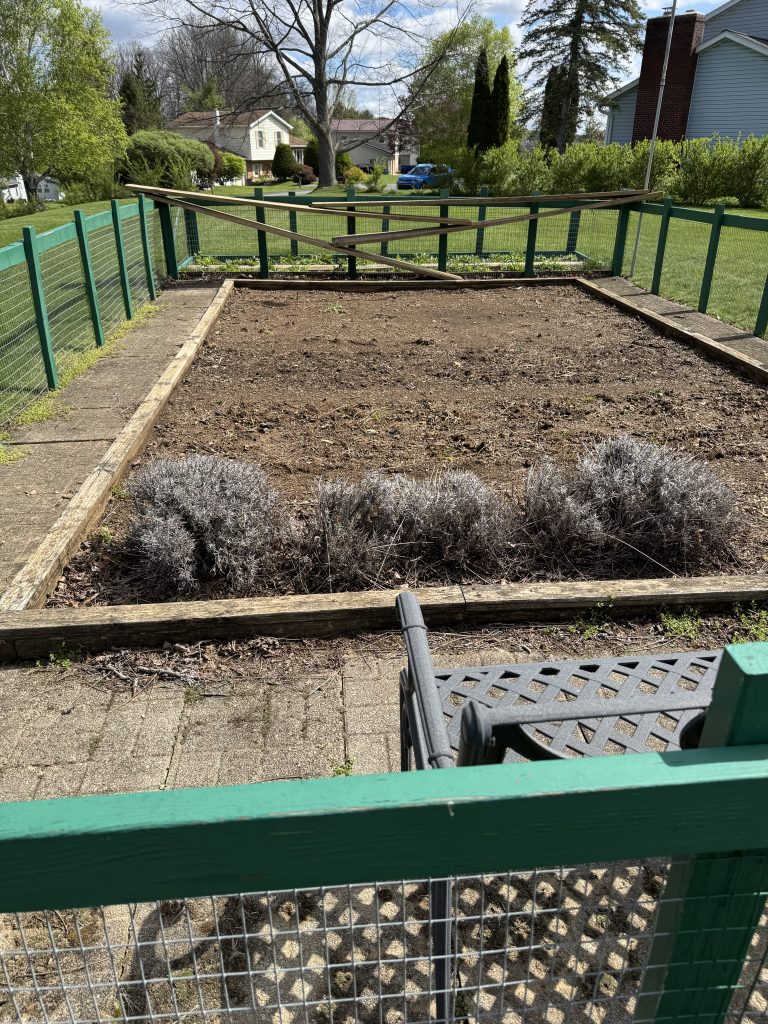
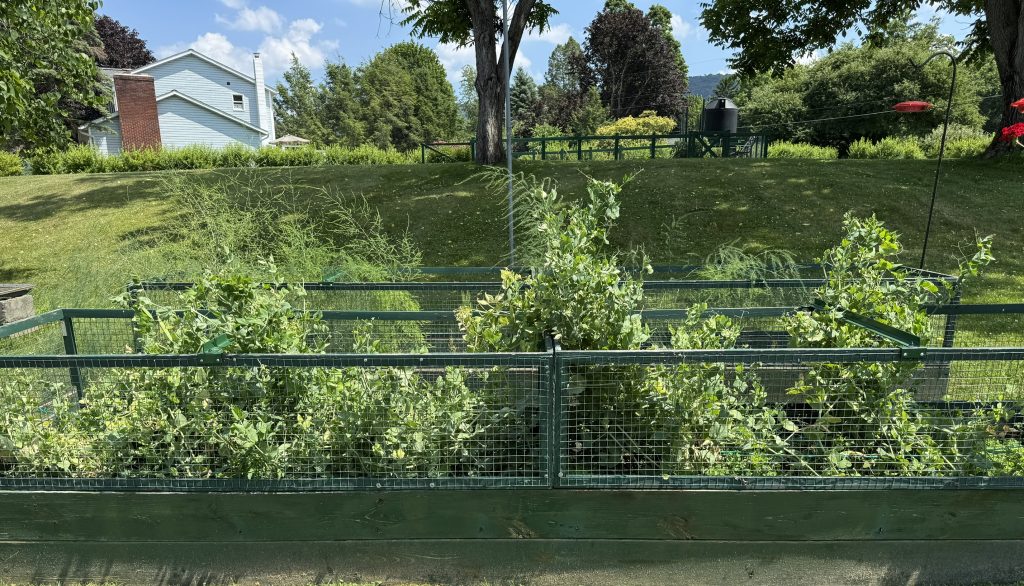
The sugar snap peas are done. We’ll pull the plants when it cools off a little today. Behind the peas is the asparagus. We’re watering it, hoping next spring we have a meal or two.
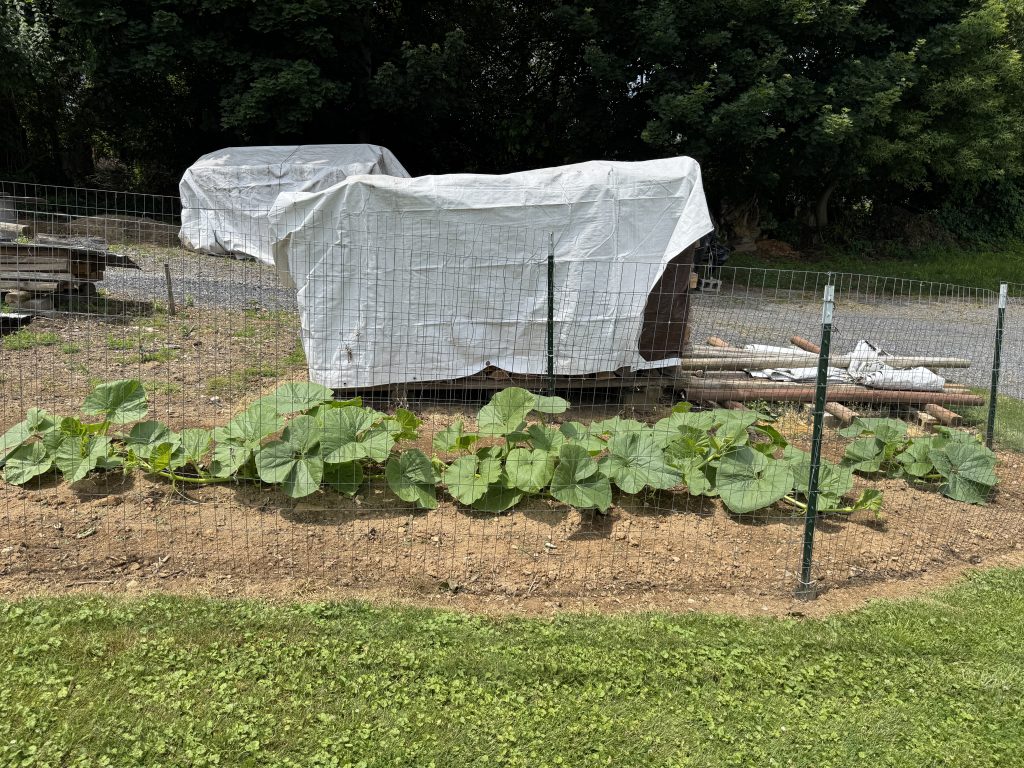
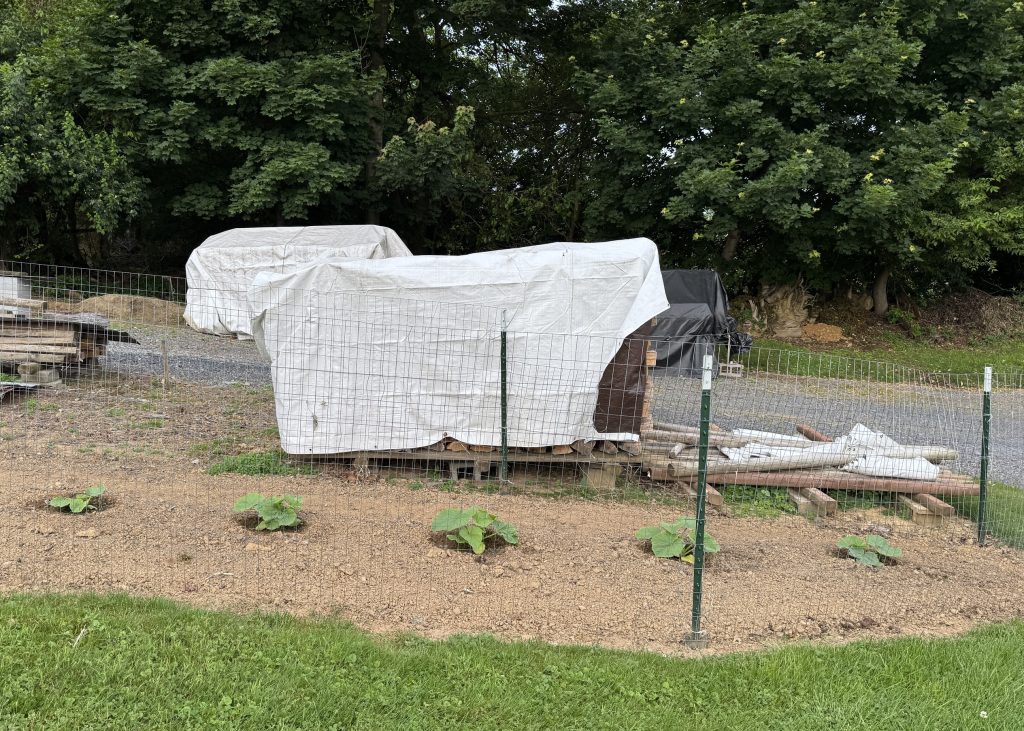
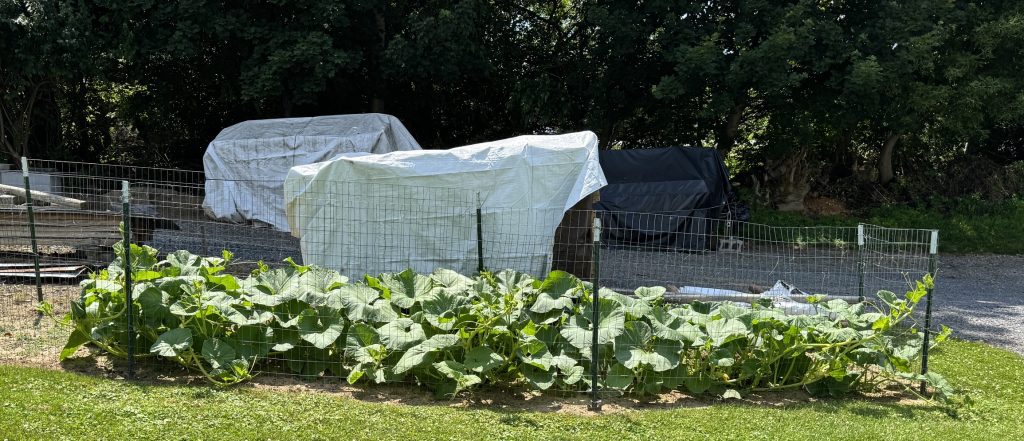
The pumpkin plants are huge! Bert is trying to keep the runners inside the fence because they are starting to make pumpkins. We’re hoping they are very big and survive the groundhogs in the area.
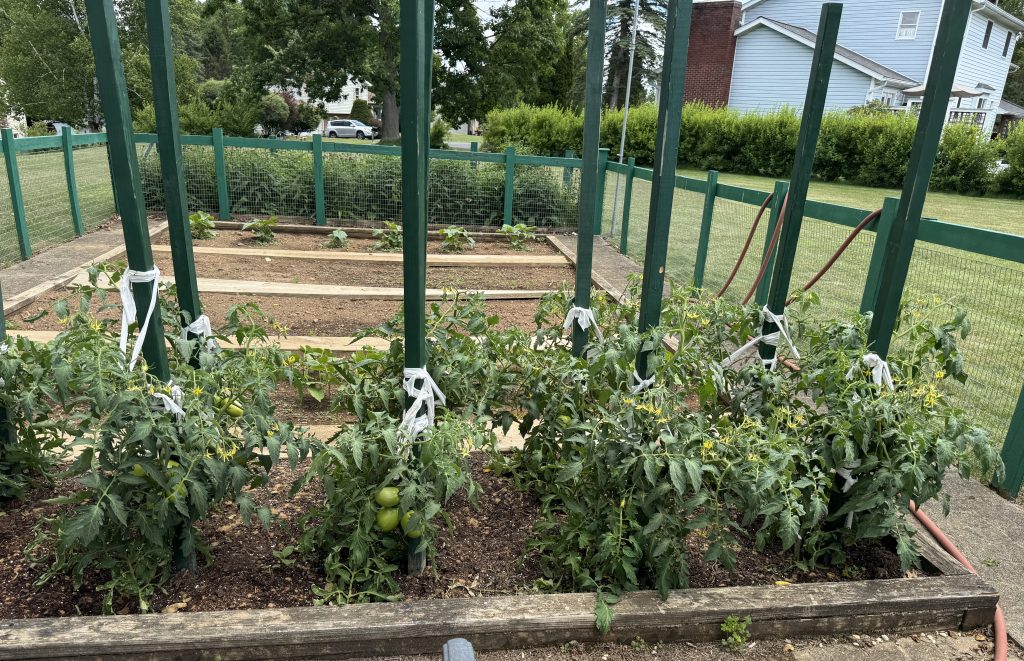
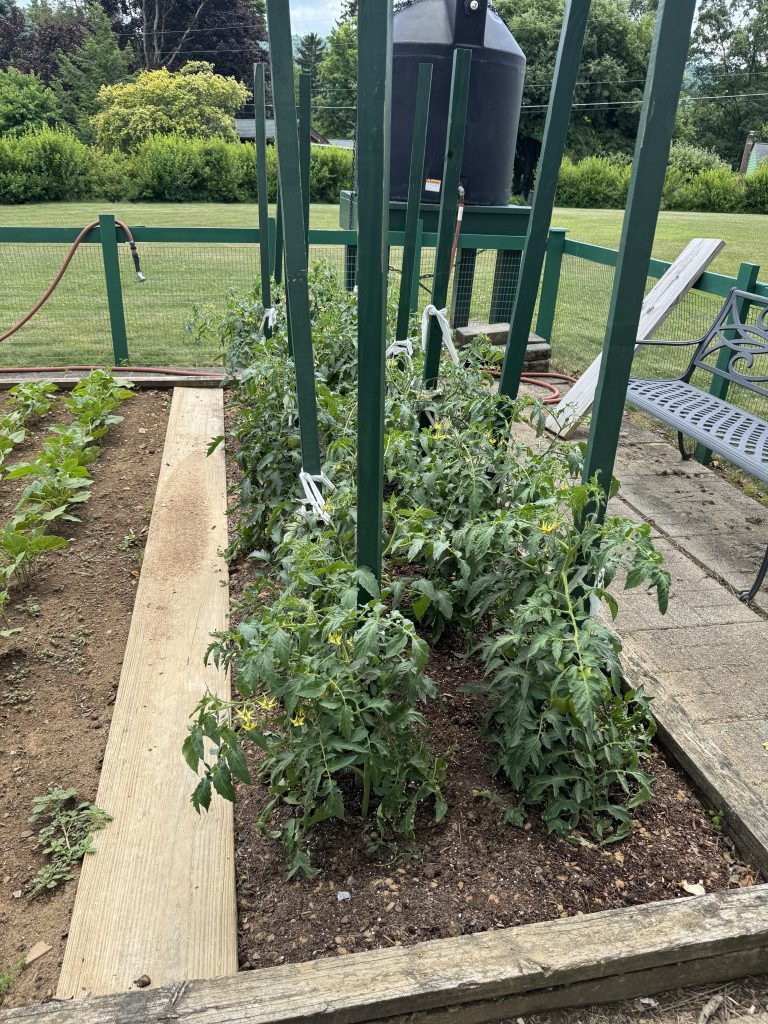
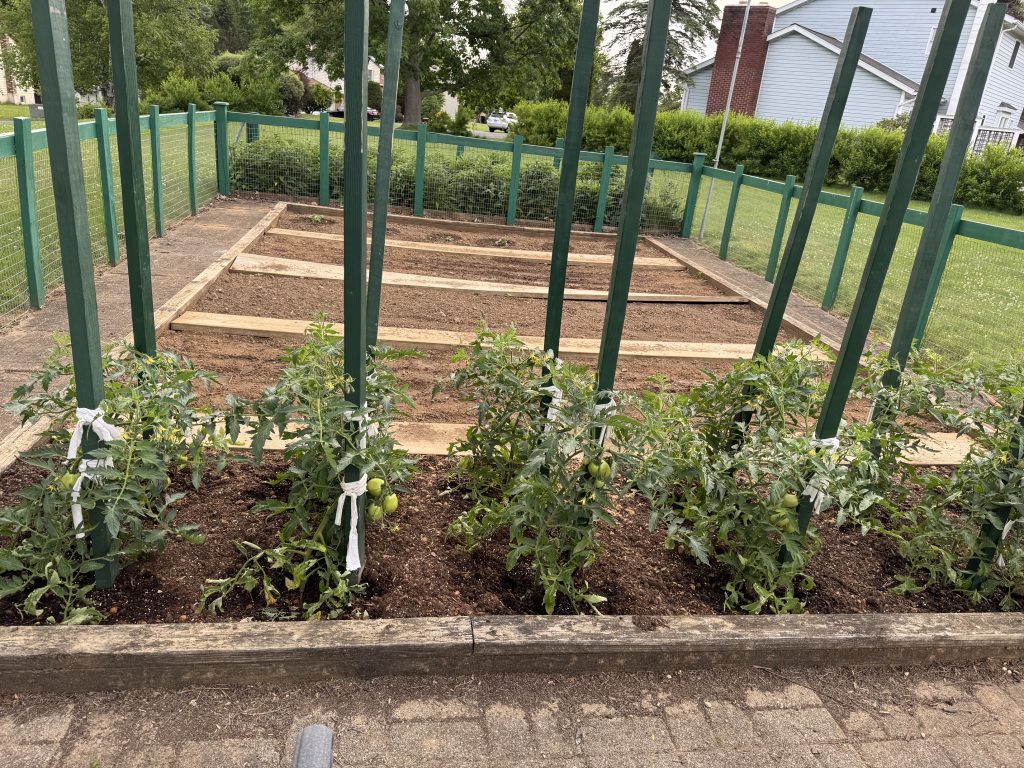
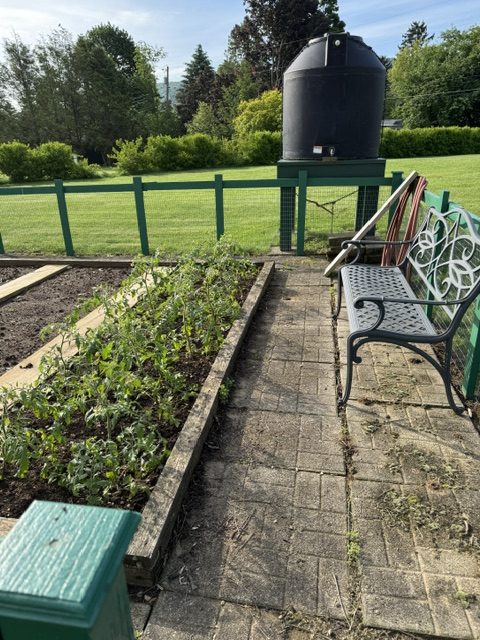
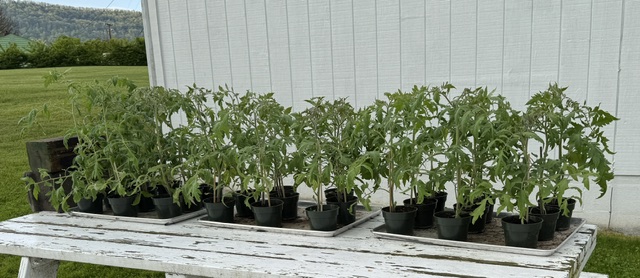
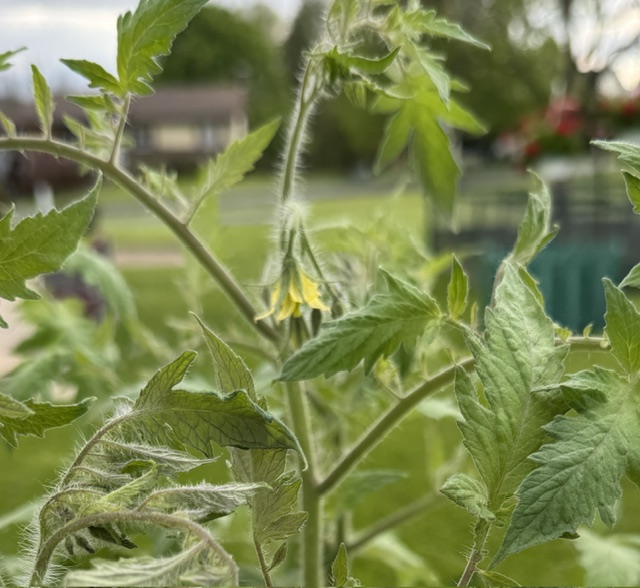
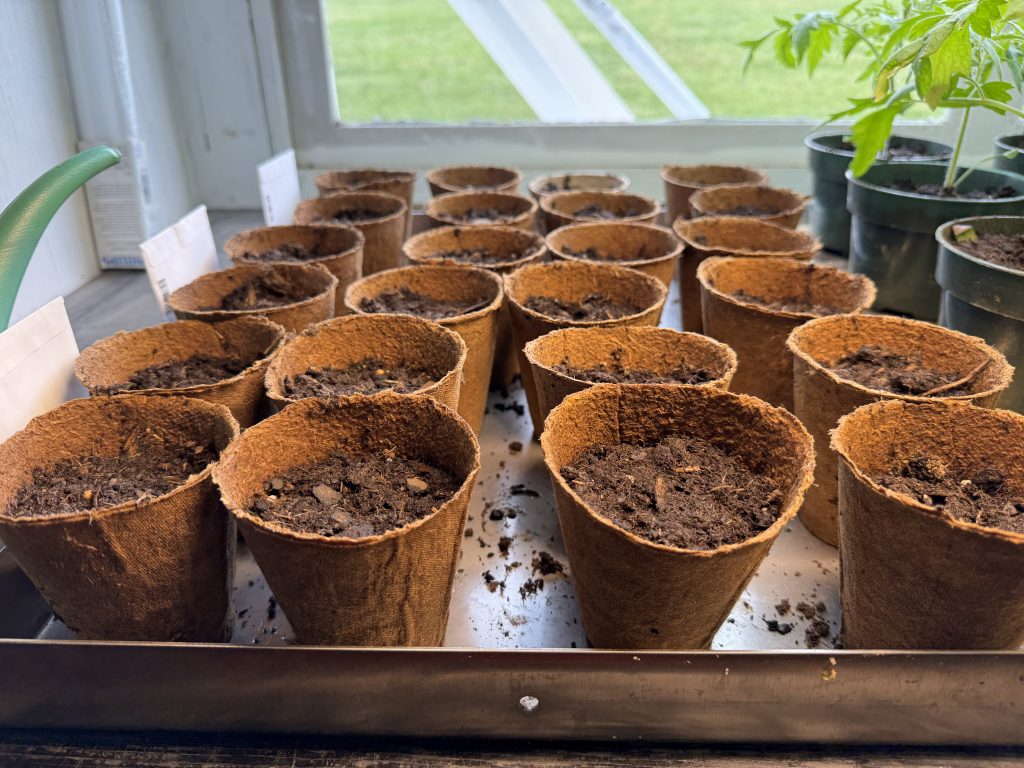
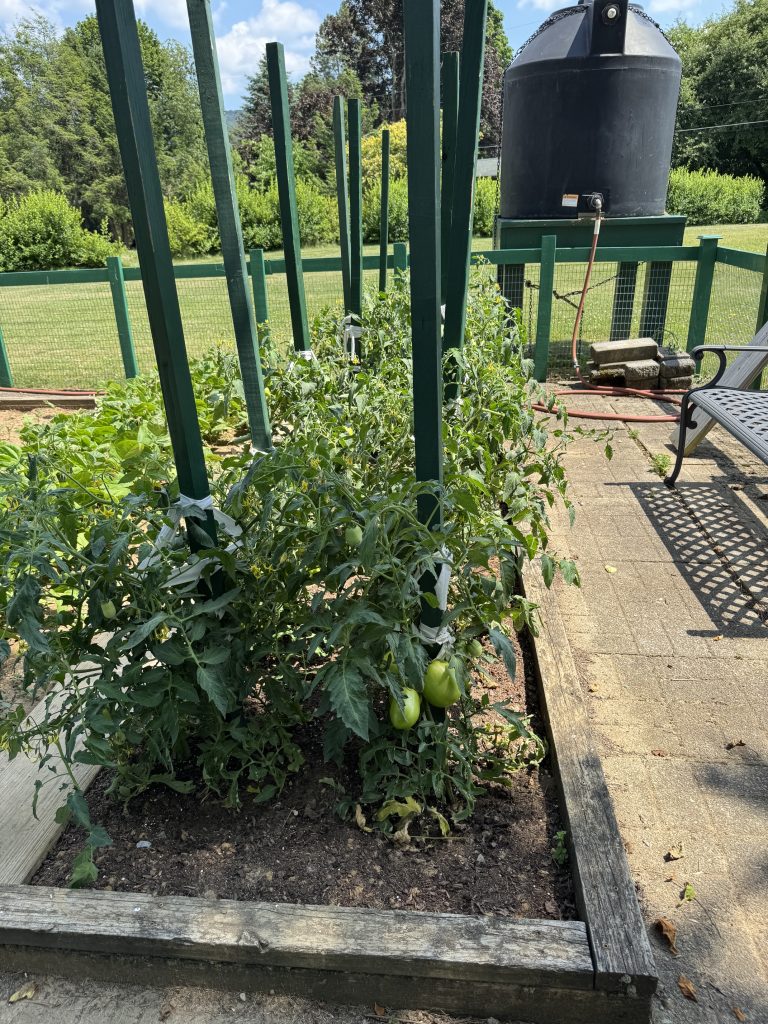
Up in the garden, the tomatoes are going nuts! Not sure what I’ll do with them all, so be careful if you stop by to visit…I may sneak some into your back seat!
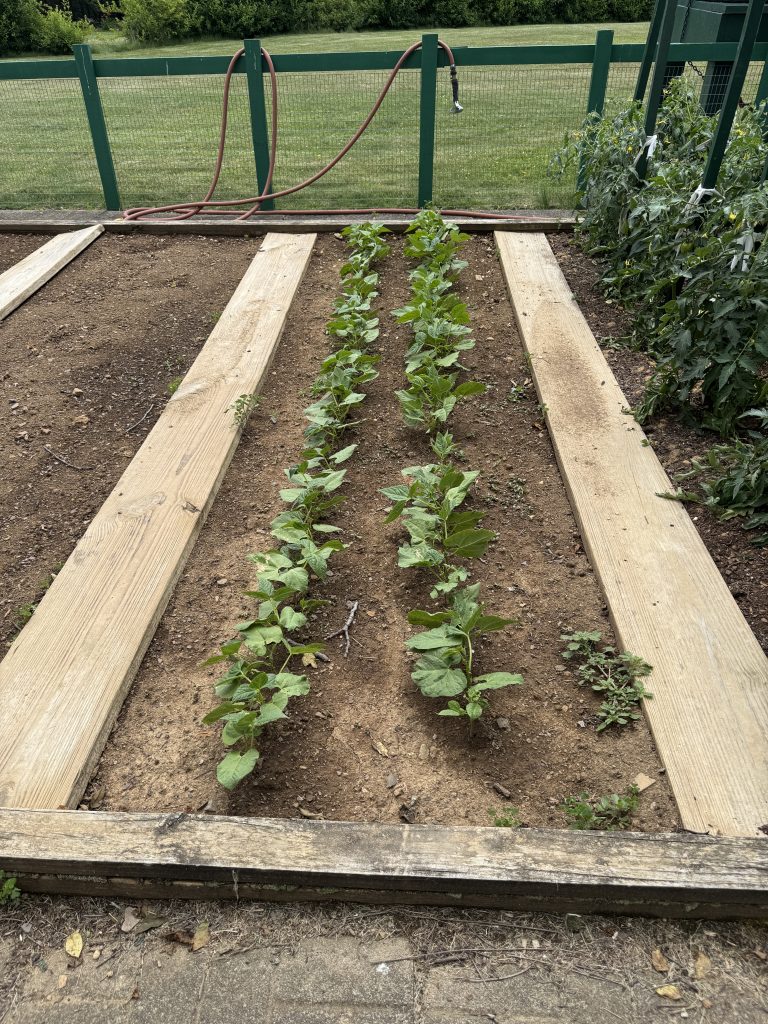
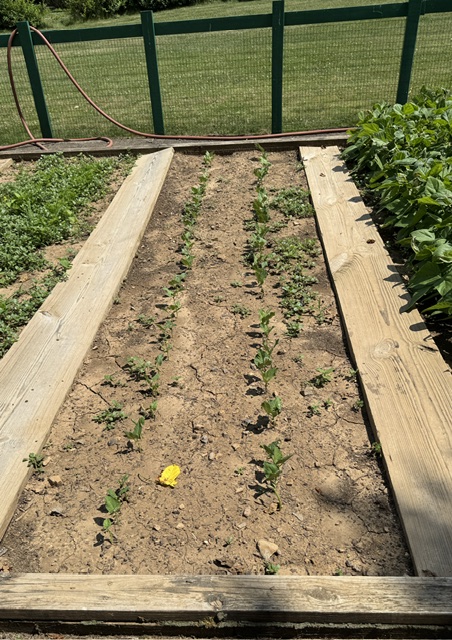
The green and yellow beans are thinking about making flowers. The green beans in the right row are a new variety to us. They almost look like a pole bean vine. Oops! A bush-type bean is what we wanted.
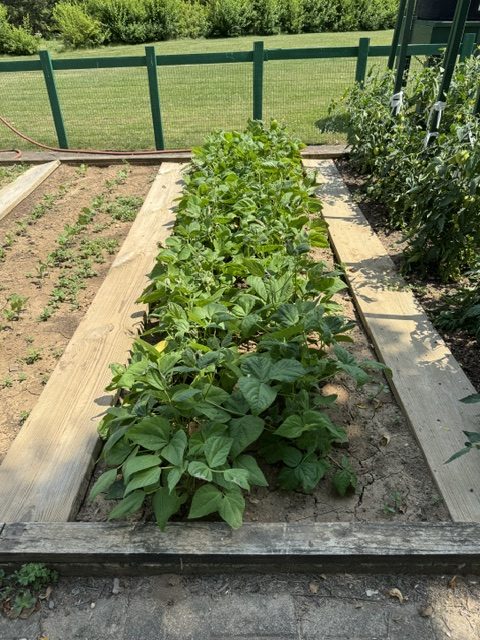
This section is the second planting of beans. We’ll see how they do in this heat.
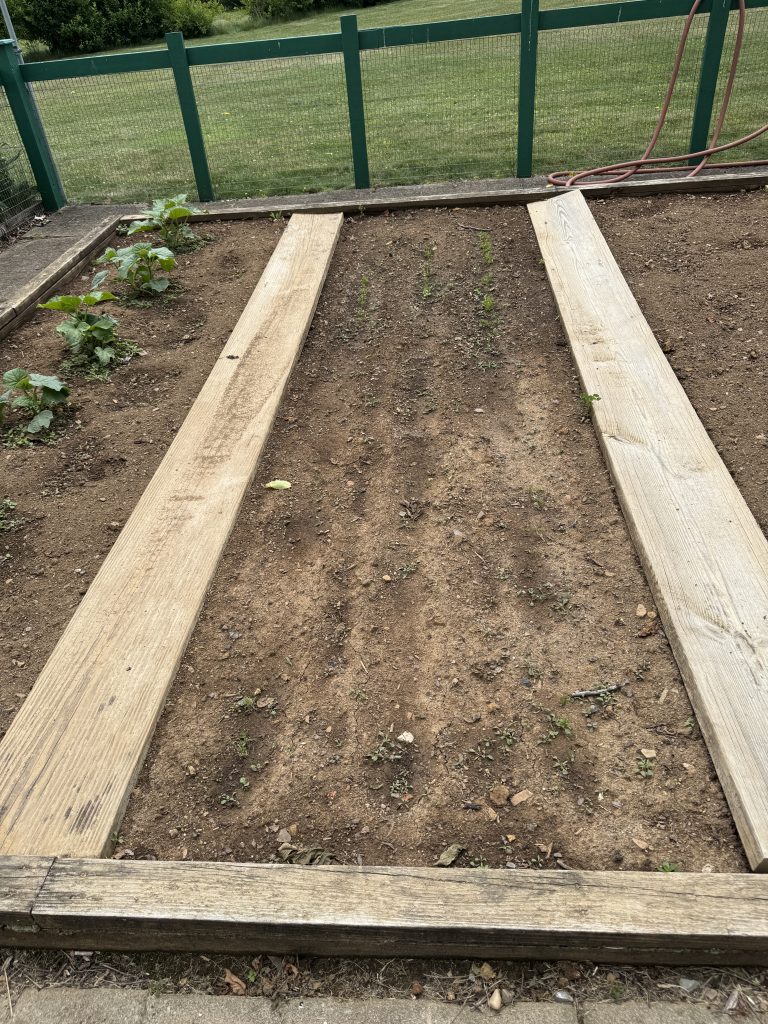
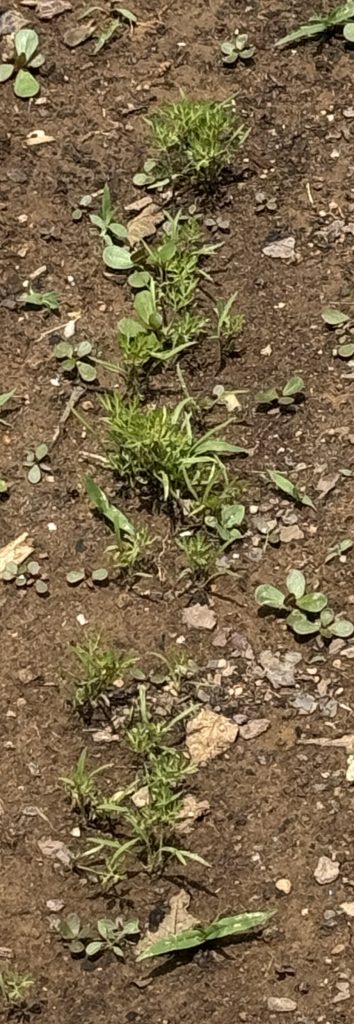
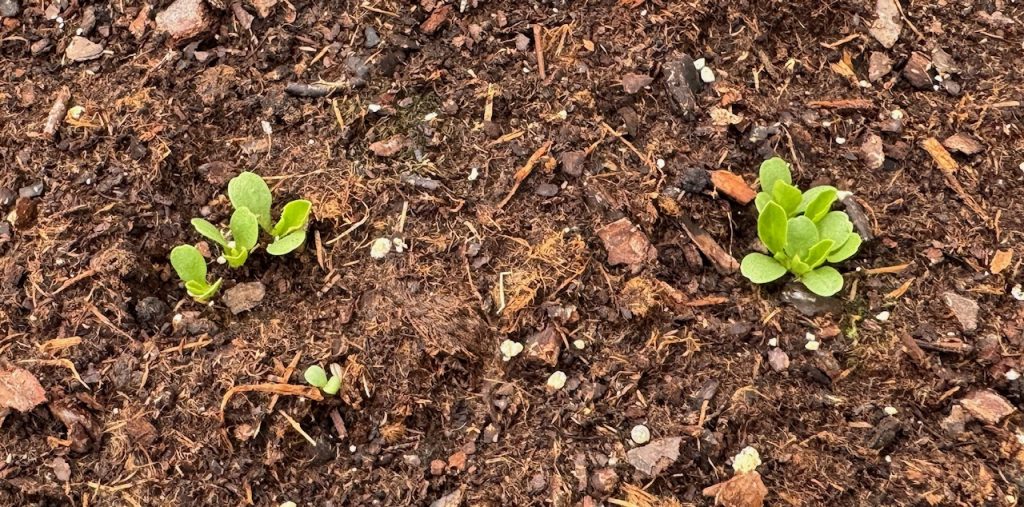
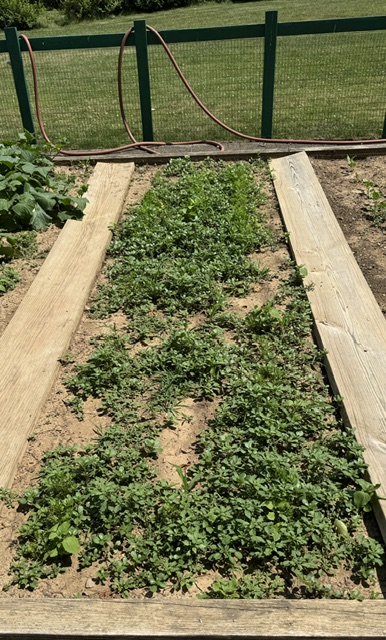
And then, there’s our poor carrots! They need to be weeded, but they are in there somewhere.
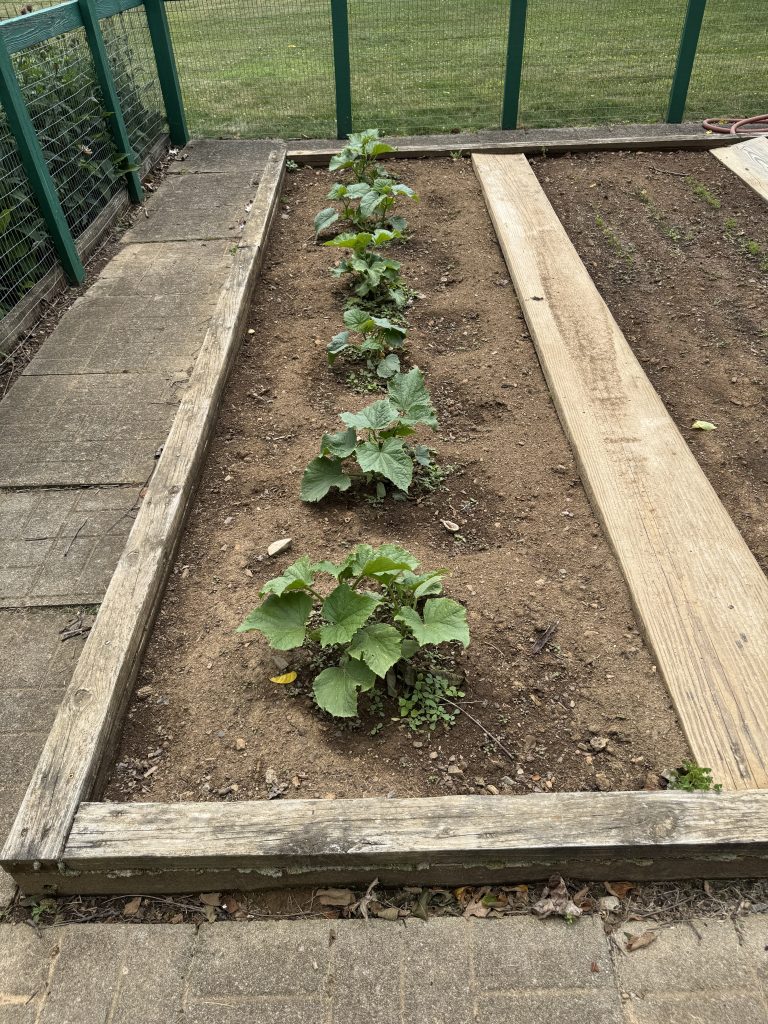
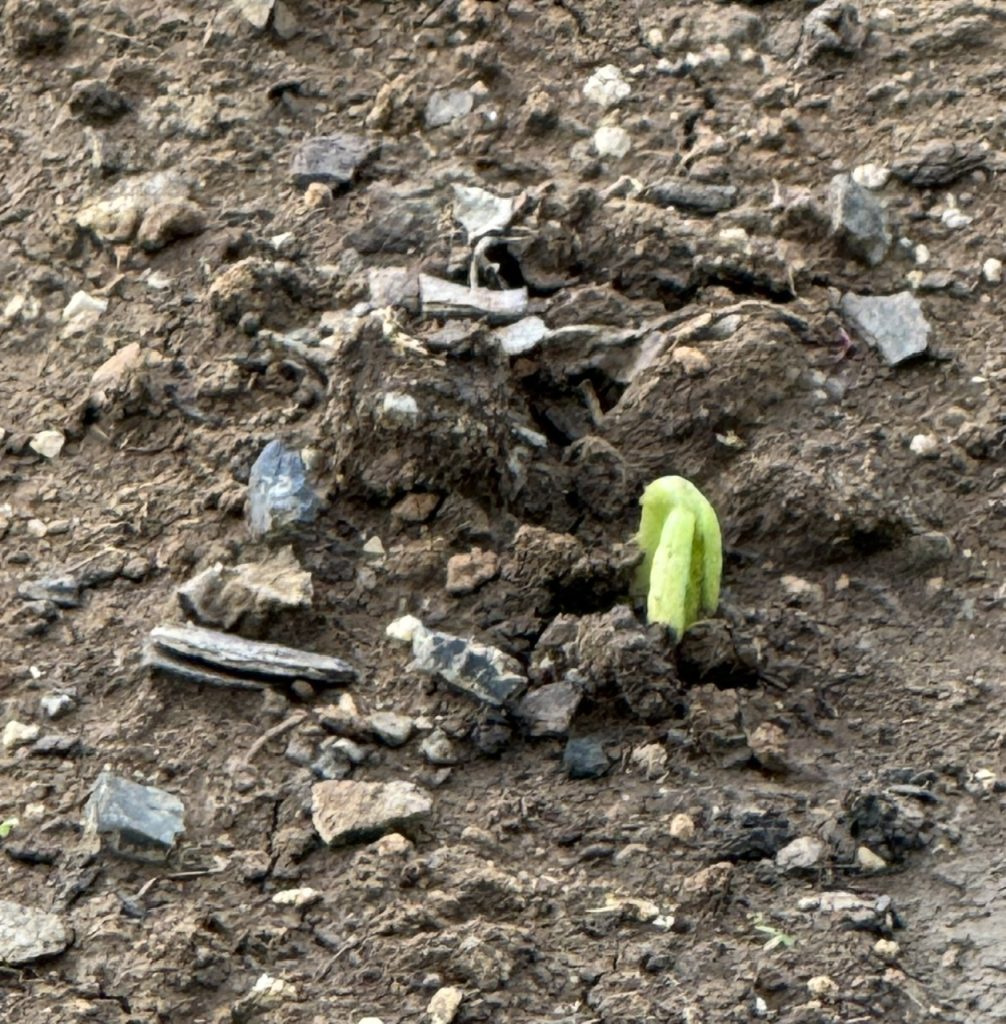
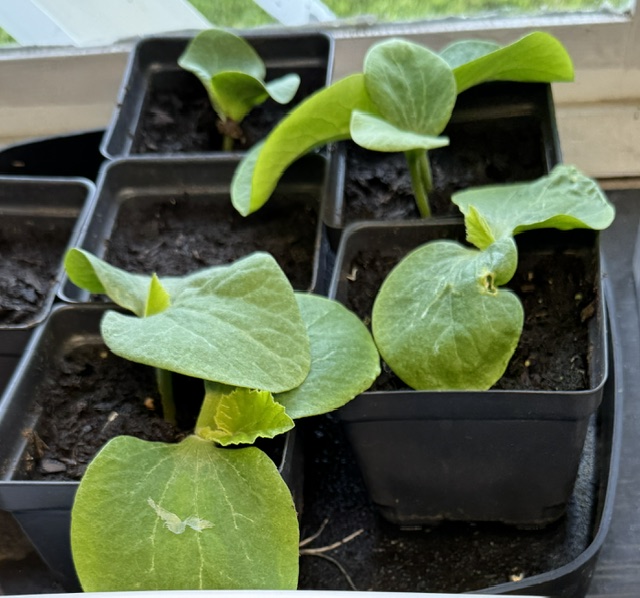
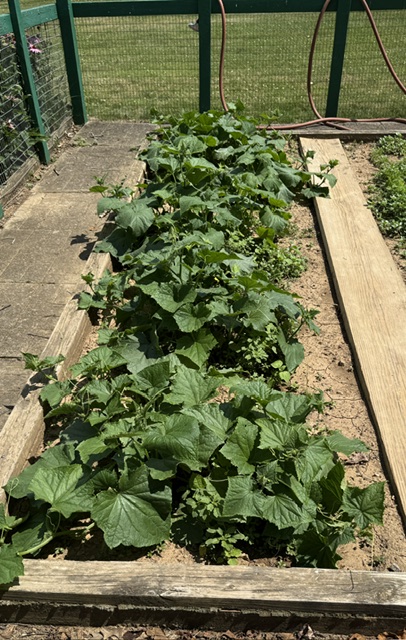
The cucumbers are making blossoms so there’s some hope for cucumbers eventually!
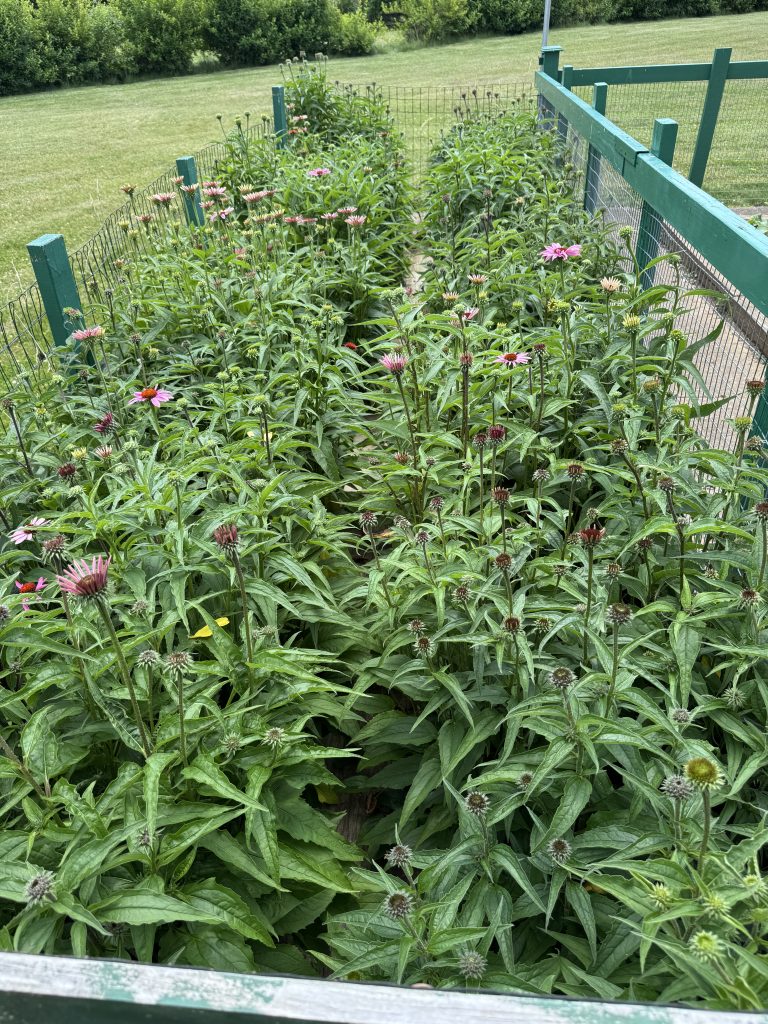
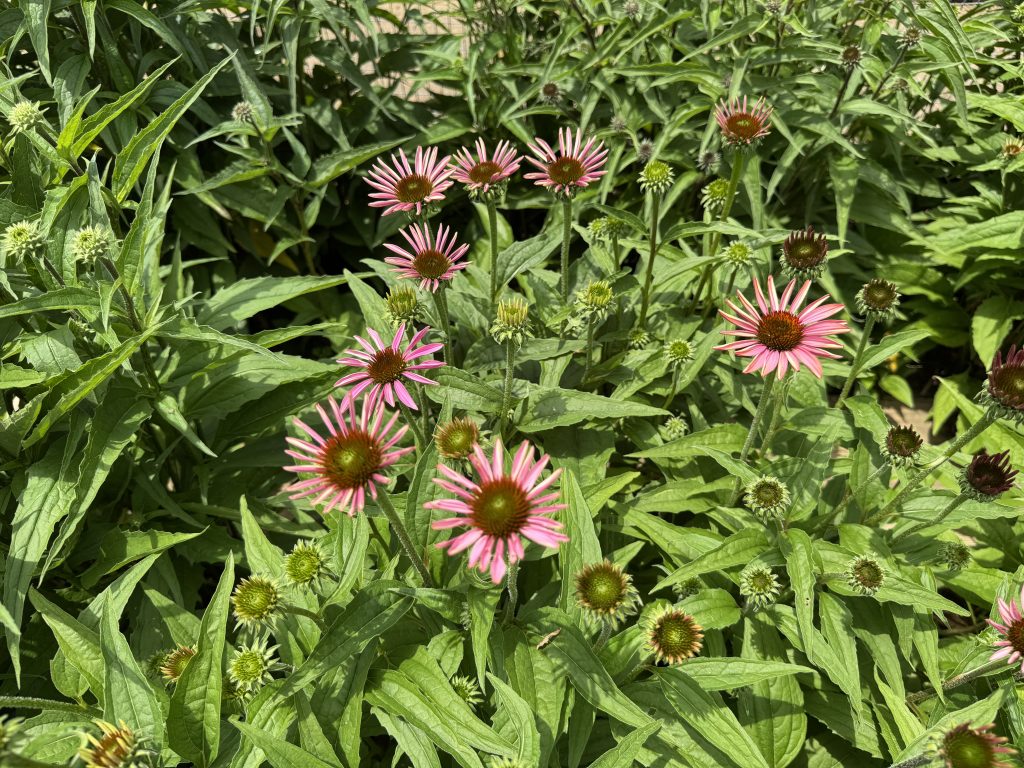
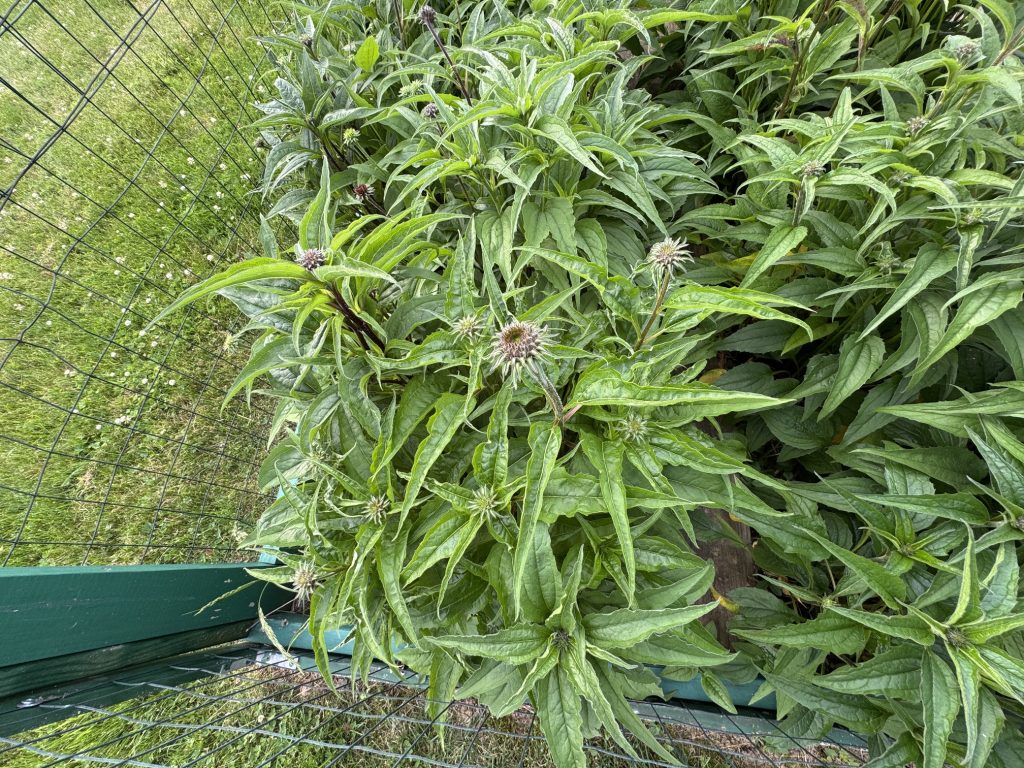
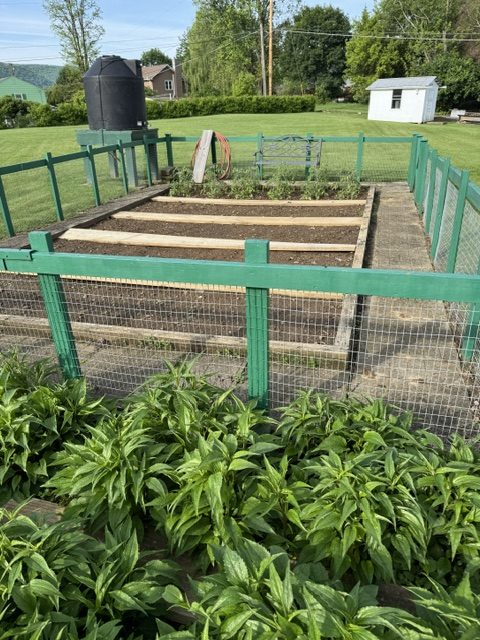
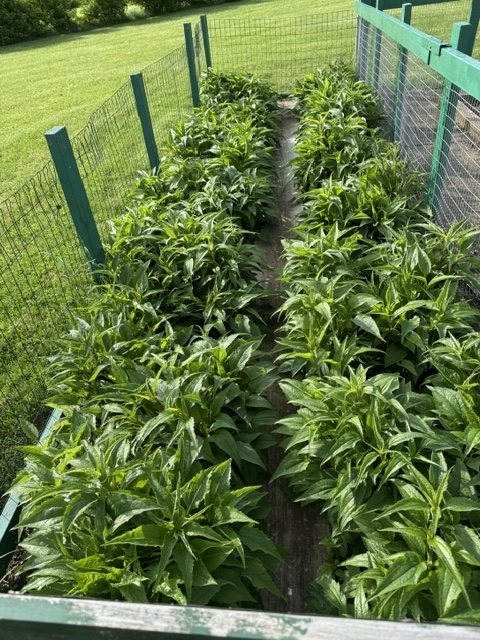
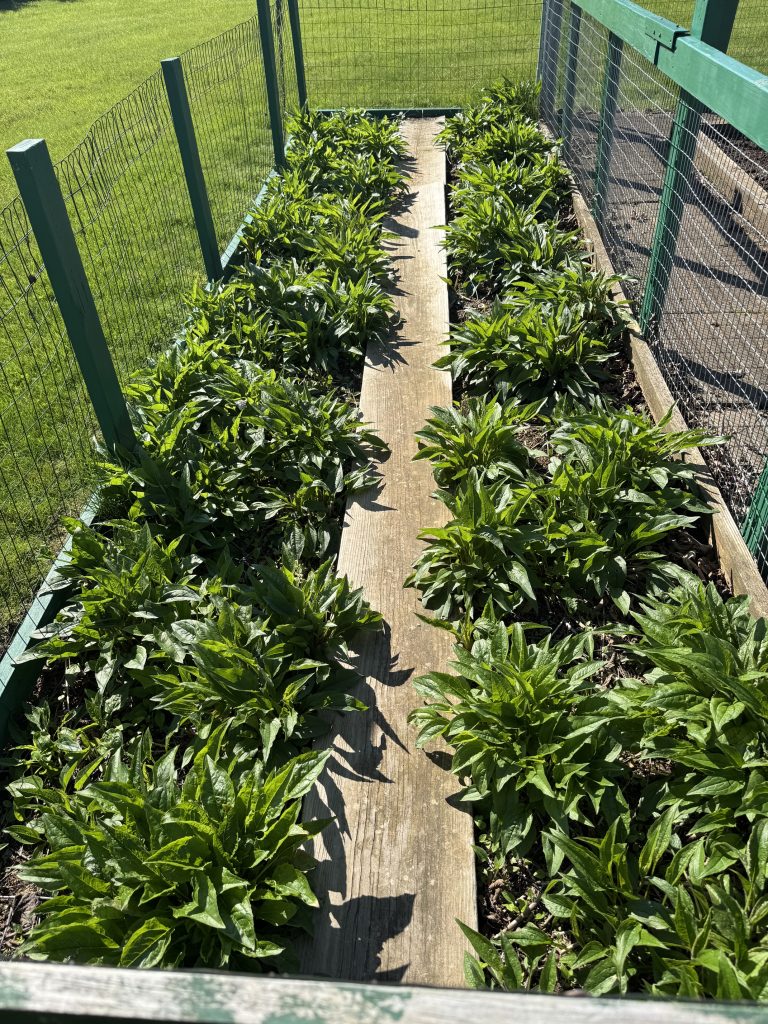
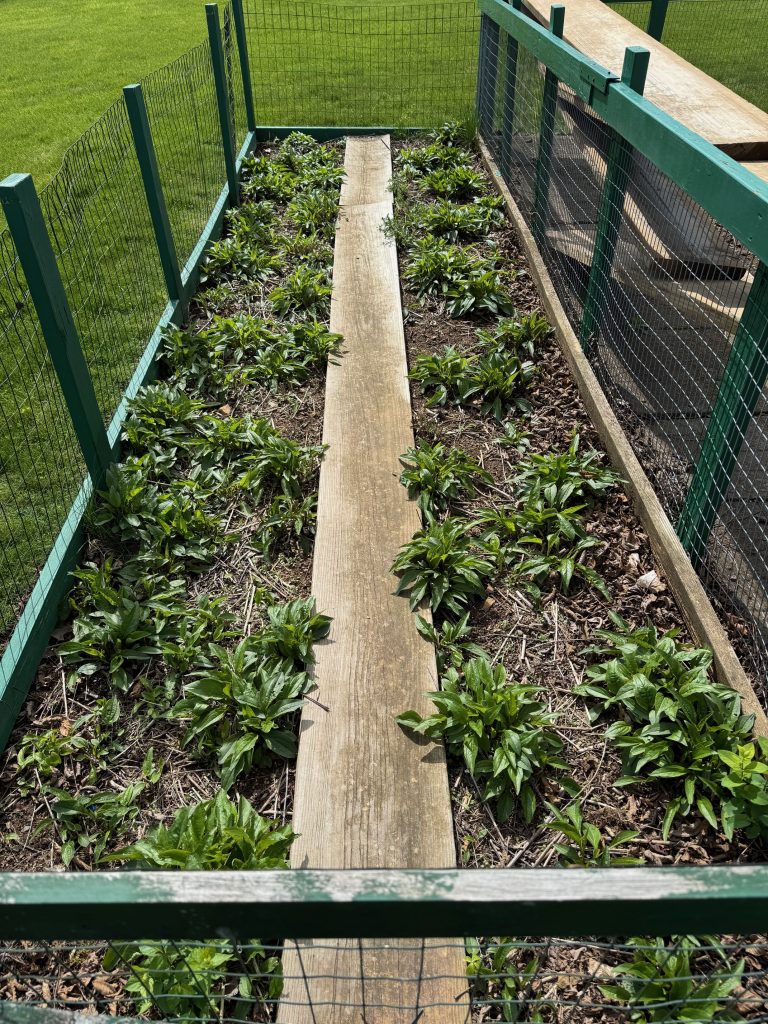
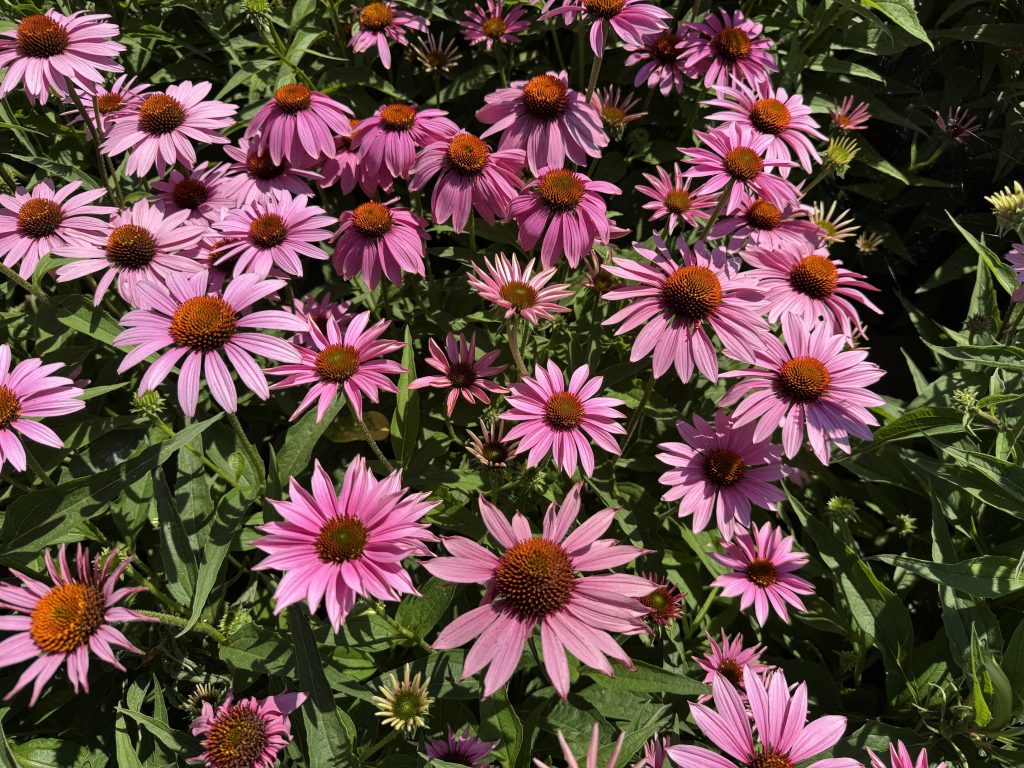
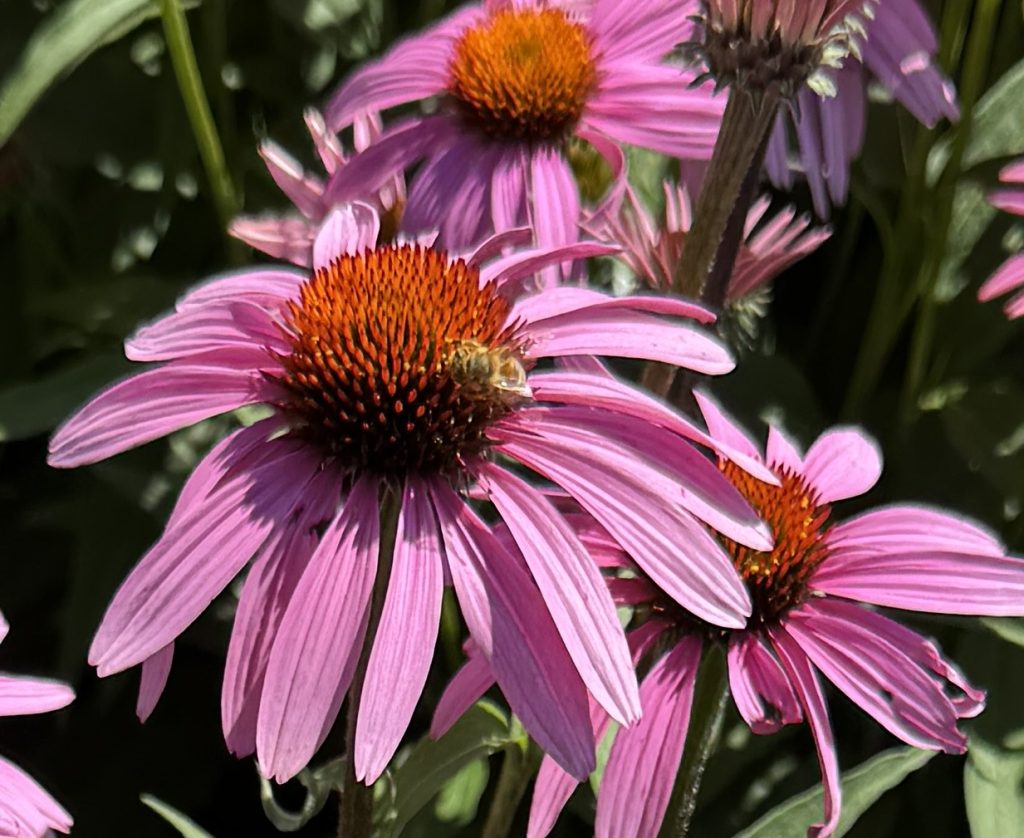
And finally, the Echinacea is going crazy. The bees love them!
That’s what is happening in our backyard today! I hope you have a happy 4th of July!
If you have comments or questions, please email me directly at maryjkisner@gmail.com.