
Many of my projects start with a problem that could use a creative solution. This could be a greyhound coat that needs a better design; a bag of neckties that needs to be preserved for a loved one in some way; or a front door space that smashes every wreathe I hang up!
My adventure with soap started with a rash on my hands! Several years ago after an intense gardening season I found my hands were red and raw from continuous washing. I discovered a bar of handmade lavender soap at the Farmer’s Market that was wonderful! As long as I used that to wash my hands the rash was under control. The woman making it was also plagued with sensitivity to soaps and started making it for herself. She decided to sell it at the Farmer’s Market!
Each time I would switch to a different kind of soap the rash would appear again. She eventually closed her booth and I was back to trying to figure out how to help soothe my hands.
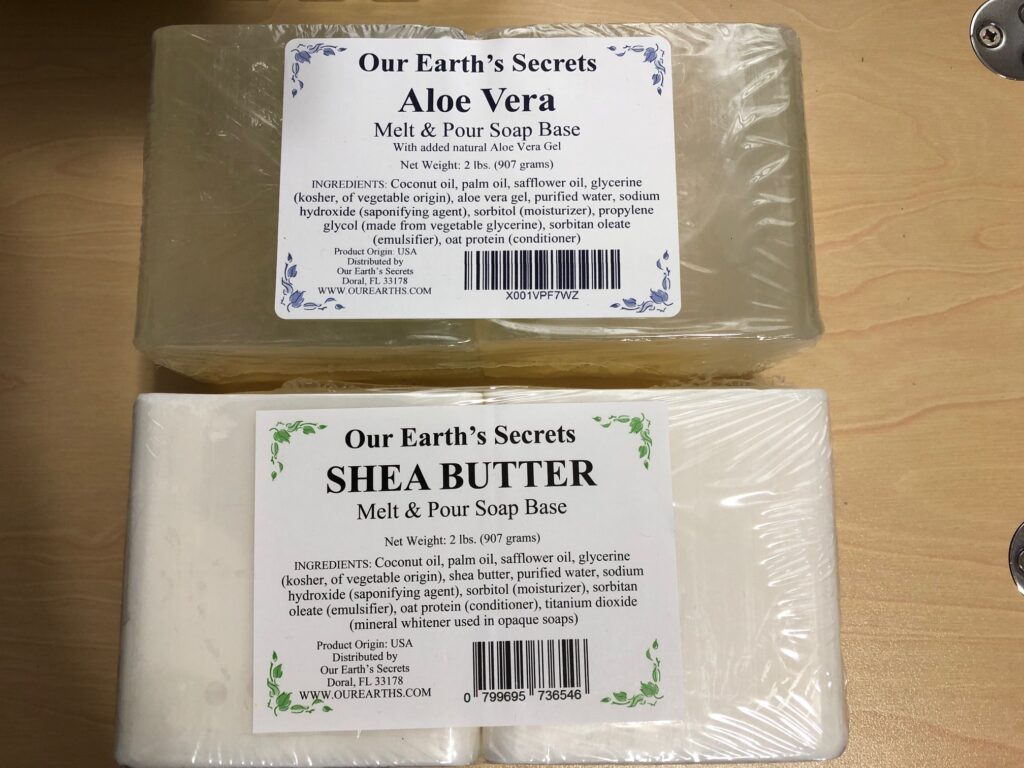
Most homemade soaps made from scratch start with lye as an ingredient. This made making my own soap a daunting task. I then discovered melt and pour soap bases, easily found at local craft stores and on Amazon.
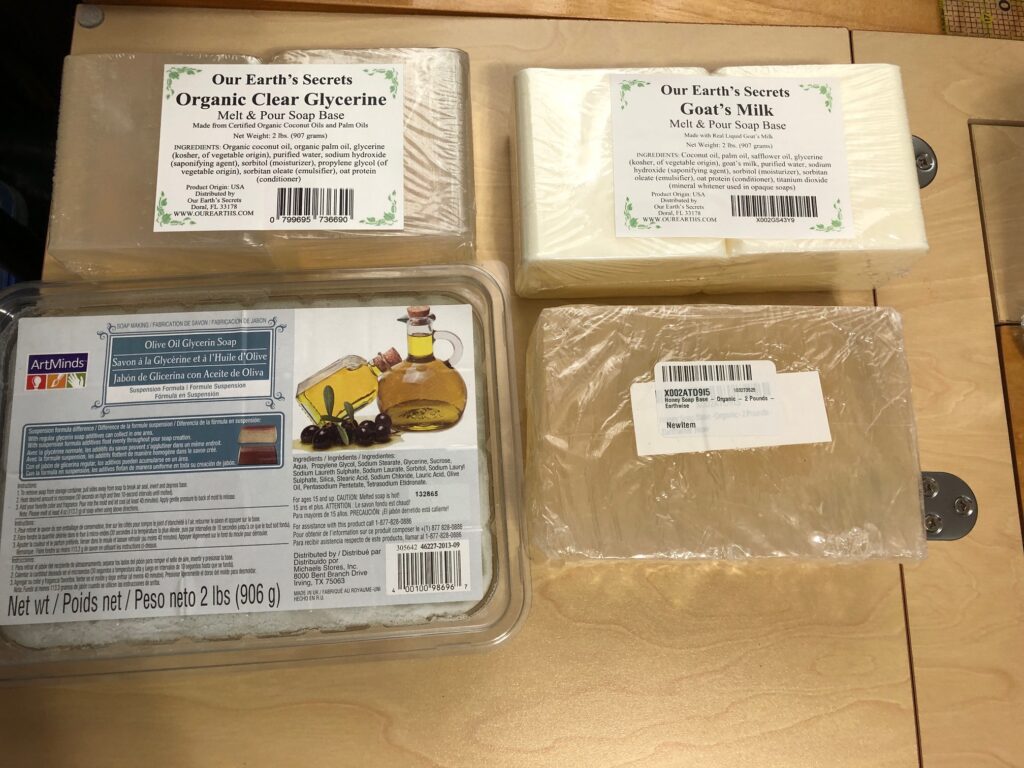
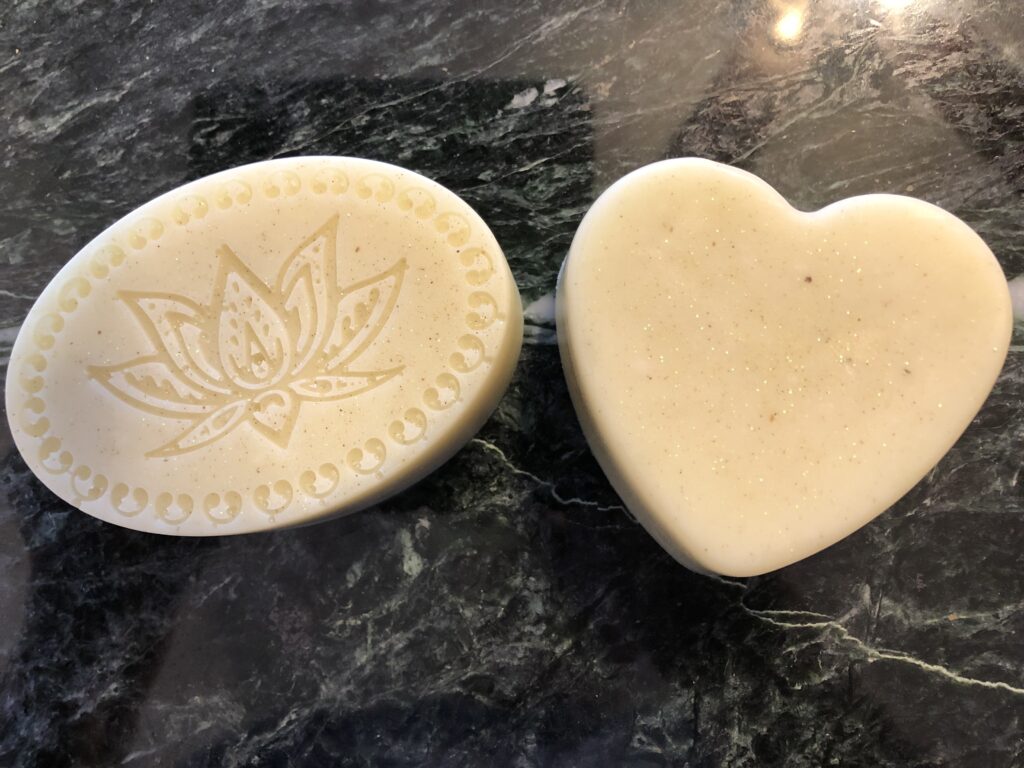
Many recipes from Pinterest start with a clear Glycerin soap base or just one kind of basic white soap. I had fun making cute novelty soaps for a while. My hands, however, were not happy.
So I tried Goats Milk soap base and my rash got worse. (I did wonder if my dairy allergy would mean I was also sensitive to the Goats Milk soap base.)
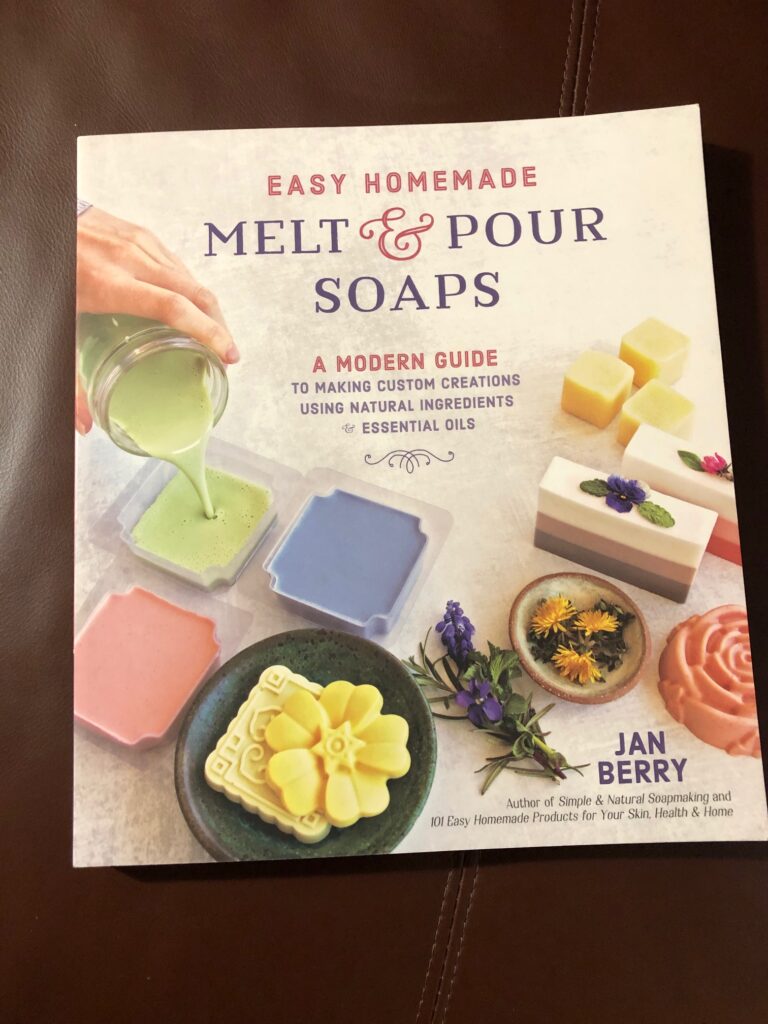
I finally found a recipe using Aloe Vera soap base. That was much better but it was really hard to get enough lather to wash my hands. I ordered a book written by Jan Berry, Easy Homemade Melt & Pour Soaps. This had lots of great ideas about how to use melt and pour soap bases.
One recipe in the book used Aloe Vera and Shea Butter soap bases.
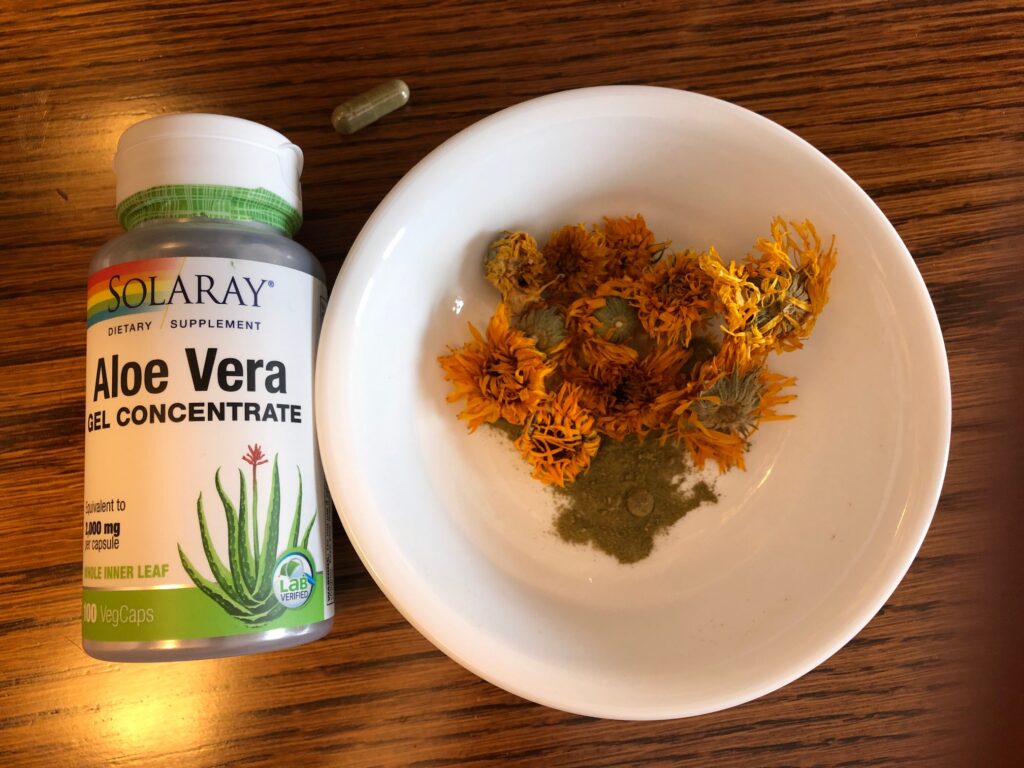
I found the dried Calendula flowers (ordered online the first year; grown in my garden last year) made a pale yellow color and the extra Aloe Vera (powder and gel) did the trick to make a soap I could use frequently without problems. Here is my final recipe:
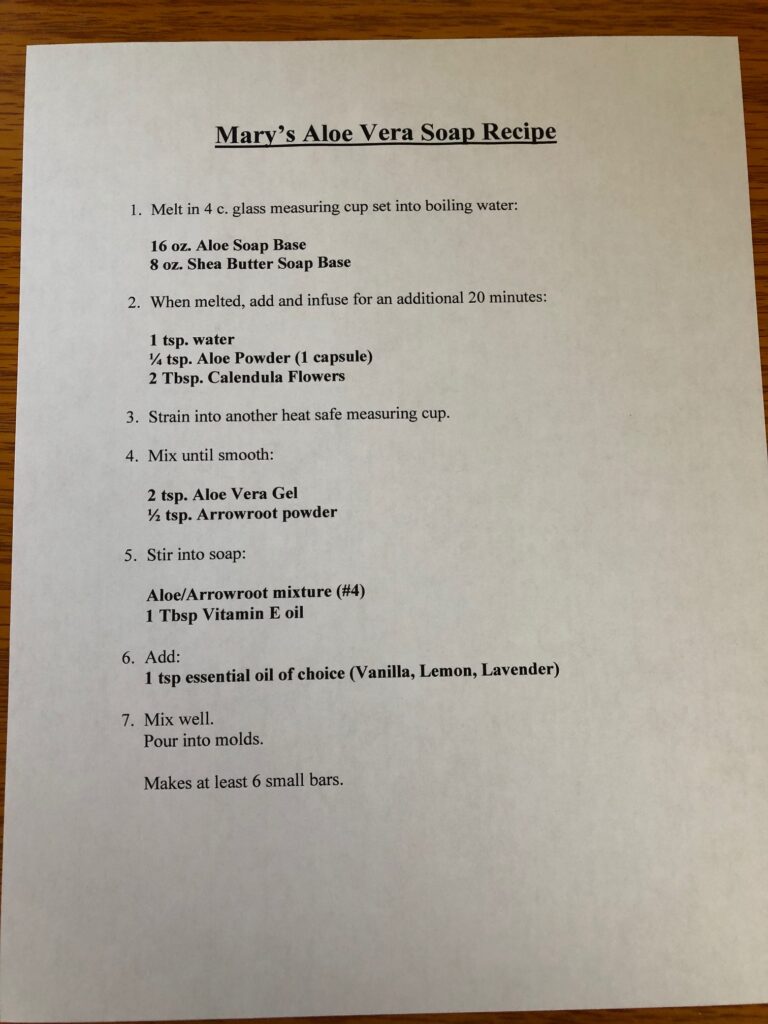
Equipment you will need:
2 4-cup glass measuring cups (heat safe); Saucepan to hold water and the measuring cup; Measuring spoons; Rippled soap cutter; Small strainer; Wood sticks to stir soap as it melts; Silicon molds of choice.
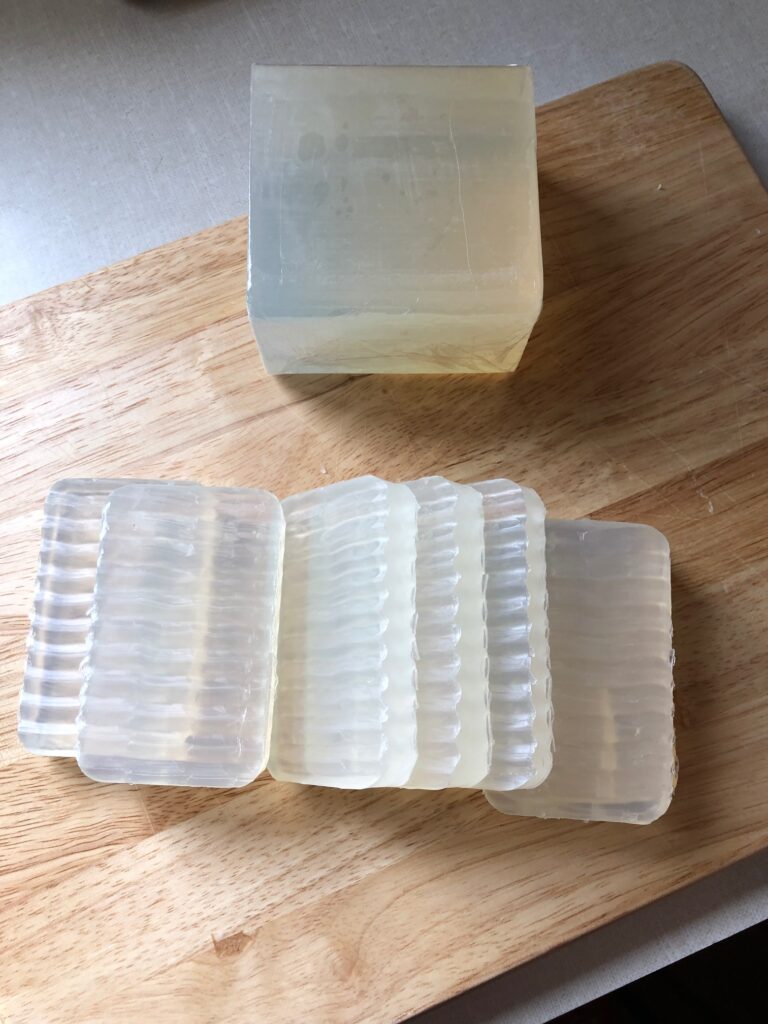
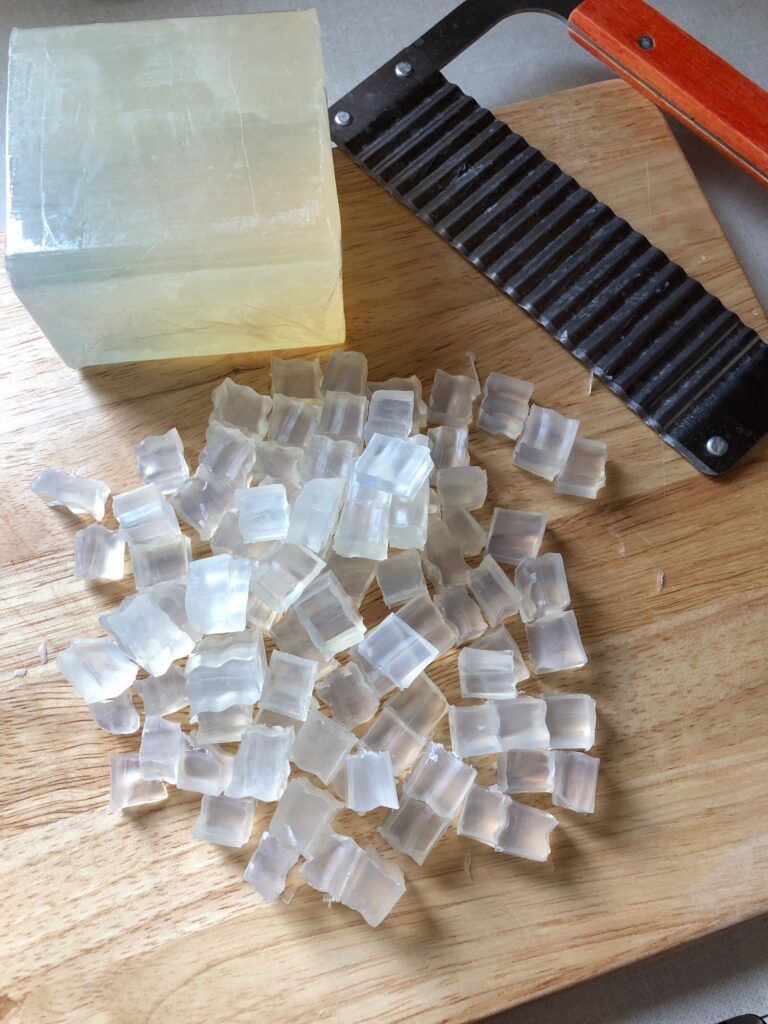
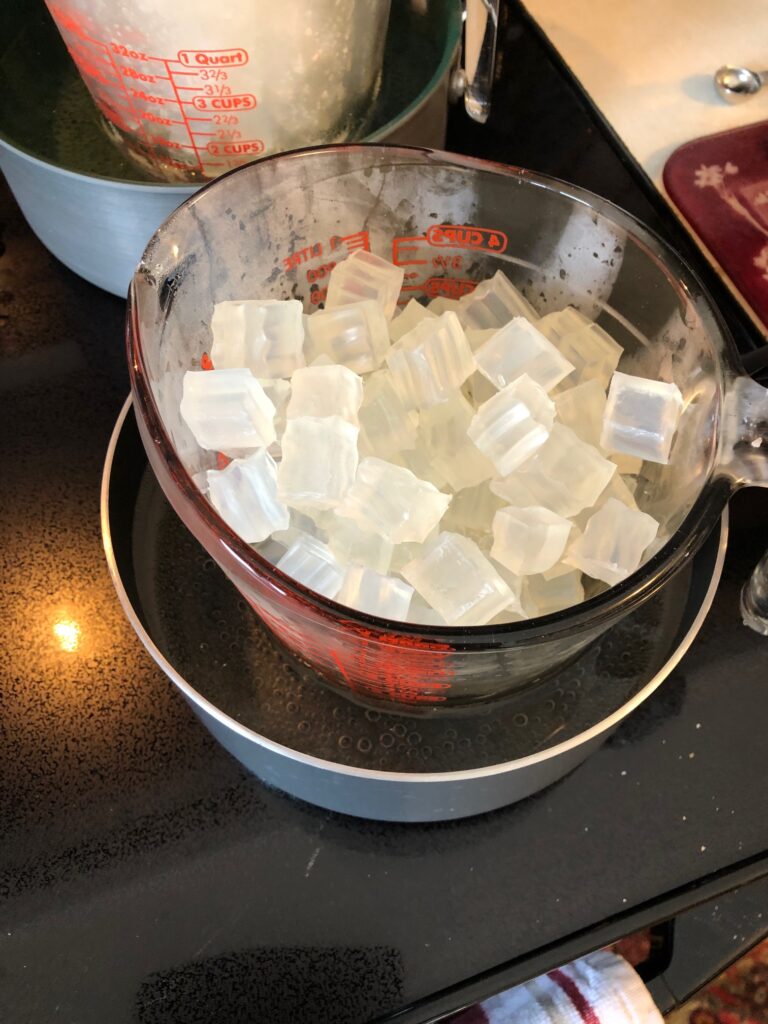
Step 1: Cut the soap base into small pieces. Place soap into glass measuring cup Heat water in the saucepan to boiling and then reduce to simmer. Continue simmering until all soap is melted.

Step 2: When fully melted add:
1 tsp. water to 1/4 tsp of Aloe Vera powder (about 1 capsule) and 1 Tbsp. dried Calendula flowers
Let the simmering soap on the burner and let the Aloe Vera powder and flowers infuse for 20 minutes.
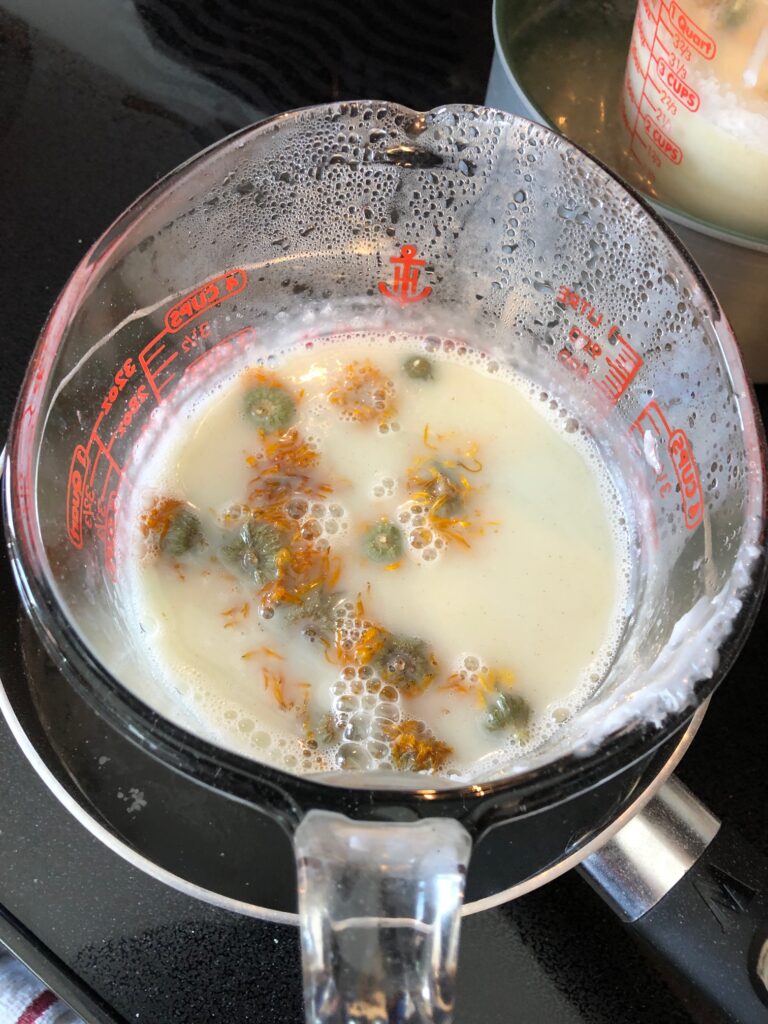
Step 3: Strain out the flowers into the second glass measuring cup. (Sorry, no picture…I couldn’t hold the strainer and the measuring cup and take a picture at the same time.) Put the second glass measuring cup back into the warm water.
Steps 4: Mix until smooth…2 tsp aloe vera gel and 1/2 tsp Arrowroot powder in a small bowl.

Step 5: Add mixture from Step 4 plus 1 Tbsp. Vitamin E oil to the melted and strained soap. Mix well.
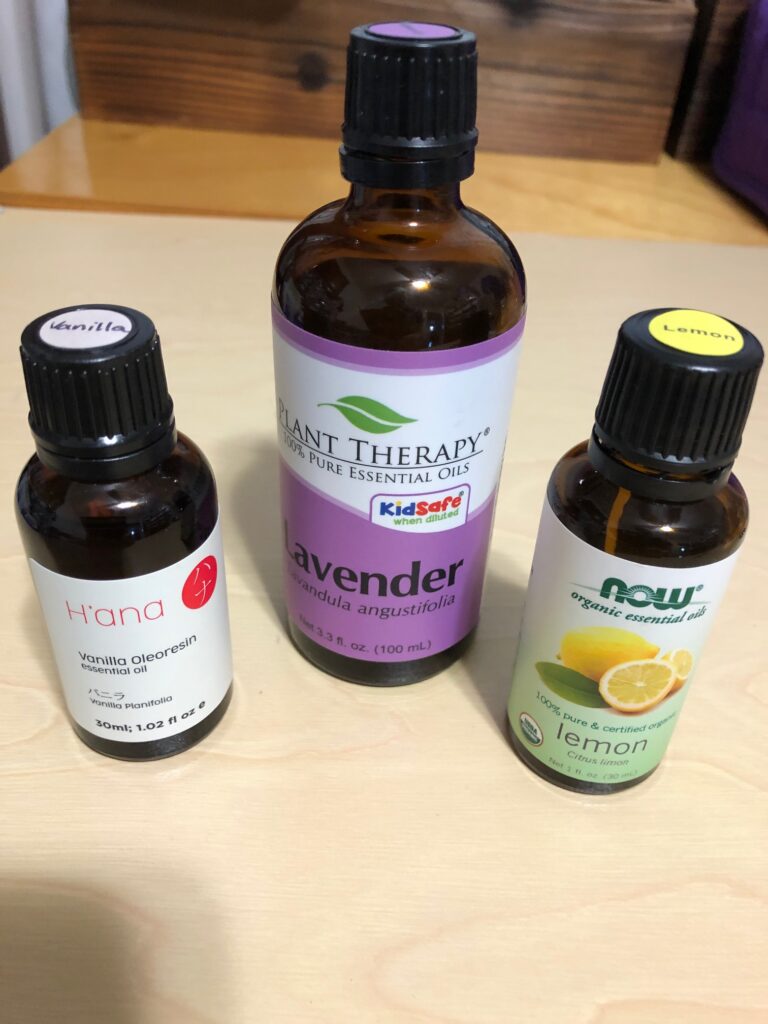
Step 6: Add 1 tsp. Essential Oil of your choice. Mix well.
Step 7: Pour soap into molds. This will make at least 6 small bars, maybe more depending on how big the molds are. Have an extra mold ready in case you need it!
Let cool for about 2 hours. Soap will be set and can be popped out of the molds.
Wrap soaps individually with plastic wrap when completely cool and firm.
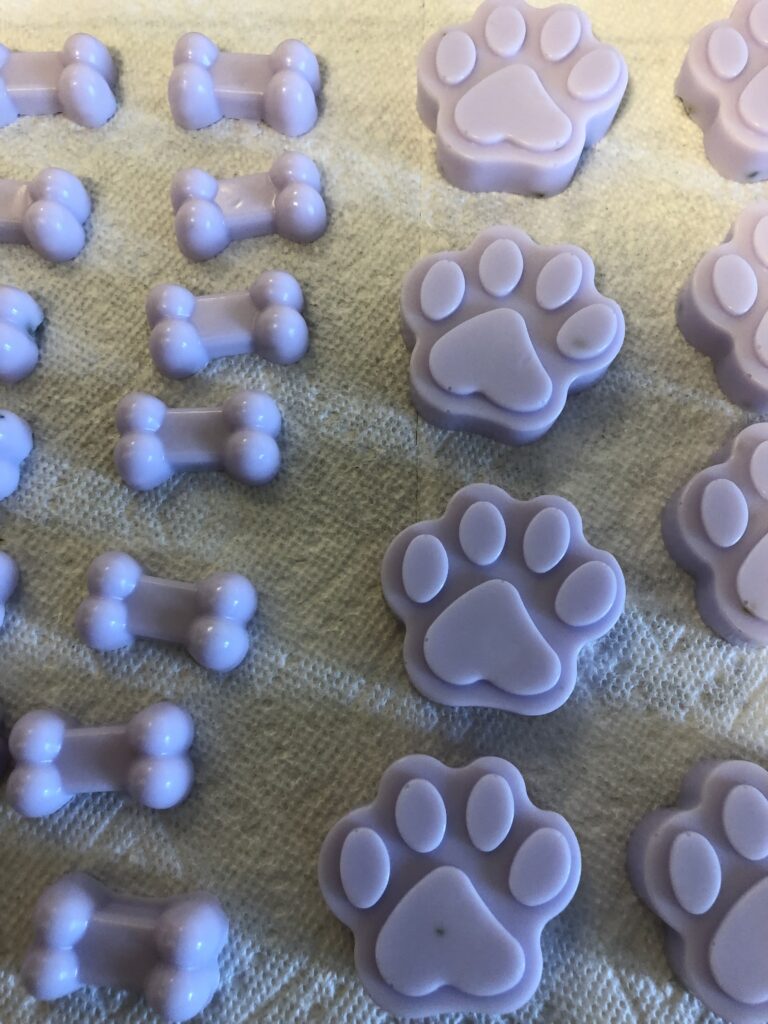
Novelty soaps are fun to make and share. Soap that doesn’t give me rash…priceless! Try it yourself!
If you’d like to chat about this post, leave a comment or email me at marykisner@comcast.net.