
Never in a million years did I think I would want to learn how to mend my socks! Now that I’ve finally found the perfect socks (from https://maggiesorganics.com) I was very distressed to find I had worn a hole at the toe. So sad…both my mother and Bert’s mother passed away over 30 years ago and I couldn’t ask them how they did it! Believe it or not, I found dozens of articles and YouTube videos with instructions online!
I realized I needed a “darning egg” that would fit inside the sock to stabilize the place I wanted to sew. I remembered seeing such a thing in one of the drawers of my treadle sewing machine. It seemed small…like it would work in a child’s sock.
Then I realized I needed appropriate thread! So, I headed to JoAnn’s to see what they had. Lo and behold…they also had a new (larger) darning egg!
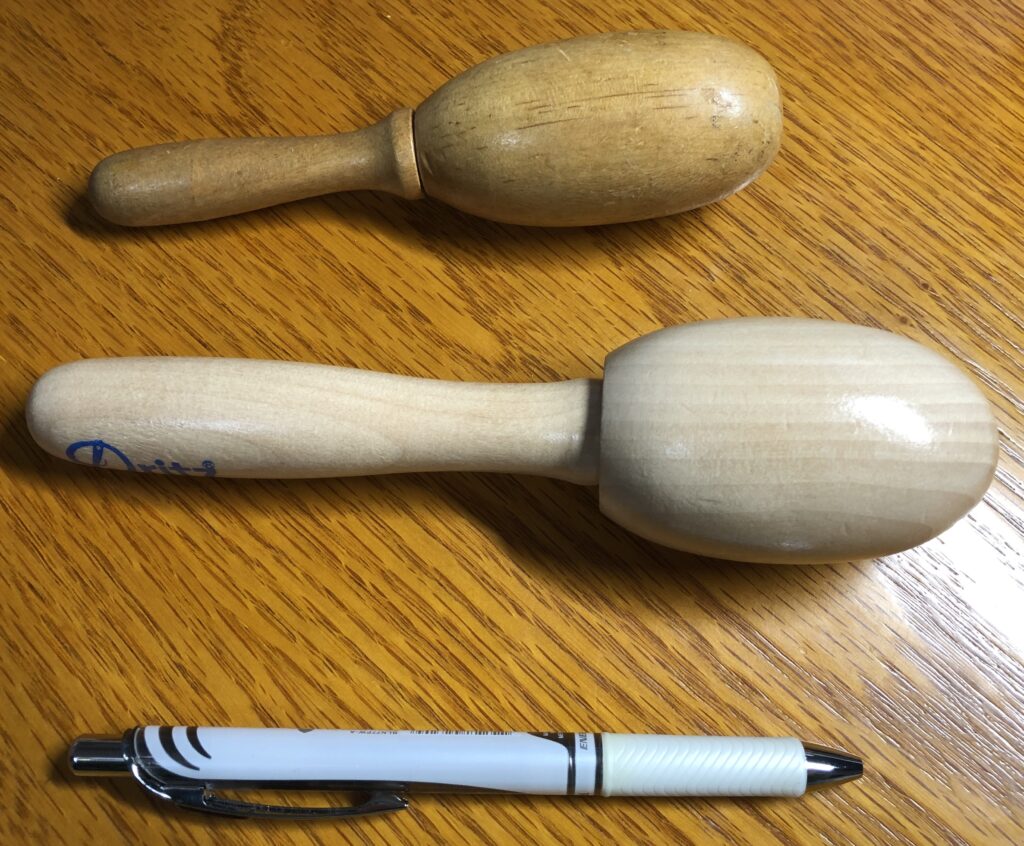
The smaller “darning egg” above is old and used. The new one is larger and made of hardwood. On the back of the packaging for the new one, were these instructions:
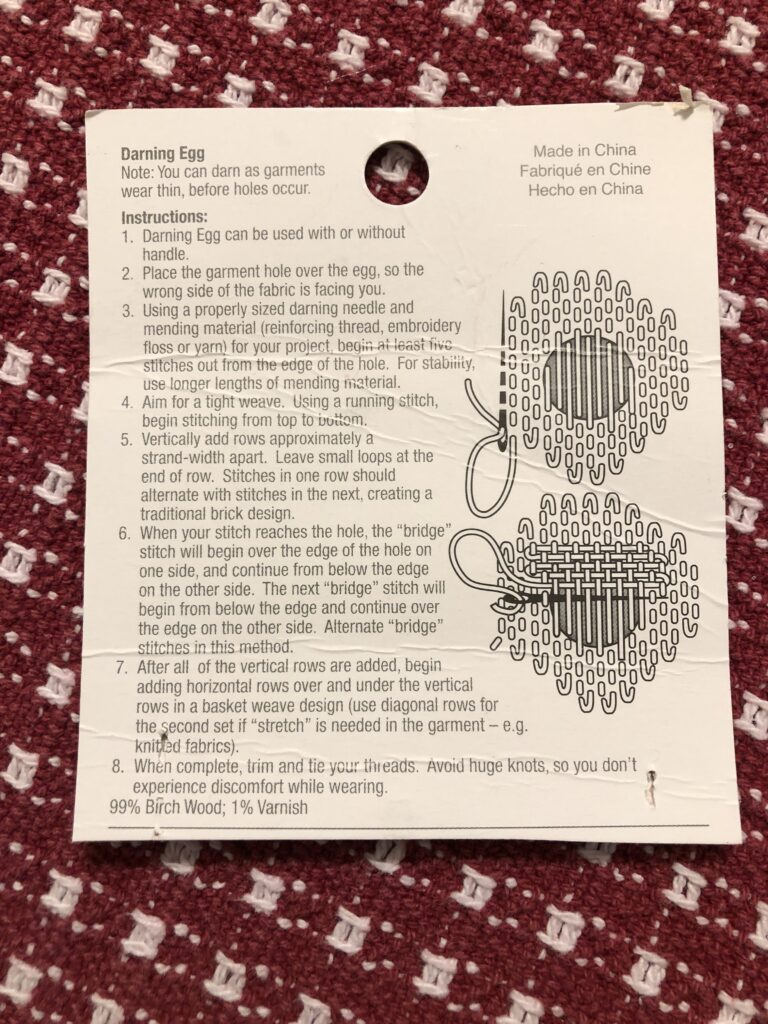
Looks so simple, right? Besides needing a magnifying glass to read the instructions, somehow the actual sock wasn’t so precise!
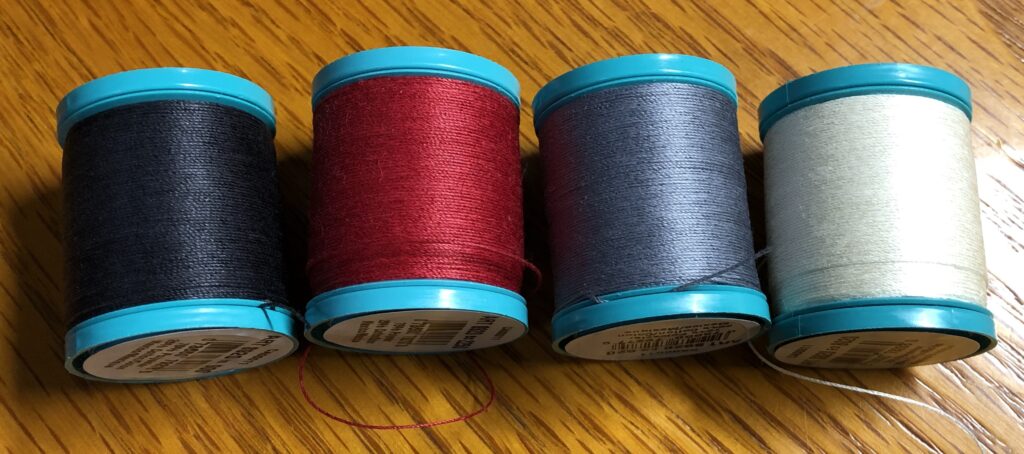
At JoAnn’s I also picked up thread (called “Button & Craft” thread) in four colors, I don’t actually have socks in red or lavender, but I thought it didn’t matter…my socks are usually inside a shoe!
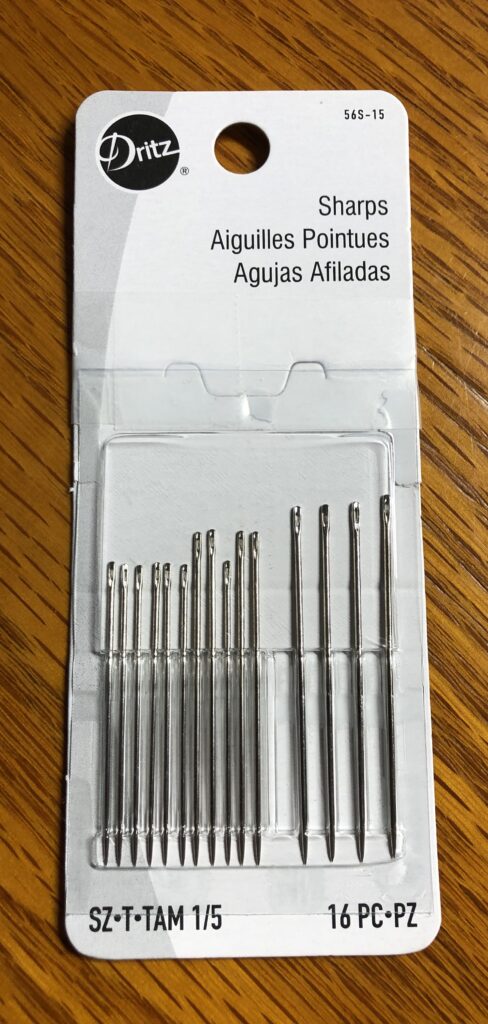
Then I grabbed a packet of needles, with larger holes just in case my regular hand sewing needles were too small:
Sock #1
This was an older sock that I felt I could practice with. The first set of instructions I read told me to put the darning egg inside the sock…so I did.
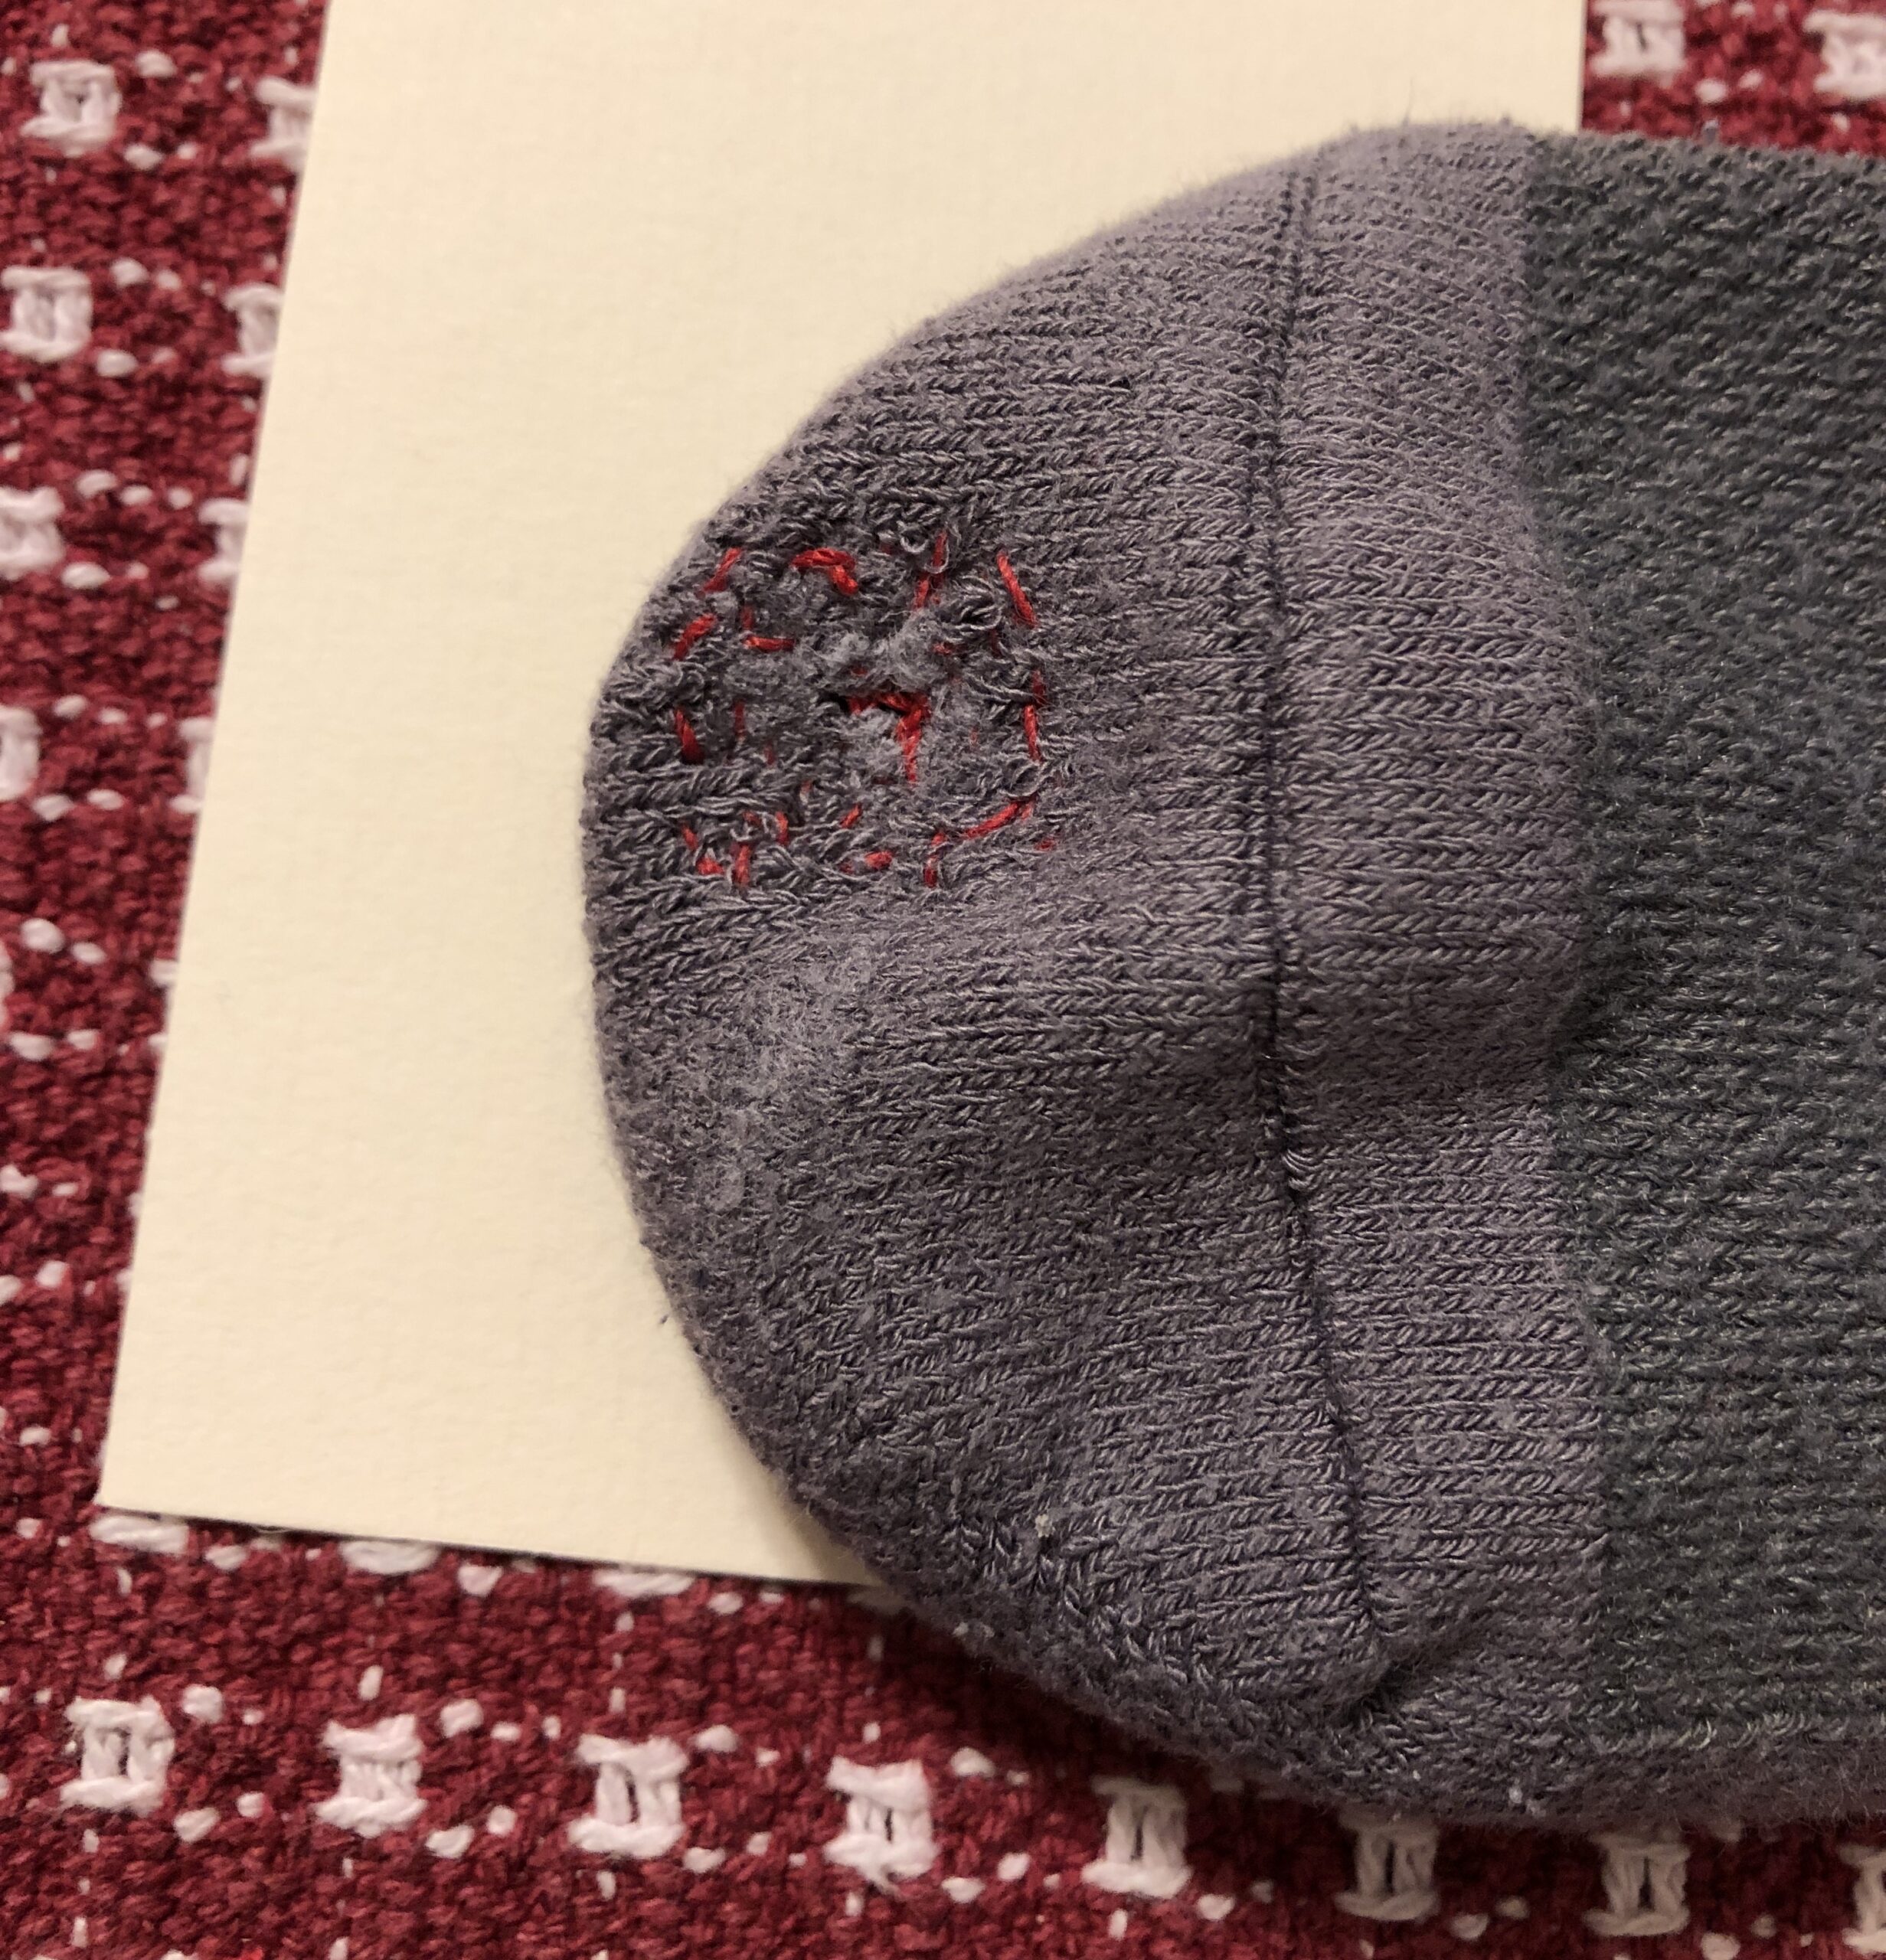
Next, I was to make a row of running stitches around the hole. I used red thread on purpose so it would show up in these pictures. I made a knot at the beginning, before the first stitch. I planned to cut off the knot when I was done.

Then I read the instruction that came with the new darning egg and it said to turn the sock inside out before starting!! Of course! So, I removed the egg and carefully turned the sock inside out…and got the needle to the outside. Geez!
OK…continuing on the inside of the sock…I started making long stitches to create the beginning of the patch.
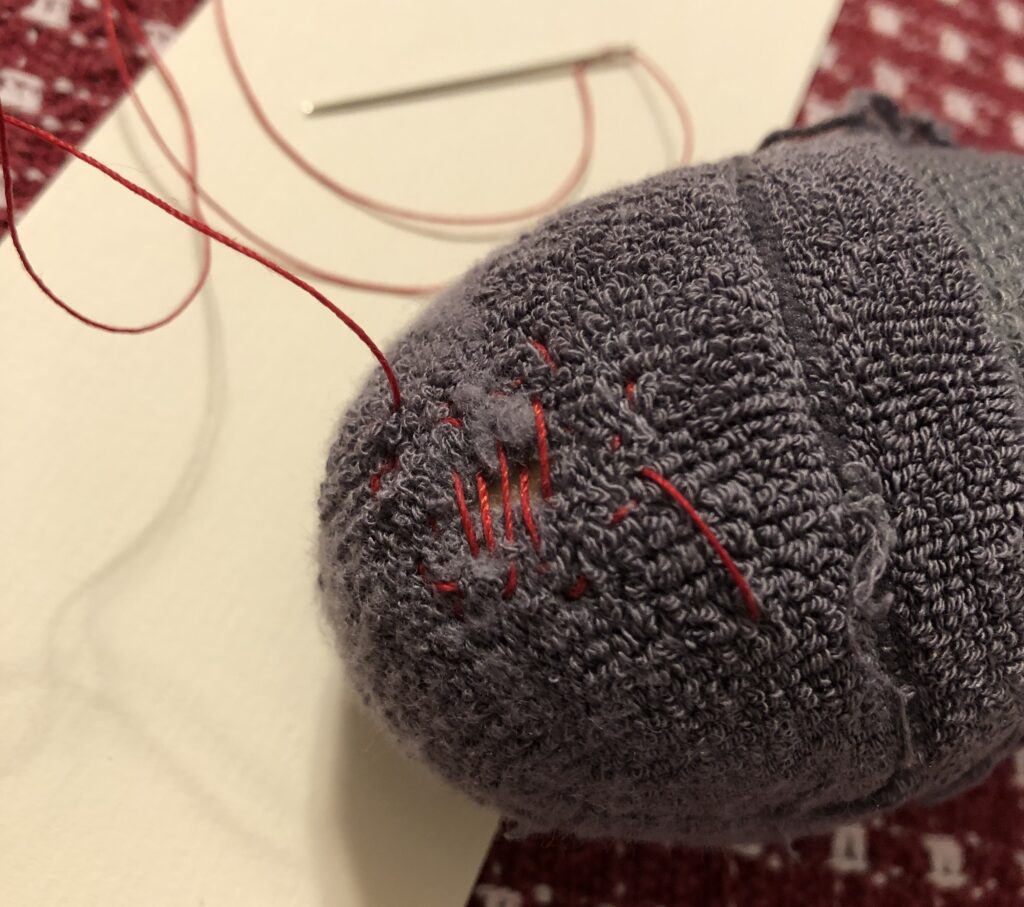
Then, I tried to weave stitches across the long ones going perpendicular to the first stitches. Then I just went over the whole pile on the diagonal.
Looks crazy and messy, I know! But it did look like I had covered the whole from the inside.
Time to turn the sock right side out to see what I had!
Now the proof of success will be to wear the sock and see if it’s comfortable!
Sock #2
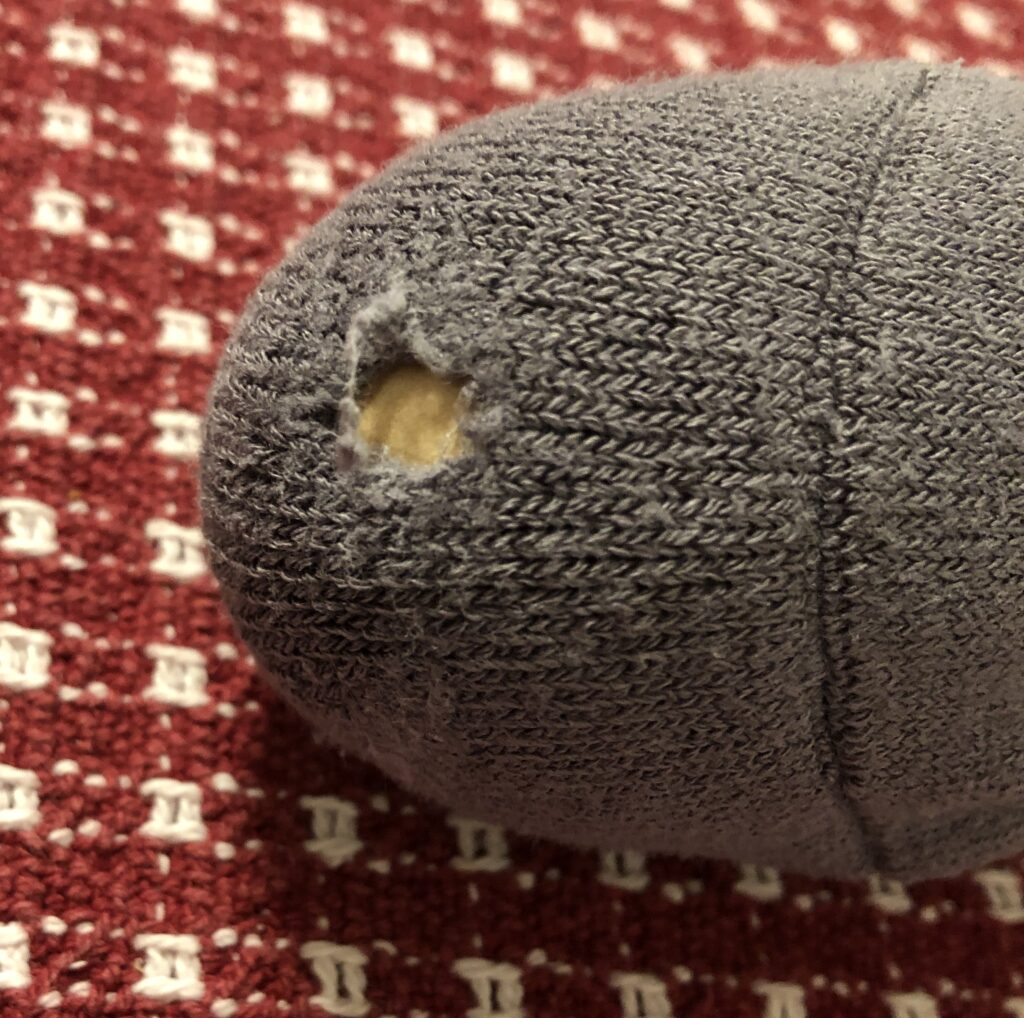
One more time. Here is one of my favorite socks…organic cotton from Maggies Organics. I really didn’t want to throw it away!
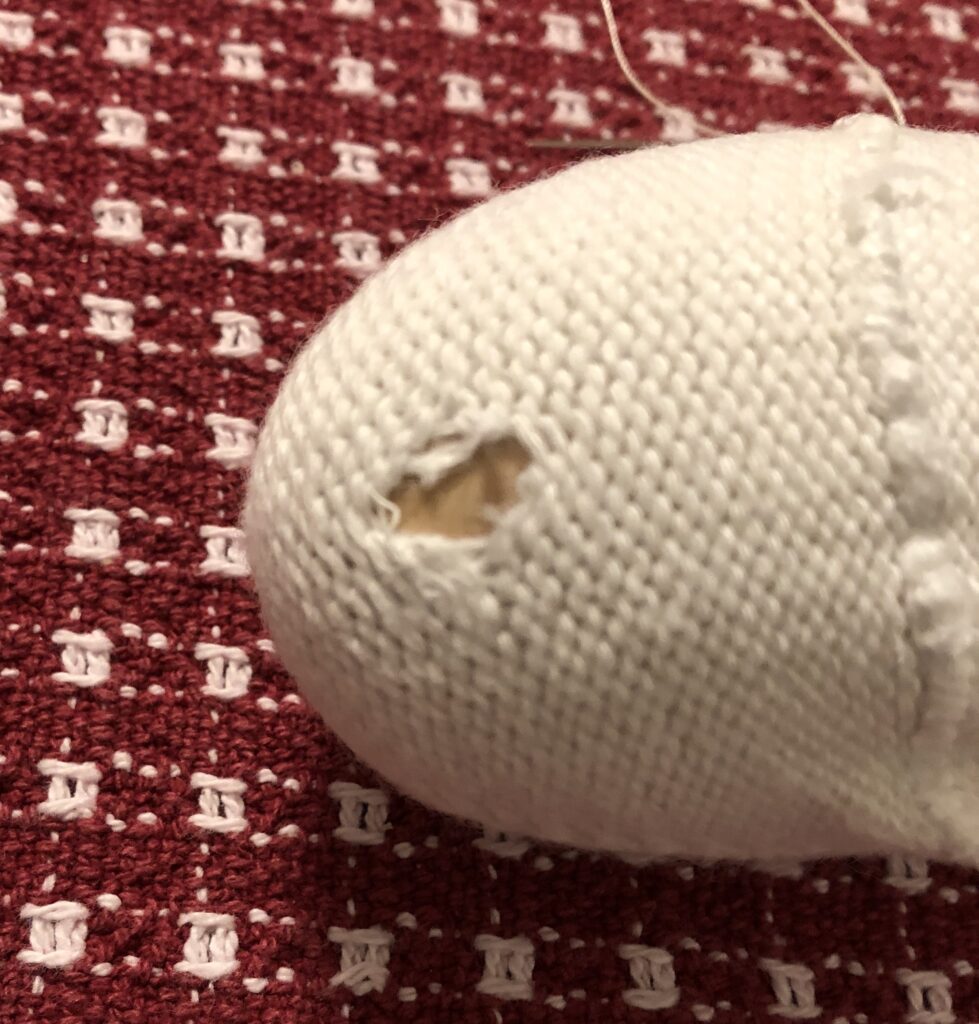
With the sock turned wrong side out I dropped in the darning egg. I started with the row of stitches around the hole. Then I started filling in with long stitches across the hole. I pulled the sides of the hole together a little as I snugged up the stitches. Finally, I wove stitches across the long stitches.
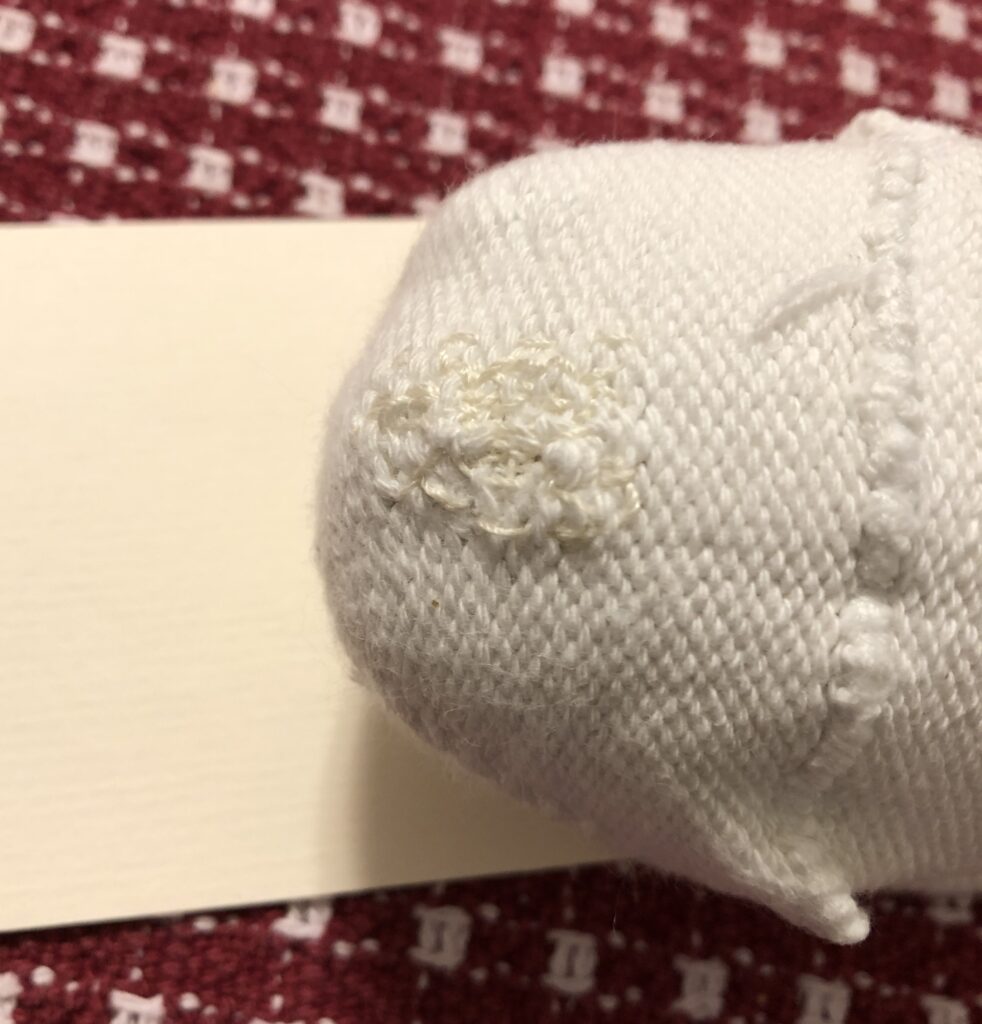
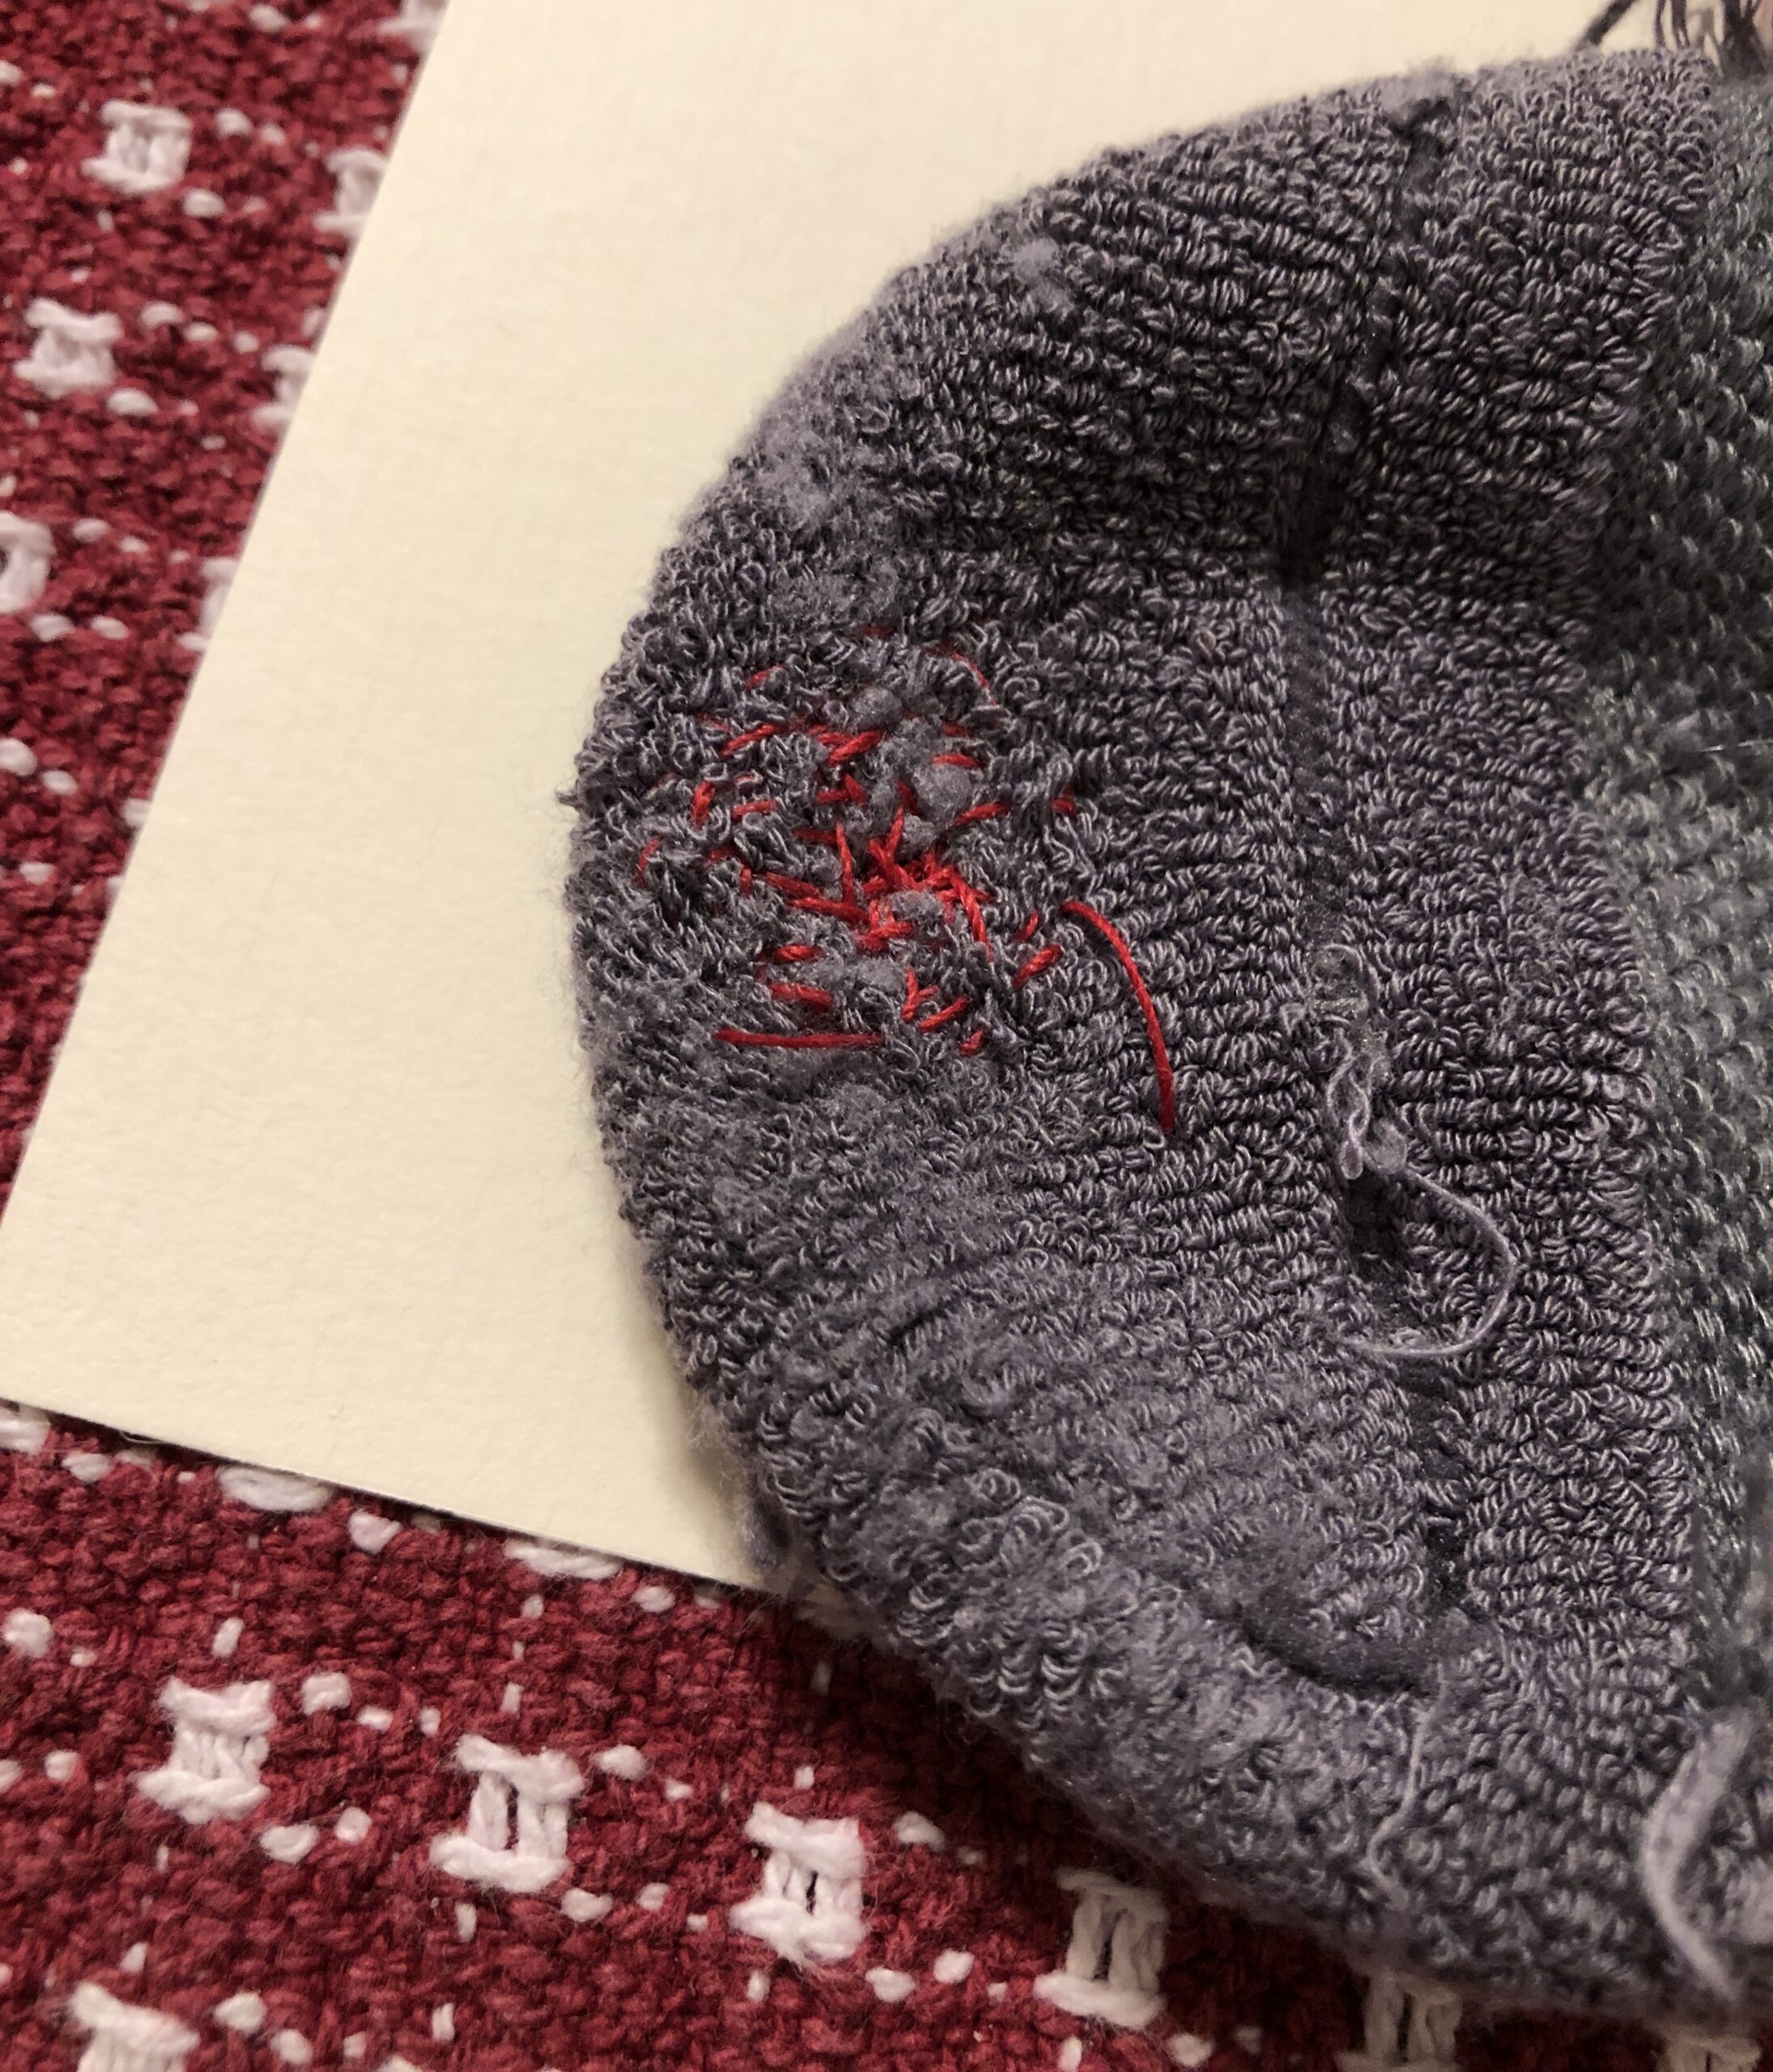
And the final result from the right side:
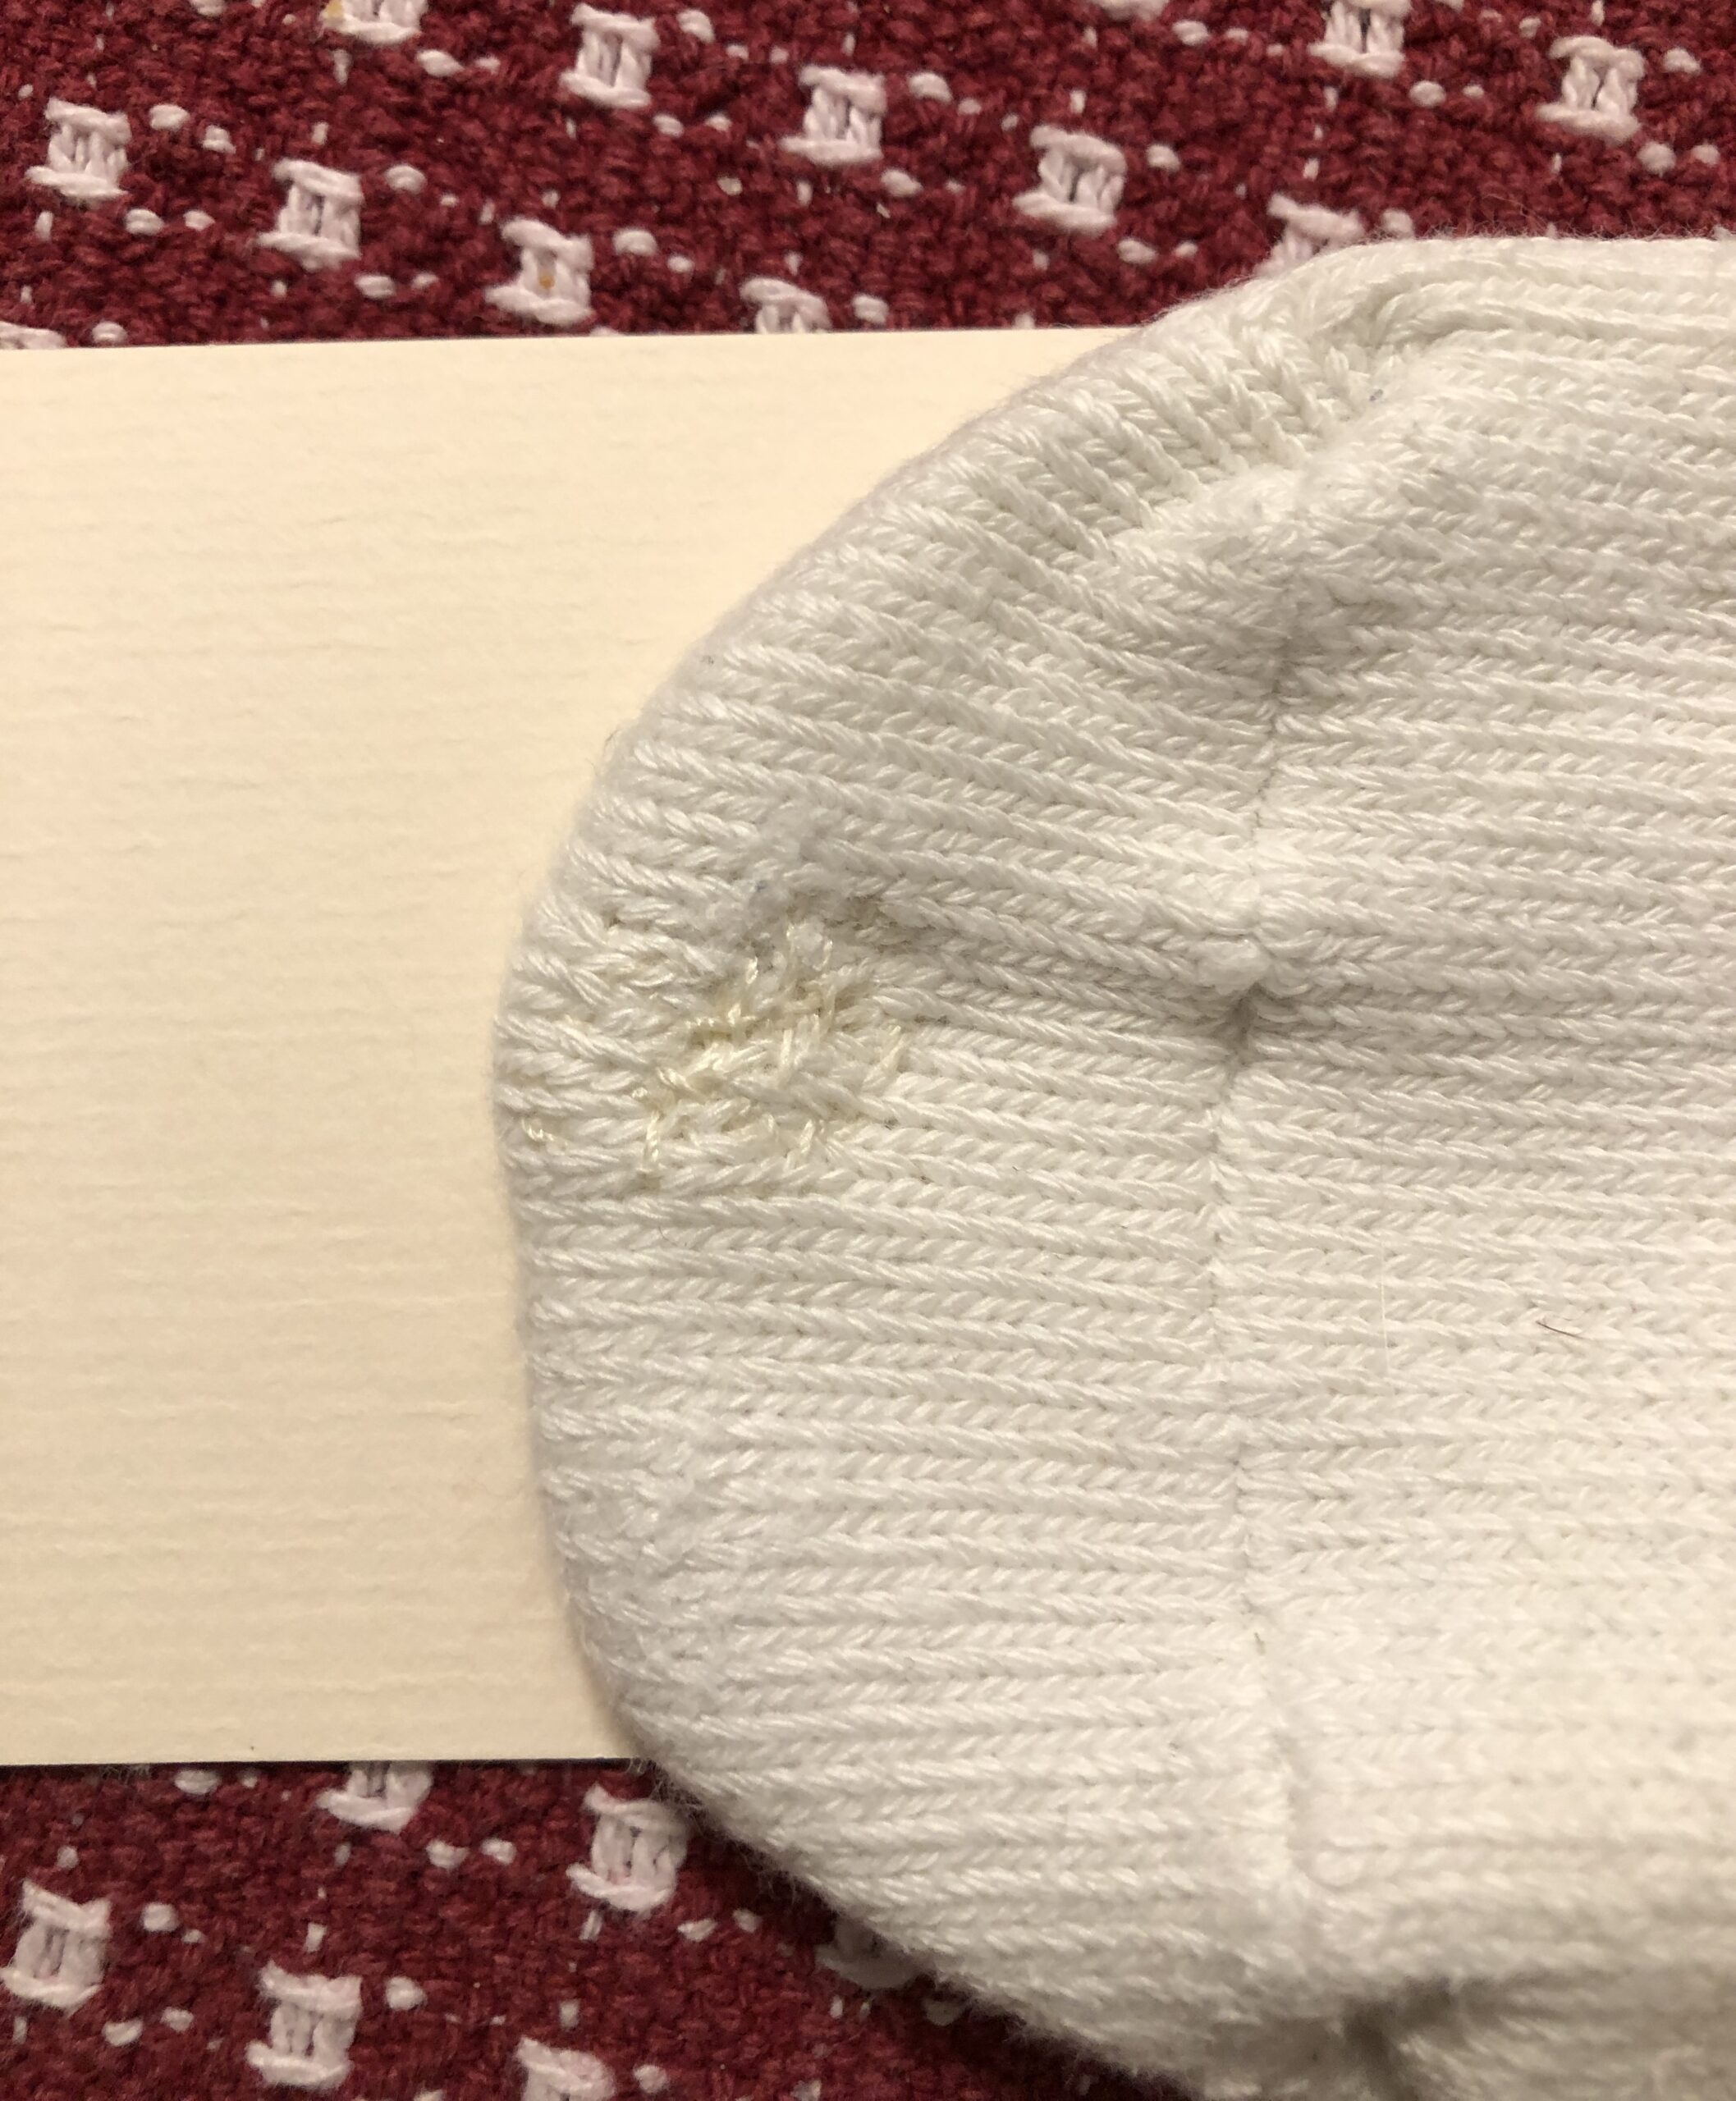
I hope my mother would have been proud that I saved a sock! Bert and I both remember our mothers darning socks. I probably wouldn’t have bothered this time, but I really like these socks and they were expensive! Now I’ll see if the repair patch is comfortable! At least now I have the right supplies to fix other socks!