I should not be surprised by the growth in the garden in mid-July! We’ve had hot days and lots of rain. I’ve been distracted by the festival preparations and clean up from last week, so when I headed out to the back yard yesterday, I was amazed to see how things had popped! Join me in a quick tour.
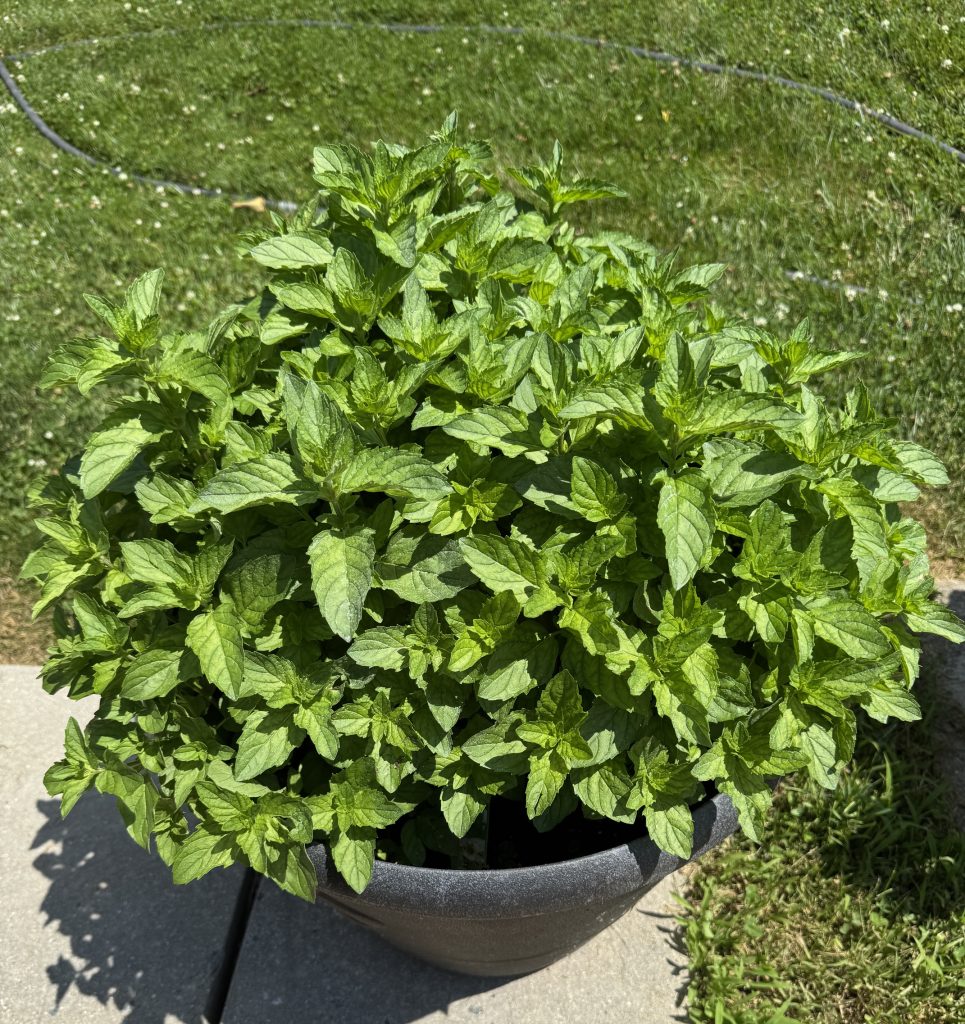
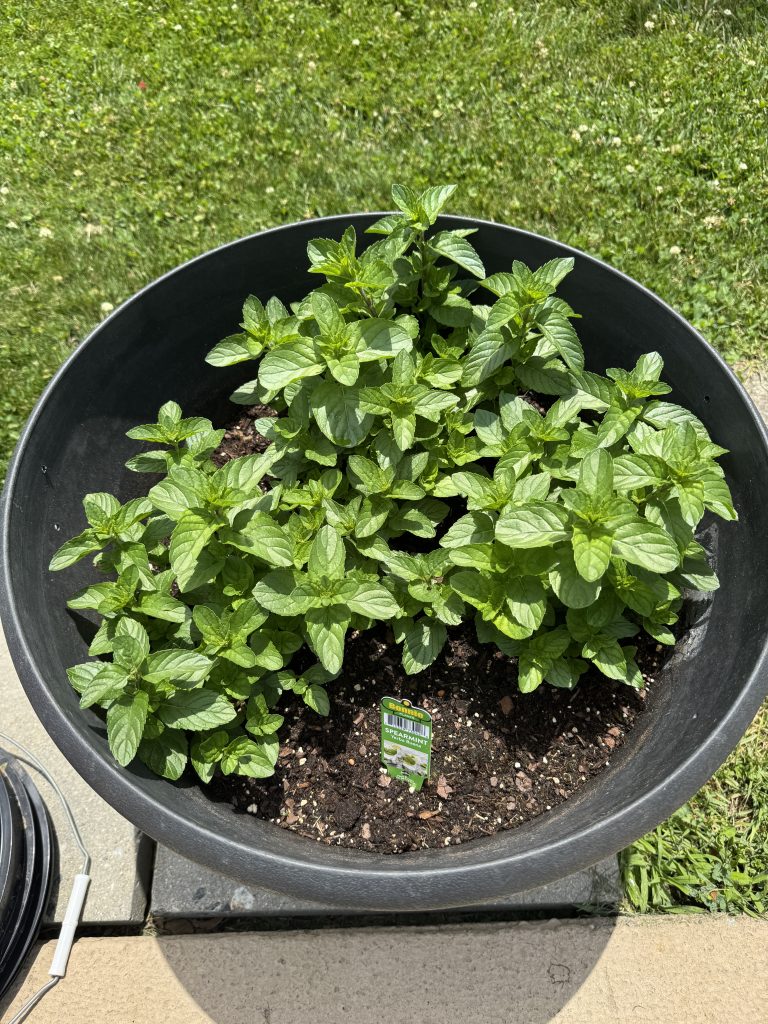
The petunias still look pretty…in the planters and in the pot. The spearmint is growing like a weed!
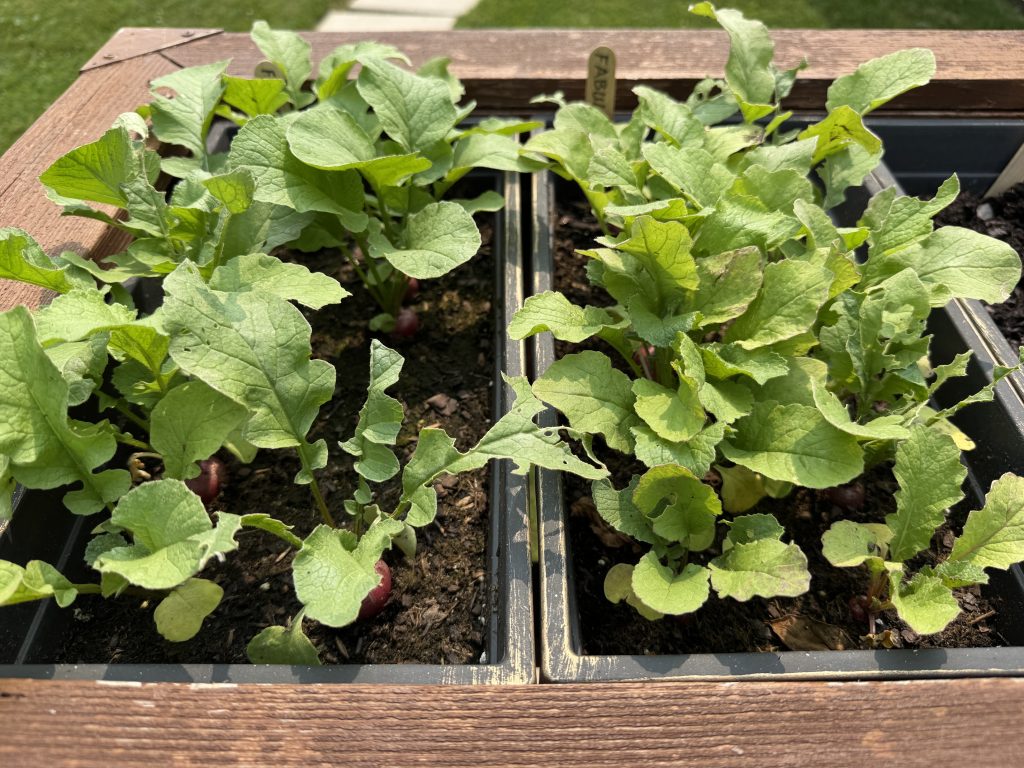
The radishes are minding the heat but the rain keeps them going.
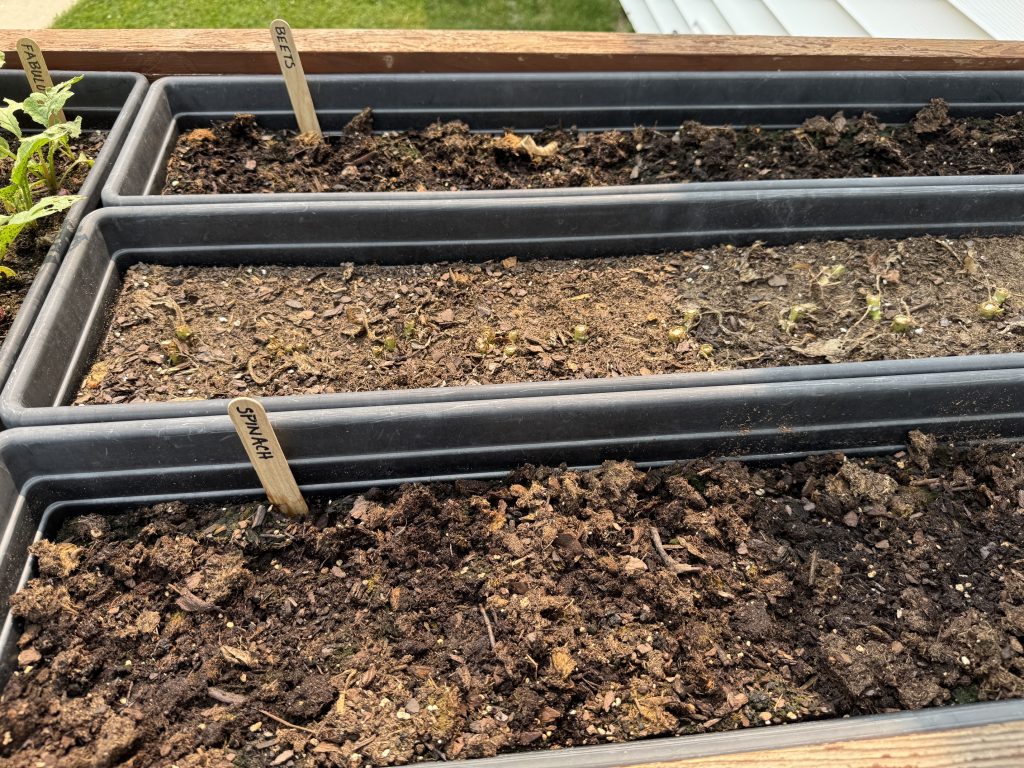
I’ll wait until fall to plant more radishes so instead I found some old seed for beets and spinach. Not sure if it will even sprout!
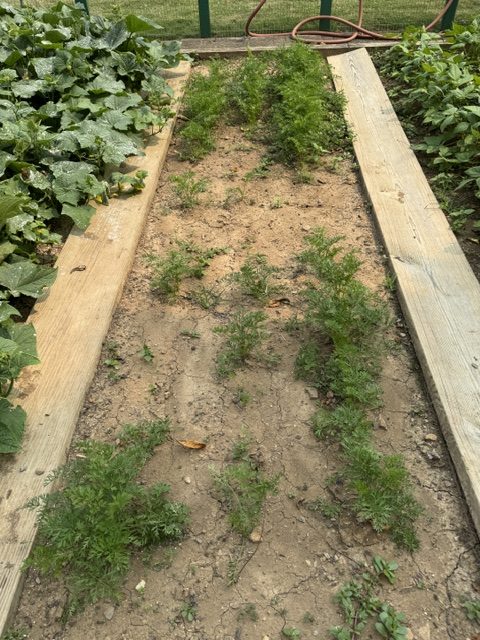
We had to pull the sugar snap peas two weeks ago. Bert took our extra carrot seeds and planted a long row in that planter. They came up quickly. We might have to use that planter for carrots in the future…they don’t seem to do well up in the garden.
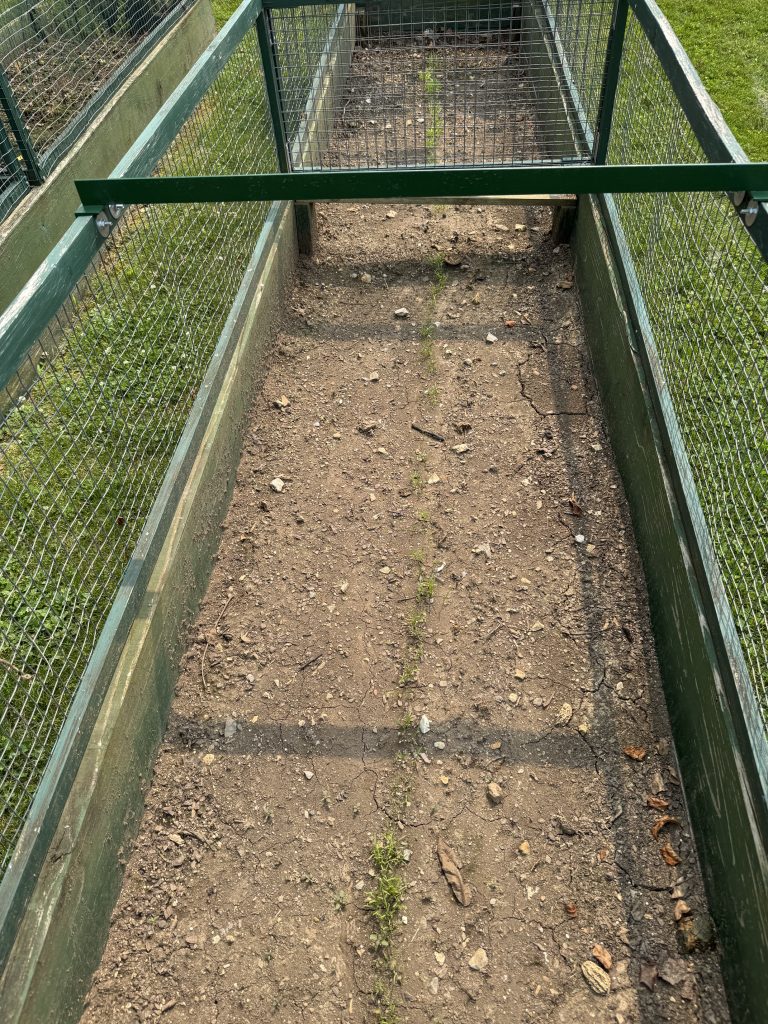
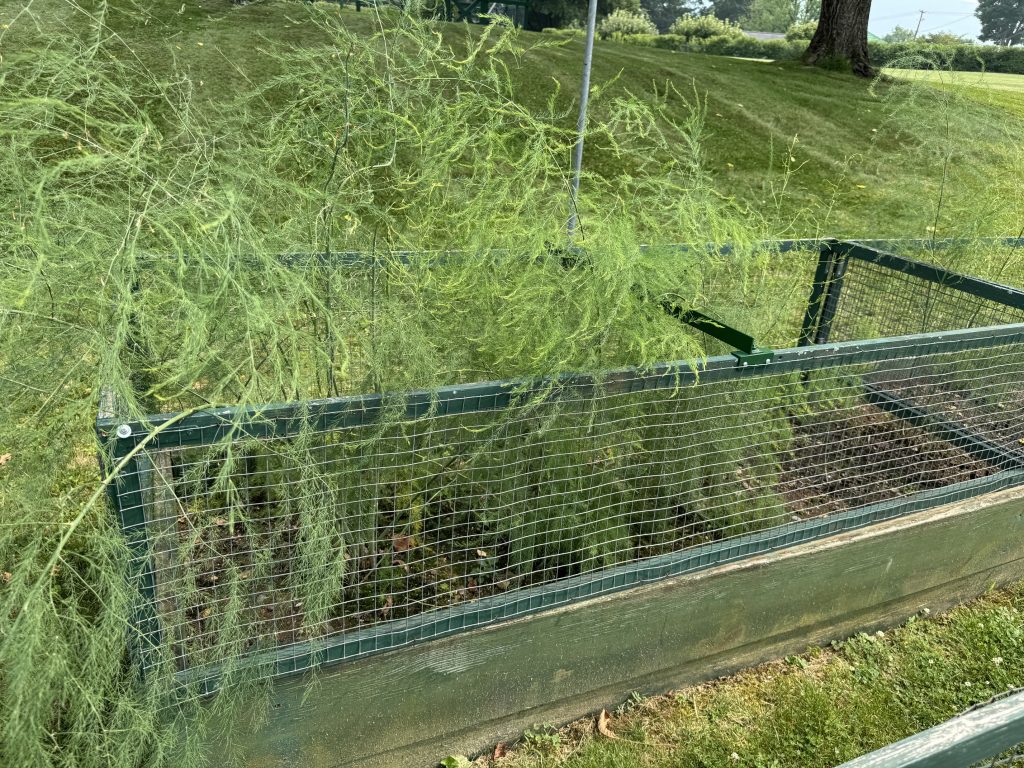
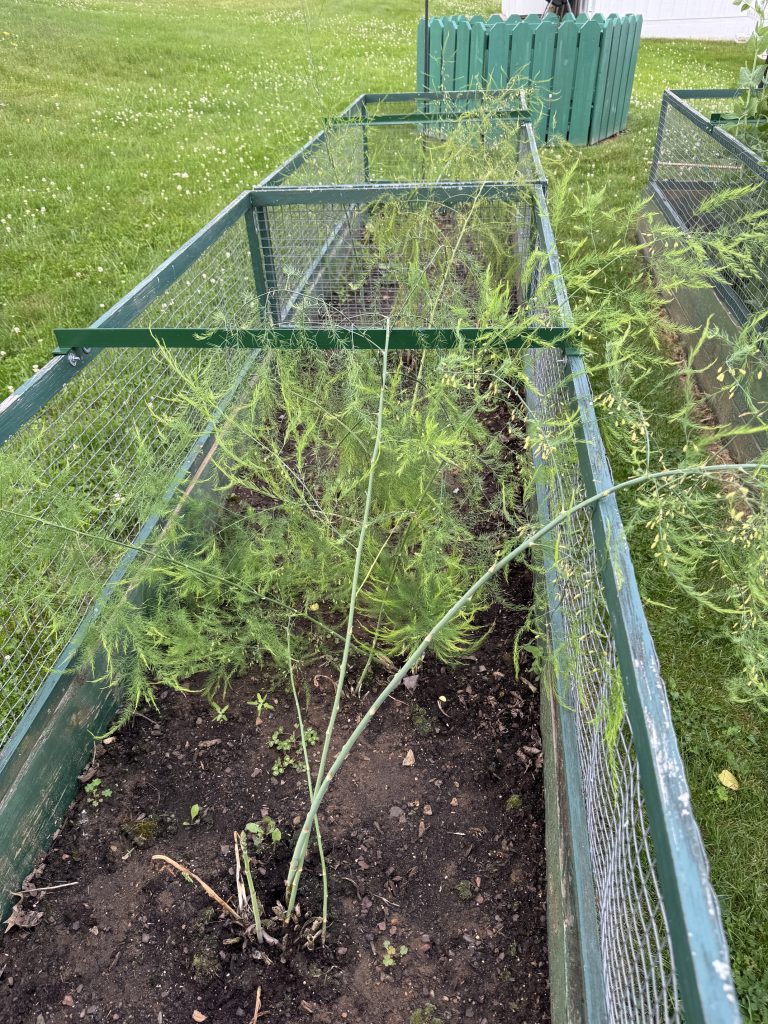
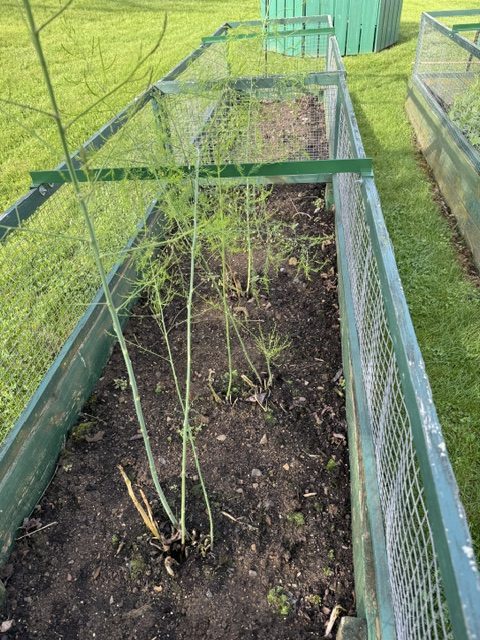
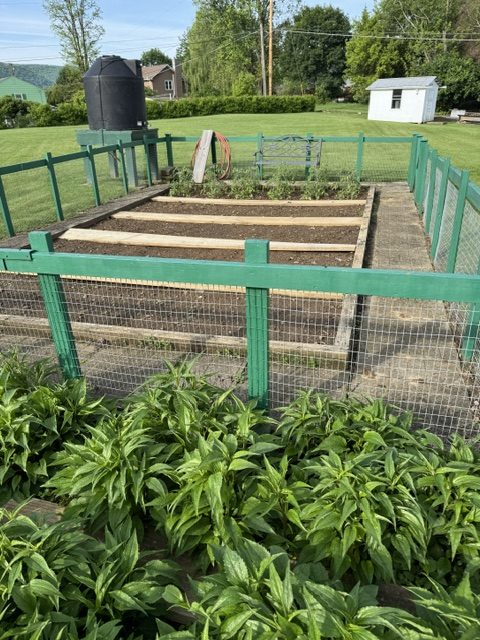
The asparagus looks pretty waving in the wind!
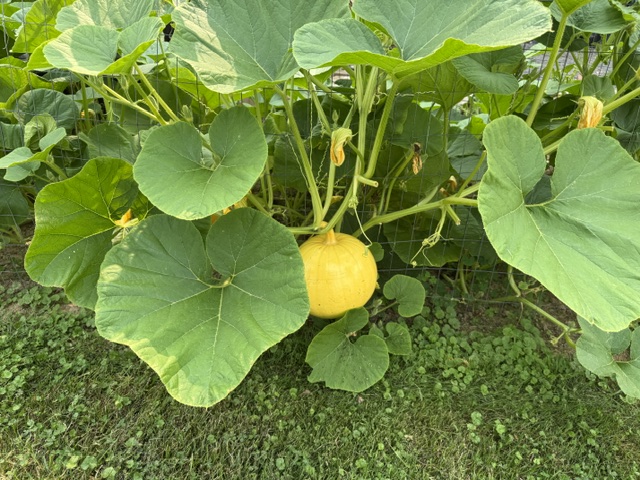
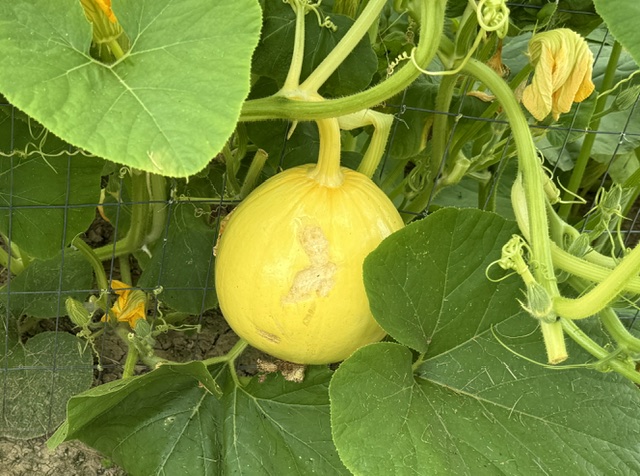
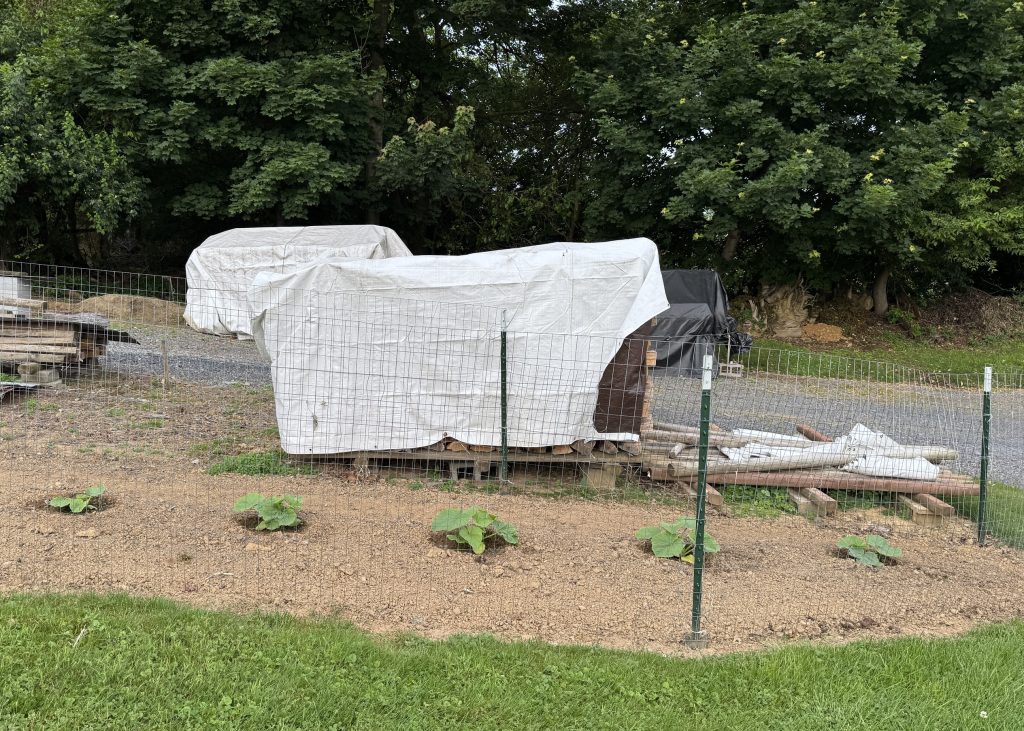
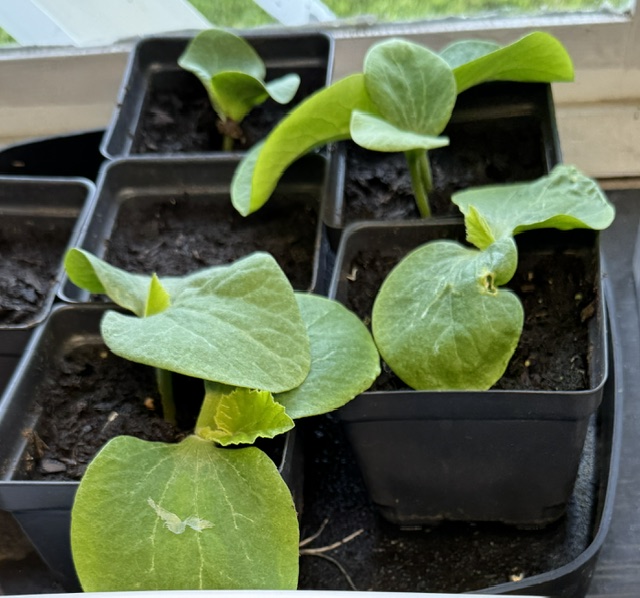
The pumpkins are determined to grow outside the fence! In the second picture you can see a critter must have taken a taste!
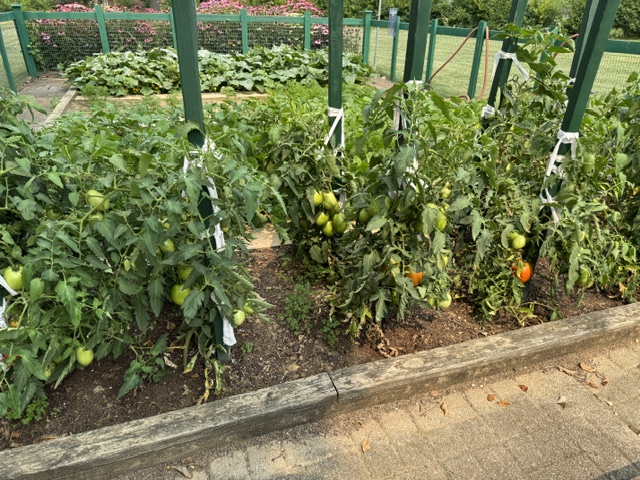
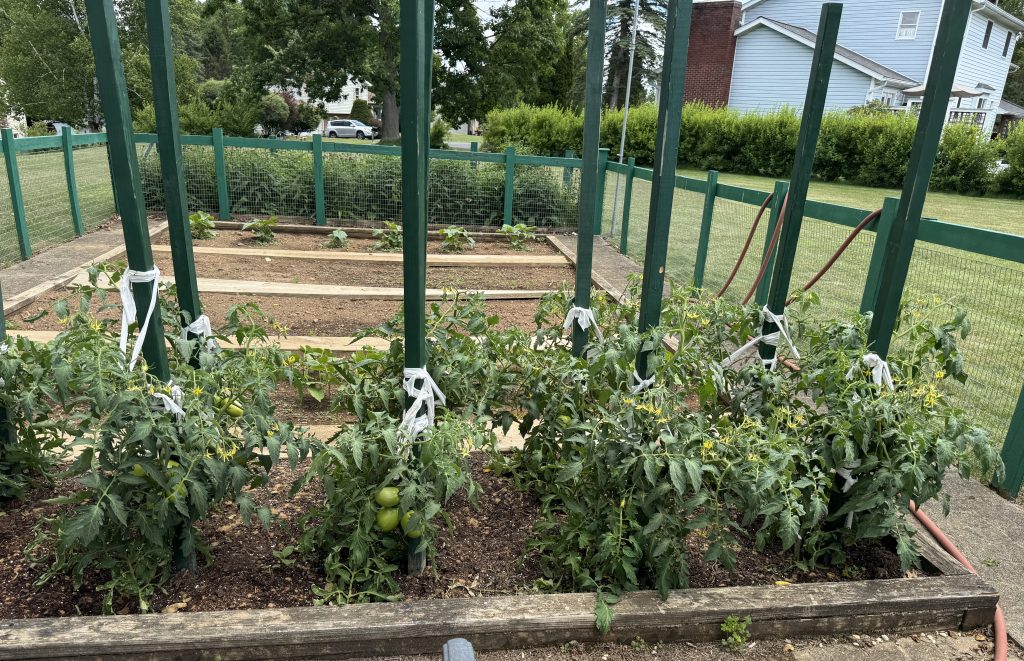
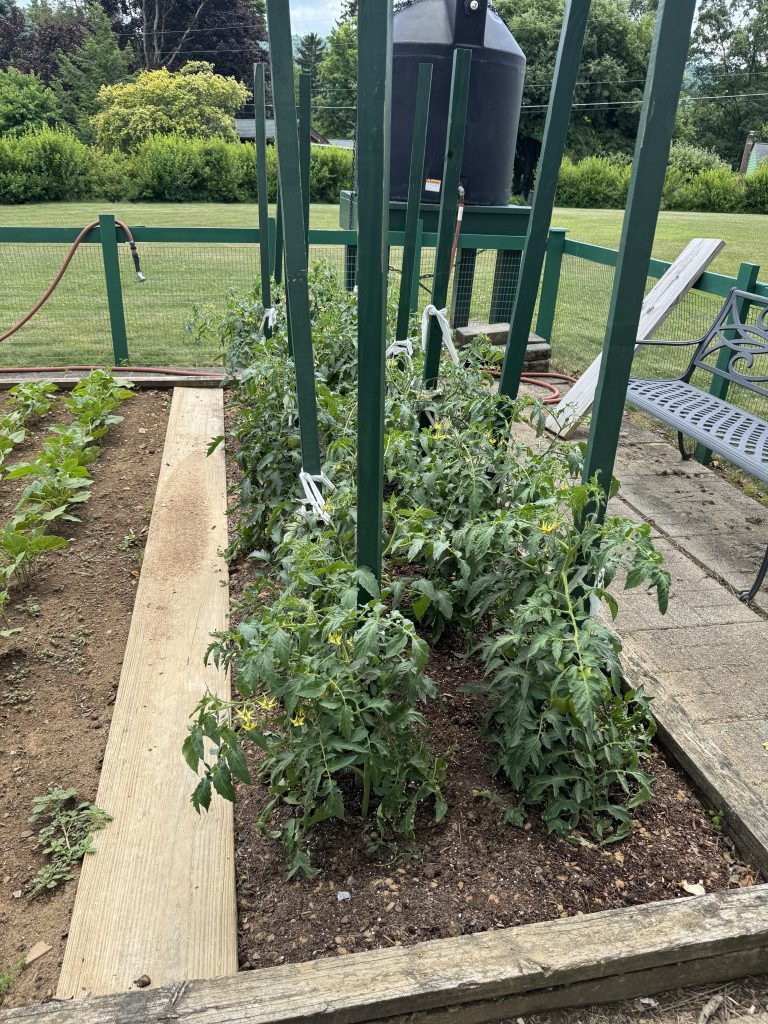
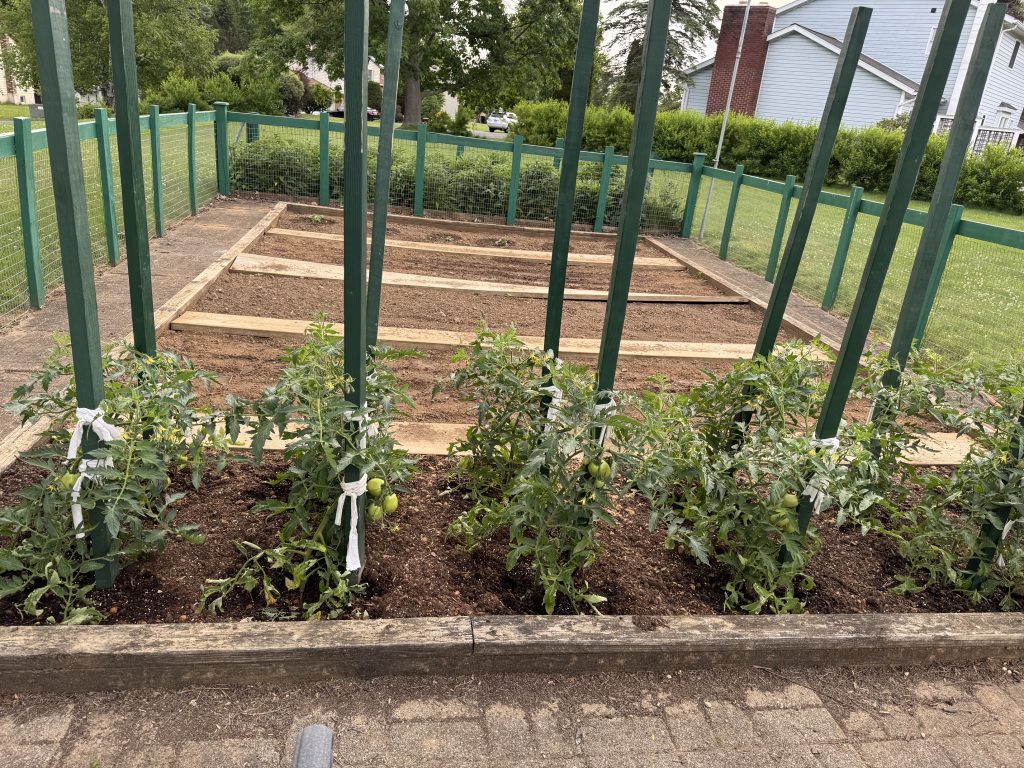
Up in the garden on the hill, the tomatoes are doing well!
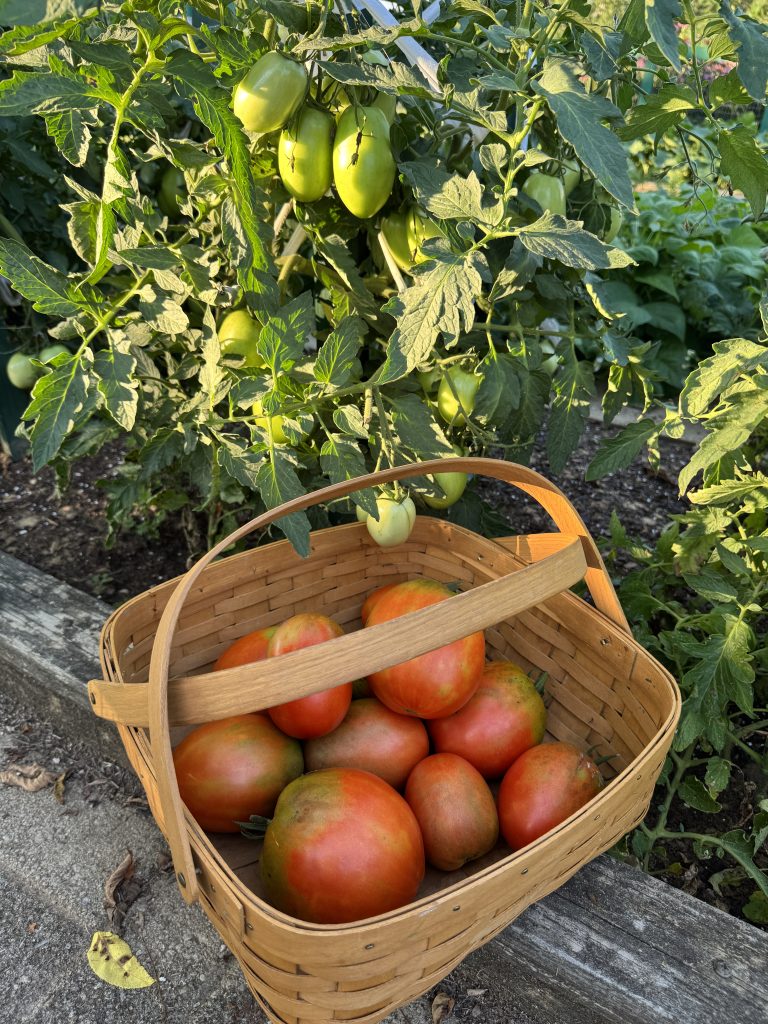
The first picking included some pretty big tomatoes! I like to pick them while they are still firm. In a day or two they’ll finish ripening on the kitchen table.
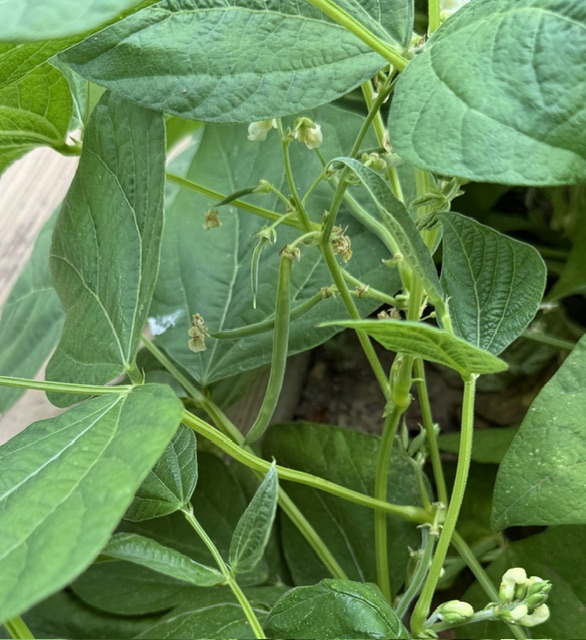
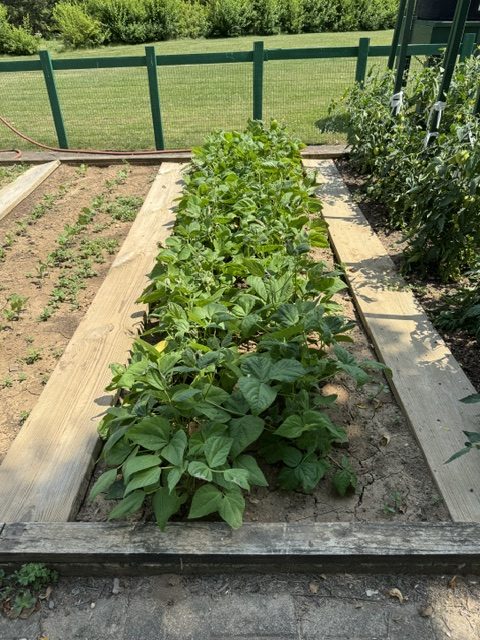
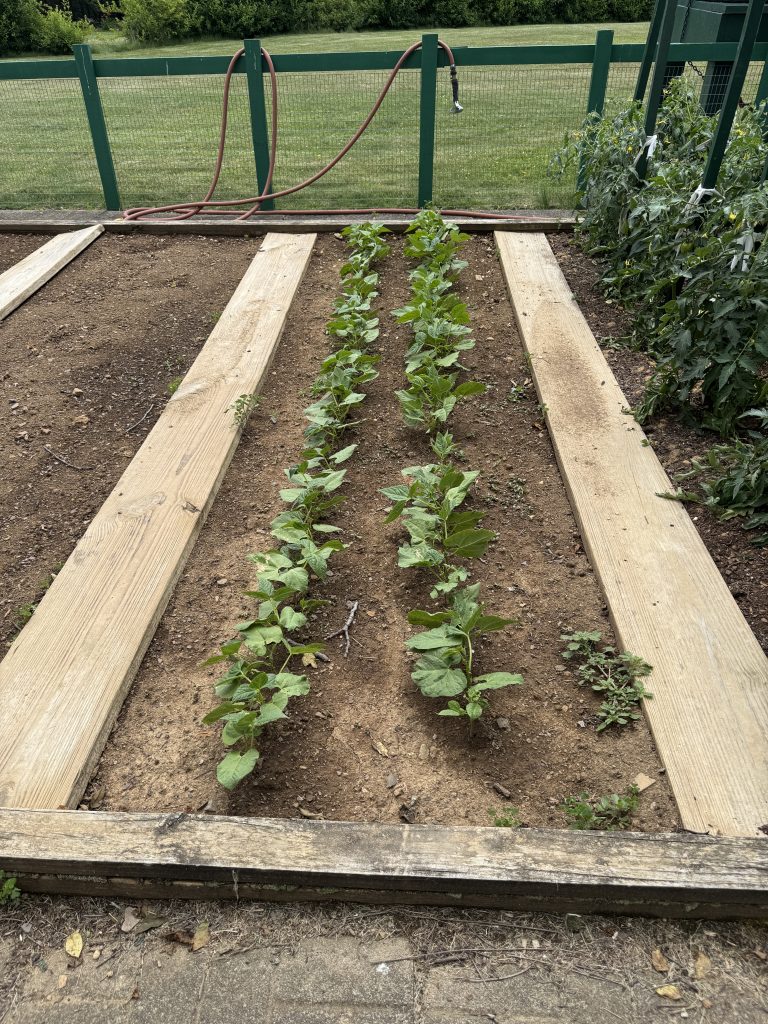
Next, the green and yellow beans are making beans! Finally!
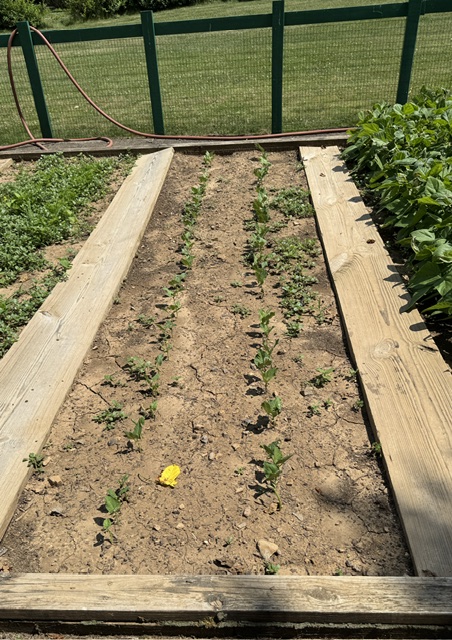
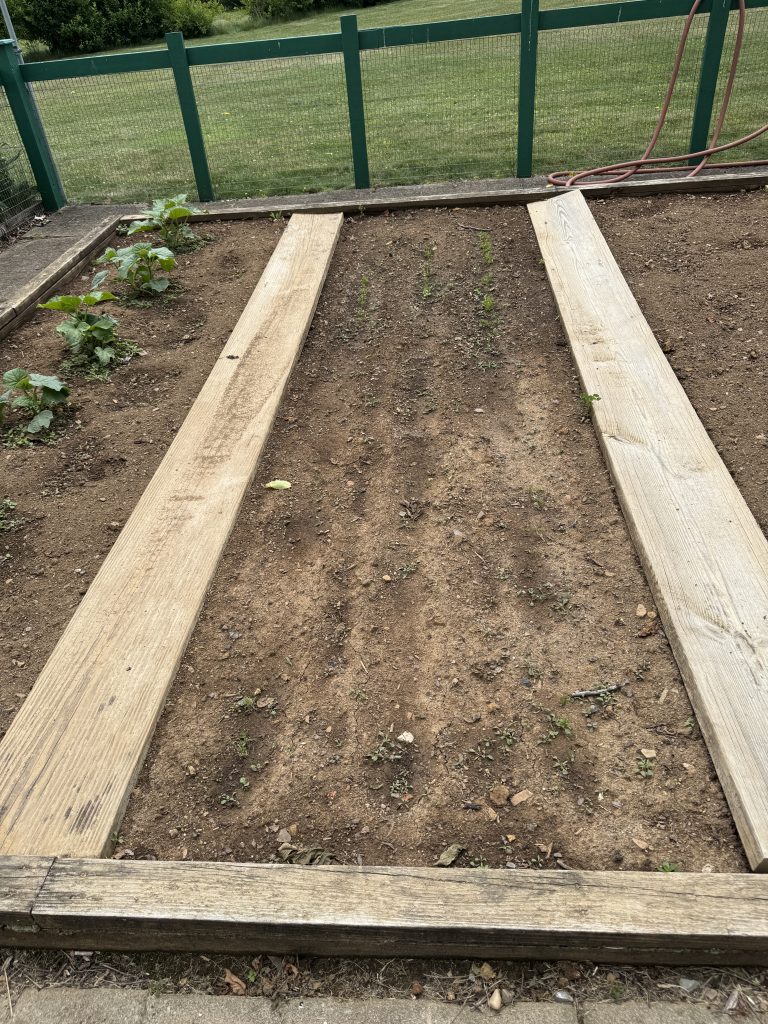
Here is the second planting of beans:
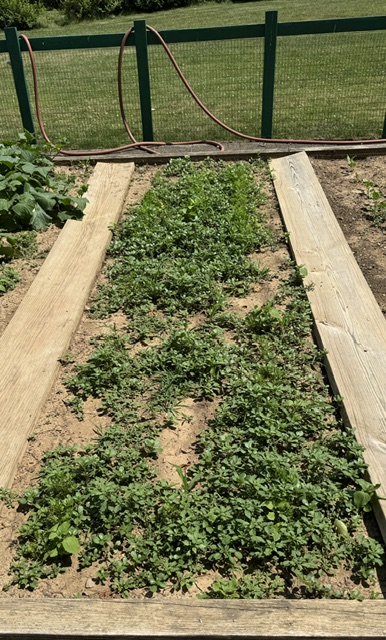
The carrots just can’t catch a break but some are trying! Maybe the soil just isn’t right. They seem to be growing more quickly in the bed near the patio (see picture above).
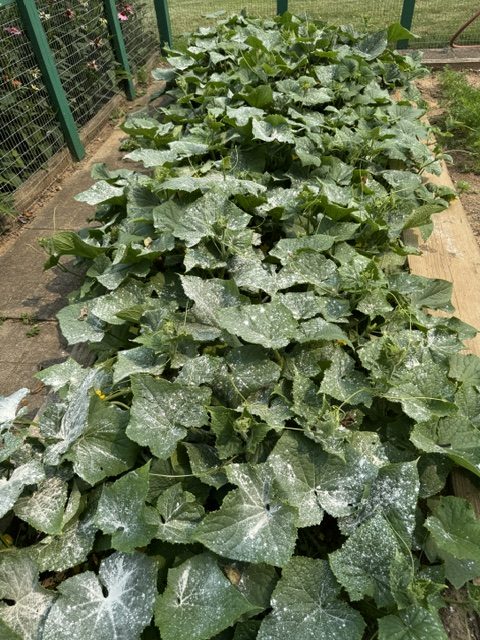
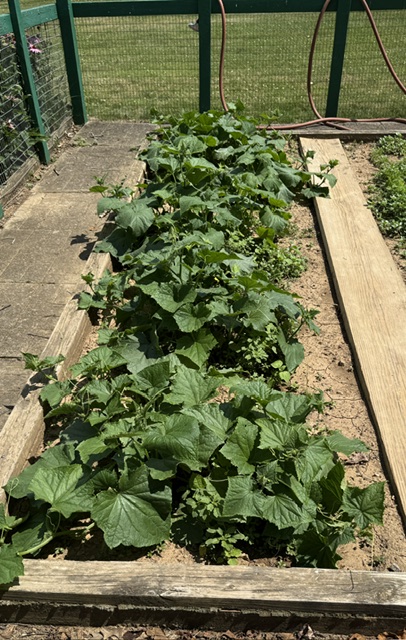
The cucumbers have gone nuts! Bert is spraying them for fungus I think.
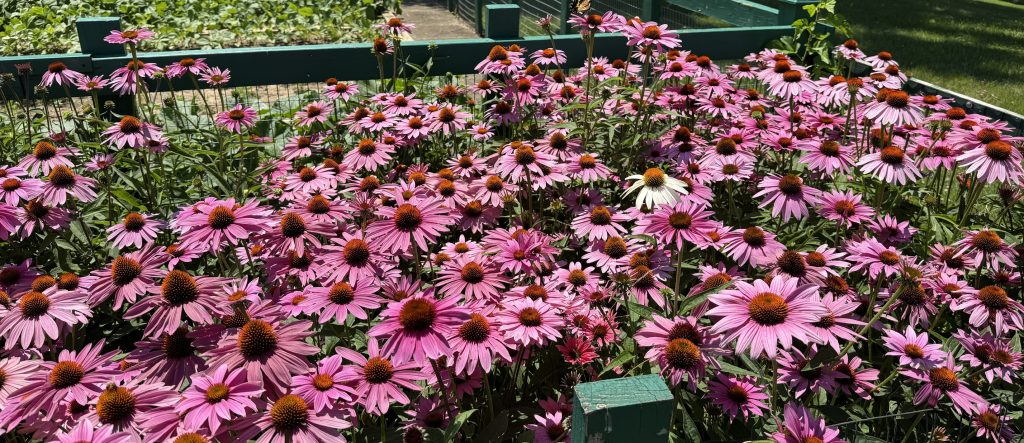
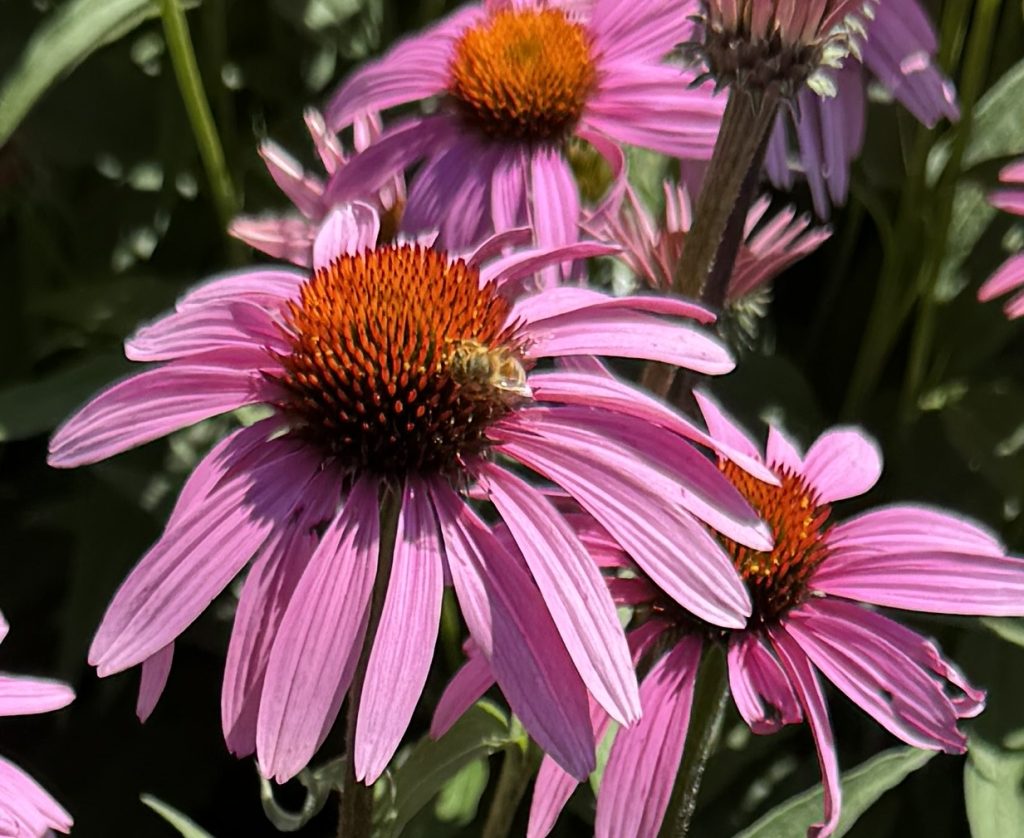
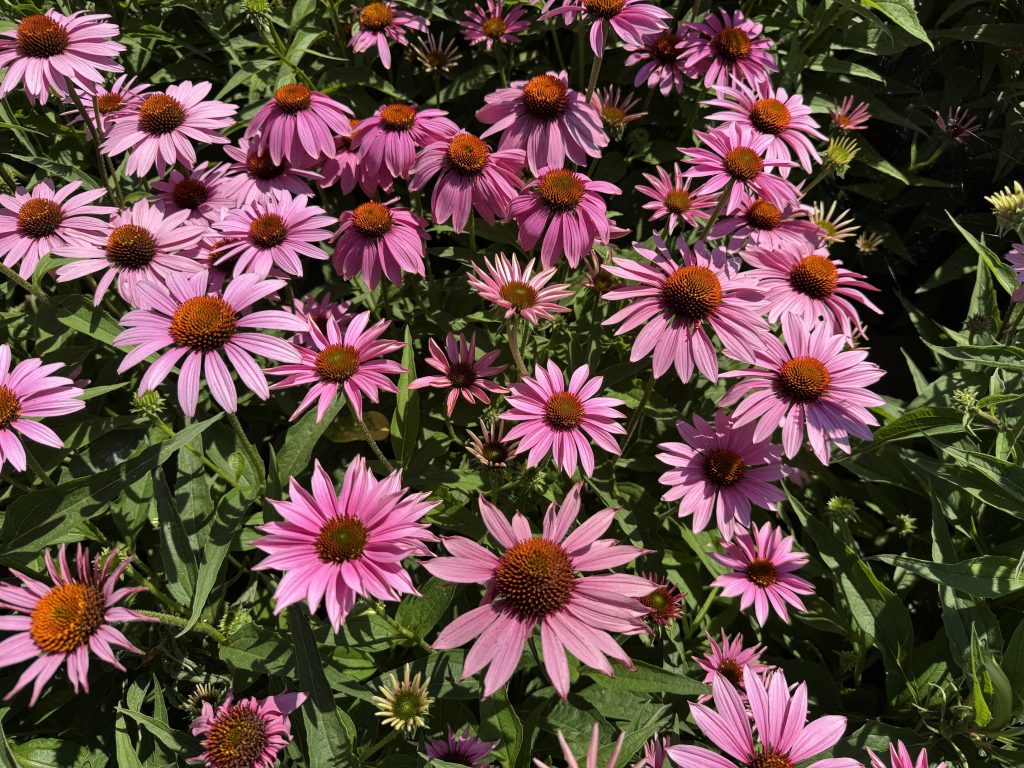
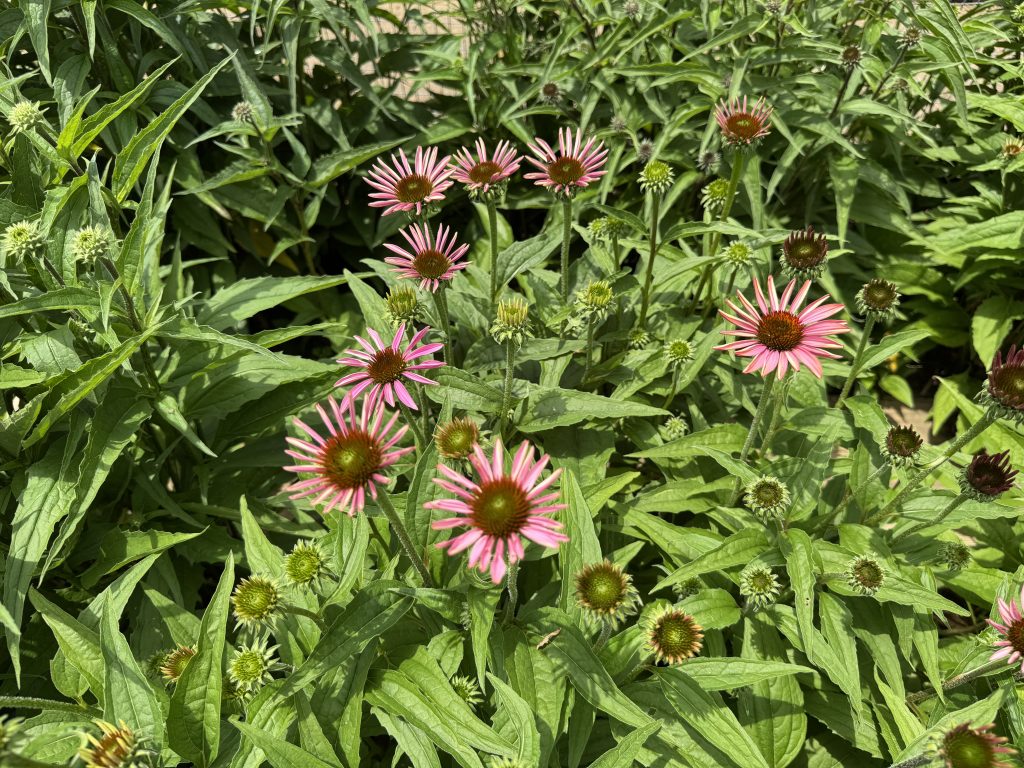
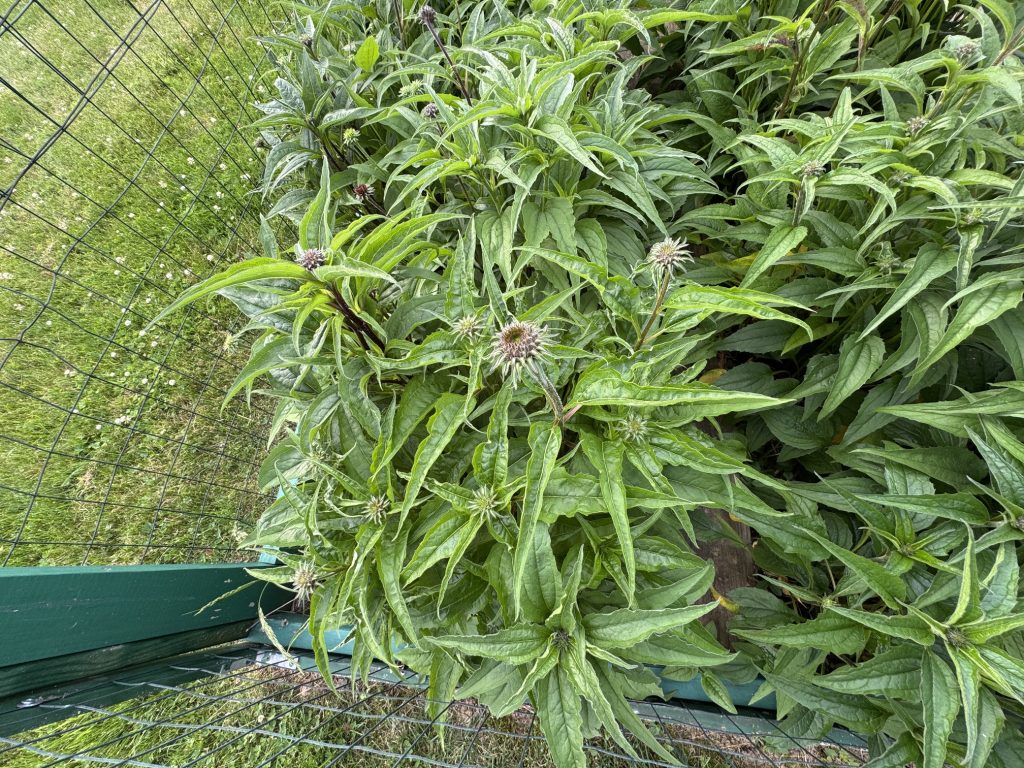
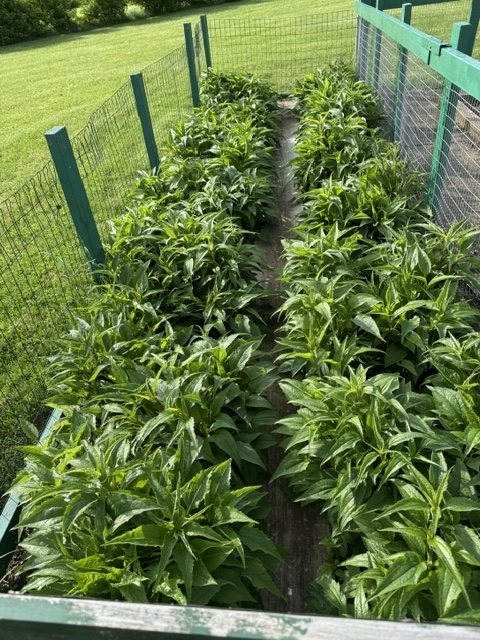
The echinacea are spectacular this year! We started with several colors of flowers five years ago, but each year the pink ones take over more.
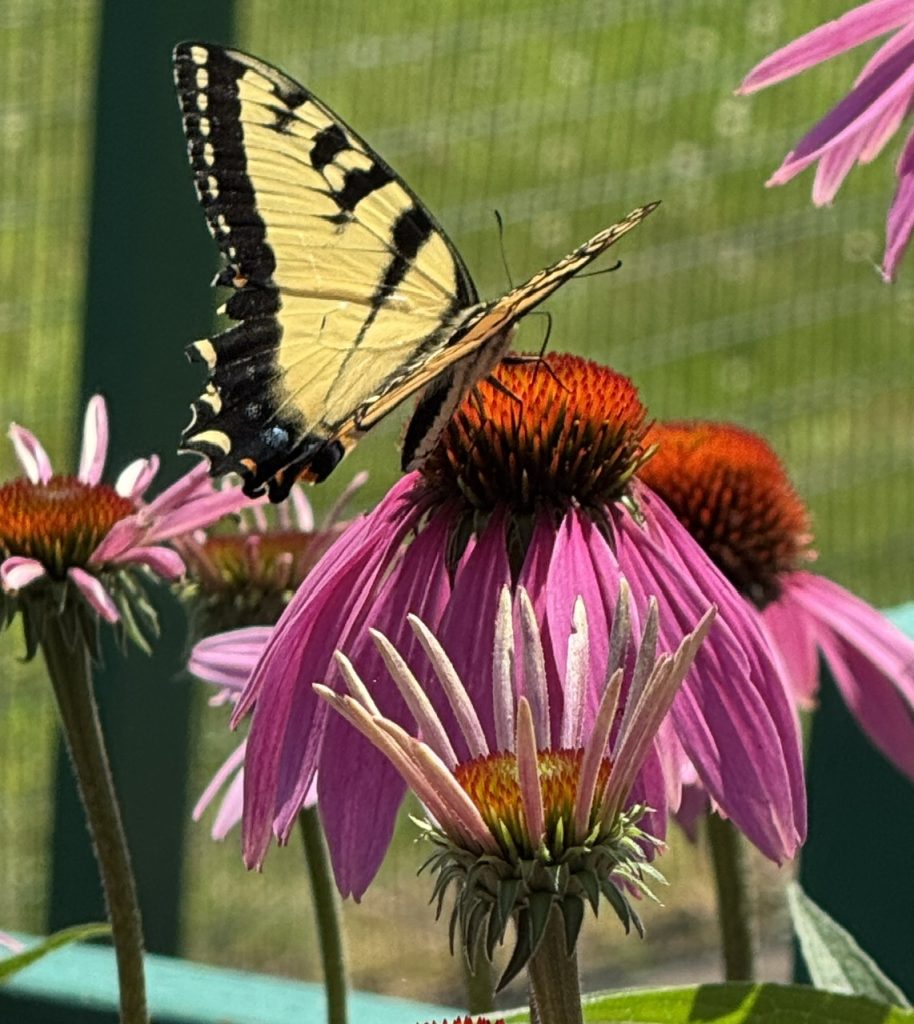
The bees and butterflies like them!
Enjoy! Please email me directly if you have comments or questions: maryjkisner@gmail.com.
The Art in the Orchard Festival at Way Fruit Farm in Stormstown was a 3-day event last week. I’d like to share how it went for me and two friends.
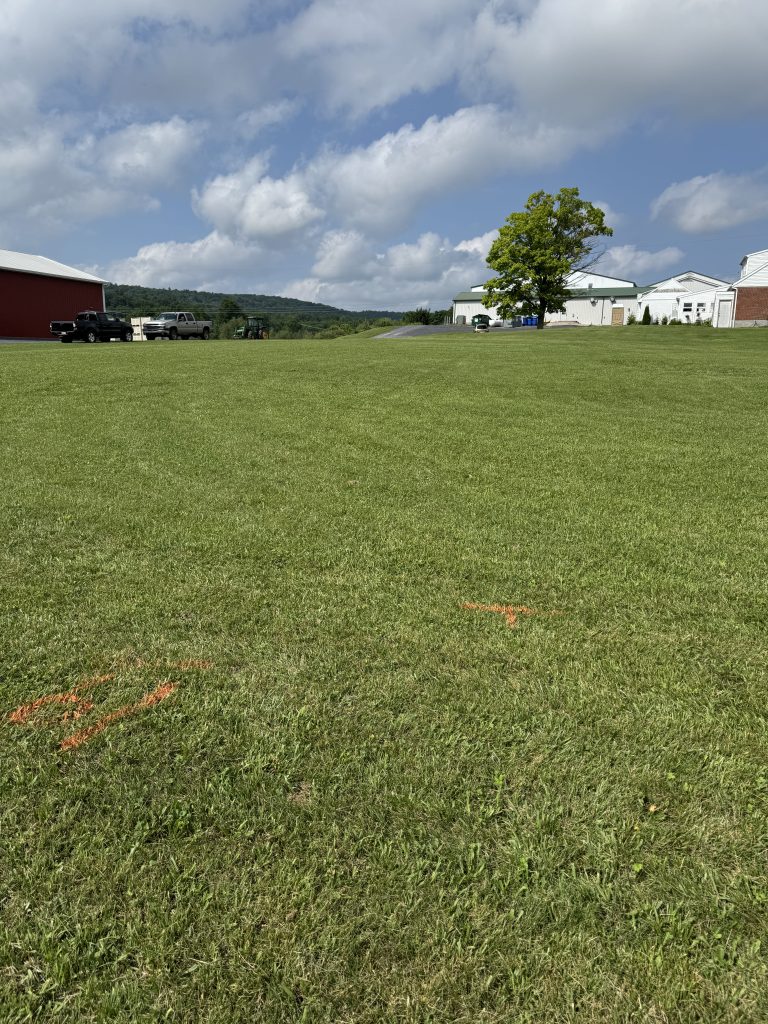
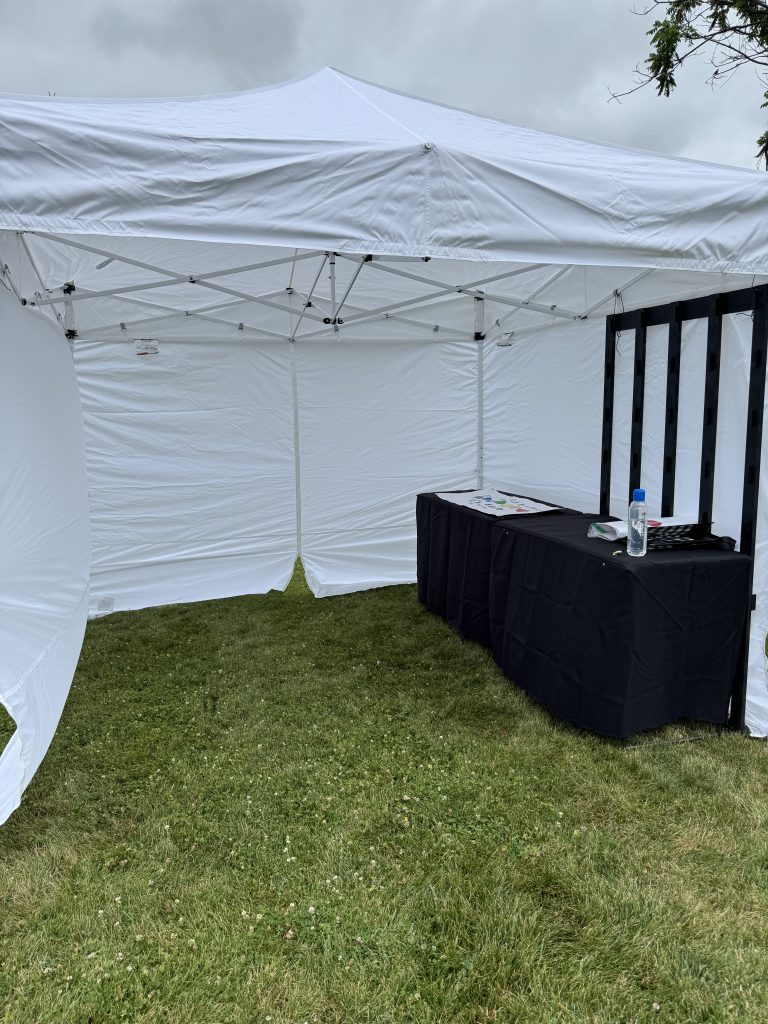
On Wednesday evening before the Festival (July 8) we were allowed to set up our tent. Most folks set up the morning the Festival started…on Thursday, July 9. I was glad we could do ours ahead of time. The vendor tents made a circle around a huge grassy field.
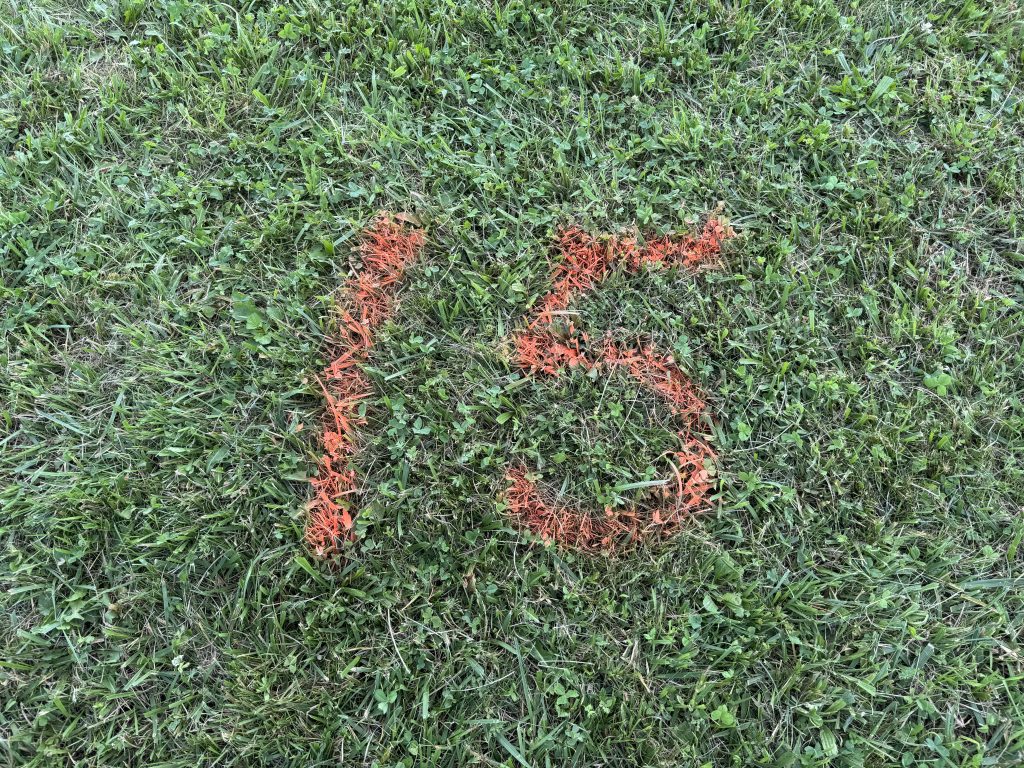
We were in space #15.
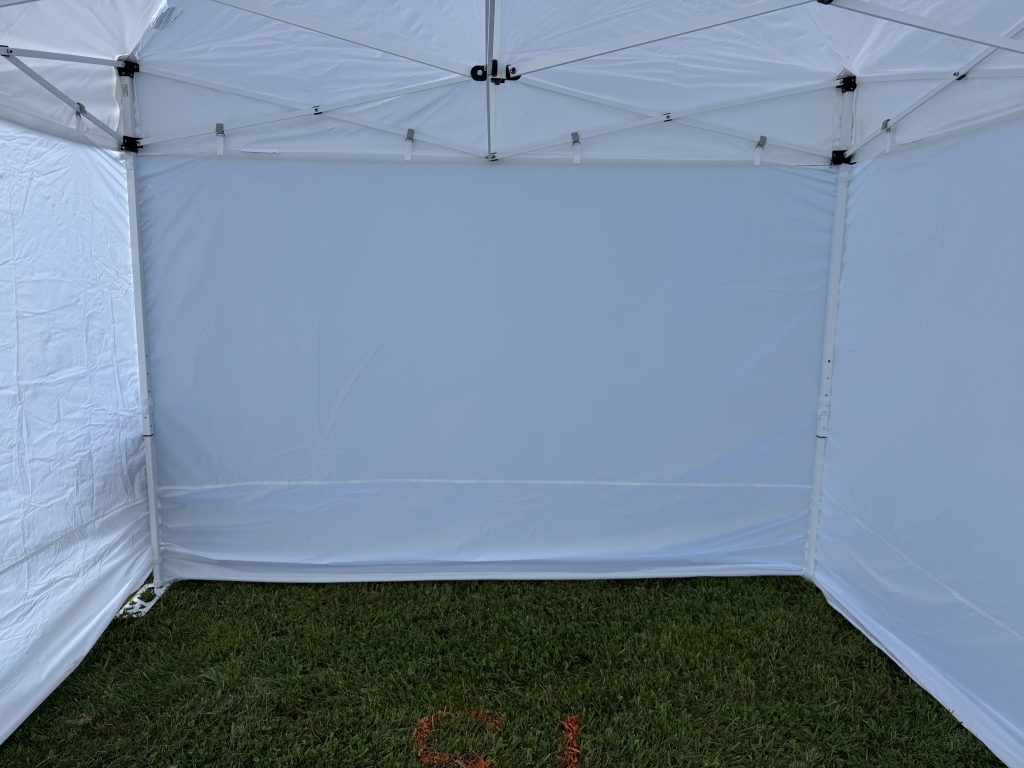
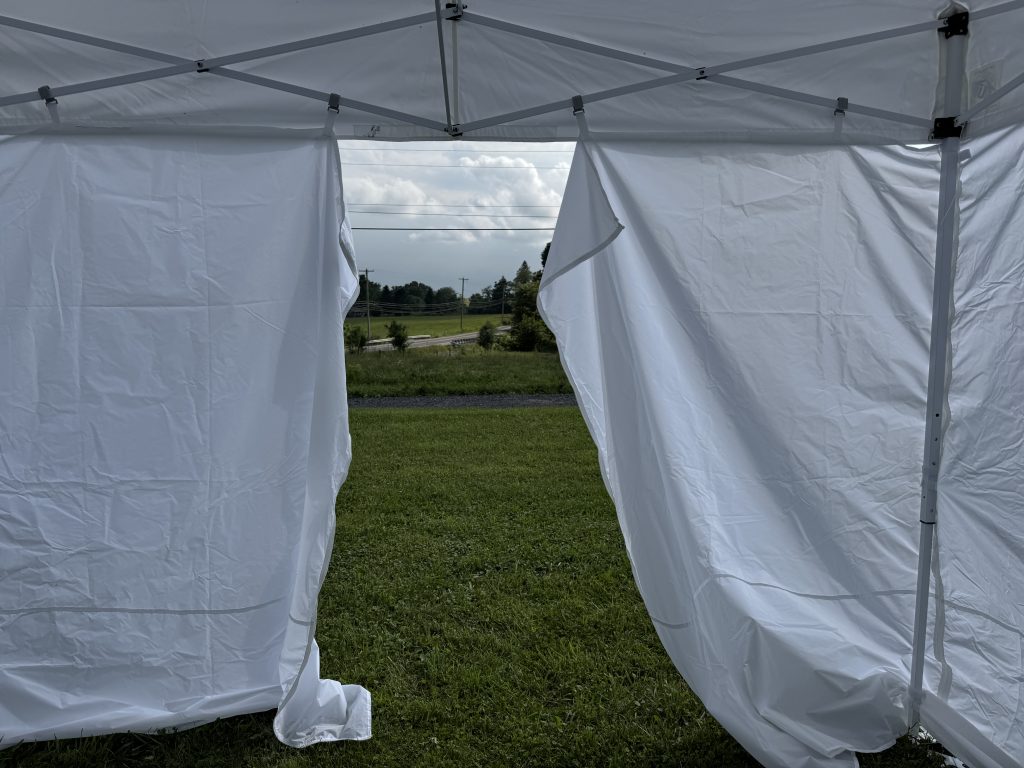
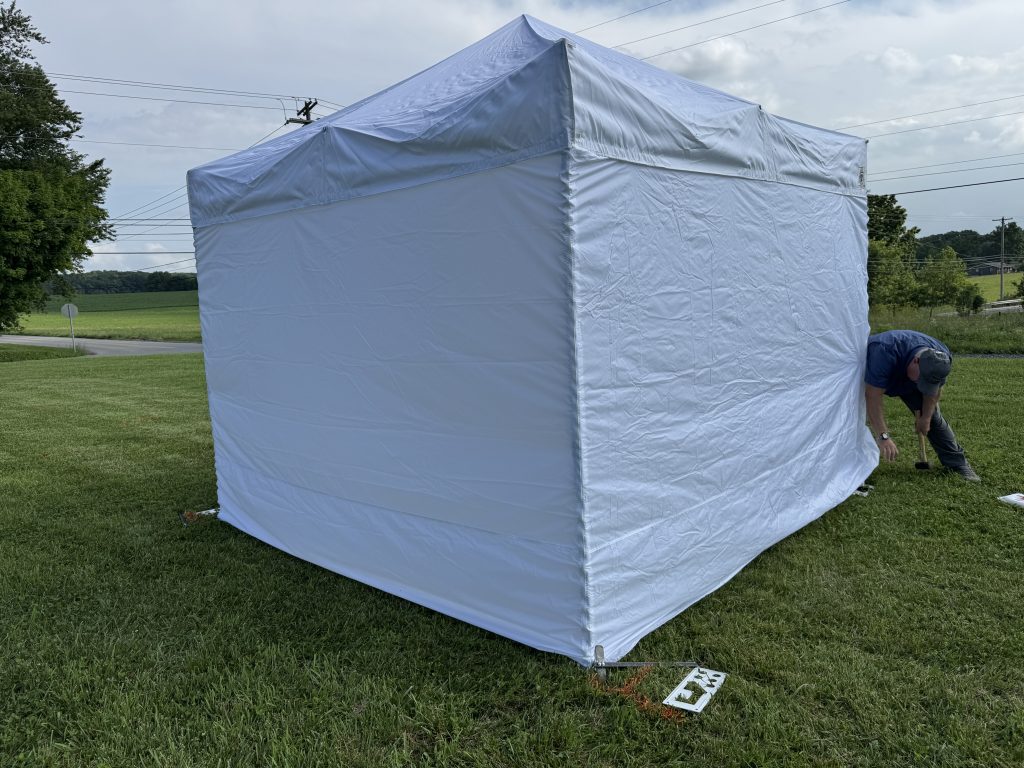
Bert and I were able to set up the tent and get everything ‘nailed’ down so it wouldn’t blow away overnight. I was able to set up my tables and the gridwall so it would be ready for me in the morning.
We zipped up the back wall and put a 2×4 along the bottom edge to keep the wind from lifting the tent.
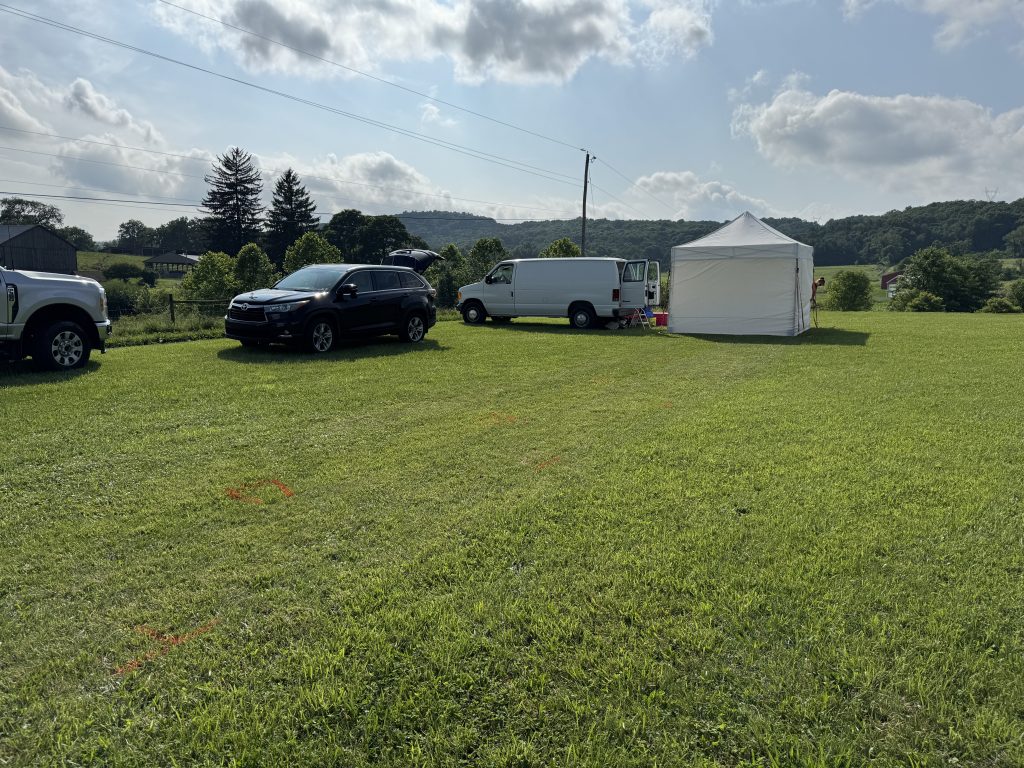
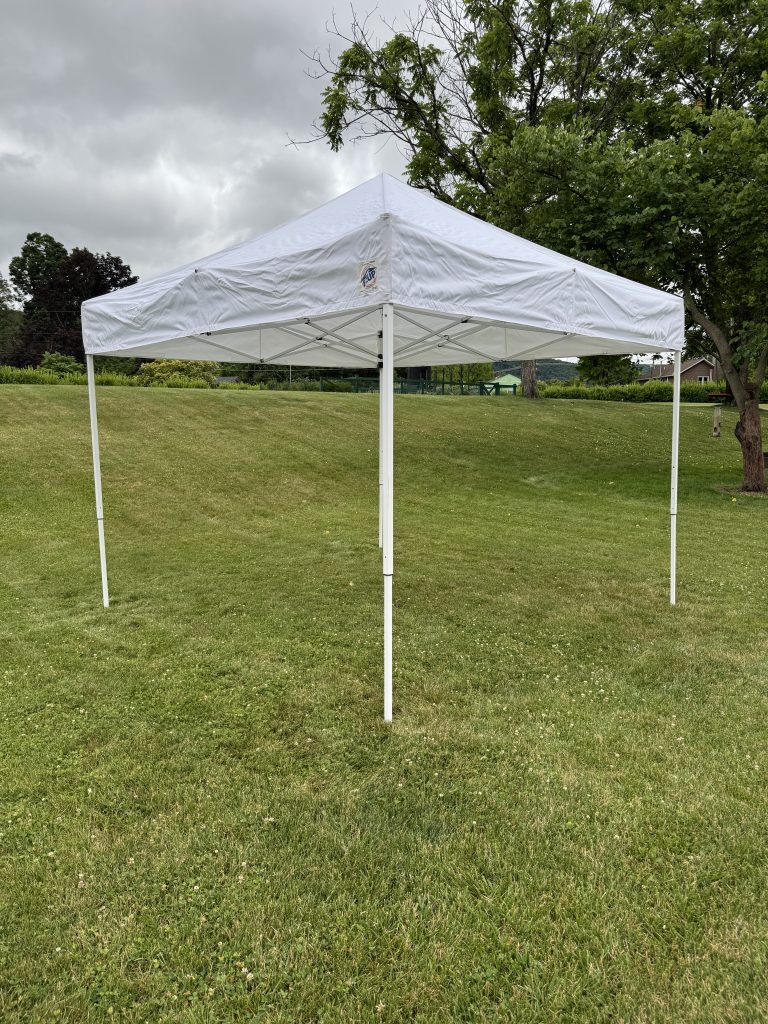
The tent looked pretty lonesome all by itself, but another tent was going up nearby so we knew things would fill in eventually.
Here’s the neighboring tent going up:
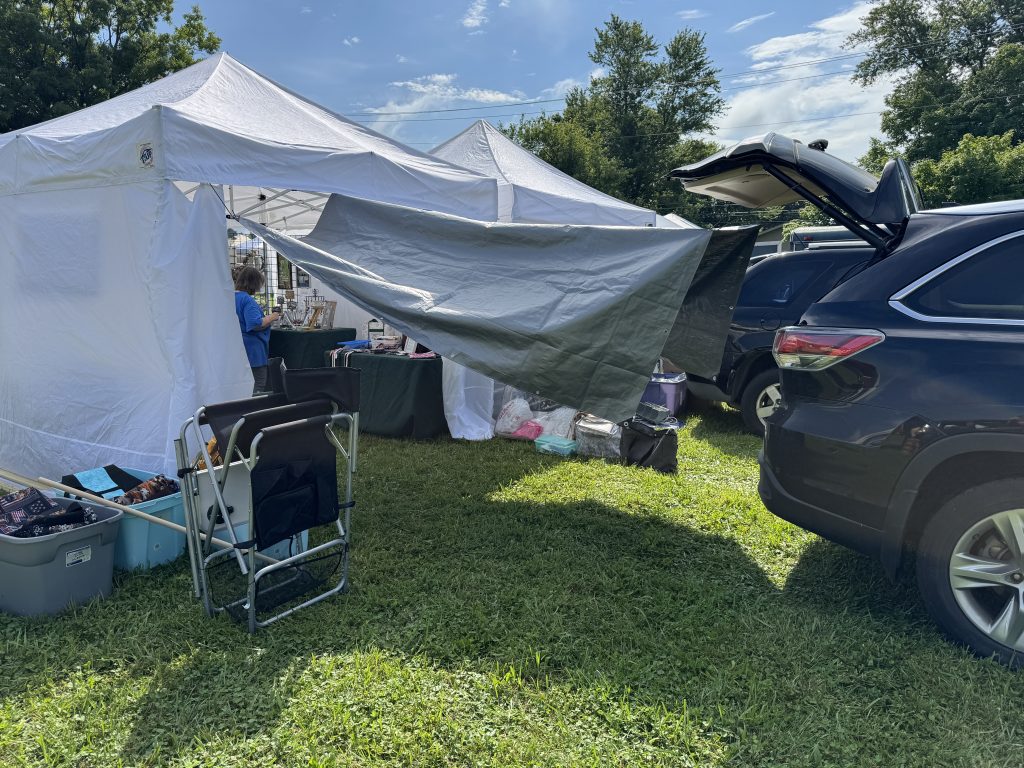
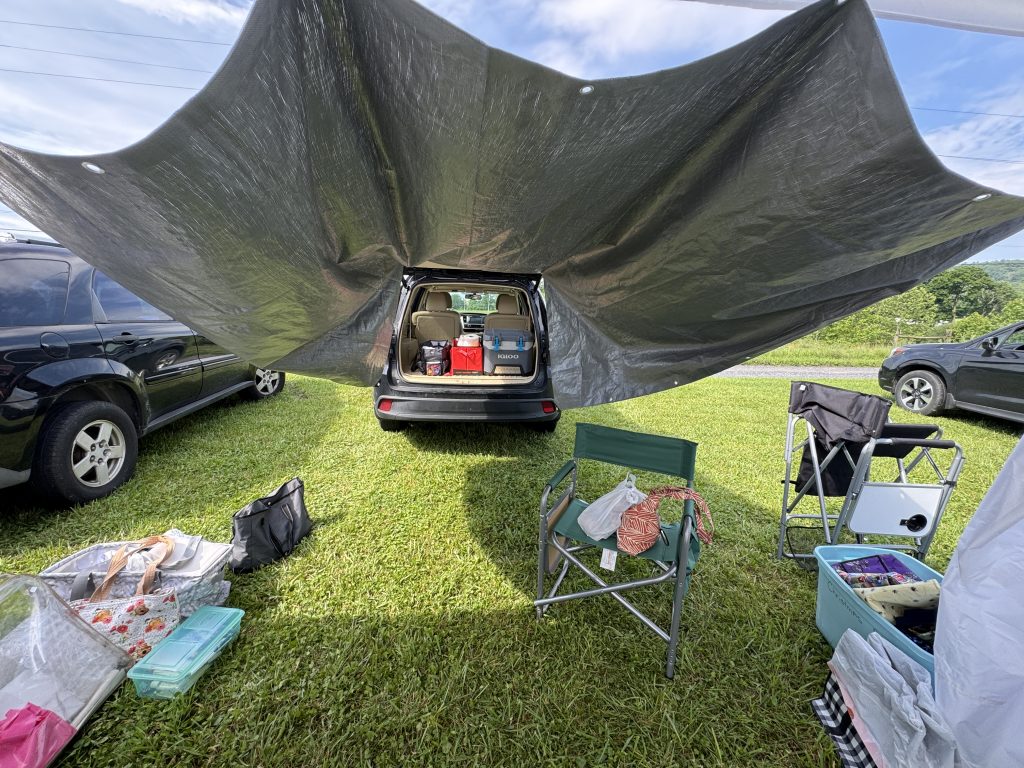
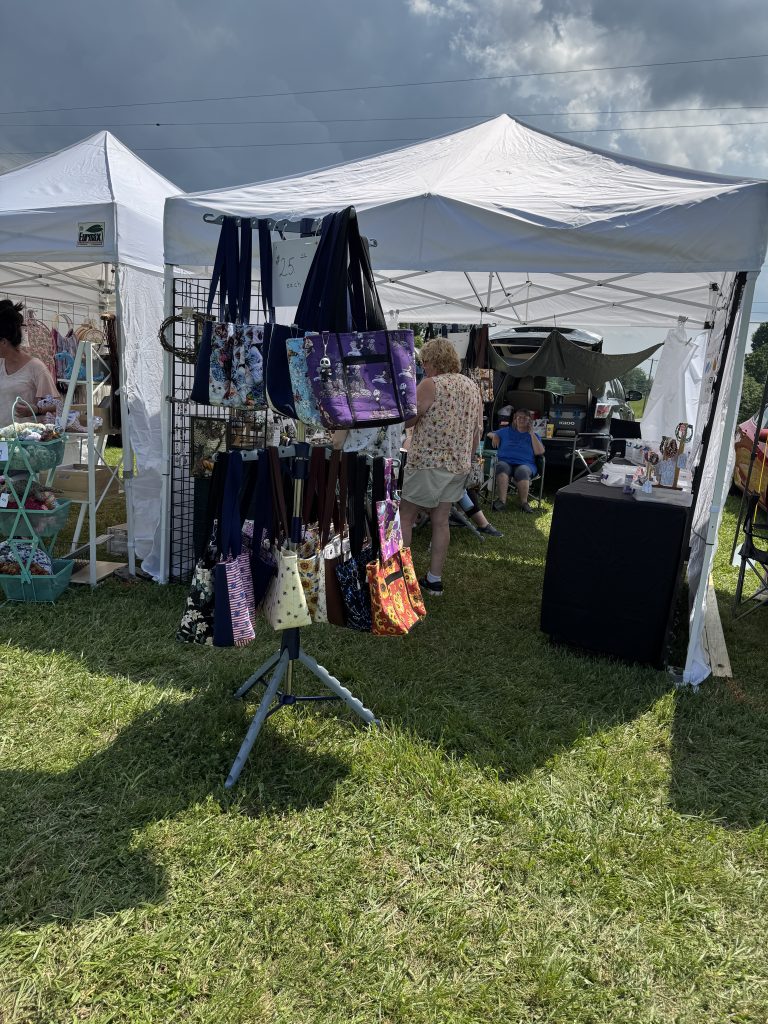
Day 1 involved 2-3 hours in the morning setting up our stuff in the booth. The festival was from Noon to 8 p.m. We knew it would be a hot day and shade was important. Bert had figured out how to rig up a tarp and fasten it between the car and the tent. It worked for a while, but by afternoon we had lost any shade as the sun moved overhead.
I thought this was an interesting picture, but you can see the angle of the sun kind of ruined any hope of shade.
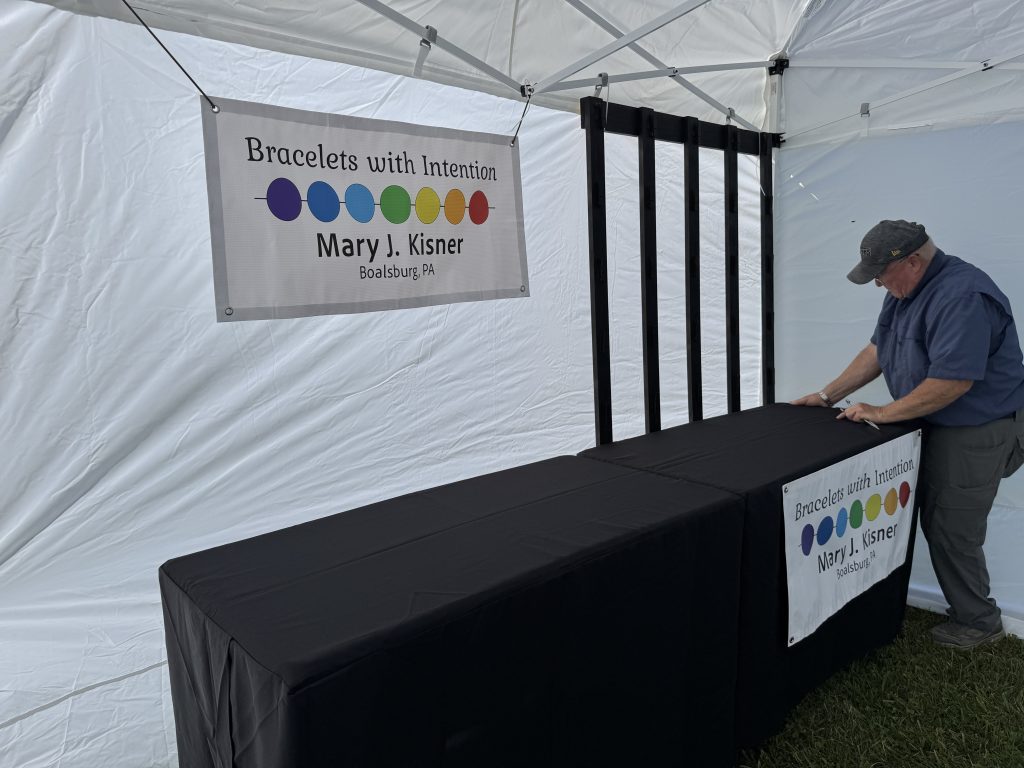
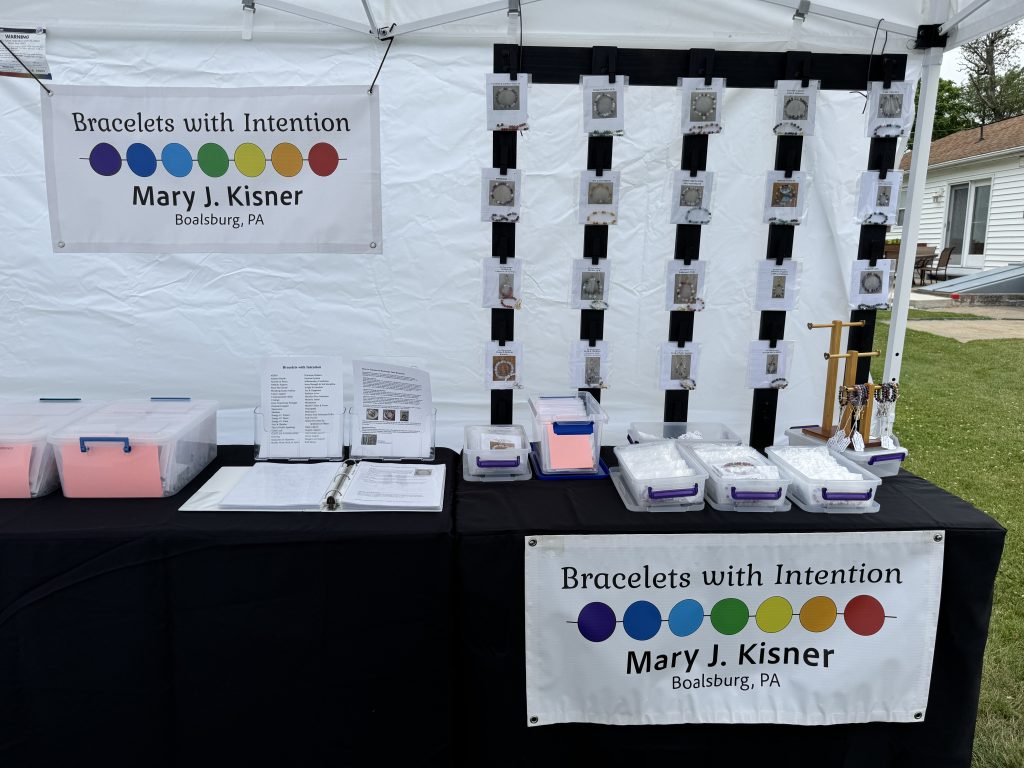
My side was pretty easy to set up. The black grid wall was effective in enticing folks to check it out, but most people did not linger. I hardly had a chance to explain anything before they moved on.
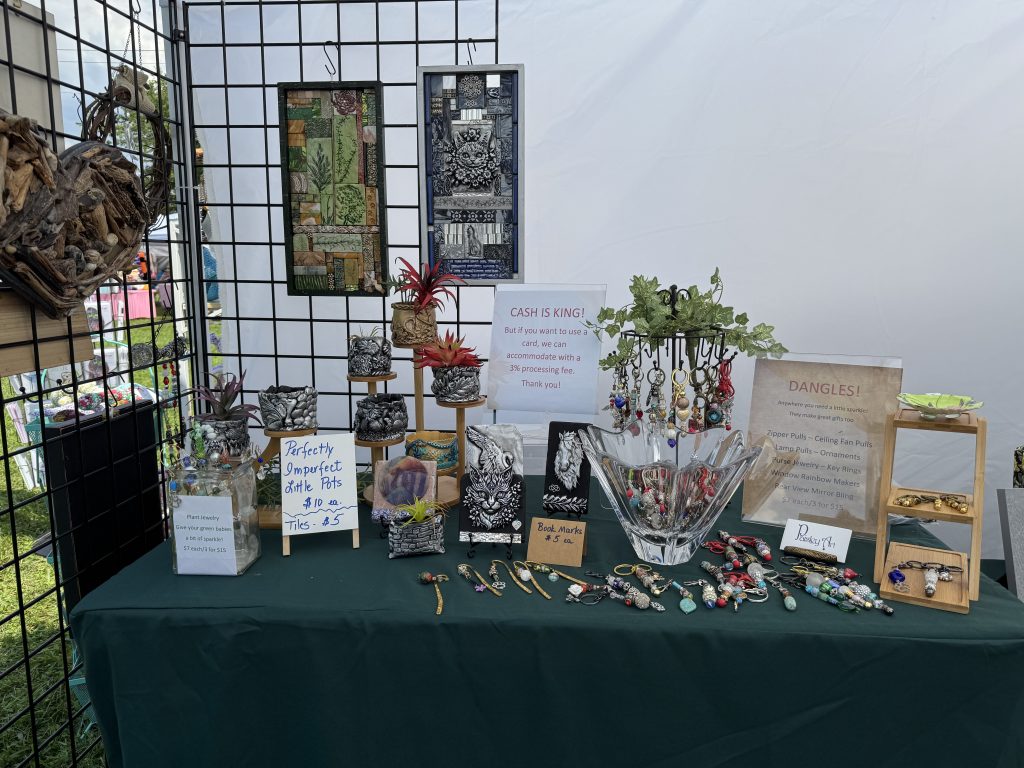
Toni’s artwork did attract people, so she had a chance to explain how she made things with polymer clay.
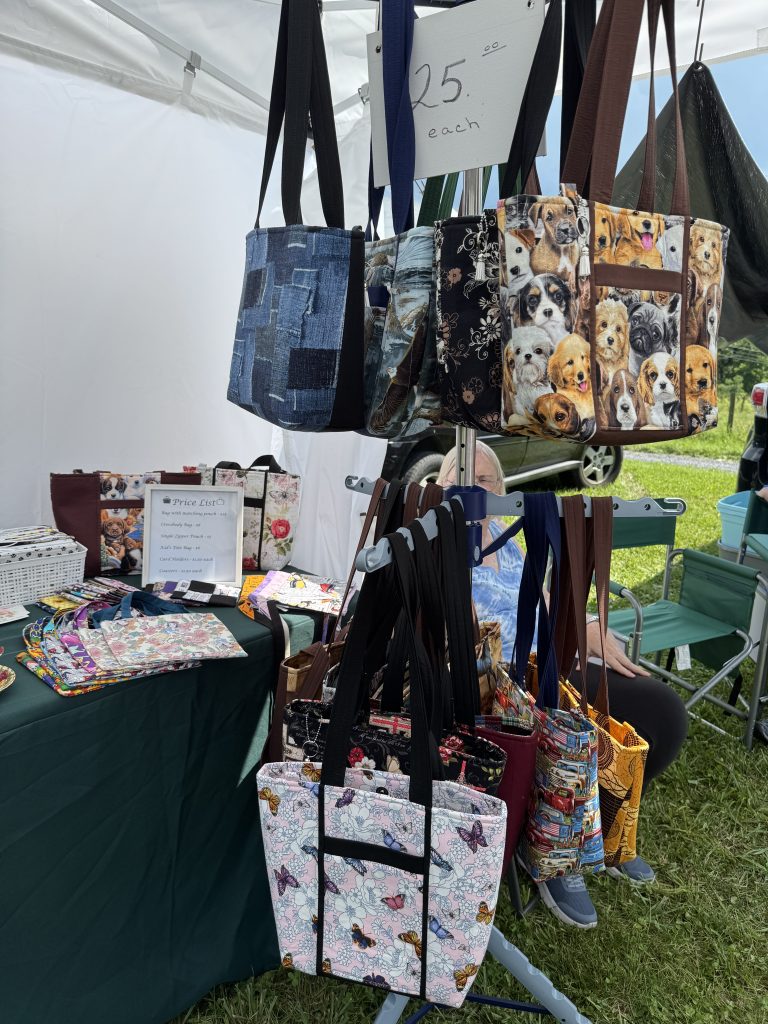
Sue’s bags on two display racks attracted attention because we could move the racks outside our tent where people could touch them as they walked by. She sold a lot of bags.
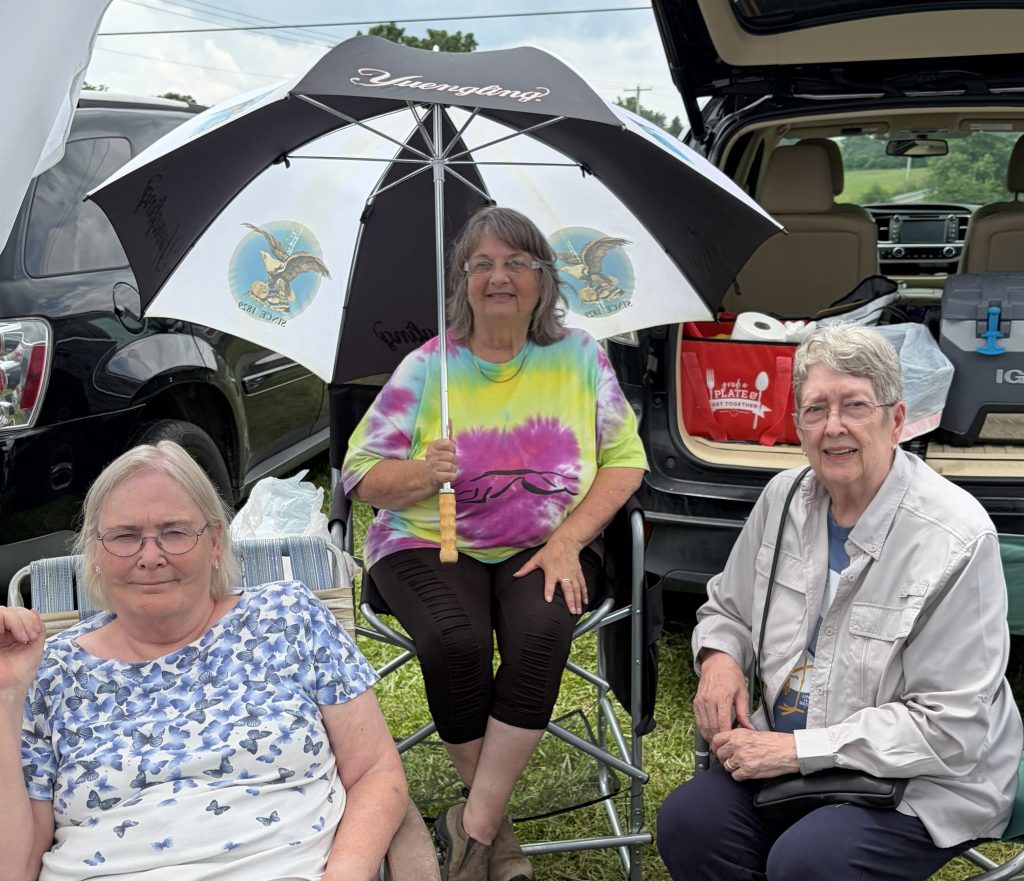
We started Day 2 smiling!
Day 2 started out fine, but a pop-up thunderstorm hit after lunch. We discovered the tent was not waterproof! Water dripped on all our stuff…and into my bins. Some ink on tags was starting to smudge. By 4 p.m. it had stopped raining and we were supposed to be there until 8 p.m. At that point, I gave up…packed up my stuff and shut down our booth. Really stupid of me…my two friends could have stayed and finished the day, although Sue wanted to get her bags dried out too. I guess folks continued to wander around the field, but I was a mess. Turns out I was hatching a real tummy ache and made it home just in time…maybe it was something I ate…you know all that good smelling ‘food truck’ food!
When I got home that day, my daughter and granddaughter were visiting so I put them to work. They dumped out all my bracelets, one bin at a time, on to towels on the dining room table. They dried off all the plastic bags and the bins. An hour and a half later, everything was back in bins ready for Day 3. Whew!
Day 3 weather called for sunny and hot but no rain. Haha! We made it until about 2:30 and a gusty thunderstorm moved through again. Luckily, I managed to put the lids on my bins just in time. Only the bracelets hanging on the grid wall got wet. So, we sat around inside the tent to stay dry and by the time the rain stopped it was 4 p.m. The festival was over at 5 p.m. so we all started packing up. A few folks were still wandering around but really no buyers. Bert showed up to help us break down the tent and we put everything away wet. Yesterday, we got all the pieces of tent hung up to dry before we put them away.
What did I learn?
First of all, I’m just not cut out to stand around outside for three days! I’m basically allergic to the sun, so I had to wear my long-sleeved sun shirt so I wouldn’t burn. Made it even hotter!
Second, my bracelets…with most packaged in plastic bags…did not attract attention. The few that I did hang on a small rack attracted attention, but the tags that are essential to describe each bracelet got tangled with the wind (and rain). An indoor venue might have been easier to display things. My bracelets really needed an explanation and that was very difficult in the outdoor setting.
Third, success with selling anything at an outdoor even depends on traffic…people wandering by. Attendance seemed to be down this year because the People’s Choice festival moved back to Boalsburg. Apparently, they were very crowded this year.
Plan for the Future
I have decided I will find local craft shows that are indoors and 1 or 2 days long. I will need to redesign my display to suit the indoor setting. I may even consider offering a workshop where folks could choose their own beads (from my extensive pile) and make their own bracelets. The teacher in me would find that satisfying!
I did end up making about $250 at this festival, but I did not find it an enjoyable experience. Live and Learn! I admire all the folks I met who go to multiple festivals during the year. They are competent at setting up tents by themselves and seem to know how to go with the flow when the weather changes. I don’t seem to have those skills! If you attend outdoor festivals, please appreciate the work involved for the vendors!
If you have comments or questions, please email me directly at maryjkisner@gmail.com.
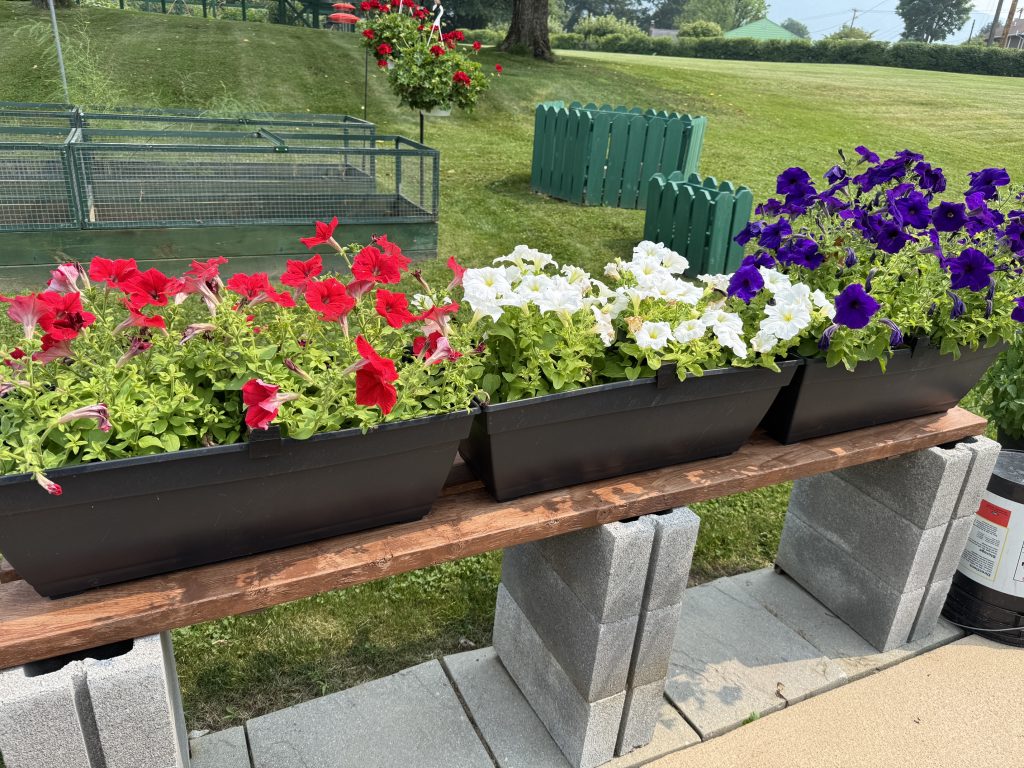
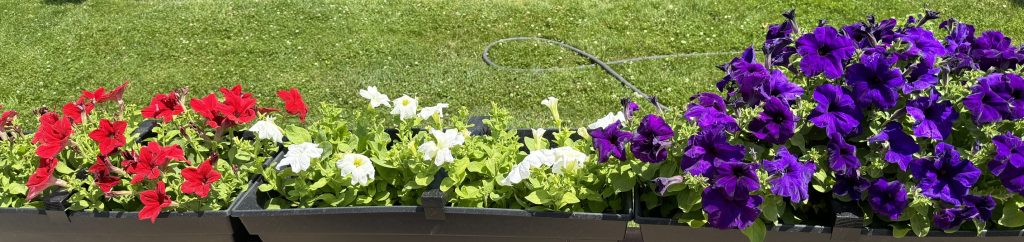
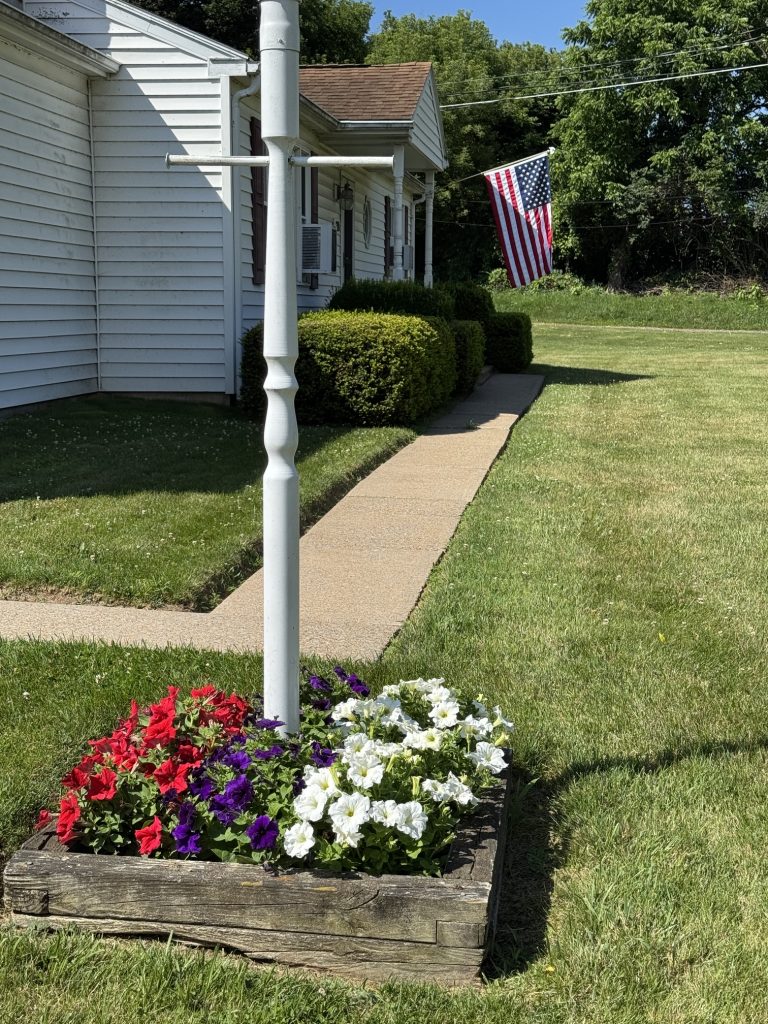
Happy 250th Birthday, America! We managed to get our red, white and blue petunias planted at just the right time to have them blooming today! Yay!
Of course, a week or so ago, the deer cruised by in the middle of the night and chomped off some of the red and white flowers so they aren’t all the same height. Luckily, they didn’t go out to the front lamp post so those flowers are all the same height!
We’ve had a week of VERY hot days, with occasional thunderstorms. The plants in the garden are minding the heat. Hopefully, things will moderate soon. Here’s what’s happening in the garden today!
The lettuce looks like it is trying to make heads, but it is turning out quite bitter. Luckily, the plants will compost just fine (smile). The radishes are in various stages, but they still taste good.
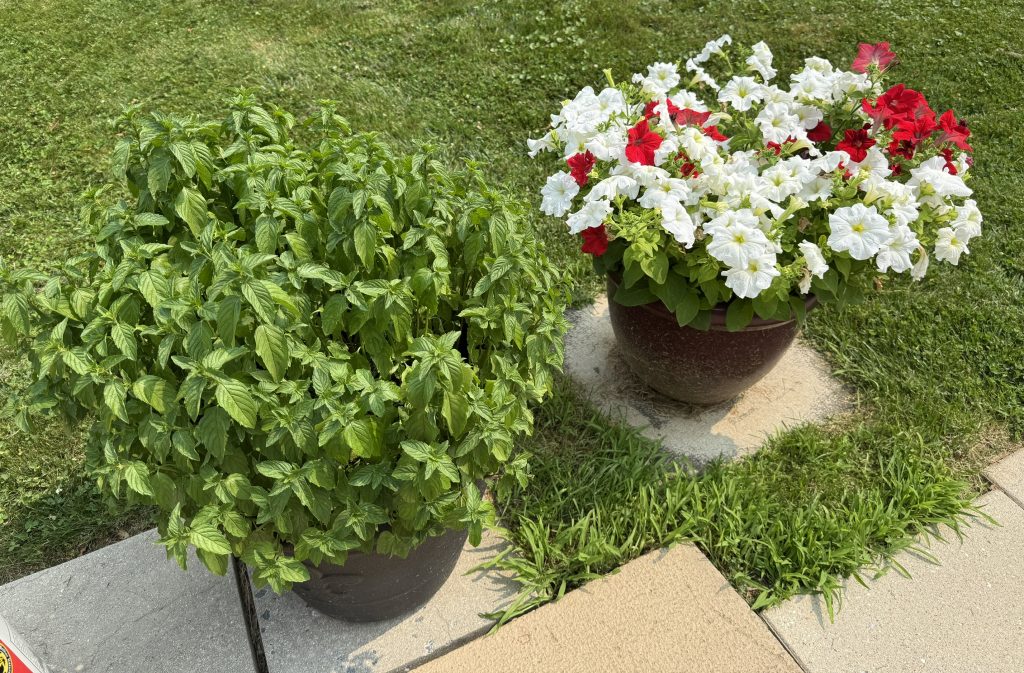
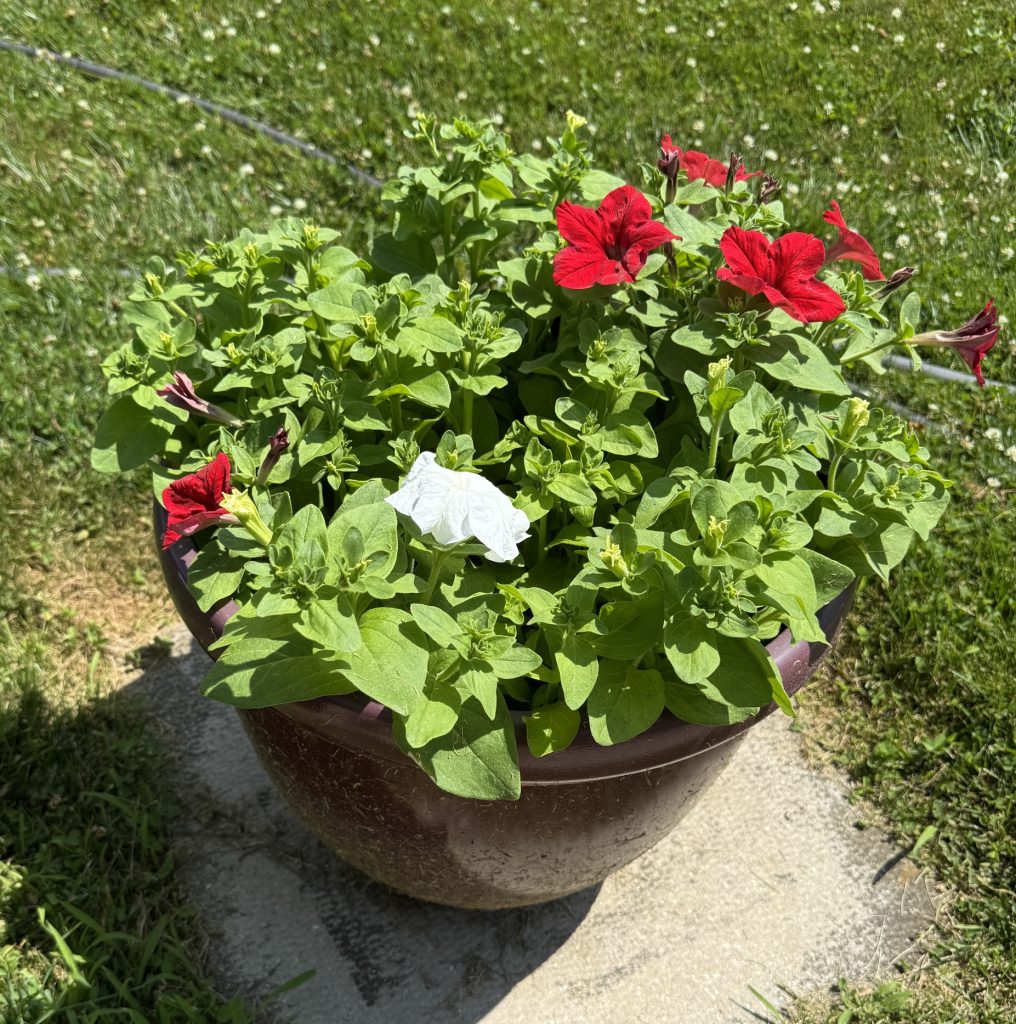
The petunias in the pot are hanging in there…I think a roving bunny has been tasting the flowers when we aren’t looking!
The Spearmint is going strong. I may decide to dehydrate some of the leaves, but I wanted it mostly to attract the bees. We’ll see.
The sugar snap peas are done. We’ll pull the plants when it cools off a little today. Behind the peas is the asparagus. We’re watering it, hoping next spring we have a meal or two.
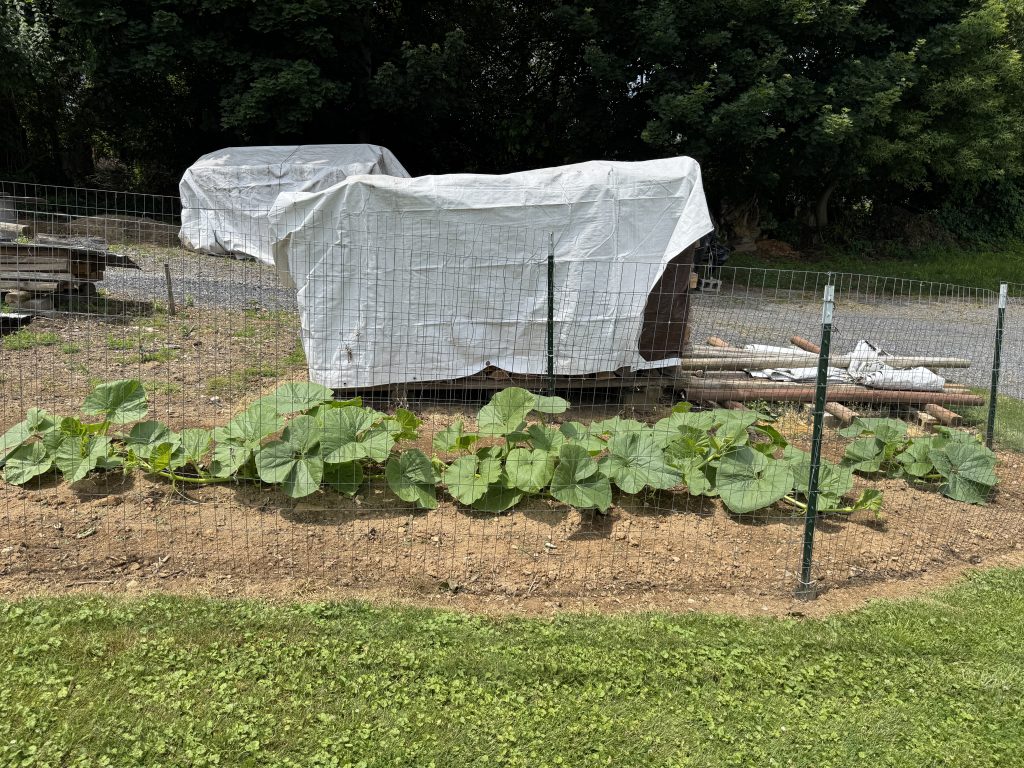
The pumpkin plants are huge! Bert is trying to keep the runners inside the fence because they are starting to make pumpkins. We’re hoping they are very big and survive the groundhogs in the area.
Up in the garden, the tomatoes are going nuts! Not sure what I’ll do with them all, so be careful if you stop by to visit…I may sneak some into your back seat!
The green and yellow beans are thinking about making flowers. The green beans in the right row are a new variety to us. They almost look like a pole bean vine. Oops! A bush-type bean is what we wanted.
This section is the second planting of beans. We’ll see how they do in this heat.
And then, there’s our poor carrots! They need to be weeded, but they are in there somewhere.
The cucumbers are making blossoms so there’s some hope for cucumbers eventually!
And finally, the Echinacea is going crazy. The bees love them!
That’s what is happening in our backyard today! I hope you have a happy 4th of July!
If you have comments or questions, please email me directly at maryjkisner@gmail.com.
The Art in the Orchard Festival will be held July 9-11, 2026, at Way Fruit Farm in Stormstown, PA. It coincides with the other big festivals in the area…the Central PA Festival of the Arts in downtown State College, and the Peoples’ Choice Festival in Boalsburg, PA. So, if you’re in the mood to cruise arts and crafts festivals in Central Pennsylvania July 8-12, you’ll have a lot to choose from! Pack your sunscreen…it’s supposed to be hot and sunny!
I will be at the festival at Way Fruit Farm July 9th (12-8pm), 10th (10-8pm) and 11th (10-5pm). I’ll be sharing a booth with two friends that have their own specialty crafts so come check us out! Last week we did a trial run of setting up the tent…just to make sure we remembered how to do it!
Last year, if any of you remember, I had a single table with the beaded bracelets I had been working on. My display was not terribly exciting, but I think my sign was big enough! Understated as it was, I still made over $600!
Here is last year’s booth:
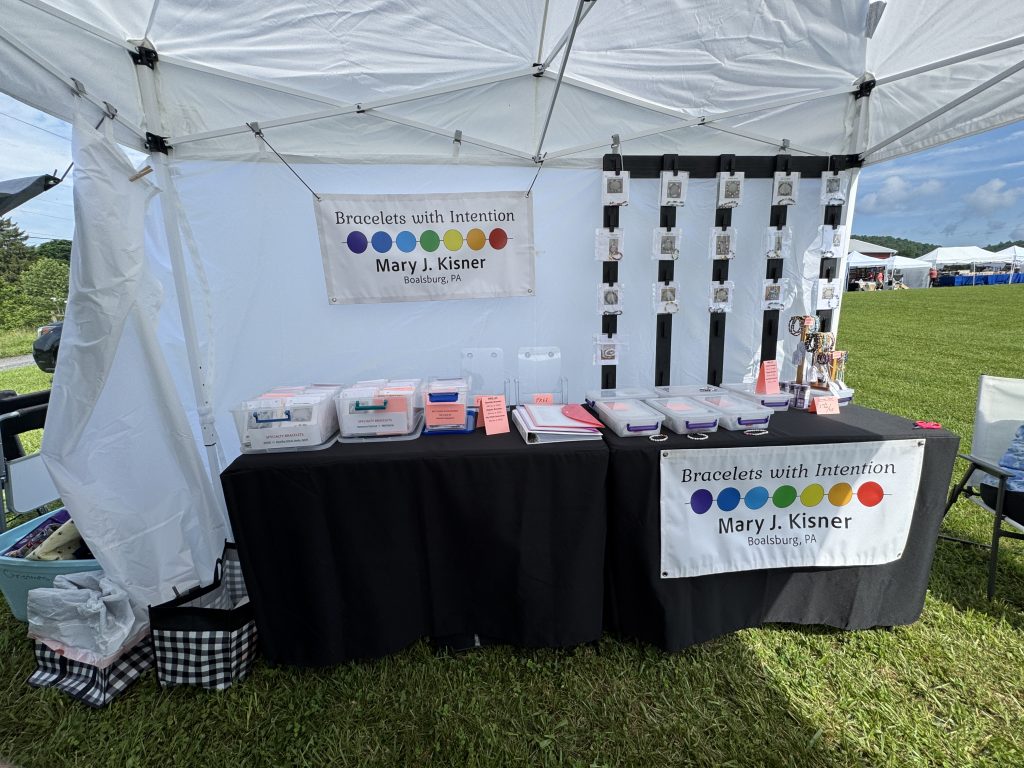
This year I planned to expand to two tables and now have over 400 bracelets to display.
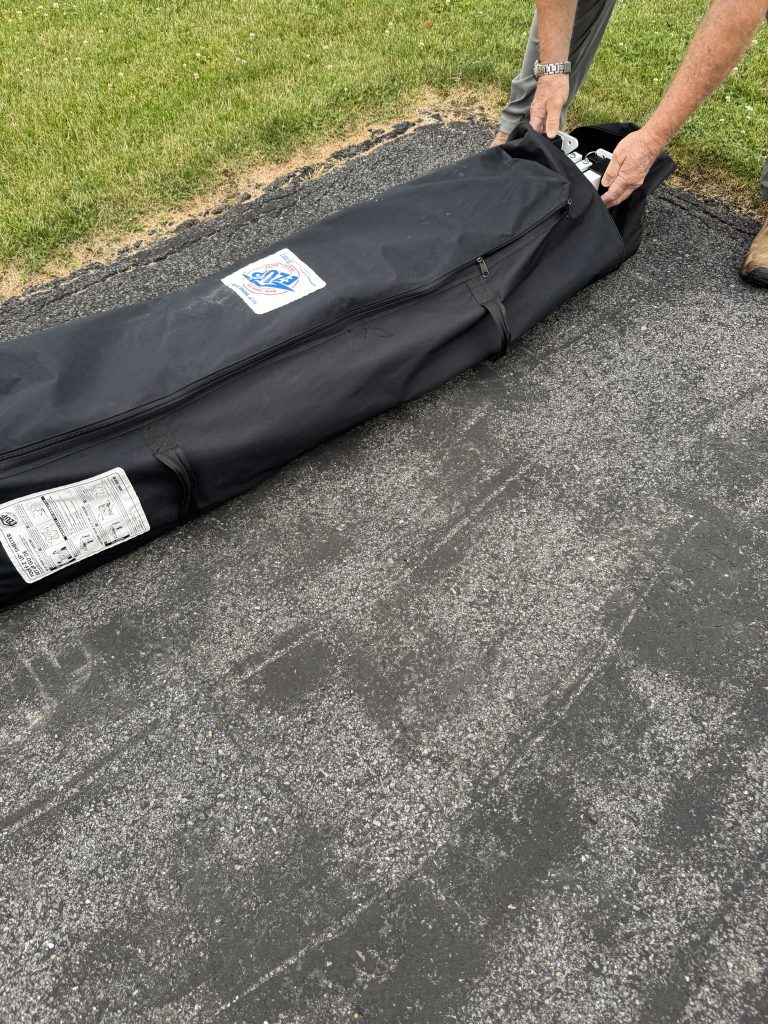
Last week we set up the tent in the backyard, just to make sure we had all the pieces and remembered how they all went together. Just getting the tent out of the bag was a challenge!
It really takes two people to coordinate and expand the legs of the tent.
We even added the sidewalls so we could see how my new grid backdrop would attach to the frame. I promise, I did leave a little room for Toni and Sue to display their stuff! (smile).
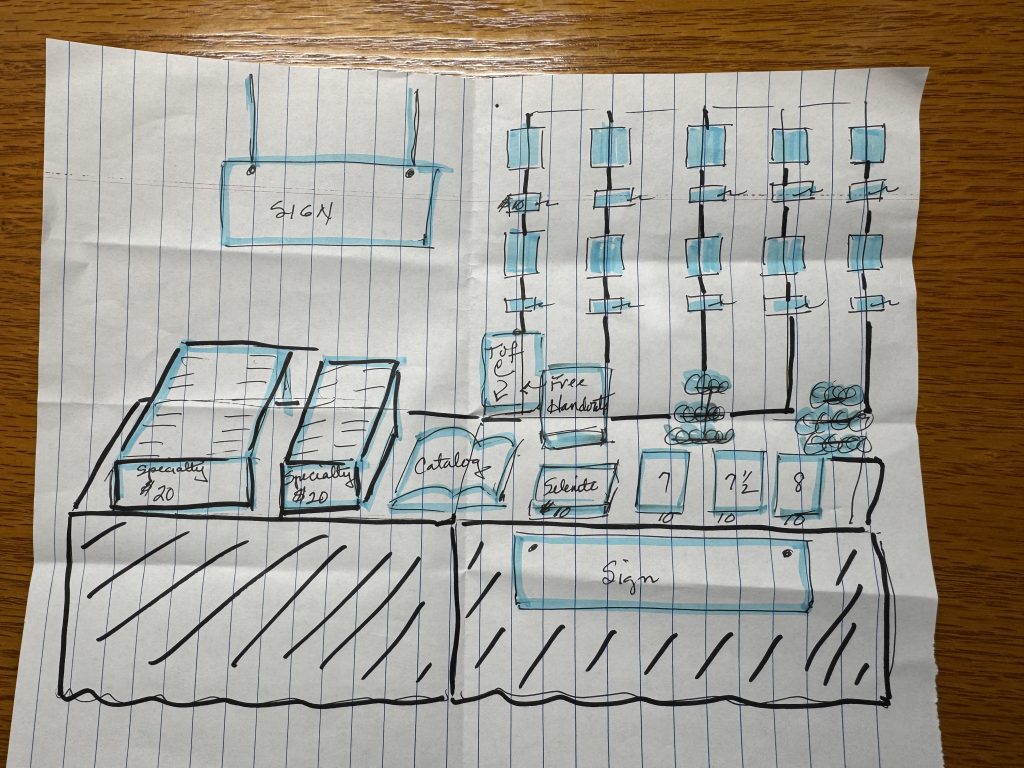
This was a sketch of how I thought my display would look. Since I had not tried to clip the bags of bracelets to the black frame, I was surprised how tall Bert had made it…I could almost not reach the top row of clips. We planned to bring a small stool so we can all reach the tops of our displays.
I think against the white sidewalls, the black frame and tables look pretty good!
Toni and Sue came over to check out the spaces I’ve left for them! They were very kind! I’ll post pictures of how the whole booth looks next weekend when we finally get everything set up.
A final step to be prepared for the festival next week, was to put a tiny price sticker on each item. No small task! With over 400 items, that was my evening entertainment for several days.
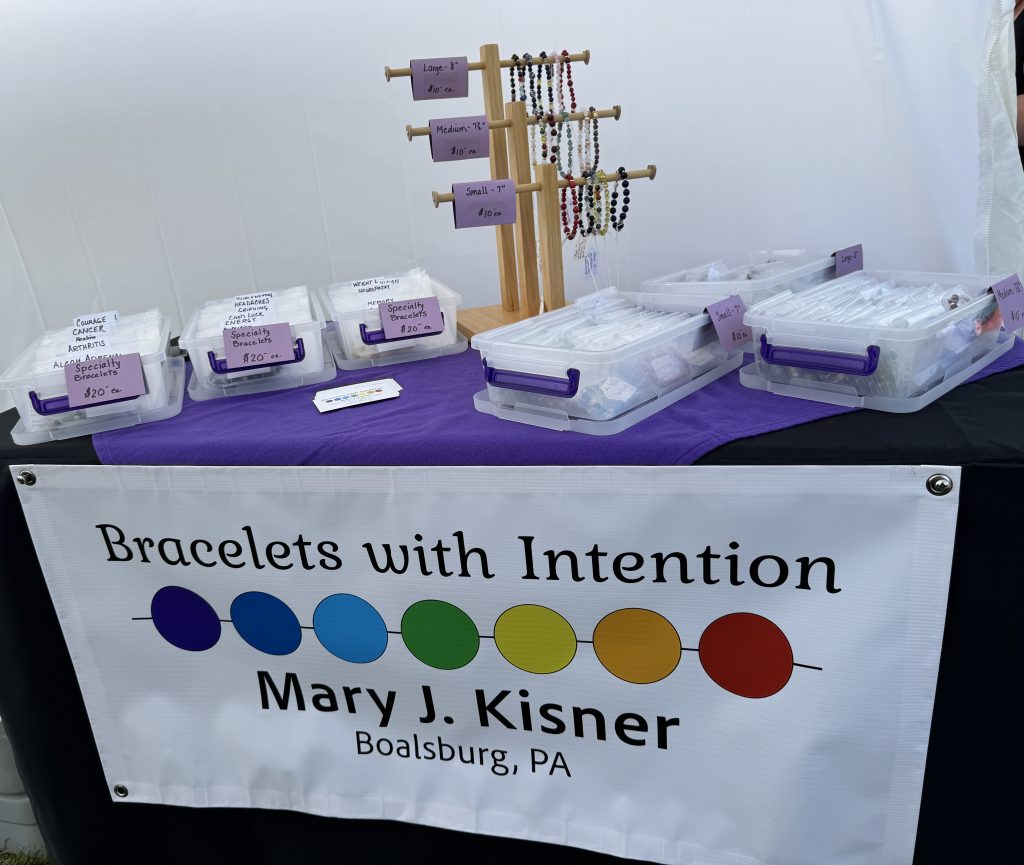
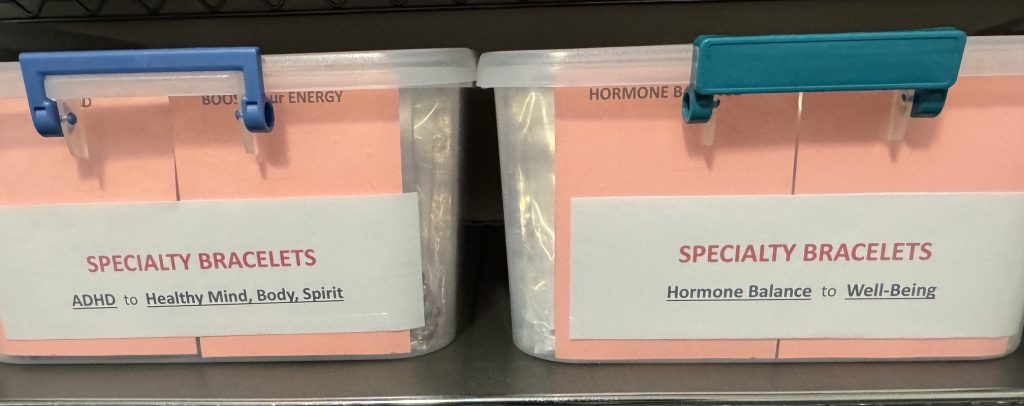
Specialty Bracelets
Today I’ve been making proper labels for all the various containers of bracelets.
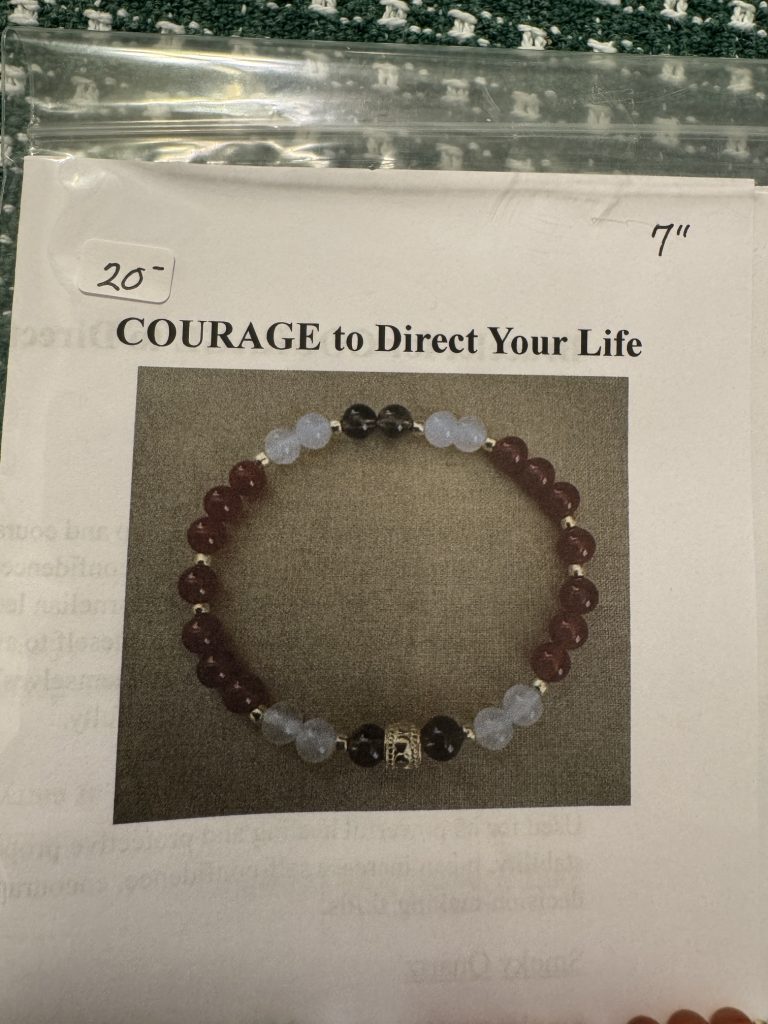
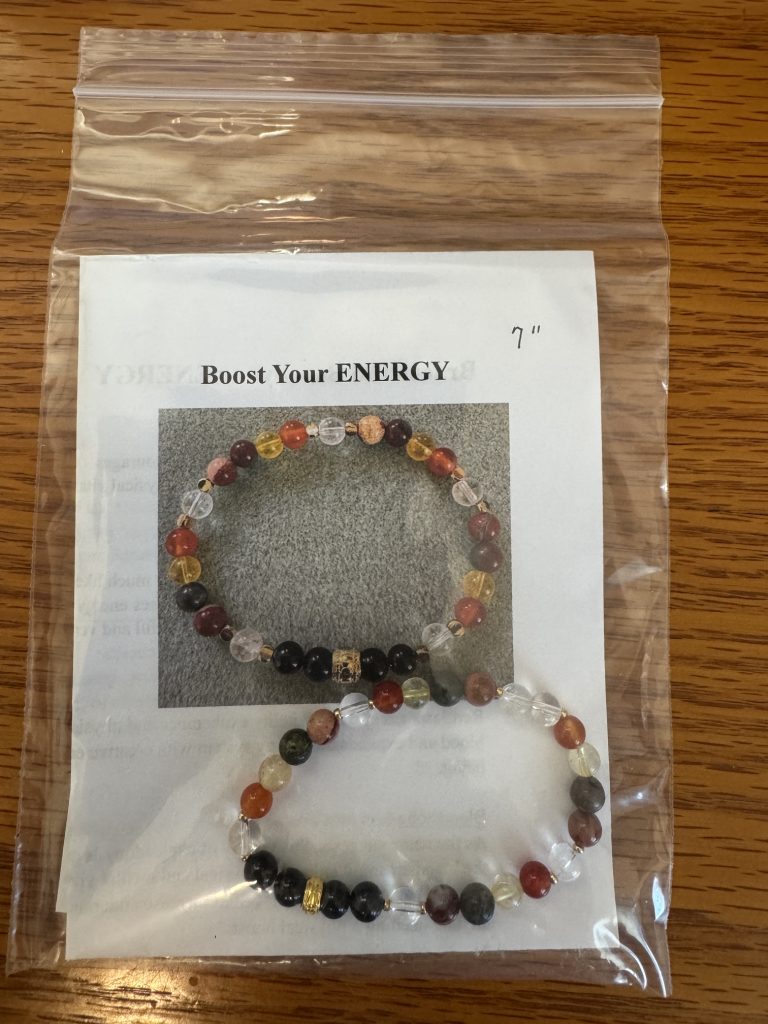
Below is a list of all the specialty bracelets I’ve made…most in three sizes.
I’ve also made Key Chain Accessories for ten of the specialty bracelets so you can keep the intention close by…on your keys or your purse. Those ten include:
Courage, Fear & Phobias, Fear-Public Speaking, Good Luck, Good Luck-Relationships, Embrace Love, Protect-Pollutants/EMFs, Safe Travels, and Well-Being.
I will wait to make more until I see if folks are interested in them.
Regular Bracelets
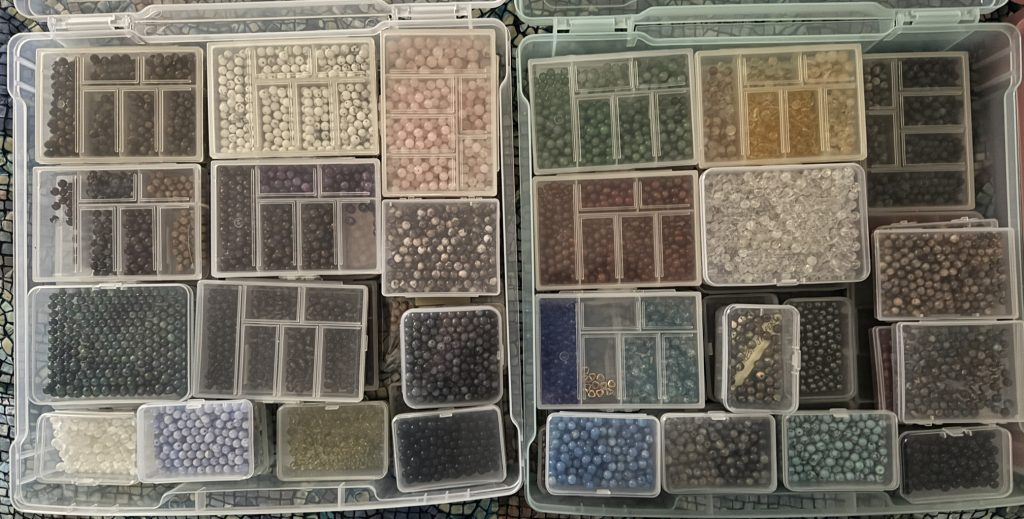
Finally, I’ve made almost 200 regular bracelets in three sizes just because I like the stone beads. They often have just one or two different beads and the intention for each bracelet is determined by the beads themselves.
I now have a catalog of the Specialty Bracelets I’ve made, mostly to display at the festival. Because I really don’t have a convenient way to accept online orders, I’ve decided to stick with selling these bracelets at local festivals and fairs.
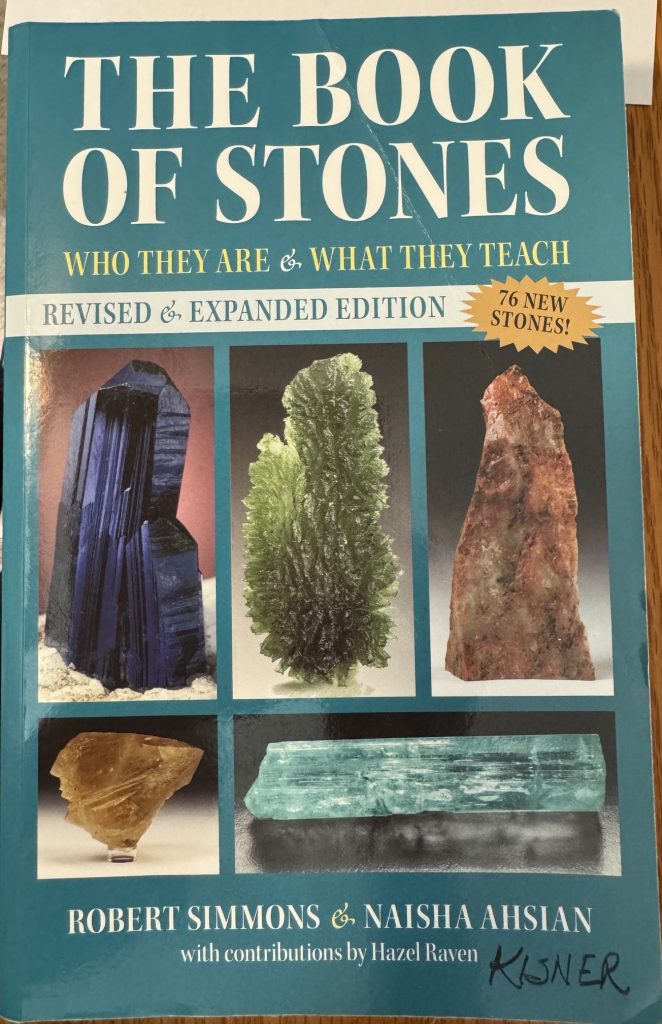
If you are interested in learning more about crystals and gemstones, I highly recommend The Book of Stones, by Robert Simmons & Naisha Ahsian. available on Amazon.
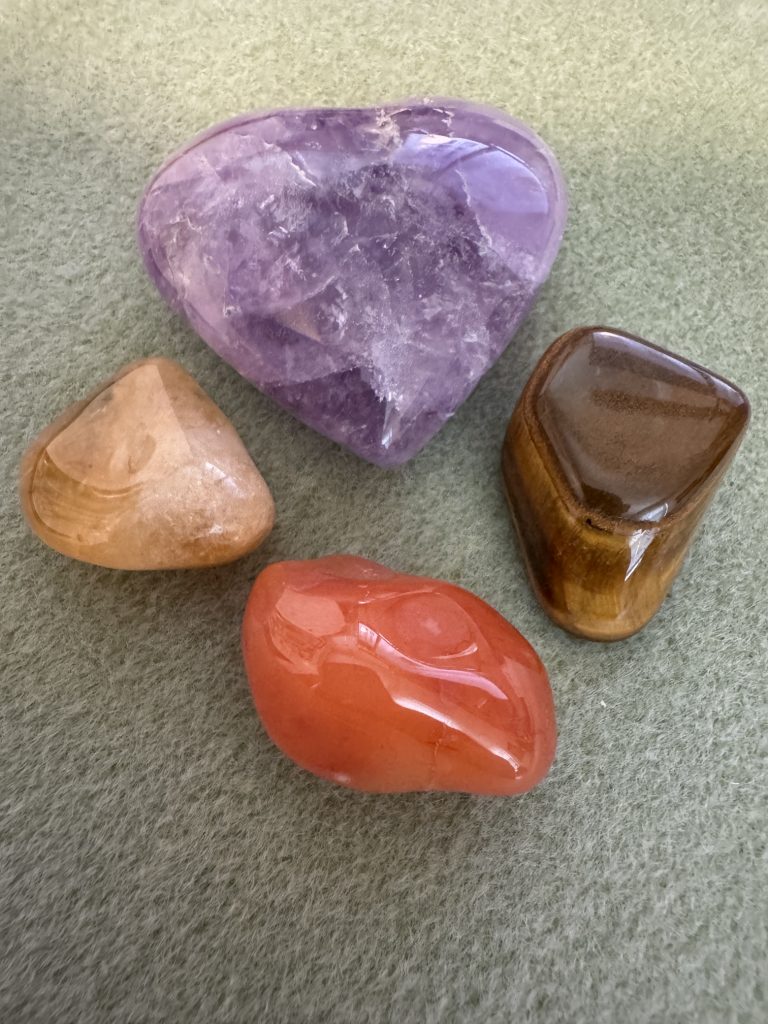
You can start the way I did and choose a few stones that appeal to you. I started my collection by ordering small polished stones through Sedona Crystal Vortex in Sedona, Arizona (https://sedonacrystalvortex.com) and learning about a few at a time.
Since everything I make is shared and is designed to encourage you to make it yourself, please explore the world of gemstone and crystal beads. You can make a bracelet that speaks to your own needs. There are many how-to instructions available on the internet!
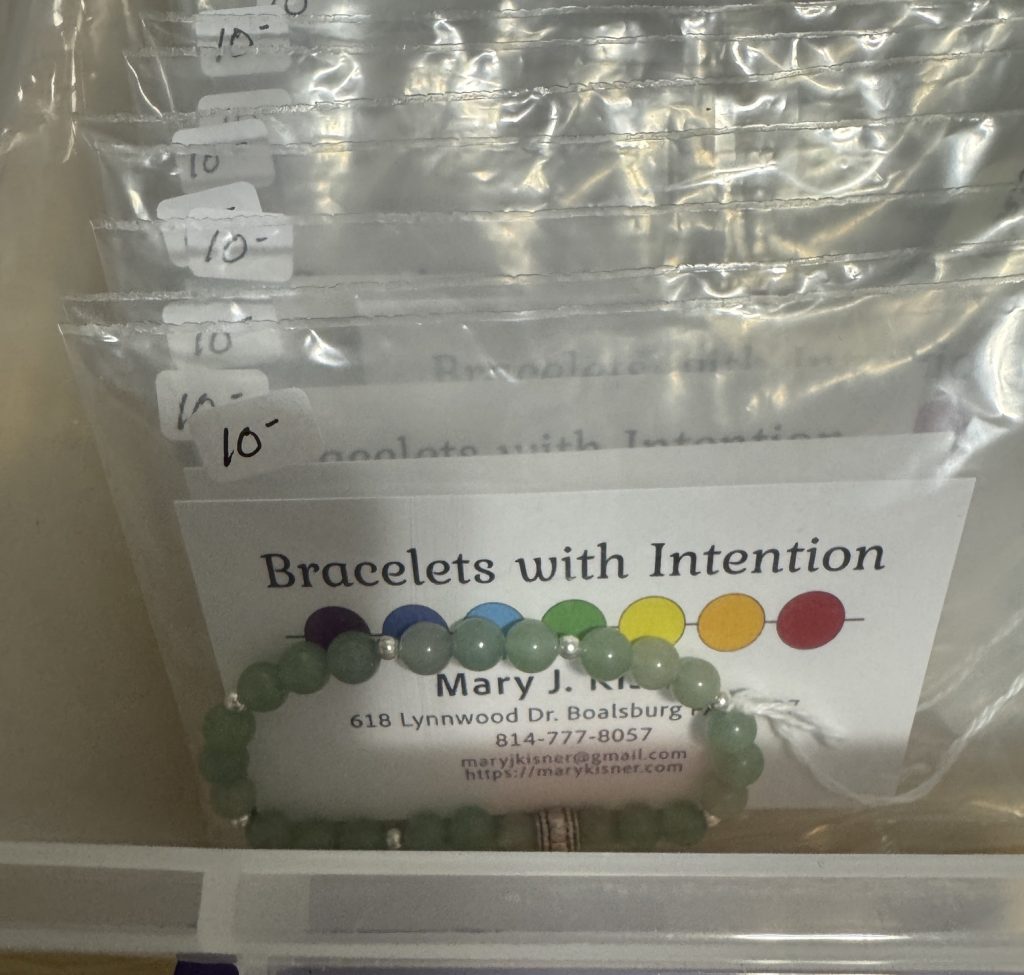
I would be glad to share a copy of my catalog of Bracelets with Intention.
Our garden is busting out all over…mostly. We are getting a good look at which plants seem to like our kaleidoscope of weather. We have our share of hot days, some cooler nights and gusty thunderstorms just as plants are trying to get started. The wind has blown over our tall sugar snap peas just as it’s time to pick them, so it will be a challenge to find the ones that are ready. Here’s the tour of the garden today.
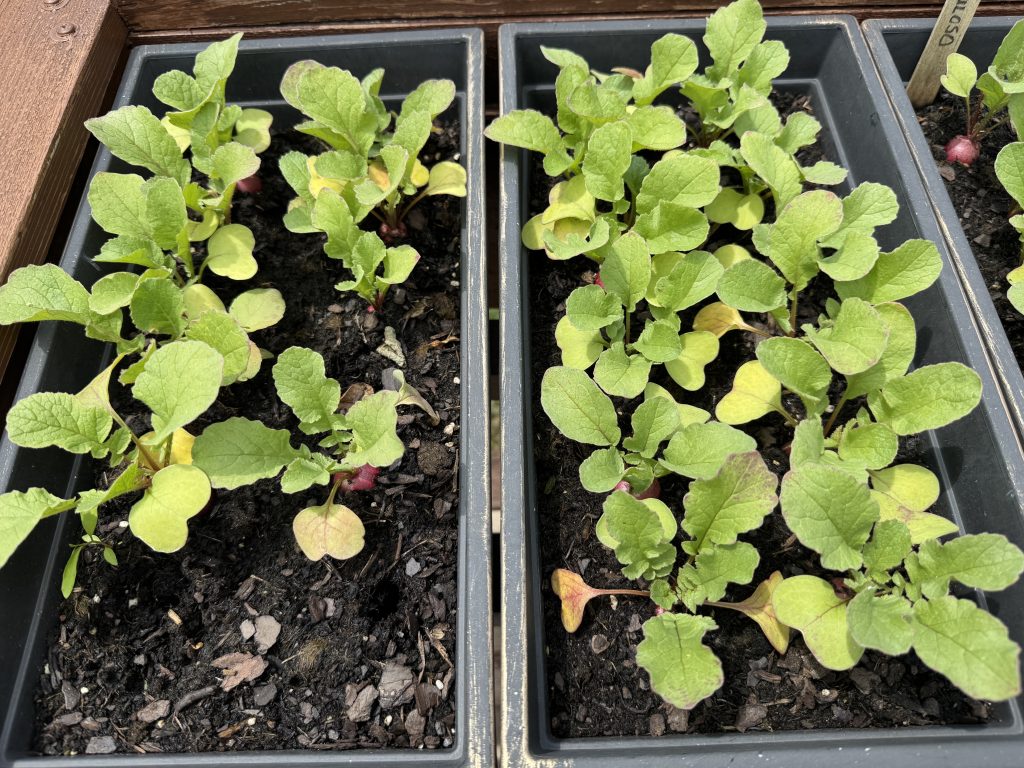
The radishes are ready to pick but even the leaves are having trouble with the heat. I may wait a few weeks to plant again.
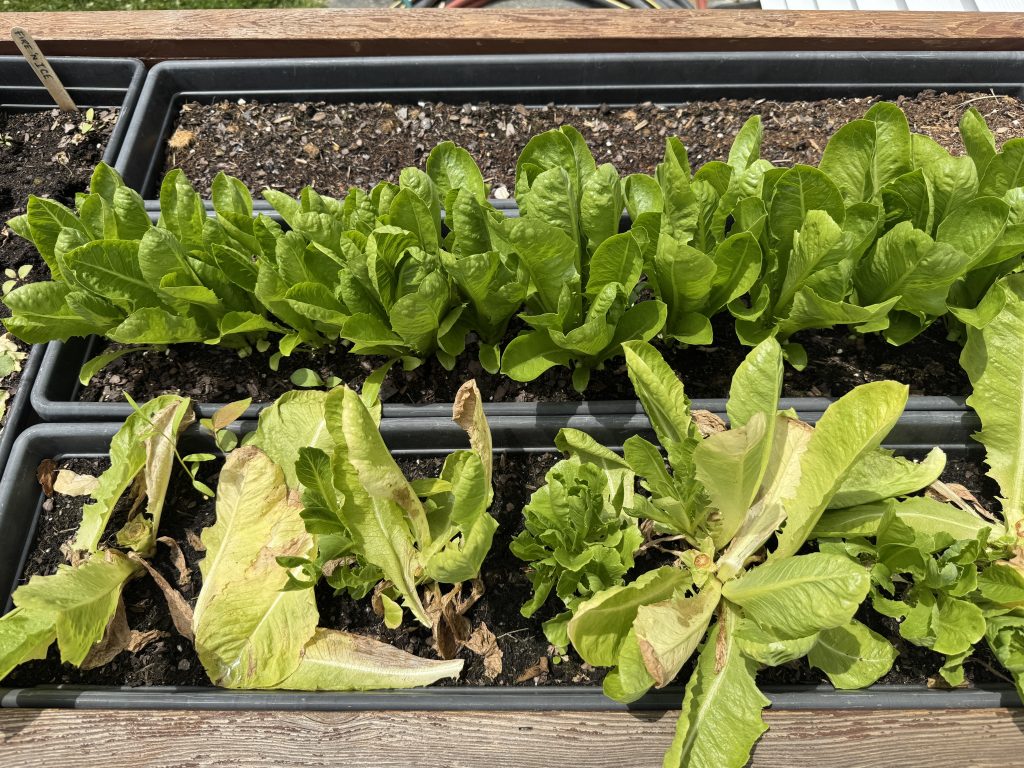
I’ve cut off the first heads of lettuce. We will pull out the roots, add more soil and plant again. The plants in the back row are starting to curl and make little heads.
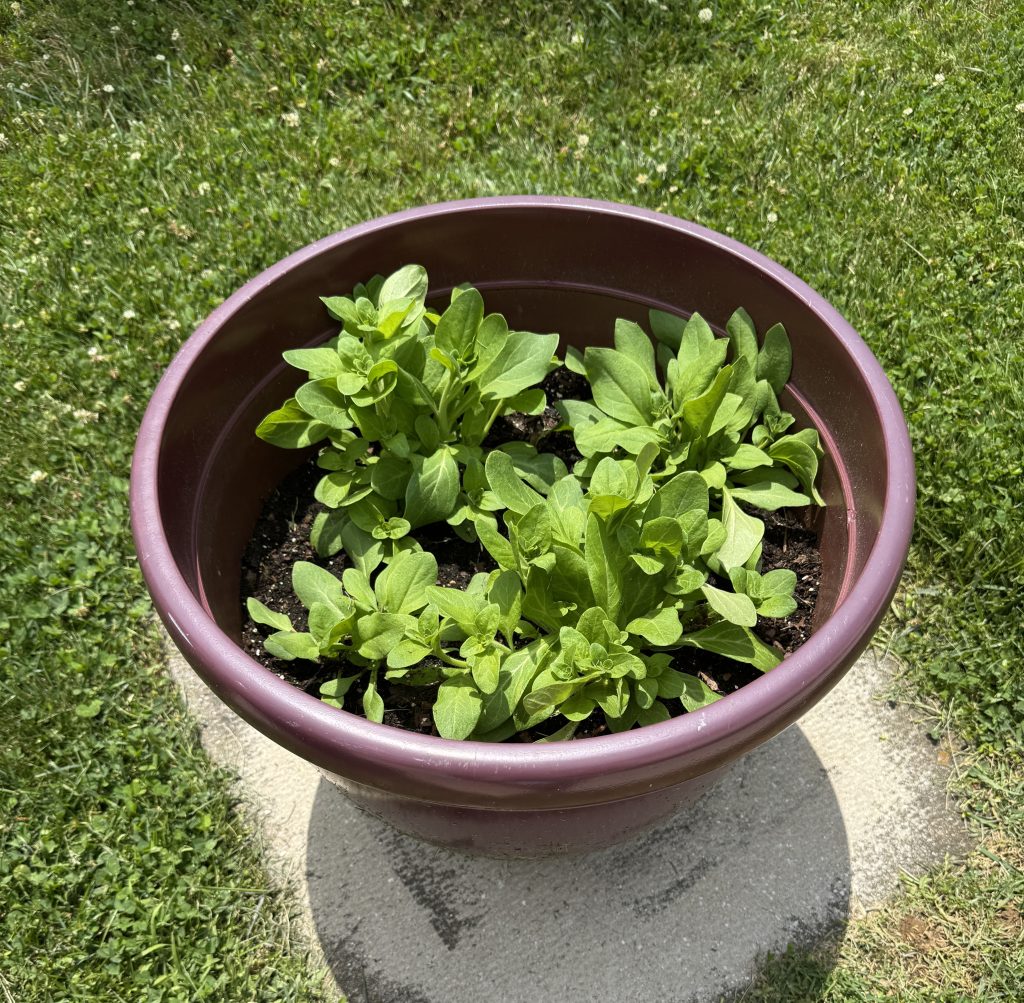
The petunias in the big pot are doing well.
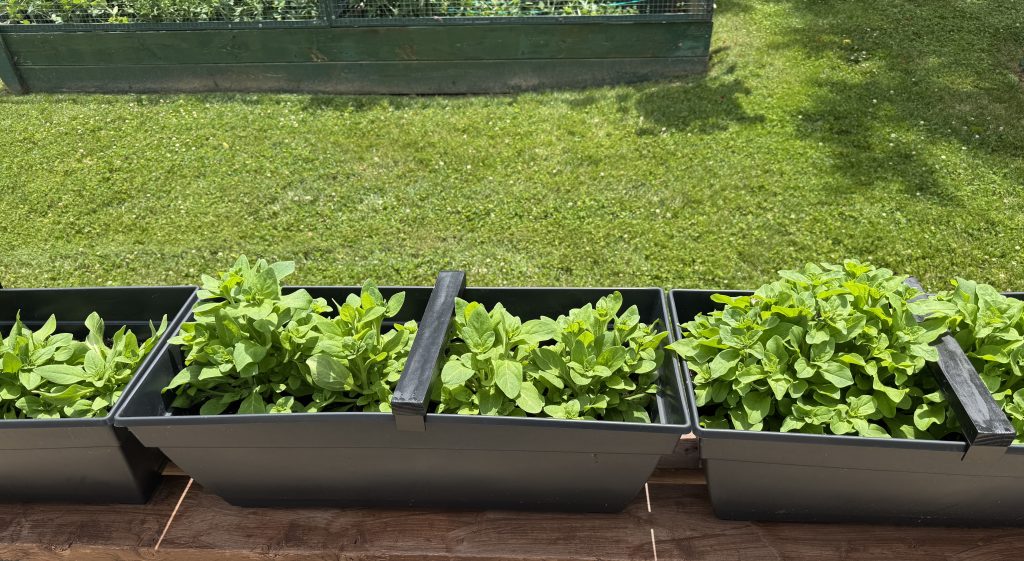
The petunias in the planters by the patio are doing well also. No flowers yet.
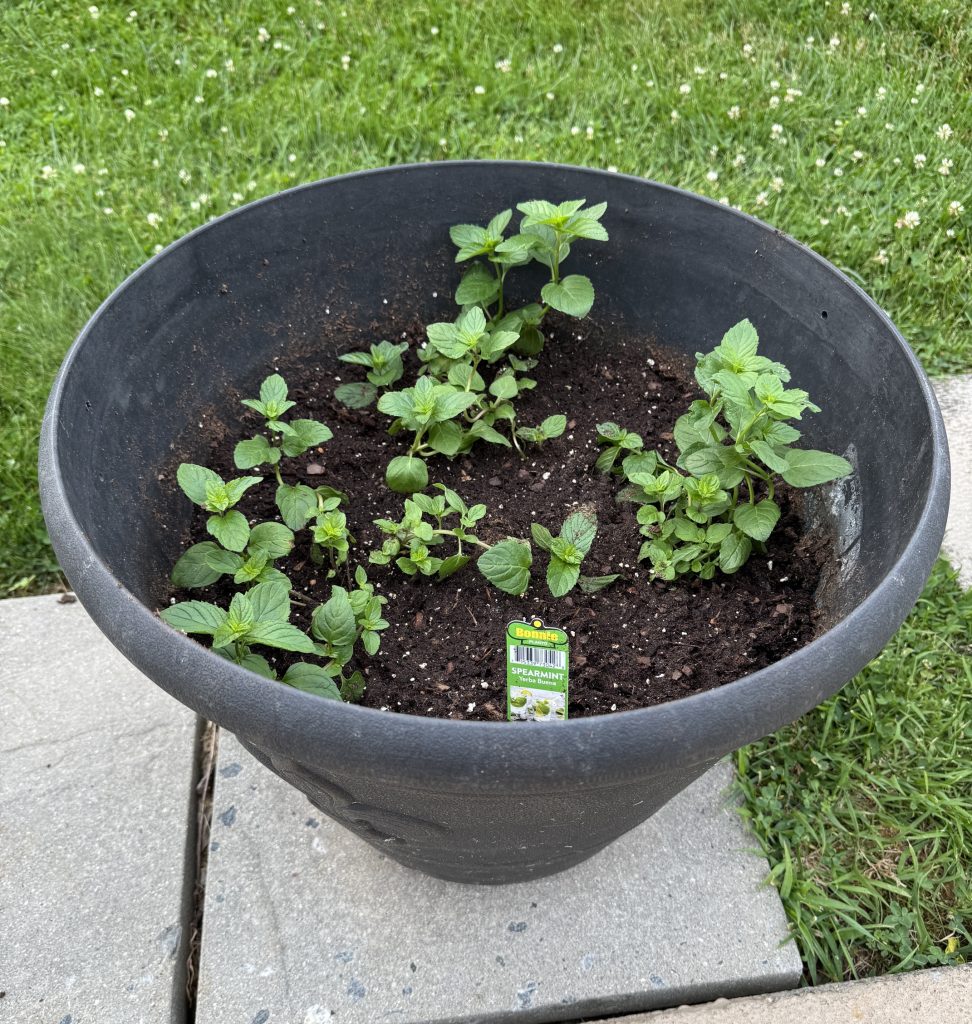
The Spearmint in a big pot is spreading out nicely:
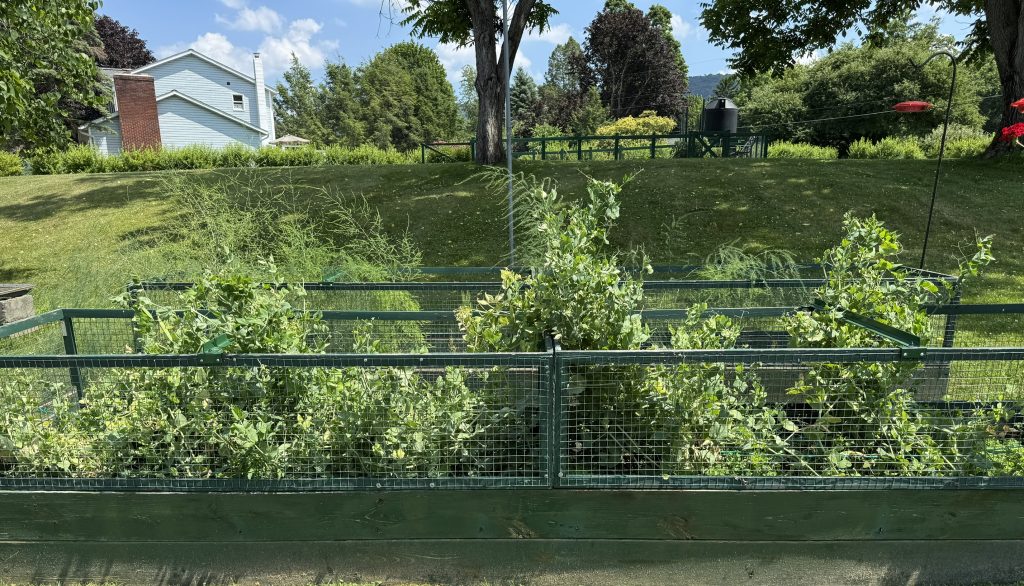
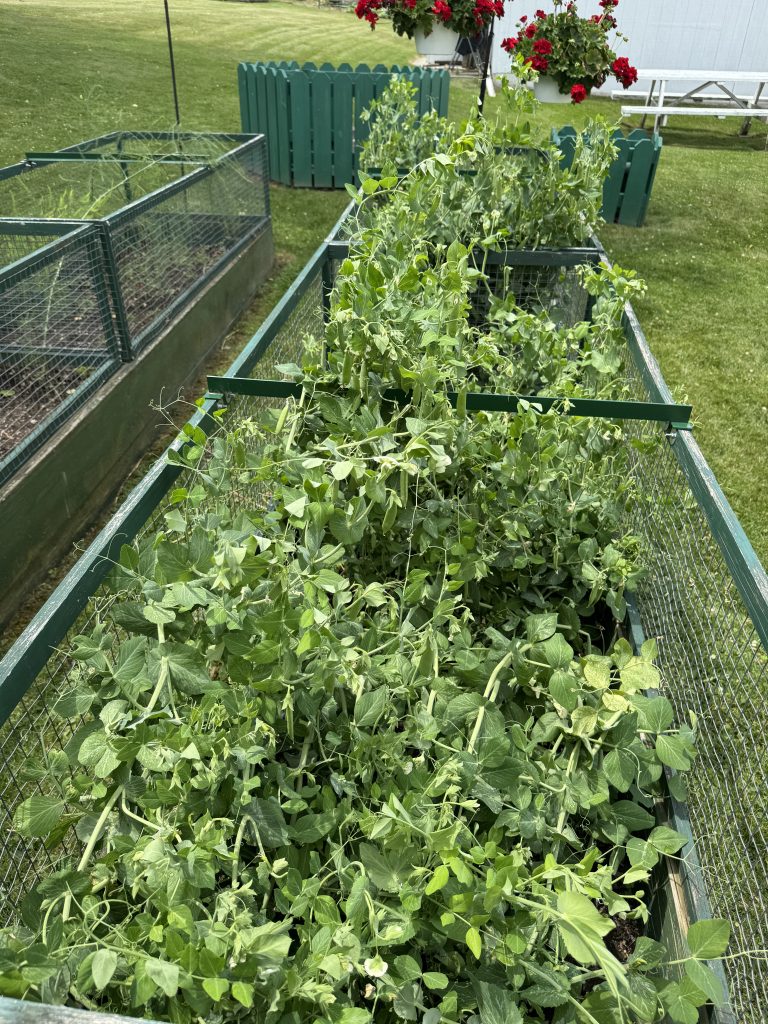
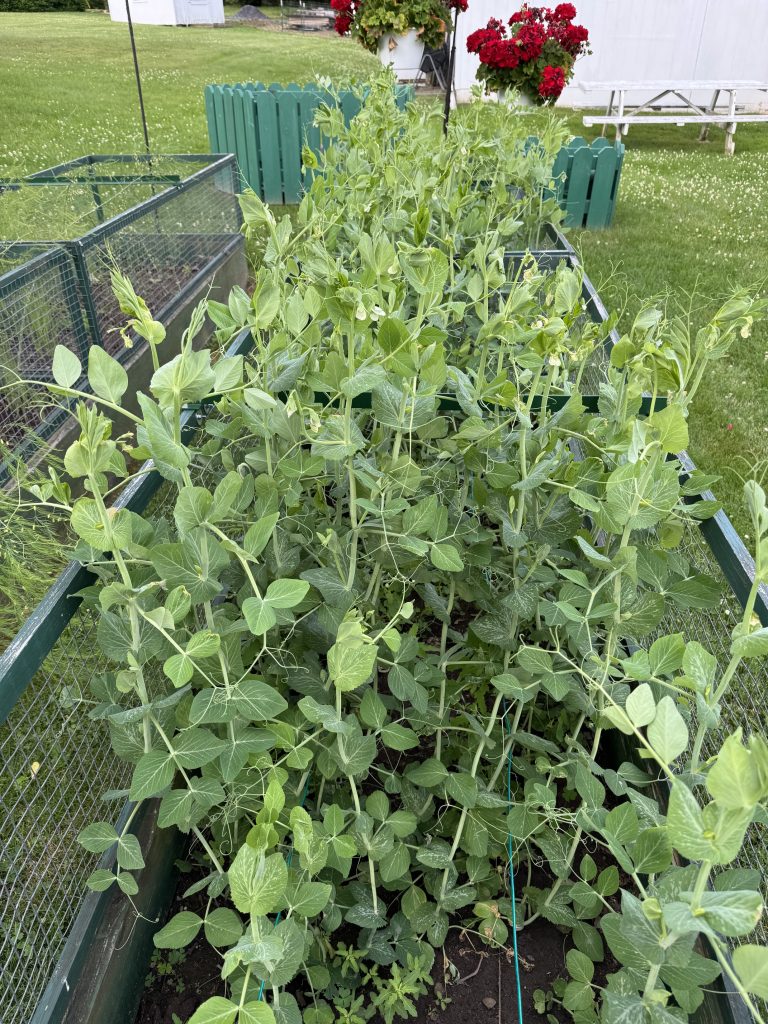
This is how the Sugar Snap Peas looked two weeks ago:
After two rain/wind storms, they’ve definitely been hit hard…a real tangled mess. I’ll have to pull them apart to get to the peas that are ready now.
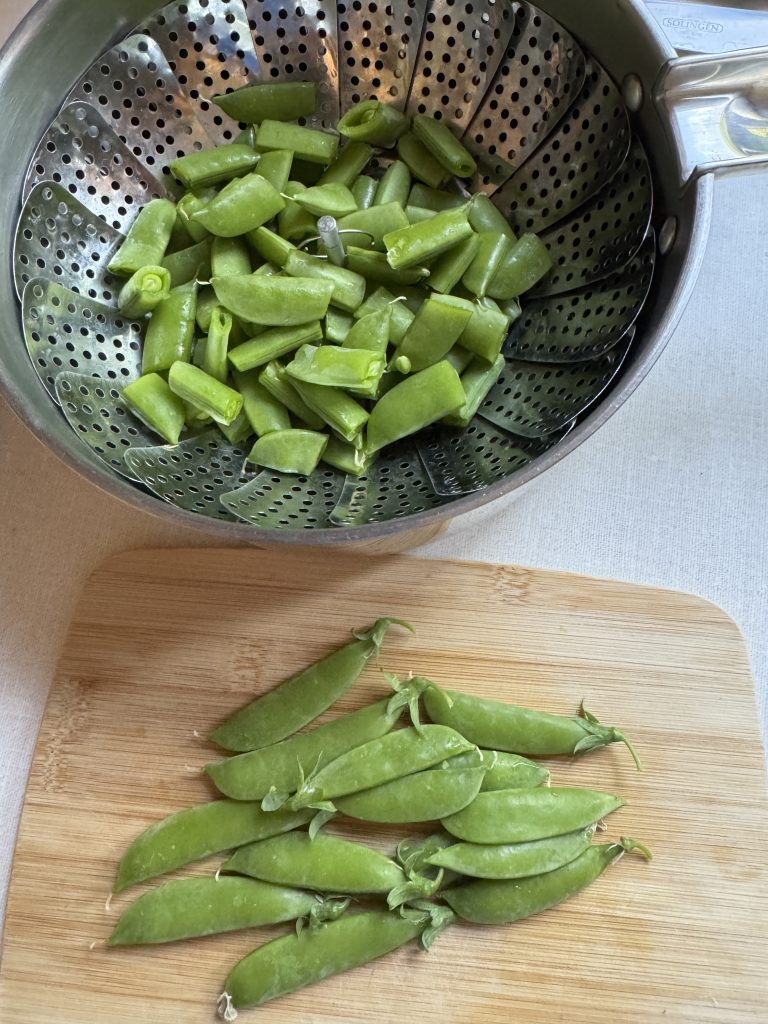
I think they are worth the effort…they are delicious!
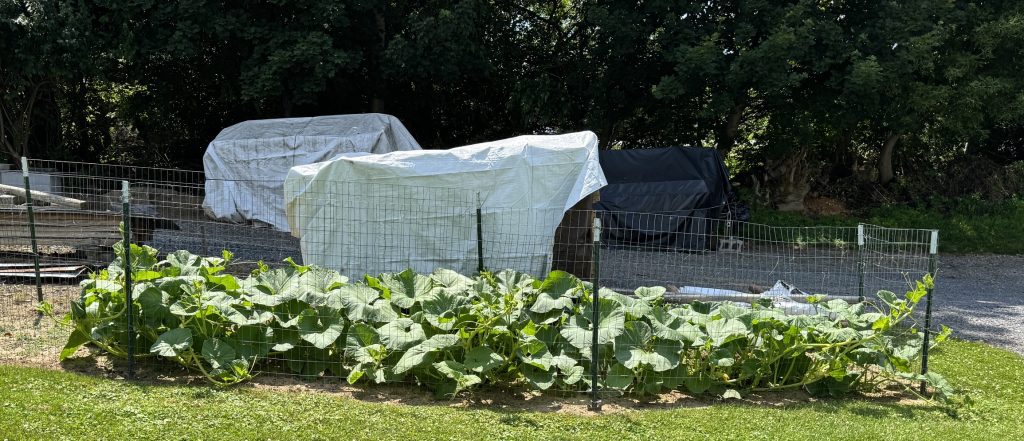
The pumpkin plants look huge, even from a distance. Bert saw a groundhog in the area so hopefully the fence will slow him down.
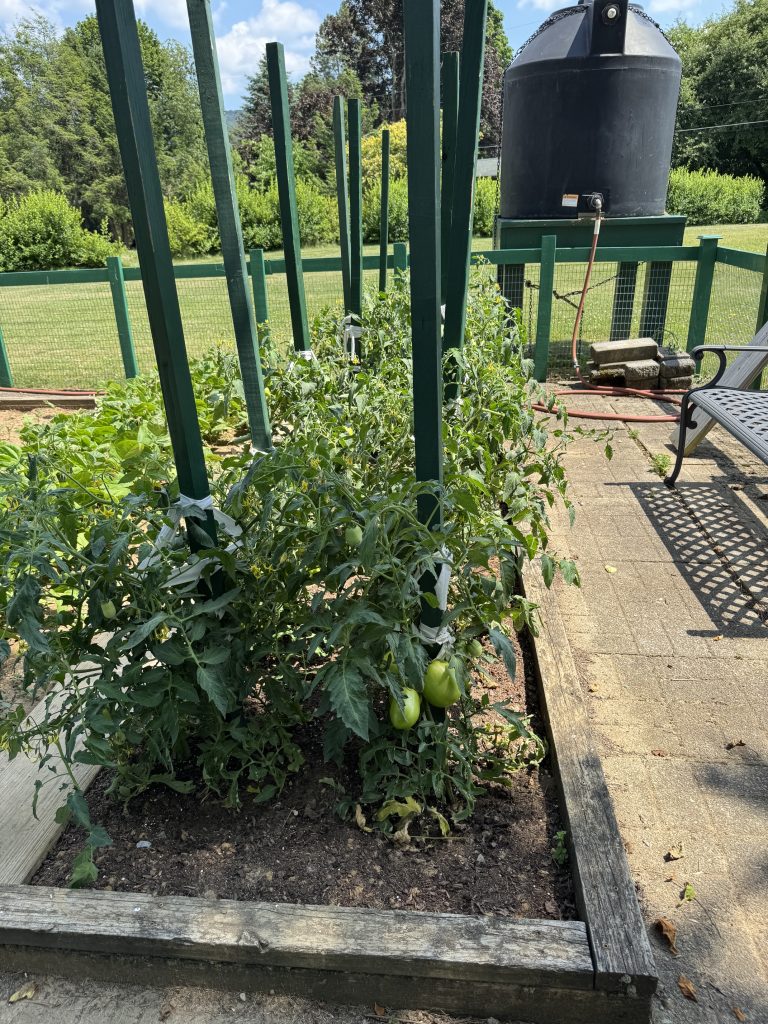
The tomato plants are going strong so far. Bert’s keeping an eye on bugs and wind damage. The tomatoes look great!
The green and yellow beans seem a little behind but they are on their way! The open section that is still empty will be planted with more beans soon. That way they all aren’t ready at the same time.
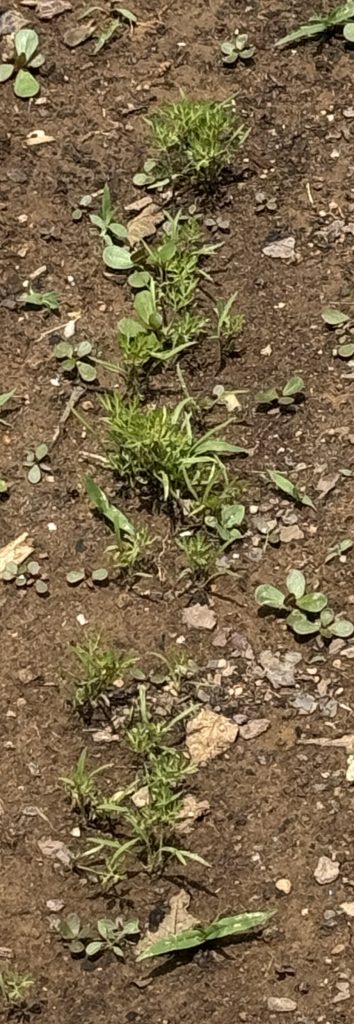
The carrots don’t look like much, but at least we can see where they are…sort of.
Close-up of the carrots!
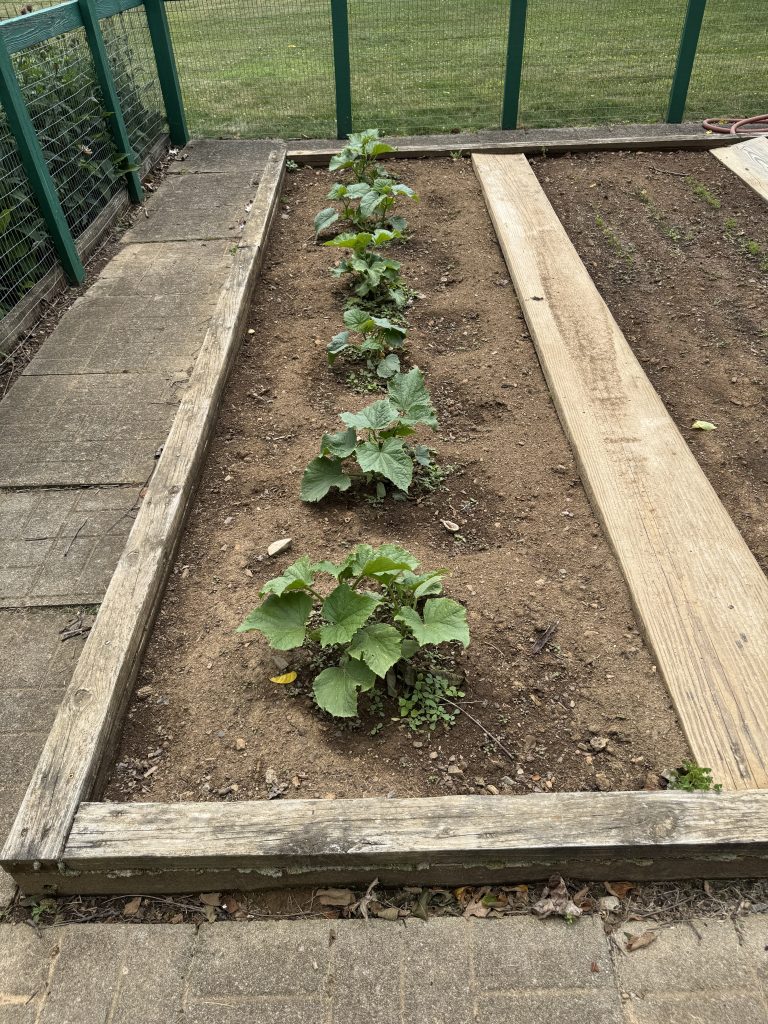
The cucumber plants look healthy but it might be a while to eat cucumbers!
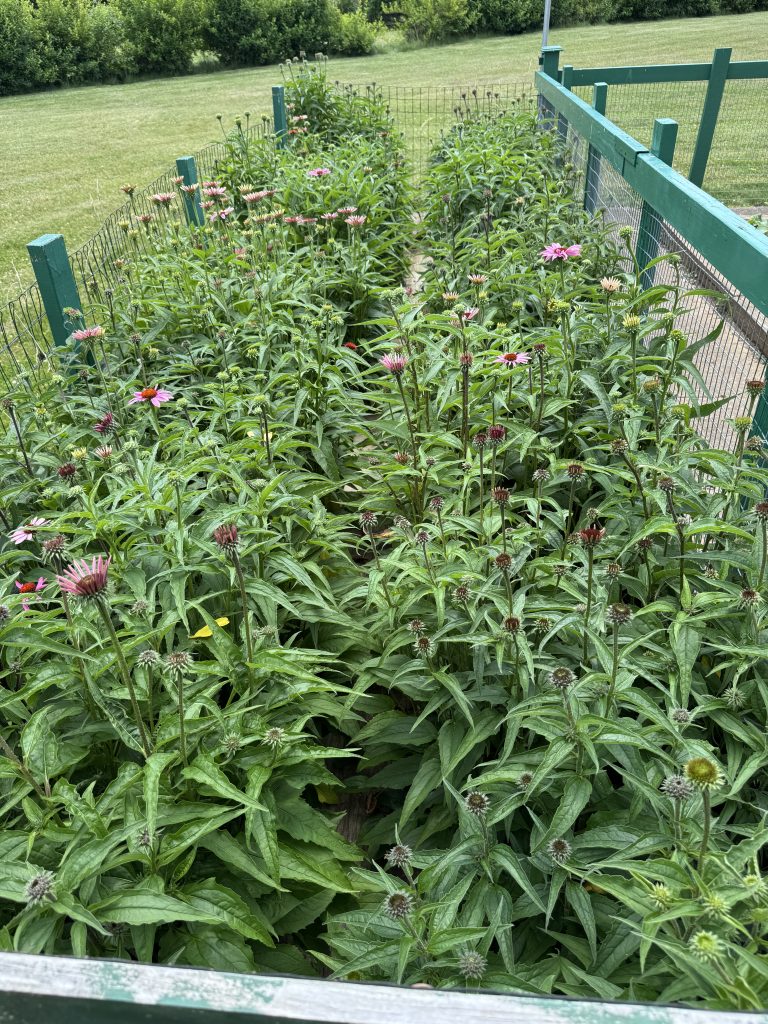
And, last but not least, the Echinacea are doing great all by themselves!
So that’s what’s happening around the garden today! Enjoy!
Remember, please email me directly if you have questions or comments, or comment on my post on Facebook…maryjkisner@gmail.com.
Anytime is smoothie time but the summer is the best time to take advantage of available abundant fruit (unless you live in the tropics where fresh fruit is available all year). If I want to make smoothies with fruit, I need to plan ahead. I like to use frozen fruit in my smoothies (instead of just ice). If I freeze it myself, I can put it into single serving size bags and I’ve chosen the quality of the fruit.
Apples
I can usually find fresh apples most of the year, but before harvest season in September or October, the apples have been stored someplace in a climate-controlled setting. Most other fruit we buy here in Pennsylvania from October to June has been grown somewhere else and shipped to our stores. When local fruit shows up at farmer’s markets and the grocery store, I know it’s time to start chopping!
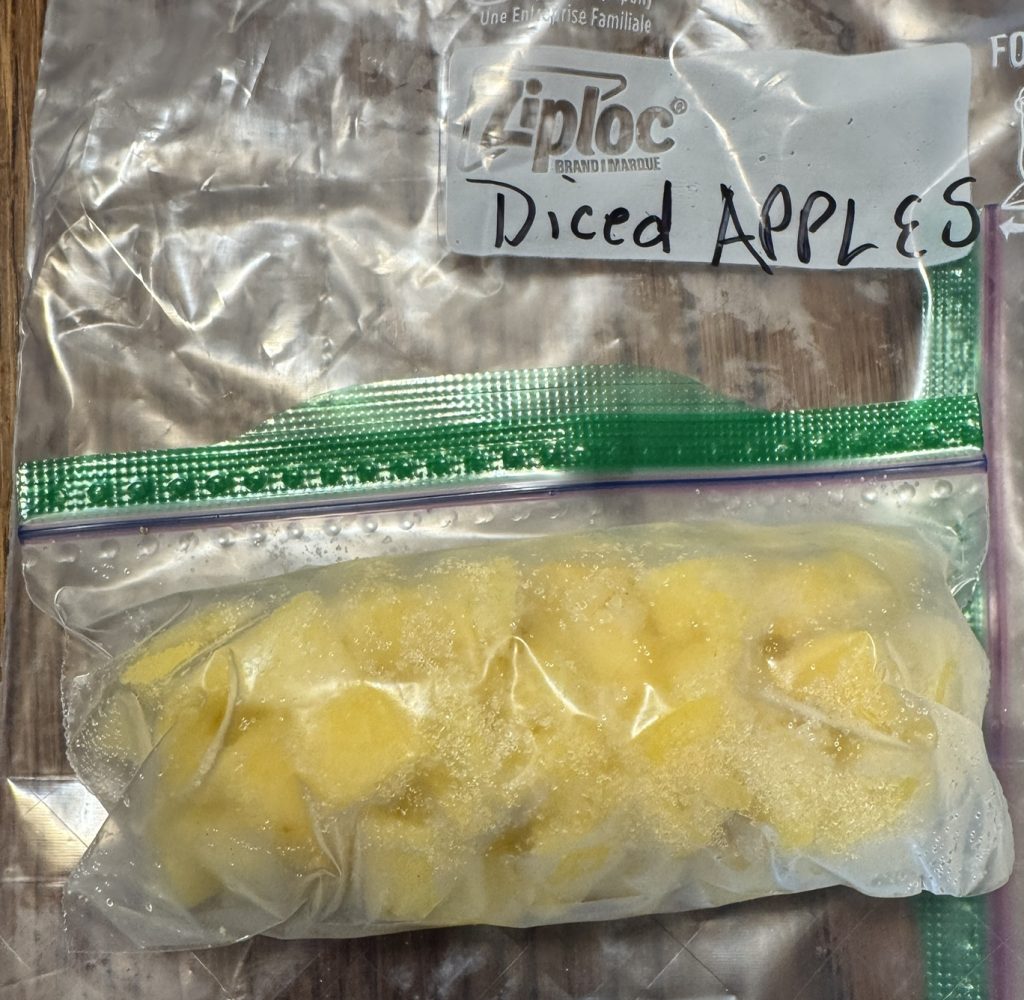
Anytime I buy a bag of apples and we aren’t eating them fast enough, I take the time to chop them up in small pieces, put them in a snack-size zip bag and get them into the freezer.
This quart bag held 4 bags of diced apples. I can easily break off half the bag if I want to mix it with other fruit.
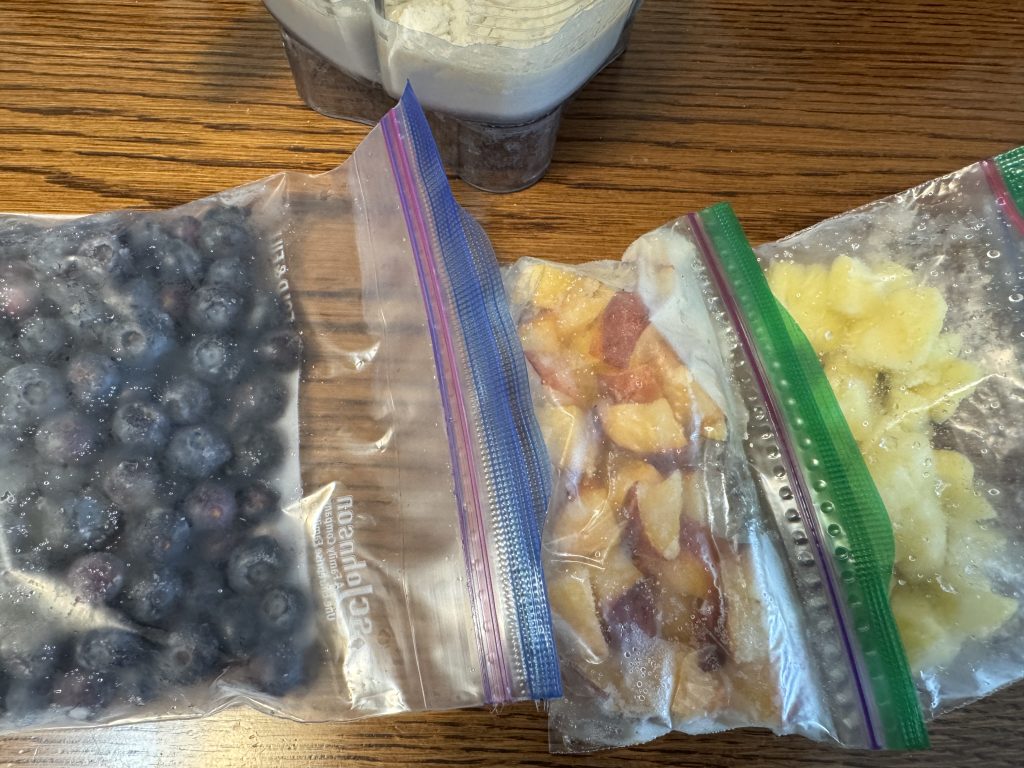
Blueberries
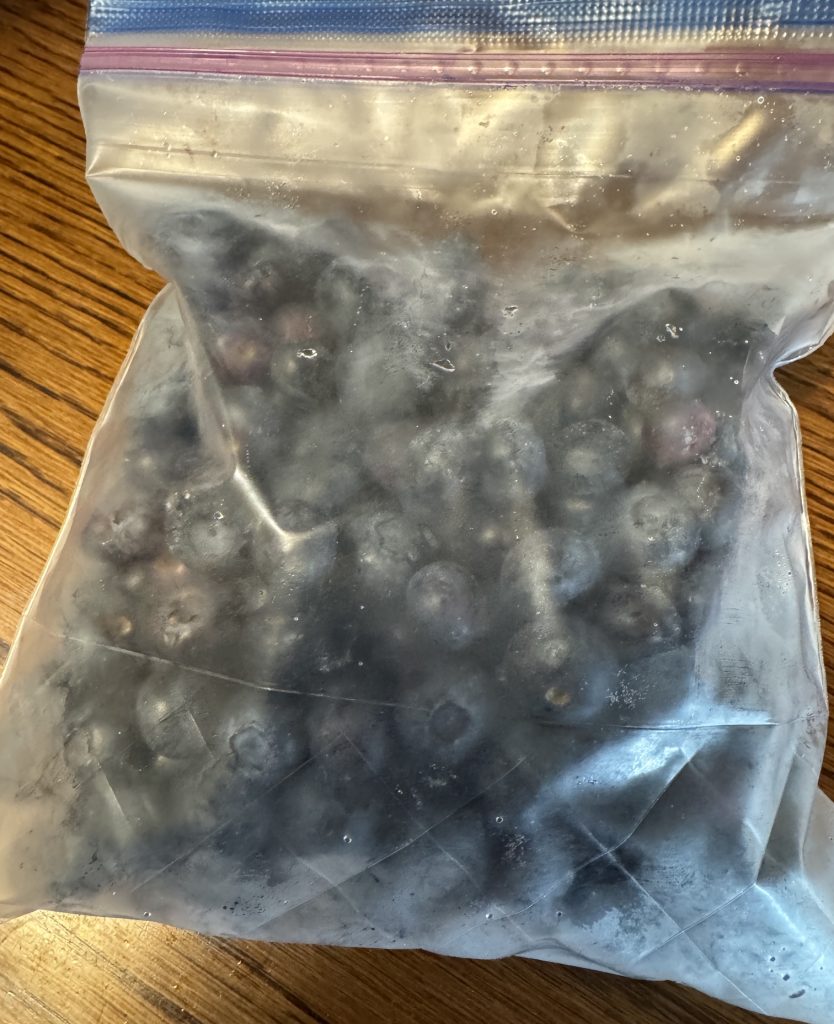
Every year the Kiwana’s in our area have a blueberry sale. The blueberries come from New Jersey (or maybe Maine?) and are very clean and delicious. A 10-lb box this year was $38 and I bought only one box…I still have blueberries in the freezer from last year. I wash them right away and put them into 1-quart zip bags. Once they are frozen, I can pour them out of the bag like marbles right into my blender or into a measuring cup if I need them to bake muffins, etc.
Bananas
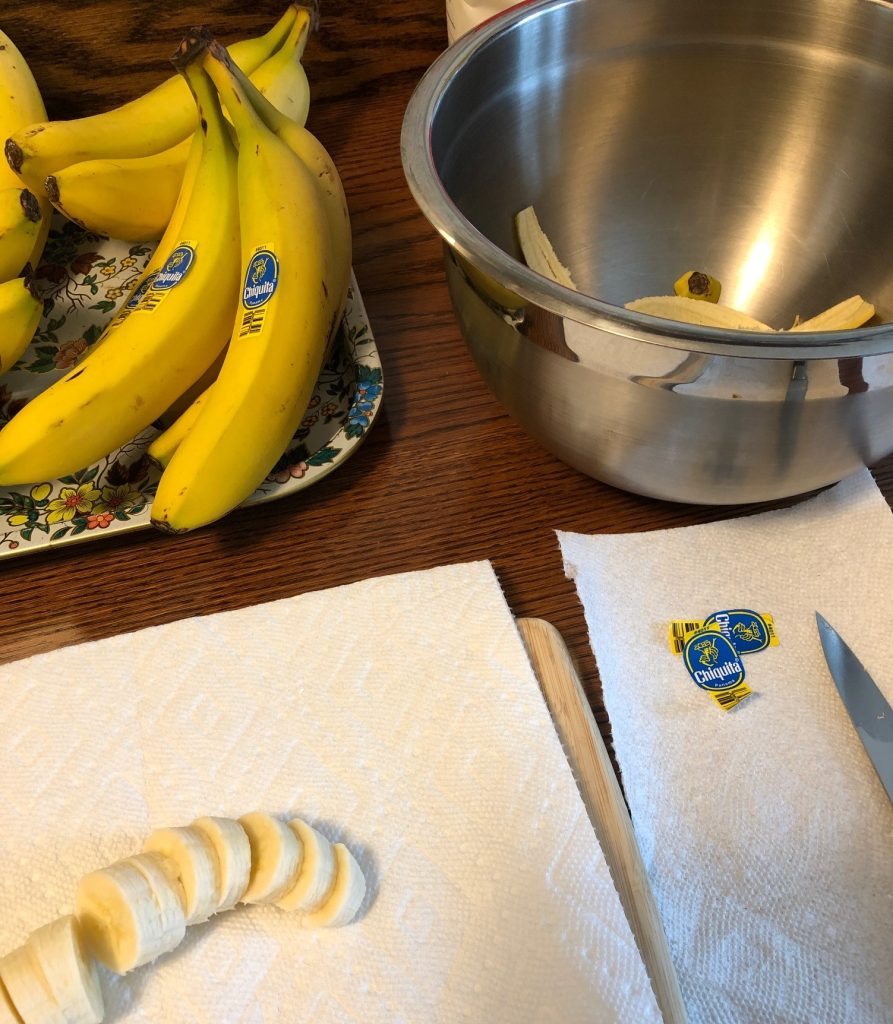
I especially like bananas in my smoothies, and freezing them in slices makes it really easy. Bananas don’t keep very long on my counter top and always go bad before I can get to them.
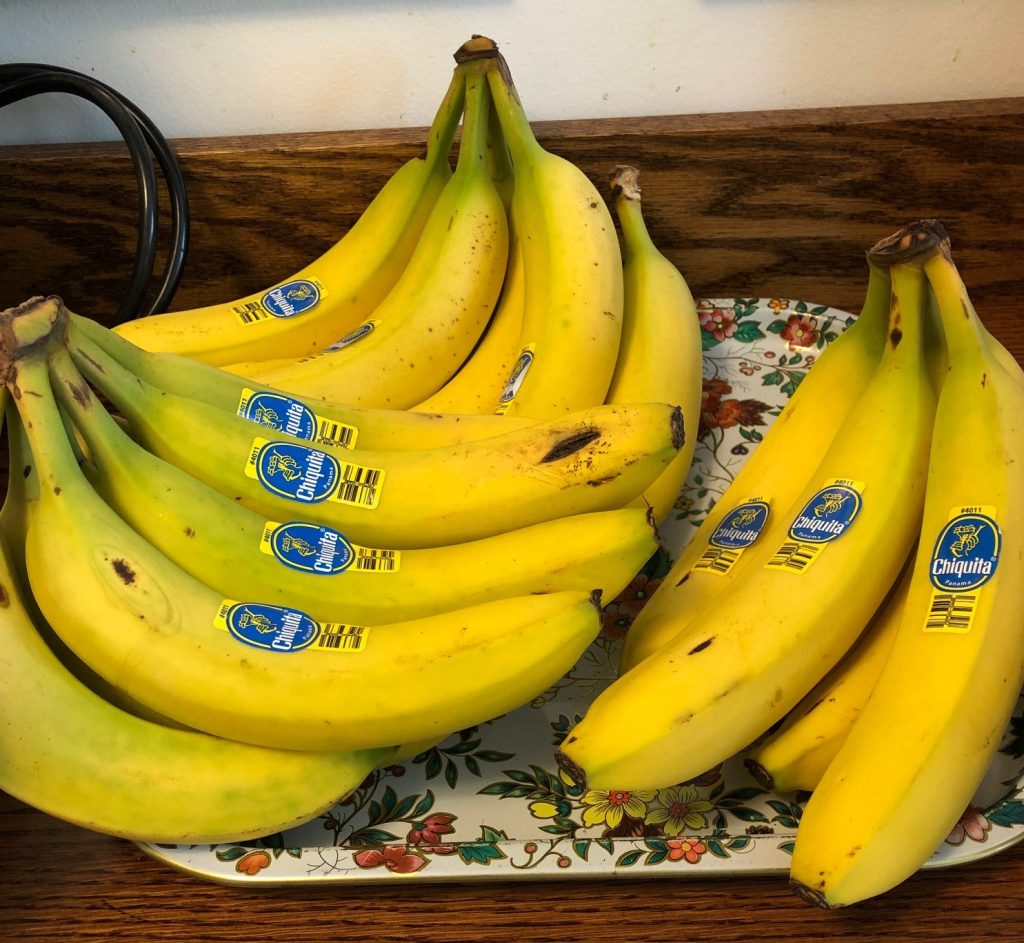
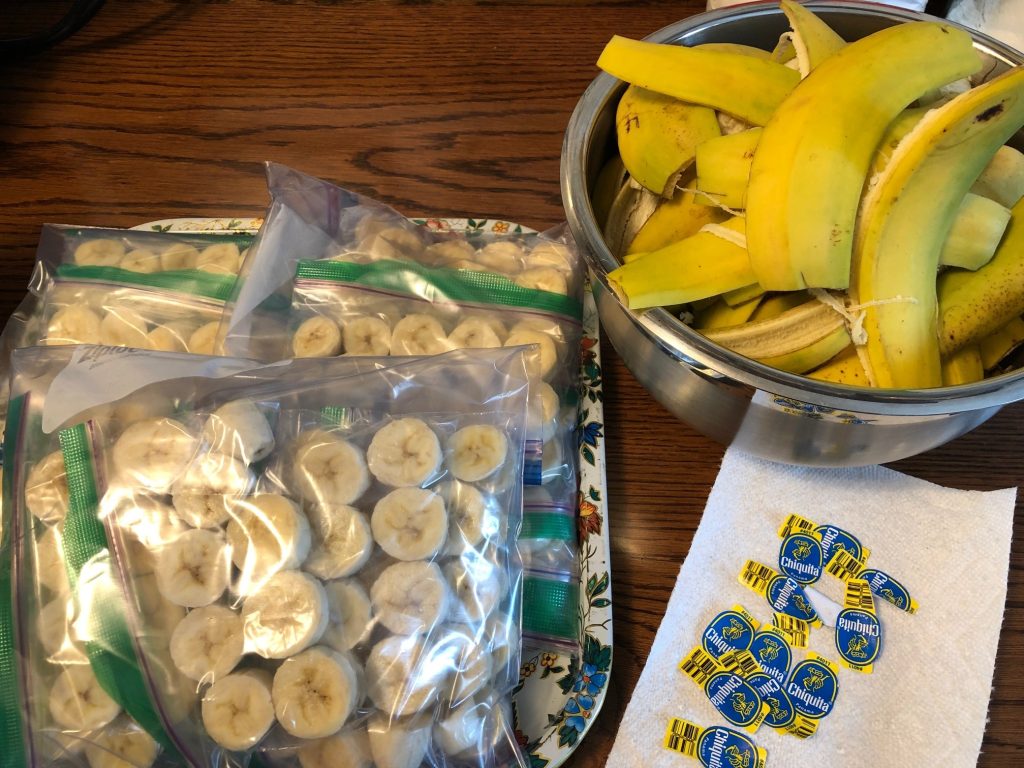
When they are abundant in the store and I have time, I buy about 20 bananas…all about the same ripeness. Then I turn on my music and start chopping!
Since we compost the peals, I’ve learned to remove the stickers. Even when the peals decompose and turn to good dirt the stickers NEVER decompose!
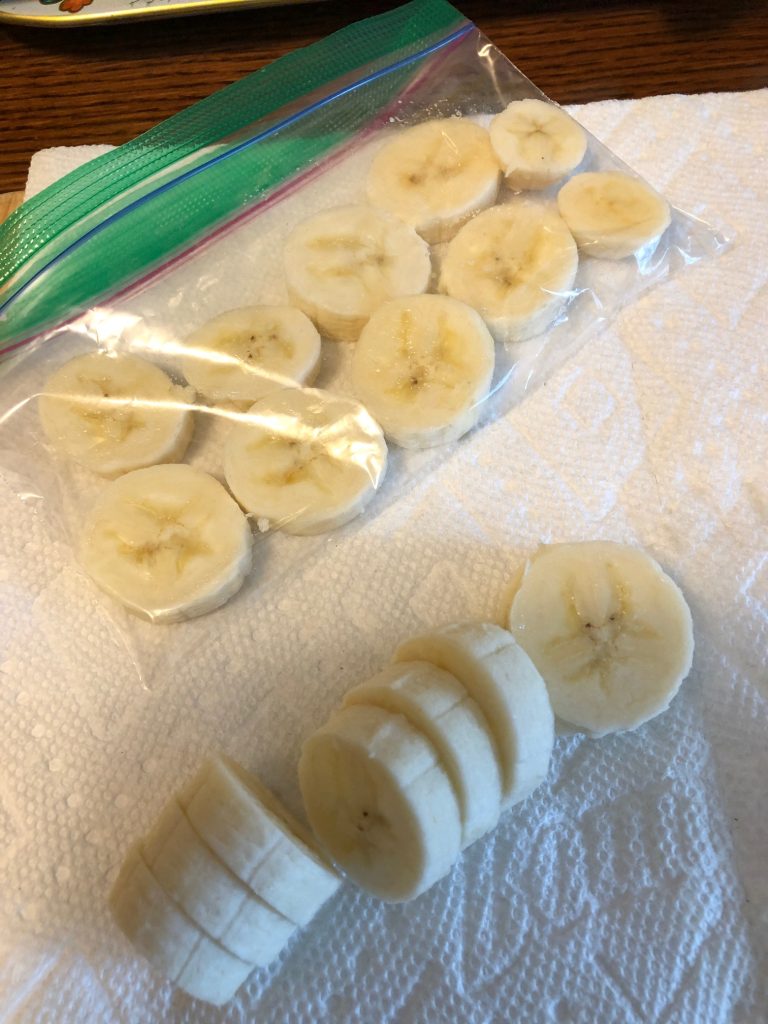
Each snack bag holds exactly 10 slices, which is about 1/2 a banana. Perfect!
Ready for the freezer! I don’t even have label them…they look like banana slices when frozen!
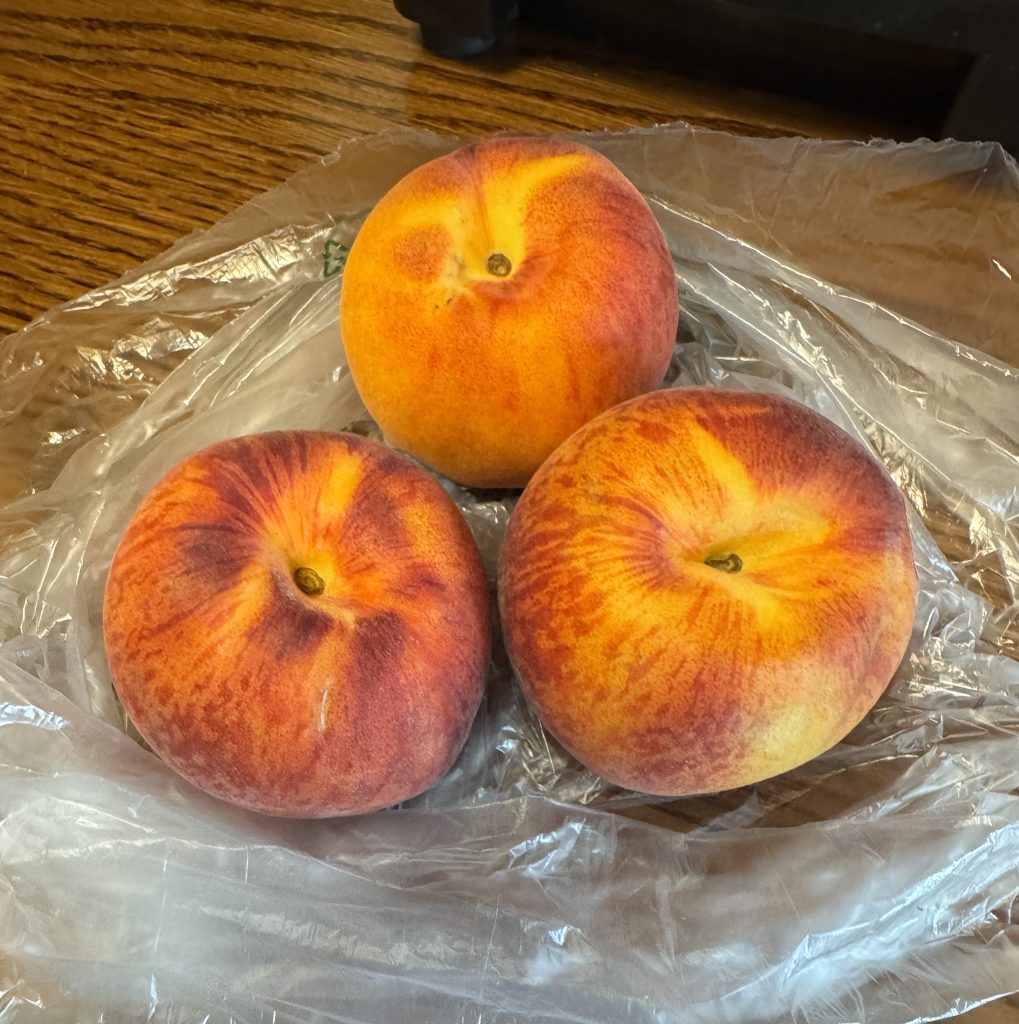
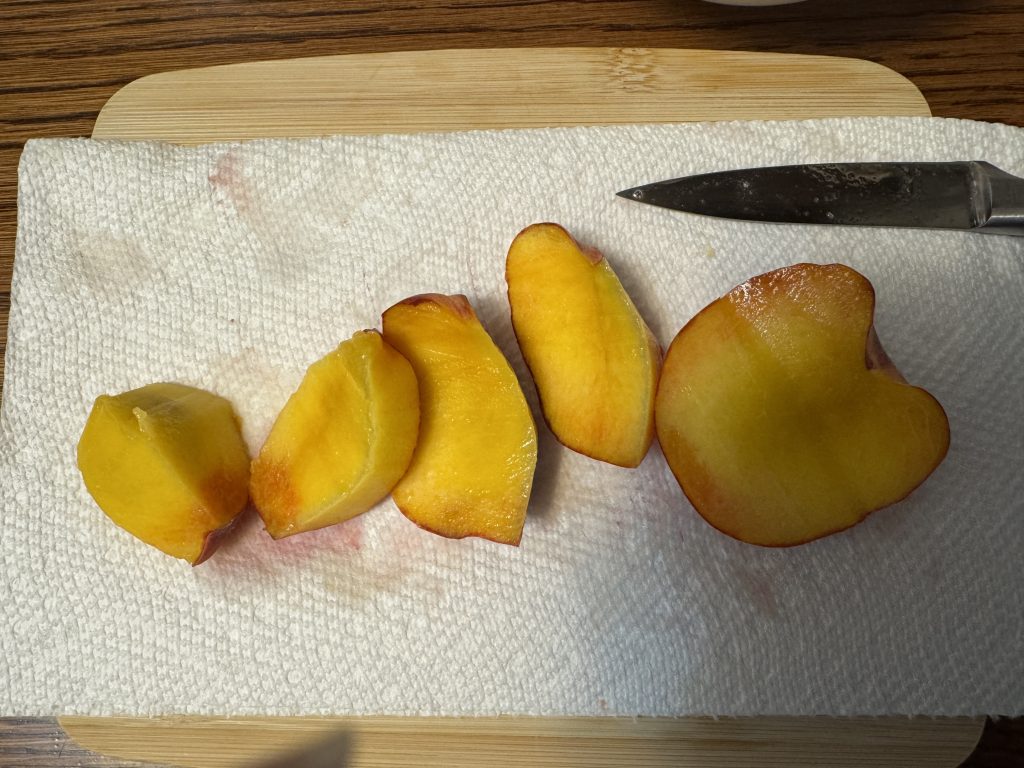
Nectarines
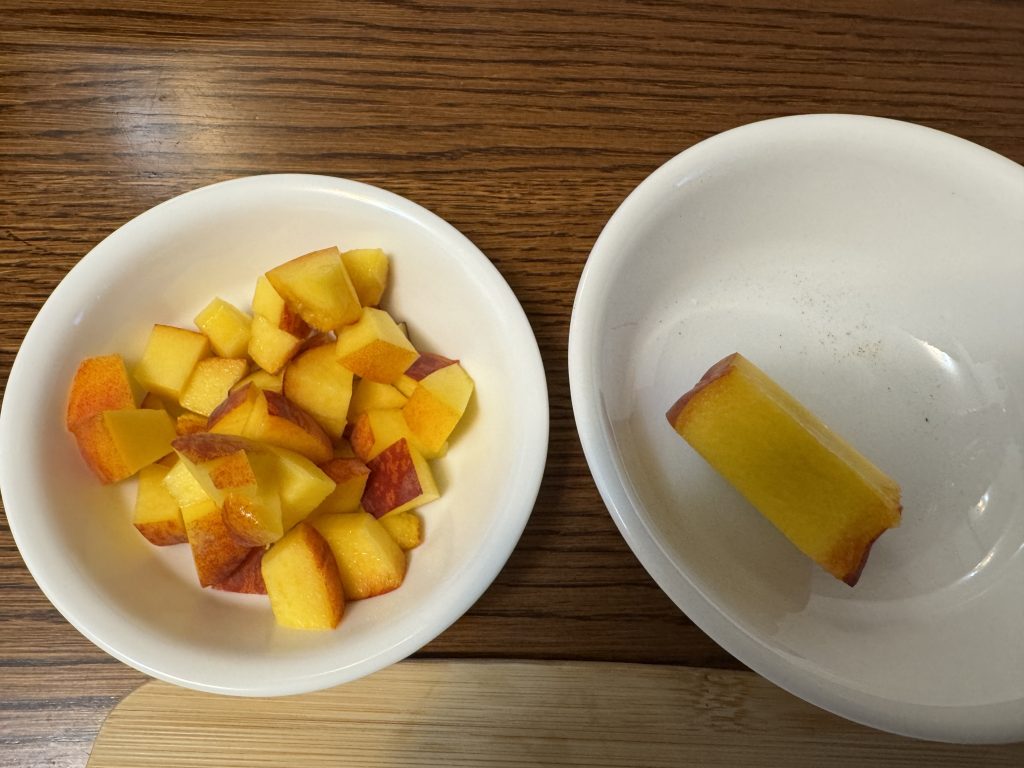
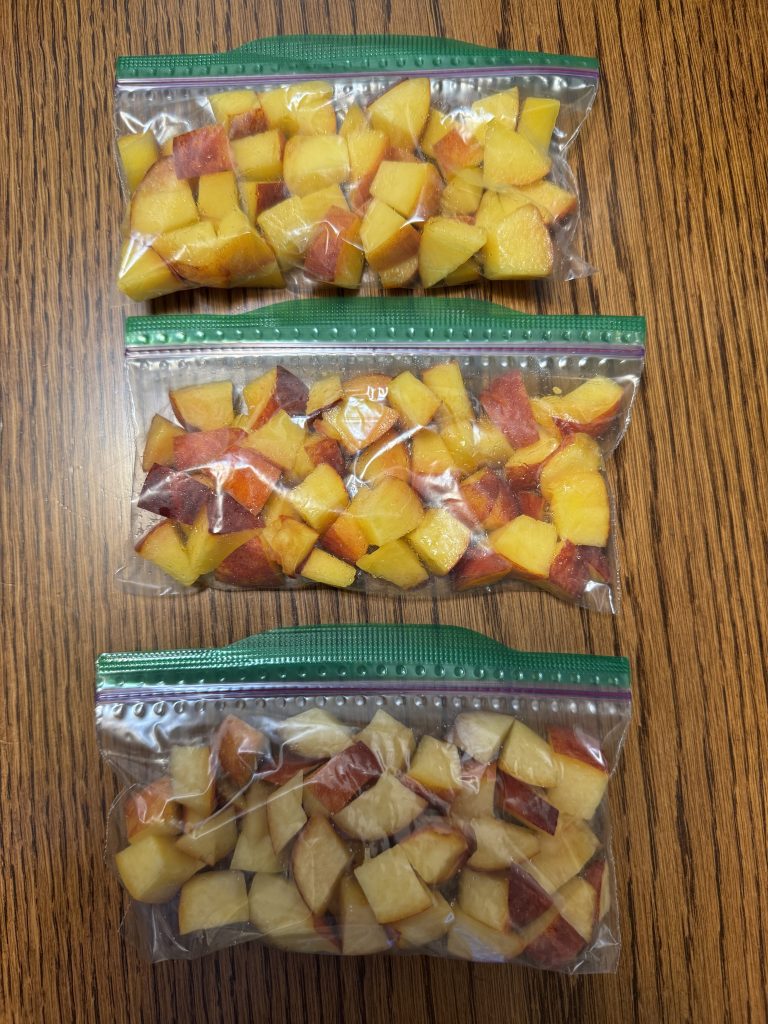
I just took three nectarines that were not going to last on my counter and chopped them up.
These are ready for a smoothie…and I can use just half a bag if I like!
Making Smoothies
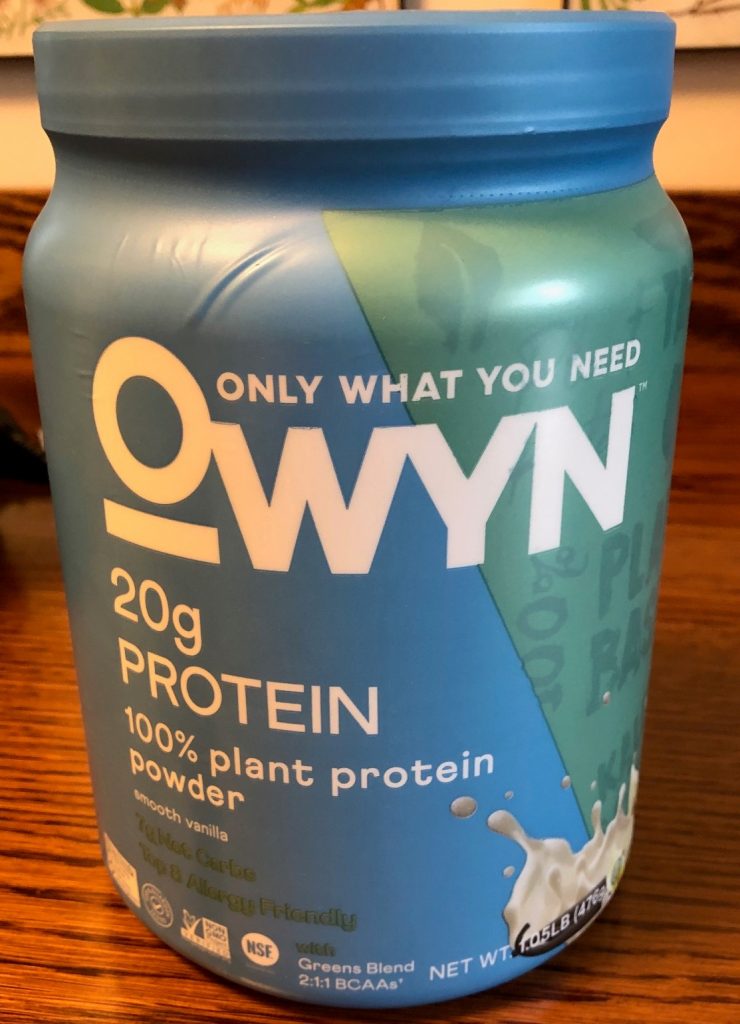
My smoothies start with about 8oz of Almond or Coconut milk. You could use regular milk or water. My choices for Protein Powder include:
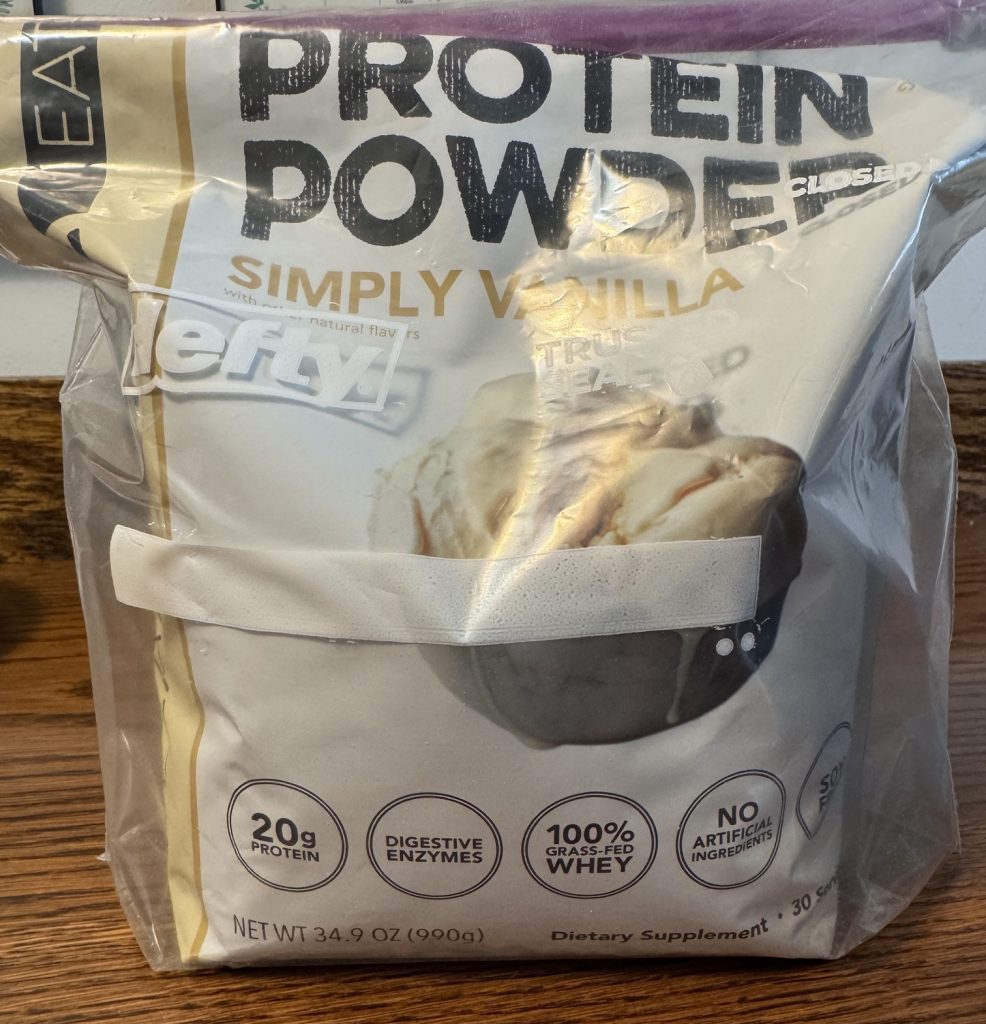
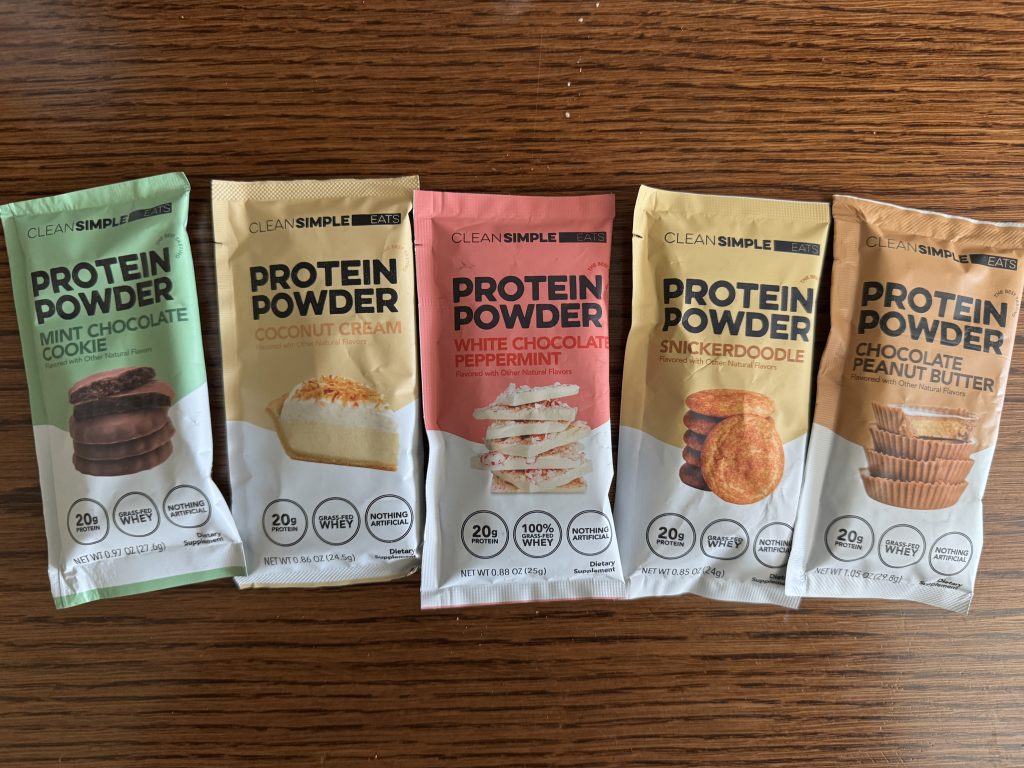
Or a whey-based protein powder:
This brand is called “Clean Simple Eats.” Very tasty!
It even comes in many flavors! I haven’t tried them yet…but the vanilla is delicious!
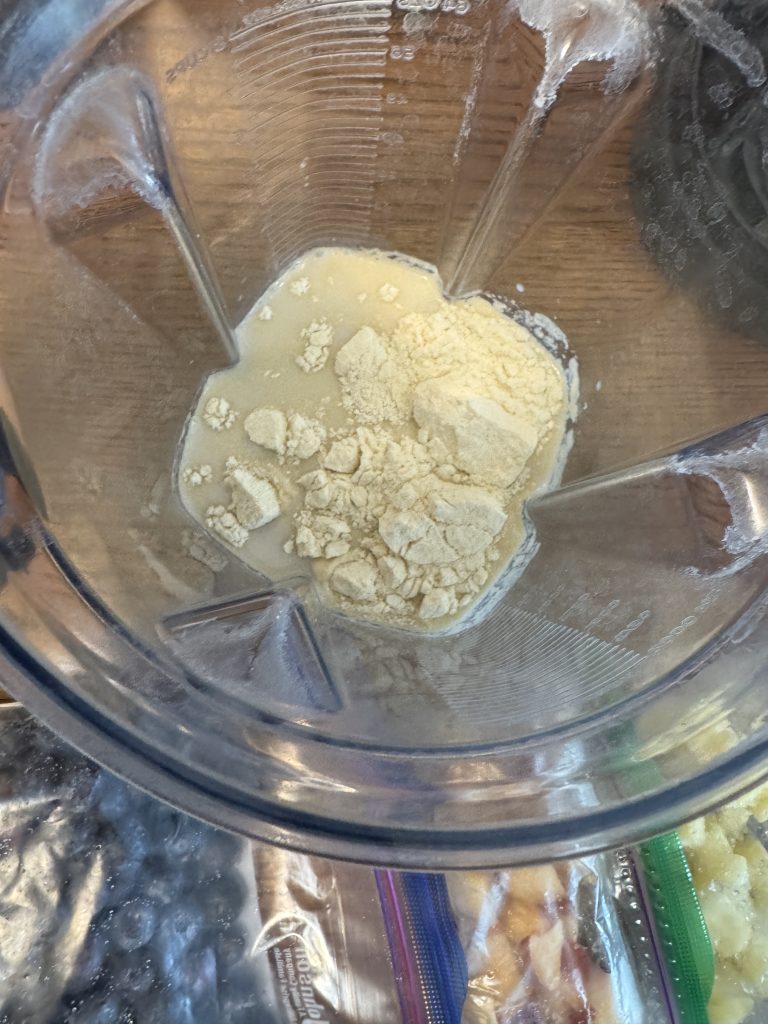
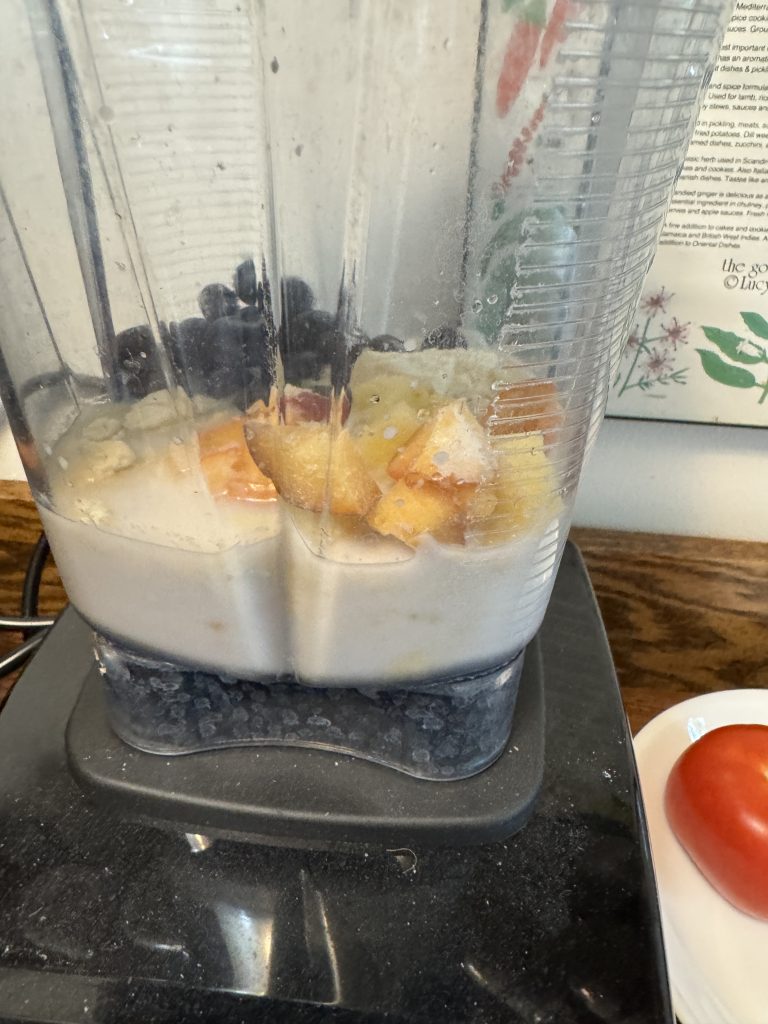
Milk goes in the blender first. Then a scoop of protein powder.
Then about 1 cup of frozen fruit.
Fruit goes on top of milk and powder.
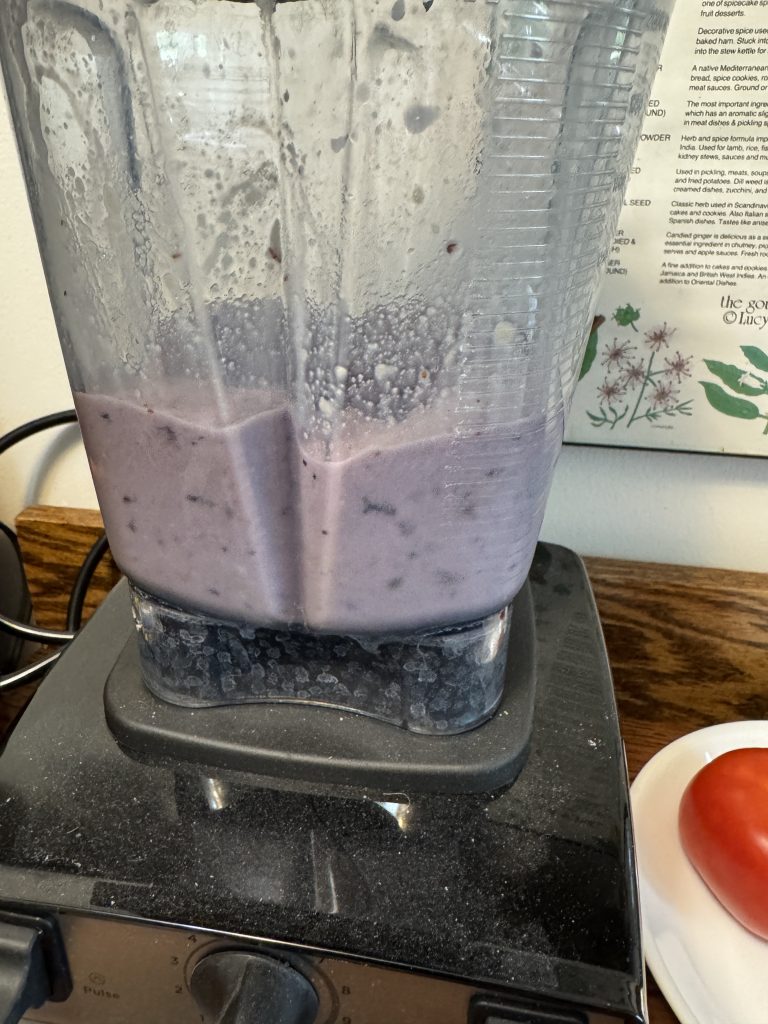
About one minute in the blender and I have my “smoothie milk shake” for breakfast!
Prepping fruit for smoothies doesn’t take long but it sure makes my morning much easier to get going! Don’t let any fruit go to waste…get it in the freezer ready for smoothies! Enjoy!
(This post is an update of one I wrote 5 years ago, now updated with new information.)
Today I’d like to tell you about a very talented and artistic friend of mine: Toni Duchi. She also happens to be my connection to Nittany Greyhounds and has been a friend for over 35 years.
While she has many creative talents, I think her current endeavors in making mixed media pieces have produced some stunning pieces. I call them collages, which is…an artistic composition of materials and objects pasted over a surface. Let me share an example of one she made specifically for me.
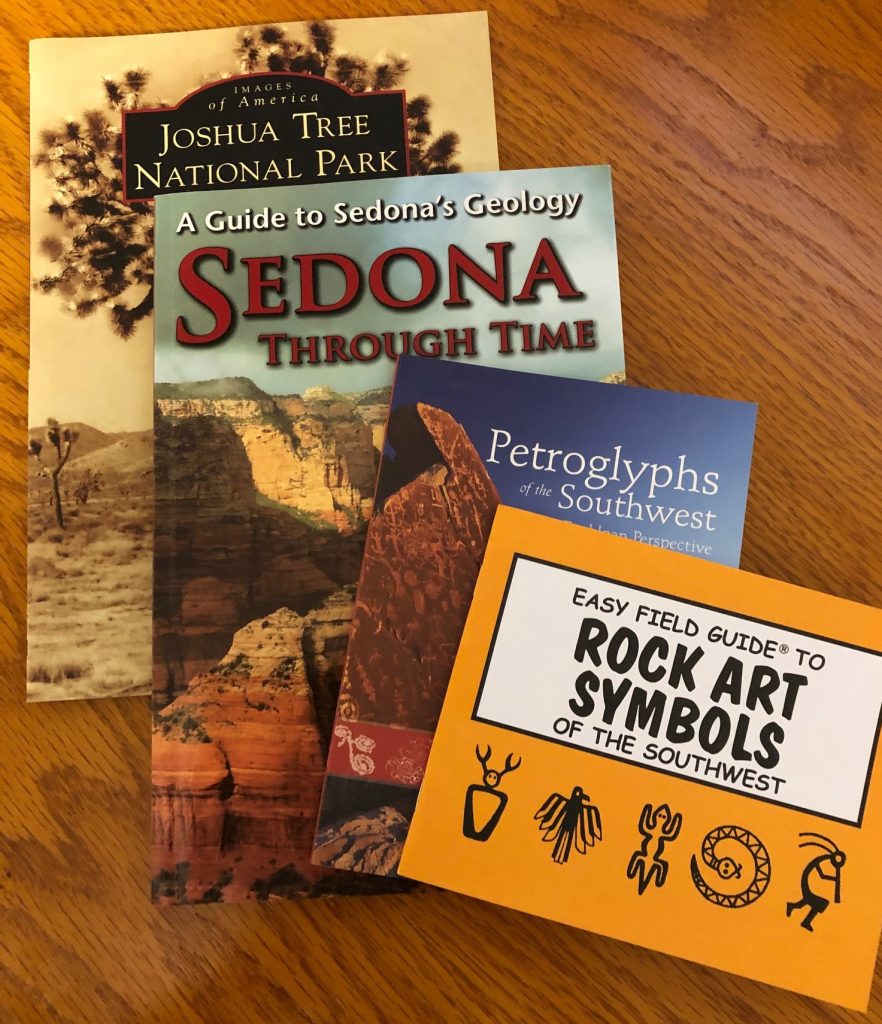
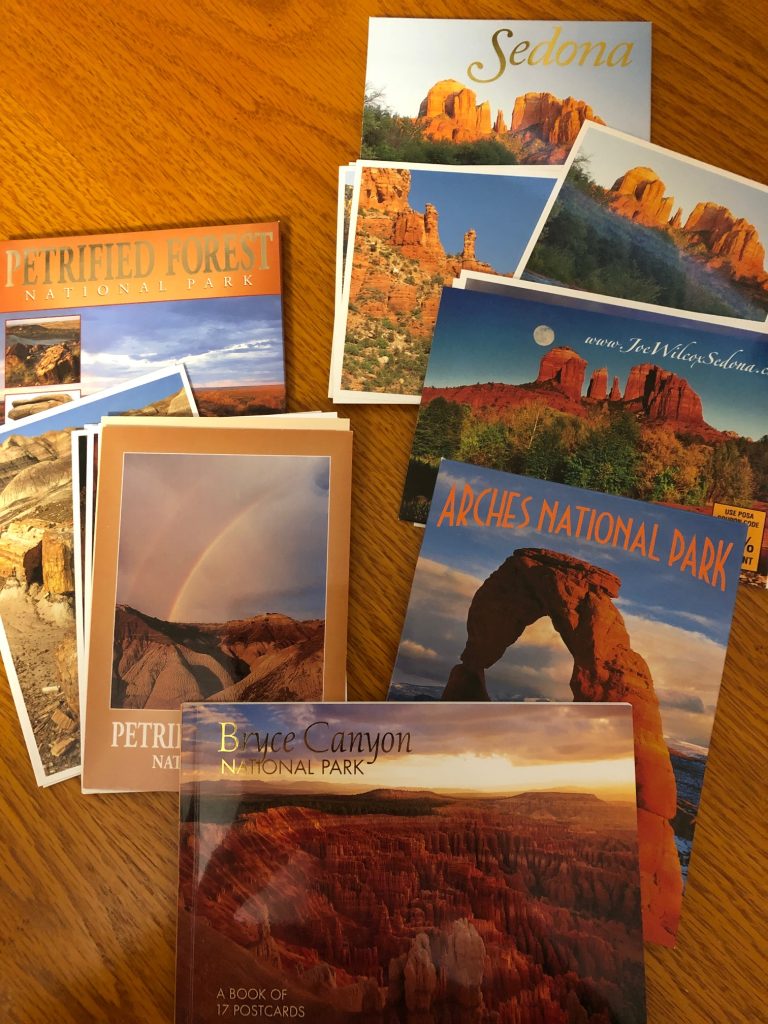
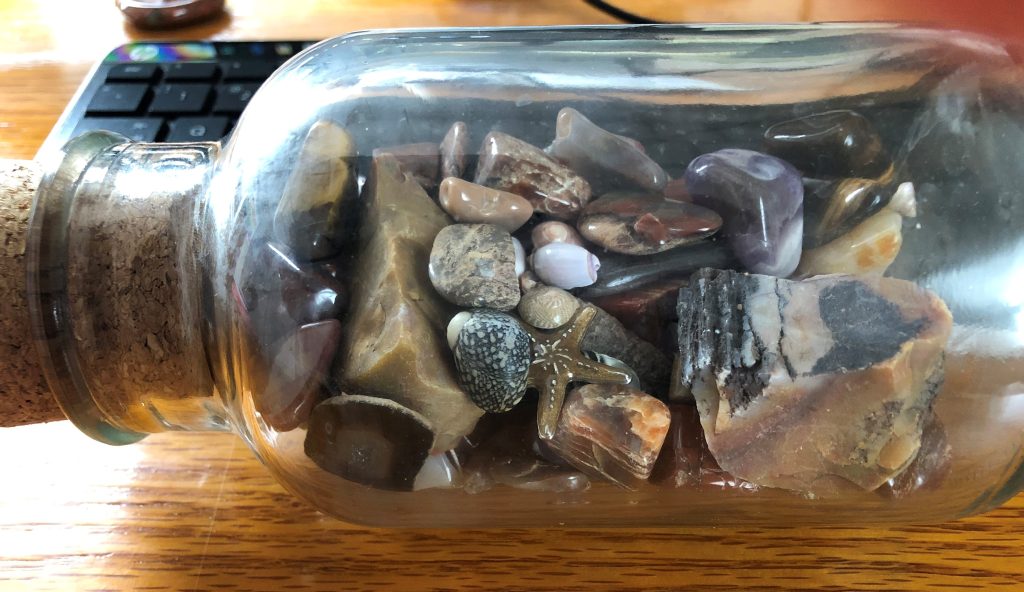
In 2019, Bert and I drove across the country to visit Ted’s family in California. We planned our trip to go through many National Parks along the way. As we traveled, I tried to NOT collect tacky t-shirts that I would never wear again. Instead, I picked up some books about the parks we were visiting and a few postcards that did the views justice. I did take a lot of pictures, but nothing was as good as the professionally done ones that got chosen to be on a postcard. At gift shops there were some tiny medallions representing each park, and even some polished rocks from the Petrified Forest. I wasn’t sure what I would do with these things, but they fit in my suitcase!
Books
Postcards
Rocks and Shells
When I got home, I had a pile of stuff (called a collection) that was fun to look at, but eventually ended up sitting on a shelf.
Making a Collage with a Collection
Finally, I begged for help. Toni told me to choose a section of the country/trip that had special meaning to me. It was obvious most of the stuff I had saved was from the Southwest; the landscape was so different from what I saw here in Pennsylvania.
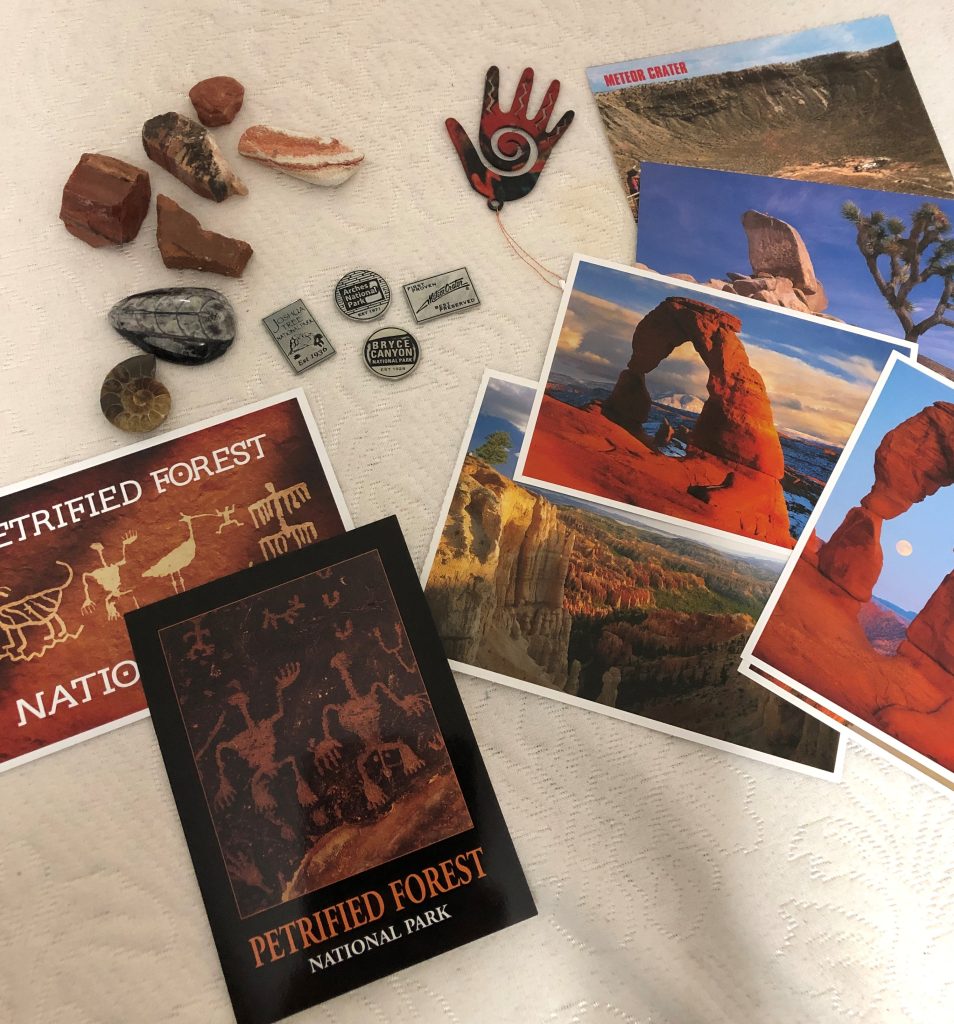
I picked out an assortment of items from postcards, medallions, rocks, fossils and a Native American symbol (the metal hand below):
My Collection
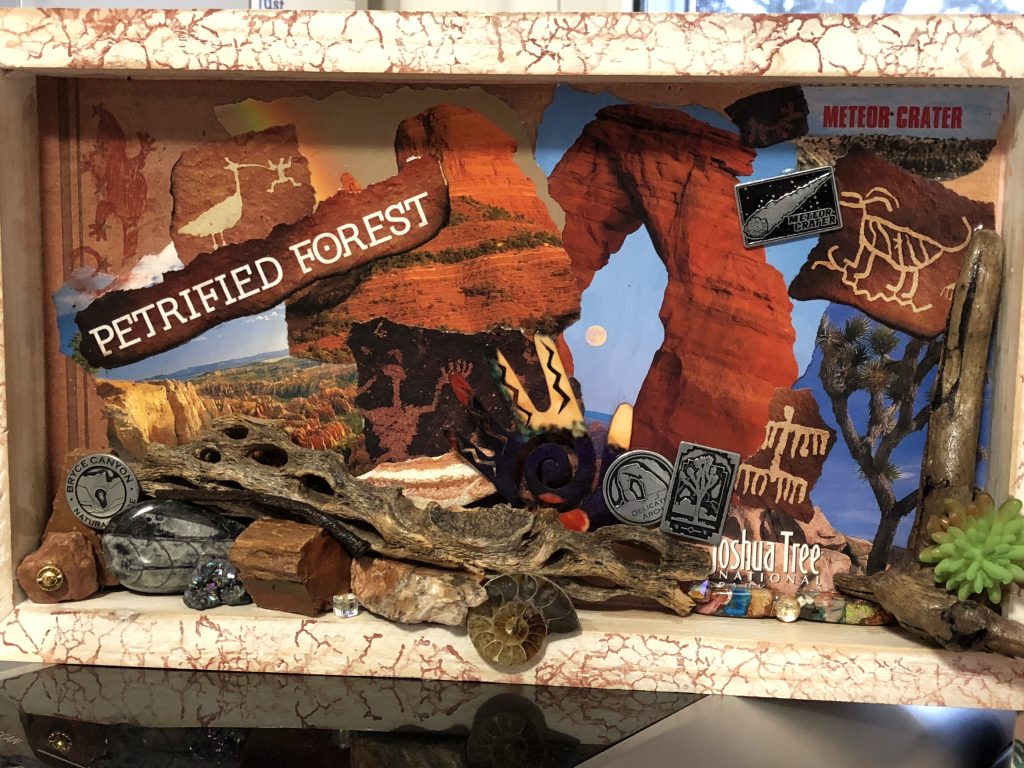
I handed this stuff over and had no idea what she would create with it. Several weeks later, this is what she brought me!
My Collage of the Southwest
This shadow box collage is 12 ½ inches by 7 ½ inches. It beautifully represents my memories of the Southwest. The postcards became the background and the three-dimensional pieces built up the scene. She added a few pieces of driftwood she had to pull it all together. Amazing!!! This now sits on my desk and I’m reminded everyday of the places we visited. The guide books are nearby if I want to read more. I still have more postcards and rocks leftover of the many other places we visited, but this collage pulls together a whole host of memories.
With all the various projects I enjoy doing, designing scenes like this is NOT one of my talents. Thank you, Toni!
A Second Request for Toni
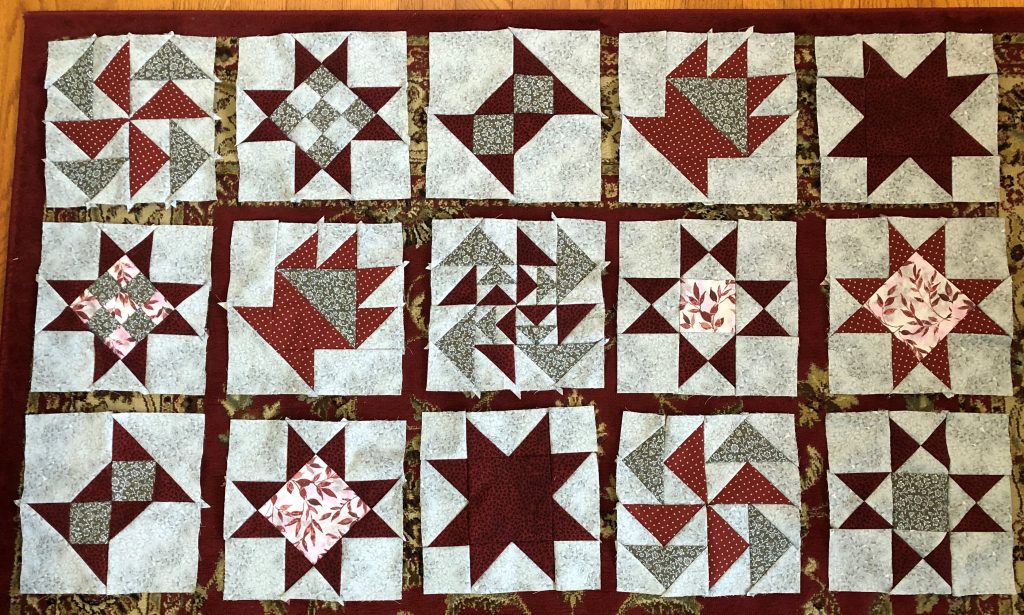
Soon after Toni made the collage of the Southwest, I had another design dilemma that she helped me with. I was working on a new wall hanging for my living room. It will be a sampler quilt wall hanging using new colors for the room…silver and burgundy. Here are the blocks laid out on the floor to show the colors:
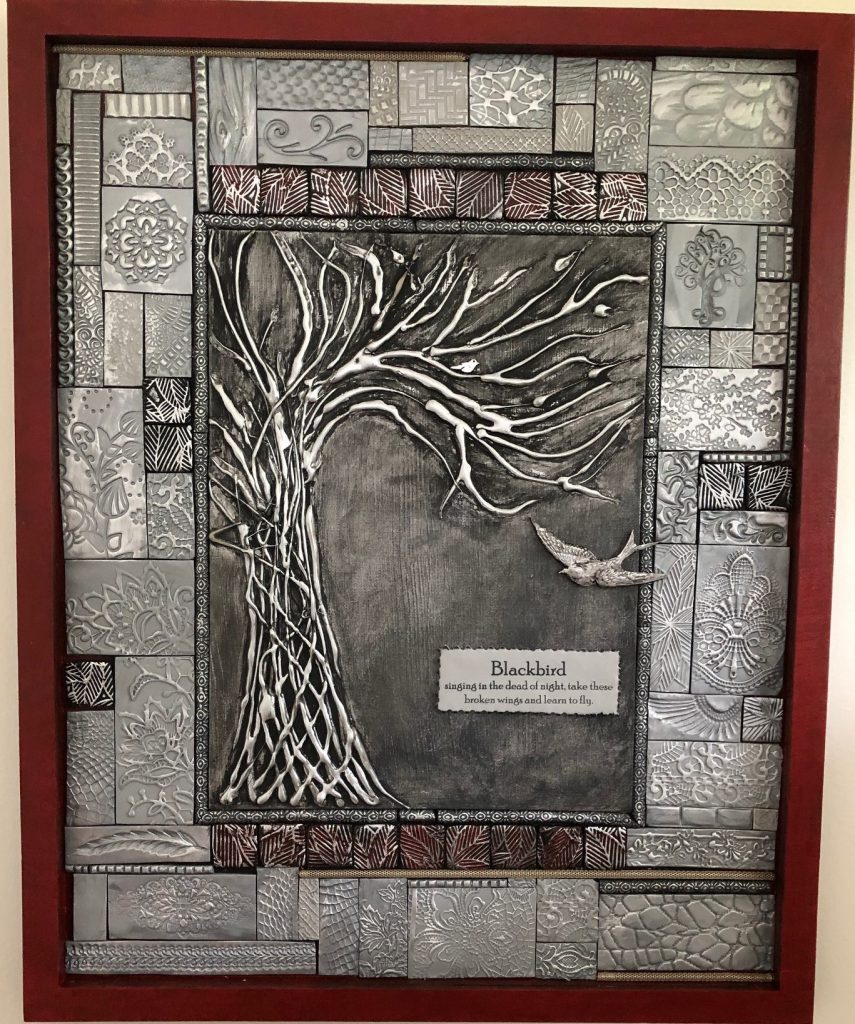
I showed these blocks to Toni and asked if she’d make me something to go on the wall by the front door. Using her talents with polymer clay, she made me a framed collage made of individual tiles in silver and burgundy. Here are some pictures!
This piece is 16 ½” by 20 ½”.
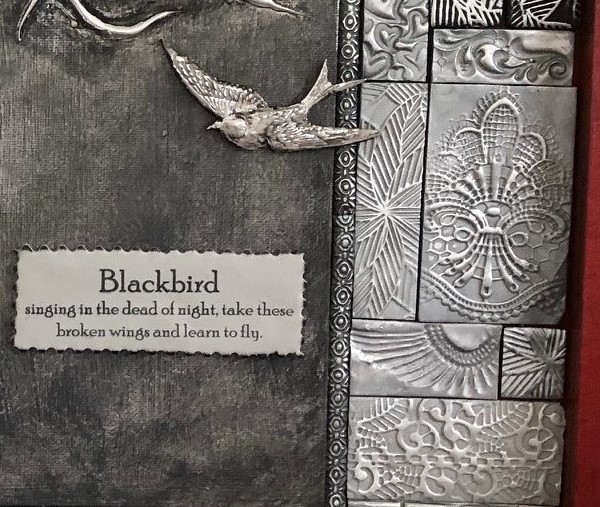
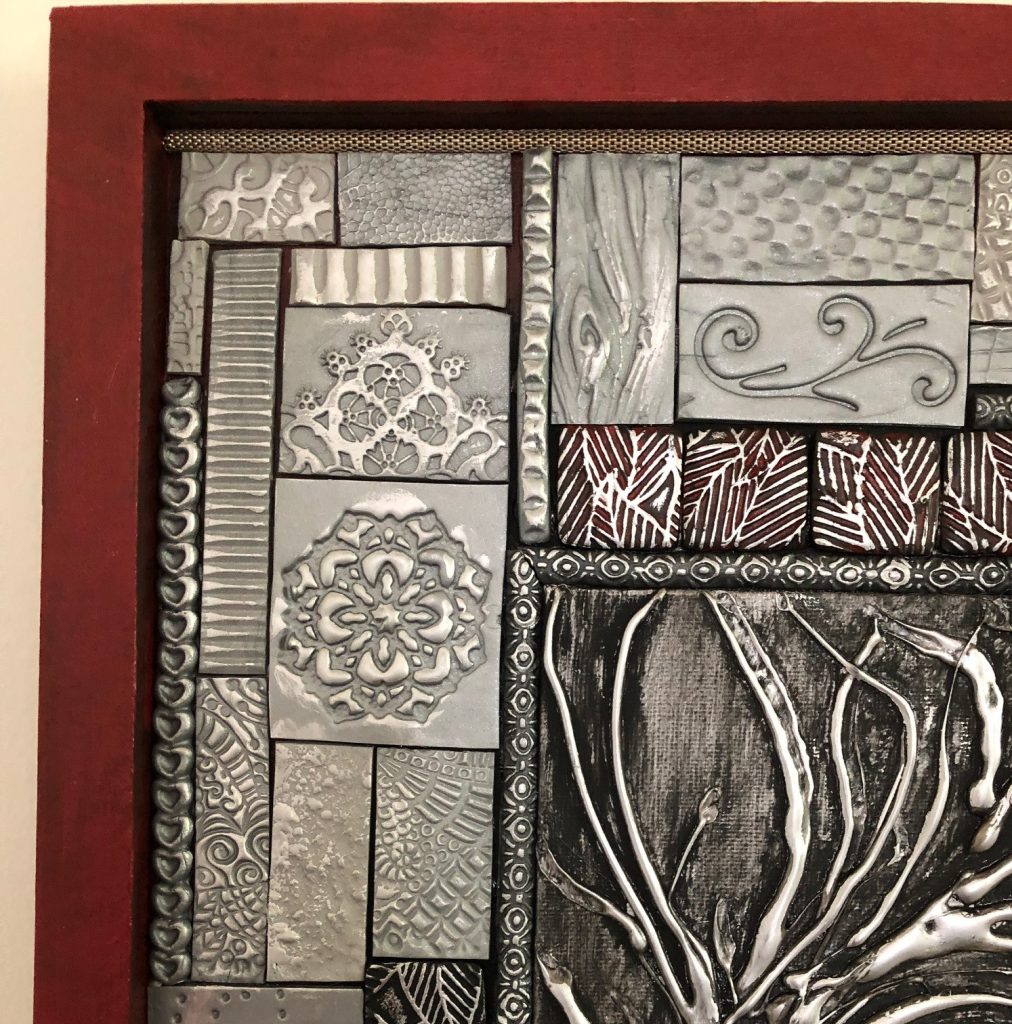
Here’s a close-up of the saying and the tiles:
Amazing! I will treasure this picture forever! Thank you, friend!
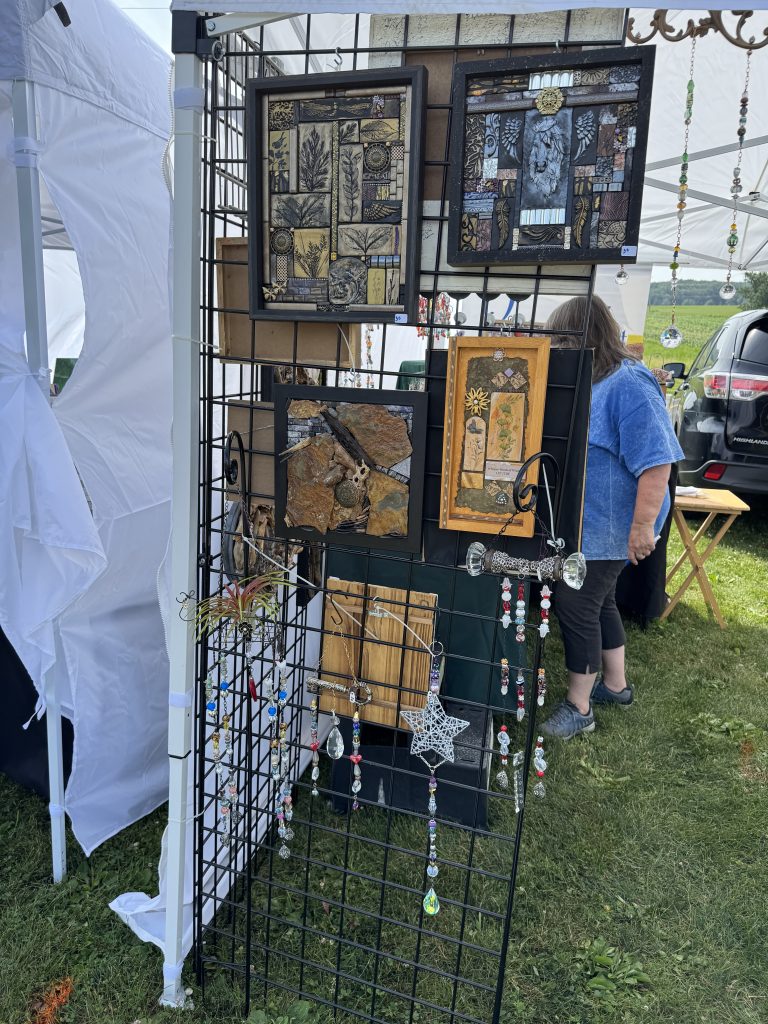
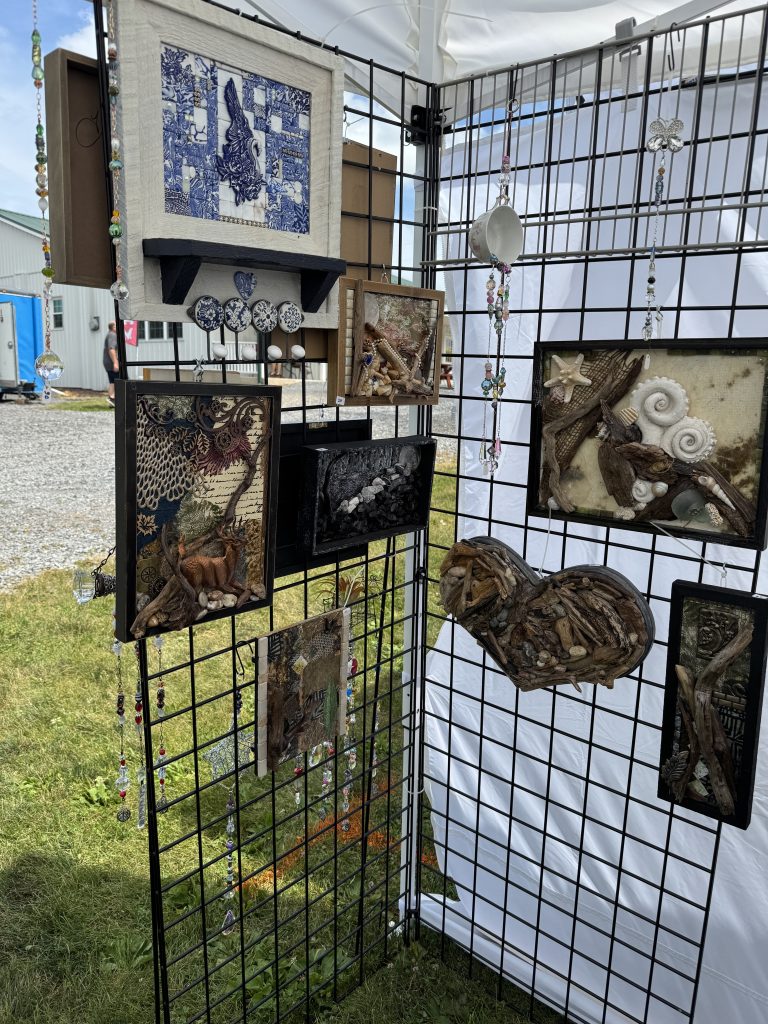
If you’d like to see more of Toni’s work, come see us at the Art in the Orchard Festival at Way Fruit Farm, July 9-11, 2026. We’ll be sharing a booth again! Here’s a picture of how she displays her wonderful art:
Come to the festival and meet Toni! You may find something you’d like! Please email me directly if you have questions or comments: maryjkisner@gmail.com
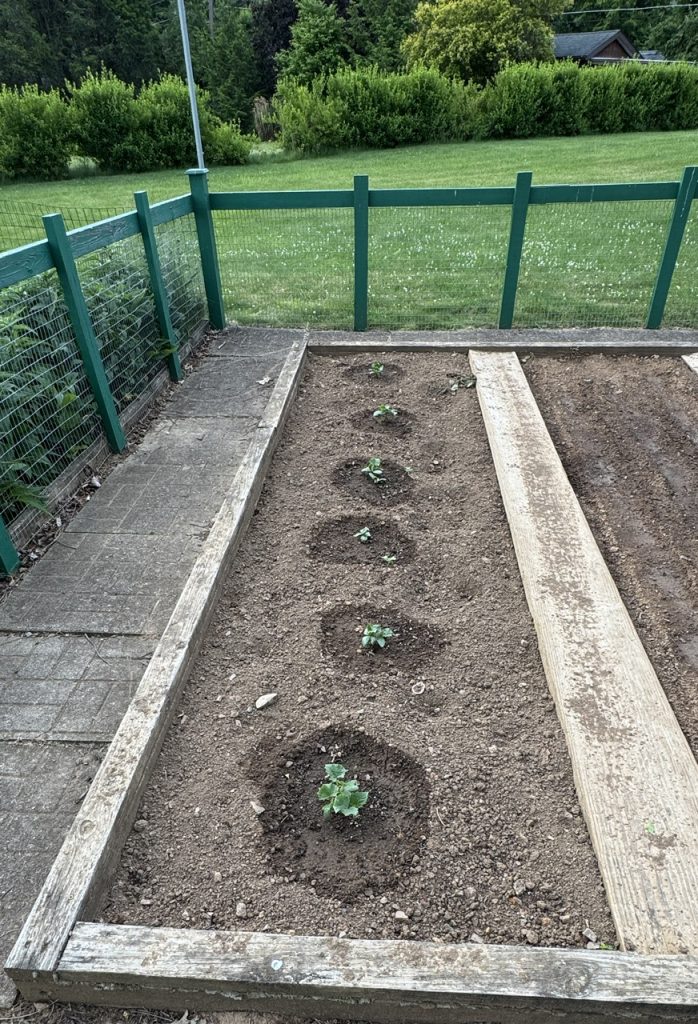
Now that all the plants and seeds are in the ground, it’s time to show you where the garden stands today! I’ll try to follow the same sequence throughout the summer so you can compare the pictures (if you’d like to!)
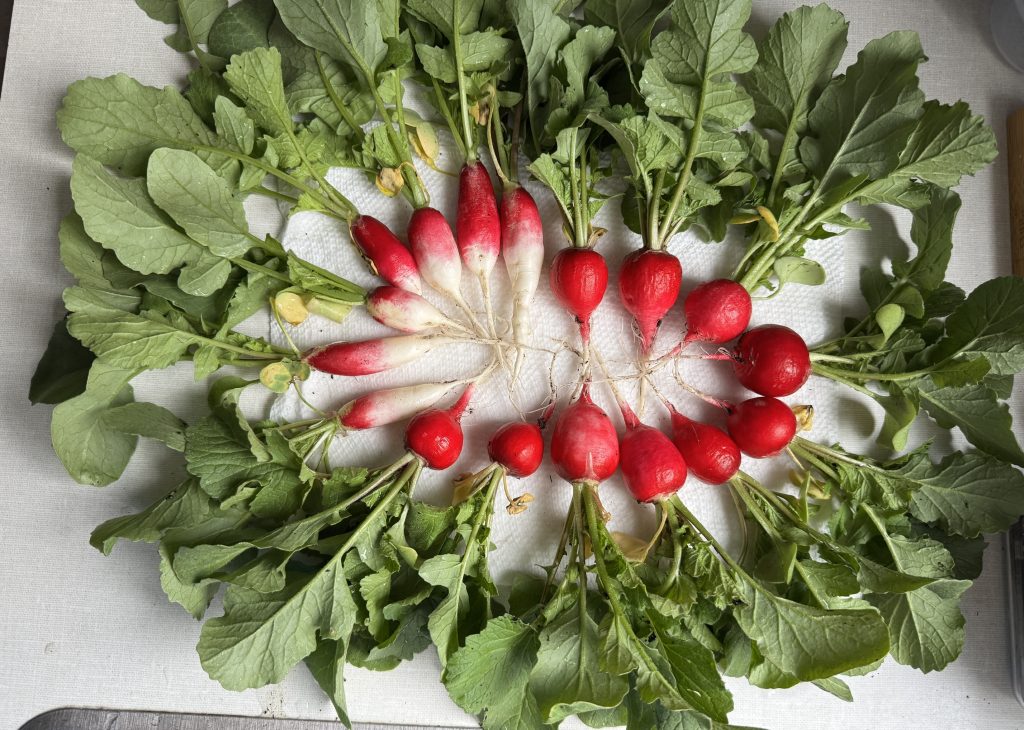
Here is the third planting of radishes. We still have a few to eat from the first picking. I think these are the round radishes.
Here is the second planting of radishes near the lettuce beds. These are the long radishes. They look funny because more than half of each radish grows above ground! I’m picking the lettuce as we use it and started the second row two weeks ago.
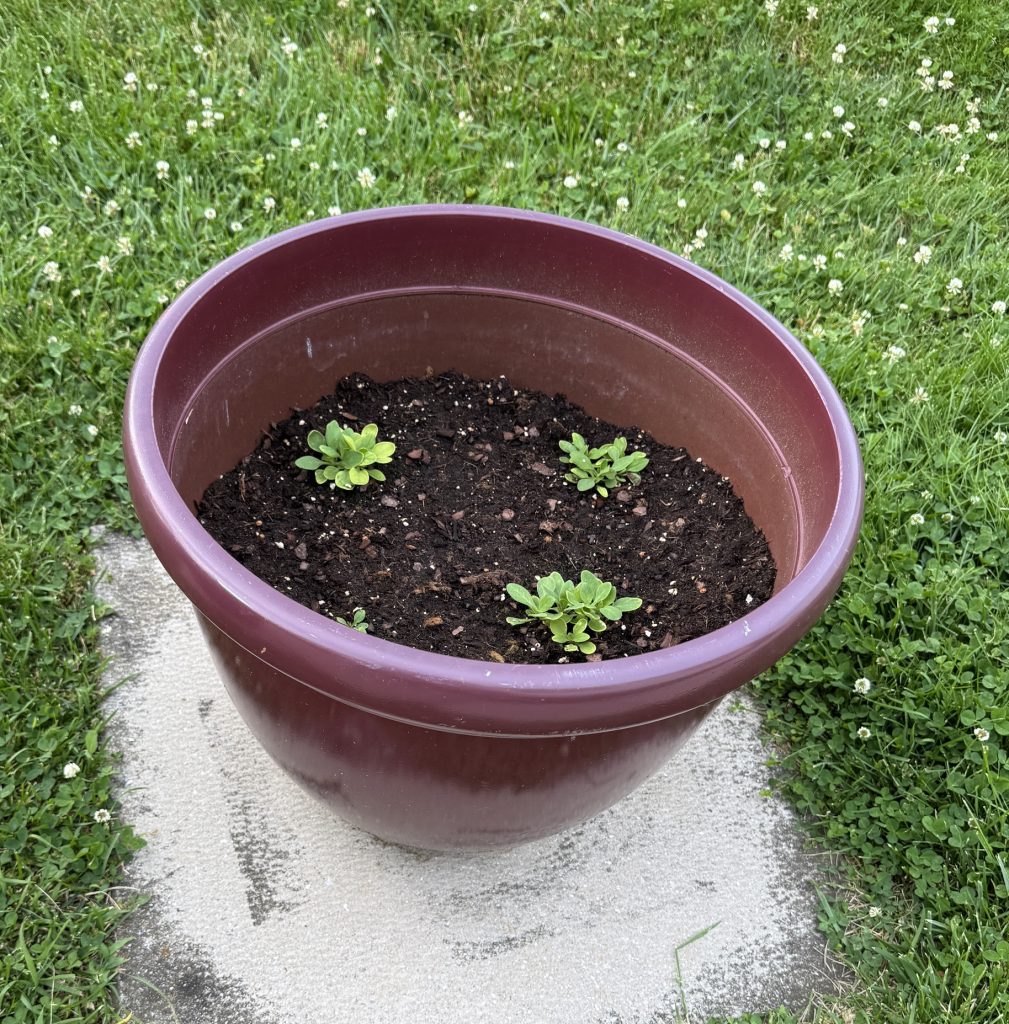
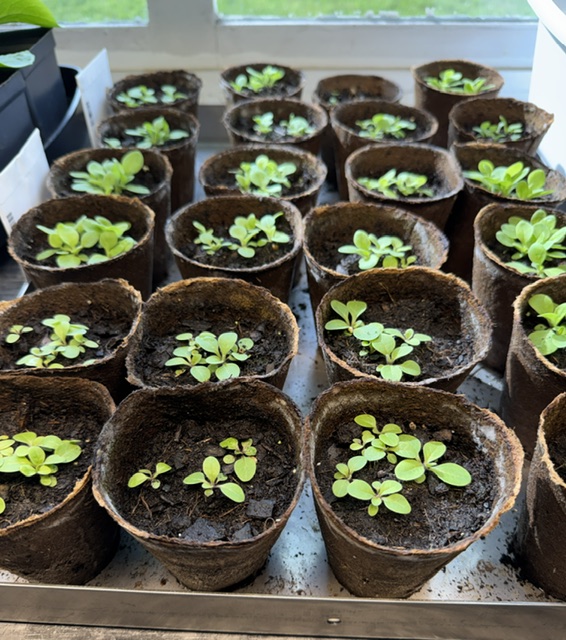
Along the patio, Bert planted the petunias. He started the seeds more than a month ago in pots but they really struggled to get going. Hopefully, they will be red, white and blue flowers…but might not get there by the 4th of July!
He put a few extra in a separate pot on the patio.
Just yesterday I ran to Walmart and picked up 3 small pots of Spearmint. I’m hoping we get a nice big flowering pot of mint with flowers the bees like.
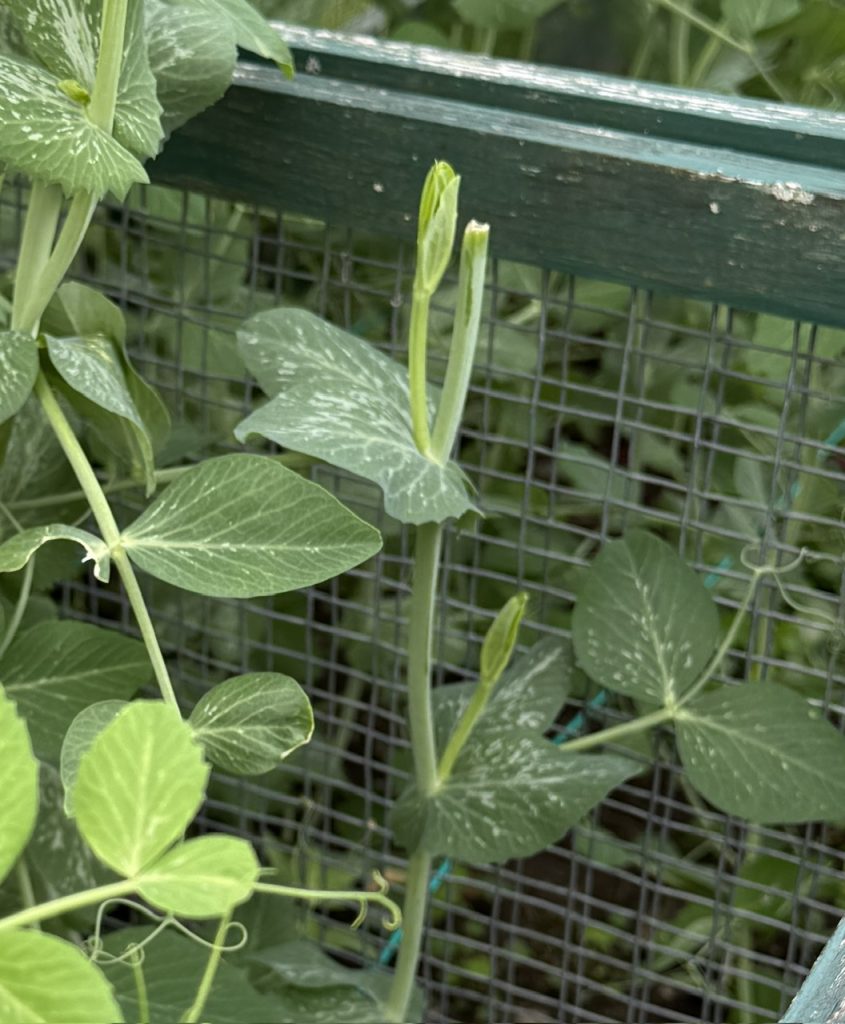
The Sugar Snap Peas are going nuts…just in time for the deer to wander by and munch a few right off the top! GRRRR…
The Asparagus just keeps on doing its thing. Somehow the deer don’t bother it at all!
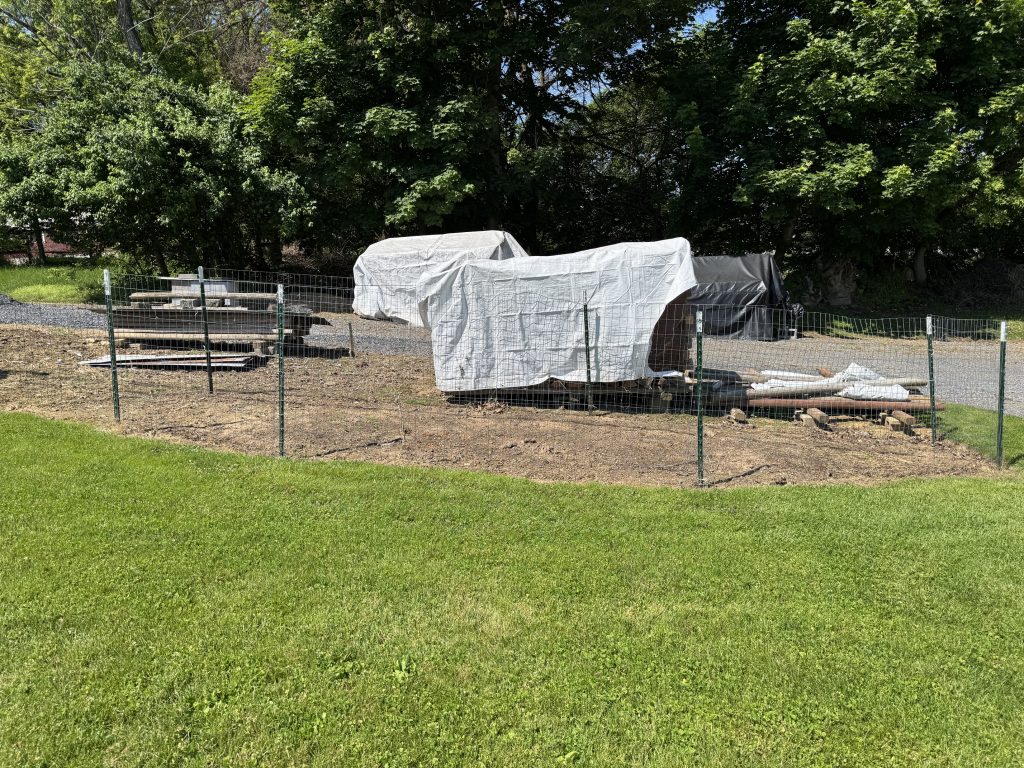
The new bed off to the side of the wood pile is now planted with giant pumpkins! We’ll keep a watch out for any wandering groundhogs…last year they took bites out of many of the pumpkins before they even turned orange.
Up in the garden on the hill, the tomatoes are looking good.
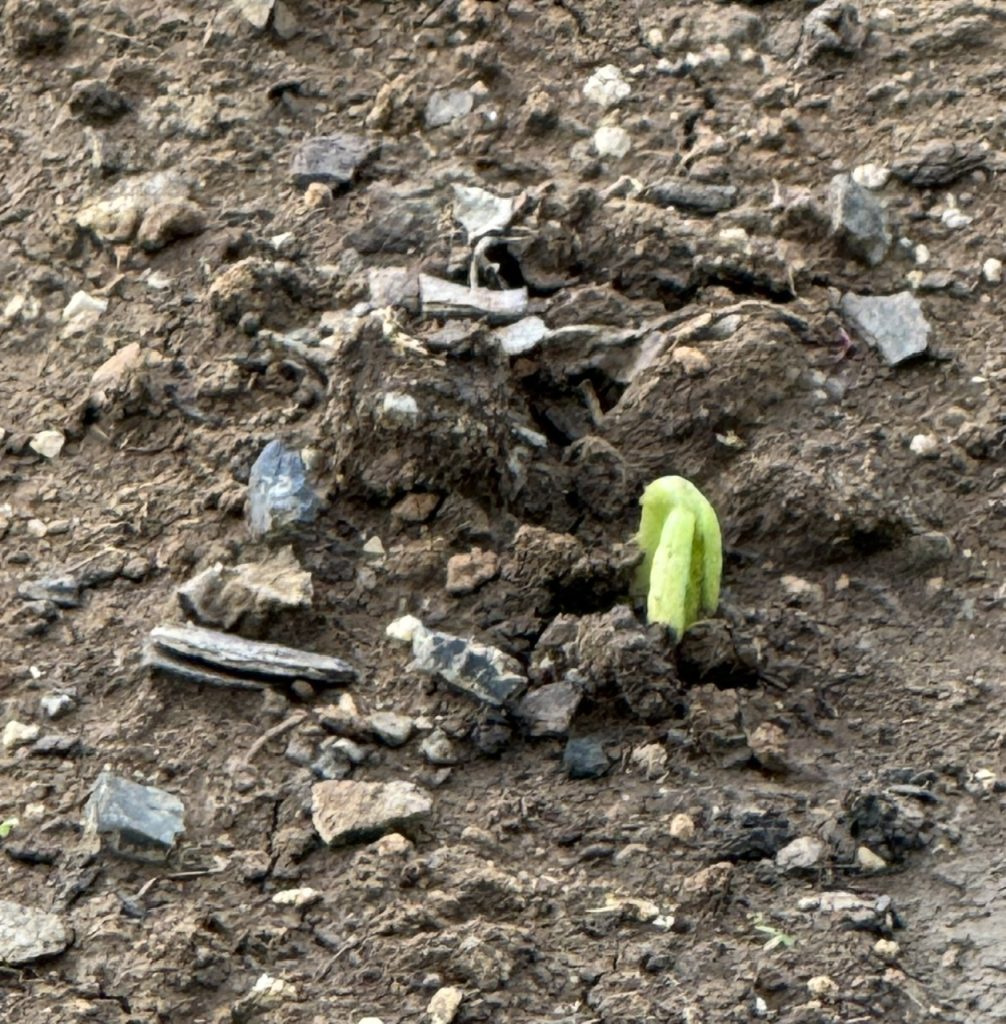
Beside the tomatoes I planted two rows of beans…one green and one yellow. I can just see the first bean popping up.
The third section will remain empty for a few weeks and then I’ll plant more beans there.
The next section has three rows of carrots. We often have trouble getting the carrots to start because the ground is too cold. Hopefully, by waiting an extra week the ground is warmer.
The last section has cucumber plants. I think they are supposed to be bush cucumbers, but I imagine they’ll make vines anyway.
Finally, the Echinacea is going nuts! Yay! In the last picture you can see a close up of the flowers beginning!
So, that’s what’s happening in our backyard! I suspect as the summer continues, we’ll have something to say about bugs, blight and wandering deer…just for fun!
If you have comments or questions, please email me directly at maryjkisner@gmail.com. Or you can comment on my Facebook page.
I’m looking forward to selling my beaded bracelets at the Art in the Orchard Festival, July 9-11. The festival is held on the ground of the Way Fruit Farm in Stormstown PA. They are located on Rt. 550 on the north outskirts of State College. I will be in a booth with two other artist. Luckily, we each have our specialty and I will be grateful to have some friends to talk with over the three days of the festival.
I’d like to share what I’ve been making with you but don’t plan to try to sell the bracelets online…yet. The hardest part is figuring out how to set up an actual ‘store front’ to handle the sales. At the moment, all sales will be in CASH at the festival in July. After the festival, I’ll see if there is enough interest to consider selling them online.
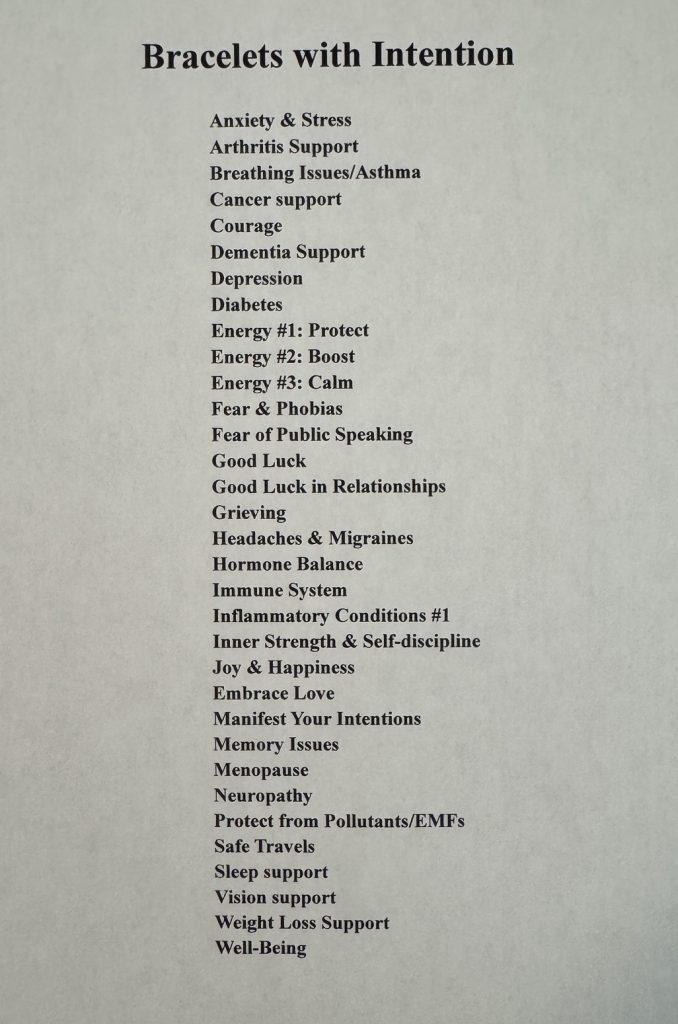
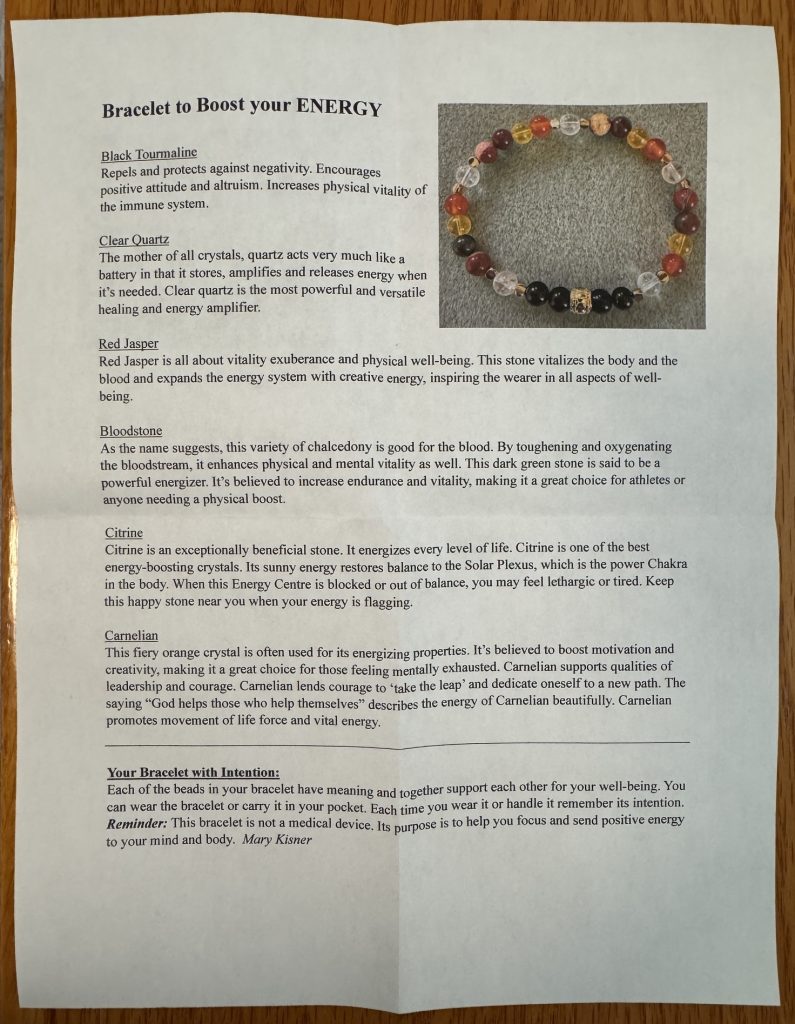
I now have a collection of 33 Specialty bracelets with a detailed description of each of the stone beads in the bracelet. Each come in three sizes. You can see that list below. When I say they are Bracelets with Intention, that means I have made the bracelet with intention…my thoughts are focused on the strengths of the individual beads and how they might be helpful in supporting the topic of the bracelet. When you wear the bracelet and consider the strengths of the individual beads, you reinforce the intention of the bracelet.
This disclaimer is on every bracelet package I make:
About your Gemstone Bracelet:
Each of the beads in your bracelet have meaning and together support each other for your well-being. They are described in the insert with your bracelet. You can wear the bracelet or carry it in your pocket. Each time you see it or handle it remember its intention as described on the tag, such as bringing you joy or lowering your stress level. Reminder: This bracelet is not a medical device. Its purpose is to help you focus and send positive energy to your mind and body. I have made your bracelet with love and the best of intentions for your well-being. Mary Kisner
Here is a list of the Specialty Bracelets:
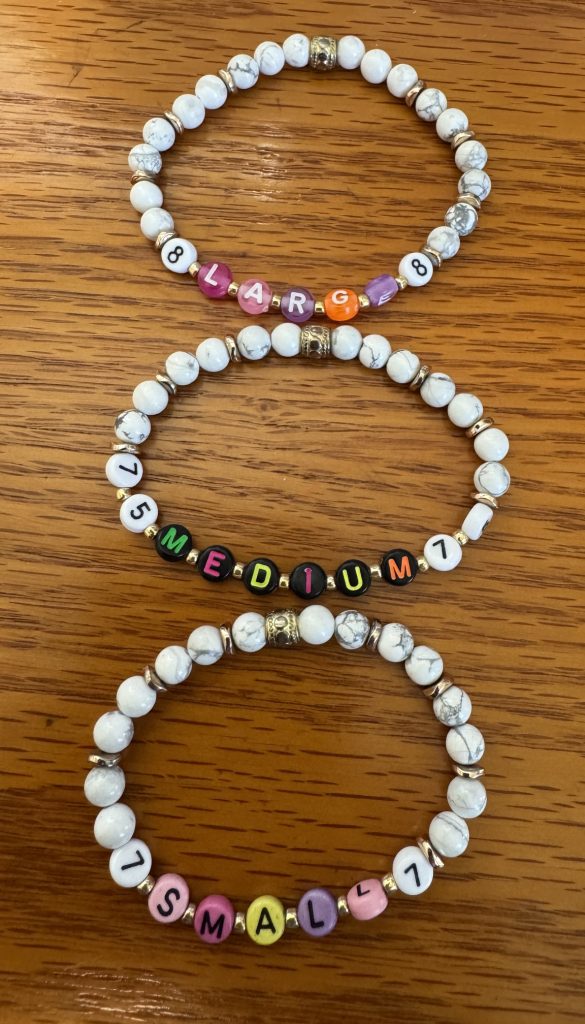
For the festival, I also have an assortment of bracelets that have just one kind of bead, like amethyst or carnelian. While each stone bead has meaning by itself, I know I sometimes like to choose a specific color to match an outfit. Those bracelets are not listed in the catalog because I’m always making something new, however I have about 75 bracelets in three sizes that showcase a specific stone.
Designing my booth has always been difficult for me. My ability to string beads and design bracelets doesn’t seem to carry over to designing a big space. Last year my booth was pretty straight forward…and boring. This year I enticed Bert to make me a kind of rack with clips that could display my bracelets…which in turn required me to redesign my packaging! Luckily, I started that in January and as I make new bracelets, the packaging all matches! The bracelet is visible, and inside the folded label the individual beads are described.
Here is a picture of my booth last year (boring, I know!):
This year, (still under design!) my booth might look like this…I did get a second sign and will expand to a second table:
My problem is I like to keep the bracelets in their packaging but on display they attract attention. The new packaging allows folks to see the bracelet without opening it. I think I’ll hang a few loose, but keep most in their individual bags so folks can paw through the packaged items easily. Once they see something they like, they can open the package to try it on. I also have ‘tester’ bracelets so they know what size they are looking for.
So…that’s how my preparations are going for the Art in the Orchard Festival at Way Fruit Farm, July 9-11, 2026. I’d love to see you there!
The sun is shining today…finally! It’s been cool, cloudy and wet for a few days. Hopefully, the next week will be a little warmer for the new plants!
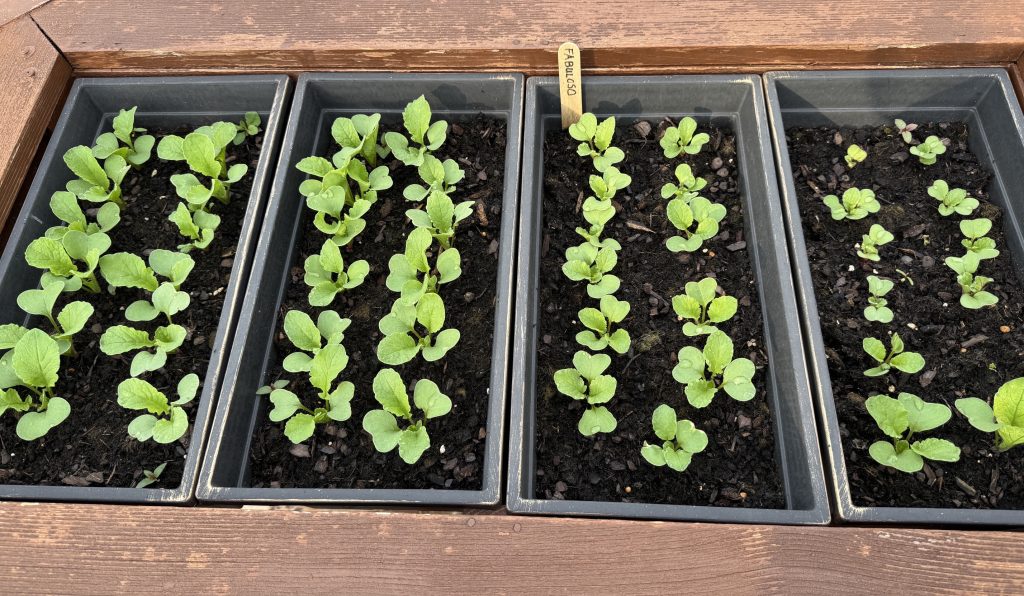
Here’s what’s happening around the Kisner homestead. I pulled all the radishes last week and replanted more today. They were delicious!
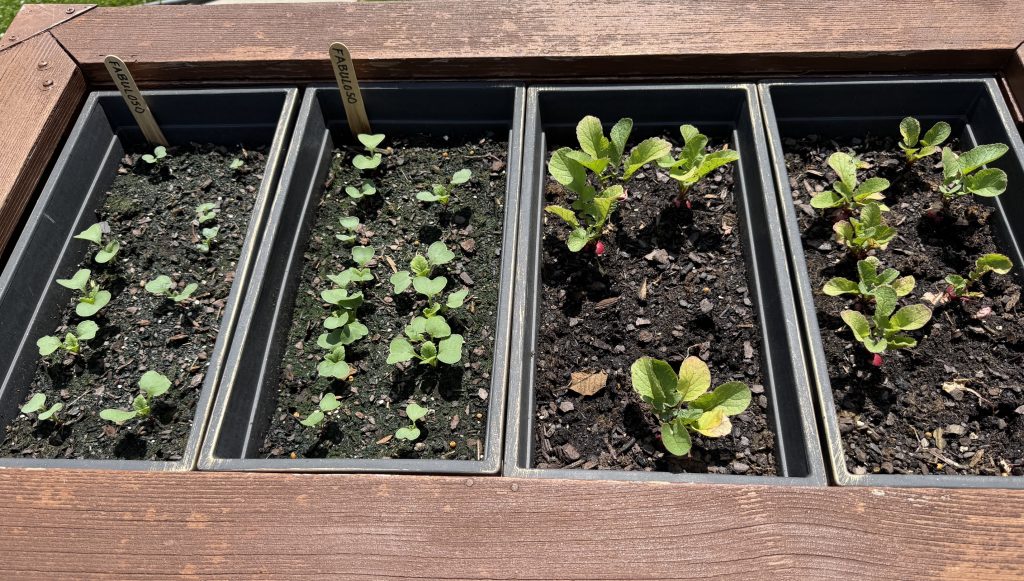
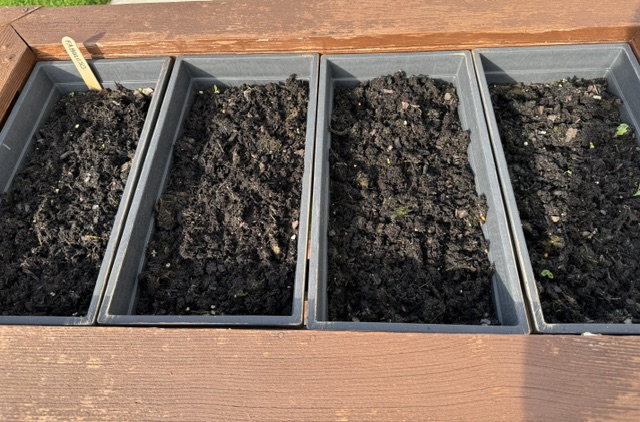
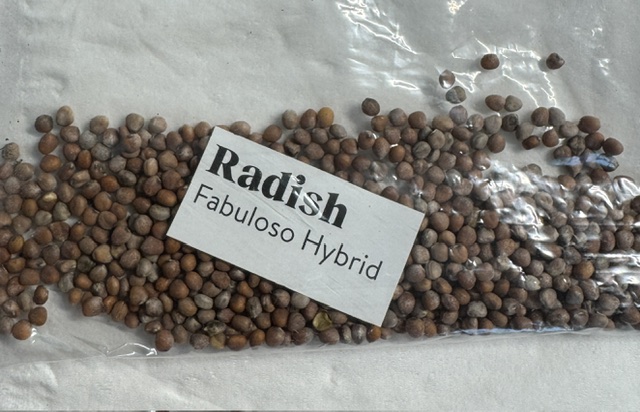
Today I replanted the four spaces with just one kind of radish, called Fabuloso. They were big, round and not too spicy. I put 12 seeds in each bin…one in each hole. No seed goes to waste!
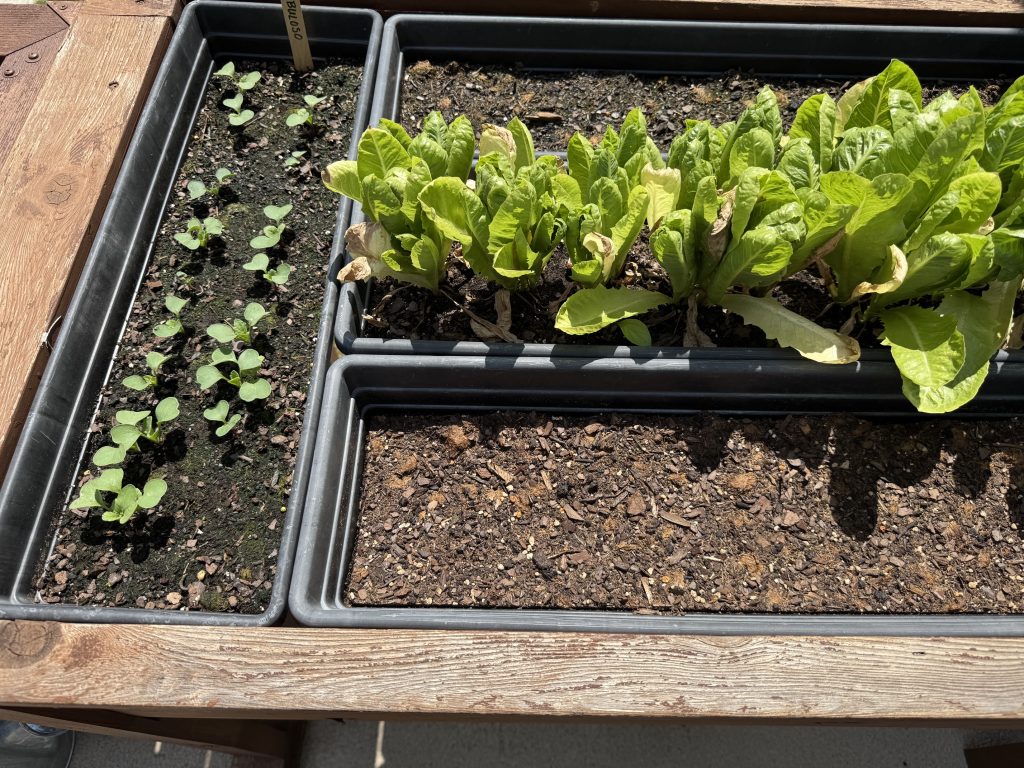
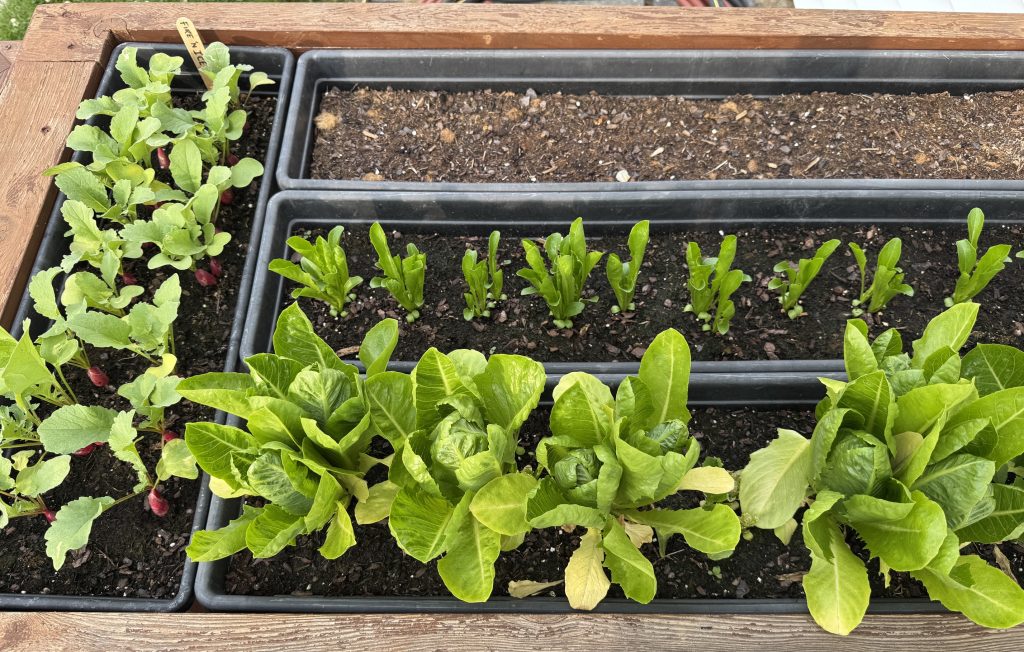
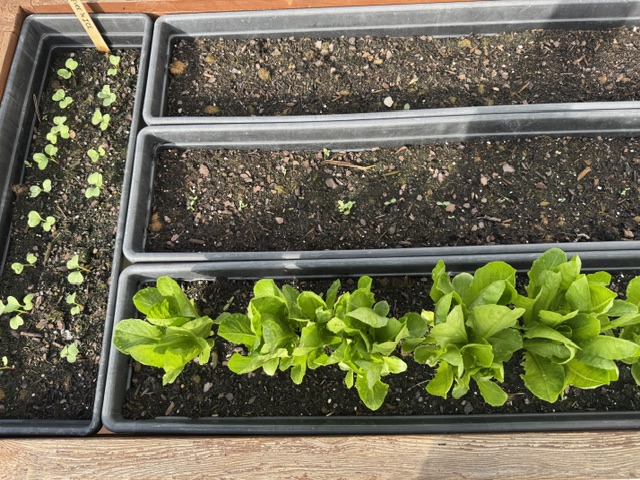
The lettuce is looking good and I’ll start adding some to my salads. I started more seeds in the middle section and they are popping. On the left is another planting of the long radishes, called Fire and Ice. They seem to love the cool wet weather!
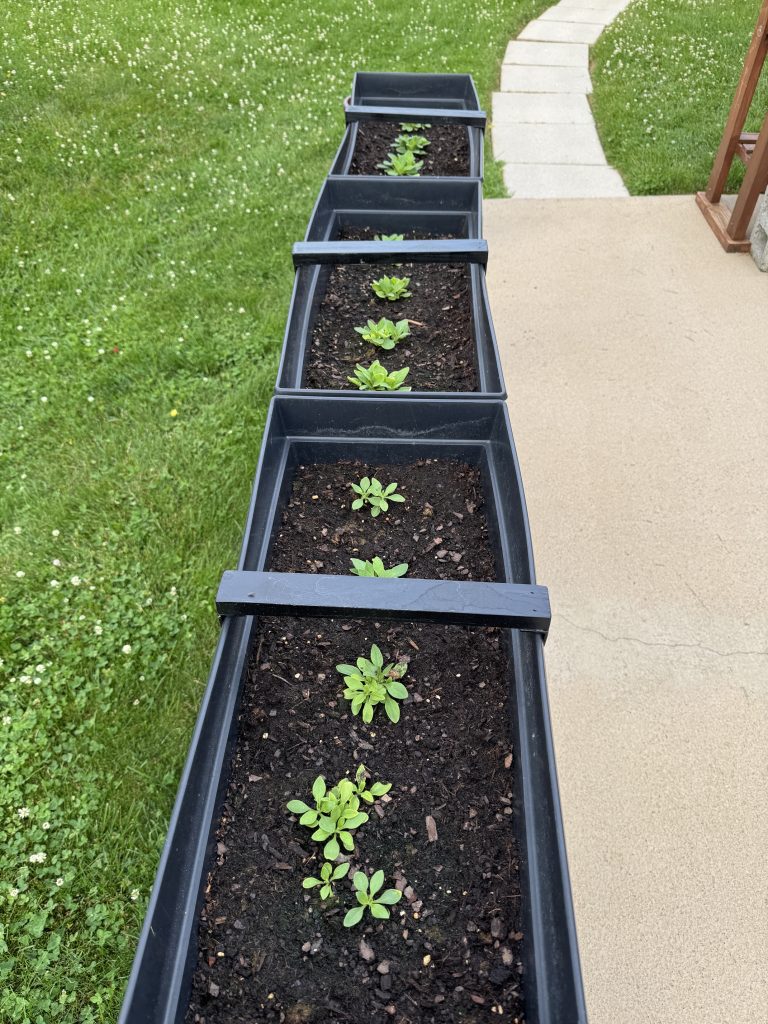
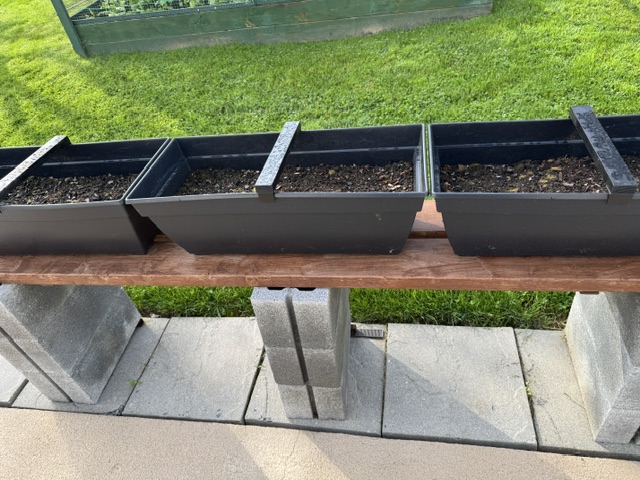
At the edge of the patio we have these planters waiting for flowers.
Bert started petunias in pots but they struggled to get going. Finally, we are seeing some success! They will be red, white and blue and hopefully look great by the 4th of July!
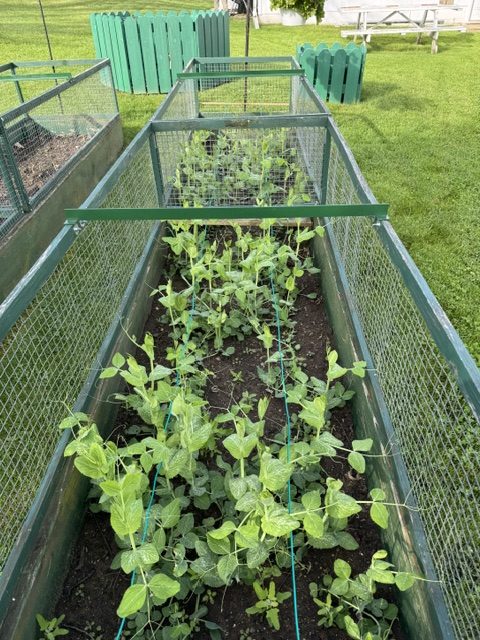
In the first fenced garden off the patio we have our Sugar Snap Peas. They are getting the hang of reaching out to the fence (and each other!). I’m ready for some fresh peas as a snack!
The second fenced bed has Asparagus. The tall stuff was planted last year and we left it alone. It was still struggling this year so Bert ordered 10 new crowns. He planted them all around the bed so soon we should see some evidence that they will grow! Maybe next year we’ll have a meal of asparagus!
This fenced area by the woodpile will be our experimental plot for pumpkins. Who knows if they’ll grow and if we can keep the groundhogs away! The plants are still in pots under grow lights, but seeing how big the leaves are, they should be in the ground soon.
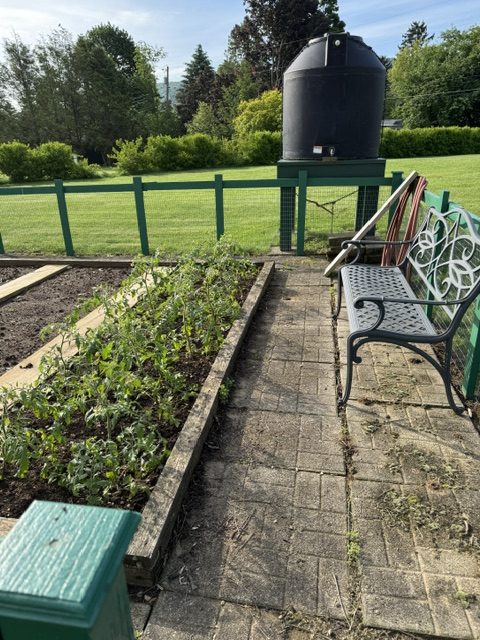
Luckily, Bert got the rain barrels set up before all the rain this weekend. They are both full now and the water will be pumped up to the bigger storage tank in the garden on the hill.
Bert got the tomatoes planted last week (right before that big wind and rainstorm). They seemed to survive just fine.
Here’s the view from the other end of the garden. The Echinacea is looking good!
And of course, the Echinacea deserves a picture all by themselves!
So, that’s what’s happening in our garden today. Stay tuned. If you have comments or questions, remember to email me directly at maryjkisner@gmail.com. Since I also share my posts on Facebook, you can always comment there. Thanks!