
This week I’ve been working on a request from a friend…based on the hot pad cozies I had given her several years ago. She needed a wedding gift for her soon-to-be-married granddaughter. I wrote about these hot pads right at the beginning of my blogging adventure (https://marykisner.com/make-a-bowl-cozy-for-soup-or-ice-cream/)
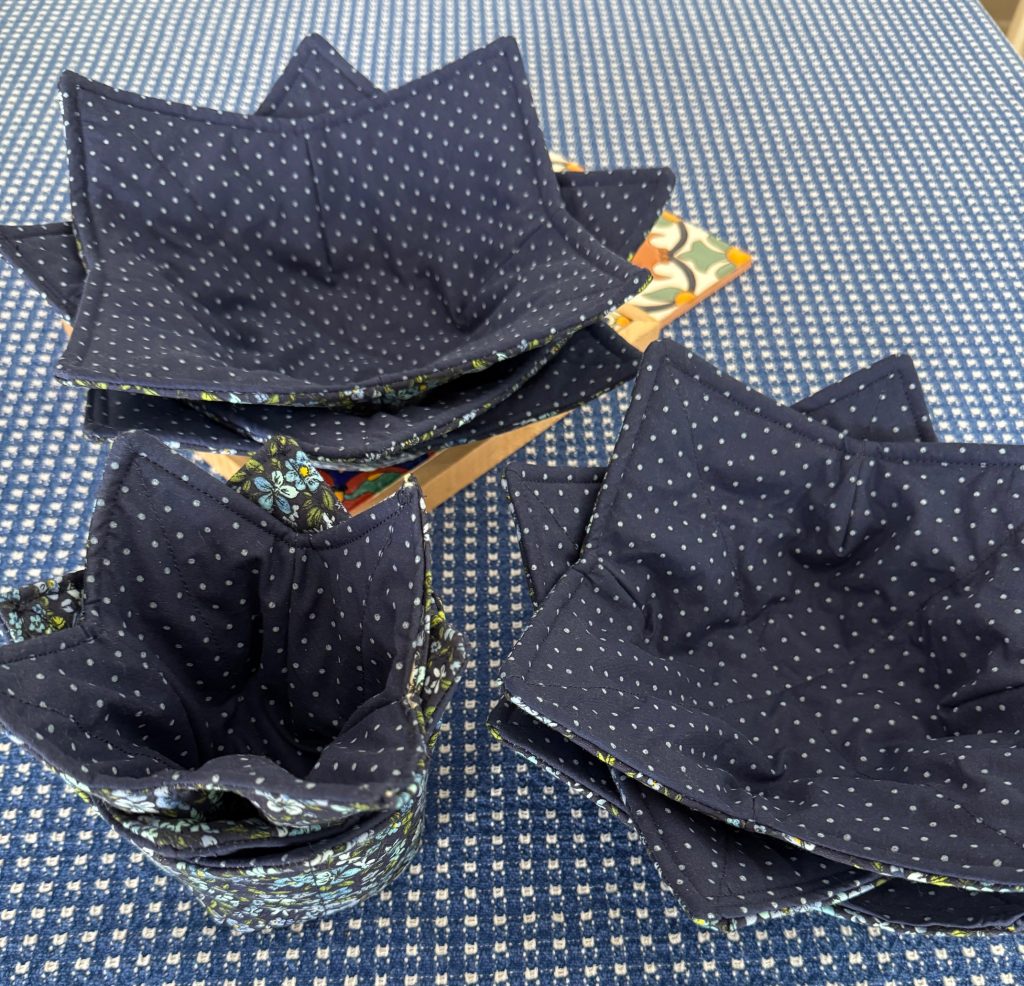
For this project, I needed to make three sizes of cozies. I’ll start with a picture of my finished products:
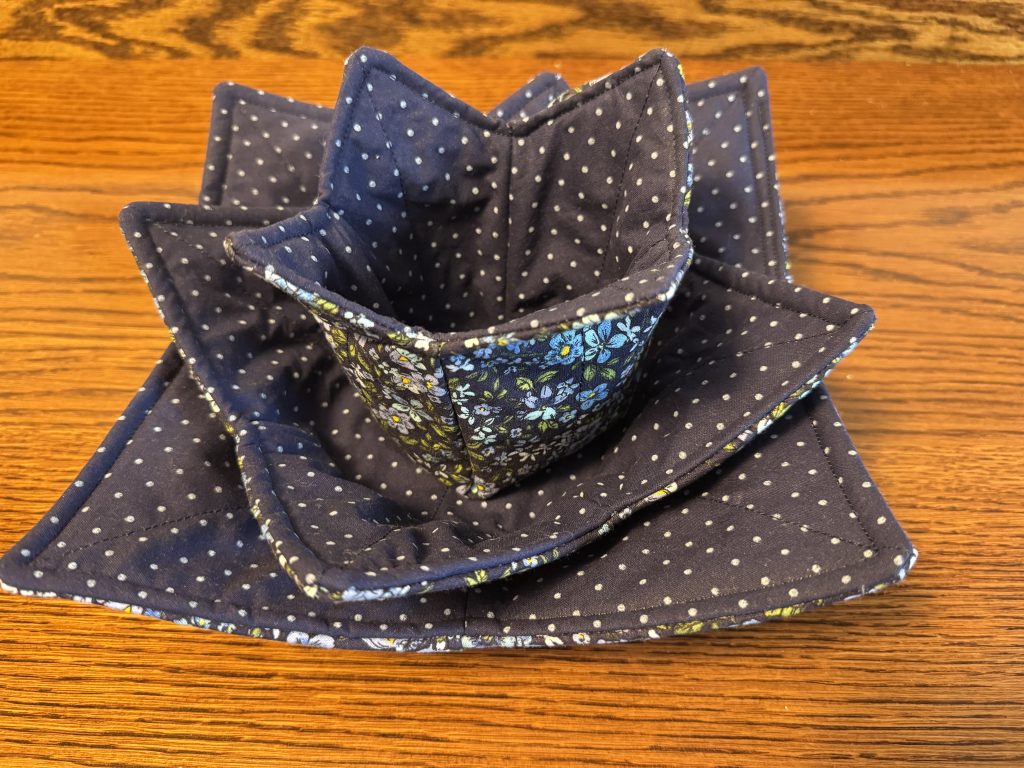
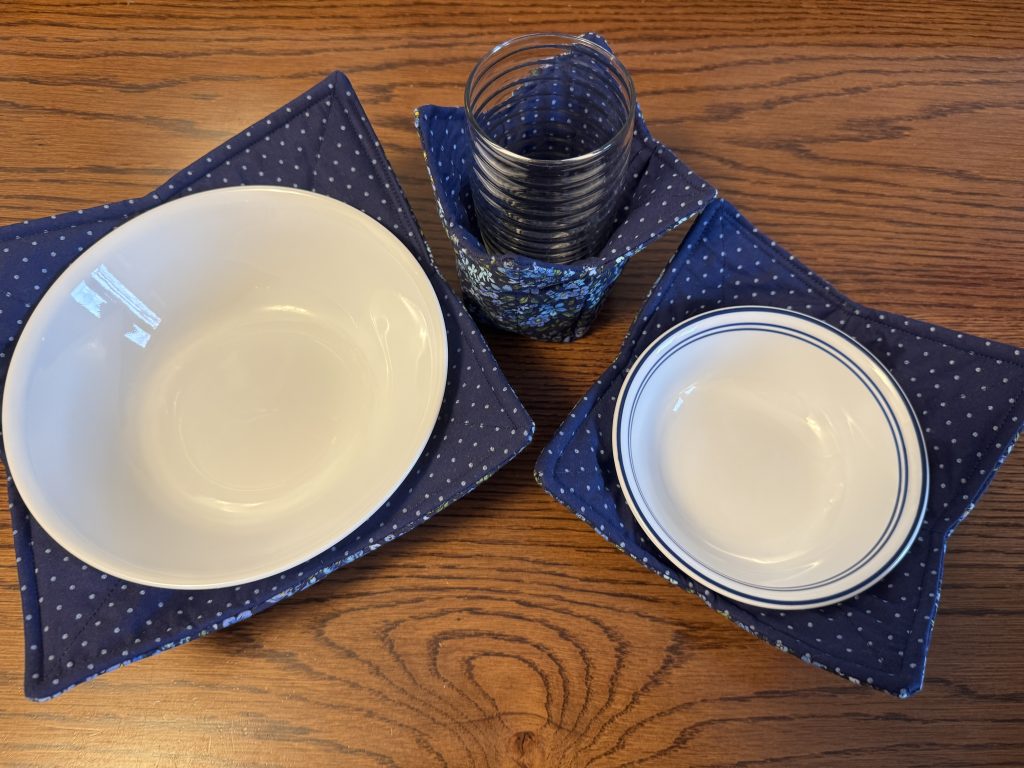
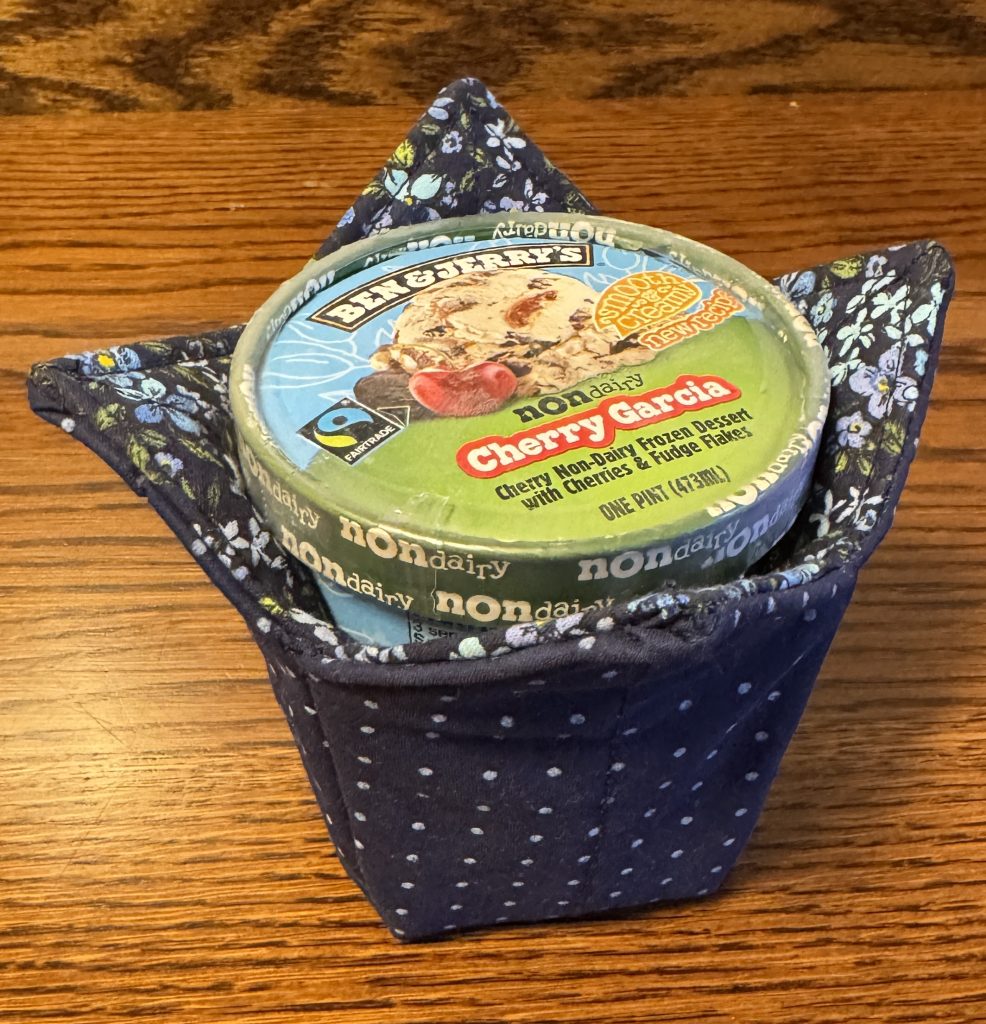
These shaped potholders can be used in the microwave (not the oven) and are great when I want to reheat a bowl of soup or hold a serving bowl of vegetables so it can be passed around the table. The tallest one holds a cold drink with ice or a pint of ice cream!
What a thoughtful gift for a young person setting up a new kitchen!
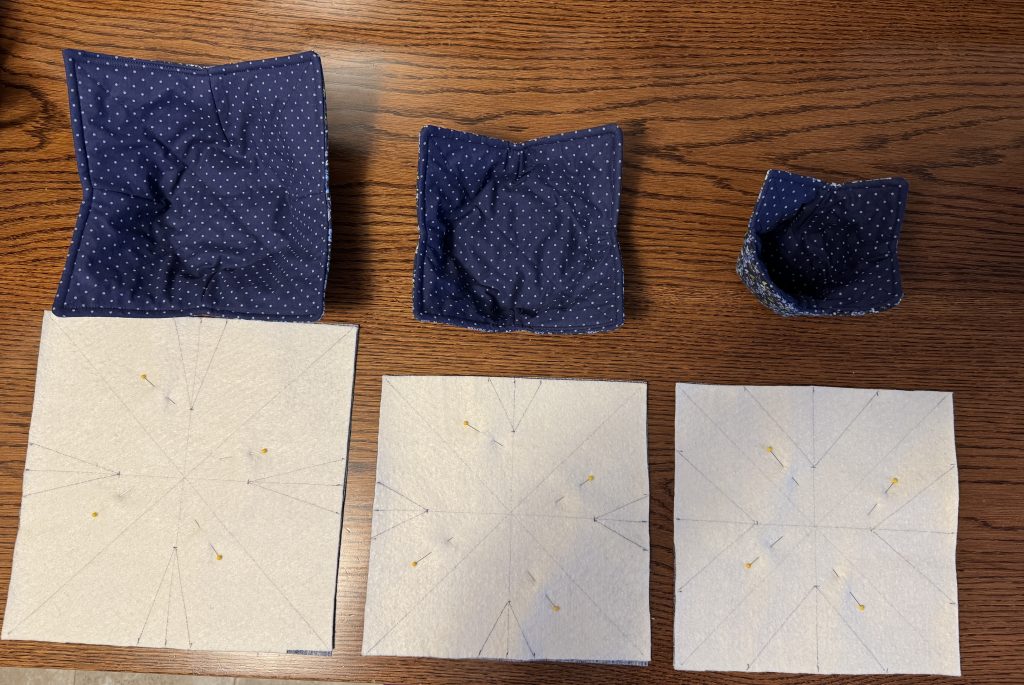
The difference between the three sizes of cozies involves the size of the squares you start with and size of the darts that make the bowl shapes.
Supplies
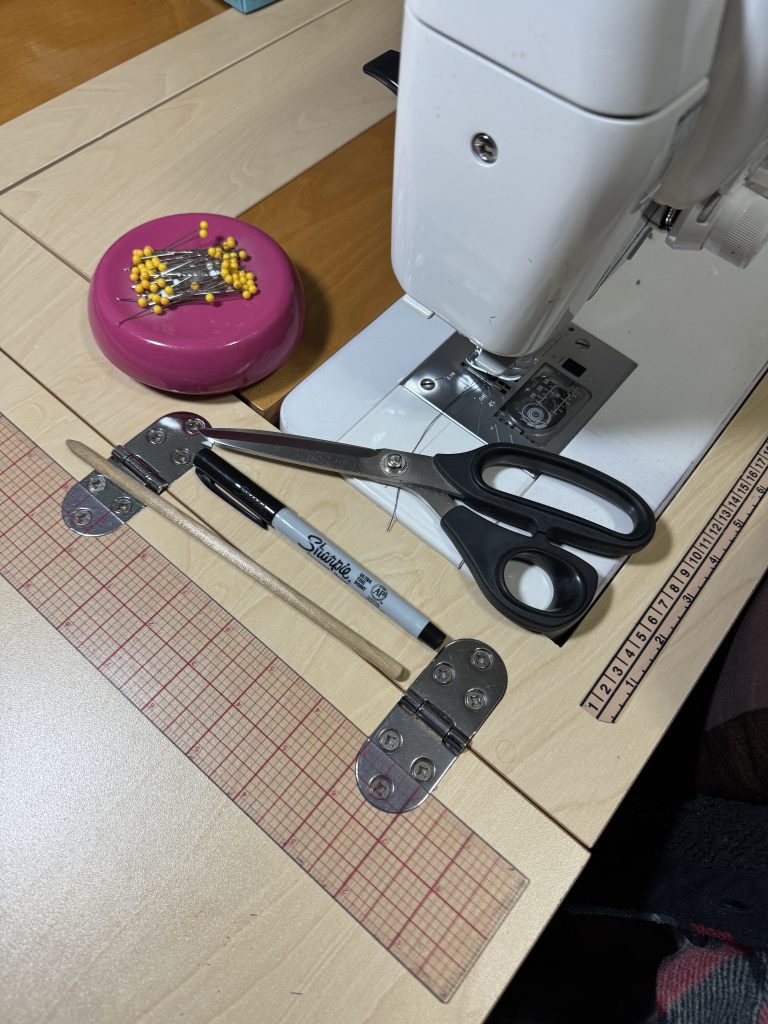
To make these shaped hot pads, here are a few things you’ll need to have:
- A ruler, fine point marker and basic sewing supplies.
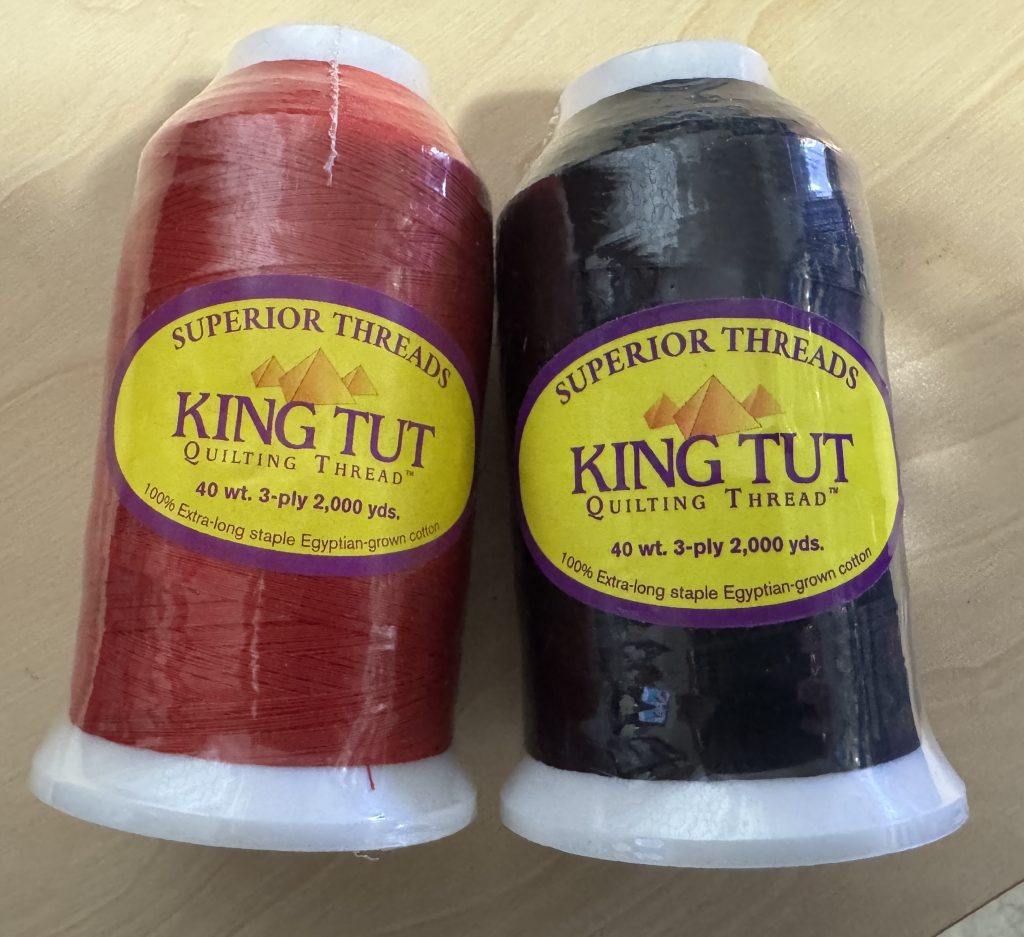
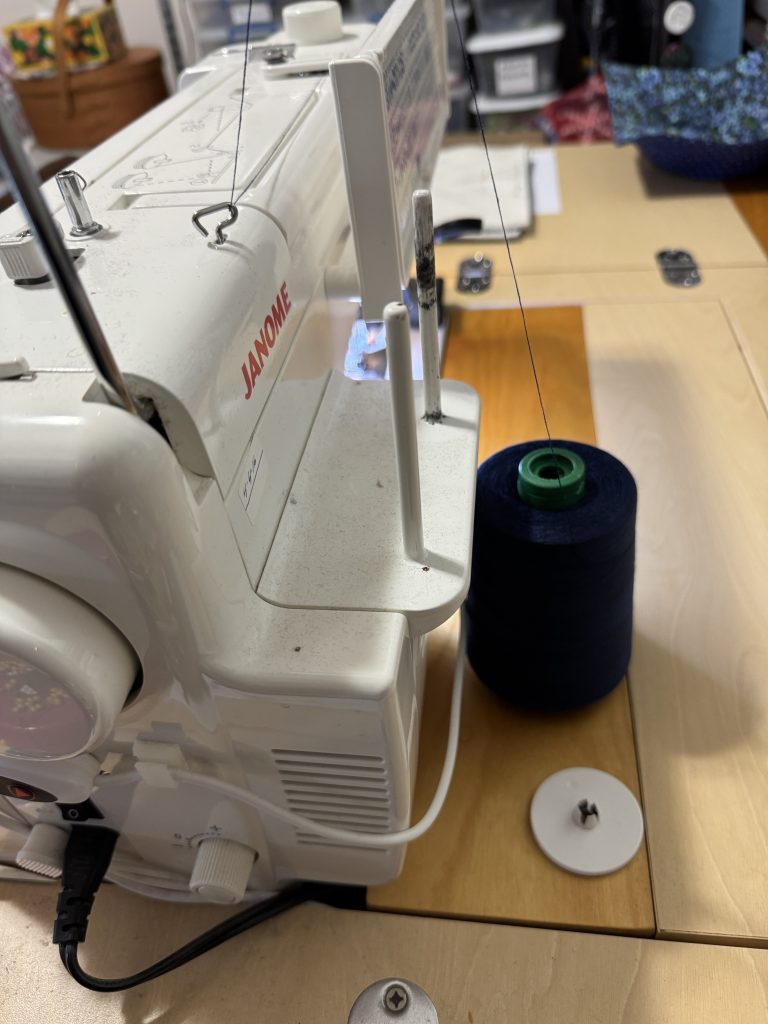
2. Fabric, batting and thread must be all cotton. Check labels for any sign of polyester, nylon or synthetic components…they will melt in the microwave. I look for all cotton quilting fabric, all cotton batting (sometimes labeled as “natural”) and all cotton thread. I’ve ordered thread online like this:
Of course, the cone-shaped spools have to sit behind my sewing machine but they are heavy enough to stay put.
All three sizes of hot pad cozies are made the same way. The LARGE hot pad, made for a serving bowl, begins with two 12″ squares of fabric and two 12″ squares of batting. The MEDIUM and TALL sizes begin with two 10″ squares of fabric and batting.
Instructions for Making the Hot Pad Cozies
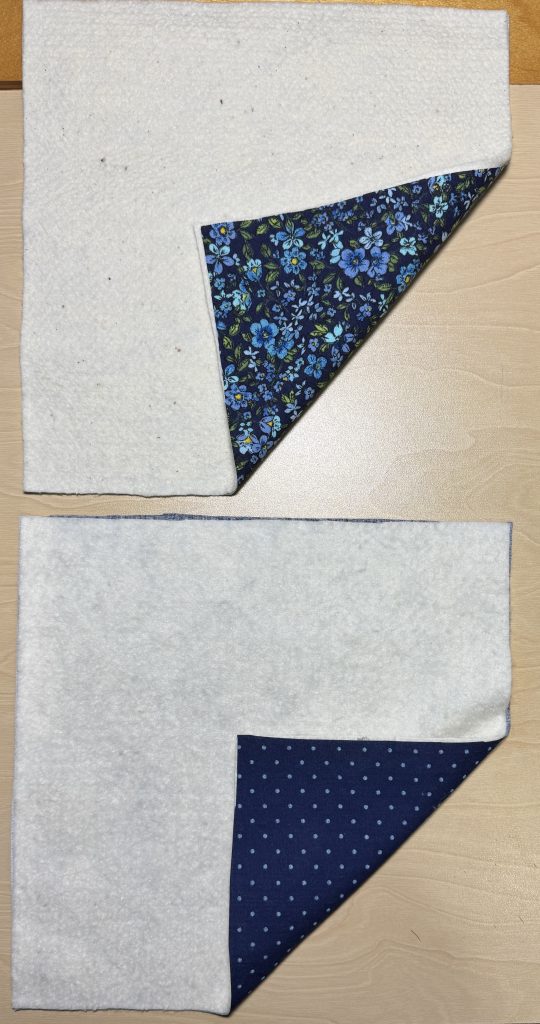
- Cut two squares of fabric in coordinating colors (the cozies are reversible):
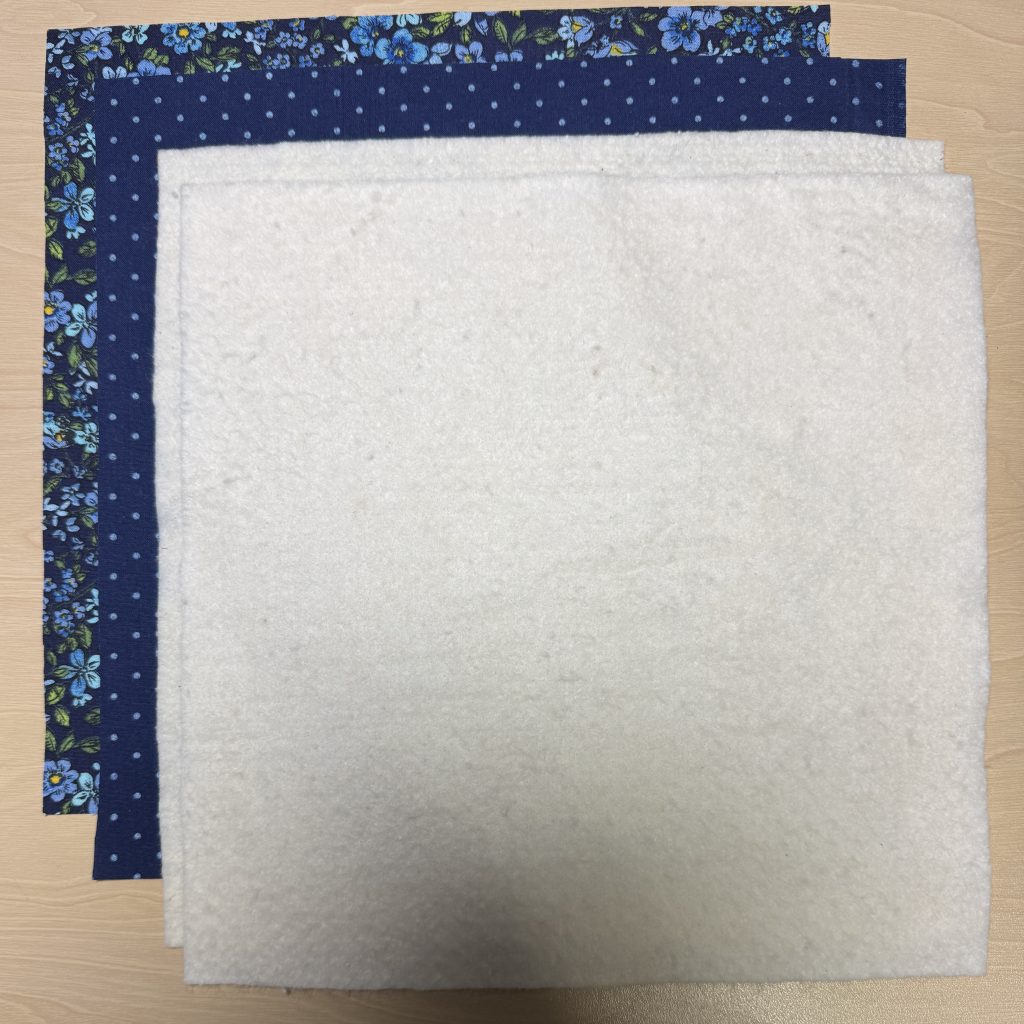
2. Place a square of batting on the wrong side of each fabric square:
3. Working on the batting side, use a ruler to draw a stitching line from corner to corner. Stitch on the lines.
4. Next, measure the midpoint of each side and draw lines through the center. These are your FOLD lines.
MEDIUM Size shown below (10″ square)
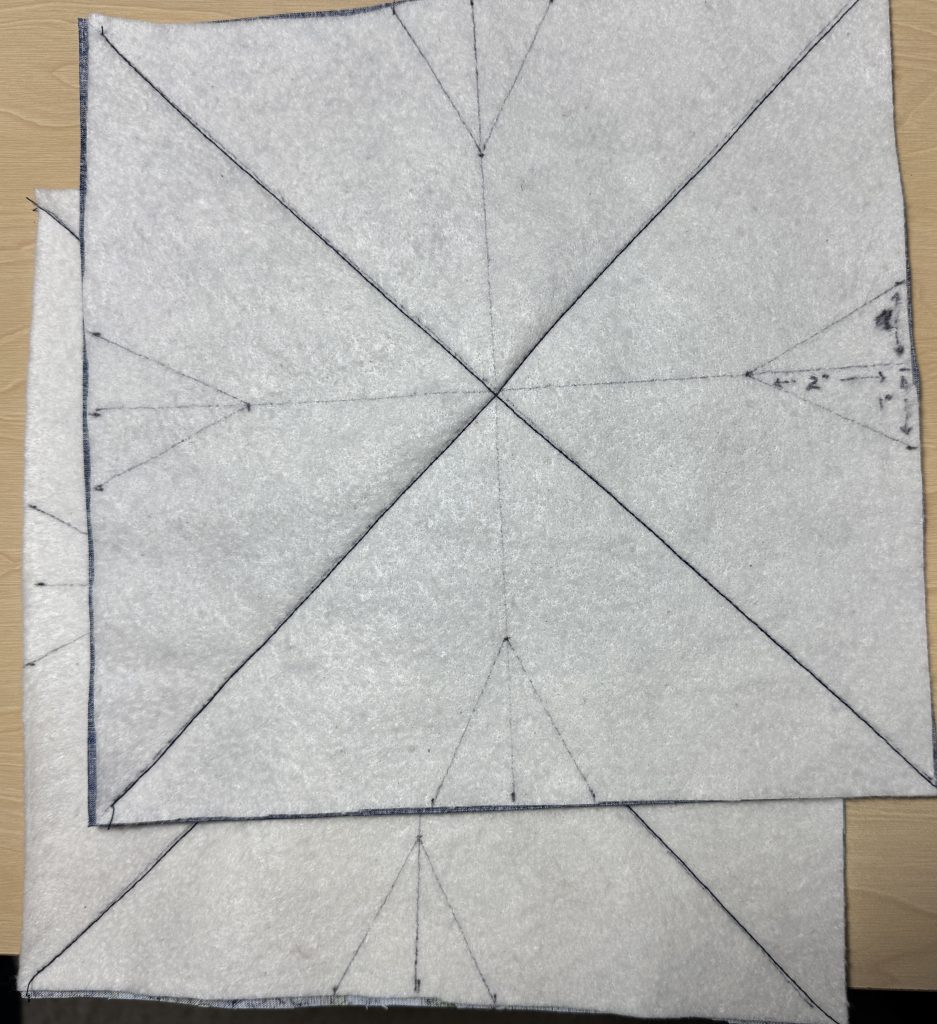
LARGE Size (12″ square) shown below:
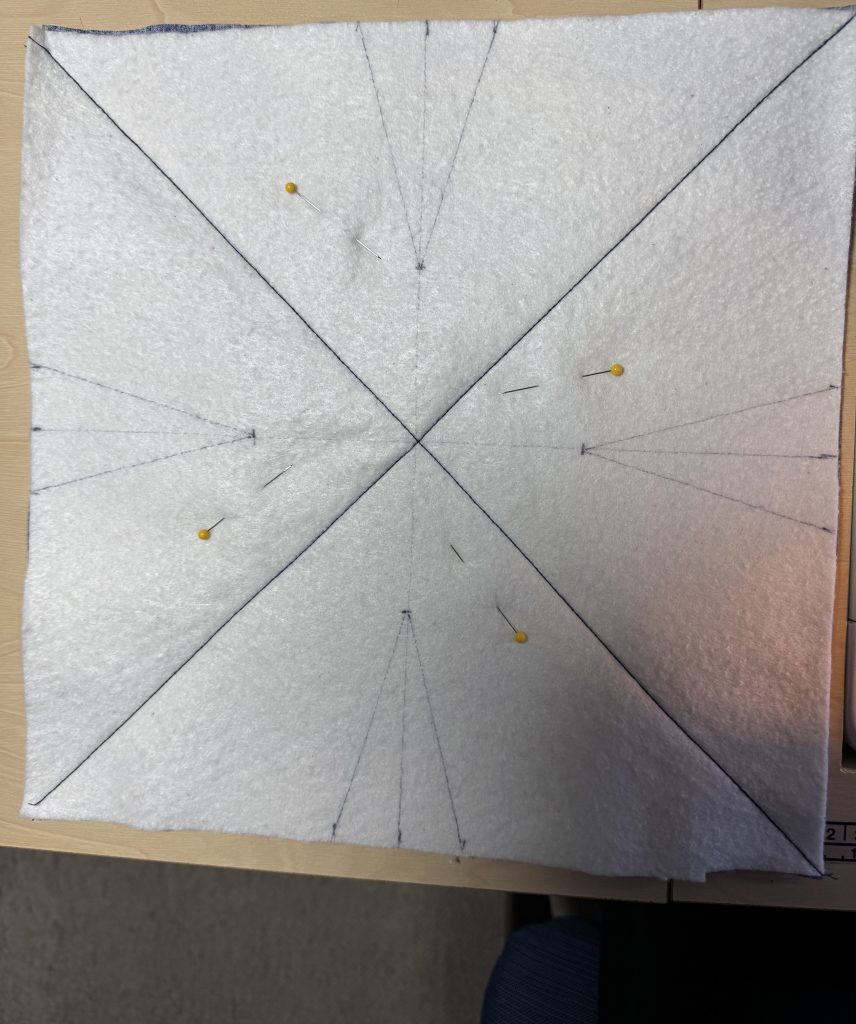
TALL Size (10″ square) shown below:
The size of the darts depends on the size hot pad you are making. Here’s a table to determine those measurements. Draw the stitching lines right on the batting.
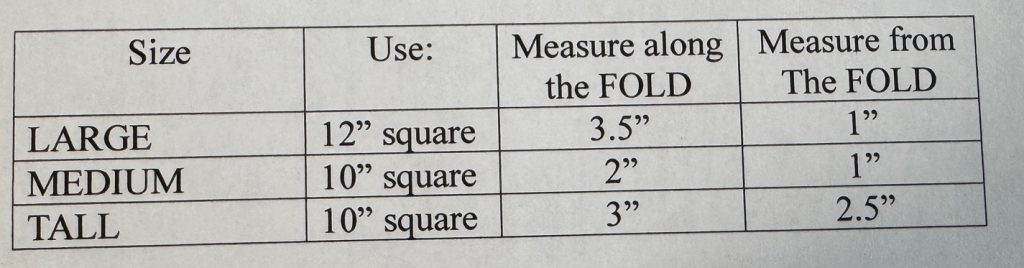
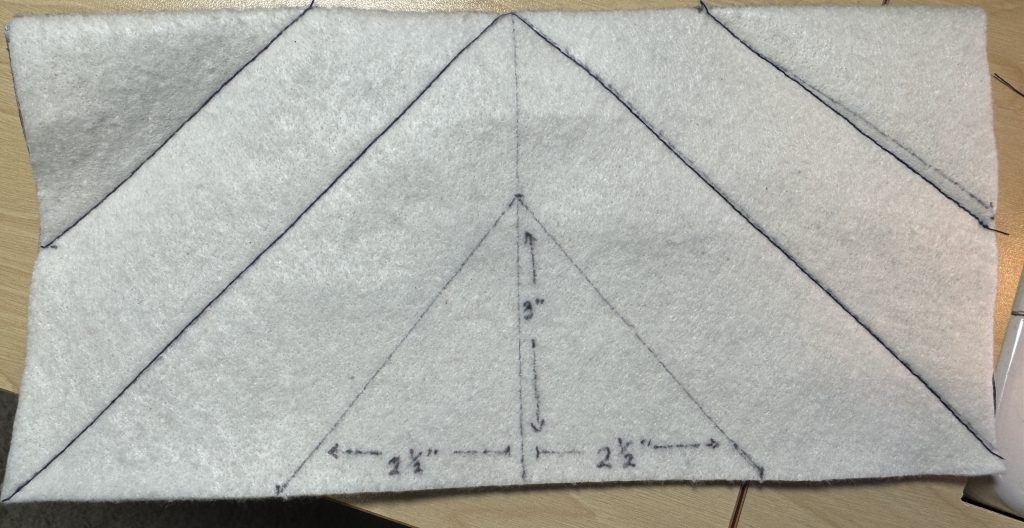
The rest of these illustrations are for the TALL hot pad cozy.
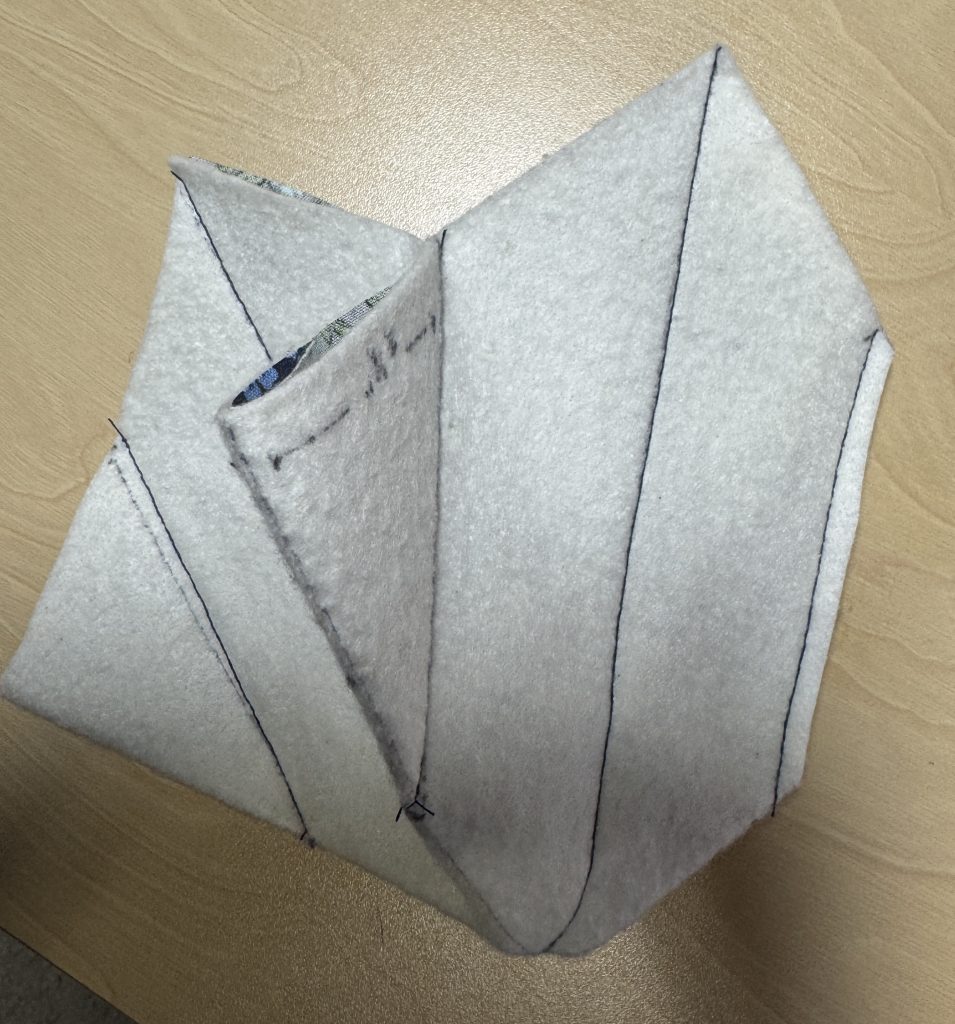
5. Fold the square in half along the FOLD line. Stitch the corner darts (see the picture above):
6. Open the square and fold the other way. Stitch on those corner dart lines:
Trim the darts to 1/4″ to decrease bulk.
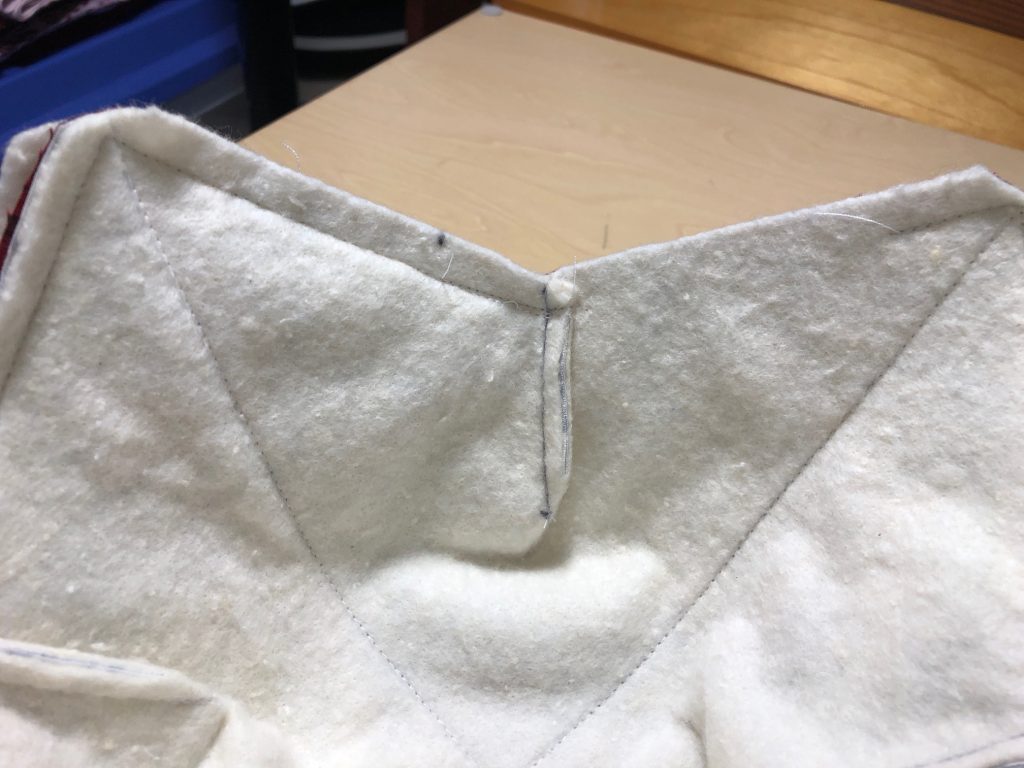
7. When you open the squares, they will sit like a bowl.

8. Repeat with the other 10″ square. This will make the lining piece.
9. Nest the two finished “bowls” right sides together. Pin the two halves together lining up the darts.
10. Sew around the edges with a 1/4″ seam, turning your needle at the corners and the darts. Leave about 3″ open for turning right side out. Trim the corners.
11. Turn right side out through the opening. Poke out the corners with a stick or chopstick.
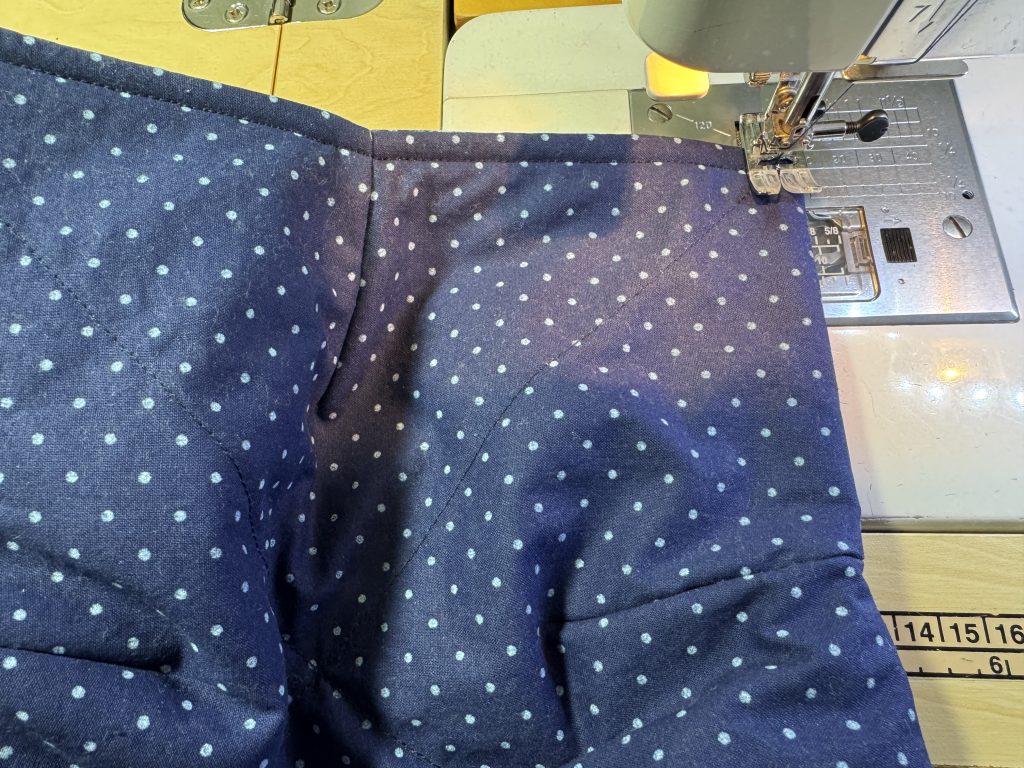
12. Top stitch all around the top edge of the cozy.
And, FINISHED! I ended up making 3 of each size, so the newlyweds will have plenty to get started!!
Enjoy!