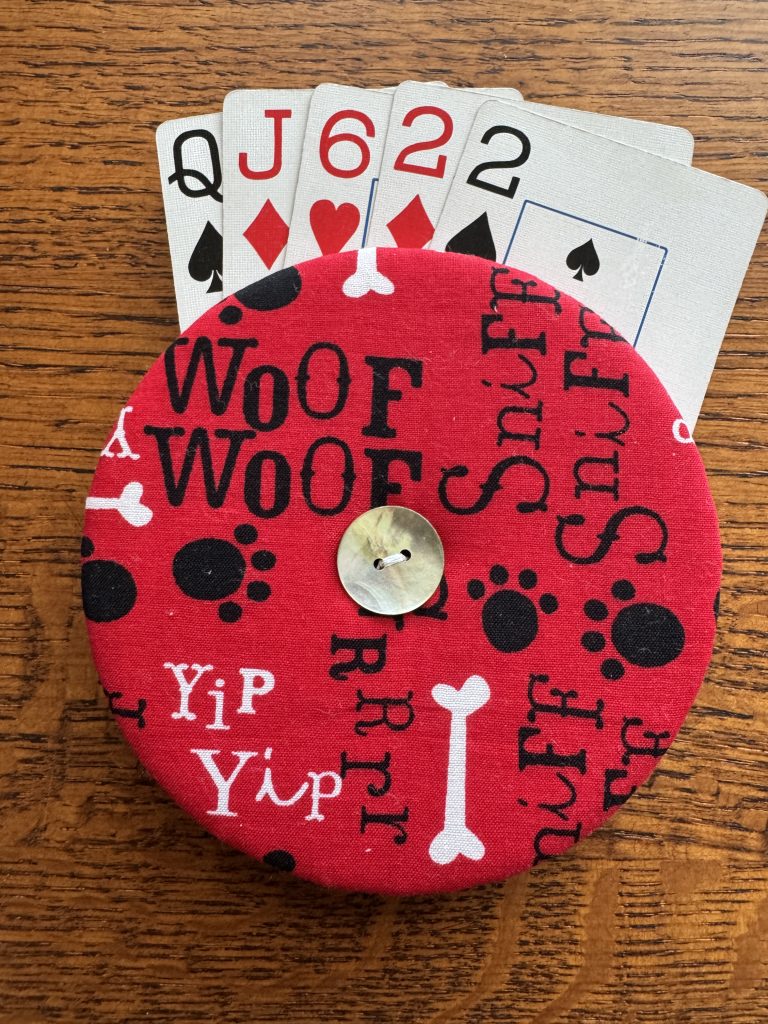
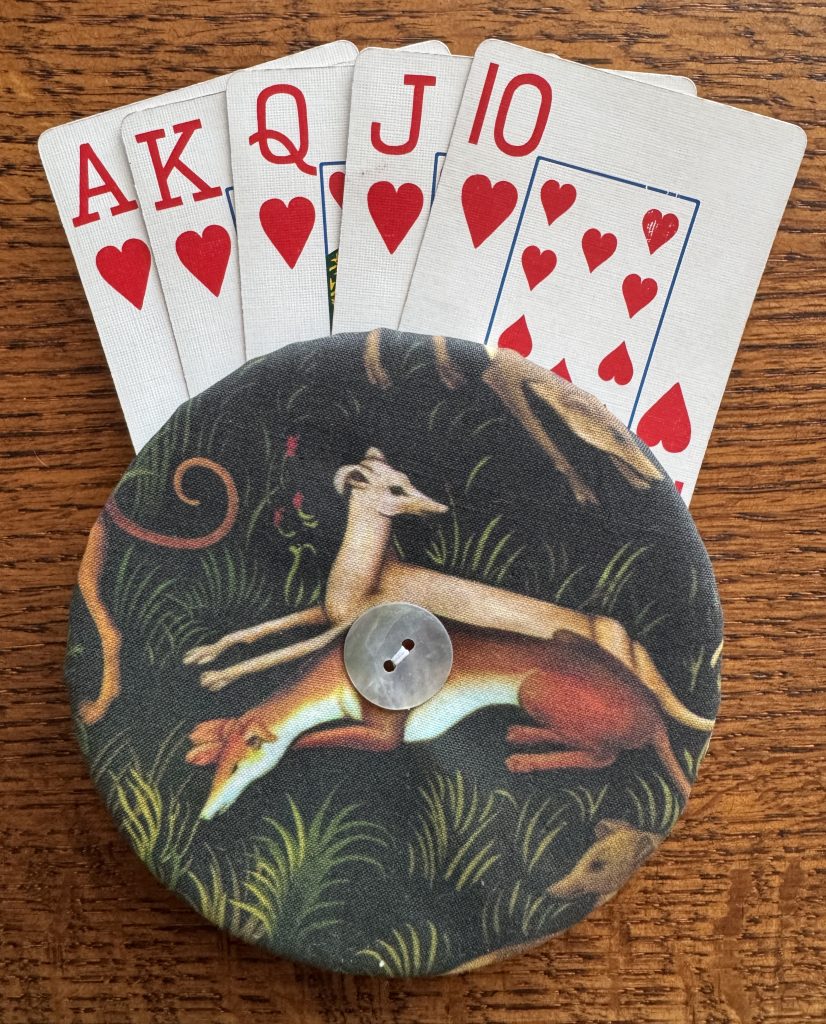
Playing card games can be fun for young and old. We probably started our kids with Go Fish and progressed to Rummy. Part of learning the rules of the game was learning how to hold the cards in their hands. Of course, it got easier as they grew up…their hands got bigger! Now, for us older folks, various arthritis issues sometimes makes it difficult to hold a handful of cards. I was asked if I could try to make some card holders with greyhound fabric for an upcoming conference, but I started with some animal fabric scraps I had…I didn’t want to waste the expensive fabric! Here’s a picture of a finished card holder in the greyhound fabric (of course with a winning hand!):
I had never seen or used a card holder so I started with Pinterest. I found quite a few places that had them for sale but I explored the DIY sites that would show me how they were made.
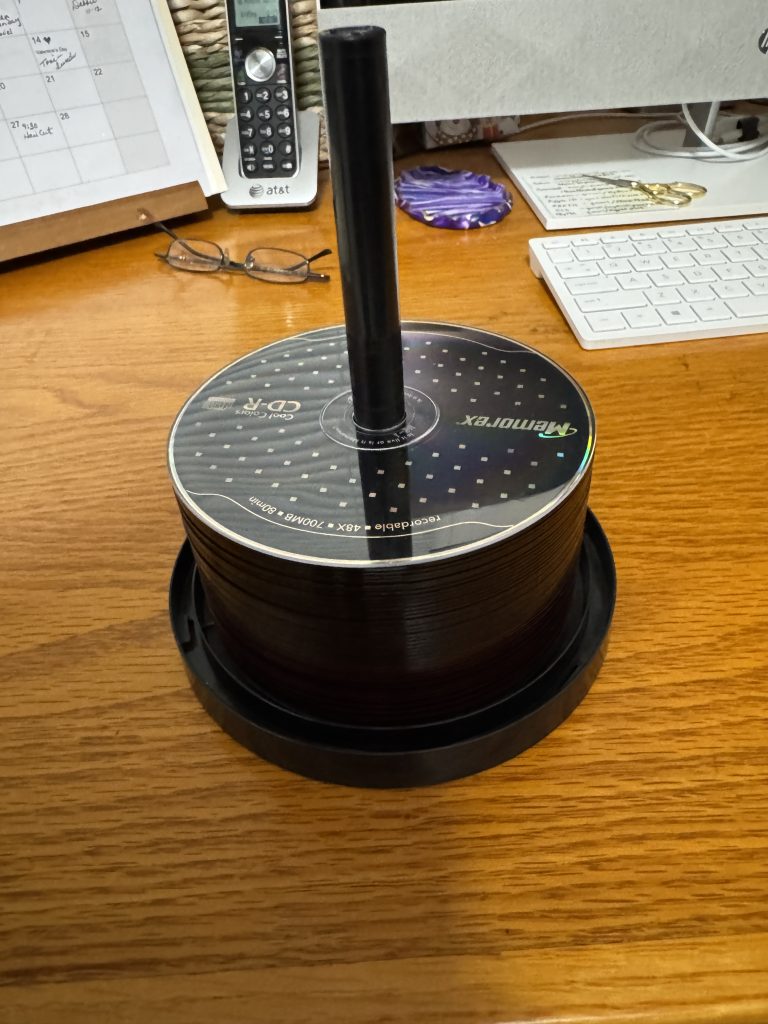
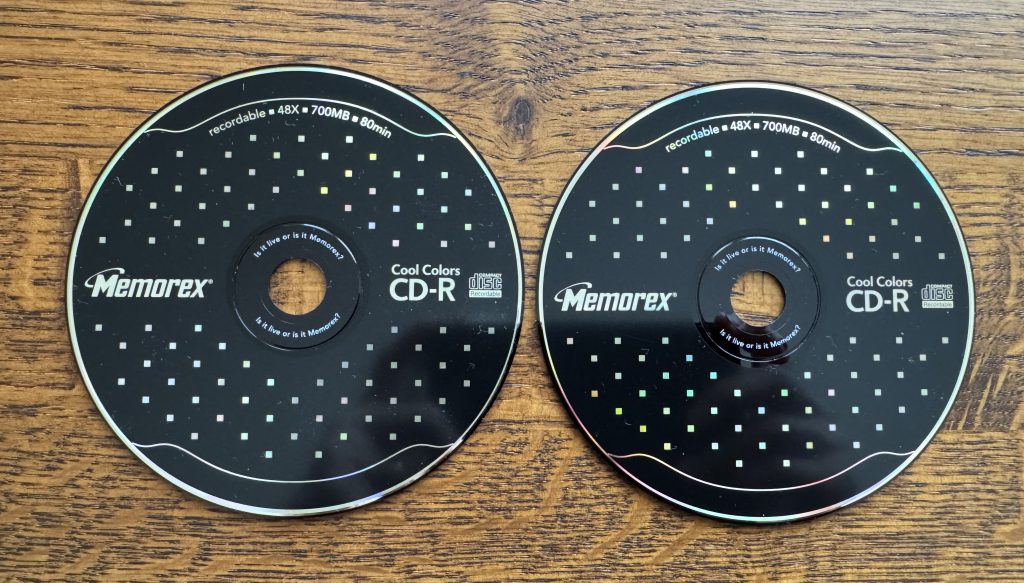
Handmade card holders seemed to be based on recycling a CD. Luckily, guess what I had in my office closet! I haven’t used a CD since small jump drives became available. What a great resource to recycle!
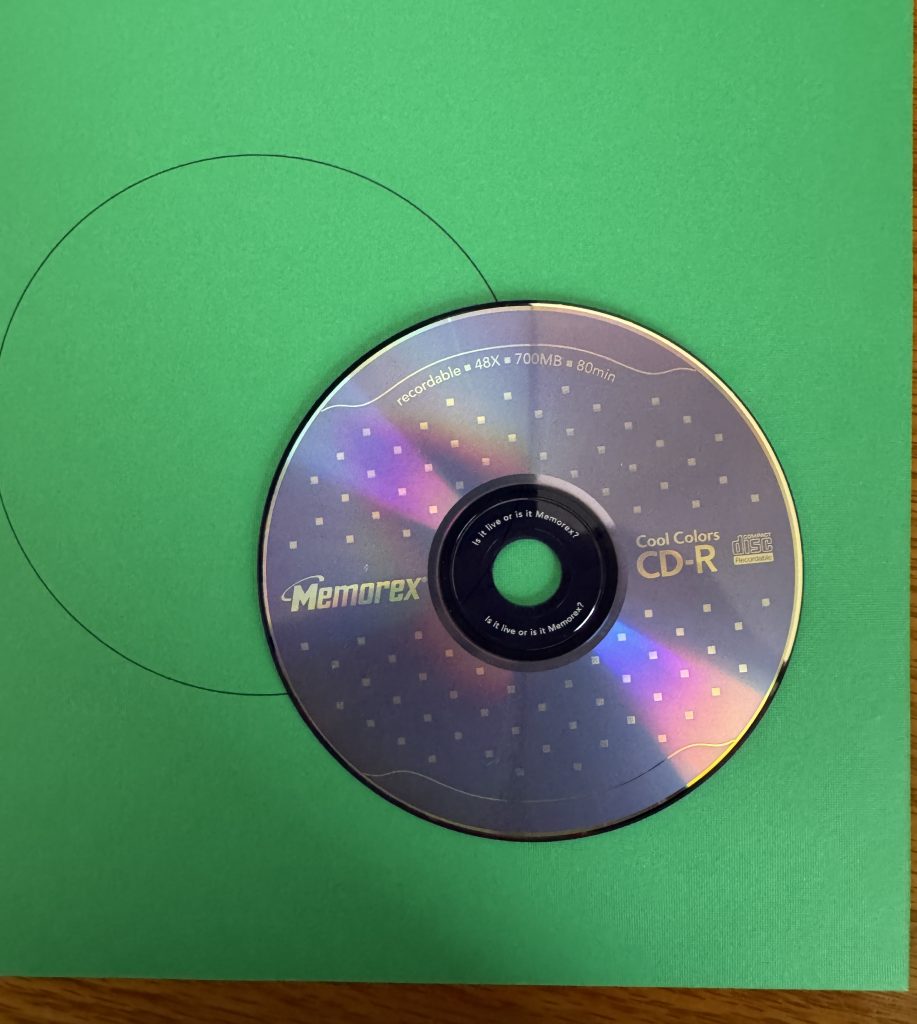
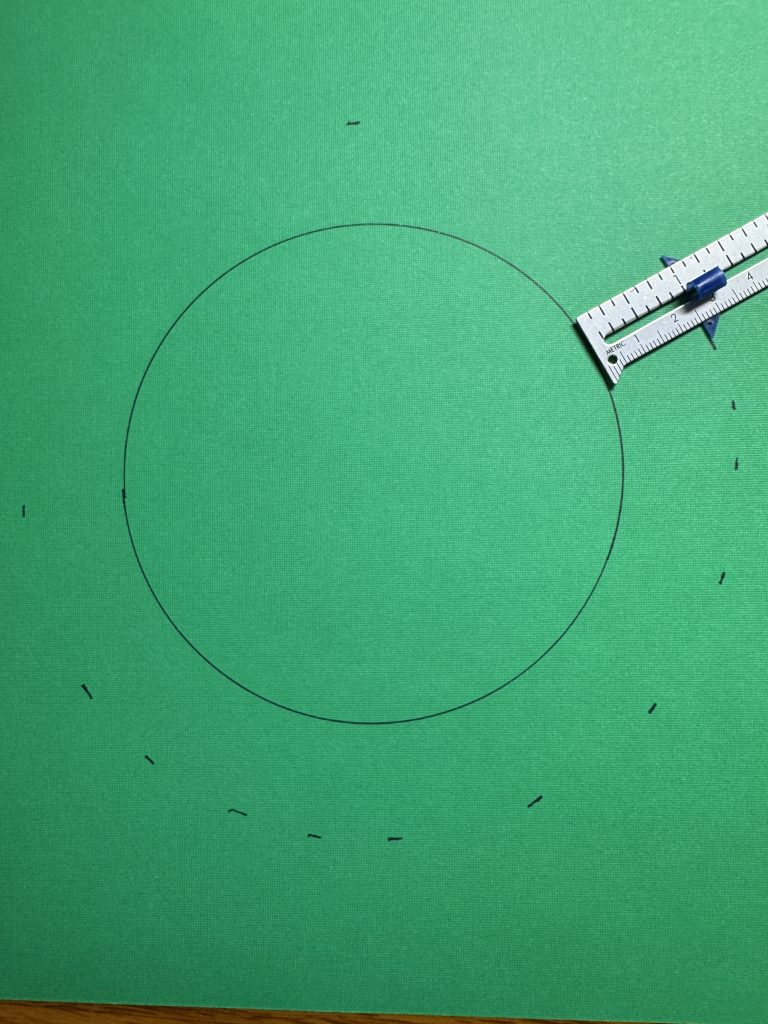
Making a Pattern
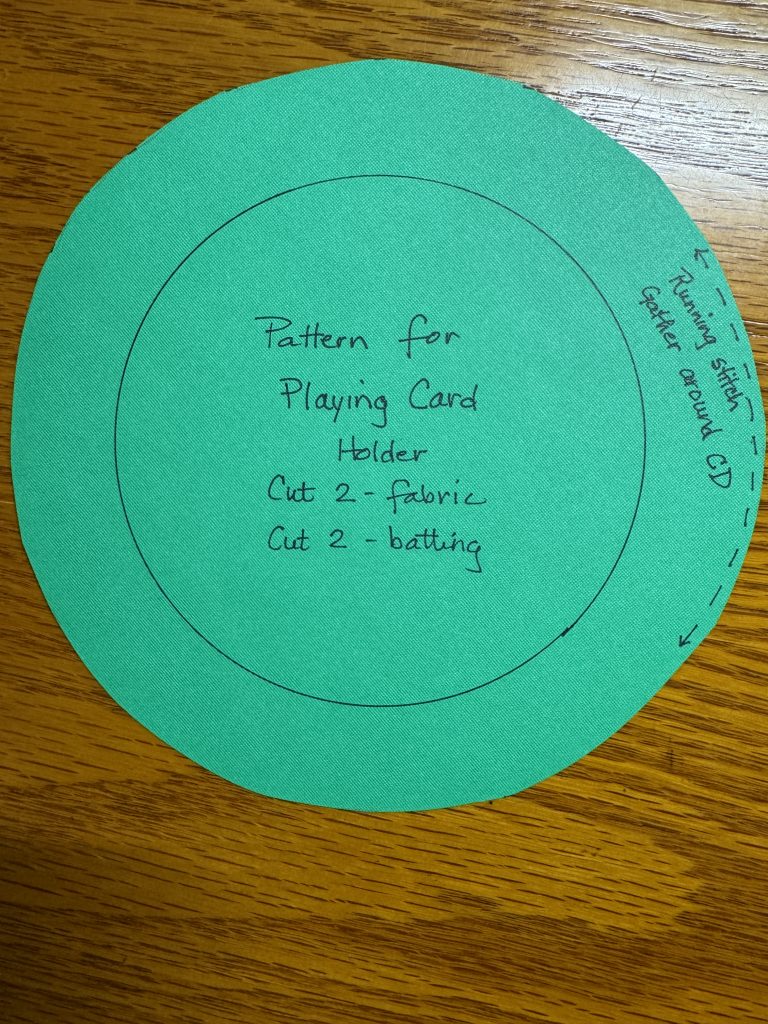
I needed a pattern to cut out the fabric circles. It needed to be the size of the CD with an additional 1″ of fabric all around. I found a piece of heavy paper and traced around the CD. Then, I added 1″ all around by marking 1″ about every inch and connected the dots with a pencil. Good enough!
Cutting the Fabric and Batting
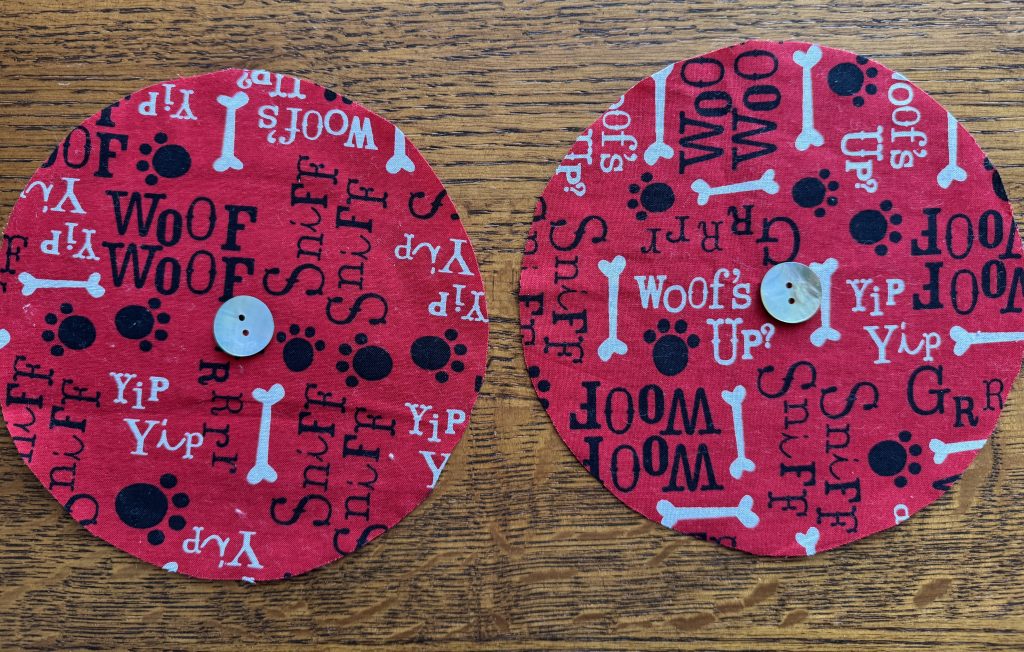
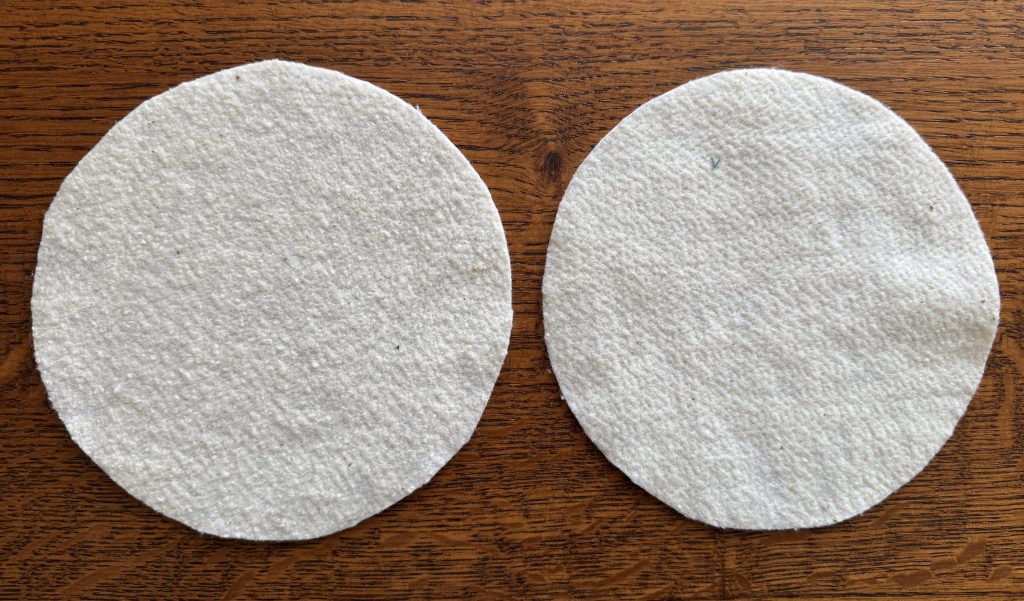
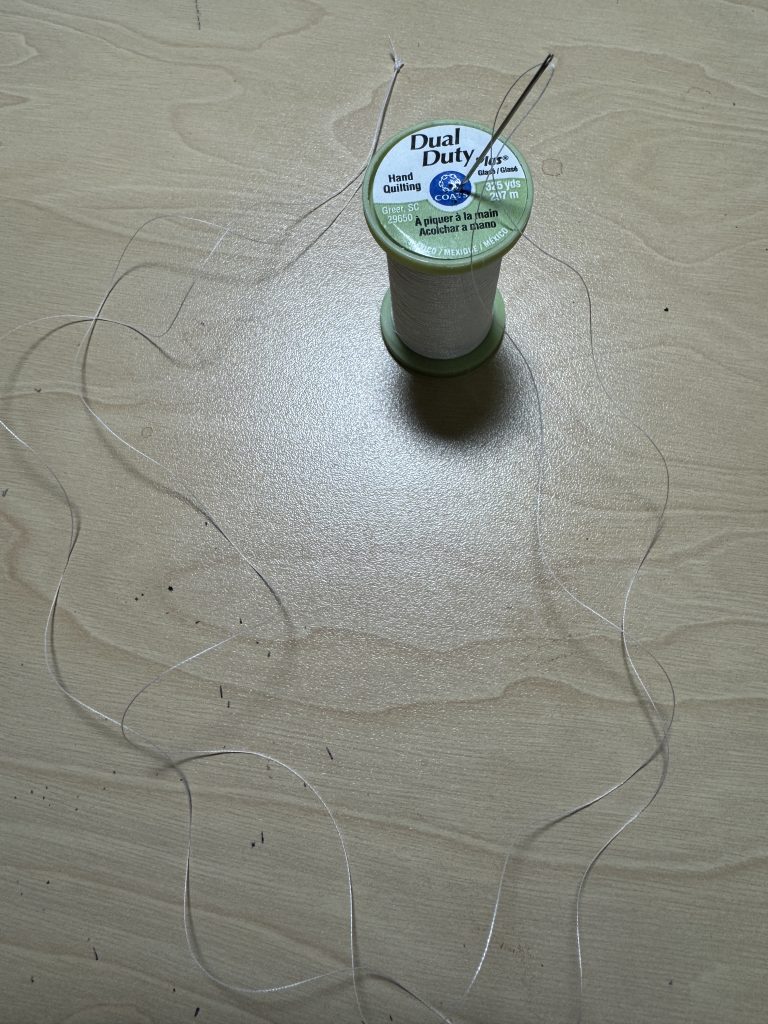
My instructions are using scraps of fabric appropriate for my grandkids. For each card holder, you will need two circles of fabric, two circles of batting, two CDs, two buttons (about 3/4″) and a sewing needle with sturdy thread (I used about 48″ of hand quilting thread, doubled in half and knotted. You don’t want to gather the fabric as you sew.)
Assembling the Card Holder
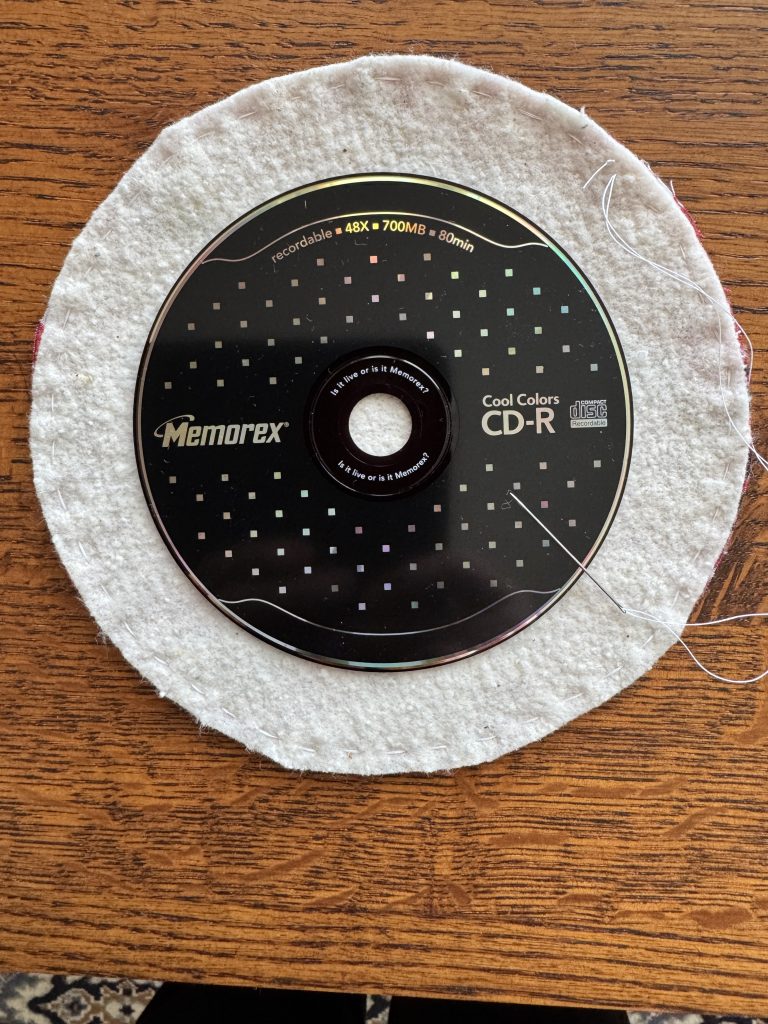
- Place a circle of batting to the wrong side of the fabric circle.
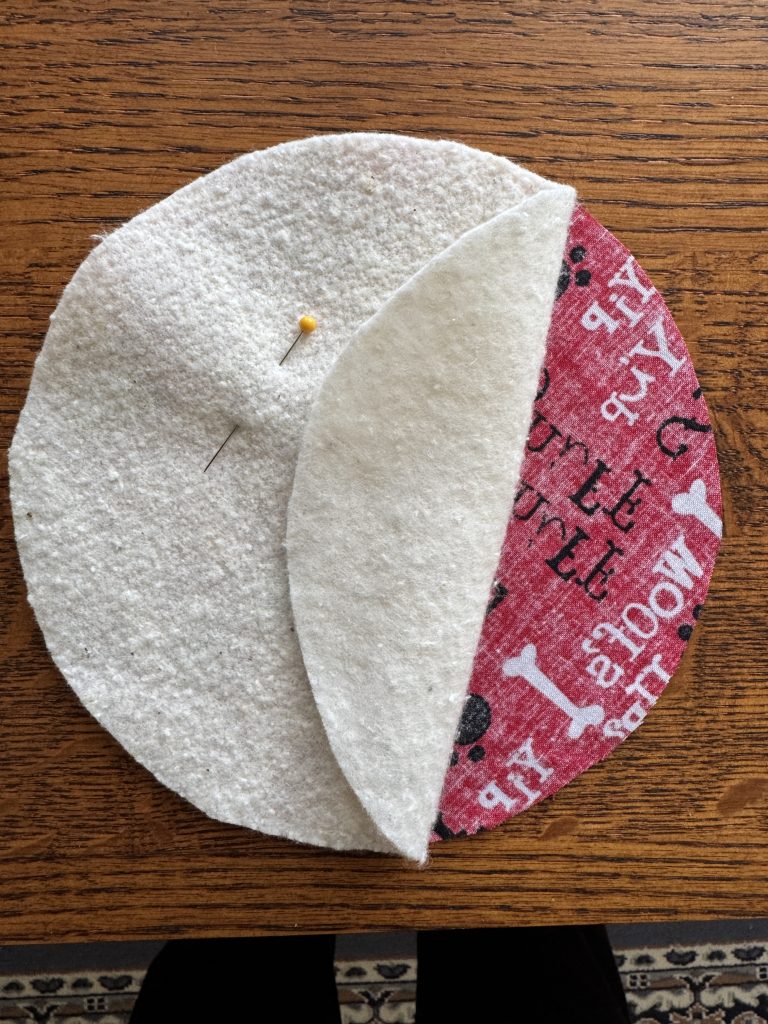
2. Hand stitch with a long running stitch around the circle, about 1/4″ from the edge…DO NOT finish with a knot or cut the thread off.
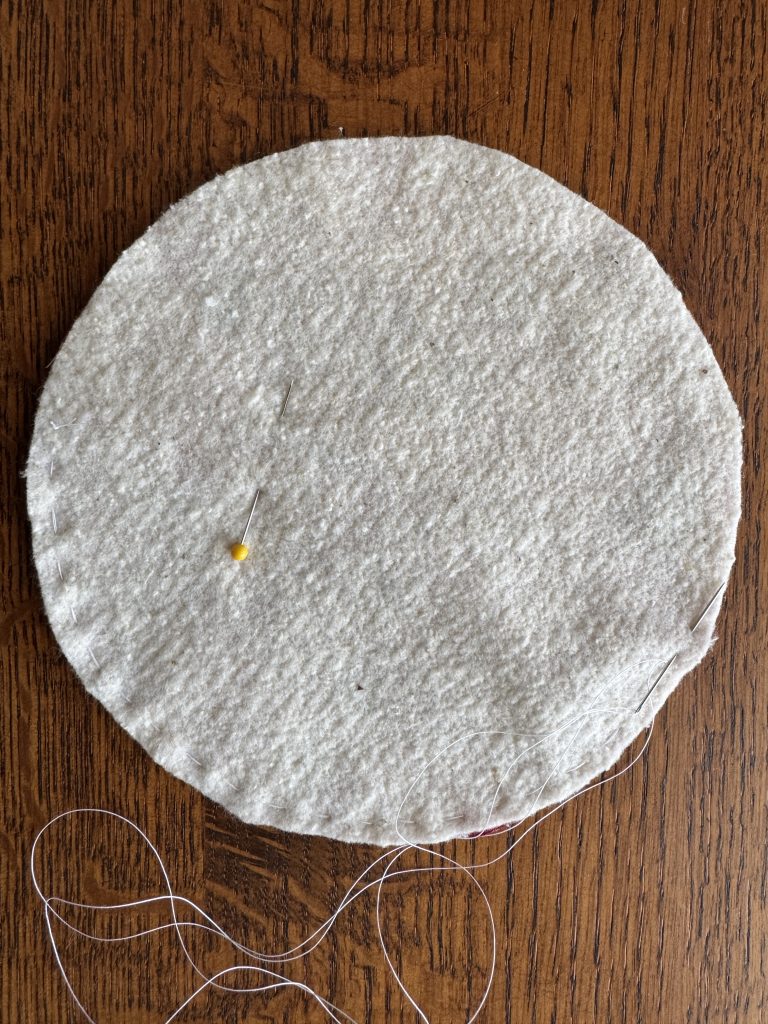
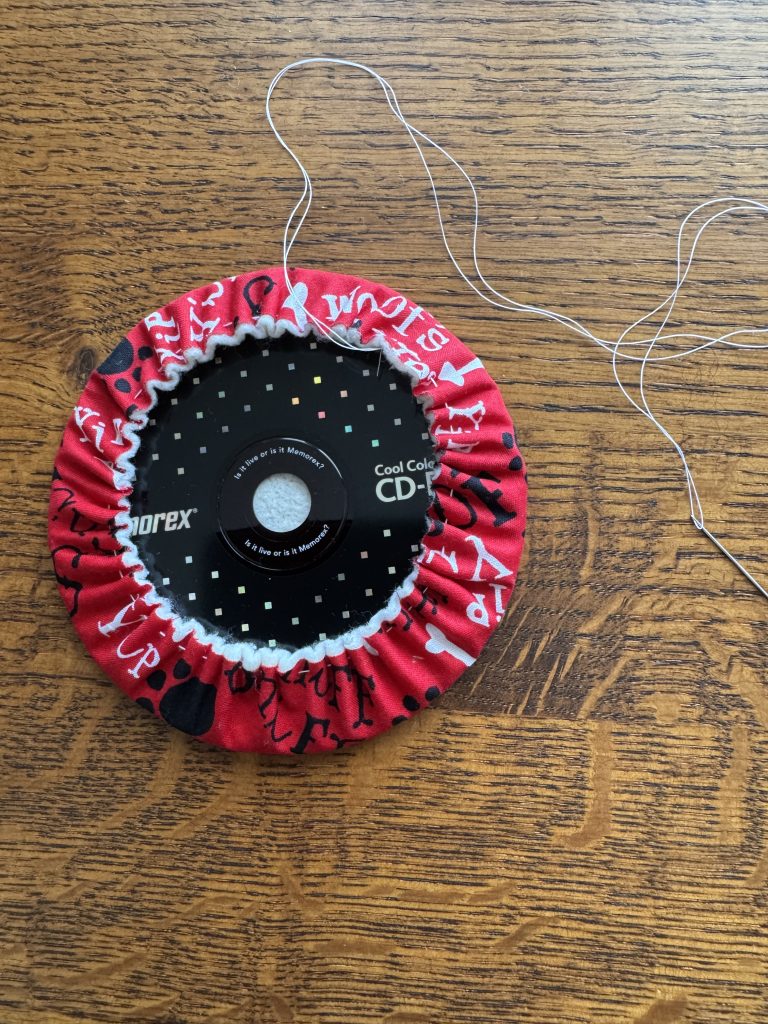
3. Place the CD in the center of the circle on a hard surface. Press down on the CD with your left hand and with your right hand pull on the needle and thread to gather the edges around the CD all at once. A firm hard pull will gather most of the circle around the CD. With your fingers, help distribute the gathers and tie off the thread.
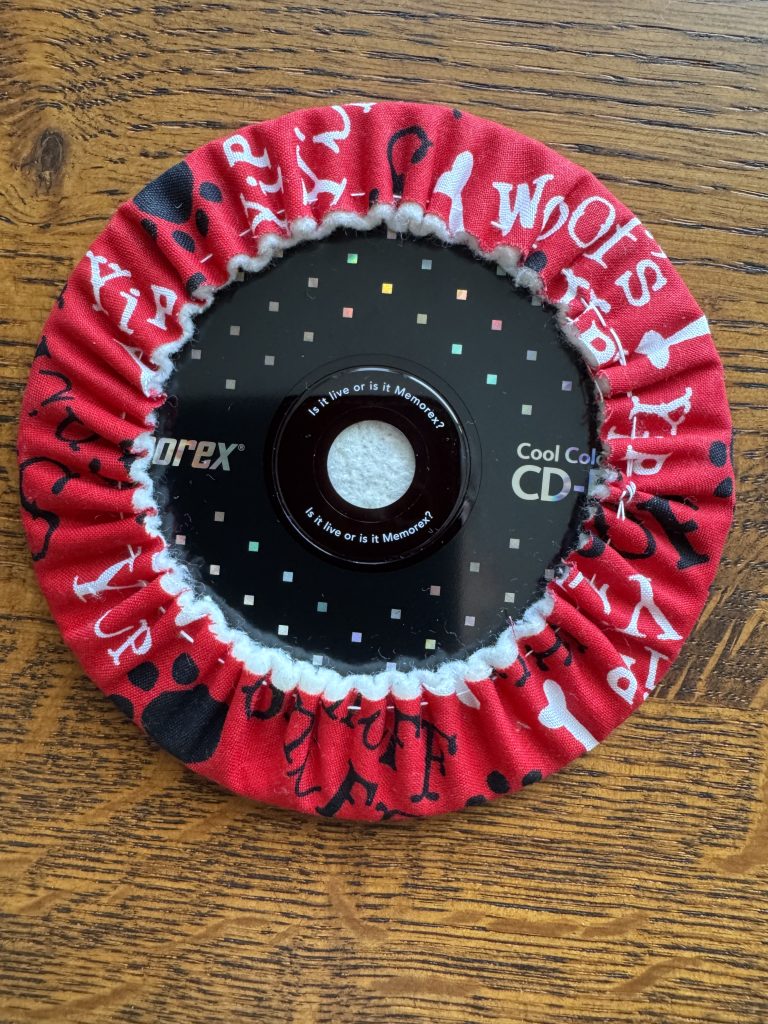
4. Repeat with the second circle, batting and CD.
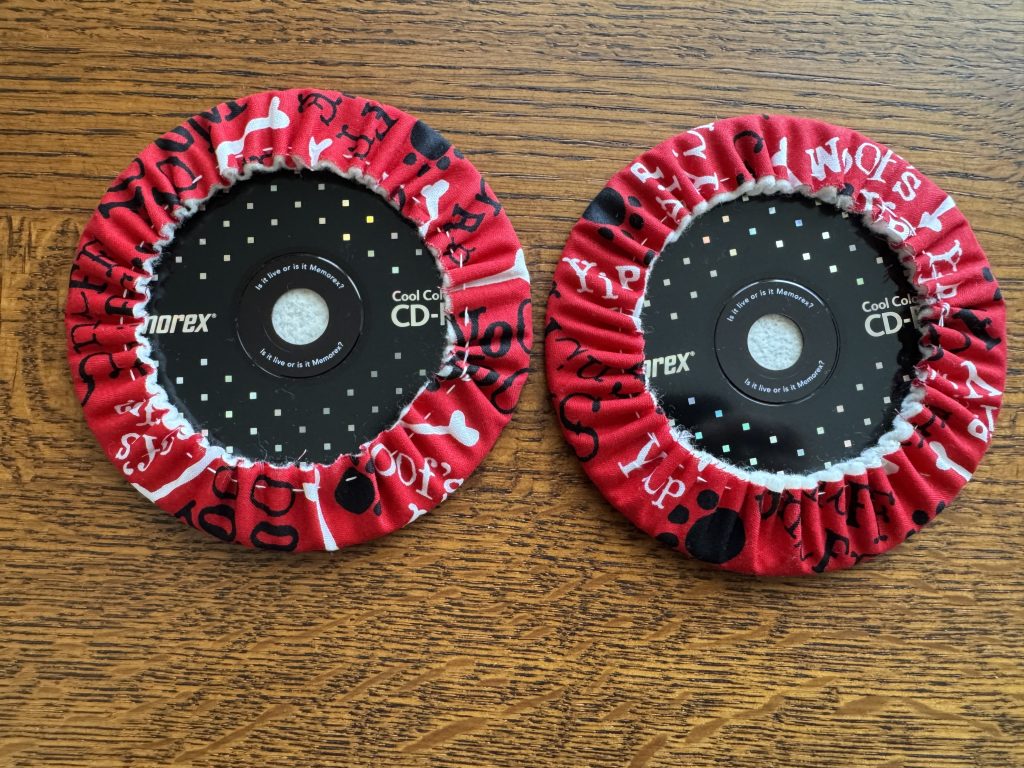
5. Place the two finished circles together, gathered edges touching.

6. Sew a button through each side, sewing the two circles together snugly.
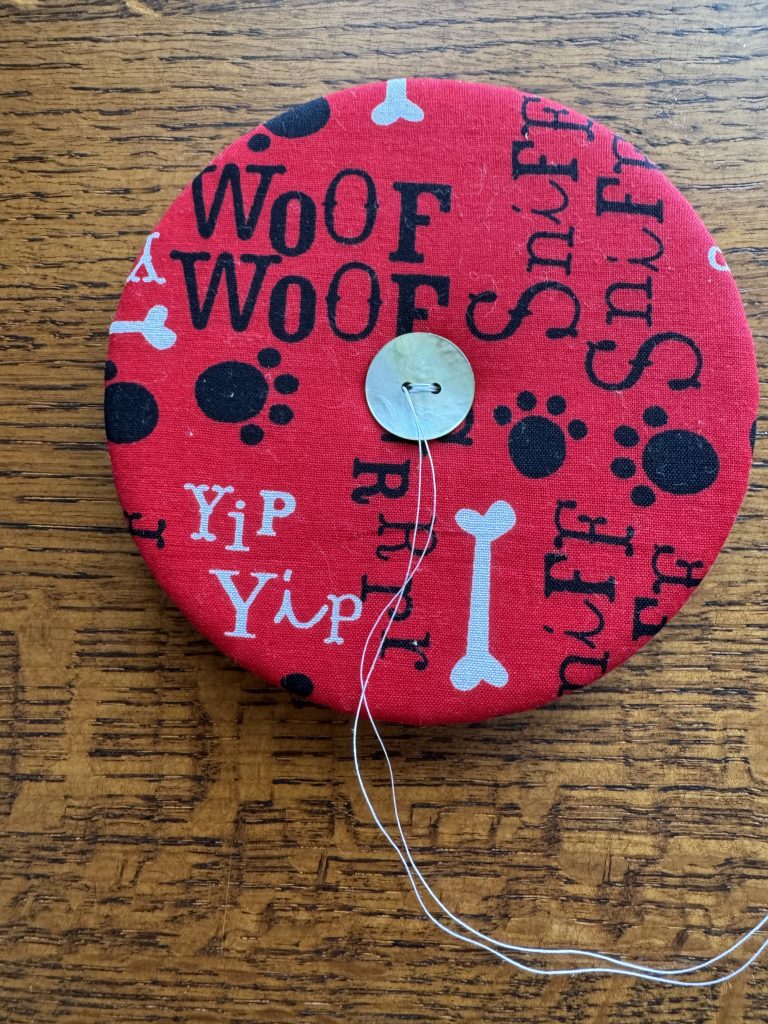
Your card holder should easily hold 5-10 cards. Great for young and old alike! Enjoy!