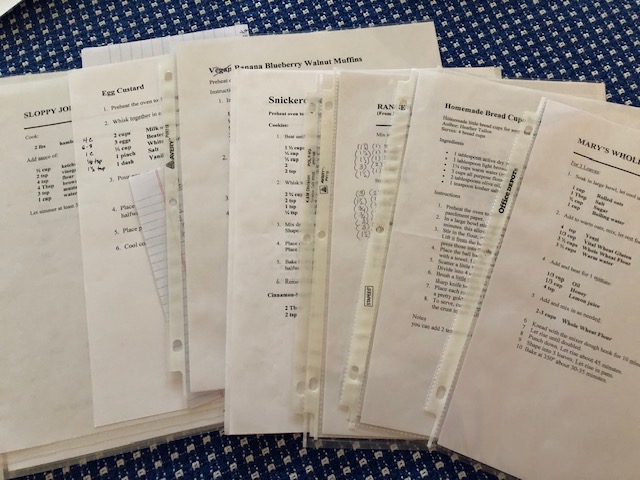
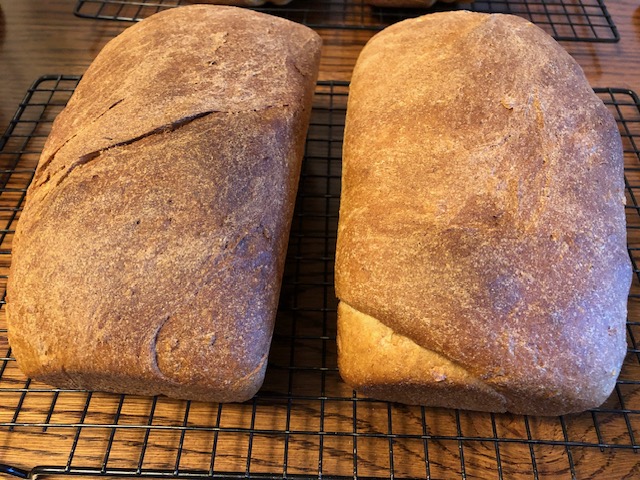
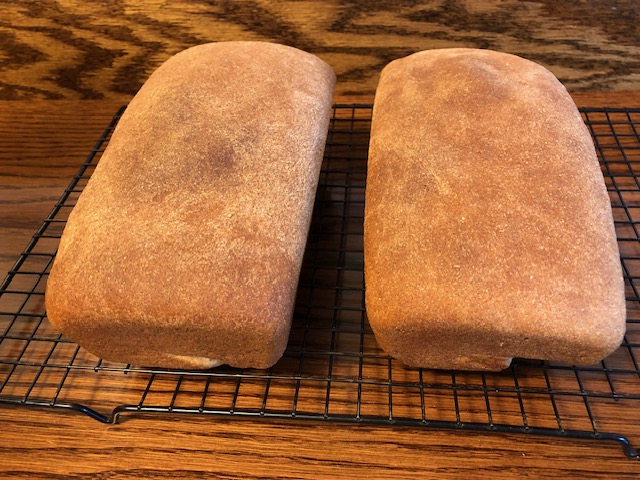
The last few weeks I have been baking more than I usually do…cookies, breads, muffins, etc. My enthusiasm for baking seems to come and go. I’ll bake several days in a row and then I put things away and move on to other projects. The last several months I seem to have focused on my sewing projects.
When I started pulling out ingredients to begin some baking projects a few weeks ago I discovered that the bag of commercial whole wheat flour that I had kept in the refrigerator was rancid! Then I tried using some toasted wheat germ that is in a tight jar, but was last used a year ago when Bert made his chocolate chip cookies….yuk, it didn’t smell right! Several other ingredients that I use infrequently had also gone rancid! So, while I wanted to bake up a storm, I first had to replace many of the ingredients. What a waste!
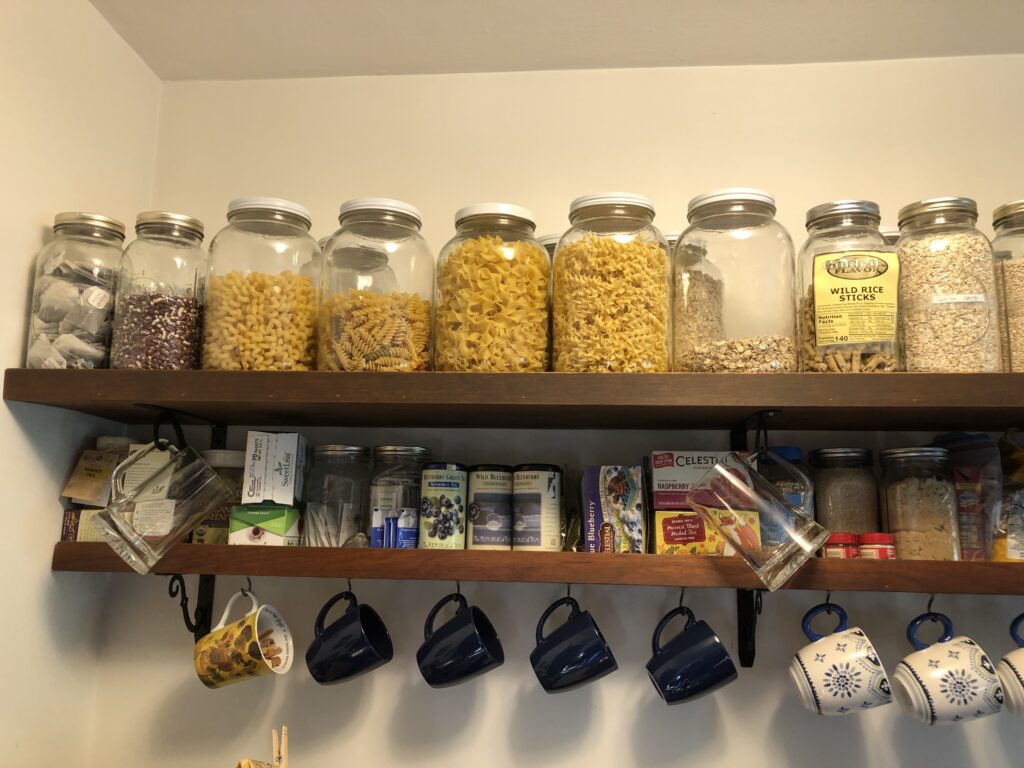
I really like to see what I have on hand in my kitchen. Many years ago, Bert added two lovely shelves in the kitchen so I could store various pastas, rice, flour and sugar in glass jars. I’ve learned over time that the dry pasta, white rice, flour and sugar do well on the shelf. However, I’ve had to store whole wheat flour, corn meal, almond flour and even yeast in the refrigerator or freezer.

I’ll really have to organize the freezer better to store ingredients, not just finished products, like loaves of bread. I finally did a search online to see which baking ingredients can be frozen. you can see the list here:
https://www.tasteofhome.com/article/baking-ingredients-you-can-freeze/
Here are some of the ingredients I use and how I store them.
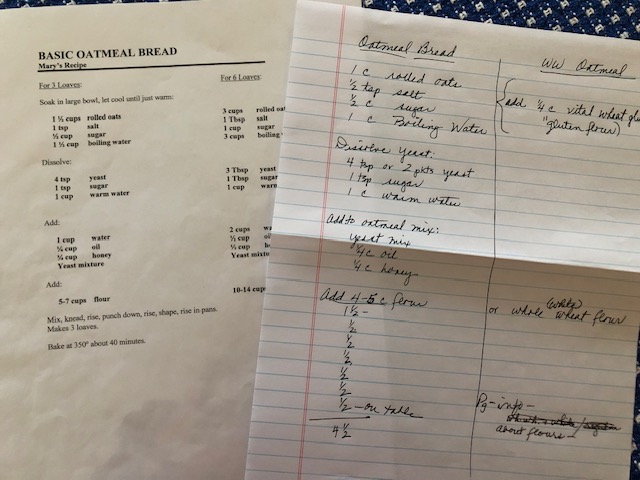
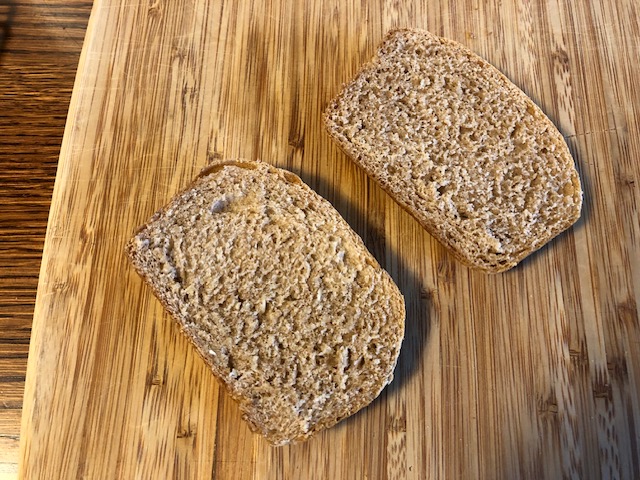
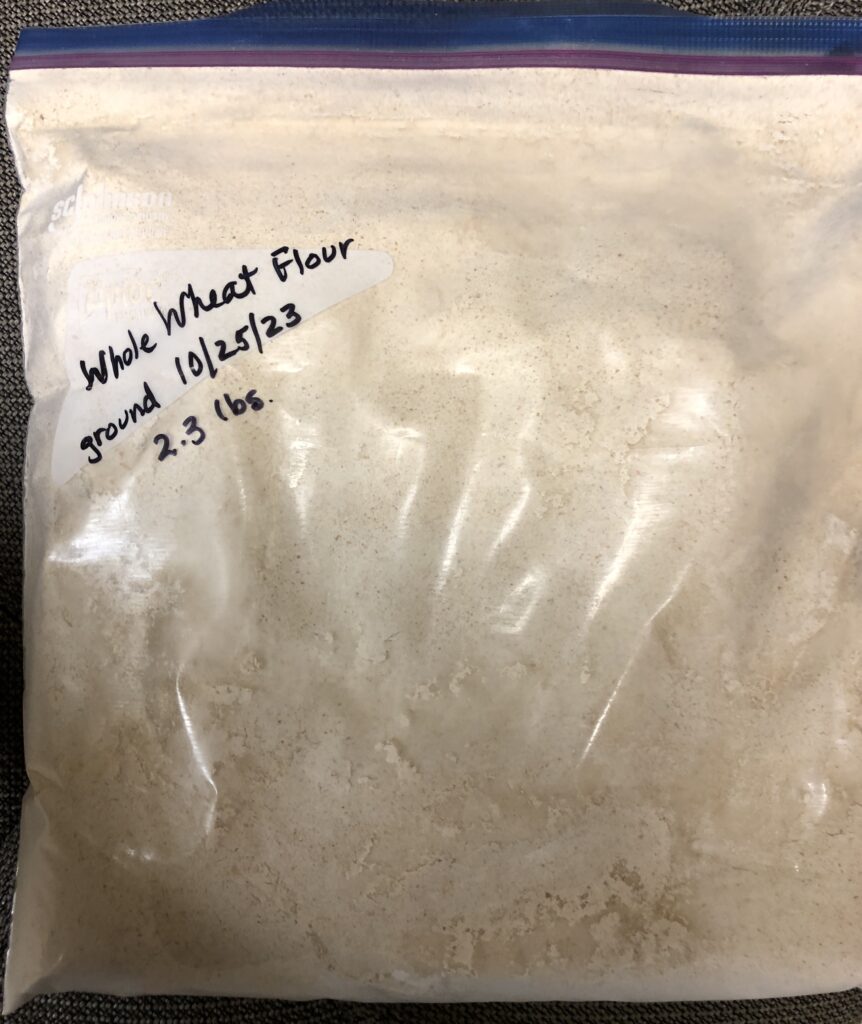
Home Ground Whole Wheat Flour
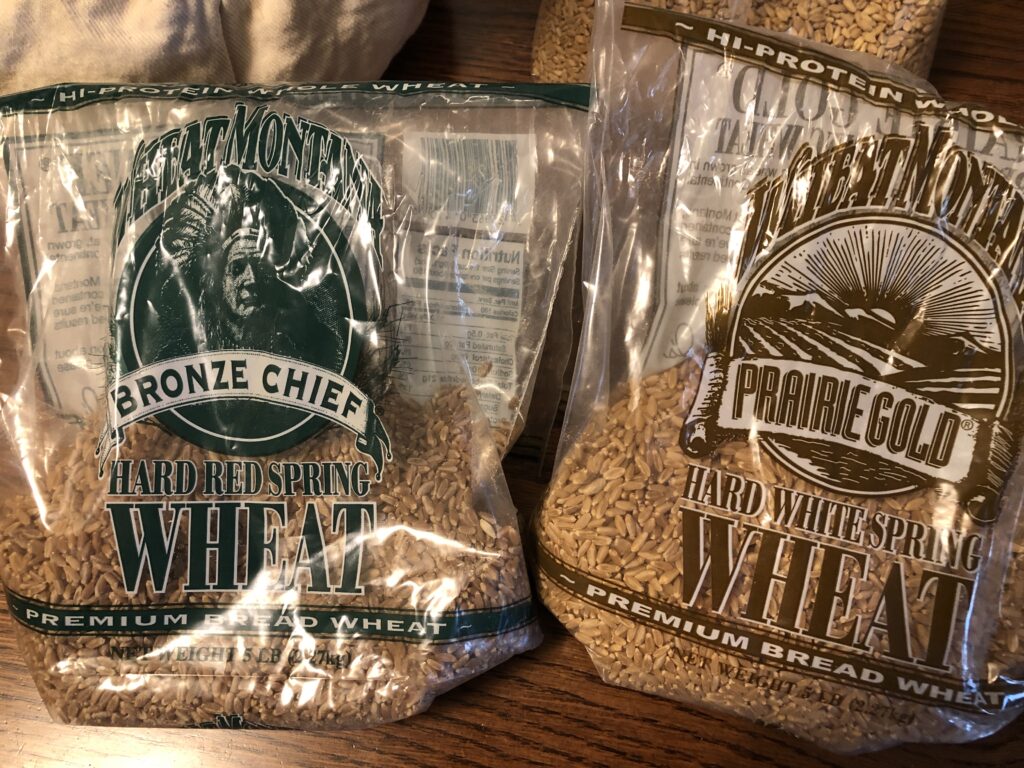
When I’m ready to bake with whole wheat flour, I pull out my electric wheat grinder and find the wheat berries in the refrigerator:
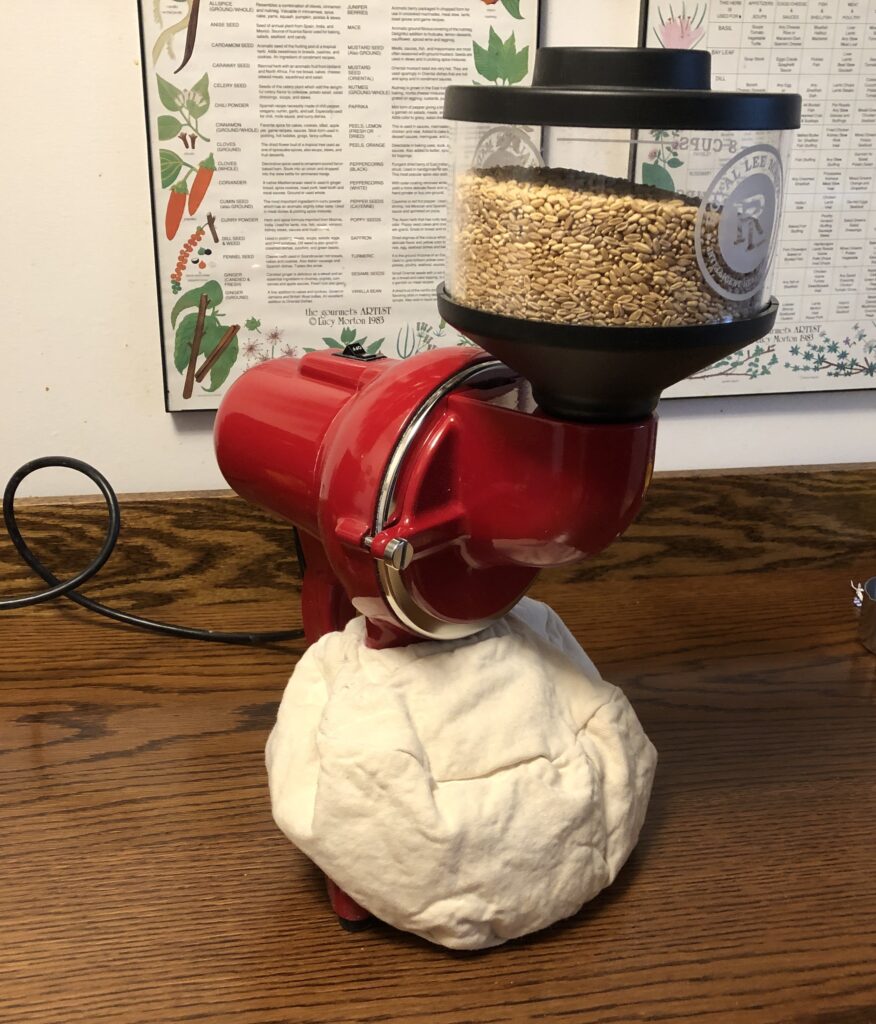
Then I grind about 5-6 pounds of flour.
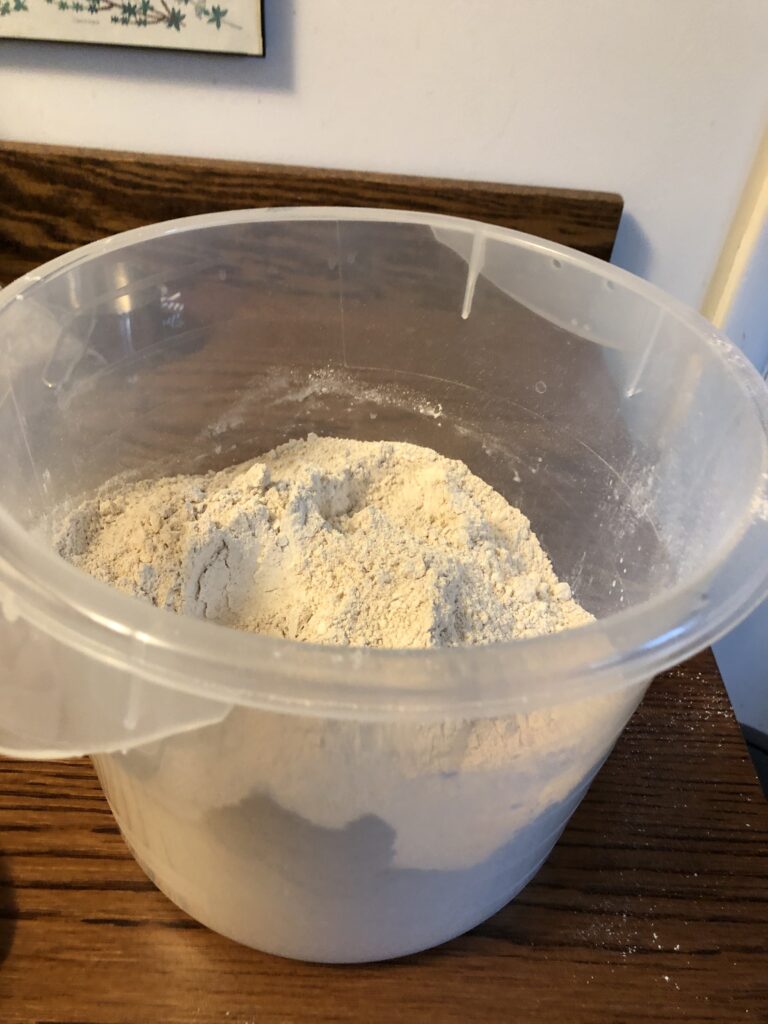
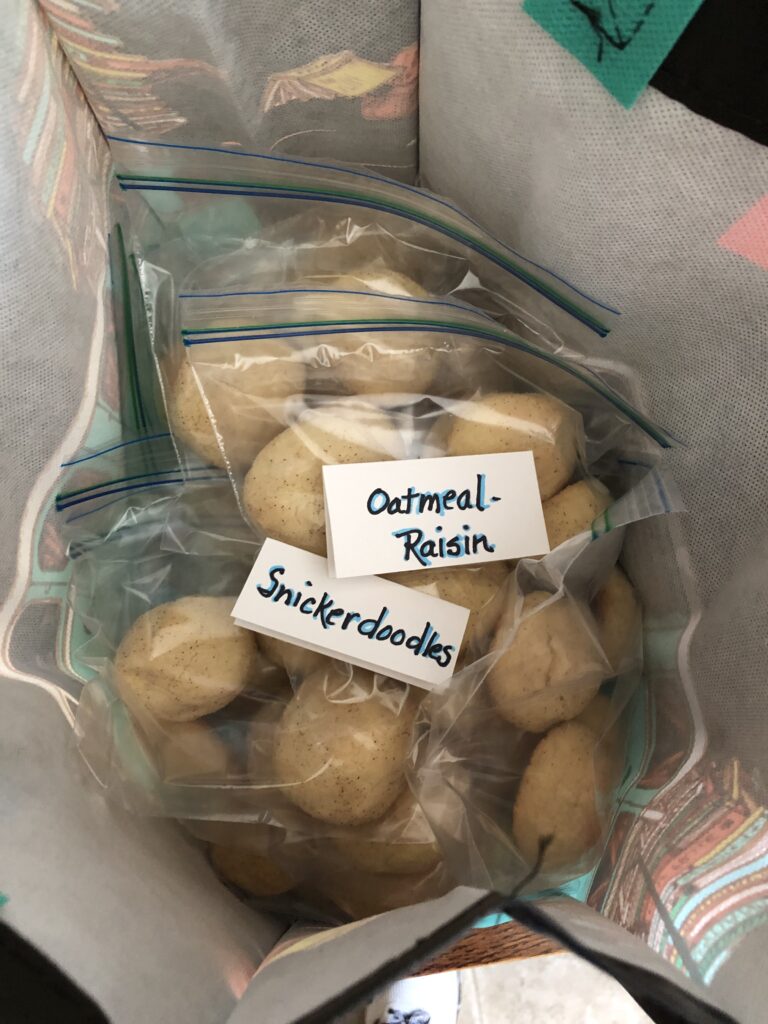
After I use what I need right away, I’ll bag the rest in zip bags, about 8 cups (2 lbs.) each and store it in the freezer.
Toasted Wheat Germ
Toasted Wheat Germ comes in a glass jar (about 8 oz.) and is found in the cereal aisle, right near rolled oats. I used 1/3 cup in a cookie recipe and then dumped the rest into a zip bag and stored it in the freezer. I don’t want to ruin another whole batch of cookies with rancid wheat germ!
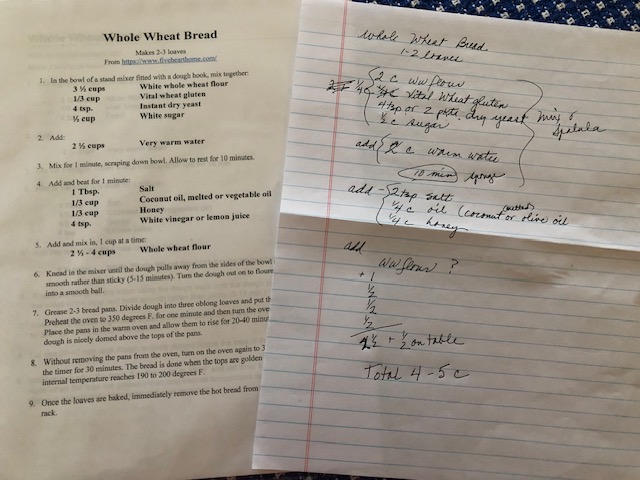
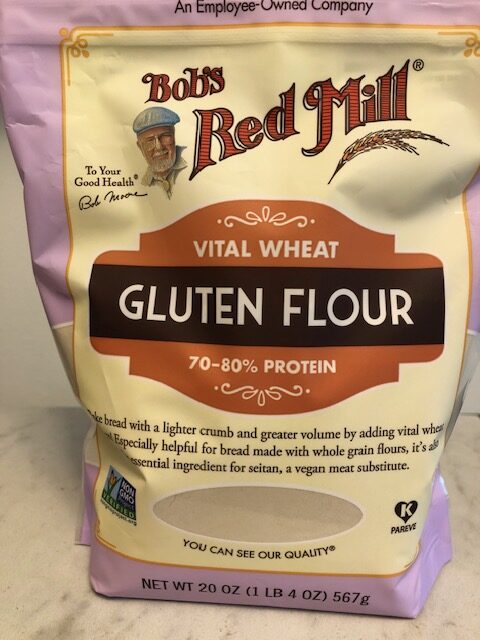
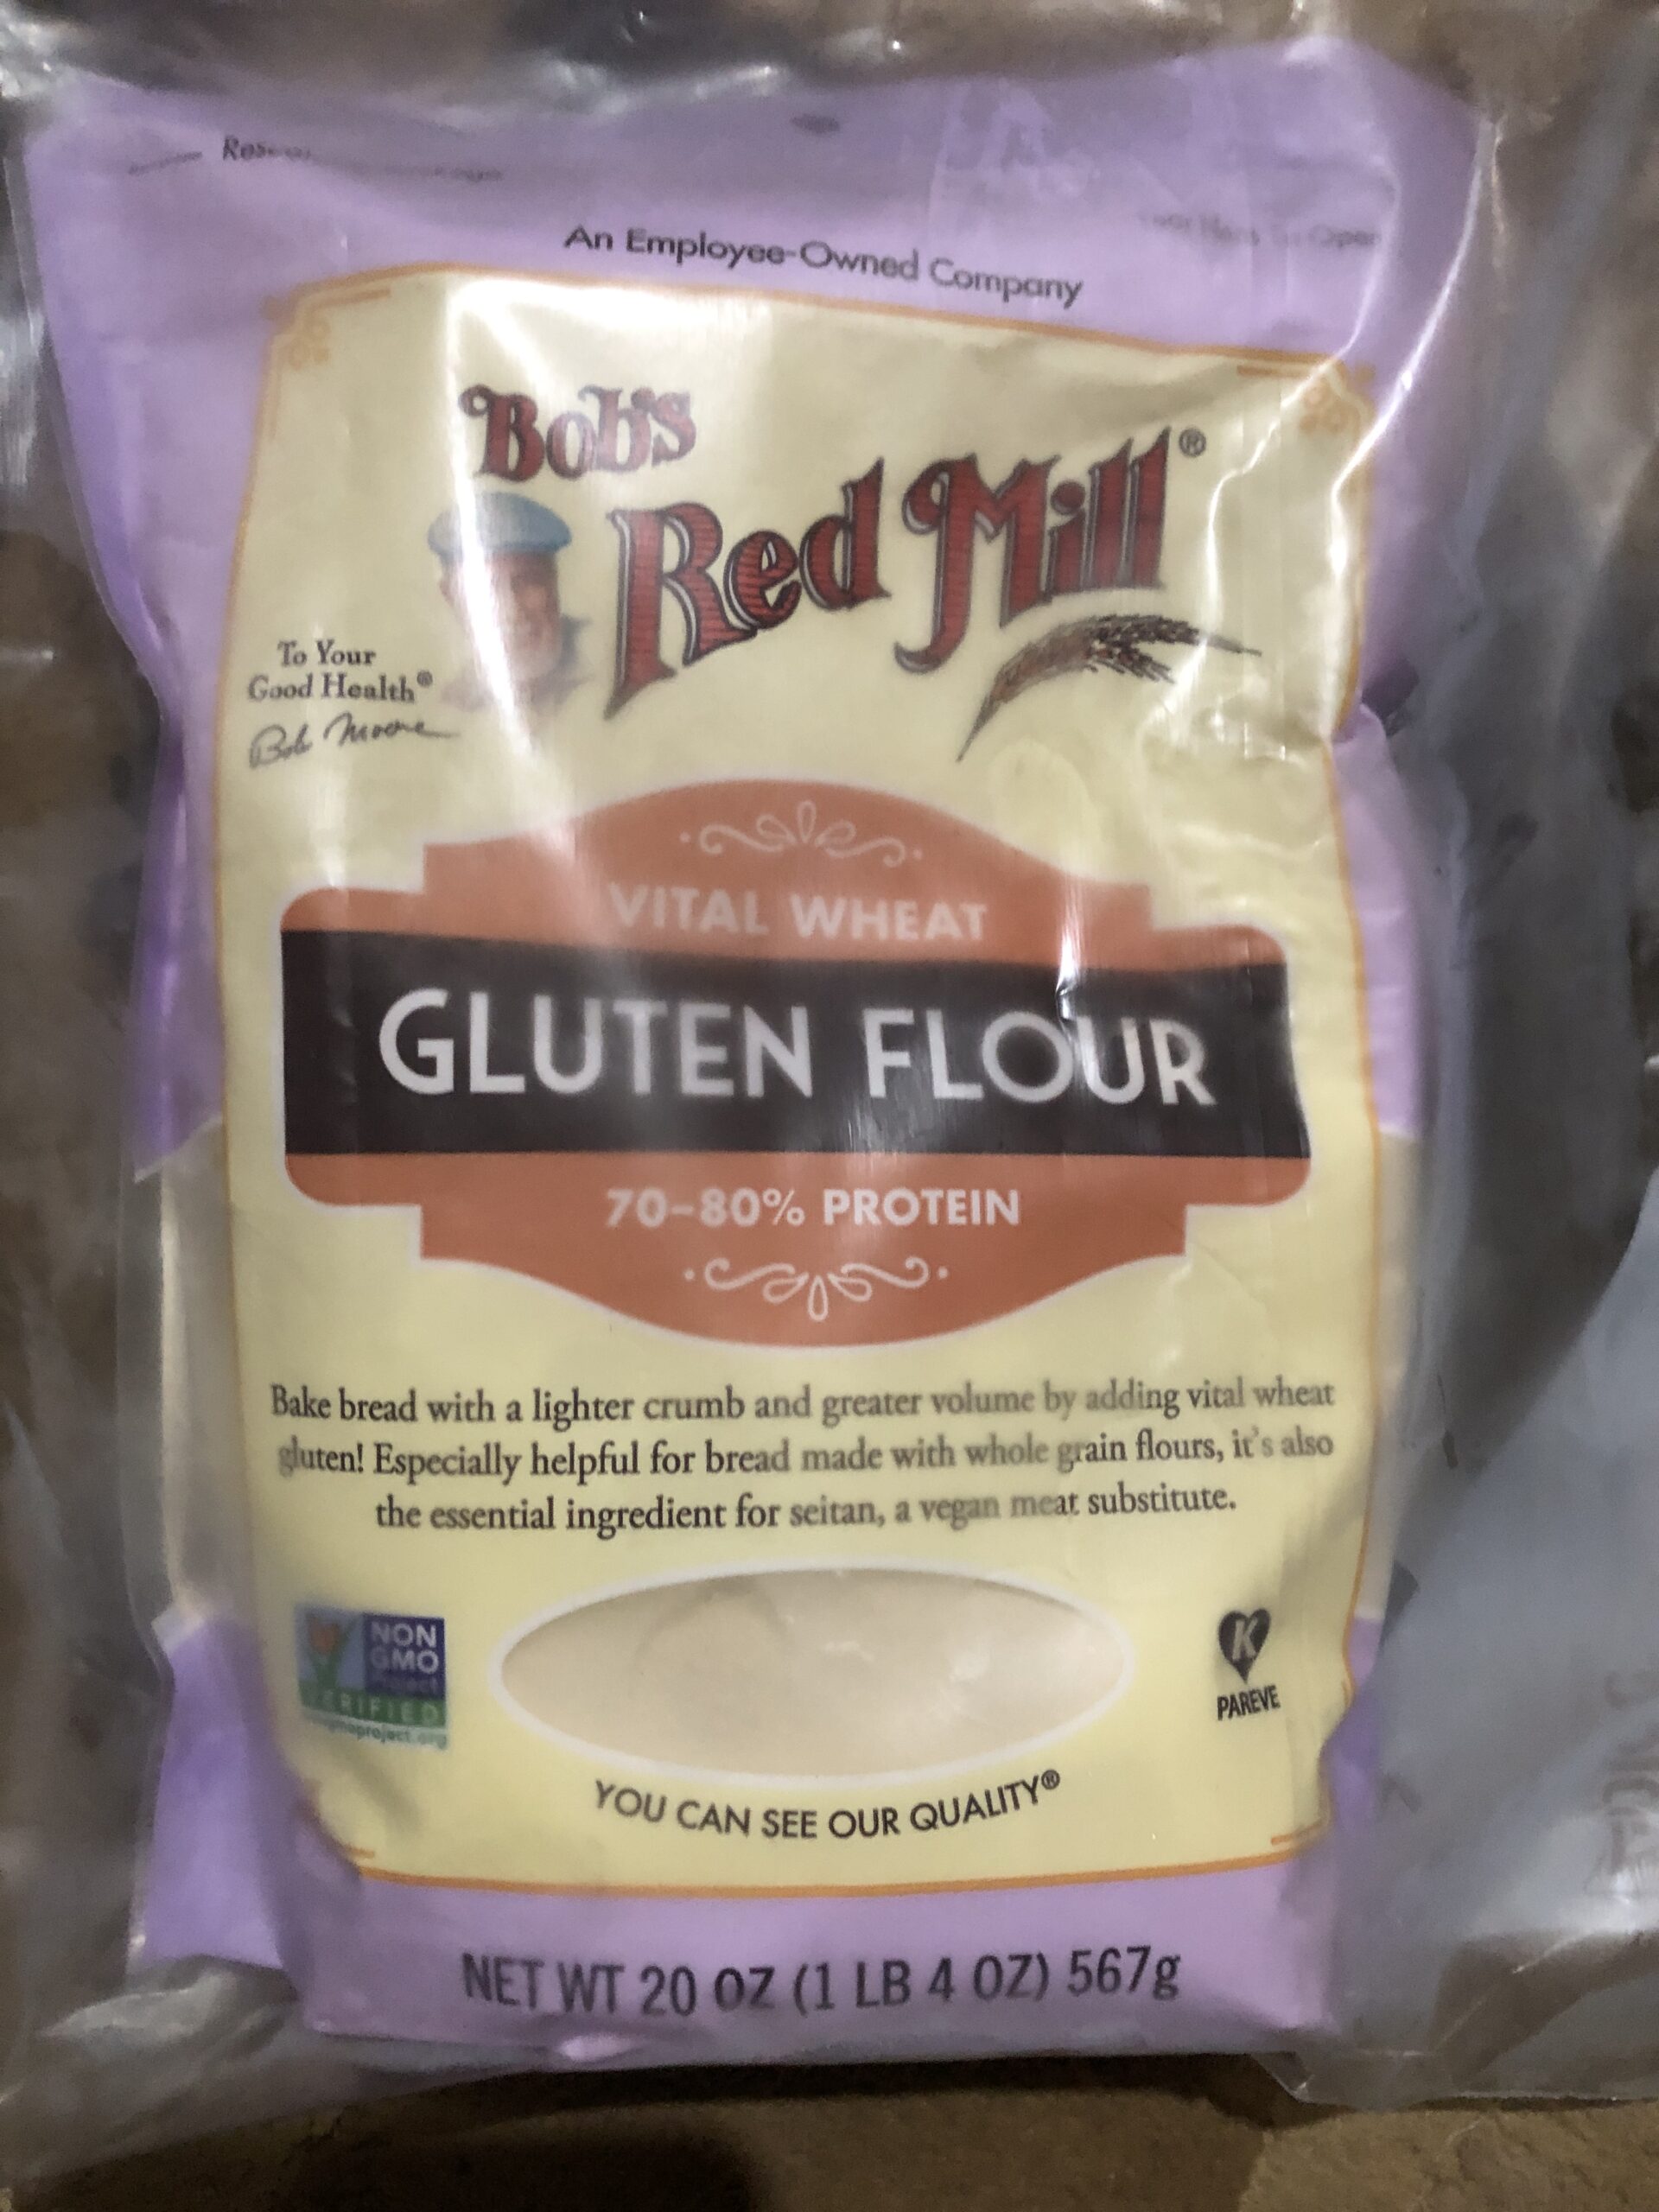
Vital Wheat Gluten Flour
This is an important additive to whole wheat baked goods. It helps make a slice of bread stay together! I seldom use more than 1/4 cup in a recipe, so the rest has to stay frozen so it won’t go rancid.
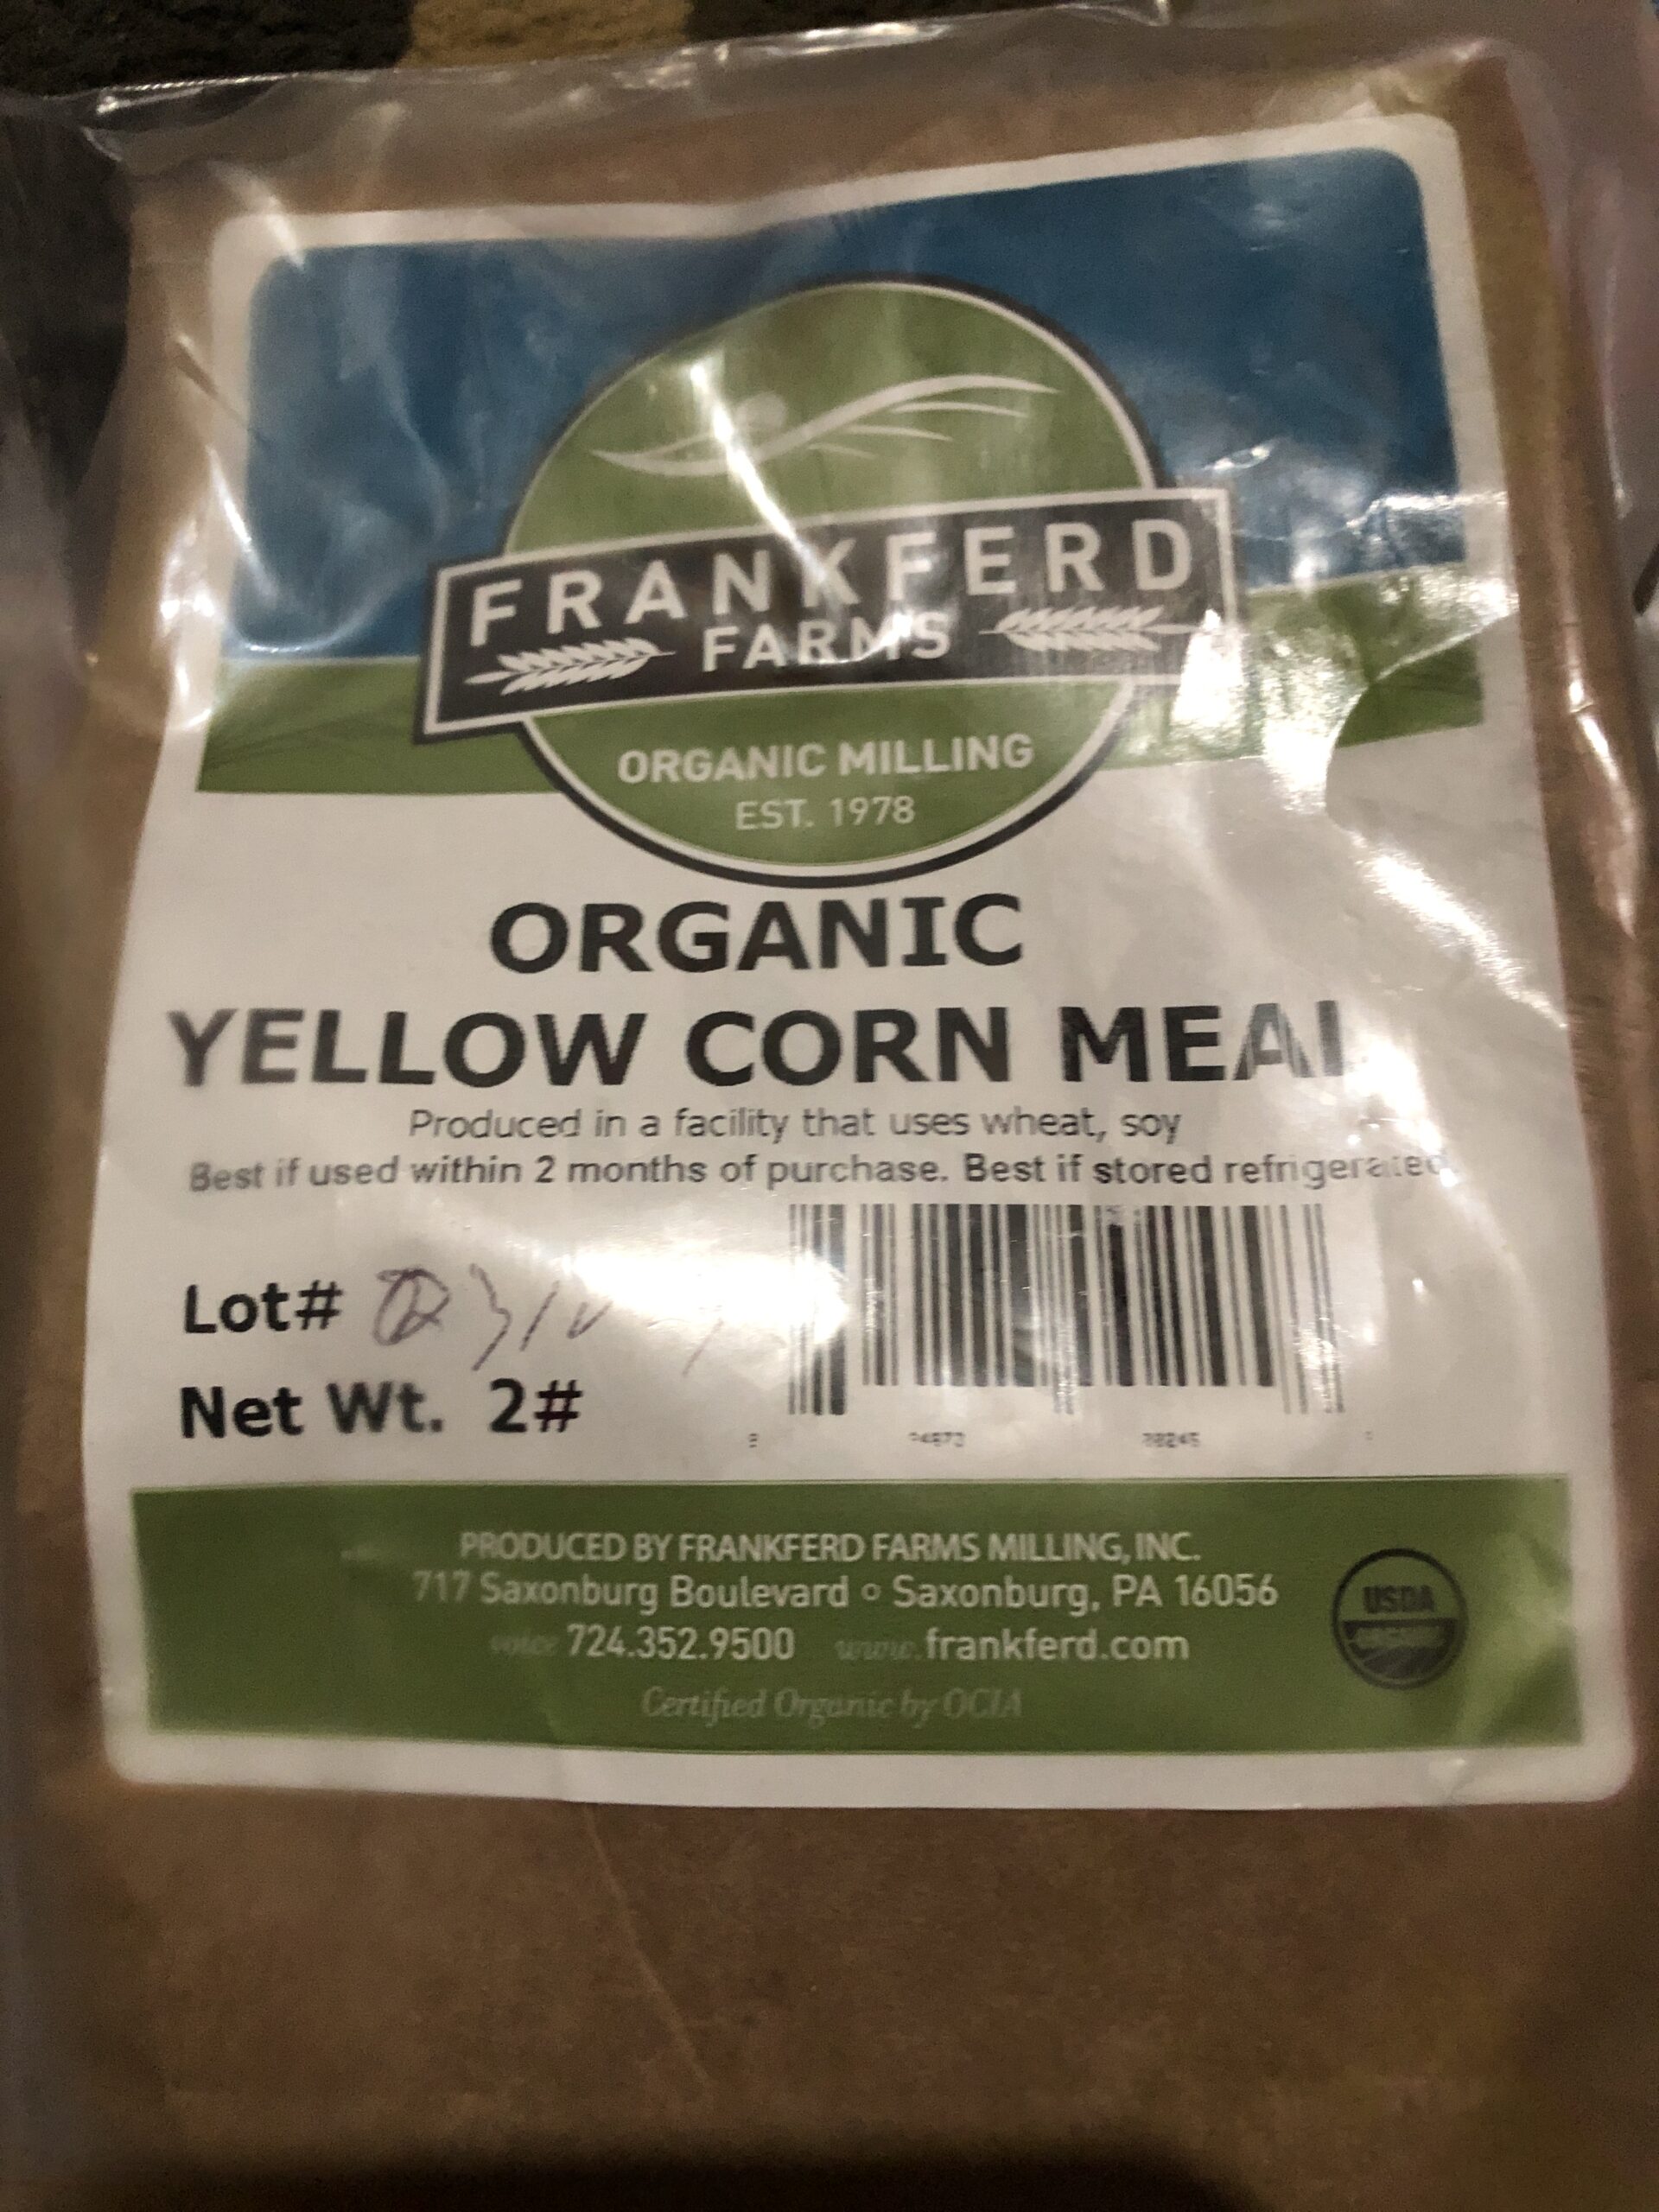
Corn Meal
I don’t use a lot of corn meal, so it’s important to keep it frozen until I need it.
Almond Flour
So far, I’ve kept this in the refrigerator, but I think I’ll move it to the freezer.

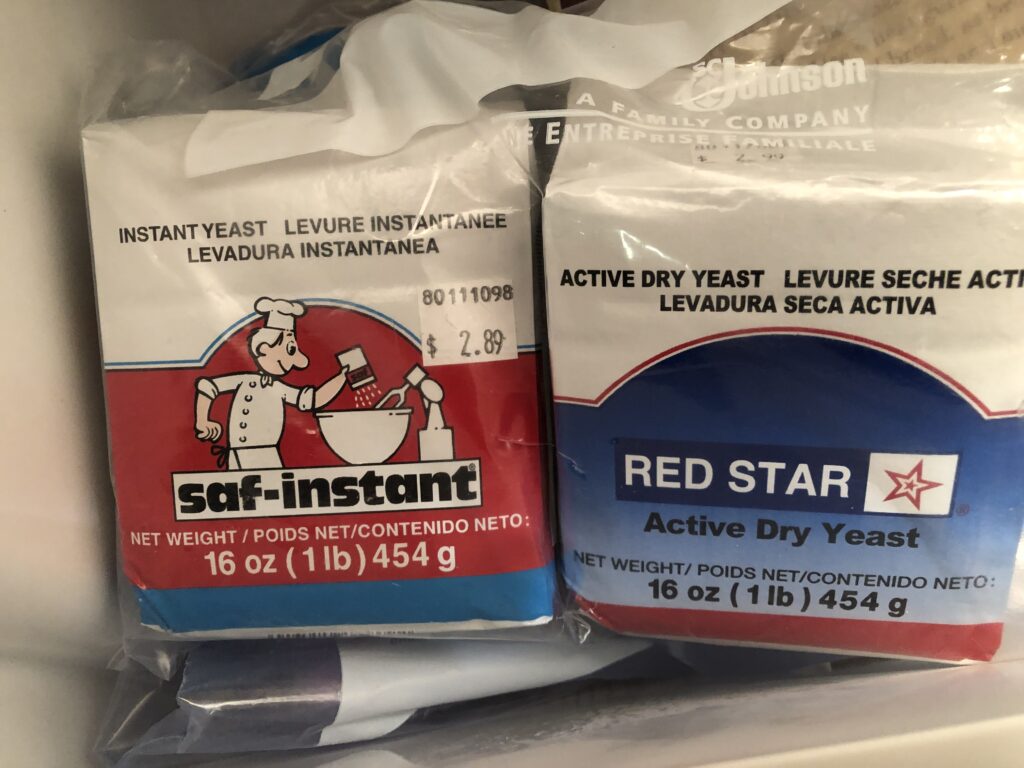
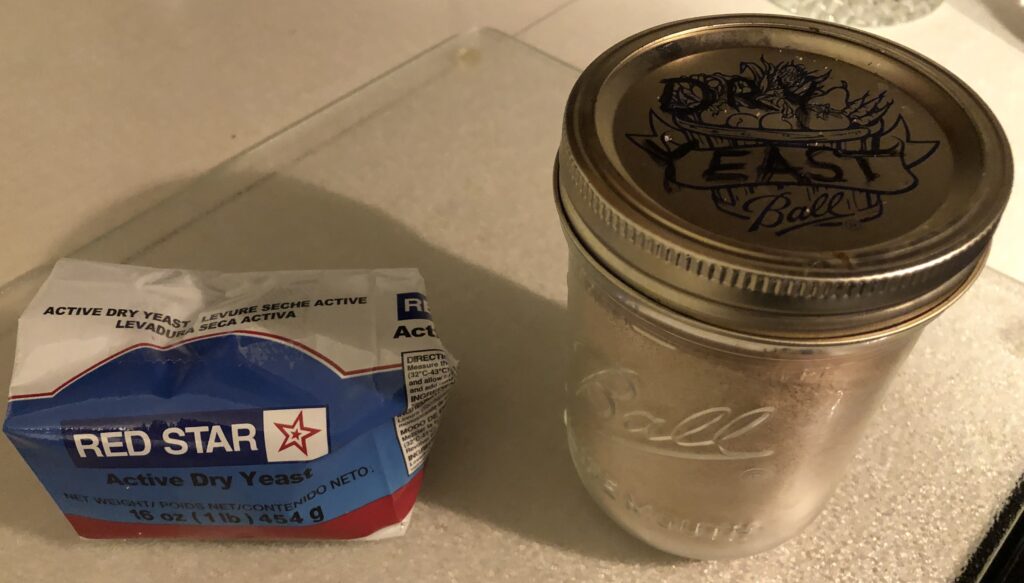
Active Dry Yeast
I keep unopened yeast in the freezer. When I open a package, I put about half of the package in a jar in the refrigerator. The rest of the package I fold up tight, tape it shut and put it back in the freezer.
Butter
We always have several pounds of butter in zip bags in the freezer. It stores well.
Chocolate Chips
We seem to always have a partial bag of chocolate chips in the freezer!
Nuts
I use a lot of walnuts in various recipes. Depending on what I’m making, I may just store them in the refrigerator.
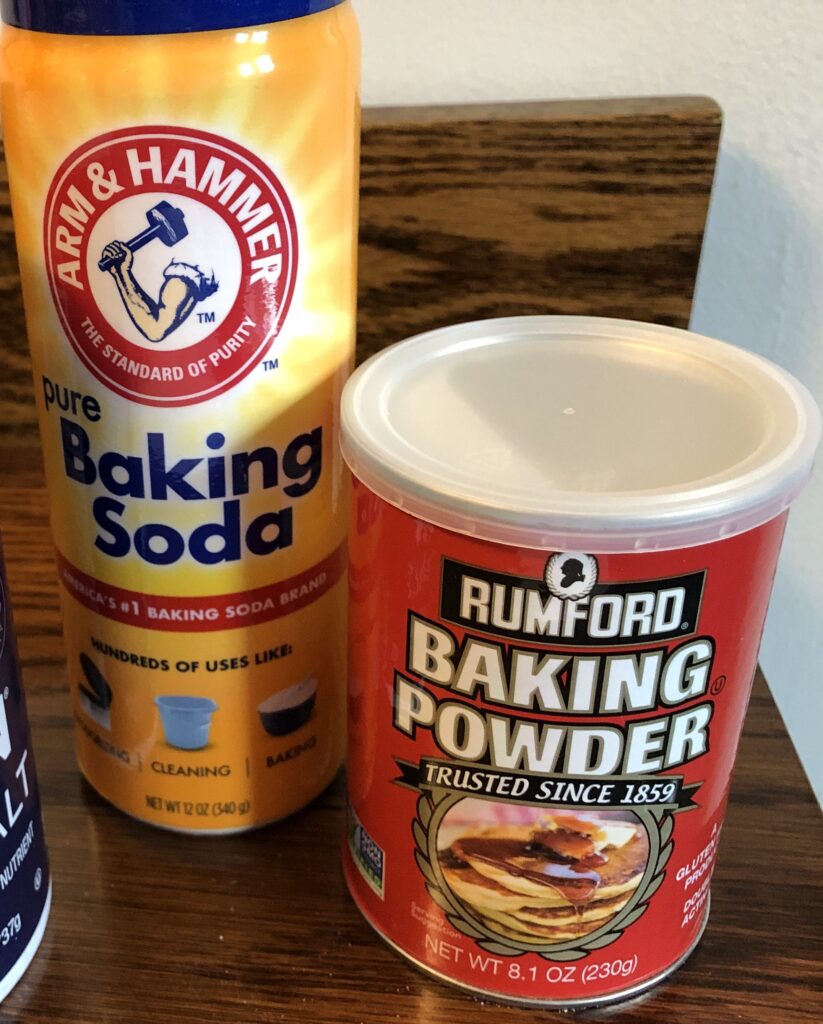
Baking Soda and Baking Powder
I store Baking Soda and Baking Powder in their original packaging in the cupboard. I have found baking soda in a different kind of package instead of the cardboard box. I was not happy with how hard it was to close the container…it just seemed open all the time. This hard plastic container is much easier to scoop out of and closes easily.
Storing ingredients in my freezer sounds easy, but I’ve had to rearrange the freezer some. Bags of things don’t stack very well. I need to invest in some kind of organizers (maybe plastic shoe box-size containers) so slippery lumpy bags of stuff don’t slide off the shelf!