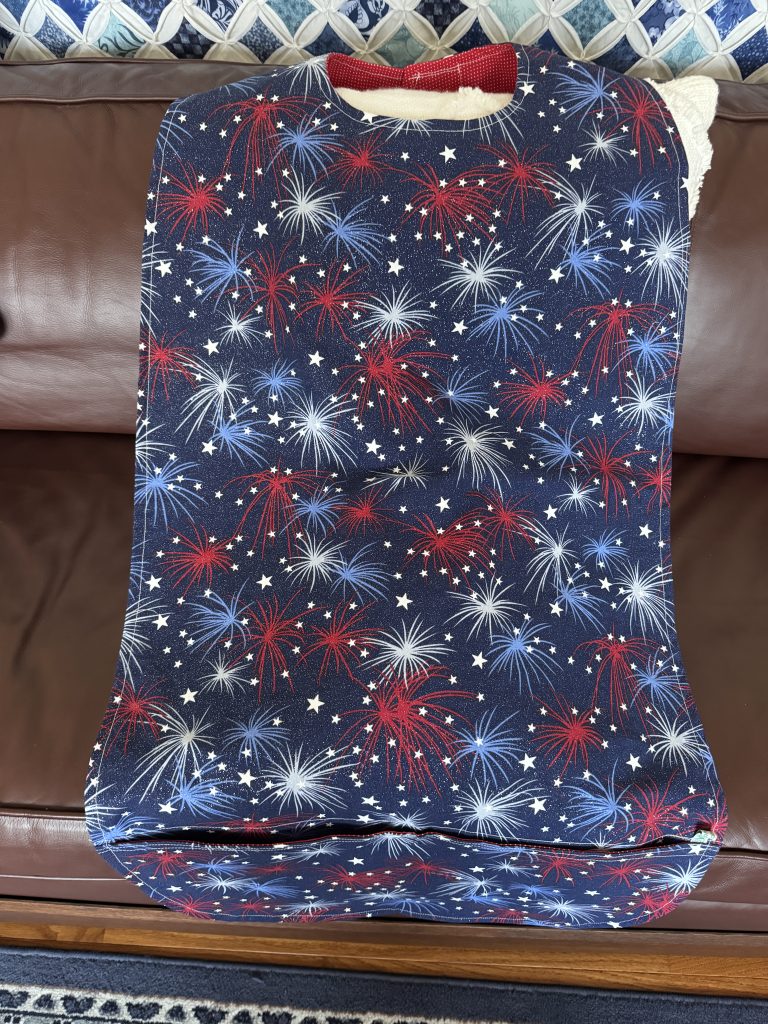
My latest sewing project involved making another adult bib for a friend. My pattern makes an especially LONG bib with a pocket at the bottom to collect crumbs while a person is sitting. Usually, I don’t try to make two of the same fabric, but this time I decided to see if I could squeeze two side-by-side on the fabric.
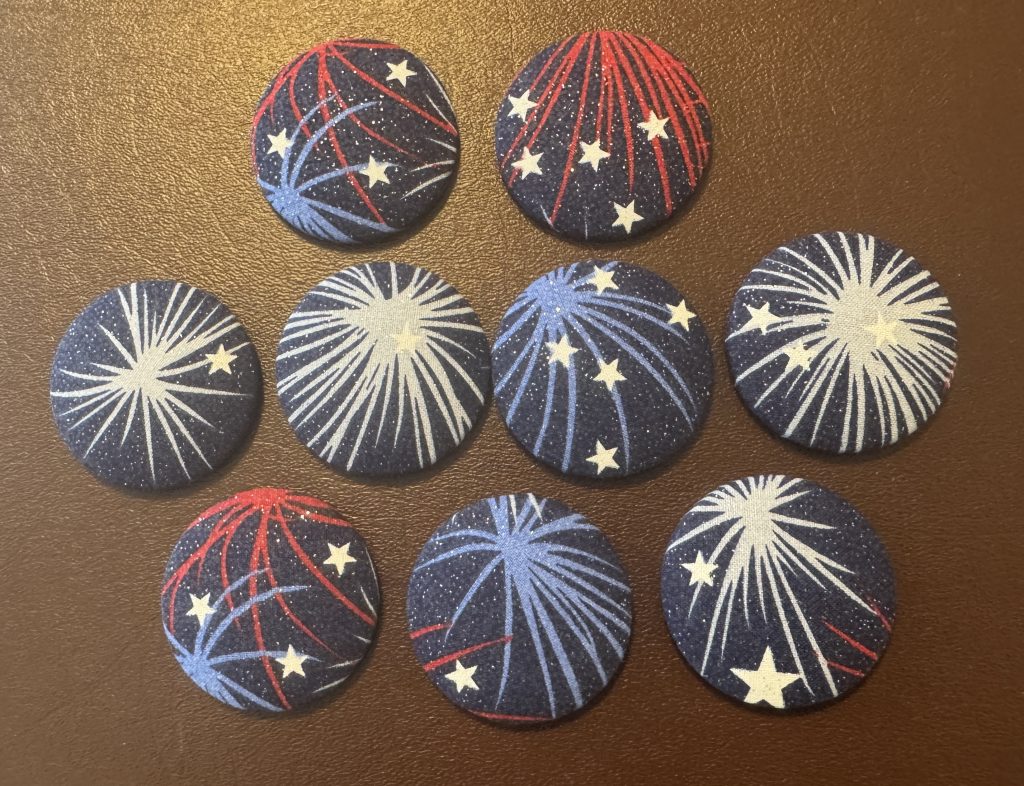
I bought two yards of fireworks fabric and two yards of plain red with tiny dots for the lining. After washing the fabric, I ironed it so I had a crease down the middle. Then I opened it up and folded the selvage edges to the middle, giving me two long folded edges. I ended up having enough fabric left over to make four bowl cozies and 8 refrigerator magnets. This was a fun day!
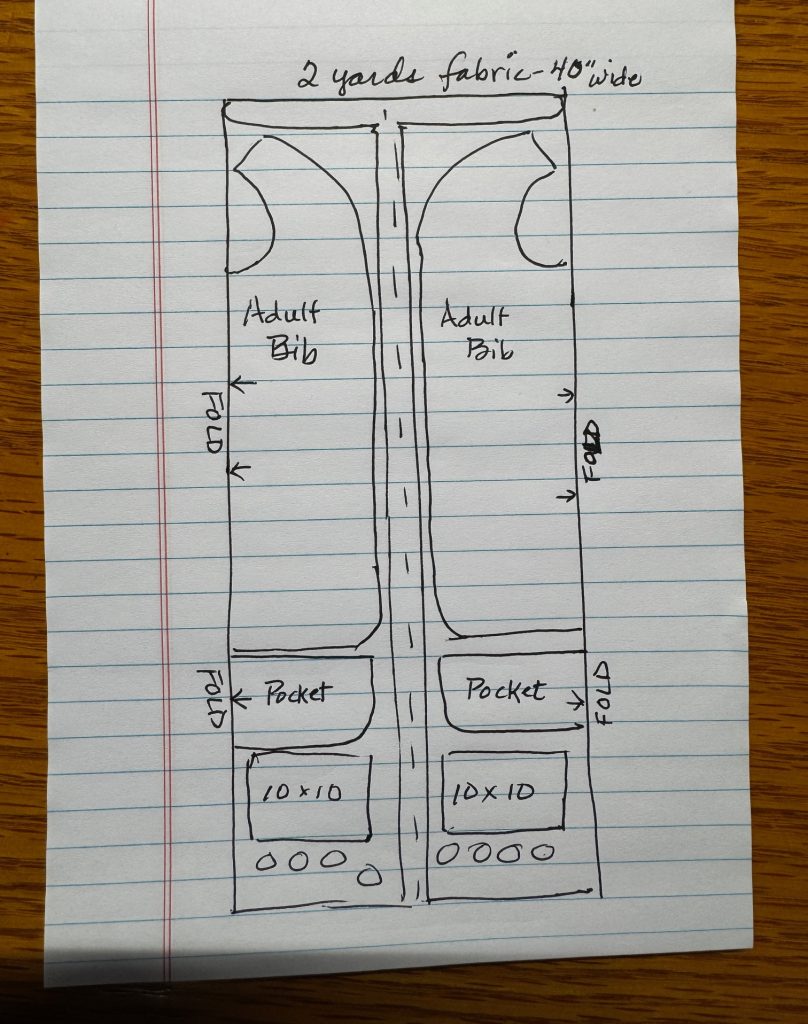
Here’s a sketch of how I laid out the pattern pieces:
I was pleased to be able to make two bibs that used up 1 1/2 yards of fabric and lining.
It appears I have not written a step-by-step set of instructions to make this long adult bib yet. If you’d like me to do that, please send me an email (maryjkisner@gmail.com) and I’ll put that together next.
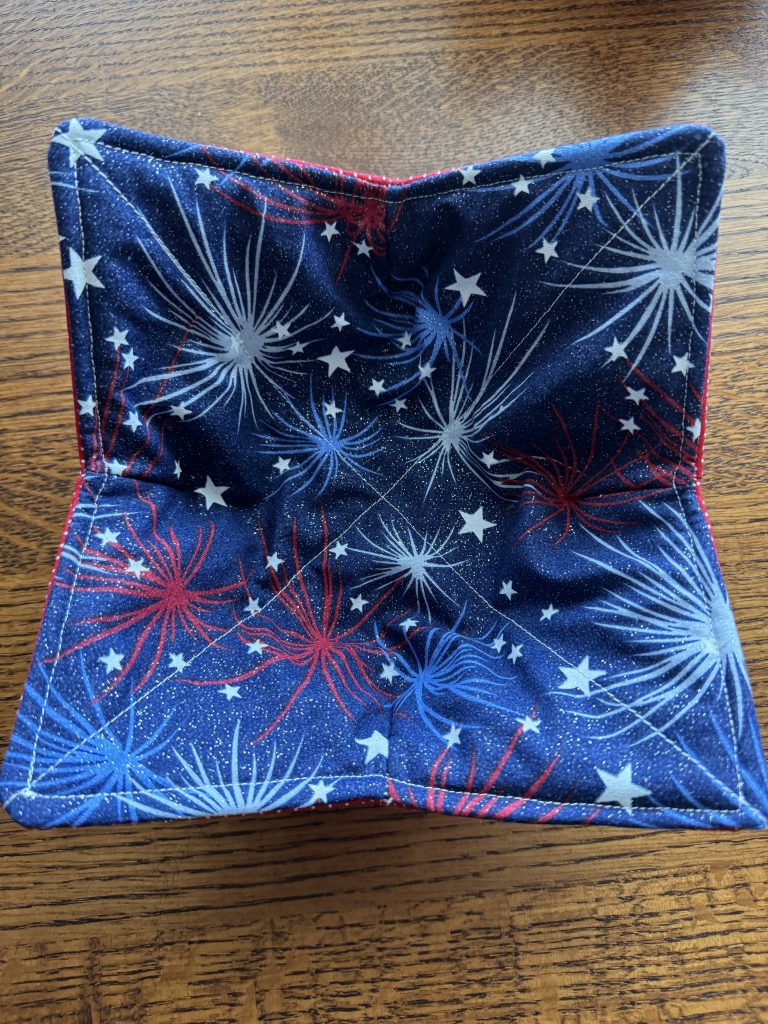
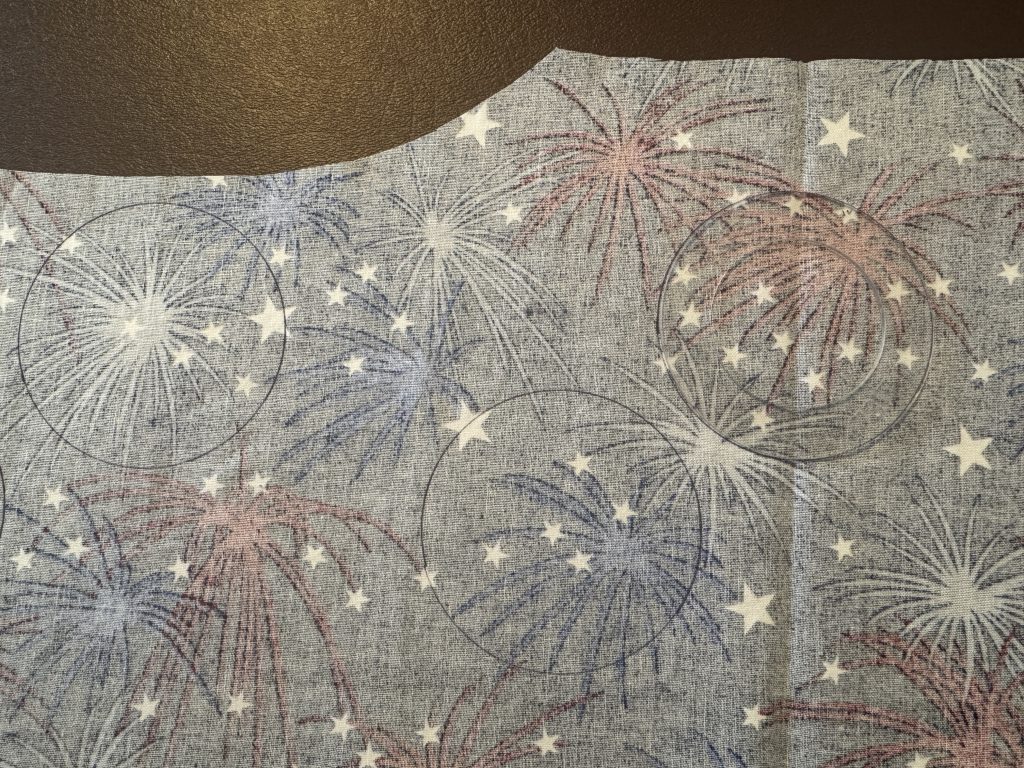
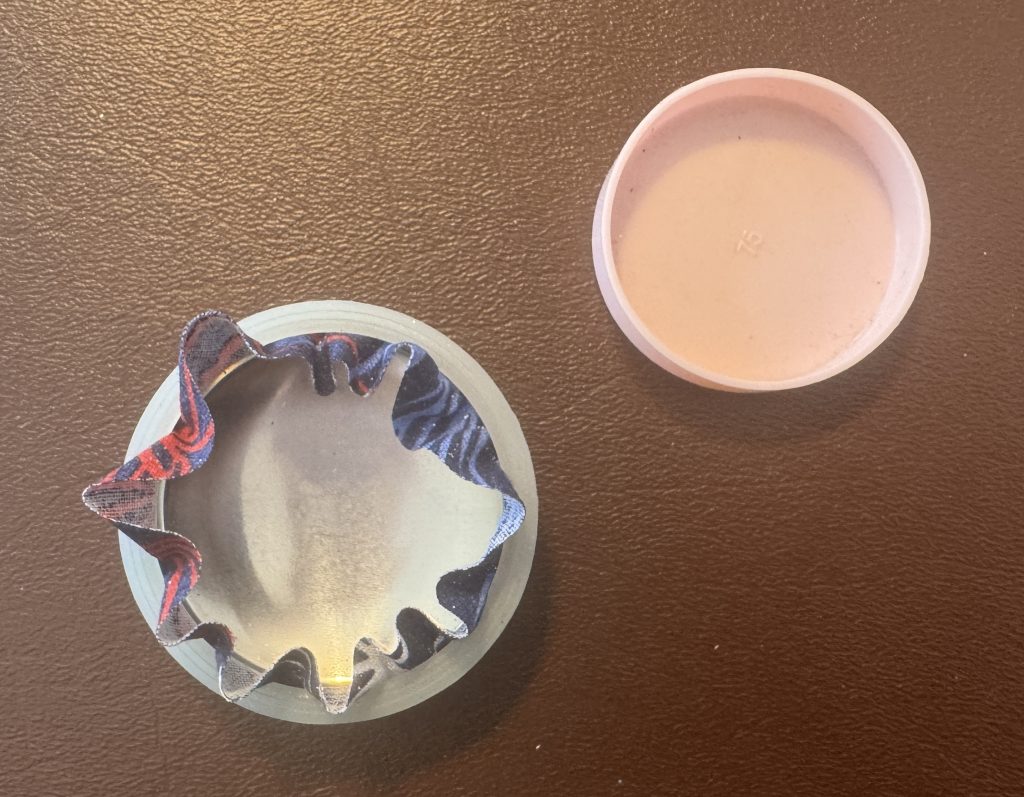
With the 1/2 yard (18 inches) of fabric I had left after cutting out the bibs, I decided to cut out four 10 x 10″ squares out of both fabrics to make bowl cozies. You can read about making these bowl cozies at https://marykisner.com/making-three-sizes-of-hot-pad-cozies/
February is a month for hope…that Spring will come eventually! It stays light until about 5:30 p.m. and right now, in Pennsylvania, it is a cold 16 degrees with flurries in the air. However, the sun is shining! We’ll take it
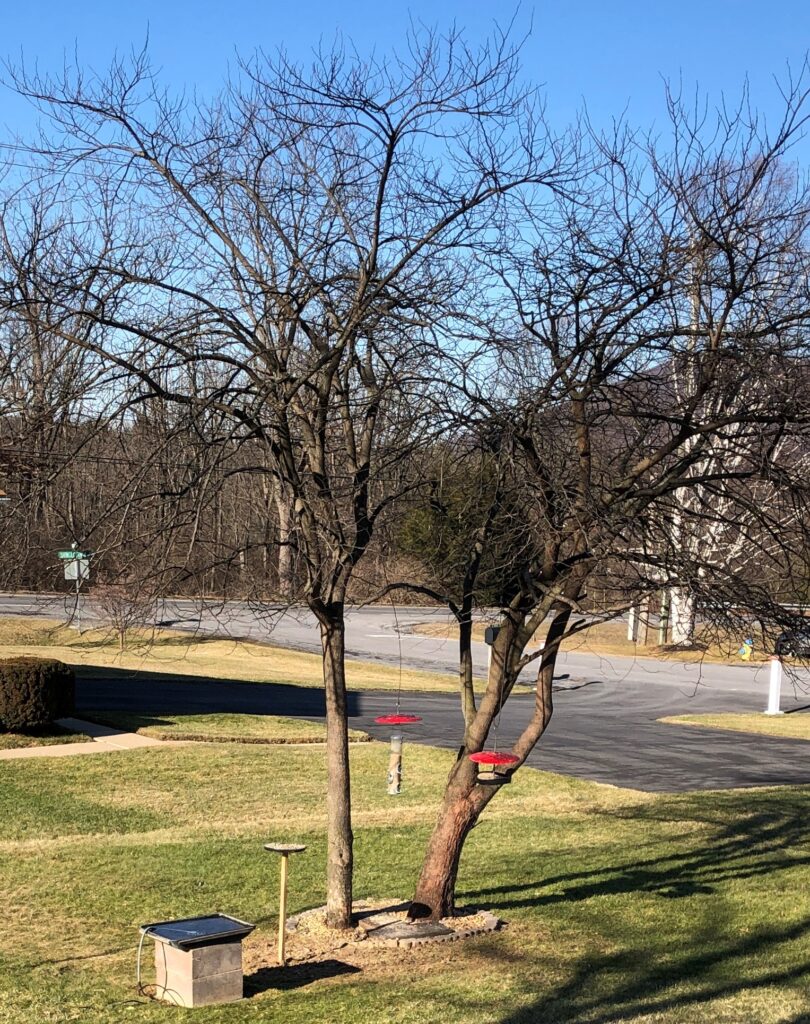
Around our yard and garden things are pretty brown, so it’s no wonder the red bird feeder is noticeable!
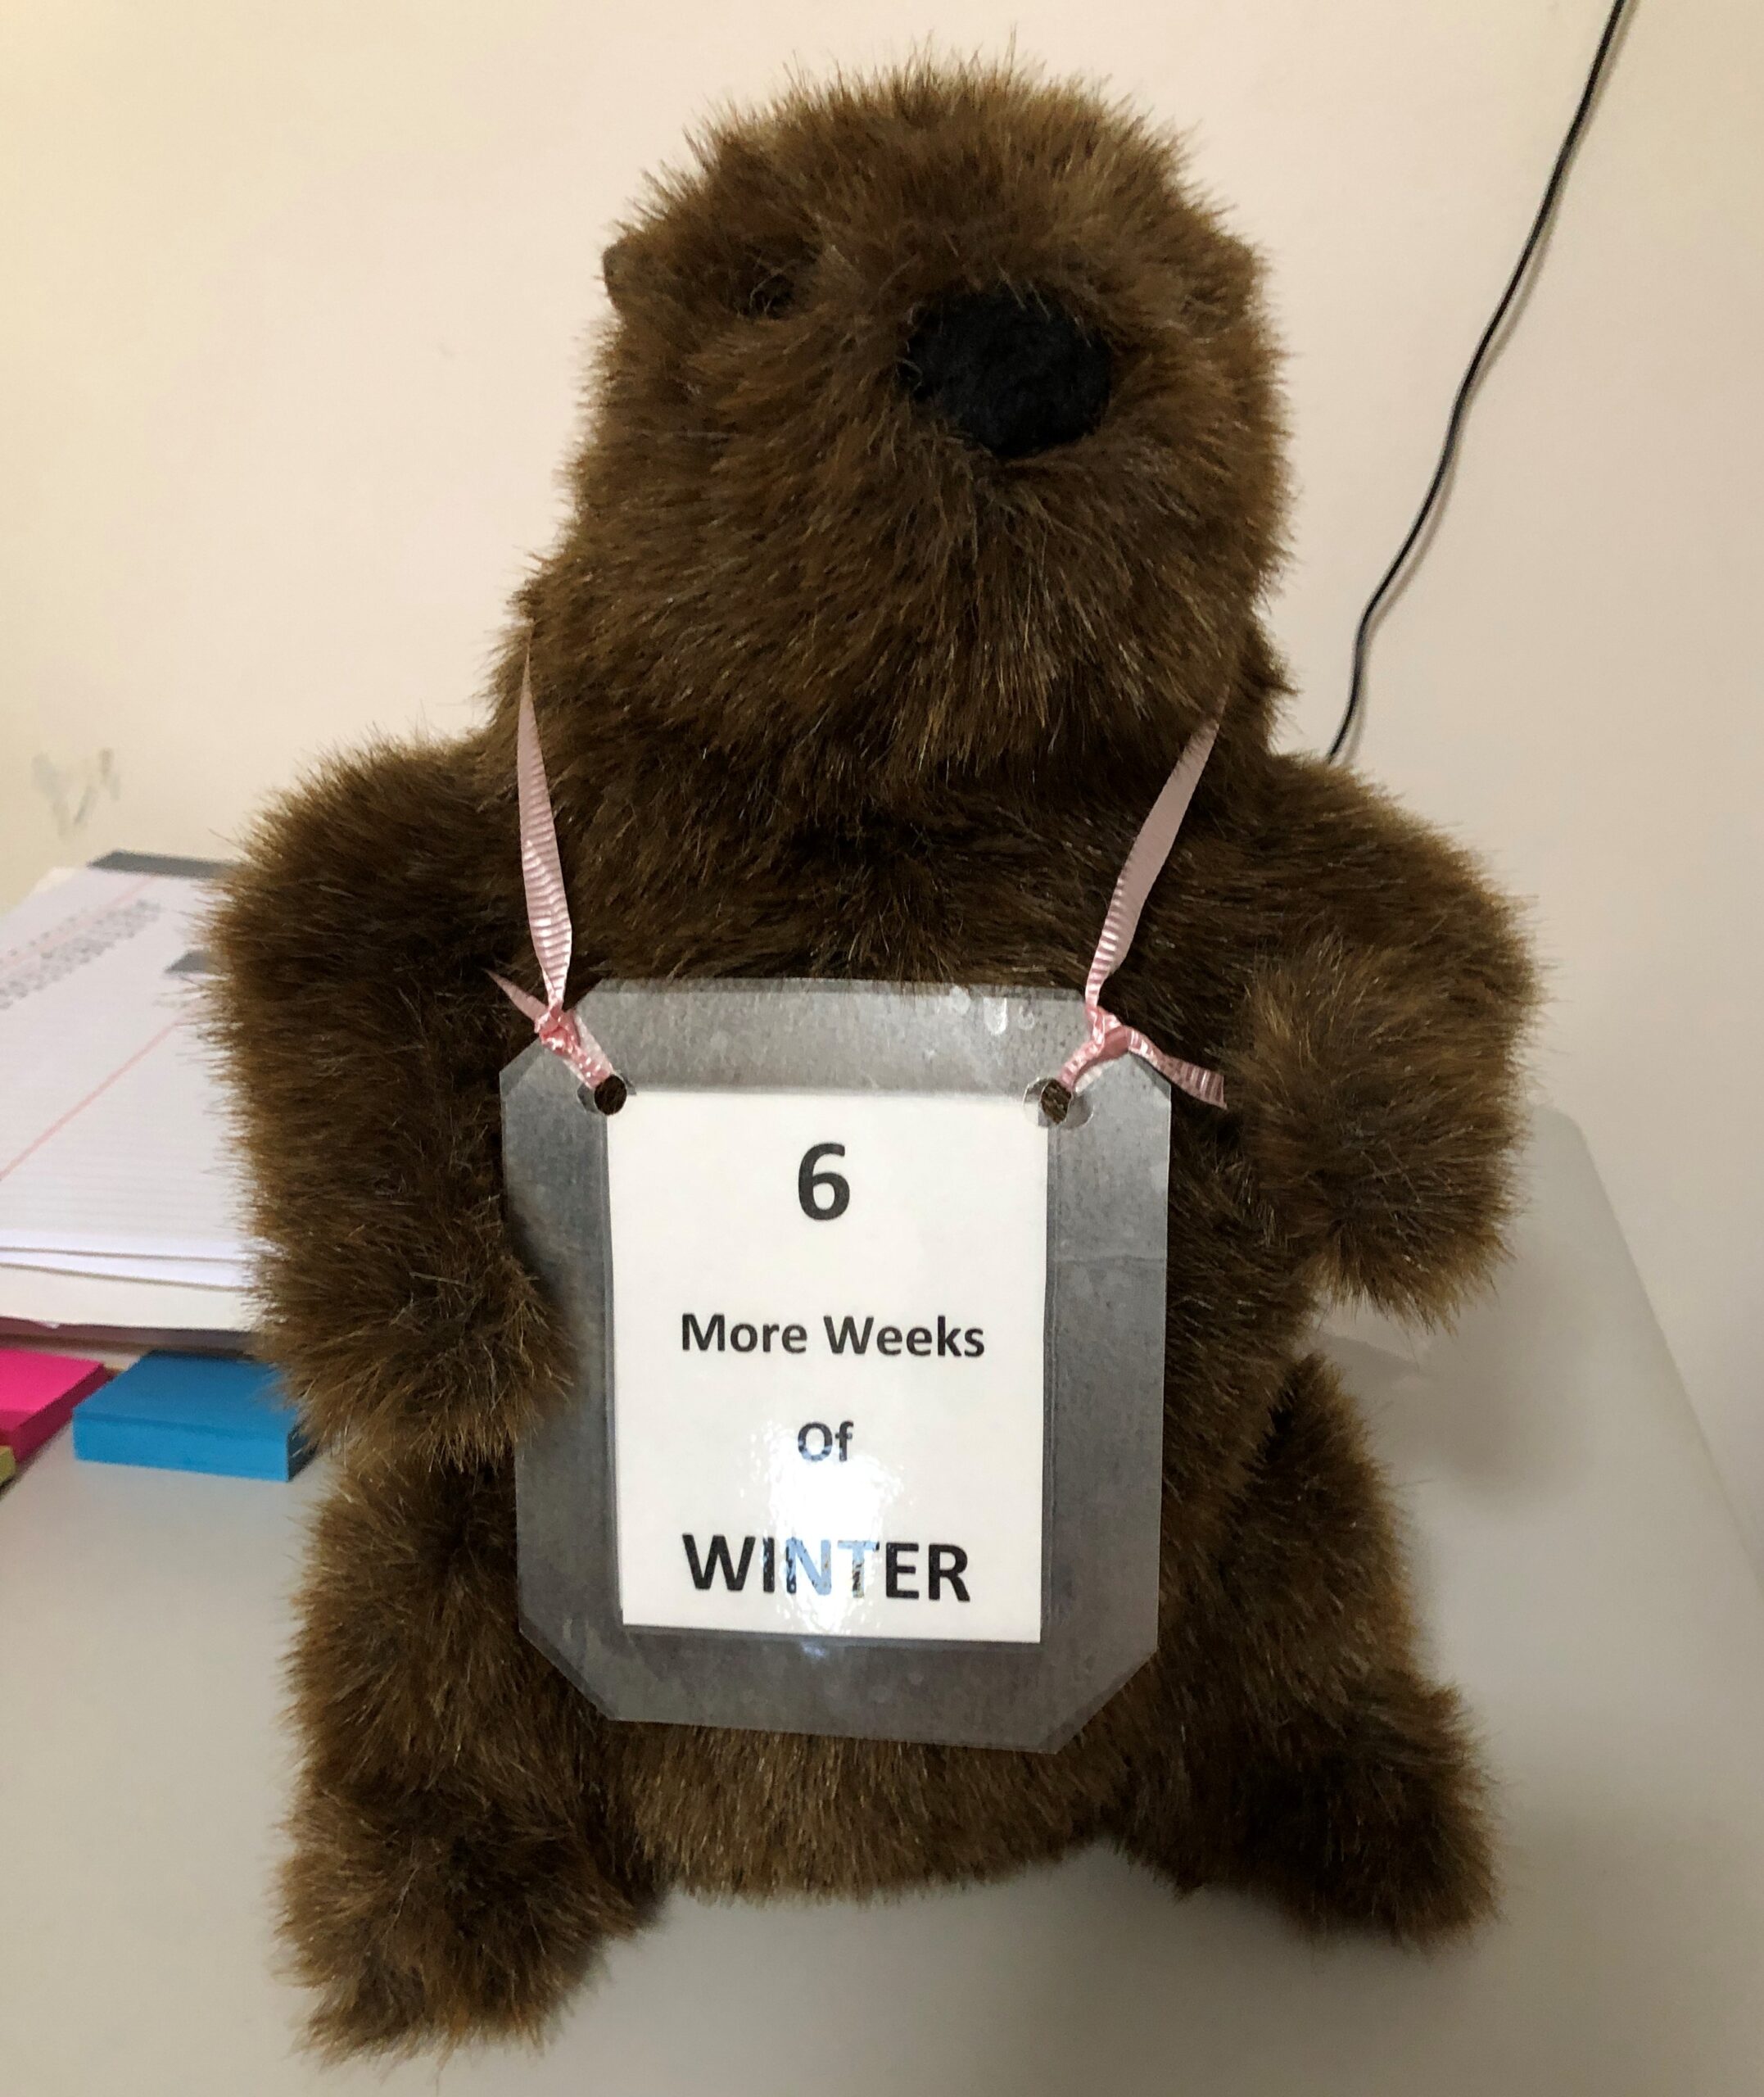
Yesterday, Punxsutawney Phil predicted 6 more weeks of winter (of course). It was 13 degrees outside his burrow and his handlers had to work to get him to even come out! Bert has a stuffed groundhog that appears each year to remind us about the rest of the winter. This guy provides a lot of chuckles when Bert takes him along to have a few beers.
Of course, the American Heart Association reminds us to get our hearts checked out this month!
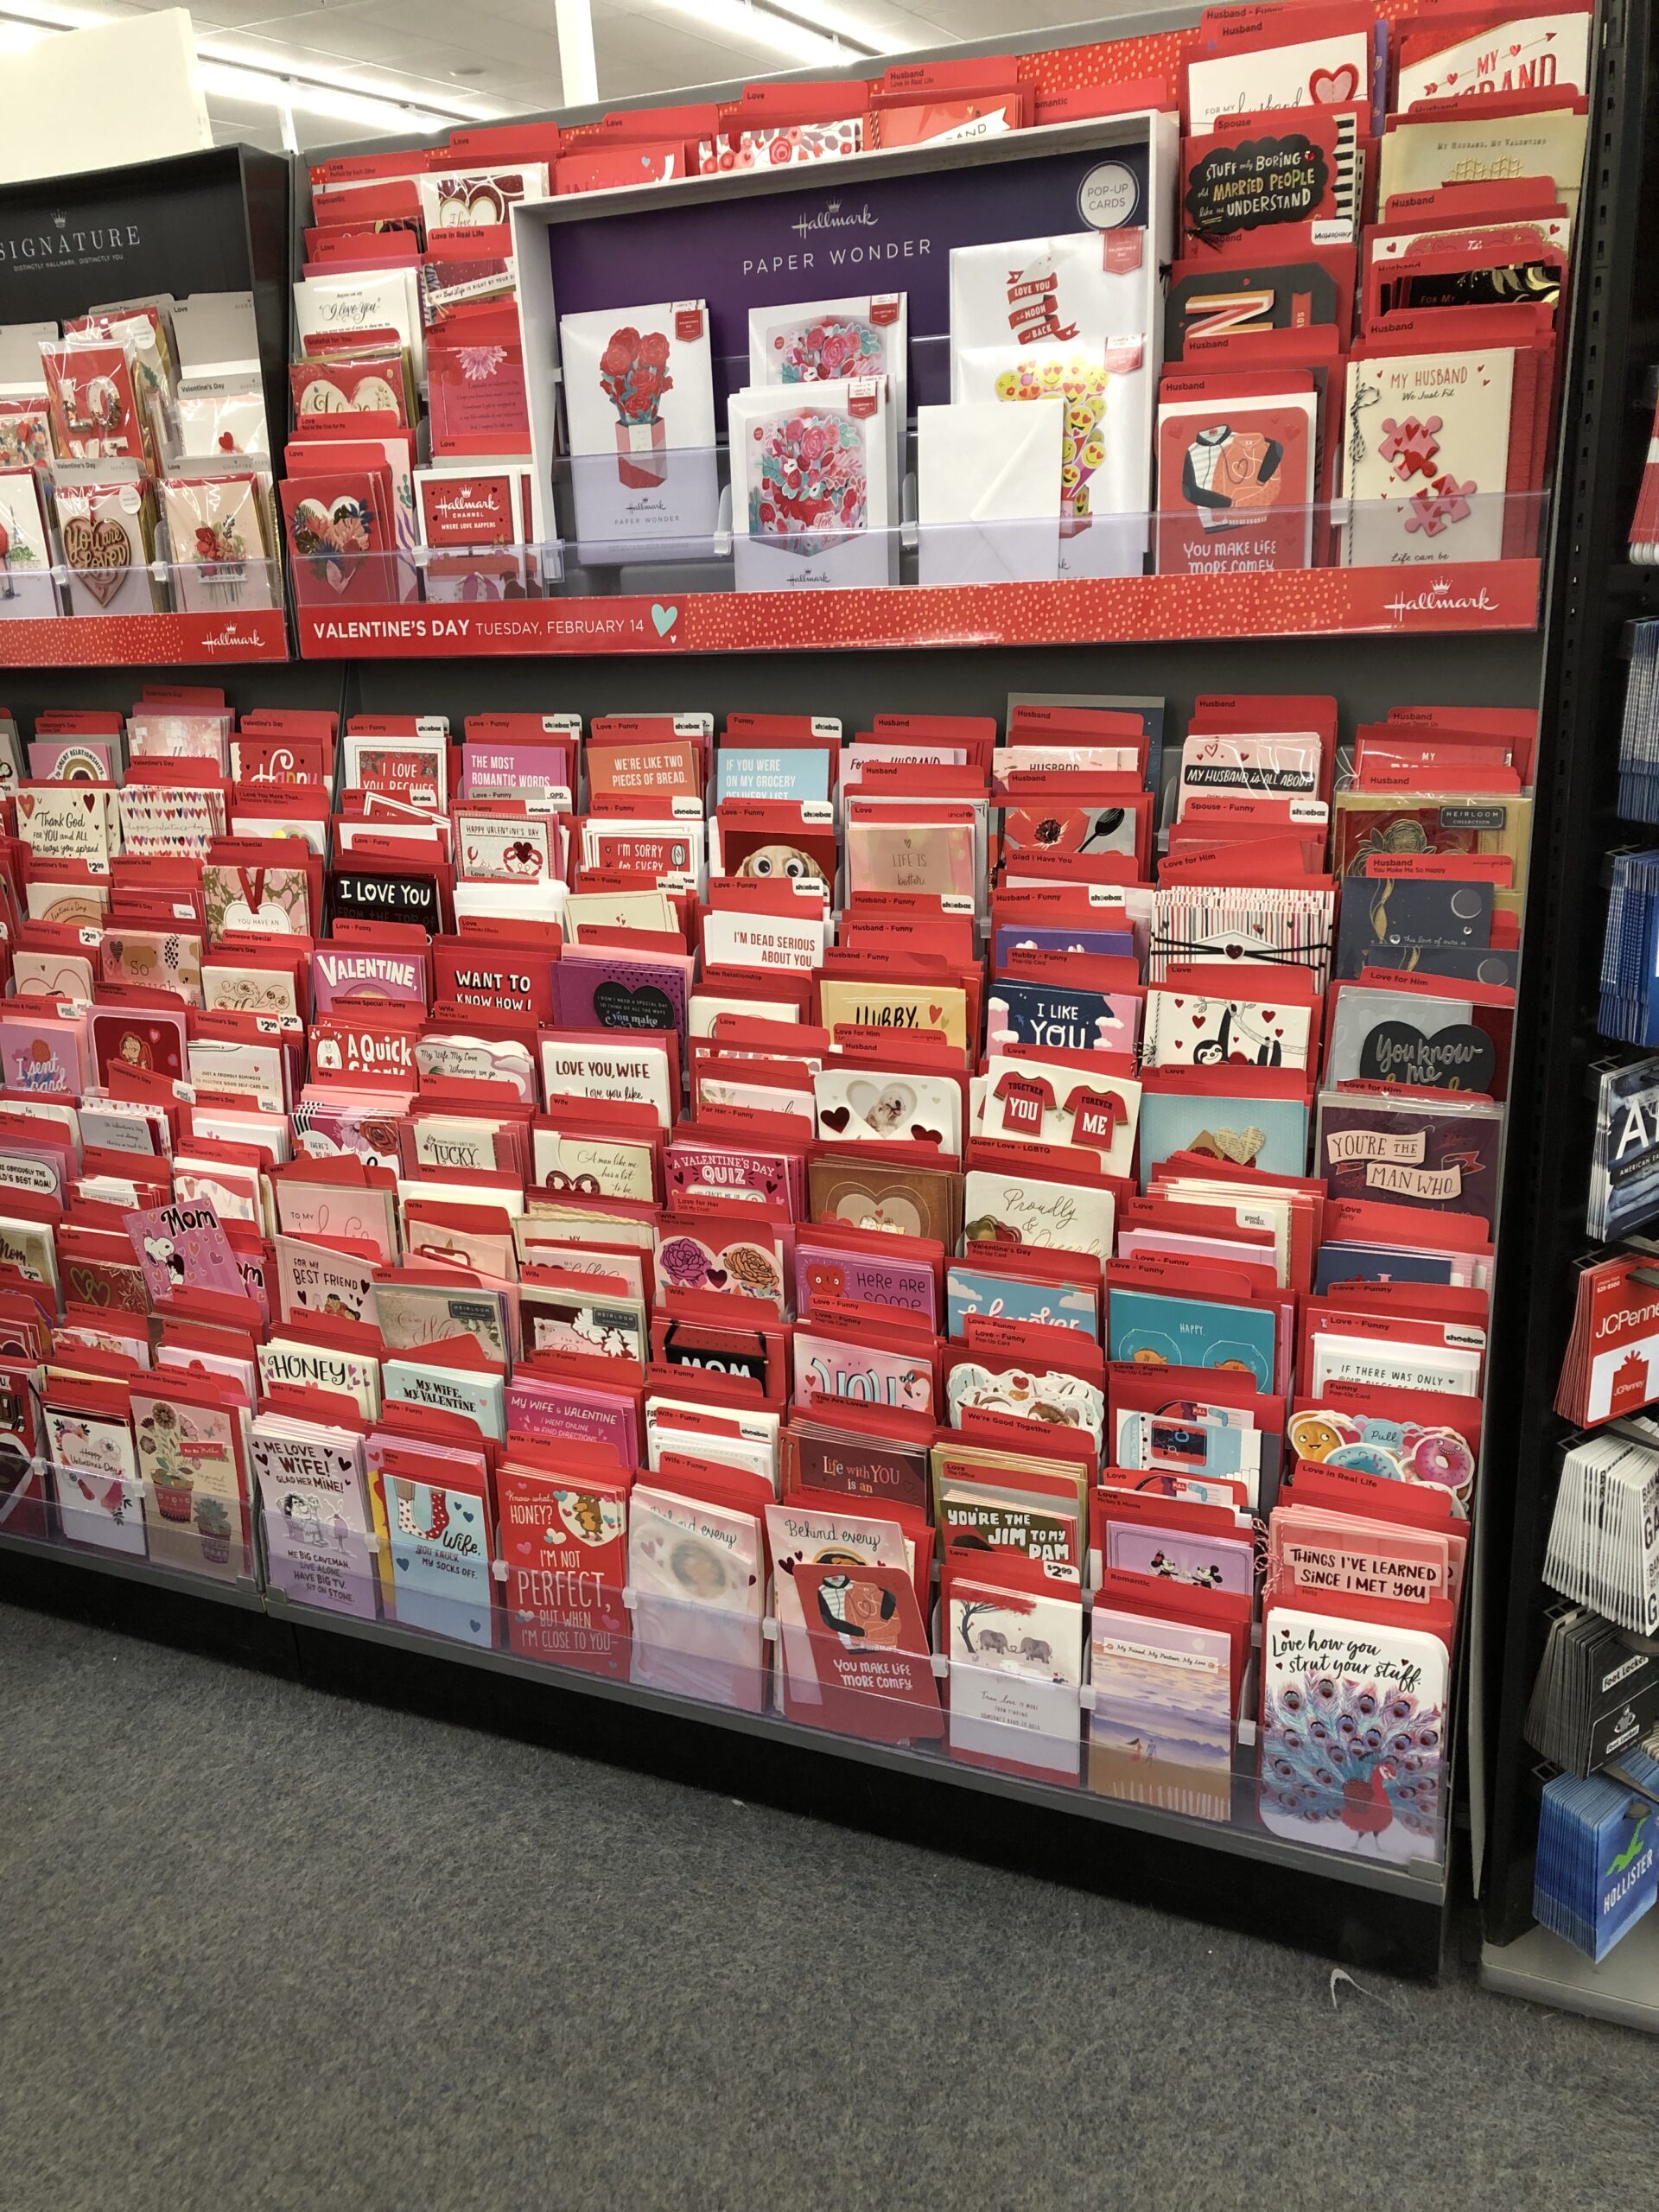
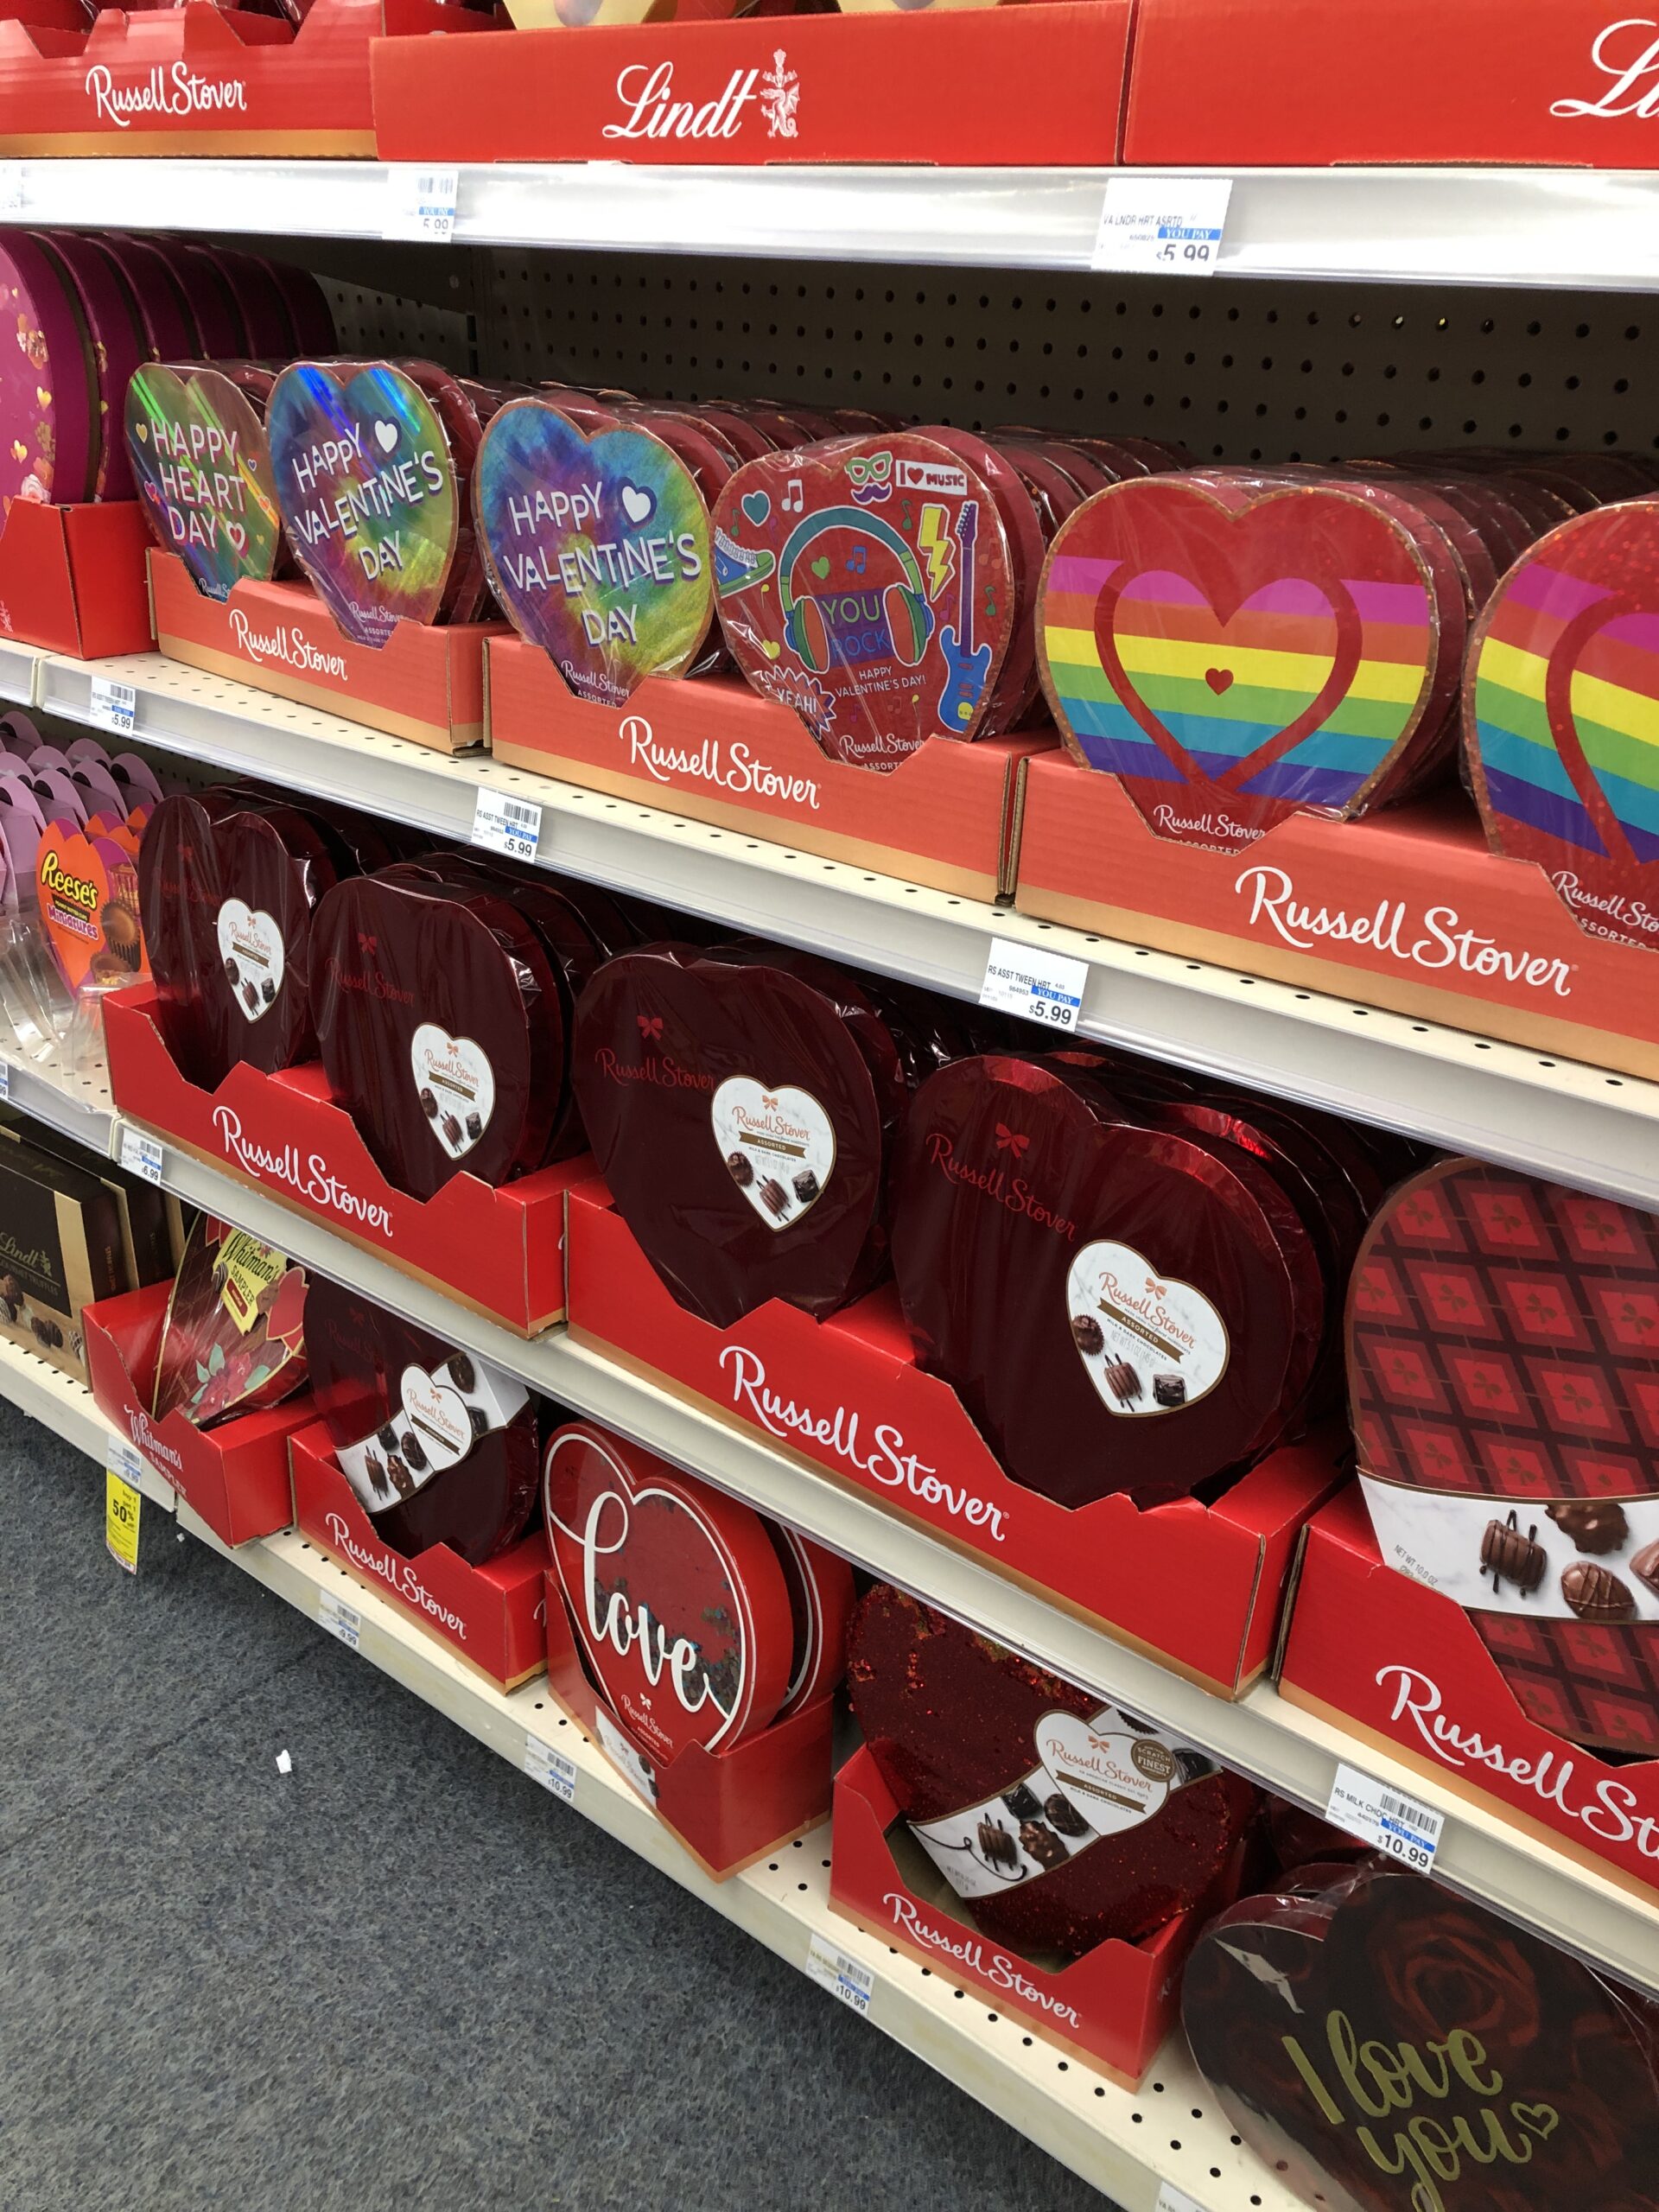
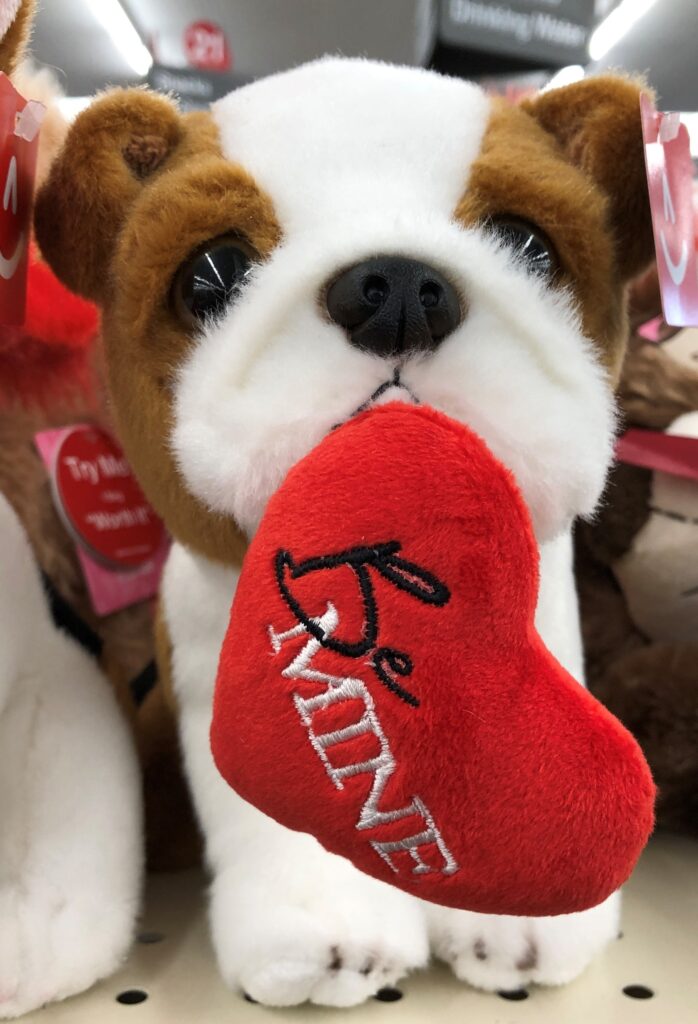
The stores certainly cooperate by giving us many options to celebrate the month of February!
Cards!Candy!Toys!
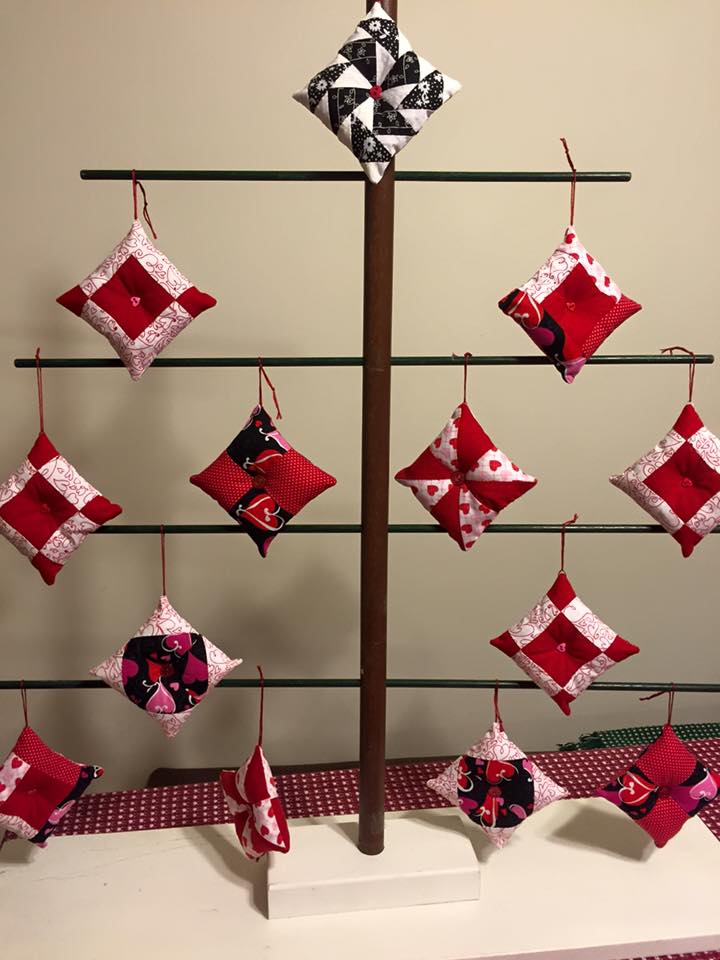
And around my house, I can add a little red with my Valentine tree:
This year I wanted to give a small gift to my group of High School friends who have been so supportive over the last several months with my health issues. I’ve already shared heart-shaped soaps so I wanted something different.
I came across my collection of fabric-covered button magnets and found I had quite a few that were made with red recycled necktie material. I decided to make a few more so the group had more choices.
I pulled out a red necktie from my stash of neckties to recycle, cut out a few circles, assembled the buttons and glued on a magnet. Now I have enough to share “red” magnets at our next luncheon!
I hope you have some cheerful color around you while you enjoy the last 6 weeks of winter!
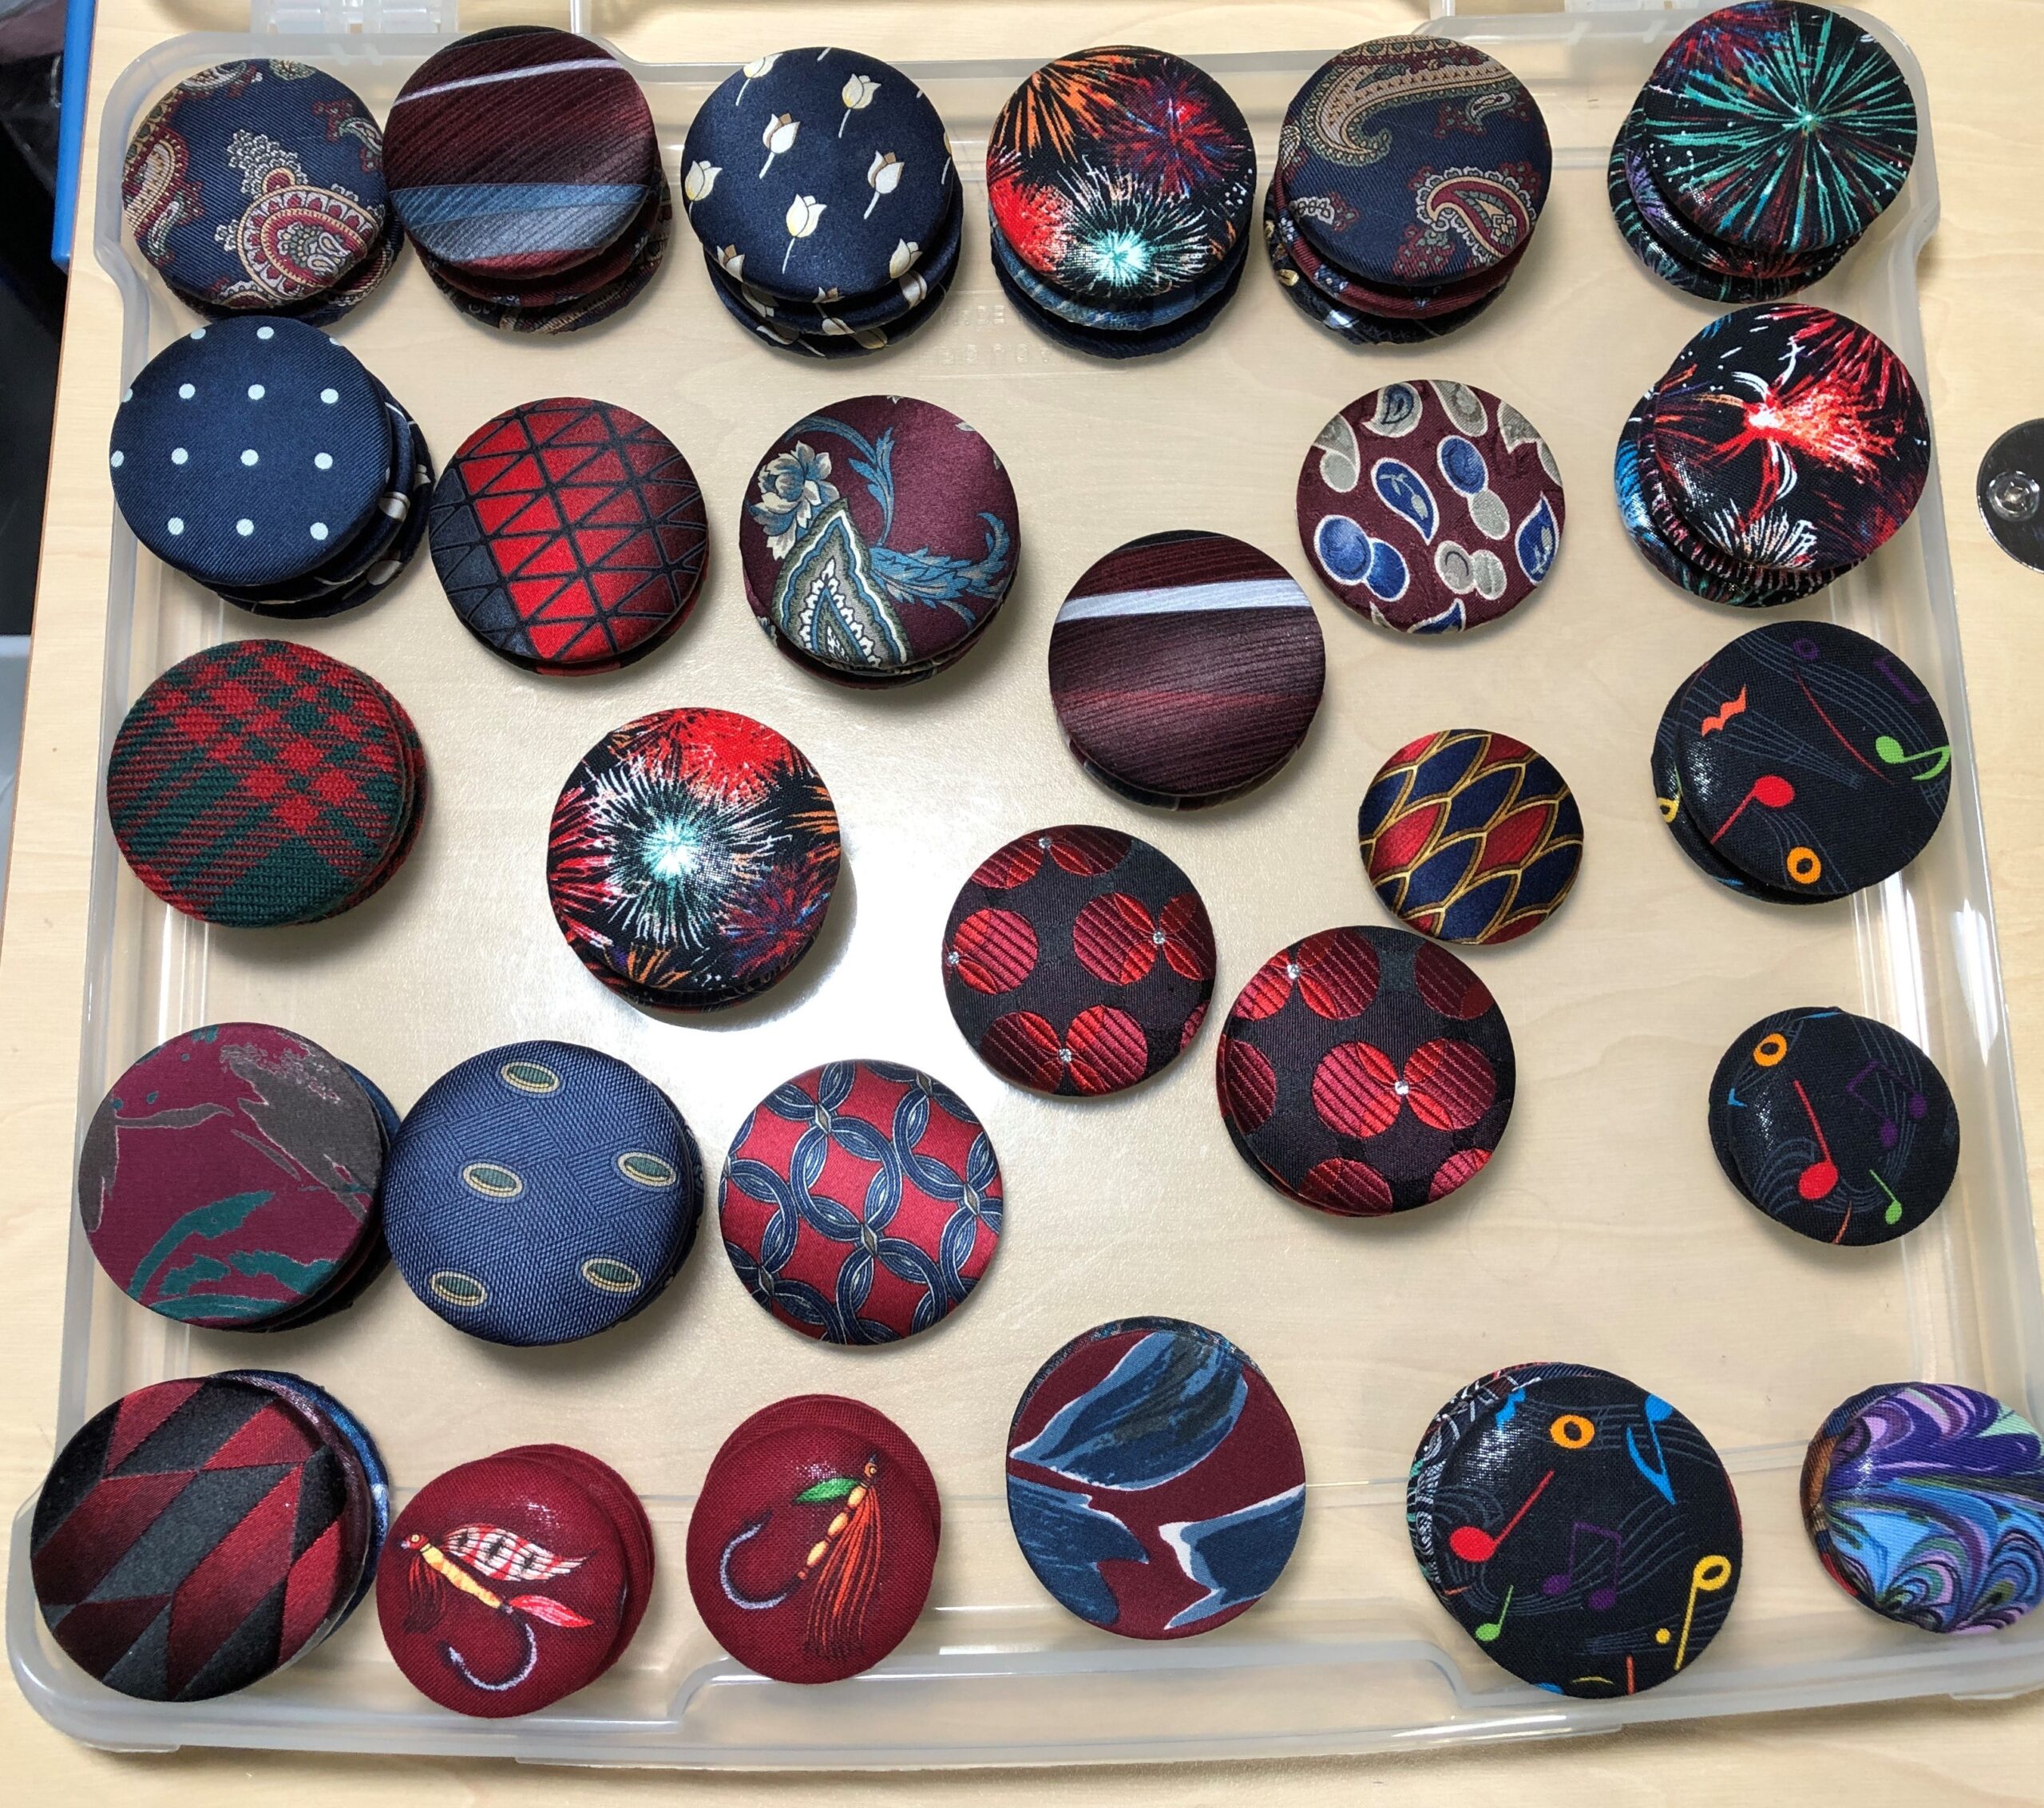
Several years ago, I discovered the fun of making covered button magnets. The fun was in the making! Transforming a piece of fabric into a neat useful item appealed to me. I ended up making hundreds of them! Yikes! I put them on my refrigerator and file cabinet. I sold them at yard sales and flea markets. I gave them away to anyone that looked interested. With every memory bear, necktie pillow and necktie wine bag I made, I also made a few magnets to match!
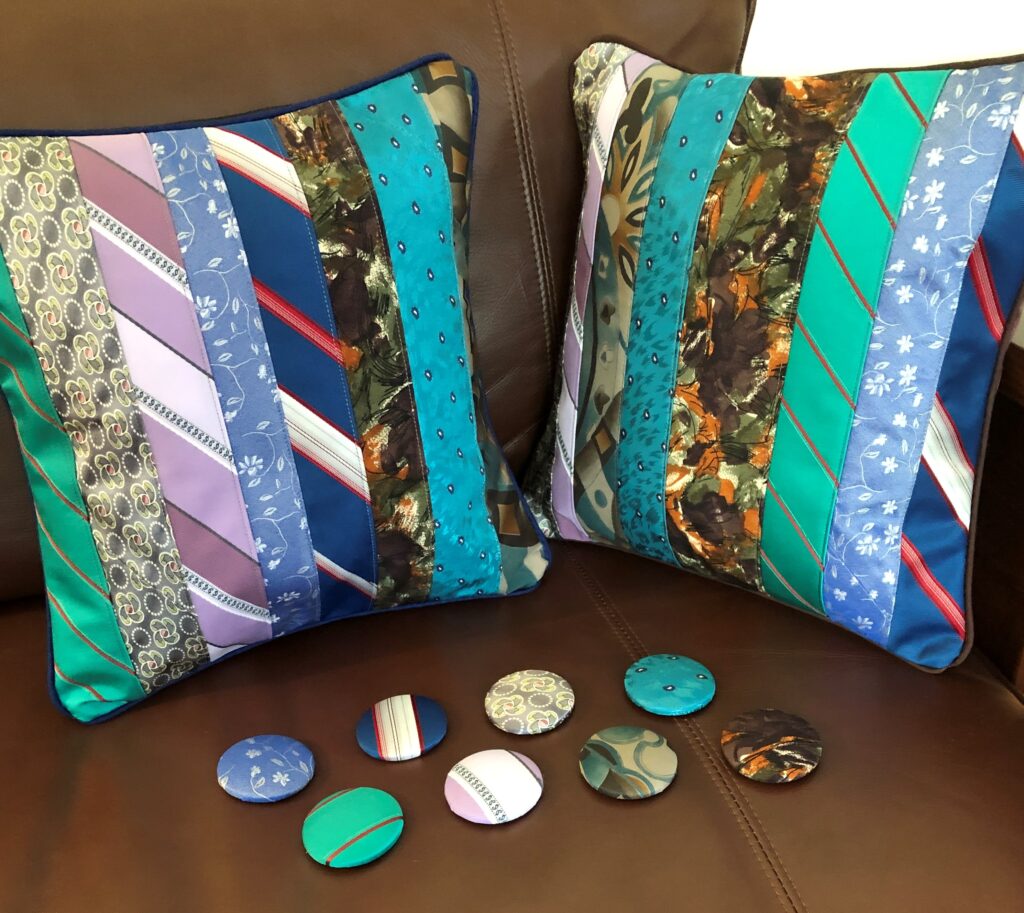
Magnets to match the memory necktie pillows!
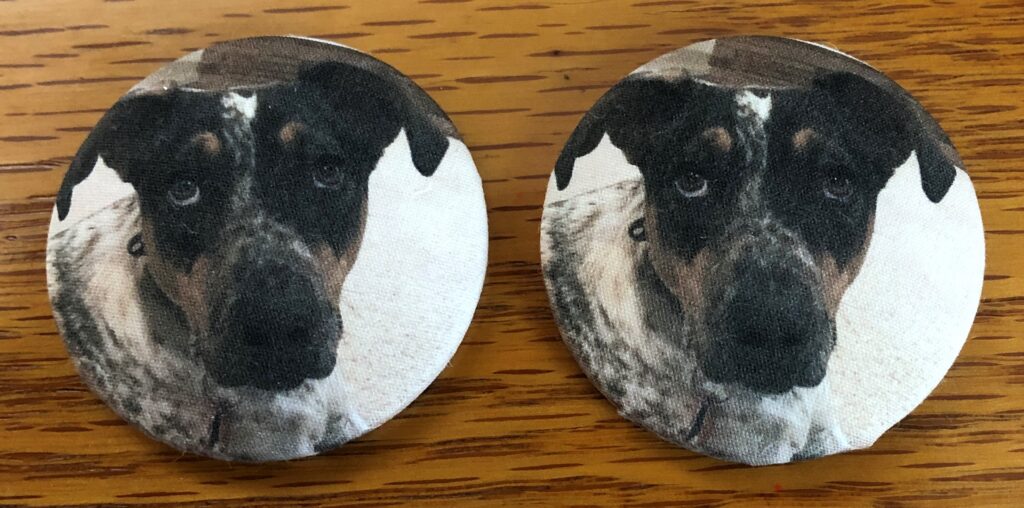
I even took photographs of favorite pets and printed them on fabric…and made them into magnets.
Who me? Am I in trouble? But I’m so cute!Daisy looks so innocent!
Needless to say, I still have many magnets left to do something with, mostly because I keep making them! Did I tell you they are fun to make? At the end of this post are detailed instructions if you’d like to try this yourself!
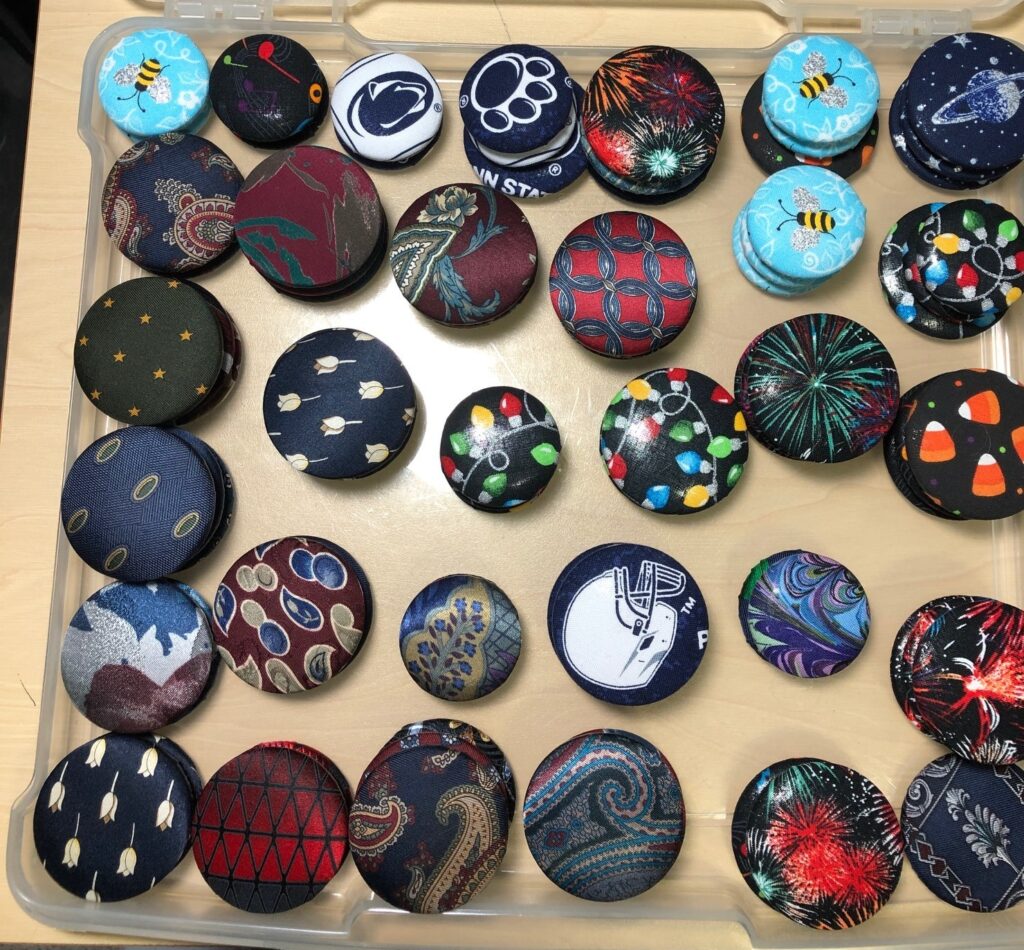
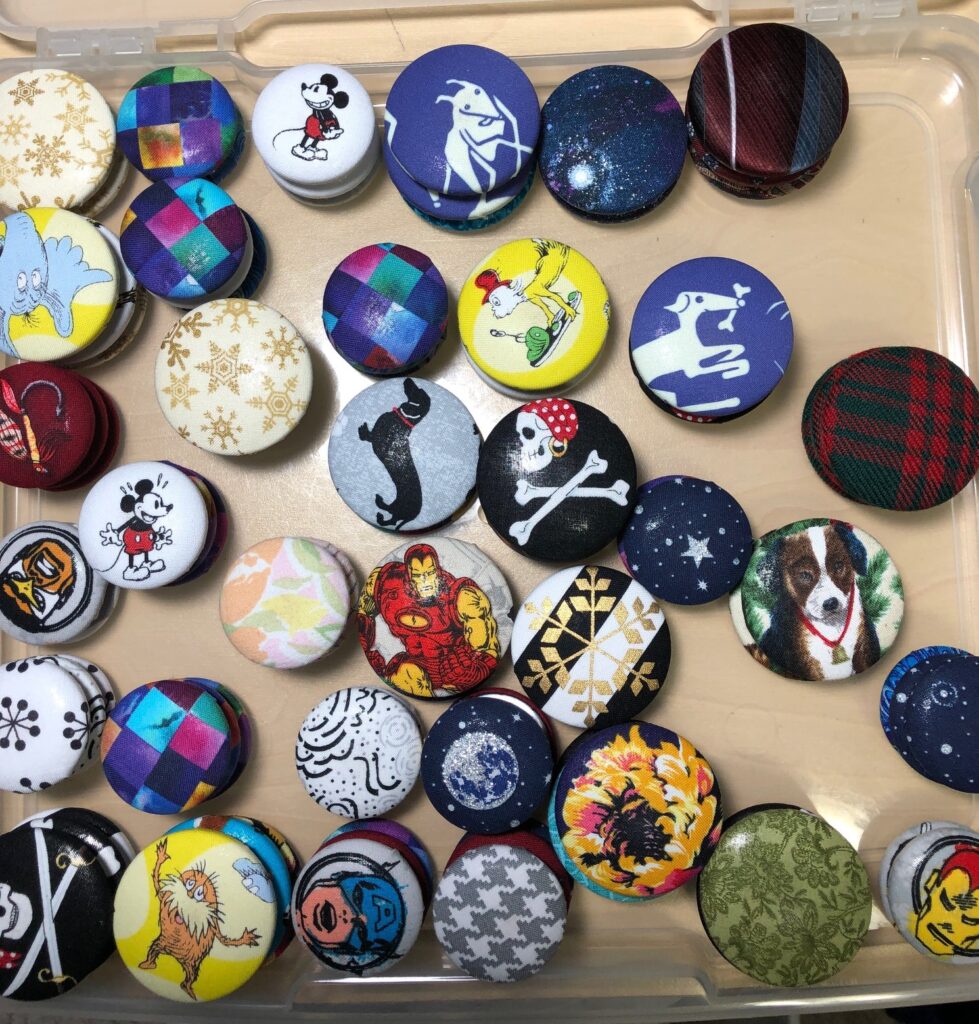
I came across my left-over pile of magnets yesterday and decided I needed to try to find a way to incorporate magnets into other projects.
Many of these are from leftover necktie material.Finding fabric with small individual prints of characters make these magnets unique!
TIC-TAC-TOE Game
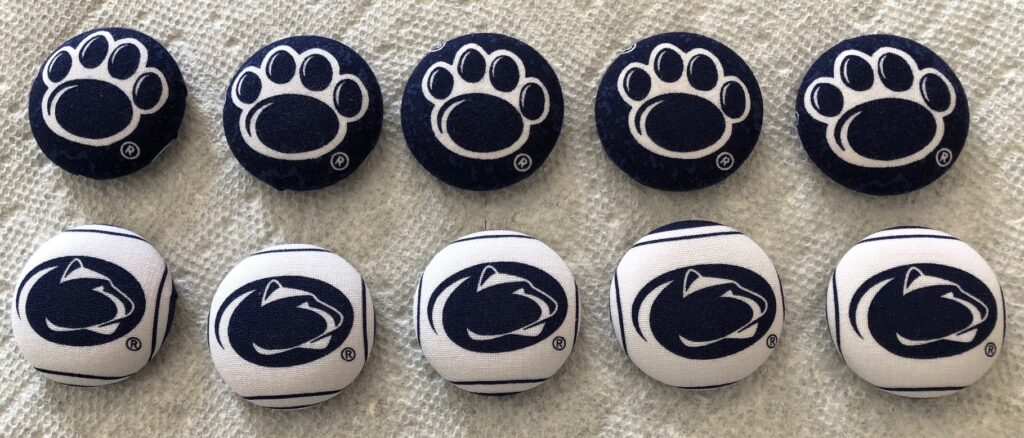
I started with the idea that magnetic game pieces might be useful for kids when traveling in the car (hopefully soon that will be possible!). In the pile of magnets I found enough Penn State magnets in two colors that could make a simple tic-tac-toe game.
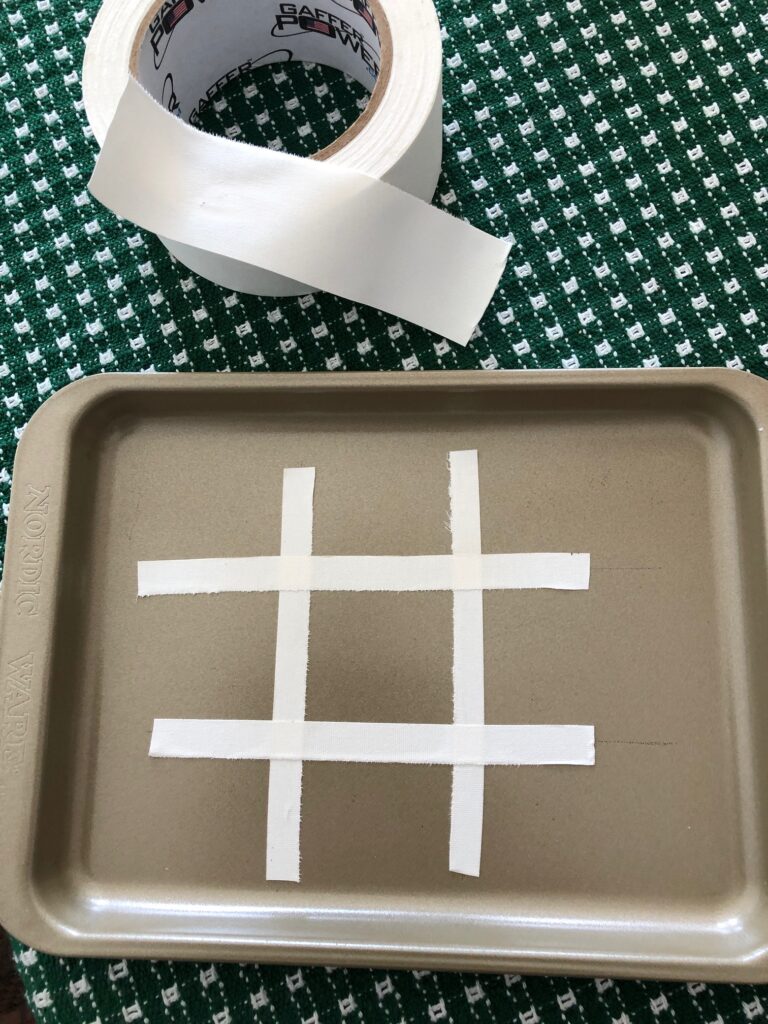
Then, in the cupboard I found an unused toaster oven baking sheet. Bert located some tape for me. It was so sticky I couldn’t cut it with scissors; however, I found I could make a snip on the end and rip the tape in strips. Not very professional looking, but it worked for me!
Who knew tape could rip like this?
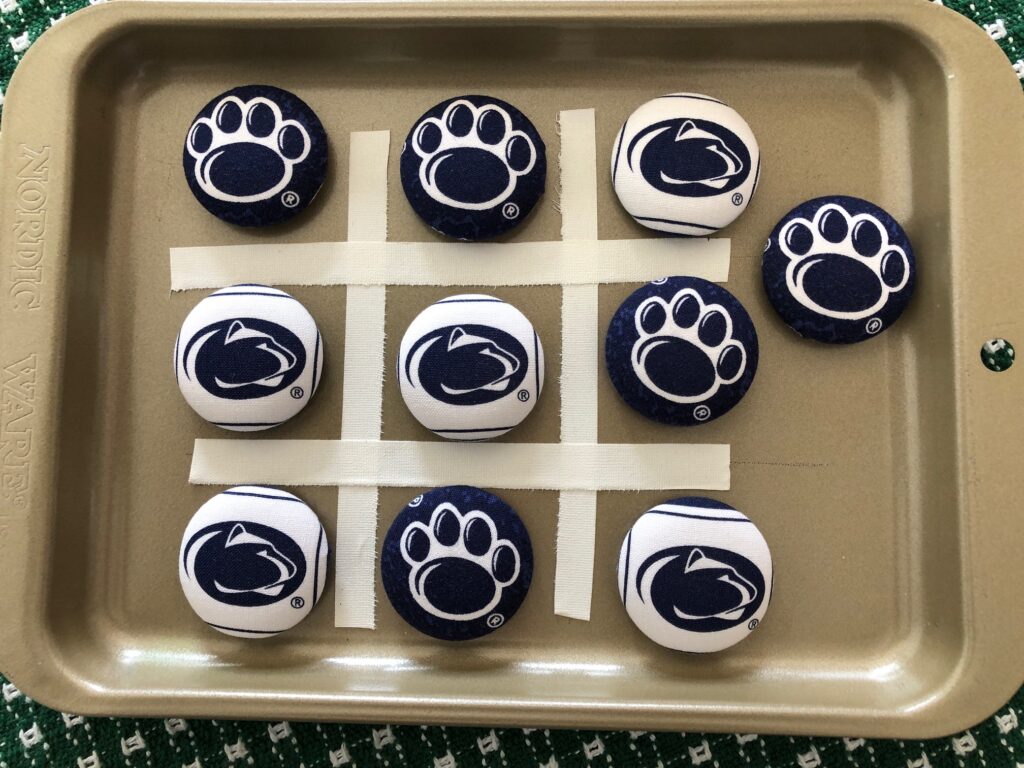
And now I’ve made a travel tic-tac-toe game!
Tic-Tac-Toe anyone?
Sewing Case
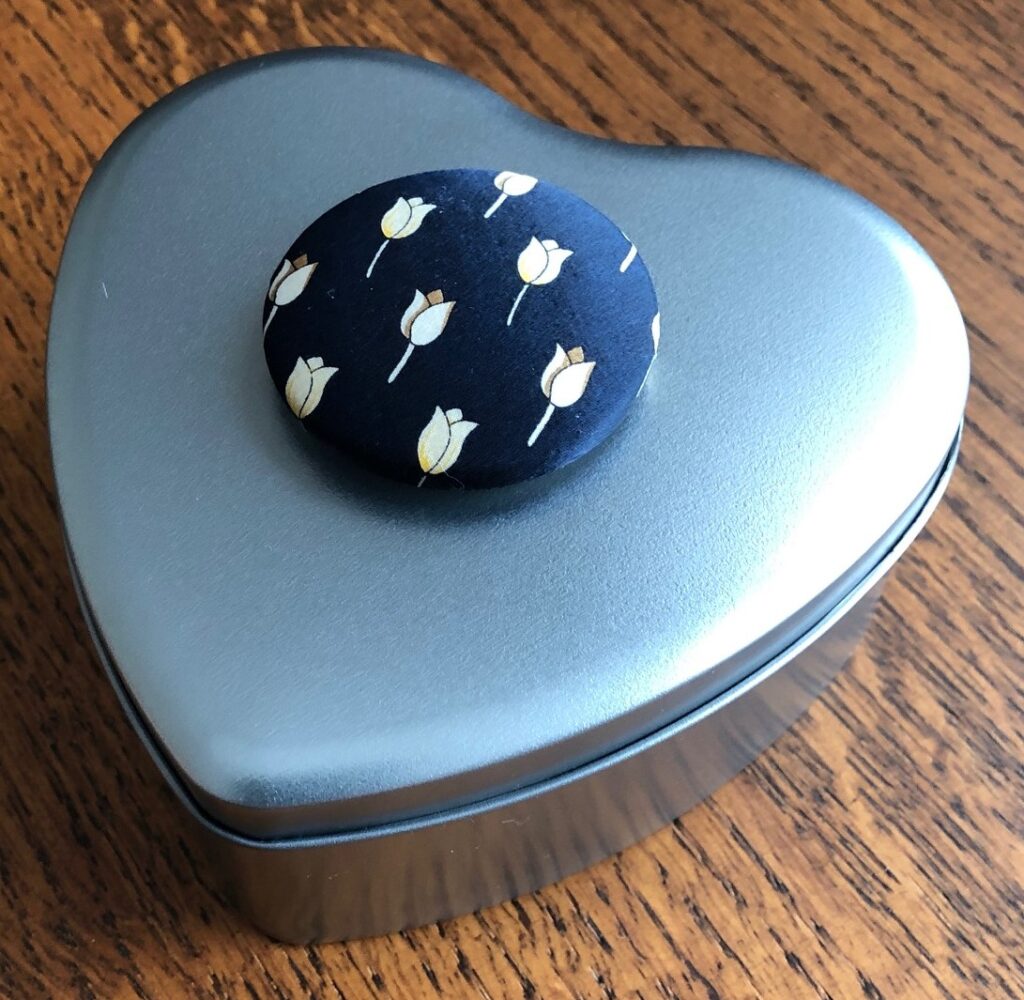
Next, I had seen some fellow quilters with small metal boxes that had a magnet in the lid. That provided a place to secure the needle when handling fabric pieces. I had a few heart-shaped metal boxes that could work. Of course, one magnet could decorate the top! This one was made from a very classy silk necktie.
This heart-shaped box is about 4″ long, 4″ wide and 2″ deep.
Then I put two plain magnets inside the lid (no glue needed). Now I had a place to rest my threaded needle and extra pins. This looks so much better next to my chair in the living room where I do hand sewing.
A safe place for my pins and needle!
Now to find more ways to use these magnets! If you have any suggestions, please let me know! Send me suggestions at marykisner@comcast.net. If you see me at the next yard sale at the Boalsburg Fire Hall (and I know ahead of time) I’ll even hand you a few magnets for free!
NOTE: Do not place magnets on your computer or other electronic devices; Do not place magnets near your credit cards. Important data may disappear!
If you’d like to see how to make covered button magnets yourself, here are the general instructions:
How to Make a Covered Button Magnet
Supplies you will need:
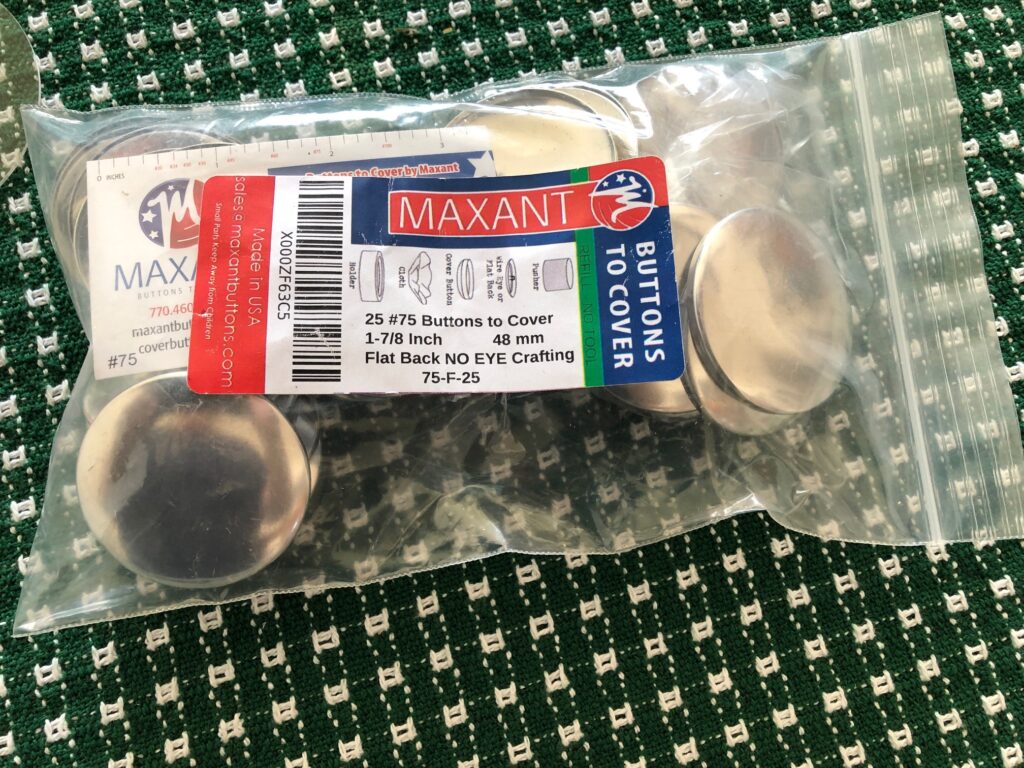
Buttons to cover. On Amazon this is how they are listed: 25 Buttons to Cover-Made in the USA-Cover Buttons with Flat Backs Size 75 (1 7/8″)
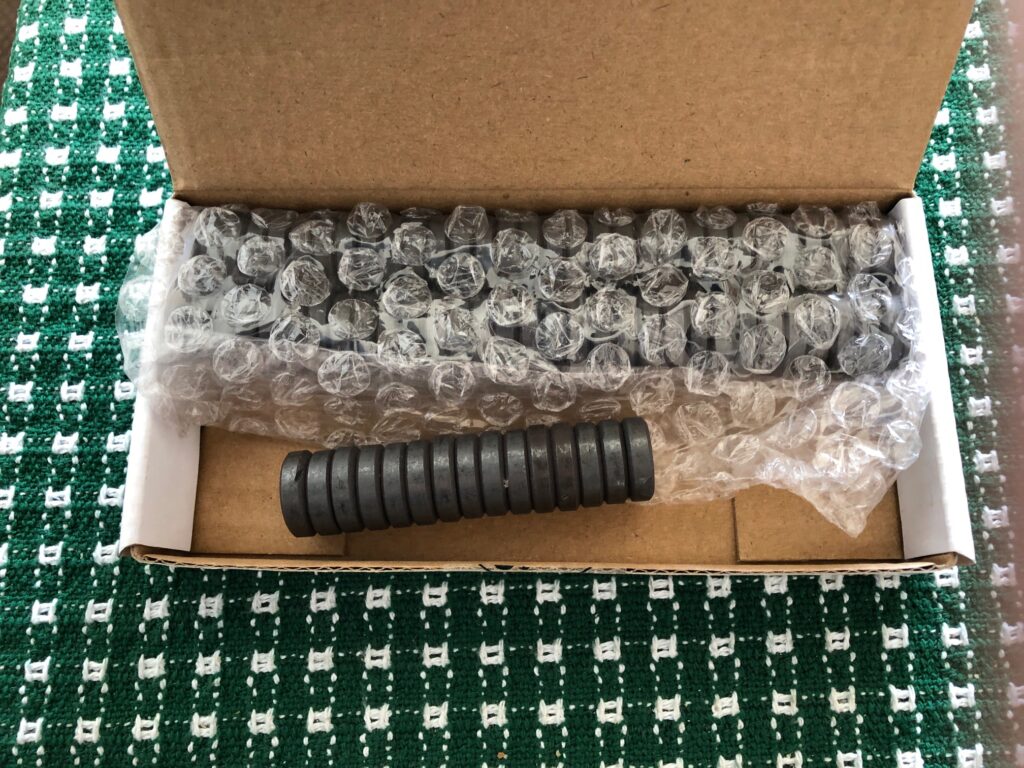
2. Small Disc Magnets. On Amazon, this is how they are listed: Anpro 120 Pcs Strong Ceramic Industrial Magnets Hobby Craft Magnets-11/16 Inch (18mm) Round Magnet Disc for Refrigerator Button
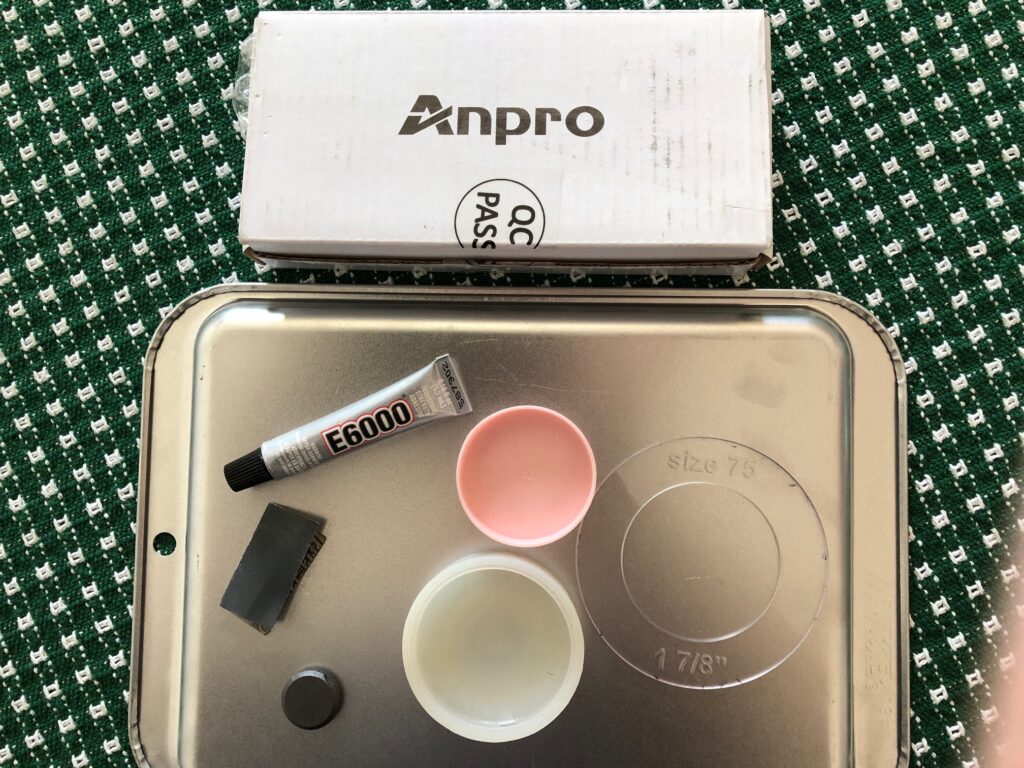
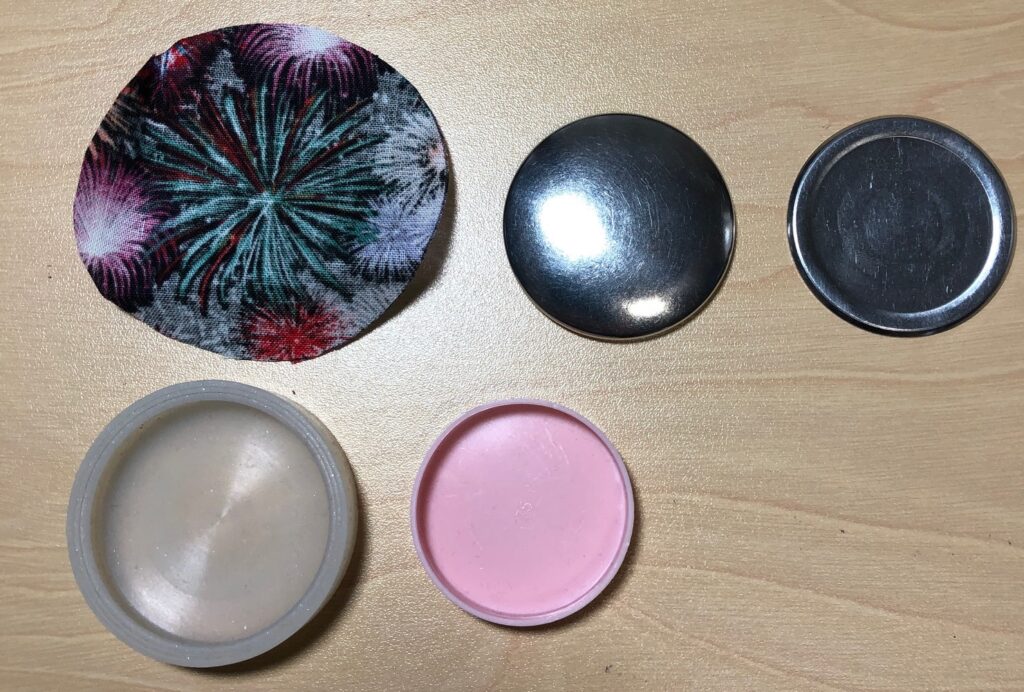
3. Tools to make the buttons:
Fabric Covered Button Template Set: On Etsy.com search for coverbuttoncity. The set of templates is $15.25 at this time.
Covered Button Assembly Tool: On Etsy.com search for everythingribbons. A single tool is $2.00 (I used the one for 1 7/8″ Buttons)
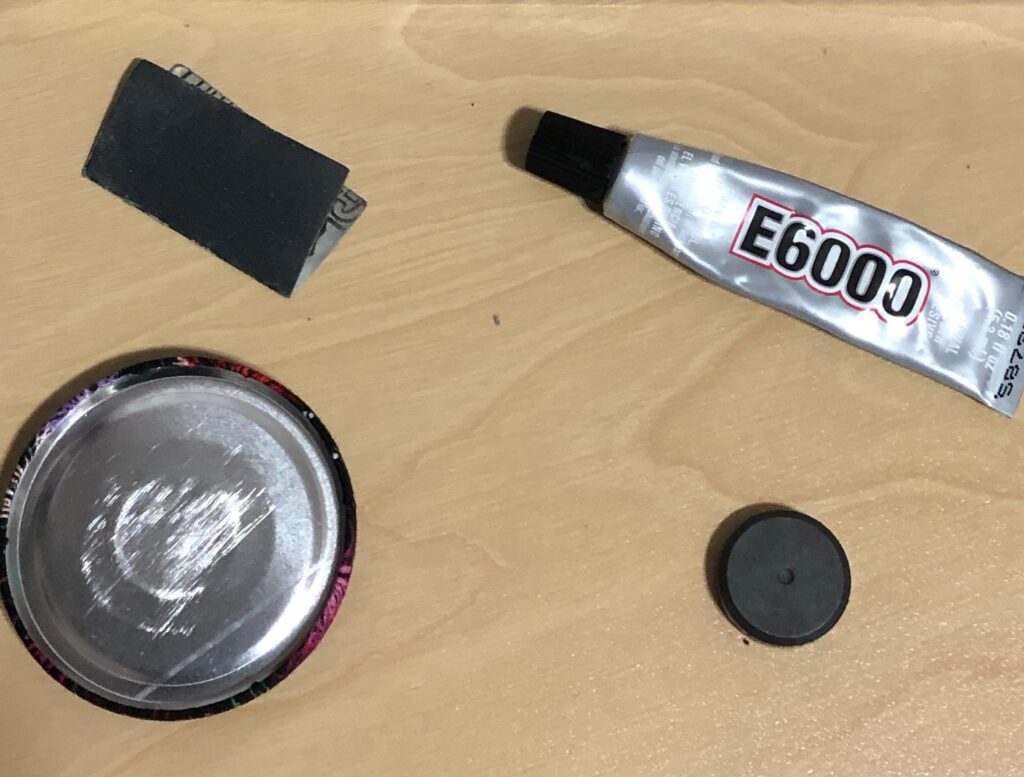
E6000 glue (tiny tubes work great!)
Small piece of sandpaper to scratch the back of the button so glue sticks.
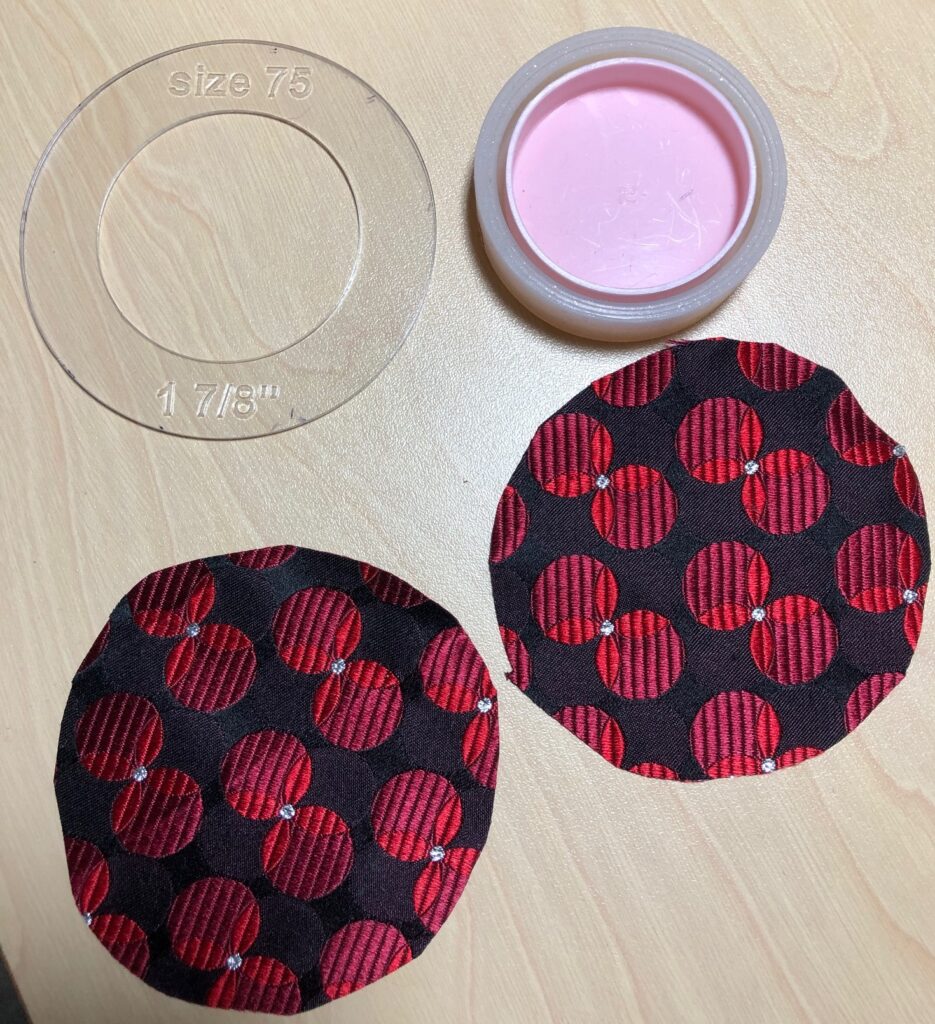
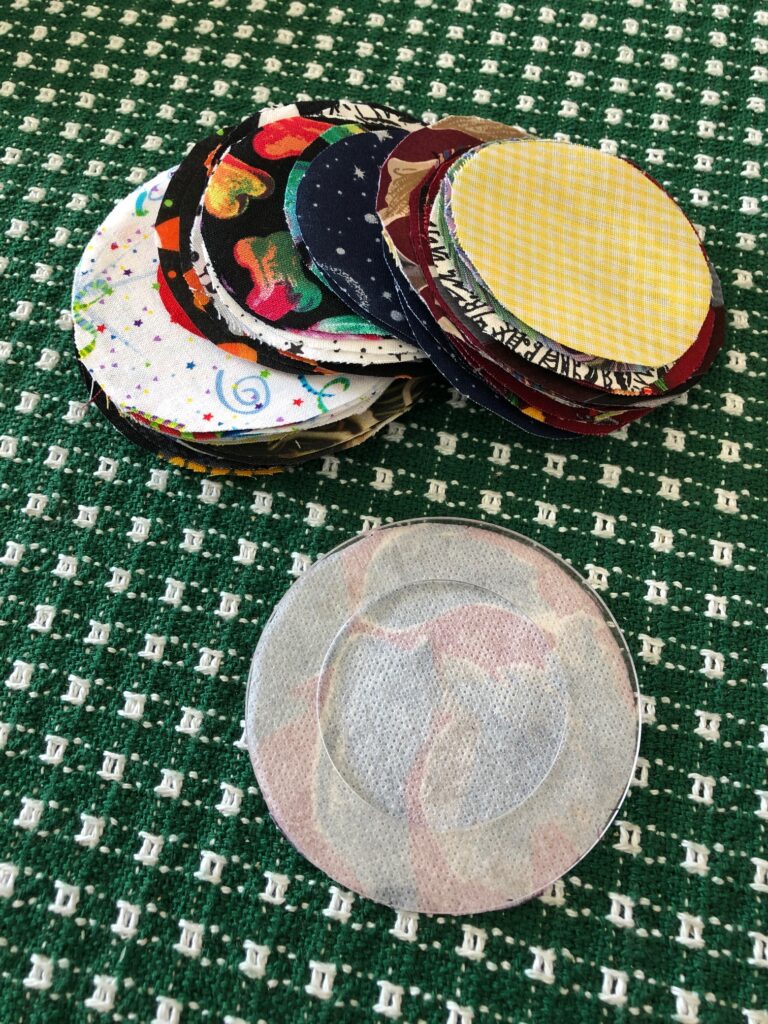
4. Circles of fabric (your choice) made with the 1 7/8″ template.
Steps to make the covered button magnets:
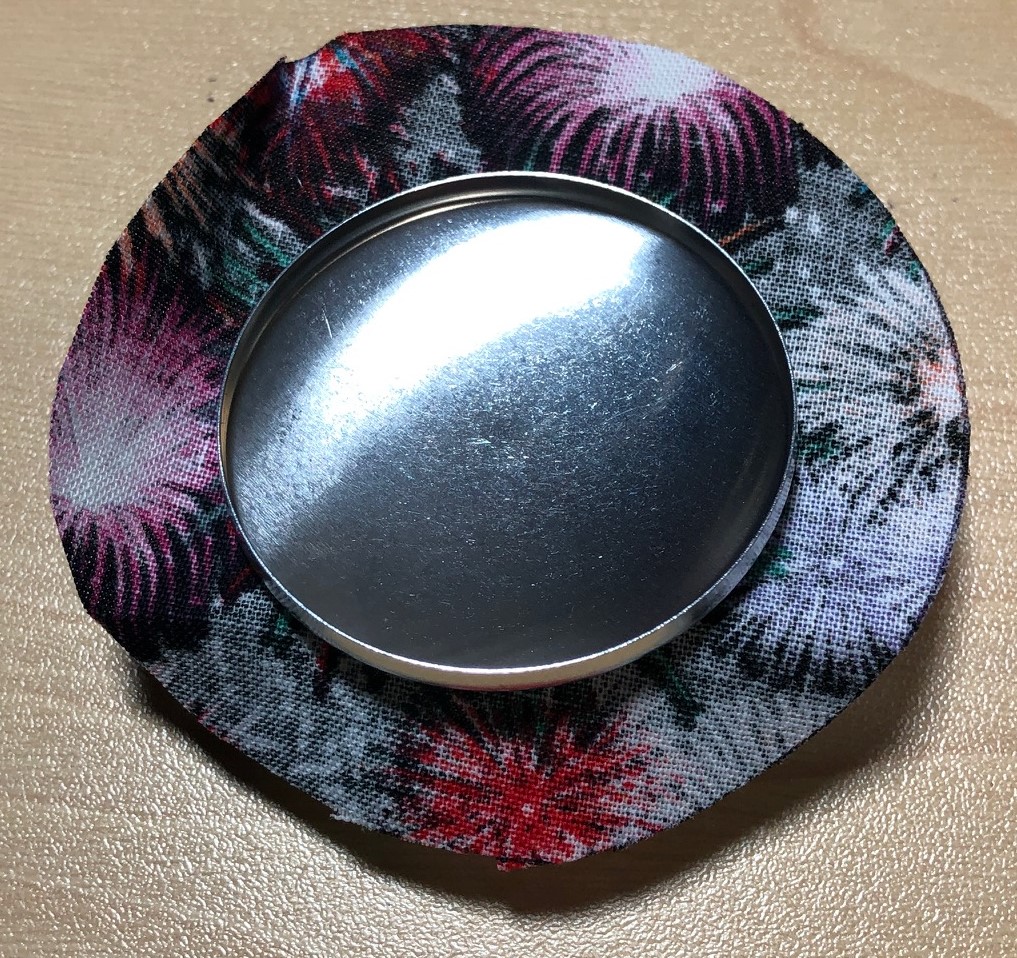
Place the fabric circle right-side down, centered over the clear plastic tool.
2. Place the button blank (face down) on top of the piece of fabric and press on the button blank to squash the fabric into the tool.
The clear plastic tool is under the circle of fabric. Button blank is face down over the center of the fabric.
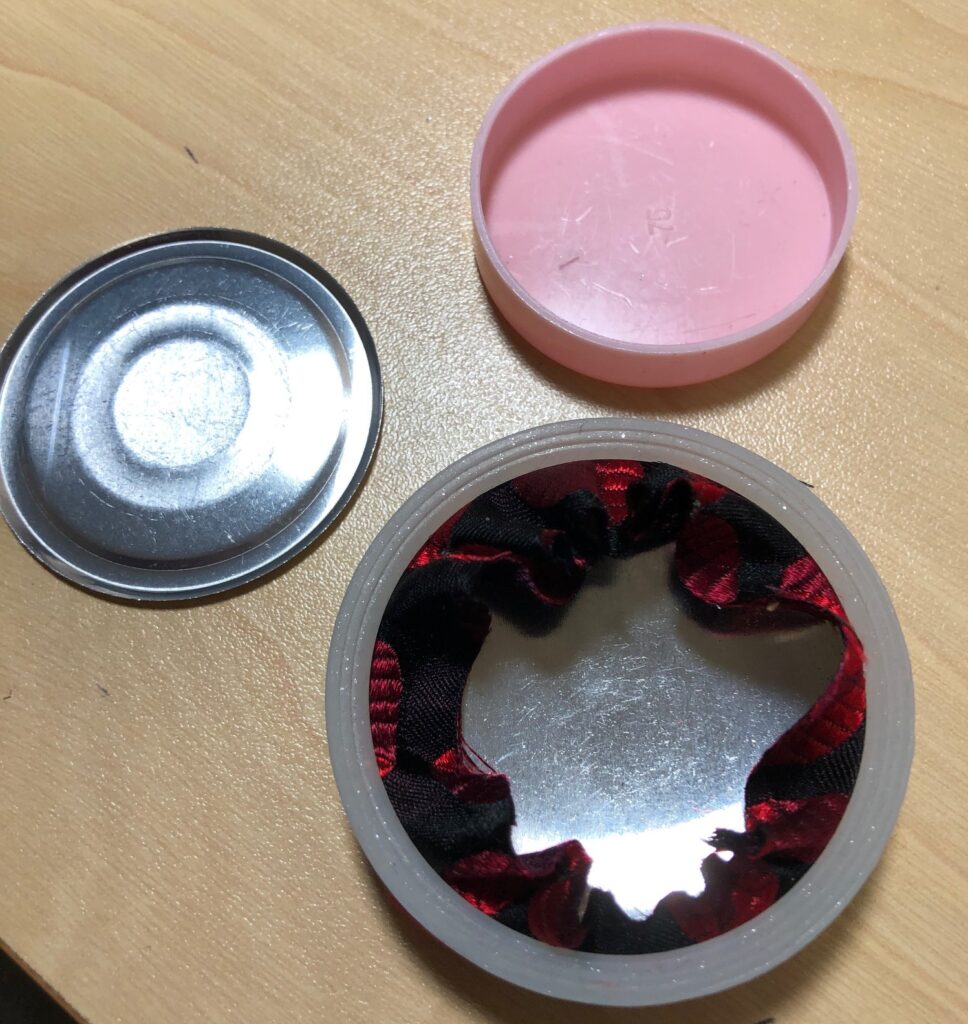
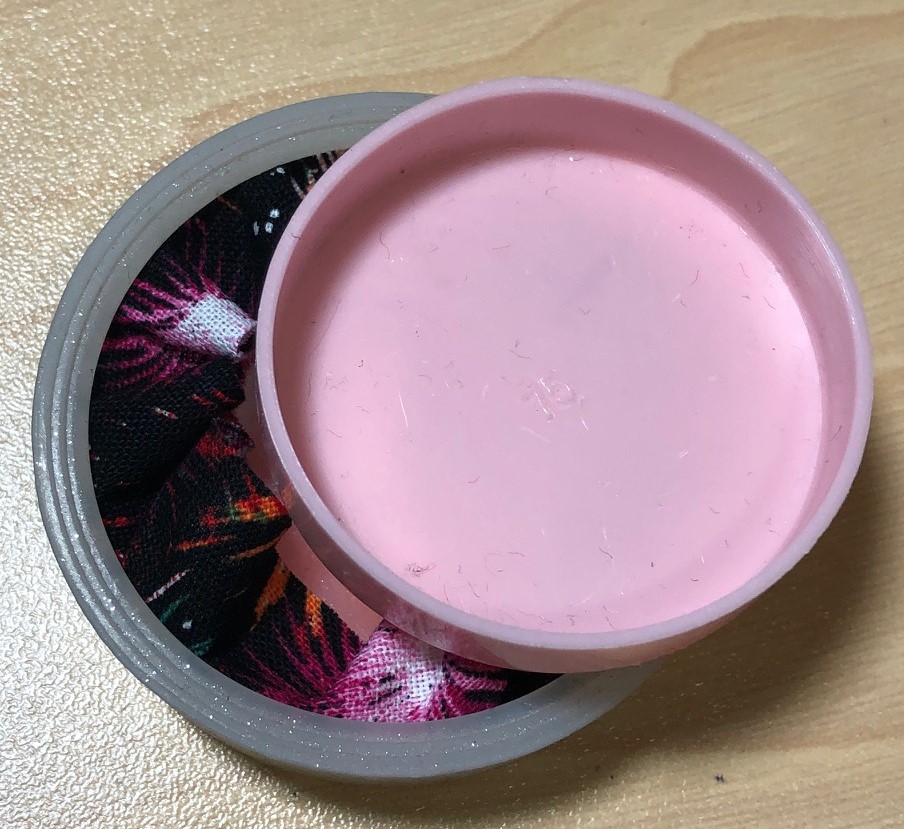
3. Use the pink tool to flatten all the fabric pleats down. Flip the button over (still in the tool) and make sure the picture on the fabric is where you want it. If it off center, you can push the button out of the tool and arrange the fabric again.
The pink plastic will press down the pleats.
4. Place the button back on top of the fabric and press firmly into the fabric covered button. It should hide all the pleats and snap into place.
Ready to snap the button back on.Finished button ready to pop out of the clear plastic tool.
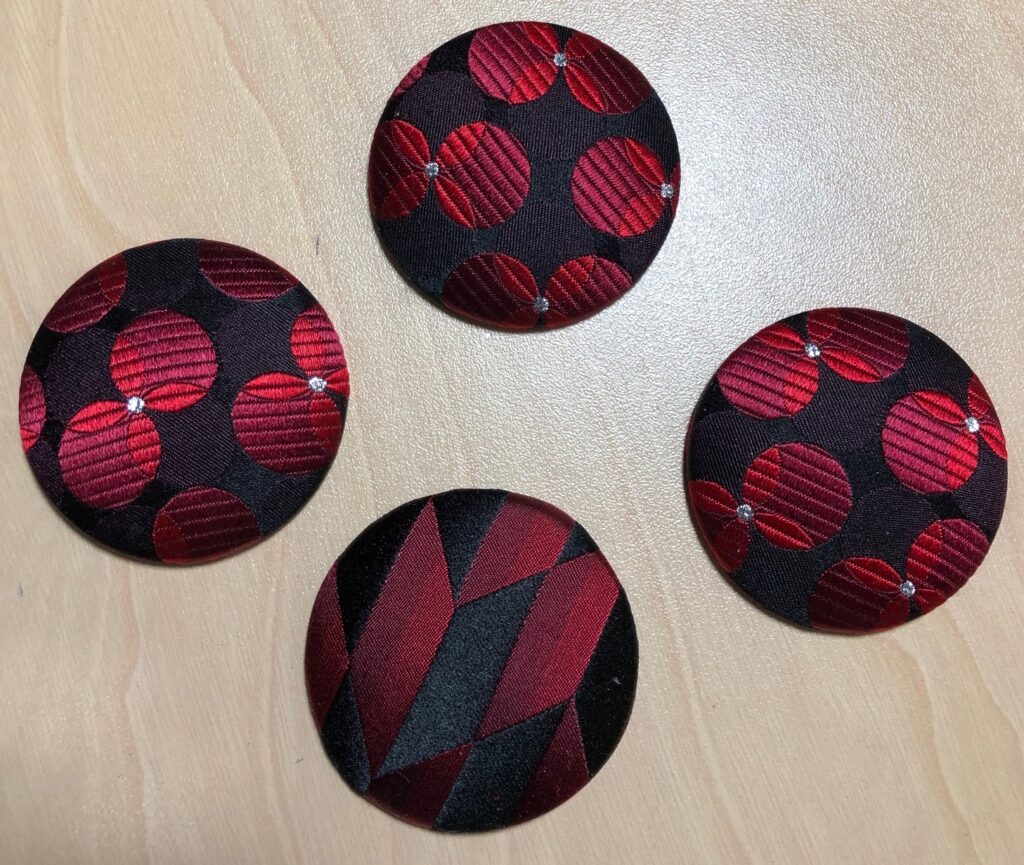
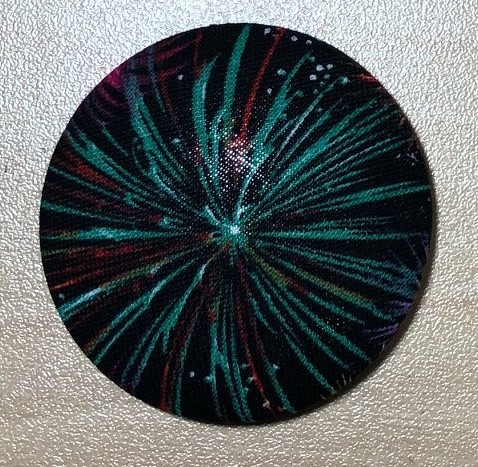
5. Now push the button out of the holder.
Finished button!
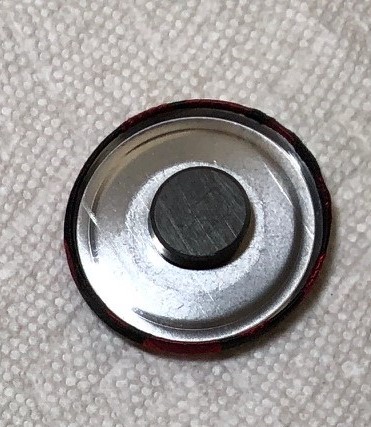
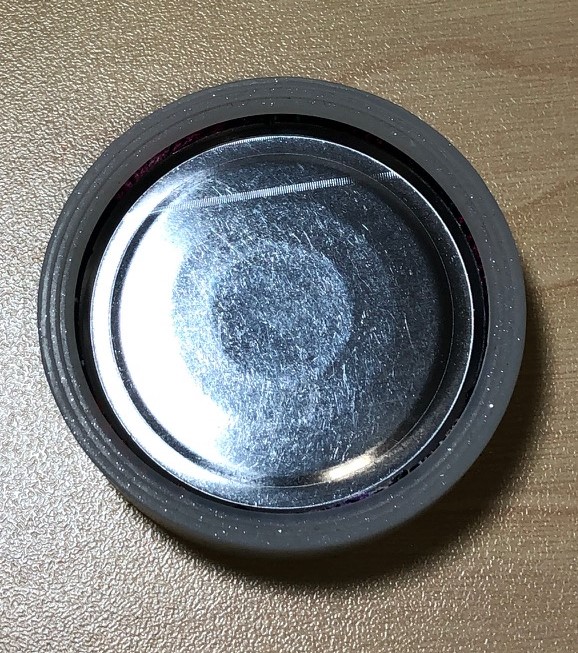
6. Using the small piece of sandpaper, gently scratch the surface of the button back where the magnet will be glued. This helps the glue adhere better to the shiny button.
Button back ready for glue.
7. Put some glue on the back of the magnet. (I consider the side of the magnet with the tiny hole as the back.) Place the magnet on the back of the button. Watch it for a minute to make sure it stays centered. The magnet tends to drift if the table surface isn’t quite level. Within a minute you’ll know if the magnet will stay put. You can adjust the location for the first 30 seconds or so by just pushing the magnet carefully to the center.
8. Let the magnet sit for an hour or longer to let the glue dry.
HINT: If you are gluing multiple magnets at the same time, space them at least 2-3 inches apart. The magnets will attract each other and pull them off center before they dry.
WARNING:
Do not place magnets on your computer or other electronic devices. Do not place magnets near your credit cards.