Essential Oils and Nail Care

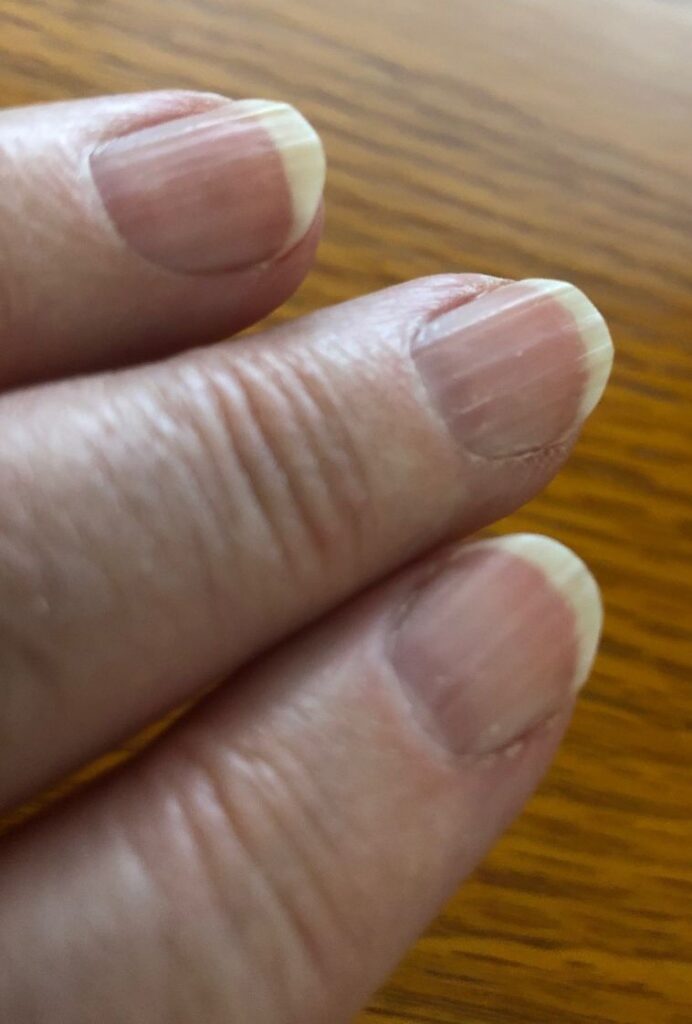
I’m always looking for new ways to experiment with essential oils. I now have enough supplies to try almost any recipe I come across. It wasn’t until I was cutting my fingernails the other day that I realized I needed something to help them be stronger and less ridged. I wasn’t familiar with even commercial products out there. I always just used hand cream to help dry, cracked cuticles, hoping the nails would benefit. I started researching products to help my nails.
I read an article from one of my favorite websites: https://strategiclivingblog.com. Gaye Levy is the author and she has been blogging since 2010. Her philosophy of life really appealed to me and I check in with her website frequently. She recently posted an article called, DIY Nail Serum for Damaged Nails. This serum is applied right to the edge of the cuticle where it meets the nail. She came up with a simple serum to help her nails grow stronger. With her background as a licensed manicurist she knew that, “the issues with my nails stemmed from the nail matrix. This is the area underneath and below the cuticle and this is where all the nail bed and nail plate nourishment comes from.”

Then I came across a recipe for a Cuticle Butter with essential oils that also might help. I’m not sure where the recipe came from, but it was probably one of the following sites: https://joybileefarm.com or https://www.pinterest.com.

I decided to make both of these products to see if I liked the way they felt and if they worked for me.

NAIL SERUM

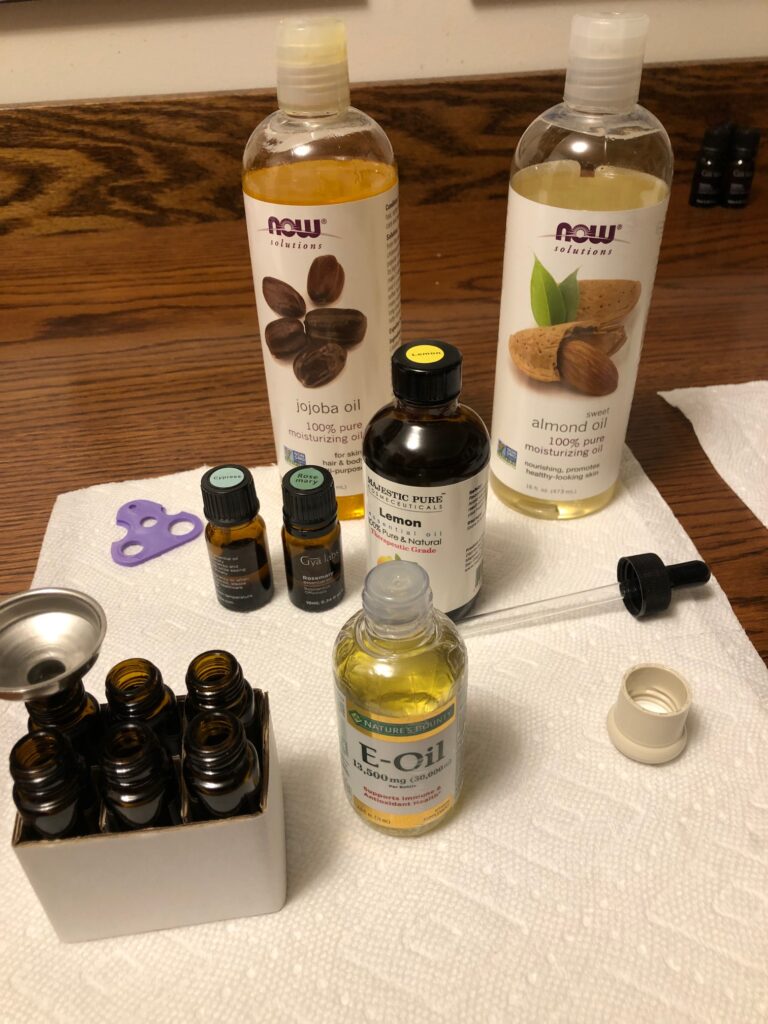
This product is mixed up directly in a roller ball. I ordered them from Amazon, and luckily, they came with a tiny funnel, labels and a plastic tool that helps to lift the roller ball out of the glass bottle. I had never worked with roller balls before so these were very helpful. I have since ordered a packet of six tiny metal funnels, seen in the picture below:
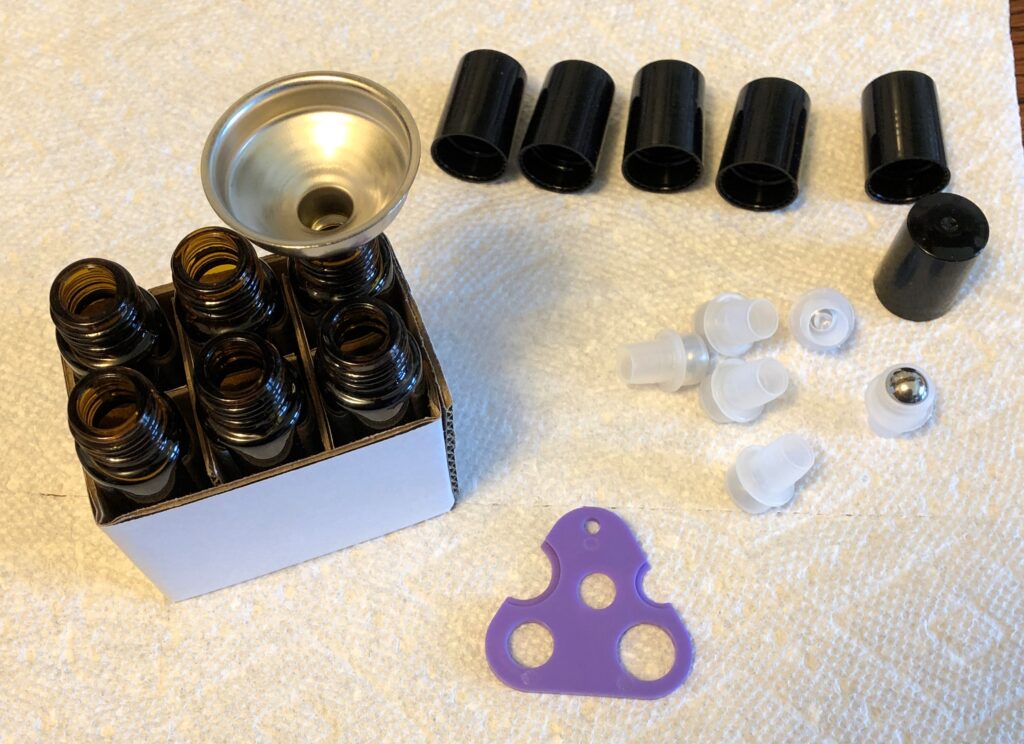
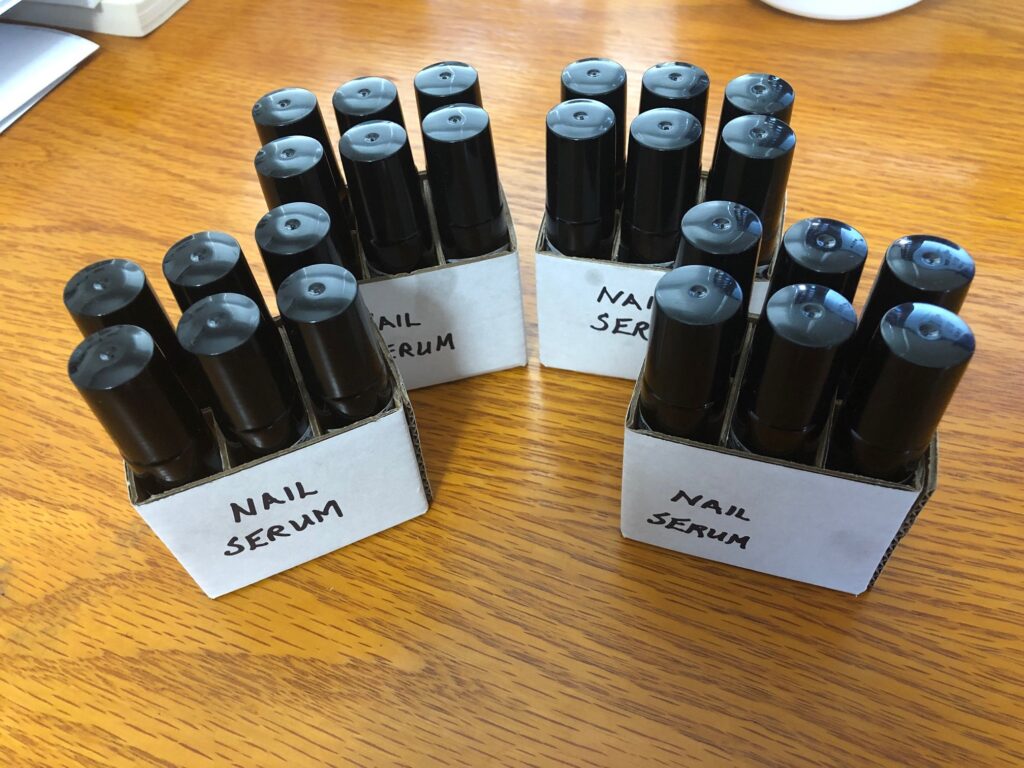
I used the box the roller balls were packaged in as my holder while I added the oils. It kept them from falling over as I worked.

The ingredient list was pretty simple:
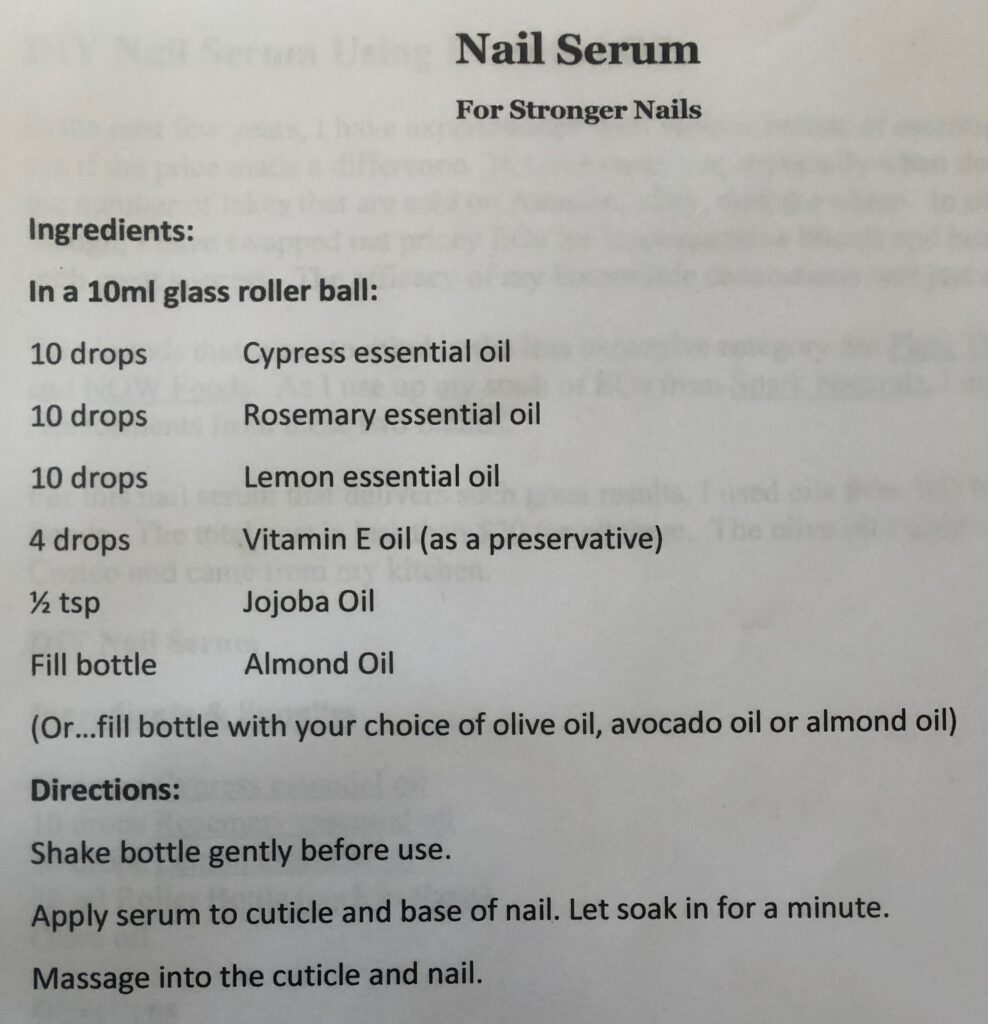
I just added the drops of oil to each bottle. I did six at a time, so I added the 4 drops of Vitamin E oil to each roller balls; then I added the lemon essential oil…10 drops to each bottle; etc. In the end, I had 24 roller balls filled with the Nail Serum…enough to share!
CUTICLE BUTTER

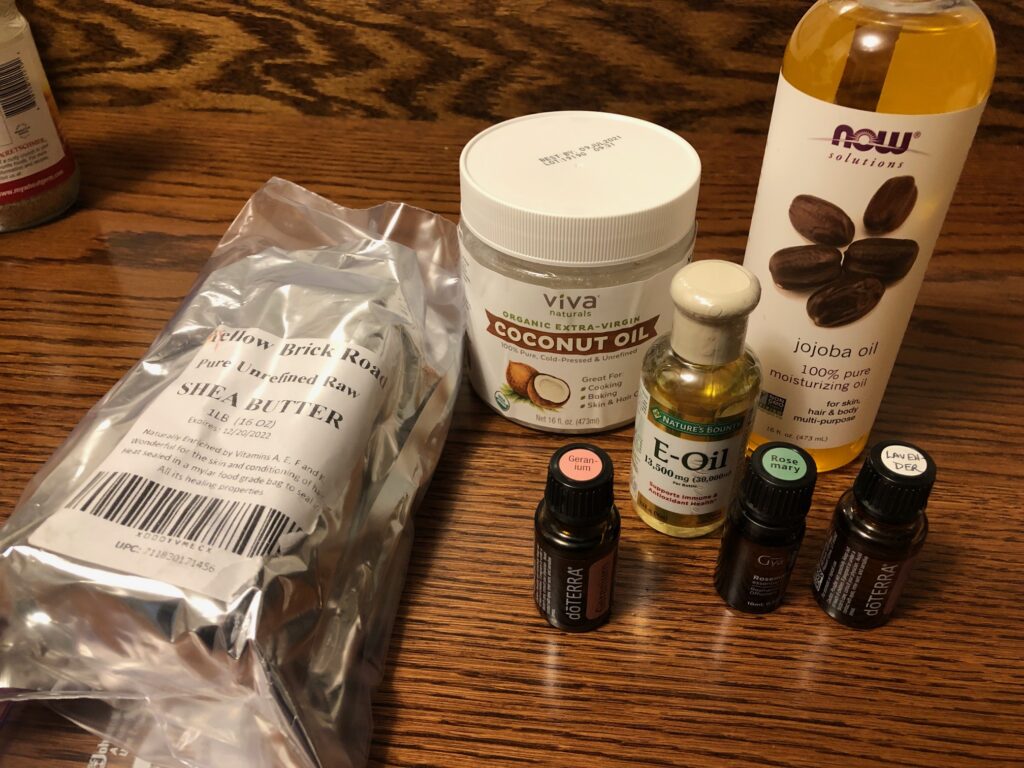
This recipe is also pretty simple:

Step 1: Melt the Shea Butter and the Coconut Oil.
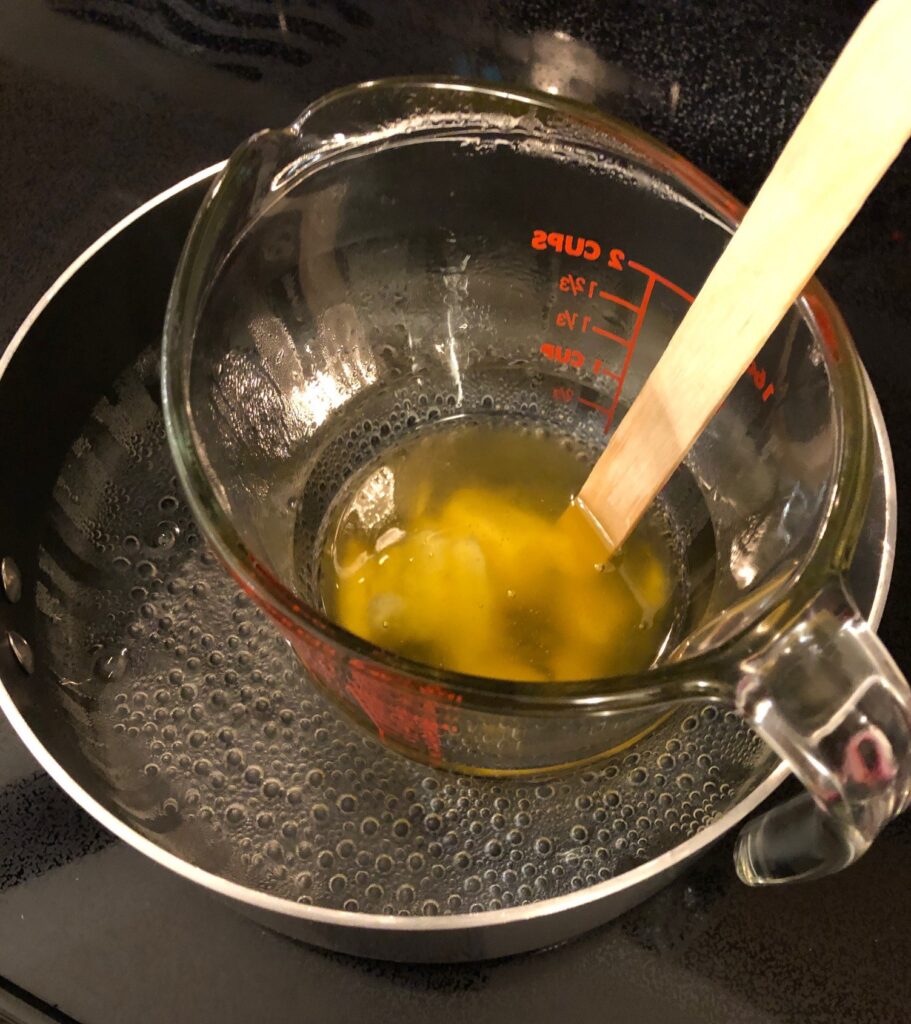
Shea Butter and Coconut Oil

Step 2: Add the Jojoba Oil, Vitamin E Oil and Essential Oils of Lavender, Geranium and Rosemary, and stir well. Pour into containers.

This was a messy process! The containers I chose were just 1″ across. They filled up so quickly I couldn’t stop pouring in time!
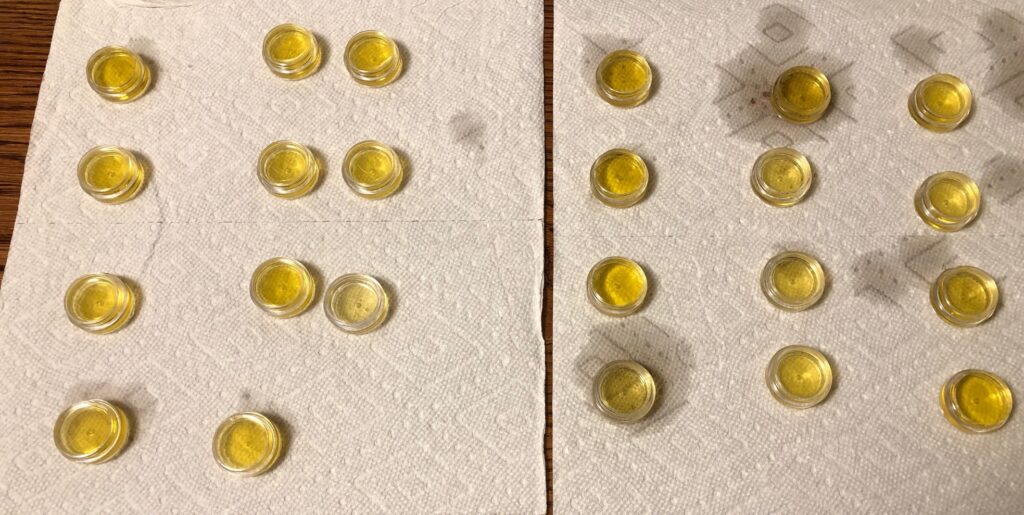
Then I waited for it to set up…which was…never! I guess over two days or so it might, but basically it stayed liquid. I tried pouring one into a roller ball, but that was a waste because it did finally get thicker and then wouldn’t come out of the roller ball. I threw that one away!

Second Try

I poured all of the oil from the tiny containers back into the measuring cup, put it back on the stove and added more Shea Butter (you can see the recipe above has 1/4 cup crossed out with 1/2 cup penciled in).

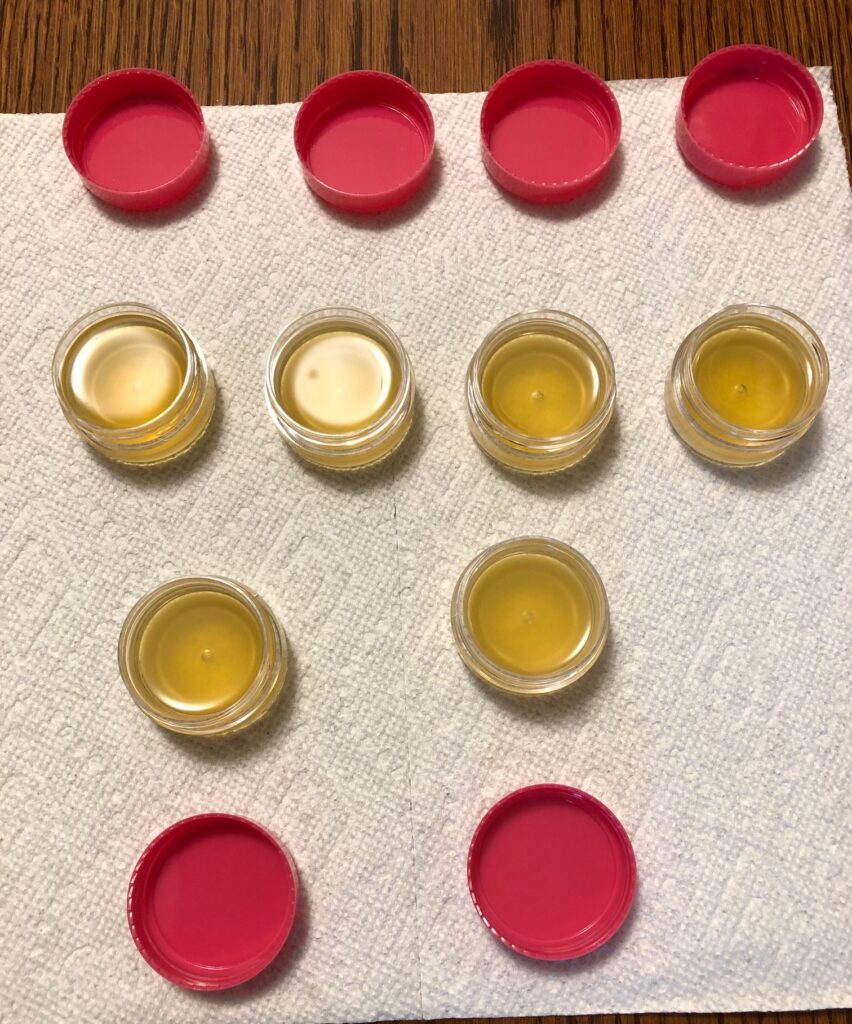
The next time I poured, I set the tiny containers on a tray so I could slide them into the refrigerator. I hoped that would help them set up more quickly. It wasn’t pretty the second time I poured!
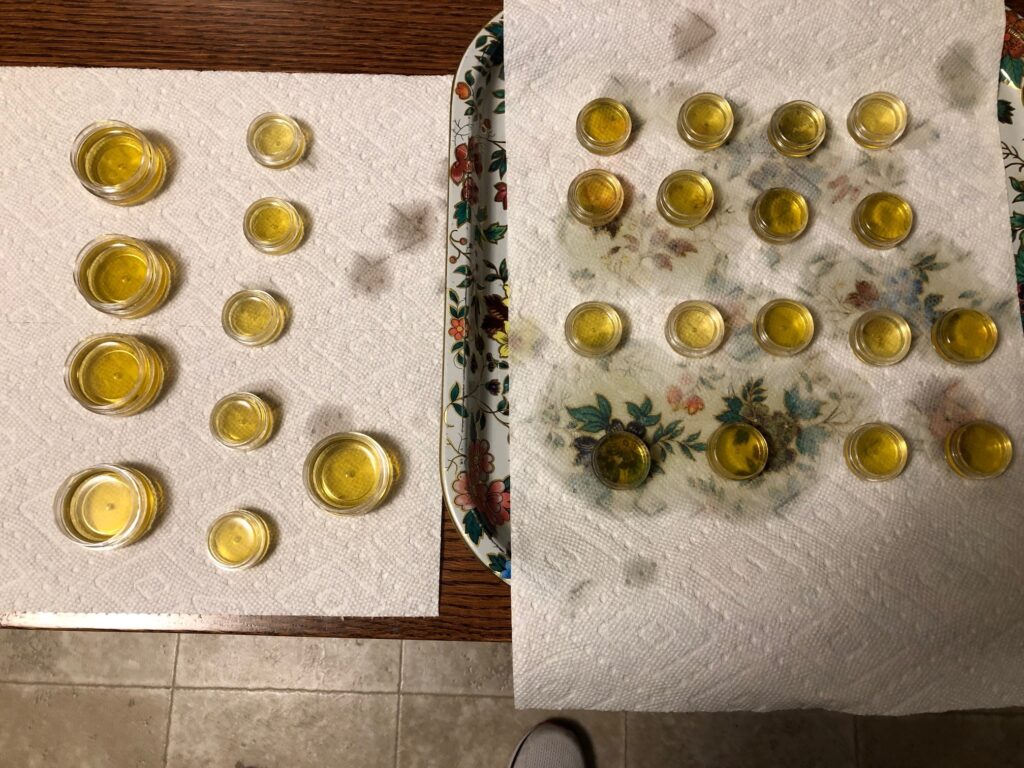
Increasing the Shea Butter and setting the tray in the refrigerator made all the difference. It made a very soft salve that melted in nicely to my cuticles. You can see how soft it is…my finger just barely touched the top of the salve and it left a dent. On a hot summer day I might want to keep it in the refrigerator.

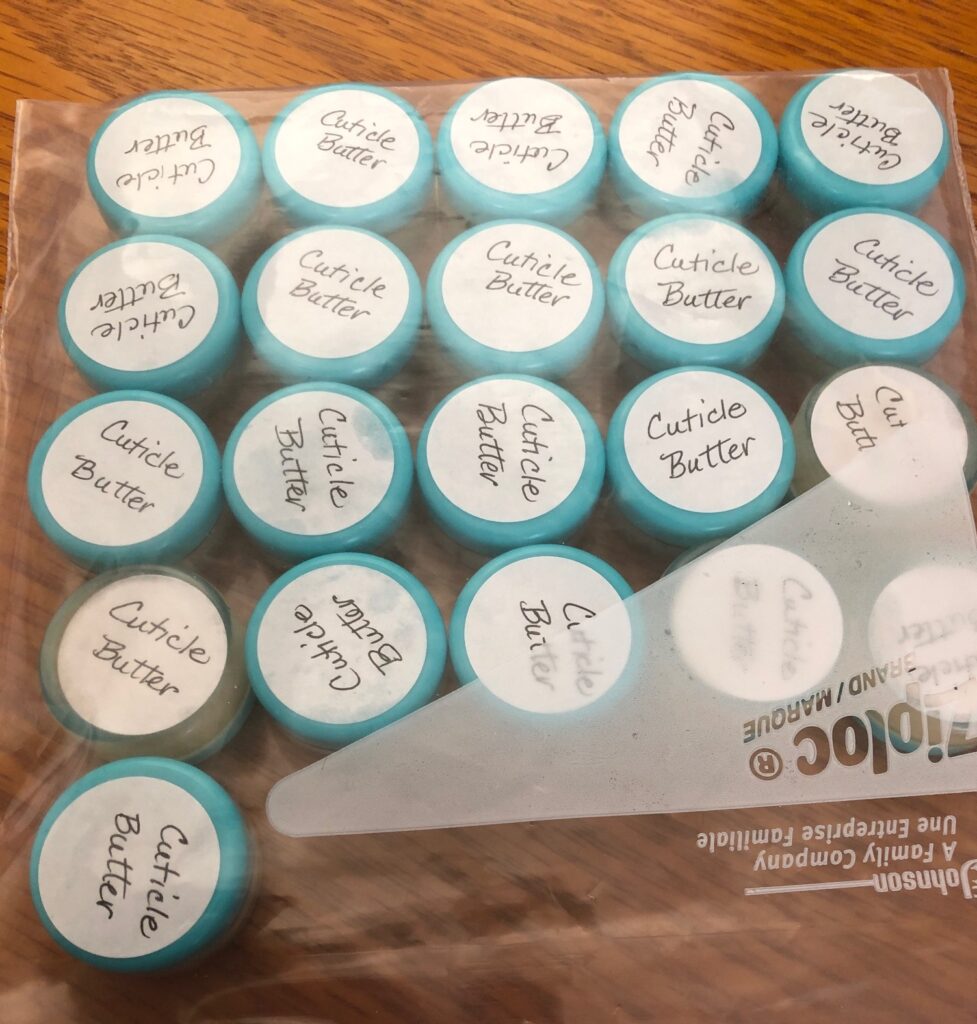
My next step is to share these two products with friends to see if helps our nails. I’ll package them together and ask for feedback on which product is easier to apply.
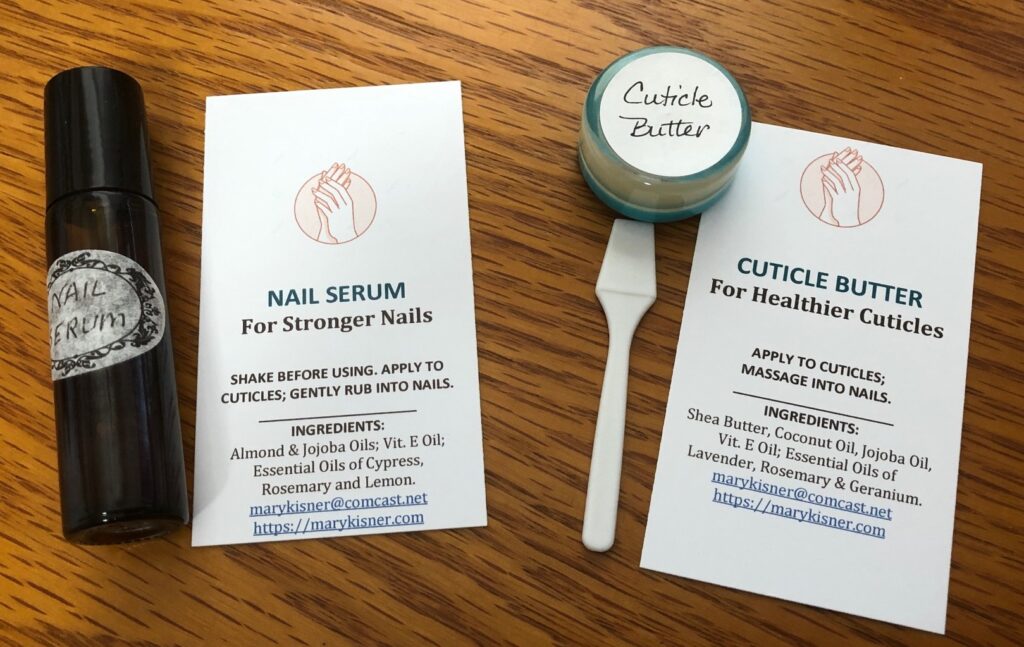
As always, I include a list of ingredients so folks know what I used.

I’m not sure if I’ll have great nails by Christmas, but maybe by Spring I’ll know if they work! Enjoy!

Please comment or email me directly if you have questions at marykisner@comcast.net.

DIY Perfume

If you have purchased any perfumes recently, you’ll know even a small bottle can sometimes be expensive. With all the essential oils I have around, it seems I could create a simple perfume that would satisfy me. Of course, it would be too easy to just look up the perfume I use, and like, and find a list of the scents or ingredients involved! I don’t think so. I guess those ingredients are classified as “trade secrets.”

Even trying to recognize the scents in my favorite perfume is beyond the talents of my nose! I bought a few books about how perfumes are developed and did discover quite a lot of discussion about top notes, middle notes and base notes. I can smell my essential oils one at a time and sort of see how they got classified, but in a mixture I’m at a loss.

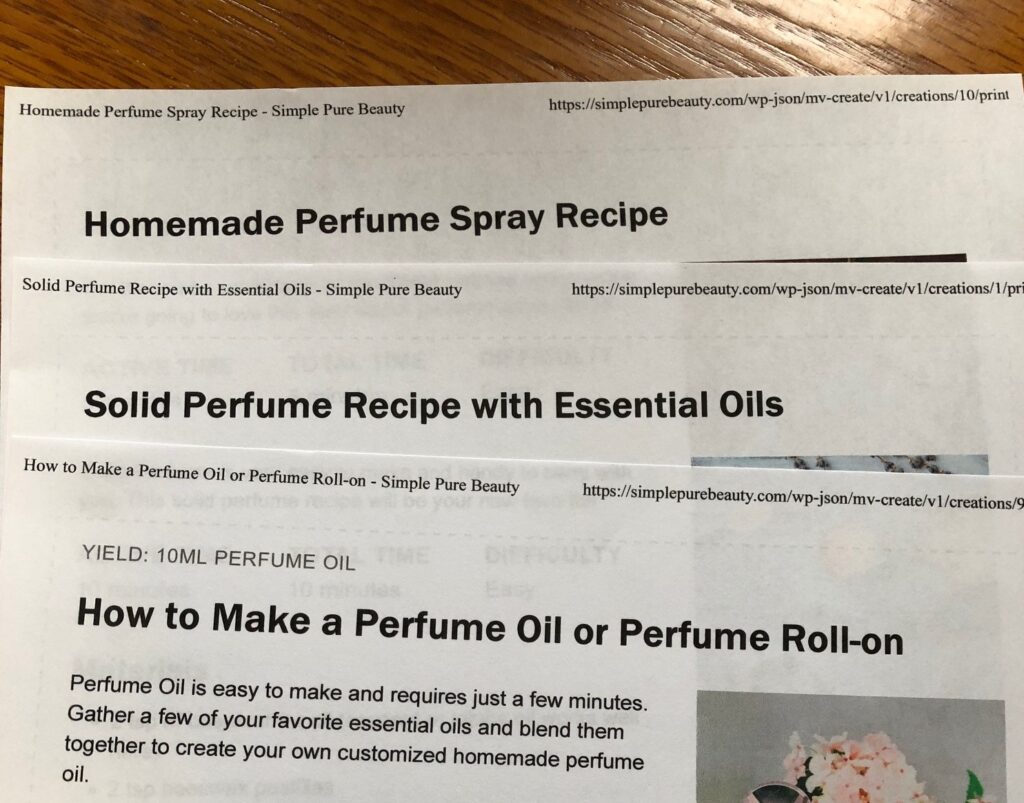
Luckily, there are many simplified explanations and recipes online that demonstrate how certain scents work together. Recipes I can follow! One online site had recipes for three ways to make perfumes…an oil mixture in a roller ball; a solid mixture with scents added to an oil/beeswax combination; and a spray with an alcohol base with scents added.

This site can be found at https://simplepurebeauty.com/. You can find many more recipes by just searching for “make your own perfume.”

So today, I thought I’d try to make a roll-on perfume and a solid perfume. I’ll leave the spray for another time.

DIY Roll-on Perfume

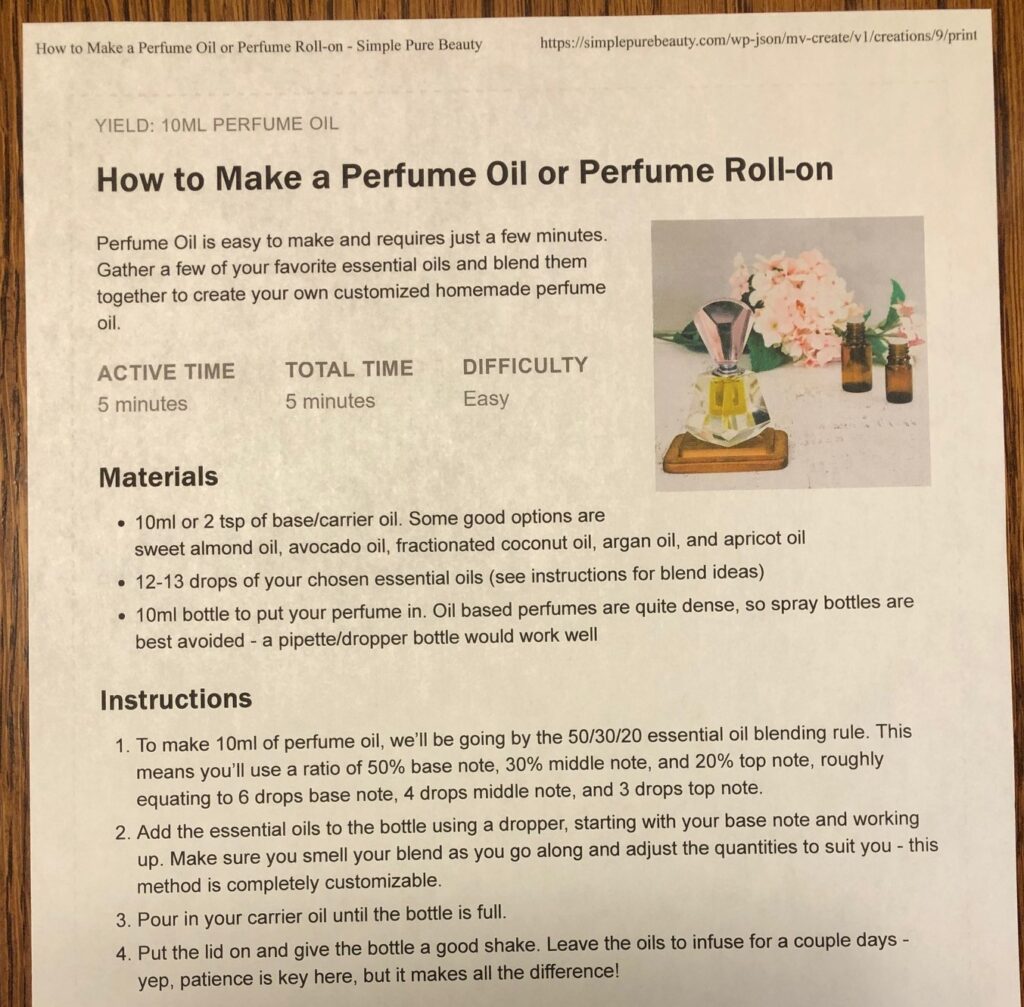
I started with this recipe:

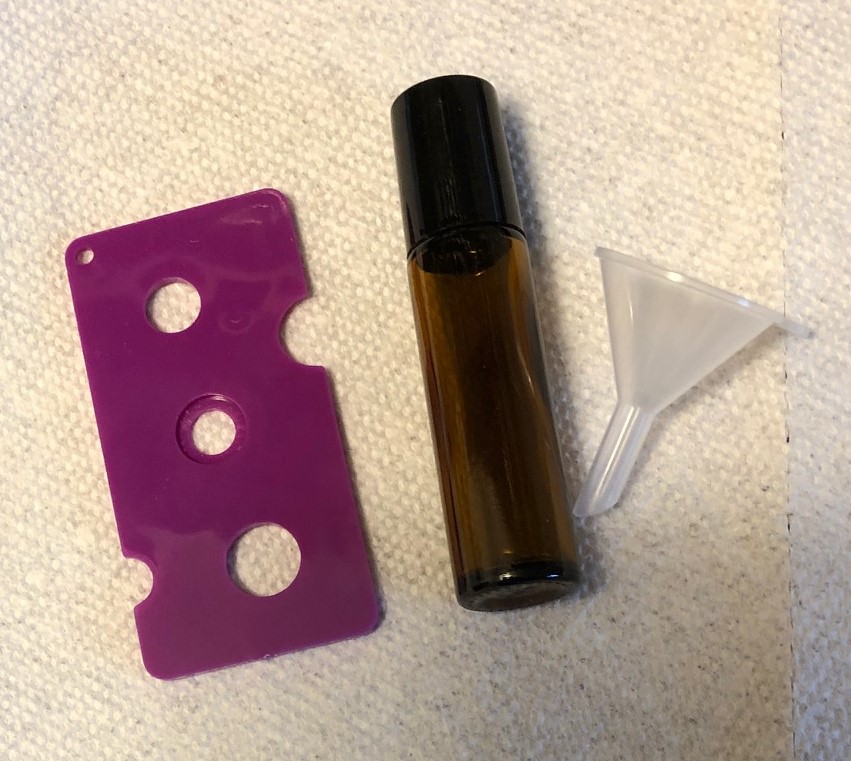
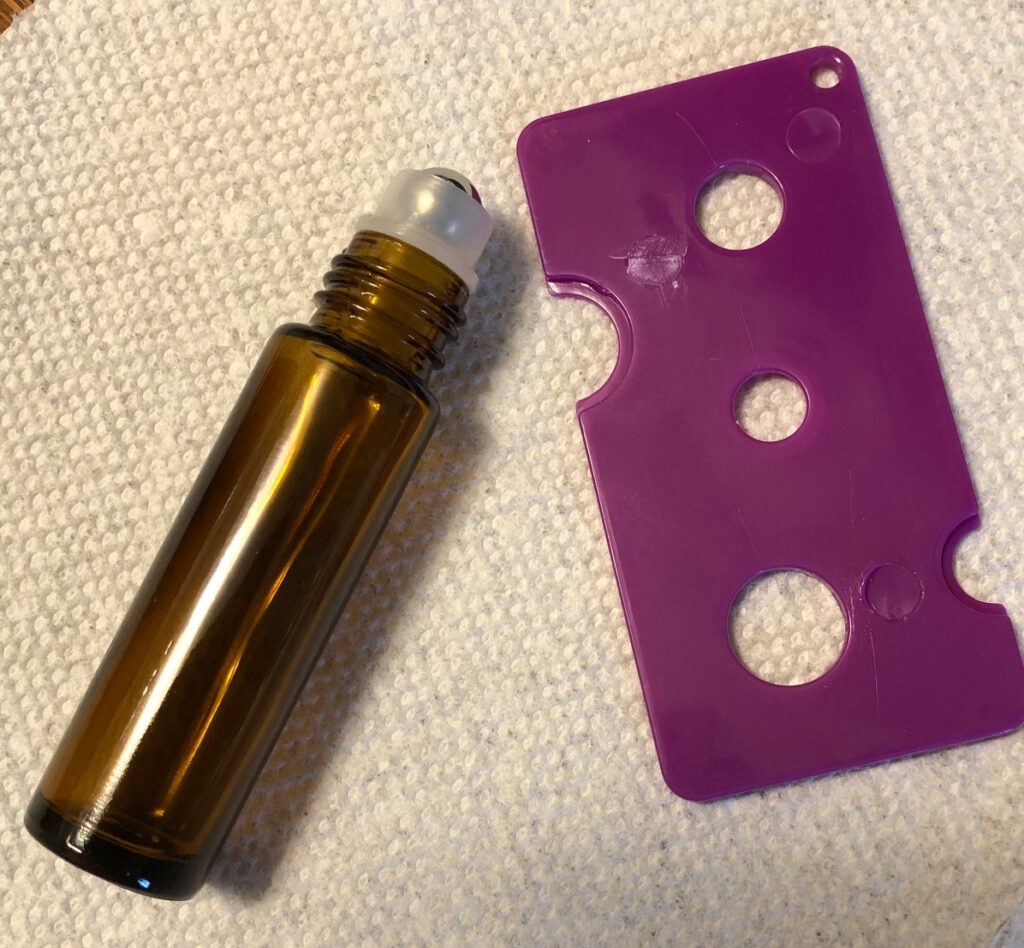
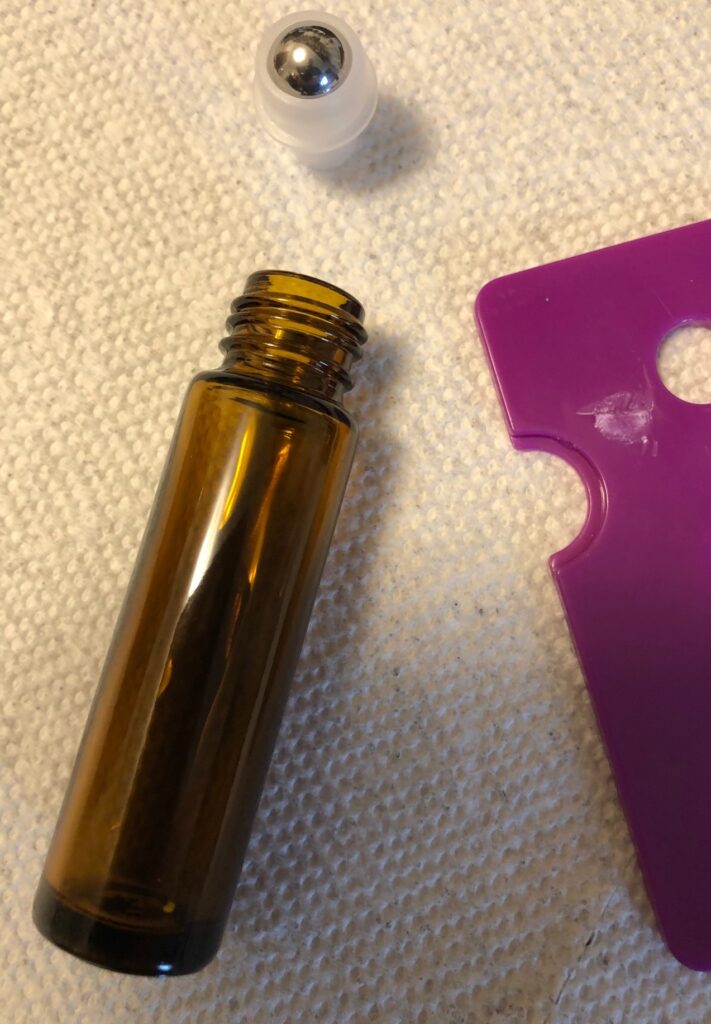
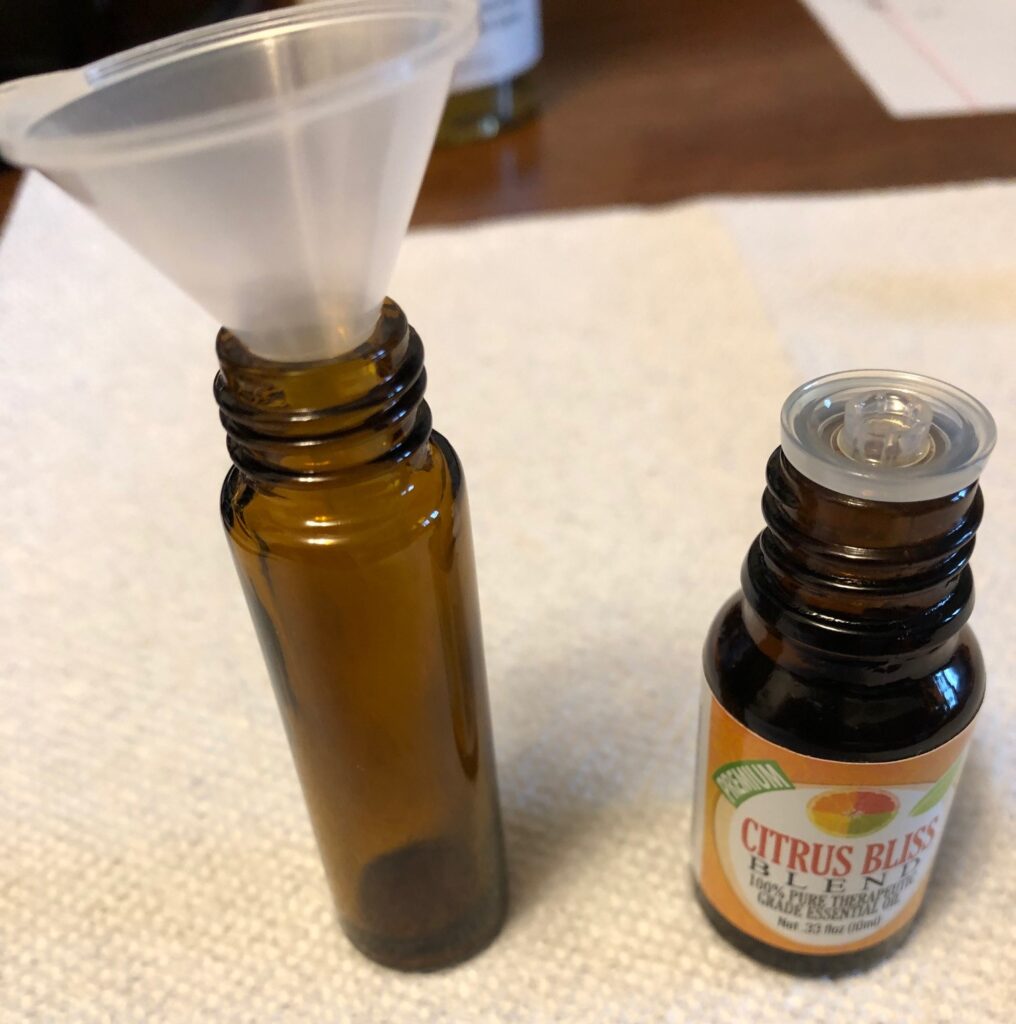
First, I got out an empty roller ball bottle. It came with a tool that’s pretty slick to get the ball out of the bottle and a tiny funnel.

That little half-circle slides right under the base of the ball and with a twist the ball comes right out. The tool came in the box with the roller balls.

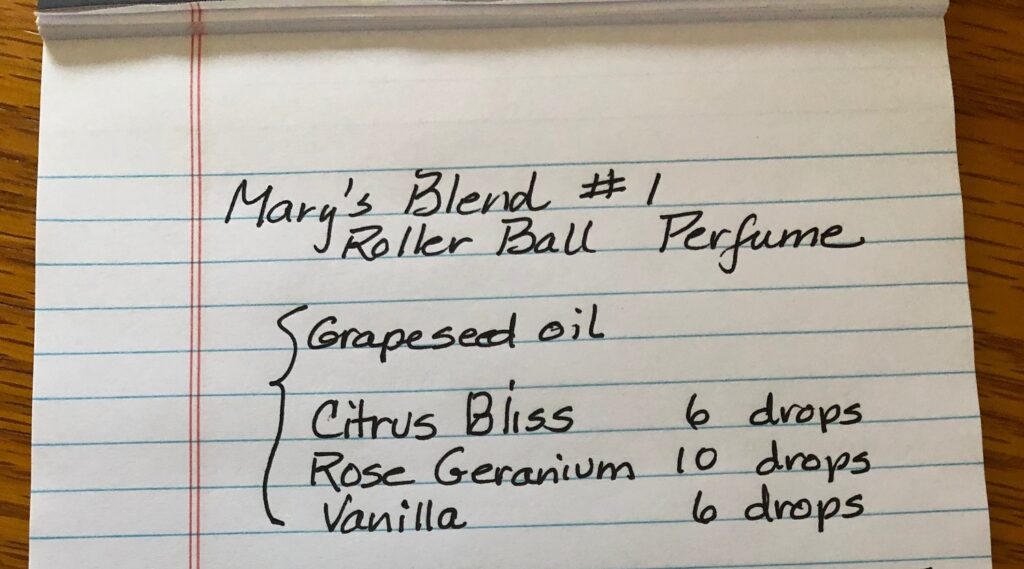
This is the recipe I used:

First, I added the drops of essential oil to the bottle.
These are the three essential oils I used.

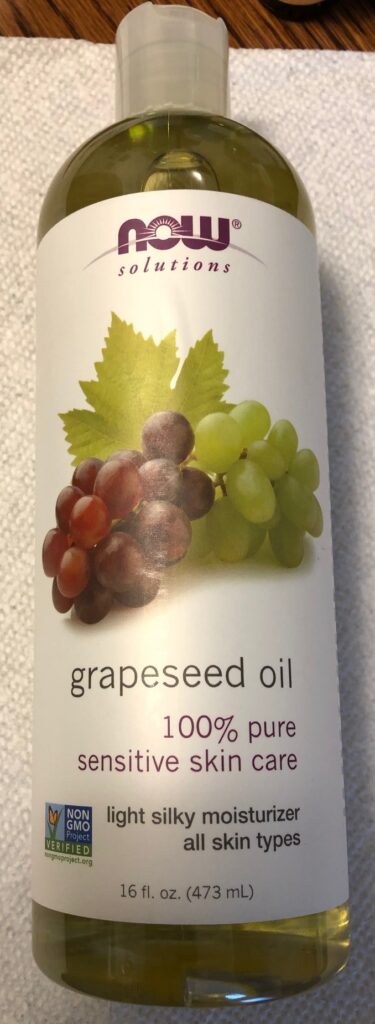
Once the essential oils are in the bottle, I just filled it the rest of the way with grapeseed oil (you could use almond oil, jojoba oil, or olive oil).

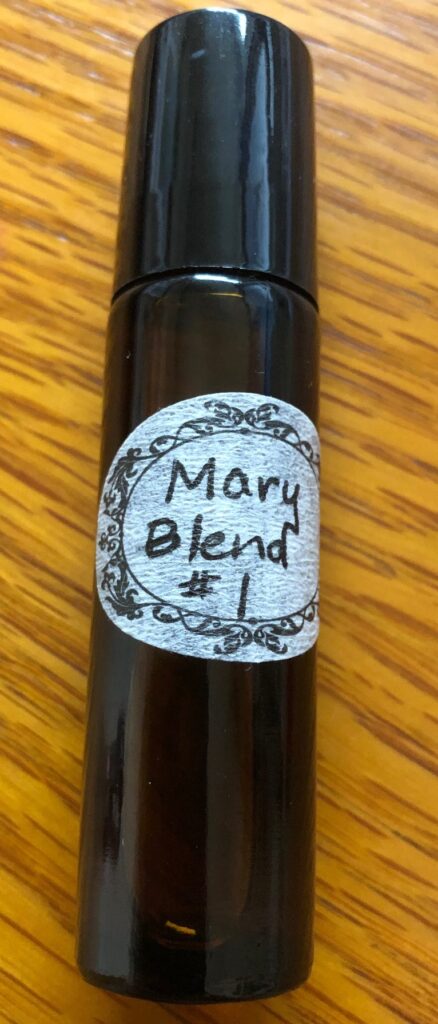
The best part about this recipe…it made just one bottle! If I don’t like it, I can wash it out and use the bottle again.

DIY Solid Perfume

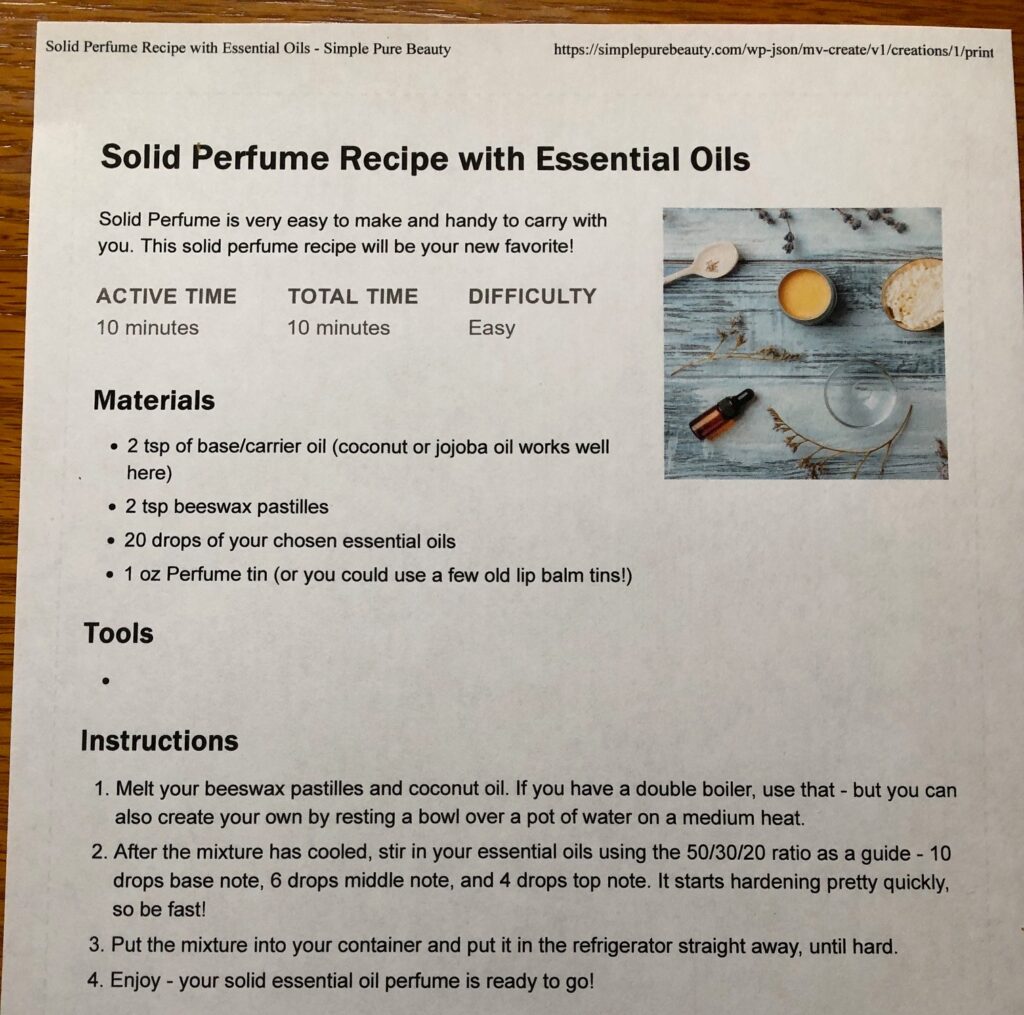
Here’s the recipe I started with.

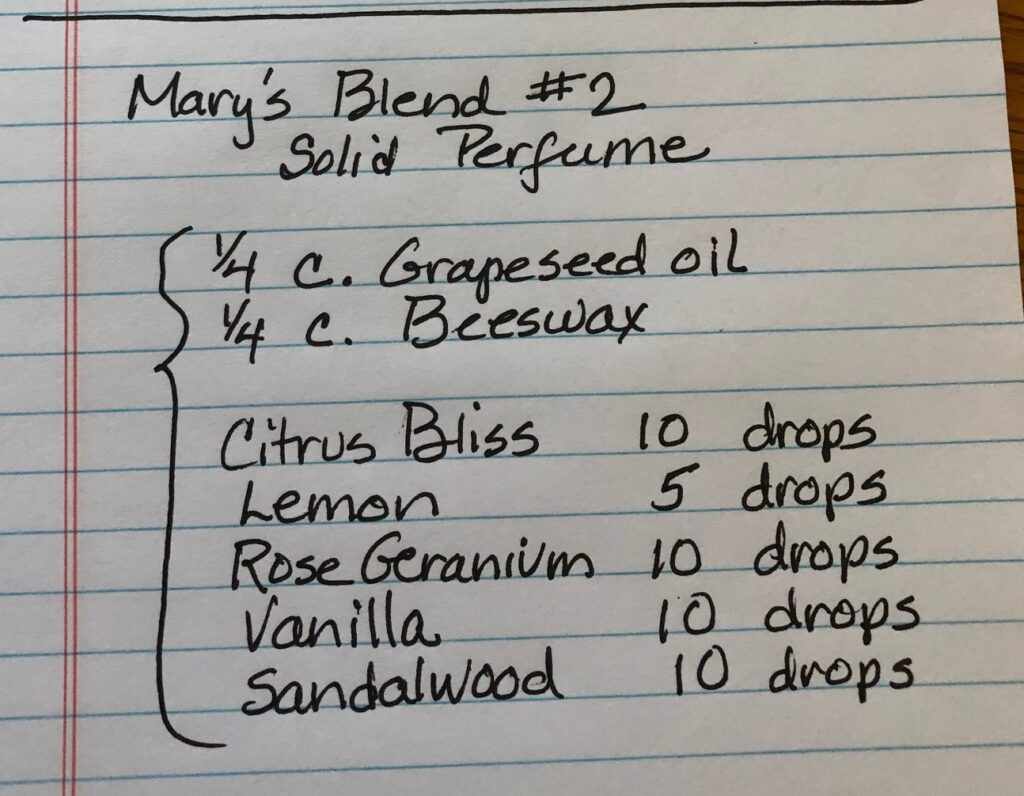
I adjusted the recipe to make a little more…big mistake! I now have enough perfume to last me quite a while. This is my adjusted recipe:

This process was much more familiar to me, since many of my lotion bars and salves are made the same way.

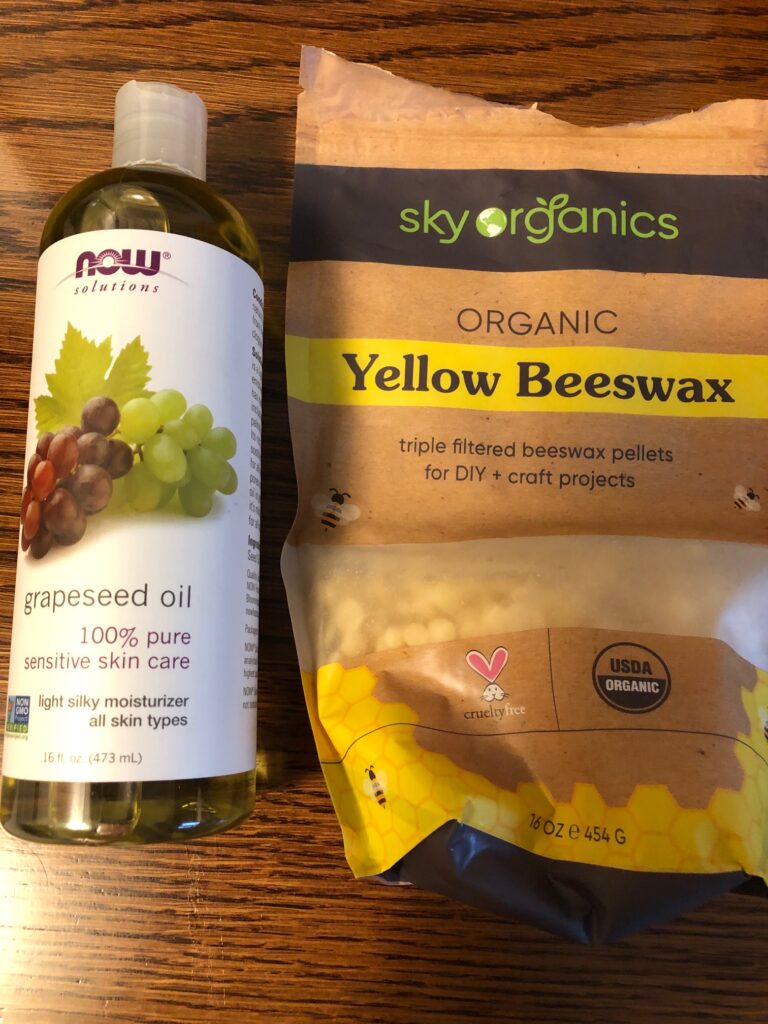
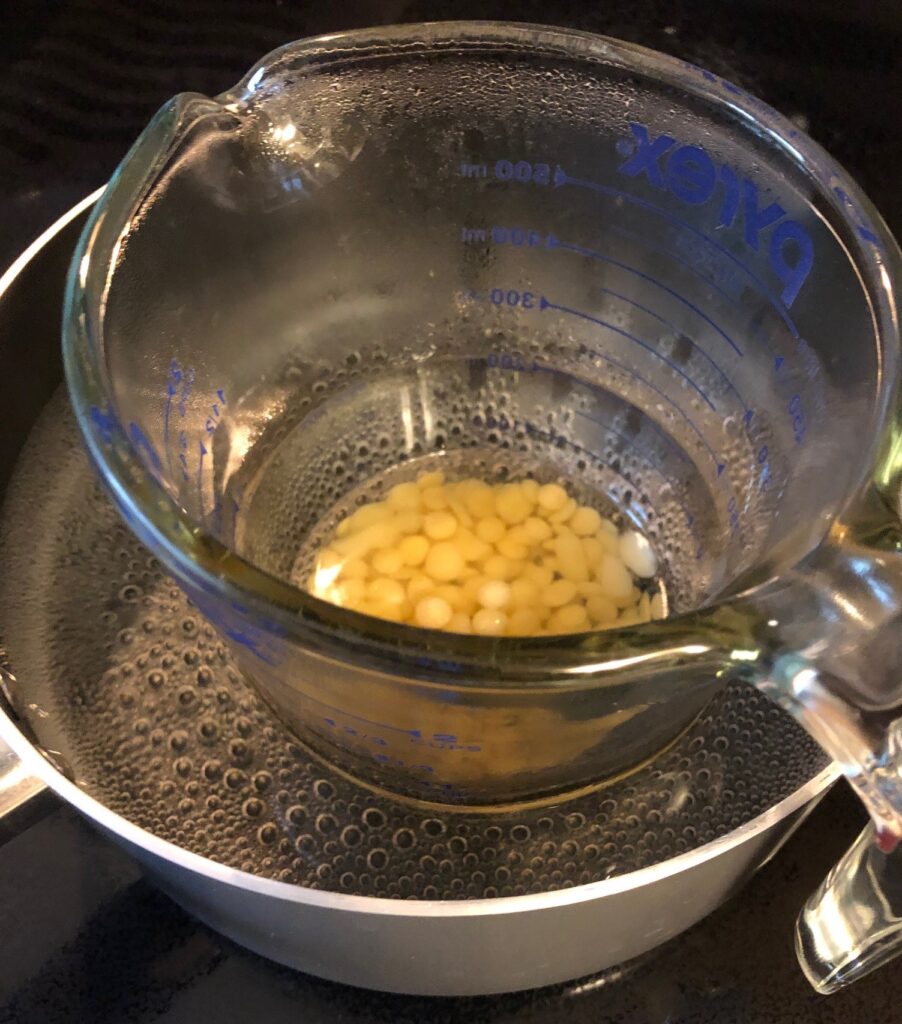
I started with the grapeseed oil and beeswax:

I melted them in a glass measuring cup in a pan of boiling water.

When it was all melted, I stirred in the 5 essential oils (see the recipe above) and poured it into small containers. I labeled the small containers:

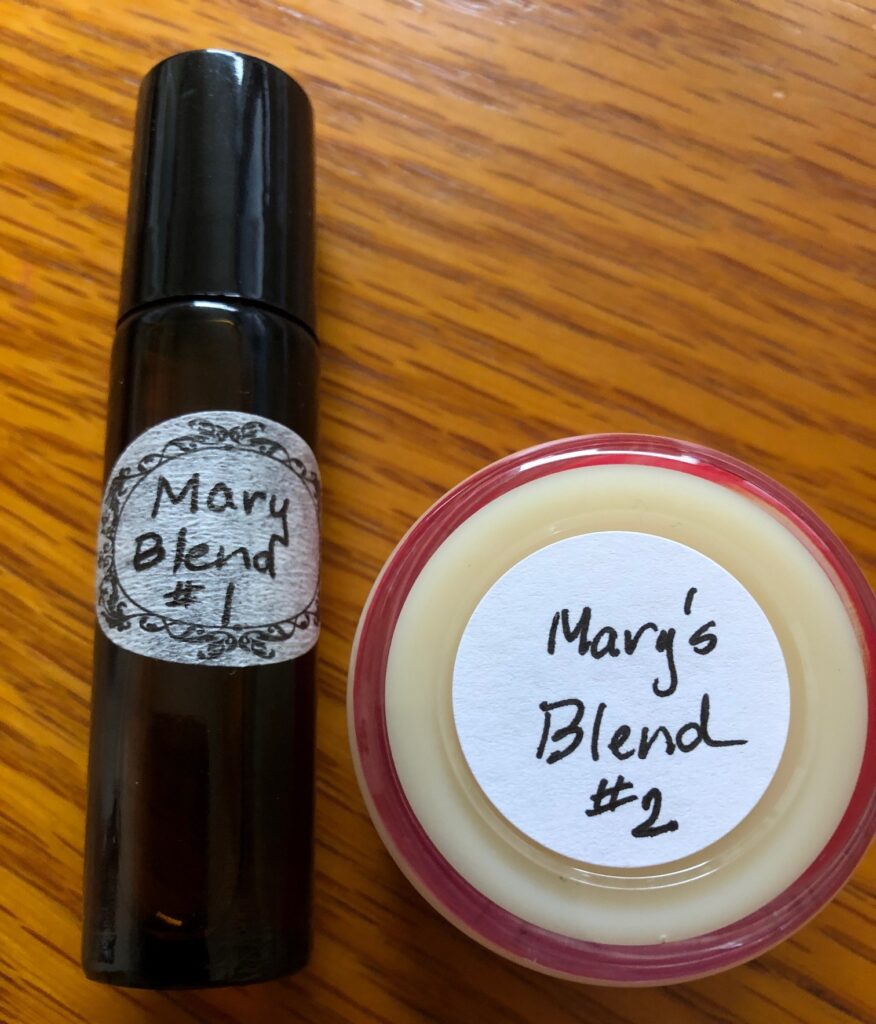
At the end of all this, I had two similar smelling perfumes. Now we’ll see if I like applying the perfume with a roller ball or my finger…and which scent lasts longer. Then we’ll see if I’m ready to try a spray! Enjoy!

Please comment or email me directly at marykisner@comcast.net.
Healing Lotion Bars with Manuka Essential Oil

A lotion bar is a convenient way to have hand lotion nearby. They are easy to make, easy to carry in your purse or briefcase and safe to put in your carry-on luggage without worry about restrictions on liquids.

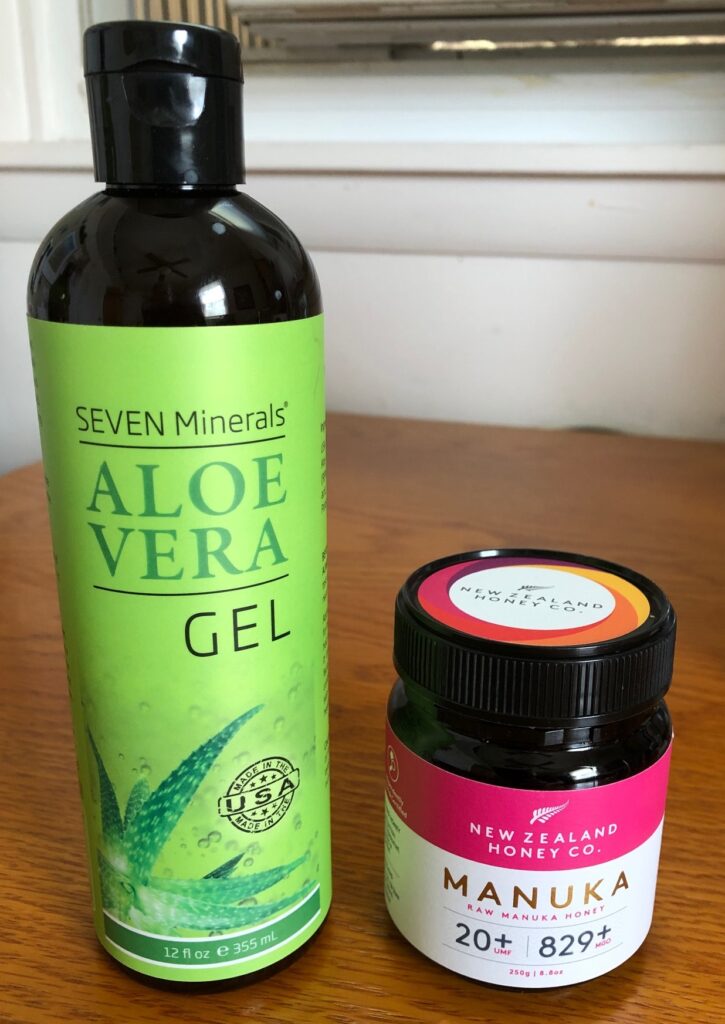
I’ve been making lotion bars for several years and I was interested in making them not only convenient but also healing for your hands. I tried to incorporate Manuka honey into the mix, but it doesn’t incorporate easily and I couldn’t add enough to make a difference. I tried using Aloe Vera gel, but that posed a similar problem. The heavy gel would sink to the bottom of my mix and the last bar I poured was big glop of Aloe Vera gel! Very frustrating!

I often start with Calendula-infused olive oil (see my post from April 7, 2021) and calendula has healing properties of its own, but I have a few folks that can’t use that herb. Lavender also has healing properties so I decided to use that.

About Manuka Essential Oil

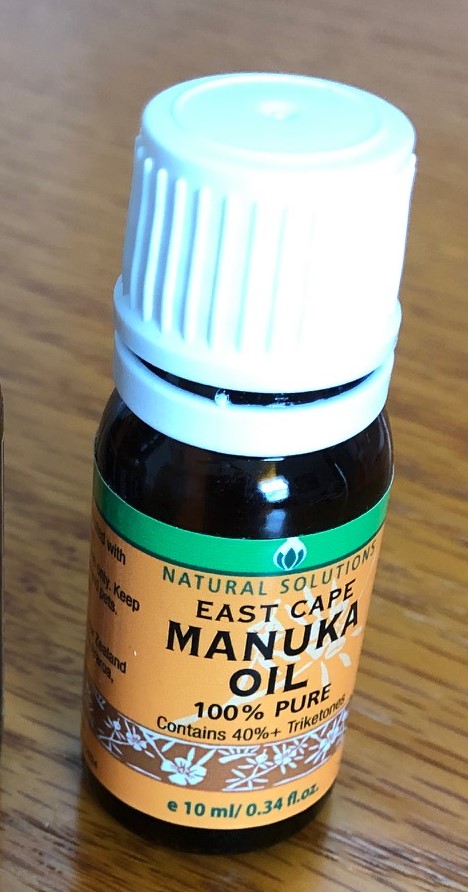
Then I discovered Manuka Essential Oil was on the market. This essential oil has been found to have many of the same healing benefits of Manuka honey, and does not have the issue of being a bee product. The oil is made through steam distillation of the leaves, branches and other parts of the tree…no bees involved! That’s good, because folks who are very allergic to bee stings could also be triggered by honey and other bee products.

Manuka essential oil, like Tea Tree oil, possesses antifungal and anti bacterial properties. Unlike Tea Tree oil, Manuka oil is non-toxic and non-irritating. It is 20-30 times more active that Tea Tree oil against certain bacteria and more effective against strains of fungi and viruses. It is safe and soothes symptoms of itching skin, rashes and exzema.

Essential oils also do well when added to hot oil/wax mixtures. A small amount can make a difference. Now I had a better way to enhance the healing properties of my lotion bars.

(Please note: Do not use Manuka Essential Oil directly on your skin…always mix it with a little carrier oil like almond or olive oil.)

First Make Lavender-infused Olive Oil

Most lotion bars start with a good olive oil infused with herbs. Instead of using dried calendula flowers, I decided to use dried lavender buds. This would be better for some folks.

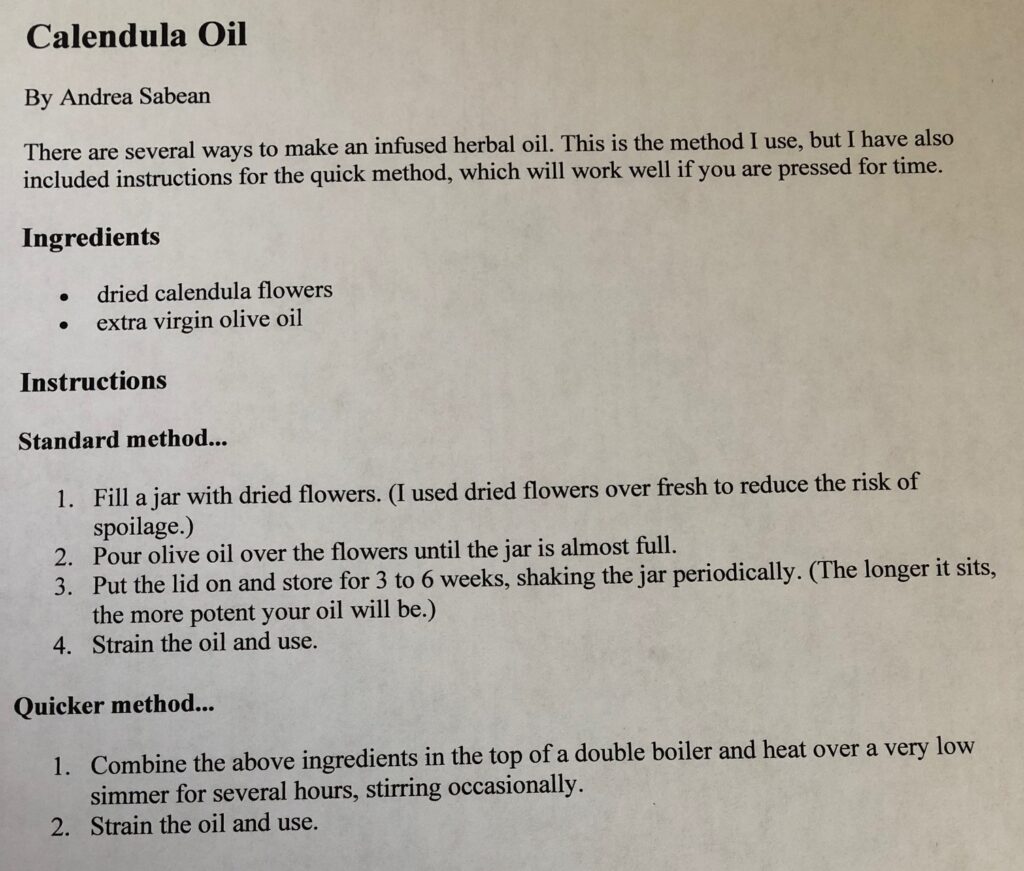
Infusing olive oil with lavender is the same process I used to infuse calendula (see the recipe below). I basically did the quicker method.

I started with a 1-quart canning jar and used about 2 cups of lavender flower buds. I simmered the oil/flower mixture for about 6 hours. Once I strained the flower buds out of the oil, I had about 2 cups of oil. I stored this oil in the refrigerator until I was ready to make these lotion bars.

Making the Lotion Bars

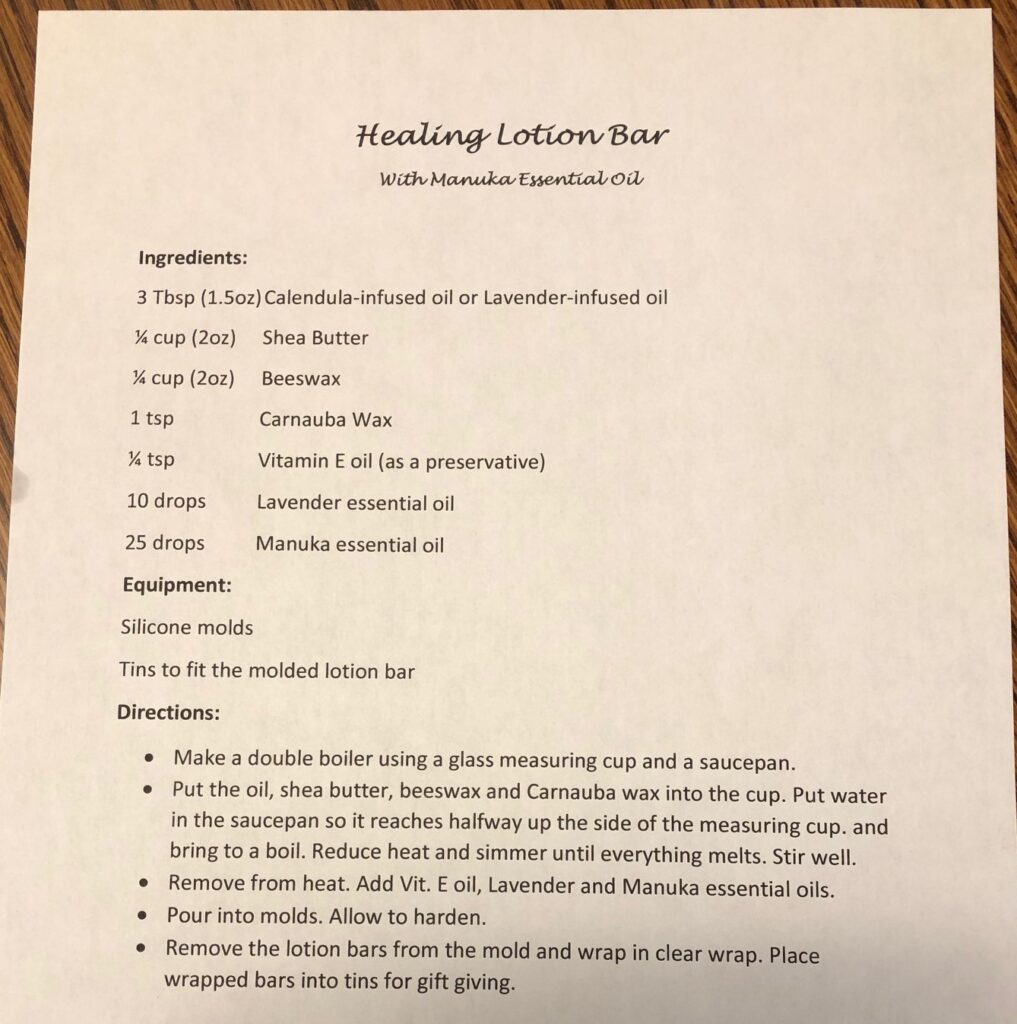
Now that I had the oil prepared, I was ready to make the lotion bars. Here’s the recipe:

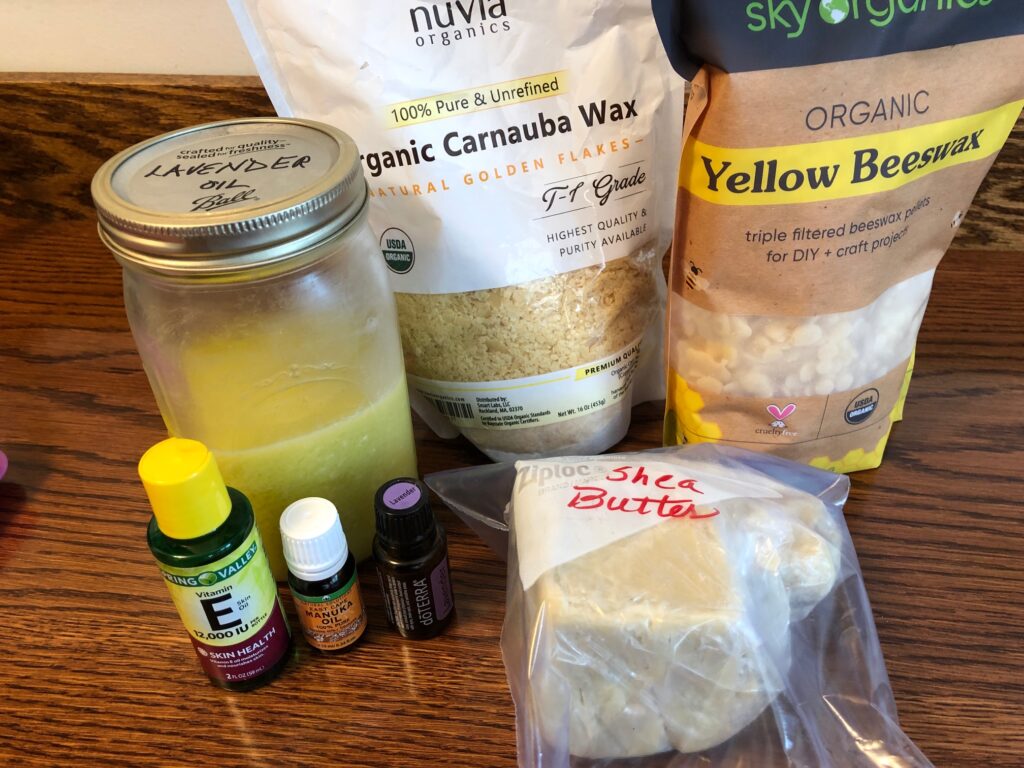
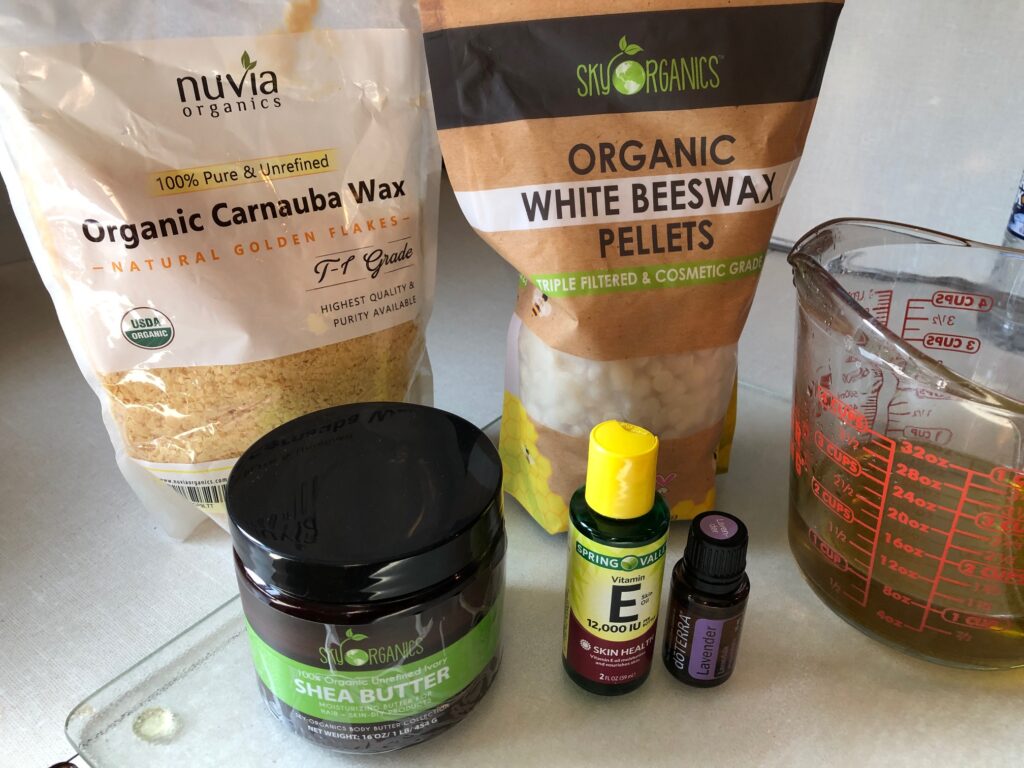
You can see, the recipe is the same whether you are making Calendula-or Lavender-infused oil. The rest of the ingredients are shown below.

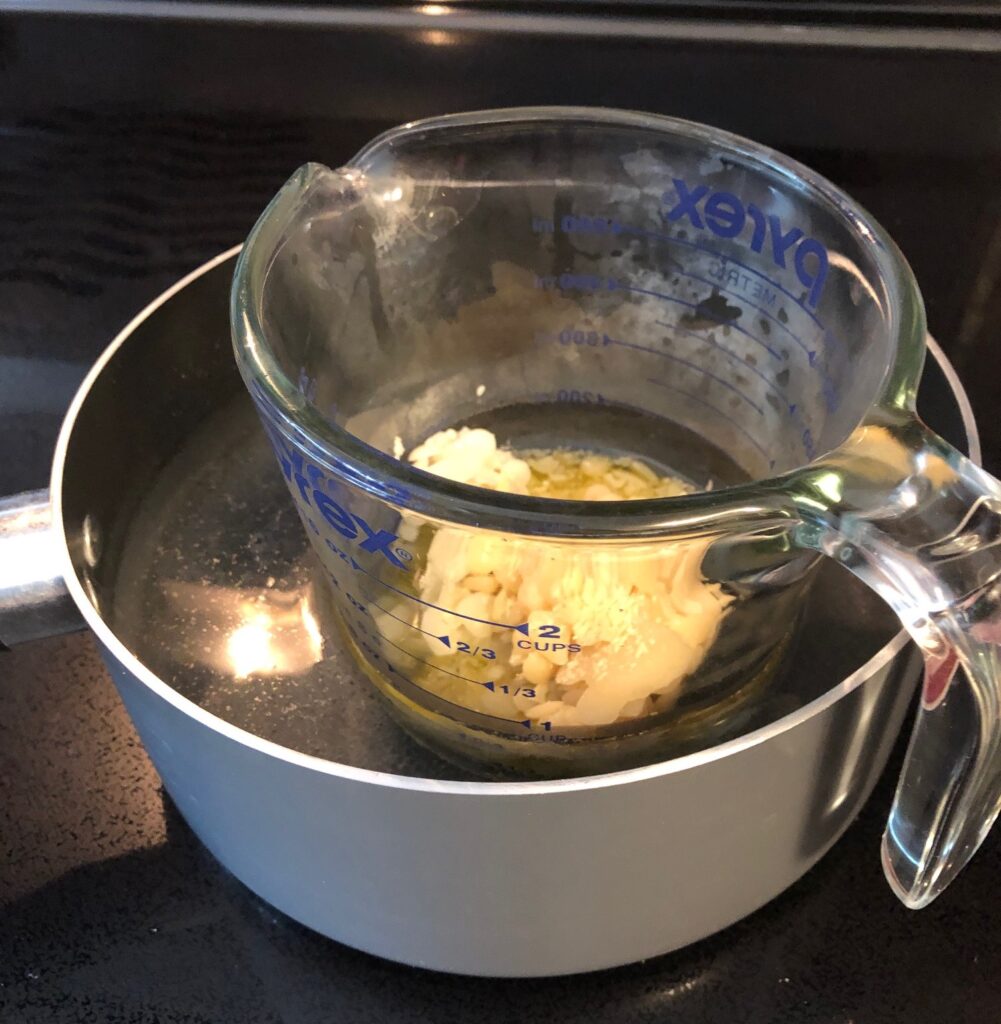
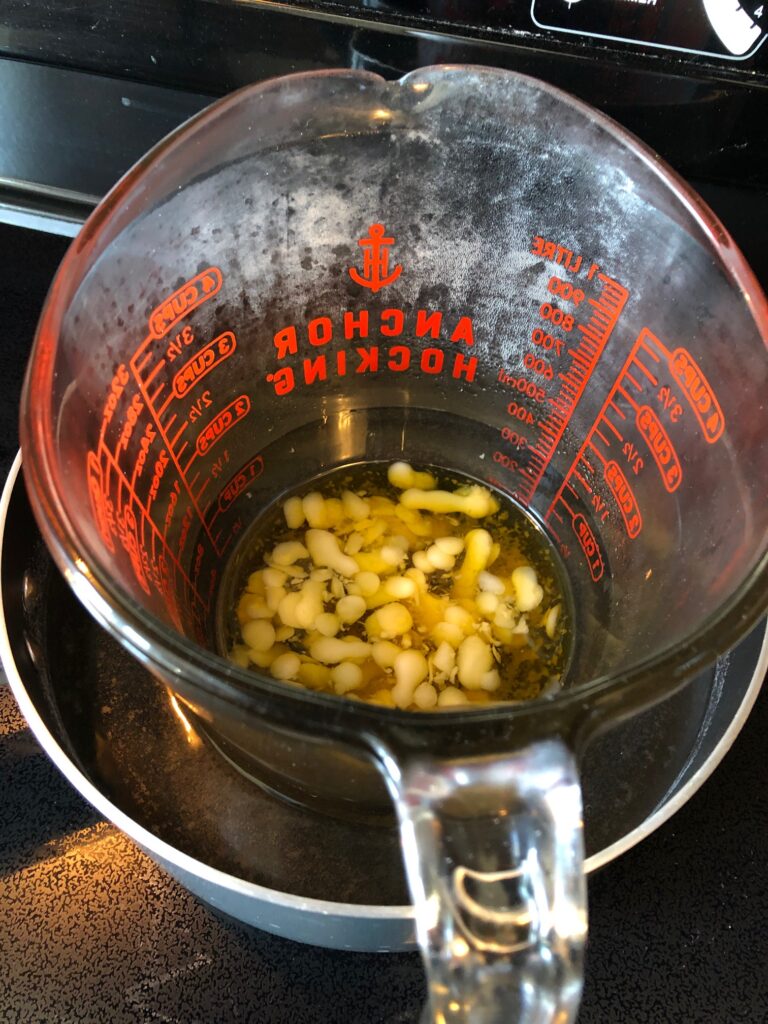
I measured and/or weighed out the ingredients into a glass heat-proof measuring cup, set the cup into a saucepan with water and slowly brought the water just to a boil. Then I reduced the heat until everything melted.

After removing it from the heat, I mixed in the Vitamin E (which acts as a preservative), the Lavender essential oil and the Manuka essential oil.

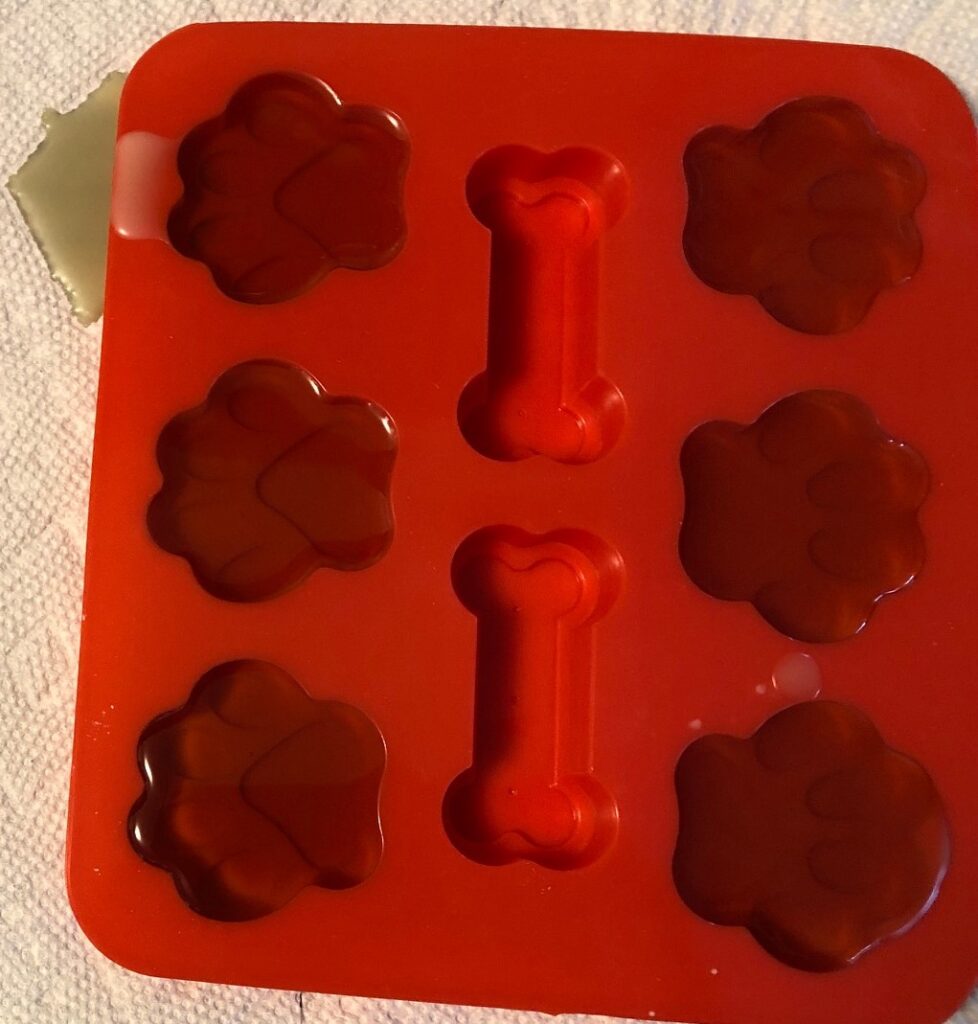
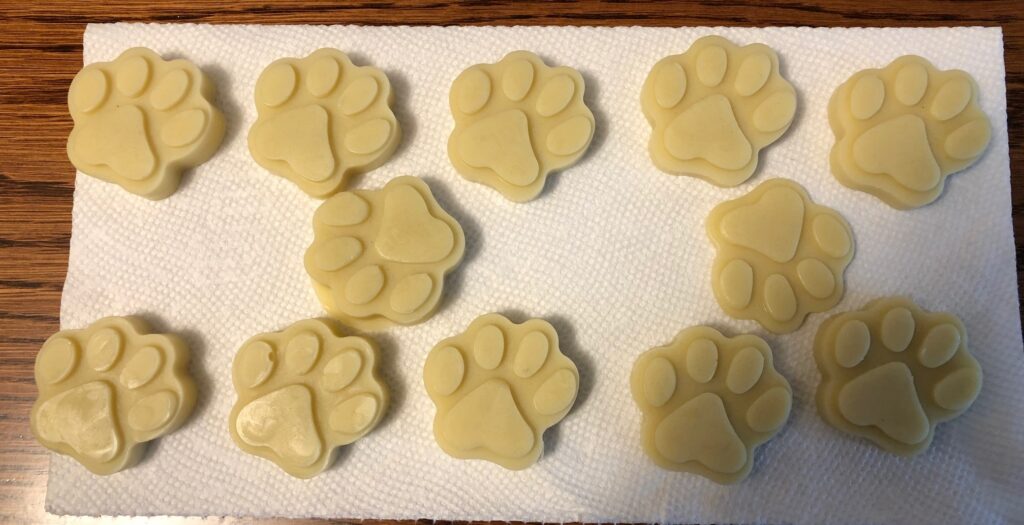
I poured the now clear, hot mixture into molds. This time I chose the paw print mold.

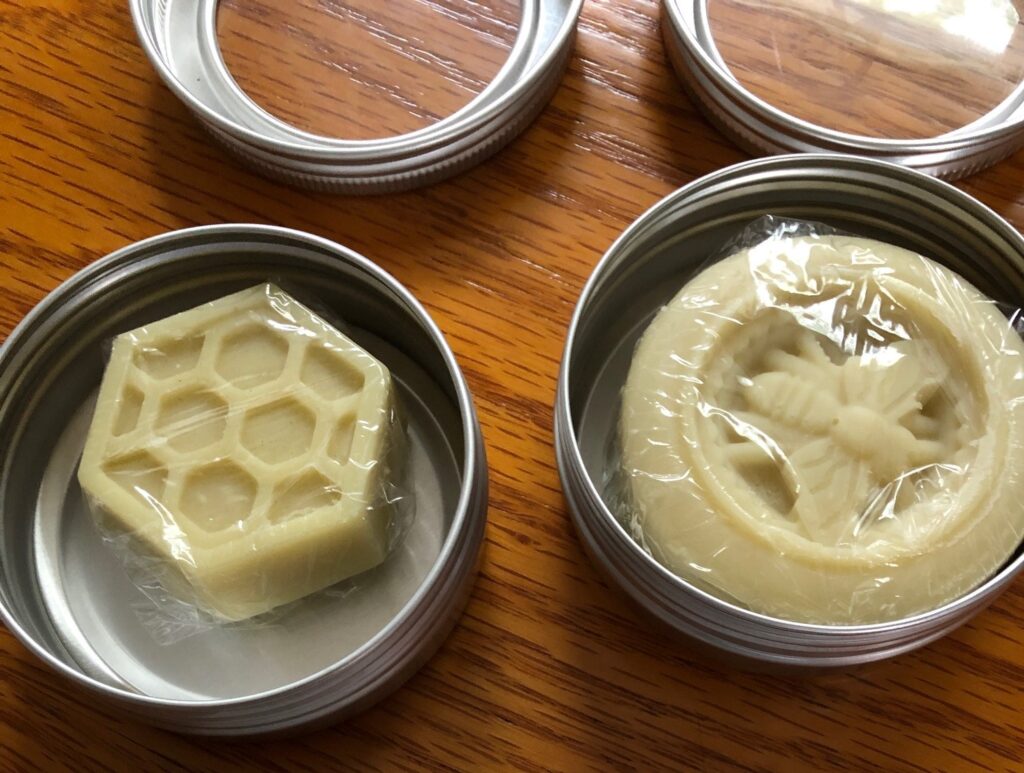
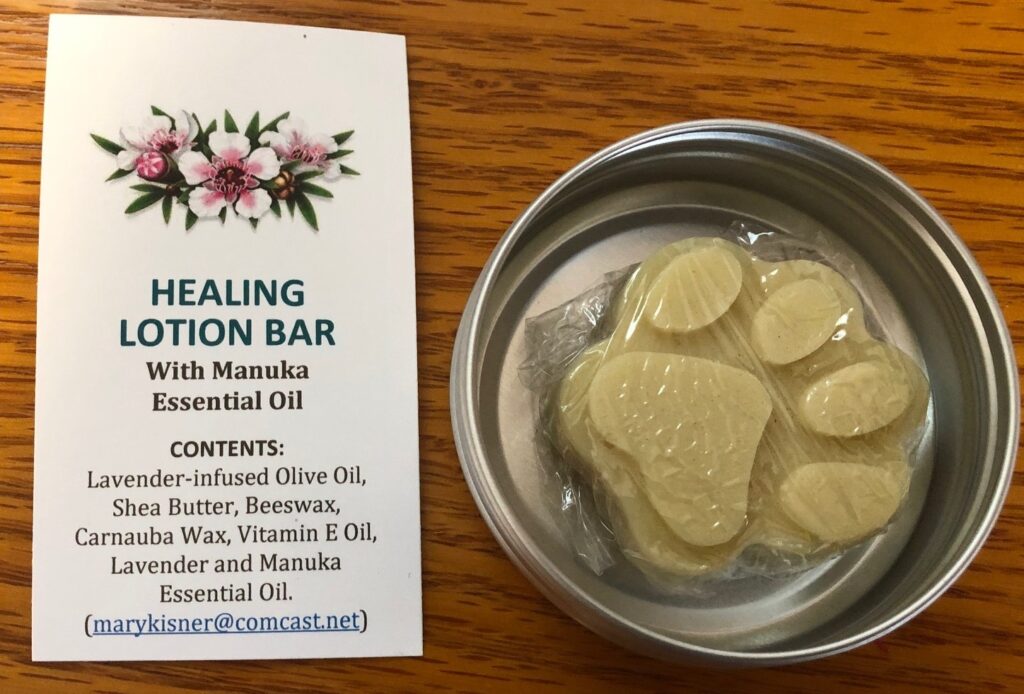
Your choice of mold will depend on what you plan to put them in and how many you want to make…the smaller the mold, the more you make. These bars do need a container of some kind. To take up less space they could be dropped into a zip lock bag, but the tins really are easier. I used 2 oz. tins with a clear window in the lid. I put a sticker/label on the back so folks know what it is (you may laugh, but I also make small soaps like this and it pays to label everything). When the bars are cool, I like to wrap them individually in clear plastic wrap so they look nice until I give them away!

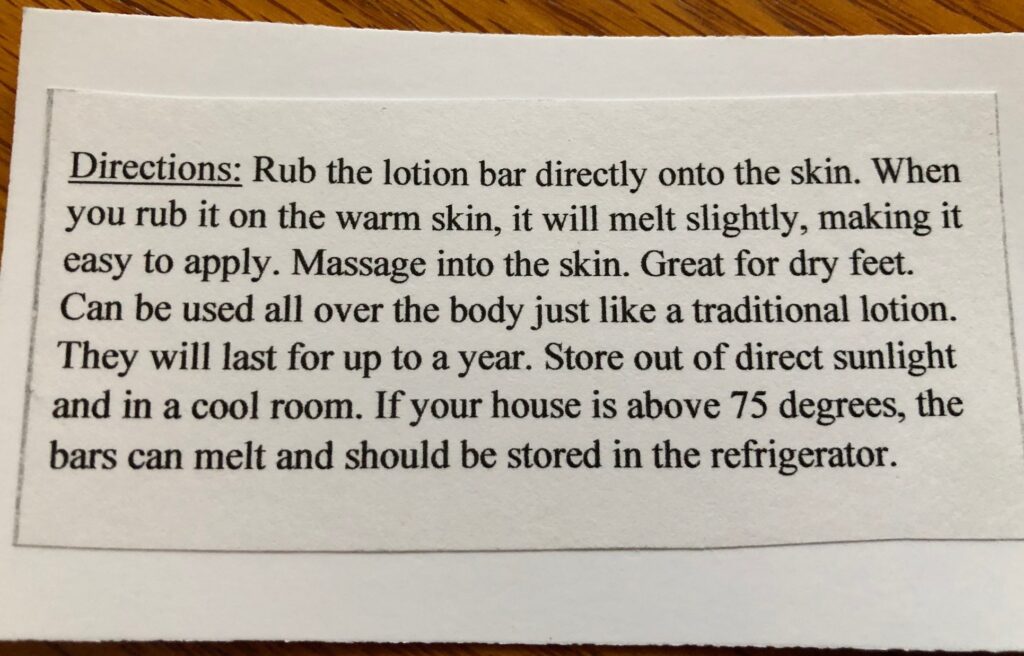
When I package them, I include a card with the ingredients. On the back I’ve pasted a paragraph describing how to use them. The card says they will melt at temperatures above 75 degrees, but while they may soften, I haven’t found that to be a problem.

Now I’m ready to have lunch with some high school friends! Maybe they’ll agree to test these lotion bars! Enjoy!

Please comment or email me directly at marykisner@comcast.net.
Make your own Dog Paw Balm & Protection Wax

Is your dog having trouble with his (or her, of course) paws in the winter with salt on the sidewalks? Is he biting or chewing on his paws like they itch…especially after a walk around the block in the spring? Taking care of your dog’s paws is an important part of being a dog owner. While this is true no matter what breed of dog you have, the greyhounds that are newly re-homed are not used to walking on gravel, salt or ice. They may be especially bothered with exposure to lawn care chemicals. Their feet are like our bare feet in the spring…remember how tender your feet are after a winter of protective shoes and boots. At any time in our lives, our dog’s feet could be affected by changing weather conditions, chemicals around them and their own changing health issues.

There are quite a few salves available on the market, from the simplest DIY recipe from the American Kennel Club to very expensive salves with Hemp oil in them and everything in between. I’d like to think we would have choices to find the one that works for our dog and is affordable.

In general, ingredients in these salves include oils (like olive oil, coconut oil and almond oil), shea butter and waxes (like beeswax, carnauba wax and paraffin wax). In addition, Vitamin E oil helps healing and serves as a preservative for the mixture. Essential oils like Lavender or Rosemary can also help with healing. I’m not sure the dogs care about the smell one way or the other but it can’t hurt.

The recipe I’ll share with you is very similar to the DIY recipe suggested by the American Kennel Club.

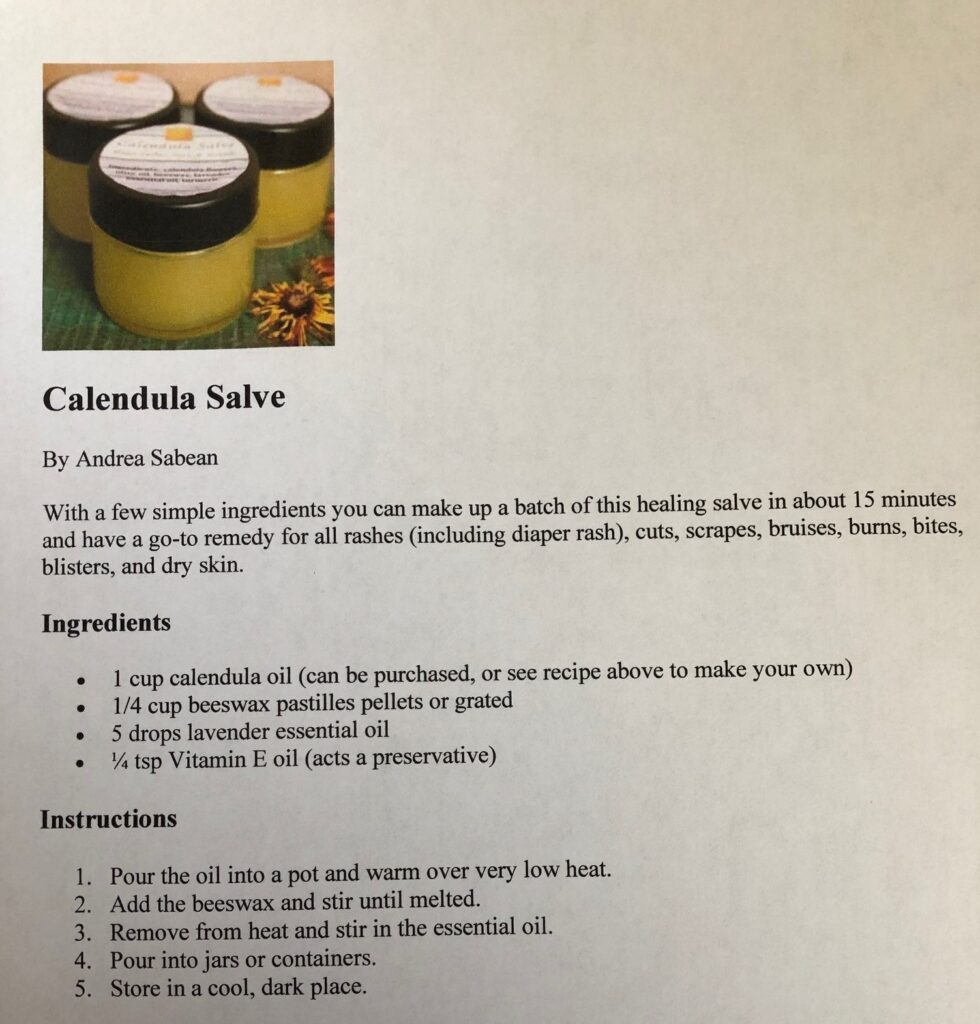
Here is the recipe I’ve used:

As you can see, I started with the calendula-infused oil I made recently (see the article, “Making Calendula-infused Oil…” published on April 8, 2021).

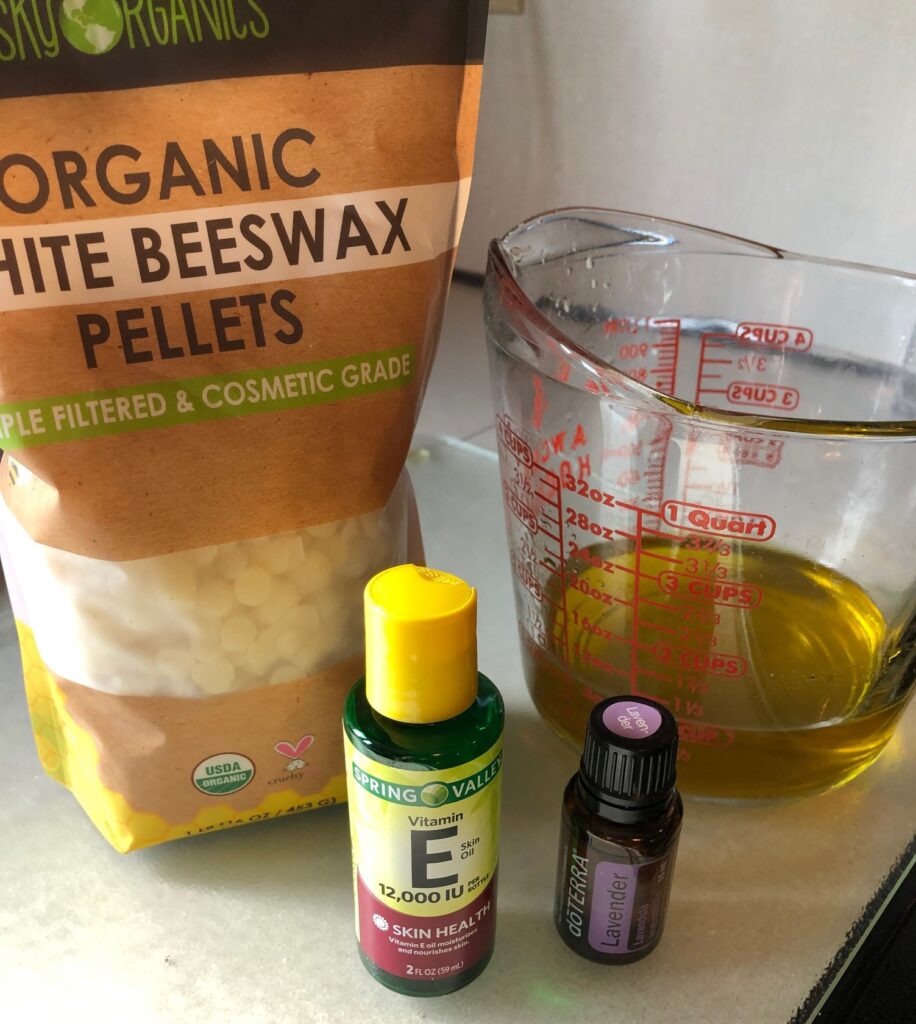
I kept the oil in the refrigerator until I needed it. The shea butter, beeswax and carnauba wax can be ordered from Amazon. The food-grade carnauba wax will leave a thin shiny coating that will help protect the paw pads from ice, salt or lawn chemicals.

This recipe begins with the glass measuring cup and saucepan with boiling water. Measure out your oil, shea butter, beeswax and carnauba wax into the measuring cup and set it in the saucepan of water. Bring the water to a boil and let it simmer until all the oil and wax is melted.

Remove the cup from the saucepan and stir in the Vitamin E oil and the Lavender essential oil.

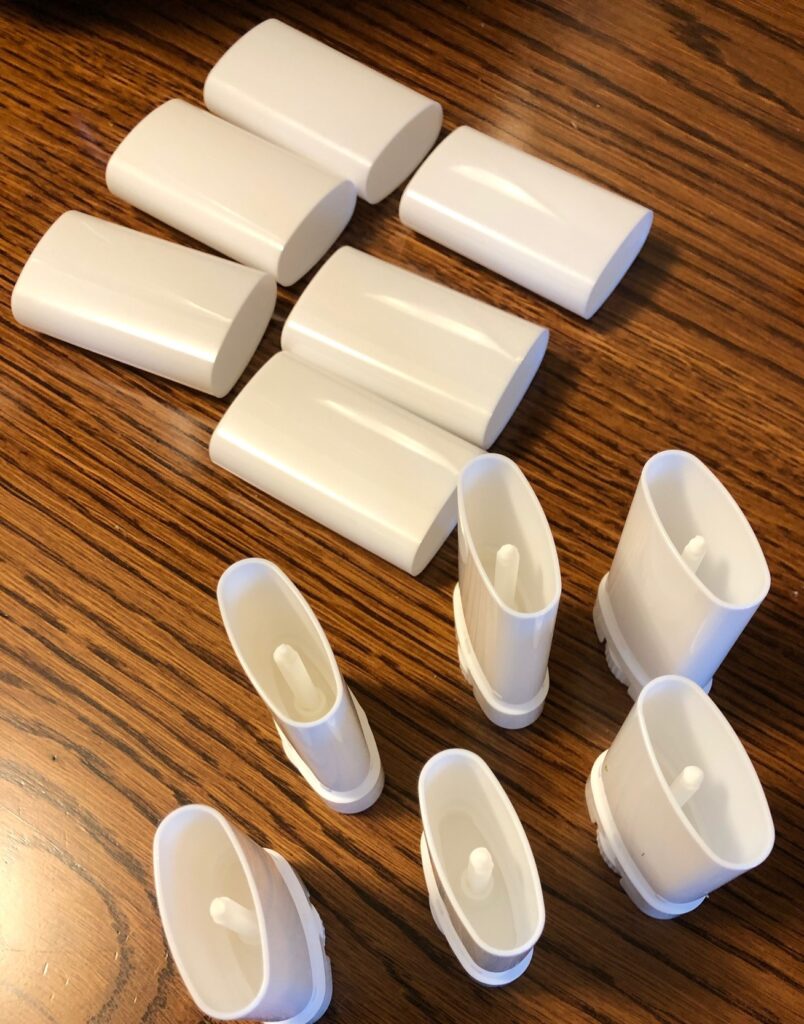
Pour the melted ingredients into your holders. I first tried one ounce jars and then realized if I were trying to apply this balm to a dog’s paws, the jar would not be a convenient way to store and access it. Using these mini deodorant holders seemed like a much better idea. Even lip balm tubes would be easier to apply the balm. These are not too expensive from Amazon.

Allow the wax to cool completely before capping to prevent condensation from forming on the inside of the lids.

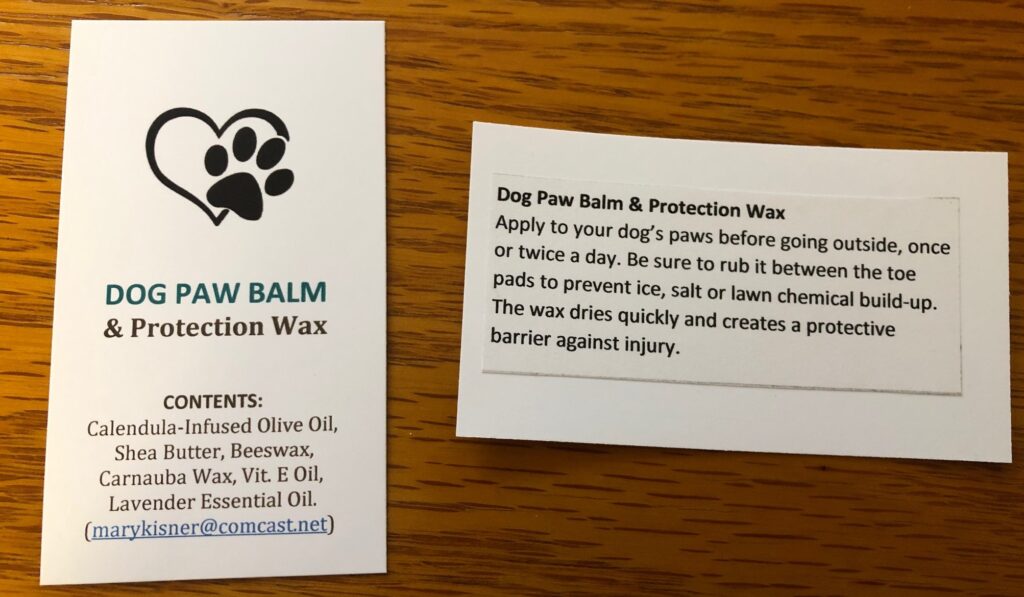
And my last step is always making a card to go with the item that lists the ingredients, with information on the back about how to apply it.

Take good care of your pets and they’ll have happy, healthy feet!

Please leave a comment or email me directly at marykisner@comcast.net! Enjoy!

Calendula Salve for summer itches!

My first Covid shot reaction of itches made me think of my Calendula Salve! I was out of it so it was time to whip up a batch. First, I had to make the Calendula-infused olive oil. (See my previous post about “Making Calendula-infused oil”). That takes a whole day so I set it up on Monday, the day of the second shot. I knew all I had to do was monitor the low simmer on the stove. I wasn’t sure exactly what reaction I might have from the second shot, but the first one gave me an itchy arm. I wanted to be ready!

This recipe (from the internet) says that calendula oil can be purchased. I didn’t know that. I have never seen it available. However, it isn’t hard to make it yourself!

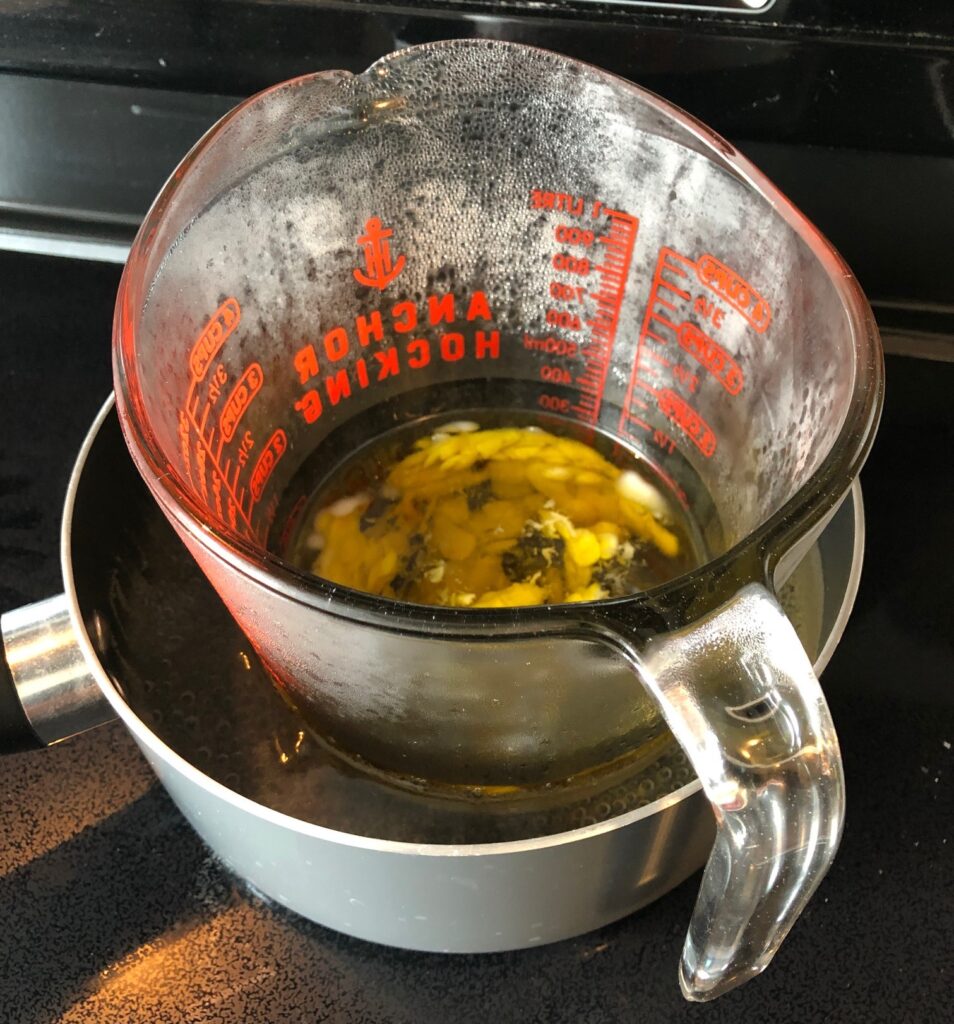
Once again, place your oil and beeswax into the glass cup in a saucepan of hot water. Let it simmer until it is all melted.

Once melted, remove the cup from the hot water and stir in the Vitamin E oil and lavender essential oil.

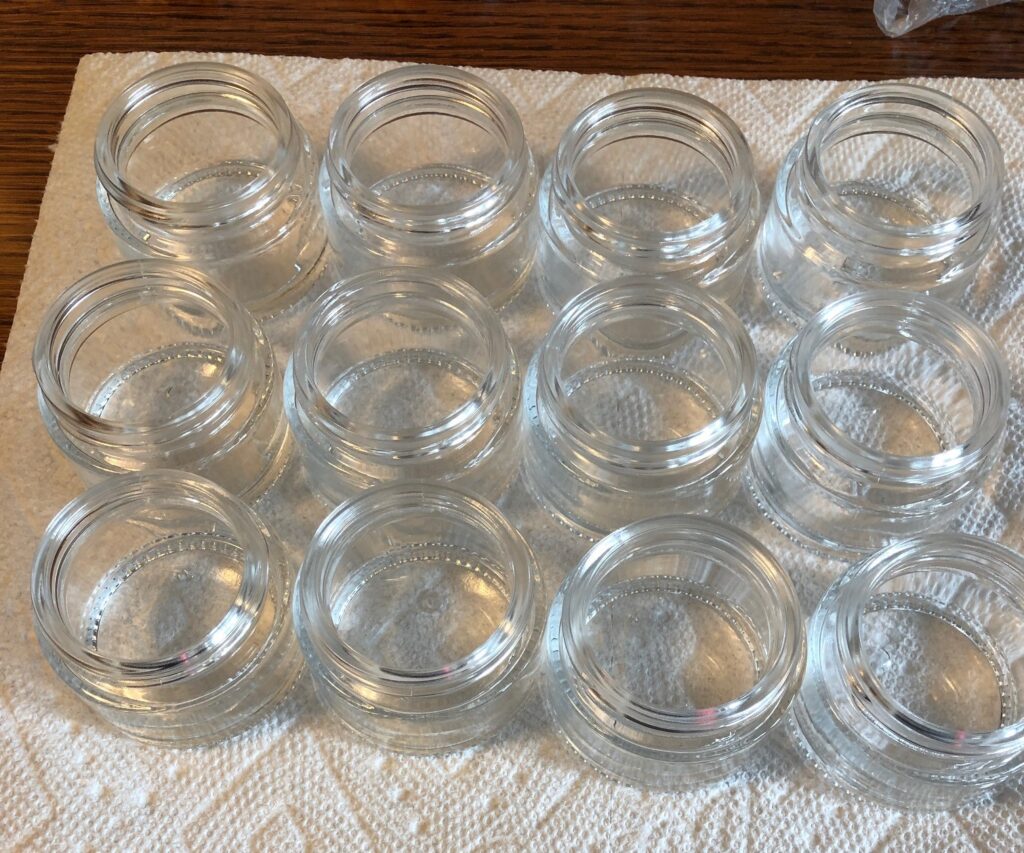
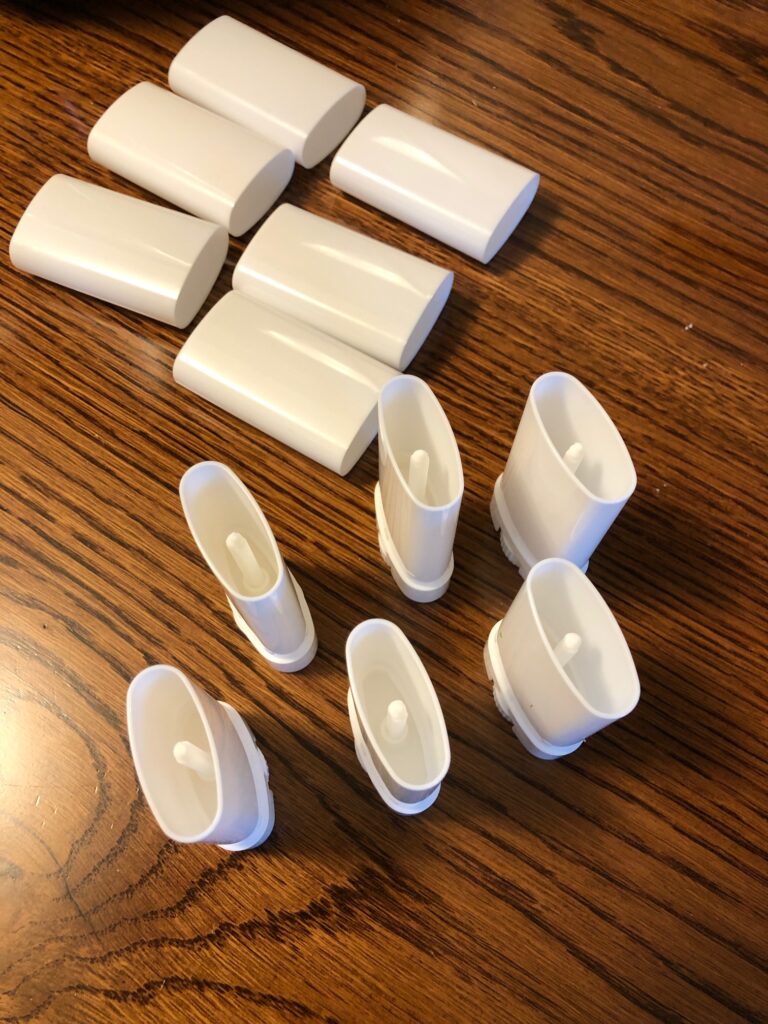
Have your jars or containers ready to fill. I always have a few extra just in case I need them! Let them cool before sealing. At the last minute I decided to include some container that could be used for deodorant and lip balm. They might make it easier for some folks to apply the salve this way.

I ended up making only 5 this size.
I made 6 small oval container (like small deodorant tubes) and 8 lip balm size from this batch of salve.

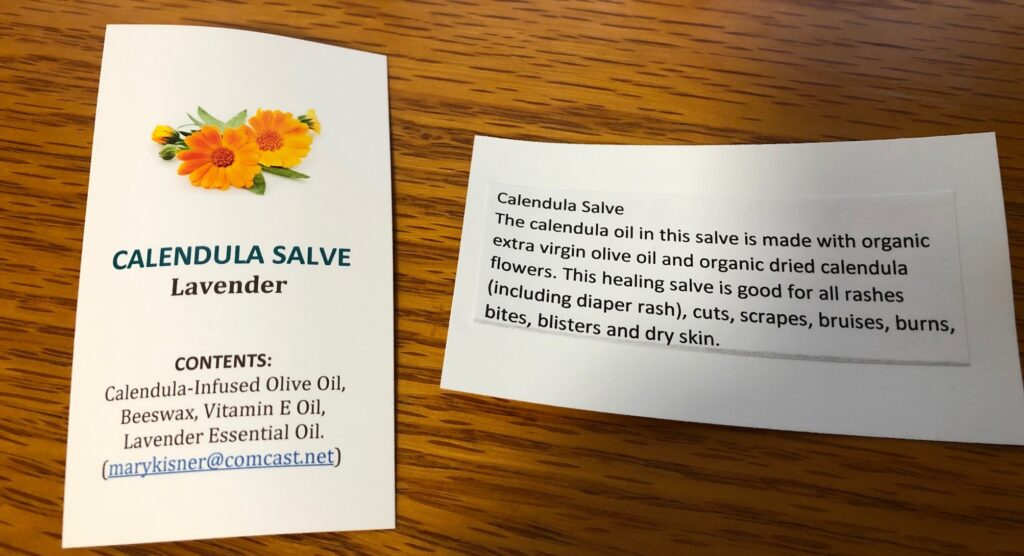
And of course, I always make a card to go with the products so folks know what is in the item. The back of the card has a statement about how to use the product.

Now…I’m ready for any itchy reactions, plus I’m ready for summer!

I put the extra calendula-infused oil in the refrigerator, ready to experiment with Dog Paw Protection Balm/wax next! Stay tuned!

Please leave a comment or email me directly at marykisner@comcast.net!

Enjoy!

NOTE:

For Topical Use: Do a skin patch test to ensure you’re not allergic to any new skin care product like this one. Apply a small amount of the product to a small patch of skin, like your inner wrist. Wait for 24 to 48 hours. If you see or feel irritation in that area discontinue use.

Making Calendula-infused oil for topical salves

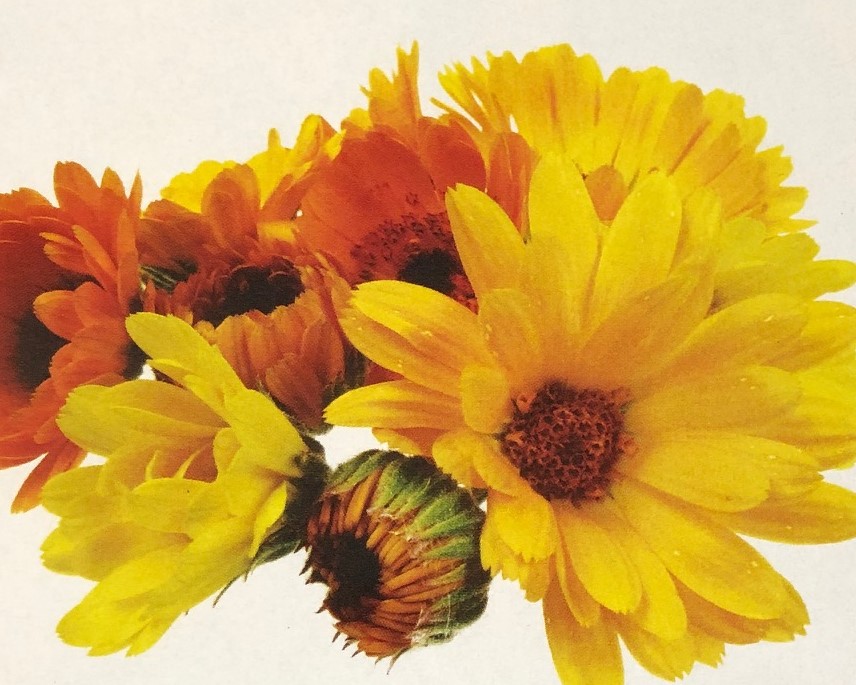
Calendula officinalis or Pot Marigold is a favorite of herbalists. Do not confuse it with the common variety of marigold of the Tagets genus, planted in many gardens.

We planted Calendula in our garden last year and it did well. I wanted to dry the flowers so I could use them in my salves and soaps. They are small plants and the flowers are quite “sticky” so the flowers needed to be picked at their peak, otherwise tiny bugs collected on the petals.

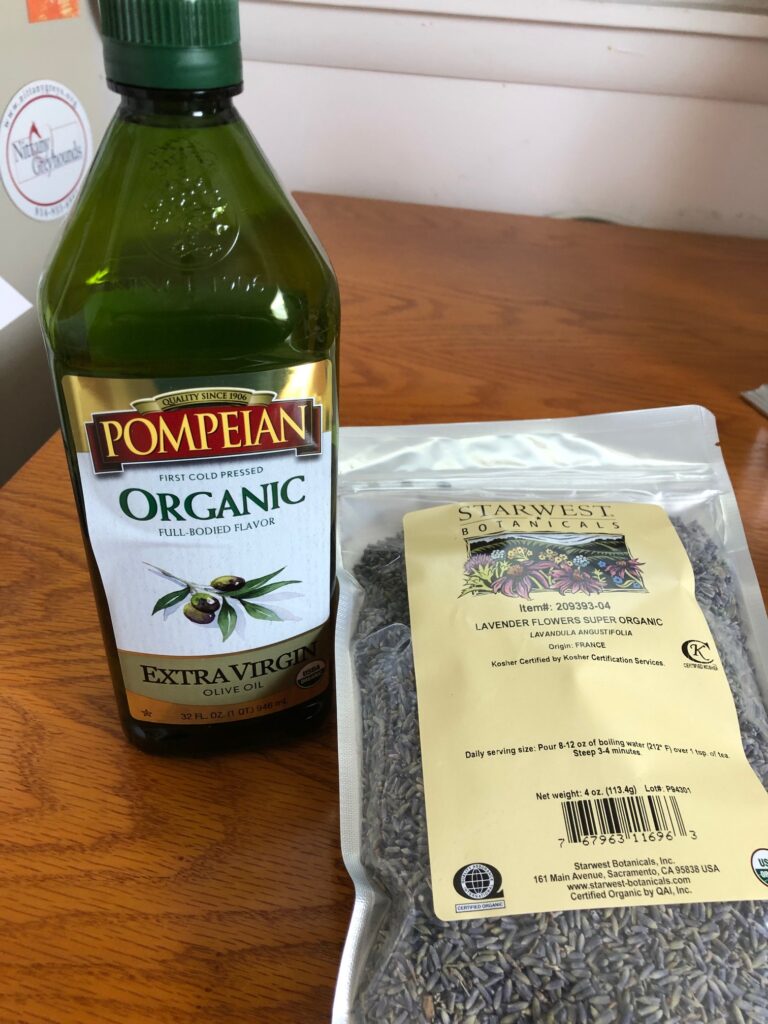
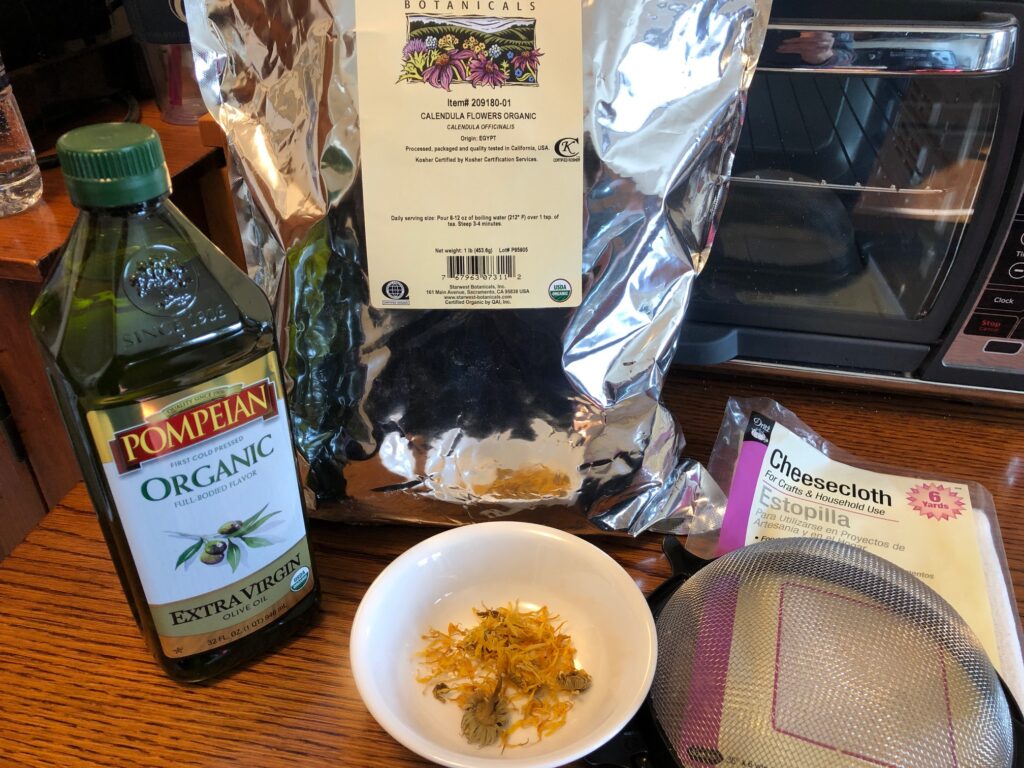
When I realized the amount of work involved to get enough flowers for my projects, I finally ended up ordering a bag of dried flowers from STARWEST Botanicals online (www.starwestbotanicals.com). This company also has dried lavender, which I also use, and many other herbs. Great resource!

Calendula flowers are used externally for a wide range of skin problems and inflammations. An infusion (like tea) made from the petals can be used in a compress to help slow-healing wounds.

As part of a cream or lotion, Calendula-infused oil is good for many problems involving inflammation or dry skin wounds, dry eczema, scalds and sunburn.

Calendula oil has antifungal, anti-inflammatory, and antibacterial properties that might make it useful in healing wounds, soothing eczema and relieving diaper rash. It’s also used as an antiseptic.

Calendula oil is made by infusing flowers in a carrier oil. I use organic extra virgin olive oil. This Calendula-infused oil can then be used on its own or to make ointments, creams or salves.

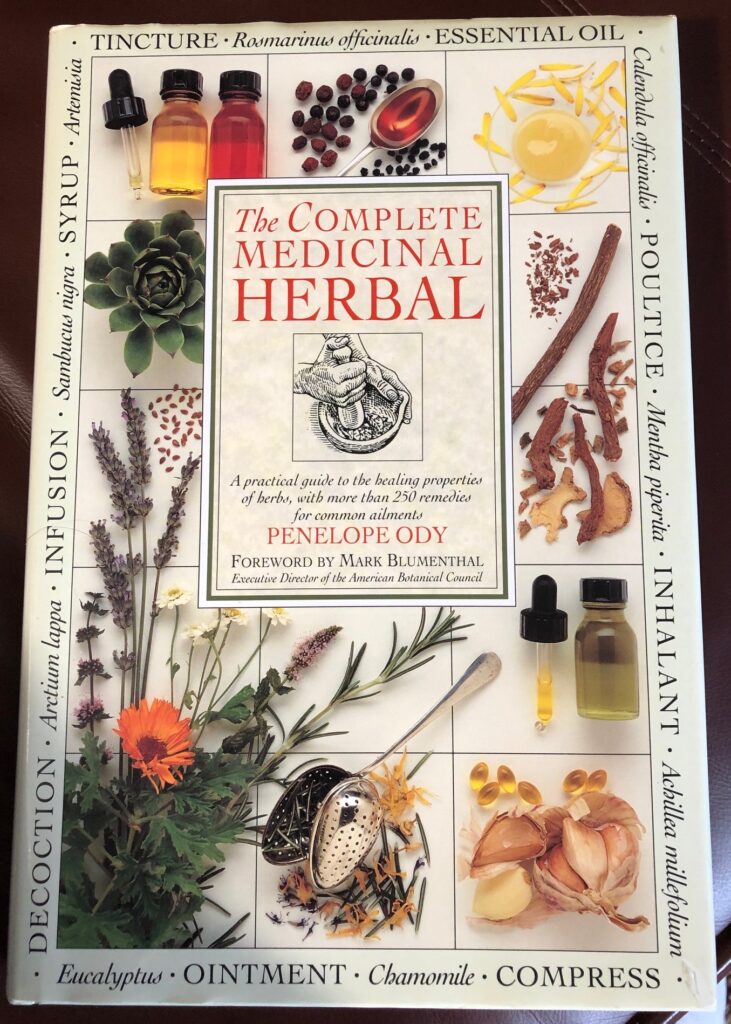
Here’s one of my favorite books about using herbs:

Making Calendula-infused oil

Here are the basic instructions:

First, I filled a quart jar with dried Calendula flowers. This 1 lb. bag of dried flowers will probably last me the rest of my life! After the challenge of growing, picking and drying the flowers myself, this was a great compromise!

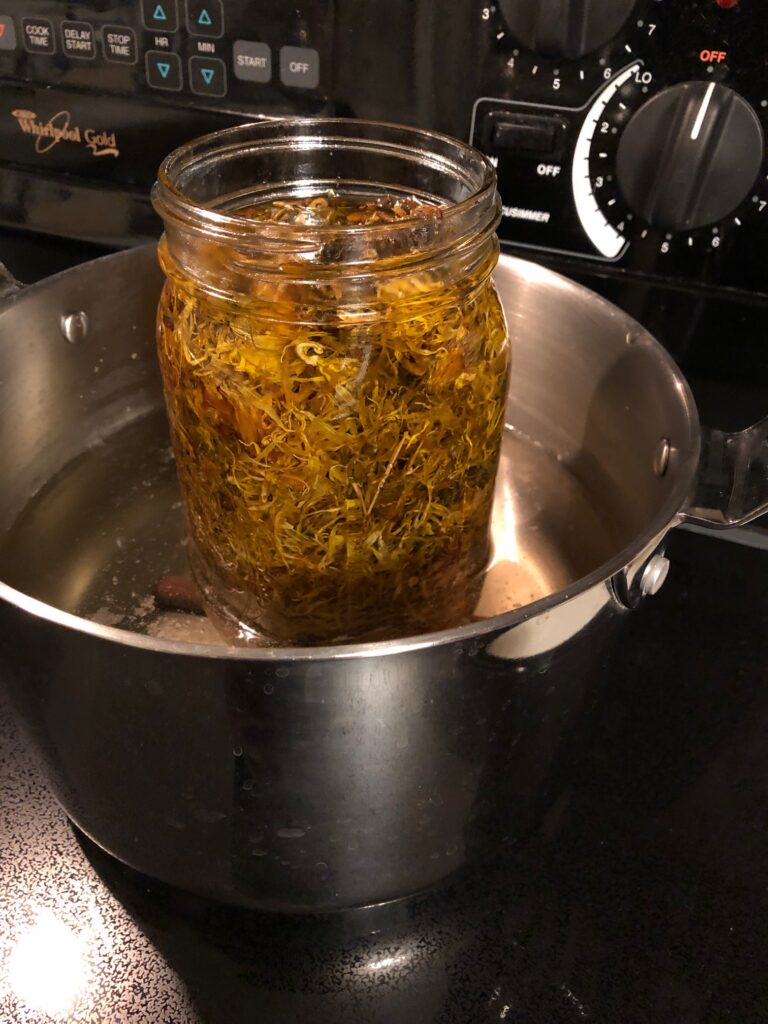
Then I poured olive oil over them and filled the jar. I used a long-handled spoon to gently poke the flowers to distribute oil. I set the jar into the sauce pan of water. I brought the water up to a boil and then lowered the temperature so it would just simmer for about 6 hours. I did have to add water to the sauce pan every hour or so as it evaporated.

Then, I poured the oil/flower mixture through the strainer, disposing of the flowers. I strained it again by lining the strainer with cheesecloth to make sure I didn’t have any crumbs from the dried flowers.

I ended up with almost 2 cups of lovely calendula-infused olive oil. This strained oil will be used in my next two projects…the Calendula Salve and a Dog Paw Protection Wax…which will be described in the next two posts.

Check the next post about using this oil to make a wonderful salve. I’m counting on it to soothe my itches!

Leave a comment or email me directly at marykisner@comcast.net! Enjoy!

NOTE:

For Topical Use…do a skin patch test.

Do a skin patch test to ensure you’re not allergic to a new skin care product like this one. Apply a small amount of the product to a small patch of skin, like your inner wrist. Wait for 24-48 hours. If you see or feel irritation in that area after that time frame, discontinue use.

For Internal Use…not recommended without consulting a health professional.

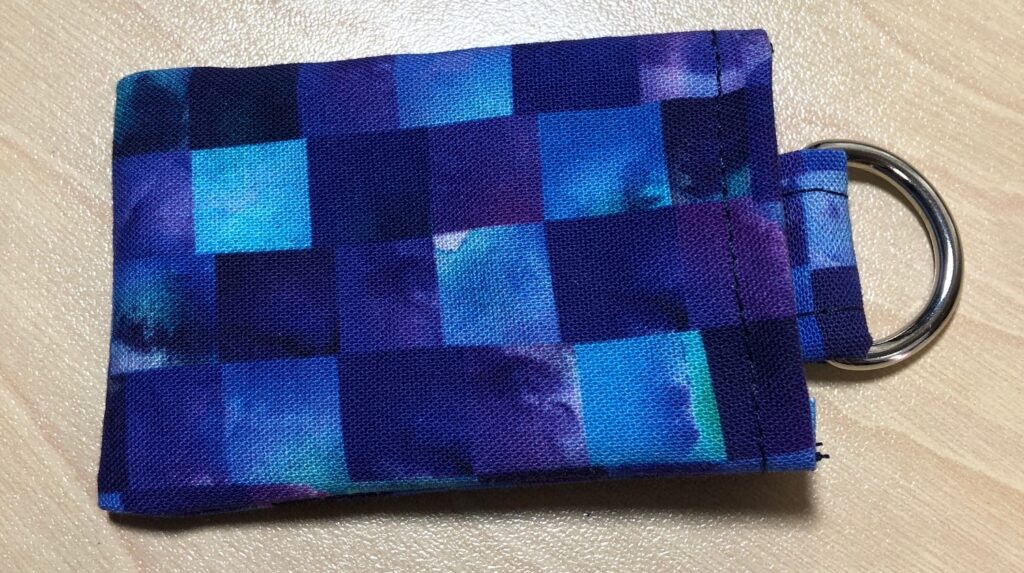
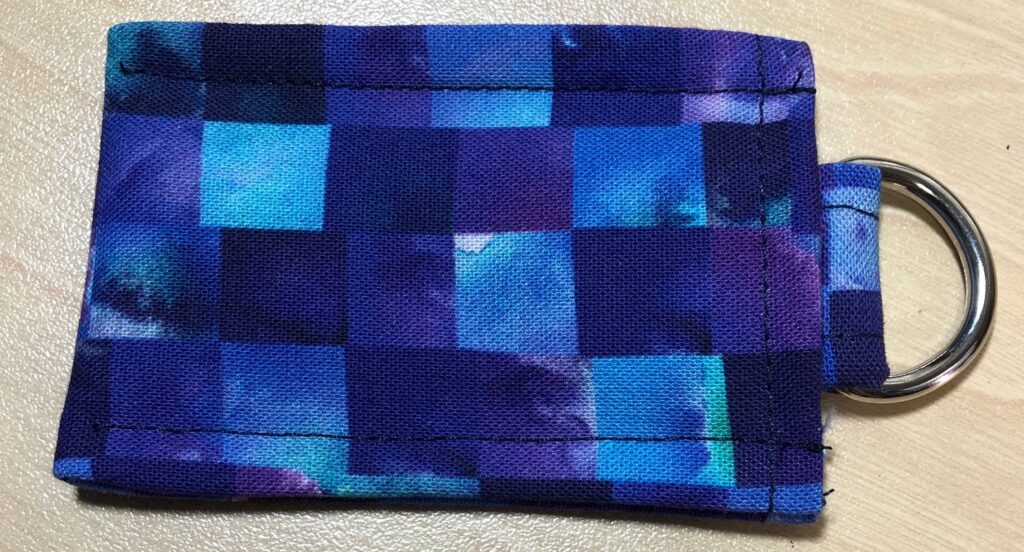
How about a holder for the lip balm!

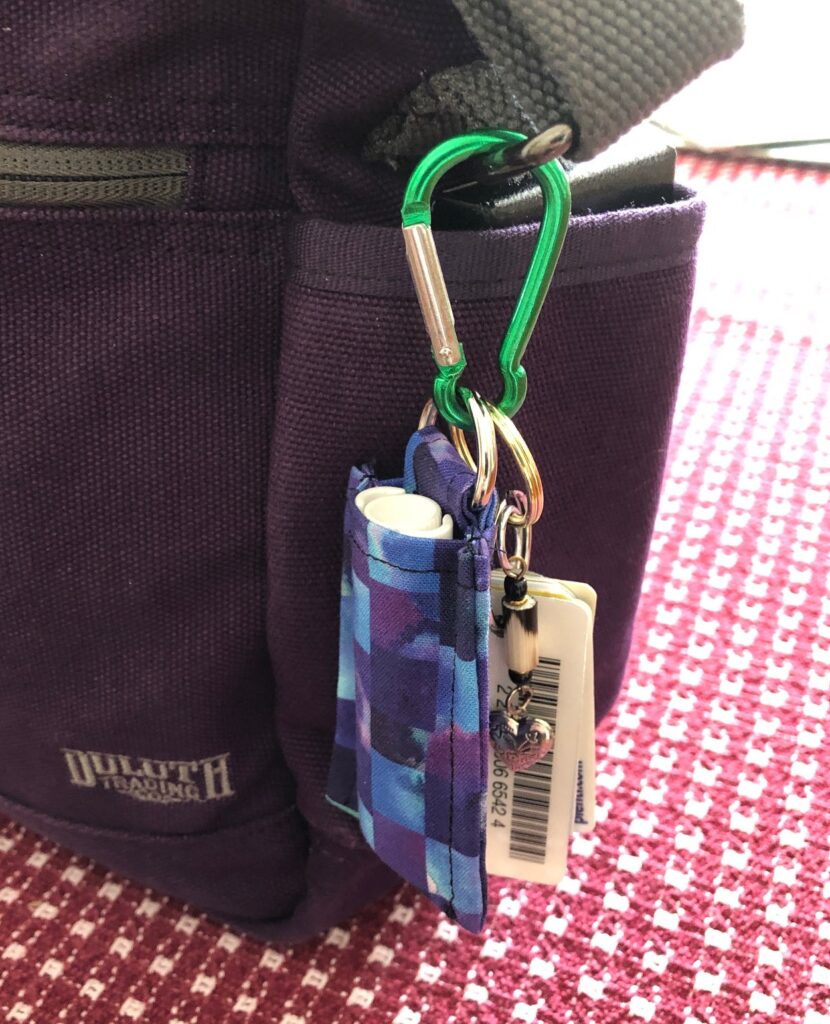
Now that I have a handful of lip balms to give away, I like to also hand someone the holder to put it in. I carry mine on my purse so I never have to dig for it. My grandkids have fastened them to their backpacks!

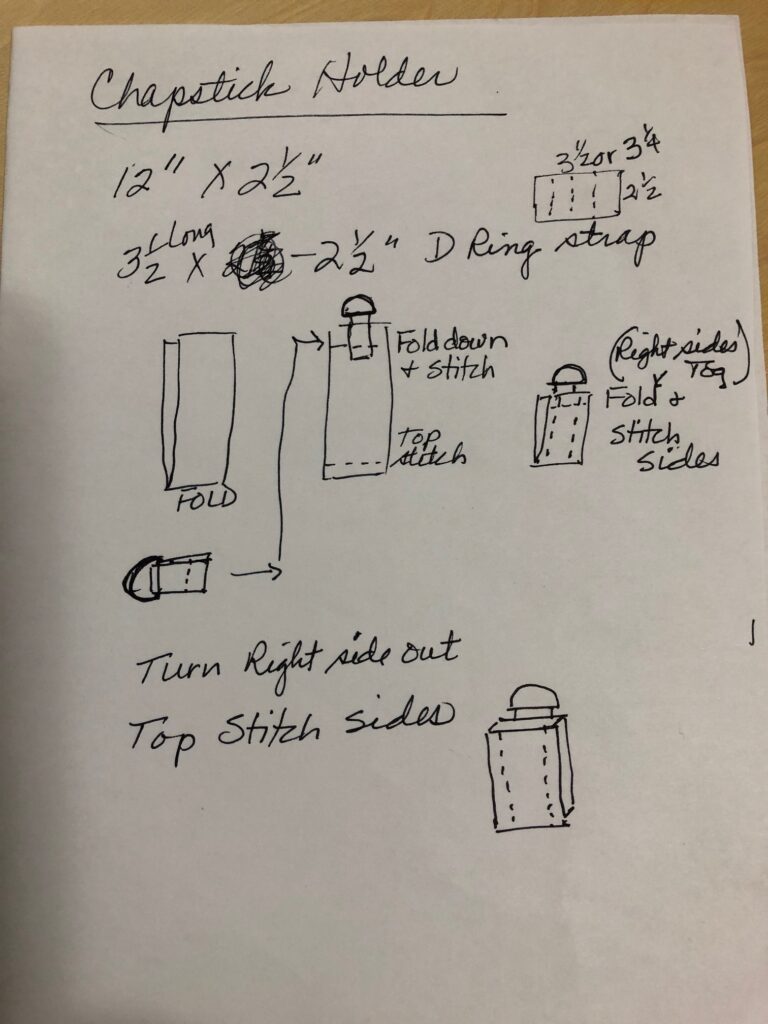
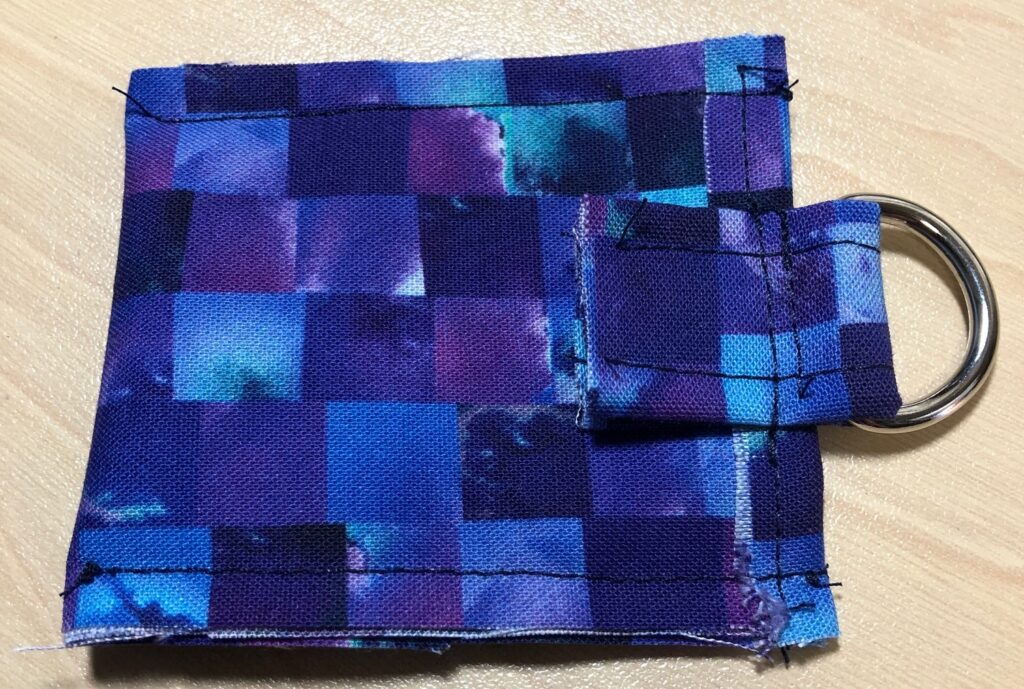
I first went to WalMart and Pinterest to get ideas. I bought a few to take apart. I basically experimented to find ways to end up with all the seams turned to the inside and still be possible with my sewing machine. After taking a few apart, I sketched out my pattern.

You might think I have a special pattern to make this holder. Ha! Let me show you what I use:

As I made a few samples I refined the process. So, here are the steps with pictures:

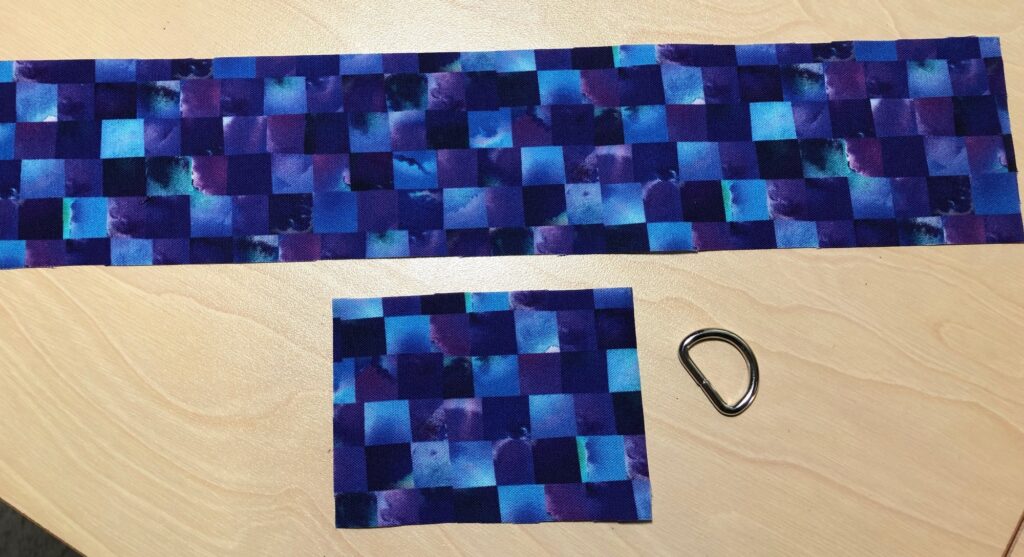
Step 1: Your materials

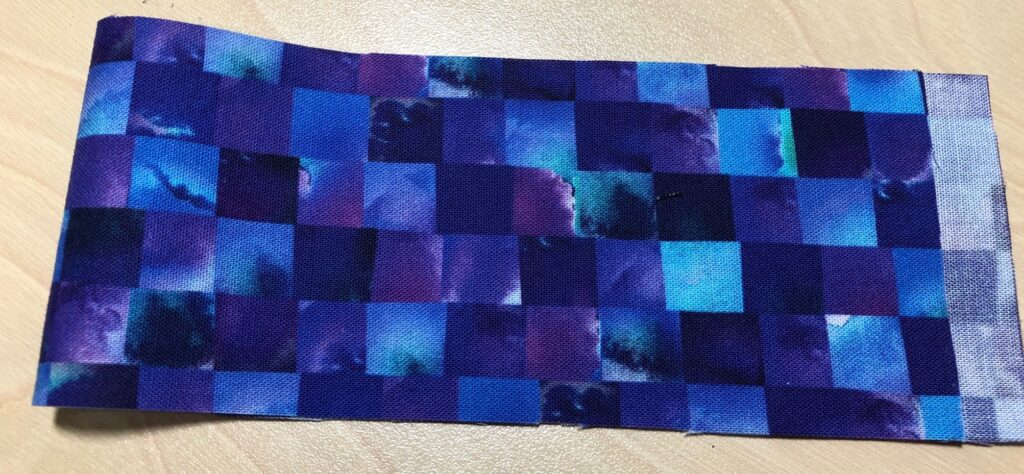
A piece of fabric 2 1/2″ by 12″; a piece of fabric 2 1/2″ by 3 1/2″; a 1/2″ D-ring

Step 2: Make the D-ring attachment

Using the 2 1/2″ by 3 1/2″ piece of fabric, fold the two ends to the center, then fold the piece in half. Top stitch the edges together.

Step 3: Attach the D-ring

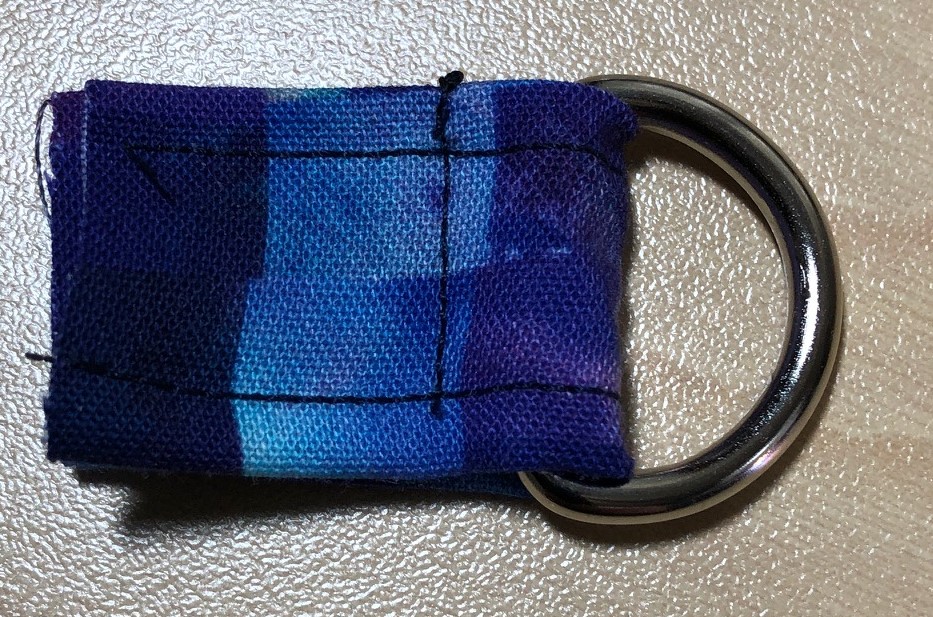
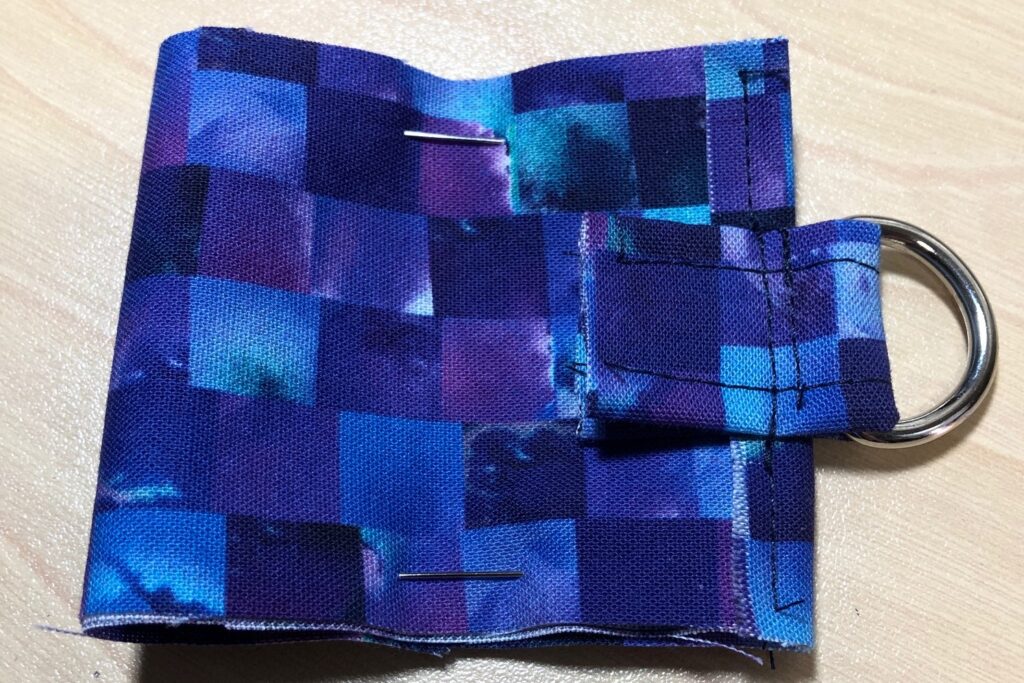
Insert the tab through the D-ring and fold in half. Stitch close to the D-ring (I had to use my zipper foot to get close enough).

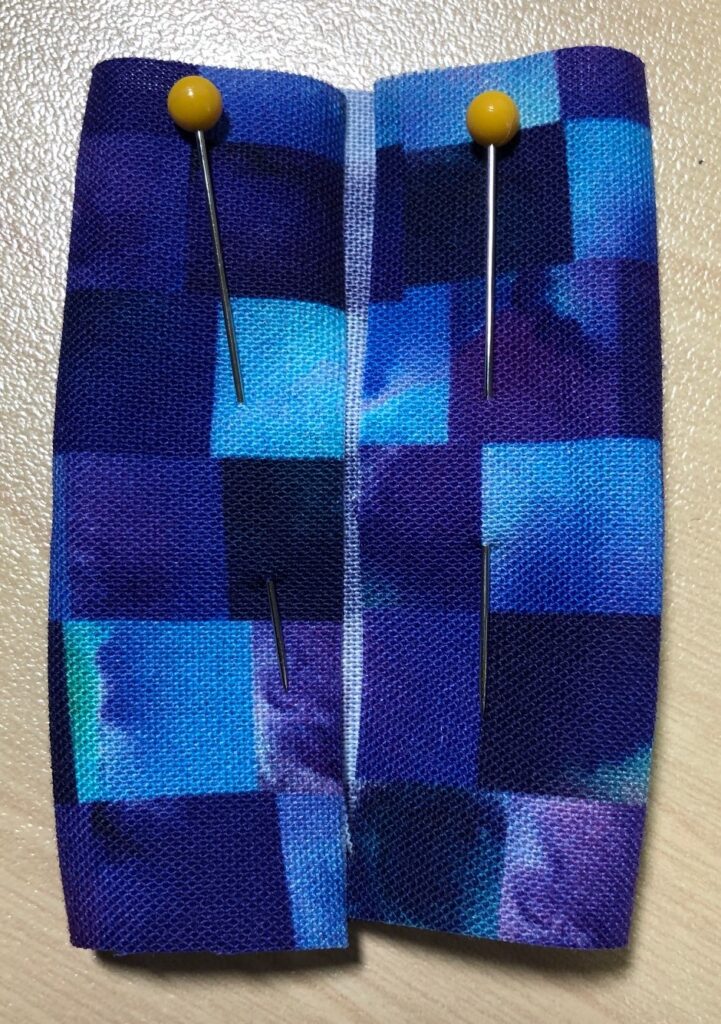
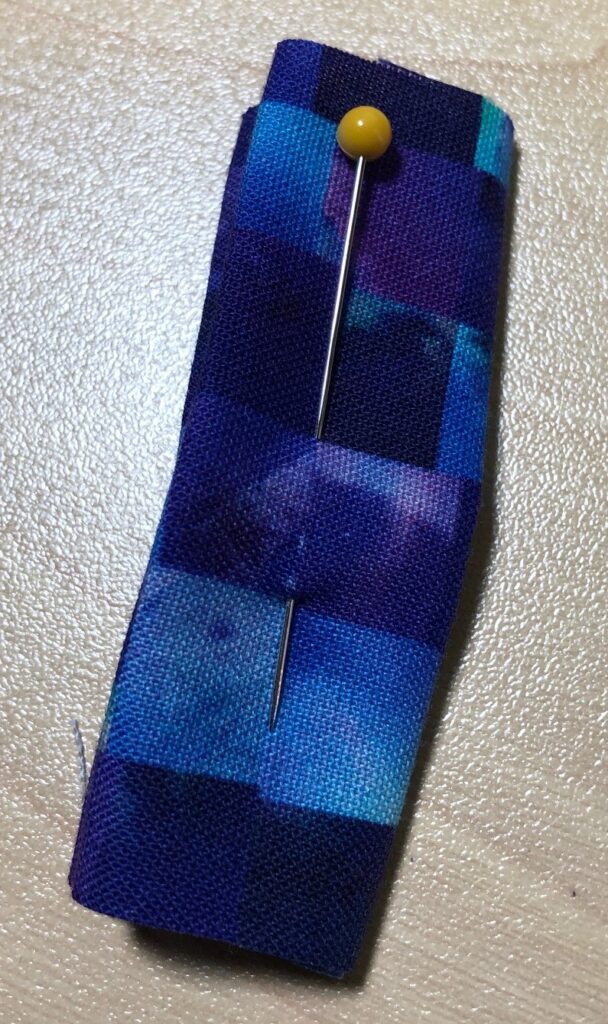
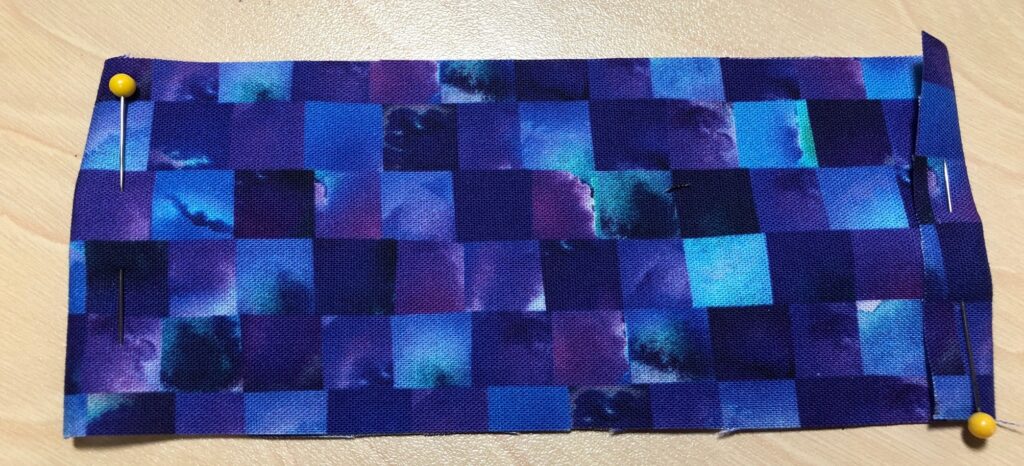
Step 4: Fold the 2 1/2″ by 12″ piece almost in half, leaving 1/4″ to fold over. Stitch the edge folded over and top stitch along the other folded edge.

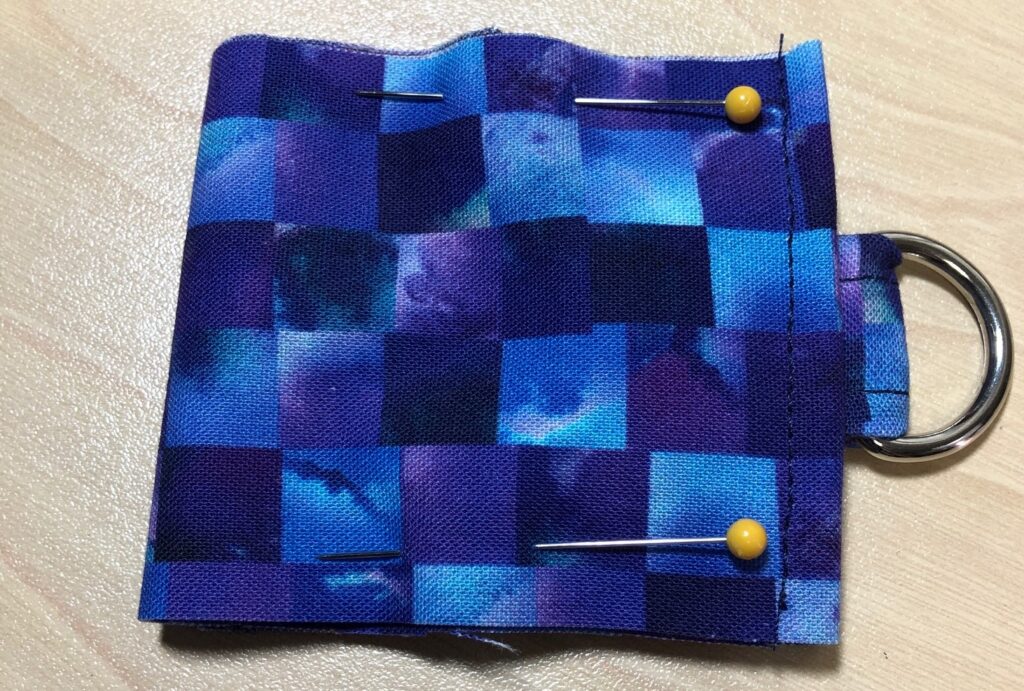
Step 5: Attach the D-ring tab to the folded edge (on the right, above), stitching close to the D-ring. This is the inside of the holder.

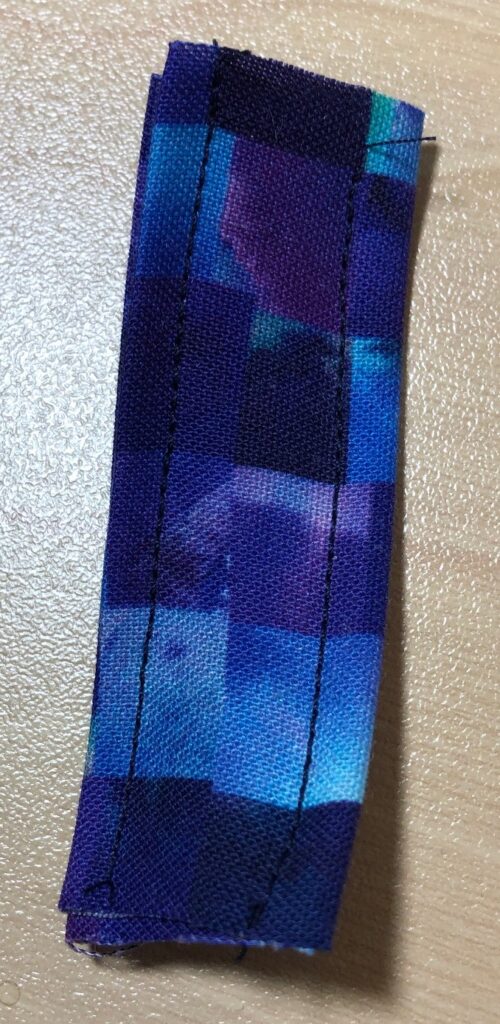
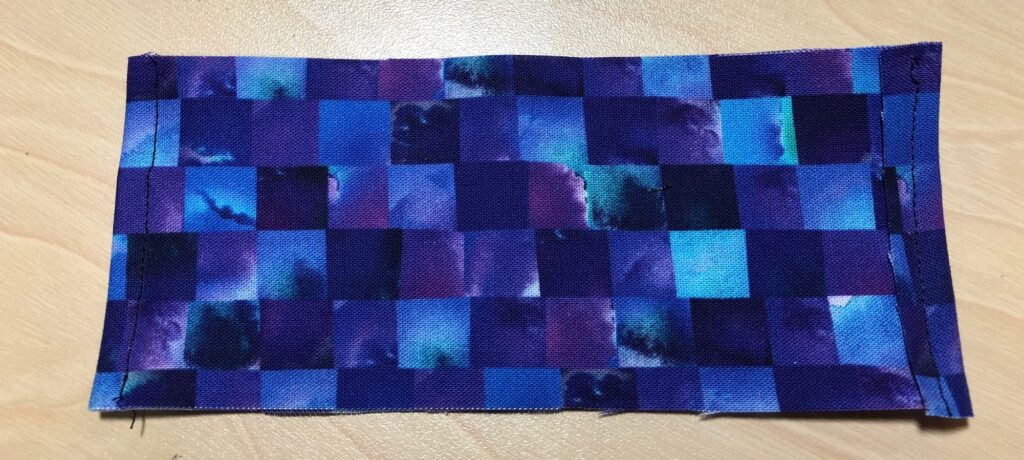
Step 6: Fold the holder in half, right sides together. Stitch the sides with a 1/4″ to 3/8″ seam.

Step 7: Turn the holder right side out. I use a stick that came with my stuffing to help poke out the corners.

Step 8: Top stitch the sides with a 1/4″ to 3/8″ seam. (Depends on how big your lip balm is. Some lipsticks are larger around so the smaller seam is necessary).

I use a carabiner clip to attach my holder to my purse, and I include one with each holder I give away.

This works great to fasten my holder and all my grocery tags to the outside of my purse so I don’t have to hunt for them!

This same holder pattern could be enlarged to handle an essential oil roller ball or a small flashlight. Experiment!! Have fun! If you have questions, leave a comment or send me an email directly at marykisner@comcast.net. Enjoy!
Make a regular batch of Honey Lip Balm

In the last post, I shared a kit that makes just one lip balm at a time. Great to know how to do it but I’d much prefer to spend almost the same amount of time and a few more ingredients to end up with more than one of something!

If I’m going to spend the day making bread, I’d sure rather have 6 loaves than just 3. I think it’s because I like to share a loaf with my neighbors! Same issue with lip balm, lotion bars and soap! Of course, that means I end up with stuff to share all the time. So be careful if you stop by, I might hand you a lip balm, a nifty bar of soap or a loaf of bread!

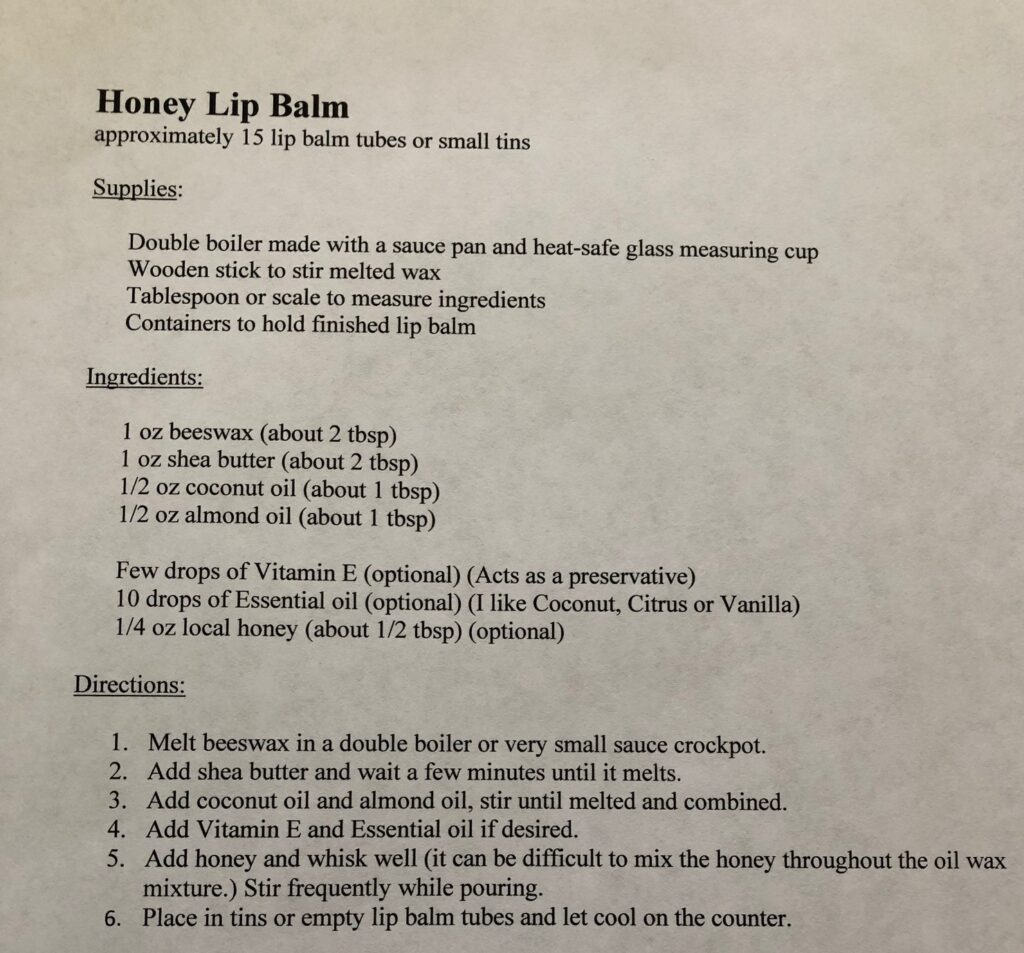
So, here’s the recipe to make a regular batch of Honey Lip Balm:

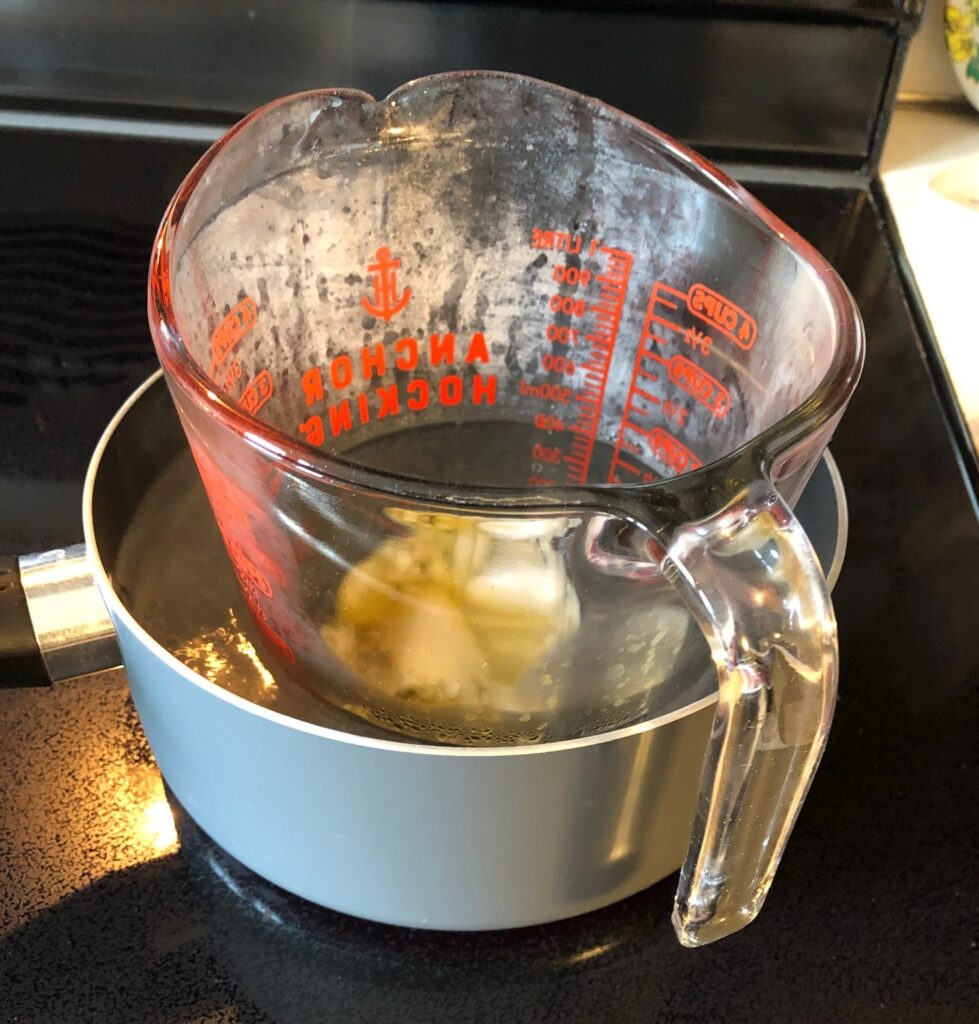
You will need a double boiler made with a sauce pan and a heat-safe measuring cup. This will melt the wax but keep it from getting too hot.

Some folks use the microwave, a few seconds at a time. It drives me nuts to open and close the door of the microwave every 10-20 seconds for several minutes and I can’t monitor the wax to make sure it doesn’t get too hot.

Sorry, no pictures of the wooden stick and the measuring spoon!

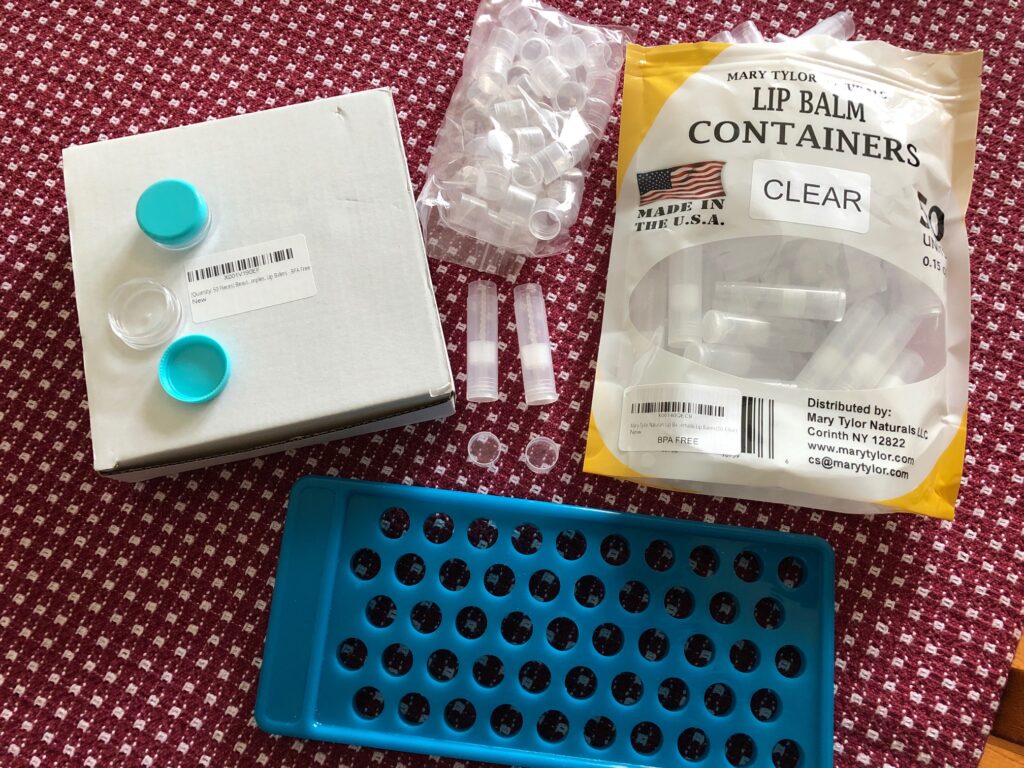
Before you start, decide what kind of container you want to put the finished melted lip balm into.

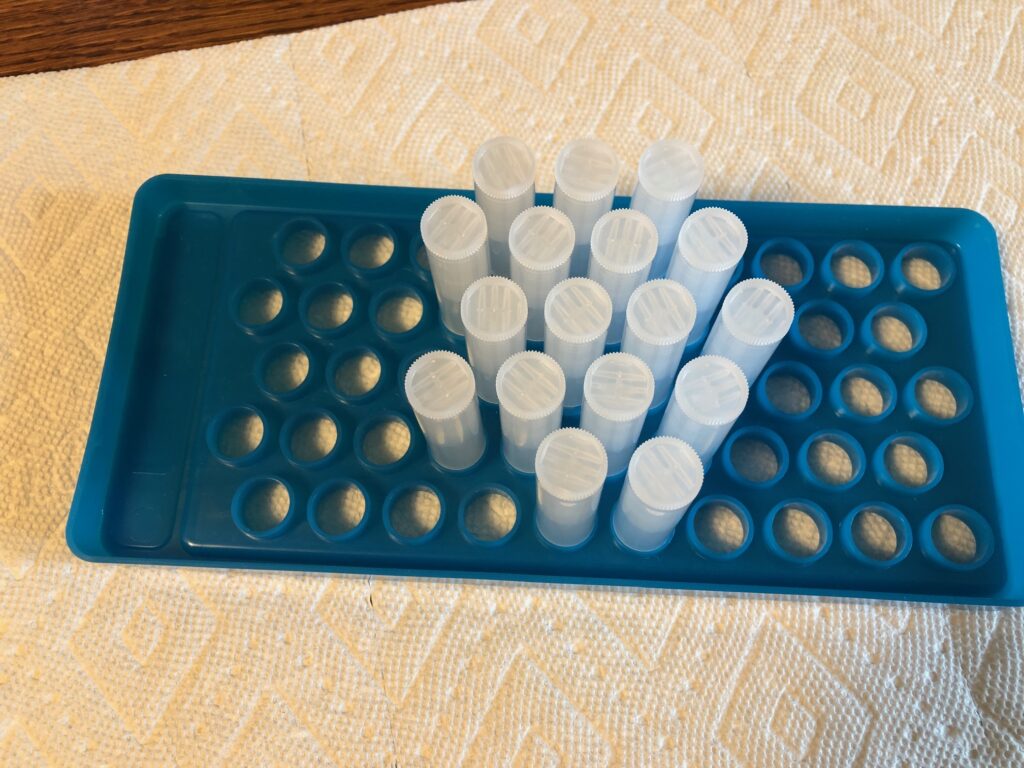
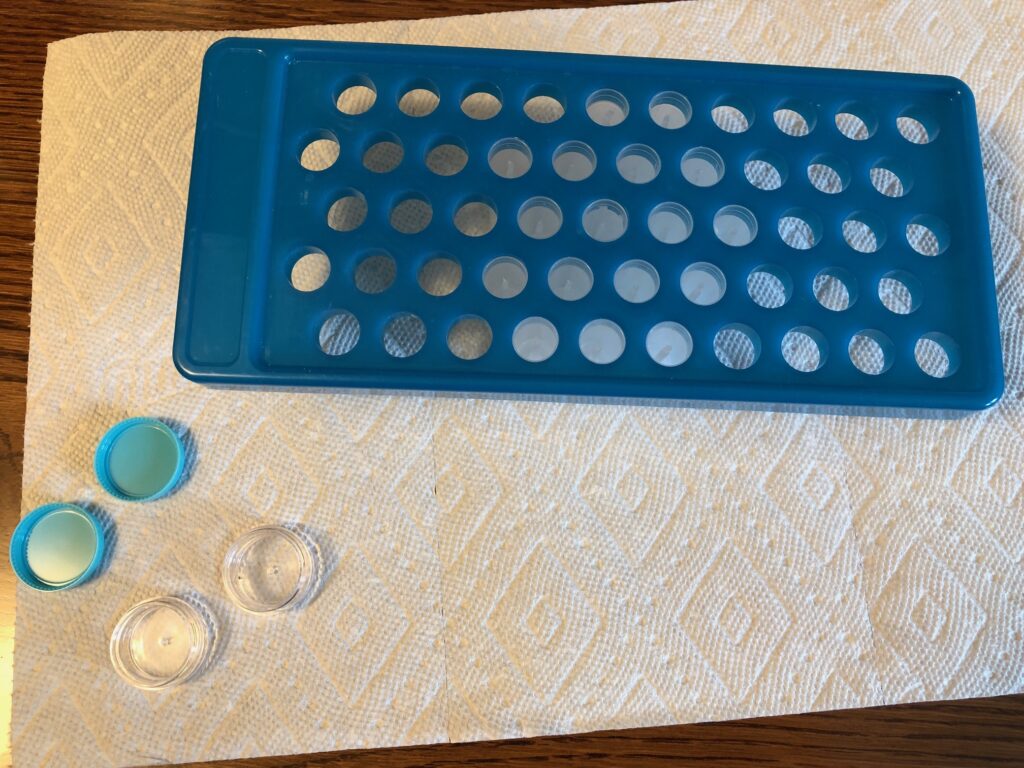
I purchased regular holders and I also have very small plastic containers. All can be purchased on Amazon. If you decide to use regular holders, make sure you also get the rack to hold them upright so you can pour directly into them.

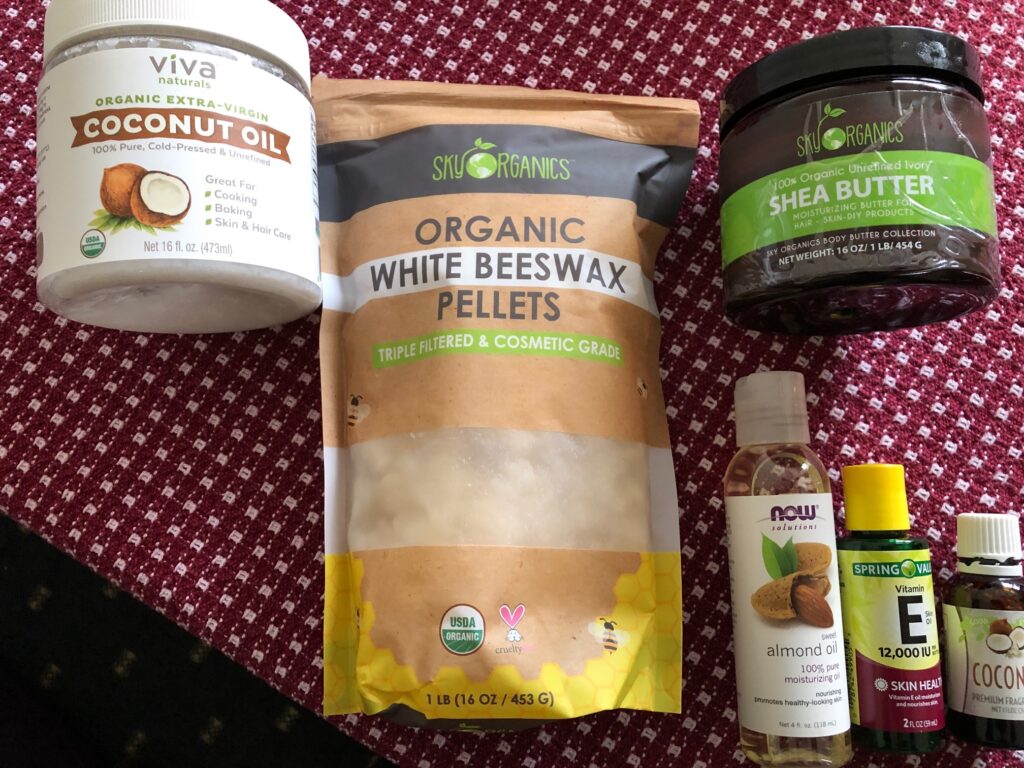
Next, assemble your ingredients. I use white beeswax pellets, coconut oil, shea butter and oil. In this project I chose Almond oil.

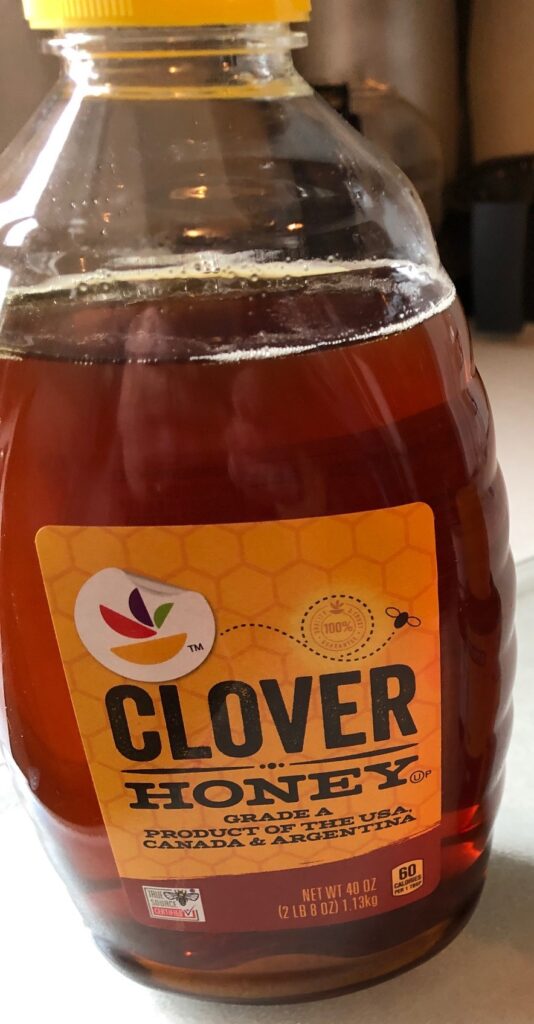
Optional ingredients include: Vitamin E serves as a preservative; the Coconut essential oil gives it some flavor (you could choose citrus or vanilla); and a tiny bit of honey is always nice. All three of these ingredients are optional.

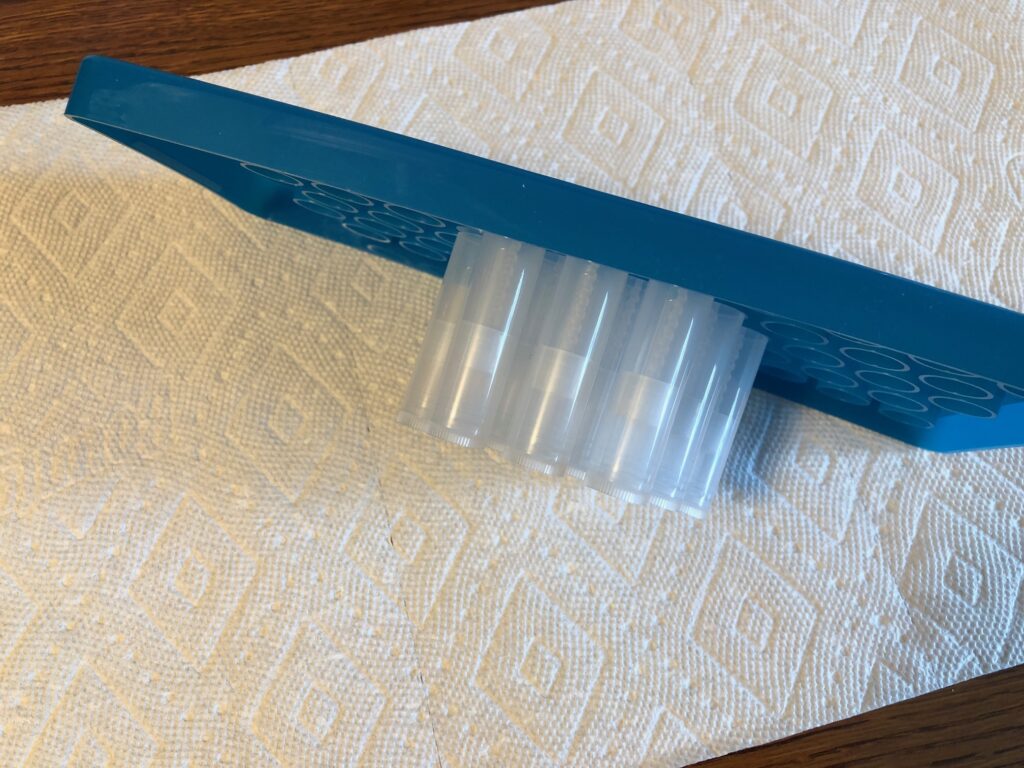
Before starting to melt the ingredients, attach the lip balm tubes to the holder, starting in the center so when the holder is flipped upright they are stable without having to be held. Open any small containers.

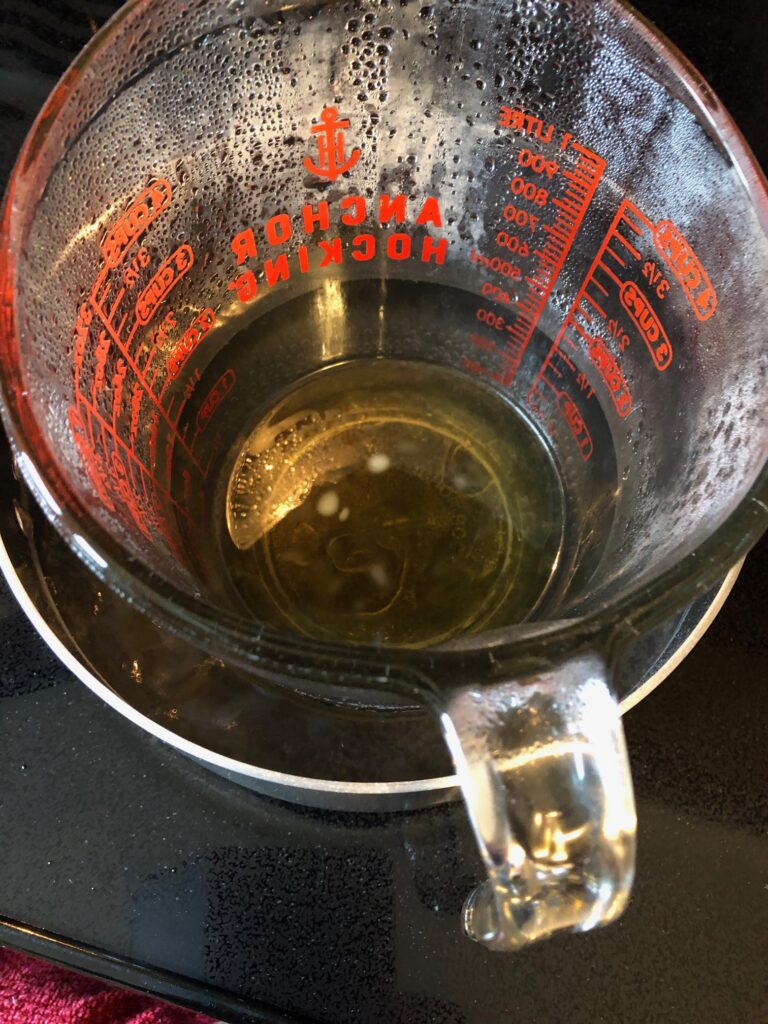
Measure the beeswax, coconut oil, shea butter and almond oil into the glass cup.

Place the cup into the sauce pan with several inches of water and bring the water to a gentle boil. Use the wooden stick to stir as needed.

When completely melted, turn off the burner.

Add the Vitamin oil and the Essential oil if desired. Stir well,

Add the honey. Mix thoroughly.

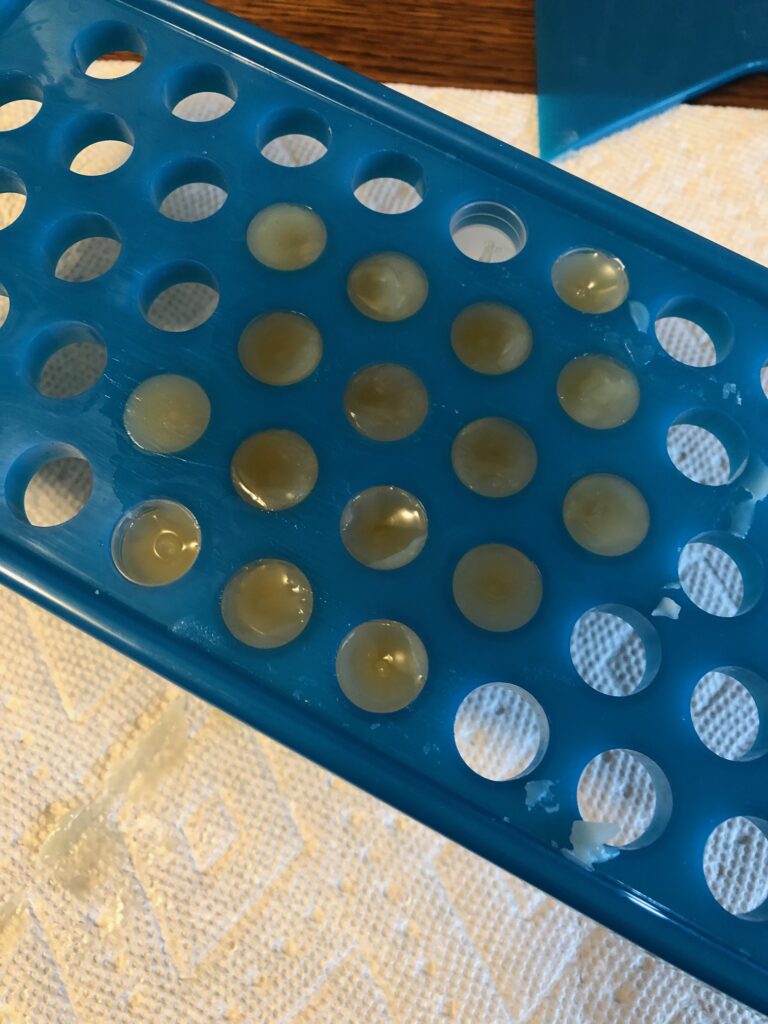
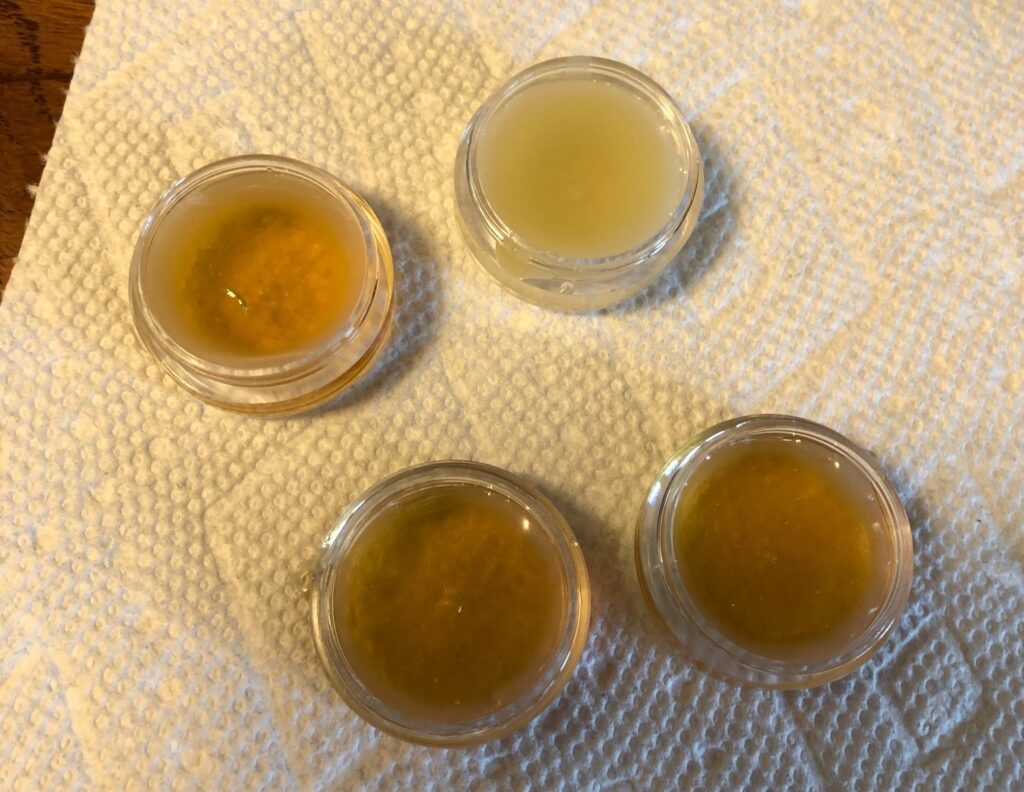
As you pour the wax into the holders, stop every now and then and stir again. The honey does not stay mixed easily.

While things are cooling, carefully wipe the wax out of your glass cup.

DO NOT POUR WARM WAX DOWN THE DRAIN. IT WILL CLOG YOUR DRAIN AS IT COOLS!

Once you have wiped out as much as you can, it is safe to put the cup in the dishwasher.

You can see I did not stir the mixture before pouring these last 4 containers. The honey settled to the bottom of the mixture.

Let the holders cool for at least an hour. Use a paper towel to wipe off any drips around the holders.

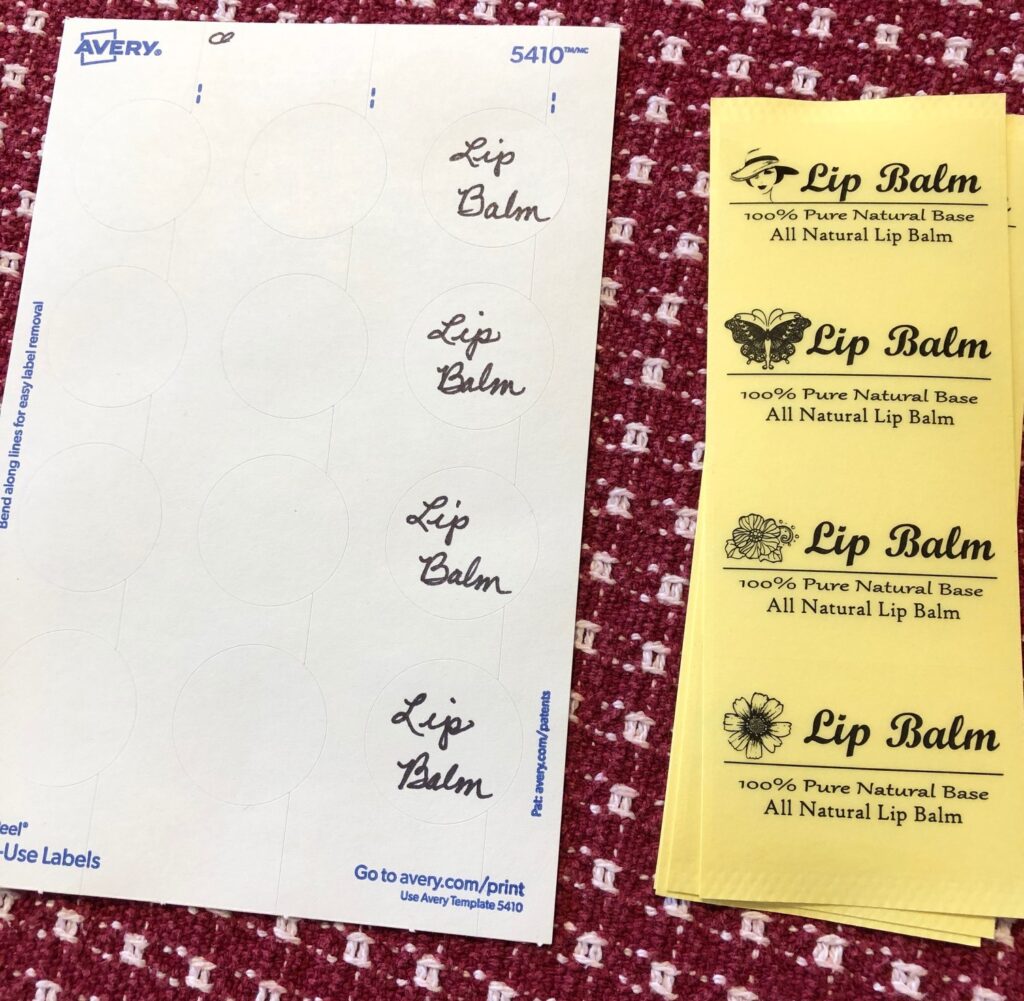
The Lip Balm holders come with labels (or they are sold near the holders). Regular circular labels work well on the small round containers.

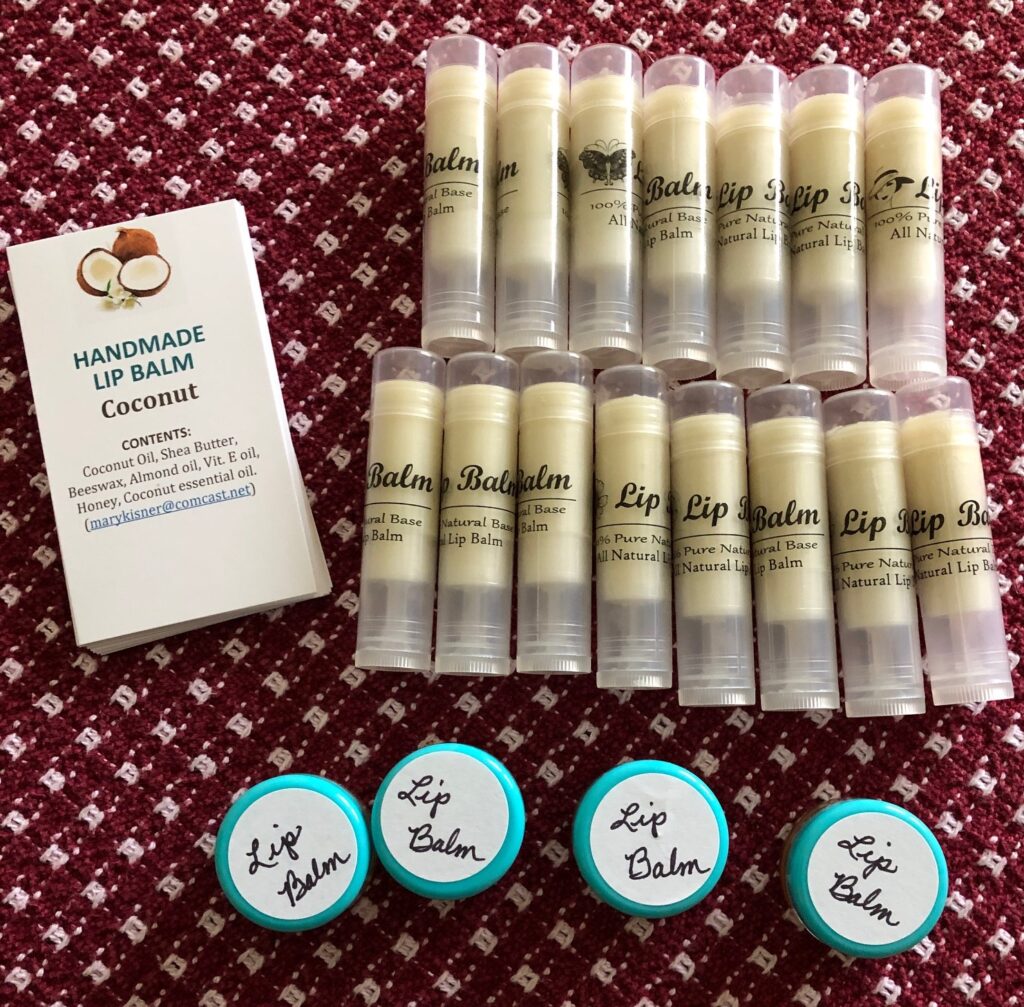
After I make a batch of any body product, I make a card to go with it listing the ingredients. Many folks are sensitive to certain ingredients and I don’t want anyone to have a bad reaction to something I make.

NOTE: If you decide to make things like this to sell at craft fairs, PLEASE do the research about legal requirements for labeling your products.

As always, if you have questions, leave a comment or email me directly at marykisner@comcast.net. Enjoy!
Single-serving lip balm

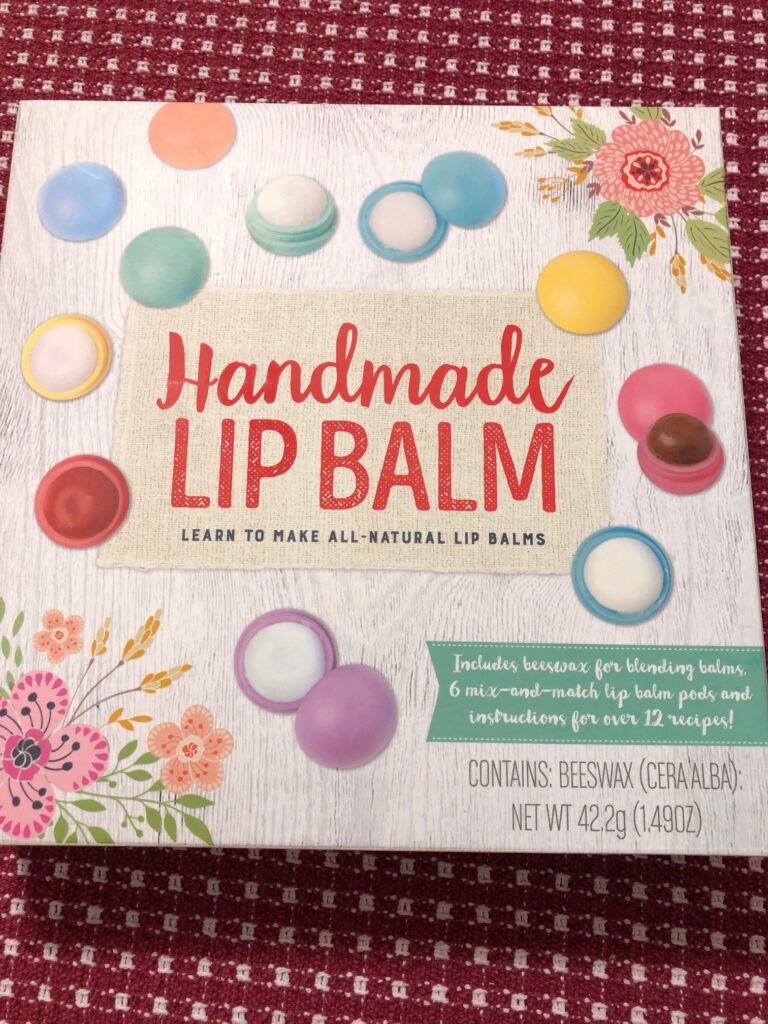
I headed to the bookstore yesterday…just for entertainment purposes you know! Right inside the door were assorted craft books and kits that looked interesting. This kit caught my eye:

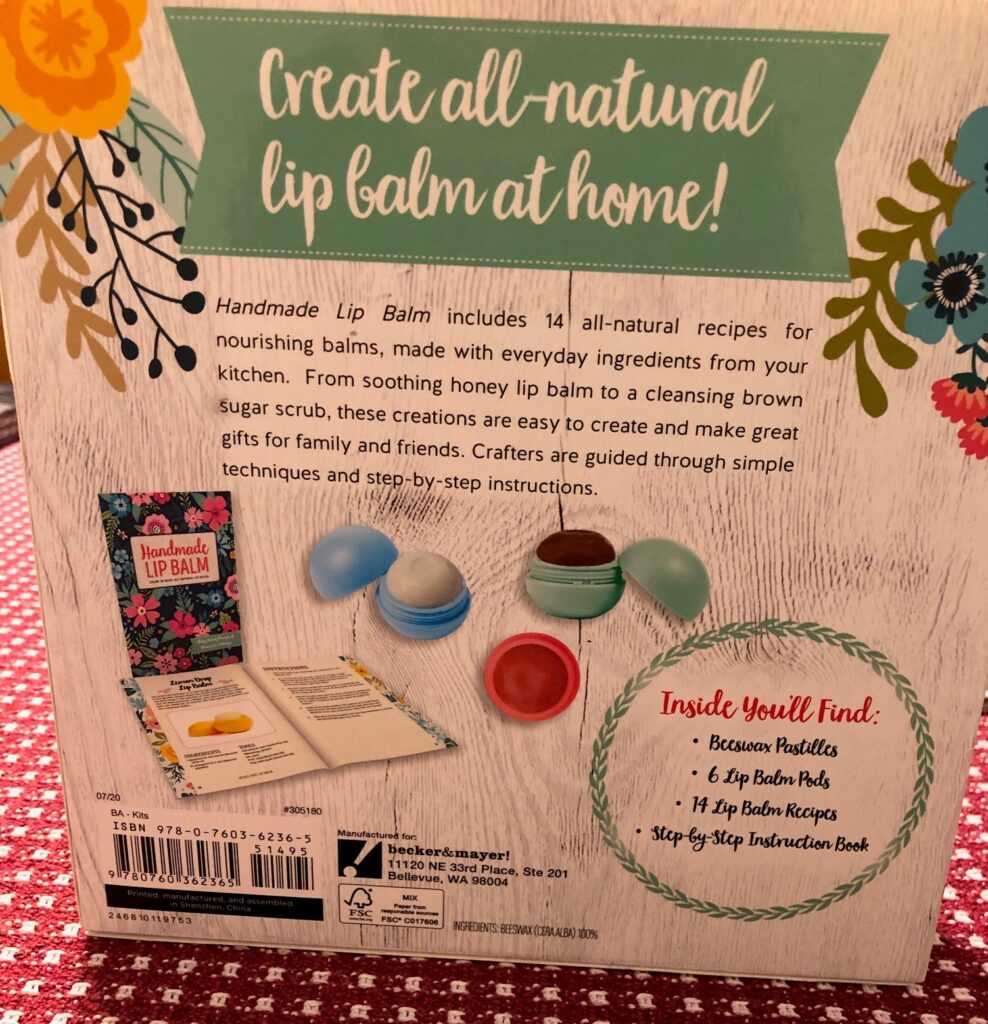
Now, I already make lip balm (details in the next post), but I thought this kit might be good to try with my granddaughters when they come to visit. I could not find any information on the box about appropriate age level for the kit, but if nothing else I thought maybe I could reuse the tiny containers. The kit cost $14.99.

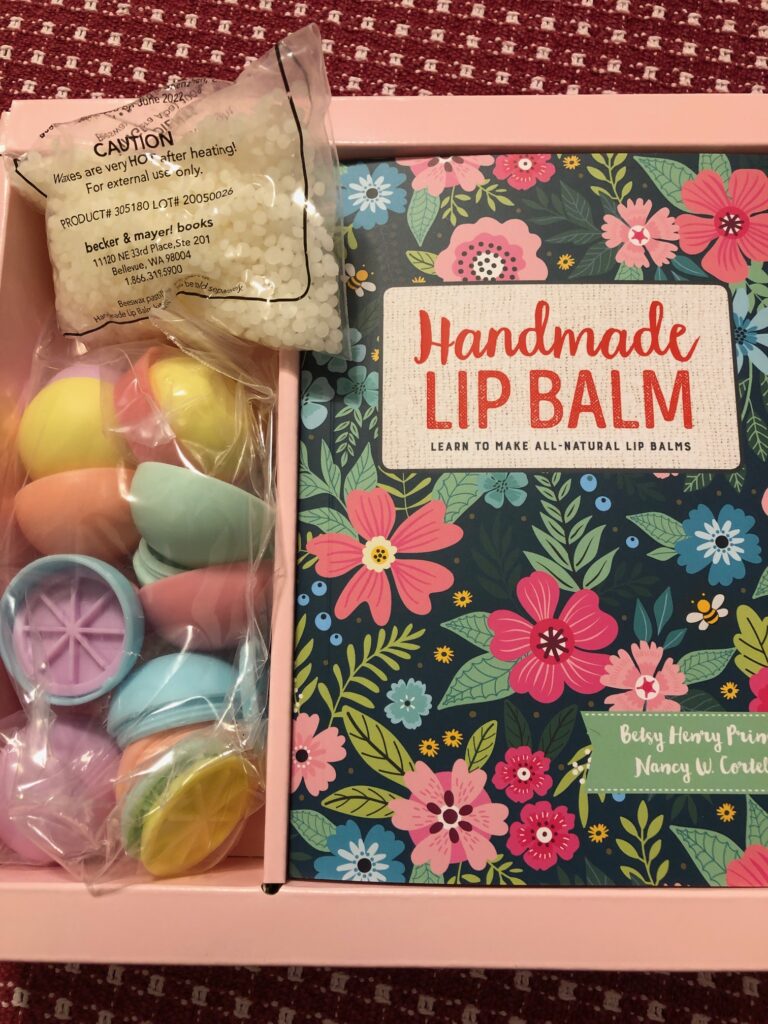
Inside, this is what I found:

A VERY tiny bag of VERY tiny beeswax pellets, 6 tiny egg shell-like plastic pieces, and an instruction manual.

The recipes also called for oil of your choice, a glass measuring cup, a stirring stick…which were not included, of course. There were 10 or so recipes with a list of other ingredients that could be added to the mix for flavor and coloring, like chocolate chips or essential oil. Seemed like a lot of extra supplies and work to make just one lip balm at a time.

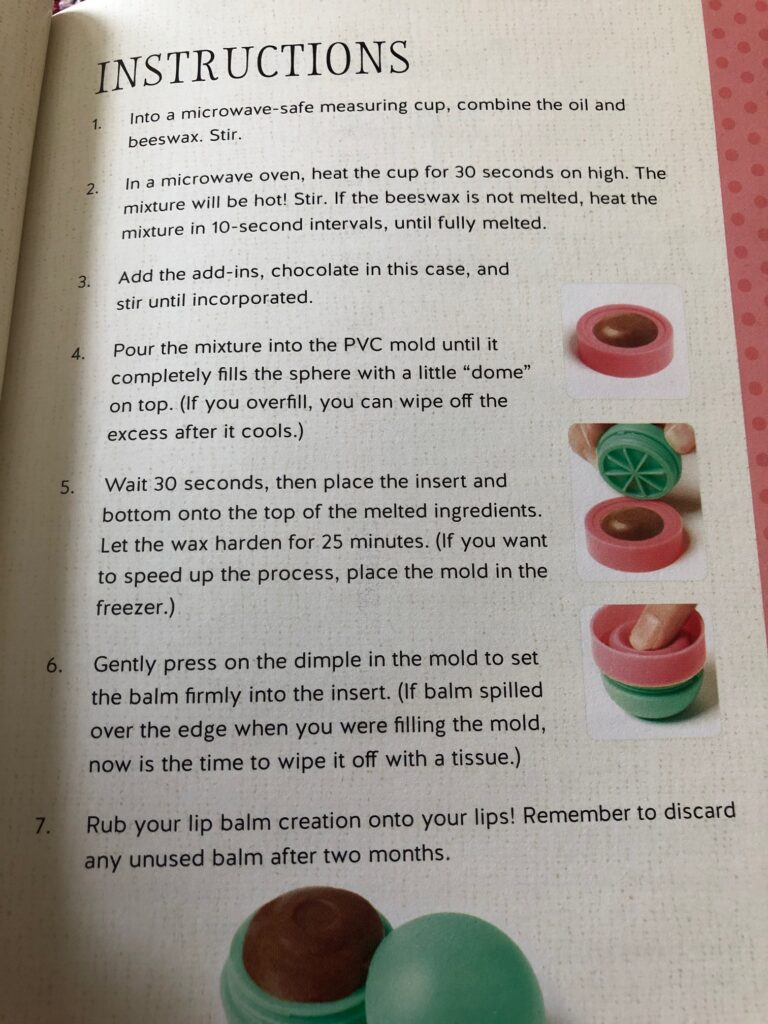
I leafed through the manual and was instantly frustrated by the tiny type (must be old age!)

This is a 5″ x 7″ booklet.

The measurements were in teaspoons and there was only one PVC mold. So basically, you melt enough ingredients to make 1 lip balm at a time with a wait/cooling time of at least 30 minutes.

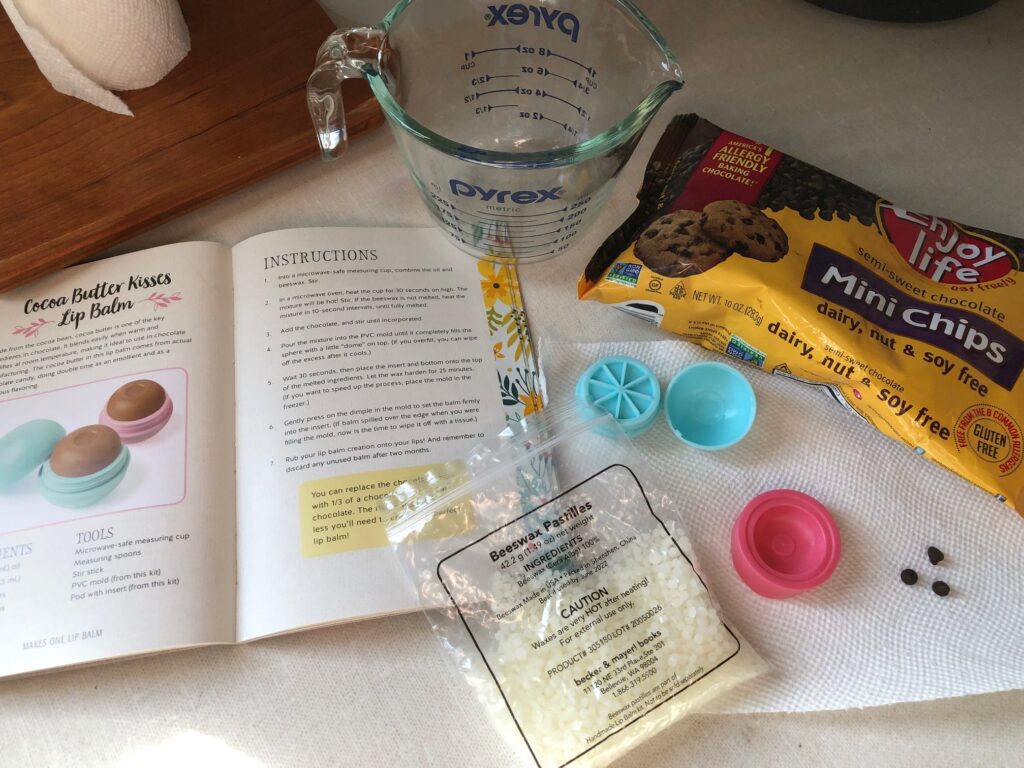
So, I assembled the supplies and ingredients:

The only chocolate chips I had were vegan, but I assumed they would melt properly. I decided to use Almond oil for this experiment (forgot to take a picture of the oil and wooden stick!)

In my 1-cup glass measuring cup I put:

1 tsp. almond oil and 1/2 tsp. beeswax pellets.

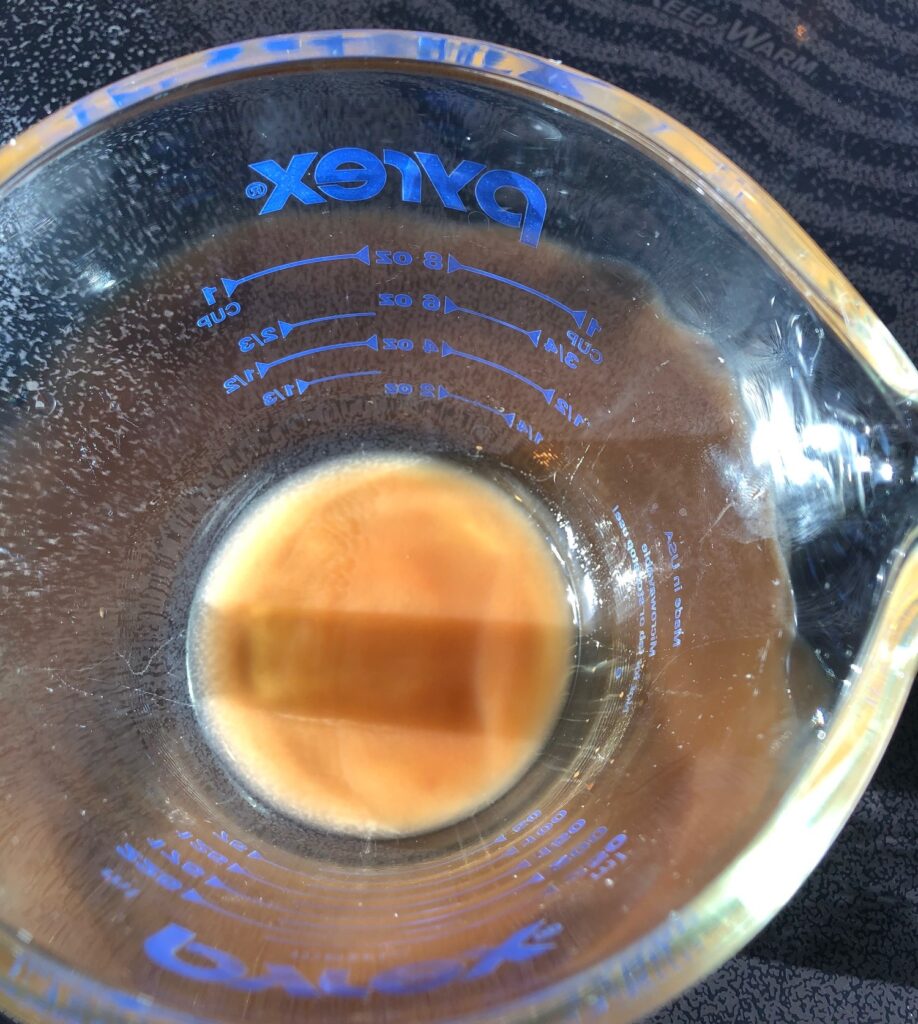
I put the cup in the microwave, first for 30 seconds, and then 10 seconds at a time until melted. The glass gets hot…have a hot pad handy!

I added 3 tiny chocolate chips and stirred them in until melted.

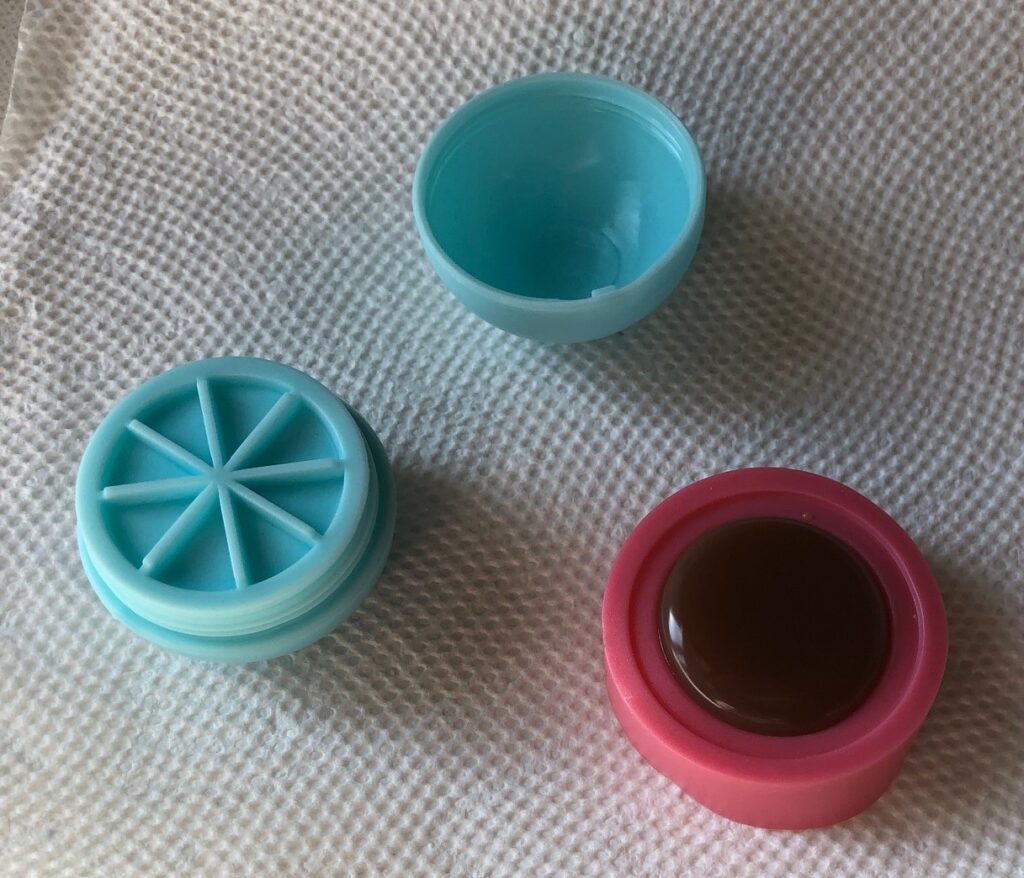
I poured the mixture into the PVC mold.

After 30 seconds I placed the bottom section of the holder with the grid insert over the mold and pressed gently.

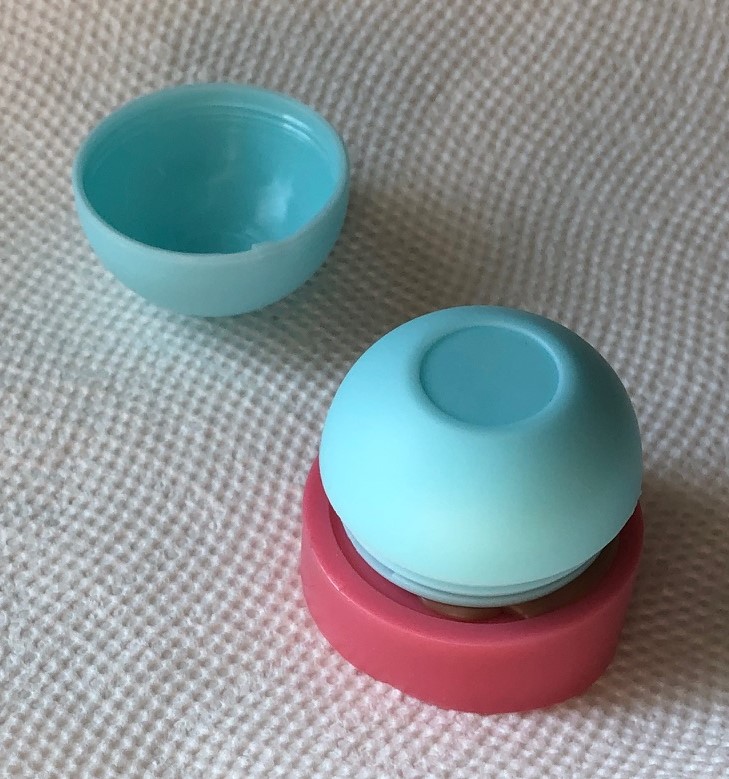
After 30 minutes, I flipped the mold over and pressed out the beeswax lip balm.

I used a toothpick to scrape off the extra wax around the side of the lip balm.

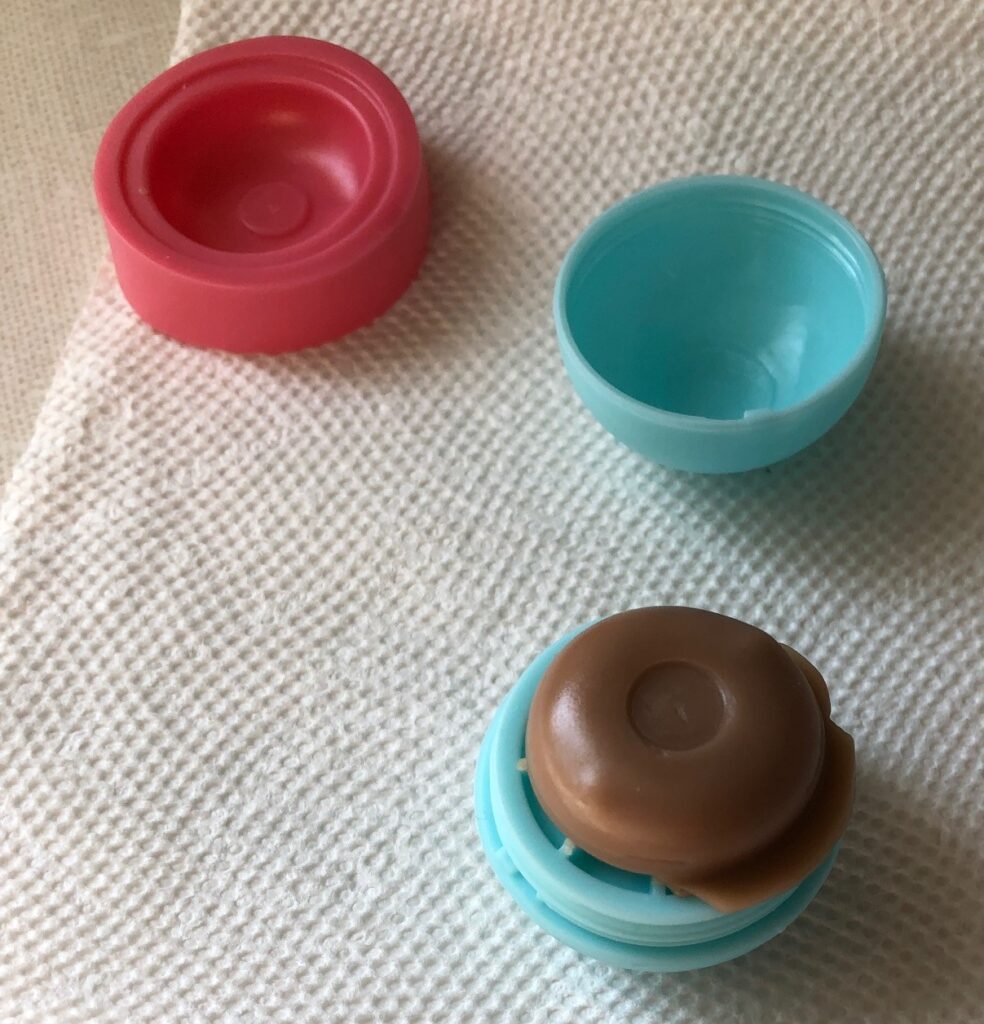
TA DA! My very own chocolate lip balm! Seemed like a lot of work to end up with just one! The plastic egg shell pieces don’t quite screw together tightly so I’m not sure I’d carry this in my pocket where it might warm up and melt a little!

Because of the hot wax and oil, I would recommend supervising the production and clean-up of these lip balms.

(Remember to wipe out the warm glass cup well with paper towels before trying to wash it. If the wax goes down a drain it WILL clog the drain as it cools!)

After making this single serving lip balm, I went ahead and made a batch of my own lip balm (check the next post!) Much more satisfying (to me) to have something to show for my time and efforts! Here’s one batch of my lip balm:

Please leave a comment or email me directly at marykisner@comcast.net. Enjoy!