Beeswax Citronella Candles

Getting ready for summer bug season? A citronella candle is always handy on the patio as the weather warms up. I figured with all the DIY ingredients I have here, it should be easy as pie. NOT! The directions to make these candles in a canning jar came from a website I read almost every day, (https://joybileefarm.com), and it didn’t sound too hard.

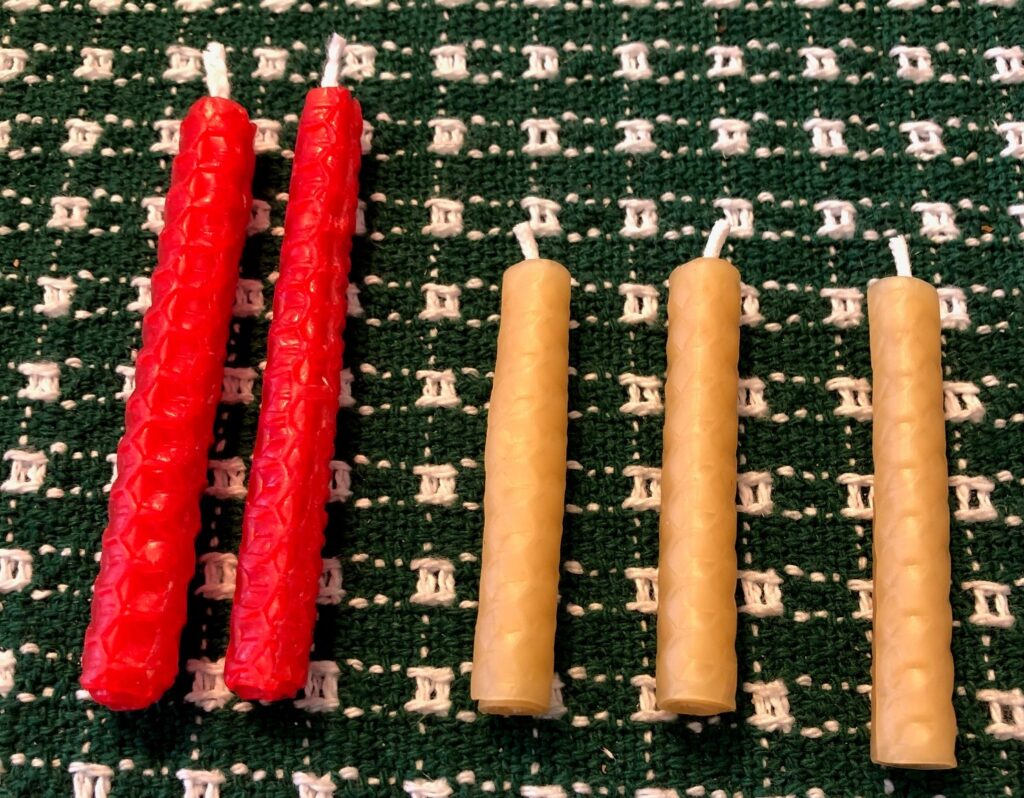
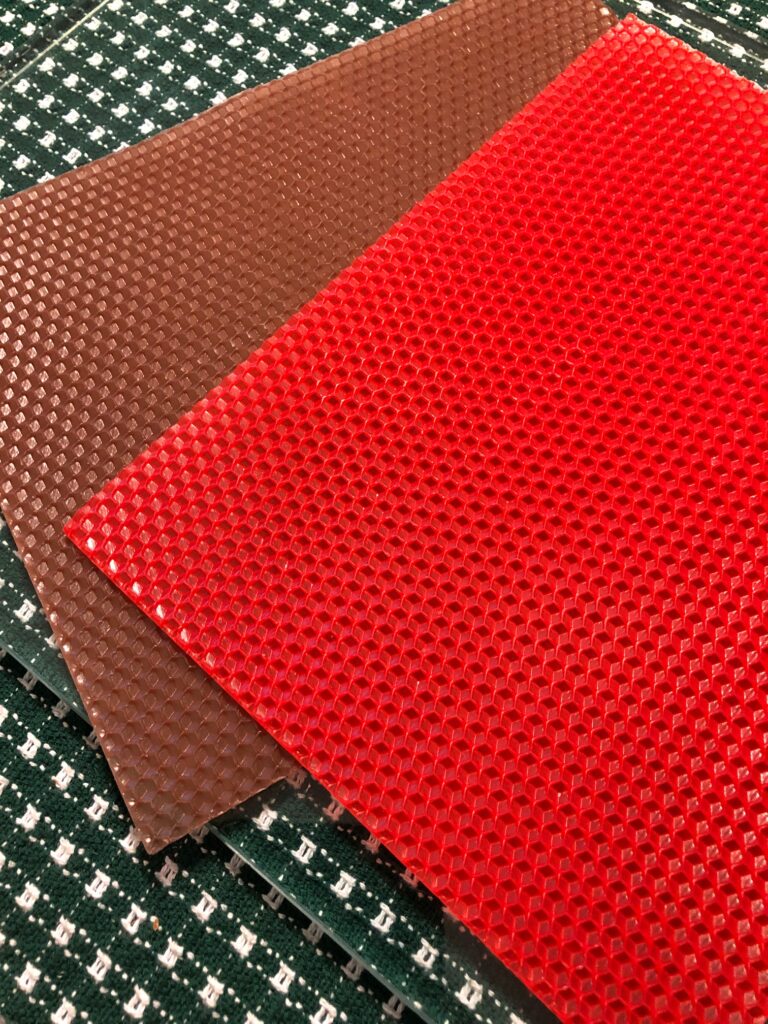
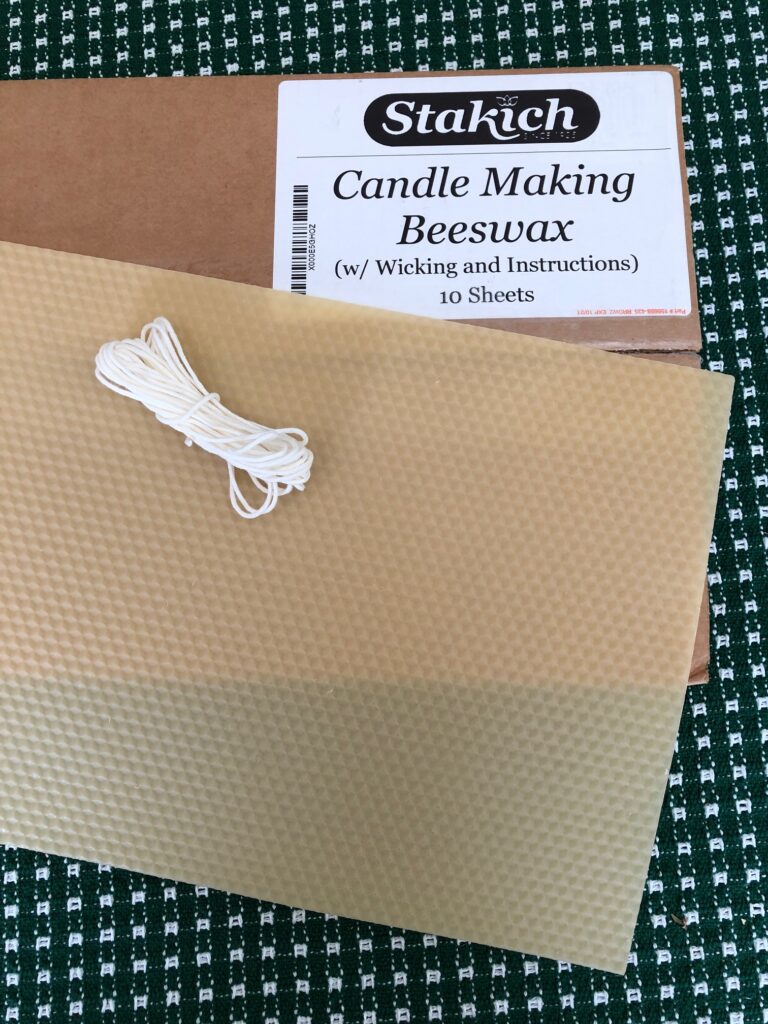
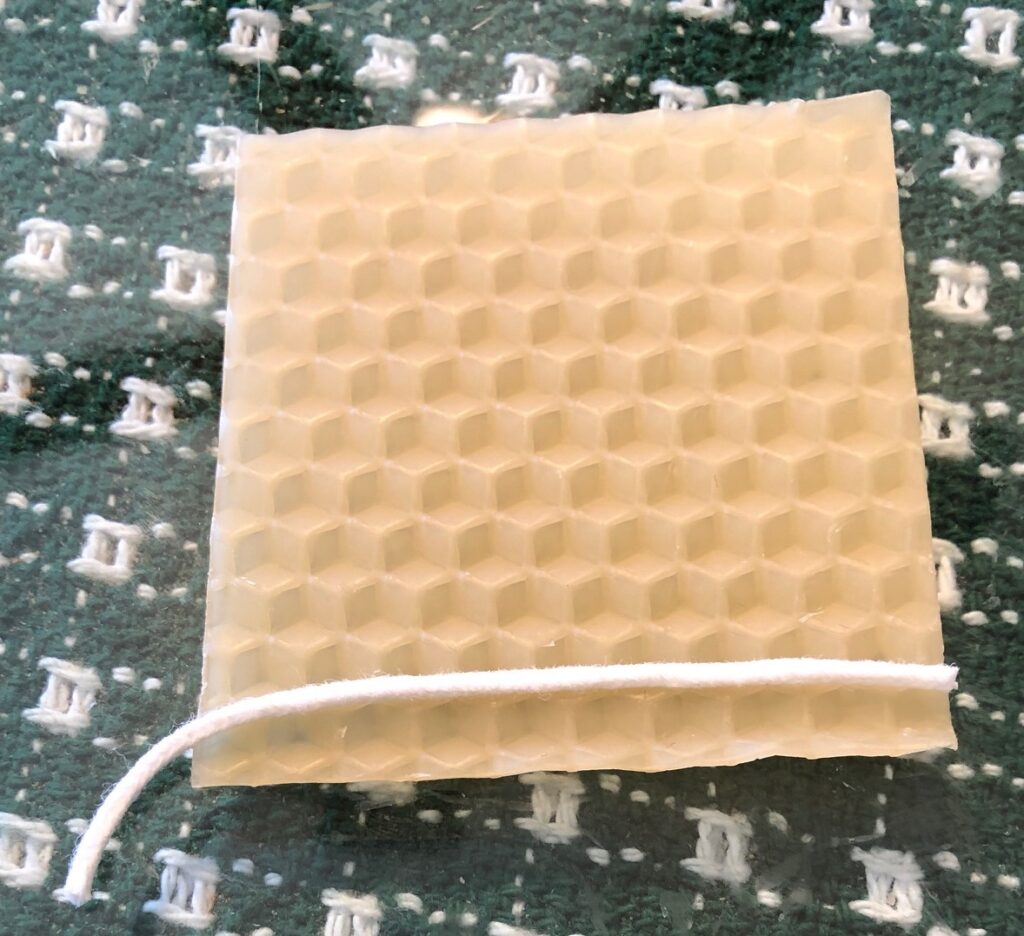
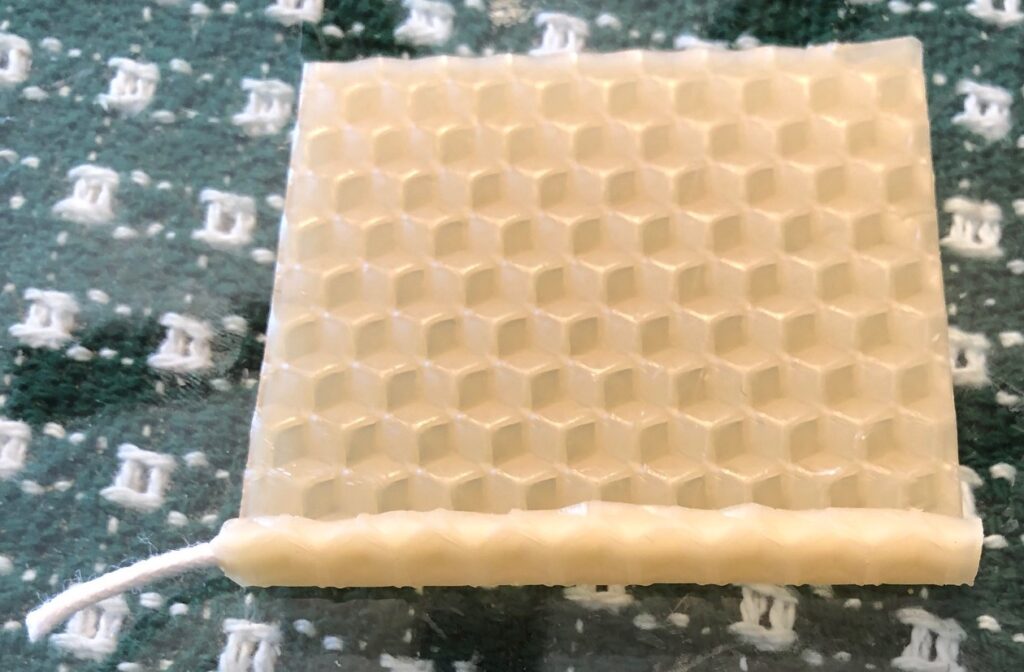
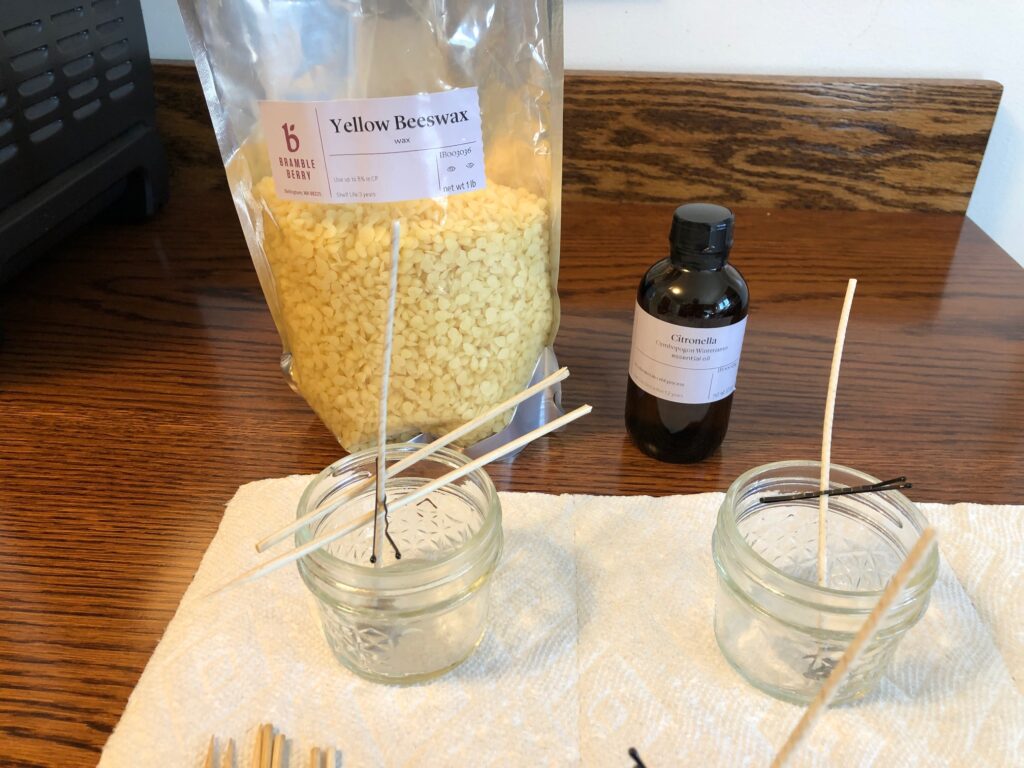
I collected some small canning jars meant for jam and a pound of beeswax. I had ordered citronella essential oil and the special wick anticipating this project.

From the website directions, apparently the size of the wick is important: “Beeswax is a hard wax with a melting point of 145 to 147 degrees. The wick needs to maintain the flame long enough for a pool of wax to form. This pool of wax feeds the candle flame and ensures that the candle stays lit. It’s the citronella essential oil vaporizing in that pool of wax that keeps the mosquitoes away.”

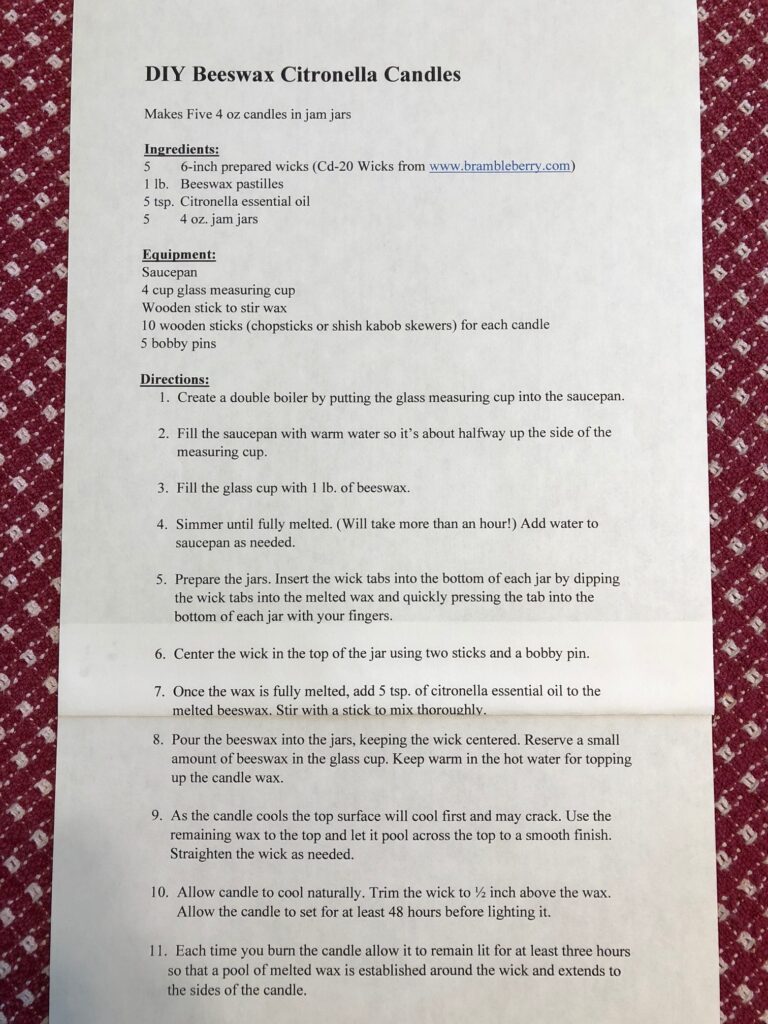
Here is my version of the recipe:

I collected the ingredients and my equipment.

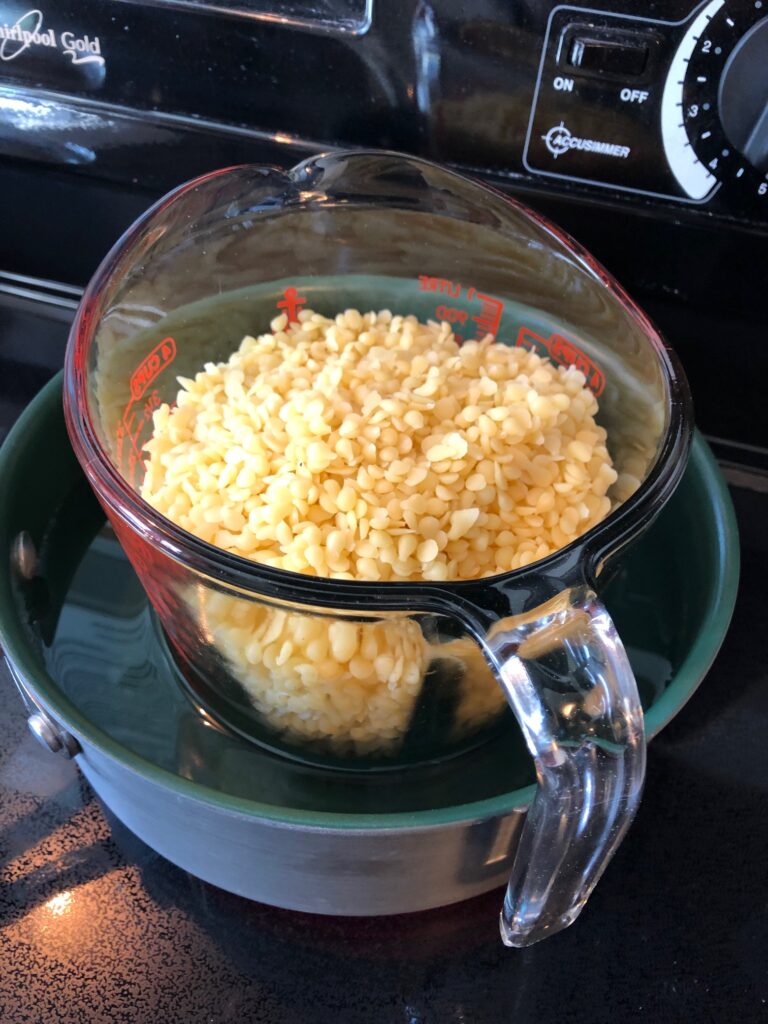
First, I poured the beeswax into the measuring cup and put it into the saucepan with water. I brought the water to a boil and reduced the heat to keep it simmering.

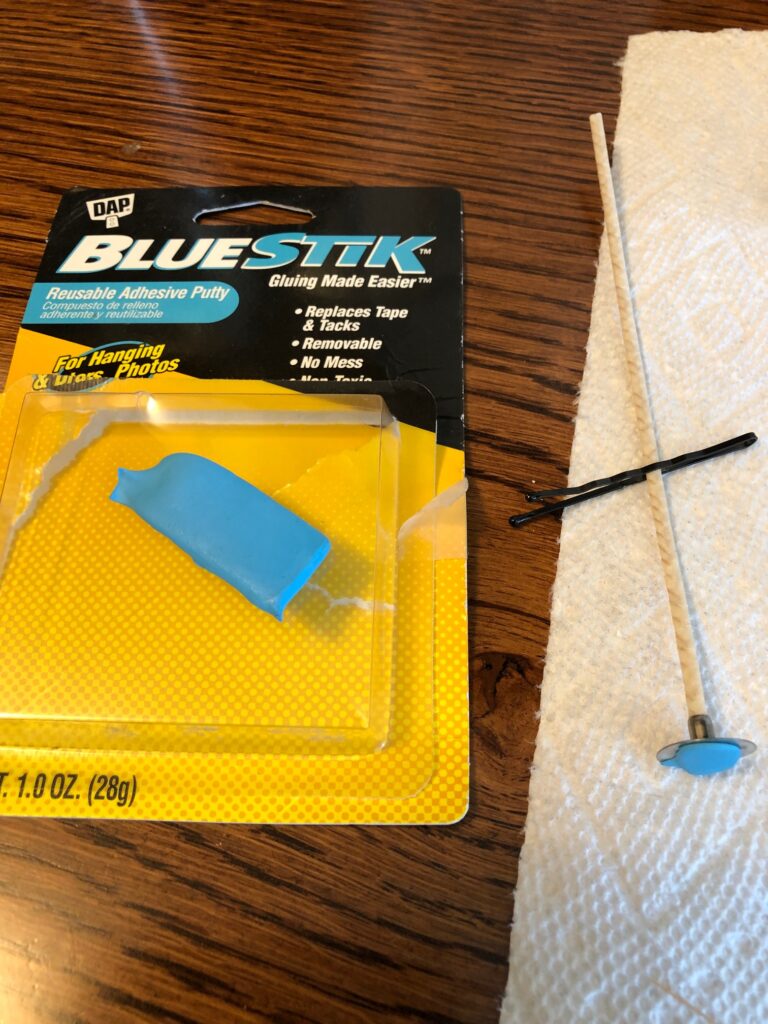
Then, I attempted to get the wicks stuck to the bottom of the jars. The wicks were stiff with wax so I didn’t think this would be hard. HA! How to stick a small piece of metal the bottom of a glass jar so it would stay stuck while I poured hot wax around it?? I was sure glue wouldn’t work and the beeswax had not melted enough yet to dip it into the wax. So, I improvised!

I reached for my small piece of BlueStik, a reusable adhesive putty, that I’ve used to stick all kinds of things, like the back corner of a hanging picture so it sticks to the wall and doesn’t hang crooked. A tiny piece on the bottom of the metal base of the wick and it stuck just fine to the bottom of the jar.

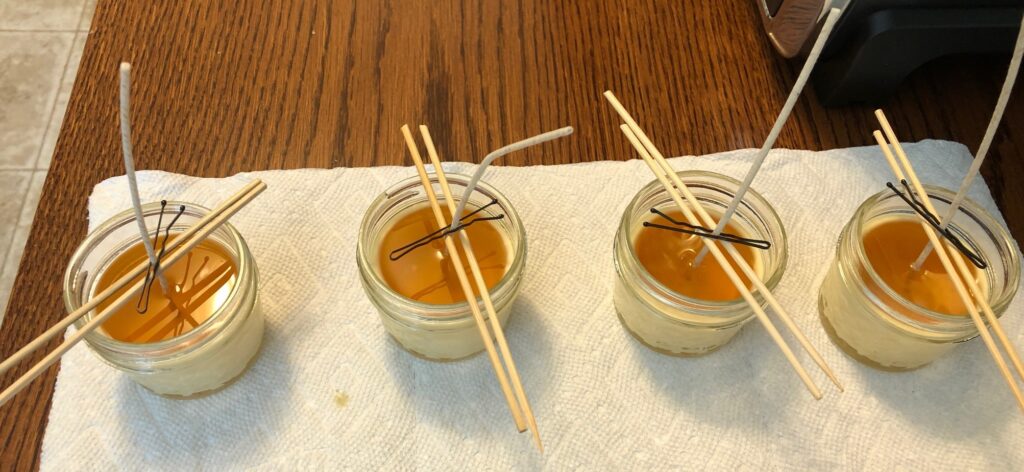
Now, this whole business of using two sticks and a bobby pin to support the top of the wick so it stays straight up while I pour the wax, was a challenge.

It really did work once I figured it out. After pouring the wax, I could move the bobby pin down to the sticks so it held the wick straight. It really was coordination issue for me. It might have helped if the sticks were squared off instead of round…maybe pencils could work?

Anyway, I did all this while I was watching the wax melt. I’ve never tried melting that much beeswax at one time. In the future, a metal pitcher dedicated to melting beeswax would be better. Then it could just be stored without having to clean out the container when I was done. I did notice they were for sale on Amazon, of course!

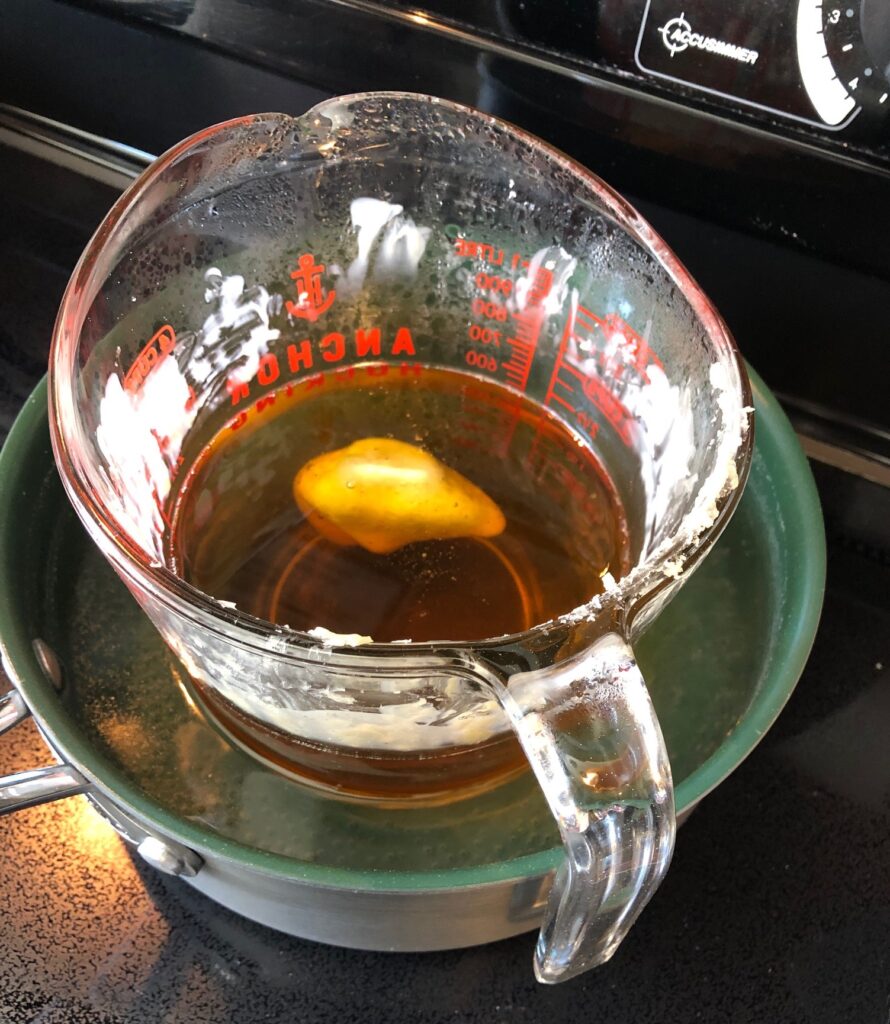
Let me tell you, it took over an hour to melt a pound of beeswax! I had to add water to the saucepan before it was done. The last little bit of wax looked like a lone iceberg, smaller on top, more under the surface.

Then I added the citronella essential oil. WHEW…what a strong smell! (I guess that’s the point.)

I poured the wax into the jars, filling them about an inch from the top. I reserved a small amount of wax and kept it warm in the hot water on the stove.

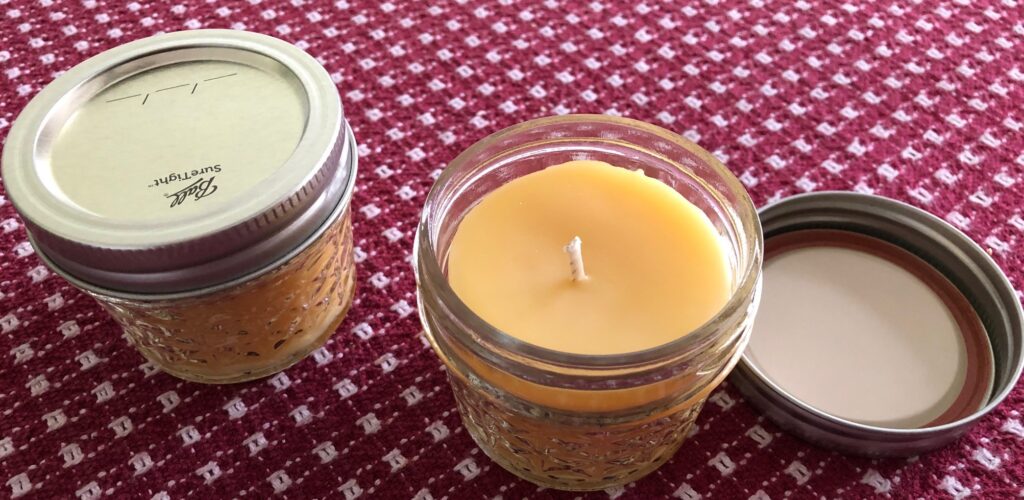
Then I waited 10-15 minutes as the candle cooled and watched for any cracking. I topped each candle with a little more wax and walked away. I did not want to bump the table and dislodge the wicks. Several hours later the jars were still warm. By the next day, I could trim the wicks to 1/2 inch and put on the lids.

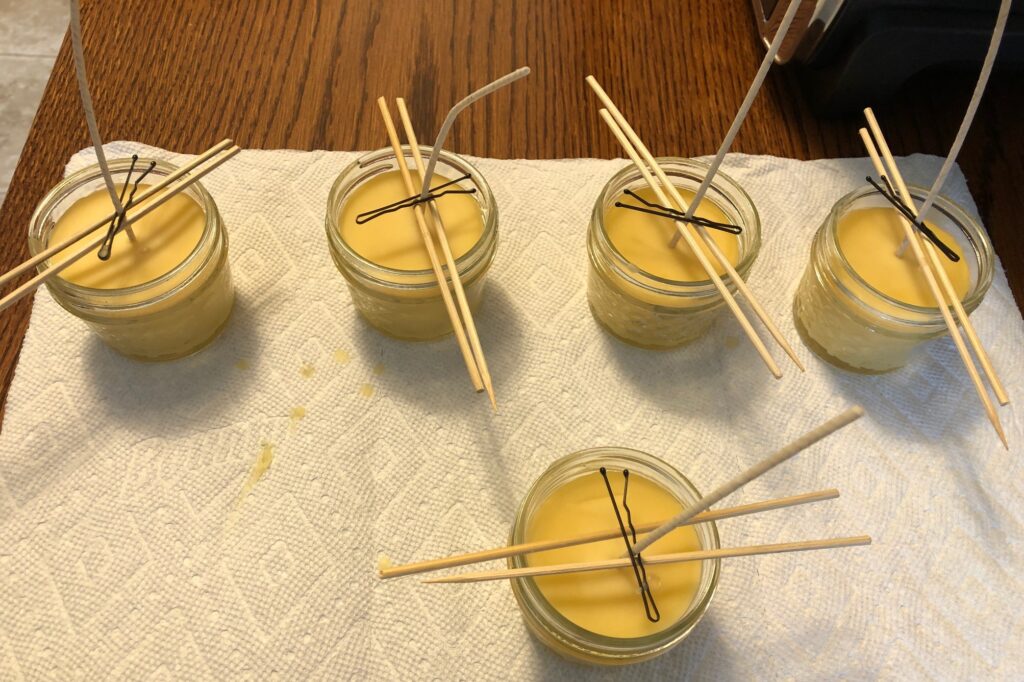
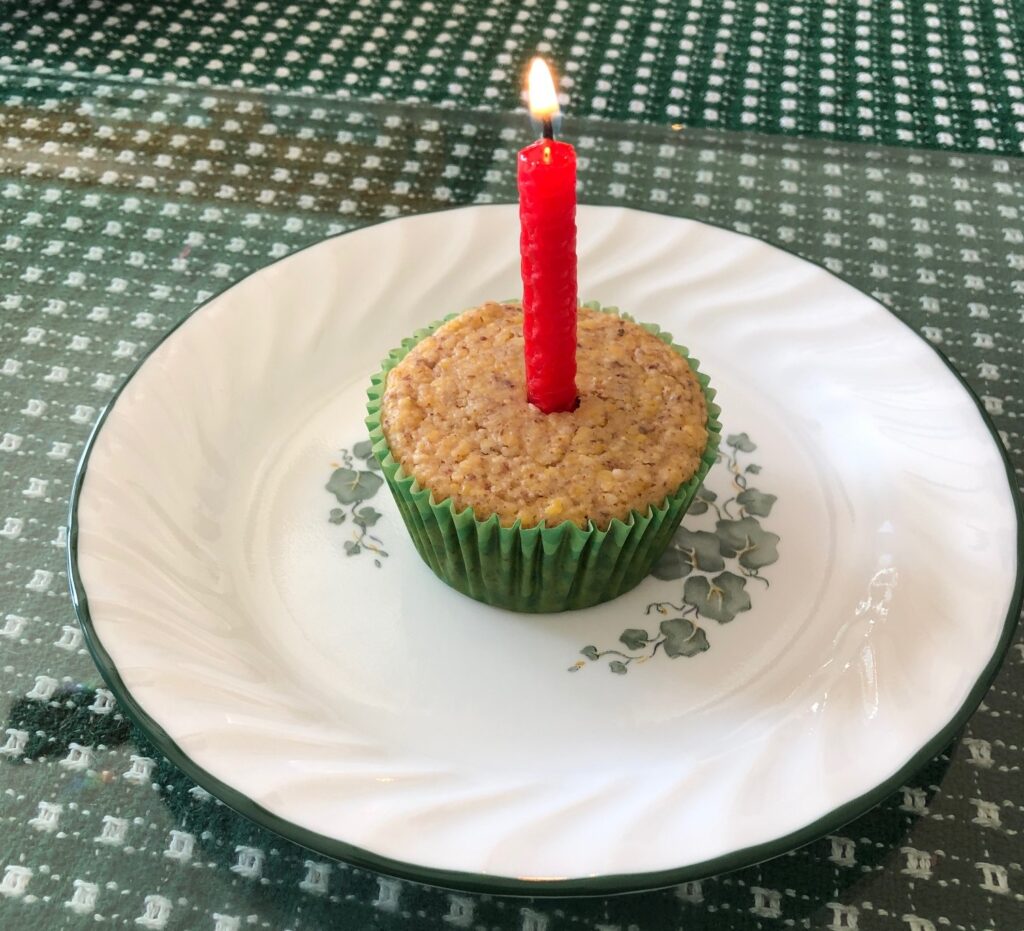
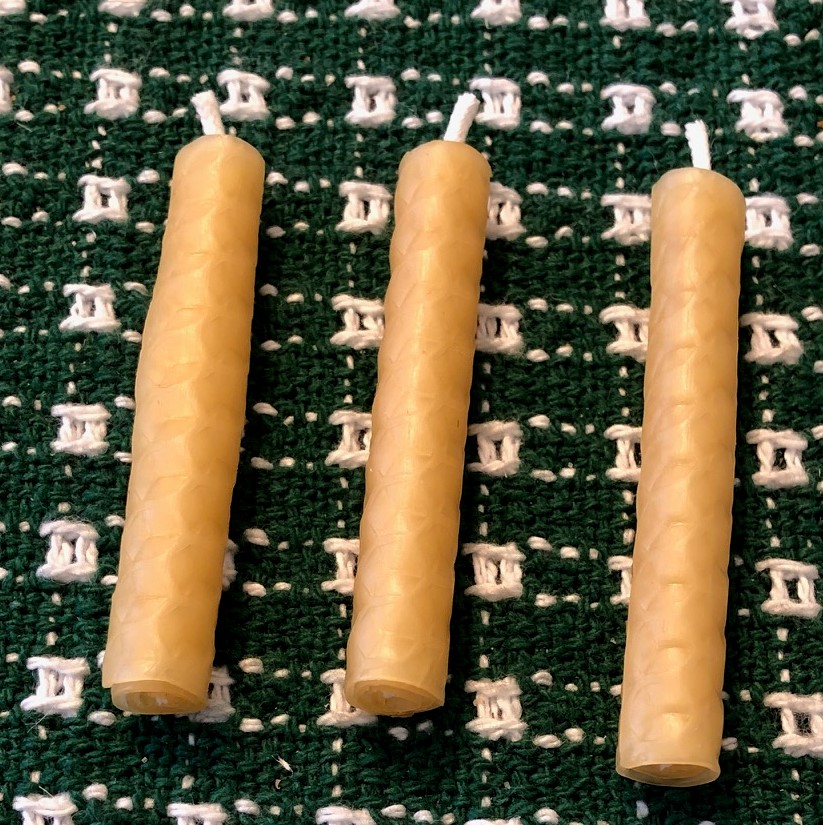
I now have five VERY fragrant citronella candles for the patio.

What did I learn?

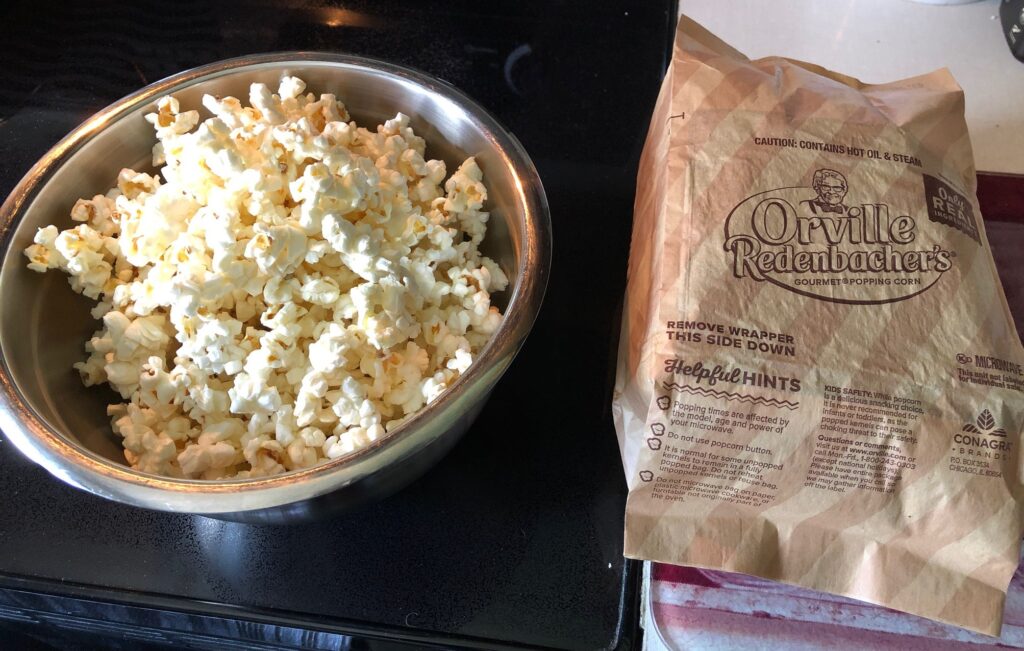
Citronella essential oil is a VERY strong scent. By the time the candles were poured the whole house smelled of citronella and my stomach was unsettled. I had to find a way to counteract the smell.

Soooo…I made a batch of microwave popcorn! That was a much better smell!

I’m not sure I will ever make these candles again…or any poured candles for that matter. I think I would have to invest in a dedicated pitcher to hold the wax and figure out a better way to keep the wicks straight while they cooled. However, that BlueStik putty worked great! I think I’ll keep some on hand!

Please leave a comment or email me directly at marykisner@comcast.net! Enjoy!

My first attempt with rolled beeswax candles

I’ve been interested in trying to make rolled beeswax candles for quite a while. So why use beeswax instead of petroleum-based paraffin? According to Chris Dalziel, in her book, The Beeswax Workshop,

“Paraffin candles are shown to negatively affect indoor air quality because of the chemical by-products in their soot. Beeswax candles burn cleanly, without soot. Beeswax emits negative ions when it burns. Negative ions clean the air of odors and bacteria. Falling water, like waterfalls, rain and snow also give off negative ions. that smell after a spring rain is the negative ions doing their job. In a similar way, beeswax candles clean the indoor air.” (pp. 18-19)

I’ve been using beeswax in my various skin care products for several years. It’s an essential part of my lip balm and lotion bar recipes. Usually, I buy beeswax in the form of pellets that can be measured out easily.

I do know that beeswax is not difficult to melt but the clean-up is a little tougher than cleaning up from my soap projects. Warm beeswax must be wiped out carefully from any container I use. It can’t be be washed away easily and it WILL clog up drains when it cools.

I’ve always been interested in trying the rolled beeswax sheets to make candles, so that’s where I’ll start. Much less worry than trying to dispose of melted wax. I thought I’d try a small batch of birthday candles first to see if I could actually do it!

Supplies needed

First, I ordered a set of multicolor sheets of beeswax from Amazon (about $25.00). The sheets are 8″ x 10″ and come in many colors. It says it’s beeswax, but it does not have the smell of natural beeswax. The coloring might affect the smell. However, this package was not as expensive as natural beeswax and the colors might be fun to work with.

I also ordered a set of natural color sheets of beeswax from Amazon (about $35.00). Based on the smell alone, I know they are natural beeswax. Of course, this package was more expensive than the multicolor pack.

At the same time, I ordered a pair of Teflon-coated scissors to cut the wax sheets. These were recommended by several online sources because the beeswax sheets are quite “sticky” and I didn’t want to ruin my good fabric scissors.

And of course, you’ll need a hair dryer with a low heat choice. I’ve had short hair for so long I wasn’t sure I still had one!

And finally, my work surface was the same piece of heavy glass that I used to work with the air dry clay. It sits on top of my table cloth so it looks like I’m working directly on cloth…but the glass is there! Use any smooth surface that the wax won’t damage.

Making a Rolled Beeswax Birthday Candle

For my first attempt at a rolled candle, I decided to try small birthday candles. Using the red beeswax sheet, I cut the sheet into four 2 1/2″ strips.

I cut a piece of wick string about 3″ long. On the first wax strip, I positioned the wick across the end. Using the hair dryer on low, I warmed the end of the strip (about 5 seconds). I could then gently fold the edge over the wick. Warming the next section of wax, I rolled the wax about 2-3 times and decided to stop. It looked big enough. I cut off the extra portion of the strip and pressed it to the candle.

I cut the rest of the strip into 2 1/2″ pieces and made a few more candles. By the fourth candle, I trimmed the piece to just 2″ so it made a skinnier candle.

2″ was about right to make one candle.
My candles got skinnier by the time I got to #4!

Of course, I had to see if it would work as a birthday candle in a corn muffin (since I didn’t have any cupcakes handy!) Not too shabby!

Still pretty fat for a birthday candle!

For my next attempt for a birthday candle I used a piece of the natural beeswax and tried again. This sheet was thinner, more pliable and rolled up nicely when warmed.

Here’s a comparison of the two types of beeswax sheets. The colors are nice, but the natural beeswax sheet made a more compact candle.

Making a Rolled Beeswax Votive Candle

I now had the rest of the sheet of natural beeswax to work with so I thought I’d try a votive candle.

I measured the votive candle holder and made sure my strips would make a candle the right height.

Following the same procedures, I just started rolling around the wick until it was the right size to fit into the votive holder. Use the hair dryer every few inches to warm the wax so it bends and doesn’t crack. Join the strips of the wax sheet by smoothing the ends together and continue rolling until the size is right.

I feel encouraged to make more candles. They should make great Christmas gifts! Give it a try!

Please leave a comment or email me directly at marykisner@comcast.net.