I hereby declare that the Art in the Orchard Festival was a success…for me at least! With temperature hovering about 100 degrees in the sun, I’m amazed I did so well. It was a long three days in the sun and I have the suntan (blisters) to prove it. However, I have $700 ready to deposit at the bank!
As a vendor it it entirely a different experience from being a visitor to a festival. Because visitors are constantly streaming by, I really could not wander too far to check our other booths. When I did leave our booth, I was on a mission to hit the restroom or grab something to eat from the food court trucks nearby. Having a good friend to chat with while we waited for the next visitor was a blessing. Yes, we had a cooler with ice for drinks and I had cut up vegetables and fruit to shack on…but how often do I get to snack on sweet kettle corn!
I was able to chat with the vendors on each side of our tent. The woman on one side had been doing festivals like this for 15 years and was debating whether it was time to stop; the young woman on the other side was brand new to being a vendor and her whole family struggles to figure out how to set up her tent! Beyond that, I have no information about how other folks were doing, what they were selling, etc. except by what the children were carrying as they went by our booth. I was grateful my booth-mate Toni was an experienced vendor.
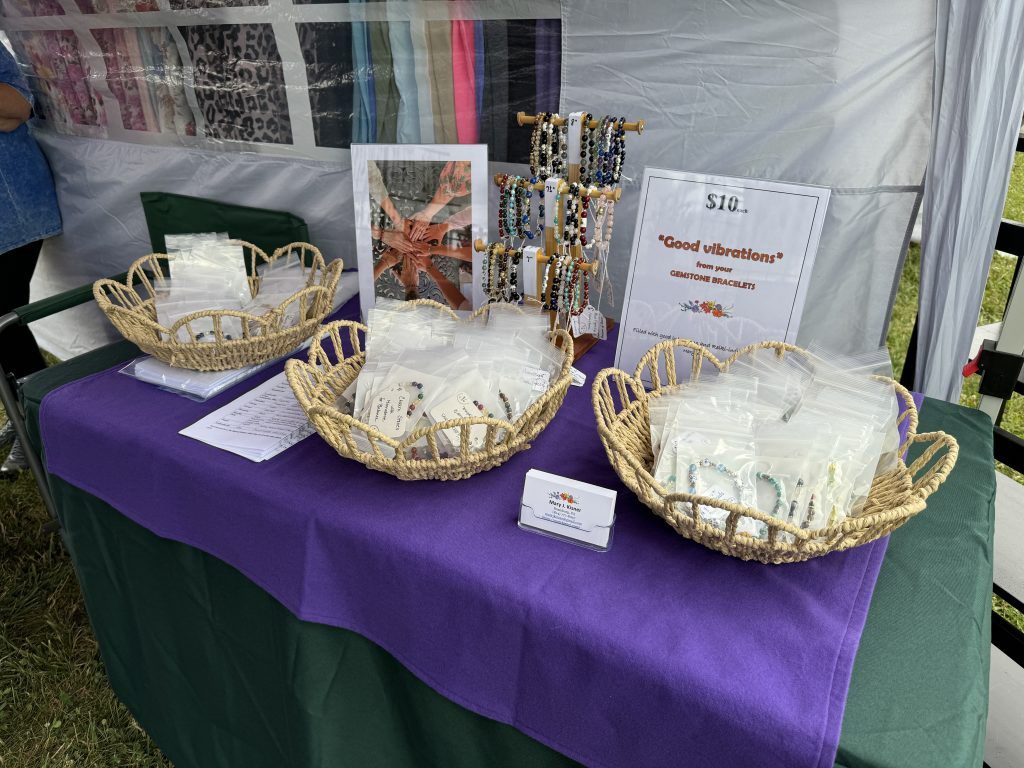
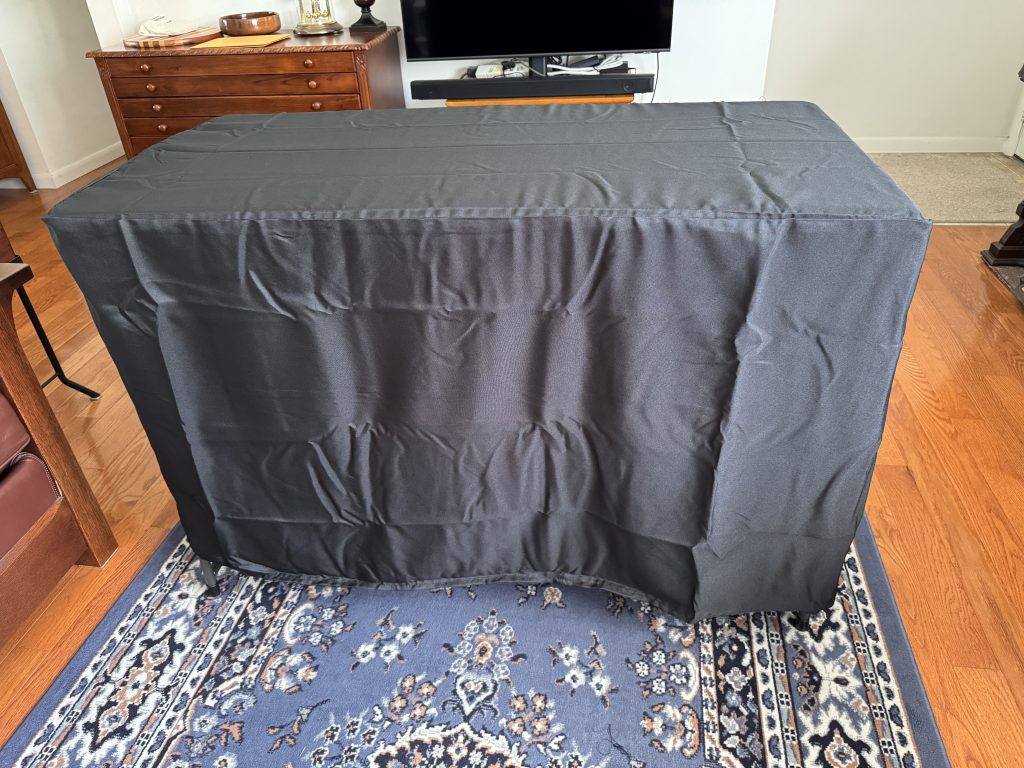
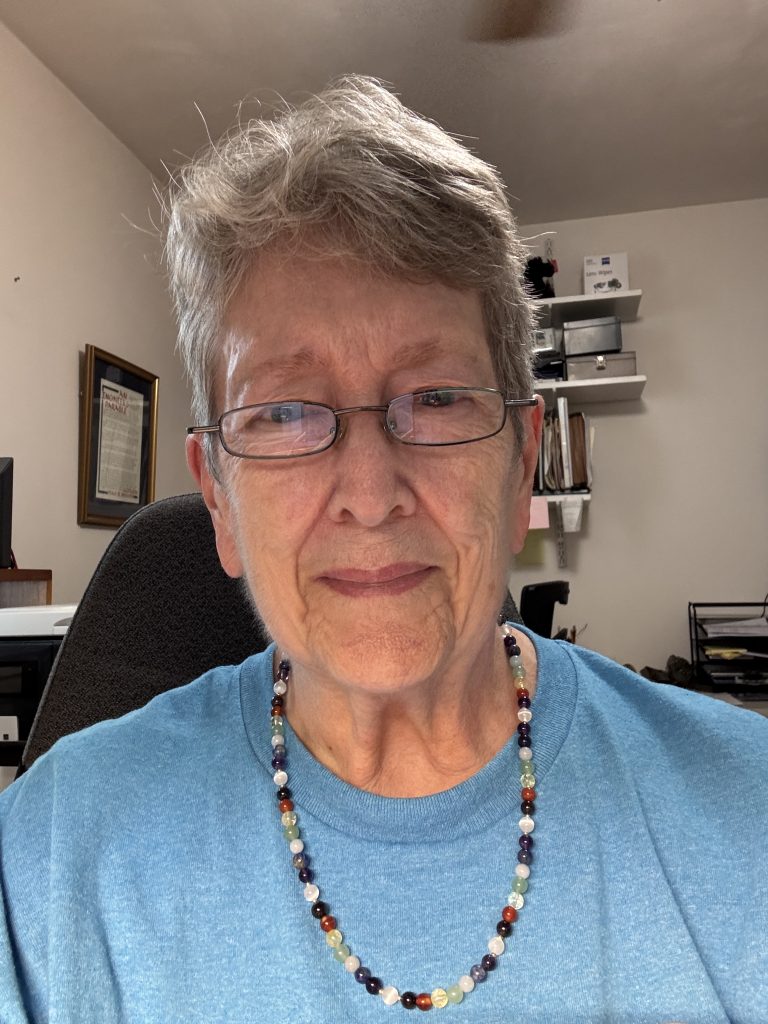
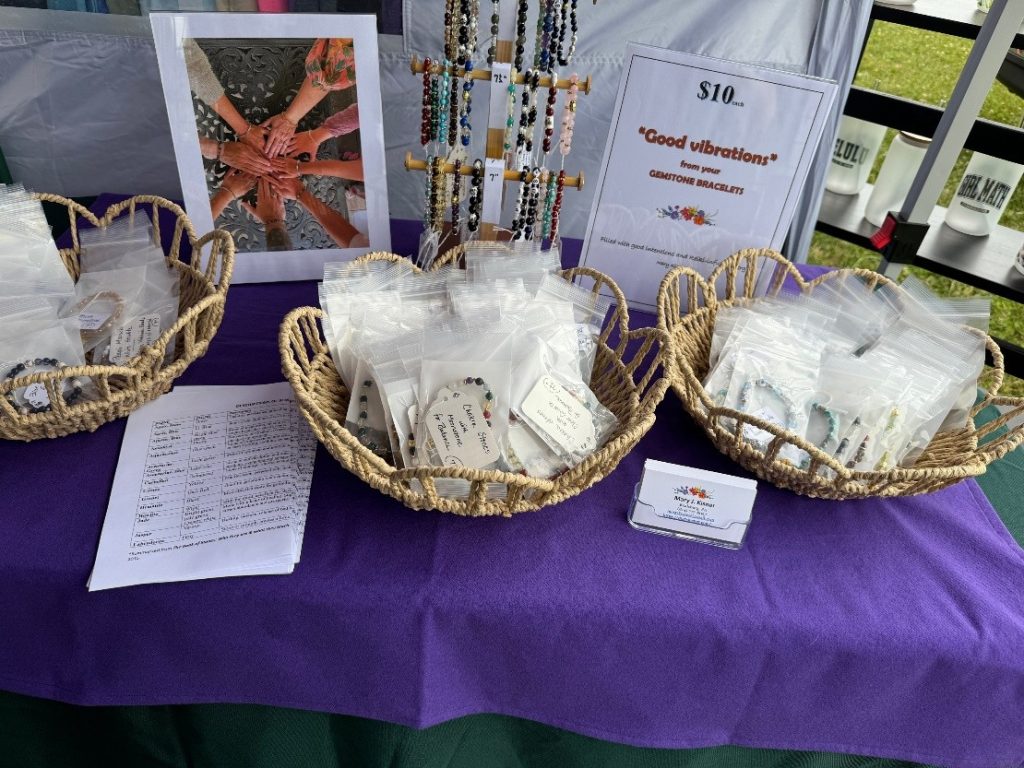
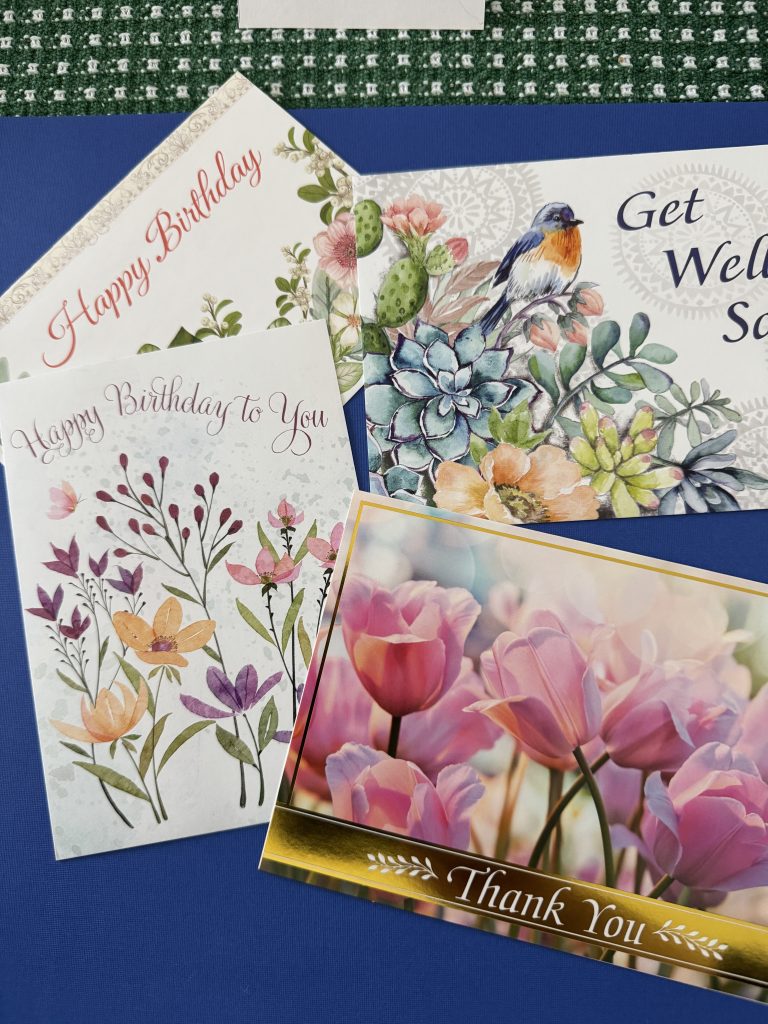
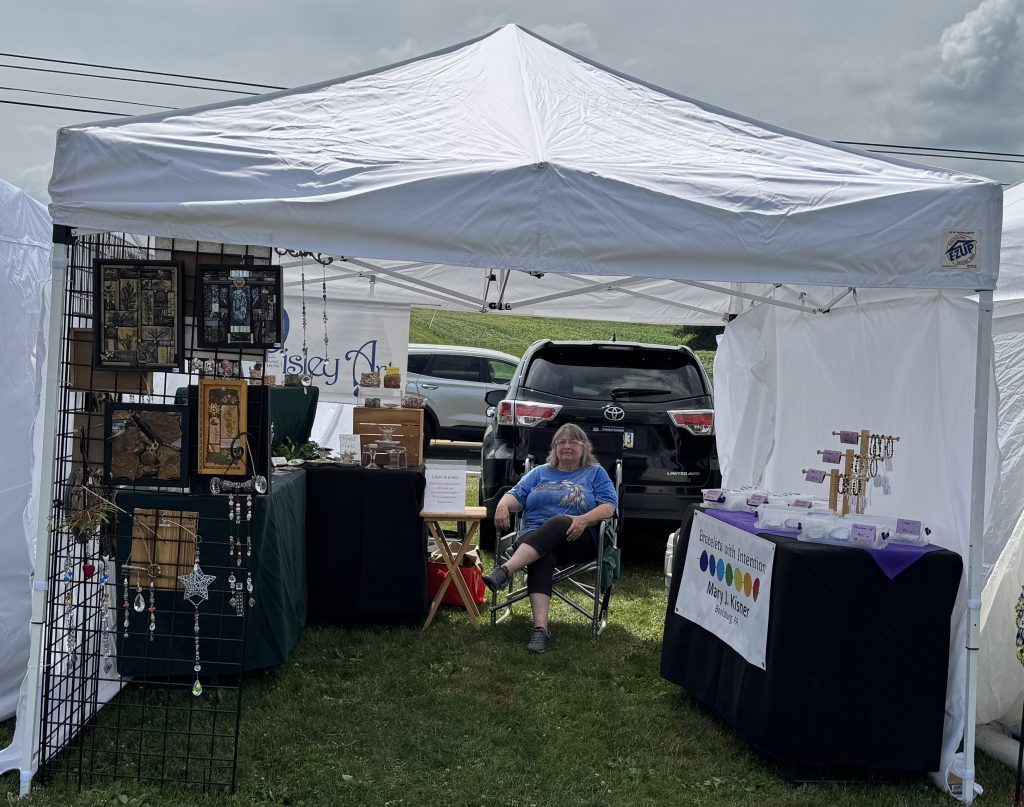
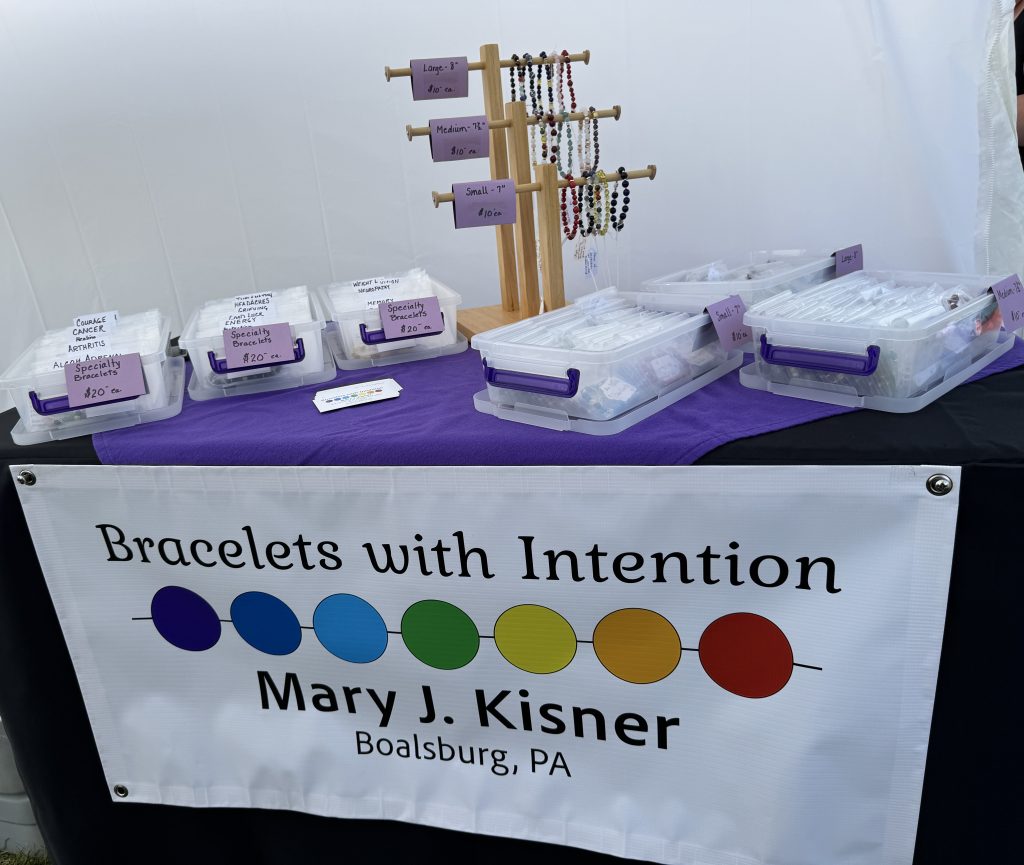
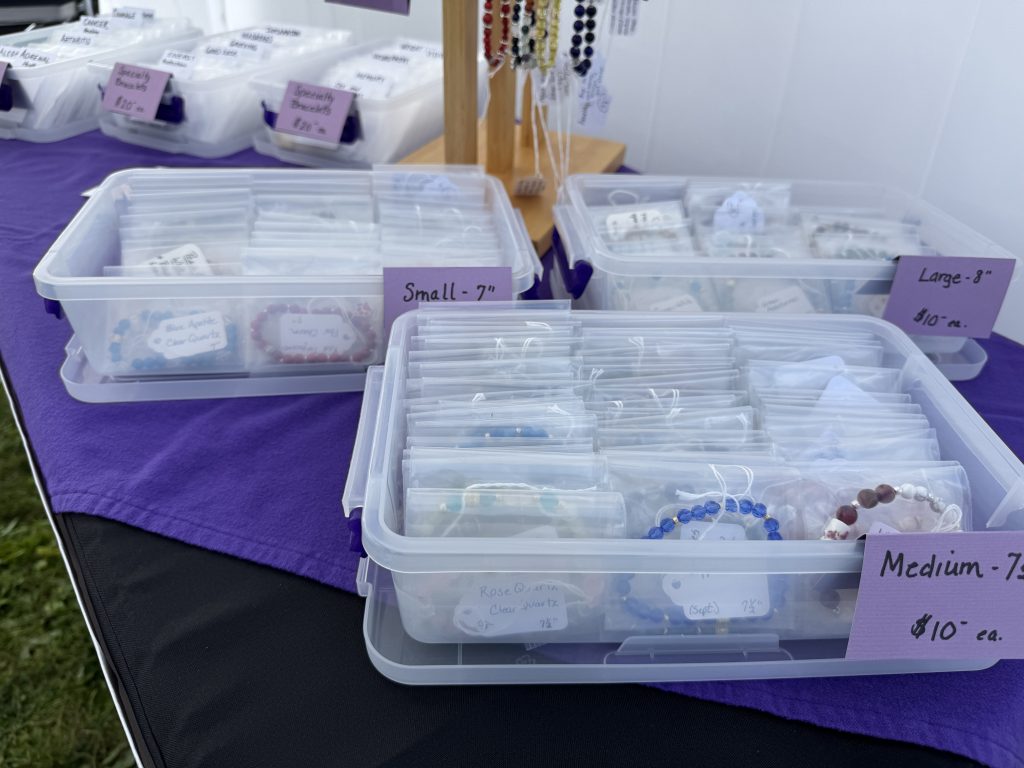
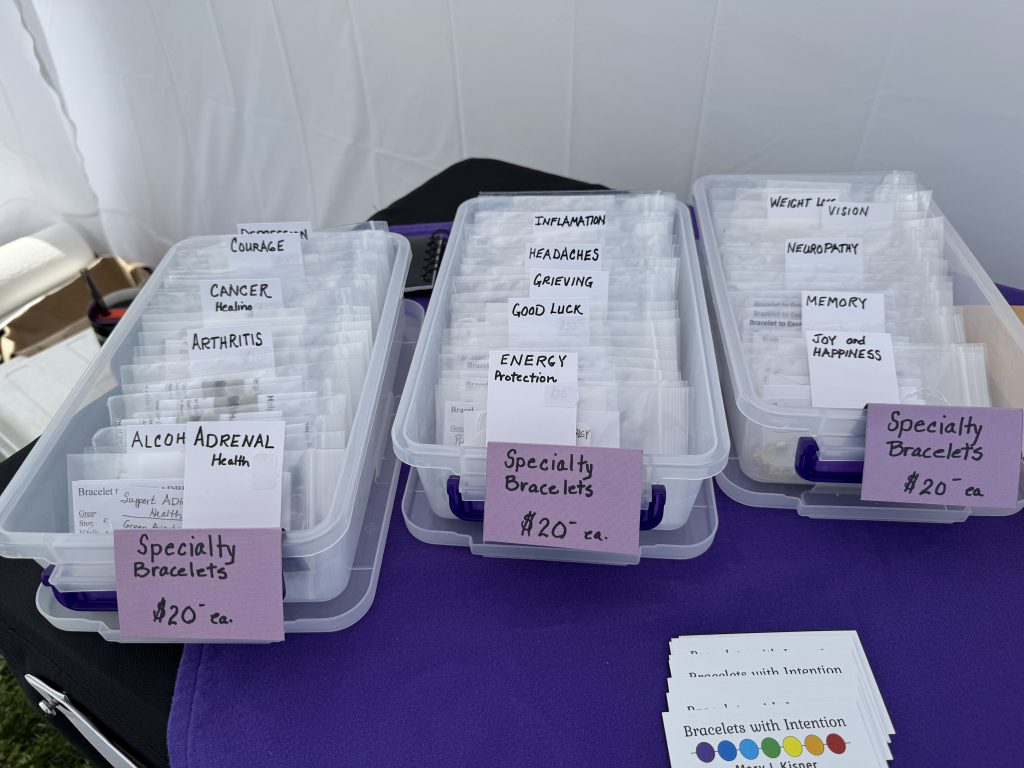
It was so hot, I could hardly focus on taking pictures so I could write a decent story about the festival. I didn’t even get a ‘selfie’ of me! Lame, I know! So, here are a few pictures of our booth.
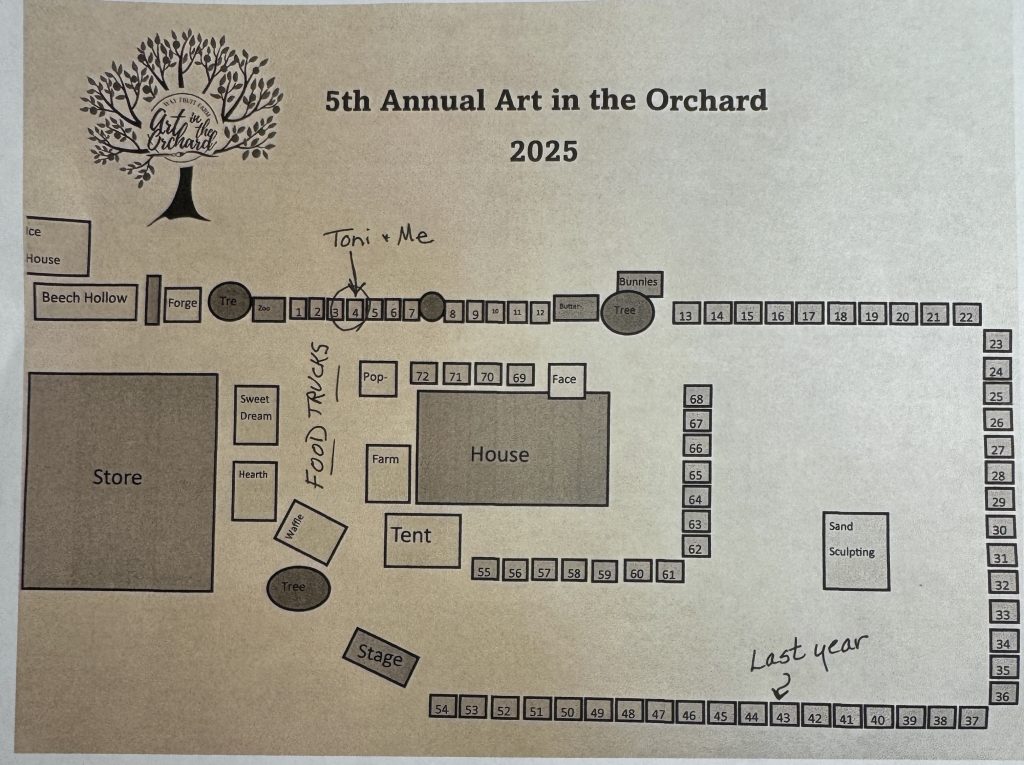
First, here’s the map of where our booth was located. I marked our booth (#4) on the map and the location of our booth last year…down a hill and on the opposite side of the field. Our location this year meant we were one of the first booths people saw as they came from the parking area. Many looked hard and then said they’d be back after they saw everything else! Many actually came back! So, we saw a lot of folks at the beginning of their visit and they were enthusiastic about the festival.
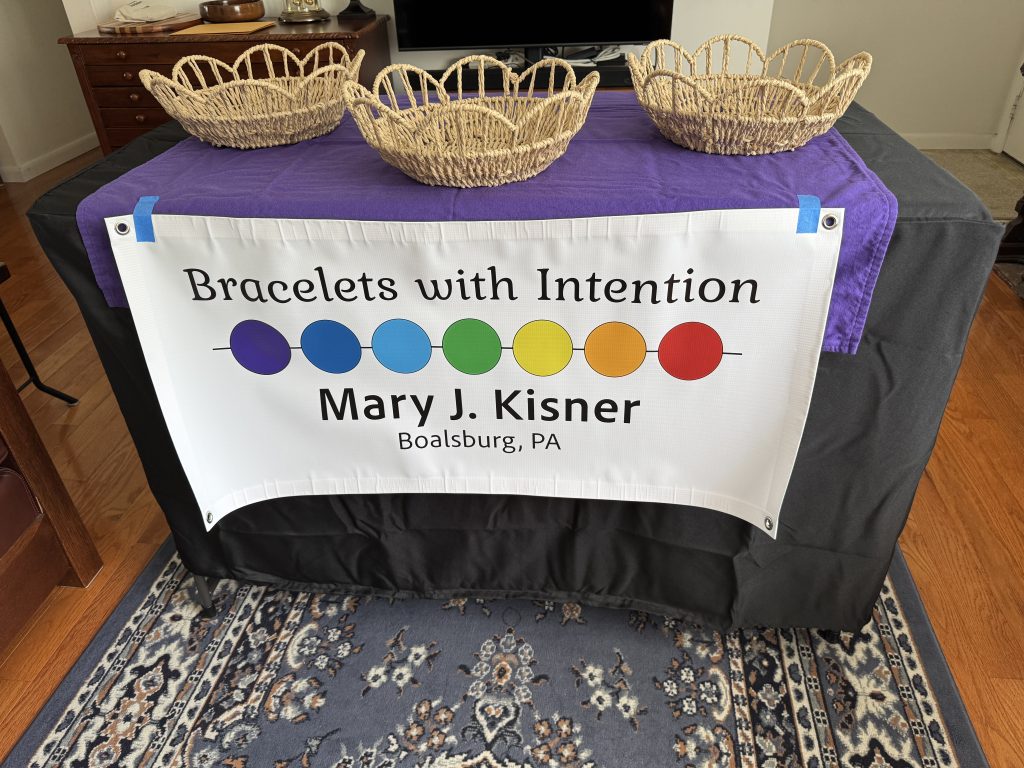
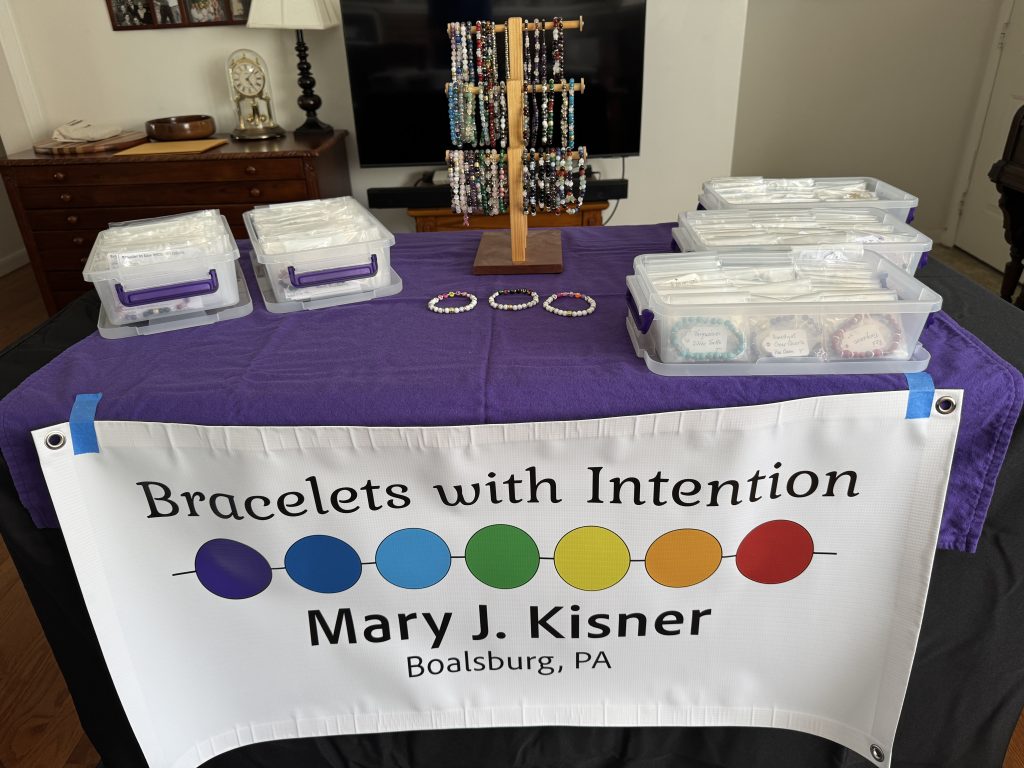
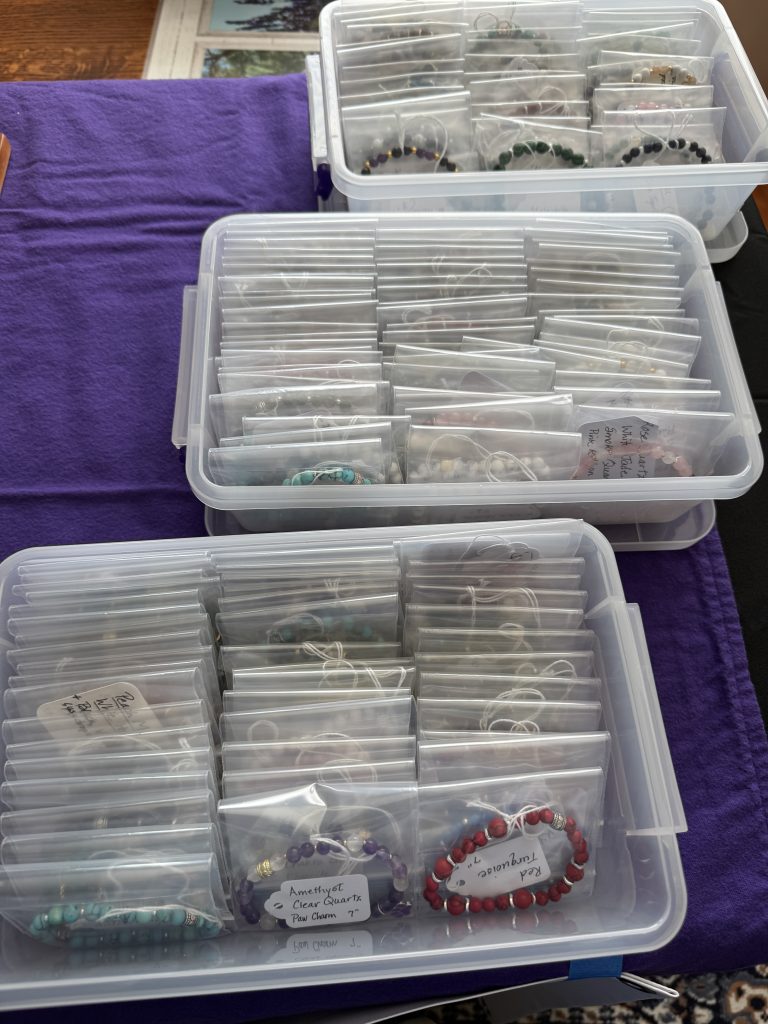
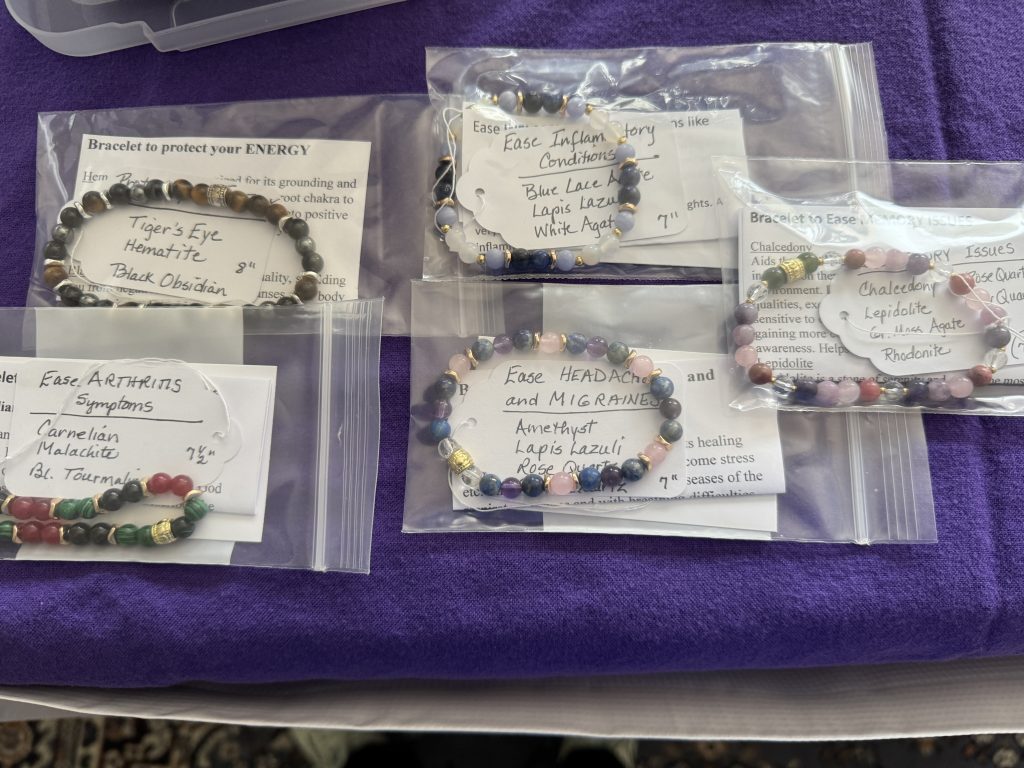
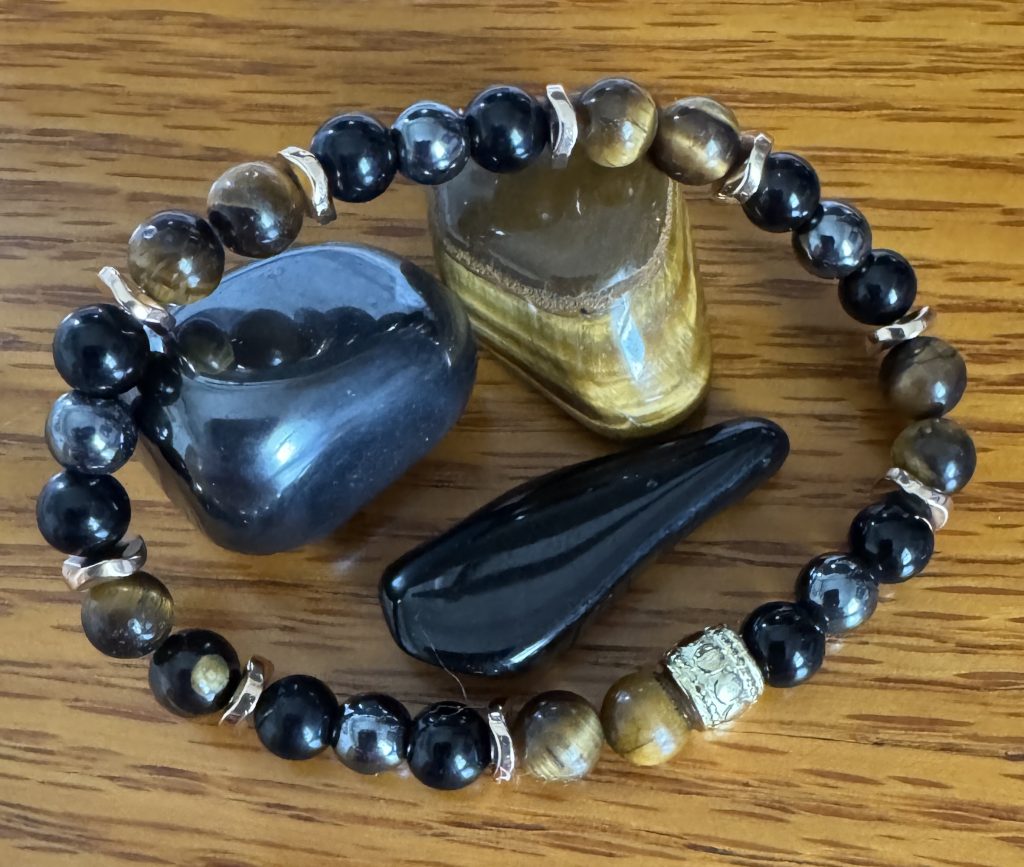
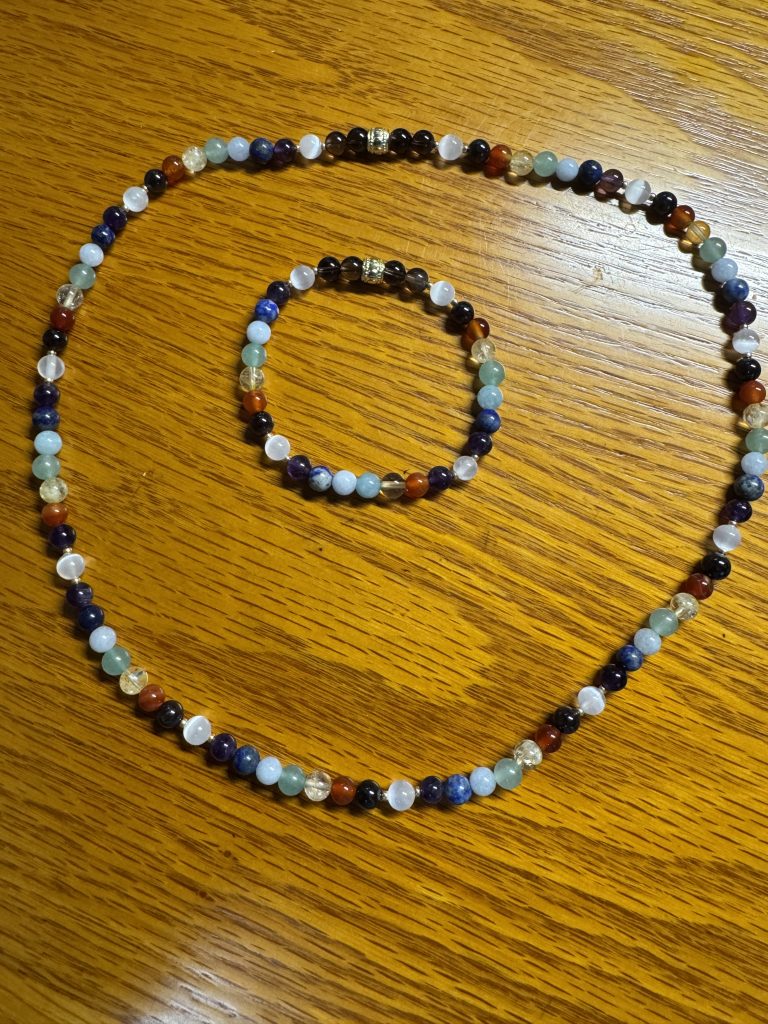
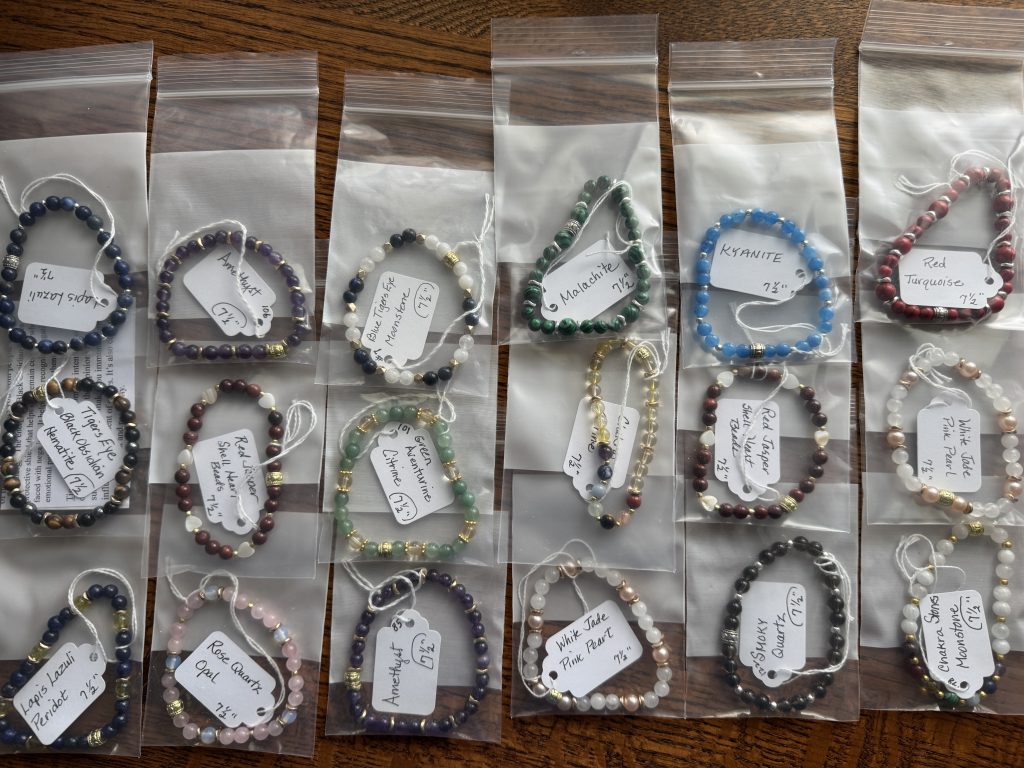
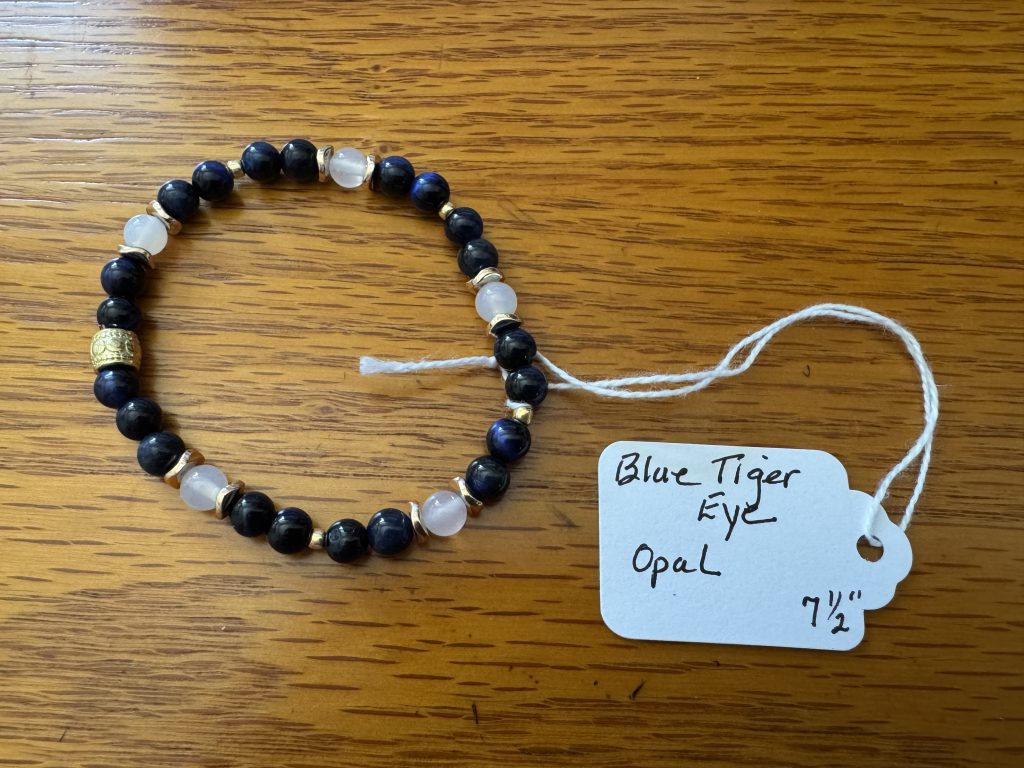
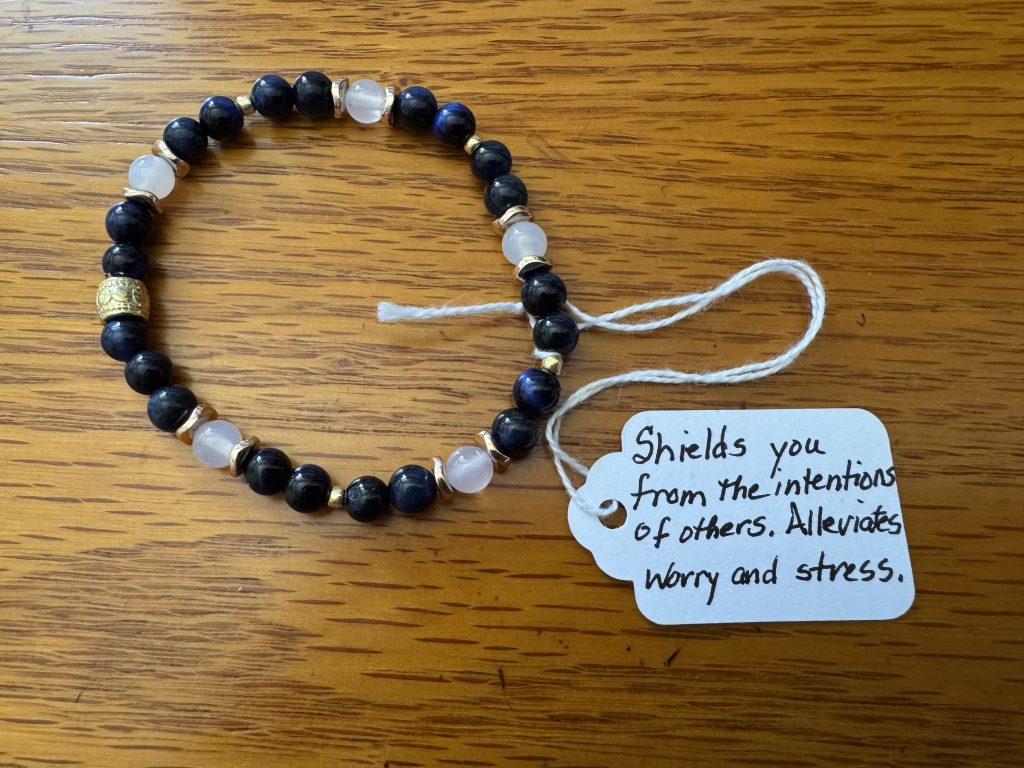
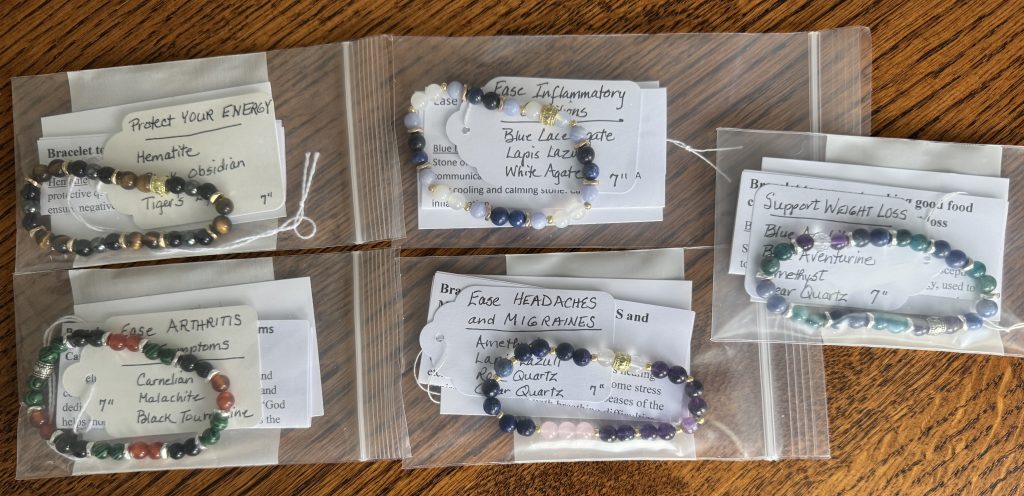
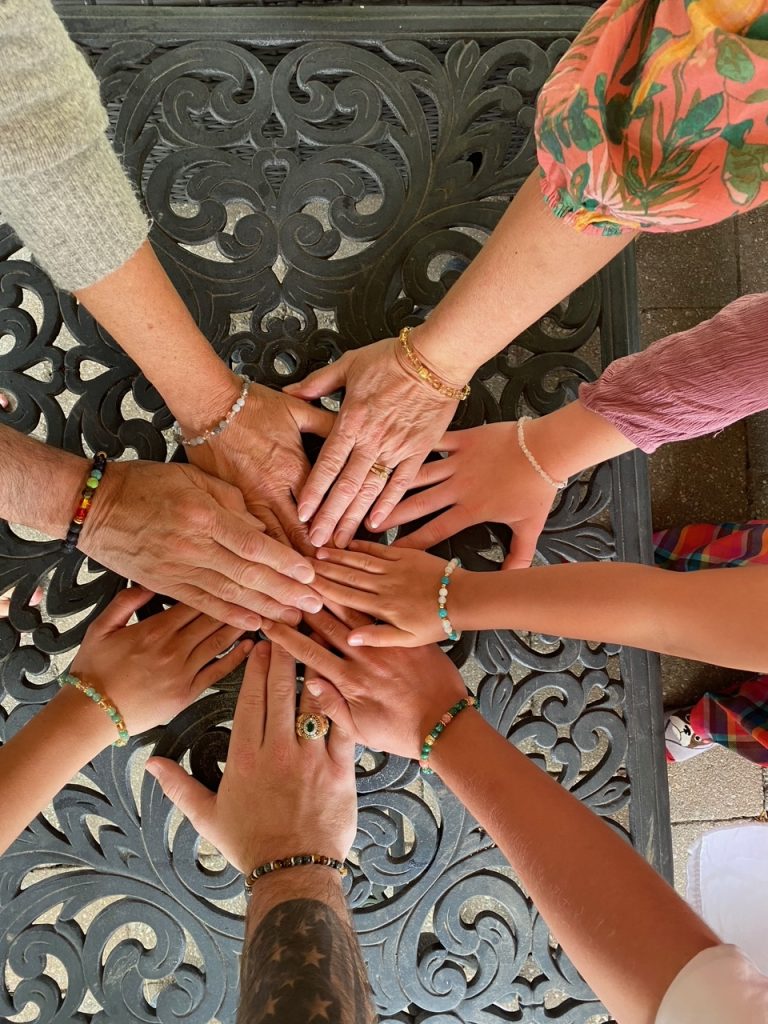
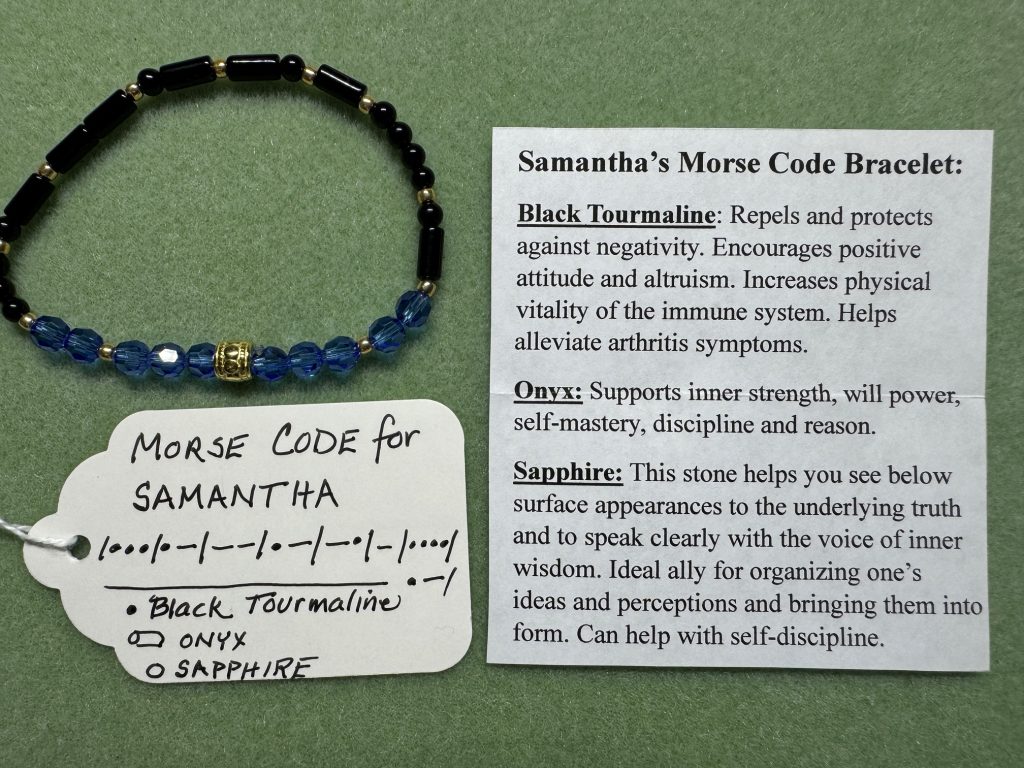
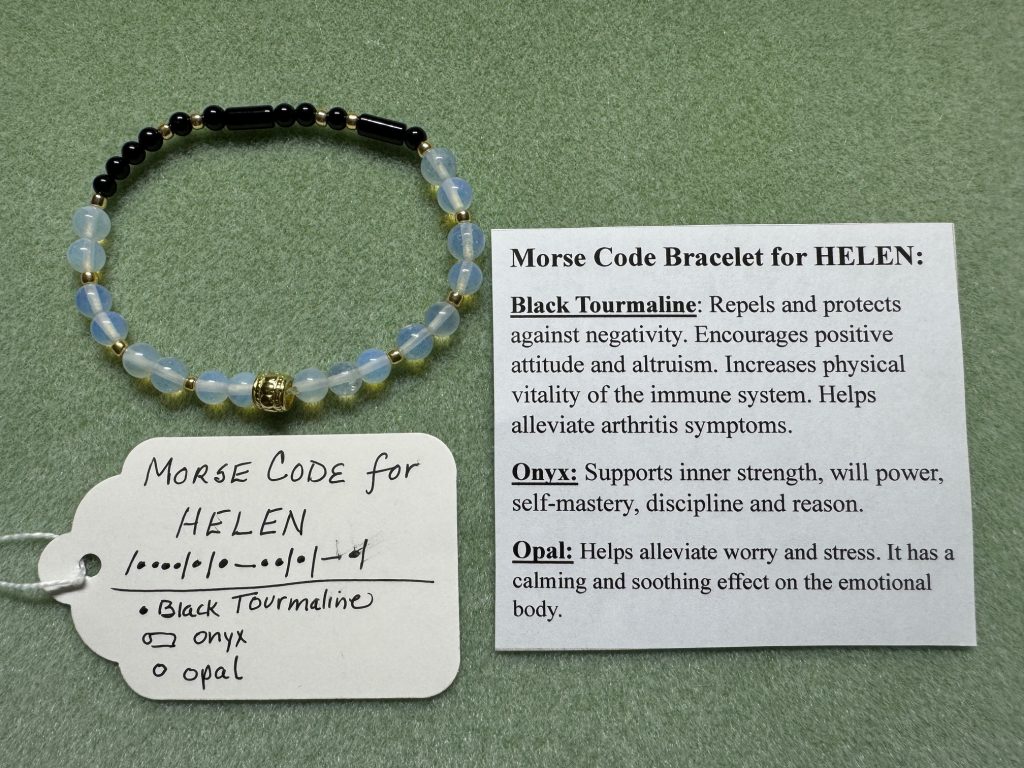
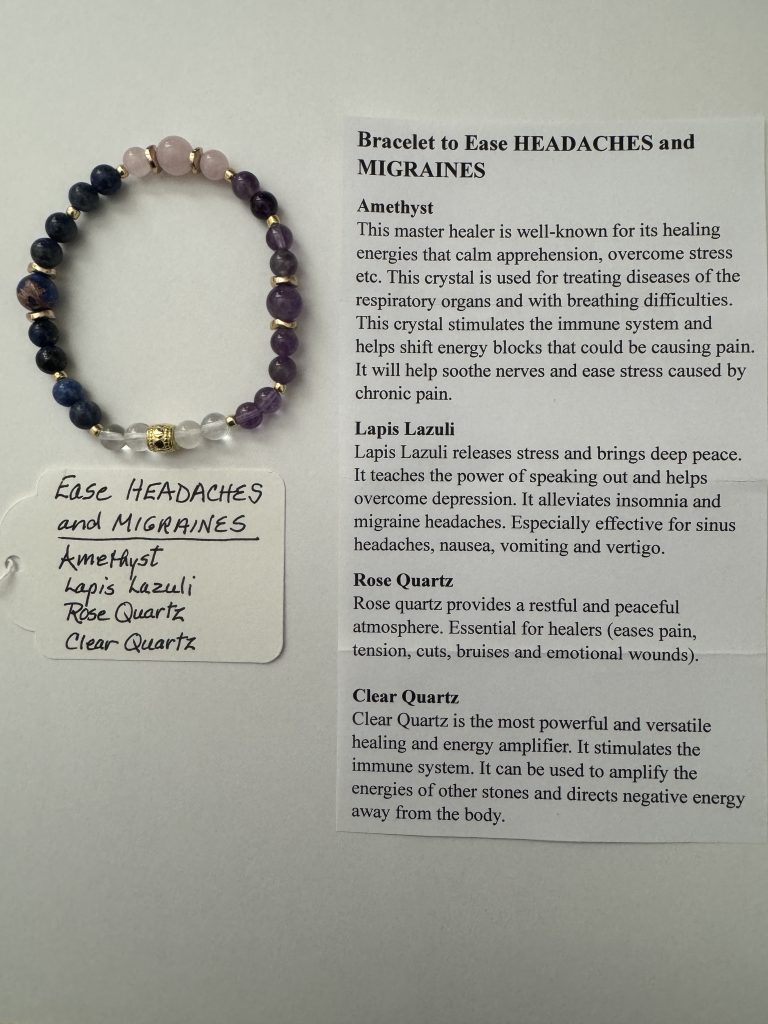
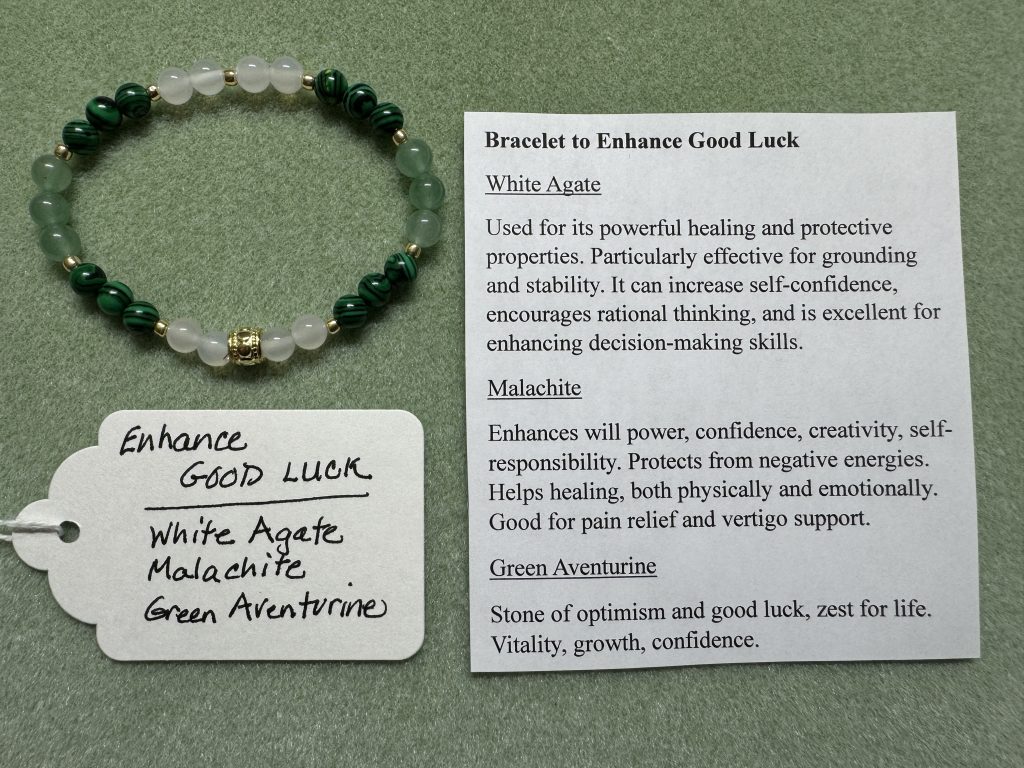
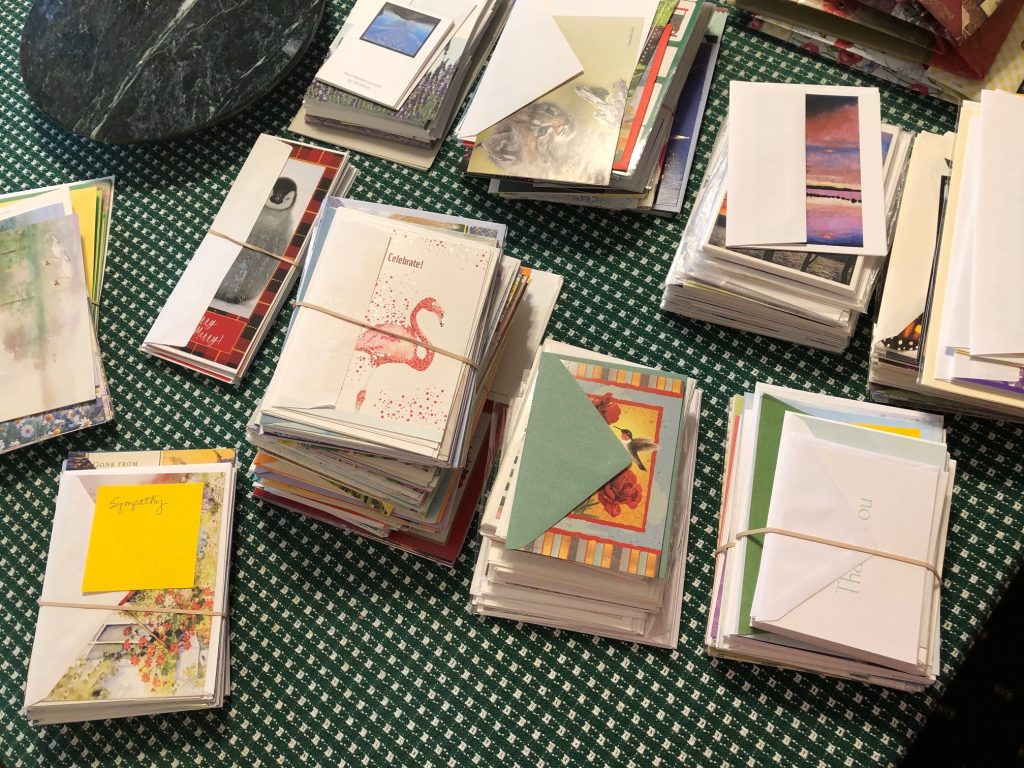
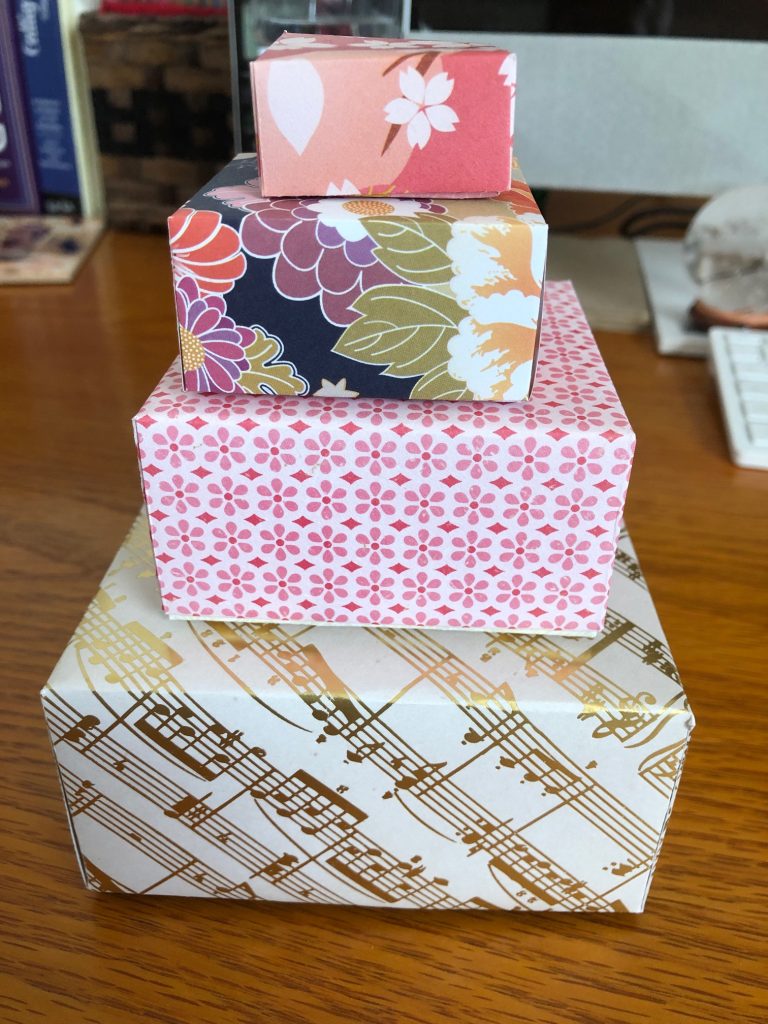
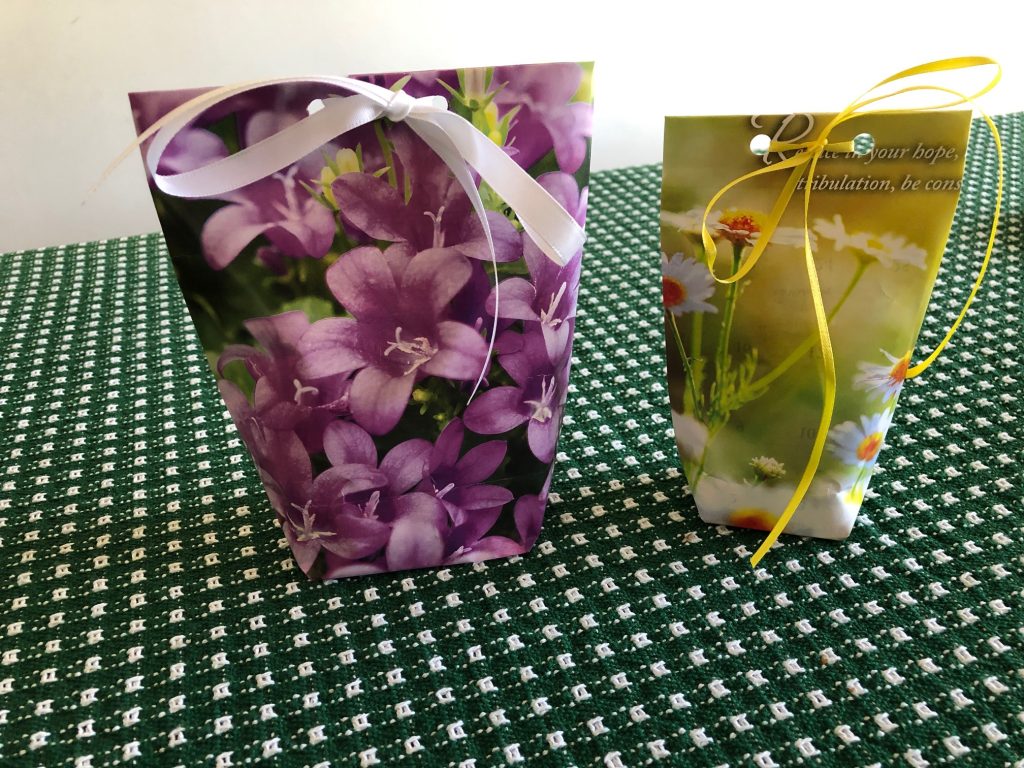
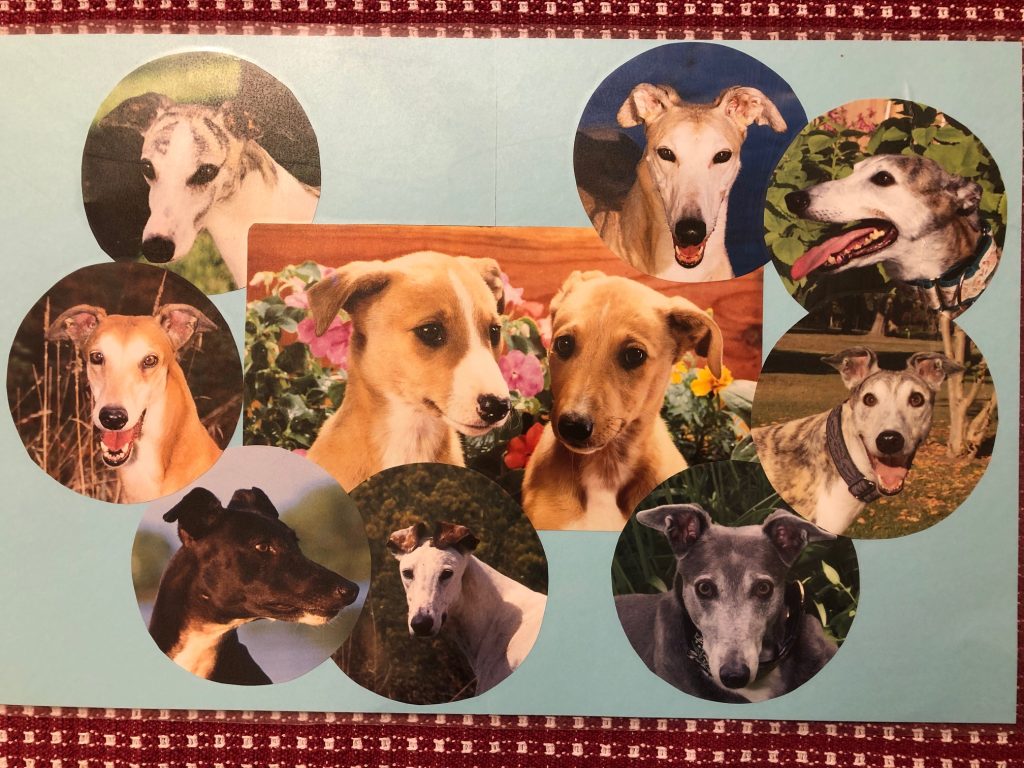
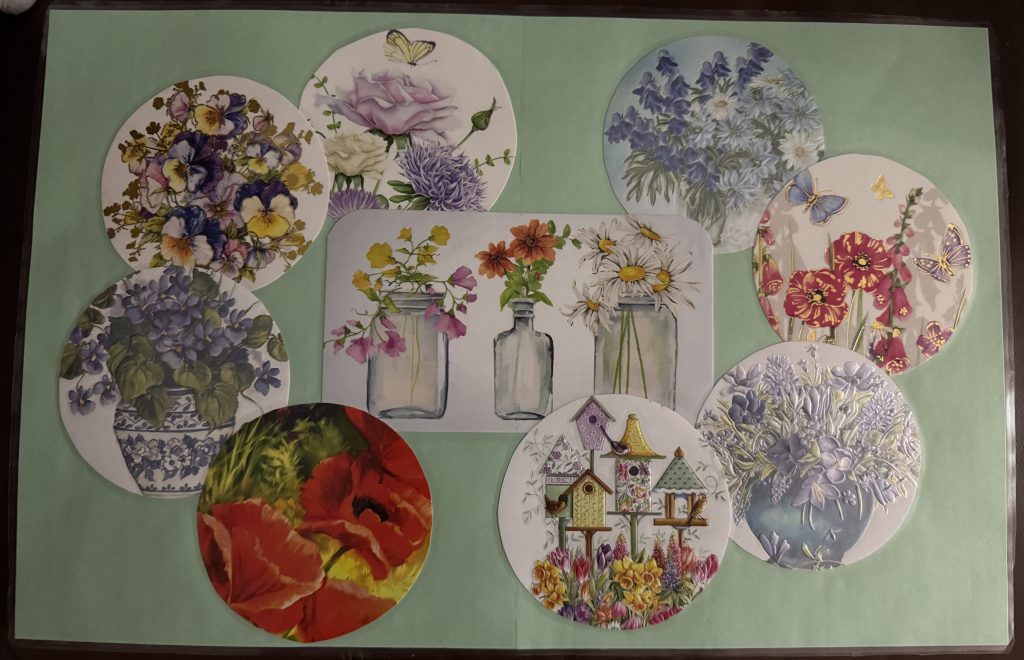
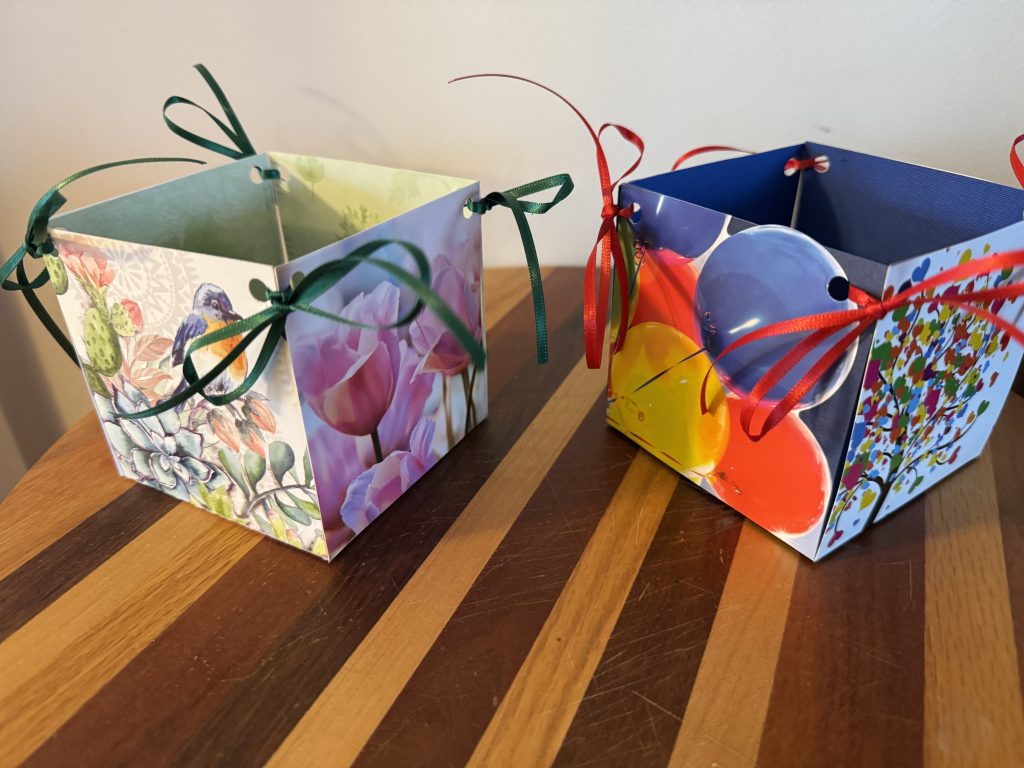
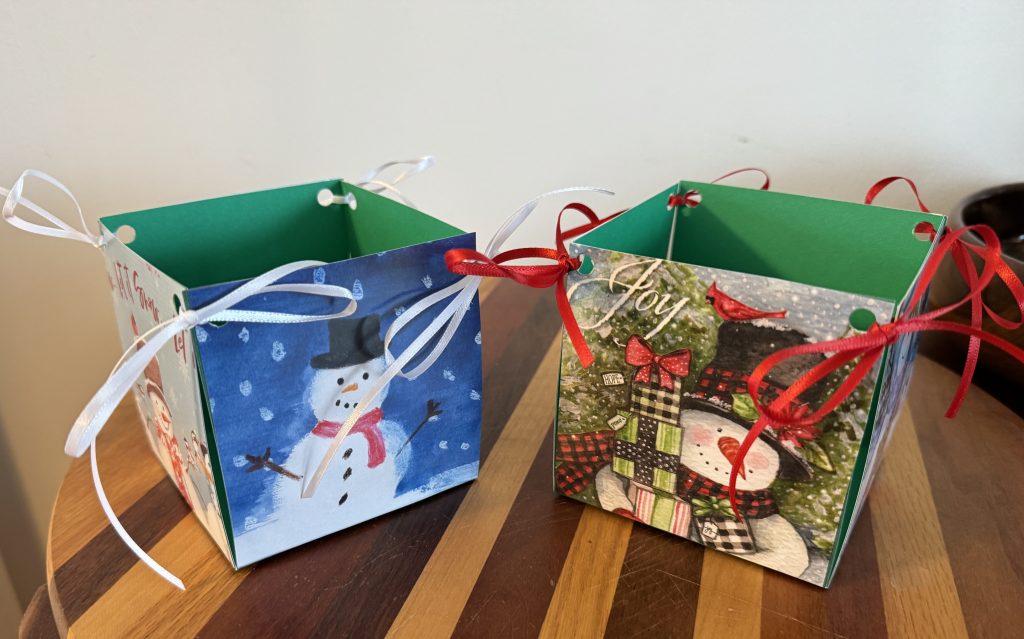
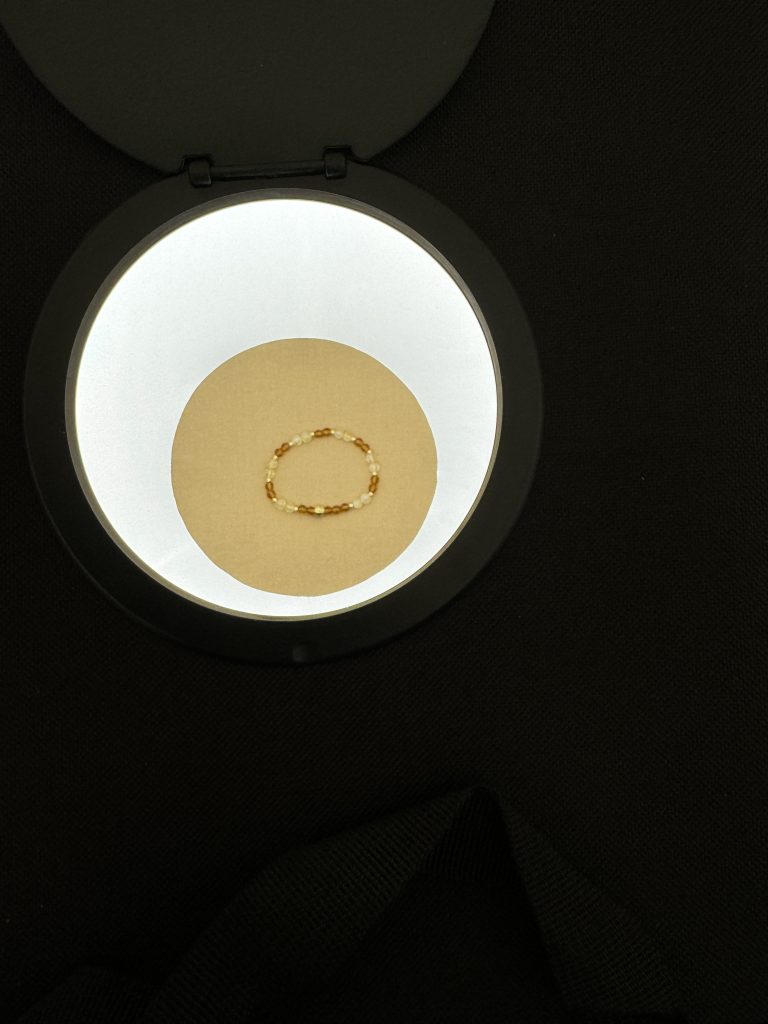
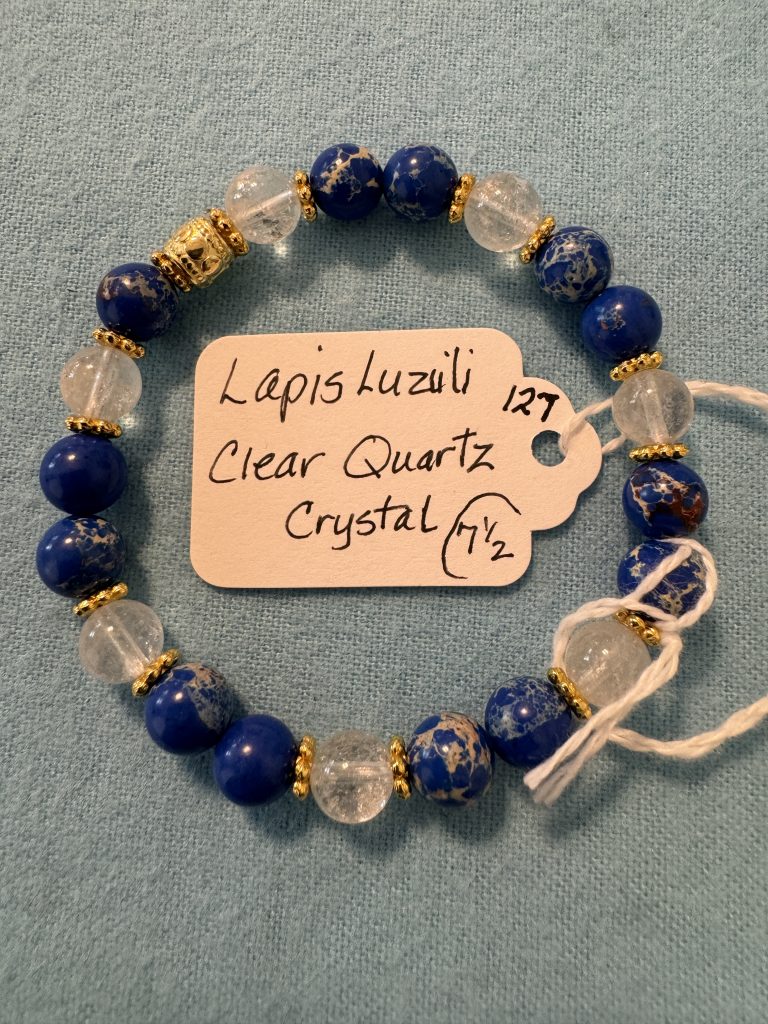
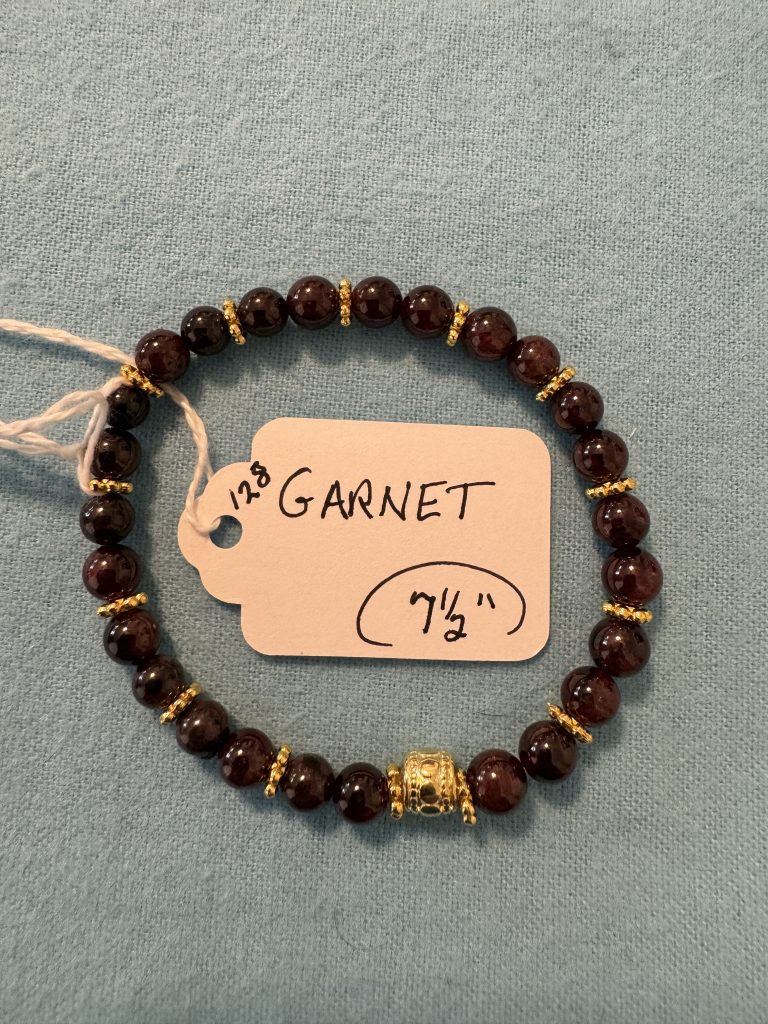
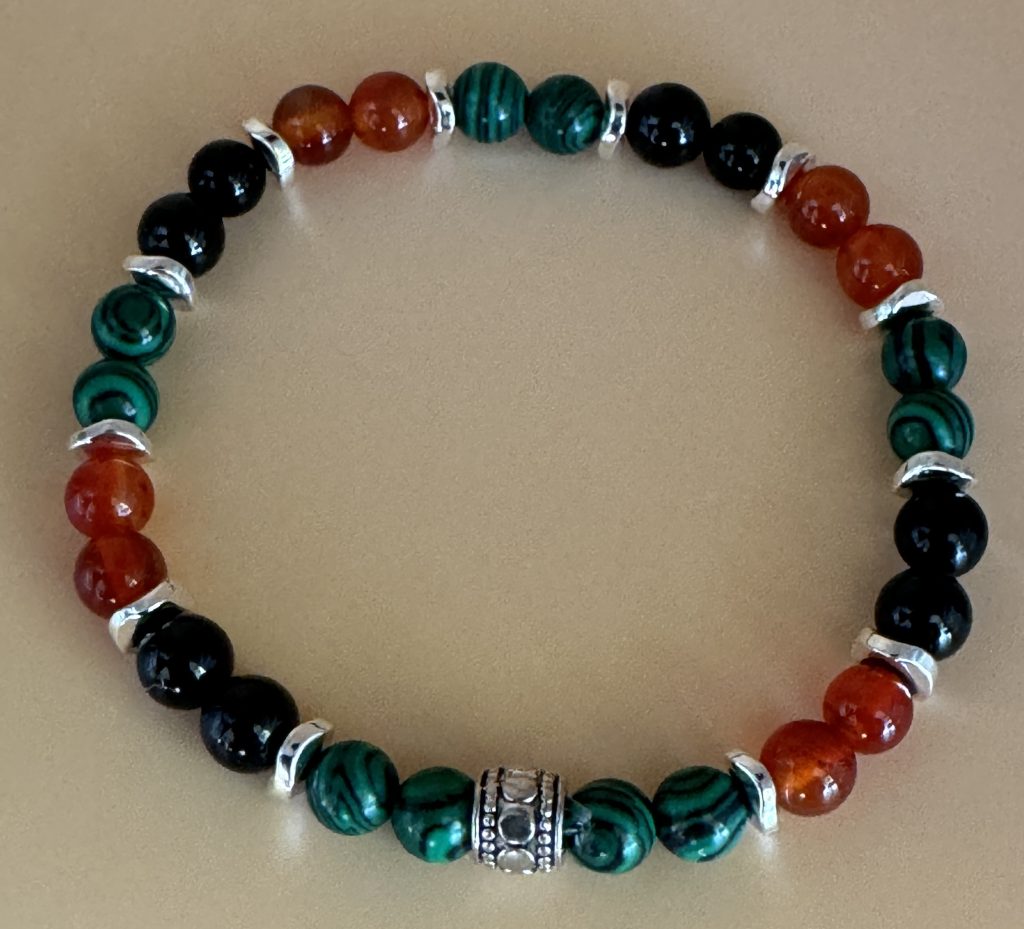
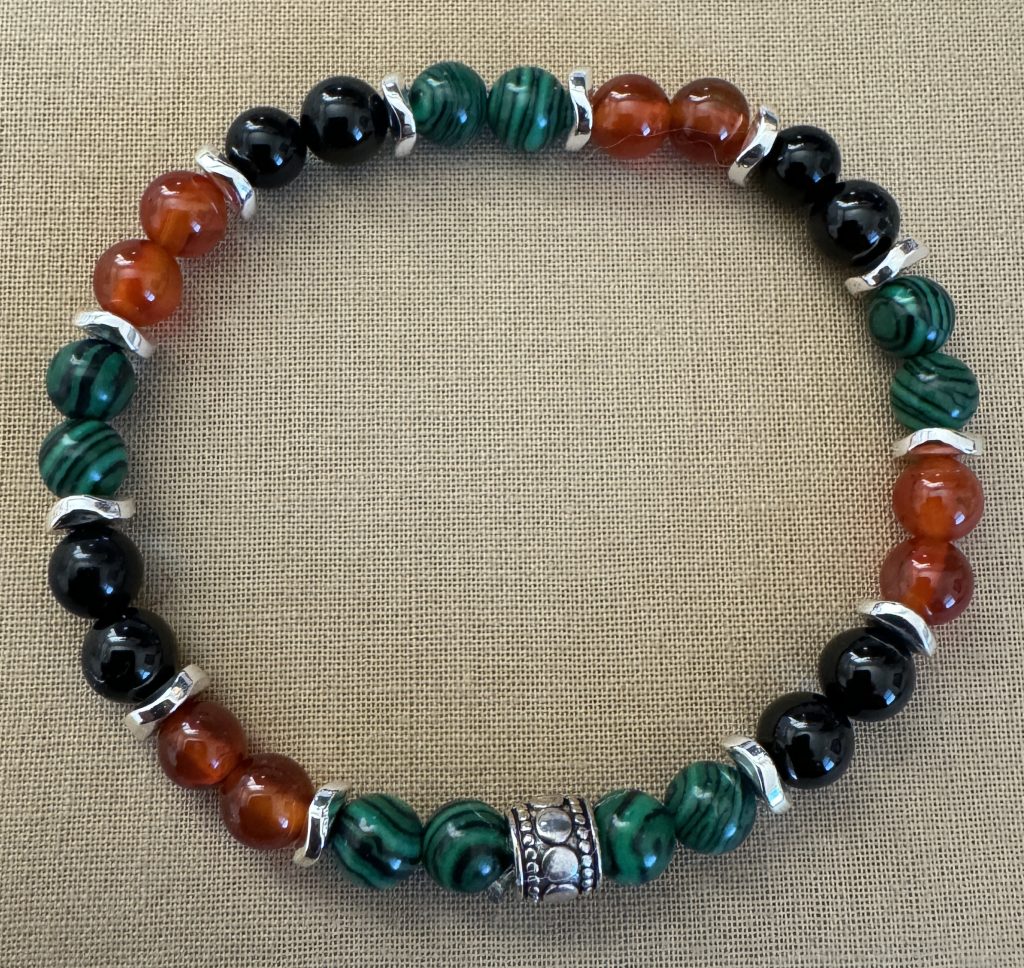
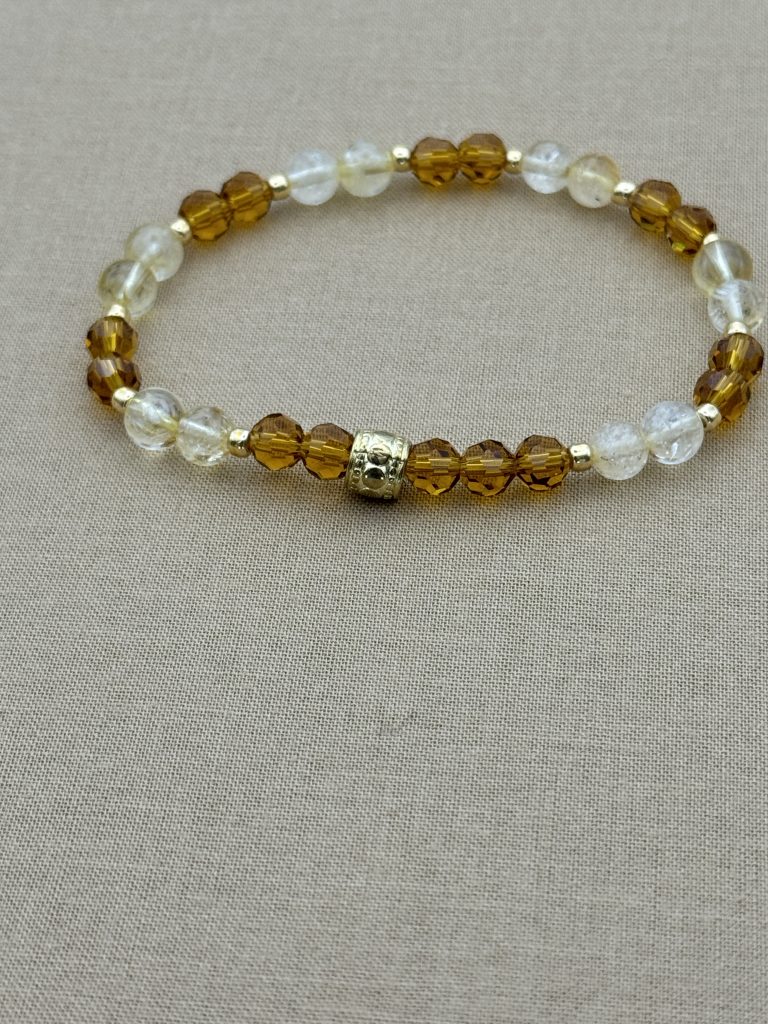
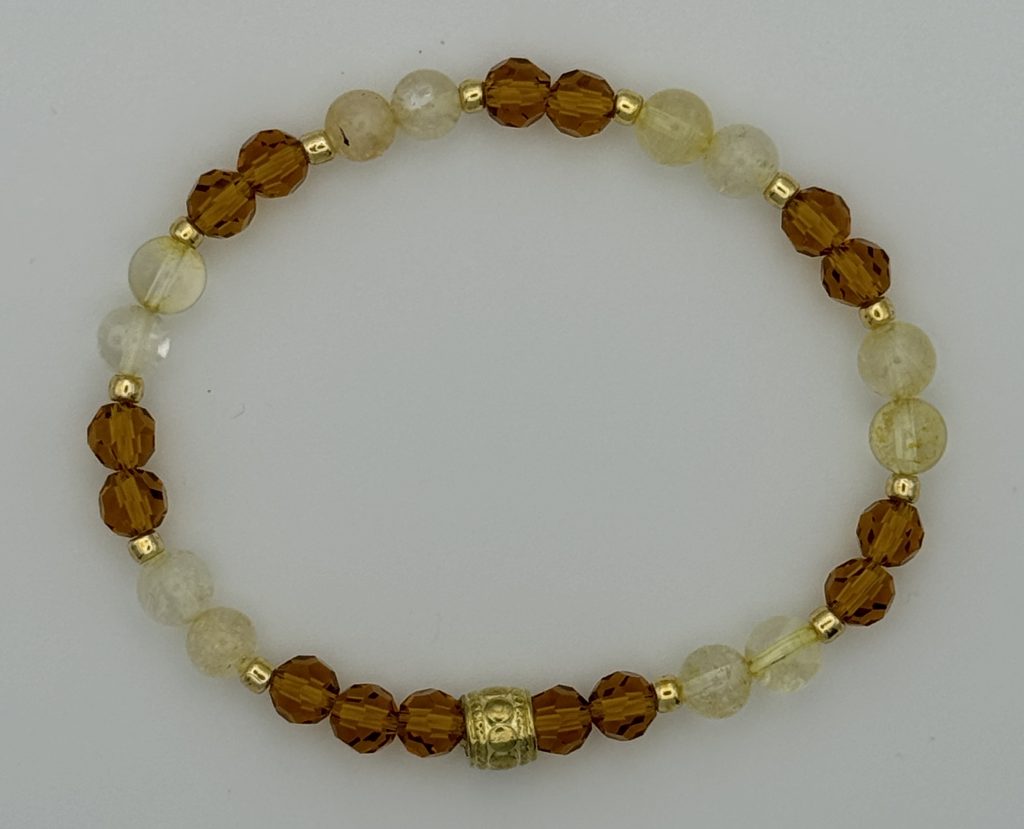
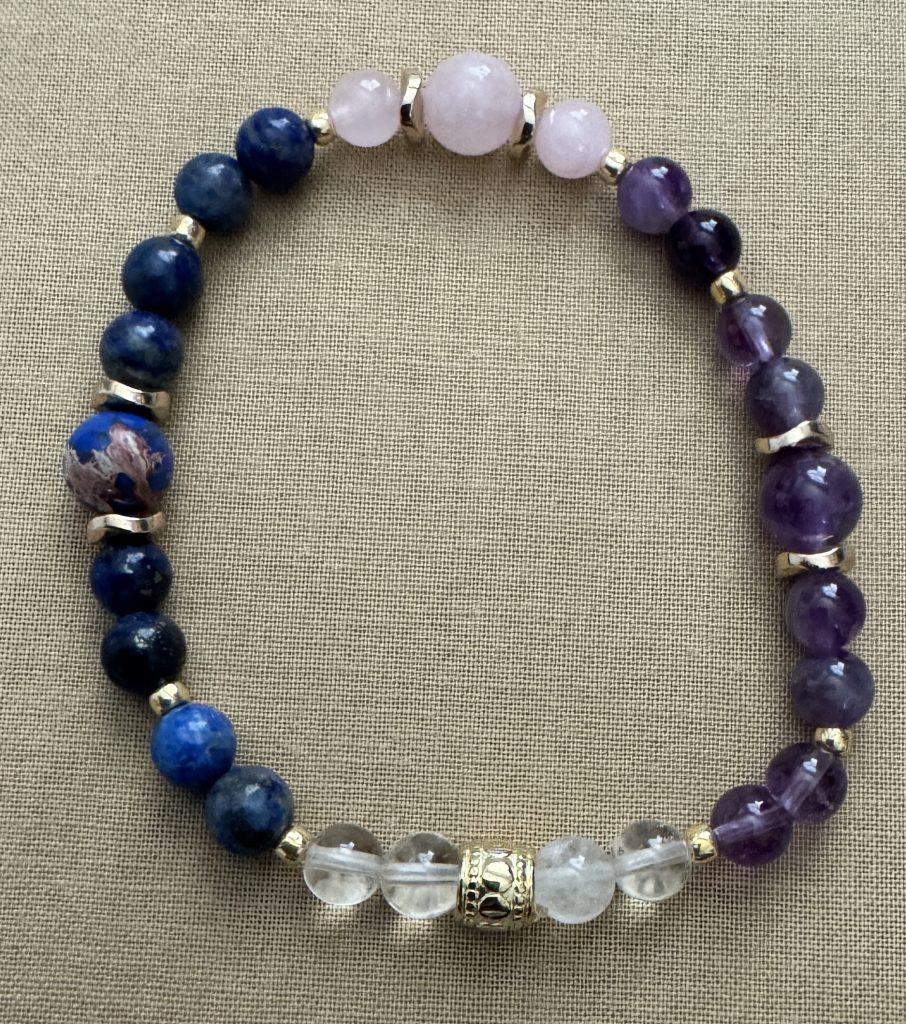
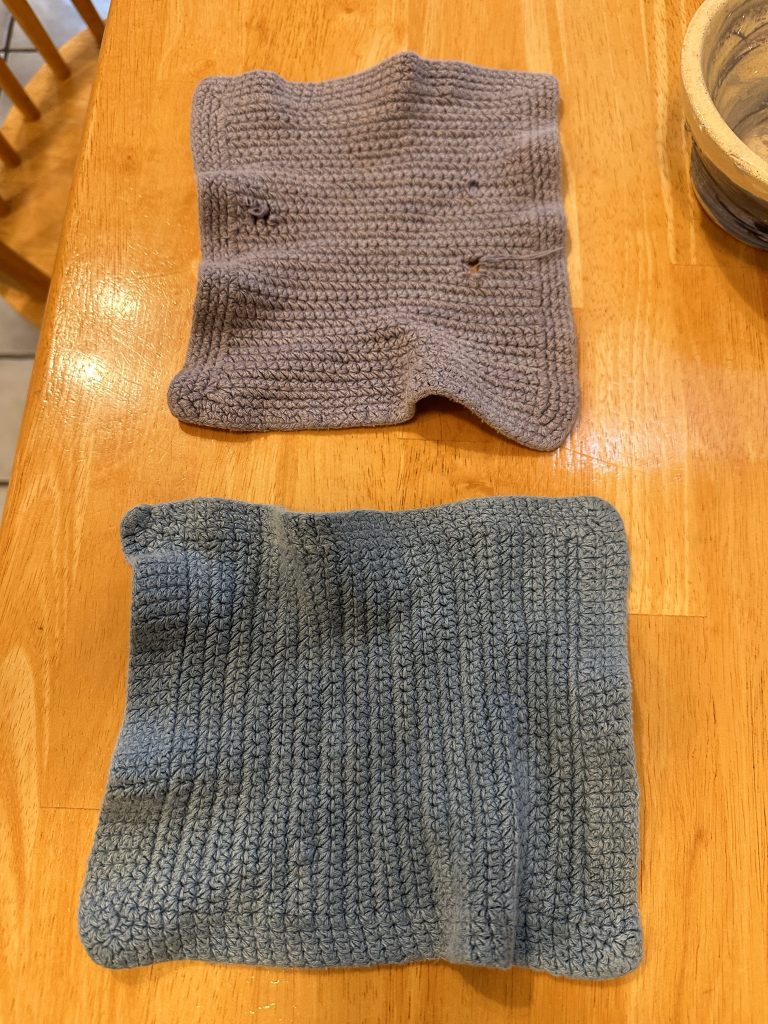
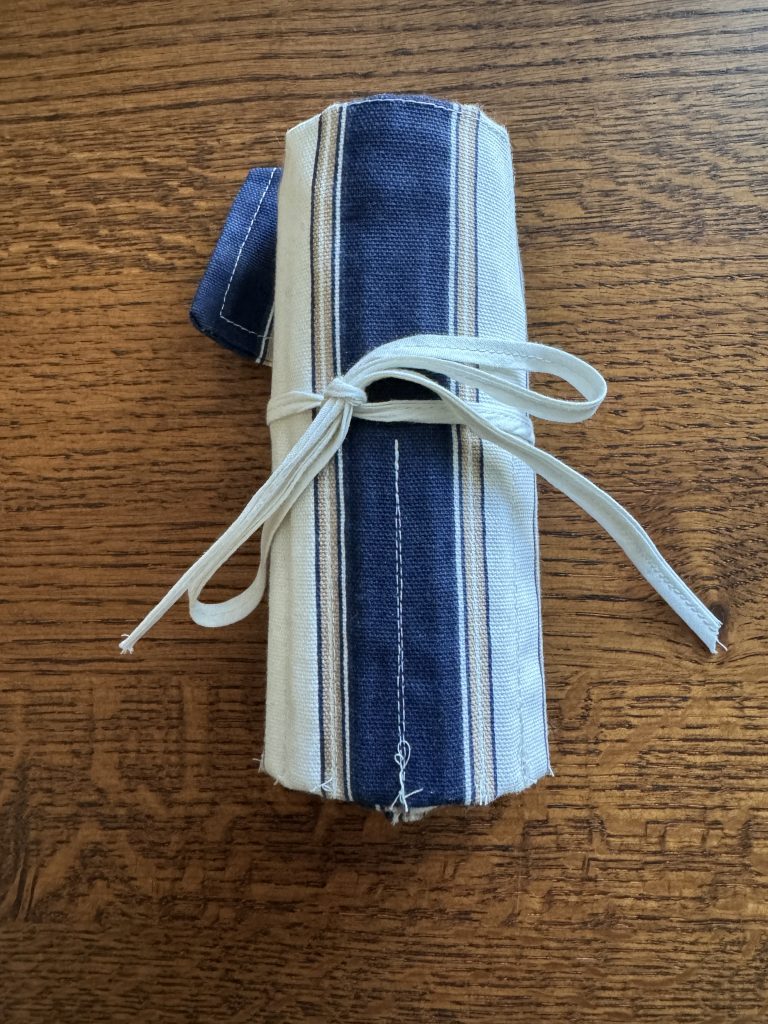
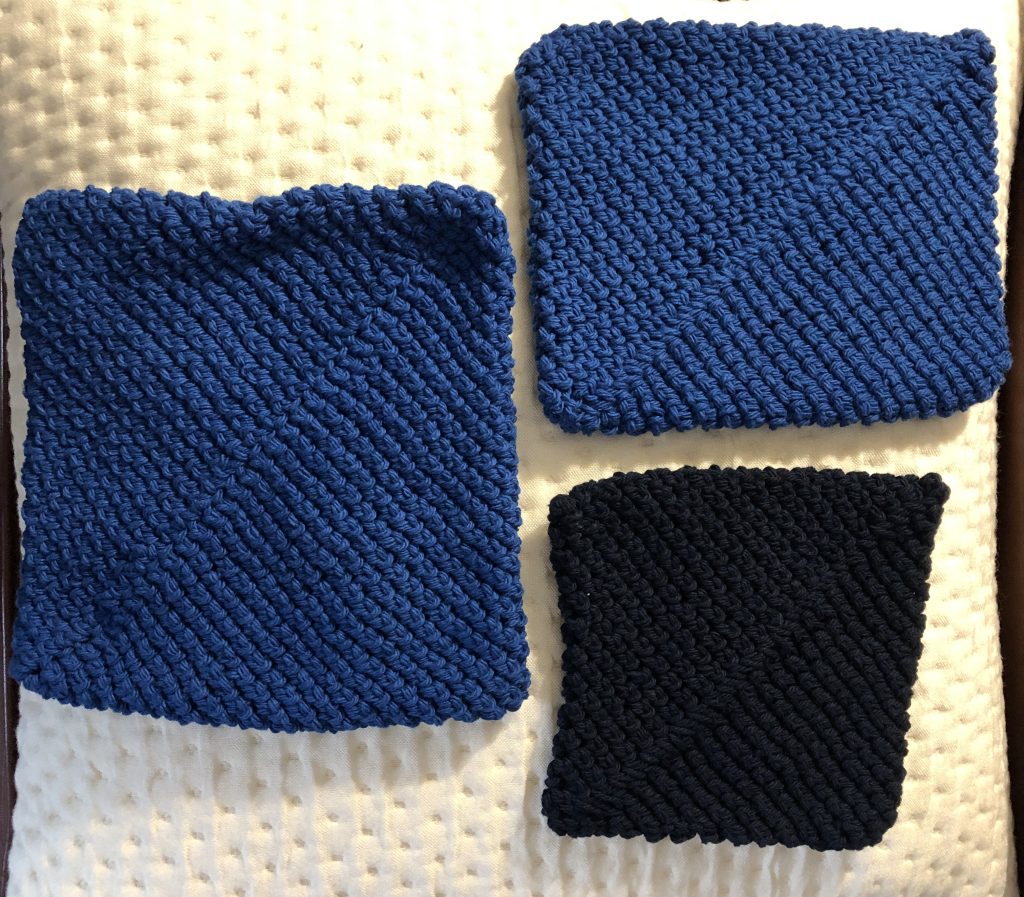
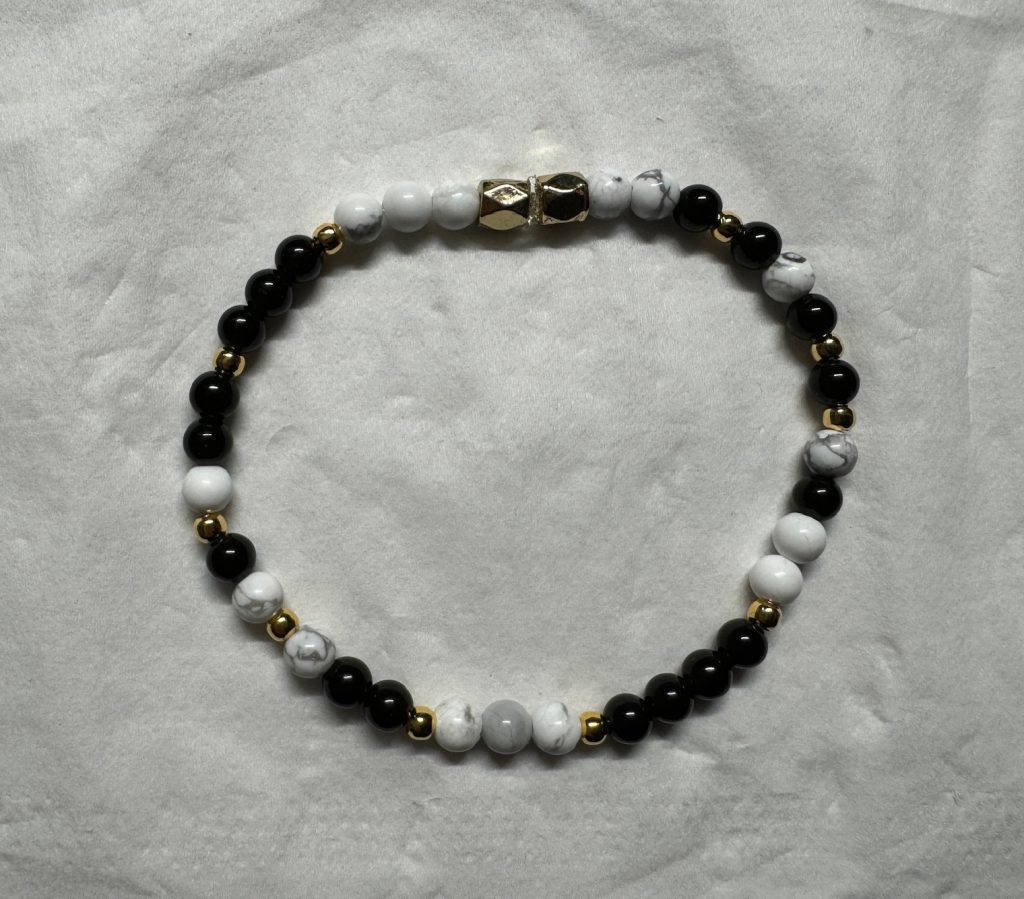
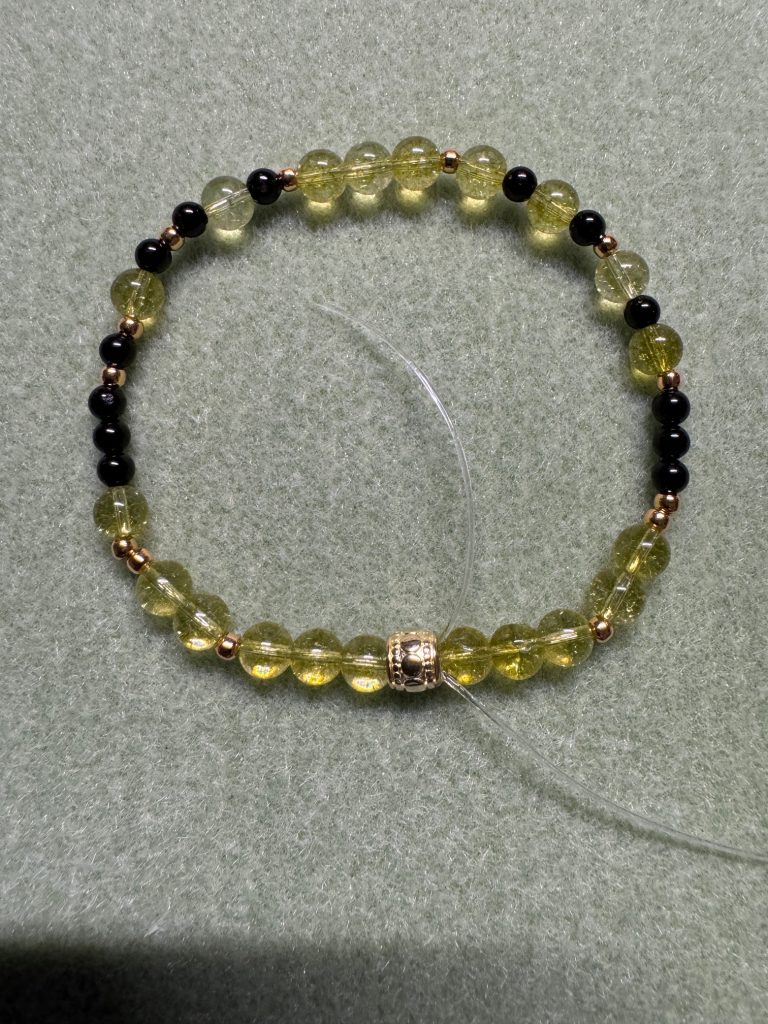
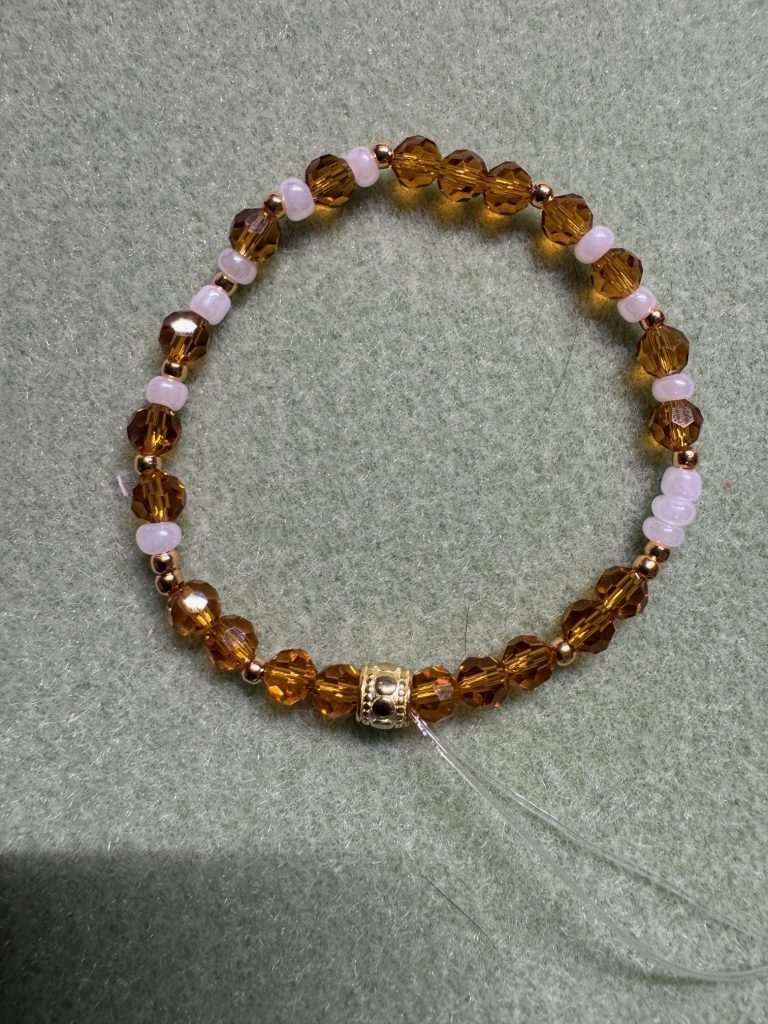
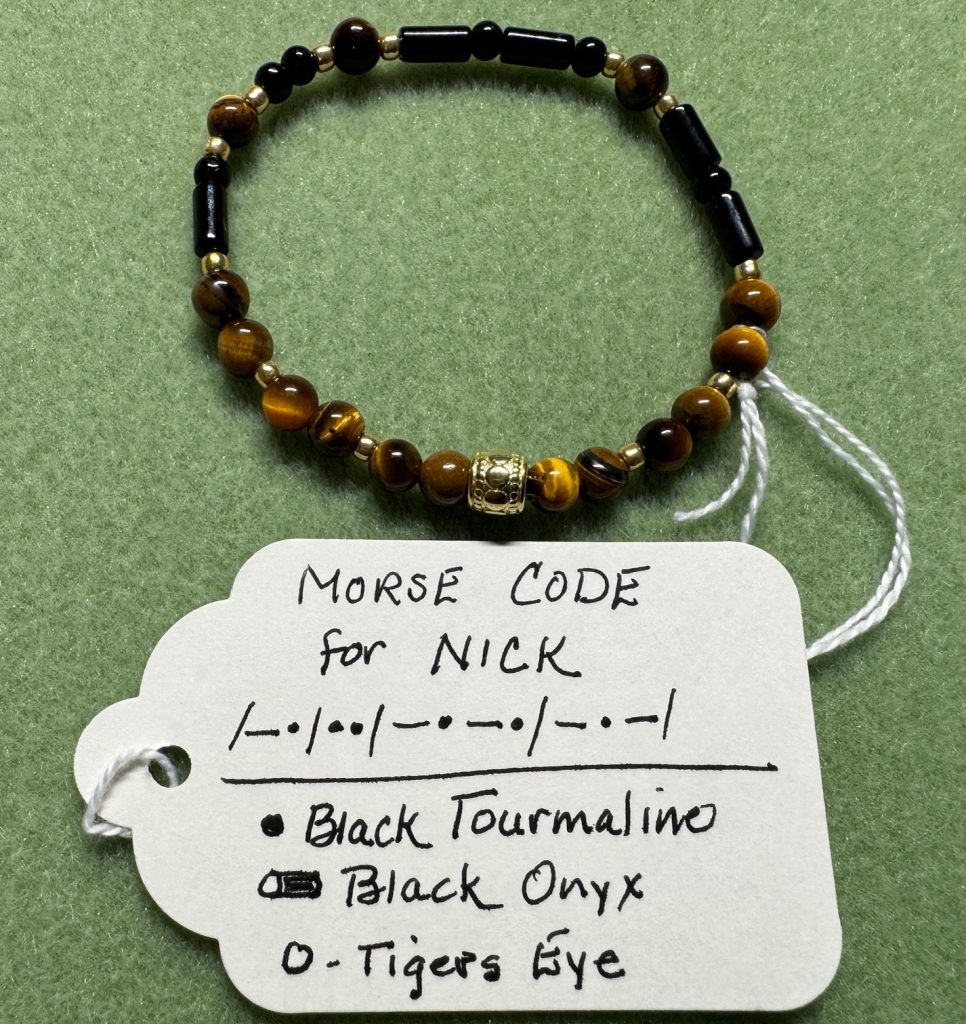
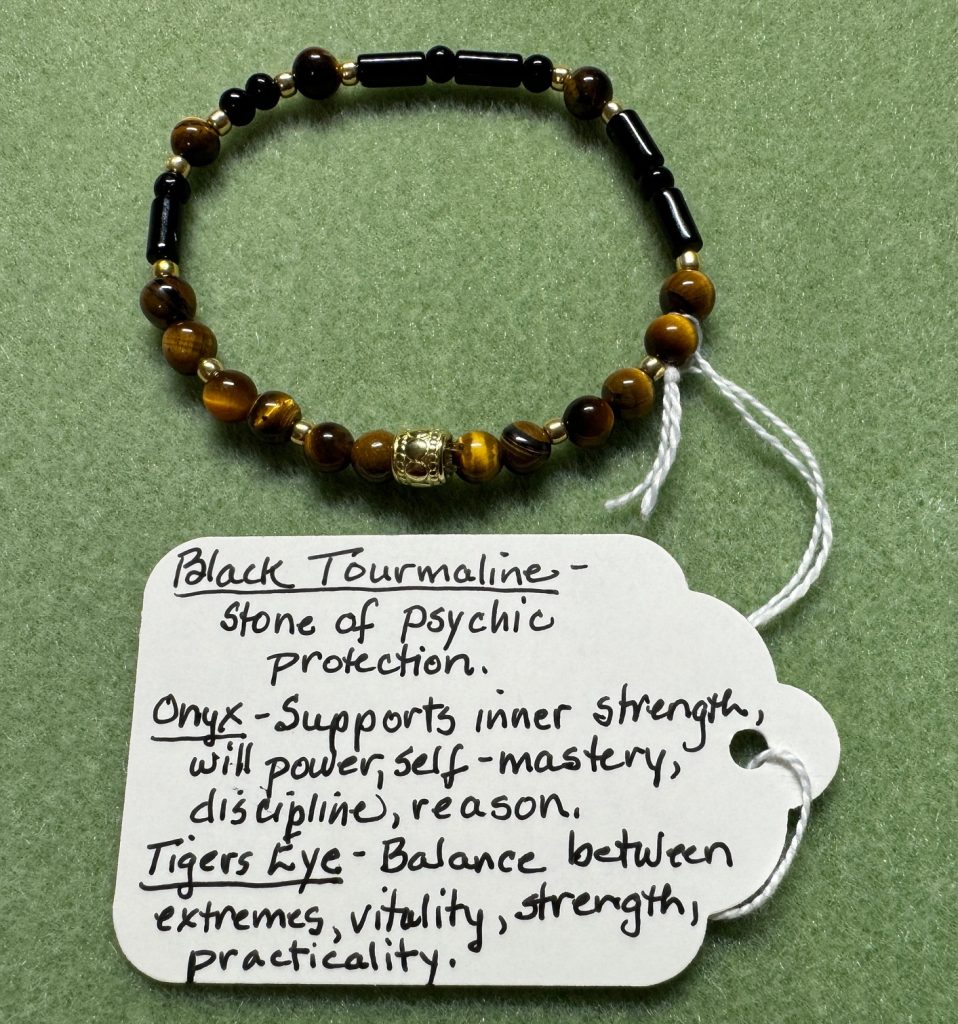
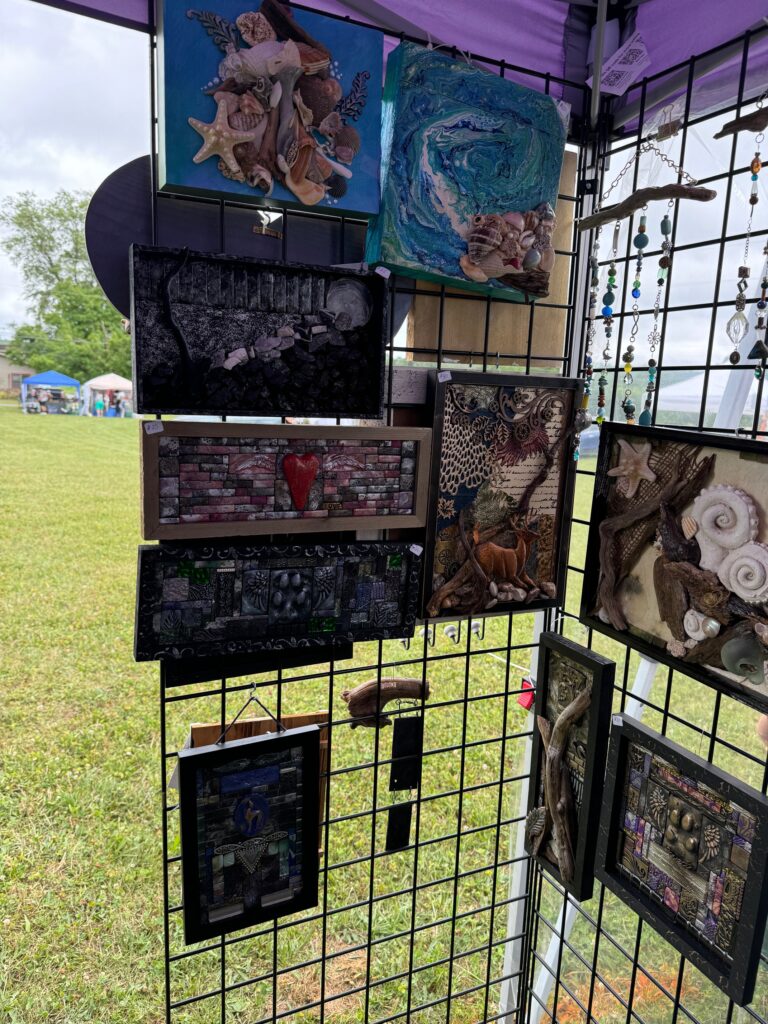
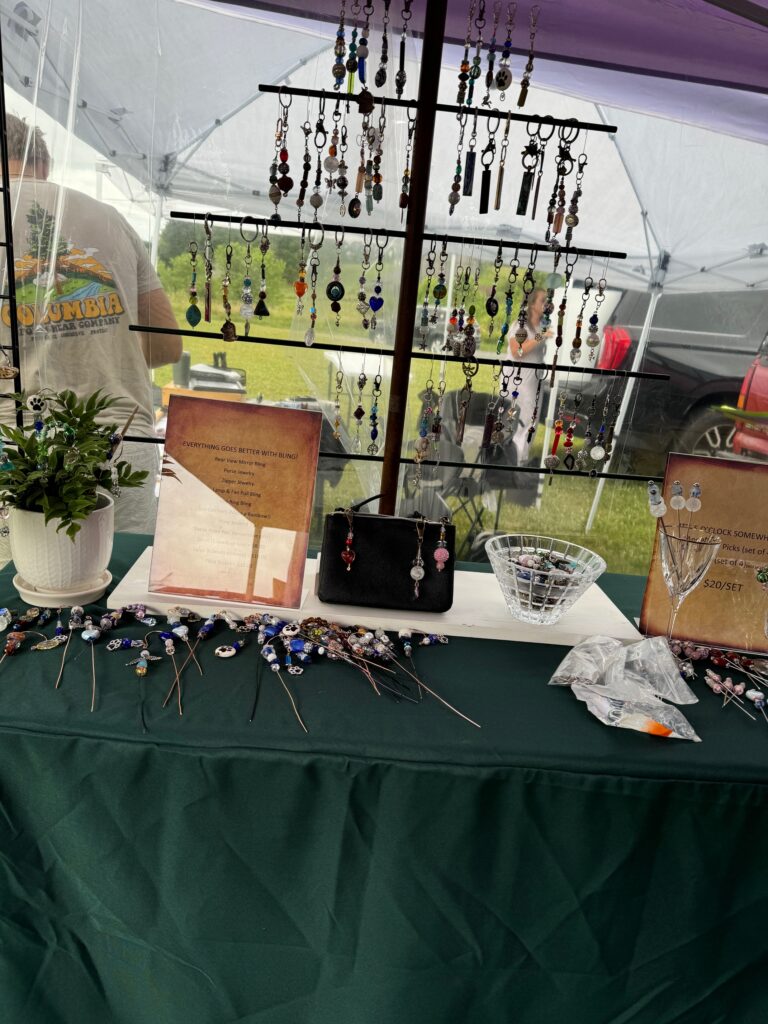
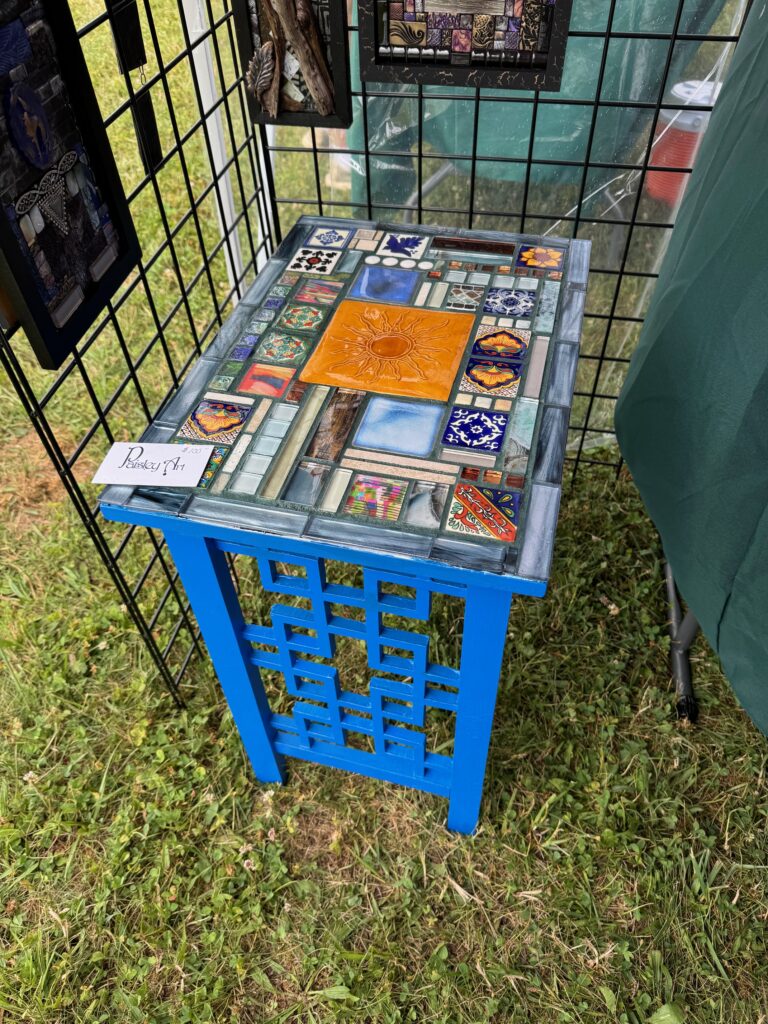
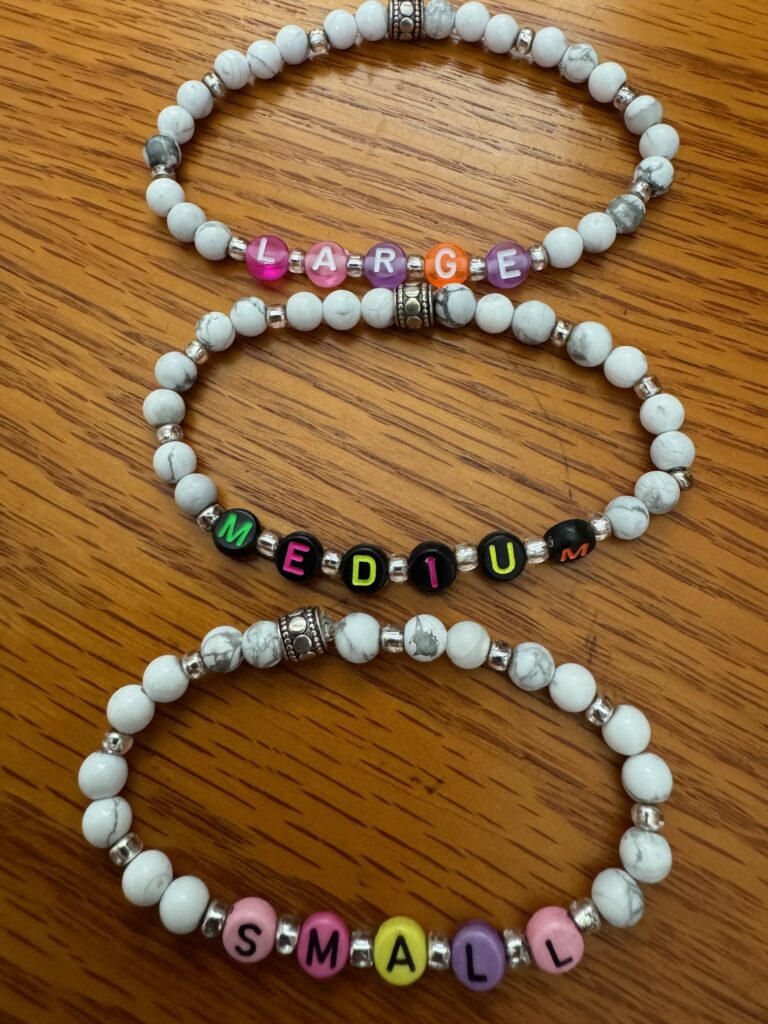
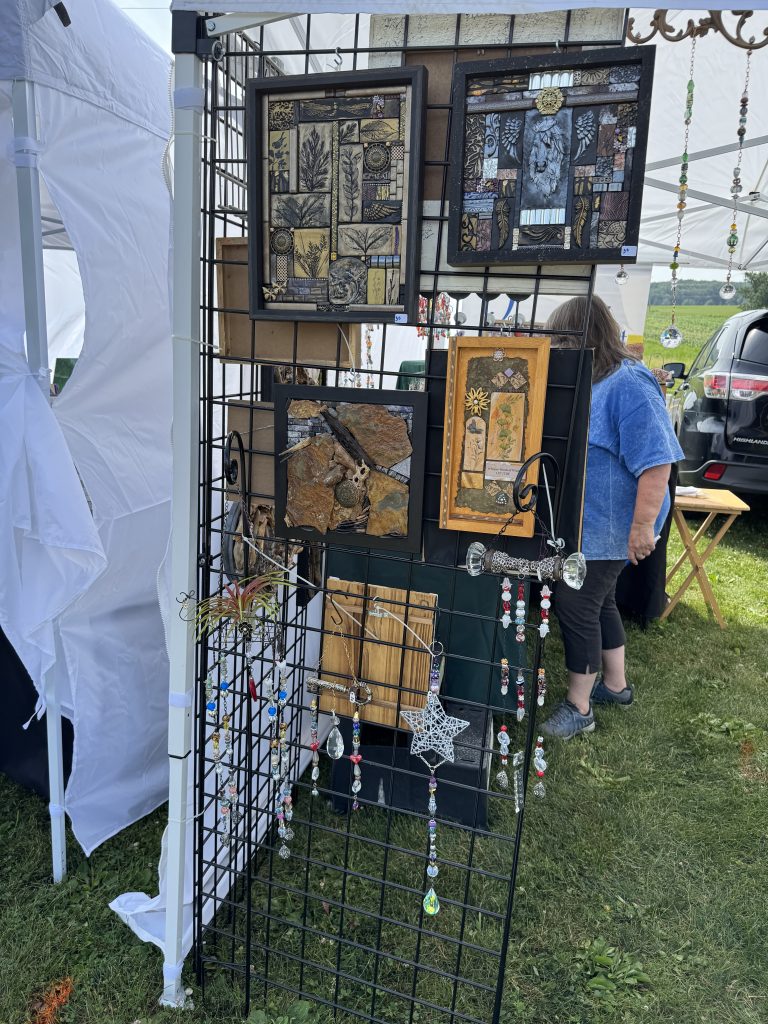
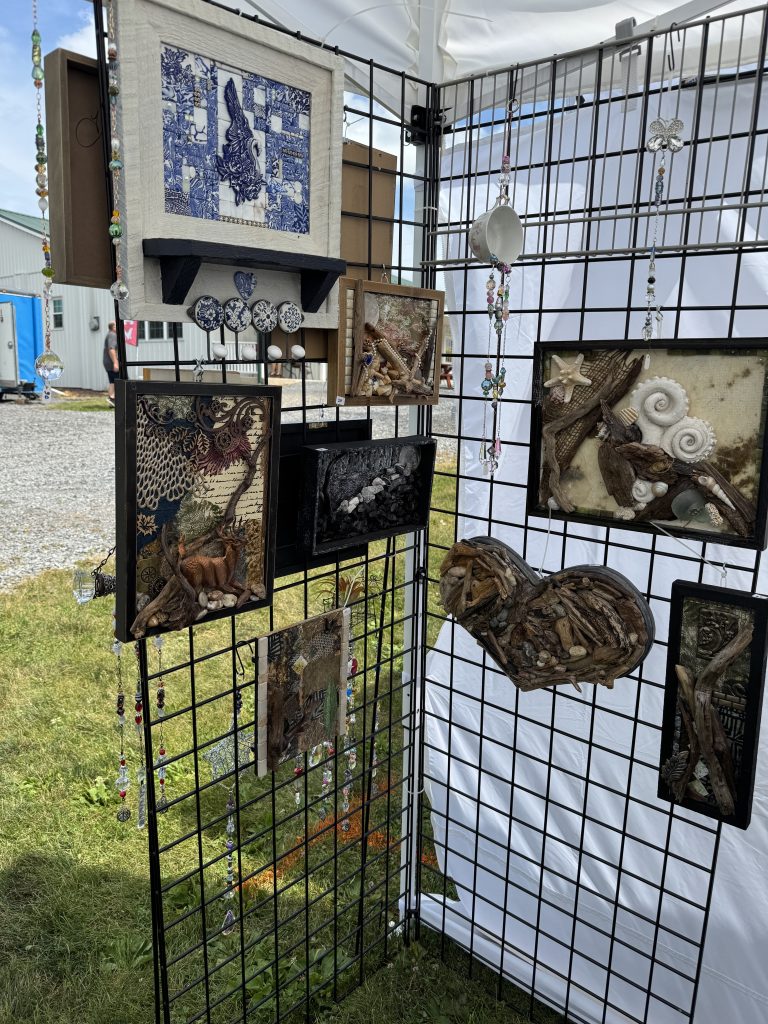
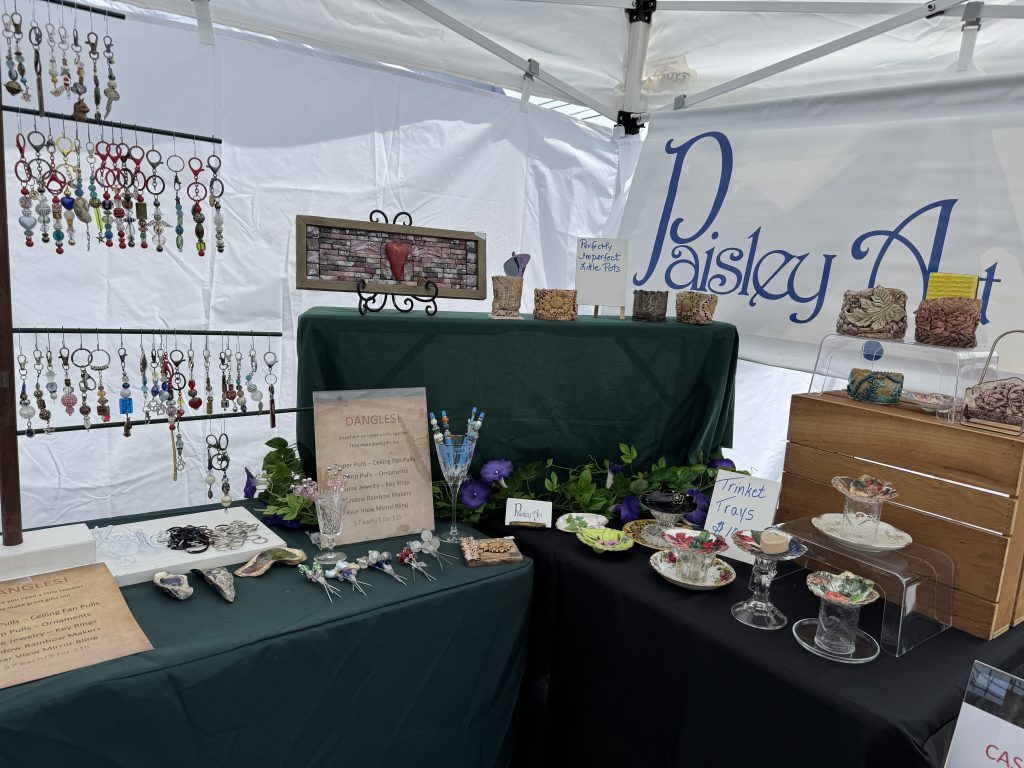
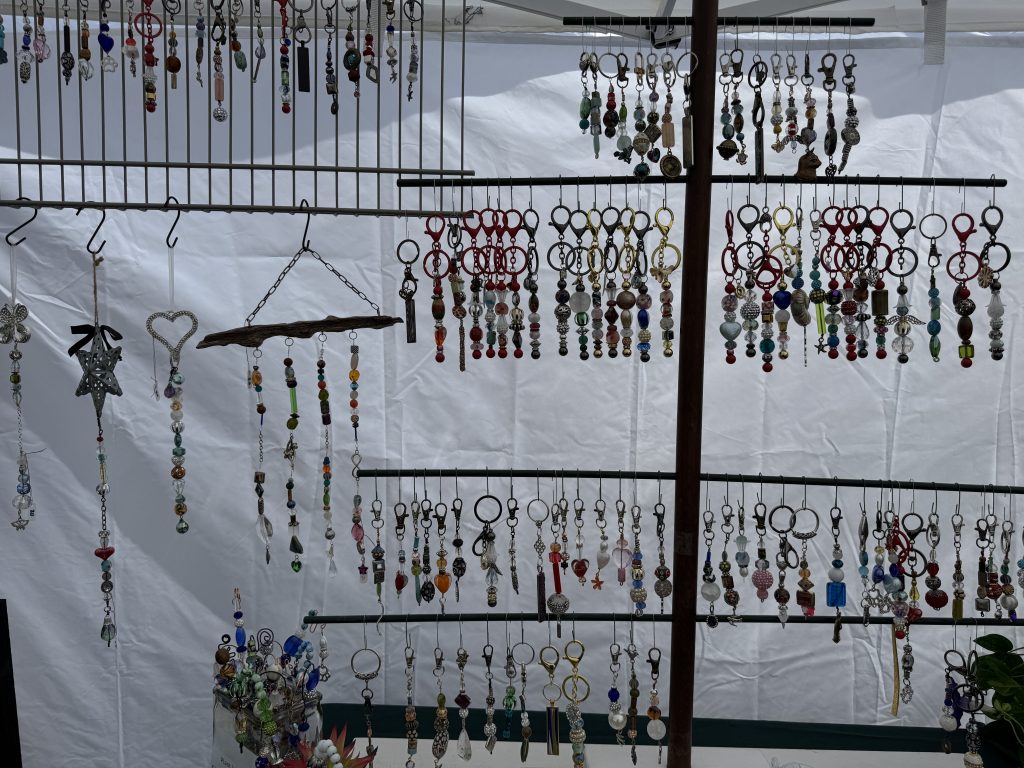
Toni’s company is called Paisley Art. She does impressive collages and sparkly sun catchers. Her “pictures” attracted a lot of attention as people walked by…and then they came in and saw all the sun catchers…and then they turned to go and stopped to see my bracelets! OR sometimes they say my sign and headed to the bracelets; then they turned around and continued to check out Toni’s stuff. It was very interesting to watch. Compared to the few other booths I saw, our inventory was limited and people seemed to be willing to check it out. So, here’s a brief tour of our booth:
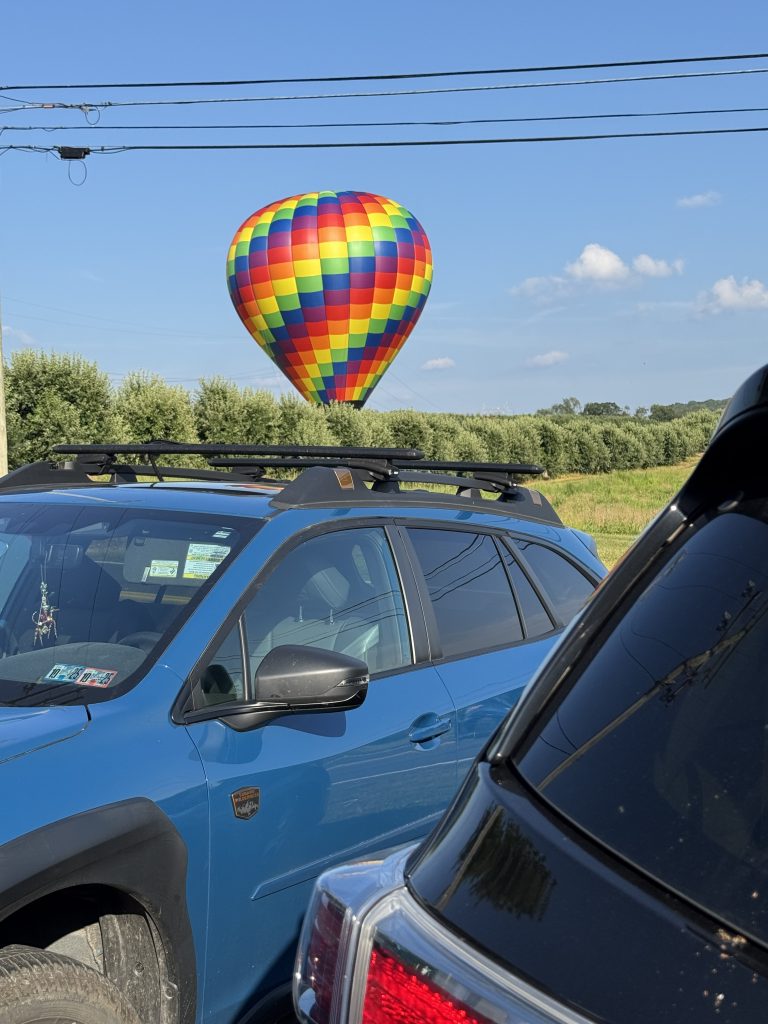
Late in the afternoon on the first day, people walking by suddenly stopped and looked out the back of our booth. When we turned around to see what was so interesting…a beautiful hot air balloon was being inflated! For a fee, you could take a ride straight up a few hundred feet and look around…not sure what you could see, but the balloon was beautiful!
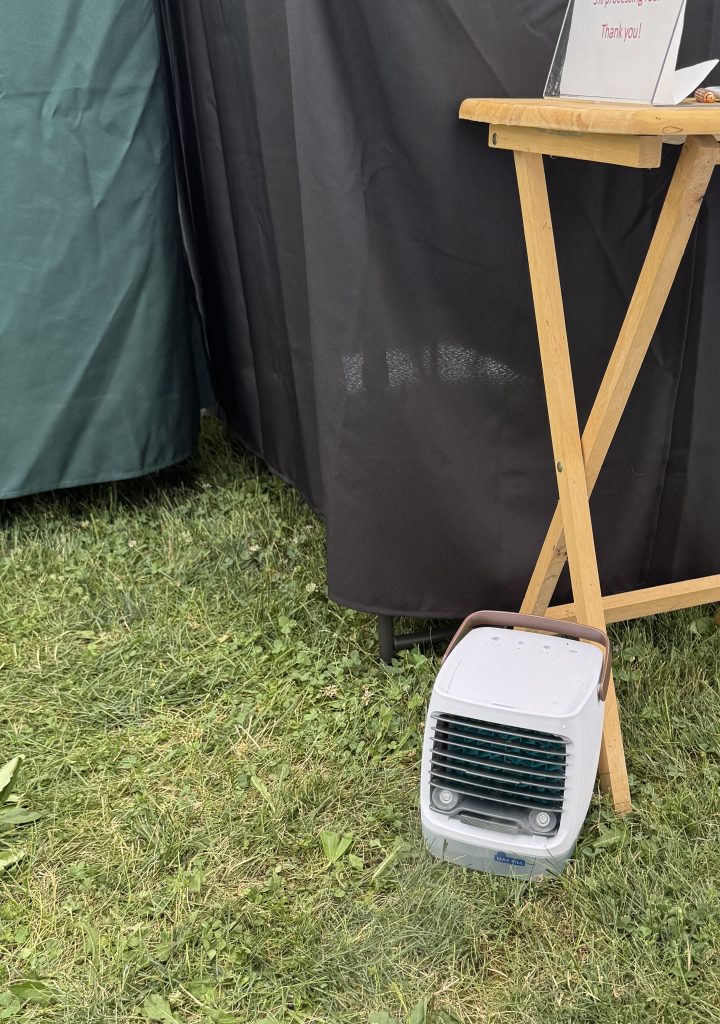
We did try to stay comfortable with the heat, but don’t believe the ads about the tiny air conditioners that seem to blow air over ice water and used a battery. The could blow moist air in our face or on our ankles for a few minutes. The could not keep up with the 100 degrees in an open tent.
By the third day, we were putting the melting ice from our cooler into a large zip lock bag and using it as a compress on our arms, legs, neck and shoulders. That worked the best! We were grateful for Bert’s help in setting up the tent, and then coming back on Saturday evening to help us tear down. This whole event was not a one-person job!
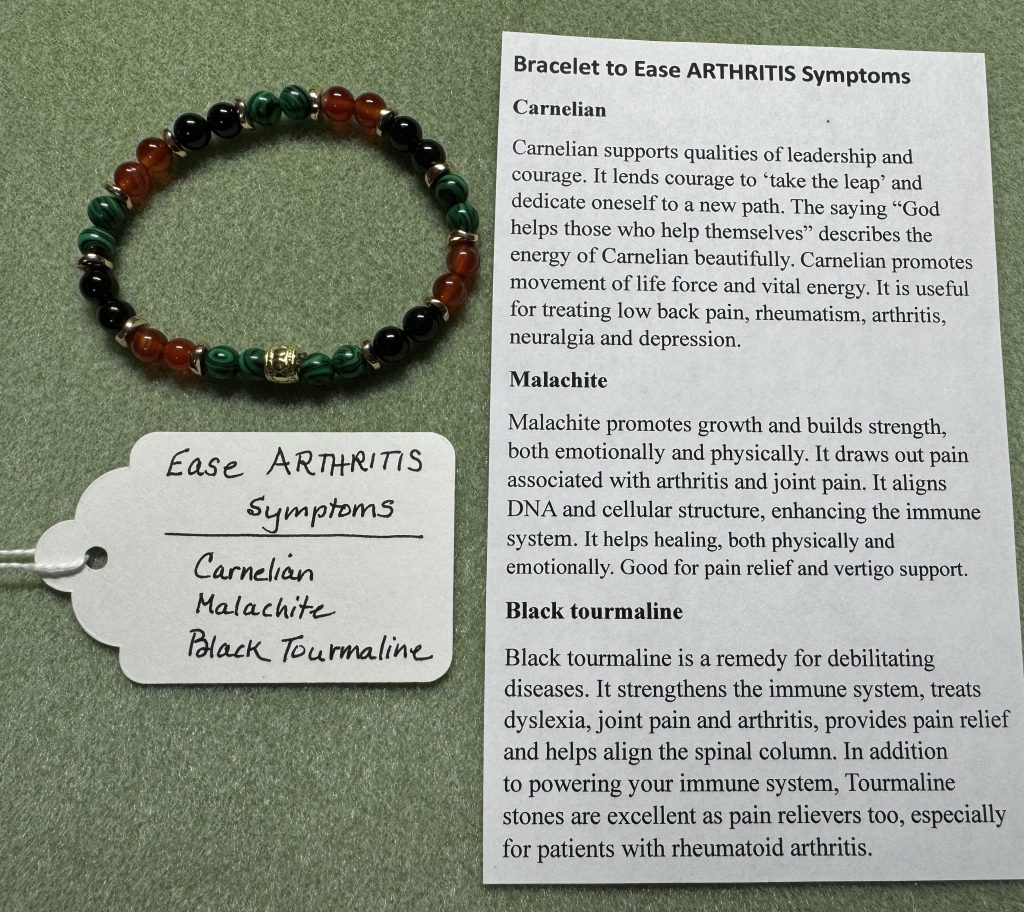
Check out Art in the Orchard Festival next year! I’d love to see you! If you have comments or questions, please email me directly at maryjkisner@gmail.com.