Many of the projects I write about are experiments and represent the first time I make something. After I’ve made something several times my techniques get more consistent. Sometimes the project is a total bust…it doesn’t work like I thought it would. Other times, because I made a dozen of something, you did not see the final result. I’d like to update you on a few of the projects I’ve made over the last several months.
This post will share 6 project updates:
- The car air freshener…does it work?
- A better way to store the lotion bars.
- The DIY perfume experiment…which formula worked?
- The finished ornaments made with recycled vintage lace.
- A tool to keep the roller balls from falling over.
- Using a pipette to transfer hot liquid instead of pouring into tiny containers.
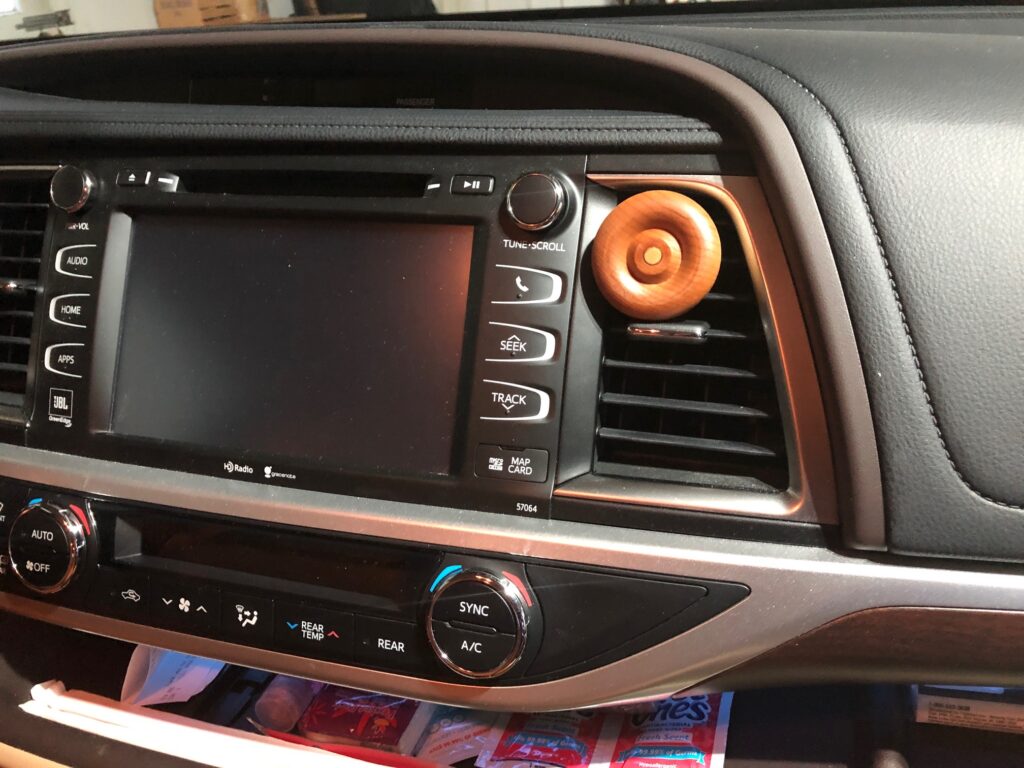
- The car air freshener…does it work?
Here is the original post: https://marykisner.com/make-a-simple-car-air-freshener/
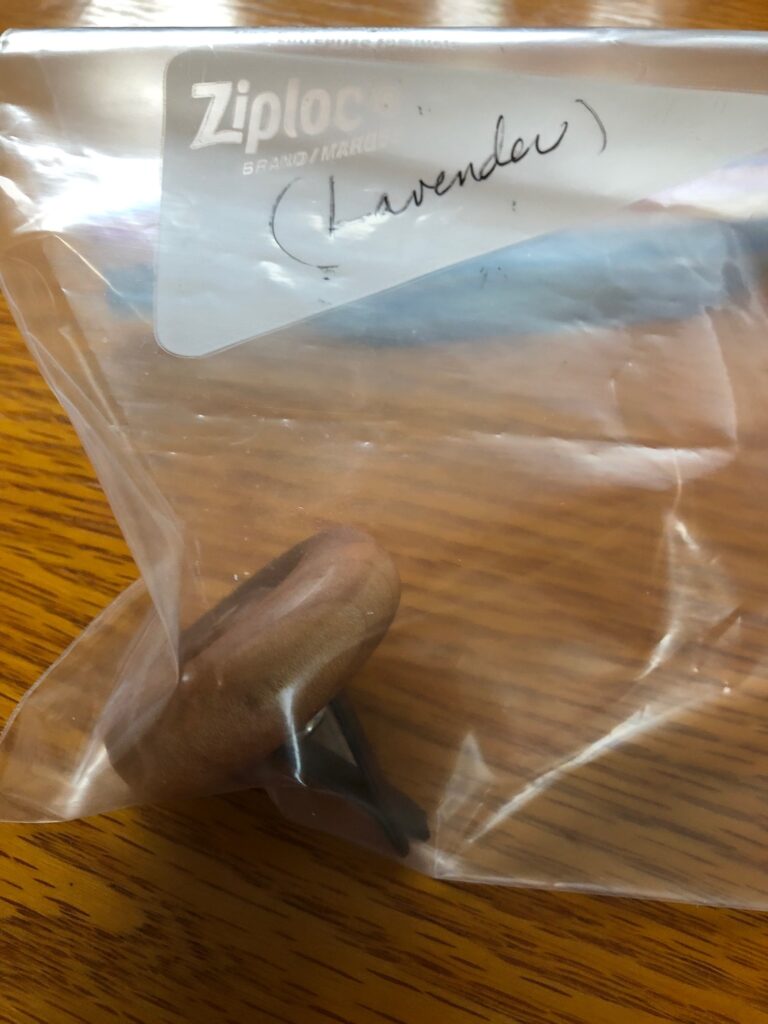
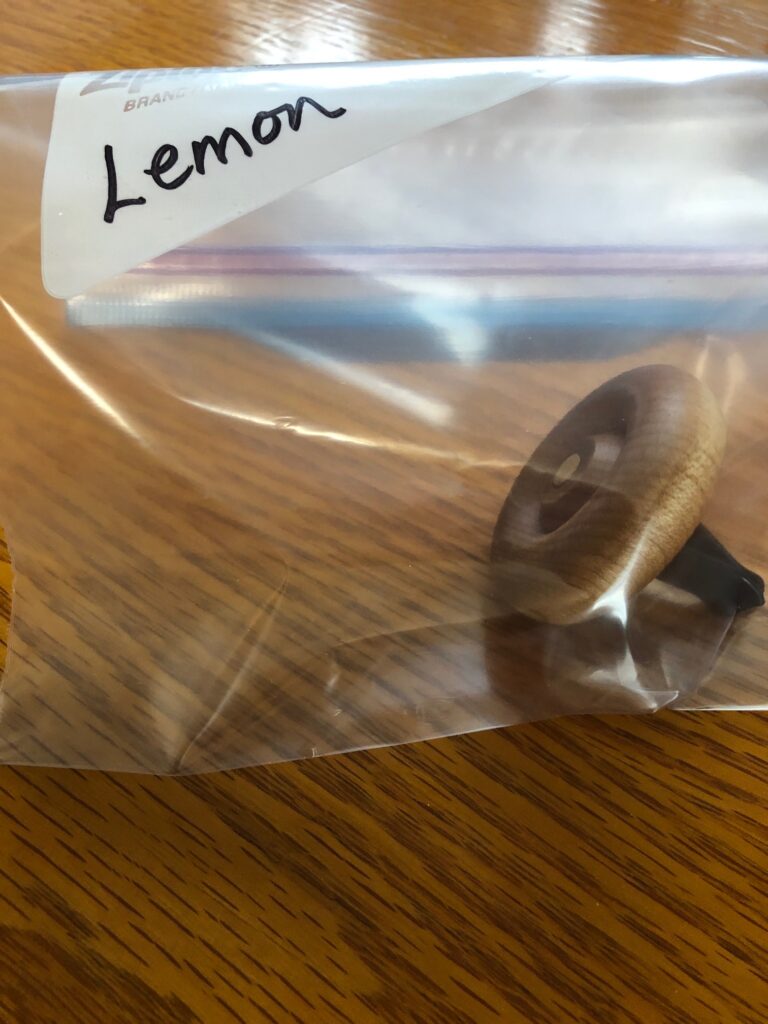
Quick answer…YES! It worked great. After soaking the wood several times with essential oil I put it on the vent in the car. the first day it was quite strong (probably because the oil was freshly applied) but once it dried out a little it was perfect. The scent lasted over 3 weeks. I started a second one with a different scent and stored it in a zip lock bag until I needed it. I will keep them in labeled bags so I don’t mix them up.


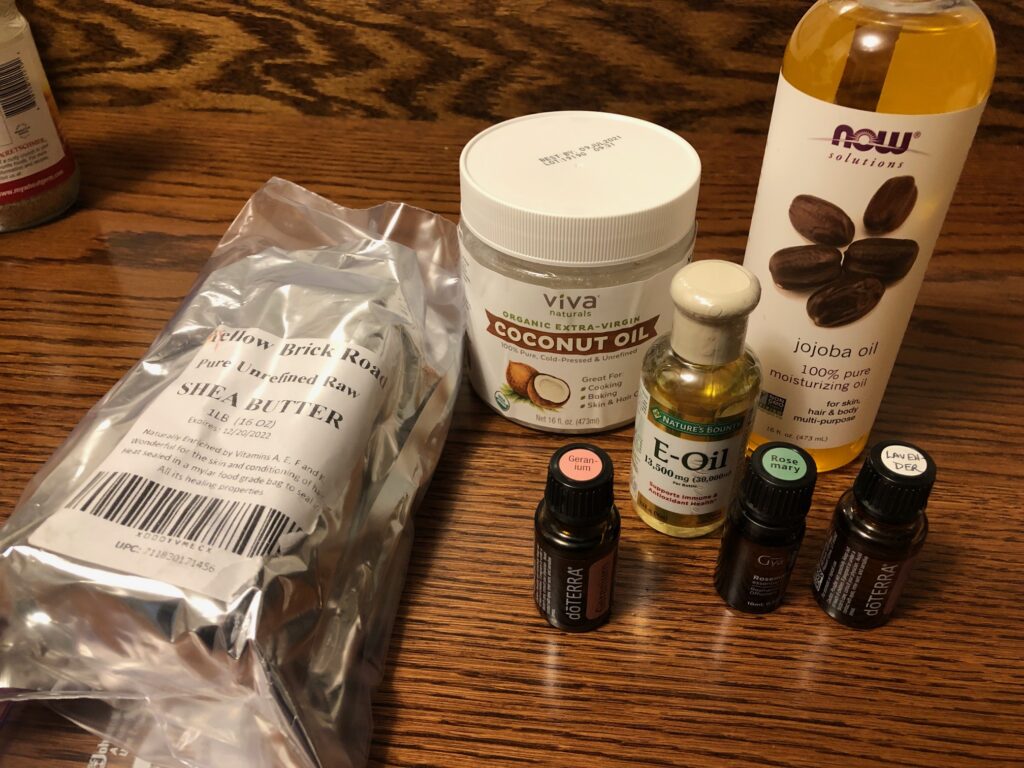
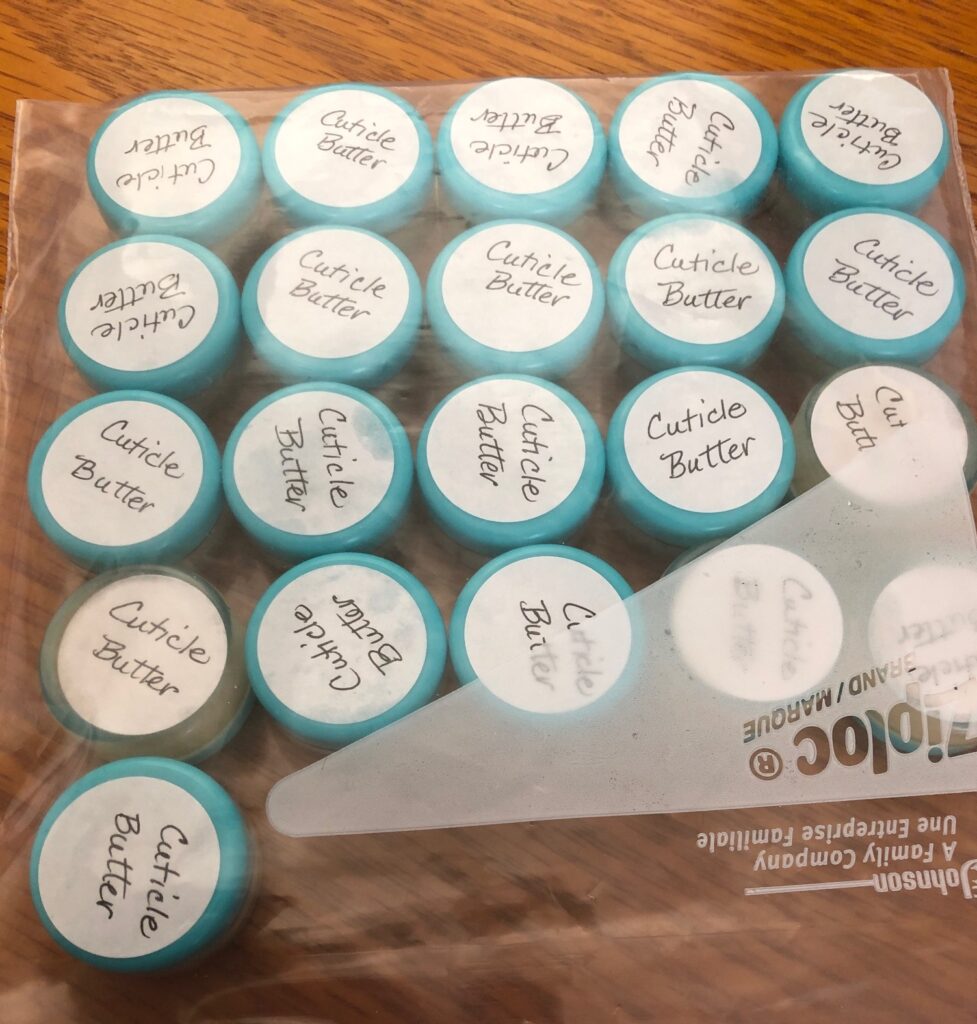
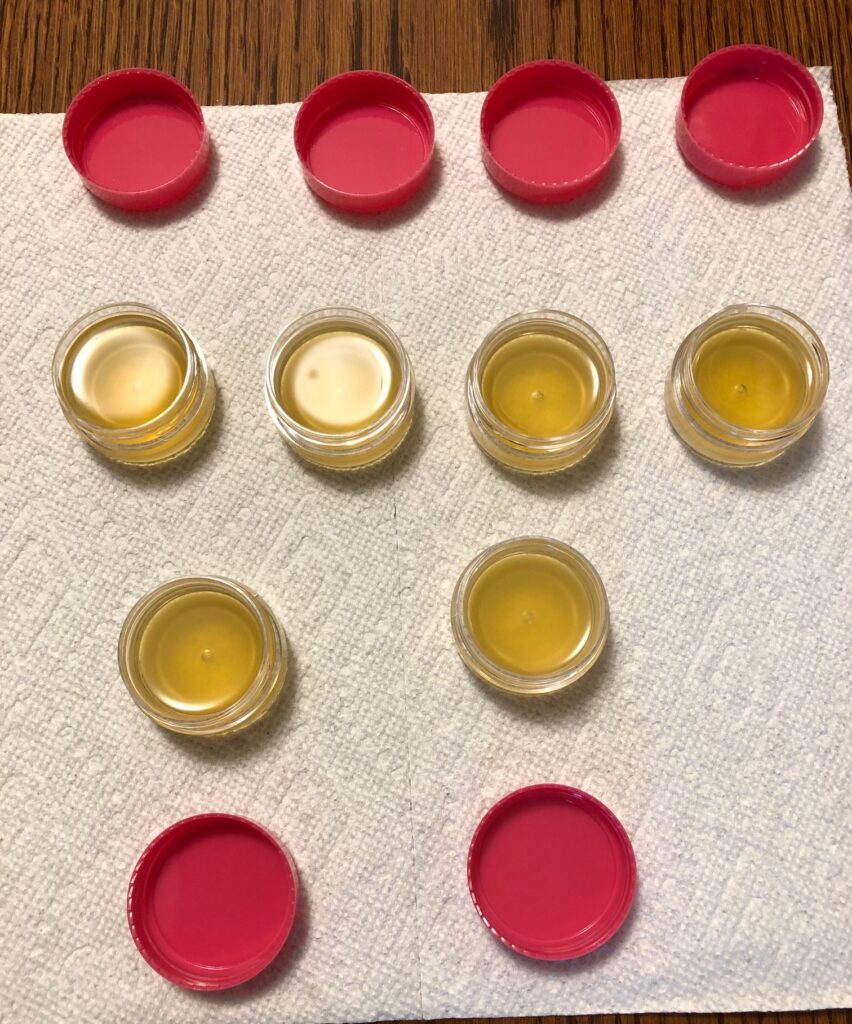
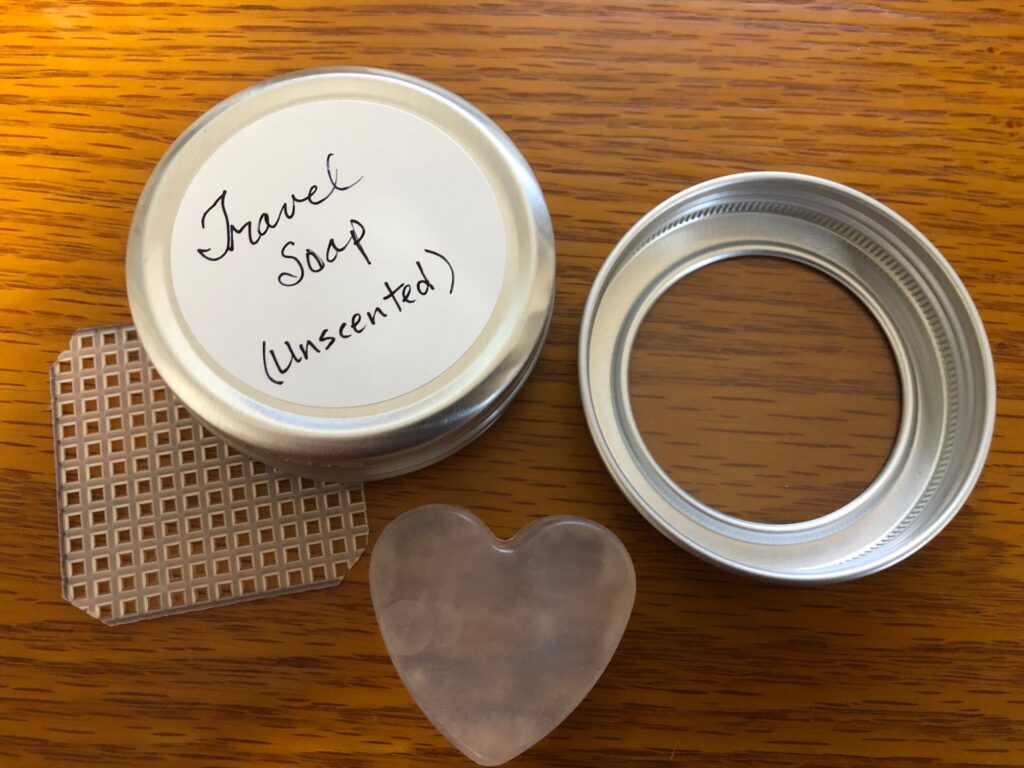
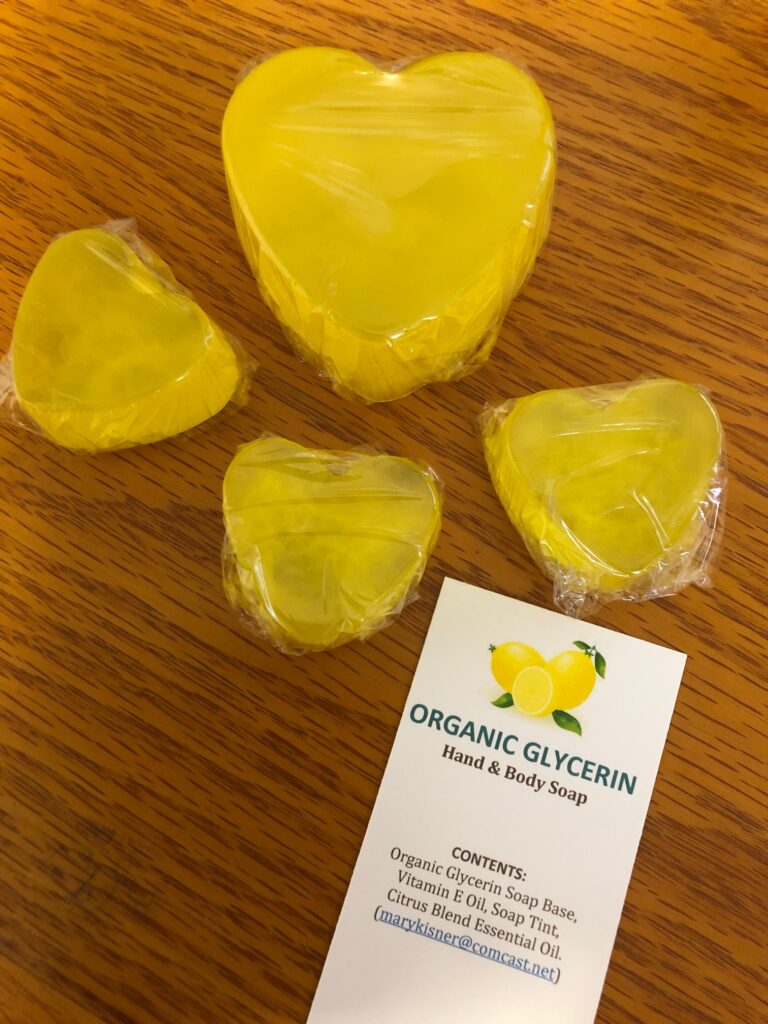
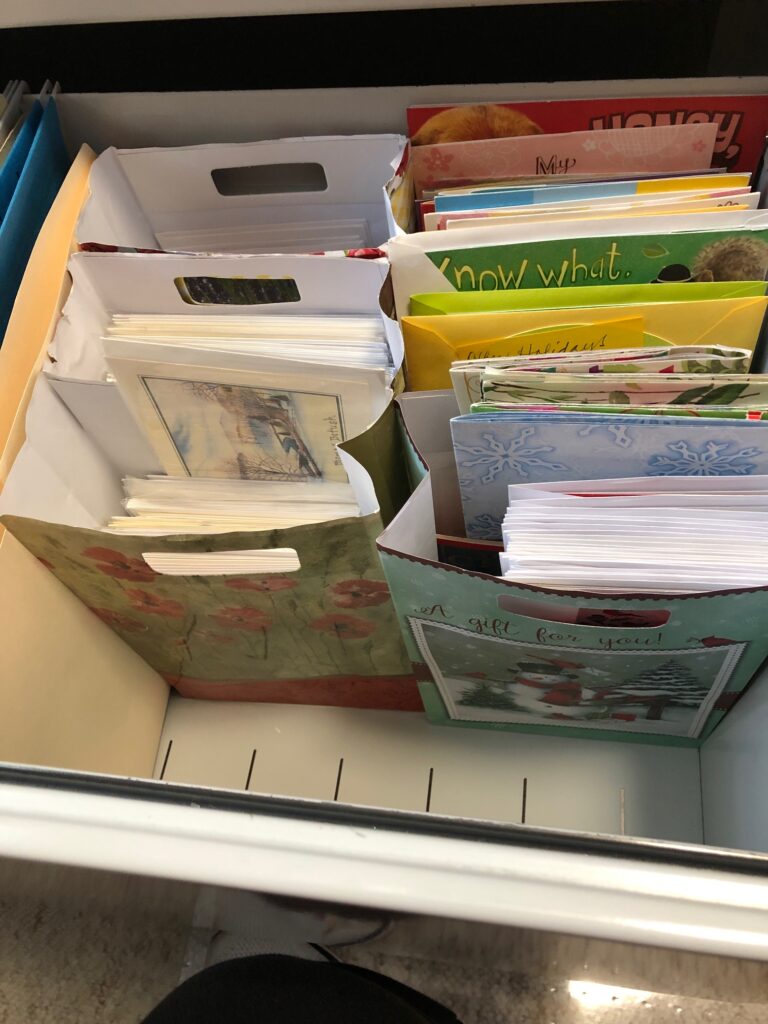
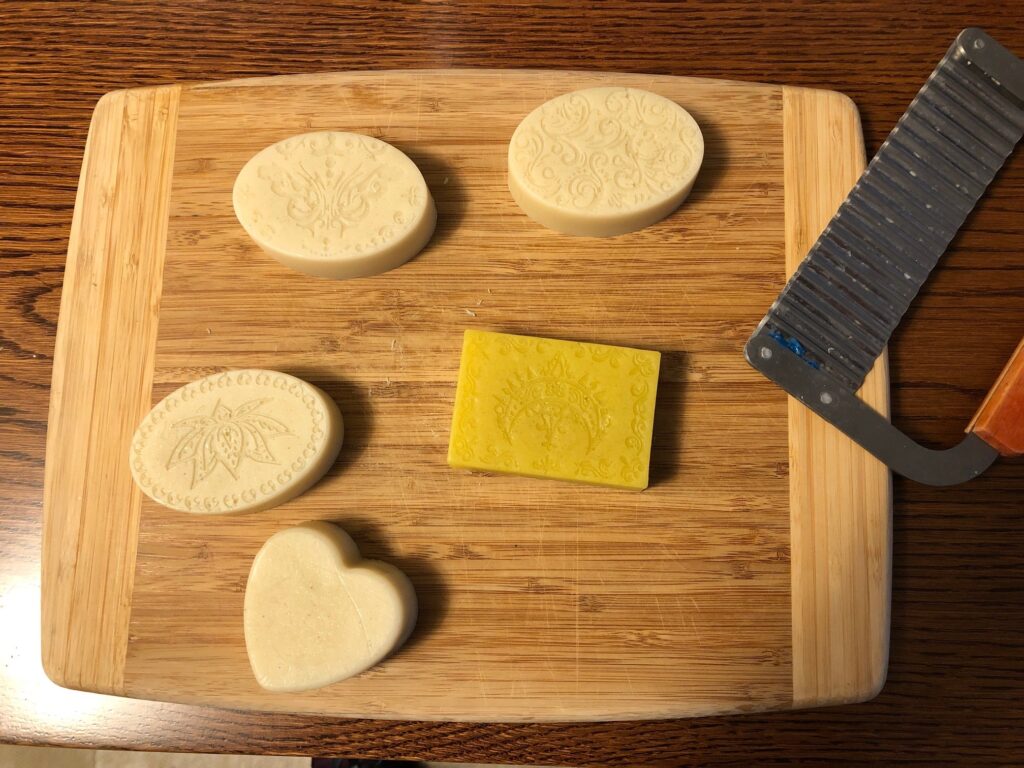
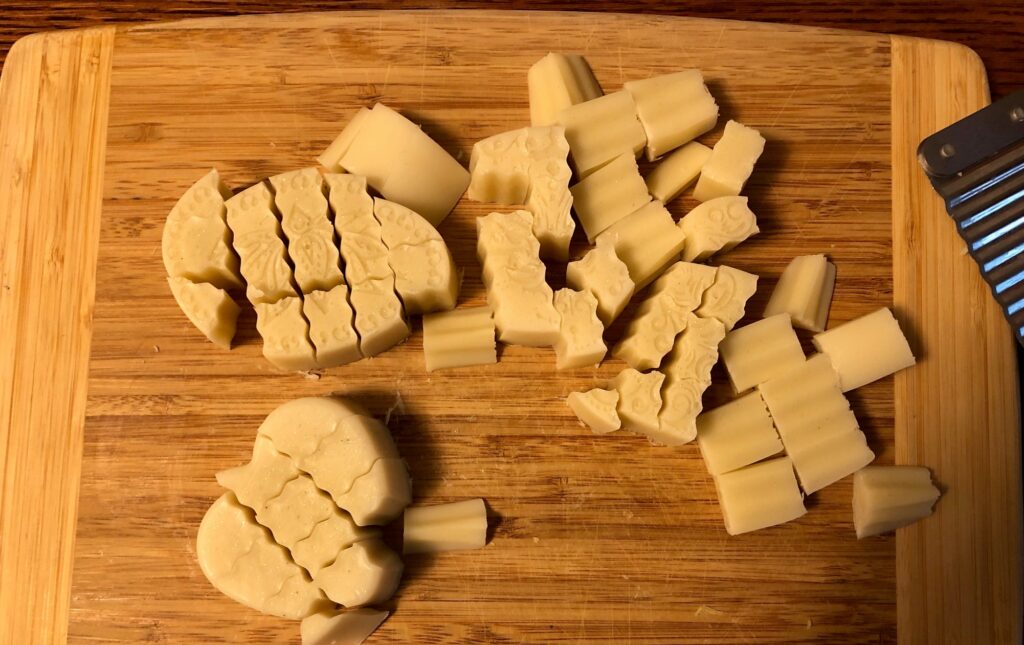
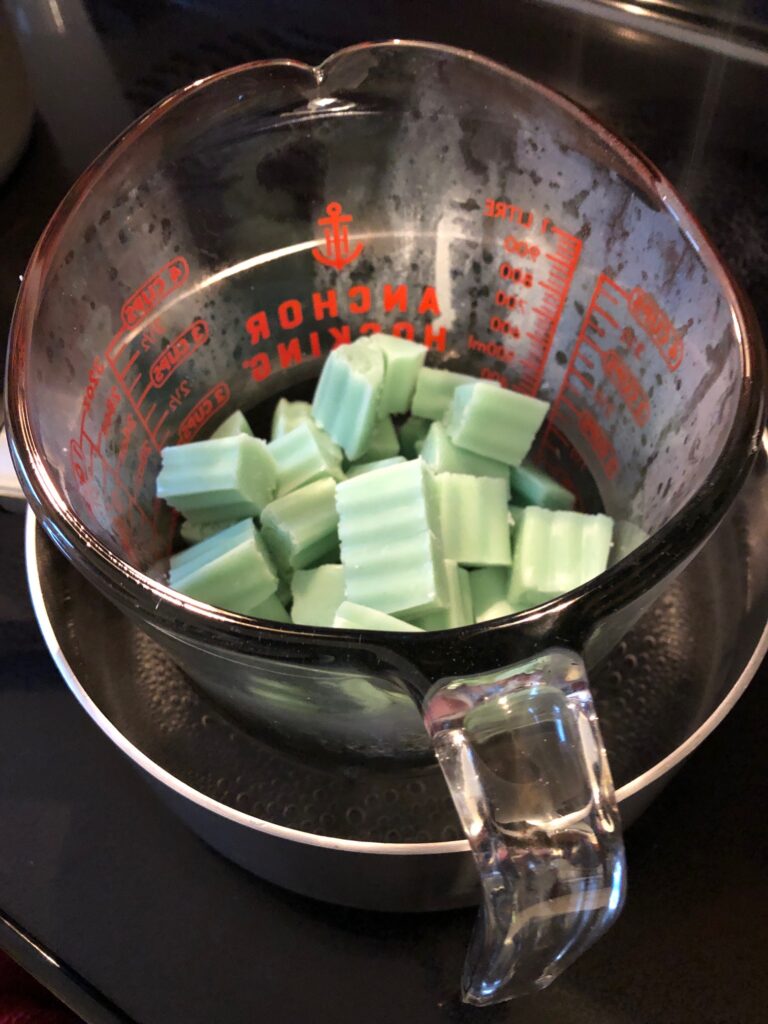
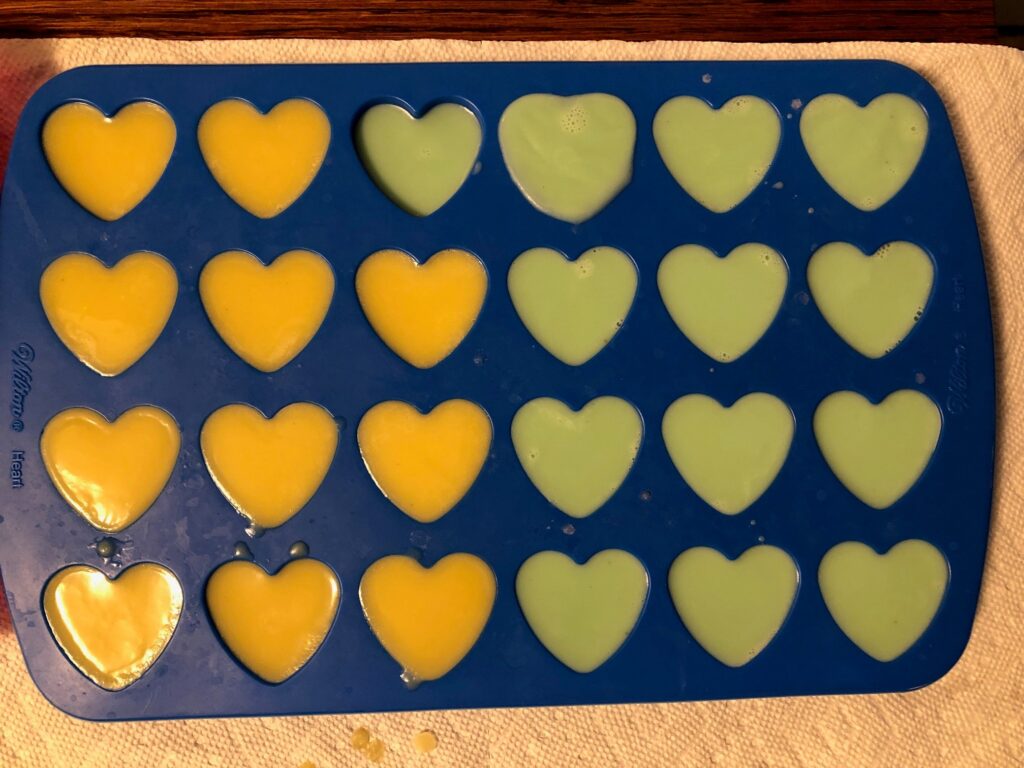
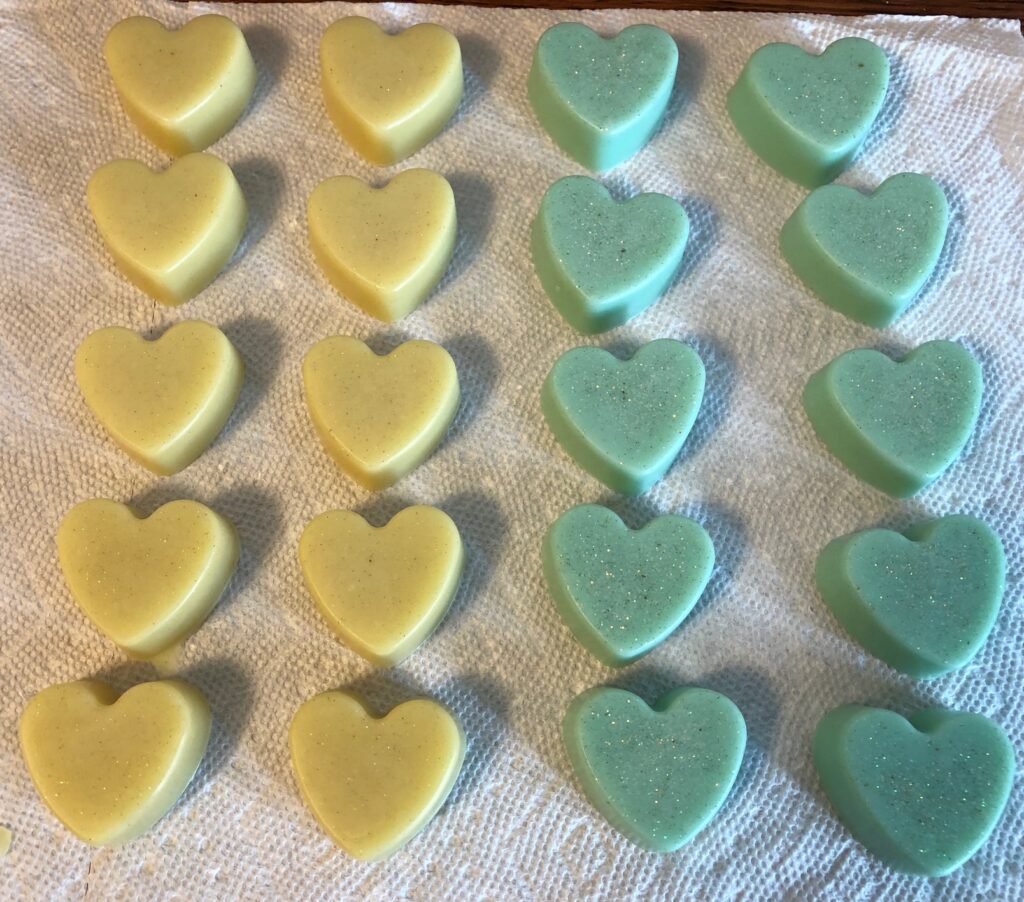
2. A better way to store the lotion bars.
Here is the original article: https://marykisner.com/healing-lotion-bars-with-manuka-essential-oil/
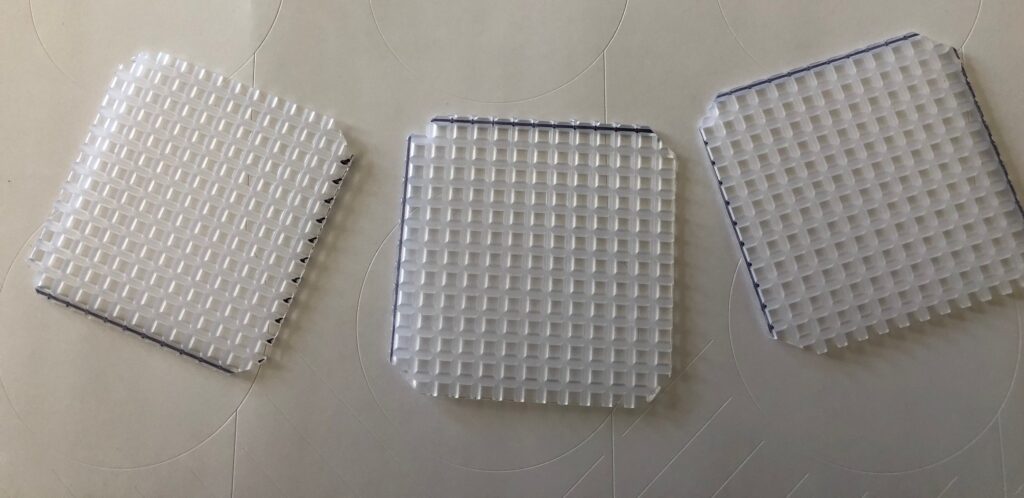
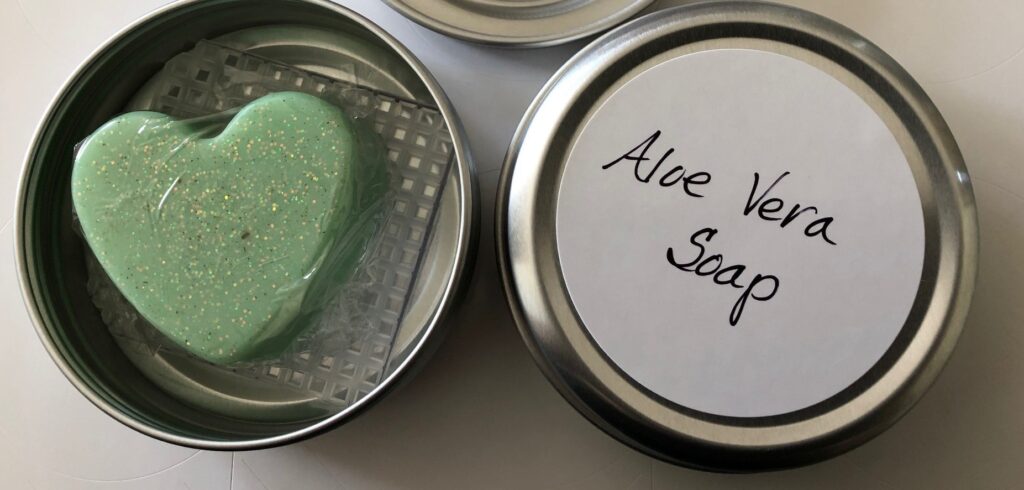
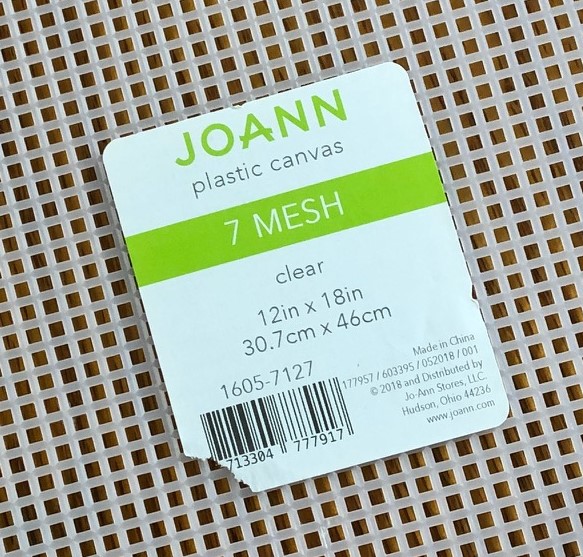
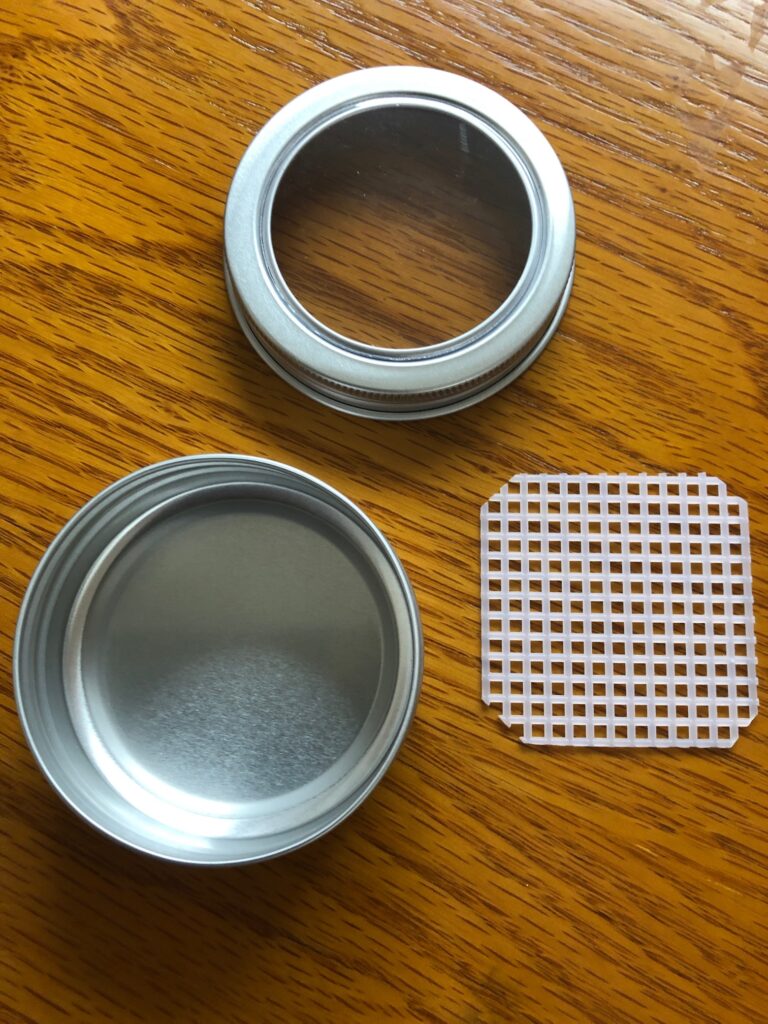
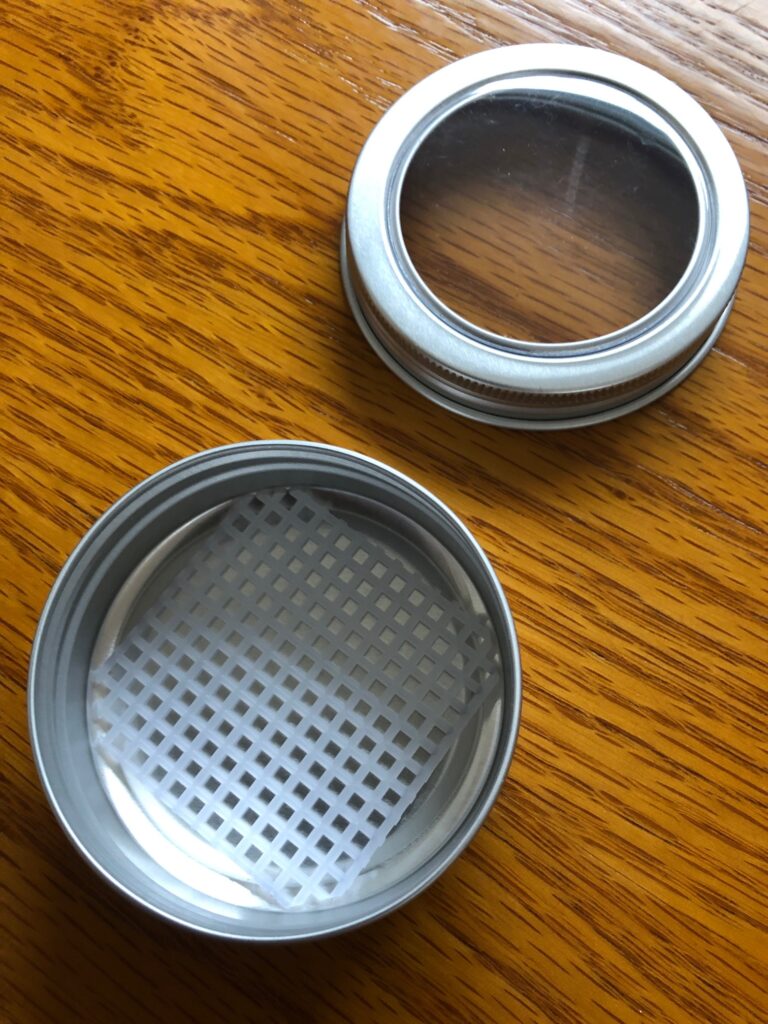
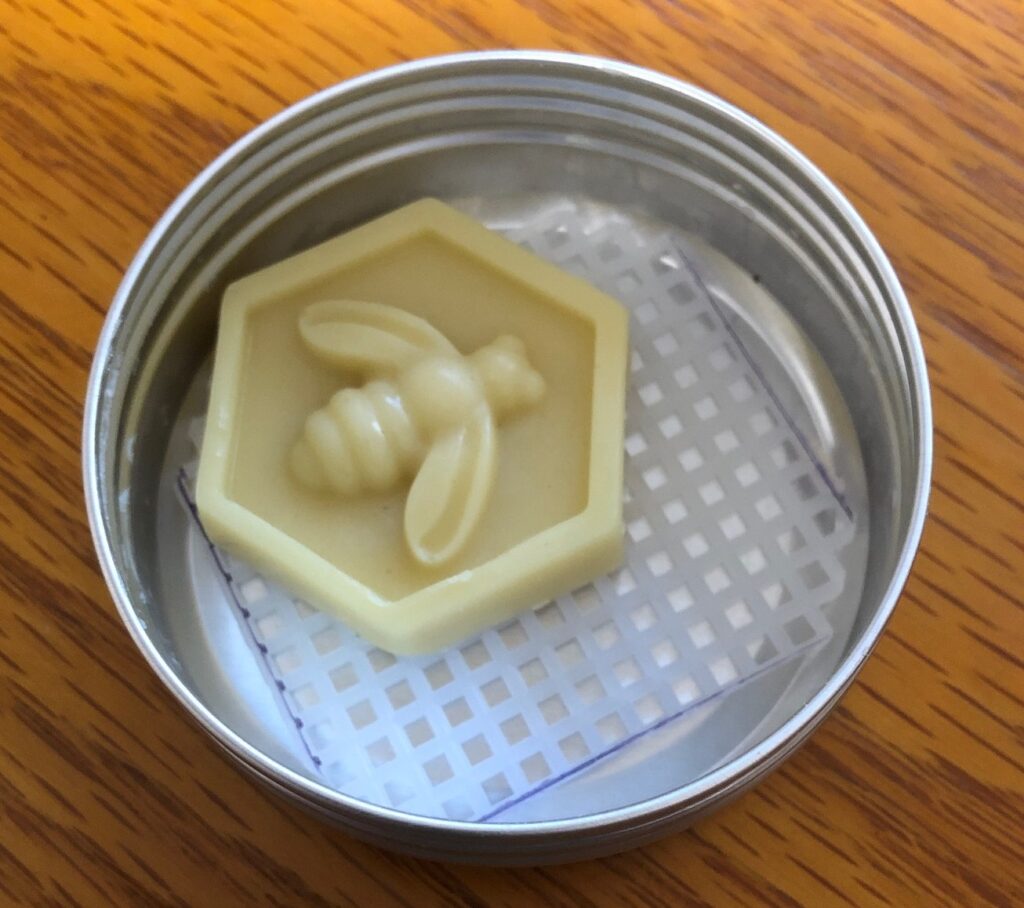
The lotion bars store well in the 2 oz. tins that I’m using…EXCEPT…they tend to stick to the smooth inside of the tin. After using the plastic grid squares that I used for the travel soap (https://marykisner.com/travel-soap-that-works/) I thought I’d try it in the lotion bar tins. It worked great! It kept the bar from sticking to the tin. A simple solution to an annoying problem!
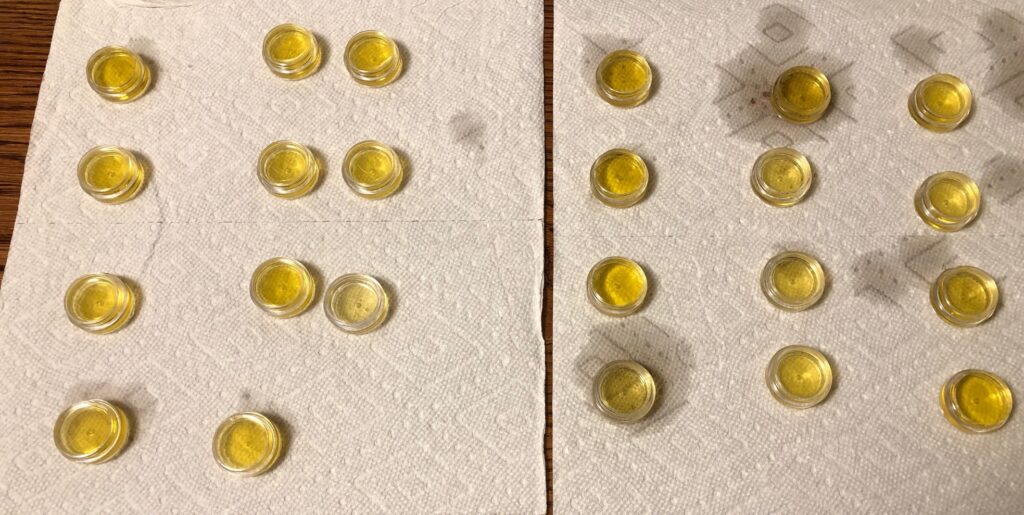
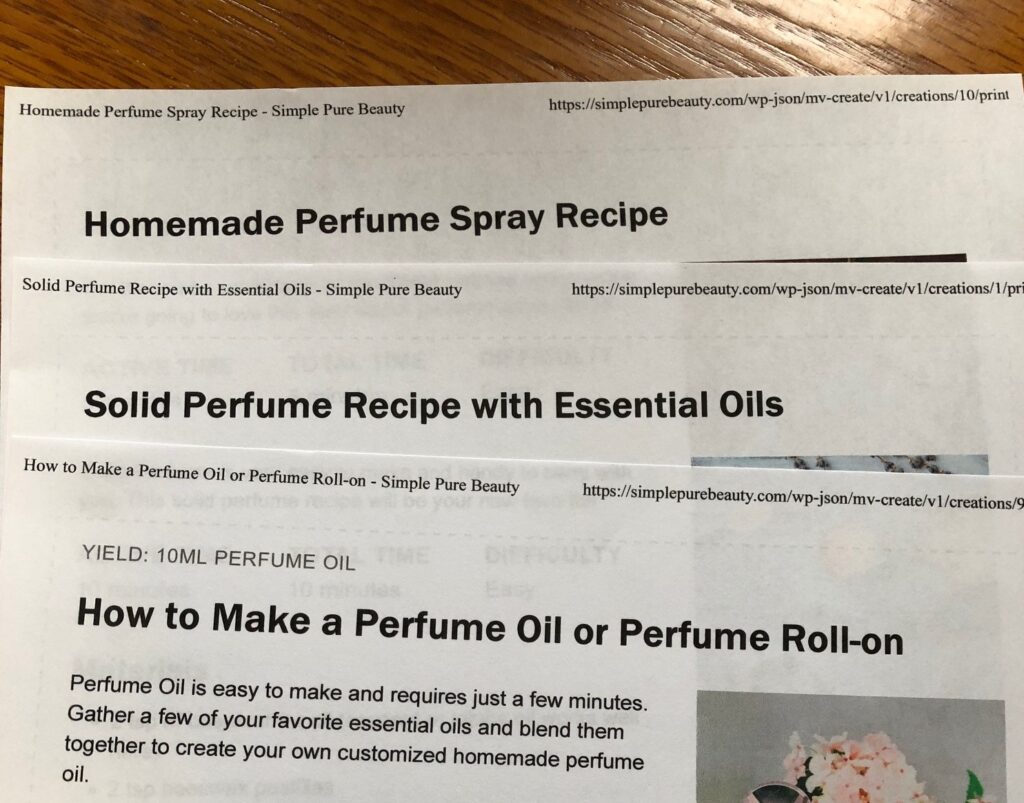
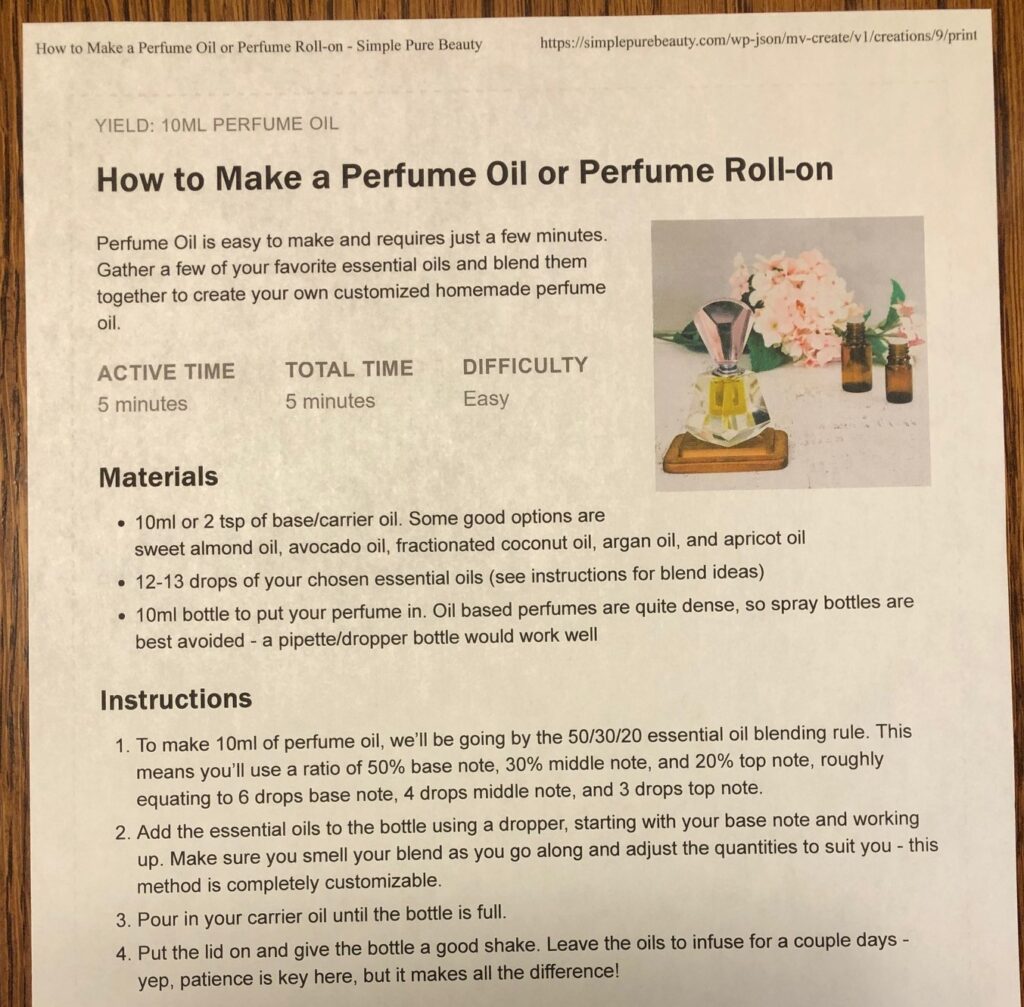
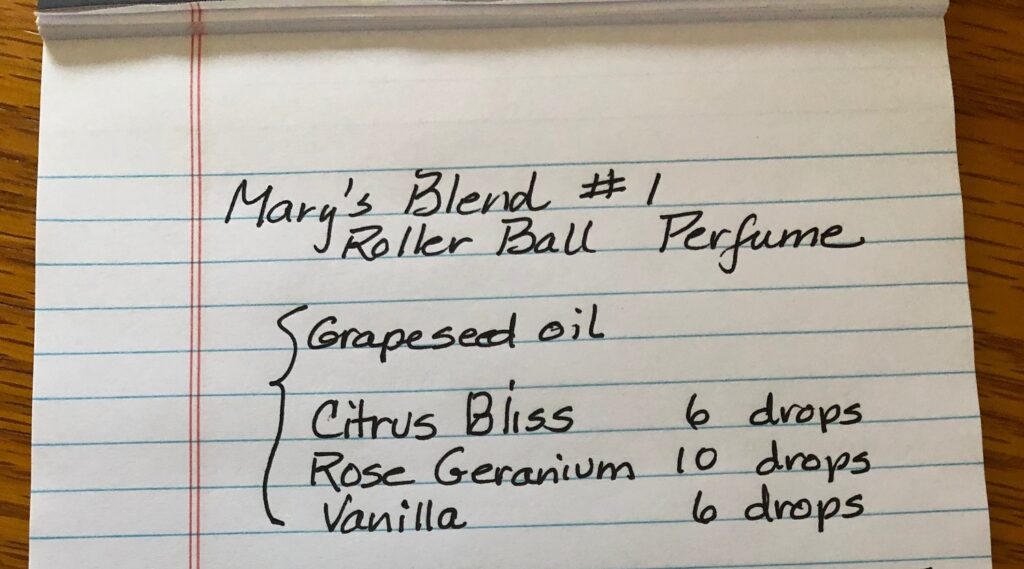
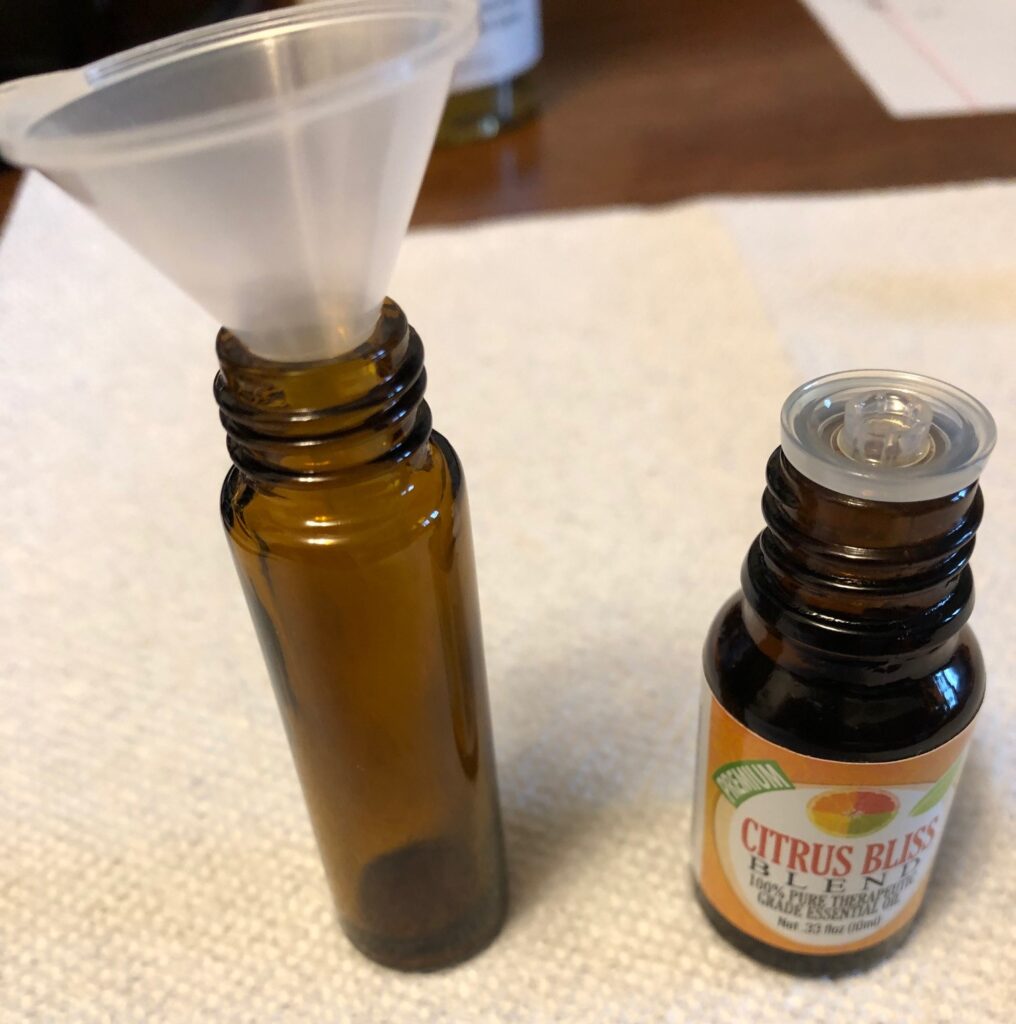
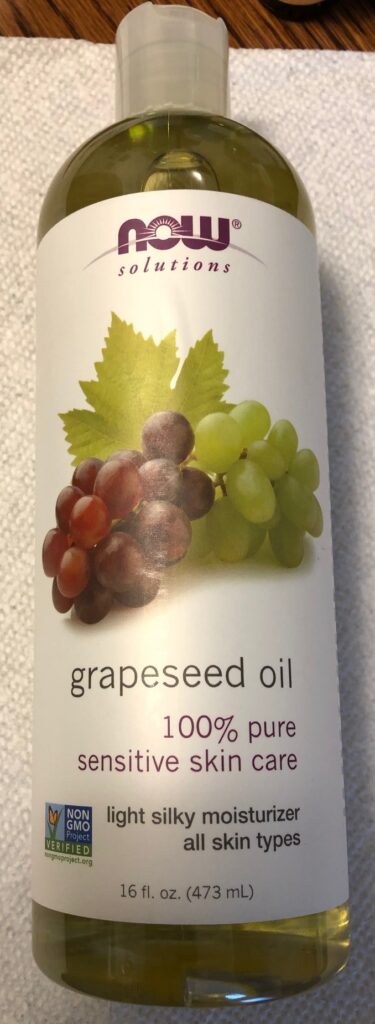
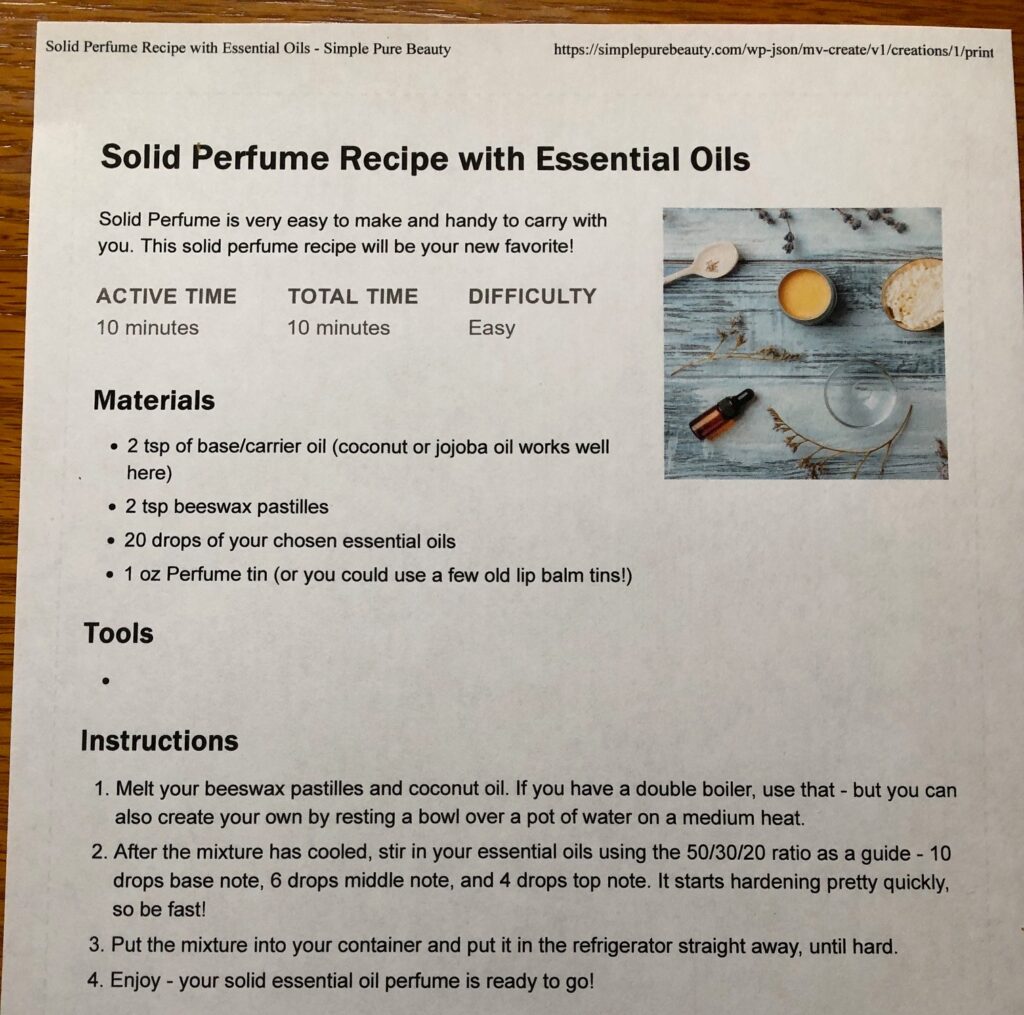
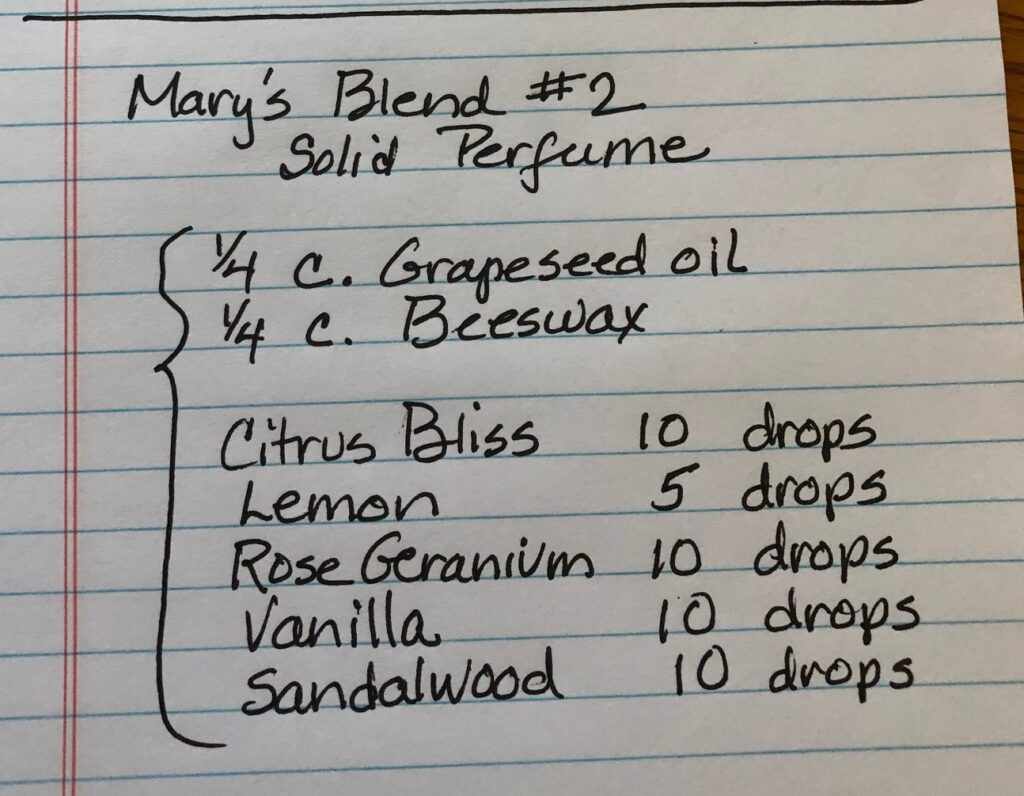
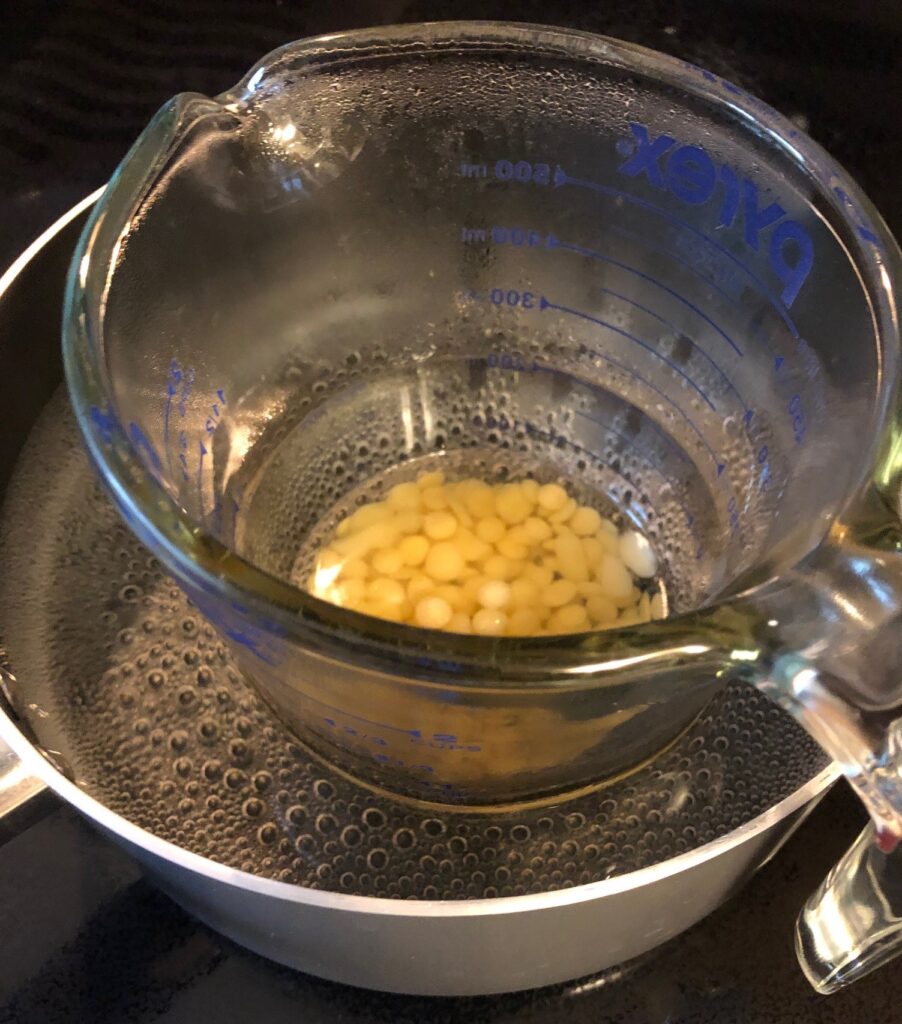
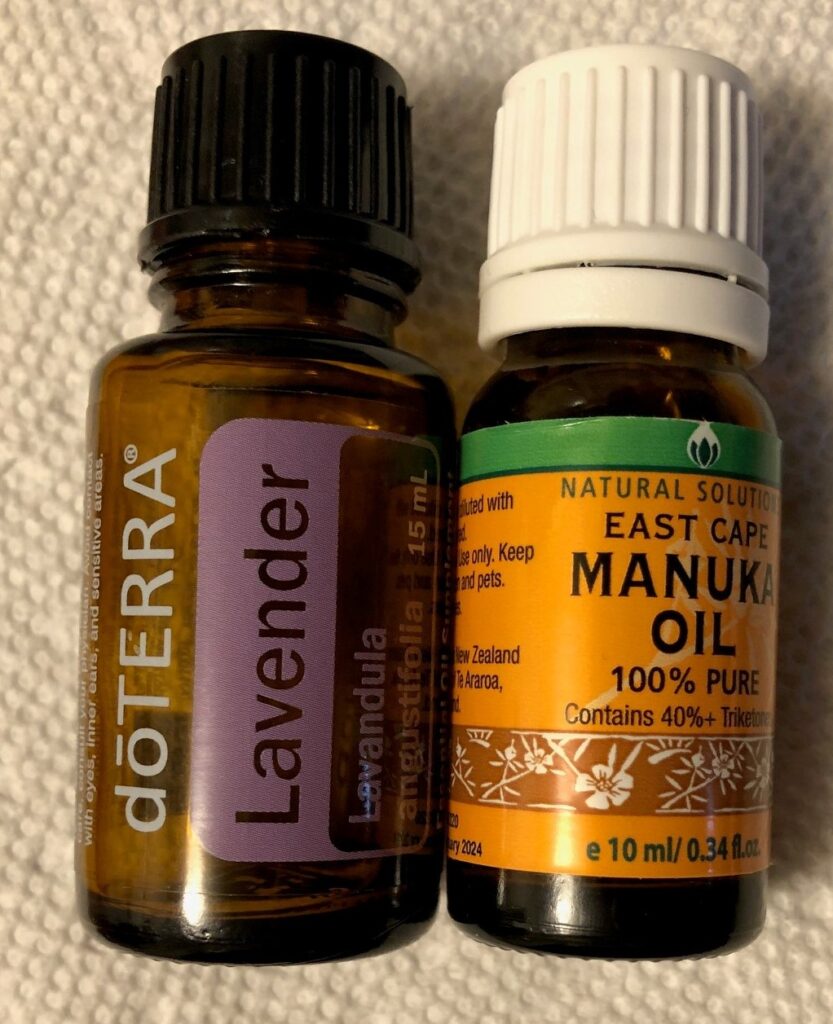
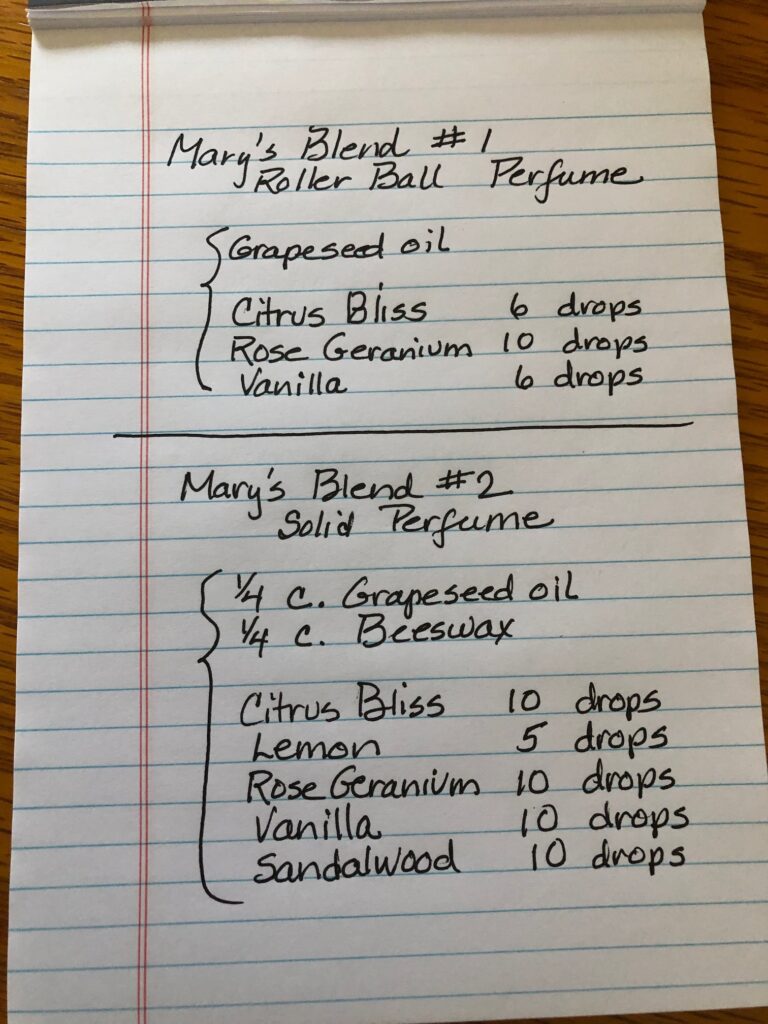
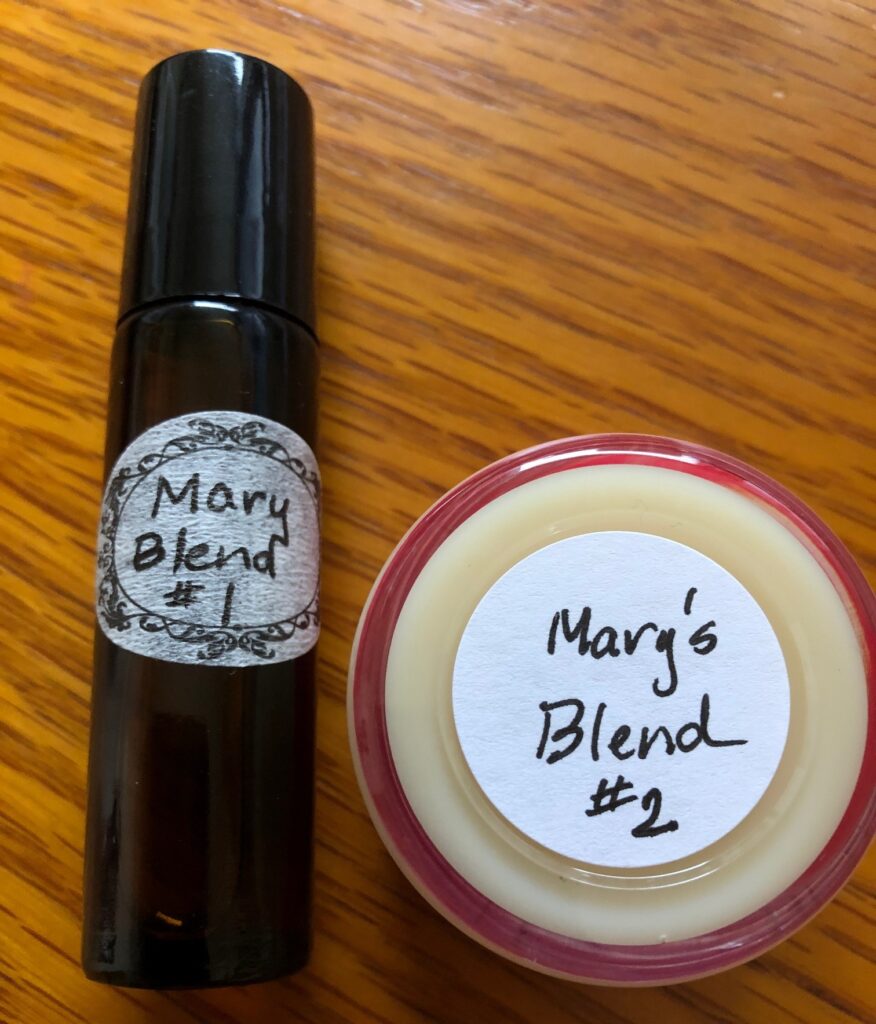
3. The DIY perfume experiment…which formula worked?
Here’s the original post: https://marykisner.com/diy-perfume/
I ended up making only the roller ball perfume and the solid formula perfume. The spray will have to wait for now. The solid perfume was harder to apply and the scent did not last. The roller ball perfume was OK but applying it was much easier. HOWEVER…after a few weeks of just sitting on my dresser, I shook it up and tried it again. Amazingly, it smells wonderful and lasts all day. I was so surprised! I had read that the scents would blend and mellow over time…and they did! I guess the roller ball perfume, made of just grapeseed oil and three scents, will be something I’ll use more frequently!
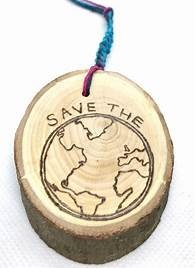
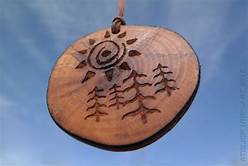
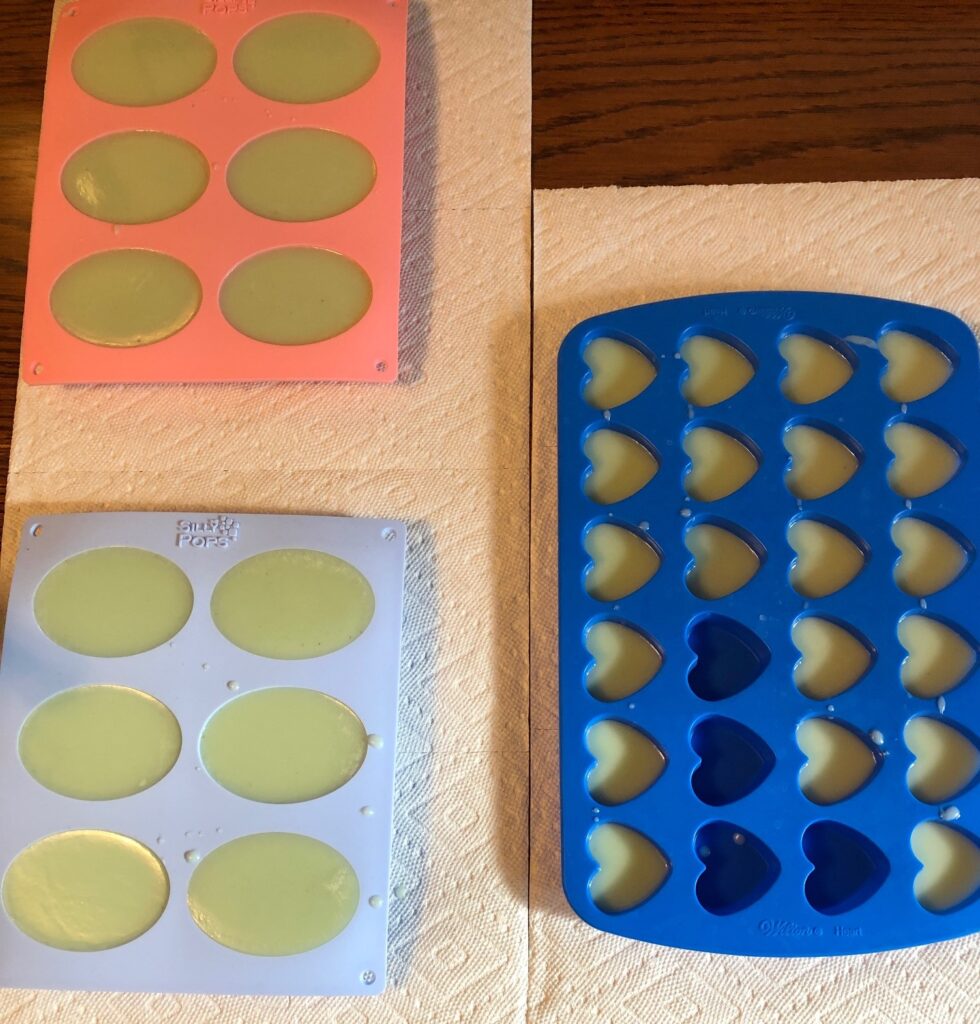
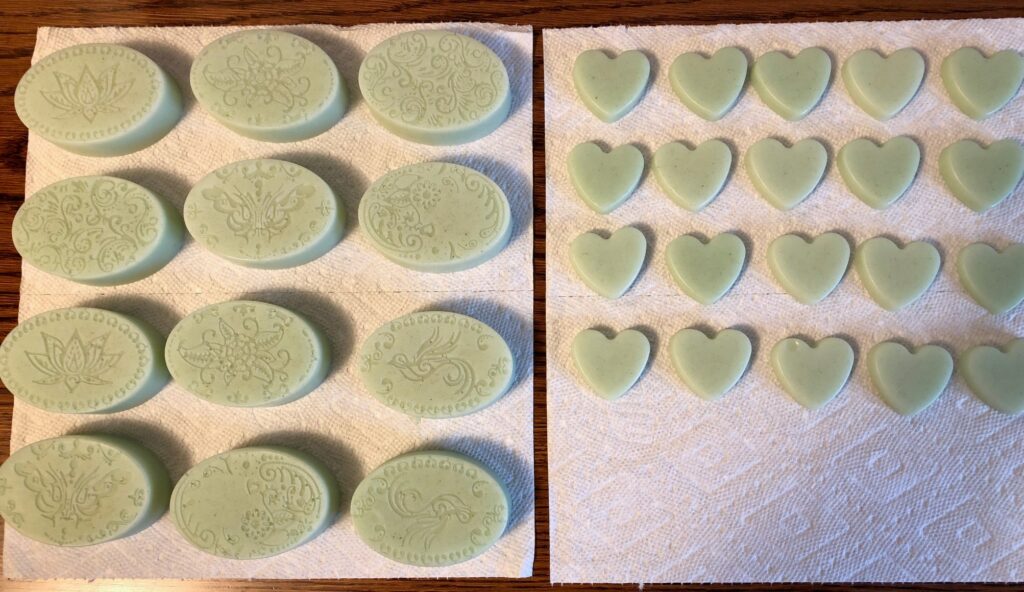
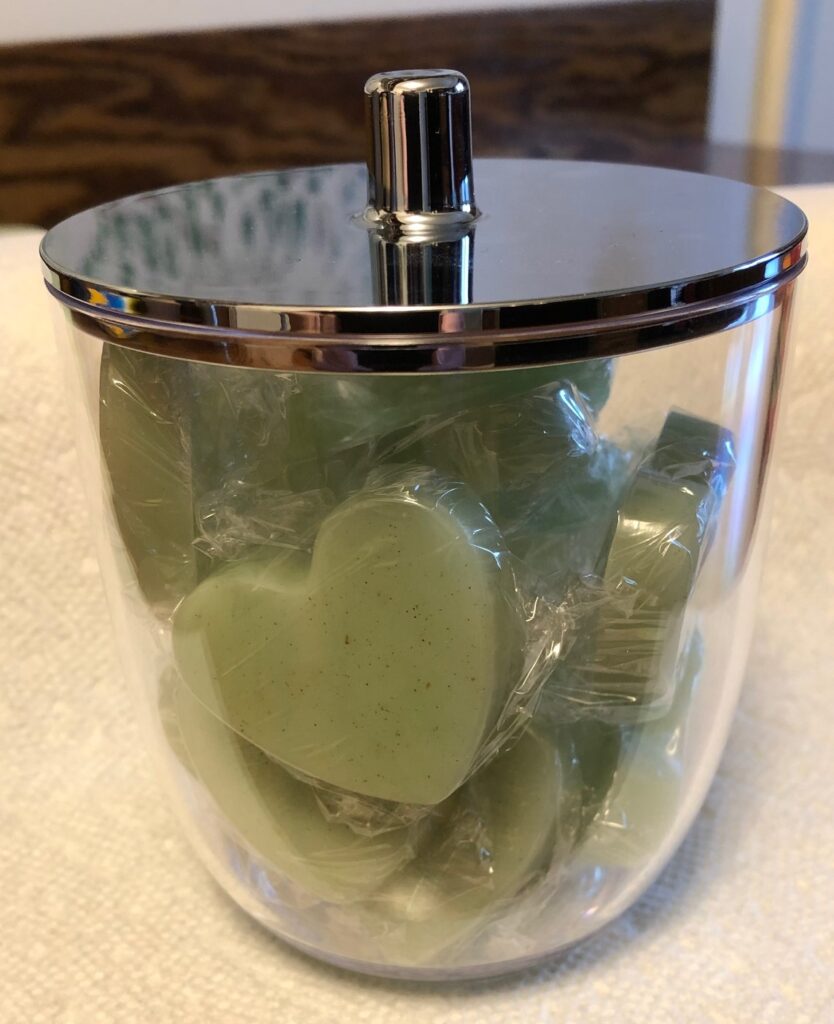
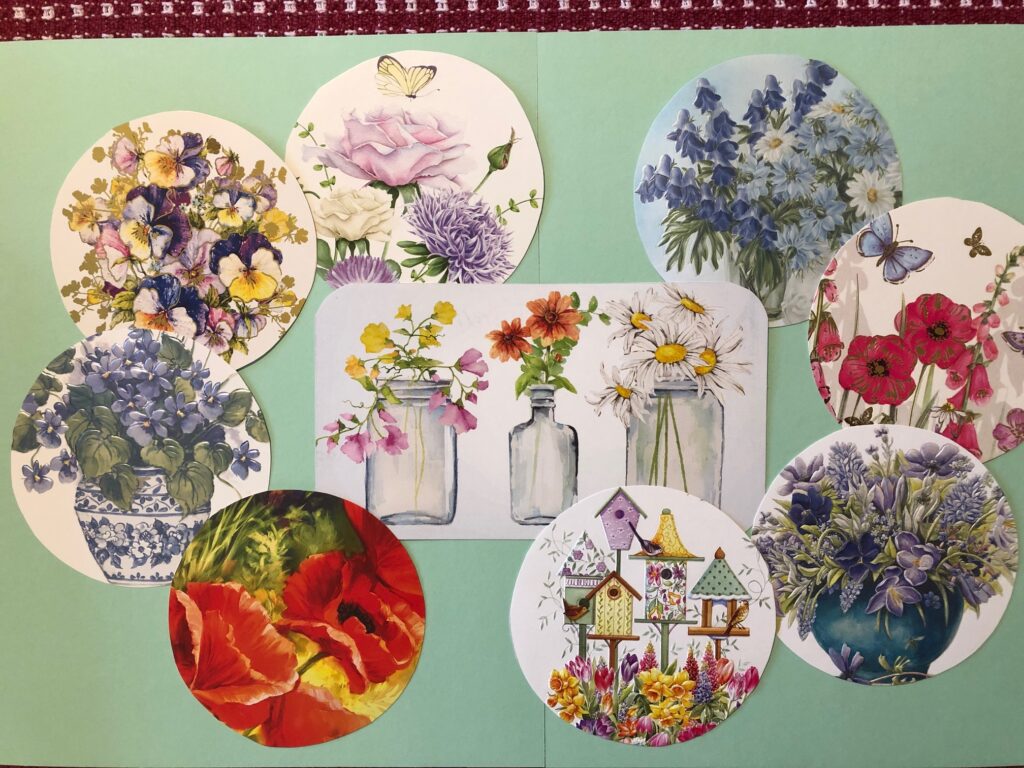
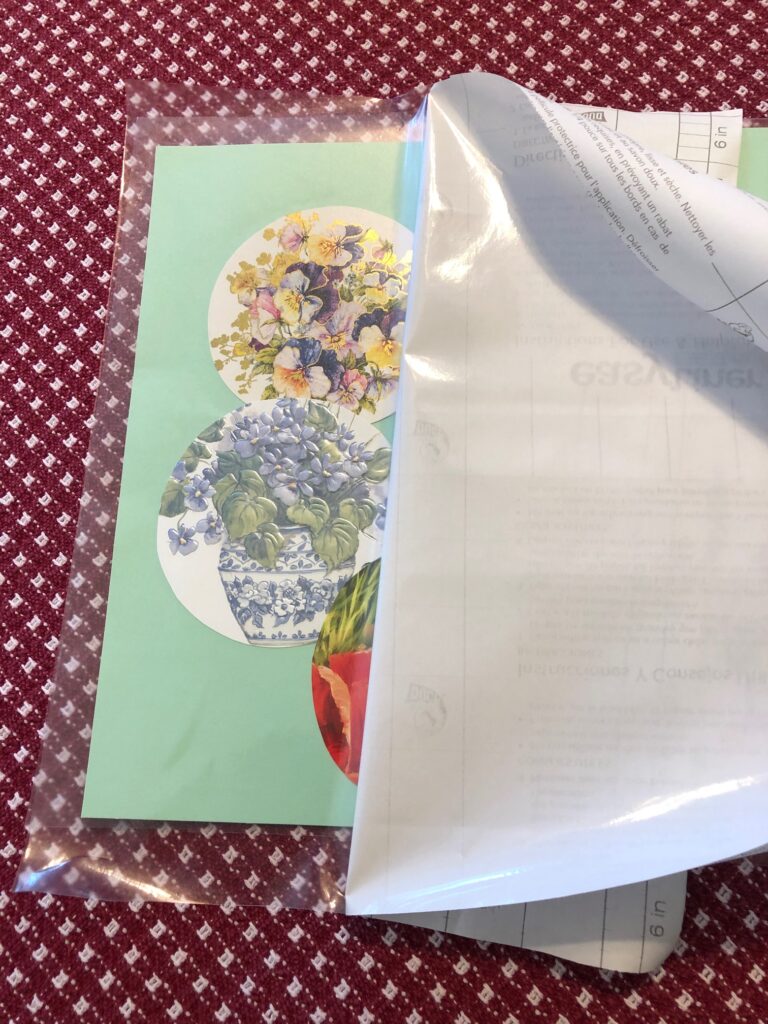
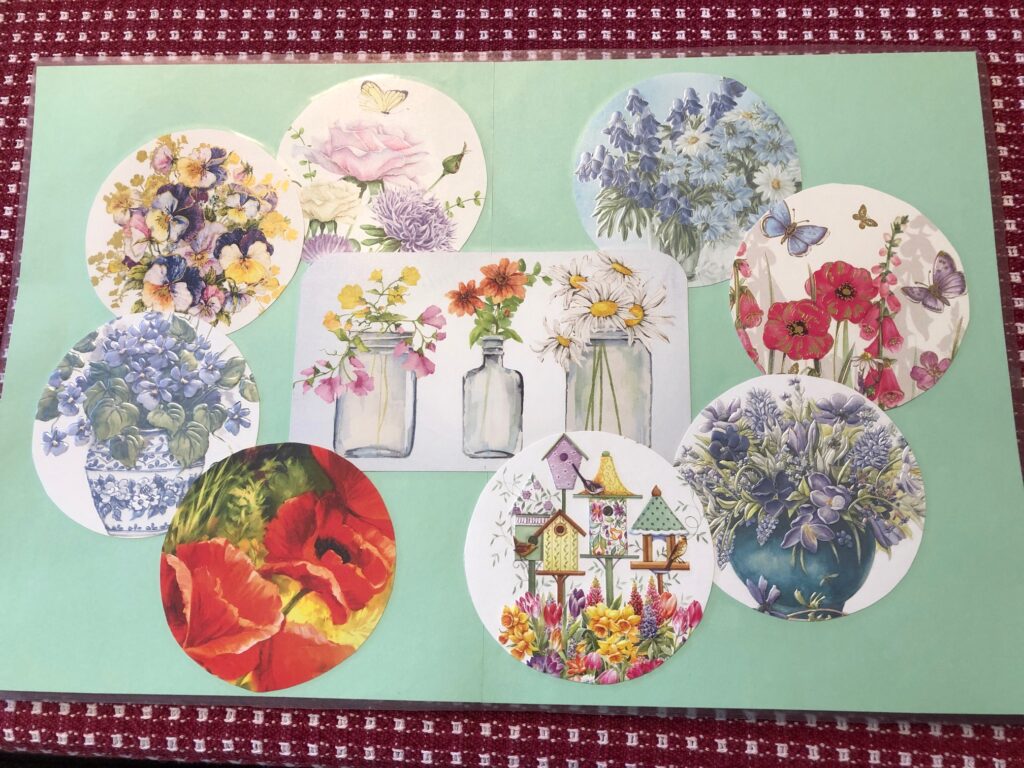
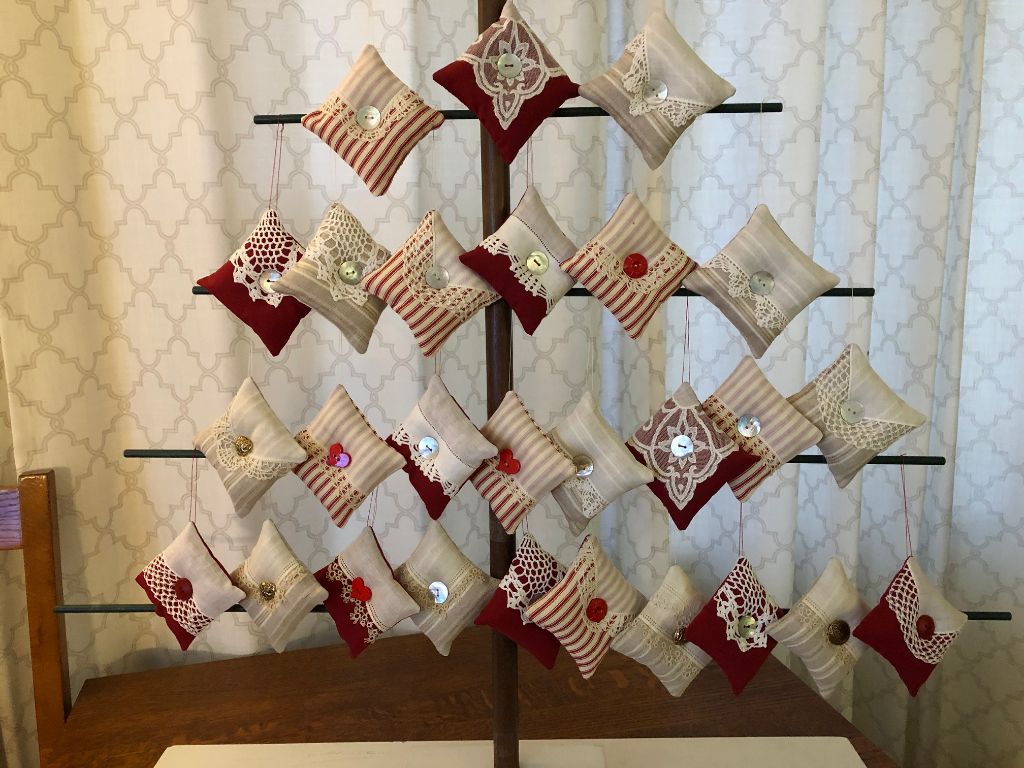
4. The finished ornaments made with recycled vintage lace.
Here is the original article: https://marykisner.com/adding-vintage-lace-edging-to-ornaments/
I worked on the ornaments for a month or two and by early December, they were all done. Before I gave them out as gifts at a luncheon, I displayed them on my “ornament tree” so I could take a picture of them. They did not all fit but enough did to show you the variety. I have a few left over, so I’ll add them to my stash of homemade ornaments.
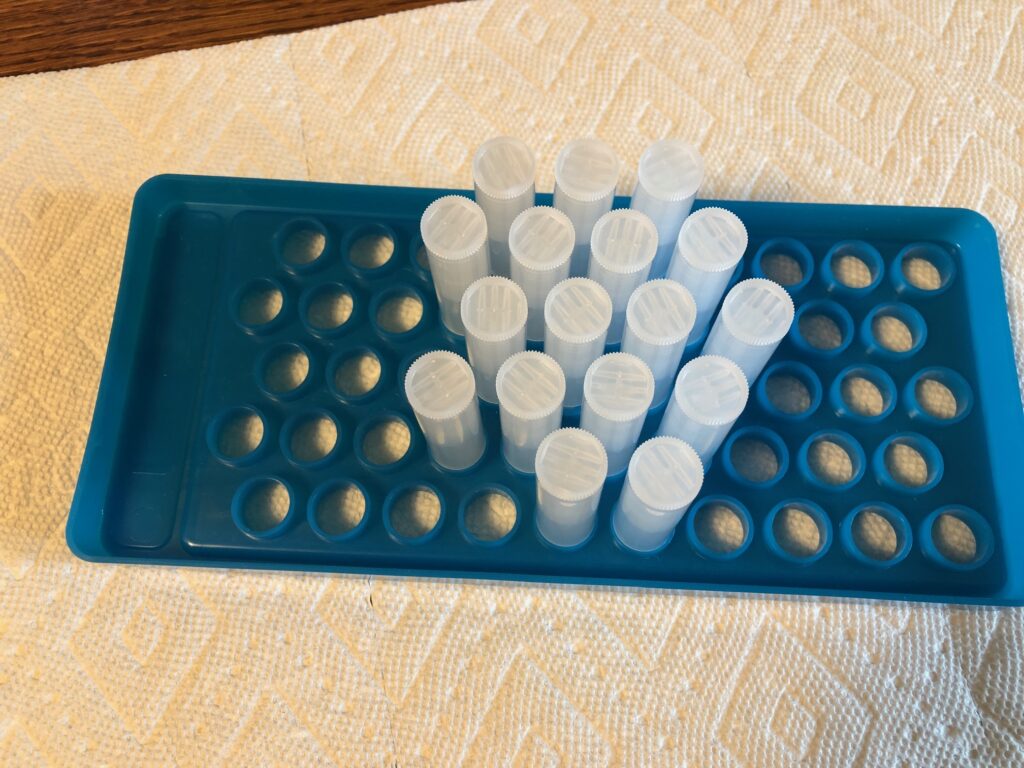
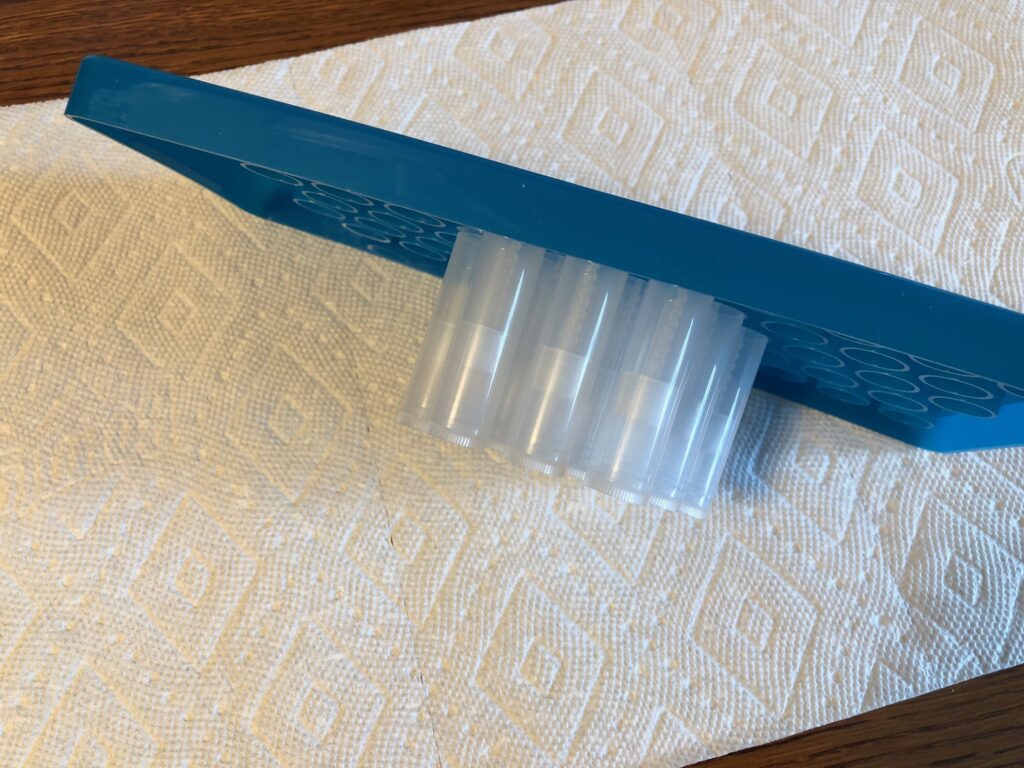
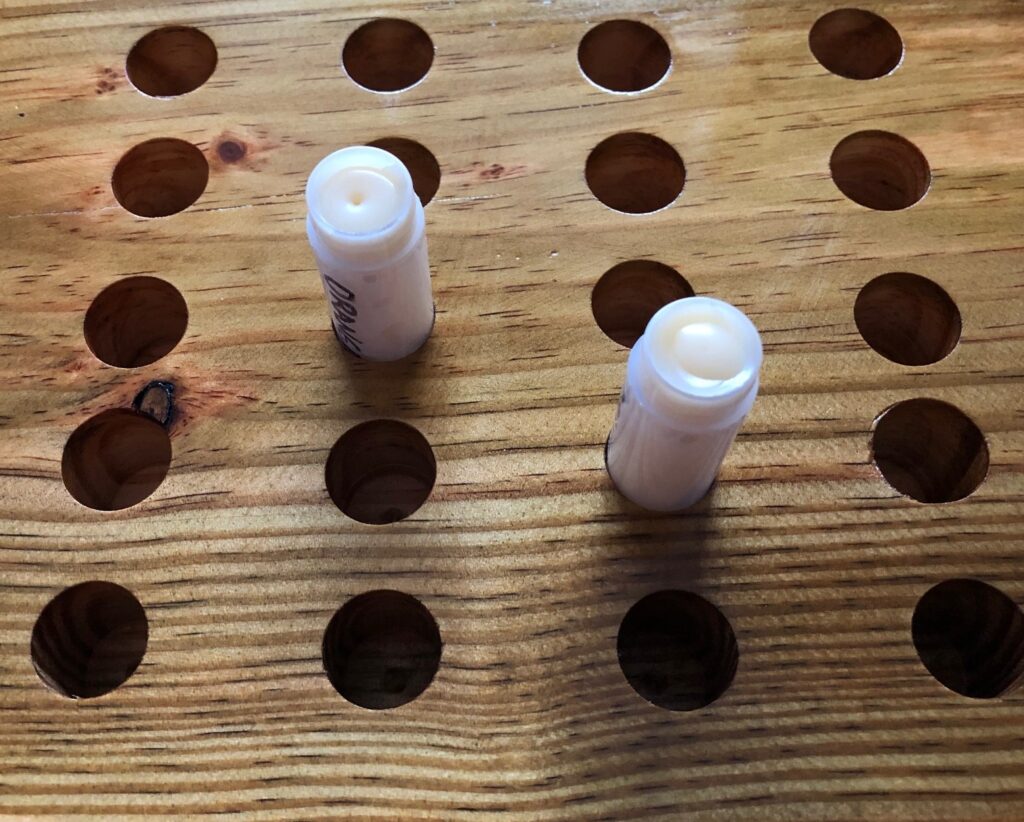
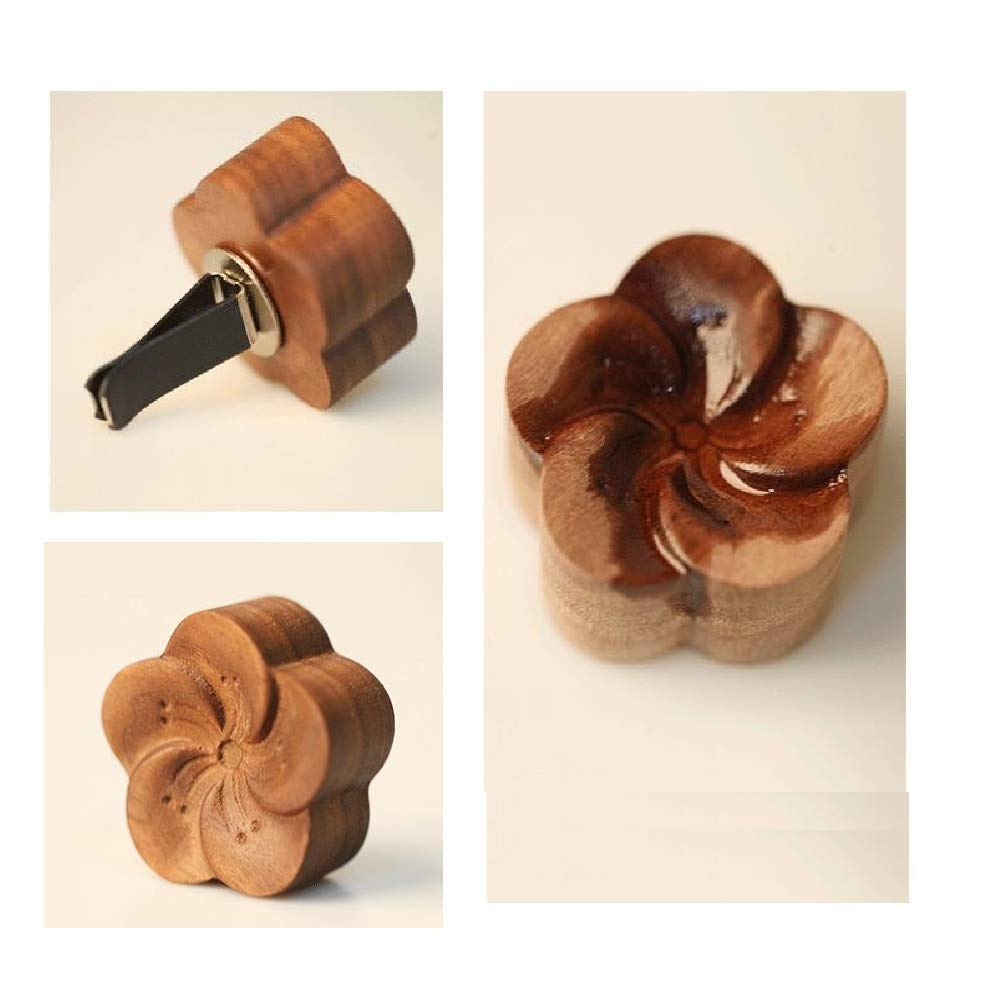
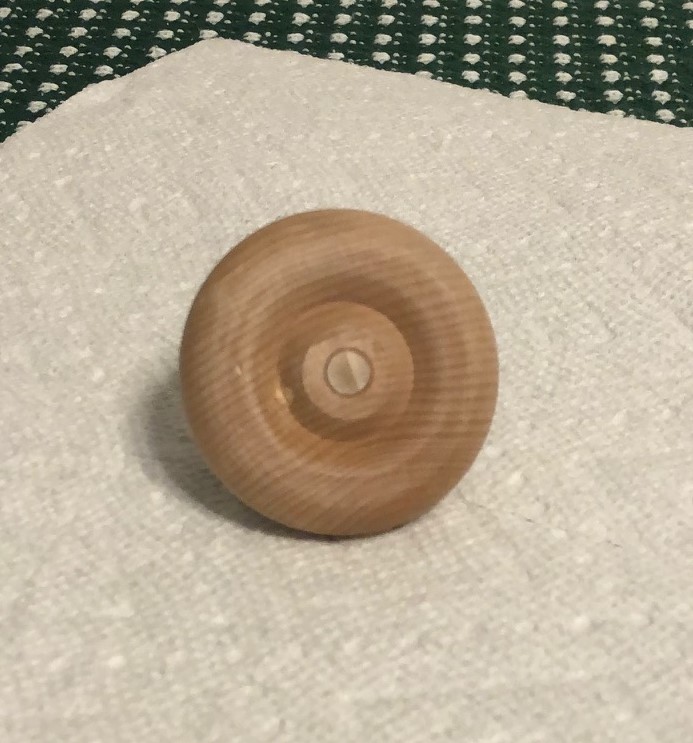
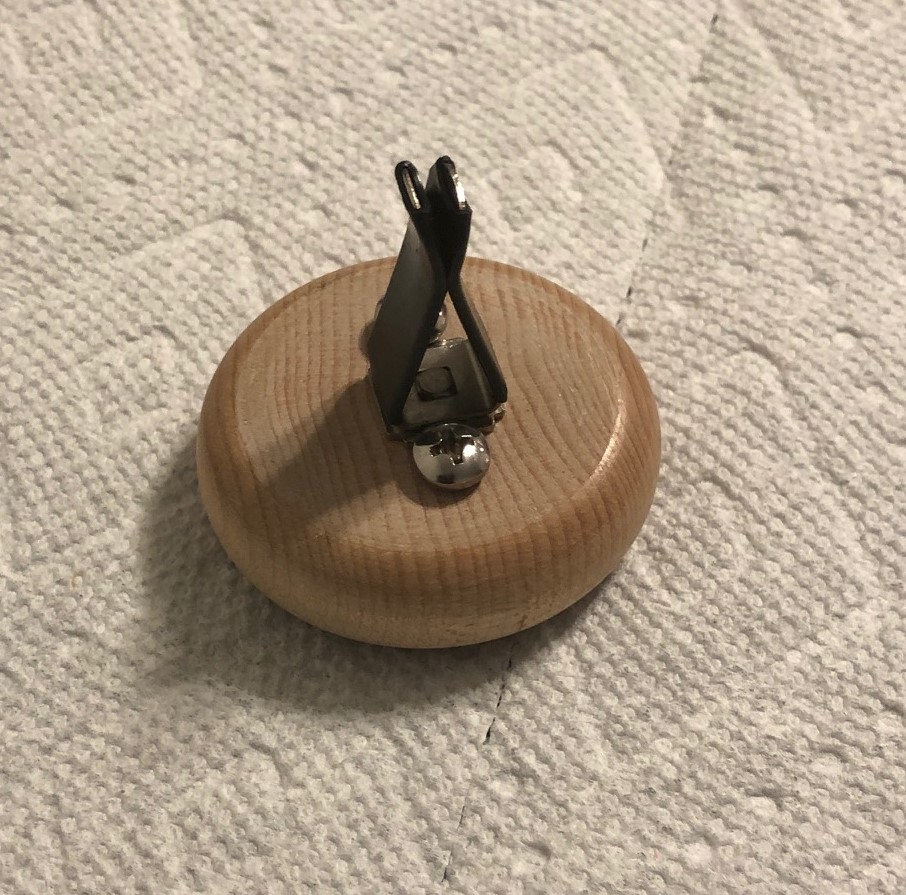
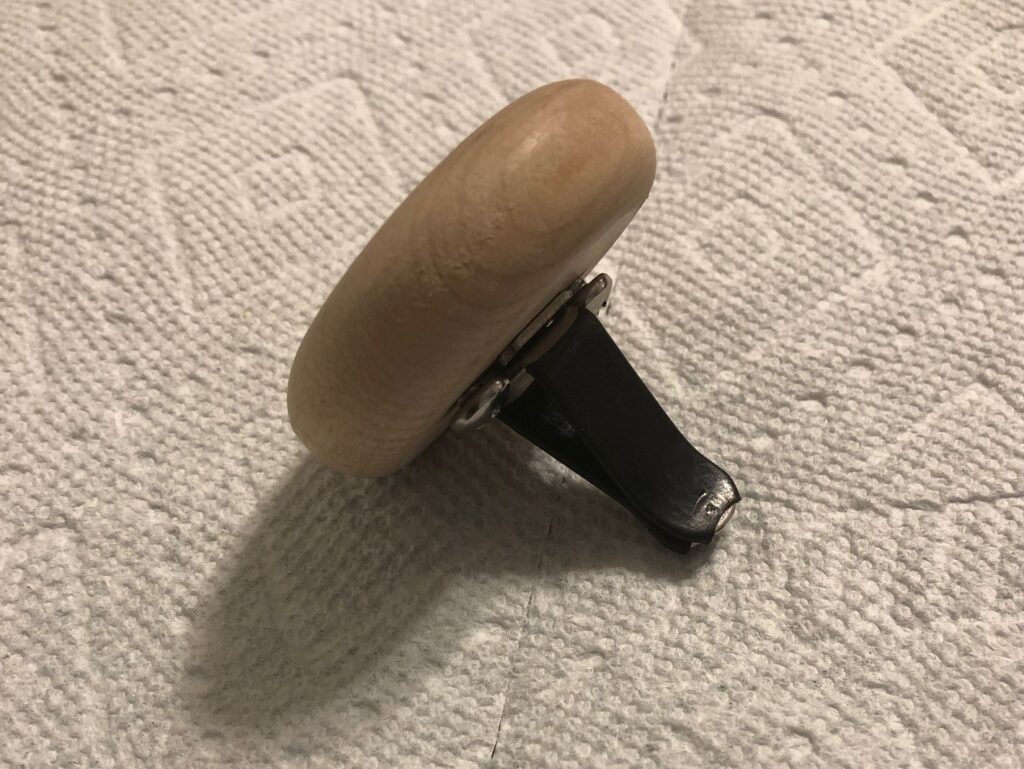
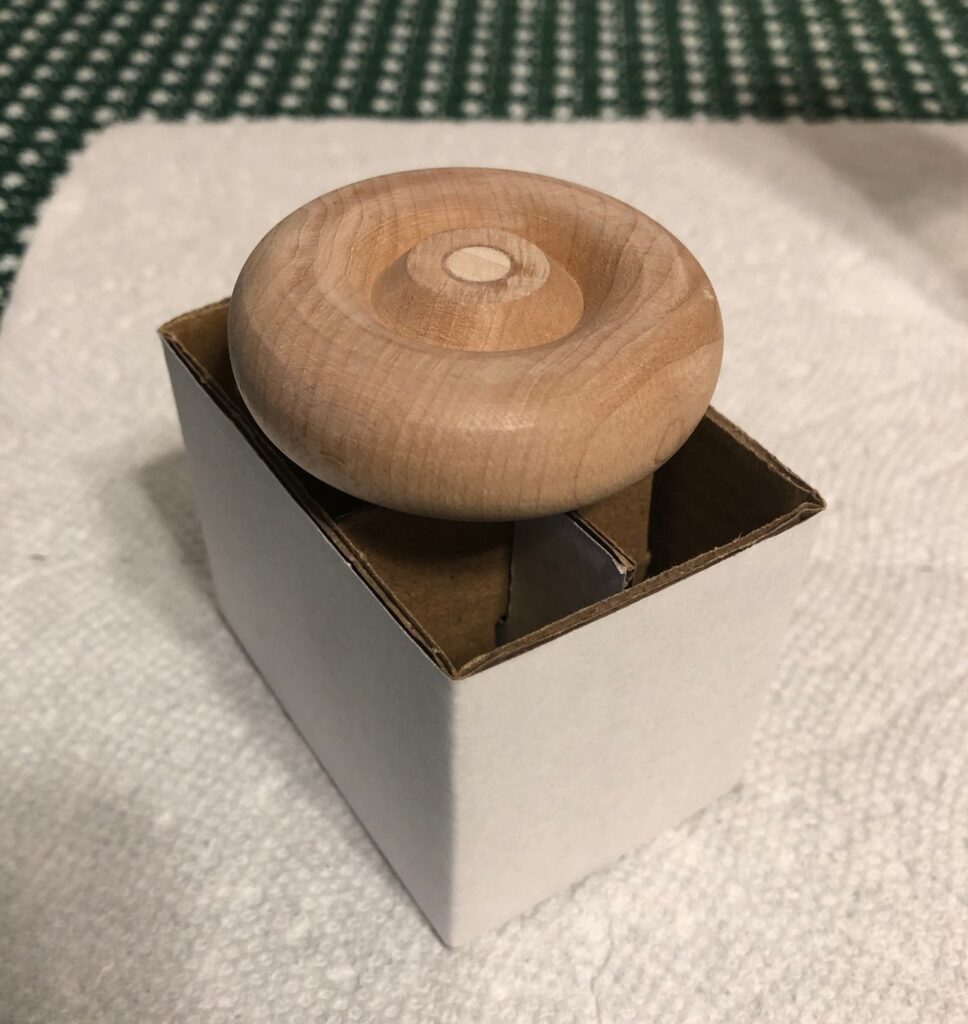
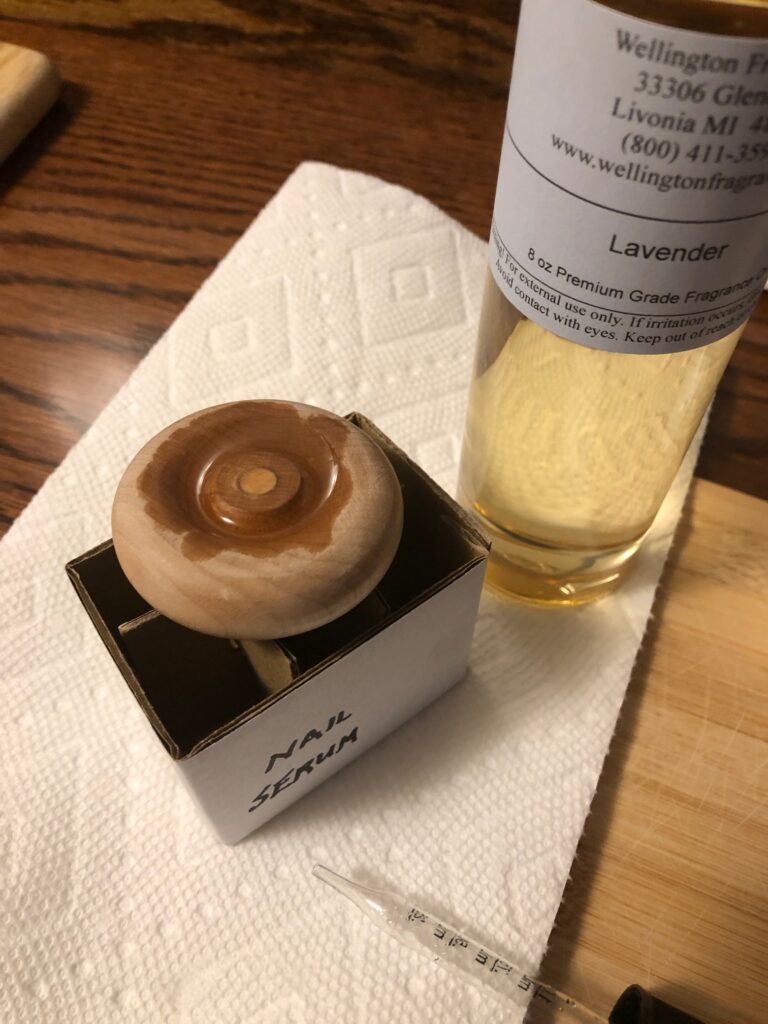
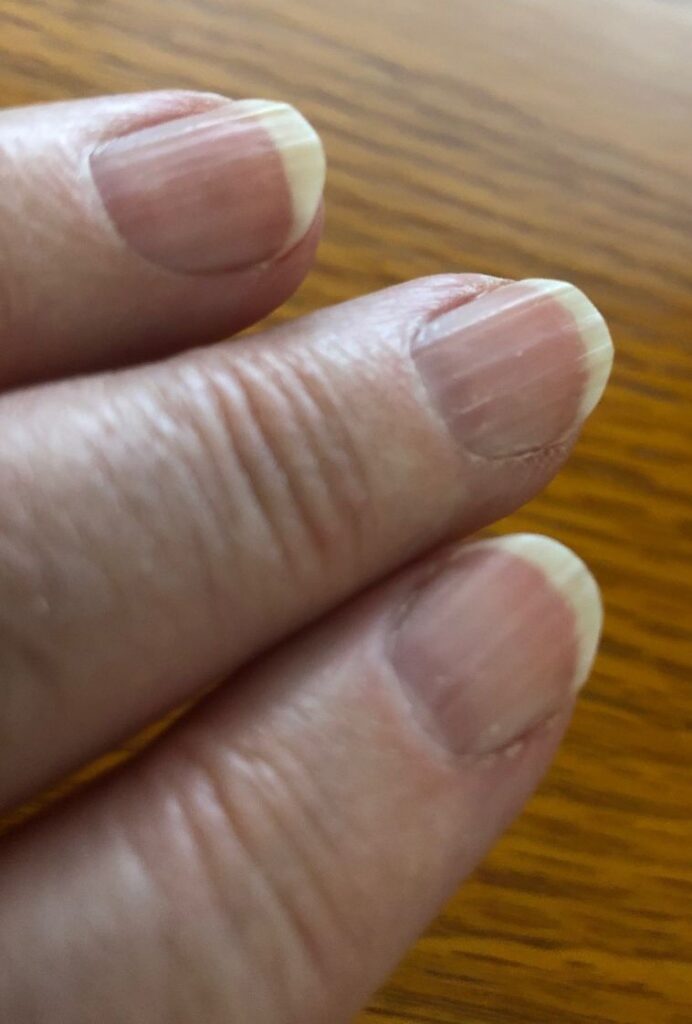
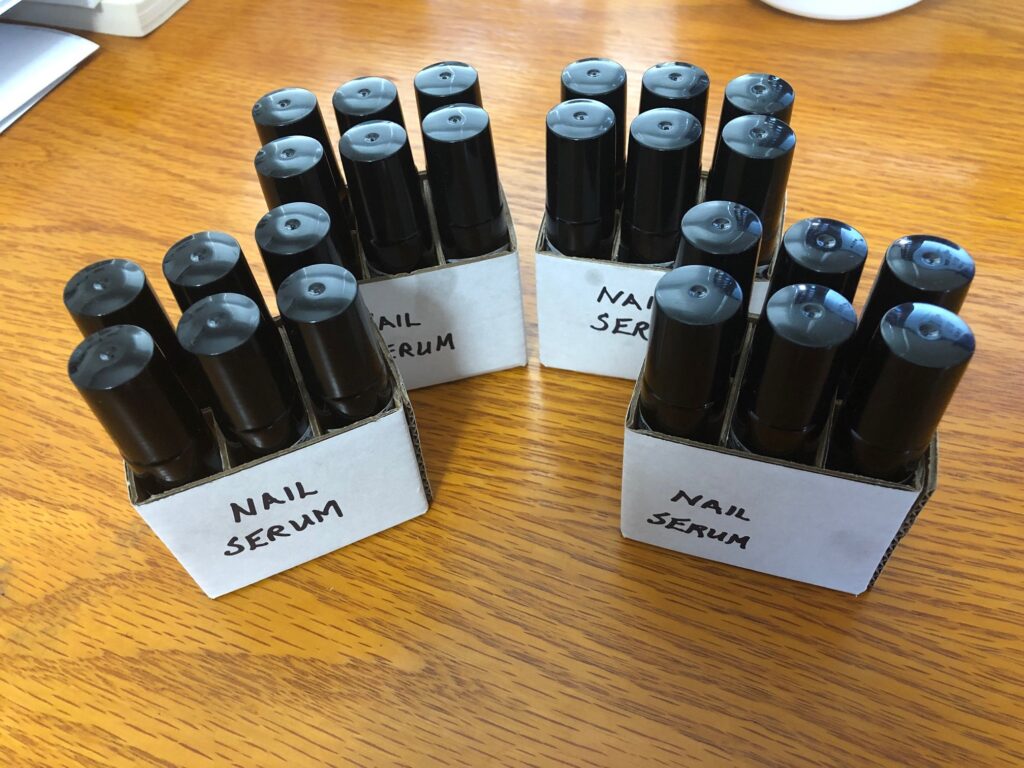
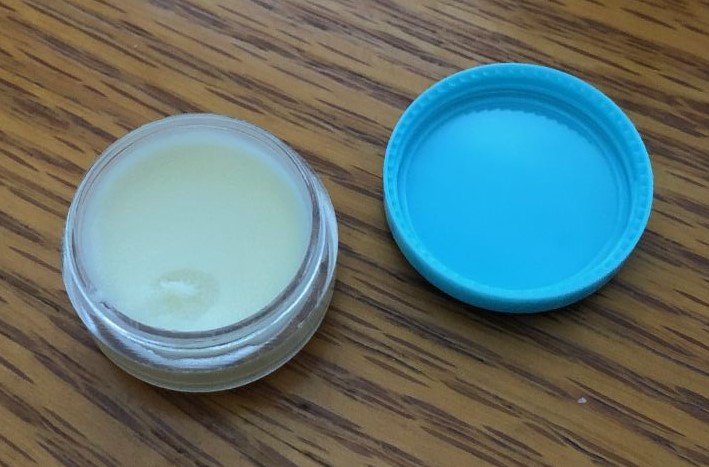
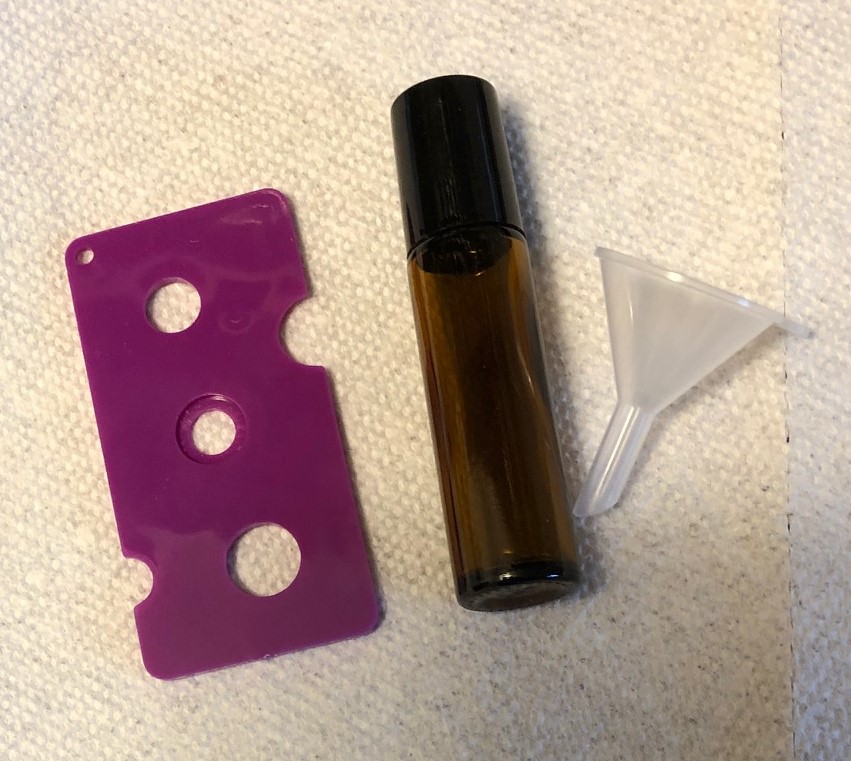
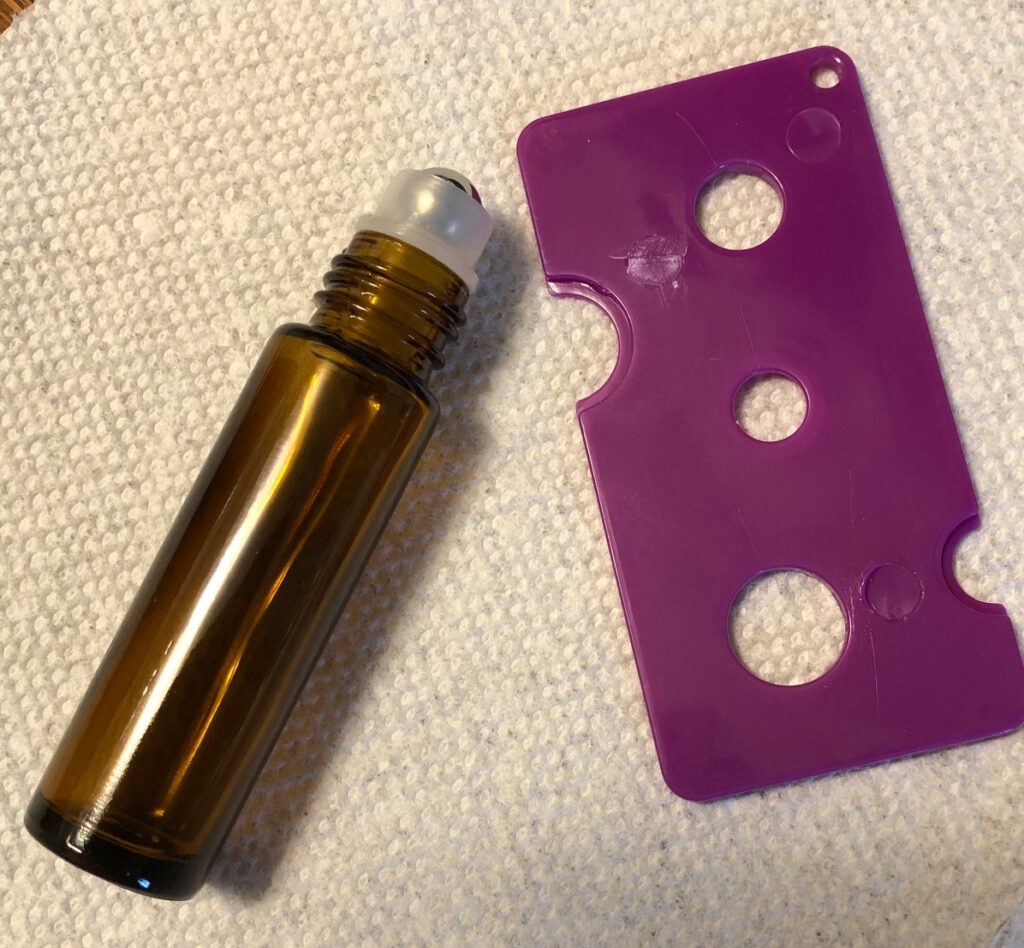
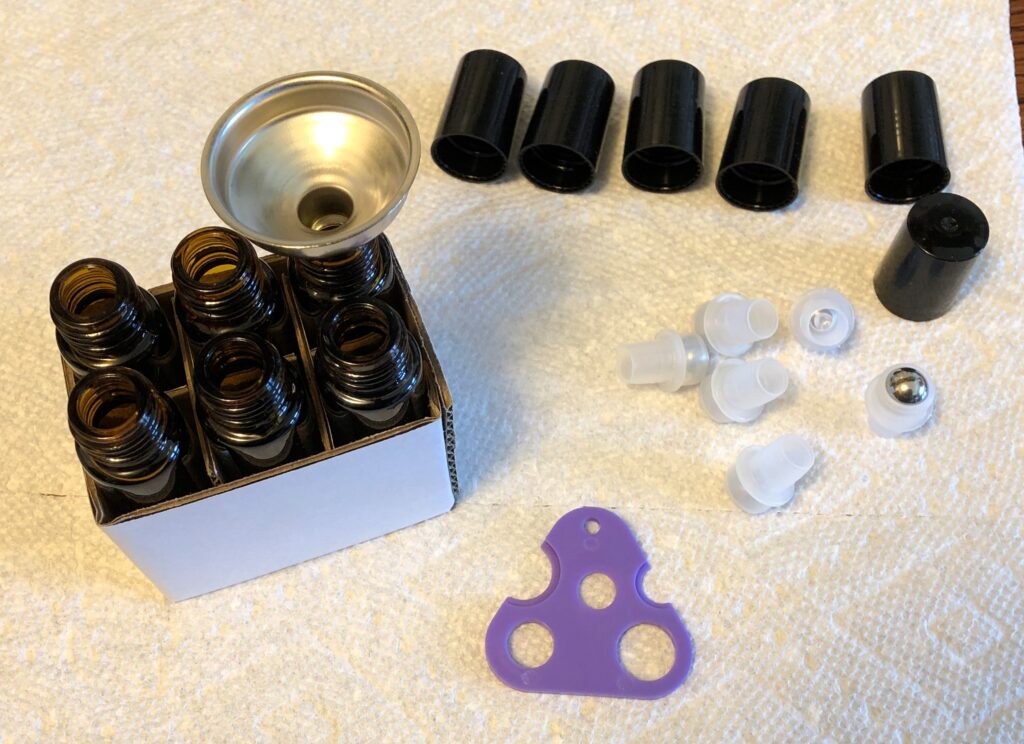
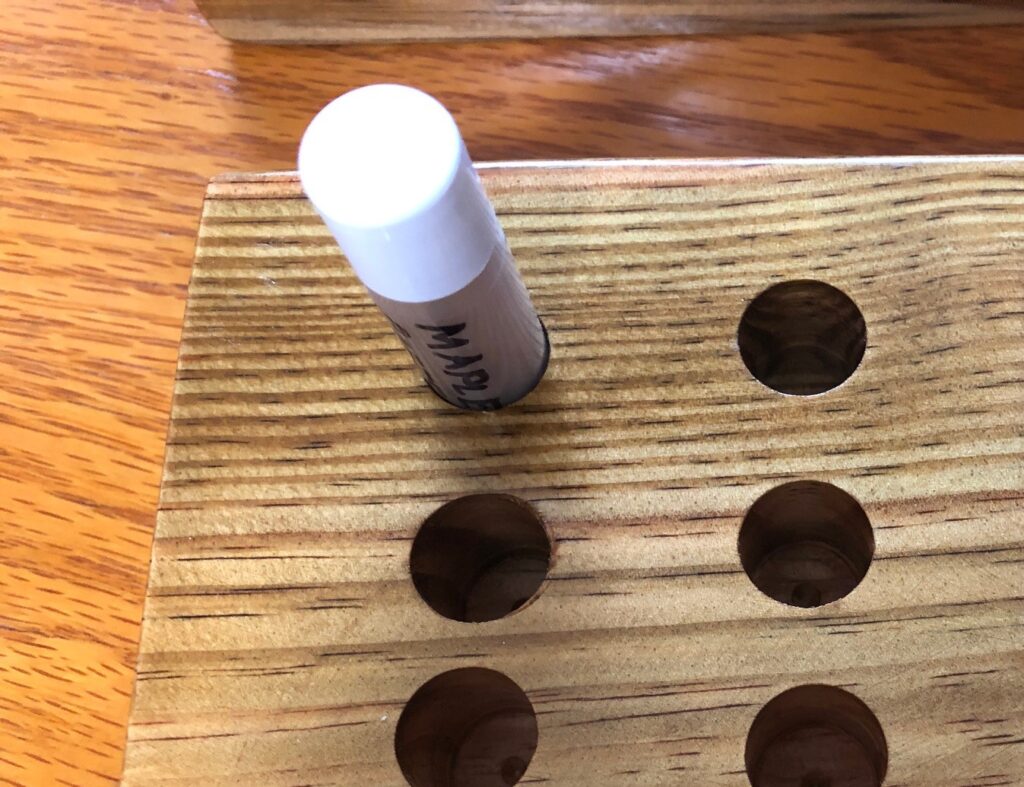
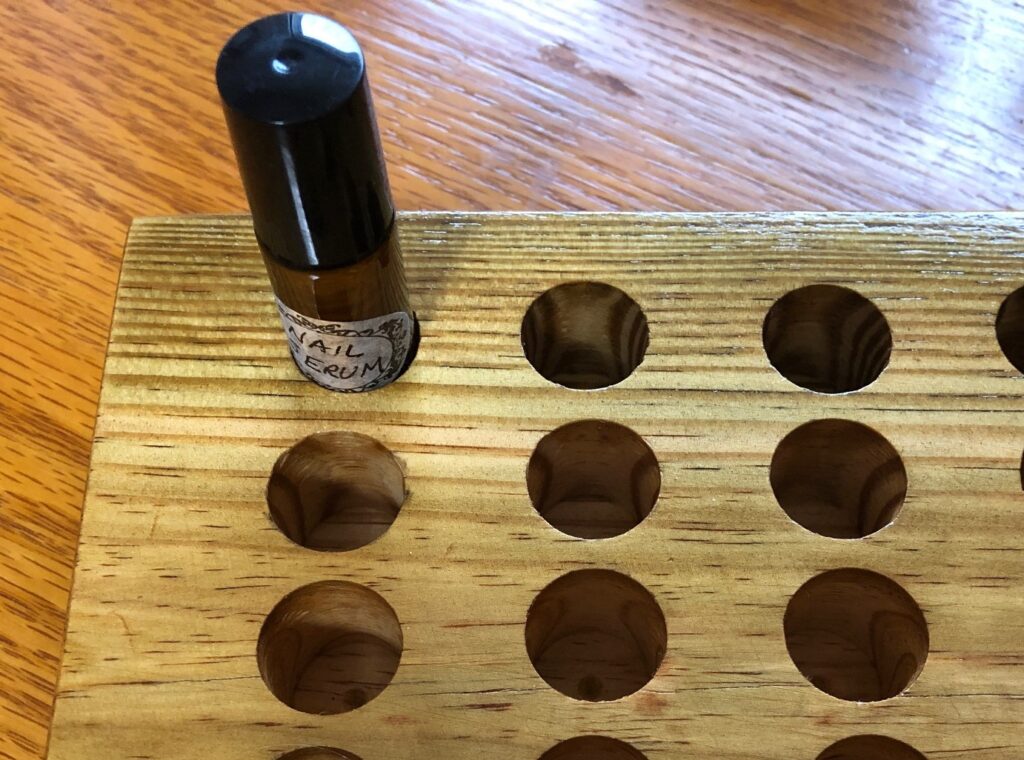
5. A tool to keep the roller balls from falling over.
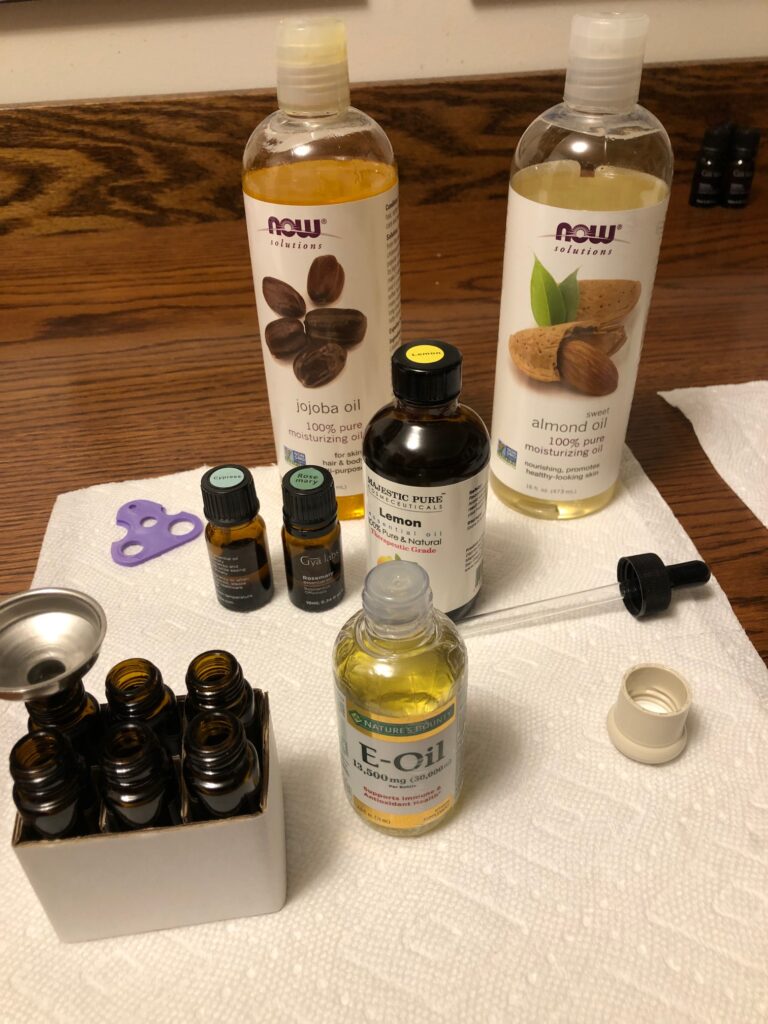
Here is the post about using the roller balls: https://marykisner.com/essential-oils-and-nail-care/
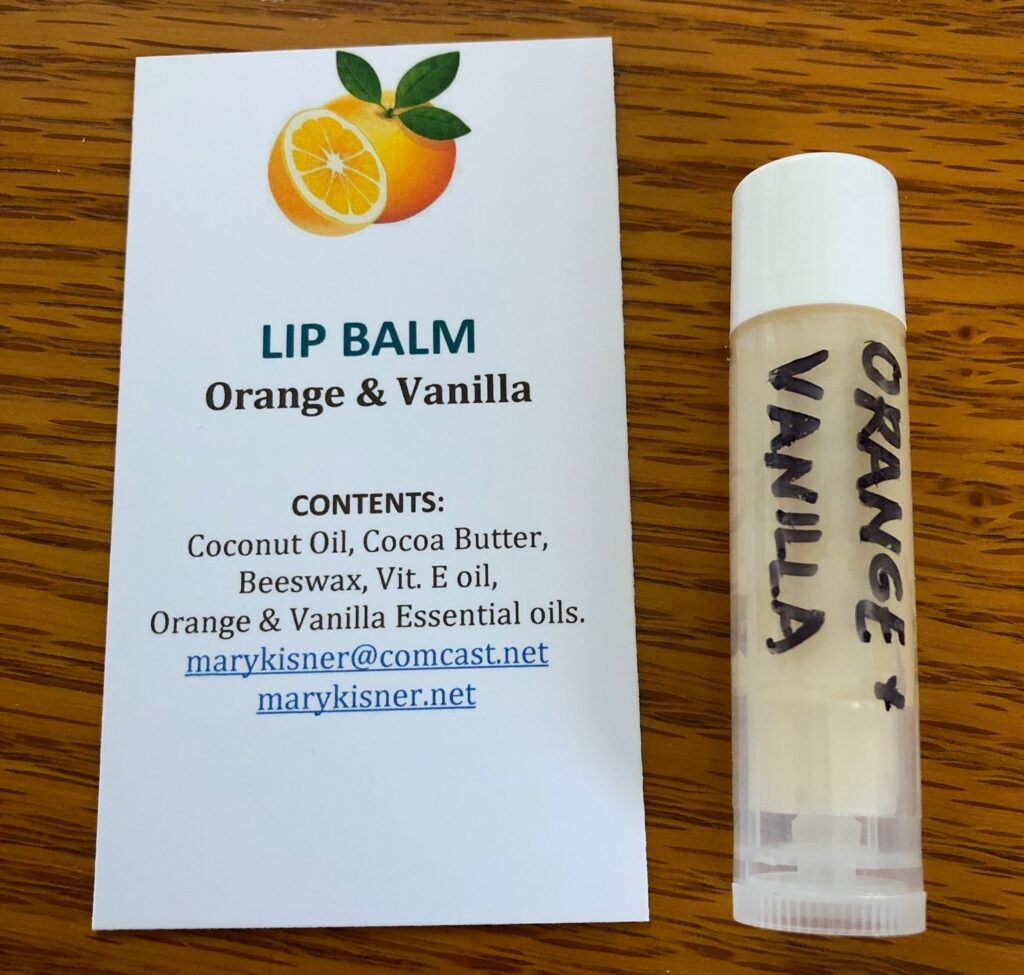
It wasn’t until I was trying to make more than one roller ball at a time that I realized it was important to find a way to keep them from falling over while I carefully dropped essential oils into them. When making the nail serum I finally used one of the tiny cardboard boxes they were mailed in to keep them upright. That worked, but they were not very durable. Bert to the rescue! He had just made me a holder for the lip balm tubes. The holes were too small for the roller balls. So…he made another one with bigger holes. I think I could use it for the lip balm tubes too. They don’t have to be held tightly, they just have to not fall over if I bump them. Problem solved!
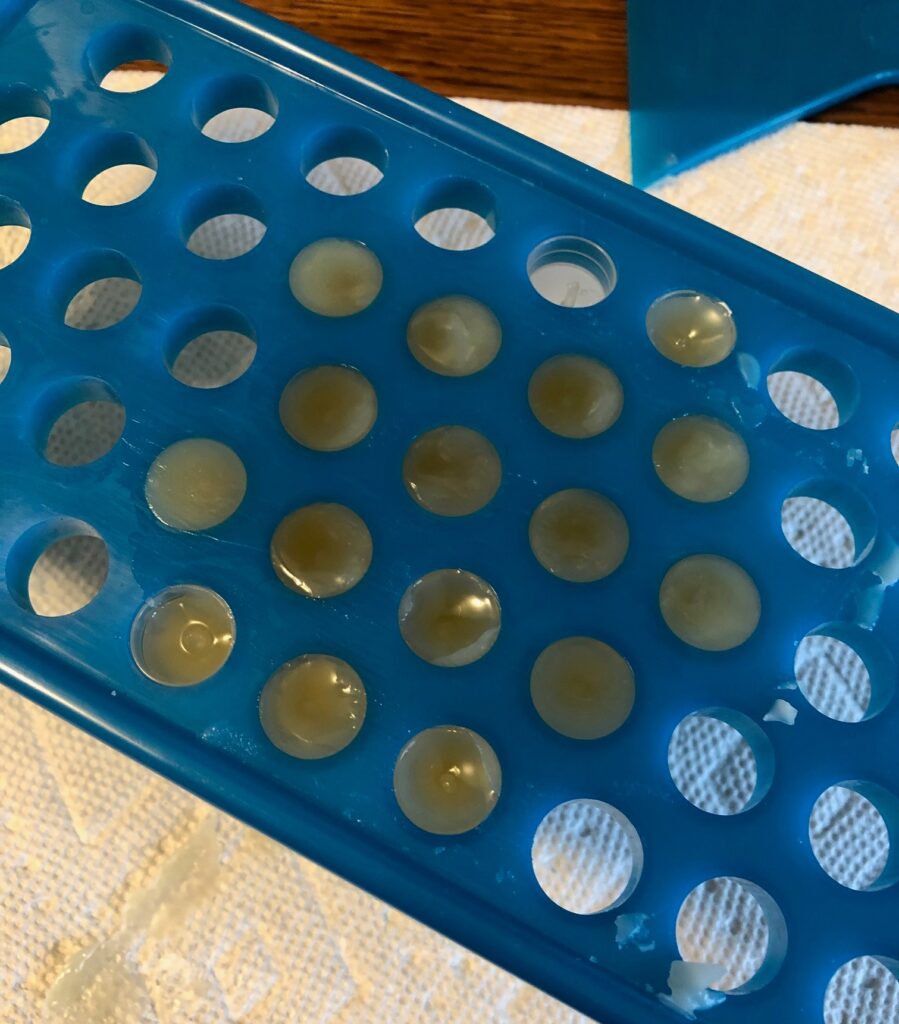
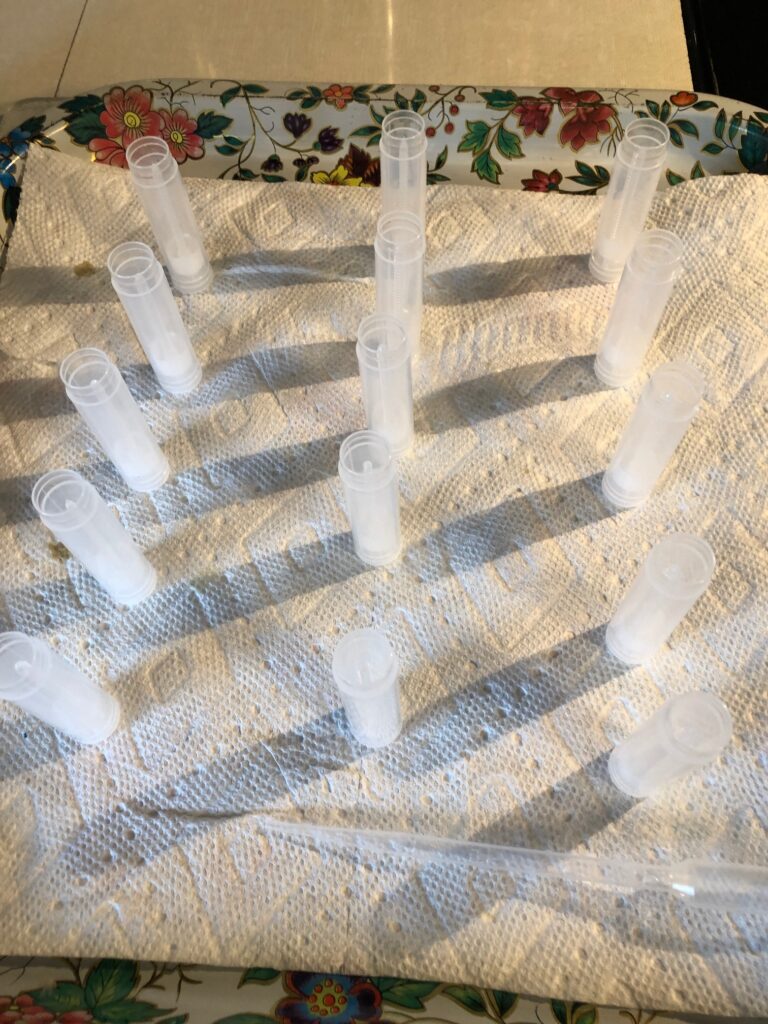
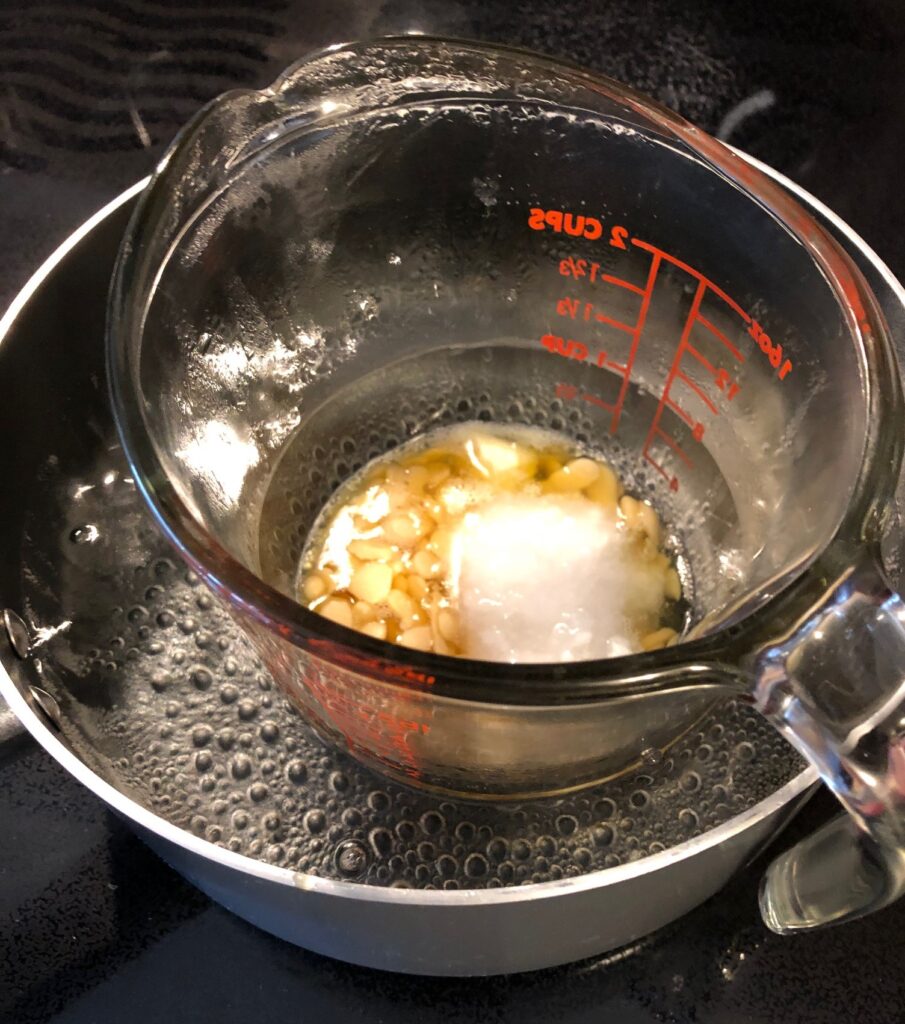
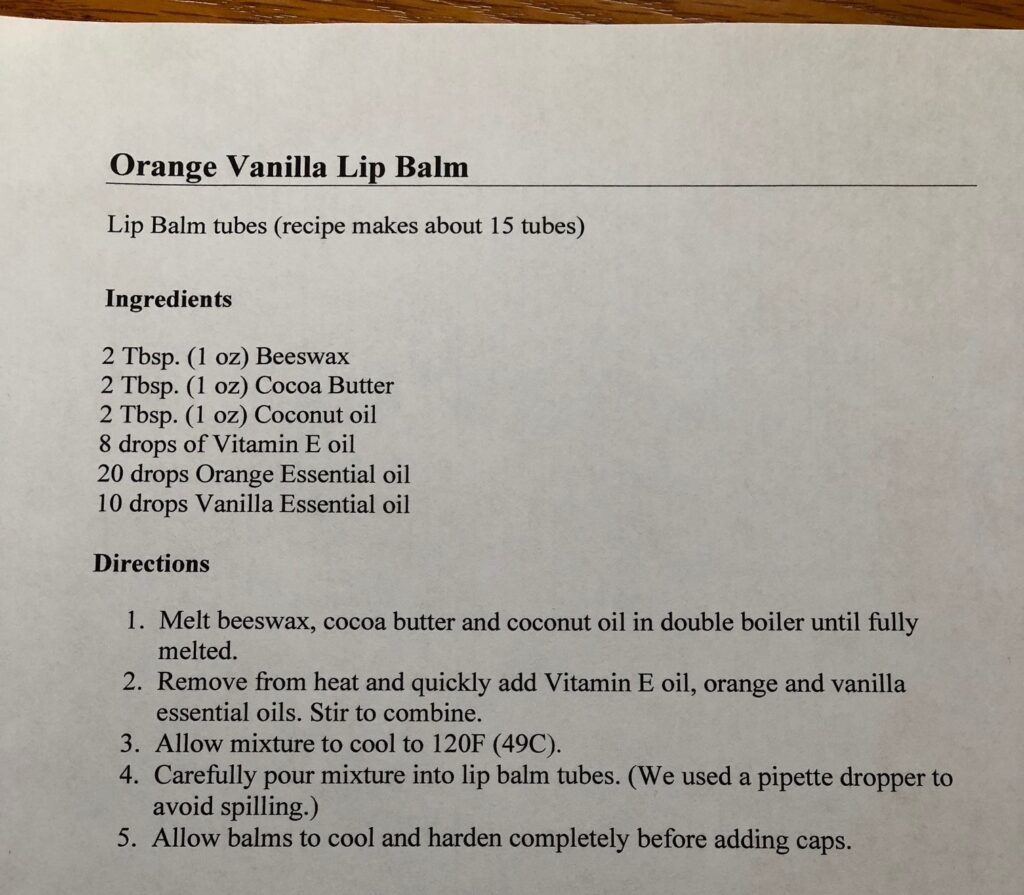
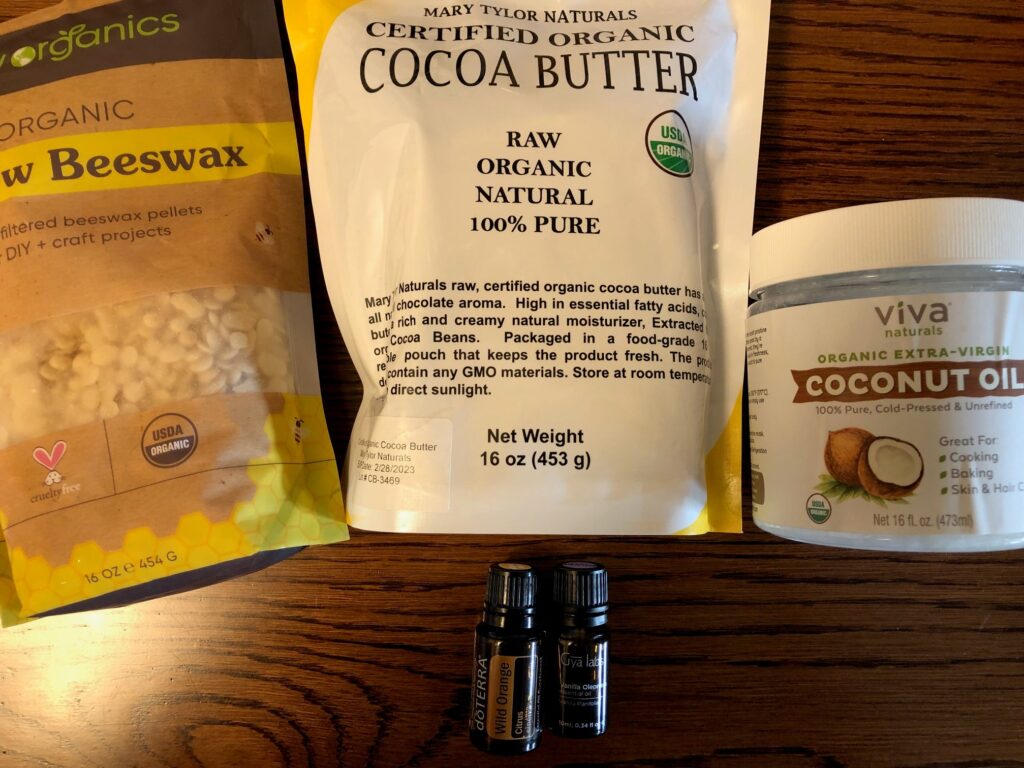
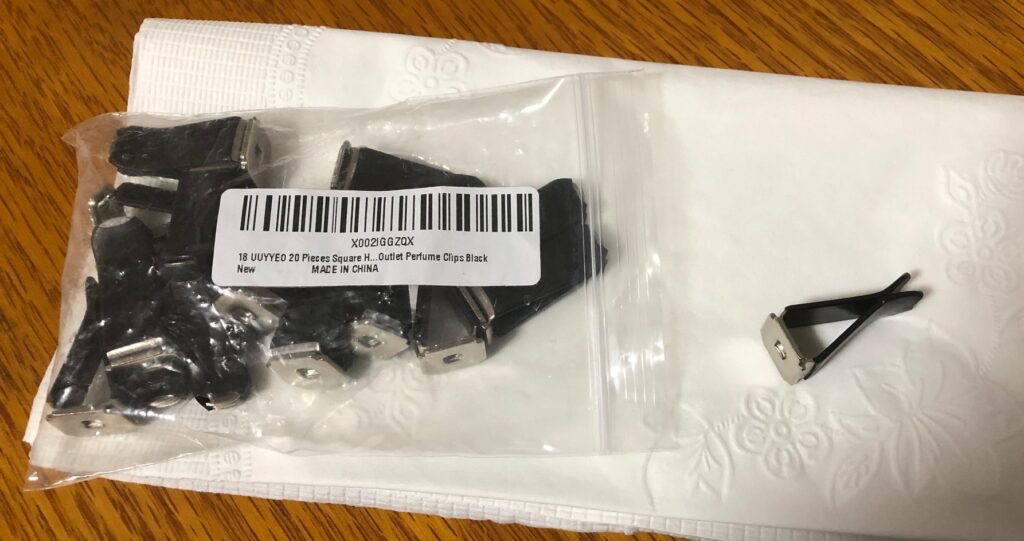
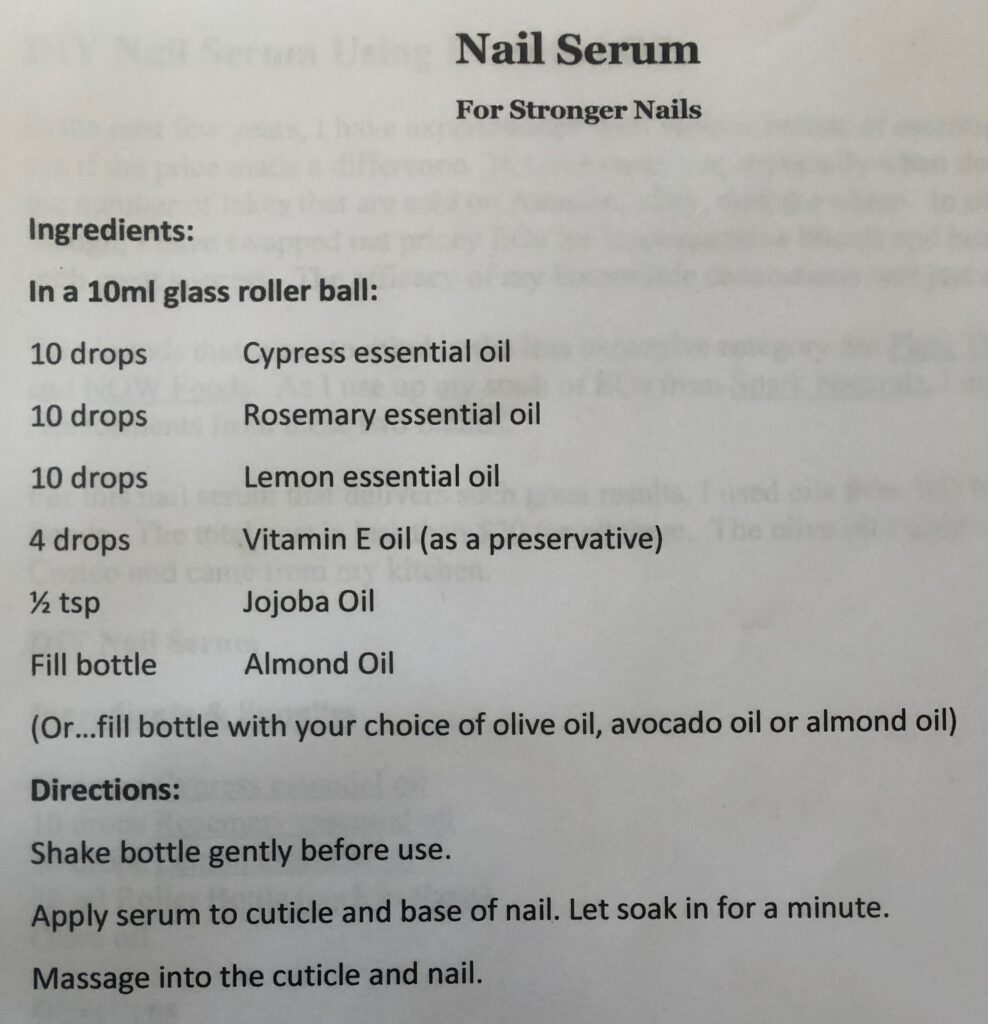
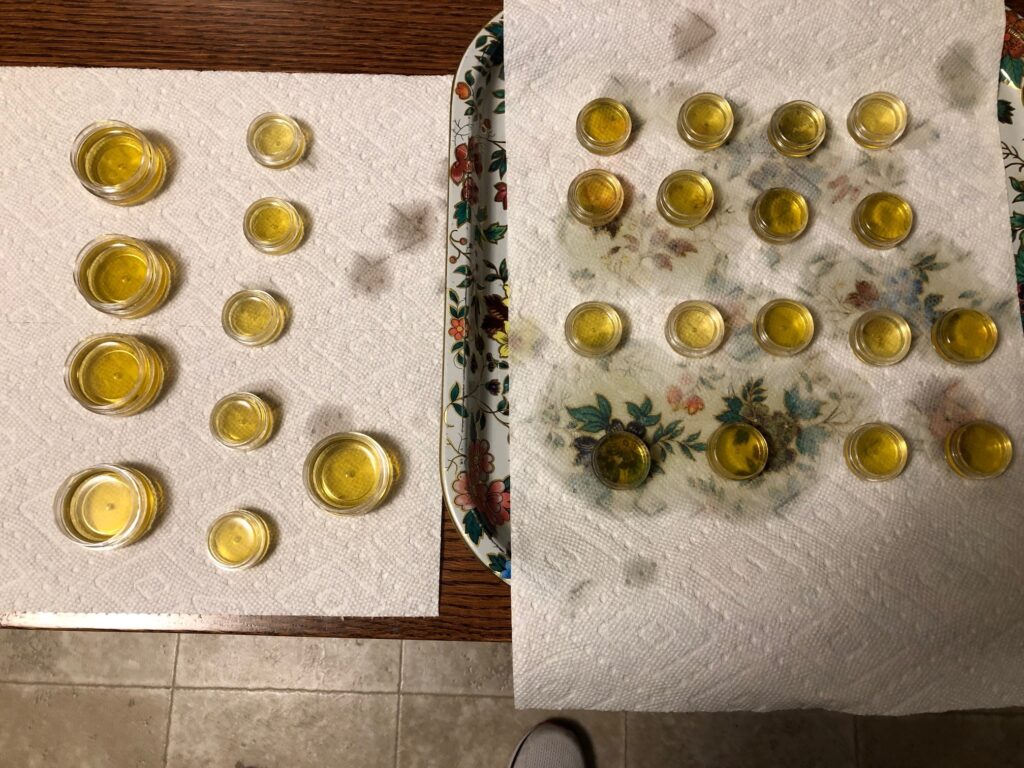
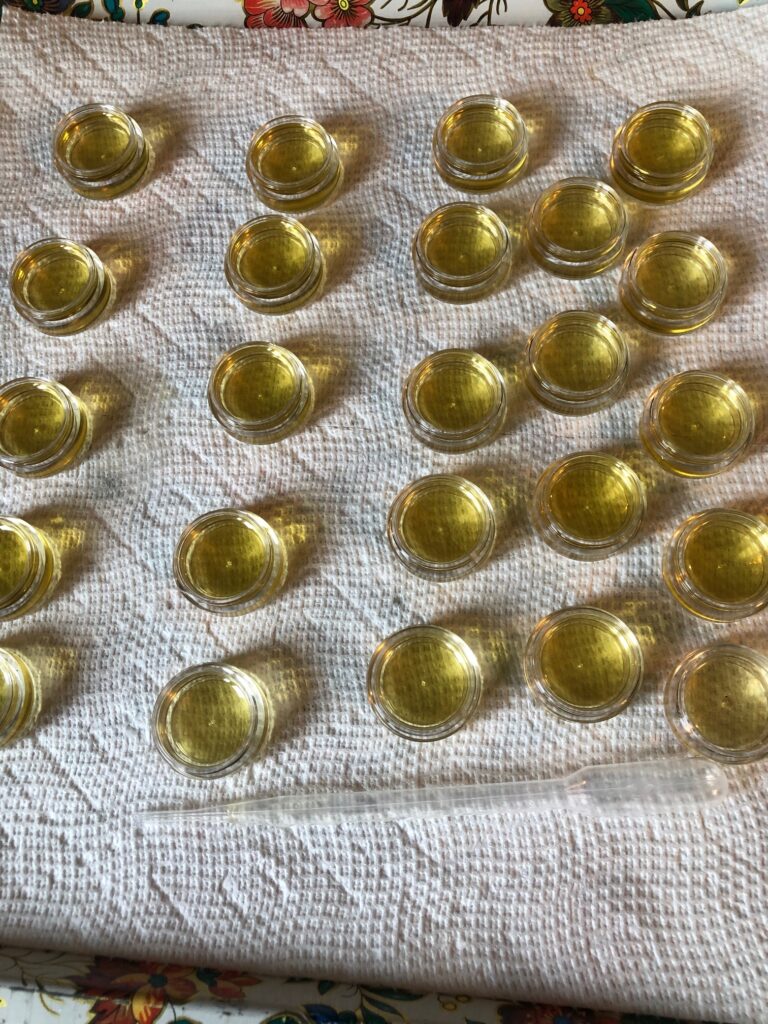
6. Using a pipette to transfer hot liquid instead of pouring into tiny containers.
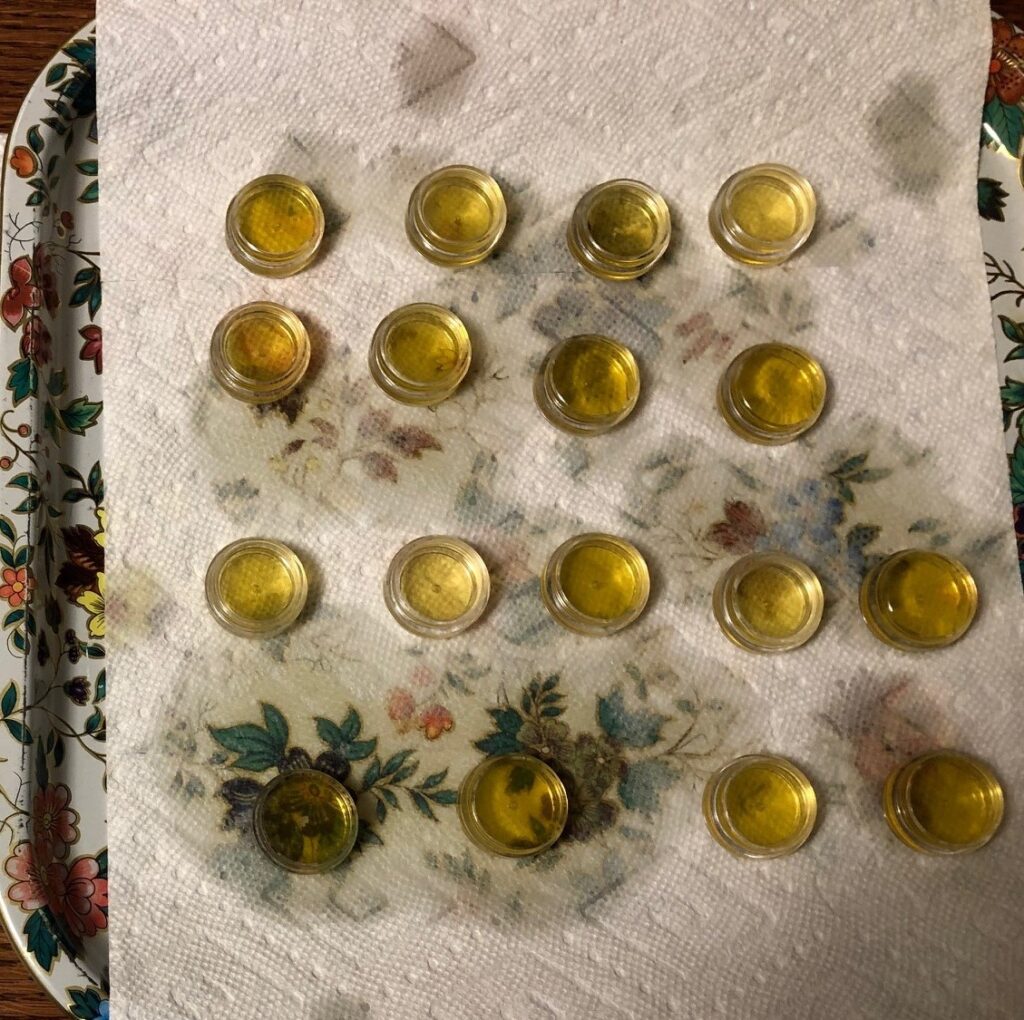
Here is the first attempt to pour into 5 ml containers: https://marykisner.com/essential-oils-and-nail-care/
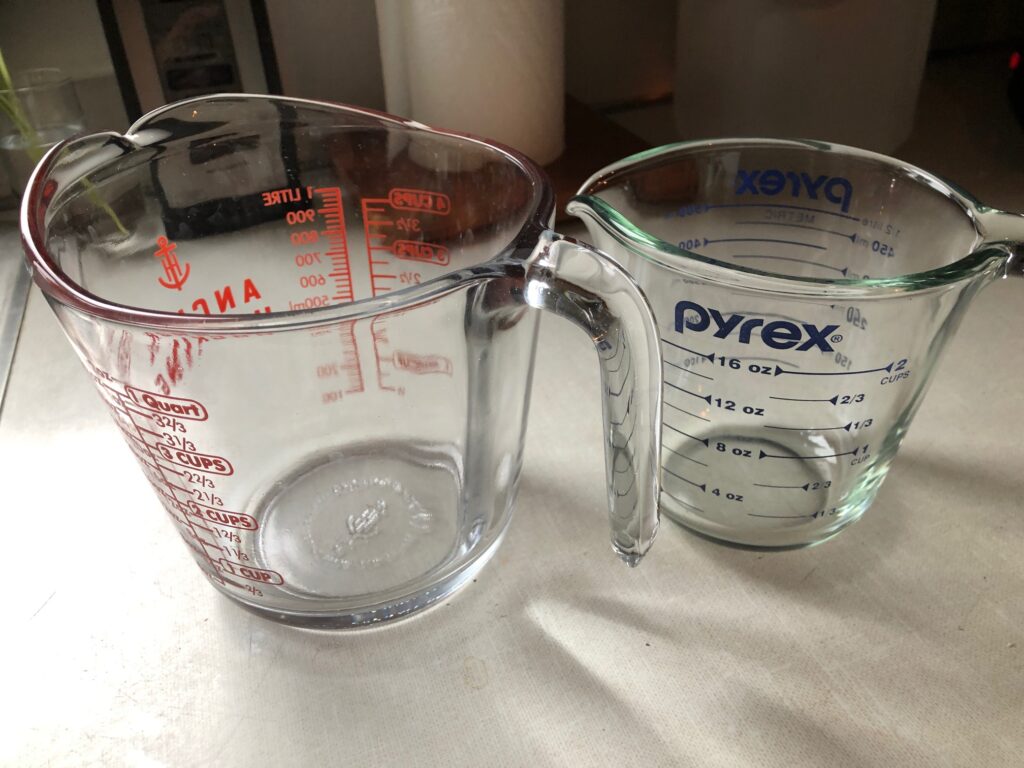
When I melt ingredients I work with heat-safe glass measuring cups. They work great to pour into large molds, but pouring into tiny tubes or containers is impossible. You saw the evidence of that when I tried to pour hot melted mixtures into tiny 5 ml containers or lip balm tubes. I discovered some recipes suggested using a pipette, which looks like a tiny turkey baster! What a great solution! I ordered a bag of 100 disposable tubes and I’m no longer afraid to try to fill tiny containers.
That’s an update on a few projects. Every time I try something new I learn something about my ingredients and my tools. If nothing else, I’m having fun! Enjoy!
Please comment or email me directly if you have questions: marykisner@comcast.net.