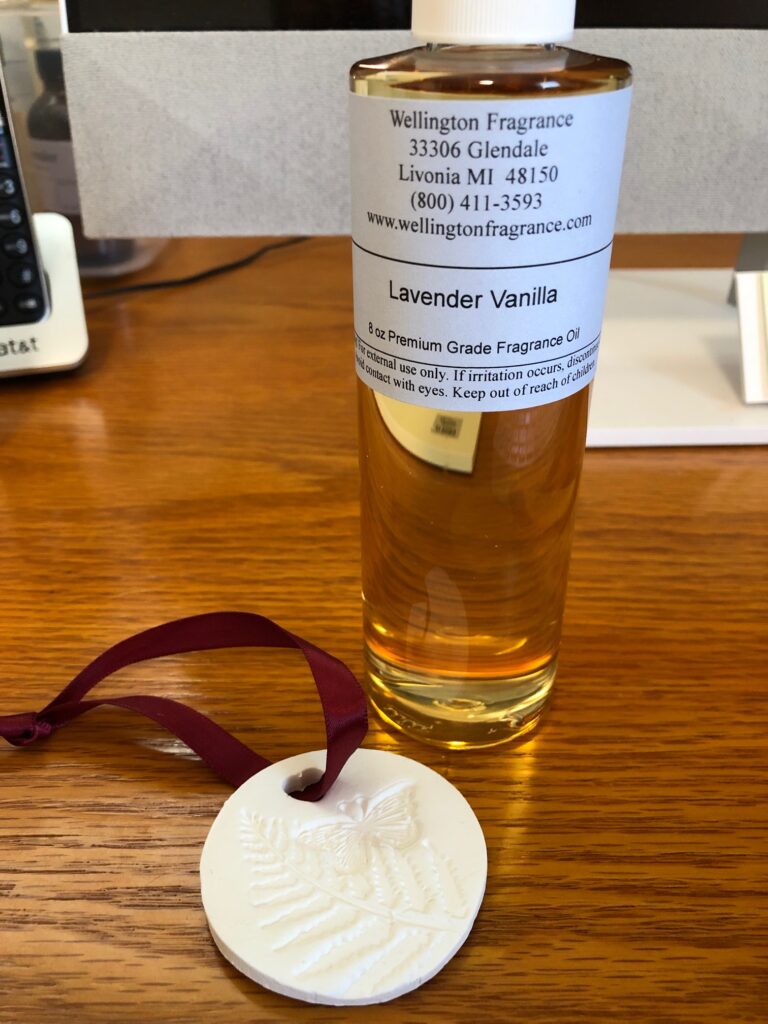
If you have purchased any perfumes recently, you’ll know even a small bottle can sometimes be expensive. With all the essential oils I have around, it seems I could create a simple perfume that would satisfy me. Of course, it would be too easy to just look up the perfume I use, and like, and find a list of the scents or ingredients involved! I don’t think so. I guess those ingredients are classified as “trade secrets.”
Even trying to recognize the scents in my favorite perfume is beyond the talents of my nose! I bought a few books about how perfumes are developed and did discover quite a lot of discussion about top notes, middle notes and base notes. I can smell my essential oils one at a time and sort of see how they got classified, but in a mixture I’m at a loss.
Luckily, there are many simplified explanations and recipes online that demonstrate how certain scents work together. Recipes I can follow! One online site had recipes for three ways to make perfumes…an oil mixture in a roller ball; a solid mixture with scents added to an oil/beeswax combination; and a spray with an alcohol base with scents added.
This site can be found at https://simplepurebeauty.com/. You can find many more recipes by just searching for “make your own perfume.”
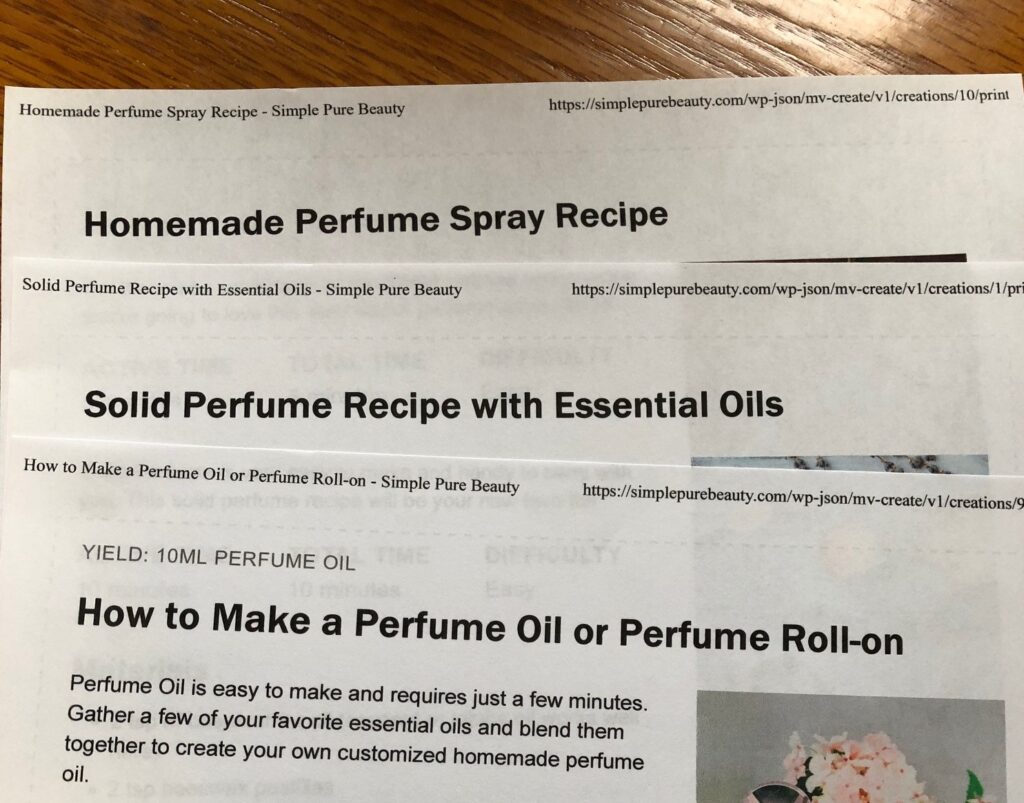
So today, I thought I’d try to make a roll-on perfume and a solid perfume. I’ll leave the spray for another time.
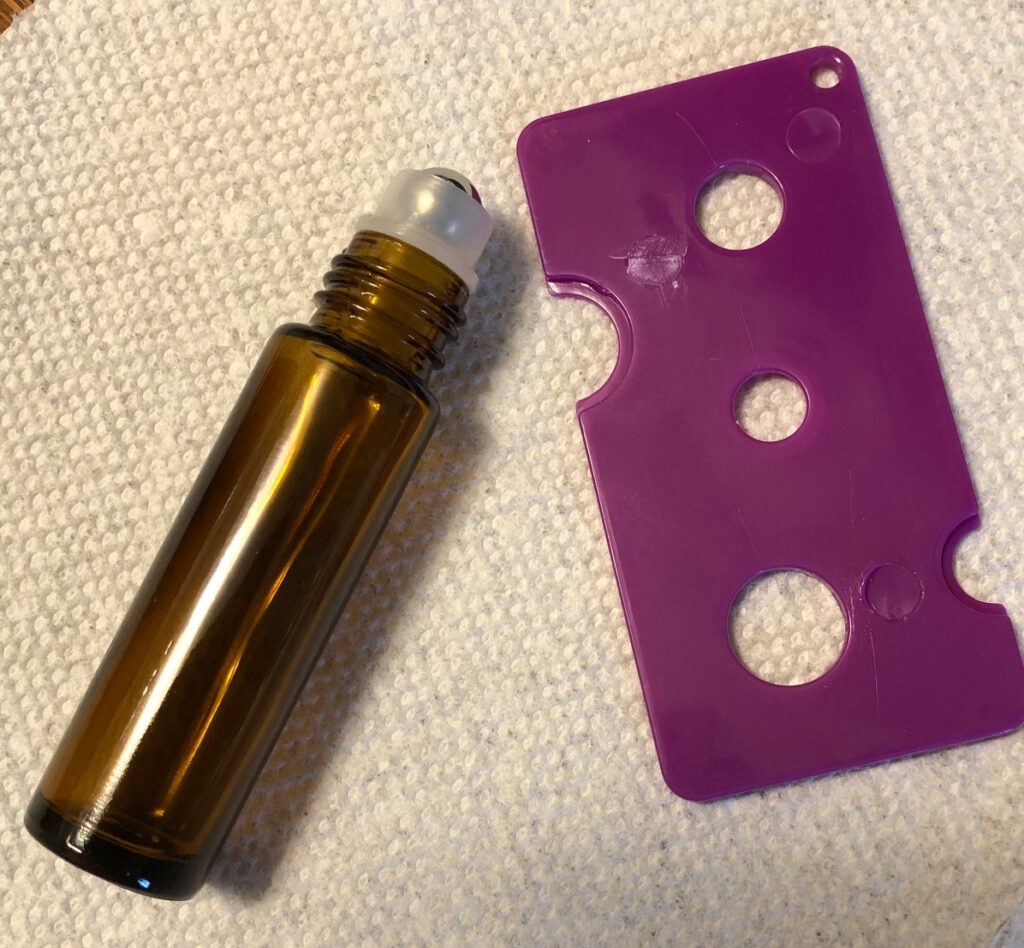
DIY Roll-on Perfume
I started with this recipe:
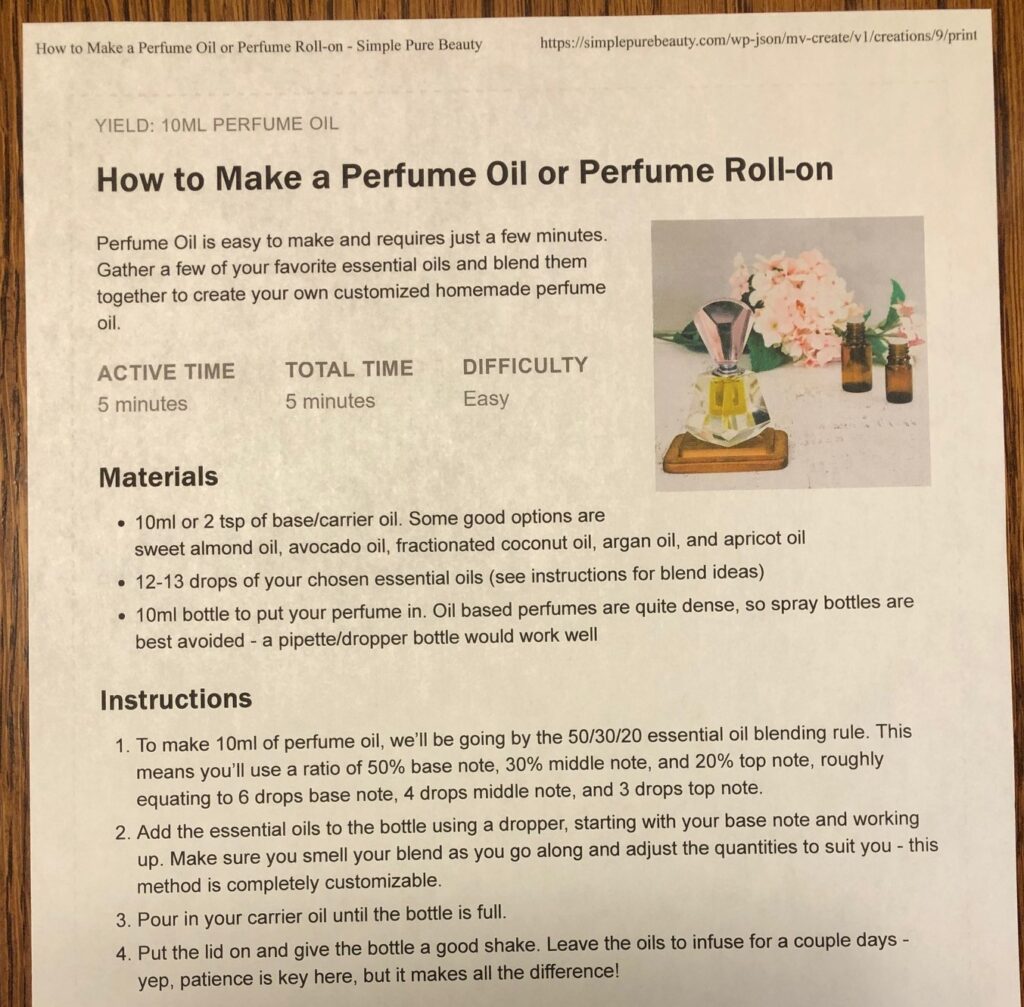
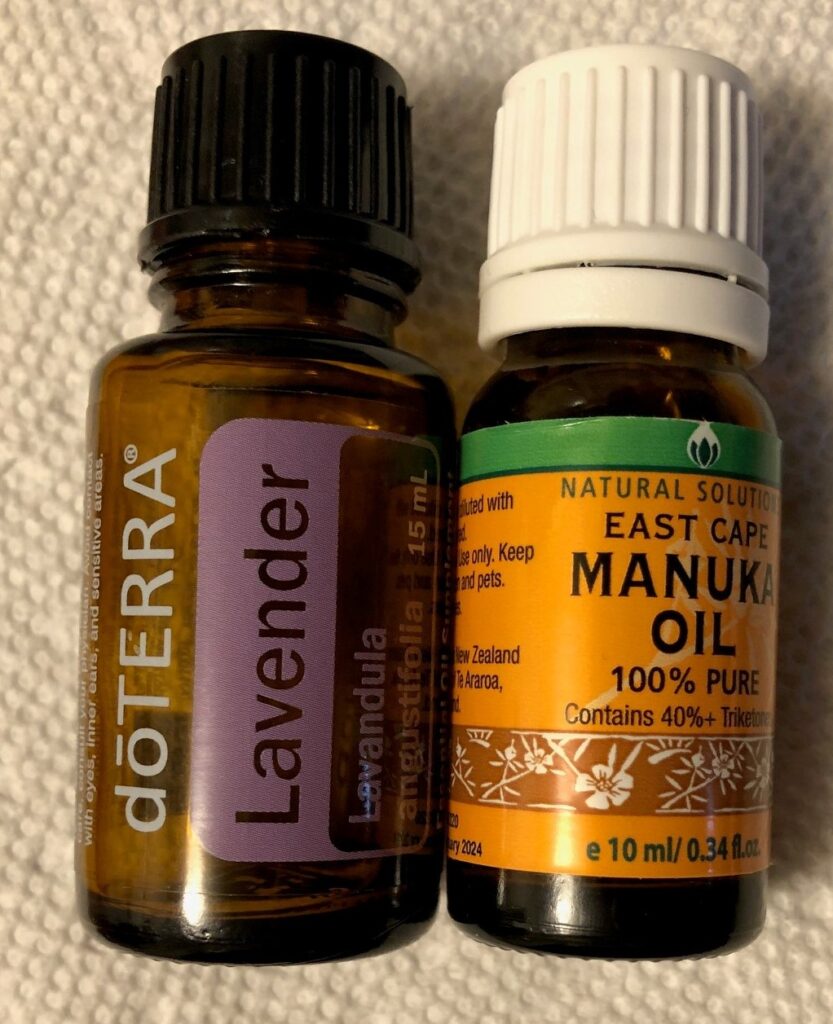
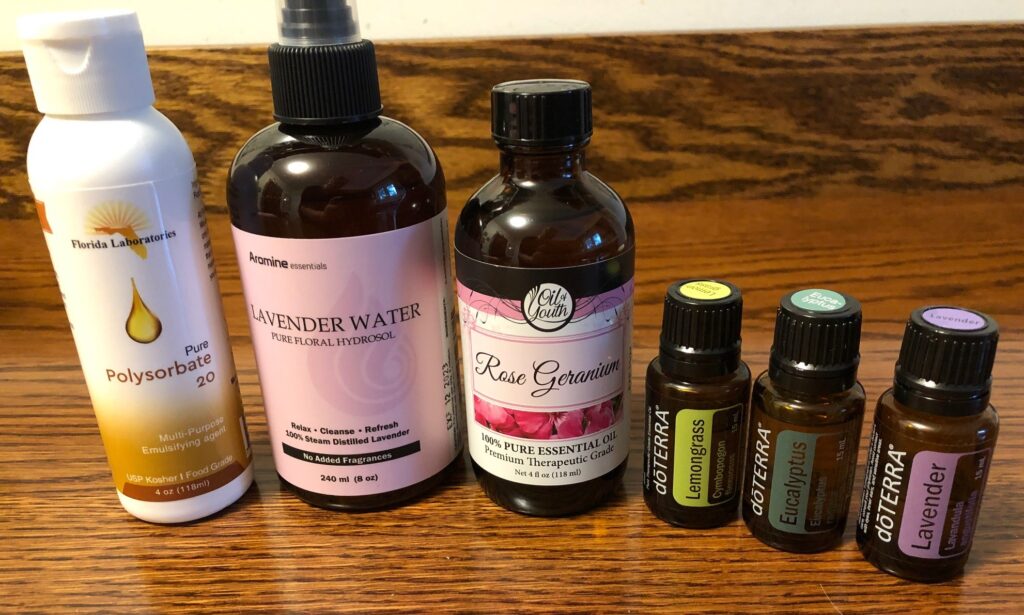
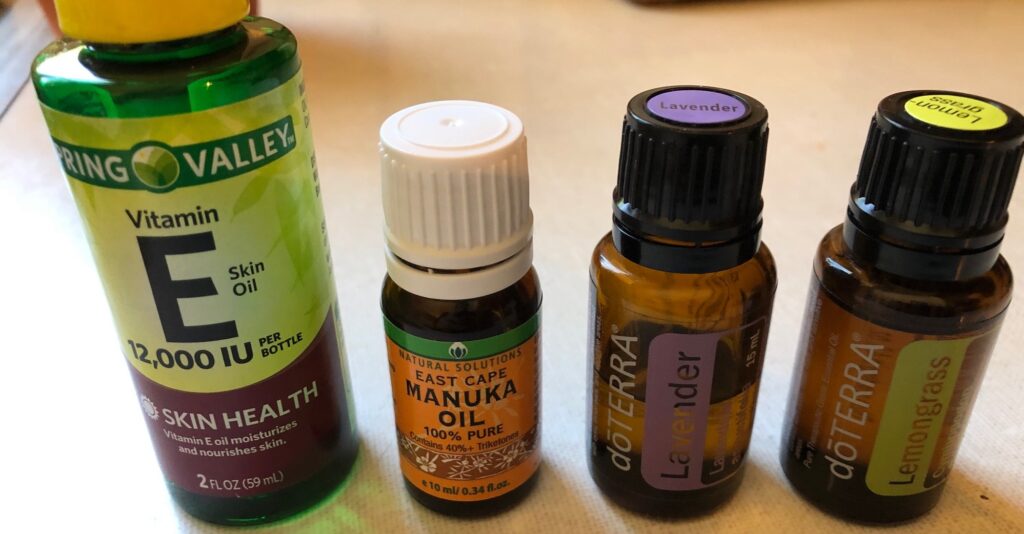
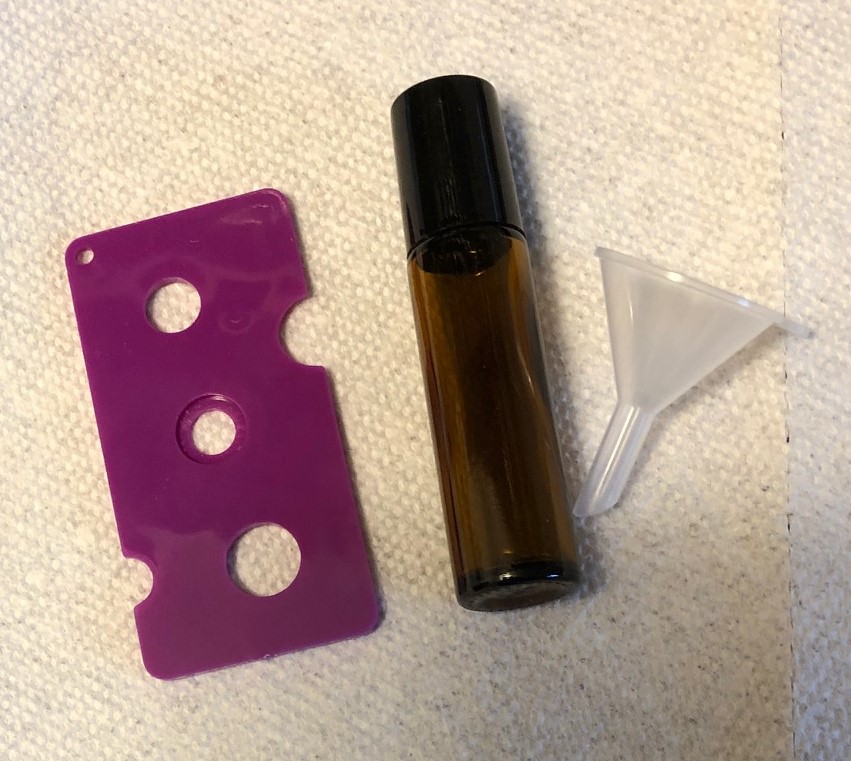
First, I got out an empty roller ball bottle. It came with a tool that’s pretty slick to get the ball out of the bottle and a tiny funnel.
This is the recipe I used:
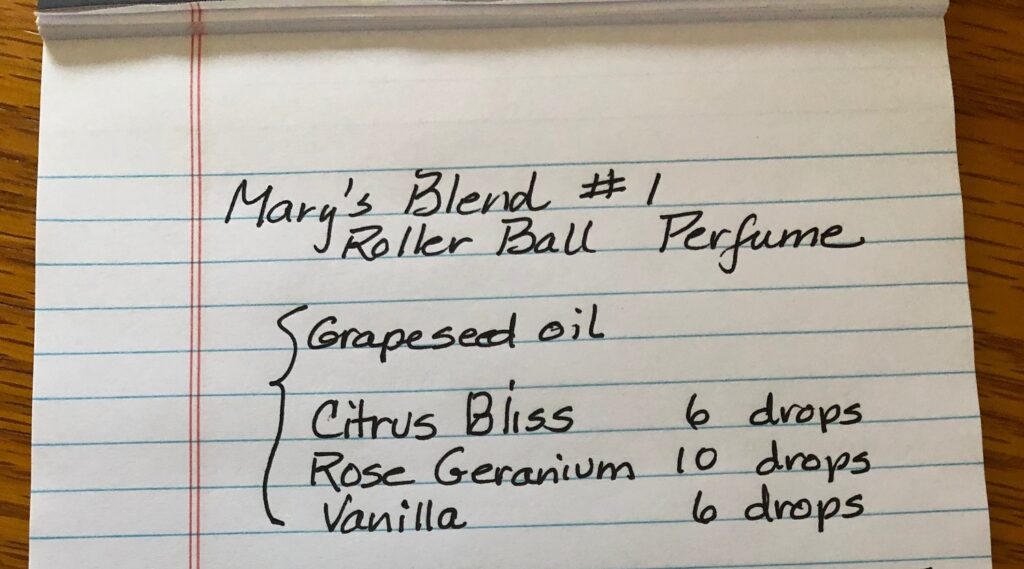
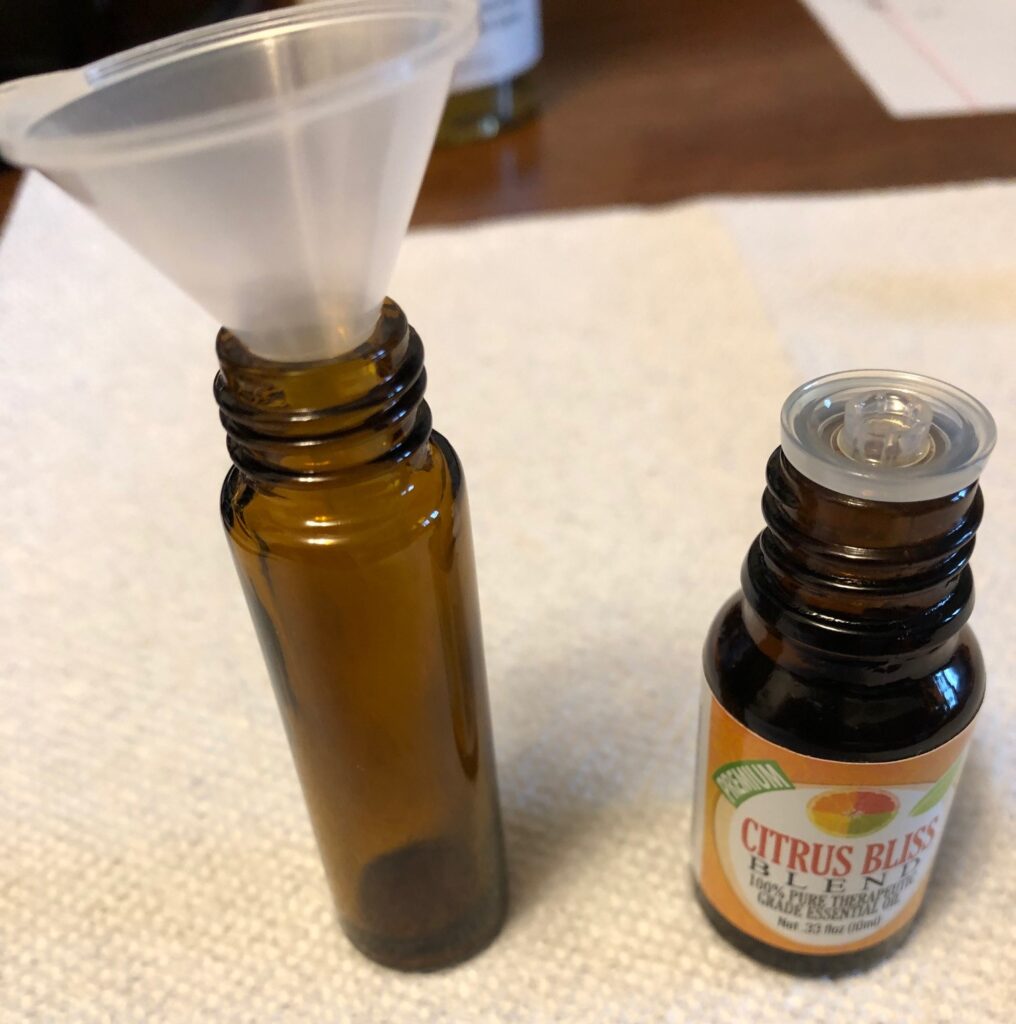

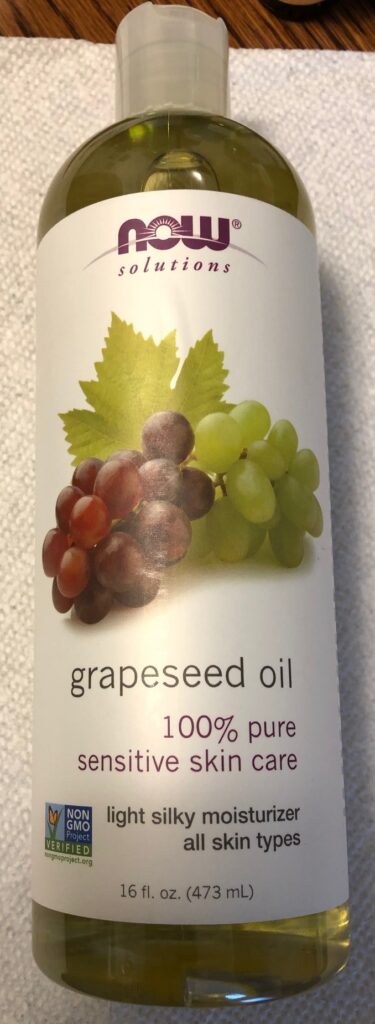
Once the essential oils are in the bottle, I just filled it the rest of the way with grapeseed oil (you could use almond oil, jojoba oil, or olive oil).

The best part about this recipe…it made just one bottle! If I don’t like it, I can wash it out and use the bottle again.
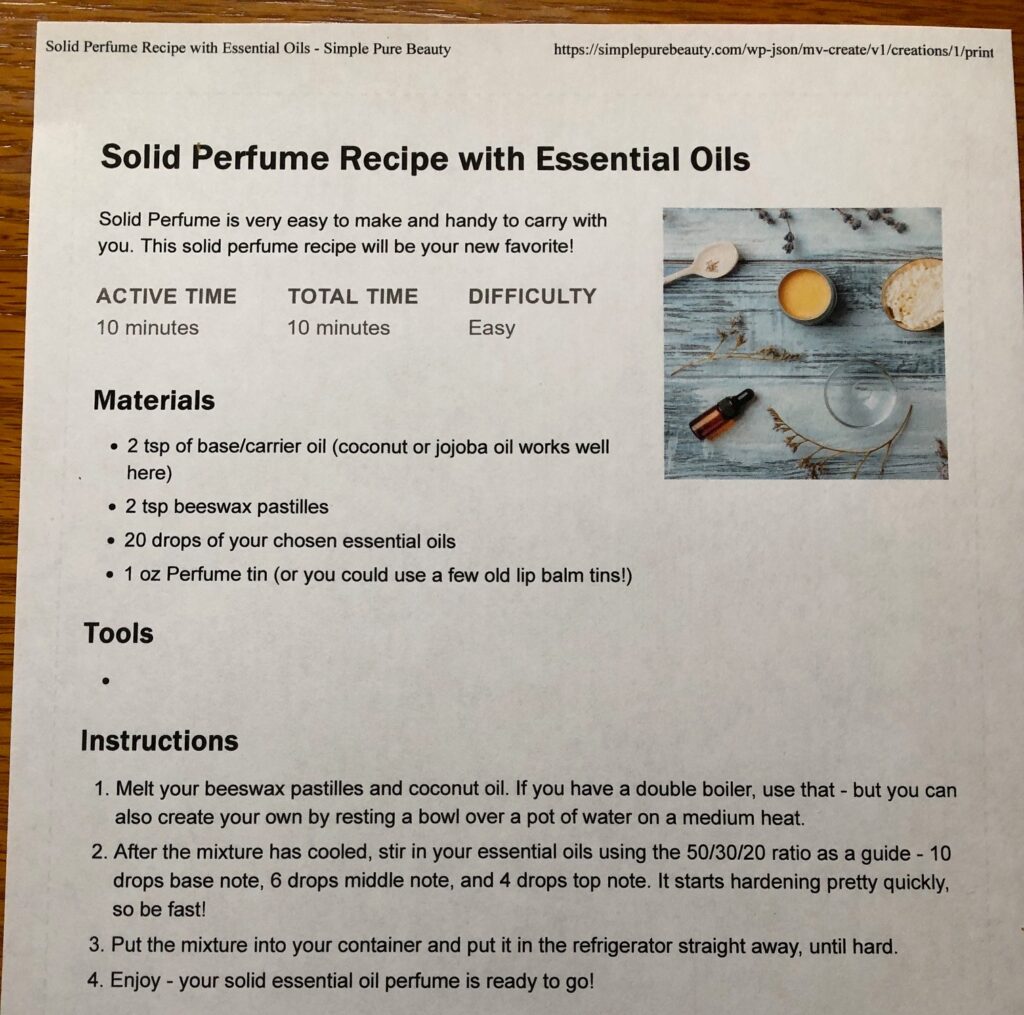
DIY Solid Perfume
Here’s the recipe I started with.
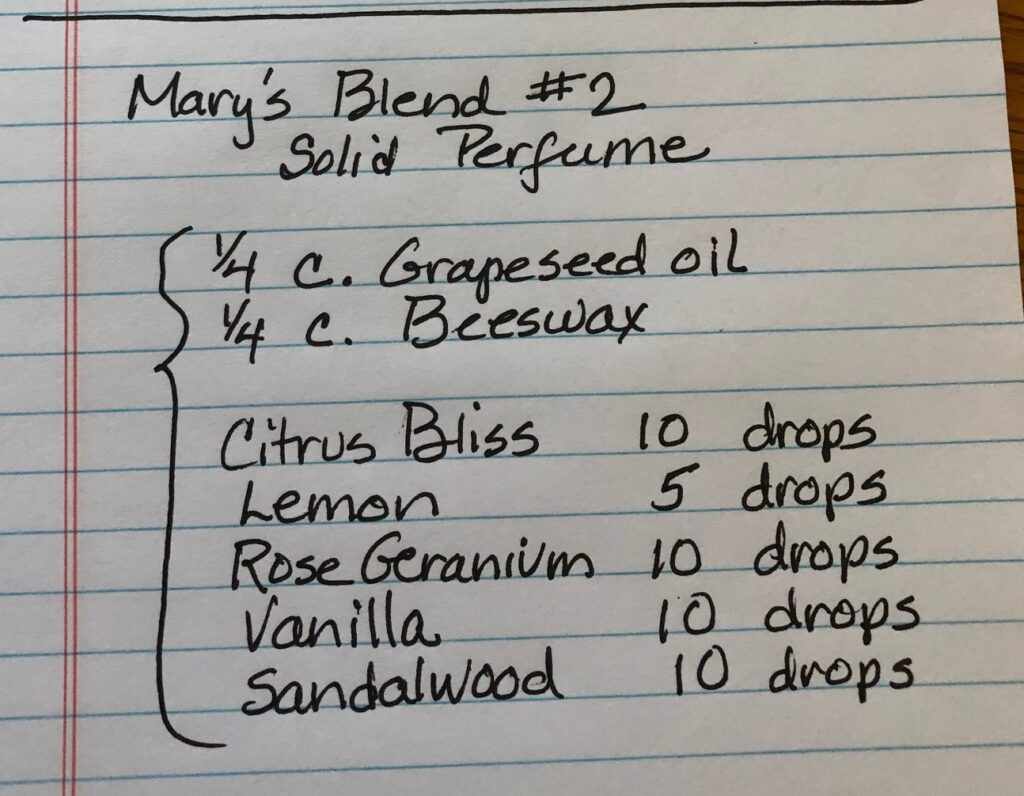
I adjusted the recipe to make a little more…big mistake! I now have enough perfume to last me quite a while. This is my adjusted recipe:
This process was much more familiar to me, since many of my lotion bars and salves are made the same way.
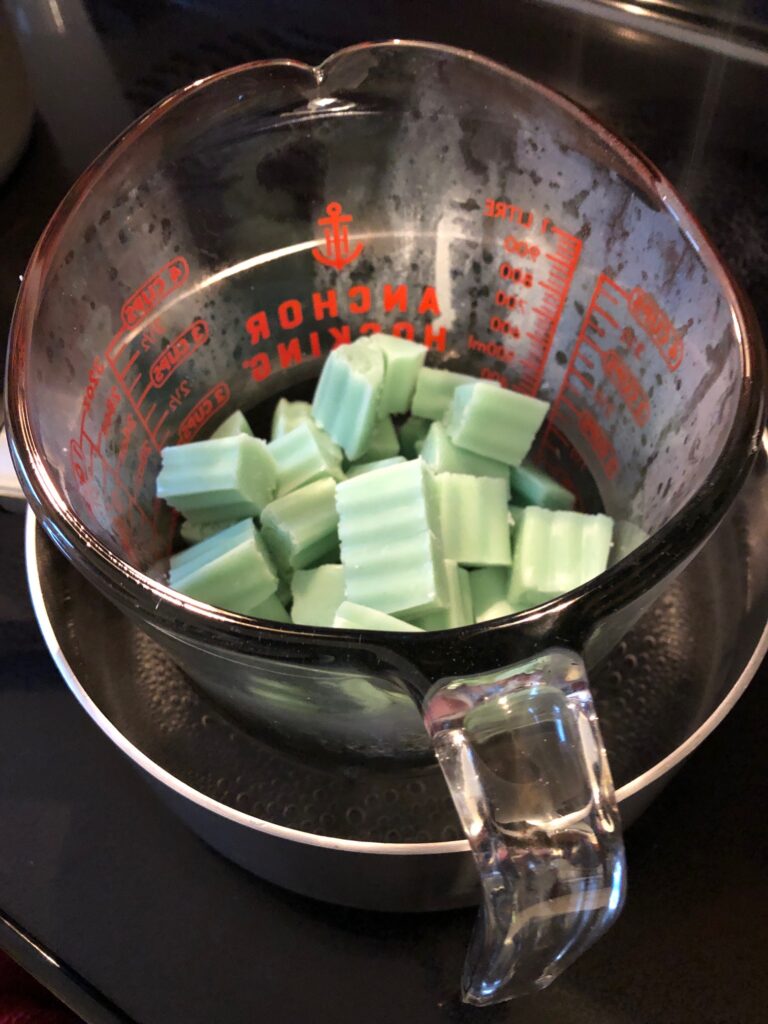
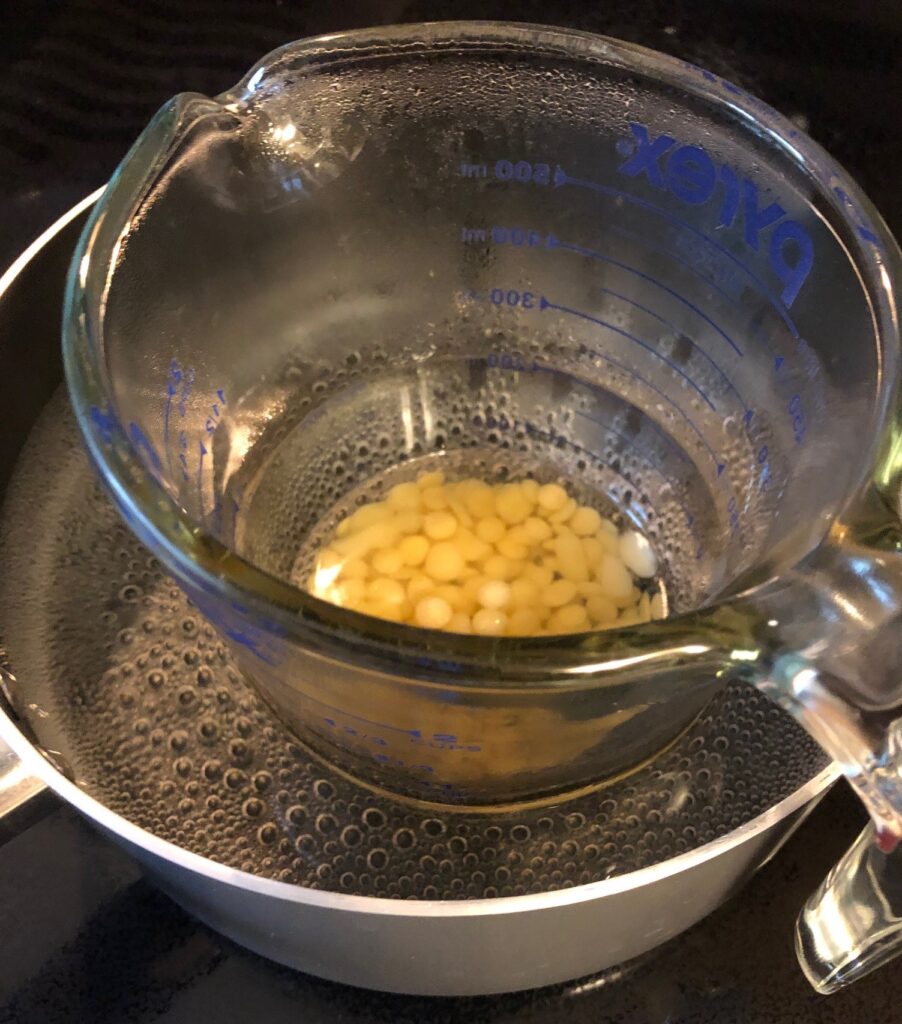
I started with the grapeseed oil and beeswax:

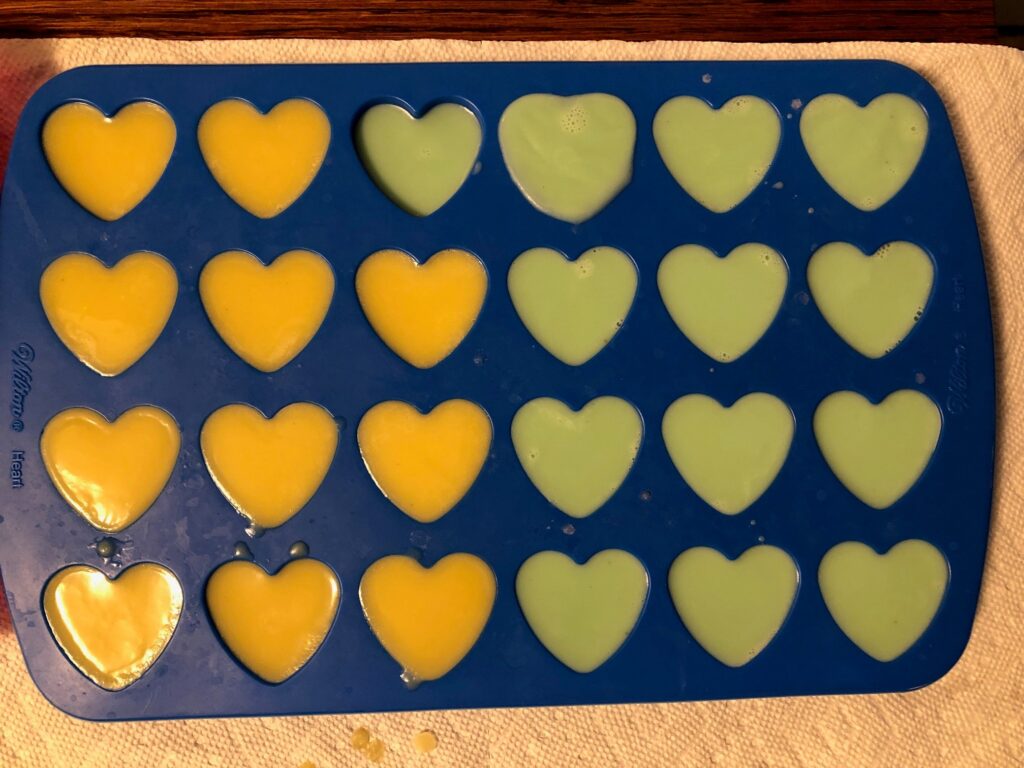
I melted them in a glass measuring cup in a pan of boiling water.
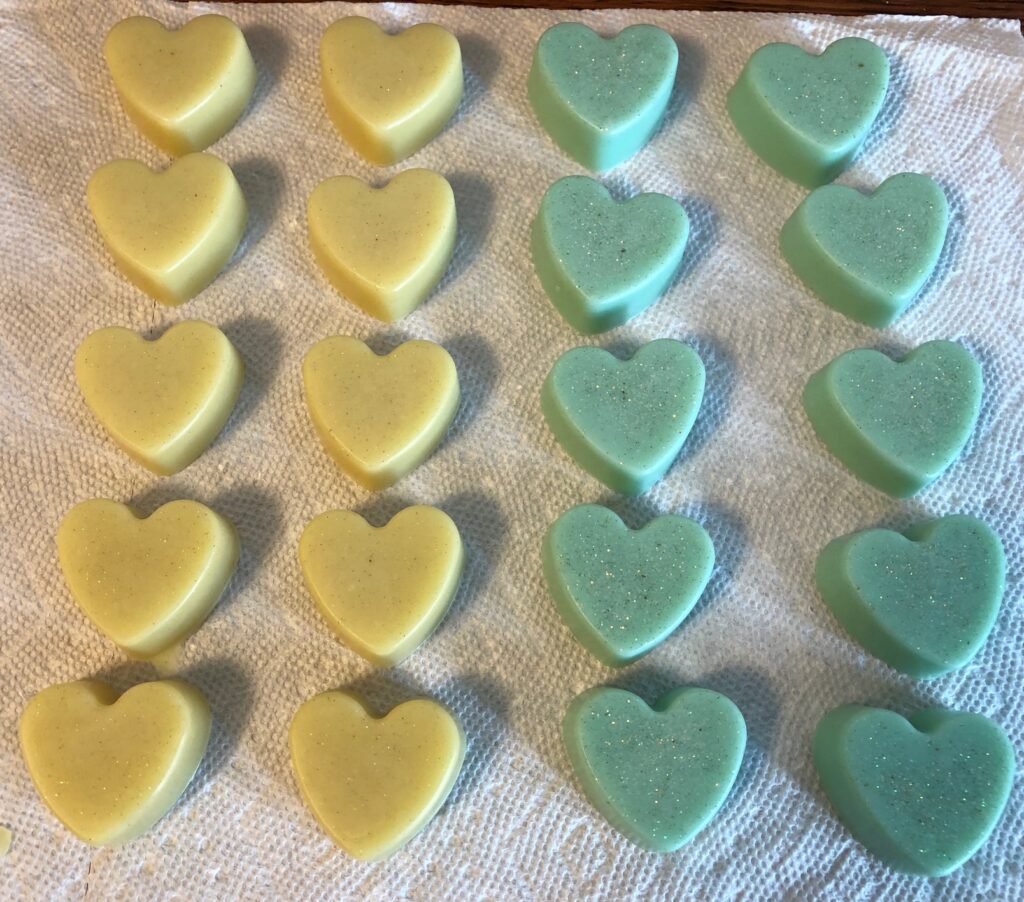
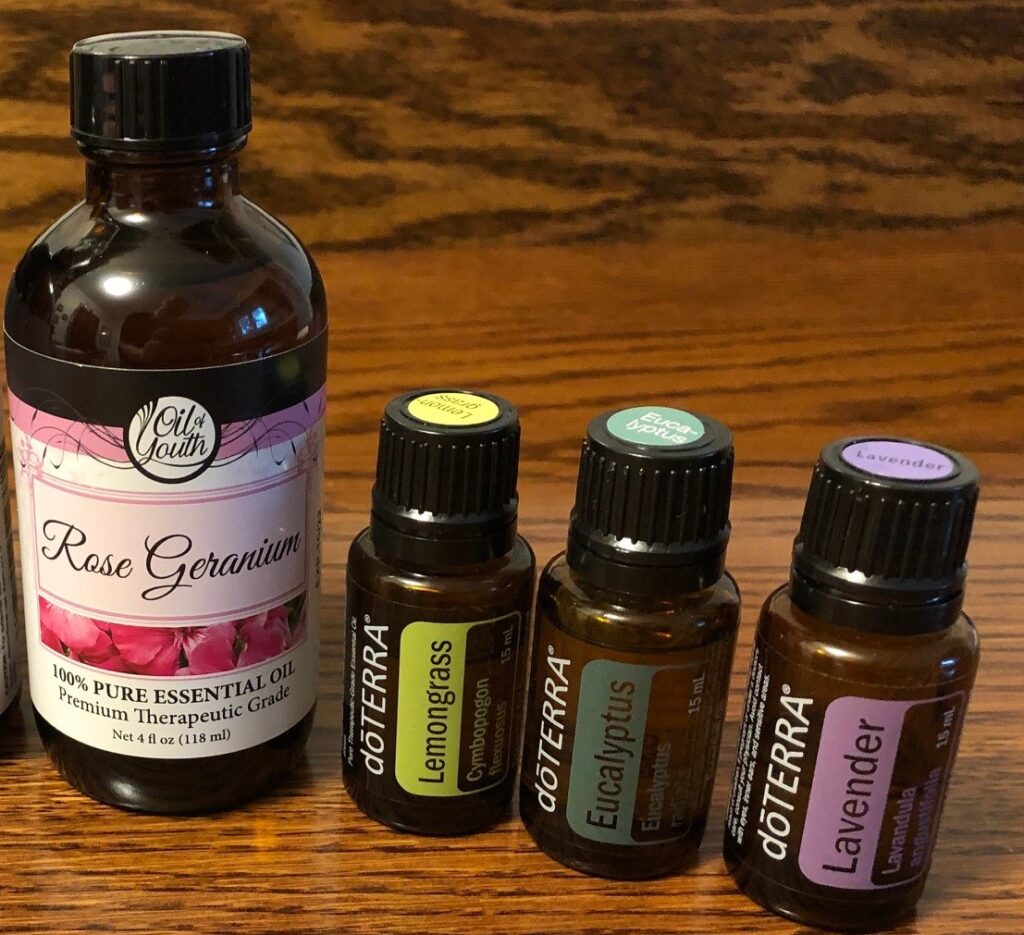
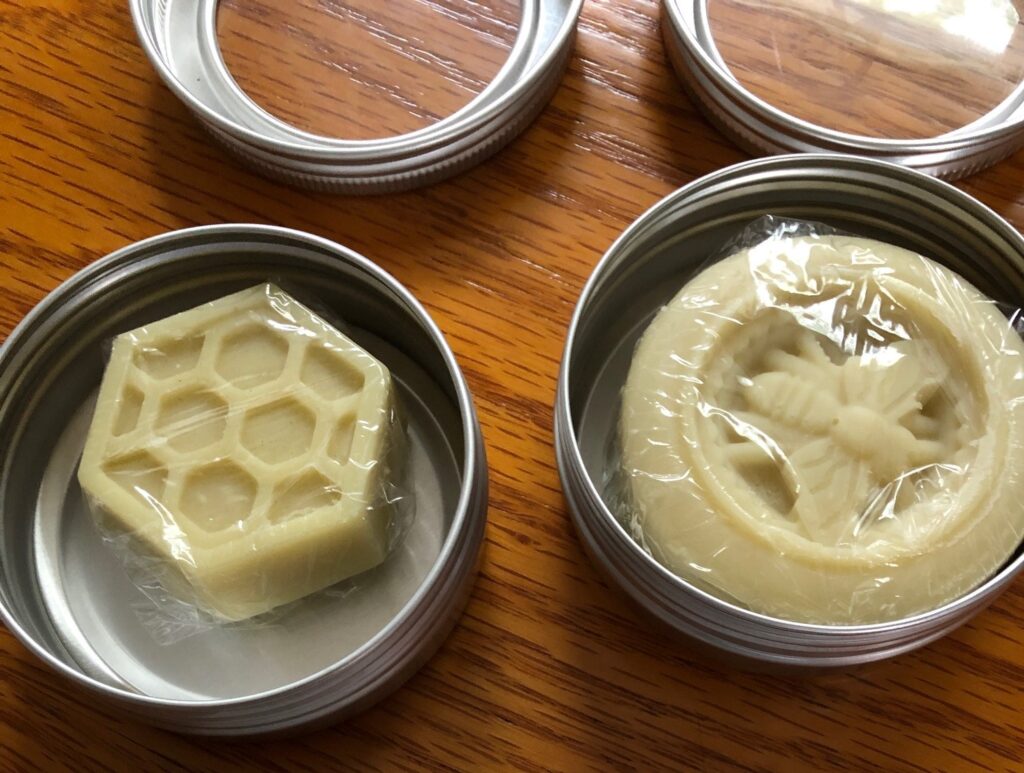
When it was all melted, I stirred in the 5 essential oils (see the recipe above) and poured it into small containers. I labeled the small containers:
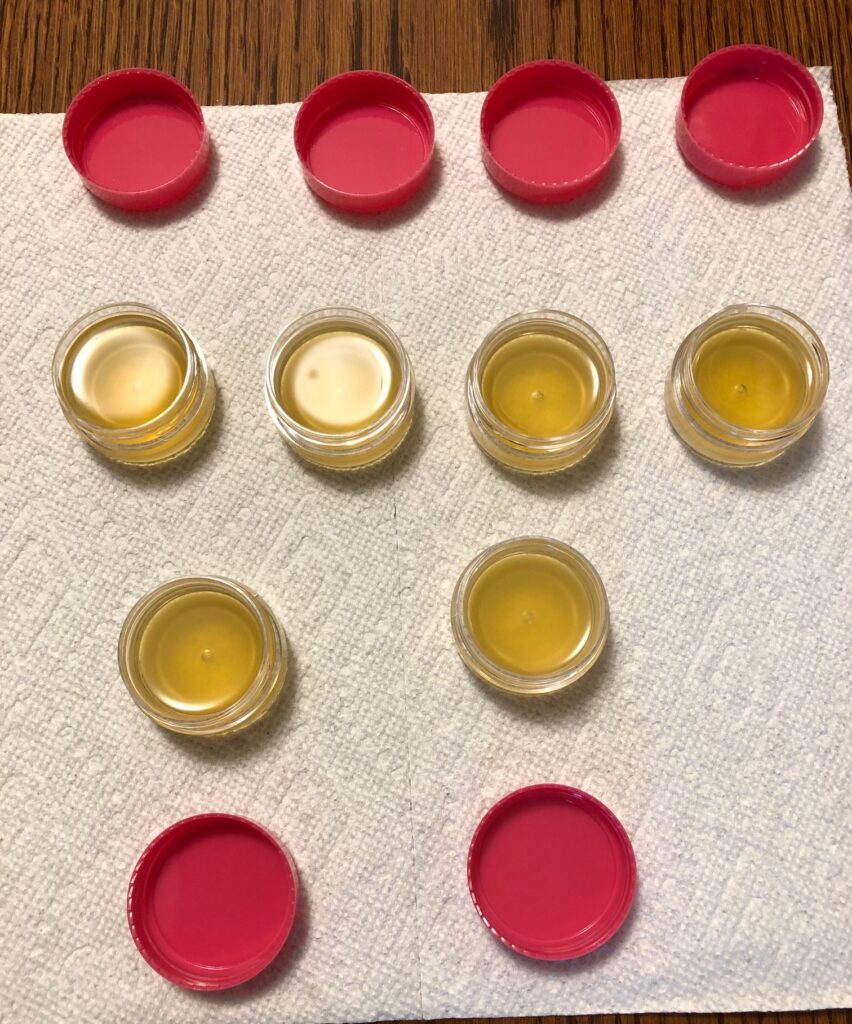
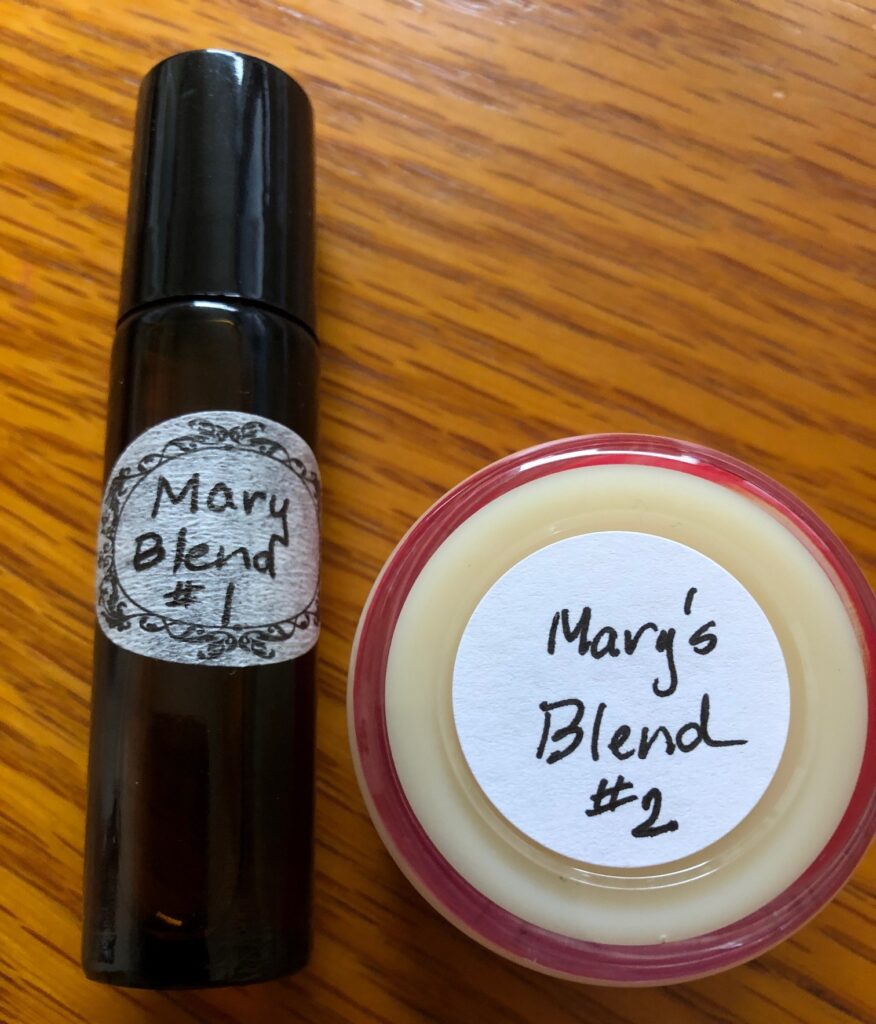
At the end of all this, I had two similar smelling perfumes. Now we’ll see if I like applying the perfume with a roller ball or my finger…and which scent lasts longer. Then we’ll see if I’m ready to try a spray! Enjoy!
Please comment or email me directly at marykisner@comcast.net.