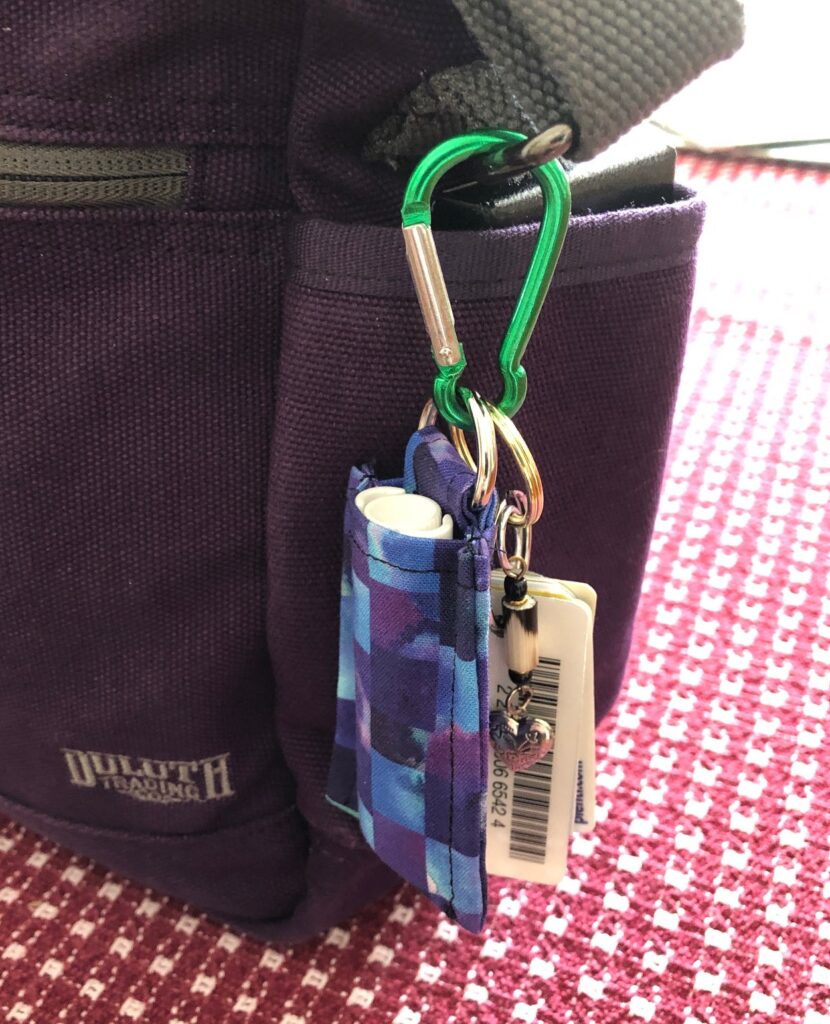
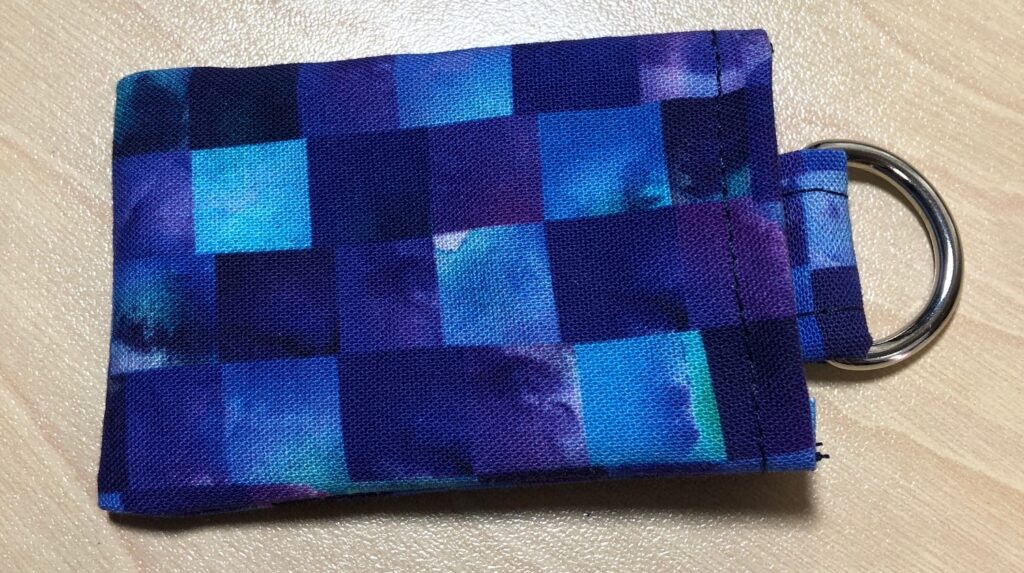
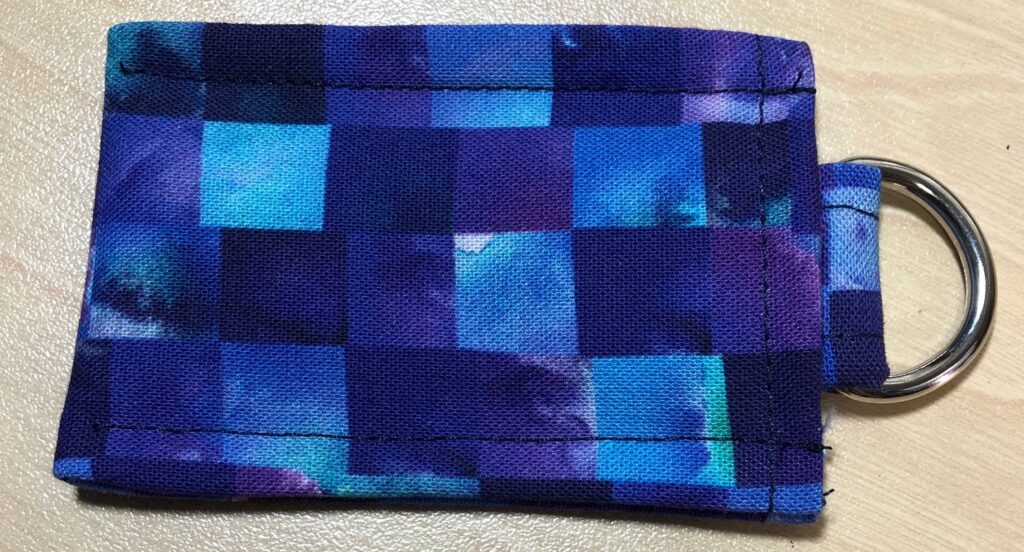
Now that I have a handful of lip balms to give away, I like to also hand someone the holder to put it in. I carry mine on my purse so I never have to dig for it. My grandkids have fastened them to their backpacks!
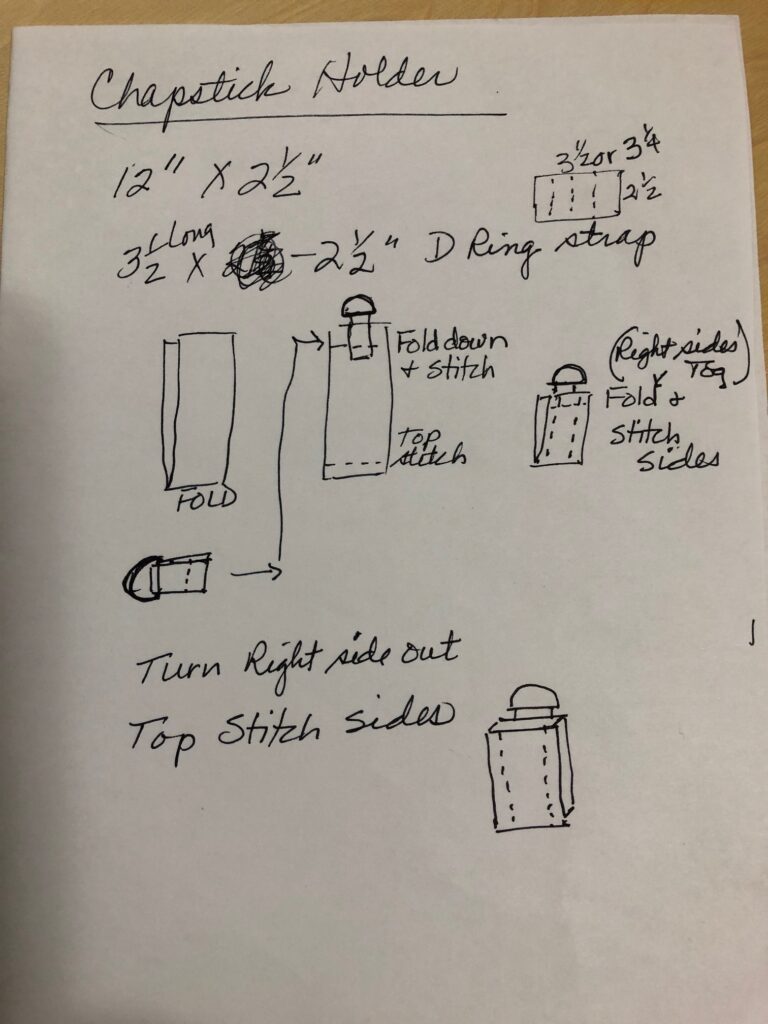
I first went to WalMart and Pinterest to get ideas. I bought a few to take apart. I basically experimented to find ways to end up with all the seams turned to the inside and still be possible with my sewing machine. After taking a few apart, I sketched out my pattern.
You might think I have a special pattern to make this holder. Ha! Let me show you what I use:
As I made a few samples I refined the process. So, here are the steps with pictures:
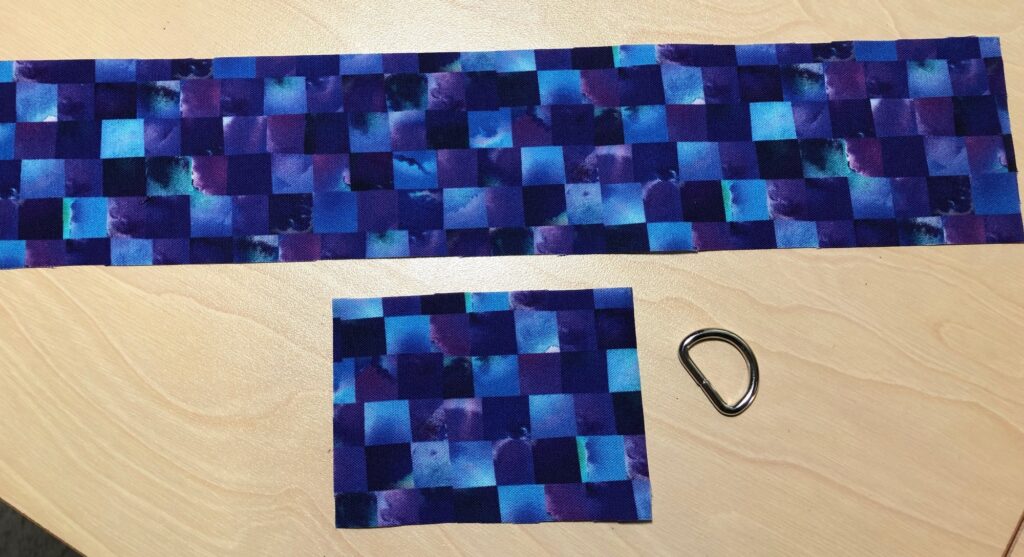
Step 1: Your materials
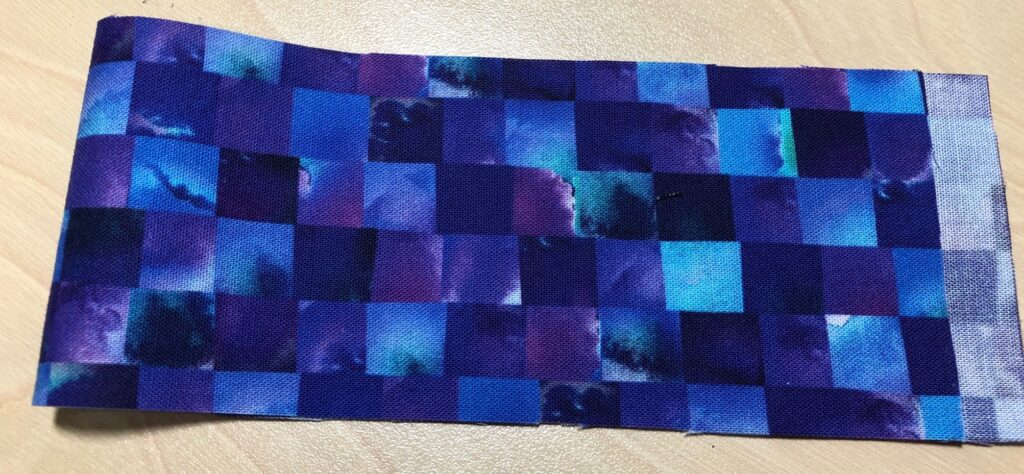
A piece of fabric 2 1/2″ by 12″; a piece of fabric 2 1/2″ by 3 1/2″; a 1/2″ D-ring
Step 2: Make the D-ring attachment
Using the 2 1/2″ by 3 1/2″ piece of fabric, fold the two ends to the center, then fold the piece in half. Top stitch the edges together.
Step 3: Attach the D-ring
Insert the tab through the D-ring and fold in half. Stitch close to the D-ring (I had to use my zipper foot to get close enough).
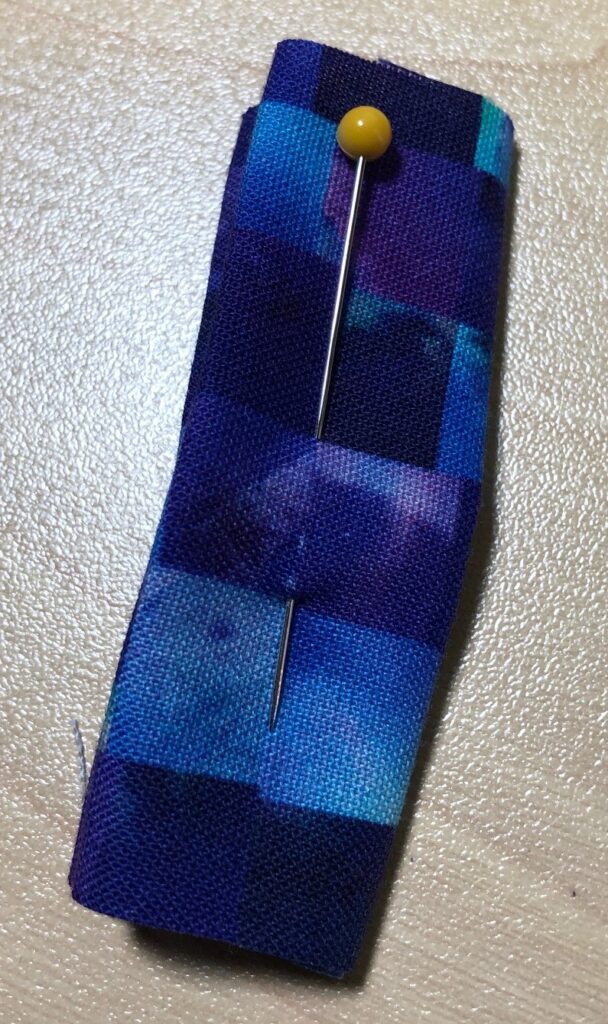
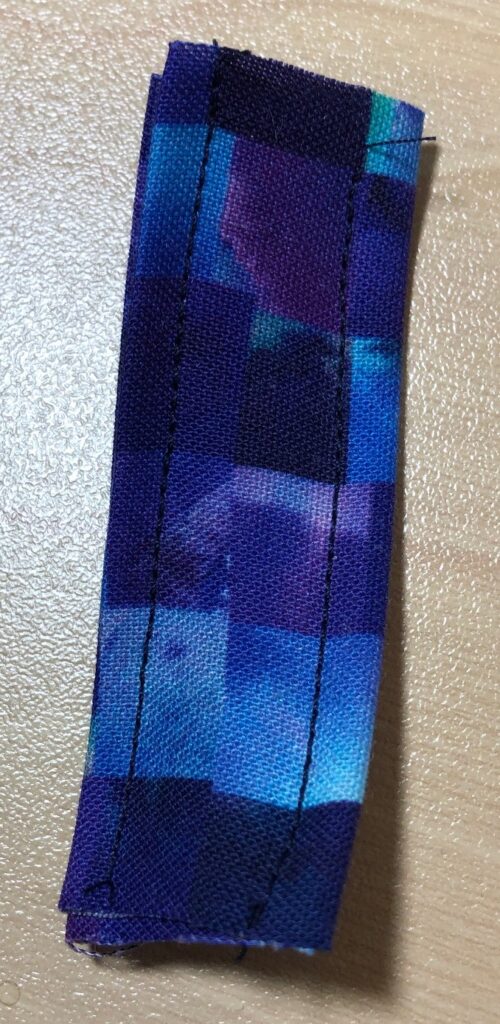
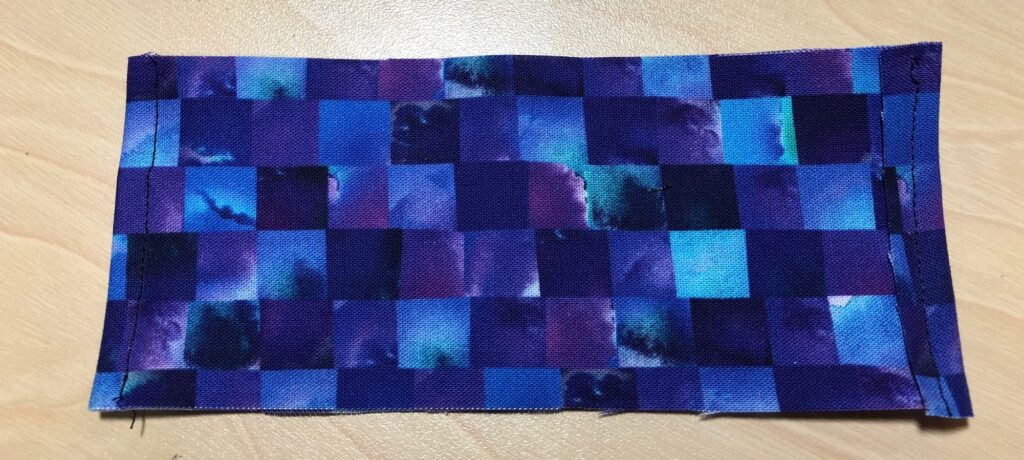
Step 4: Fold the 2 1/2″ by 12″ piece almost in half, leaving 1/4″ to fold over. Stitch the edge folded over and top stitch along the other folded edge.
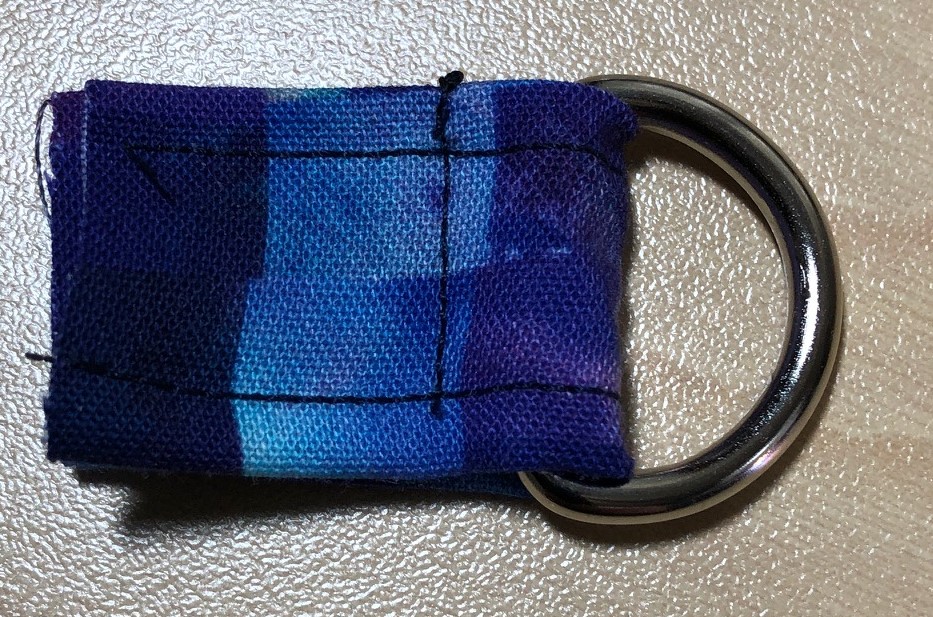
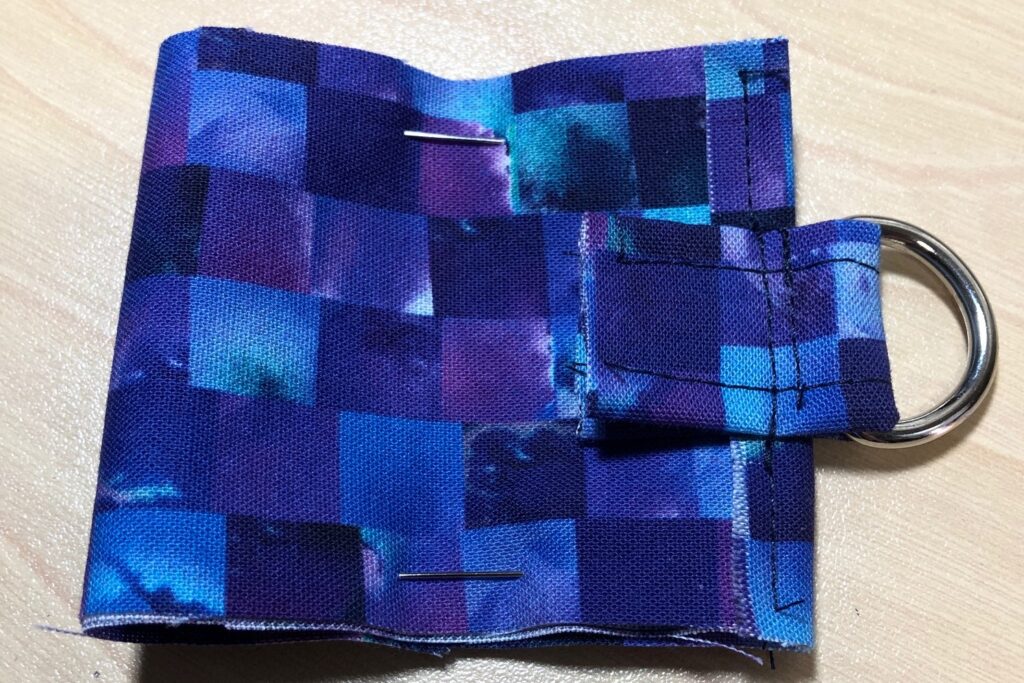
Step 5: Attach the D-ring tab to the folded edge (on the right, above), stitching close to the D-ring. This is the inside of the holder.
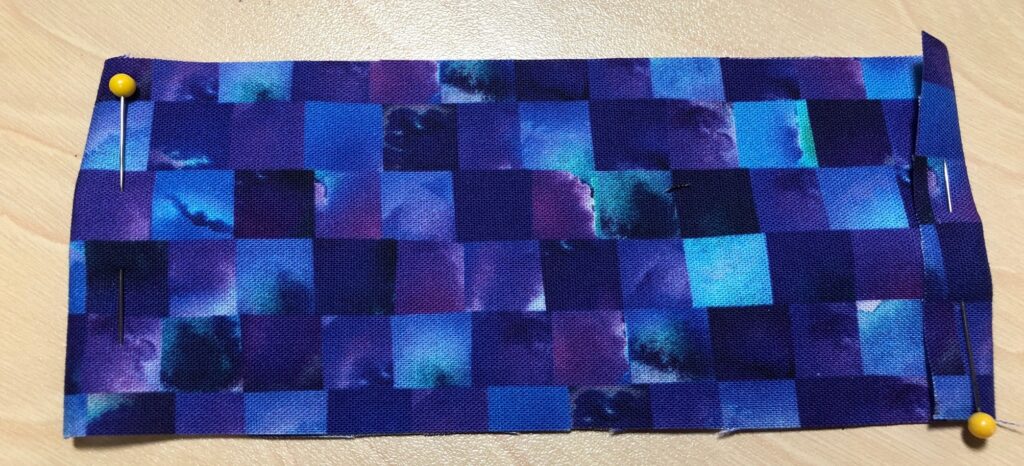
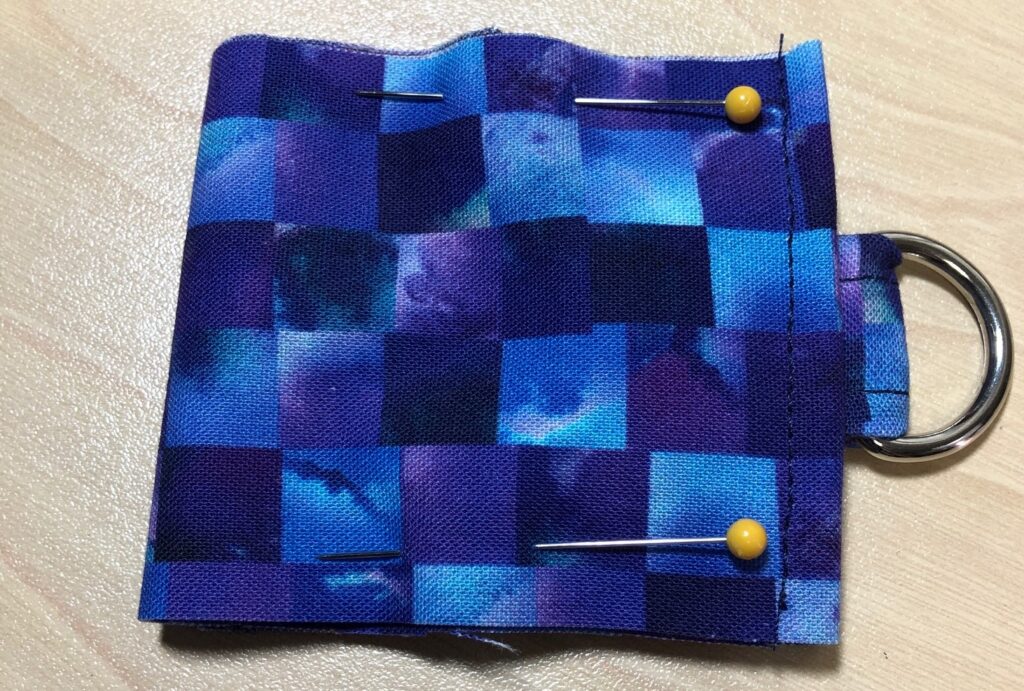
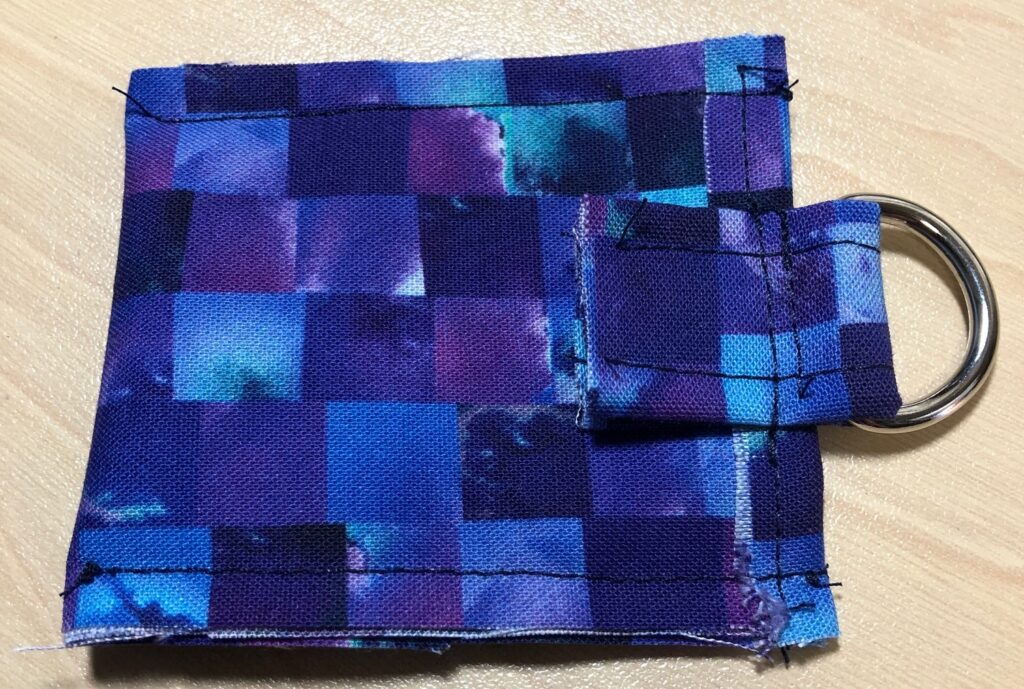
Step 6: Fold the holder in half, right sides together. Stitch the sides with a 1/4″ to 3/8″ seam.
Step 7: Turn the holder right side out. I use a stick that came with my stuffing to help poke out the corners.
Step 8: Top stitch the sides with a 1/4″ to 3/8″ seam. (Depends on how big your lip balm is. Some lipsticks are larger around so the smaller seam is necessary).
I use a carabiner clip to attach my holder to my purse, and I include one with each holder I give away.
This works great to fasten my holder and all my grocery tags to the outside of my purse so I don’t have to hunt for them!
This same holder pattern could be enlarged to handle an essential oil roller ball or a small flashlight. Experiment!! Have fun! Enjoy!
In the last post, I shared a kit that makes just one lip balm at a time. Great to know how to do it but I’d much prefer to spend almost the same amount of time and a few more ingredients to end up with more than one of something!
If I’m going to spend the day making bread, I’d sure rather have 6 loaves than just 3. I think it’s because I like to share a loaf with my neighbors! Same issue with lip balm, lotion bars and soap! Of course, that means I end up with stuff to share all the time. So be careful if you stop by, I might hand you a lip balm, a nifty bar of soap or a loaf of bread!
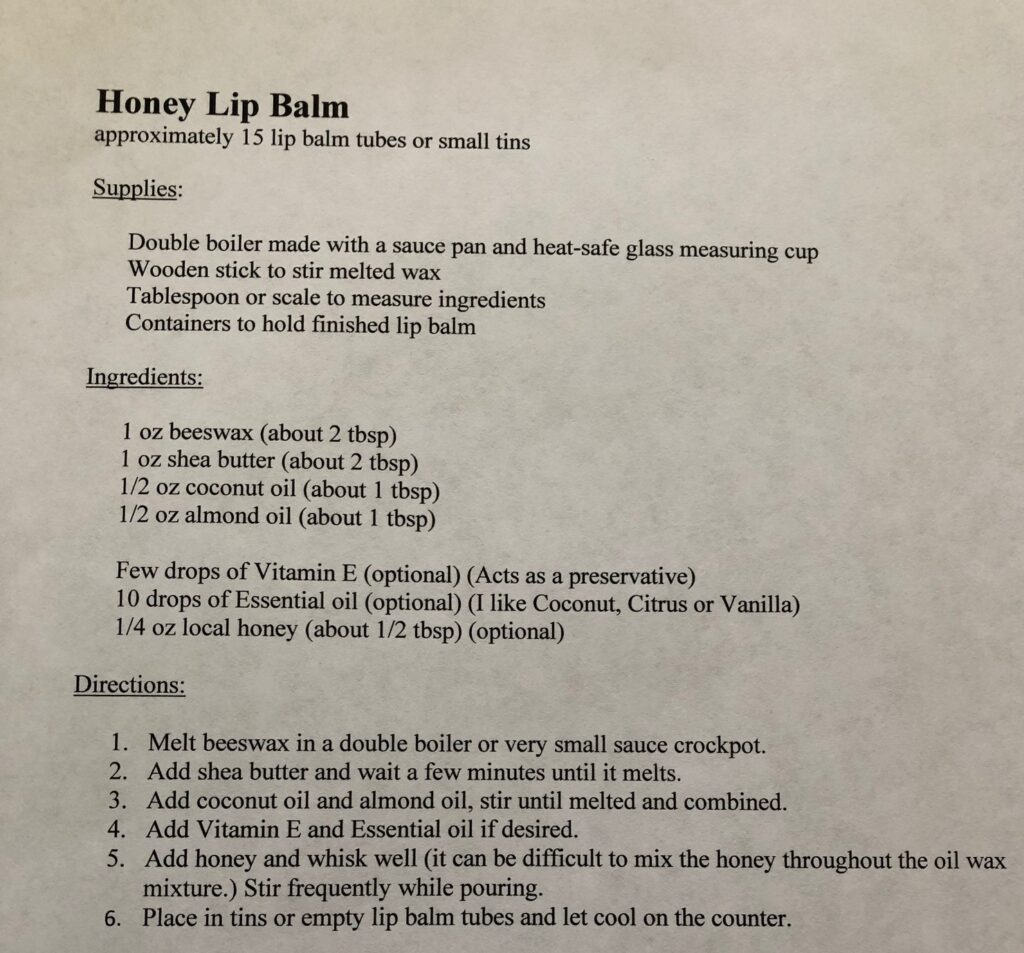
So, here’s the recipe to make a regular batch of Honey Lip Balm:
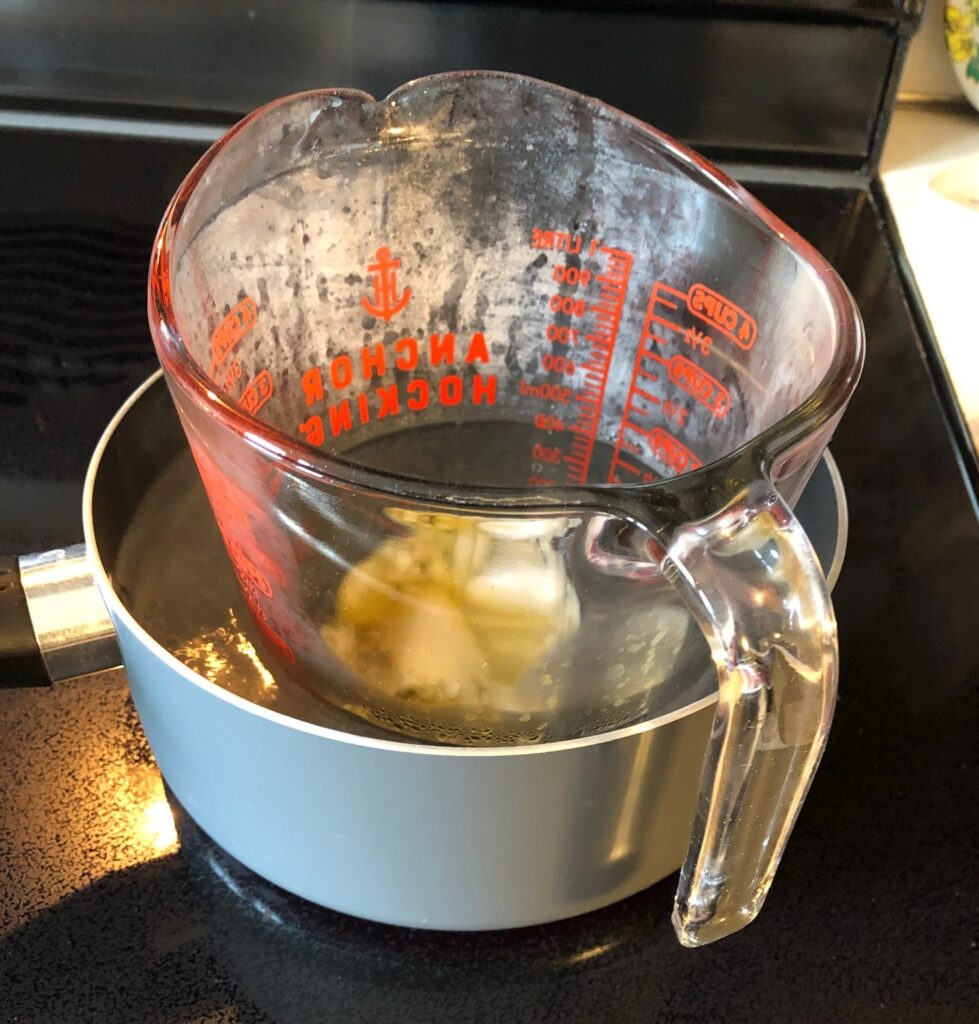
You will need a double boiler made with a sauce pan and a heat-safe measuring cup. This will melt the wax but keep it from getting too hot.
Some folks use the microwave, a few seconds at a time. It drives me nuts to open and close the door of the microwave every 10-20 seconds for several minutes and I can’t monitor the wax to make sure it doesn’t get too hot.
Sorry, no pictures of the wooden stick and the measuring spoon!
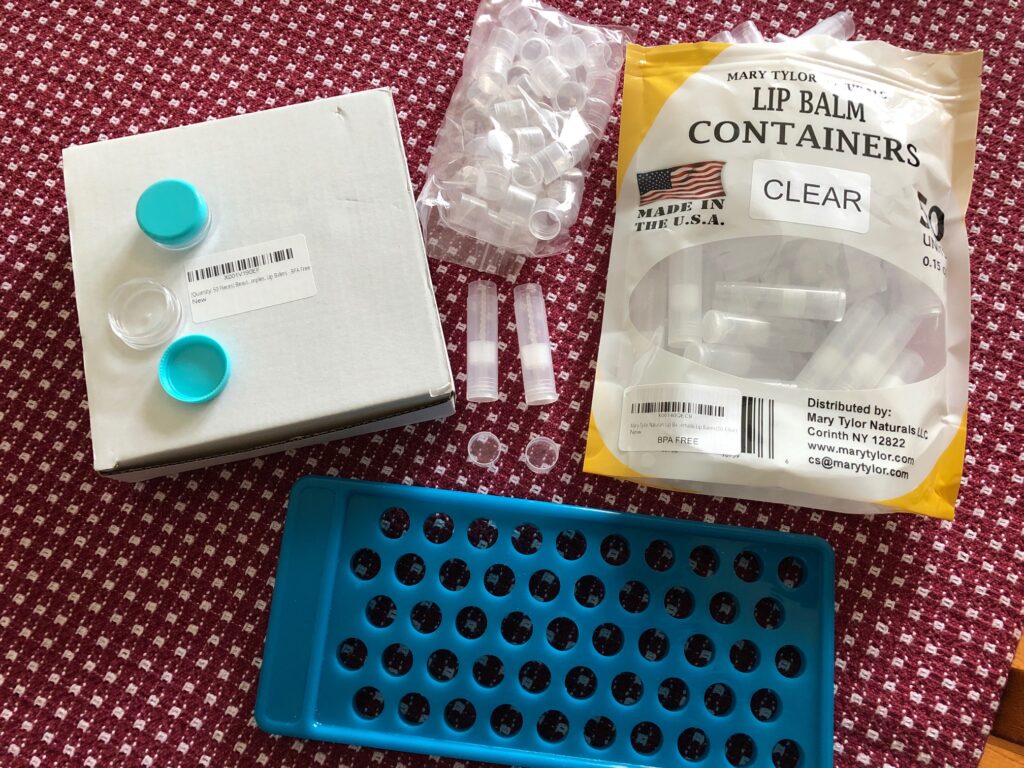
Before you start, decide what kind of container you want to put the finished melted lip balm into.
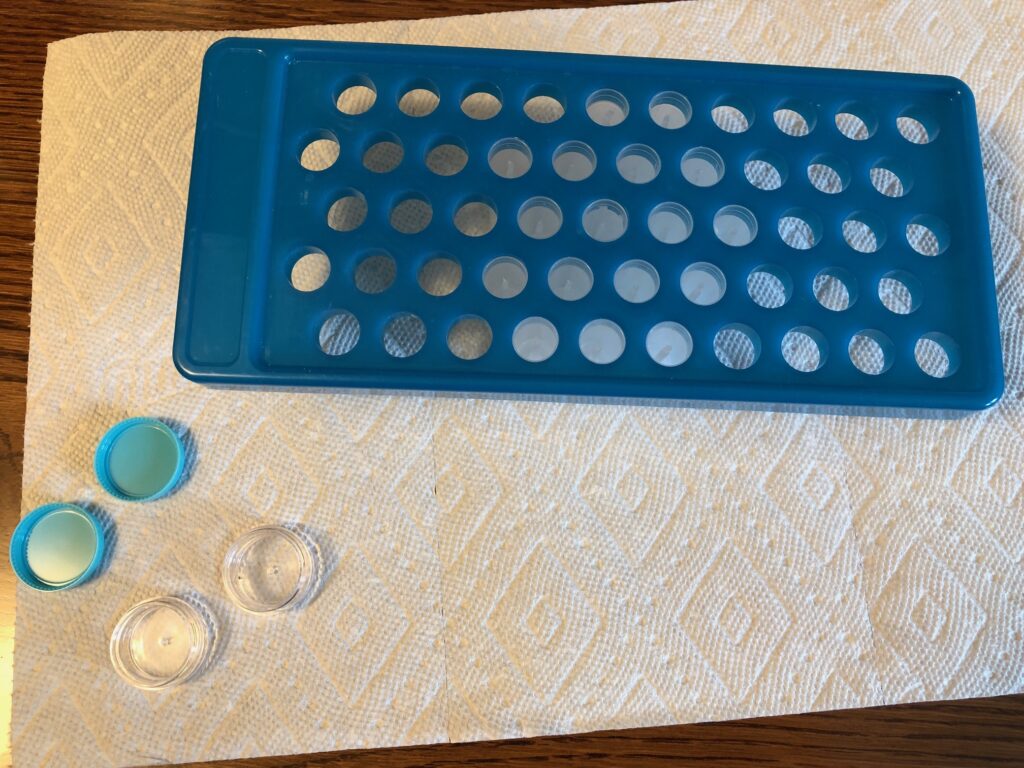
I purchased regular holders and I also have very small plastic containers. All can be purchased on Amazon. If you decide to use regular holders, make sure you also get the rack to hold them upright so you can pour directly into them.
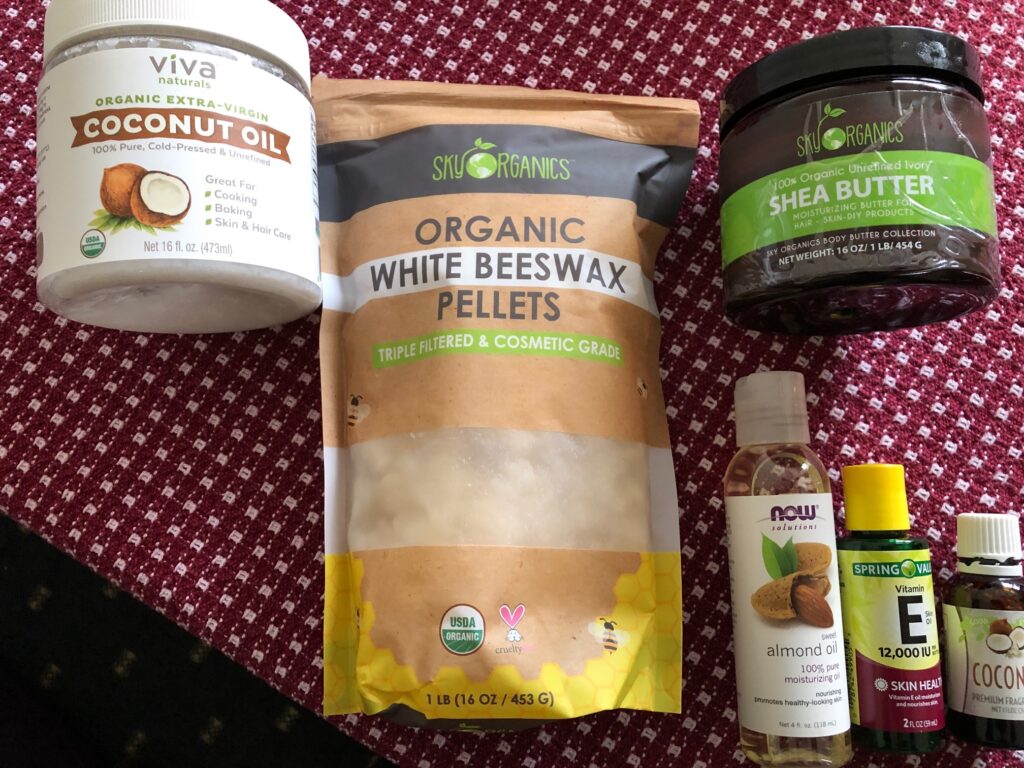
Next, assemble your ingredients. I use white beeswax pellets, coconut oil, shea butter and oil. In this project I chose Almond oil.
Optional ingredients include: Vitamin E serves as a preservative; the Coconut essential oil gives it some flavor (you could choose citrus or vanilla); and a tiny bit of honey is always nice. All three of these ingredients are optional.
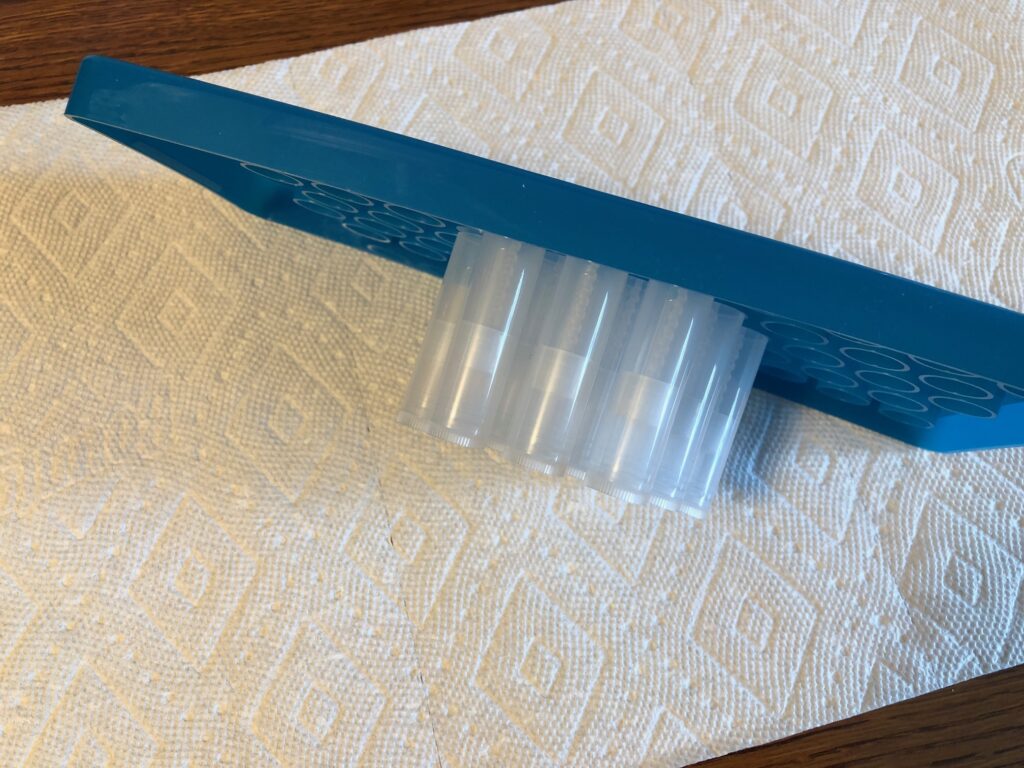
Before starting to melt the ingredients, attach the lip balm tubes to the holder, starting in the center so when the holder is flipped upright they are stable without having to be held. Open any small containers.
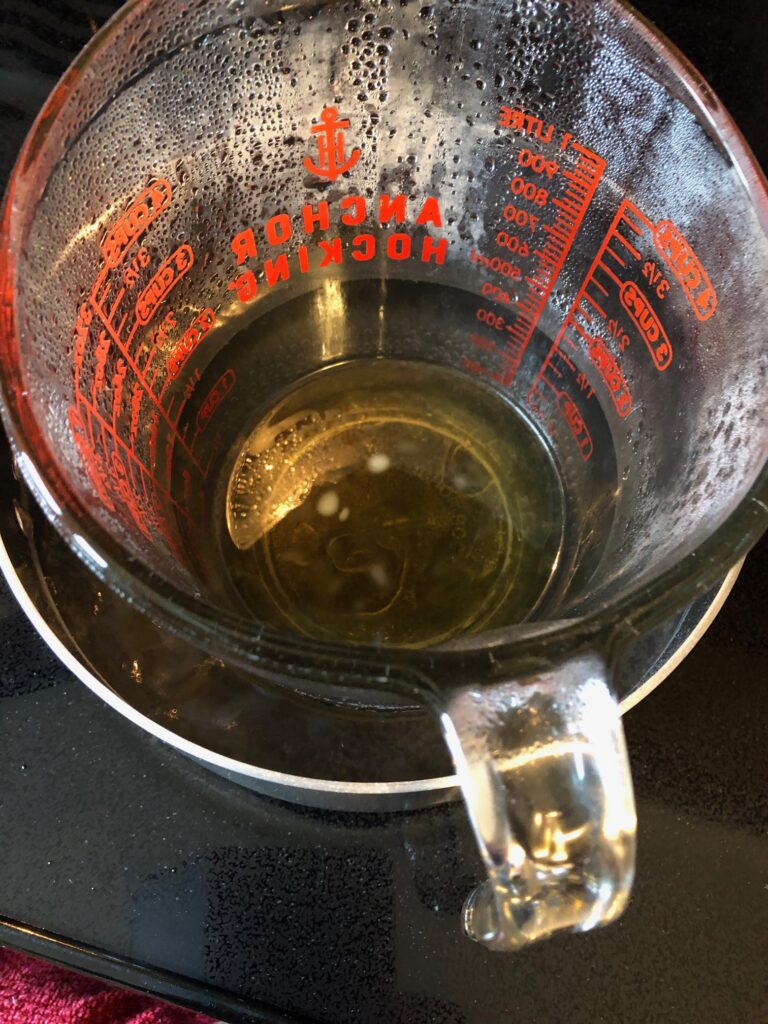
Measure the beeswax, coconut oil, shea butter and almond oil into the glass cup.
Place the cup into the sauce pan with several inches of water and bring the water to a gentle boil. Use the wooden stick to stir as needed.
When completely melted, turn off the burner.
Add the Vitamin oil and the Essential oil if desired. Stir well,
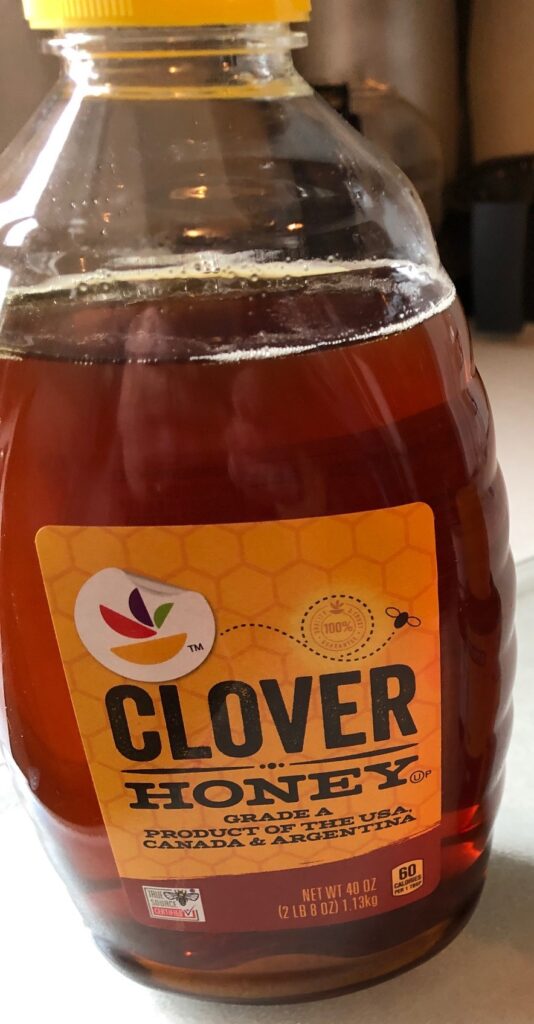
Add the honey. Mix thoroughly.
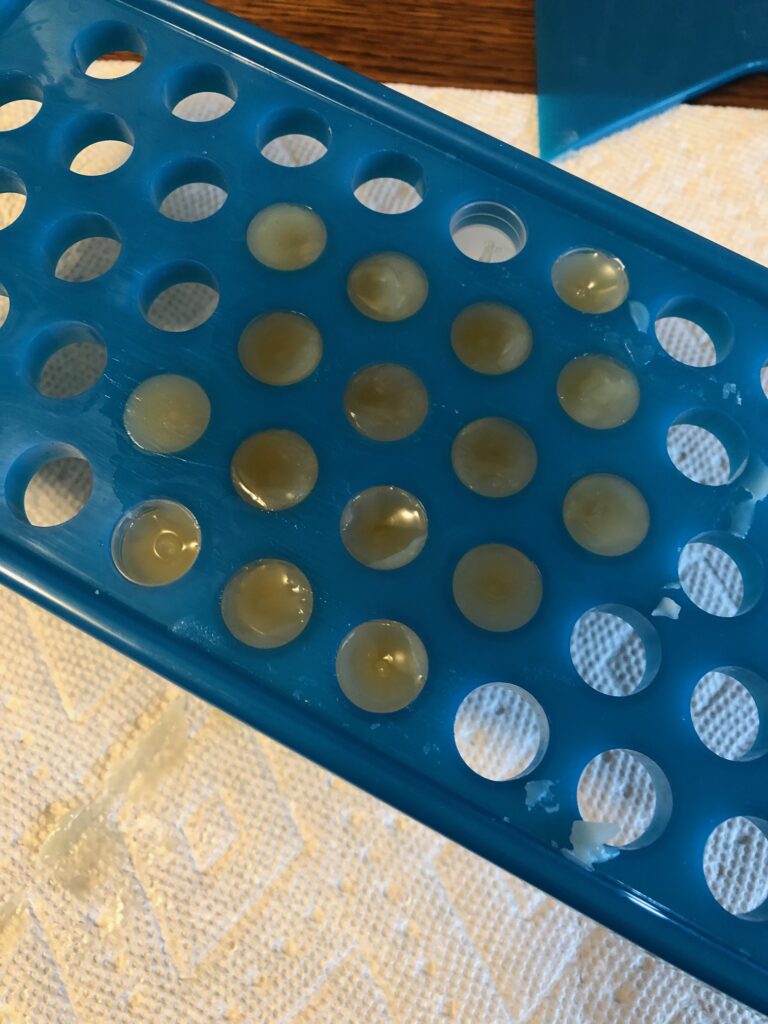
As you pour the wax into the holders, stop every now and then and stir again. The honey does not stay mixed easily.
While things are cooling, carefully wipe the wax out of your glass cup.
DO NOT POUR WARM WAX DOWN THE DRAIN. IT WILL CLOG YOUR DRAIN AS IT COOLS!
Once you have wiped out as much as you can, it is safe to put the cup in the dishwasher.
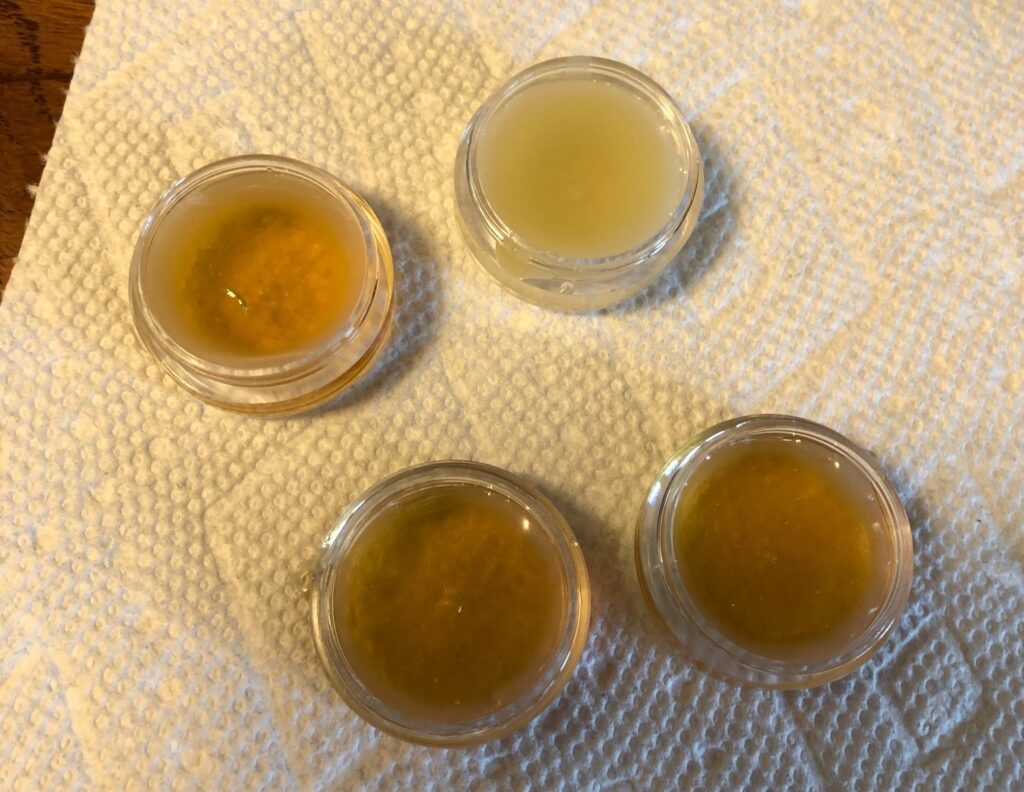
You can see I did not stir the mixture before pouring these last 4 containers. The honey settled to the bottom of the mixture.
Let the holders cool for at least an hour. Use a paper towel to wipe off any drips around the holders.
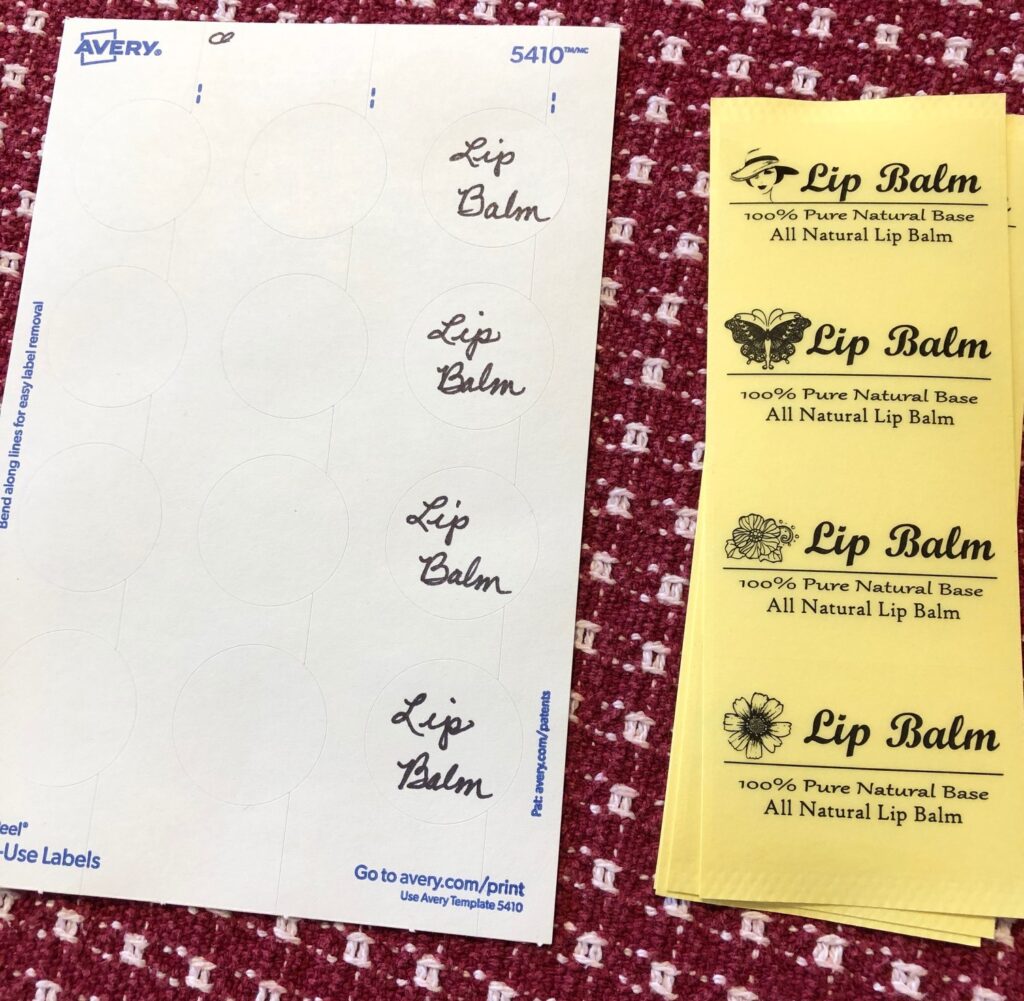
The Lip Balm holders come with labels (or they are sold near the holders). Regular circular labels work well on the small round containers.
After I make a batch of any body product, I make a card to go with it listing the ingredients. Many folks are sensitive to certain ingredients and I don’t want anyone to have a bad reaction to something I make.
NOTE: If you decide to make things like this to sell at craft fairs, PLEASE do the research about legal requirements for labeling your products.
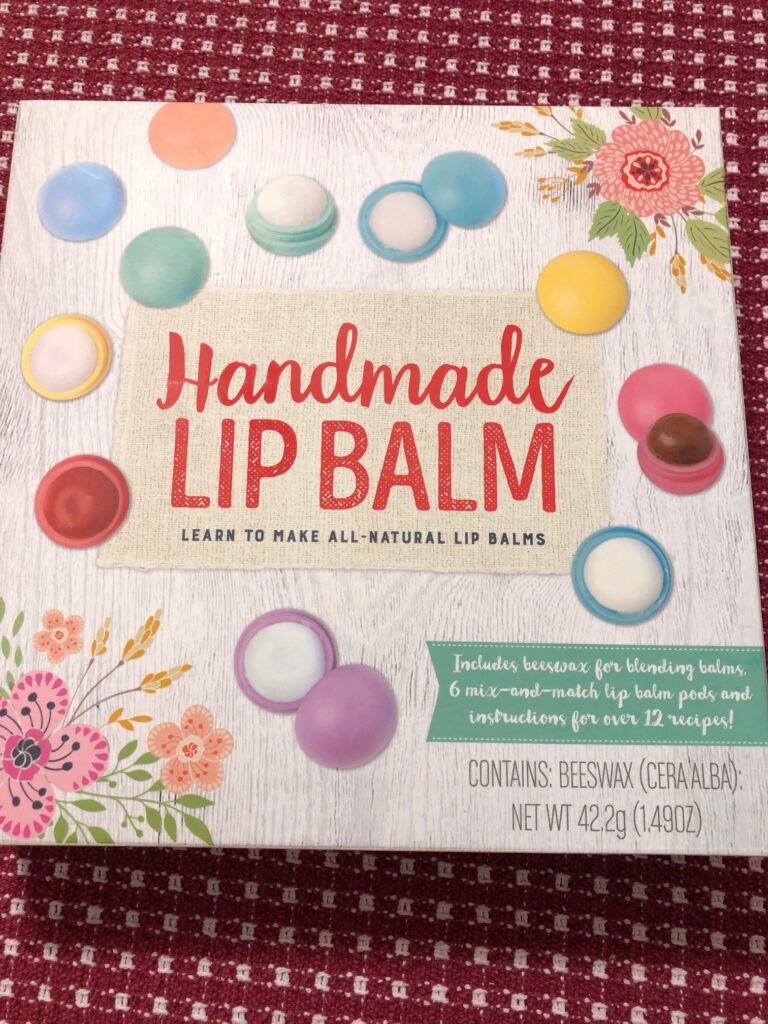
I headed to the bookstore yesterday…just for entertainment purposes you know! Right inside the door were assorted craft books and kits that looked interesting. This kit caught my eye:
Now, I already make lip balm (details in the next post), but I thought this kit might be good to try with my granddaughters when they come to visit. I could not find any information on the box about appropriate age level for the kit, but if nothing else I thought maybe I could reuse the tiny containers. The kit cost $14.99.
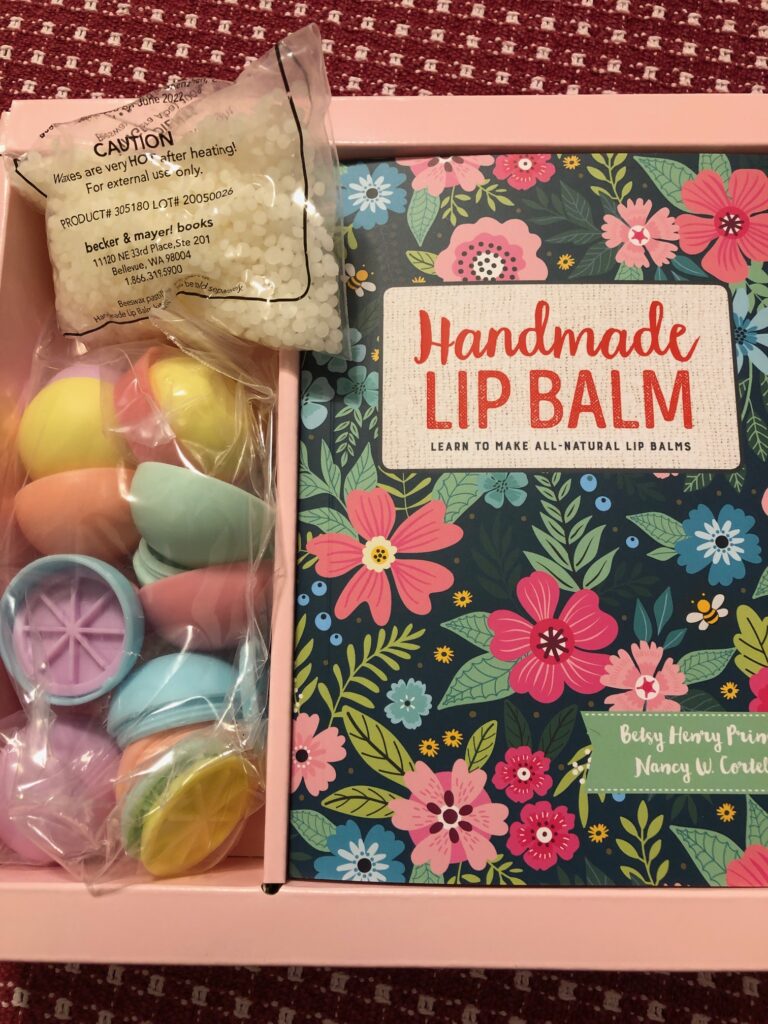
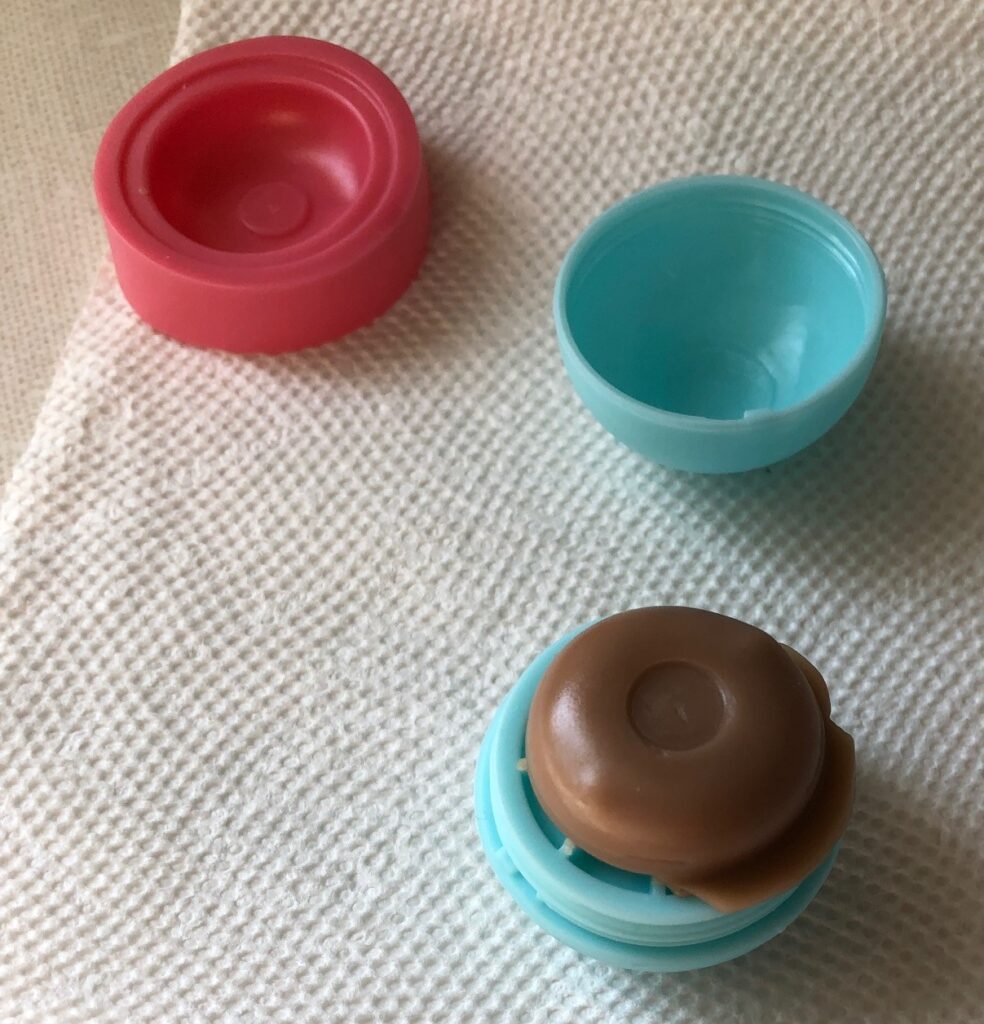
Inside, this is what I found:
A VERY tiny bag of VERY tiny beeswax pellets, 6 tiny egg shell-like plastic pieces, and an instruction manual.
The recipes also called for oil of your choice, a glass measuring cup, a stirring stick…which were not included, of course. There were 10 or so recipes with a list of other ingredients that could be added to the mix for flavor and coloring, like chocolate chips or essential oil. Seemed like a lot of extra supplies and work to make just one lip balm at a time.
I leafed through the manual and was instantly frustrated by the tiny type (must be old age!)
This is a 5″ x 7″ booklet.
The measurements were in teaspoons and there was only one PVC mold. So basically, you melt enough ingredients to make 1 lip balm at a time with a wait/cooling time of at least 30 minutes.
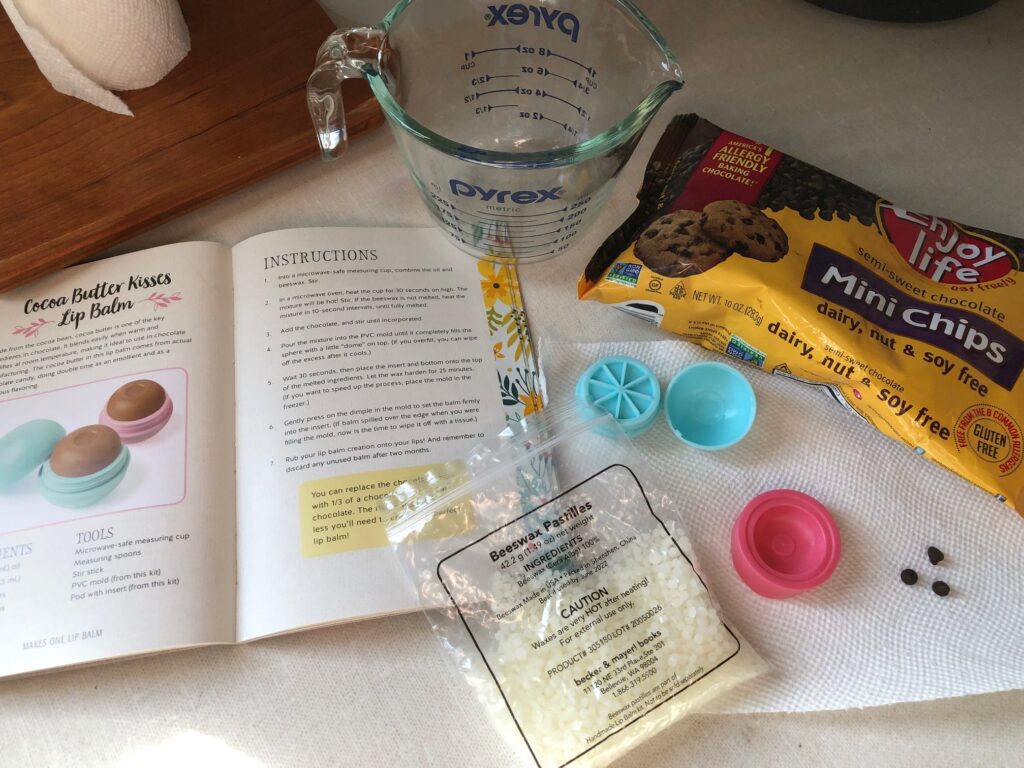
So, I assembled the supplies and ingredients:
The only chocolate chips I had were vegan, but I assumed they would melt properly. I decided to use Almond oil for this experiment (forgot to take a picture of the oil and wooden stick!)
In my 1-cup glass measuring cup I put:
1 tsp. almond oil and 1/2 tsp. beeswax pellets.
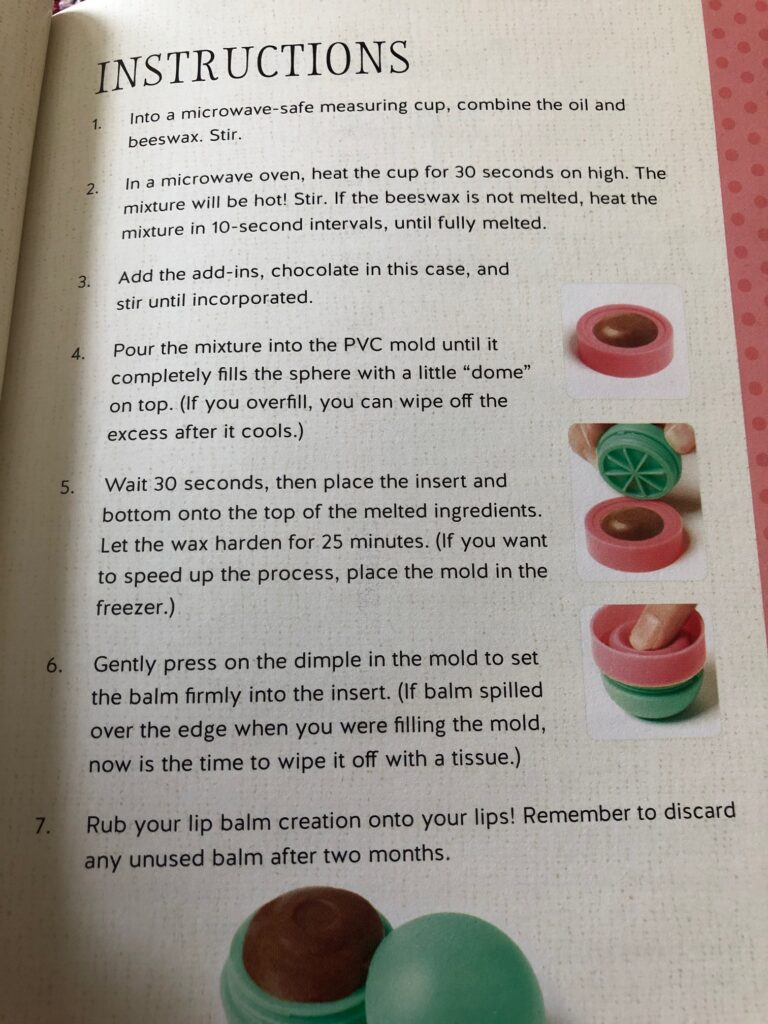
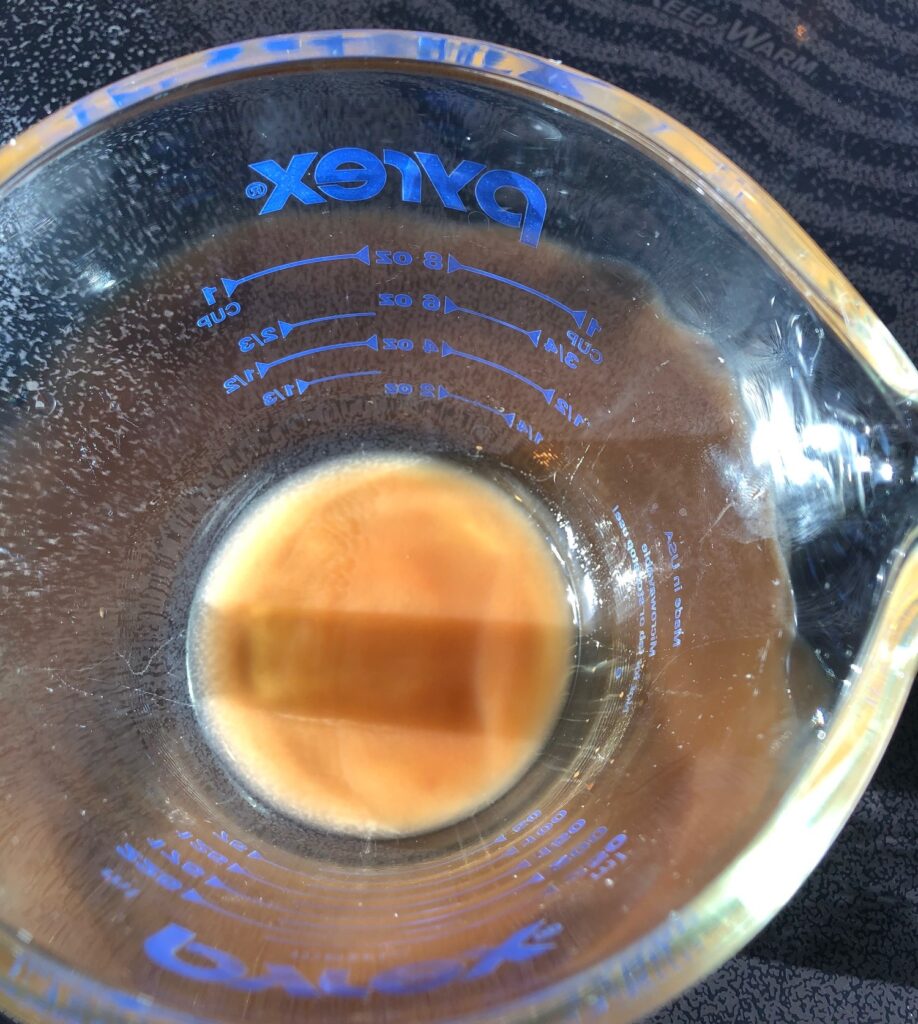
I put the cup in the microwave, first for 30 seconds, and then 10 seconds at a time until melted. The glass gets hot…have a hot pad handy!
I added 3 tiny chocolate chips and stirred them in until melted.
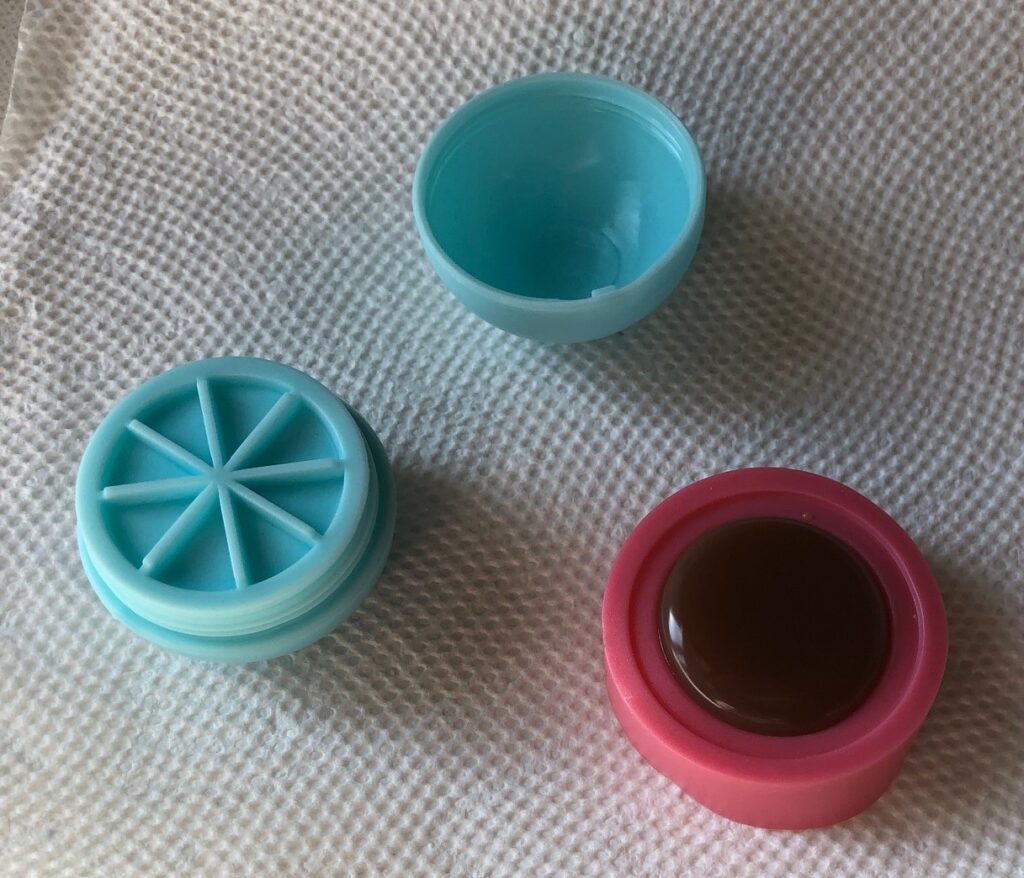
I poured the mixture into the PVC mold.
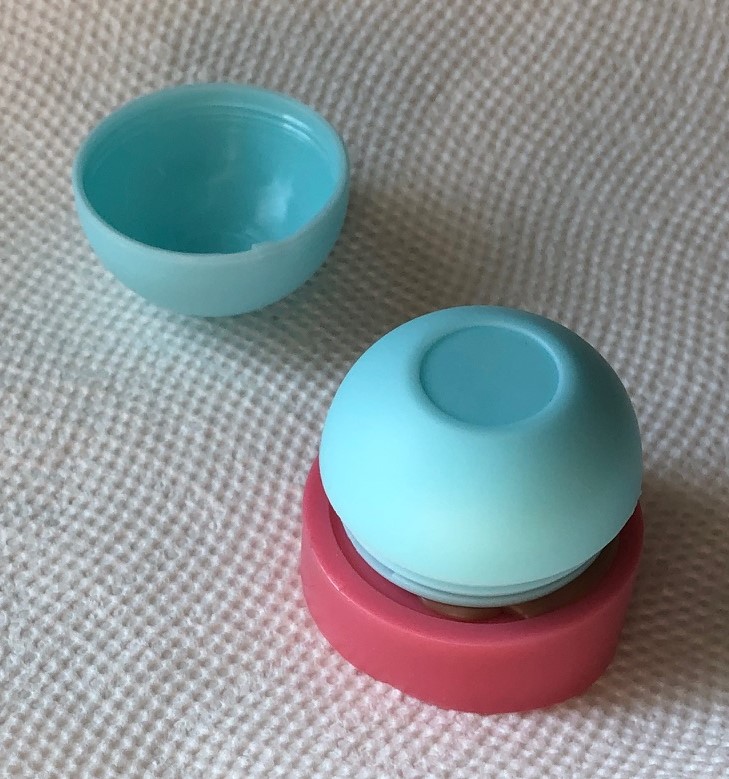
After 30 seconds I placed the bottom section of the holder with the grid insert over the mold and pressed gently.
After 30 minutes, I flipped the mold over and pressed out the beeswax lip balm.
I used a toothpick to scrape off the extra wax around the side of the lip balm.
TA DA! My very own chocolate lip balm! Seemed like a lot of work to end up with just one! The plastic egg shell pieces don’t quite screw together tightly so I’m not sure I’d carry this in my pocket where it might warm up and melt a little!
Because of the hot wax and oil, I would recommend supervising the production and clean-up of these lip balms.
(Remember to wipe out the warm glass cup well with paper towels before trying to wash it. If the wax goes down a drain it WILL clog the drain as it cools!)
After making this single serving lip balm, I went ahead and made a batch of my own lip balm (check the next post!) Much more satisfying (to me) to have something to show for my time and efforts! Here’s one batch of my lip balm:
I’ve been interested in trying to make rolled beeswax candles for quite a while. So why use beeswax instead of petroleum-based paraffin? According to Chris Dalziel, in her book, The Beeswax Workshop,
“Paraffin candles are shown to negatively affect indoor air quality because of the chemical by-products in their soot. Beeswax candles burn cleanly, without soot. Beeswax emits negative ions when it burns. Negative ions clean the air of odors and bacteria. Falling water, like waterfalls, rain and snow also give off negative ions. that smell after a spring rain is the negative ions doing their job. In a similar way, beeswax candles clean the indoor air.” (pp. 18-19)
I’ve been using beeswax in my various skin care products for several years. It’s an essential part of my lip balm and lotion bar recipes. Usually, I buy beeswax in the form of pellets that can be measured out easily.
I do know that beeswax is not difficult to melt but the clean-up is a little tougher than cleaning up from my soap projects. Warm beeswax must be wiped out carefully from any container I use. It can’t be be washed away easily and it WILL clog up drains when it cools.
I’ve always been interested in trying the rolled beeswax sheets to make candles, so that’s where I’ll start. Much less worry than trying to dispose of melted wax. I thought I’d try a small batch of birthday candles first to see if I could actually do it!
Supplies needed
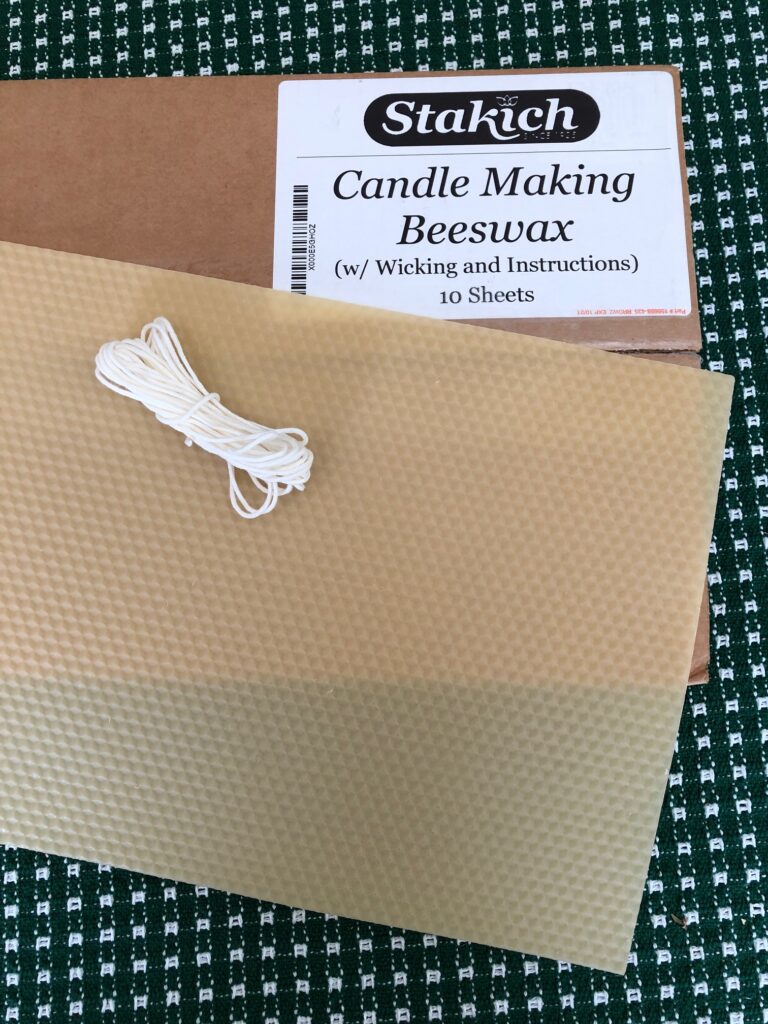
First, I ordered a set of multicolor sheets of beeswax from Amazon (about $25.00). The sheets are 8″ x 10″ and come in many colors. It says it’s beeswax, but it does not have the smell of natural beeswax. The coloring might affect the smell. However, this package was not as expensive as natural beeswax and the colors might be fun to work with.
I also ordered a set of natural color sheets of beeswax from Amazon (about $35.00). Based on the smell alone, I know they are natural beeswax. Of course, this package was more expensive than the multicolor pack.
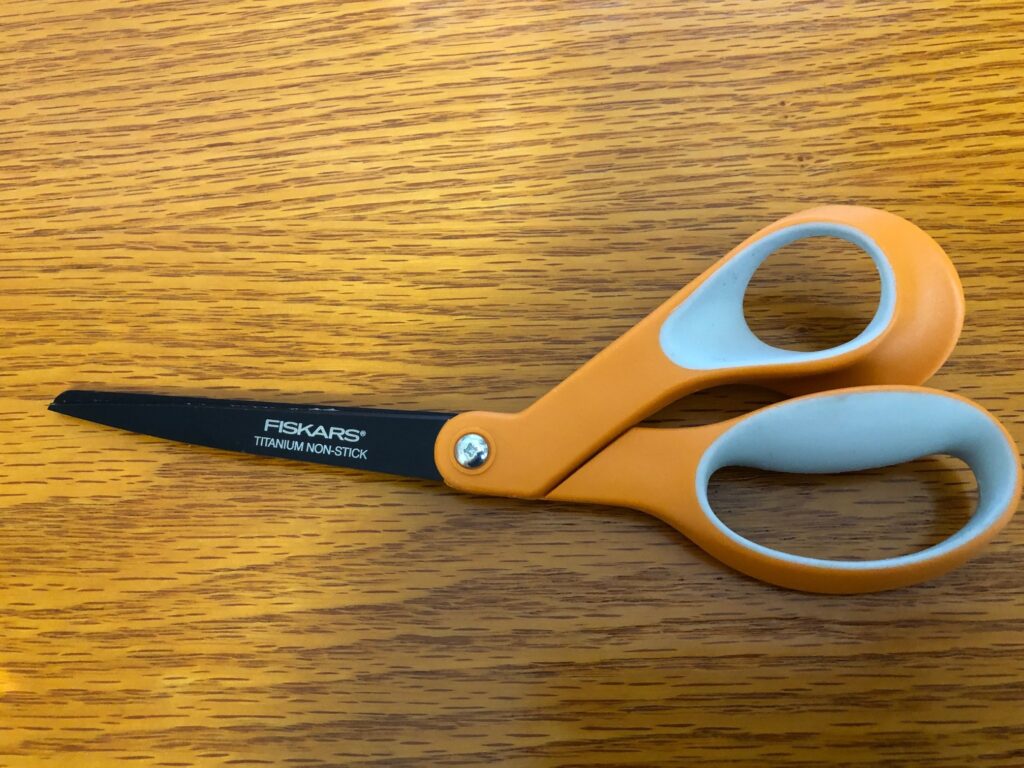
At the same time, I ordered a pair of Teflon-coated scissors to cut the wax sheets. These were recommended by several online sources because the beeswax sheets are quite “sticky” and I didn’t want to ruin my good fabric scissors.
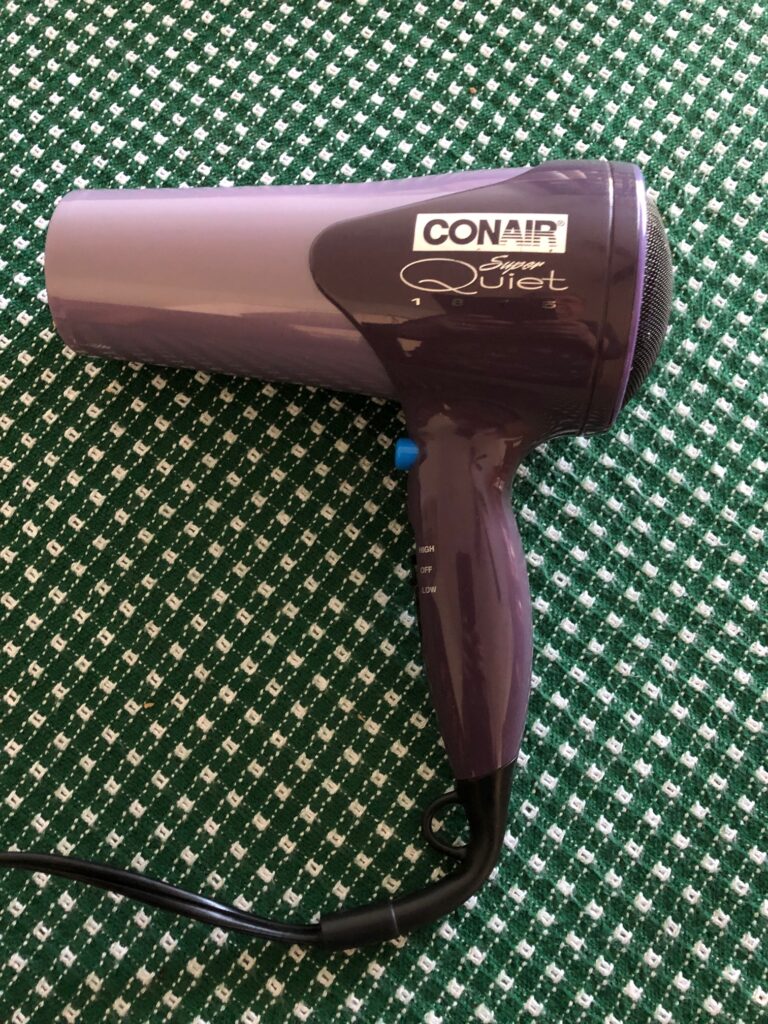
And of course, you’ll need a hair dryer with a low heat choice. I’ve had short hair for so long I wasn’t sure I still had one!
And finally, my work surface was the same piece of heavy glass that I used to work with the air dry clay. It sits on top of my table cloth so it looks like I’m working directly on cloth…but the glass is there! Use any smooth surface that the wax won’t damage.
Making a Rolled Beeswax Birthday Candle
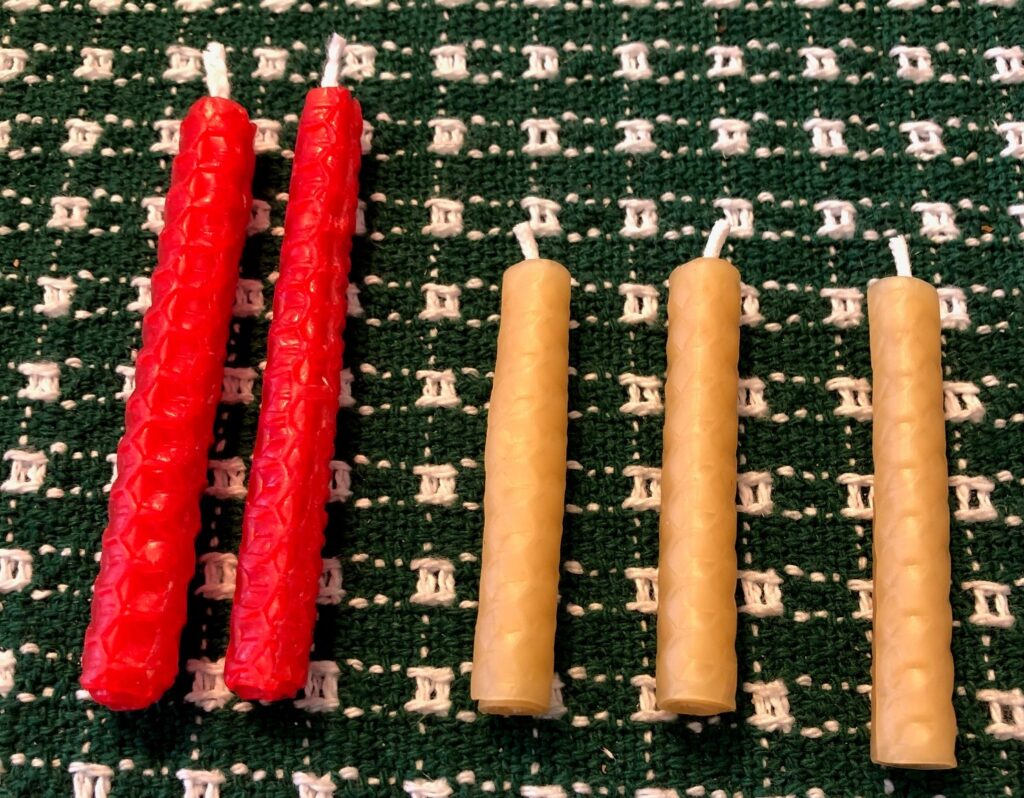
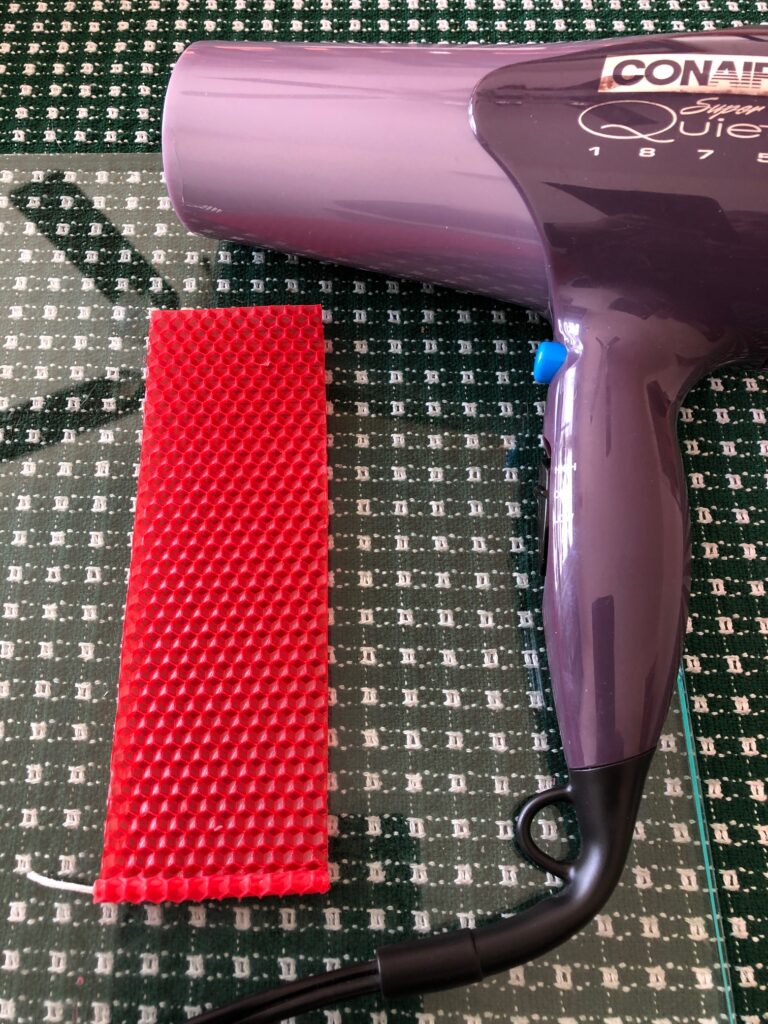
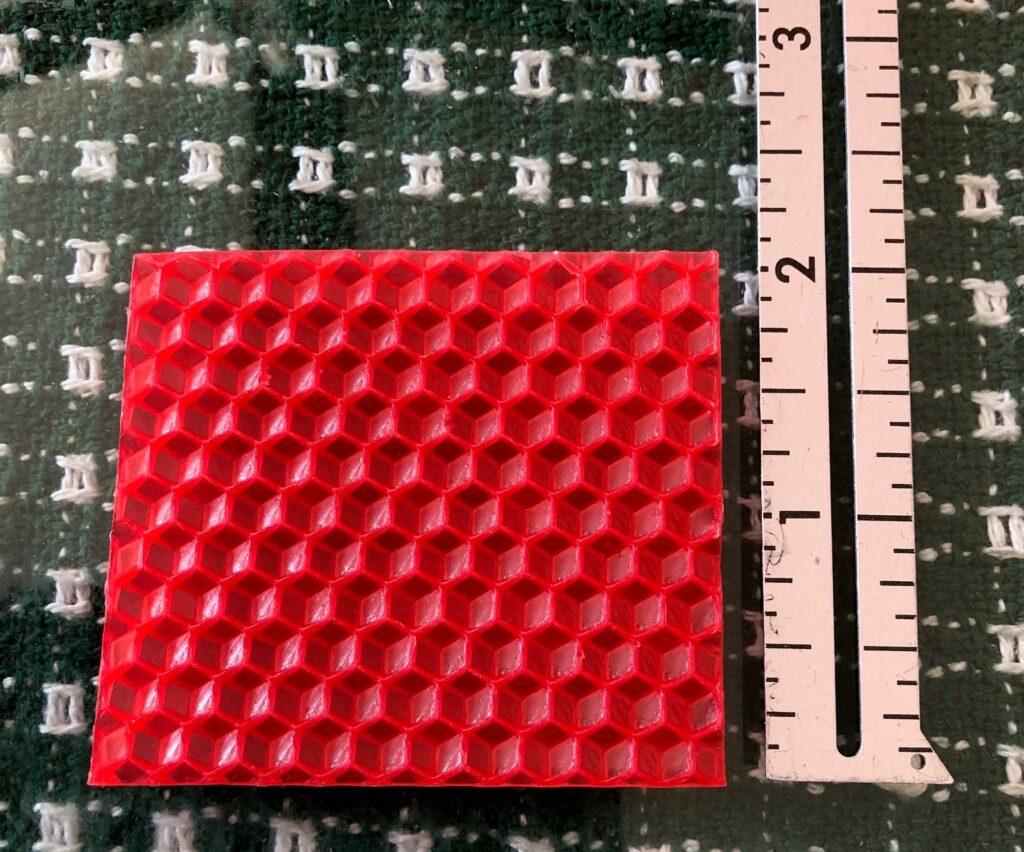
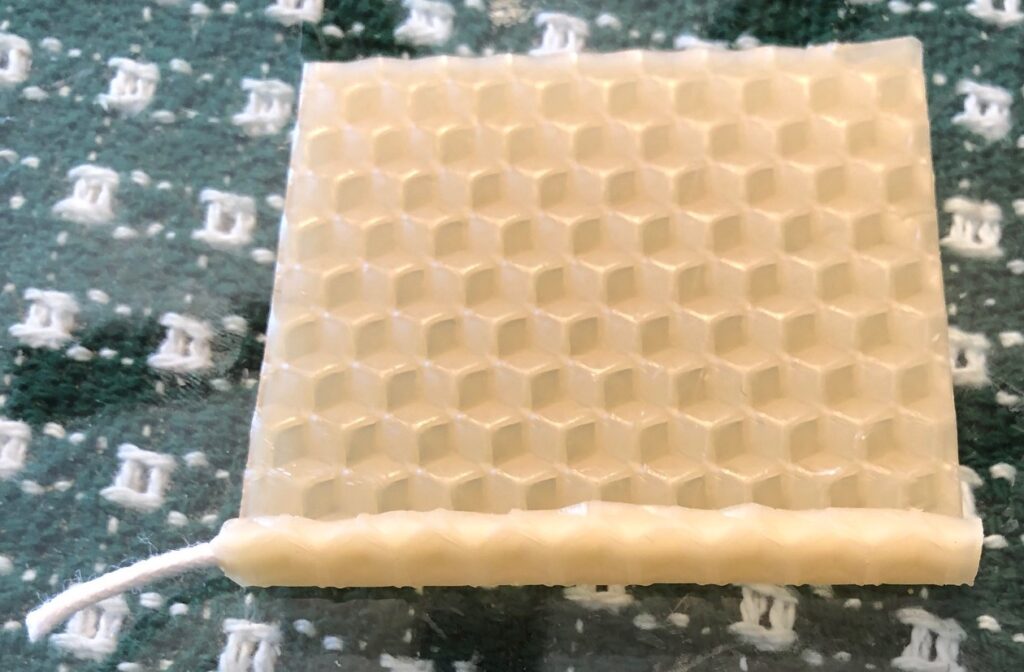
For my first attempt at a rolled candle, I decided to try small birthday candles. Using the red beeswax sheet, I cut the sheet into four 2 1/2″ strips.
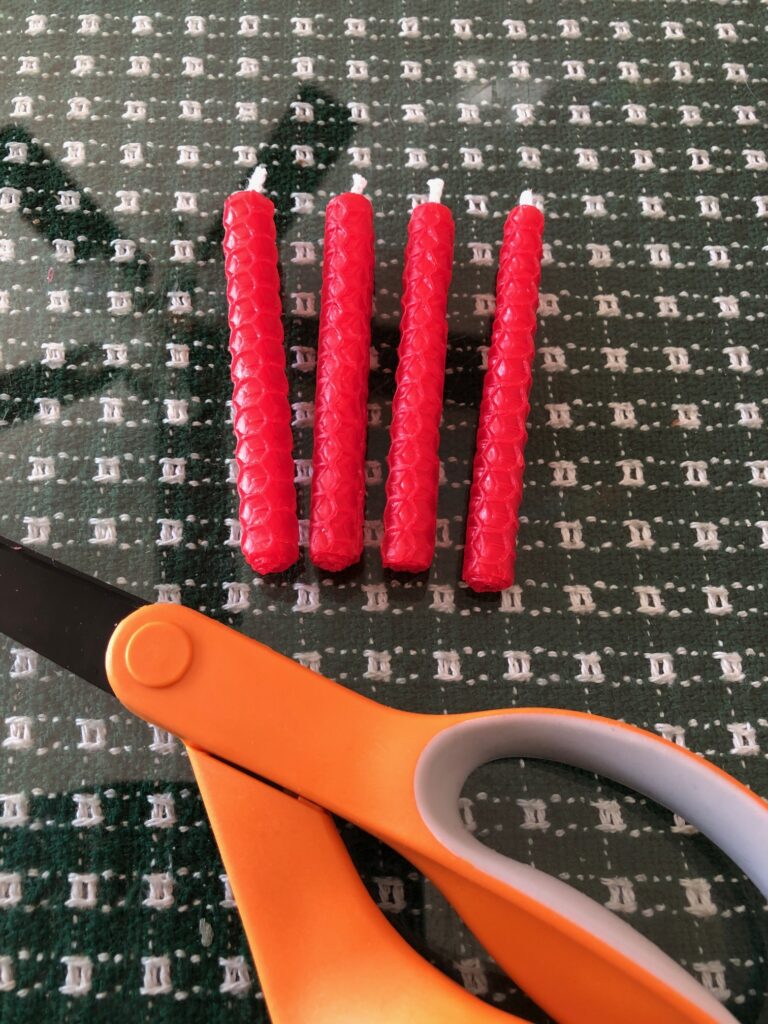
I cut a piece of wick string about 3″ long. On the first wax strip, I positioned the wick across the end. Using the hair dryer on low, I warmed the end of the strip (about 5 seconds). I could then gently fold the edge over the wick. Warming the next section of wax, I rolled the wax about 2-3 times and decided to stop. It looked big enough. I cut off the extra portion of the strip and pressed it to the candle.
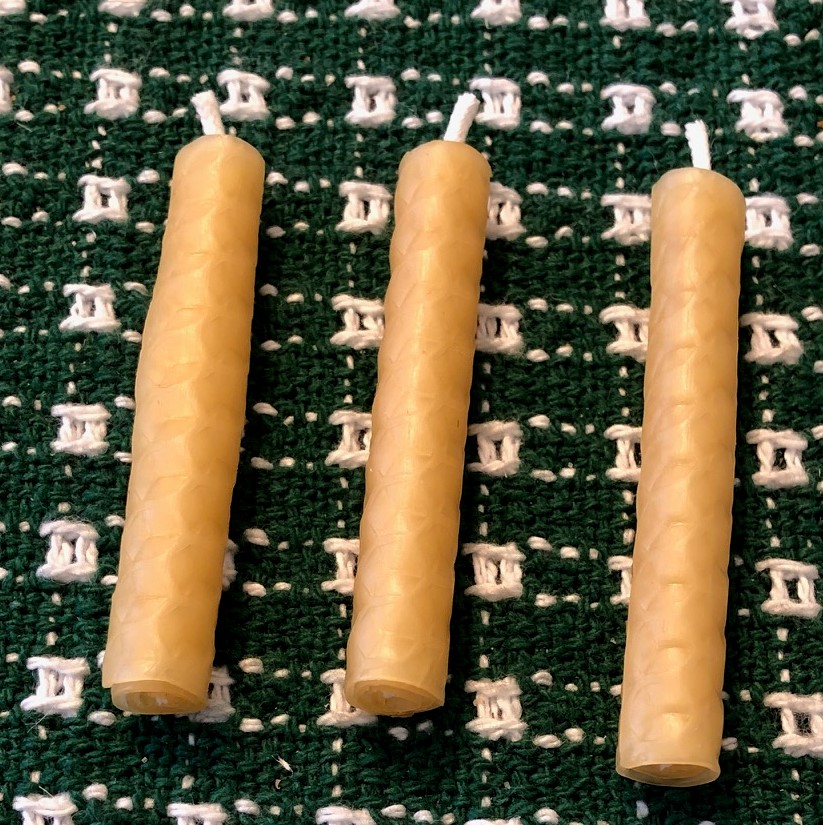
I cut the rest of the strip into 2 1/2″ pieces and made a few more candles. By the fourth candle, I trimmed the piece to just 2″ so it made a skinnier candle.
2″ was about right to make one candle.My candles got skinnier by the time I got to #4!
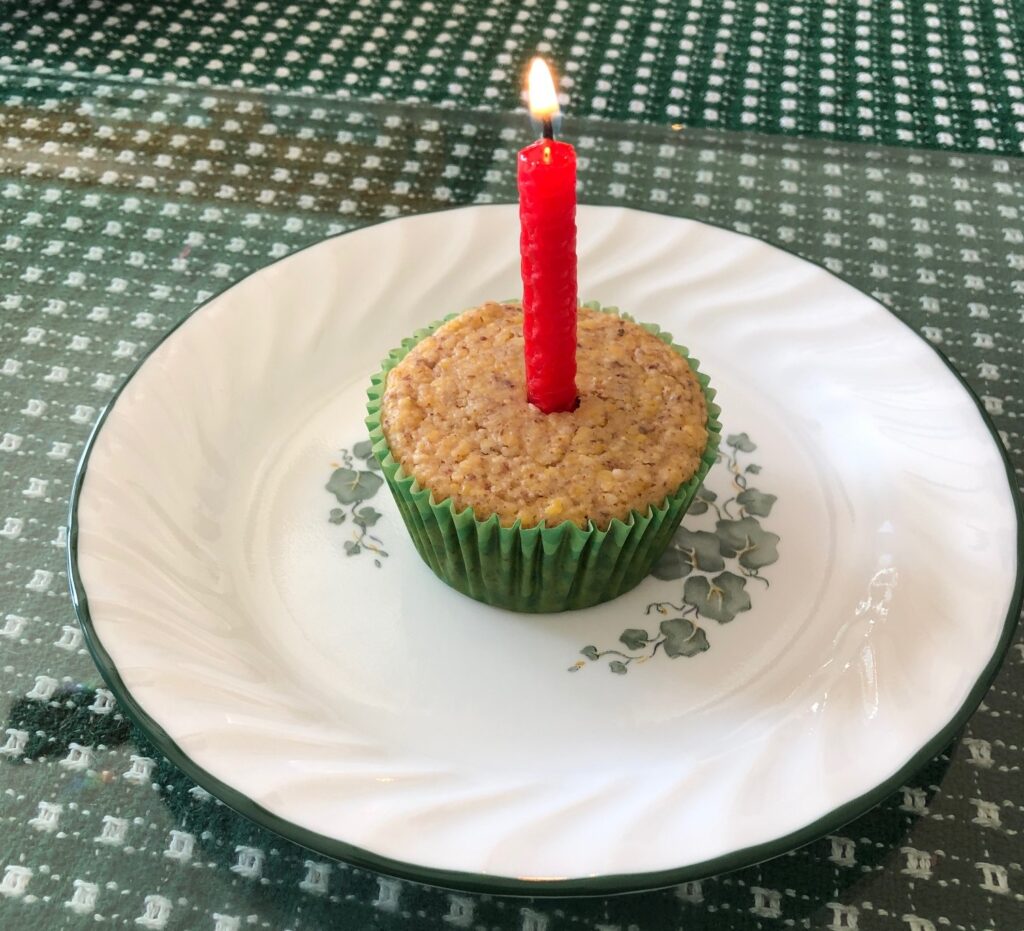
Of course, I had to see if it would work as a birthday candle in a corn muffin (since I didn’t have any cupcakes handy!) Not too shabby!
Still pretty fat for a birthday candle!
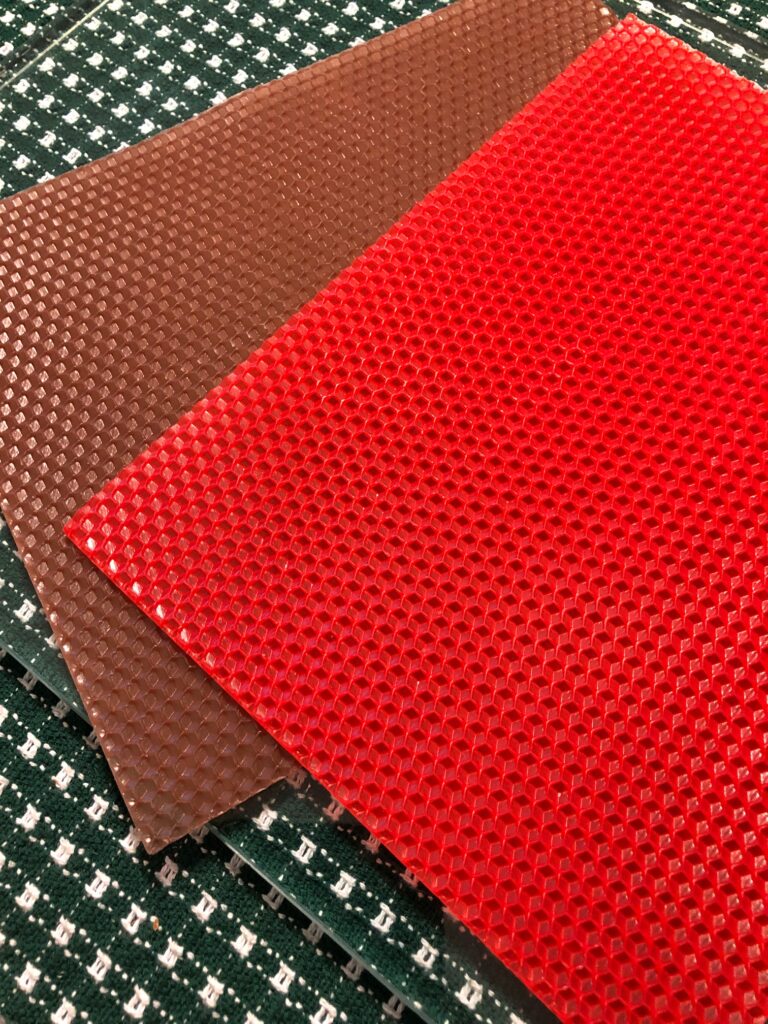
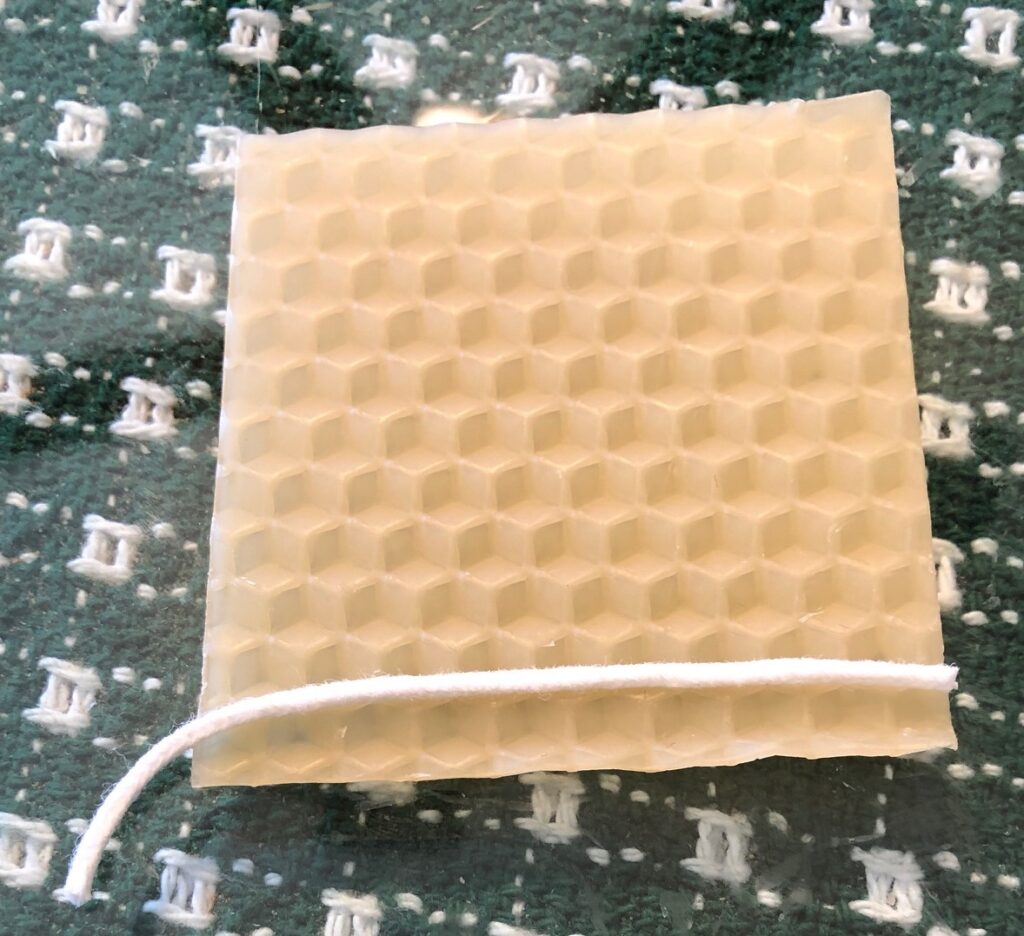
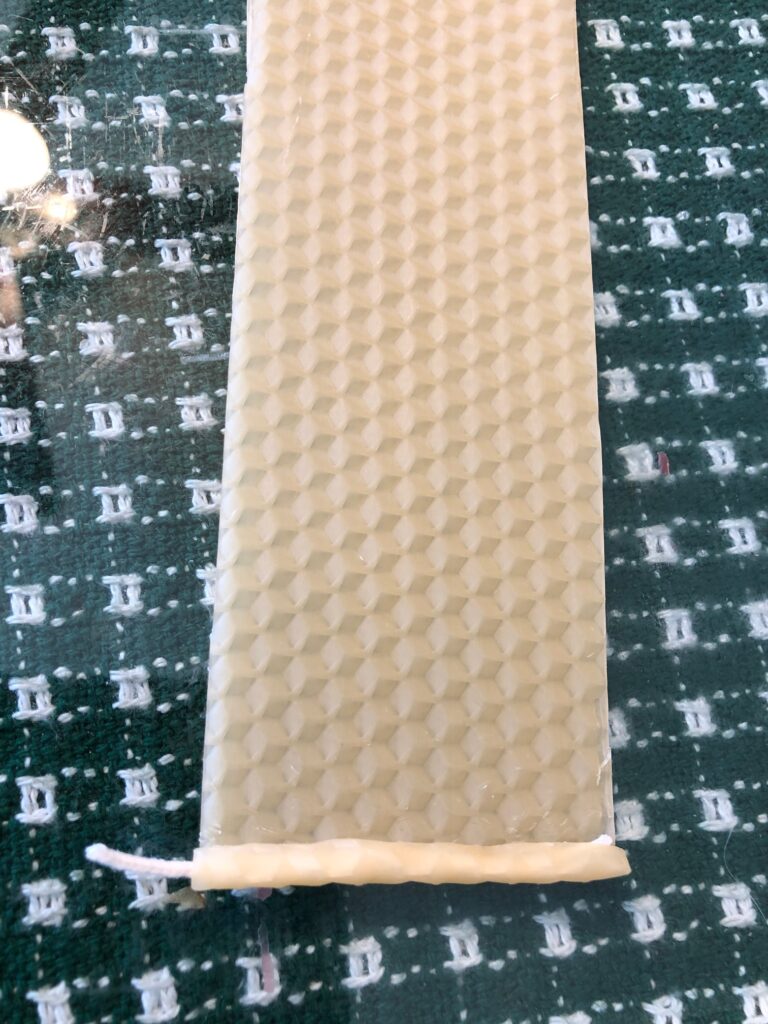
For my next attempt for a birthday candle I used a piece of the natural beeswax and tried again. This sheet was thinner, more pliable and rolled up nicely when warmed.
Here’s a comparison of the two types of beeswax sheets. The colors are nice, but the natural beeswax sheet made a more compact candle.
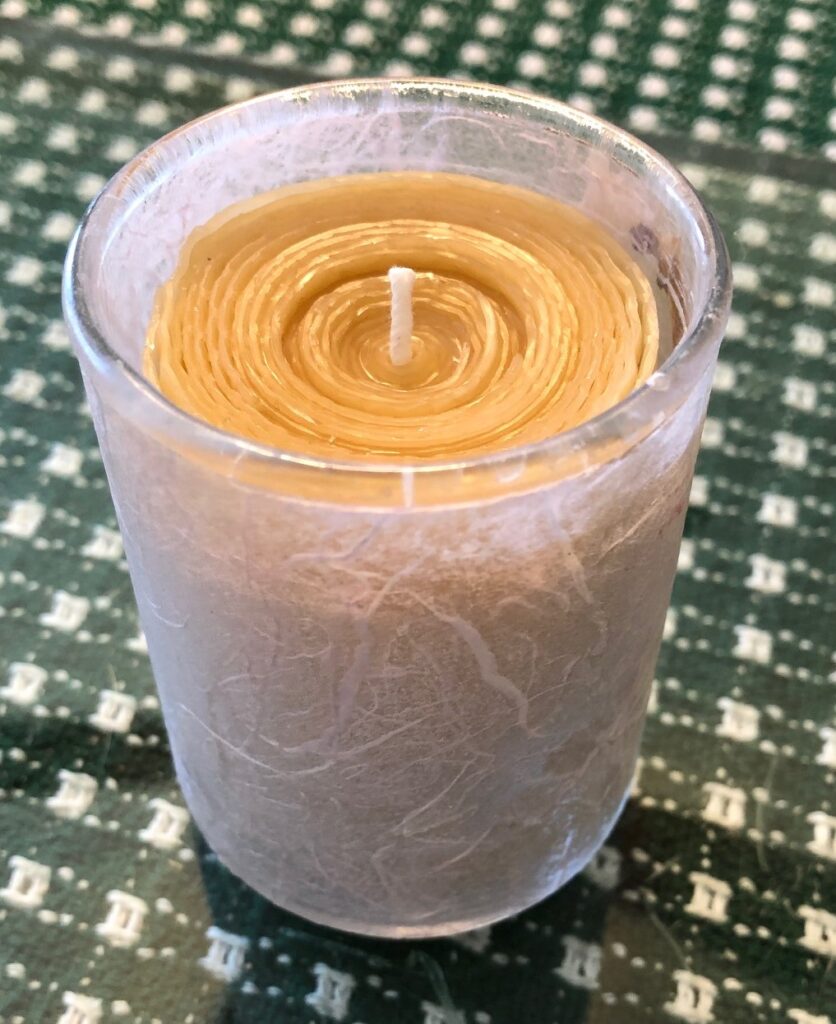
Making a Rolled Beeswax Votive Candle
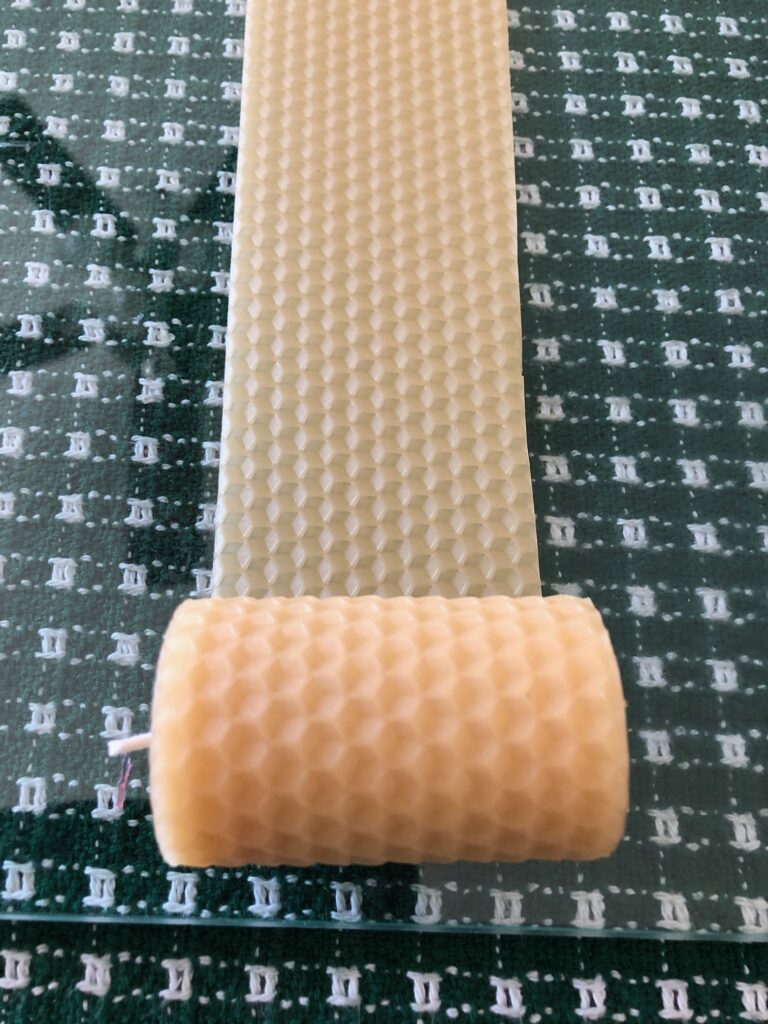
I now had the rest of the sheet of natural beeswax to work with so I thought I’d try a votive candle.
I measured the votive candle holder and made sure my strips would make a candle the right height.
Following the same procedures, I just started rolling around the wick until it was the right size to fit into the votive holder. Use the hair dryer every few inches to warm the wax so it bends and doesn’t crack. Join the strips of the wax sheet by smoothing the ends together and continue rolling until the size is right.
I feel encouraged to make more candles. They should make great Christmas gifts! Give it a try!
I have spent a lot of money trying to find an air freshener for a small room like a bathroom or closet that I like. Sprays sometimes leave a residue on surfaces. I don’t want that on the bathroom floor or my clothes. Some fresheners need to be plugged in, which ties up a plug. I know I like the essential oil fragrances like lavender, vanilla and lemon. There are many others to choose from. However, which fragrance will last the longest? Here is a quick project using air dry clay that has solved my problem. Give it a try! This would make a great project for kids and grandkids too.
Let the ribbon color remind which oil you used on which freshener!
First, some basic supplies:
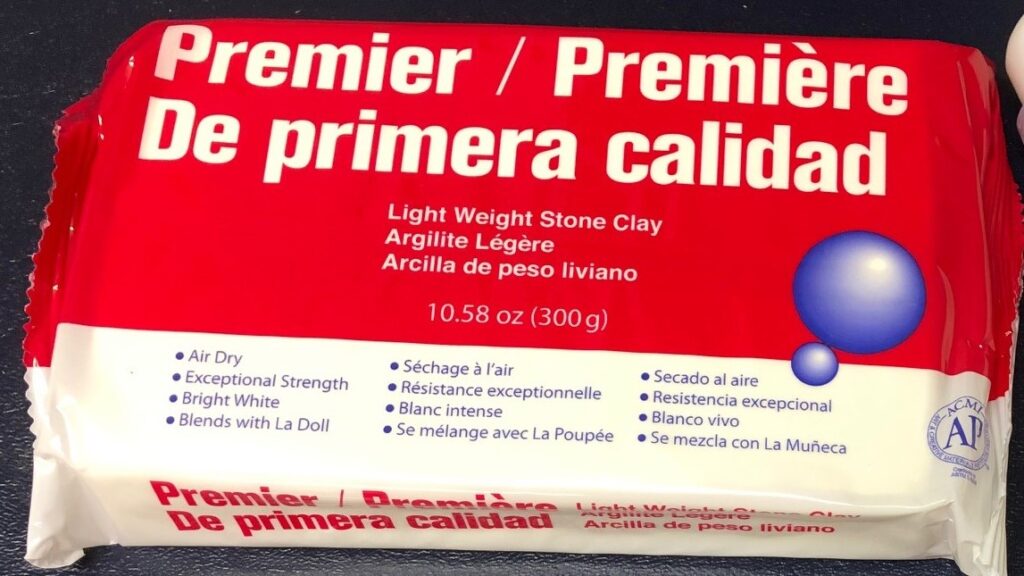
Air dry clay: This can be found at craft stores, Walmart or Amazon. It comes in multiple colors. I prefer white, however kids might enjoy making other things besides air fresheners! (How about an animal with lavender essential oil sitting by the bed…could help them sleep!)
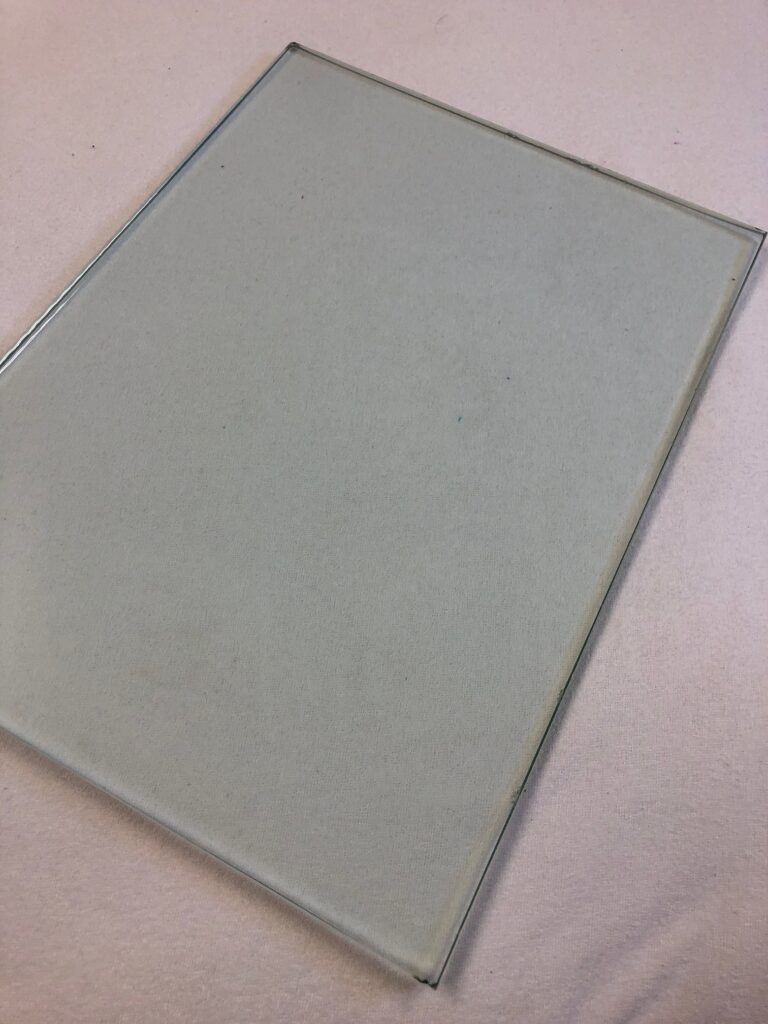
Work surface: I’m using a piece of heavy glass (3/8″ thick) that is about 10″ by 12″. Bert found it at a glass contractor’s supply business. Glass out of a picture frame works, just put some masking tape around the edges. A vinyl tablecloth works too!
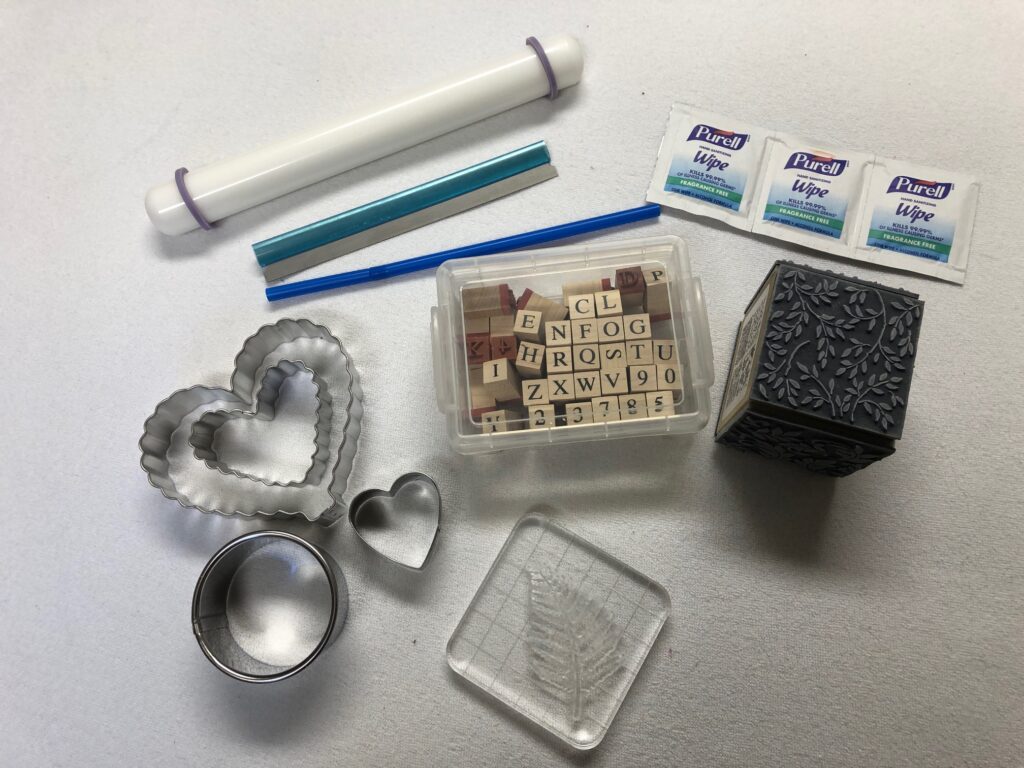
More supplies:
More supplies described below.
A clay rolling pin or large dowel rod.
Razor cutting tool. Perfect for getting the clay off the work surface. The one in the picture next to the rolling pin has a guard that serves as a handle. Then it can be removed and slid over the razor when not in use.
Disposable straw to make the holes to hang the item.
Cookie cutter (thin metal works best in cutting out shapes from this clay.)
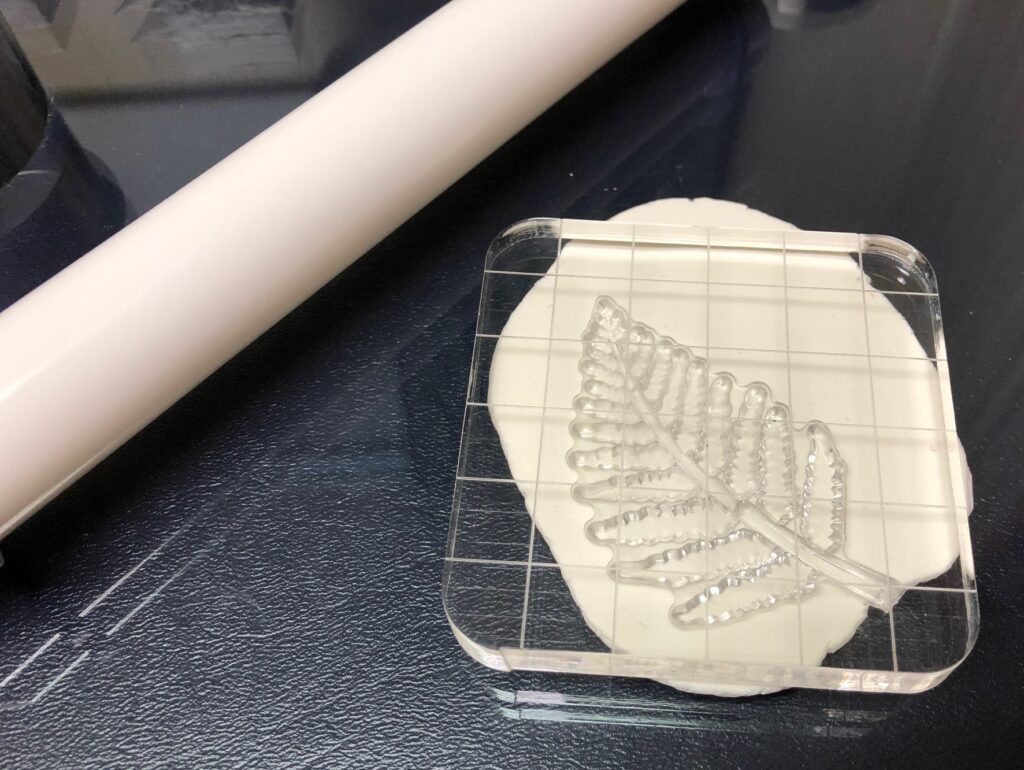
Anything to make impressions in the clay. This could be as simple as your thumb. Leaves make interesting impressions. Some rubber stamps (usually used with ink) make great impressions. I am using clear flat rubbery shapes that stick to a hard plastic base. They make an impression but don’t go too deep.
Wax paper or paper towels to put the finished pieces on to dry.
Wet wipes. Air clay leaves a chalky residue on your hands and tools. These make clean up much easier.
Essential oil or fragrance oil of your choice.
Here are the steps to make this air dry clay freshener:
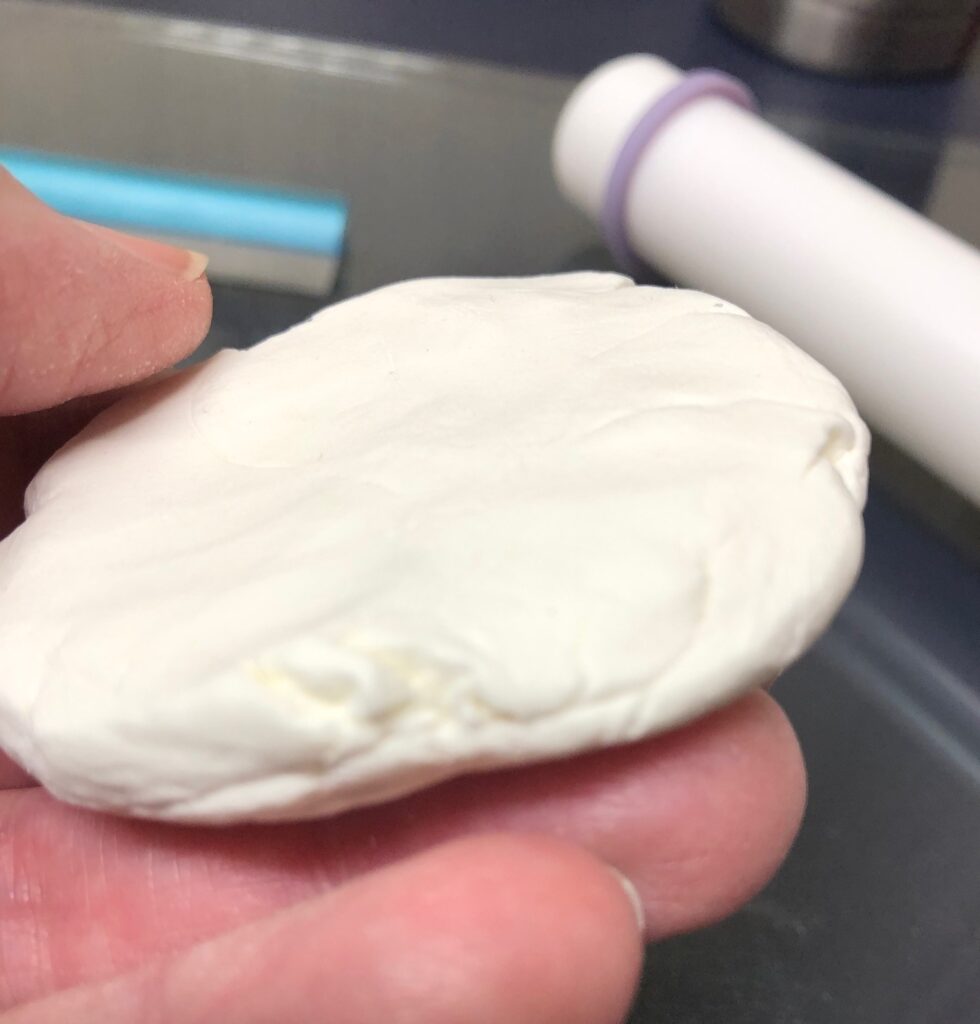
Step 1: Take a piece of clay and work it into a ball. Flatten the ball with your fingers.
Step 2: Roll the clay flat with the rolling pin or dowel rod to about 3/8″ thick. The edges will tend to crack a little, don’t worry about that!
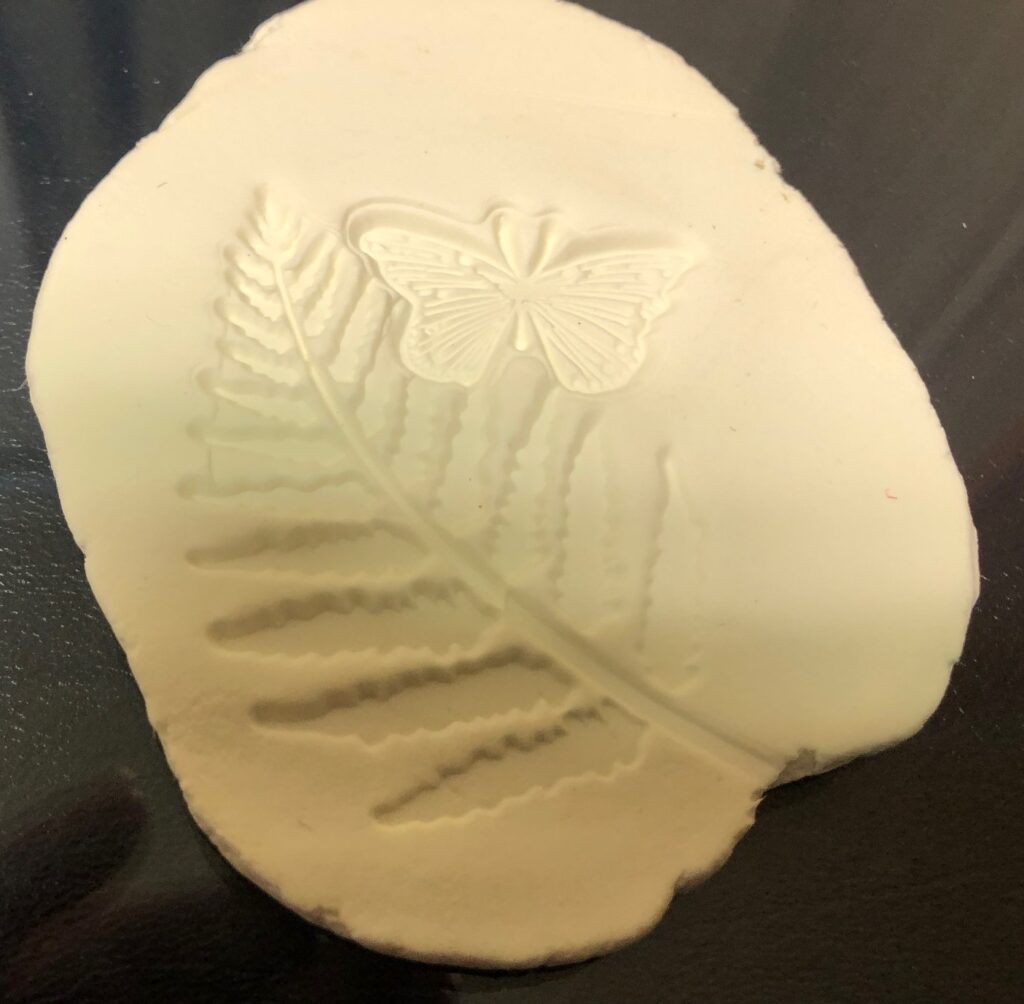
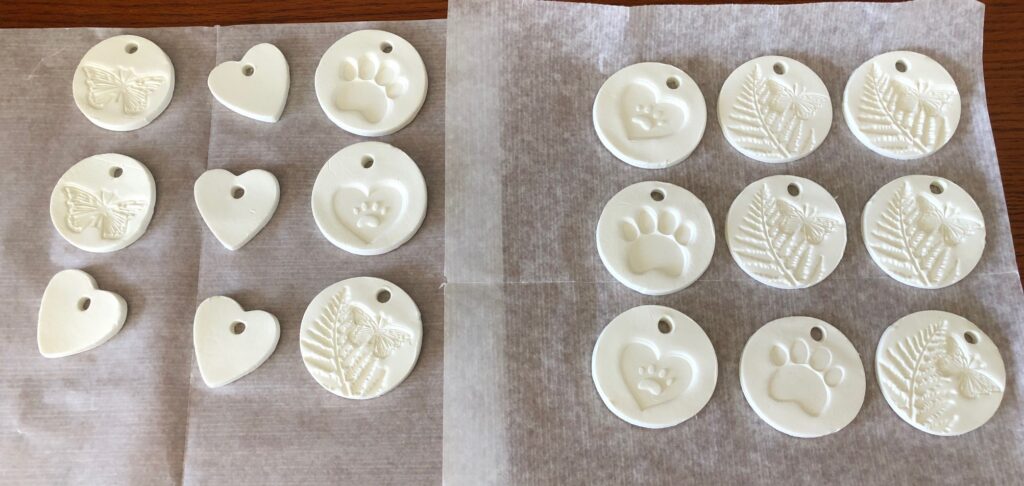
Step 3: Make impressions in the clay.
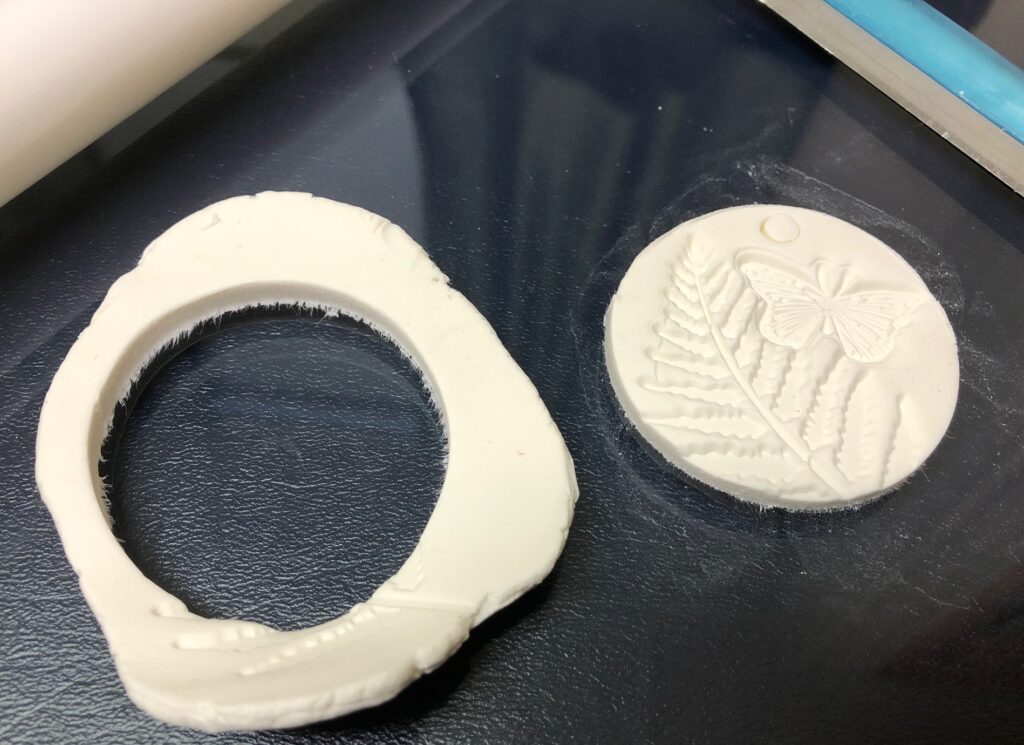
Step 4: Use the cookie cutter to cut out your shape. Small Christmas trees or stars at Christmas time make good ornaments and gifts!
Step 5: Make a hole with the straw and twist it a little to loosen it.
Step 6: Use the razor to gently lift the edge of the clay. Peel the outside clay off the item. Save this extra clay and work it into the next item.
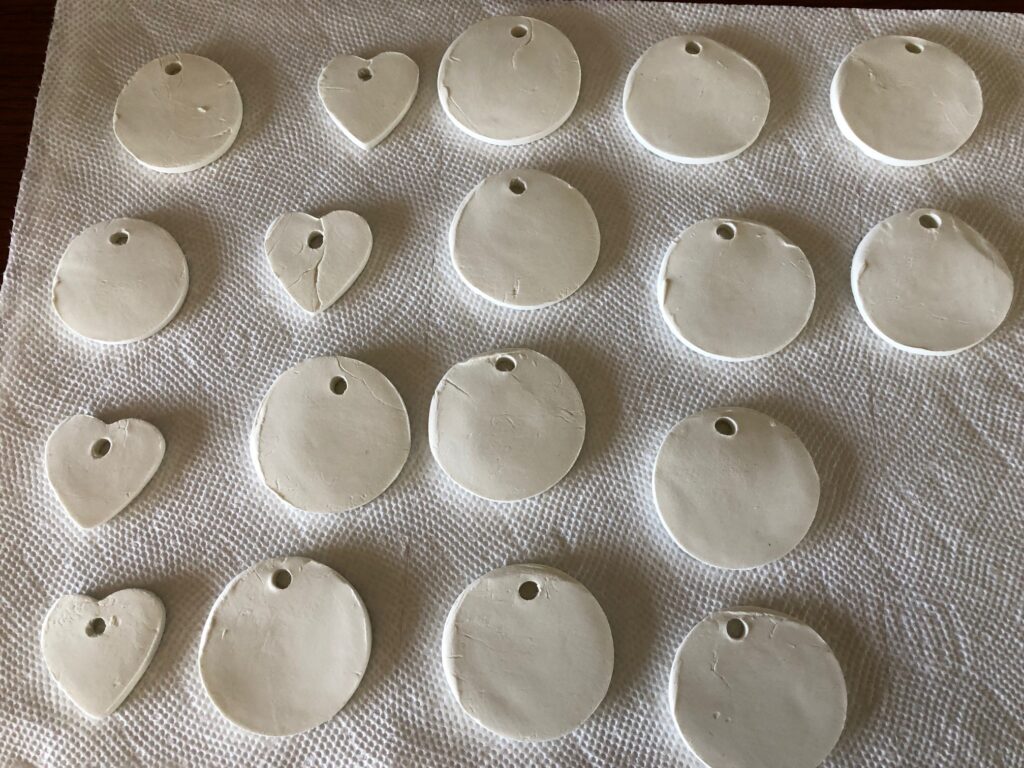
Step 7: When you lift the item off your work surface with the razor, you can gently smooth the cut edge with your finger. Place the cut items on wax paper or paper towel to dry.
Step 8: As this clay dries, it will often dry faster on the top. For the first few hours after making them, I watch when they curl and turn them over several times until they stay flat.
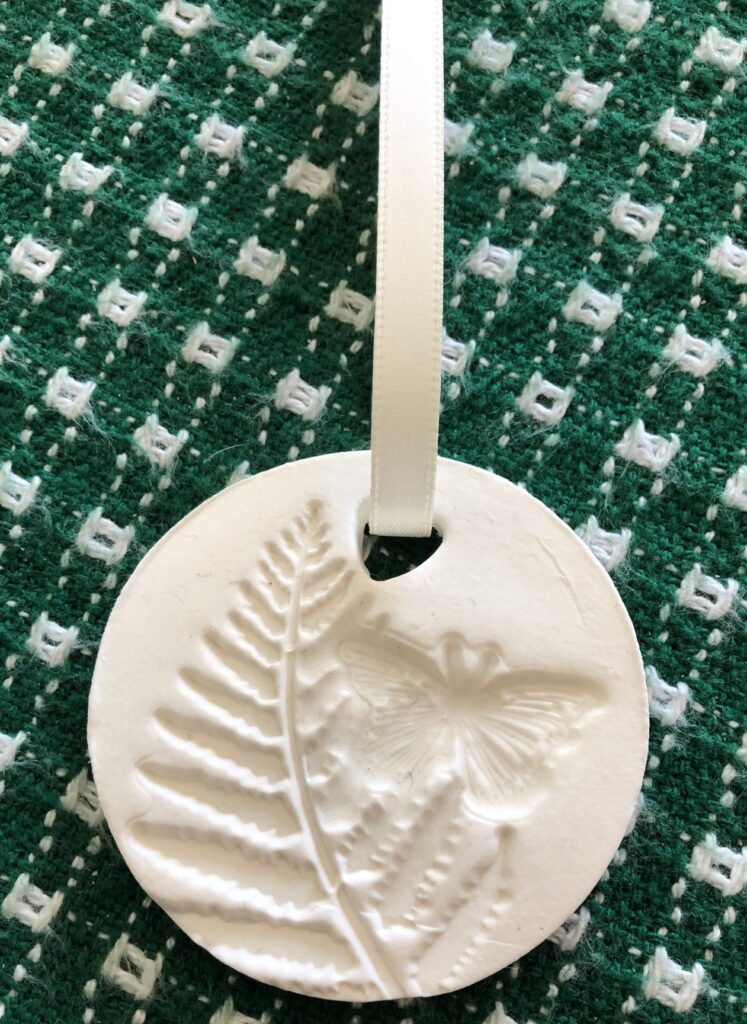
Step 9: Thread ribbon or string through the hole.
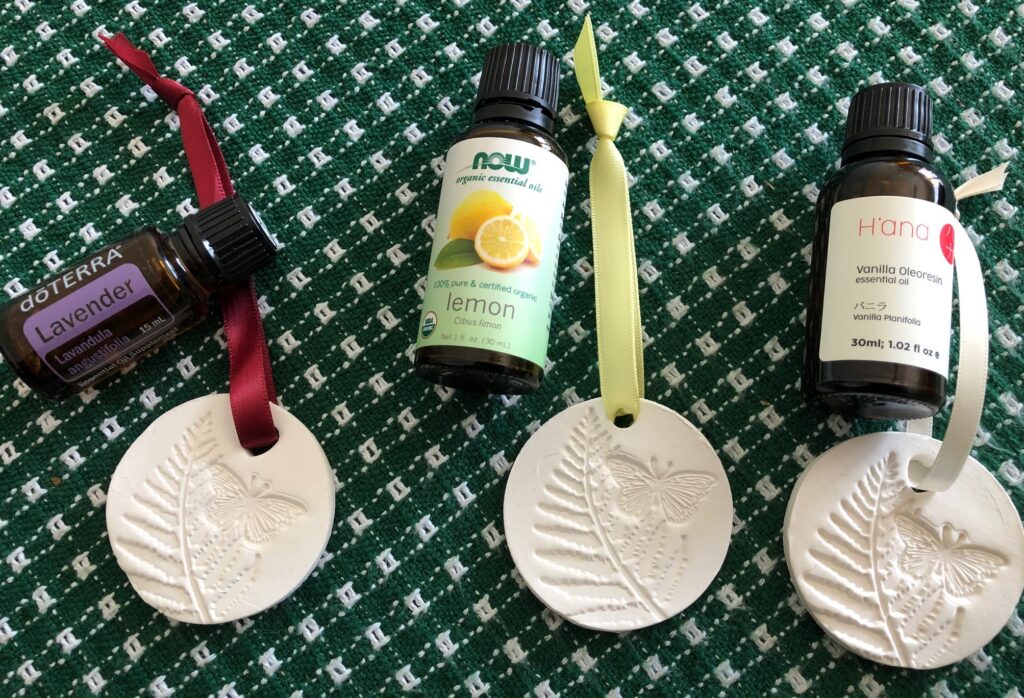
Step 10: Add essential oil. About 4-5 drops of oil is enough to start. Lay the item flat. Place the oil into the pressed design so it doesn’t run off the surface. Let the oil soak in. Use only one scent at a time. Add more essential oil one a week or as needed.
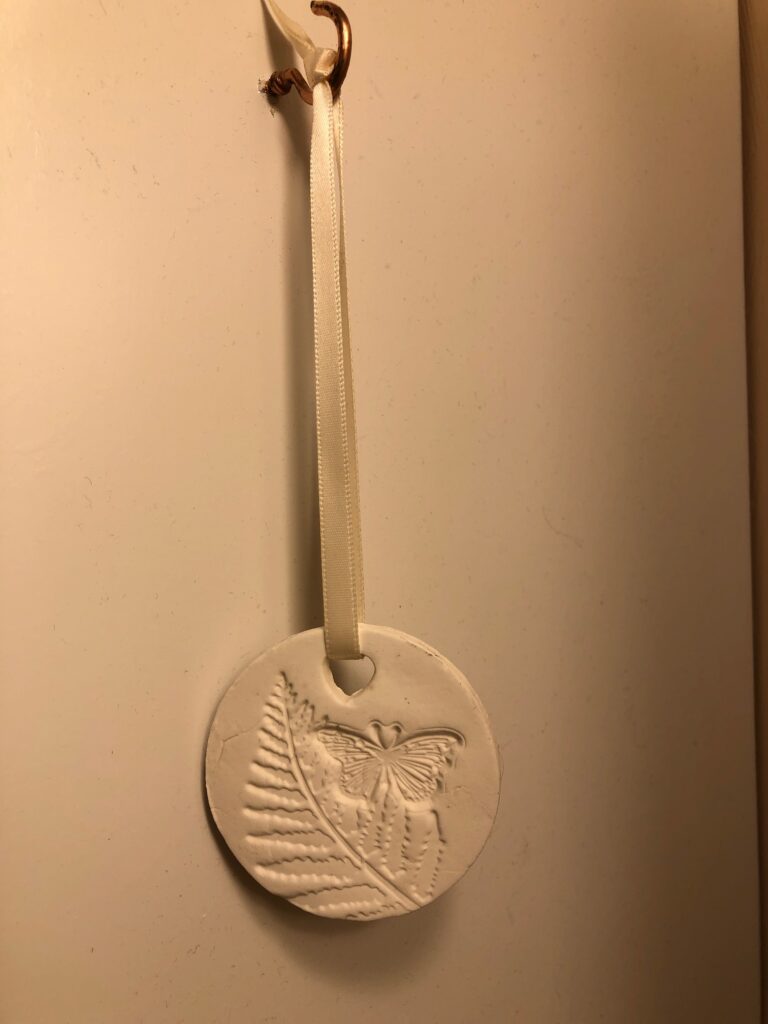
I made three items with different color ribbons. I will use lavender on the item with the burgundy ribbon; lemon on the one with the yellow ribbon; vanilla on the one with the white ribbon. I’m testing (one at a time) to see which scent I like best and which lasts the longest.
When dry, hang your freshener. Bert put hooks on the side of the bathroom cabinet for me. It looks pretty and smells great!
Now that you’ve learned to make a gift bag out of a calendar picture (the post from March 3), you are ready to make a paper gift box!
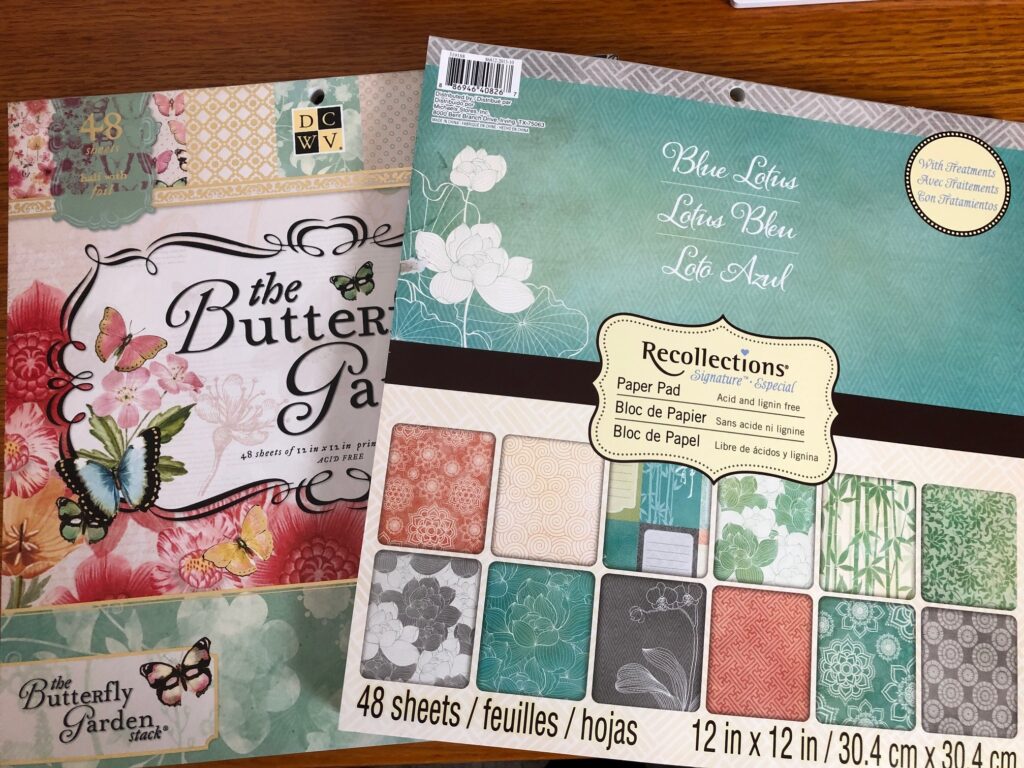
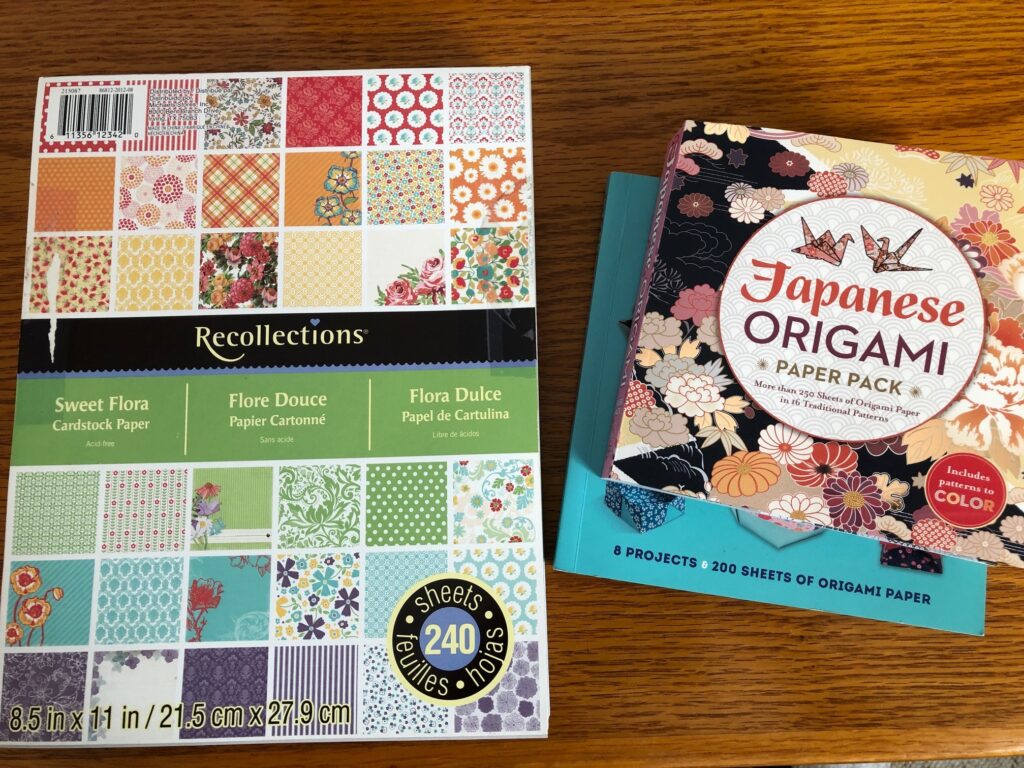
Start with a square of paper. You can use card stock, heavy construction paper, origami paper or a calendar picture. I had several packs of card stock that I bought several years ago. Recently, I picked up a few 6″ and 7″ square packs of origami paper. The heavier card stock works well for larger boxes. Origami paper and calendar pictures work better the smaller you go.
12″ square card stock will make a sturdy box about 4″ square and 2″ high.An 8 1/2″ square of light card stock or construction paper will make a box 2 7/8″ square and 1 1/2″ high. A 4″ square of light weight paper will make a box 1 3/8″ square and 3/4″ high.
Step 1: Choose 2 pieces of paper and the size box you want to make. One sheet of paper will make the top of the box. The other will make the bottom of the box and fit inside the top.
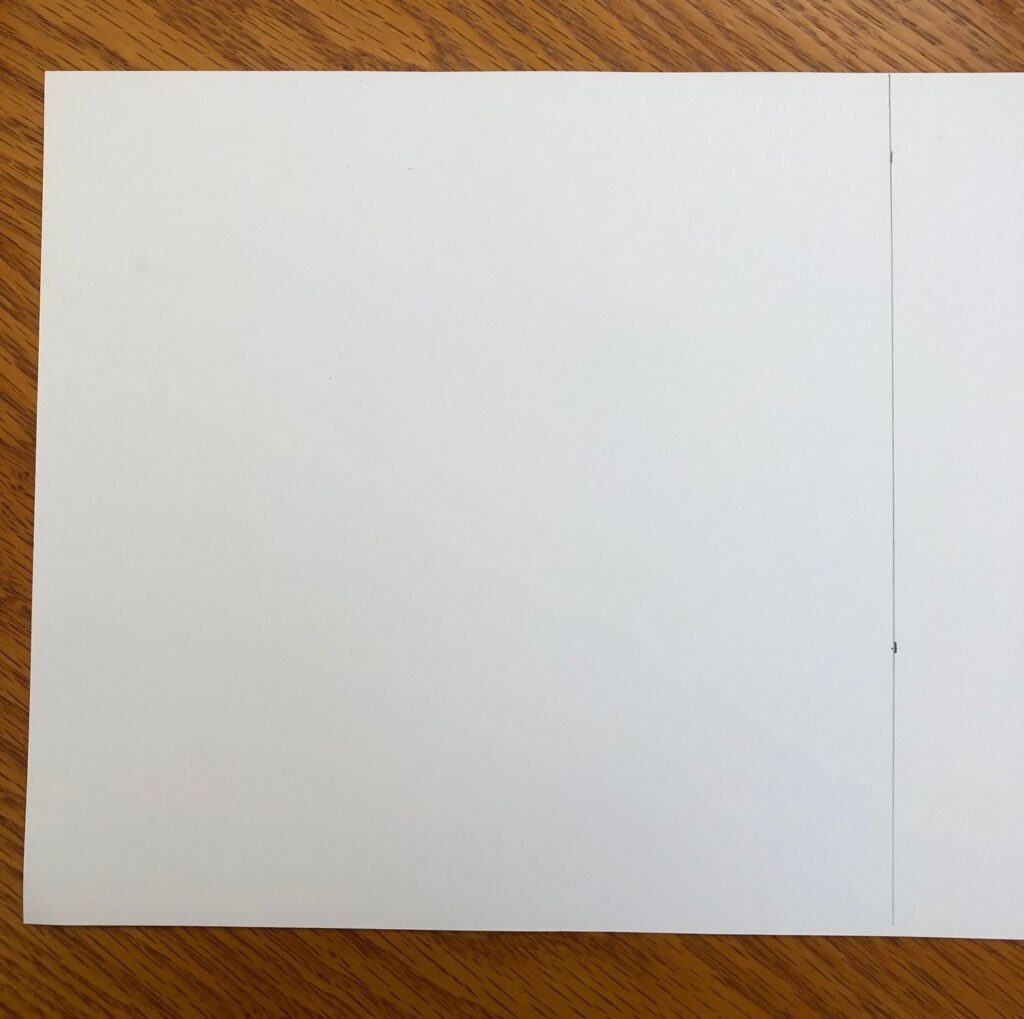
This is light weight card stock 8 1/2″ x 11″.
Step 2: Cut the top paper into a square. Cut the bottom paper 1/8″ smaller than the top. (If your top paper is 8 1/2″ square, the bottom paper should be 8 3/8″ square.)
This square is 8 1/2″ x 8 1/2″.
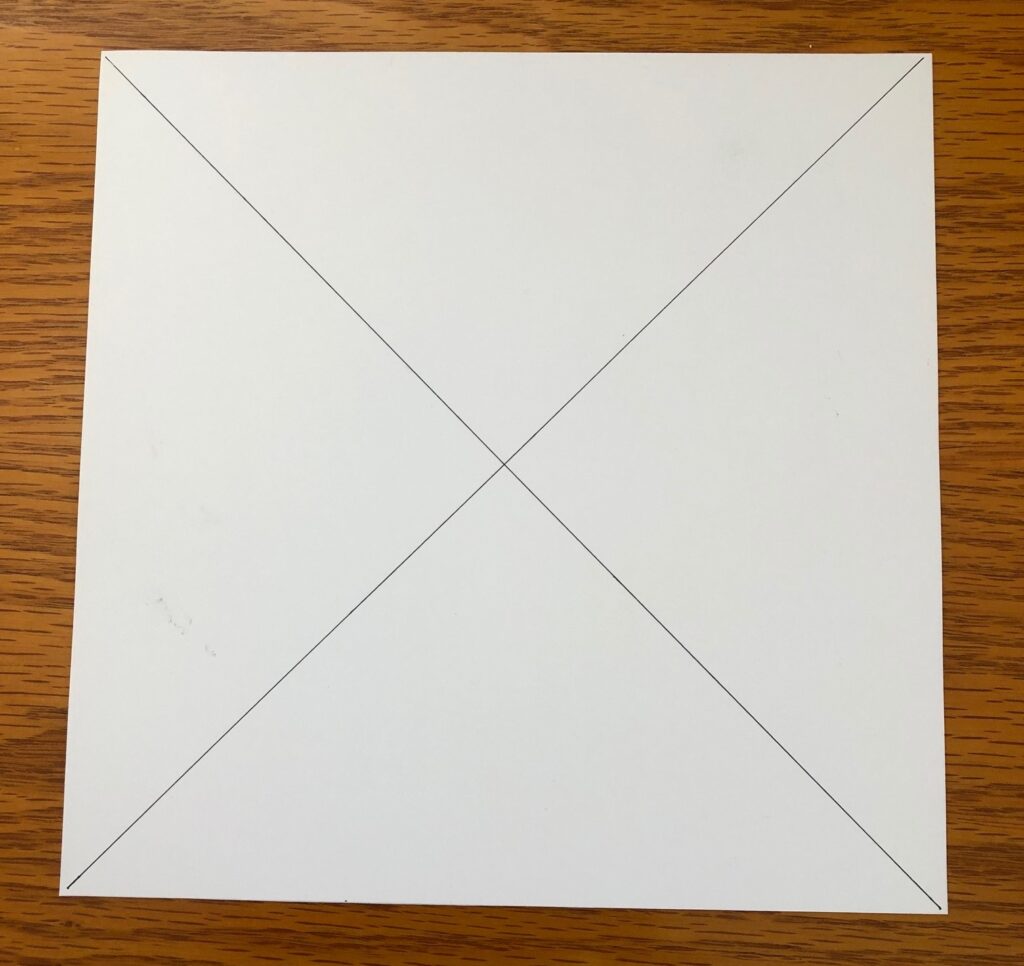
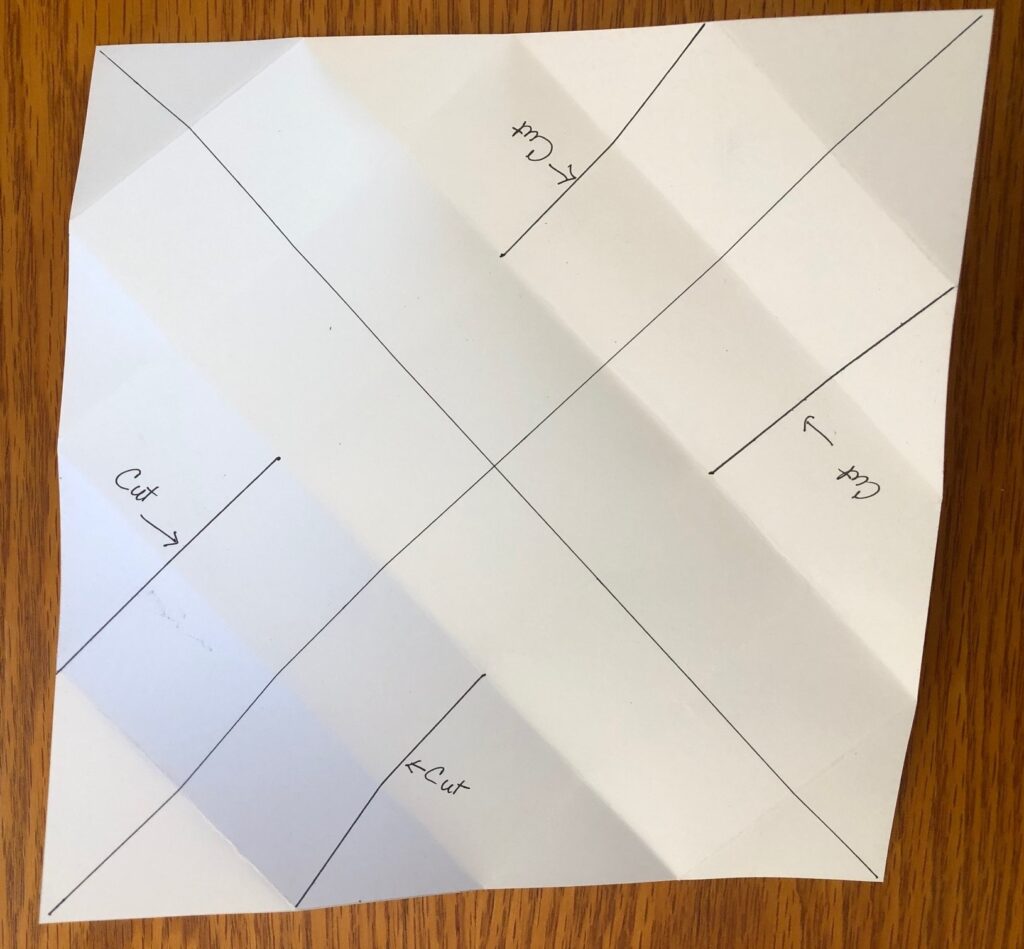
Step 3: To make the top of the box, on the back of the square draw lines with a pencil and ruler from corner, forming an “X”.
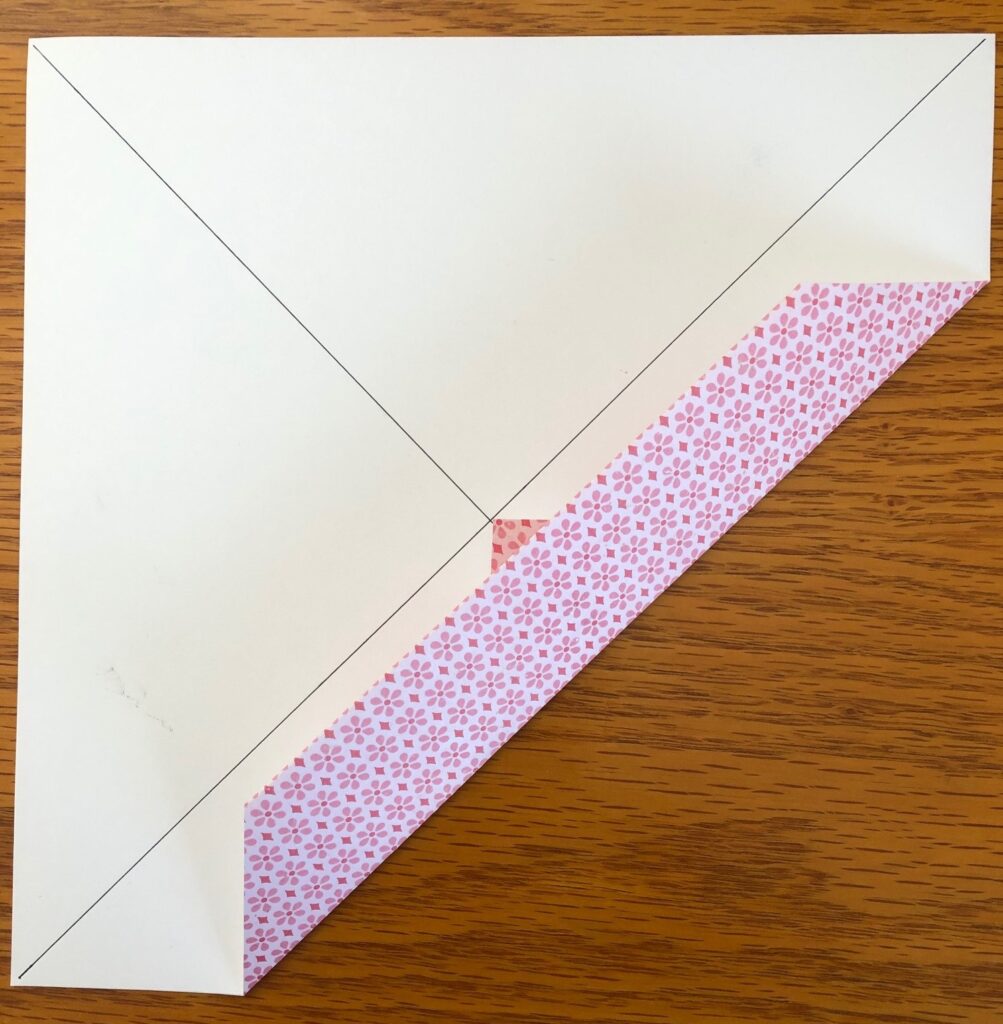
Step 4: Fold one corner to the center point of the X and crease.
Step 5: Fold the edge of your previous fold so it meets the center pencil line and crease.
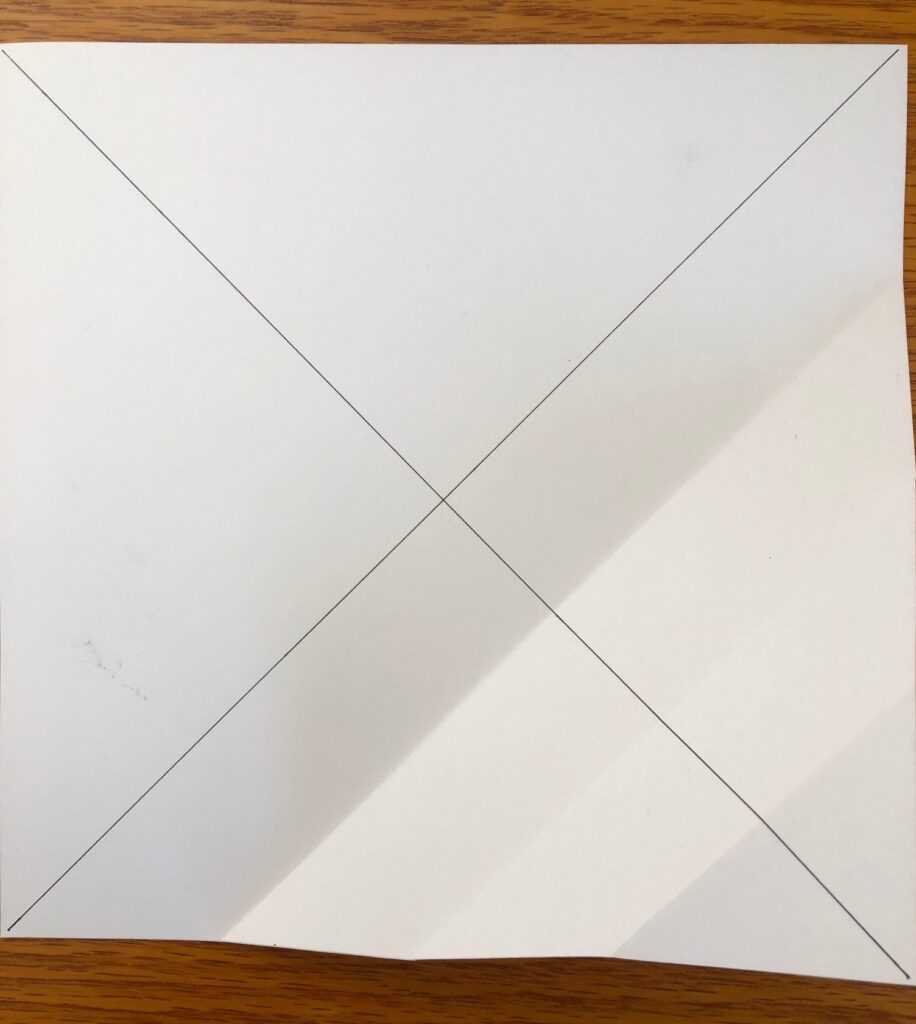
Step 6: Unfold your folds. You are left with a set of horizontal creases.
Step 7: Repeat Steps 4-6 for the remaining three corners. When completed you will have a series of creases that form a grid.
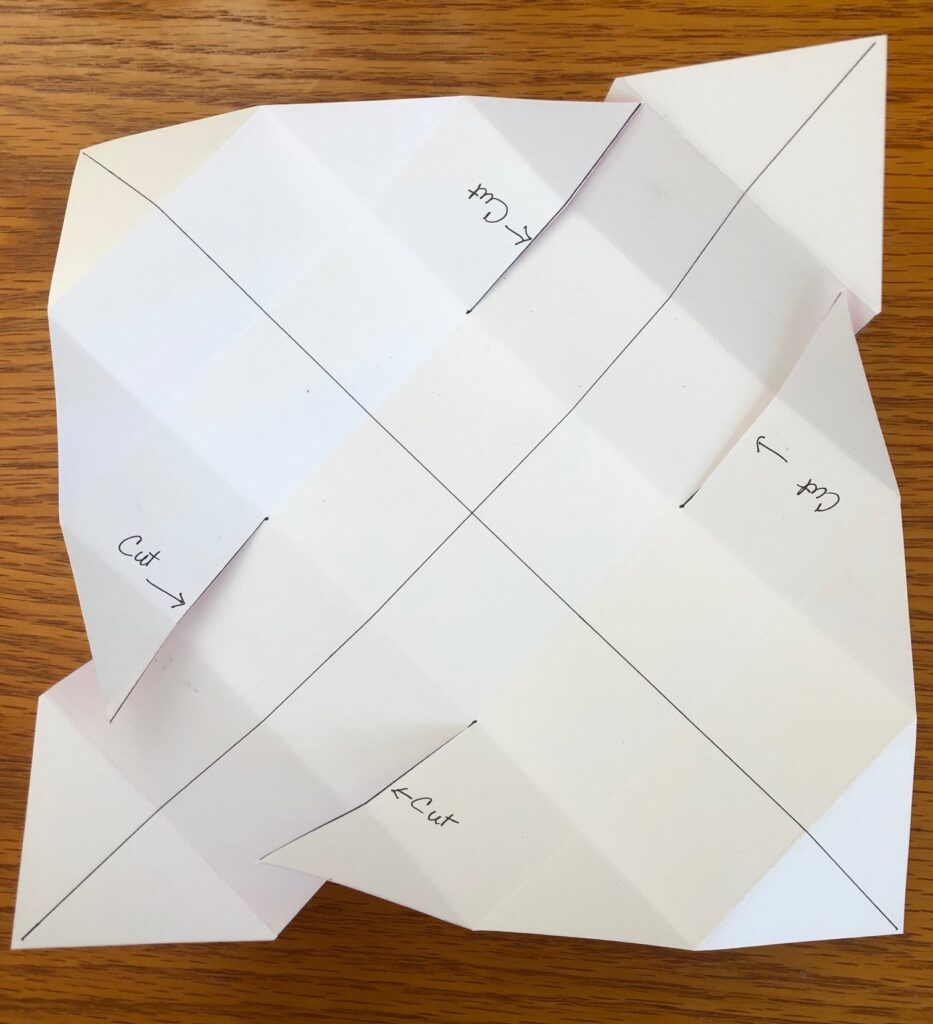
Step 8: You will make four cuts with scissors. Pick two opposing corners. Create a tab that is two blocks and two blocks high (not including the “point”) by making one cut on either side of your center line. Repeat the same cuts on the opposing corner.
Step 9: Fold the opposing corners that have not been cut to the center point of your “X”.
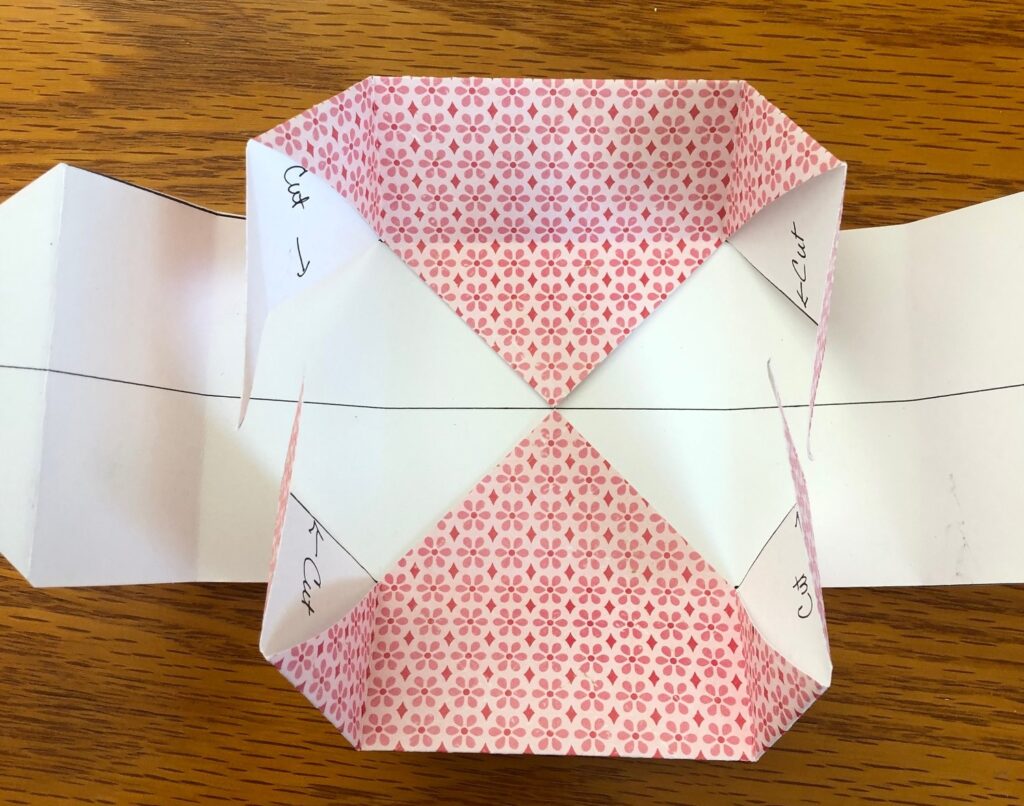
Step 10: Fold them in half again, creating the first two “sides” of your box.
Step 11: Fold the ends of the sides inward, forming the base of the remaining two sides.
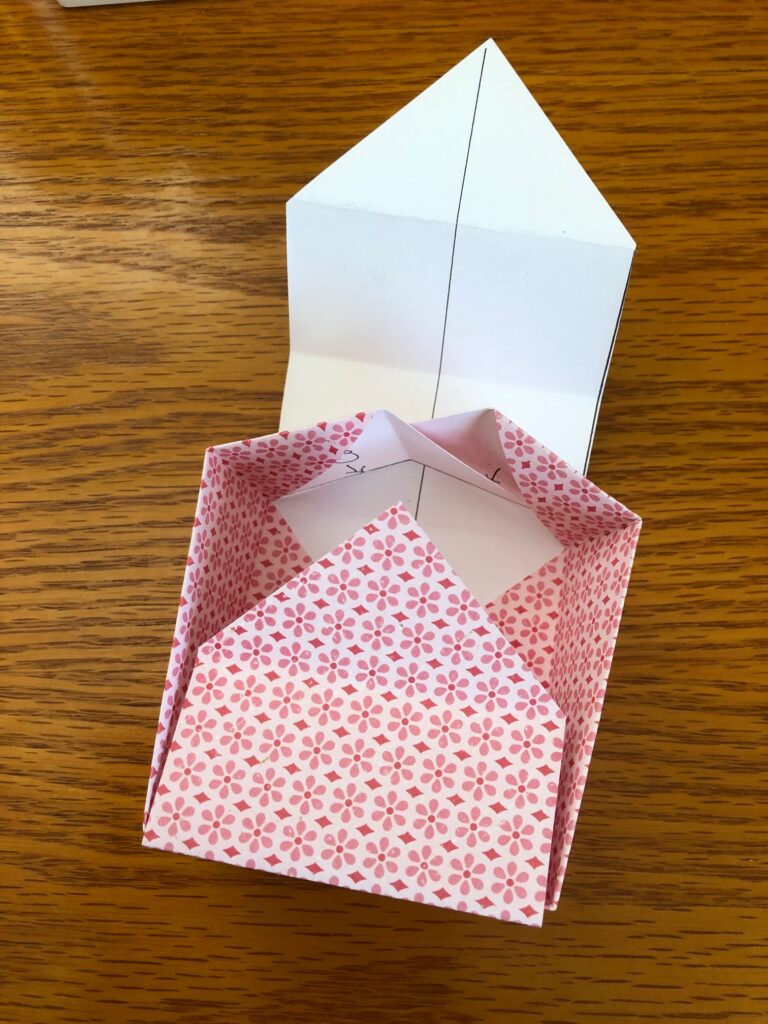
Step 12: Fold the tabs created in Step 8 over the side bases created in Step 11. The point of the Step 8 tabs will meet at the center of the “X”. Place a small piece of clear tape to secure the points.
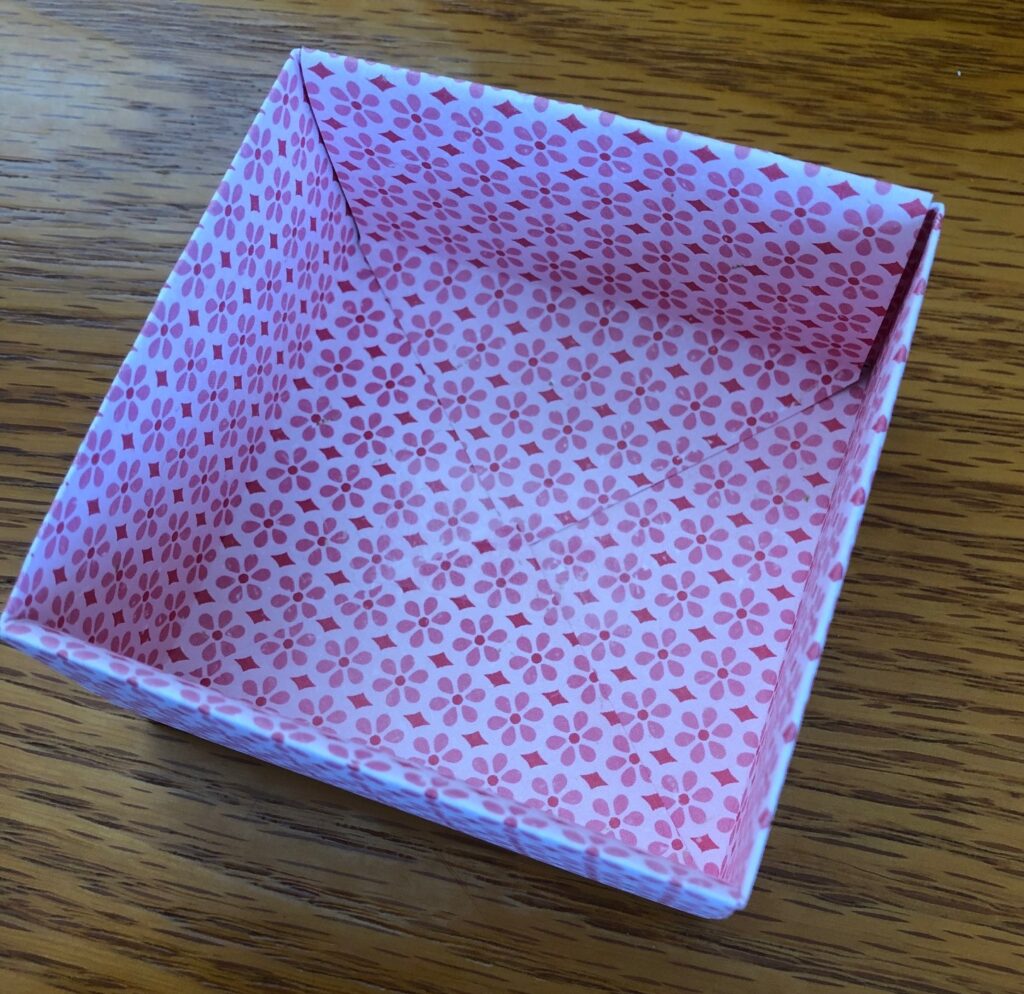
You have now completed your box lid!
To make the bottom of the box, just repeat all the above steps, except your beginning square should measure 8 3/8″ square (or 1/8″ smaller than the top).
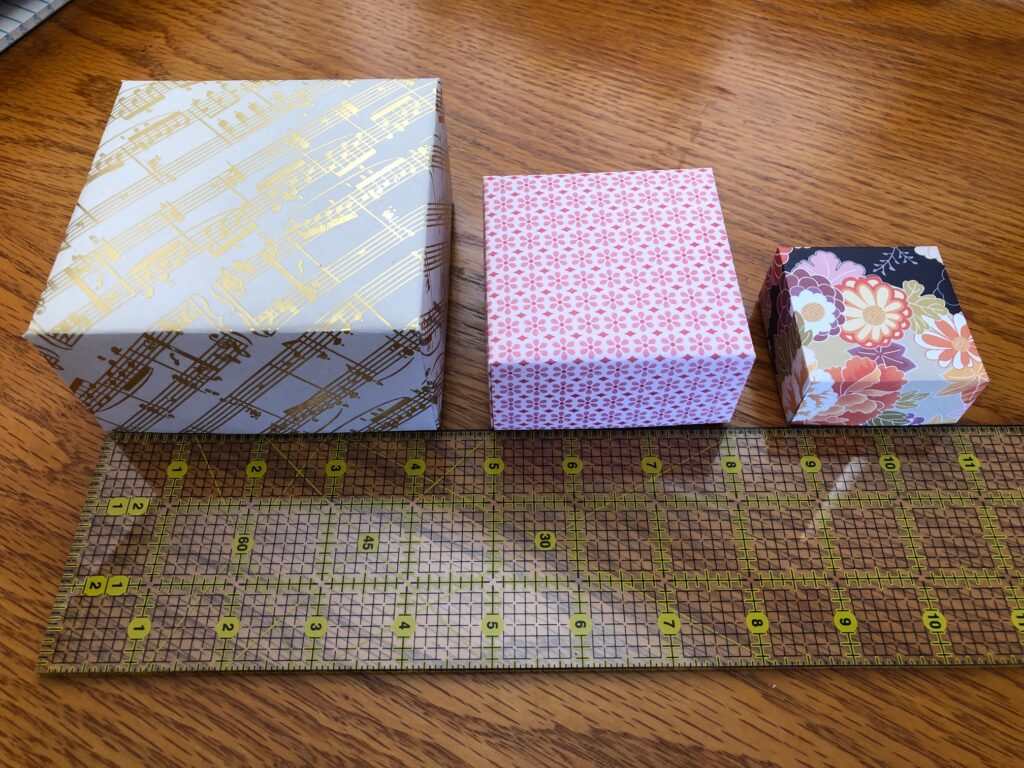
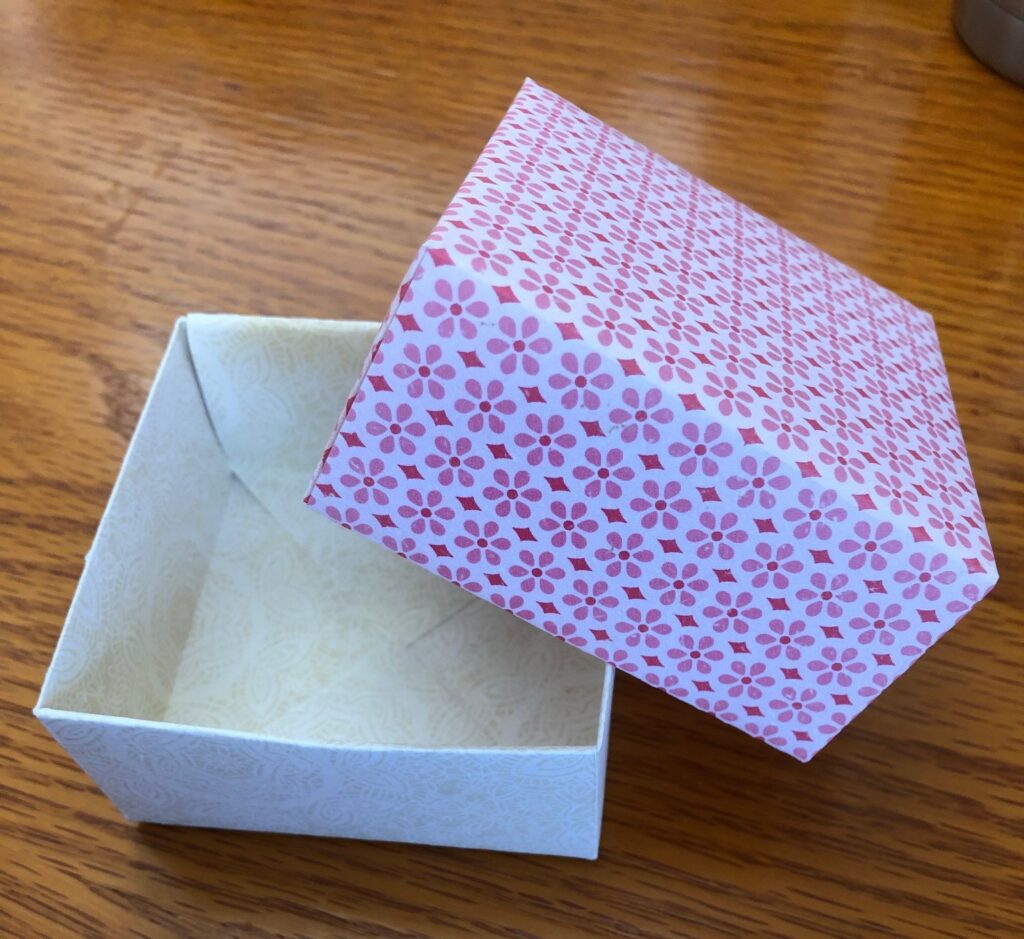
Now, the hard part…what to do with all the boxes you make?
The largest box below is made with heavy card stock. It is large enough, and sturdy enough, to hold a special gift for someone.
The smallest one, made with an origami paper cut to a 4″ square, is quite delicate and will squash easily. I think I will put a string on it and hang it on my Christmas tree!
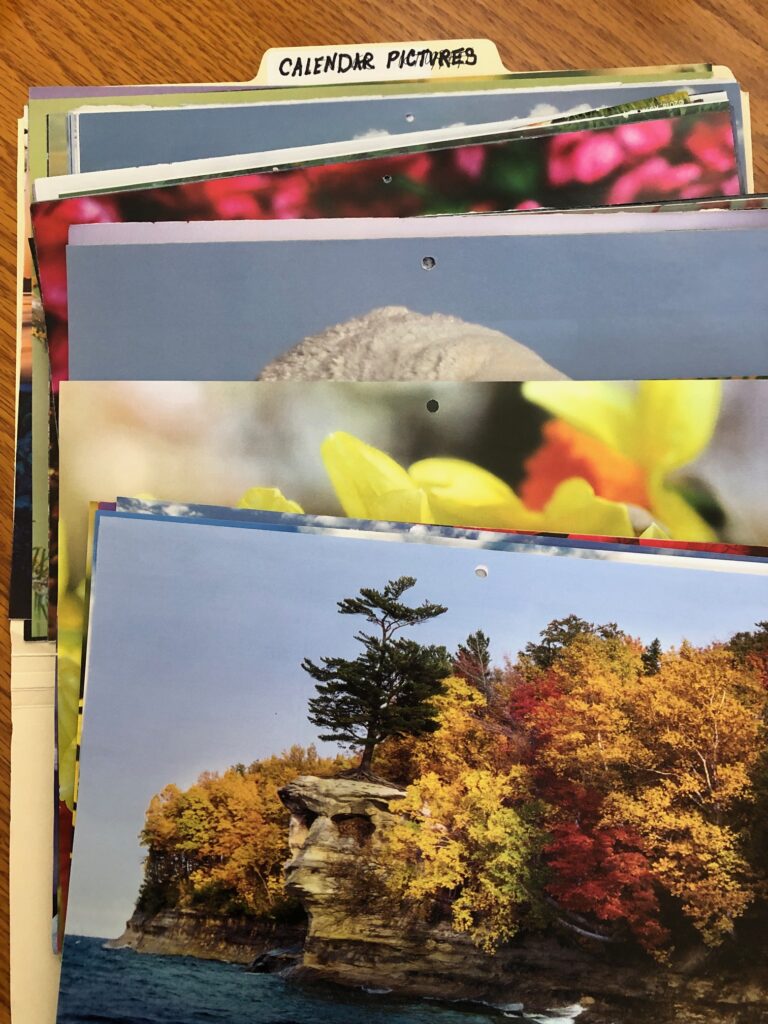
Sometimes I need a small gift bag in a hurry…I’m visiting a friend and want to take a few magnets, a single lip salve or a bar of soap. I have stopped trying to keep a stash of small gift bags from the store on hand. Even with a huge pile on hand, I could never find just the right color/pattern/picture appropriate for that person. Now I reach for my folder of pretty calendar pages and make one that’s just right!
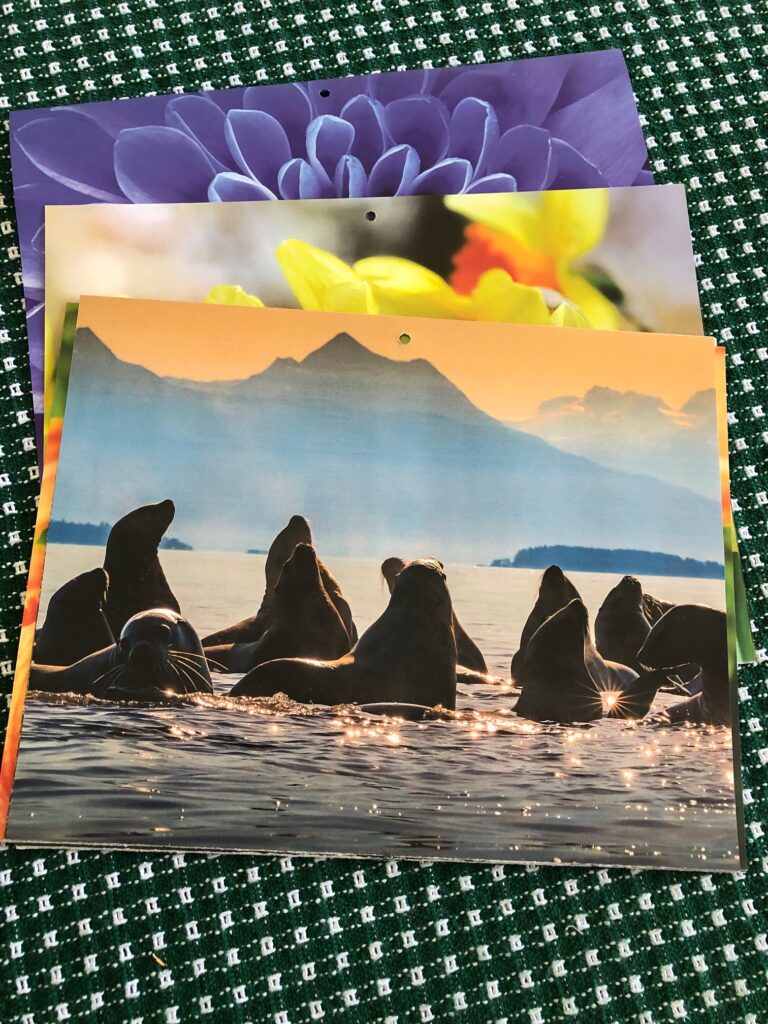
For several years I have received over a dozen new calendars every December. I saved them because I just couldn’t throw all those pretty pictures away. Last year I finally took the pile and (carefully) ripped out all the pictures I really liked and disposed of the rest of the calendar. That reduced the pile to a folder of pictures about 1″ deep.
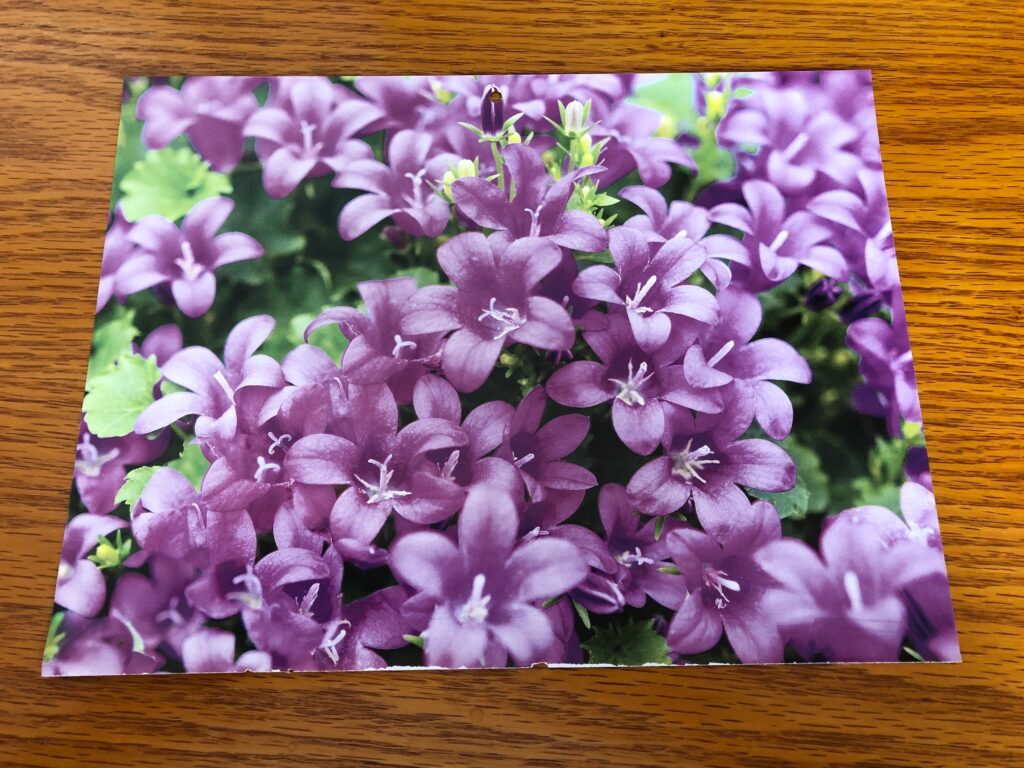
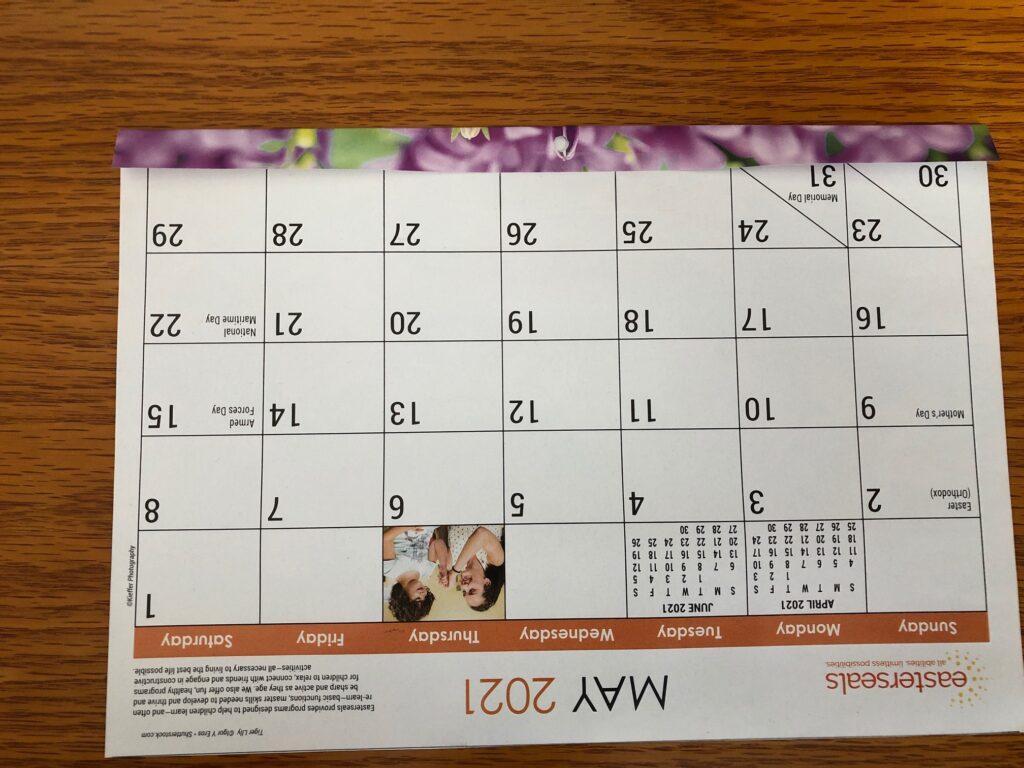
I needed a small bag yesterday, and since I’m looking forward to Spring, I chose a page of beautiful flowers.
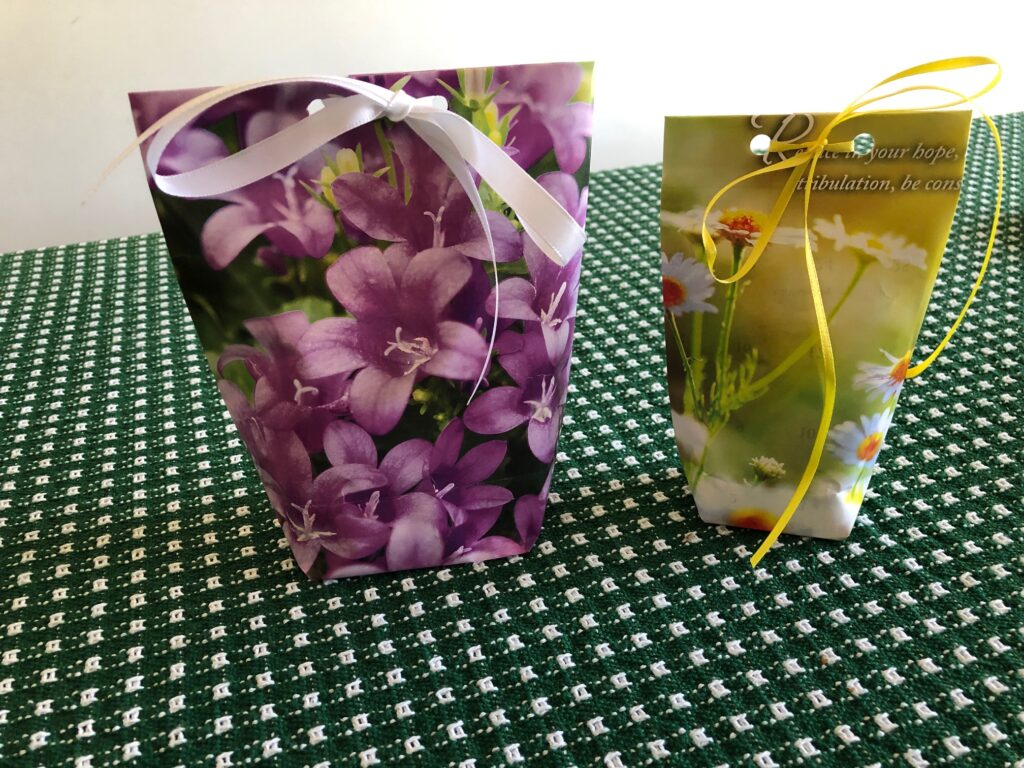
The larger bag above is made with an 8 1/2″ by 10 1/2″ calendar page. The smaller bag above is made with a 7″ by 7″ calendar page.
You will need: scissors, a ruler, clear tape, a hole punch and a piece of ribbon (about 20″ long).
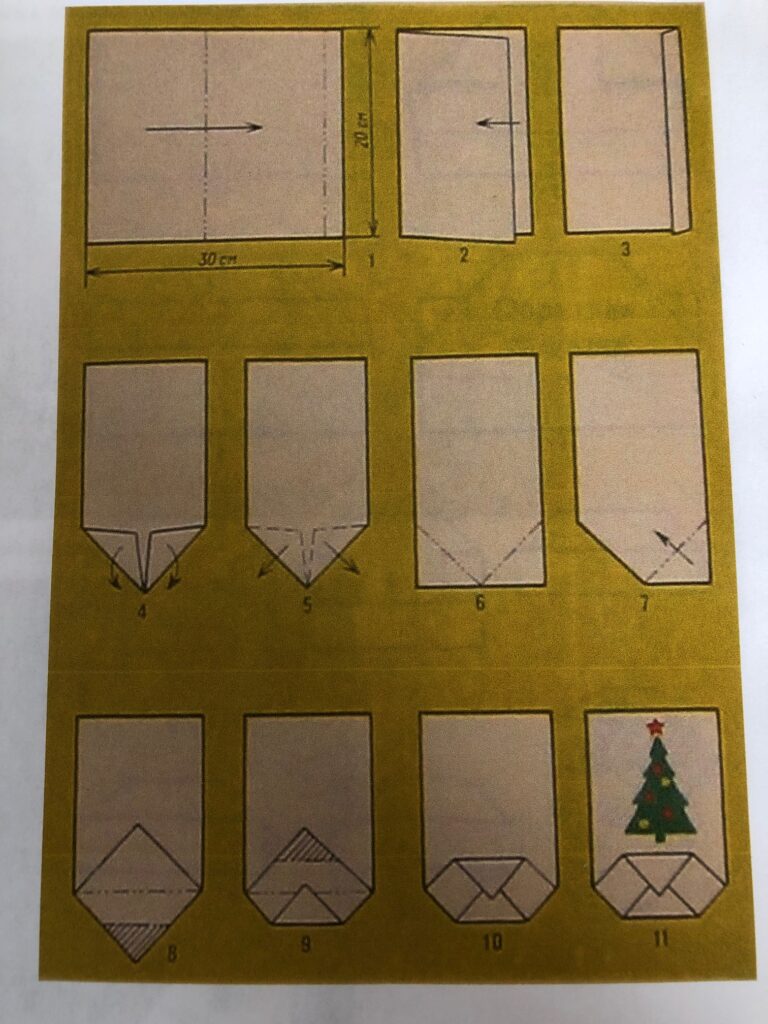
Below is a diagram of how the bag is made. The first three steps show the first fold on the left side, but I fold mine to the center. Your choice!
Diagram to make the calendar bag.
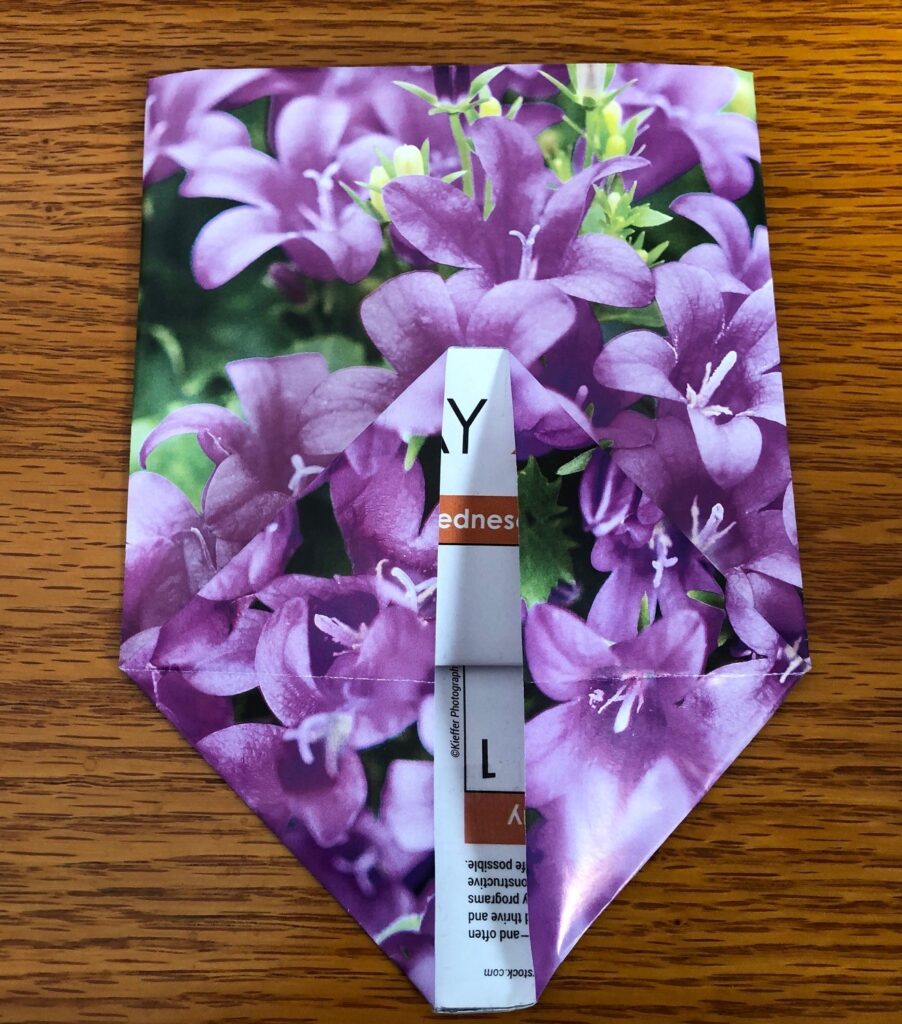
Here is the calendar page I chose today:
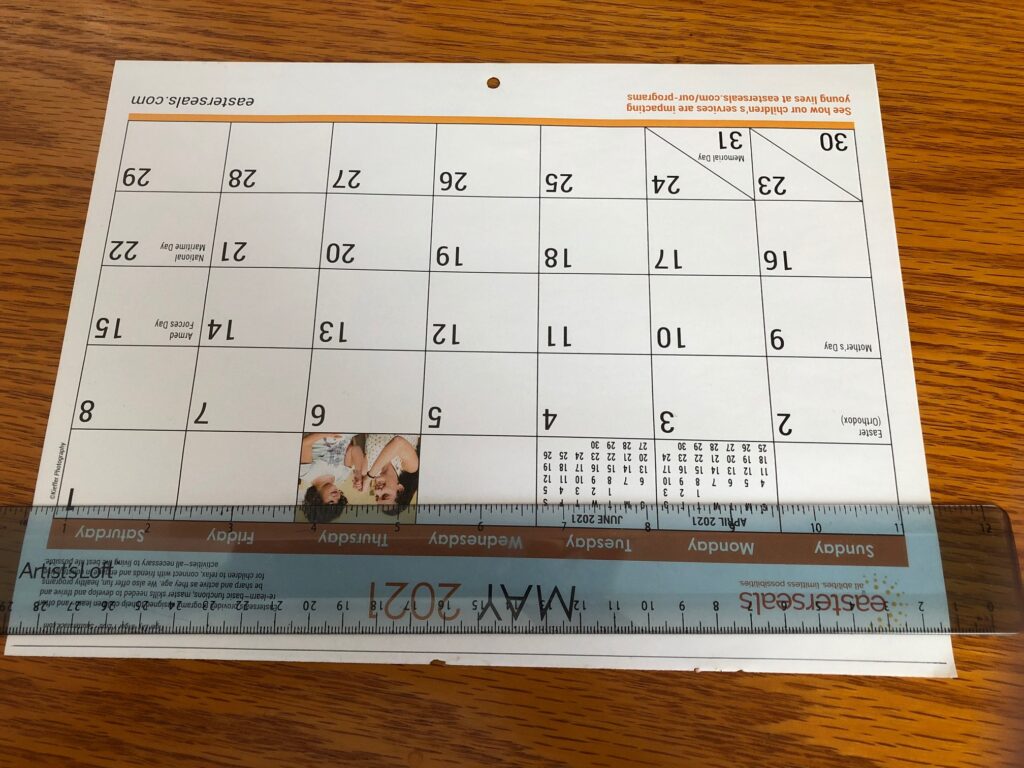
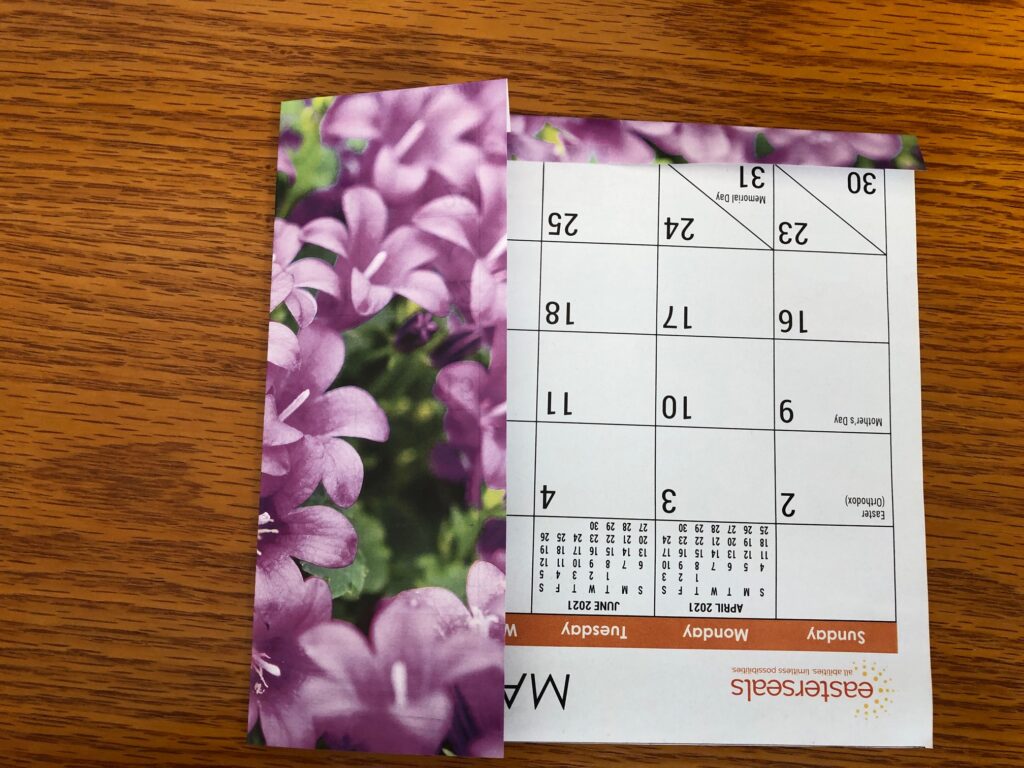
First, I turned the page over and trimmed the torn edge.
Next, I folded the top edge (where there is usually a hole to hang the calendar) and added a small piece of tape in the center to keep it folded.
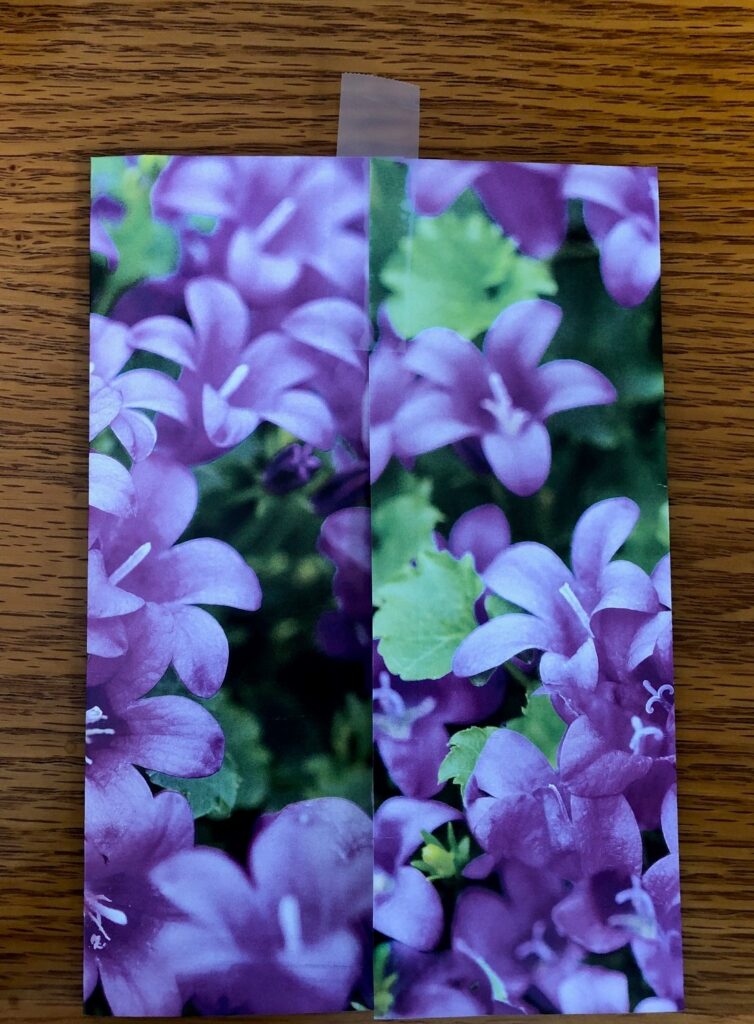
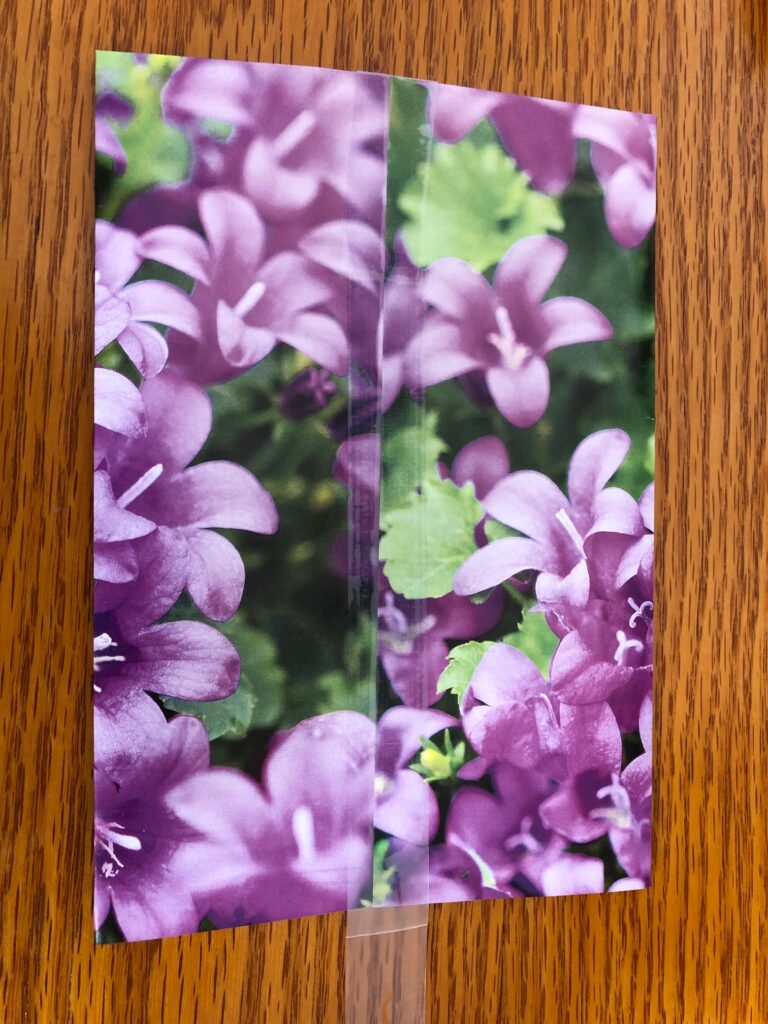
Now, fold both sides to the center, with a little overlap, and place a small piece of tape at the top. Fold it to the inside of the bag.
Then add tape the rest of the way down the seam and fold extra to the inside.
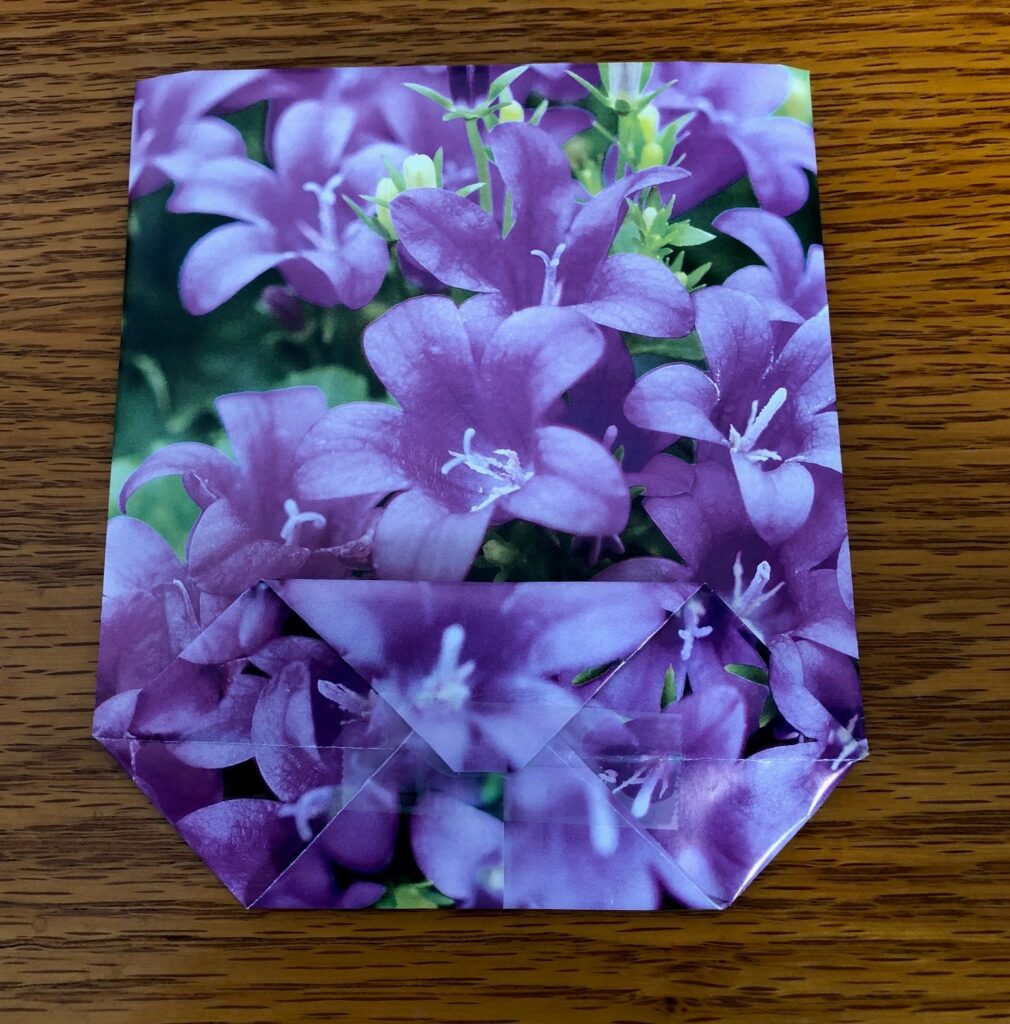
Now fold the bottom corners to the center and crease.
Open up the corners and tuck the folds inside each corner. Open the bottom vertically.
Fold each point to the center (with a little overlap) and tape.
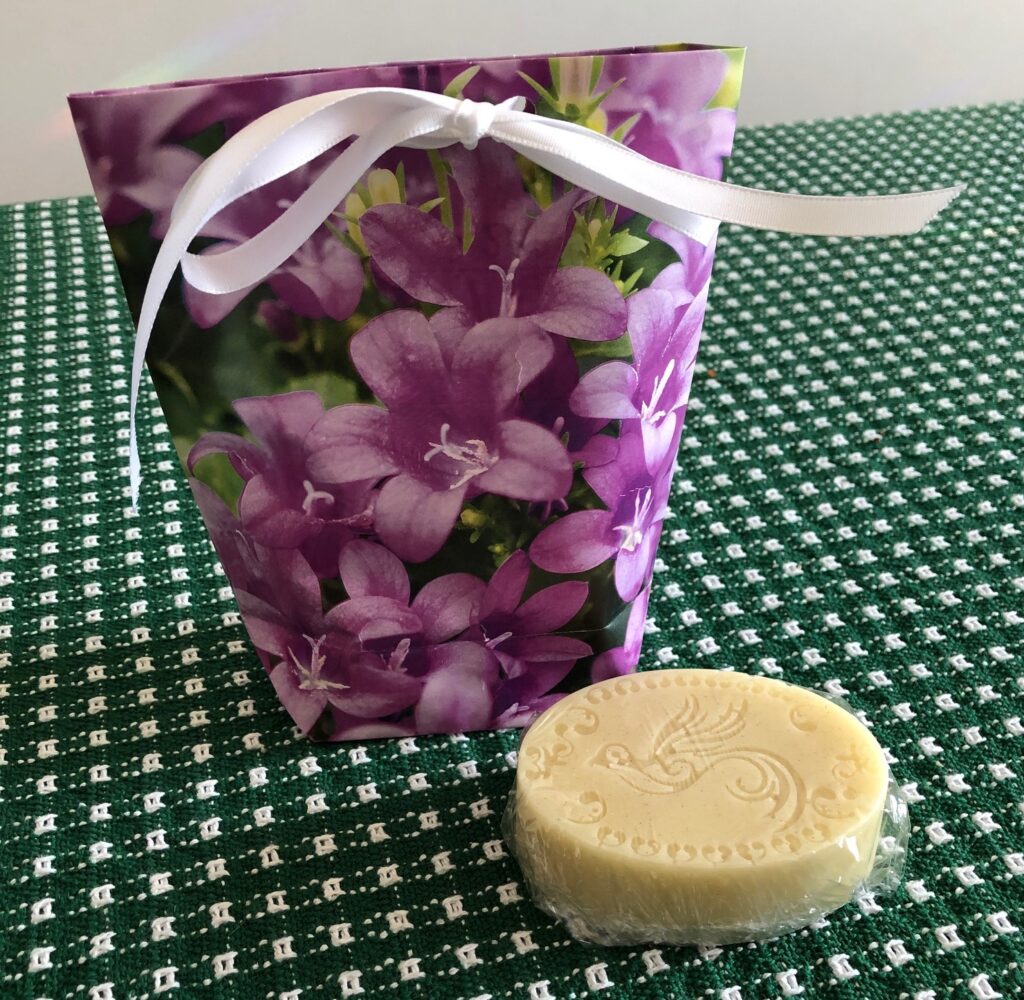
Next punch two holes for the ribbon tie.
Add a piece of ribbon to close the bag.
This size bag was just perfect for one bar of my Aloe Vera soap!
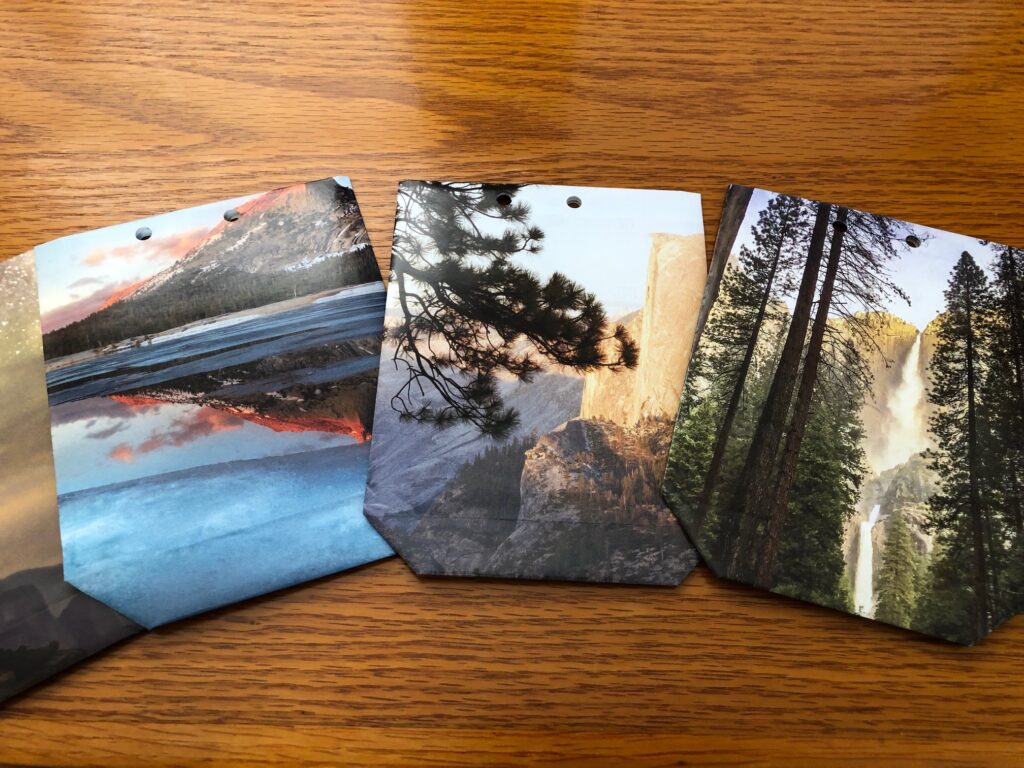
If I’m in the mood to make more than one bag, I store them flat in the filing cabinet without ribbon.
So, save all those extra calendars and make small gift bags yourself! Enjoy!
Many of my projects start with a problem that could use a creative solution. This could be a greyhound coat that needs a better design; a bag of neckties that needs to be preserved for a loved one in some way; or a front door space that smashes every wreathe I hang up!
A soap that works for me!
My adventure with soap started with a rash on my hands! Several years ago after an intense gardening season I found my hands were red and raw from continuous washing. I discovered a bar of handmade lavender soap at the Farmer’s Market that was wonderful! As long as I used that to wash my hands the rash was under control. The woman making it was also plagued with sensitivity to soaps and started making it for herself. She decided to sell it at the Farmer’s Market!
Each time I would switch to a different kind of soap the rash would appear again. She eventually closed her booth and I was back to trying to figure out how to help soothe my hands.
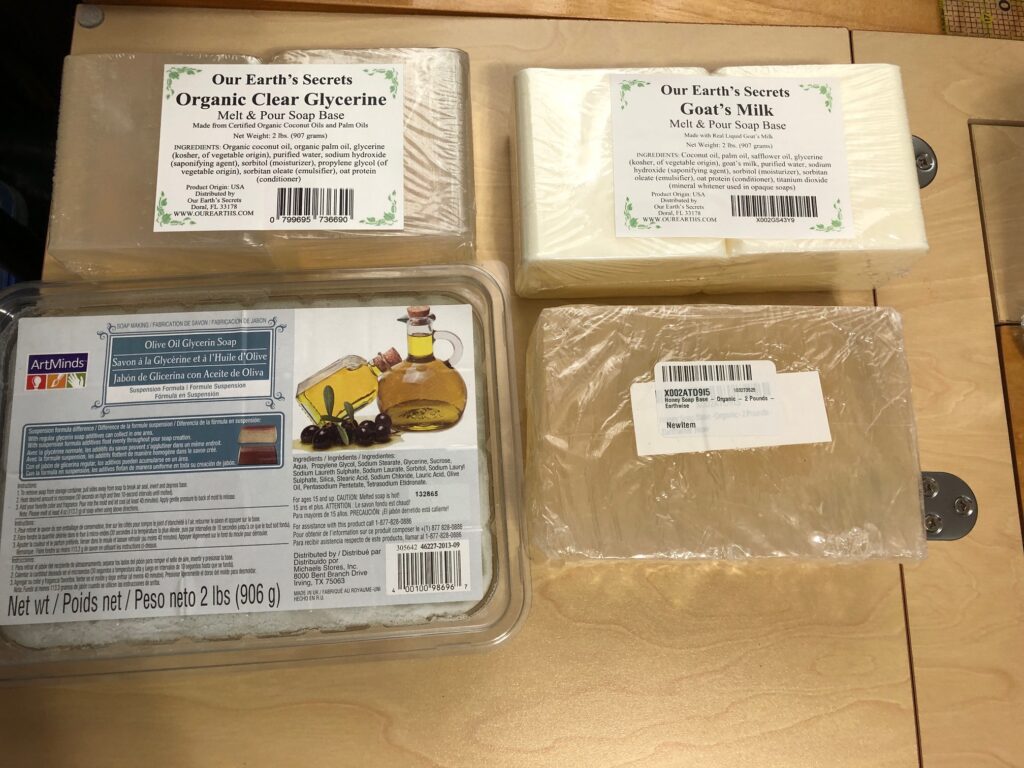
Most homemade soaps made from scratch start with lye as an ingredient. This made making my own soap a daunting task. I then discovered melt and pour soap bases, easily found at local craft stores and on Amazon.
A few of the many choices of soap bases.
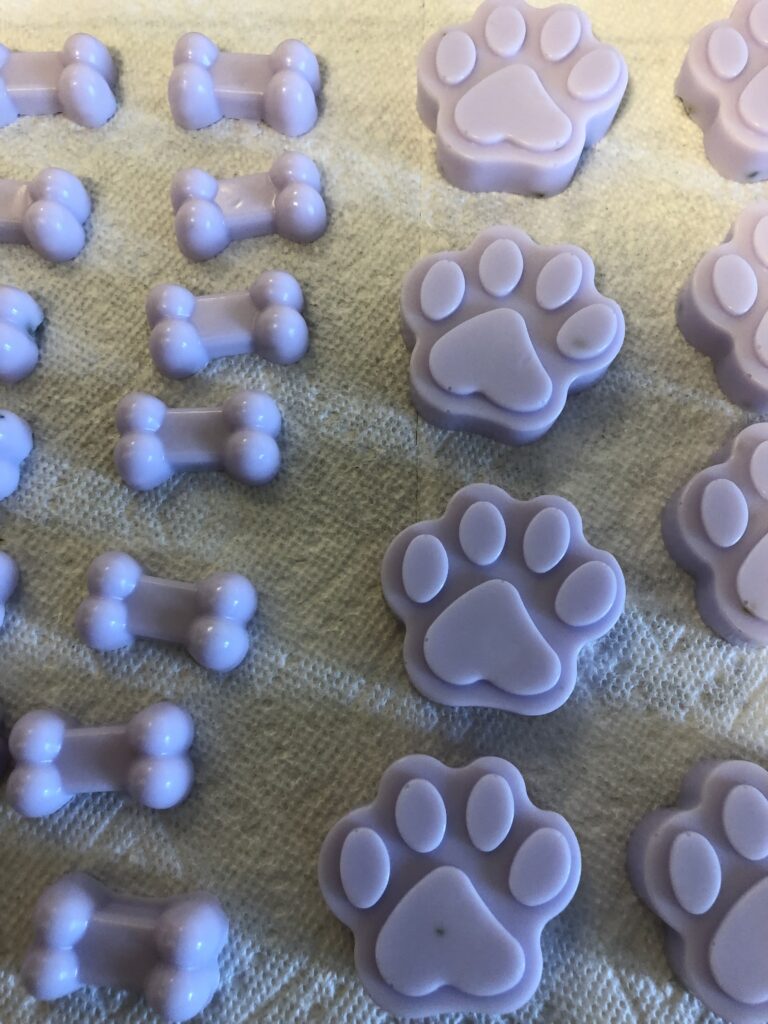
Many recipes from Pinterest start with a clear Glycerin soap base or just one kind of basic white soap. I had fun making cute novelty soaps for a while. My hands, however, were not happy.
These made cute soaps for dog lovers!
So I tried Goats Milk soap base and my rash got worse. (I did wonder if my dairy allergy would mean I was also sensitive to the Goats Milk soap base.)
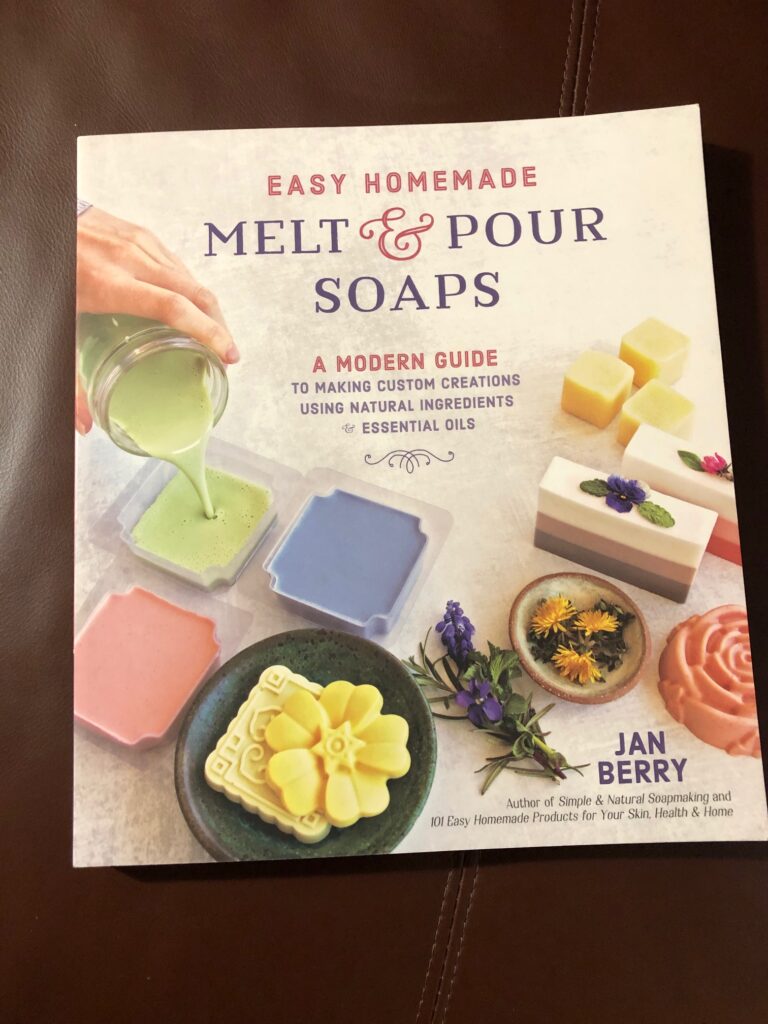
I finally found a recipe using Aloe Vera soap base. That was much better but it was really hard to get enough lather to wash my hands. I ordered a book written by Jan Berry, Easy Homemade Melt & Pour Soaps. This had lots of great ideas about how to use melt and pour soap bases.
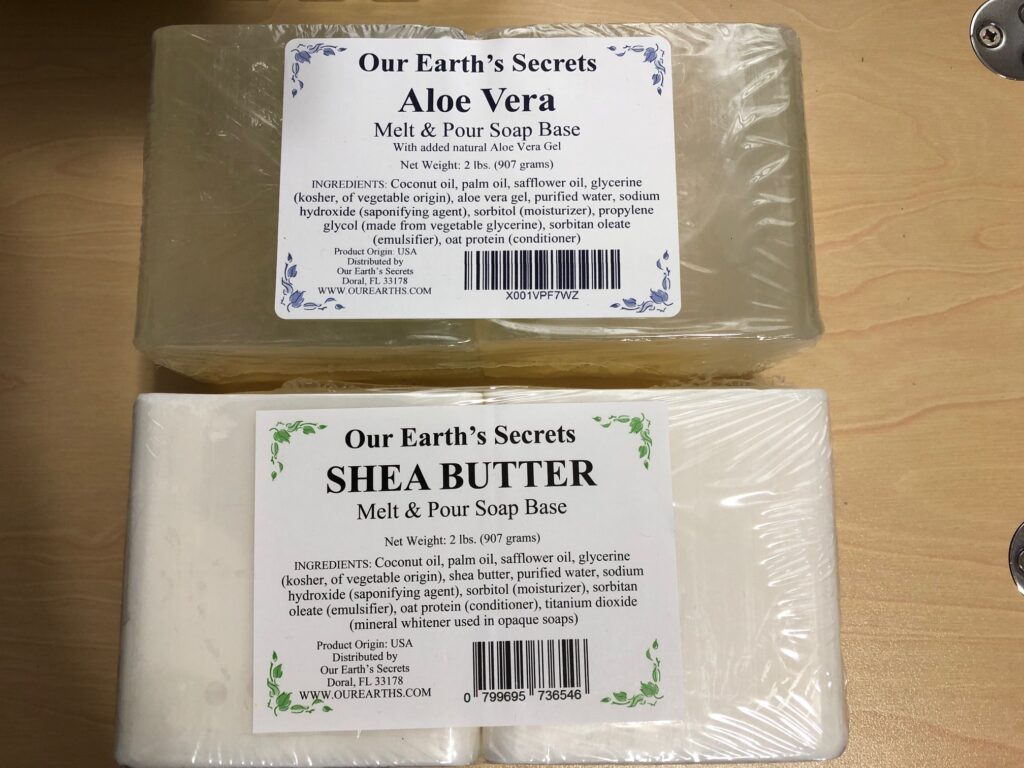
One recipe in the book used Aloe Vera and Shea Butter soap bases.
I ordered these on Amazon.
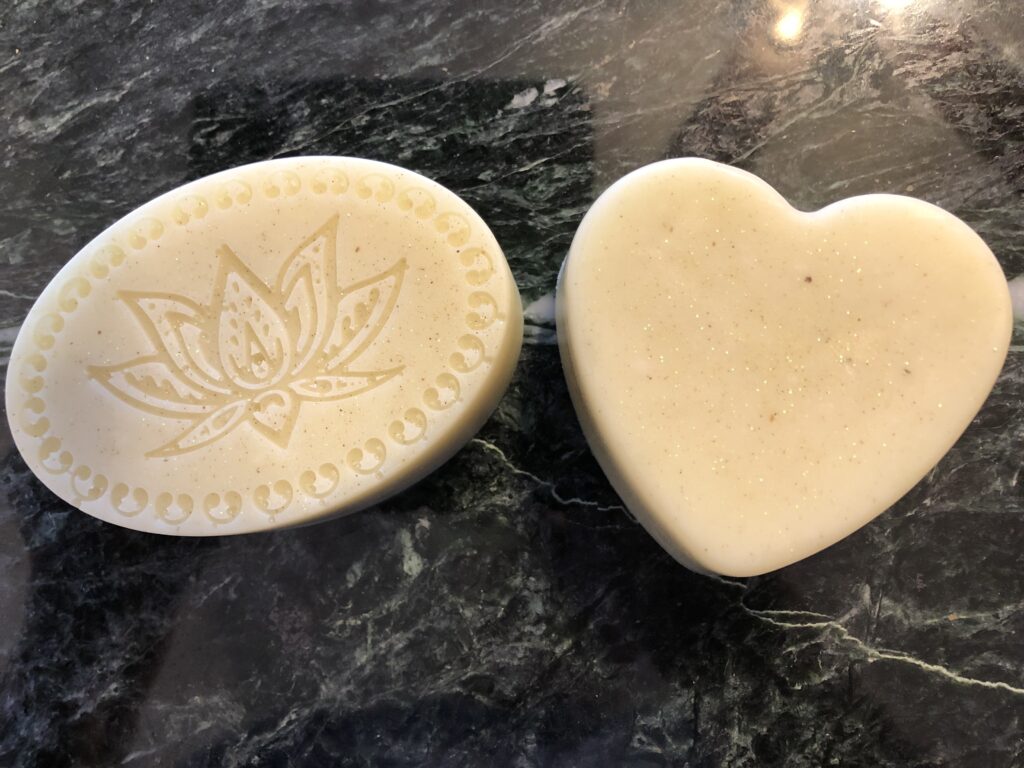
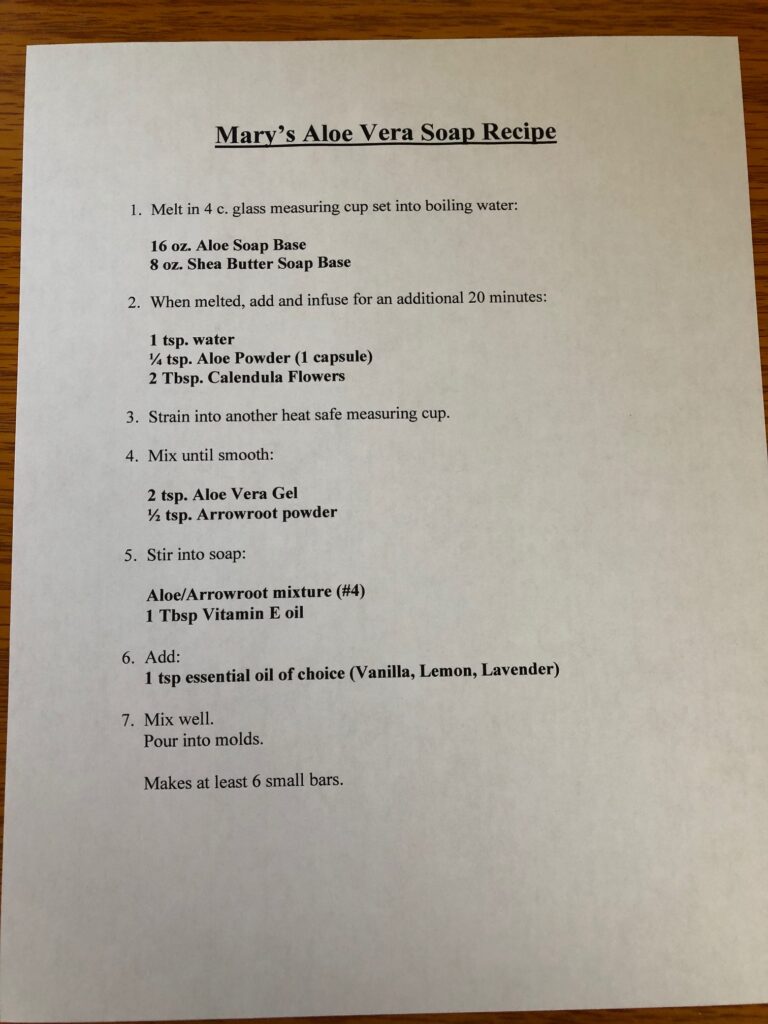
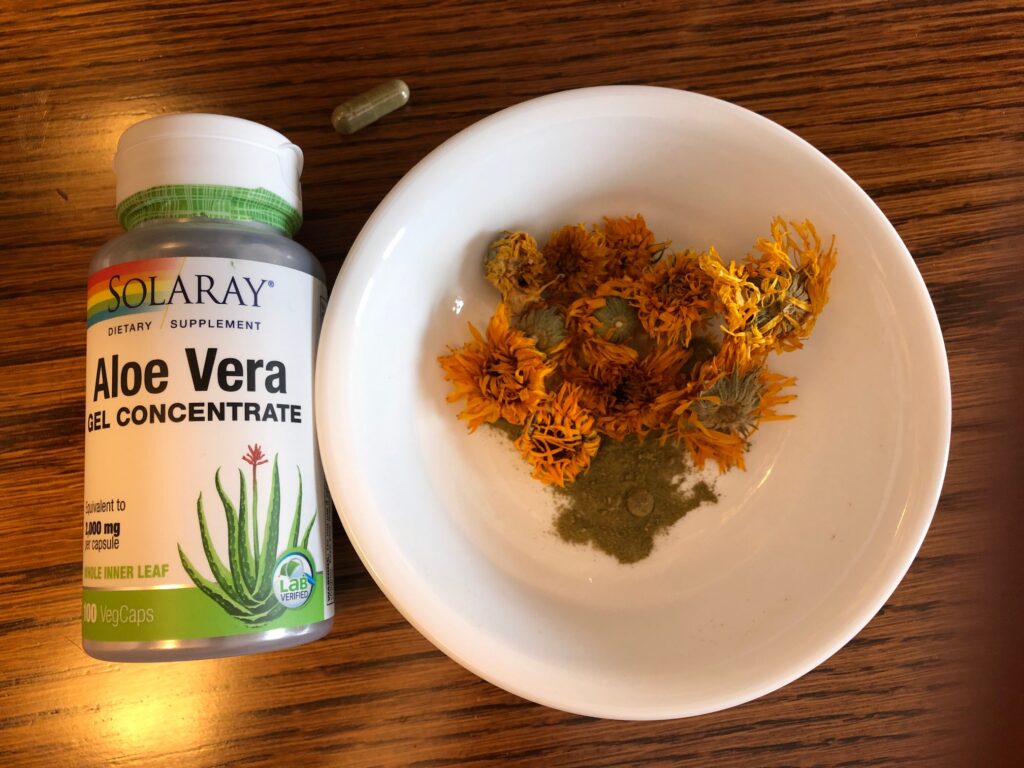
I found the dried Calendula flowers (ordered online the first year; grown in my garden last year) made a pale yellow color and the extra Aloe Vera (powder and gel) did the trick to make a soap I could use frequently without problems. Here is my final recipe:
Equipment you will need:
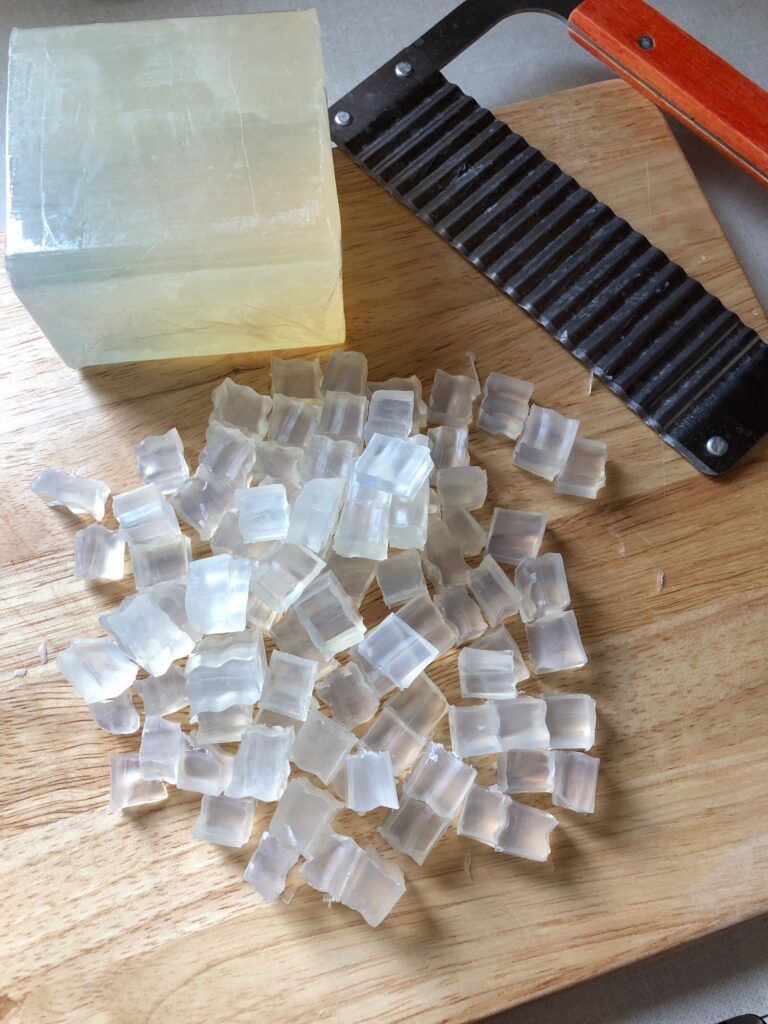
2 4-cup glass measuring cups (heat safe); Saucepan to hold water and the measuring cup; Measuring spoons; Rippled soap cutter; Small strainer; Wood sticks to stir soap as it melts; Silicon molds of choice.
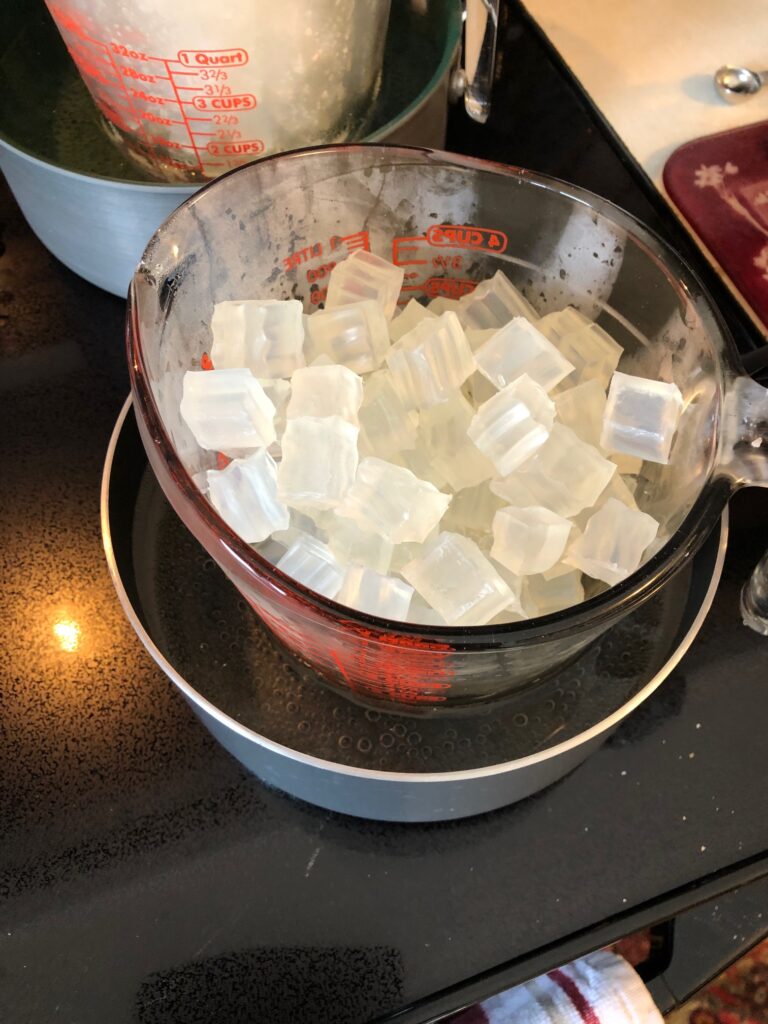
Step 1: Cut the soap base into small pieces. Place soap into glass measuring cup Heat water in the saucepan to boiling and then reduce to simmer. Continue simmering until all soap is melted.
Step 2: When fully melted add:
1 tsp. water to 1/4 tsp of Aloe Vera powder (about 1 capsule) and 1 Tbsp. dried Calendula flowers
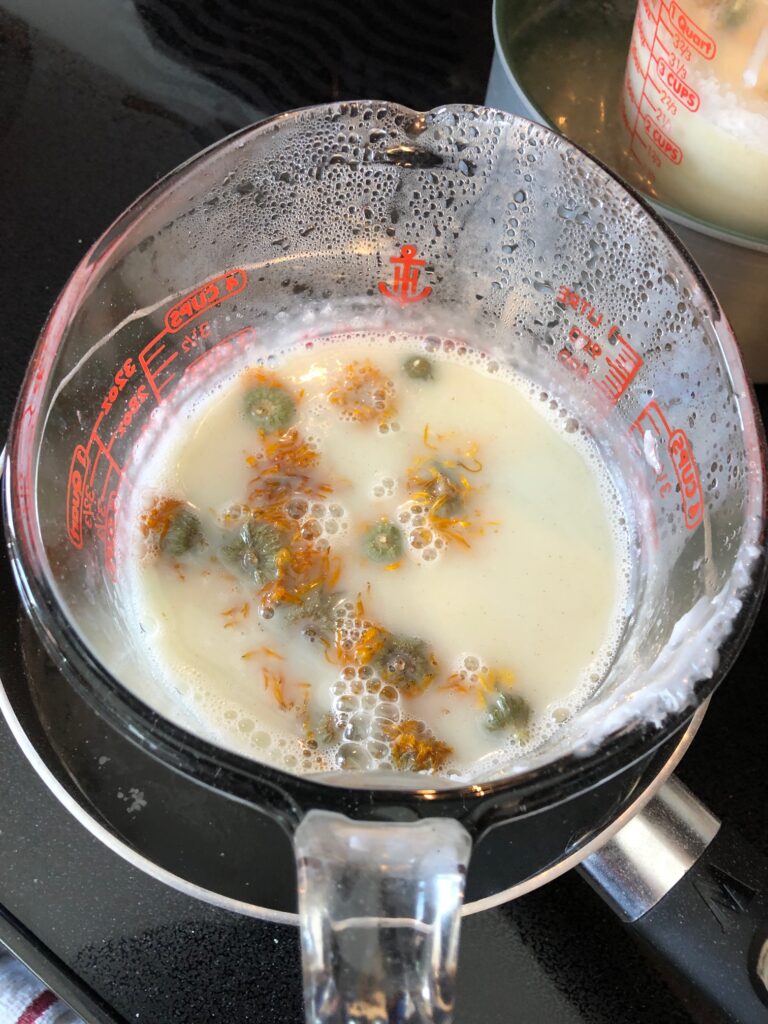
Let the simmering soap on the burner and let the Aloe Vera powder and flowers infuse for 20 minutes.
Step 3: Strain out the flowers into the second glass measuring cup. (Sorry, no picture…I couldn’t hold the strainer and the measuring cup and take a picture at the same time.) Put the second glass measuring cup back into the warm water.
Steps 4: Mix until smooth…2 tsp aloe vera gel and 1/2 tsp Arrowroot powder in a small bowl.
Step 5: Add mixture from Step 4 plus 1 Tbsp. Vitamin E oil to the melted and strained soap. Mix well.
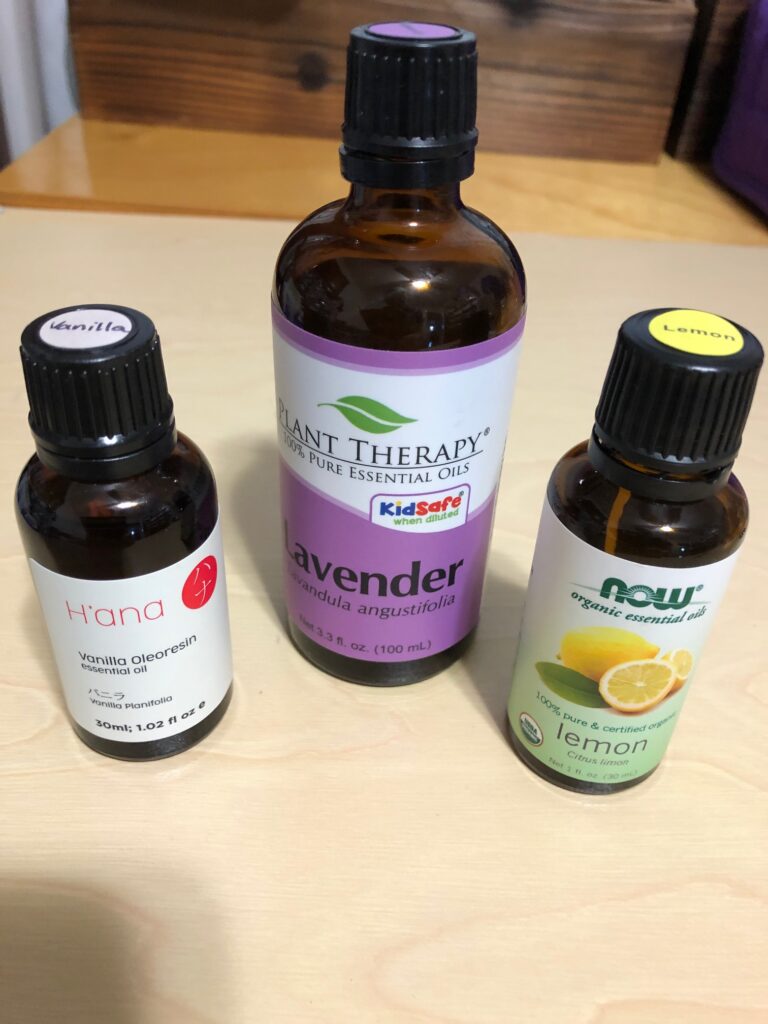
Step 6: Add 1 tsp. Essential Oil of your choice. Mix well.
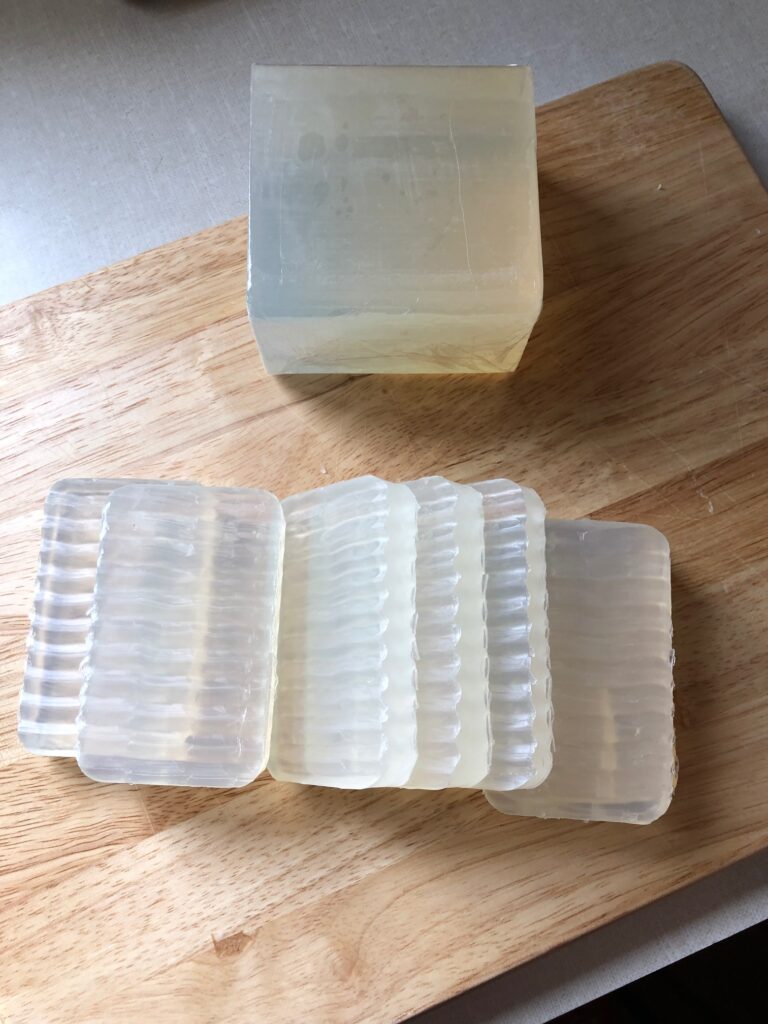
Step 7: Pour soap into molds. This will make at least 6 small bars, maybe more depending on how big the molds are. Have an extra mold ready in case you need it!
Let cool for about 2 hours. Soap will be set and can be popped out of the molds.
Wrap soaps individually with plastic wrap when completely cool and firm.
Novelty soaps are fun to make and share. Soap that doesn’t give me rash…priceless! Try it yourself!
If you’d like to chat about this post, leave a comment or email me at marykisner@comcast.net.