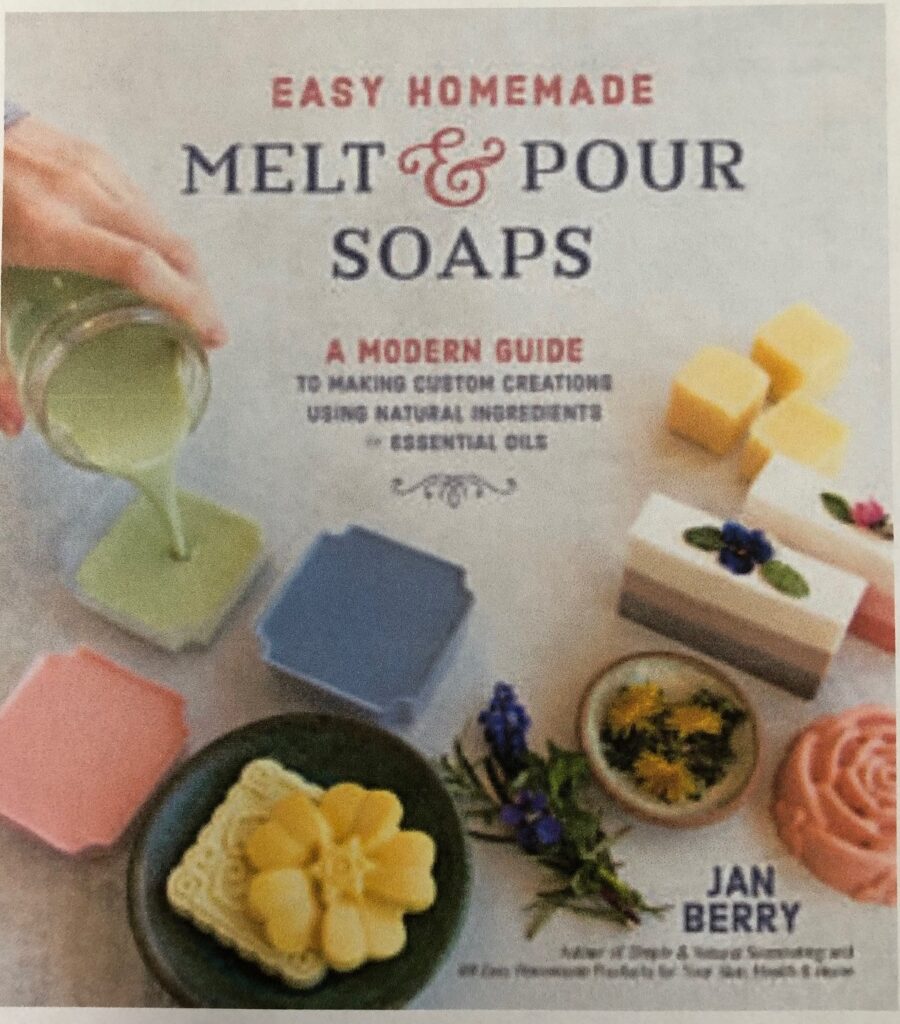
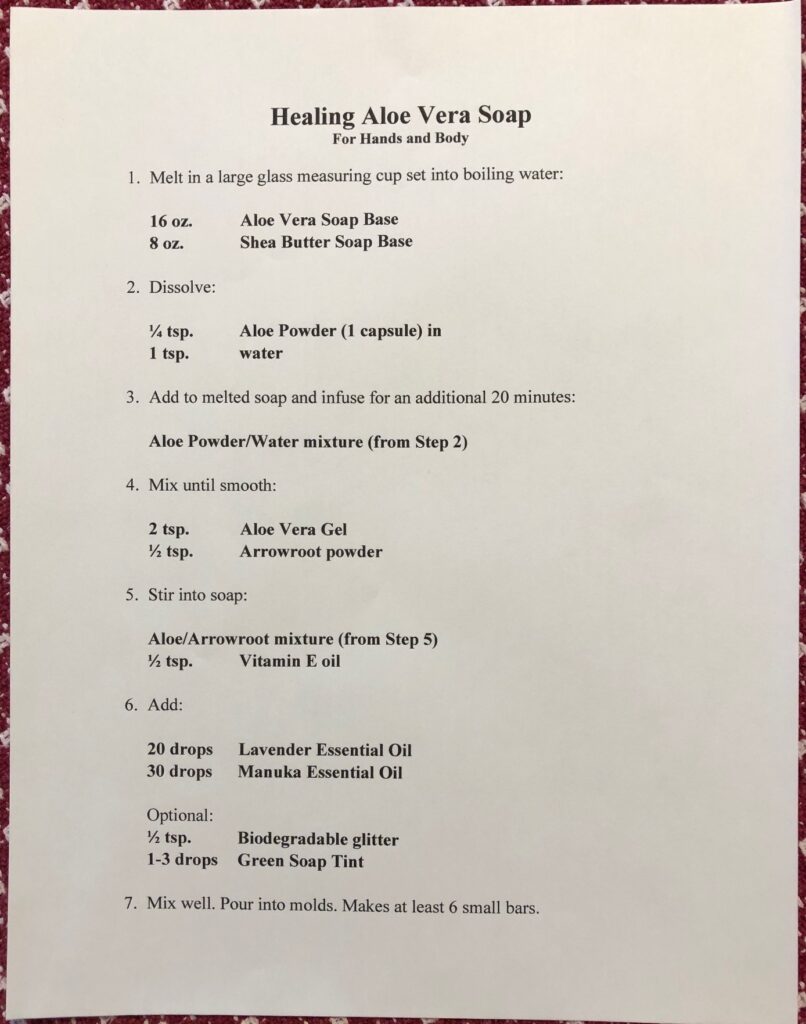
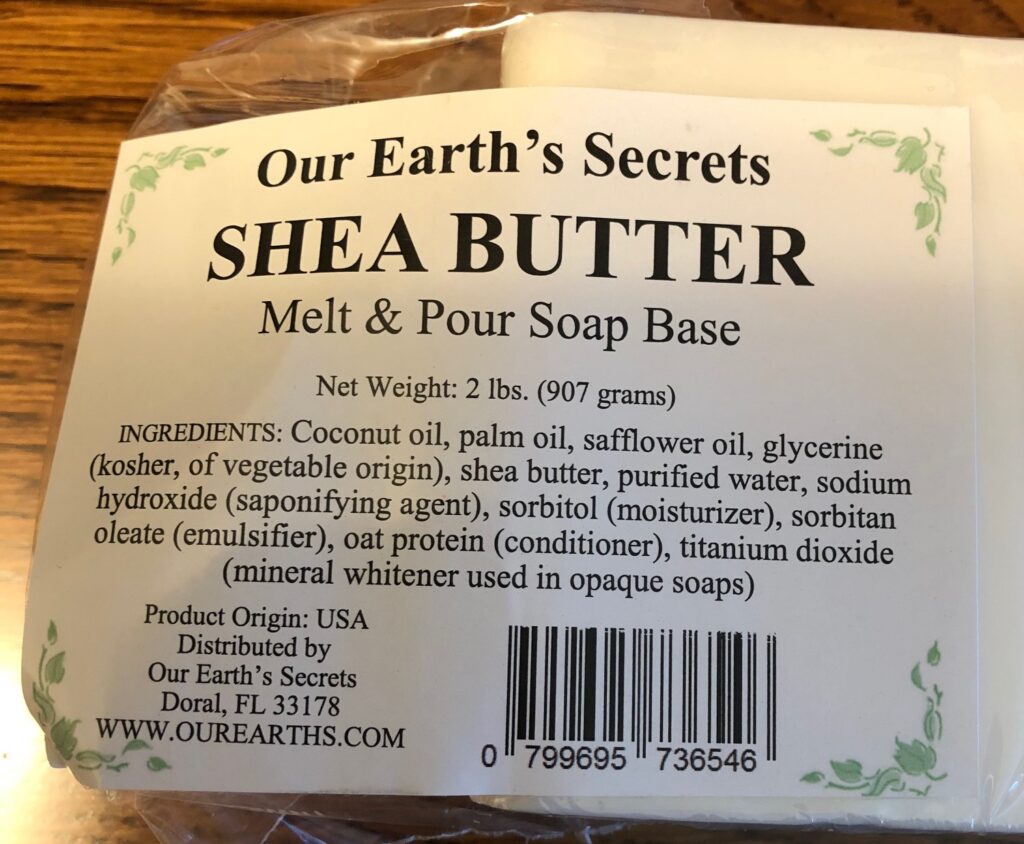
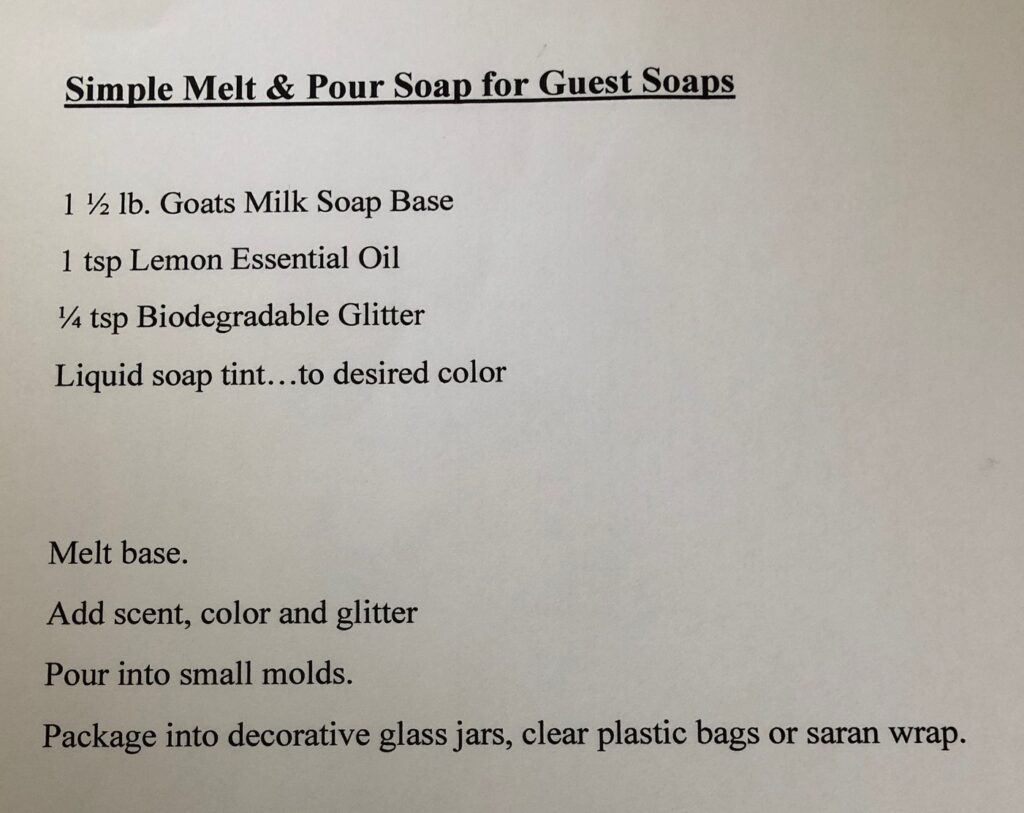
Melt and pour soap bases have made it fun to create lovely soaps for many occasions. These soap bases take the stress out of making soap the old fashioned way…with lye! I’m sure somebody somewhere had to do it, but I appreciate not having to deal with caustic chemical processes here at home. I seem to have selected a few of my favorites…like Aloe Vera and Shea Butter soap bases. I like the clear glycerin soap because it’s simple and can show off hidden objects embedded inside. It’s also great when I need to make an unscented soap for folks that prefer no scent.
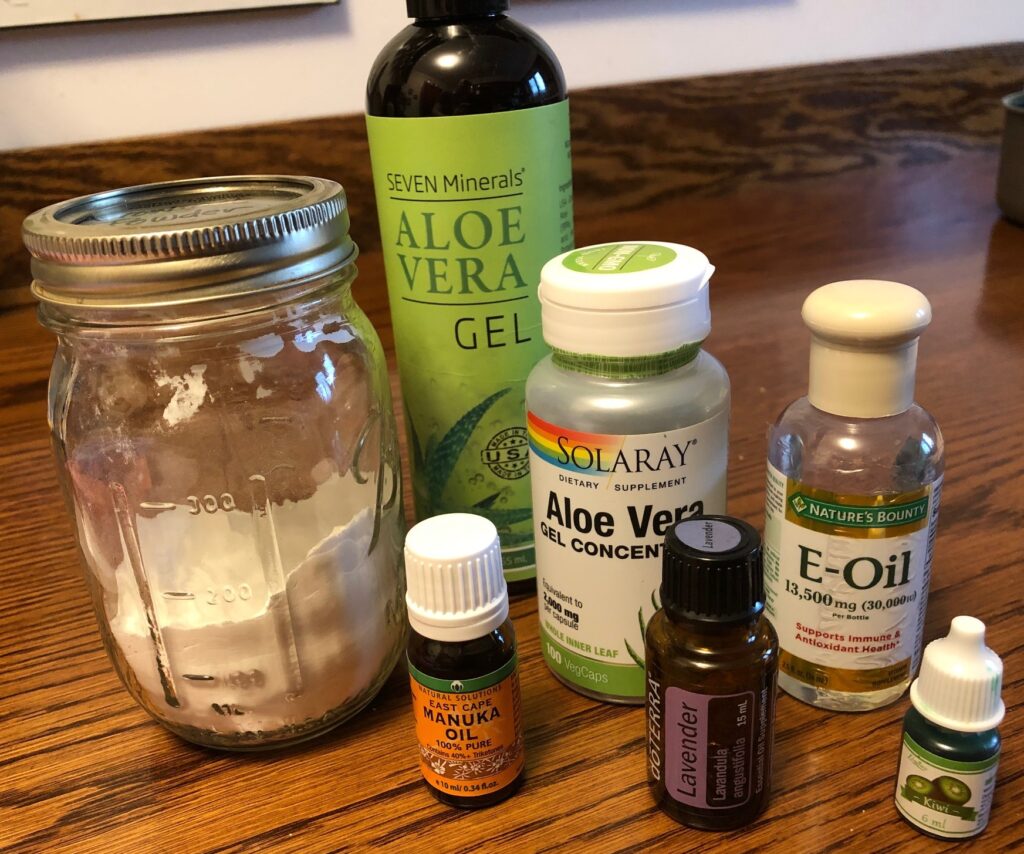
My favorite aloe vera soap begins with a glycerin soap that has been enhanced with aloe vera gel. Then I combine it with a shea butter soap base, more aloe vera gel, essential oils and soap tint. The shea butter helps the finished make a better lather.
I have tried to incorporate Manuka Honey into melt and pour soap and was unsuccessful…the honey would no disperse into the melted soap and when I poured the mixture into molds, the glob of honey just ended up in one big pile at the end of the pour. Very disappointing!
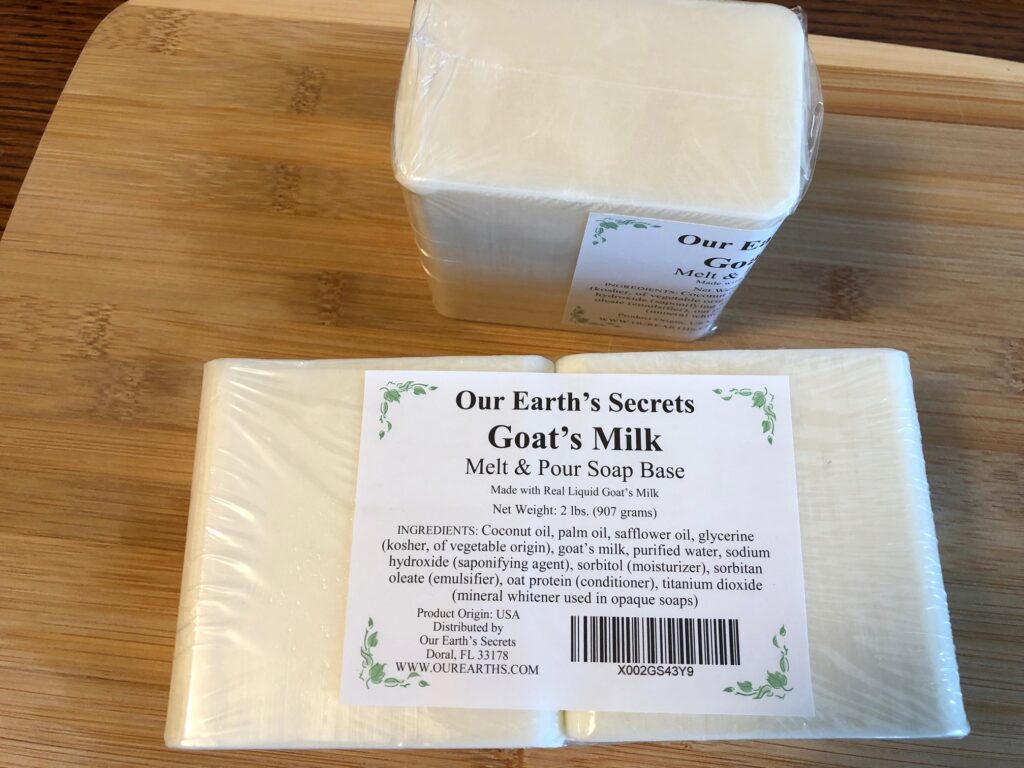
When I last did a search on Amazon for melt and pour soap bases, this new Manuka Honey Soap base had recently been listed:
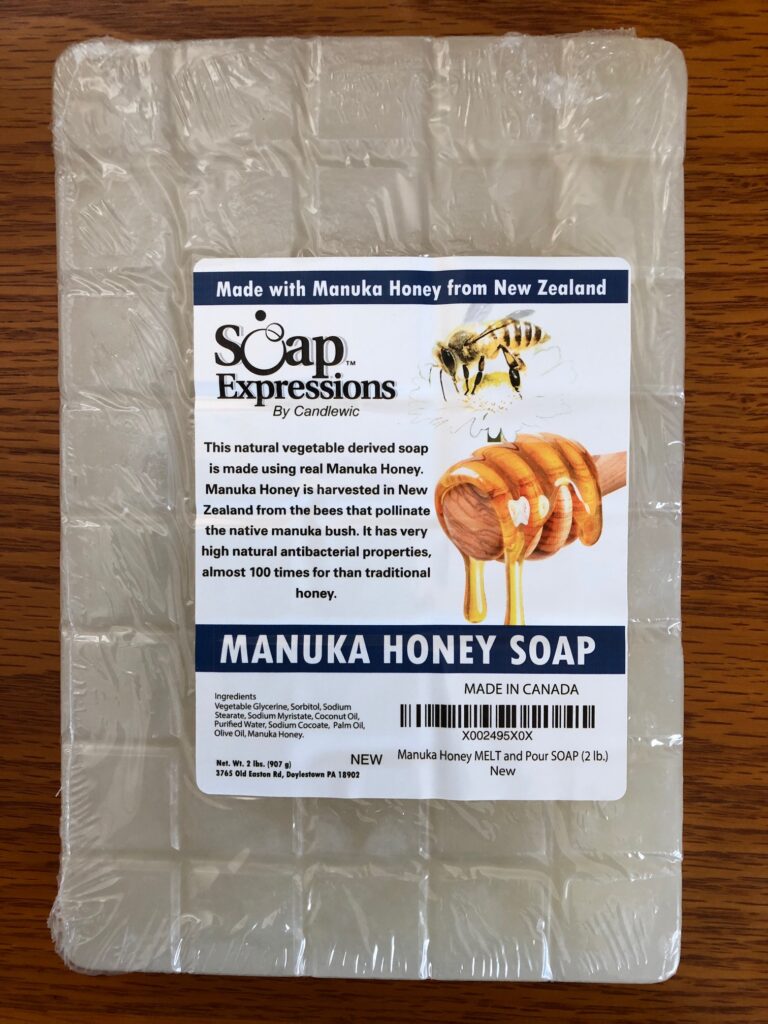
I had never seen this offered before. I quickly ordered a 2 lb. block to try. It cost $15, which was similar to other soap bases I had used before.
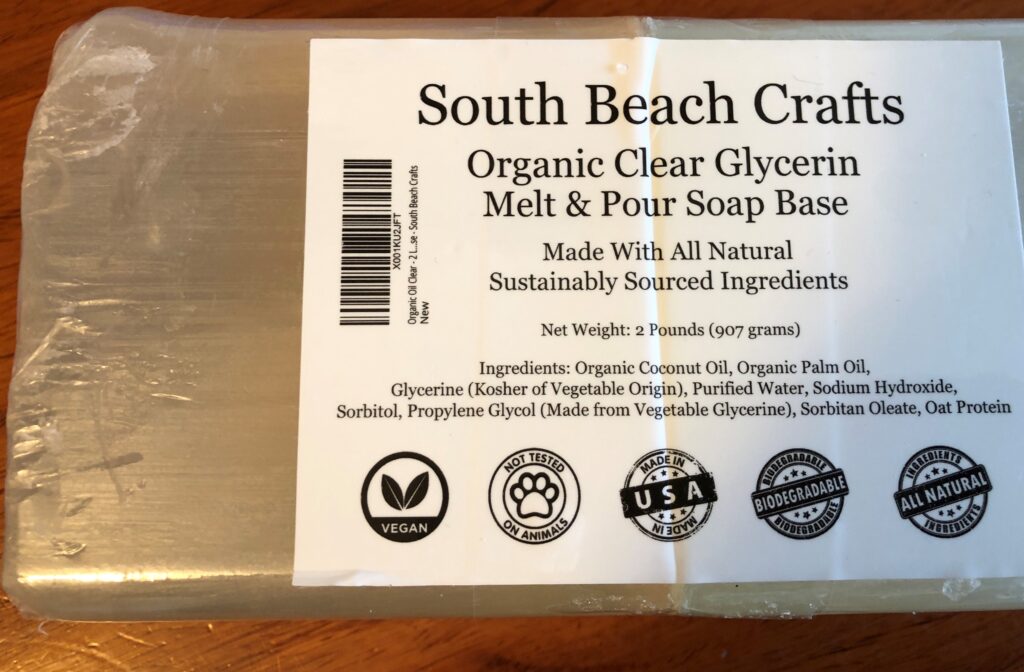
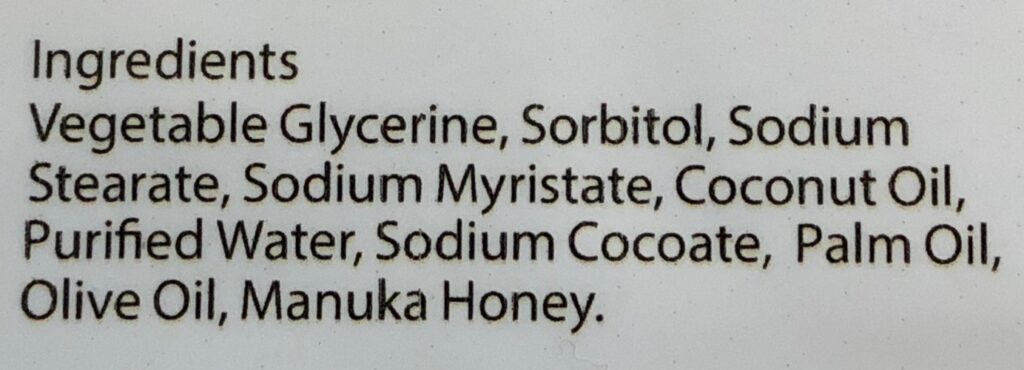
Here are the ingredients for this soap base:
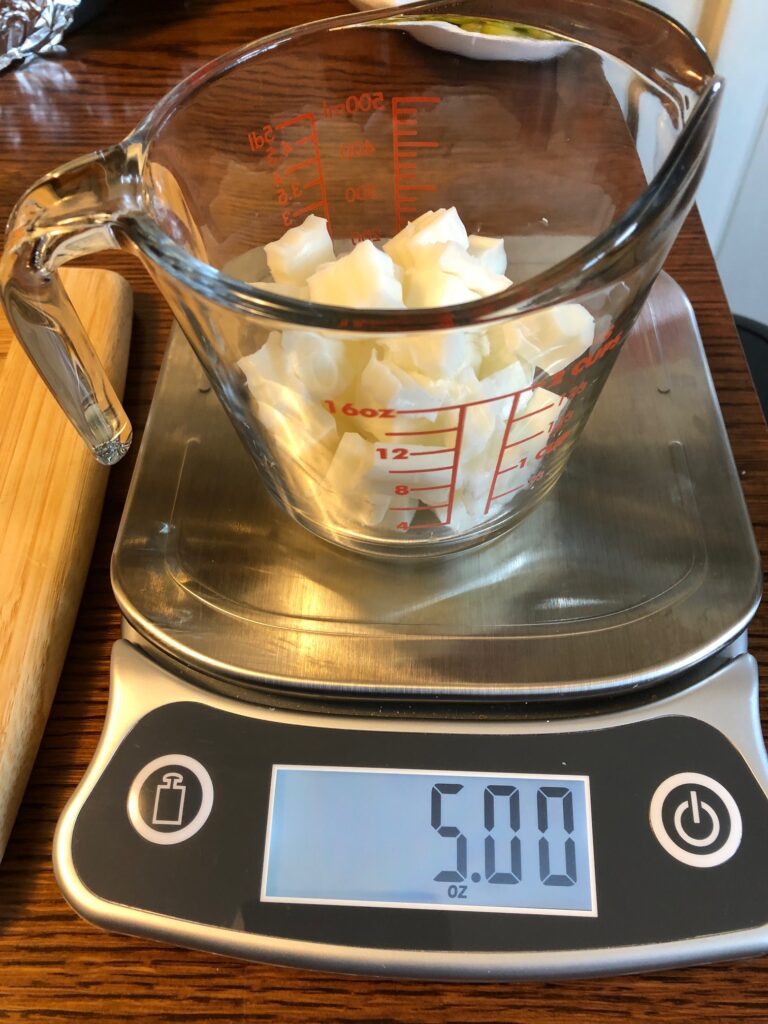
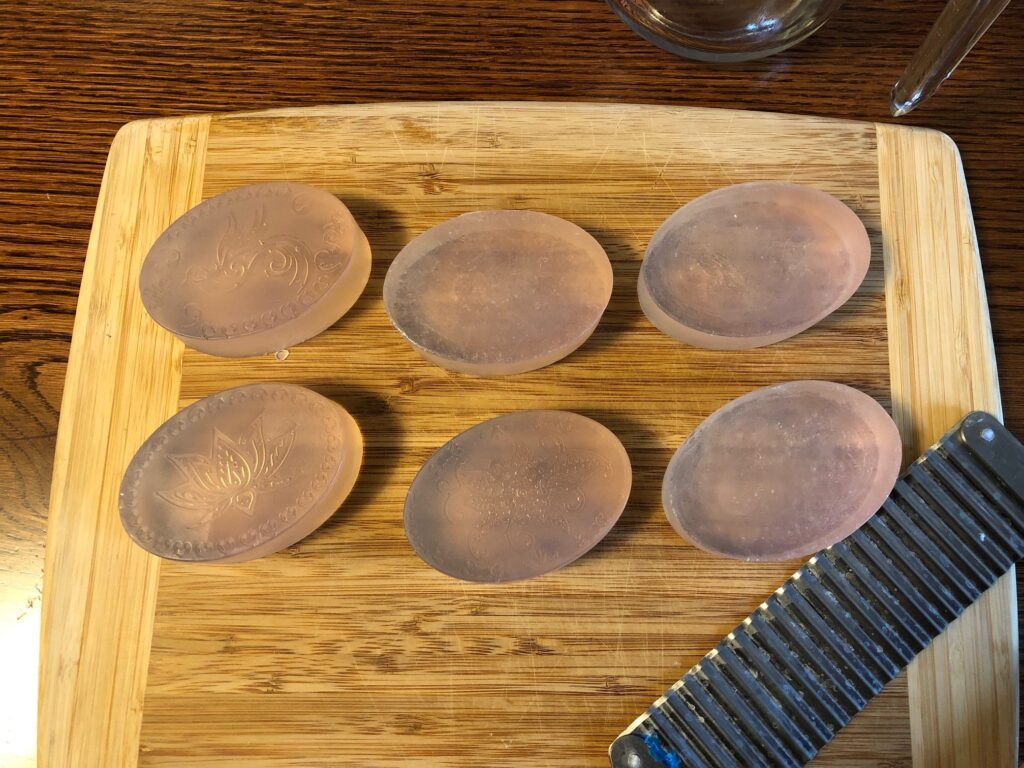
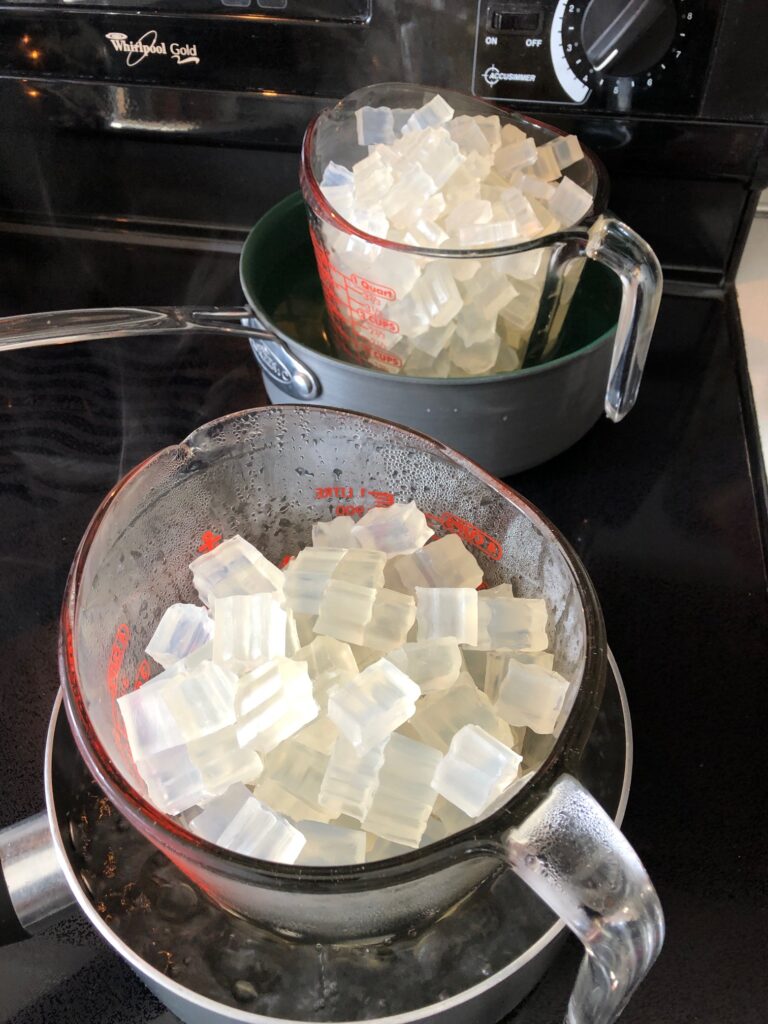
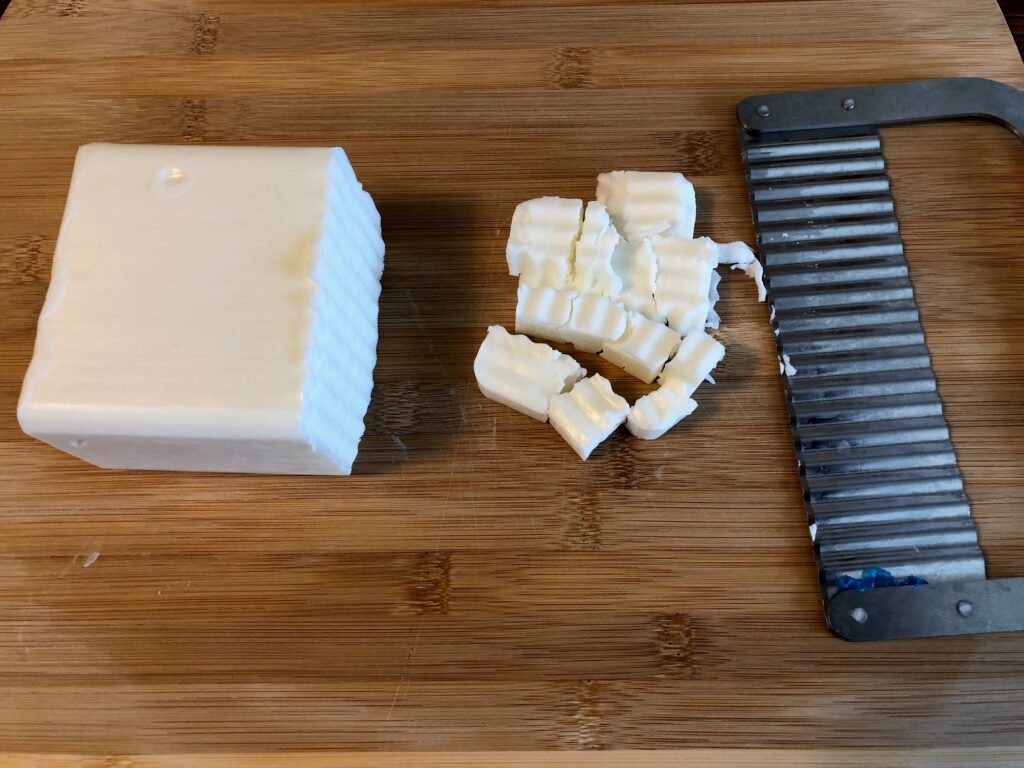
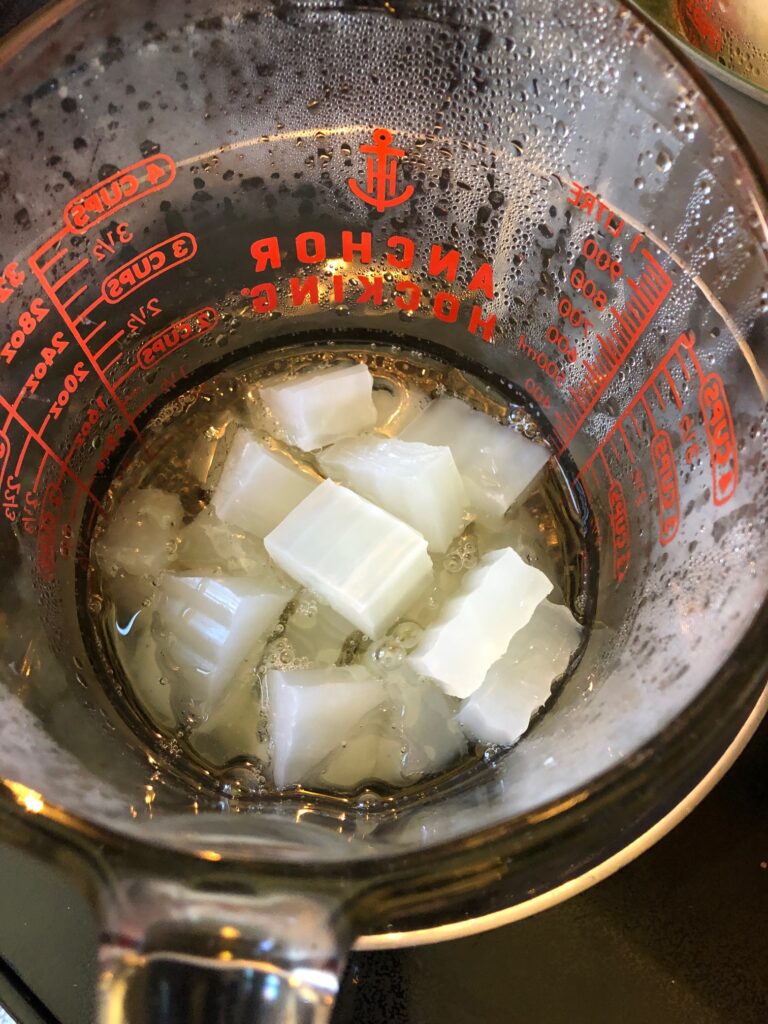
The process to make bars of soap from a 2 lb. block is pretty much the same each time.
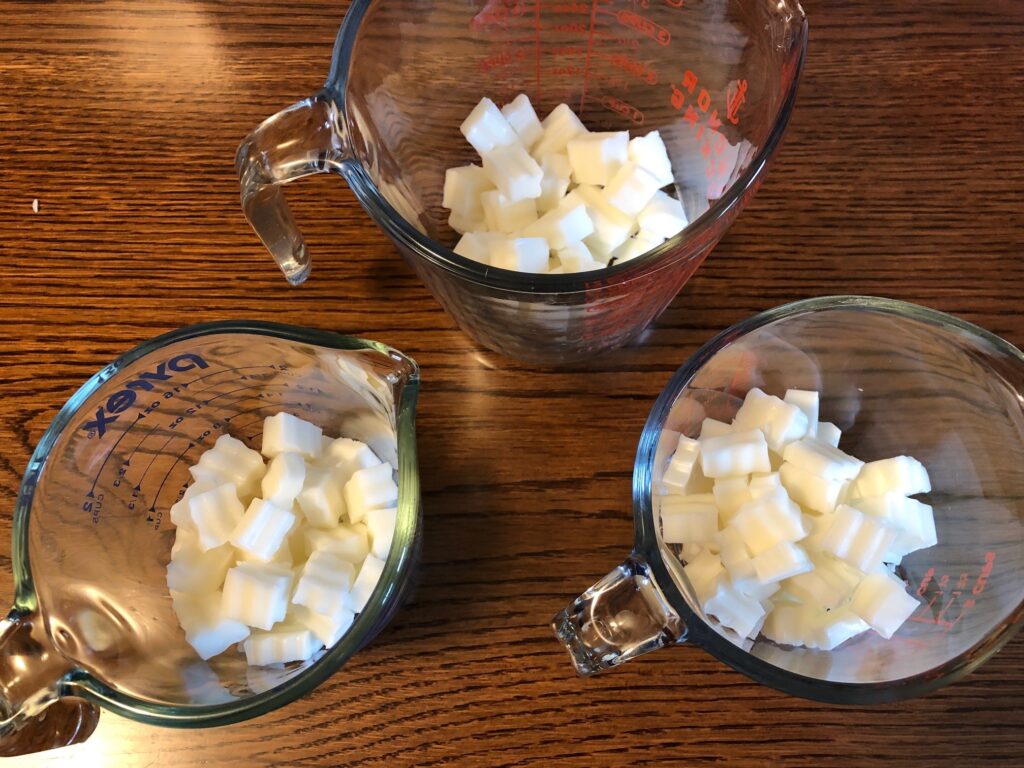
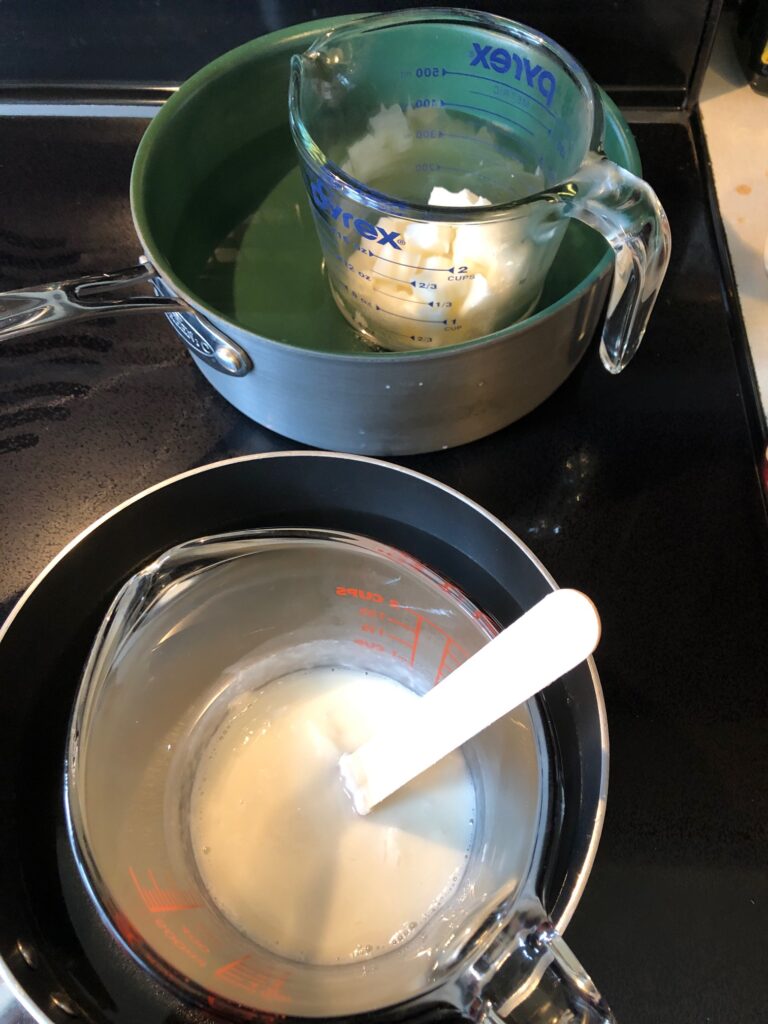
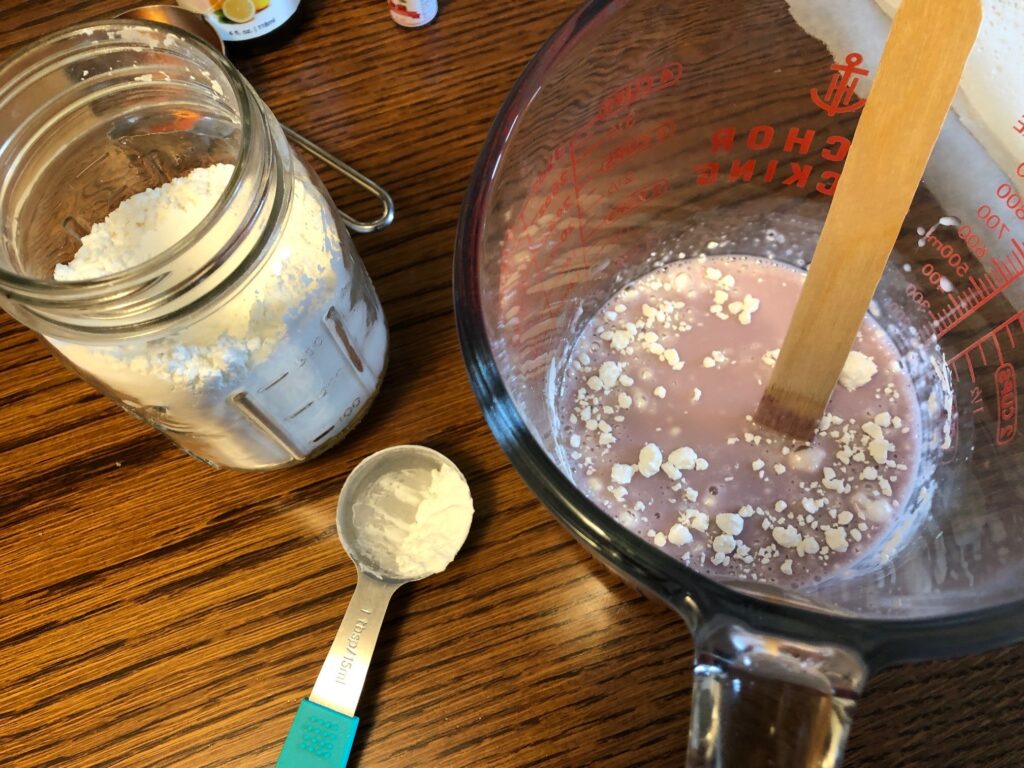
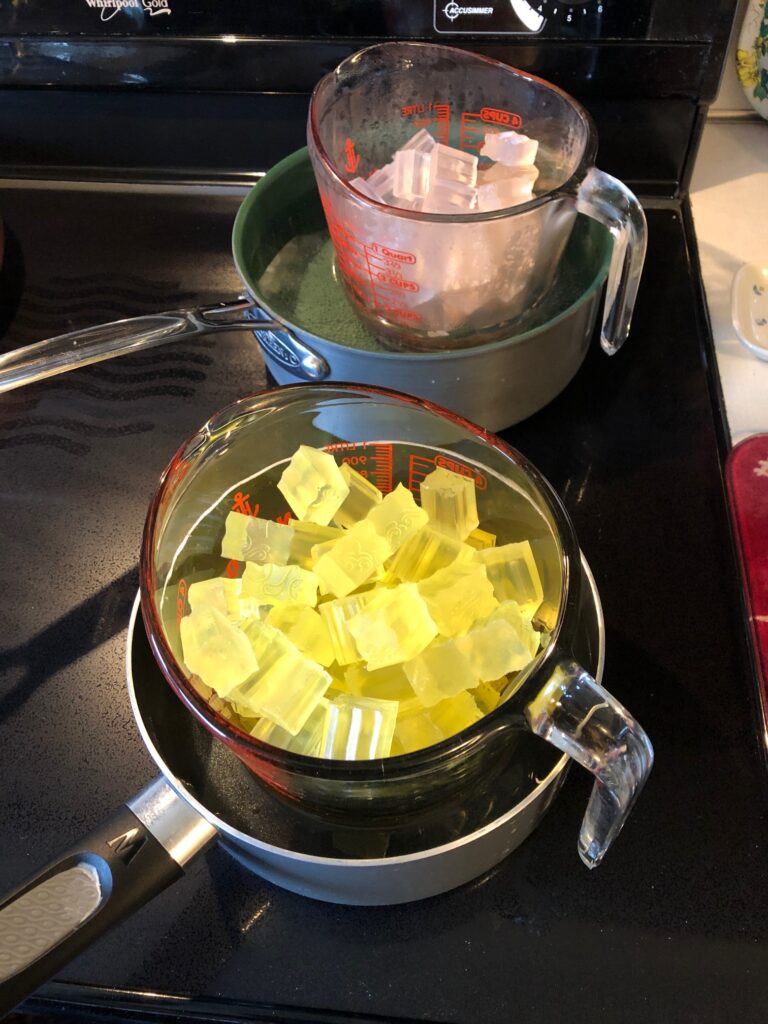
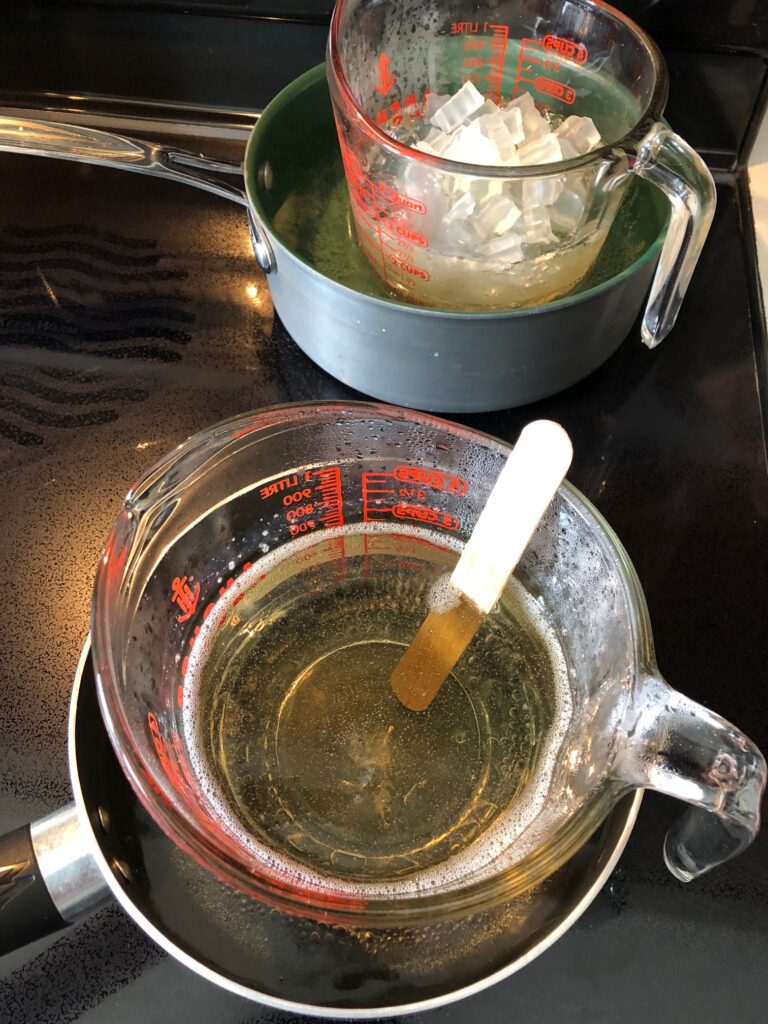
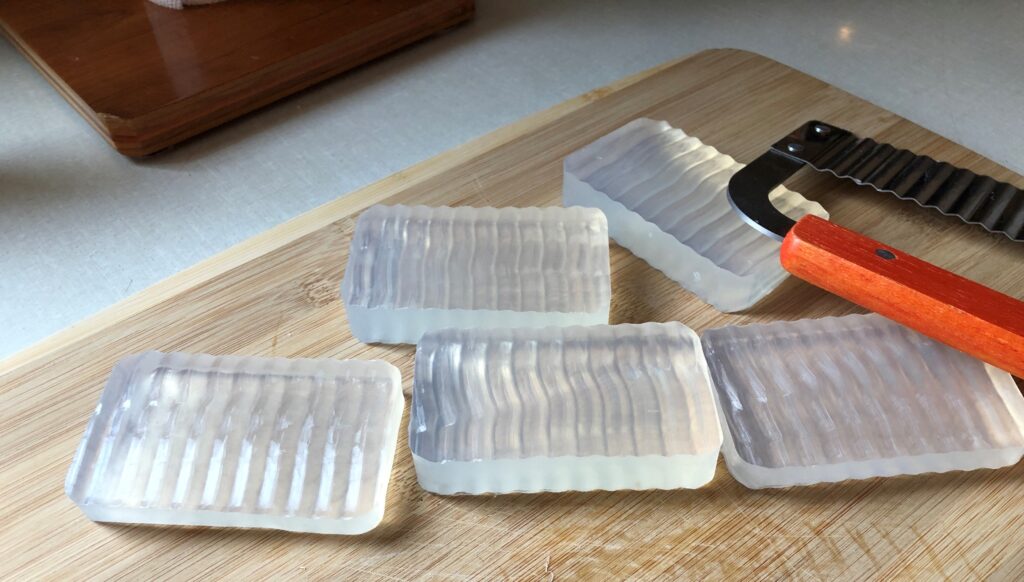
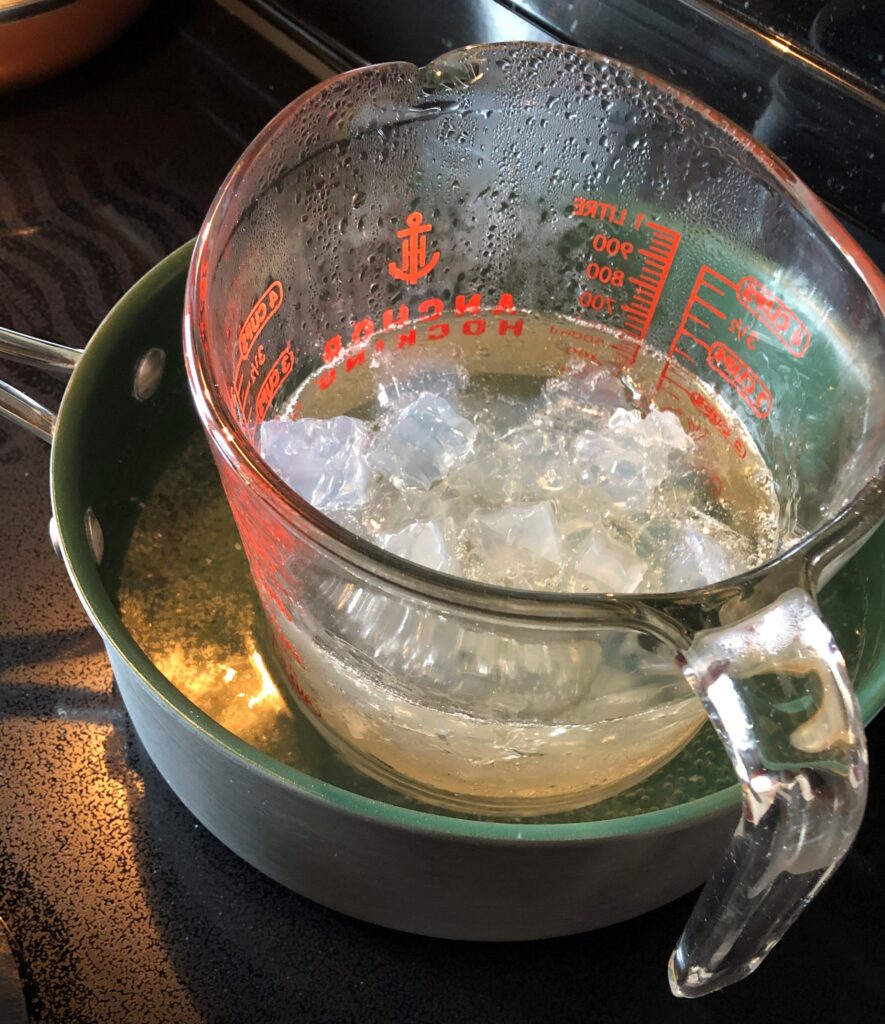
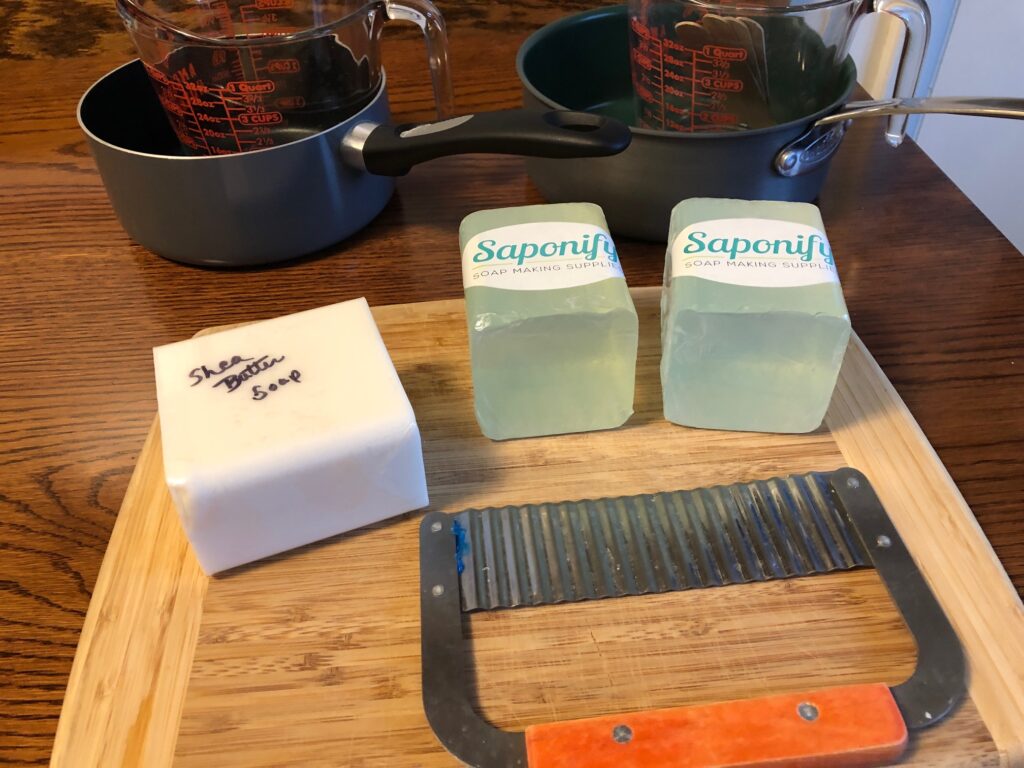
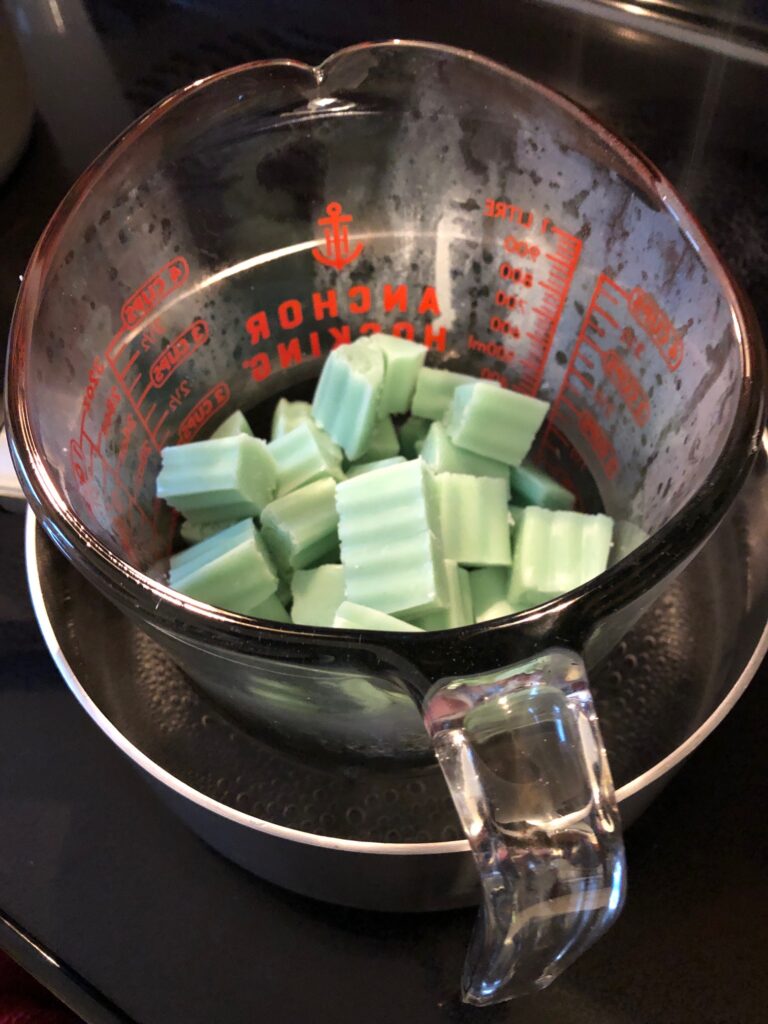
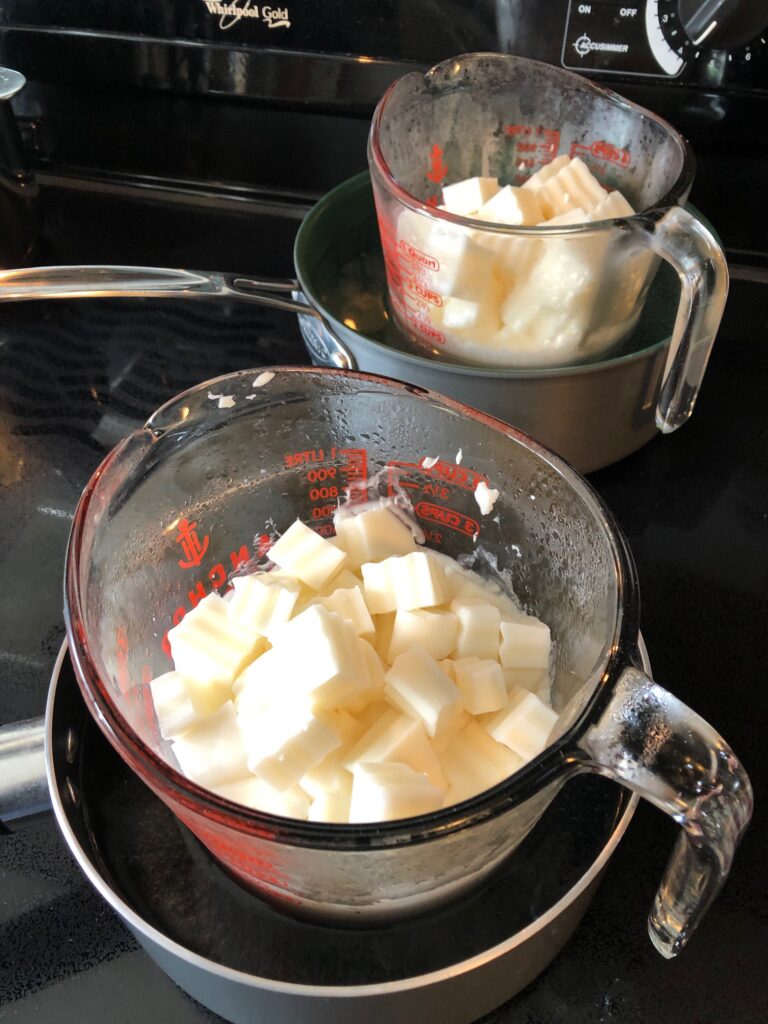
First, I cut the base up into smaller cubes and put half (1 lb. each) in a 4-cup heat-proof glass measuring cup. I set these into saucepans, added water to the pan and set them on the stove. Heating the water just to boiling and then turning down to simmer, the cubes of soap will slowly melt.

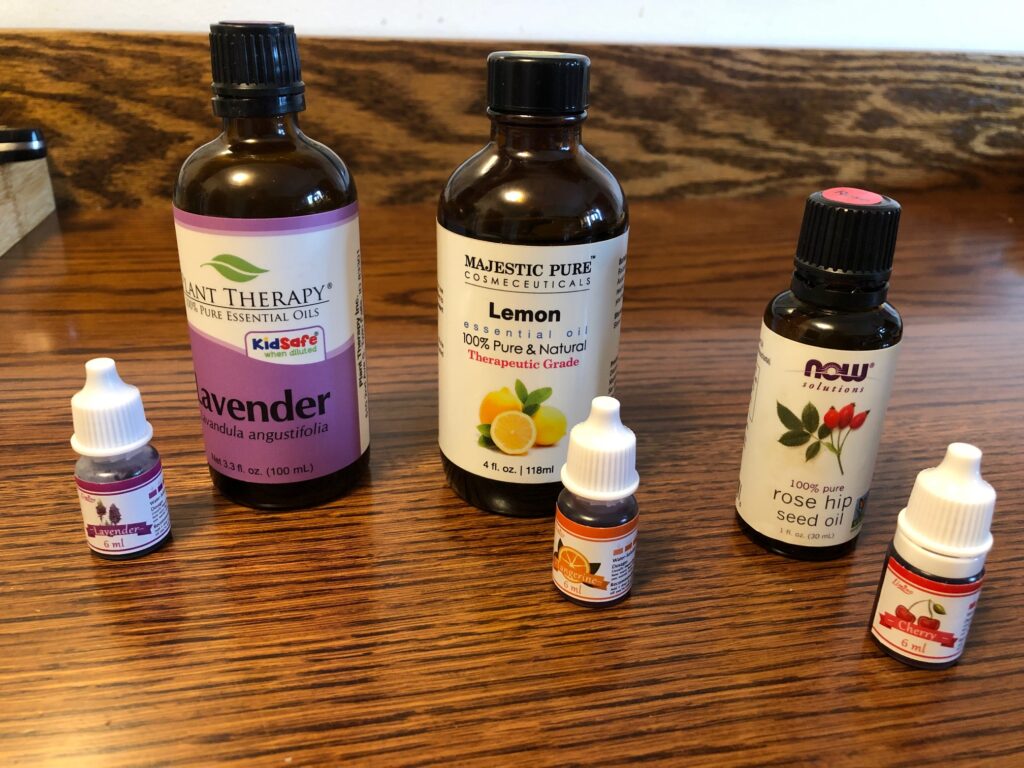
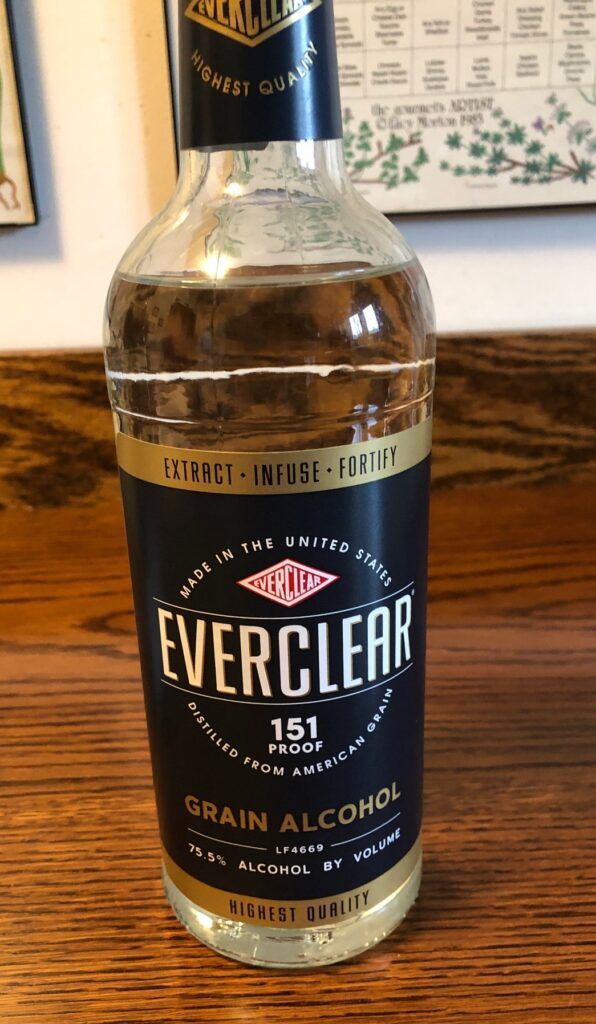
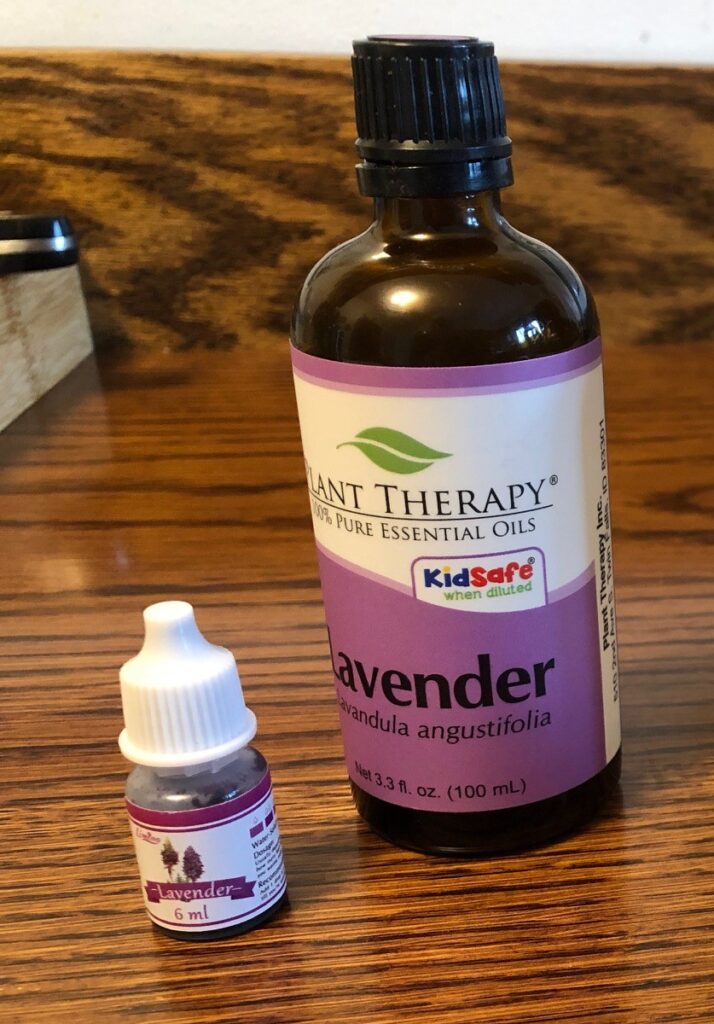
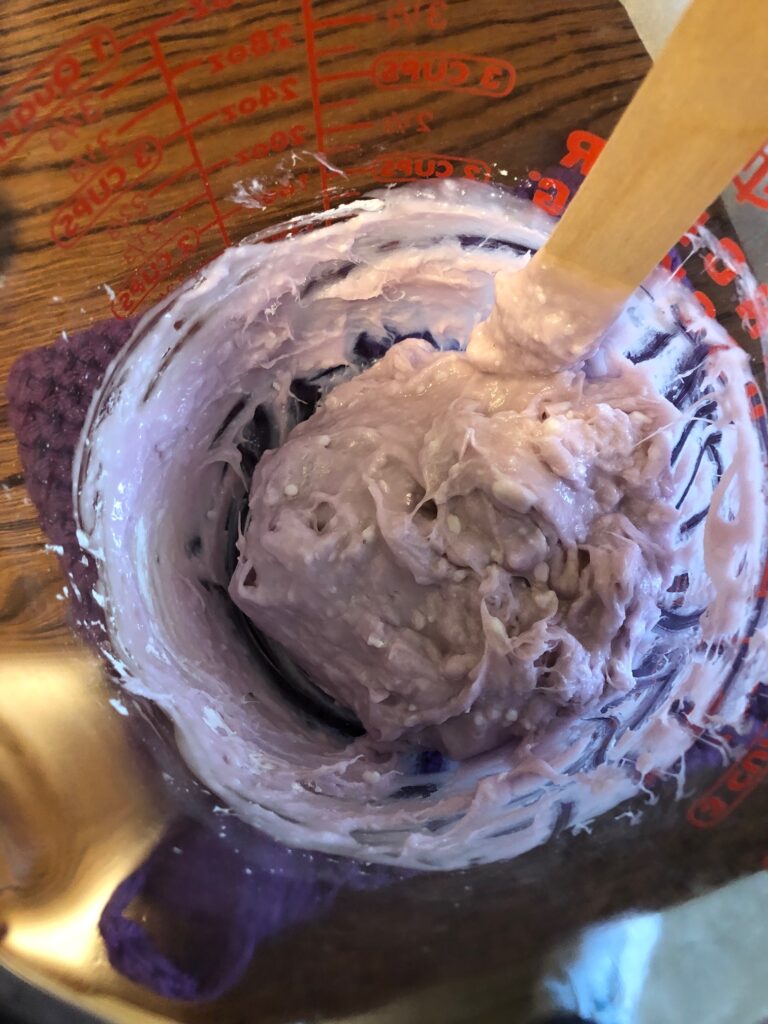
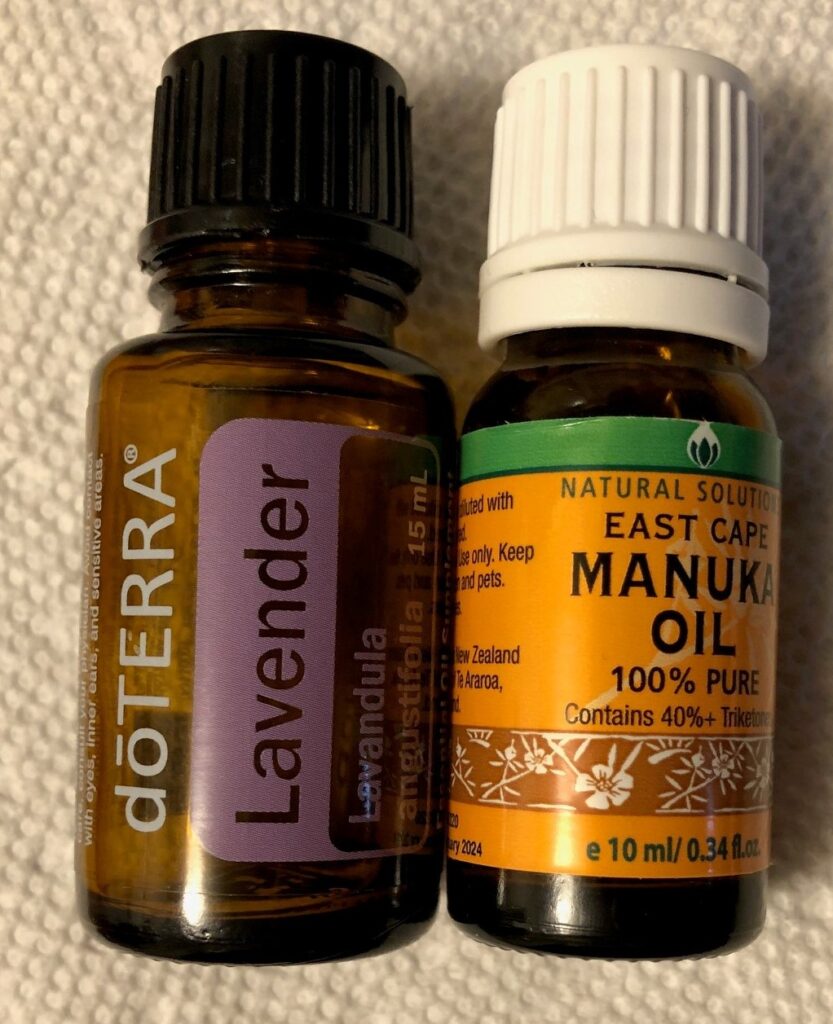
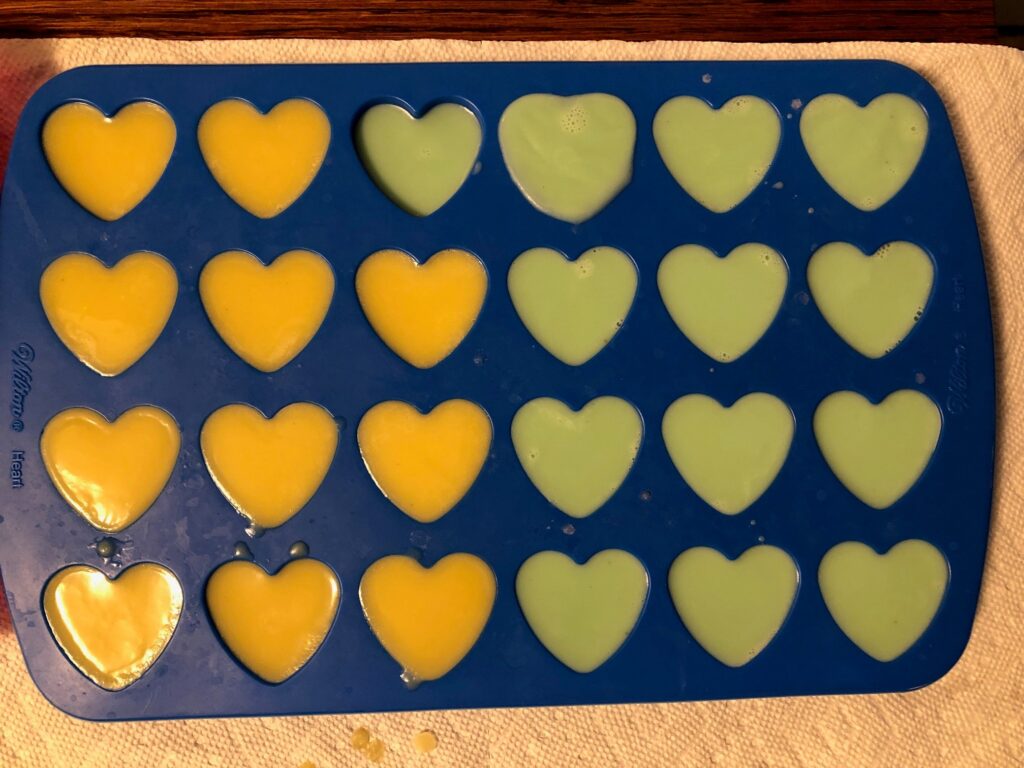
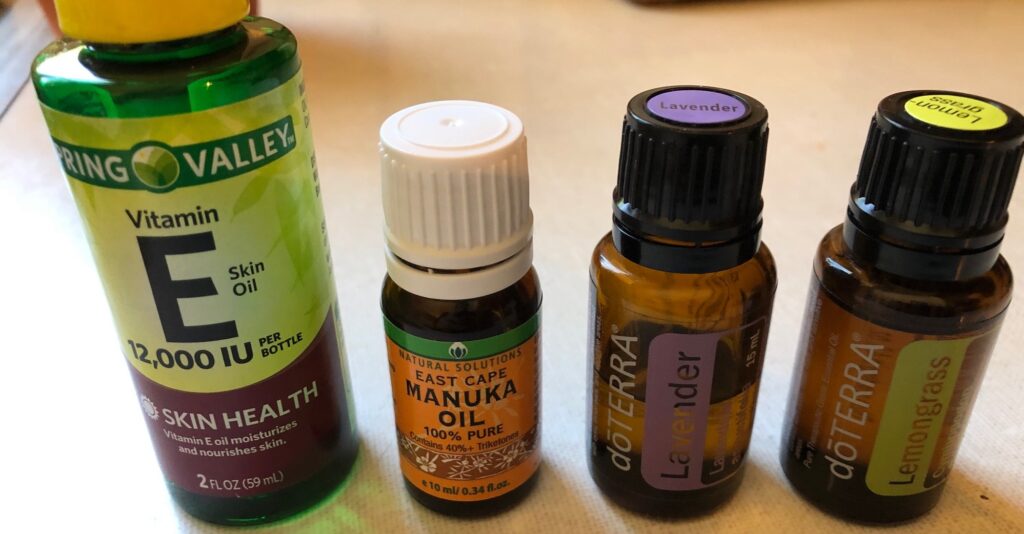
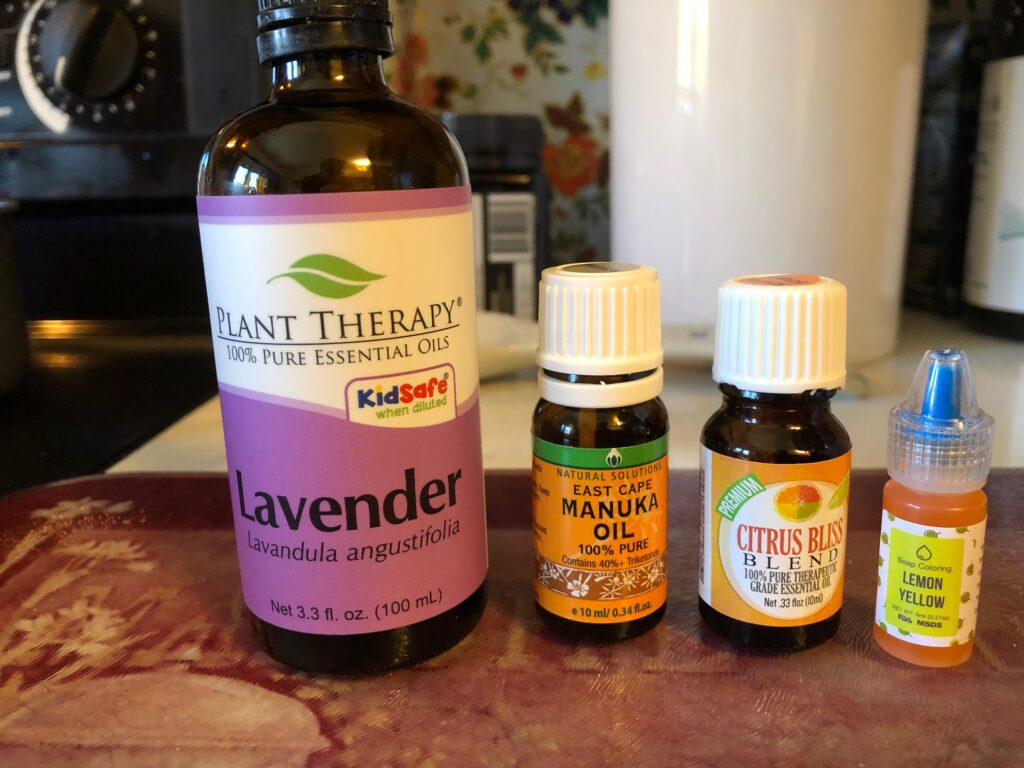
When melted, I added Lavender essential oil, Manuka essential oil, Citrus Bliss blend essential oil and a few drops of yellow soap tint.
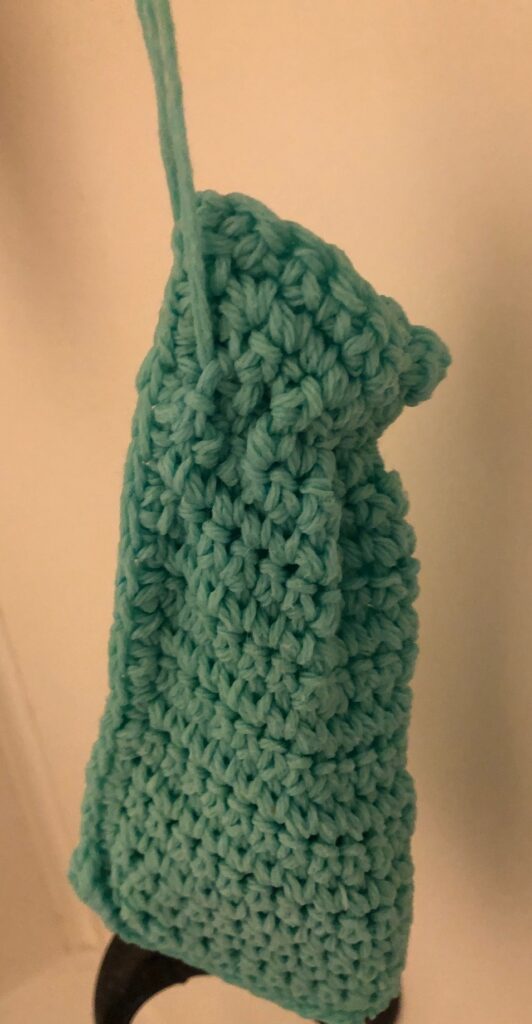
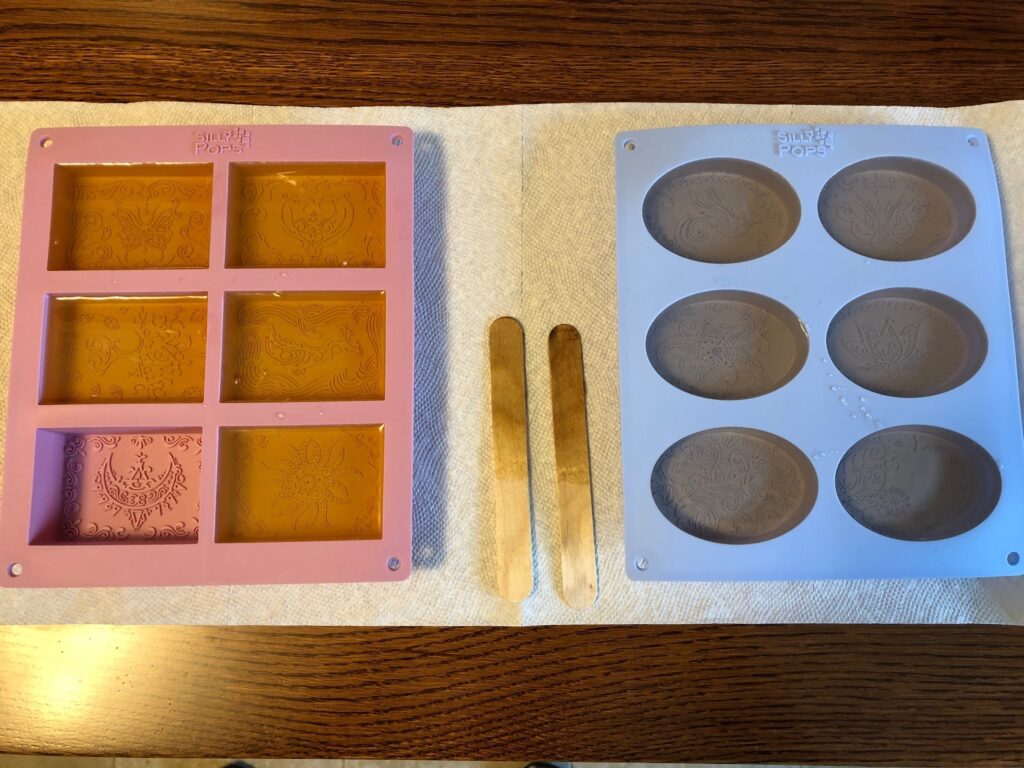
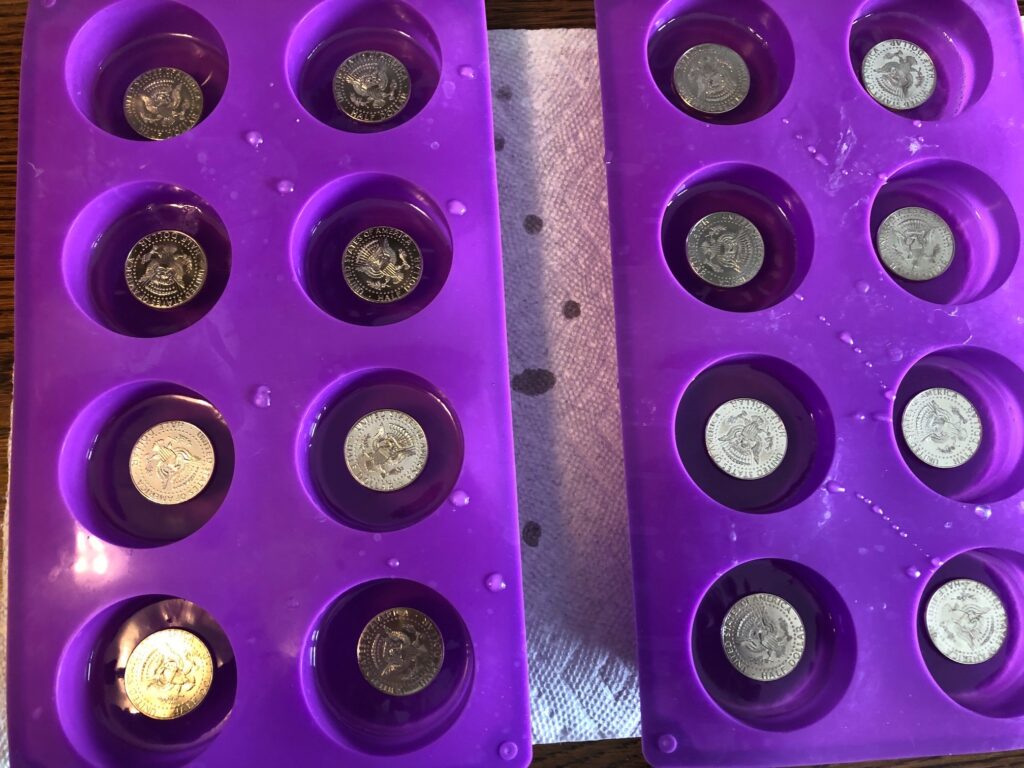
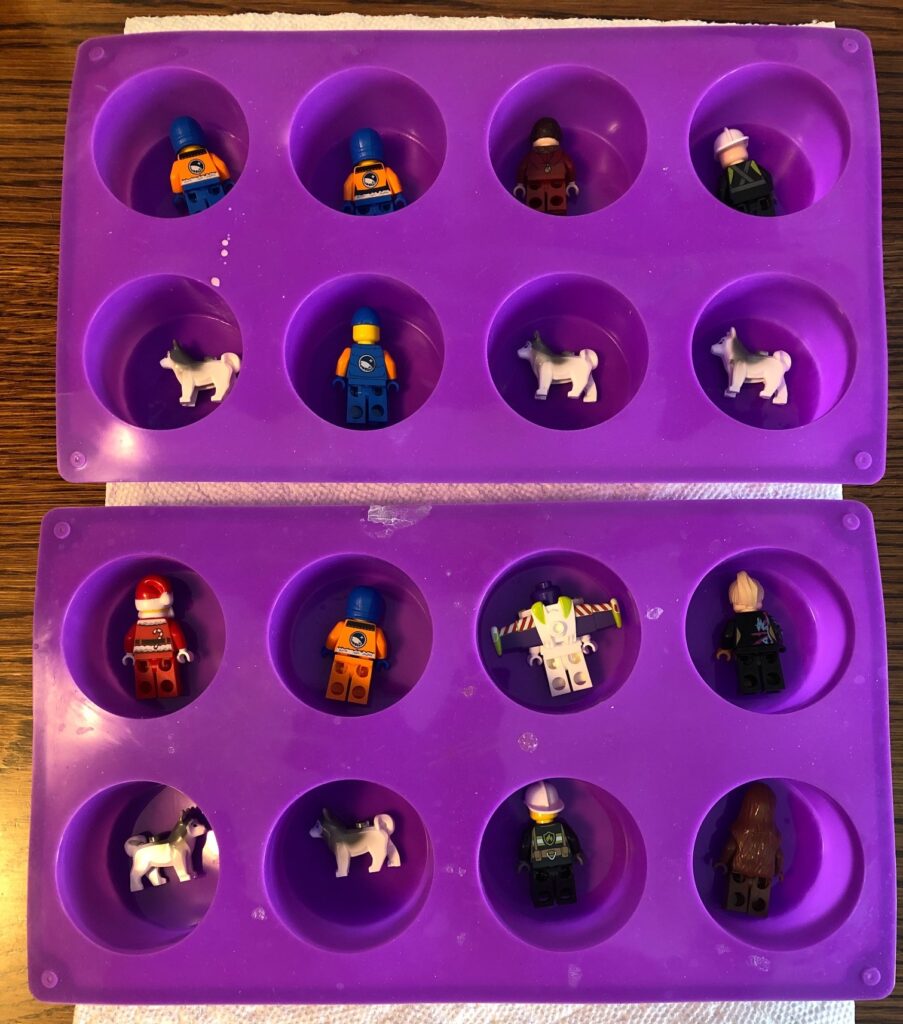
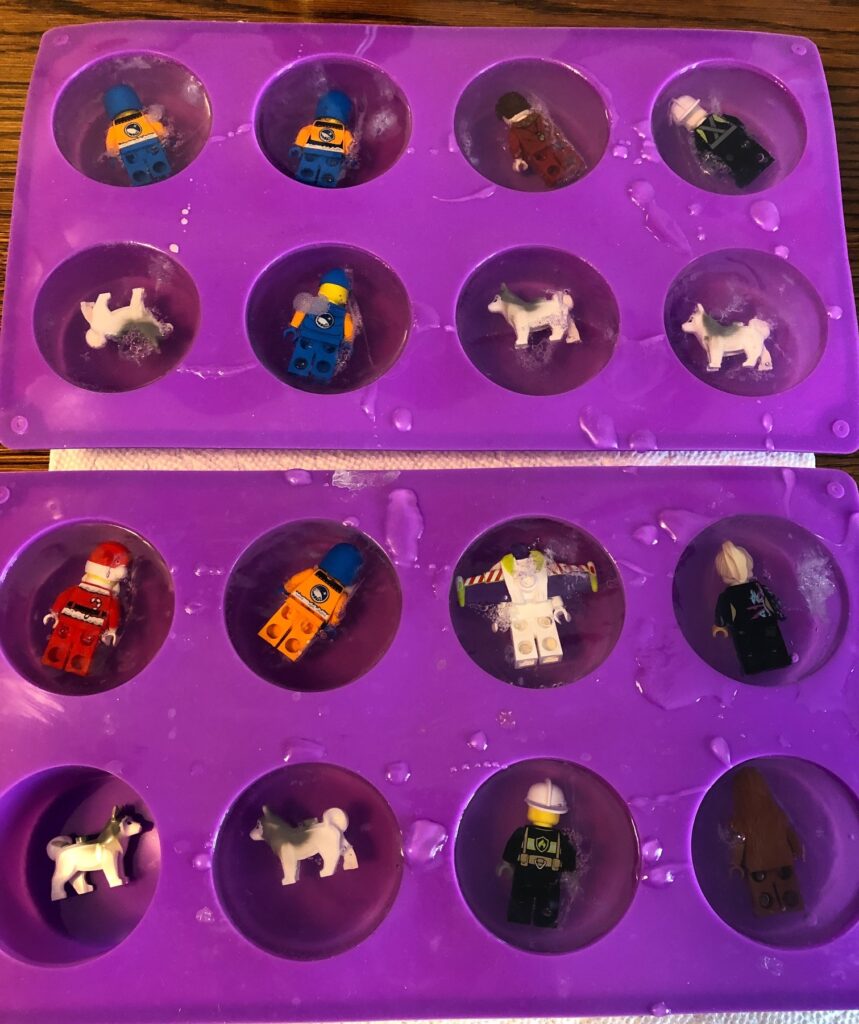
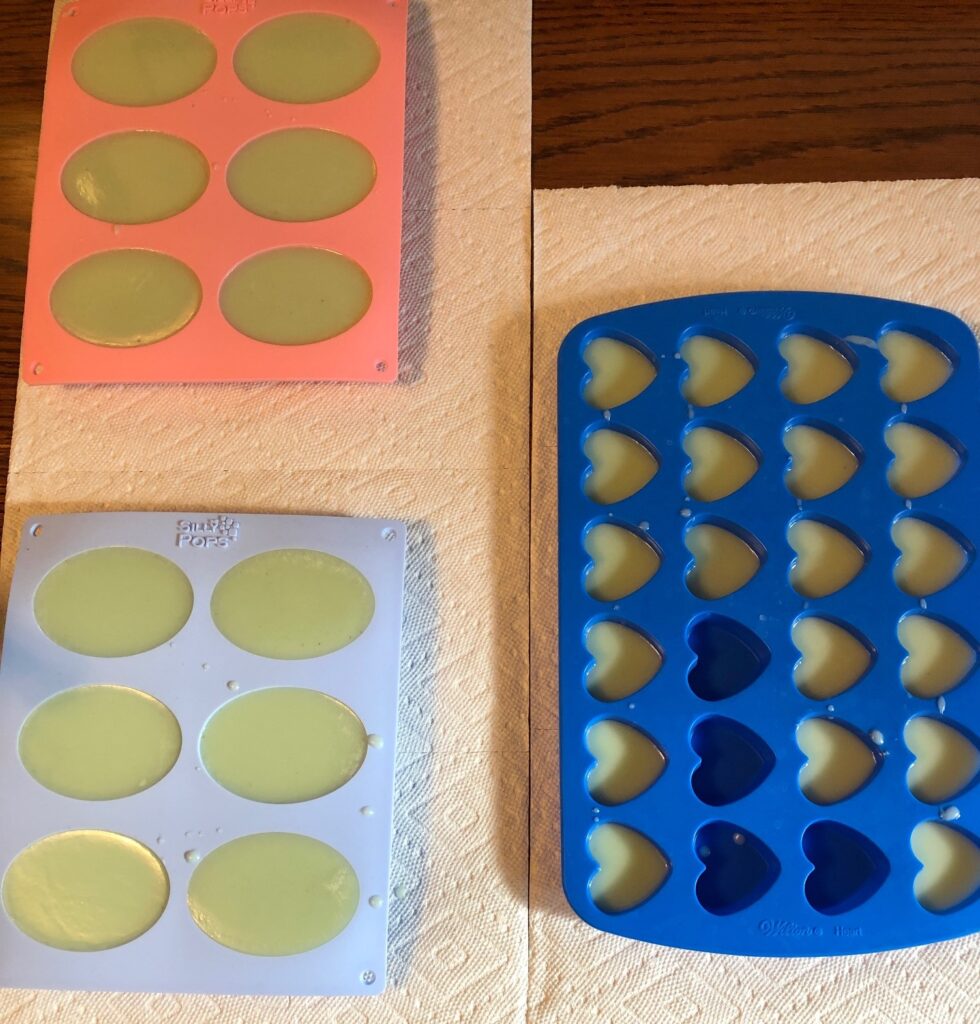
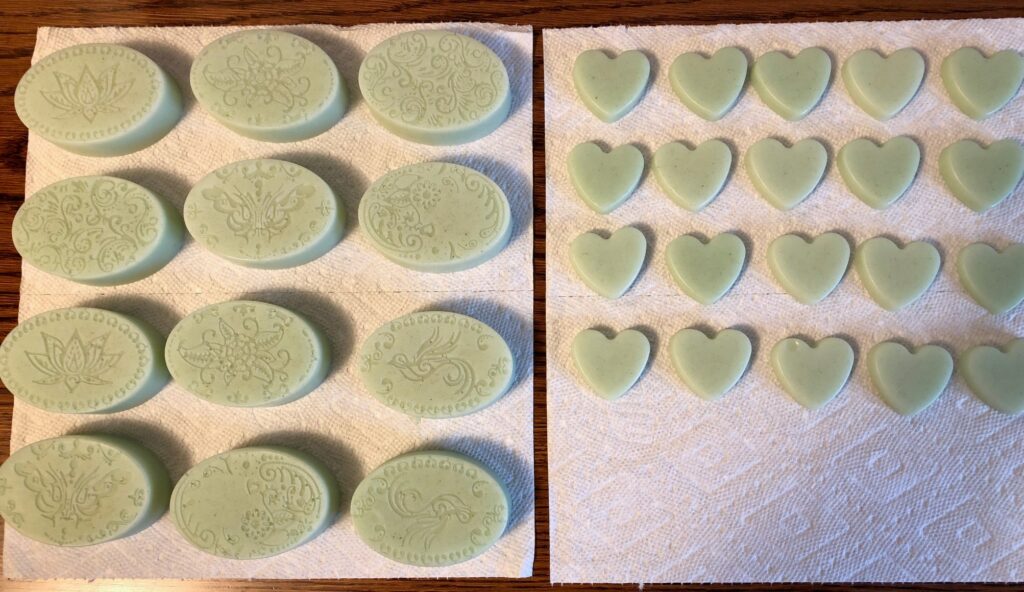
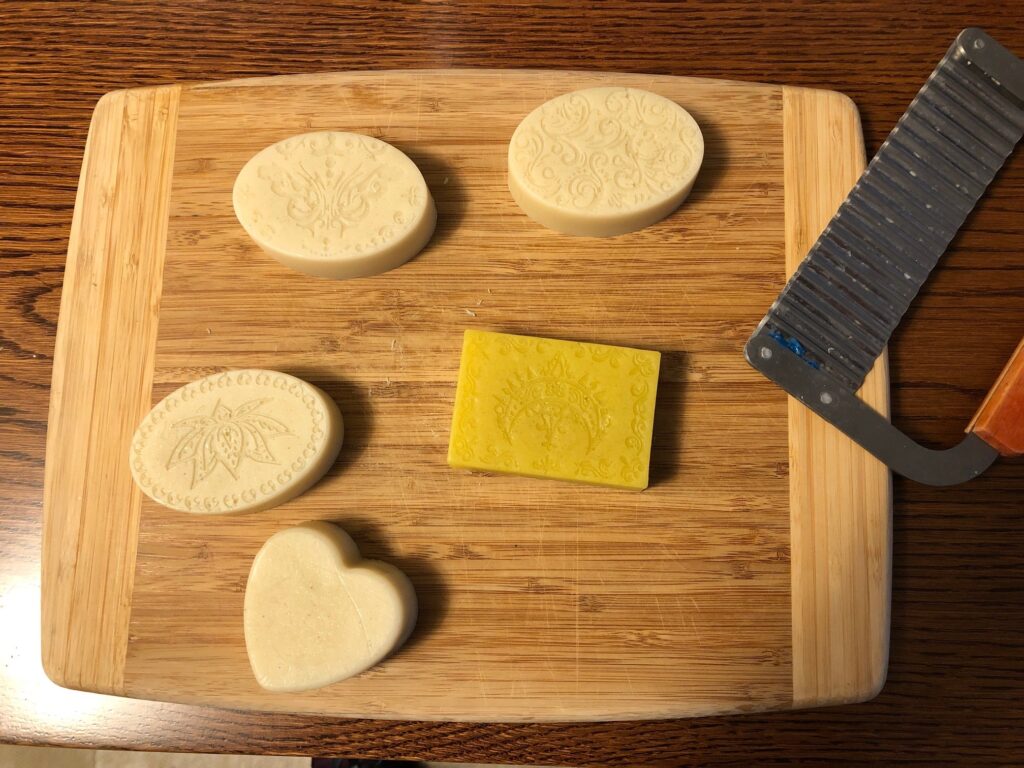
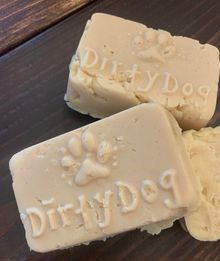
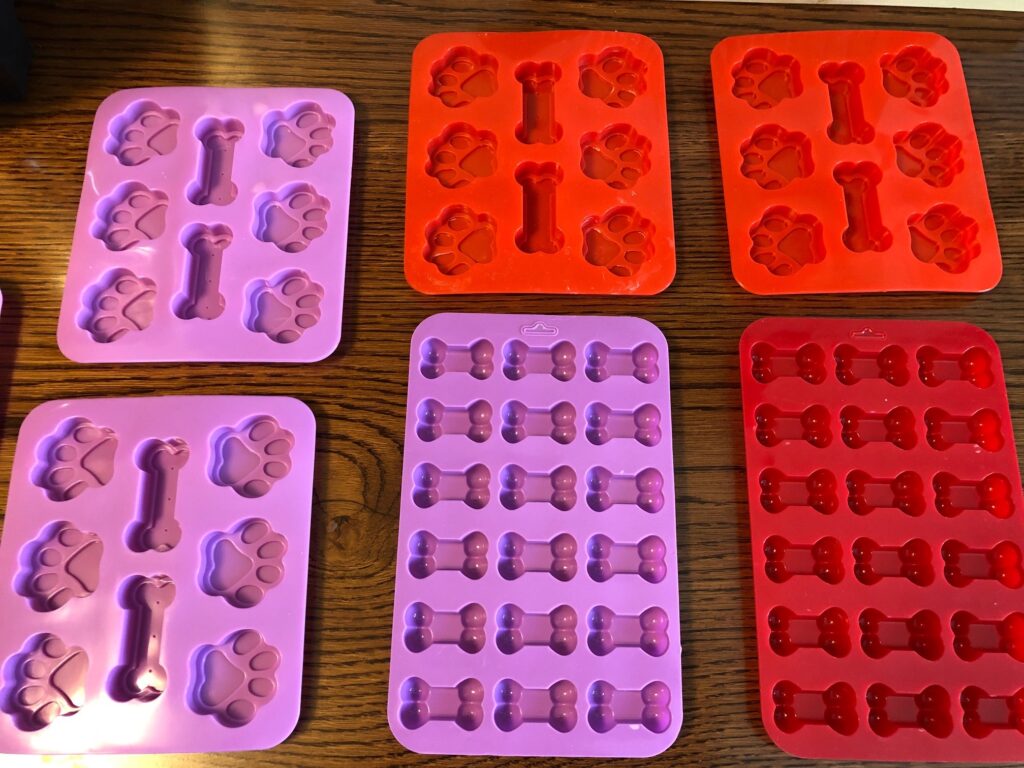
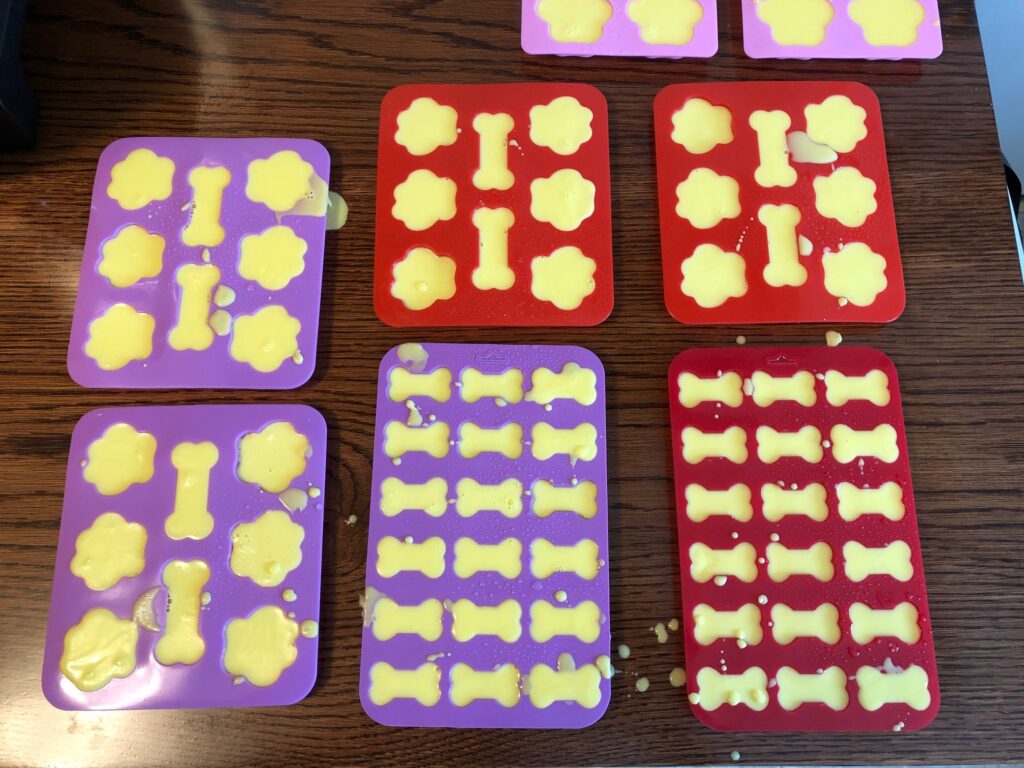
Then I poured it into molds.
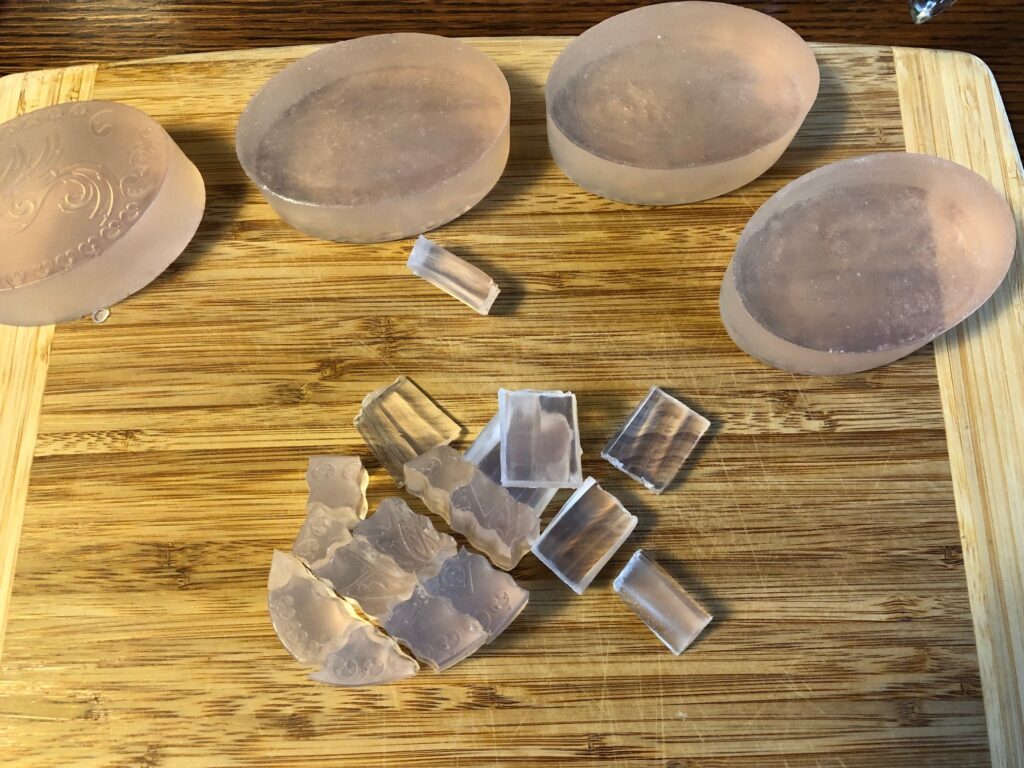
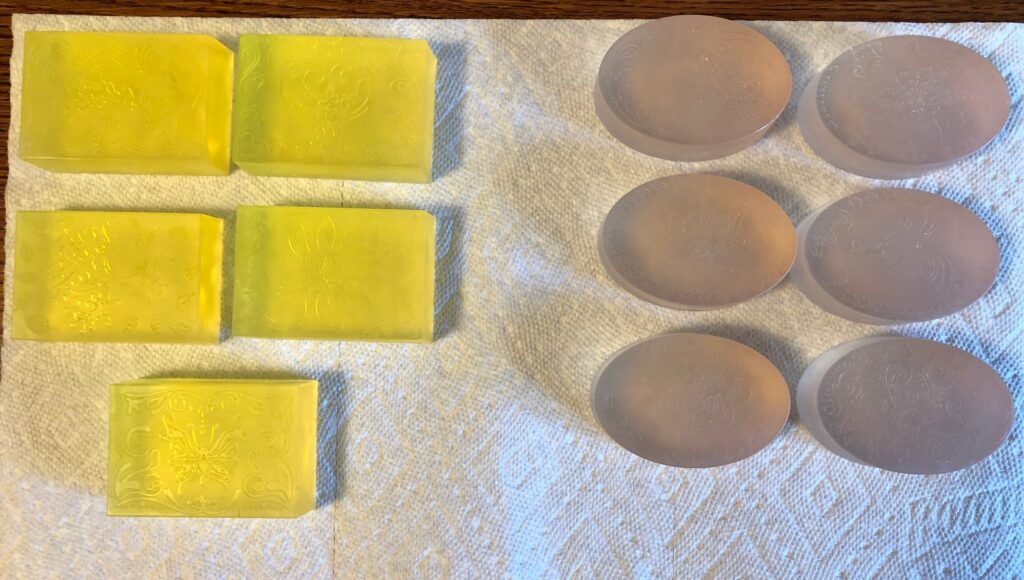
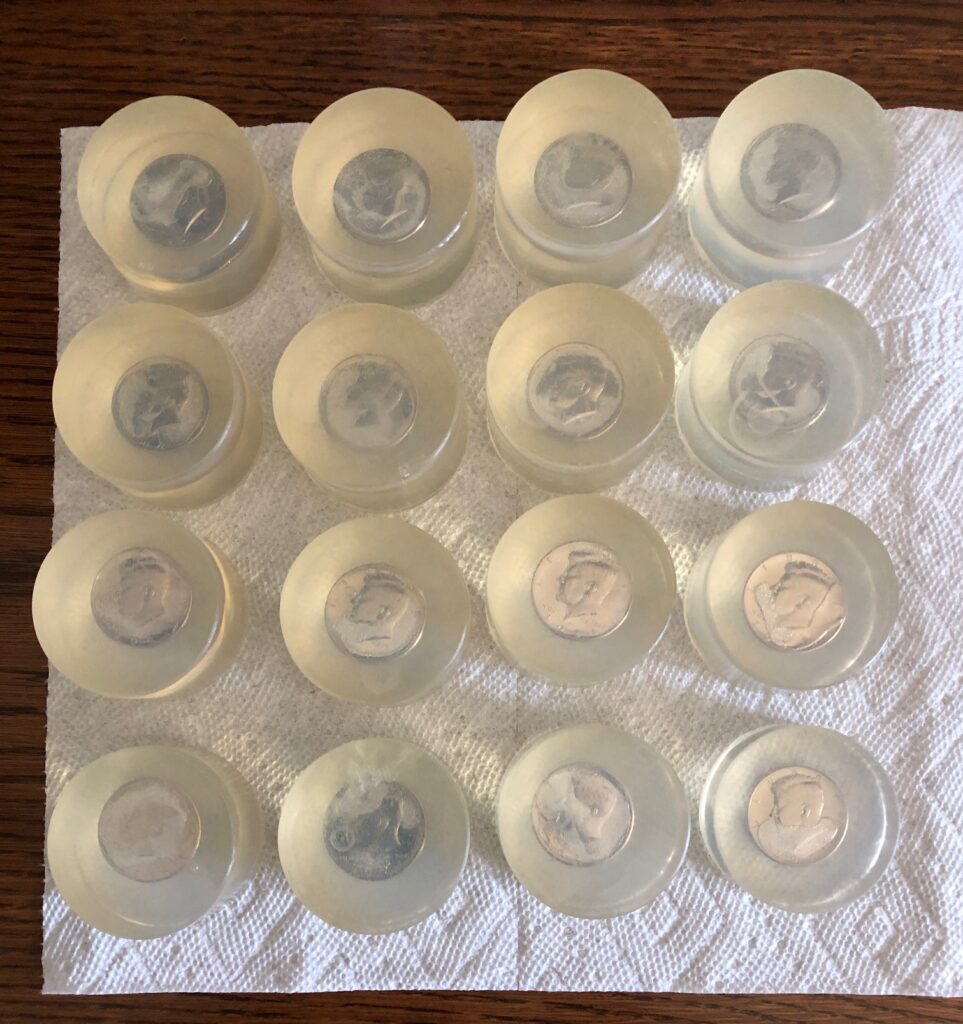
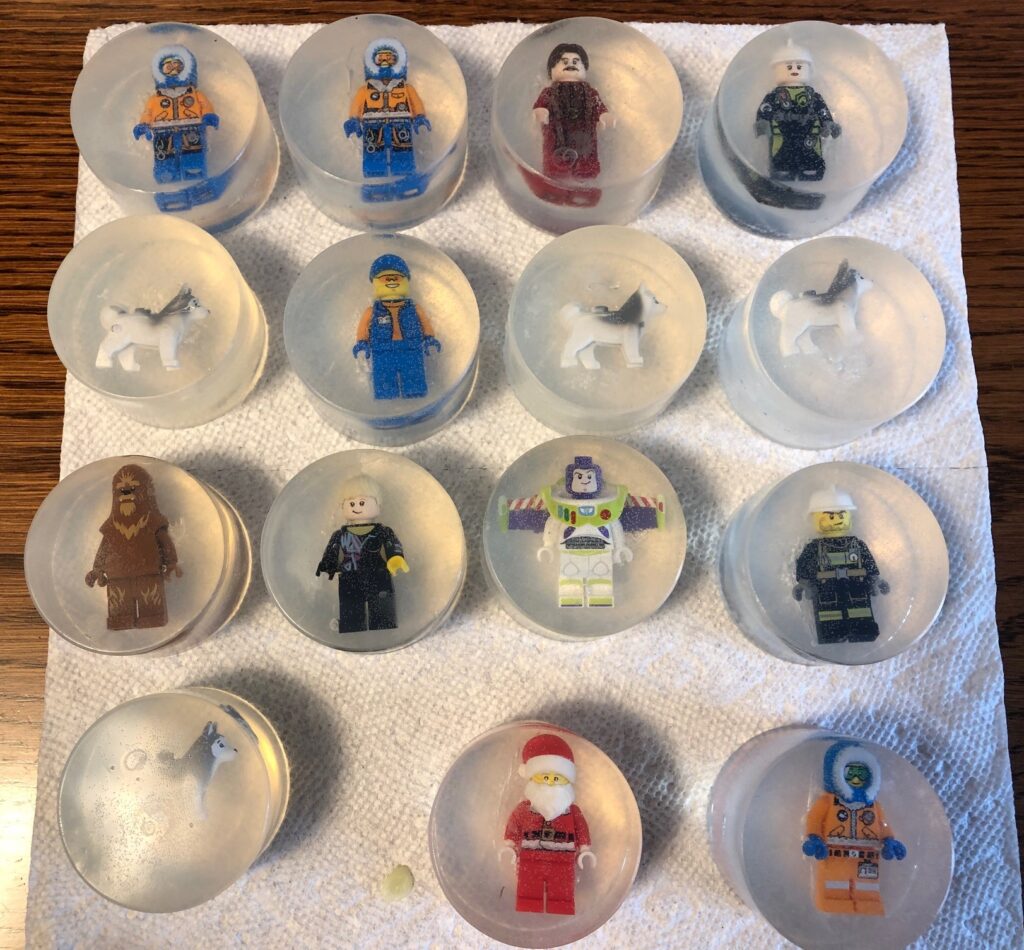
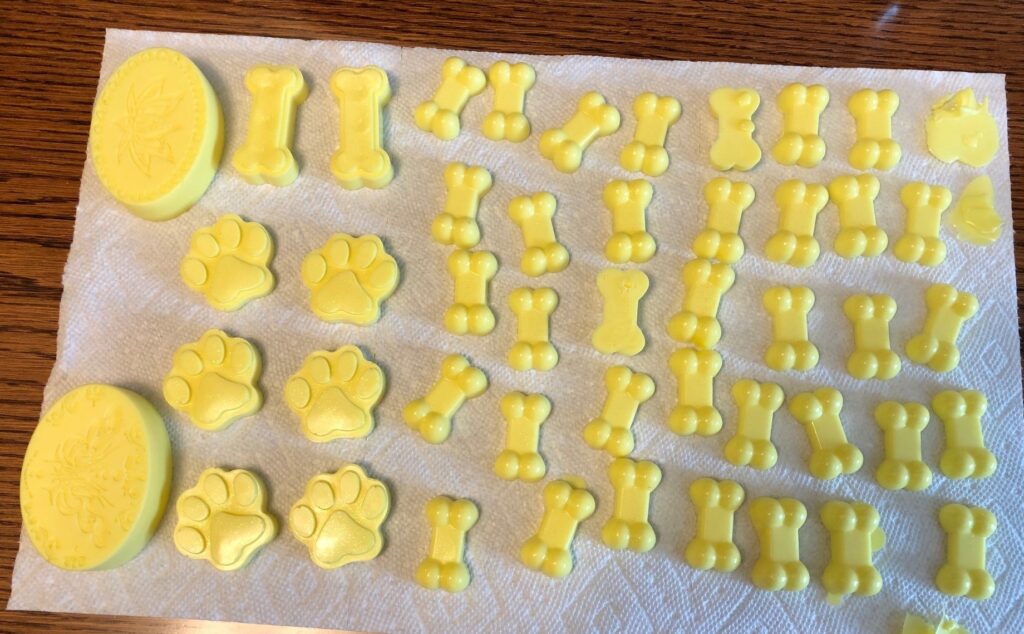
When firm, I popped the bars out of the molds and gave one a try to wash my hands. I was very disappointed! The soap was so firm hat I couldn’t make any suds at all.
So…back to the kitchen!
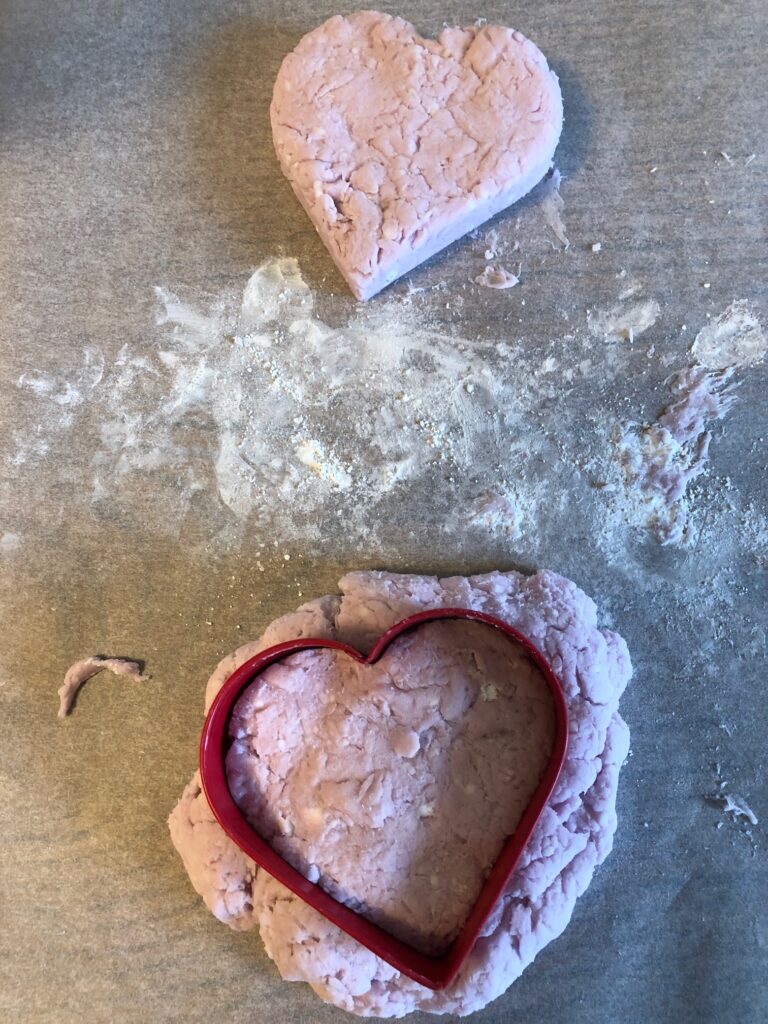
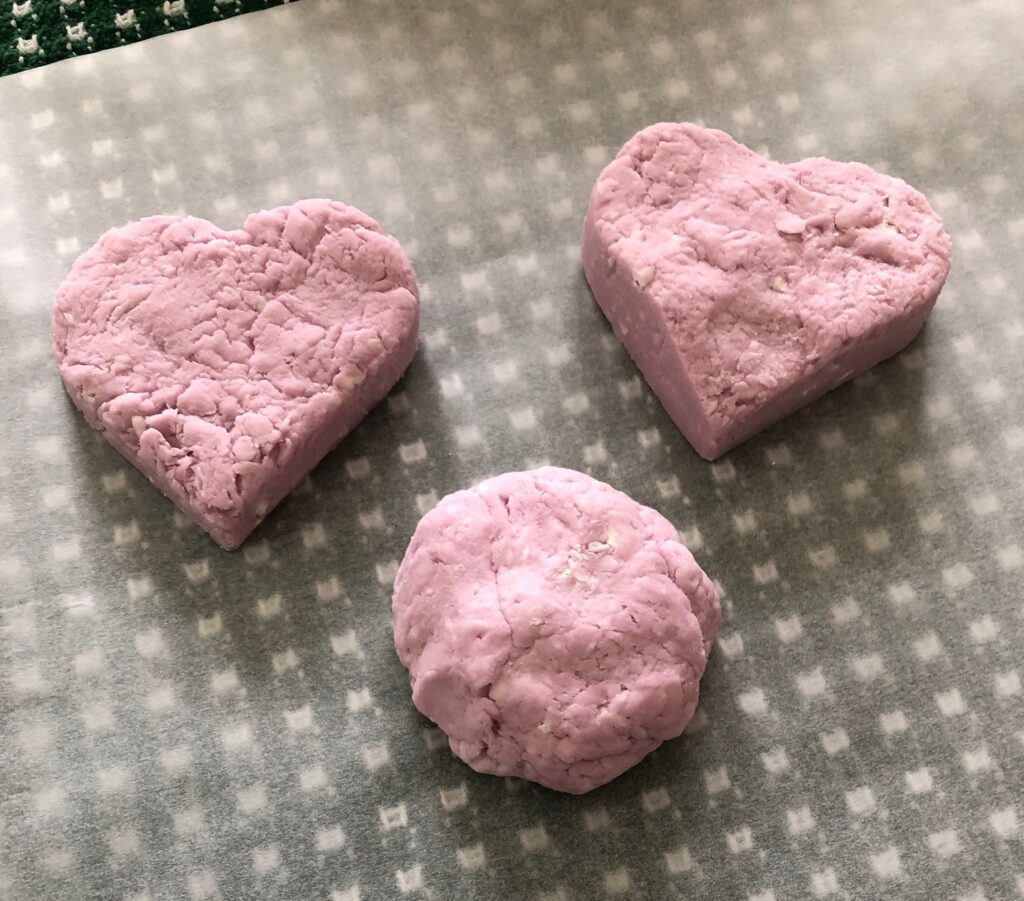
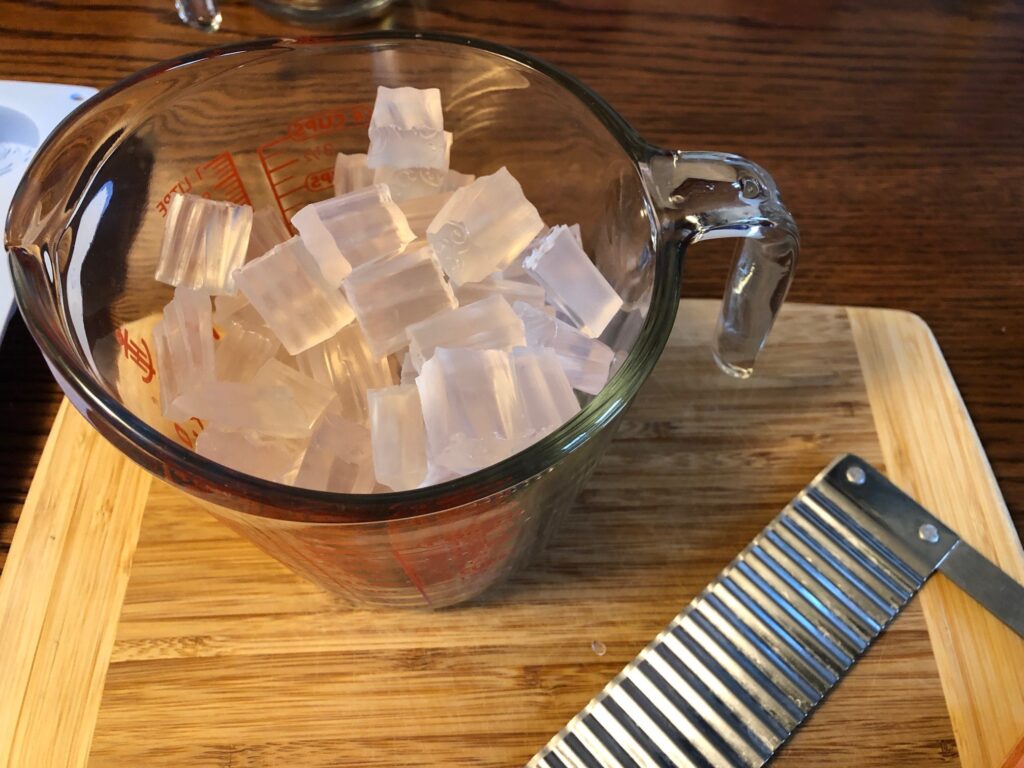
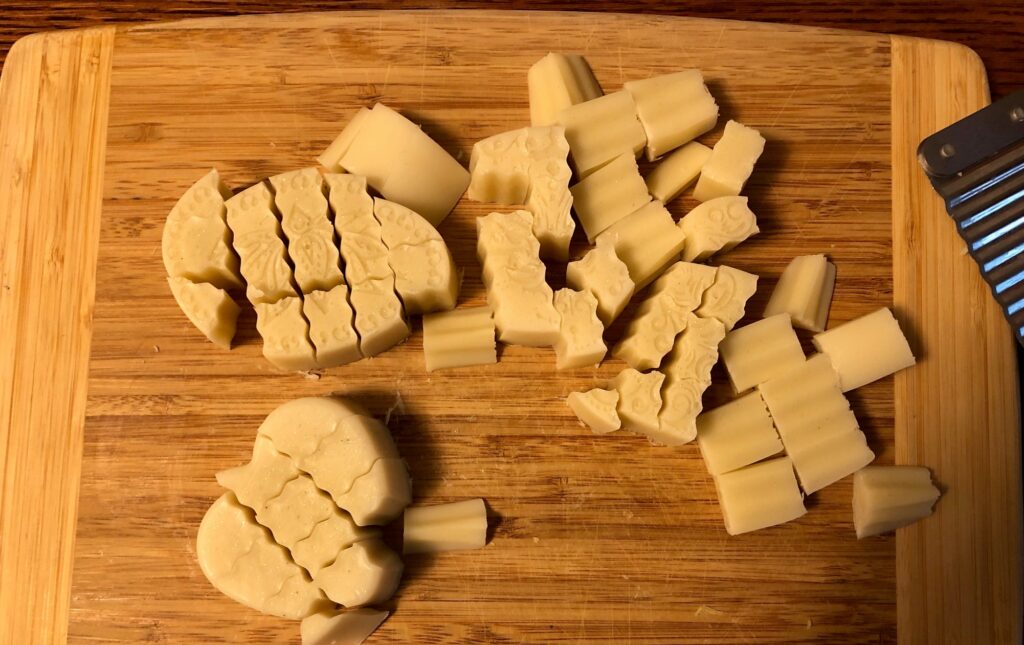
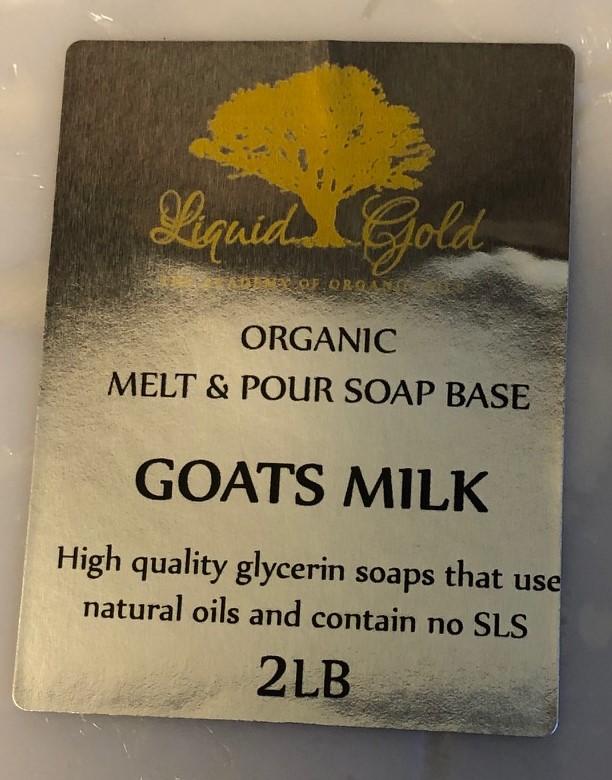
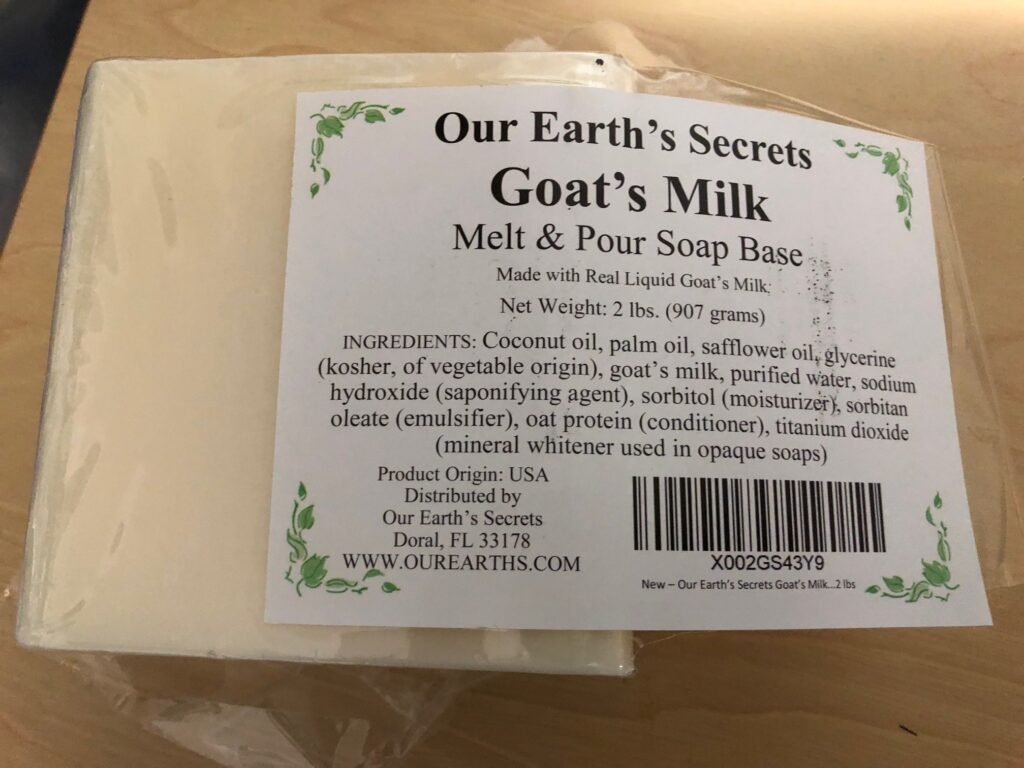
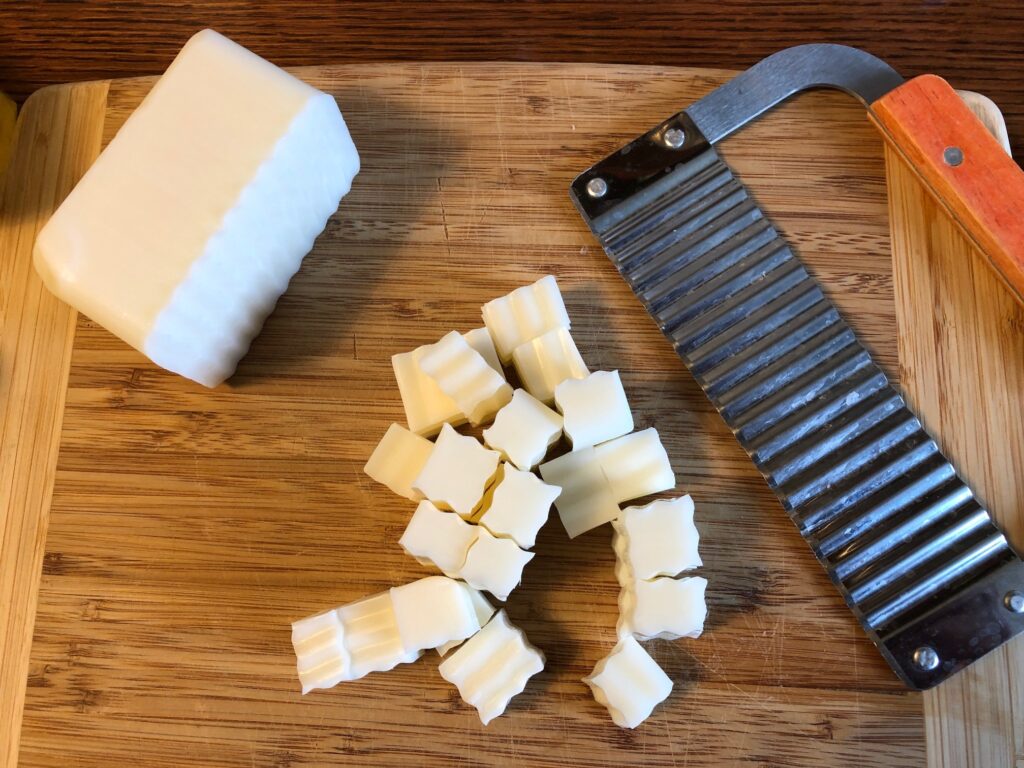
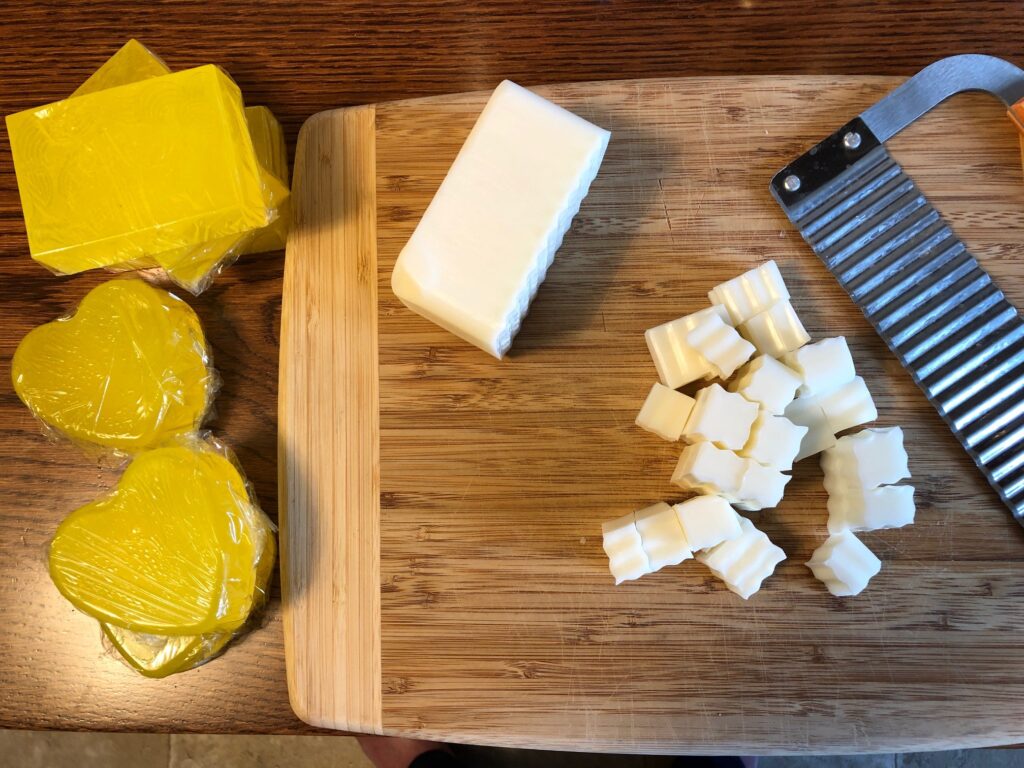
I pulled out a pound of Goat’s Milk Soap base, chopped it into cubes and split it between the two measuring cups. Goat’s Milk soap should enhance the suds-making-ability of the Manuka Honey soap.
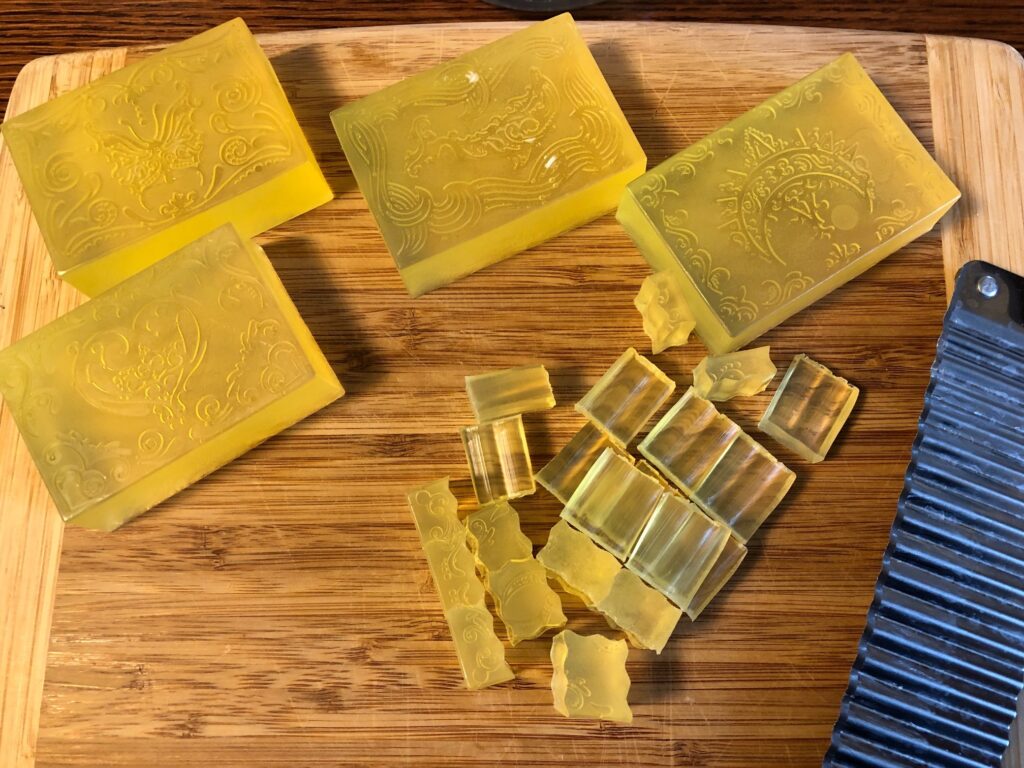
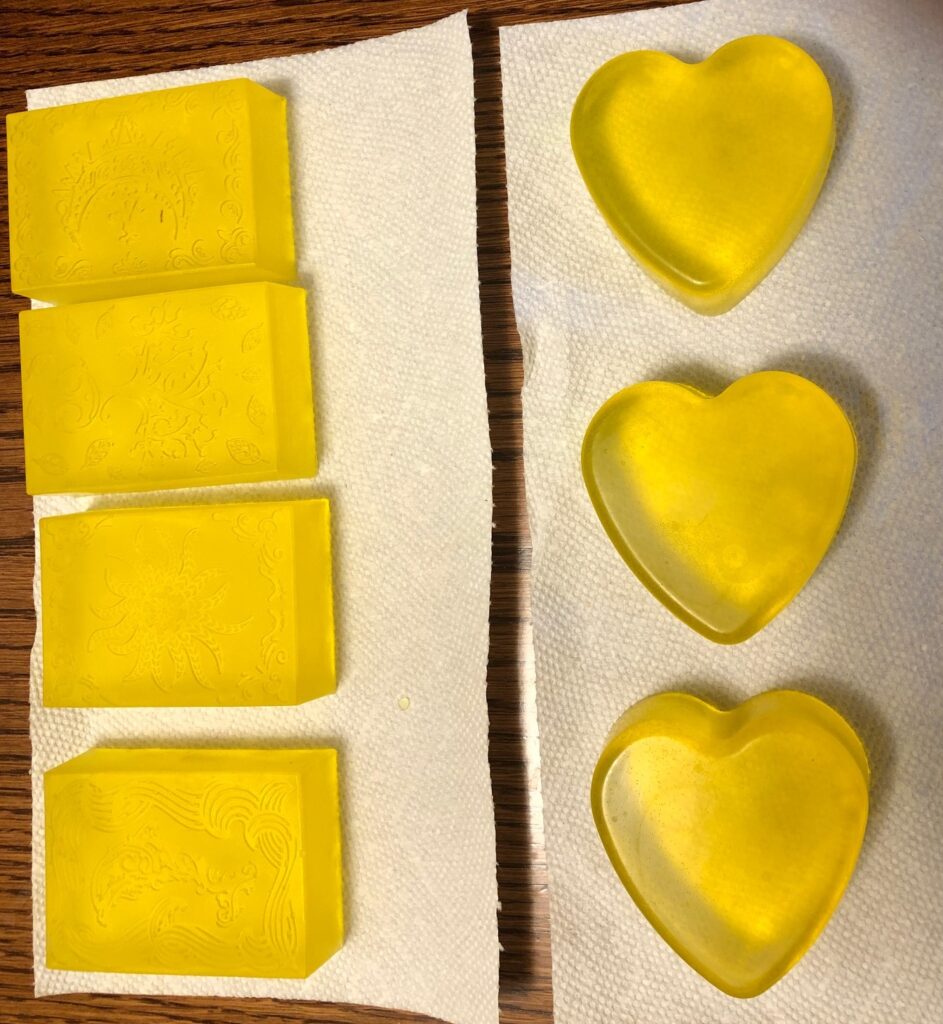
Then I cut up the original bars I had made and split them into the two measuring sups.
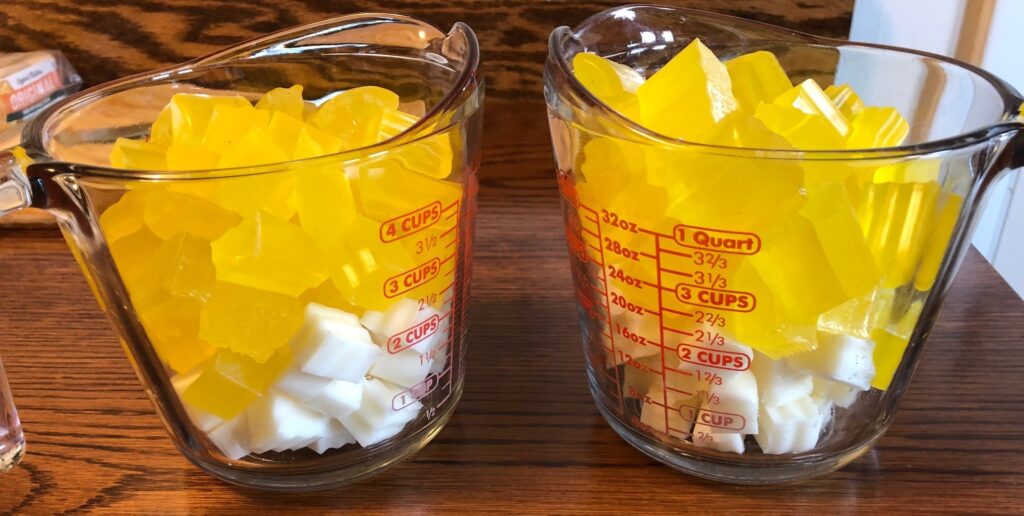
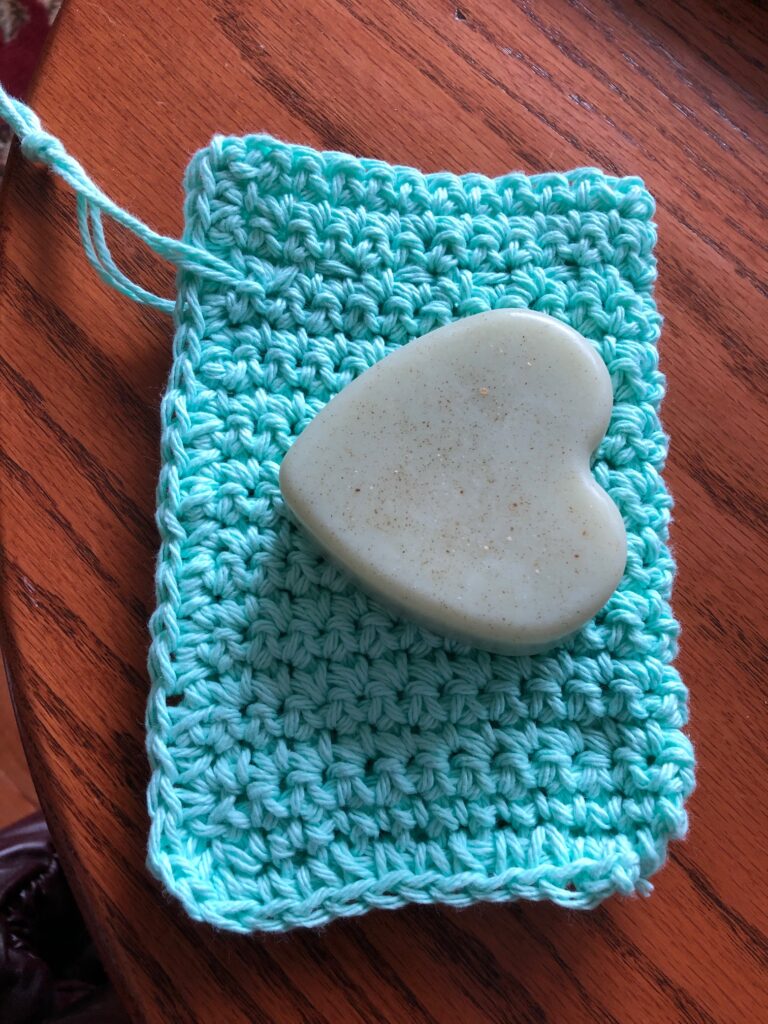
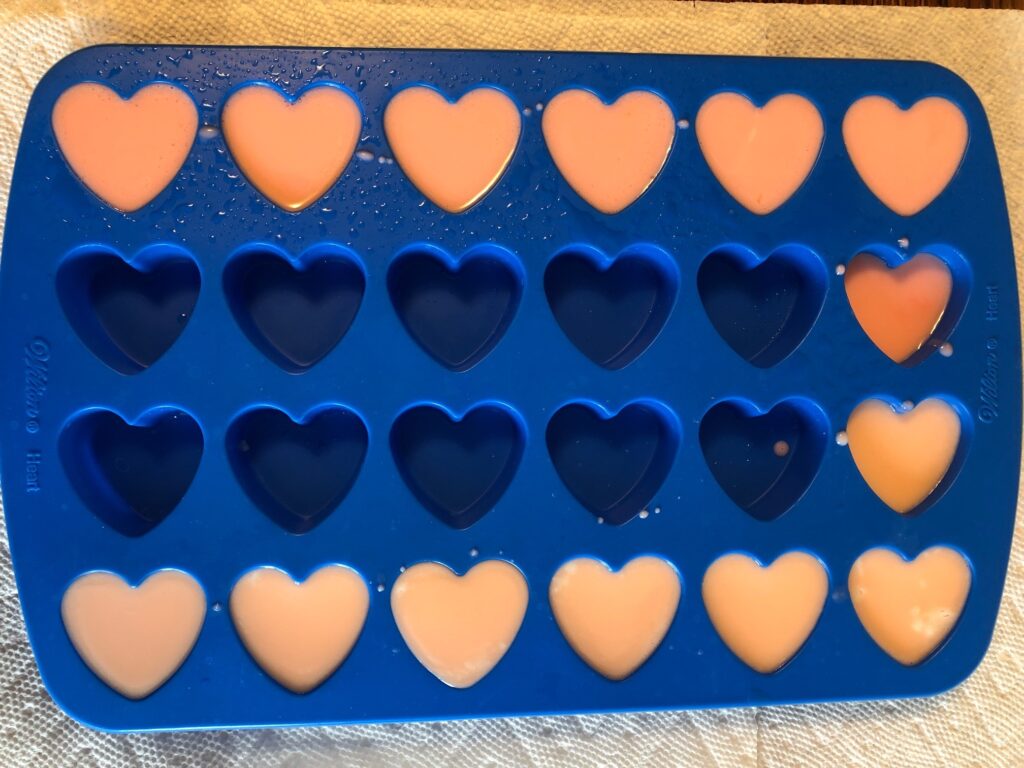
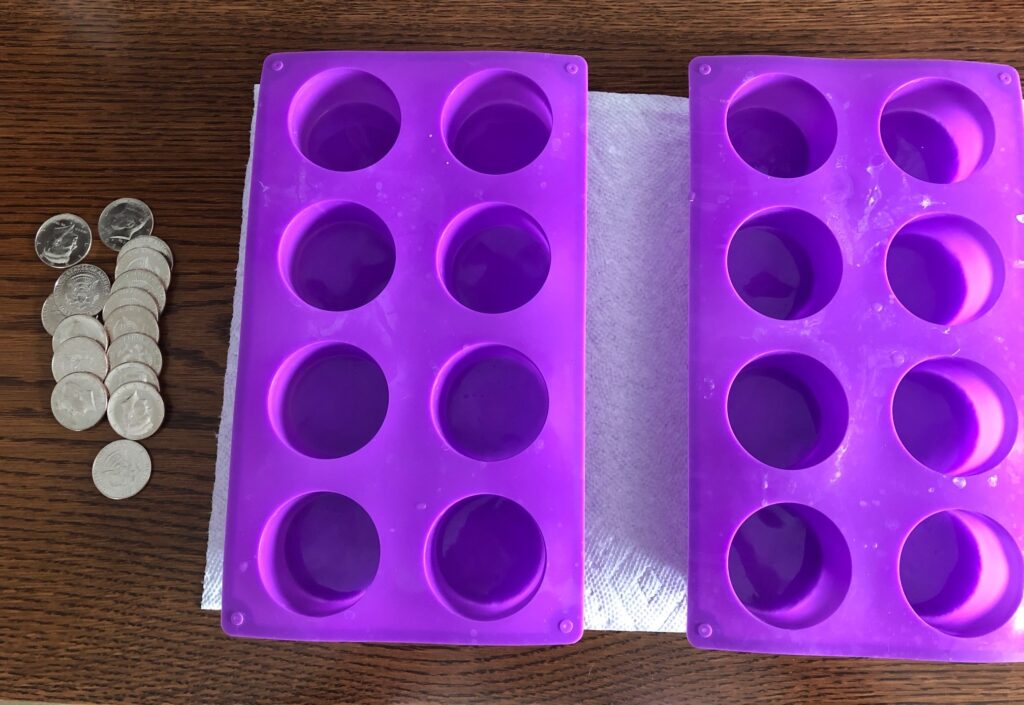
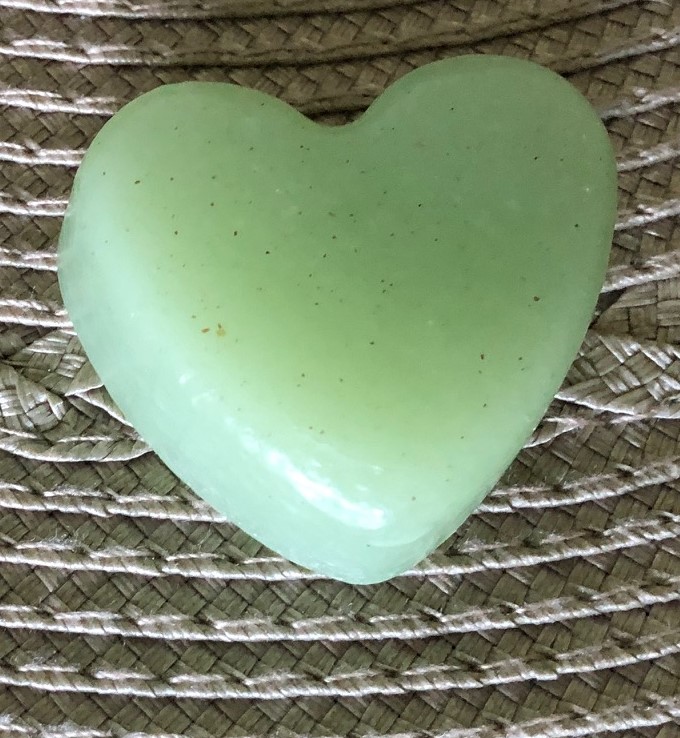
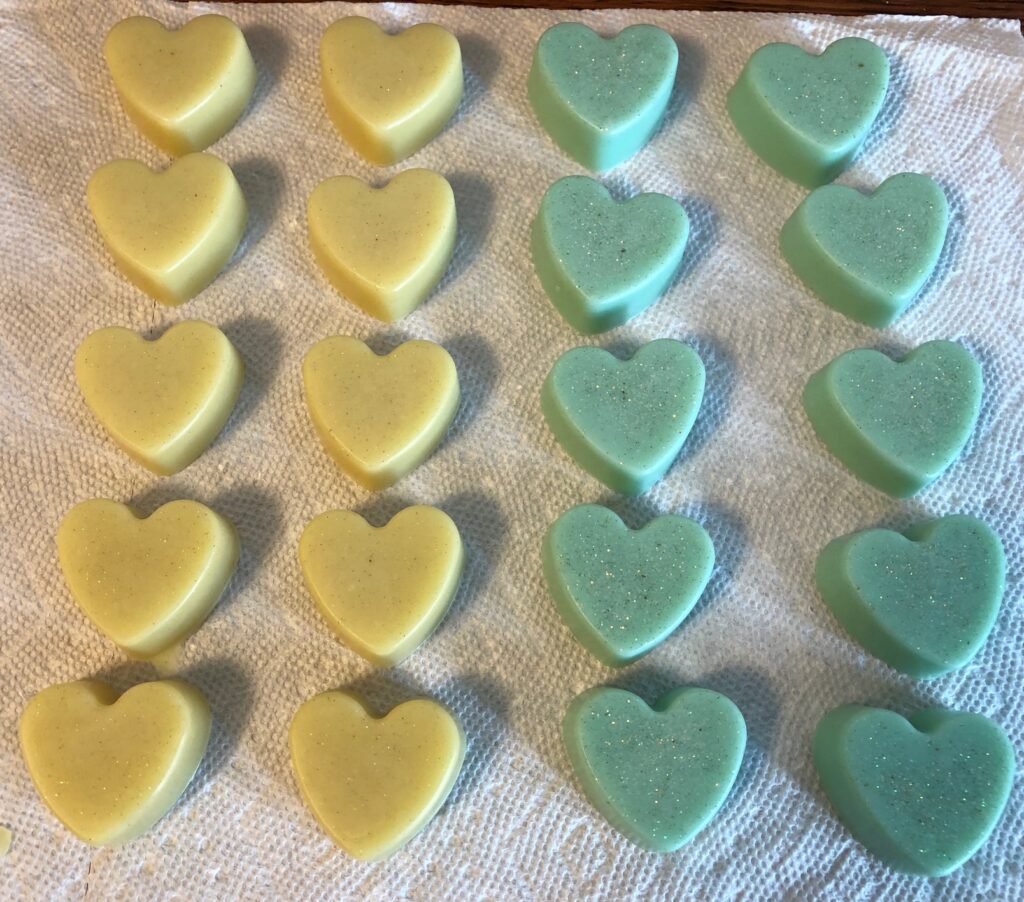
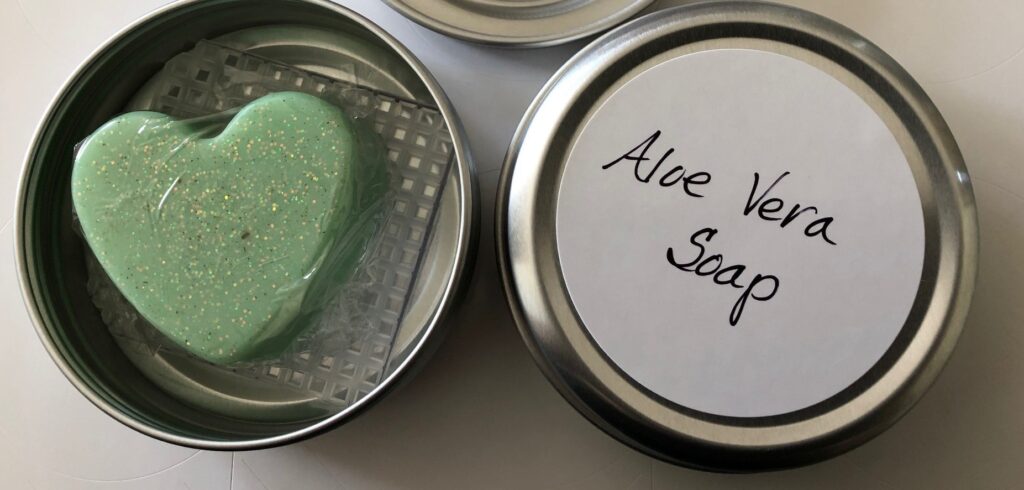
When melted I used different molds…figured I could use the small heart shaped soaps for Christmas gifts if they actually made a good lather!
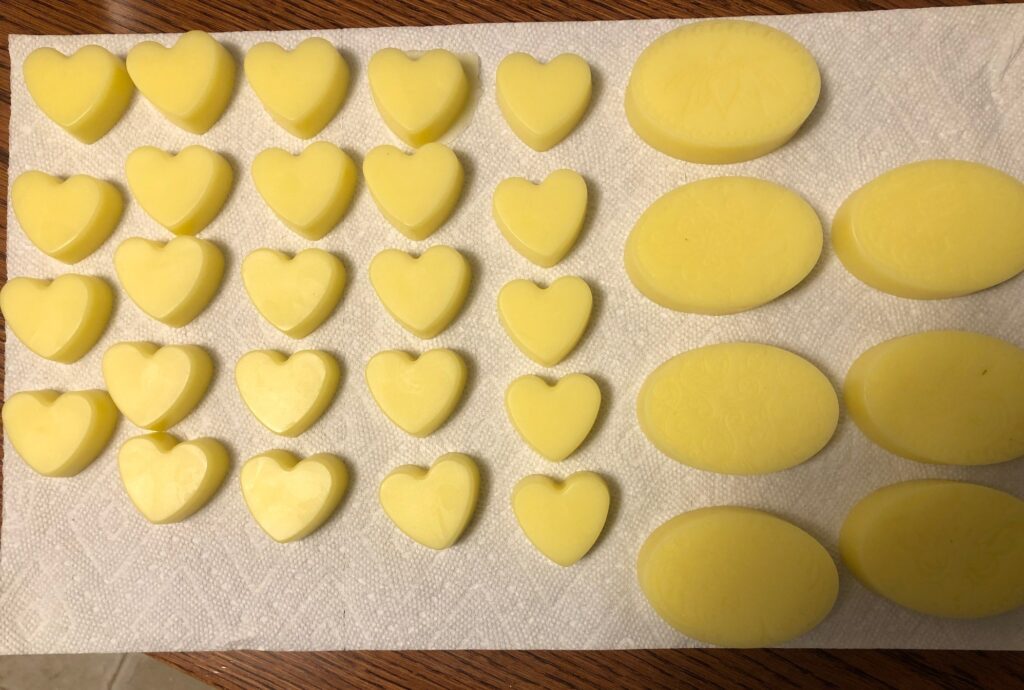
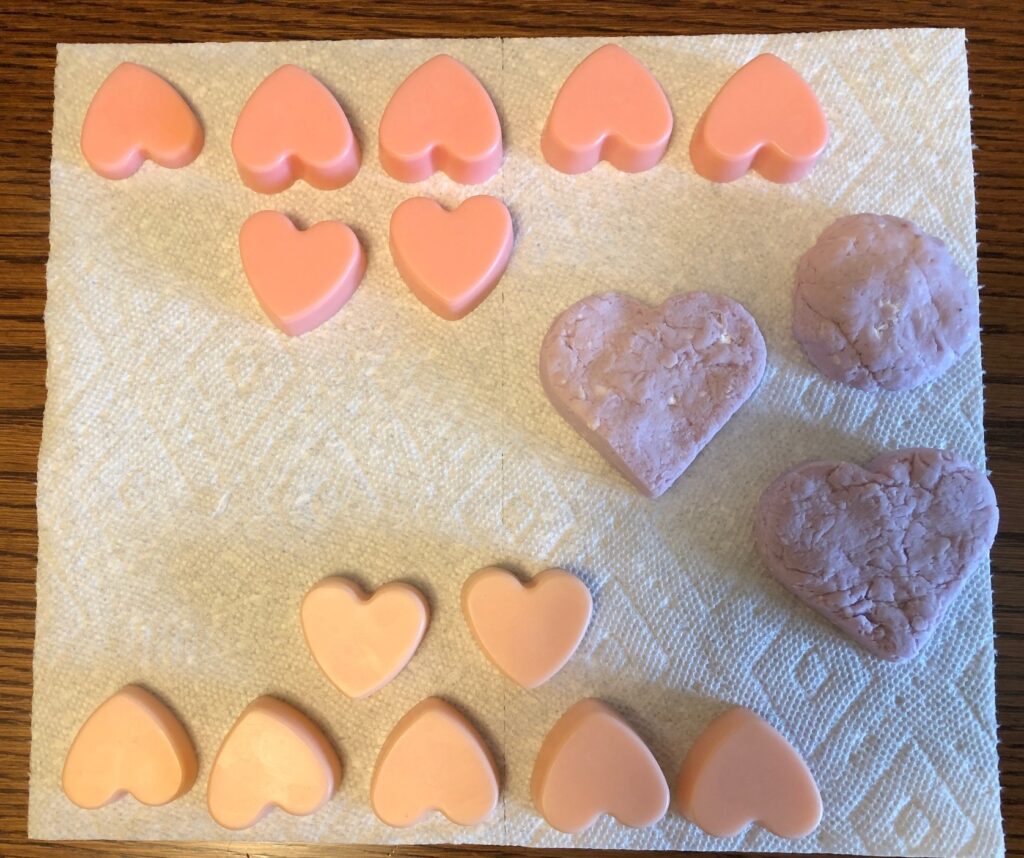
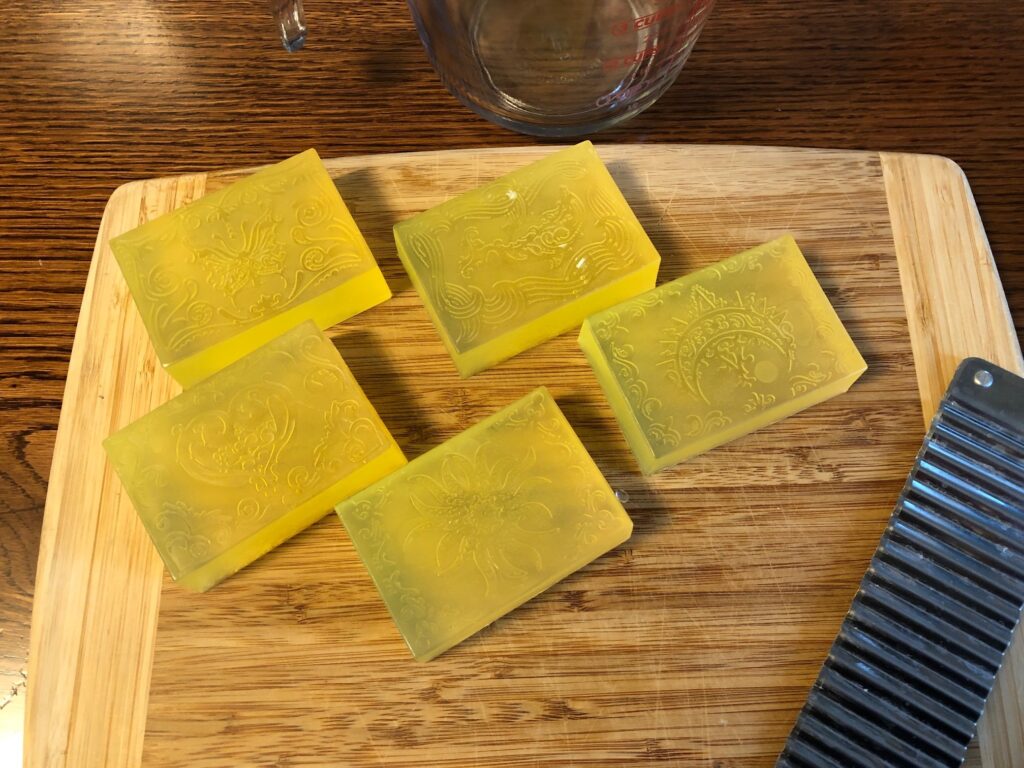
So, now the test…could I actually wash my hands with the soap and get some suds?
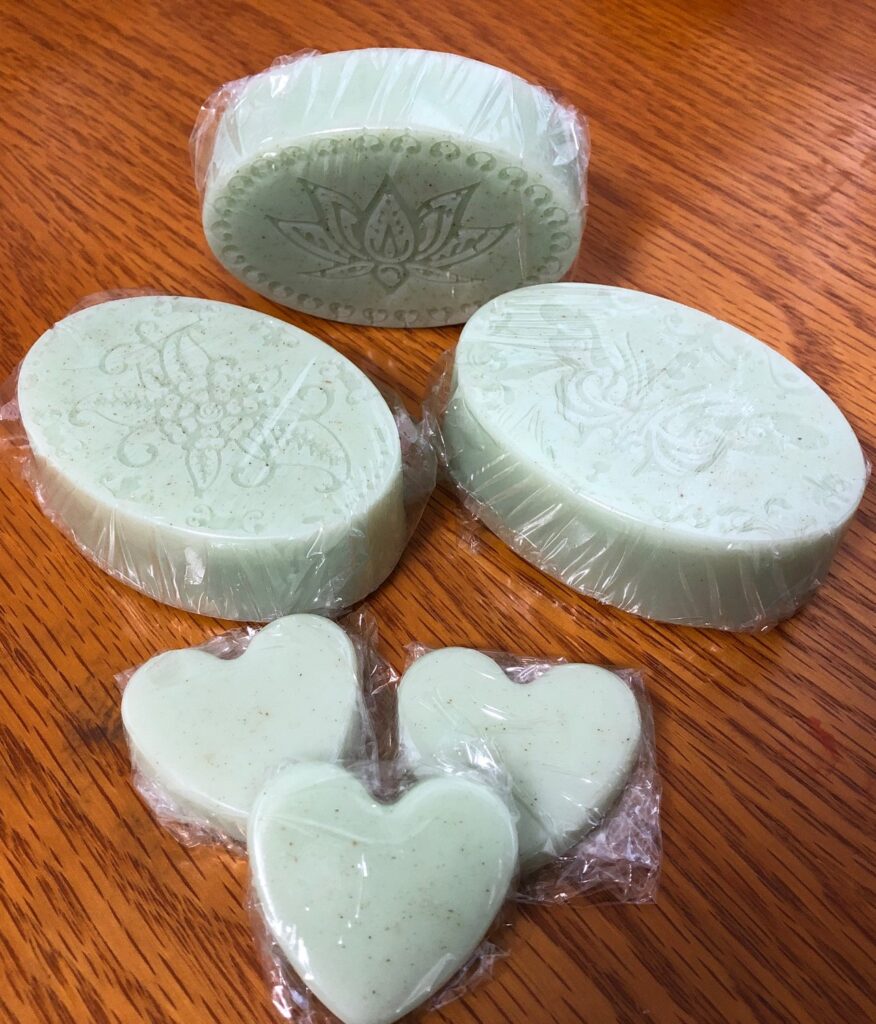
Yes…adding a small portion of goat’s milk soap base enhanced it’s lather-making abilities!
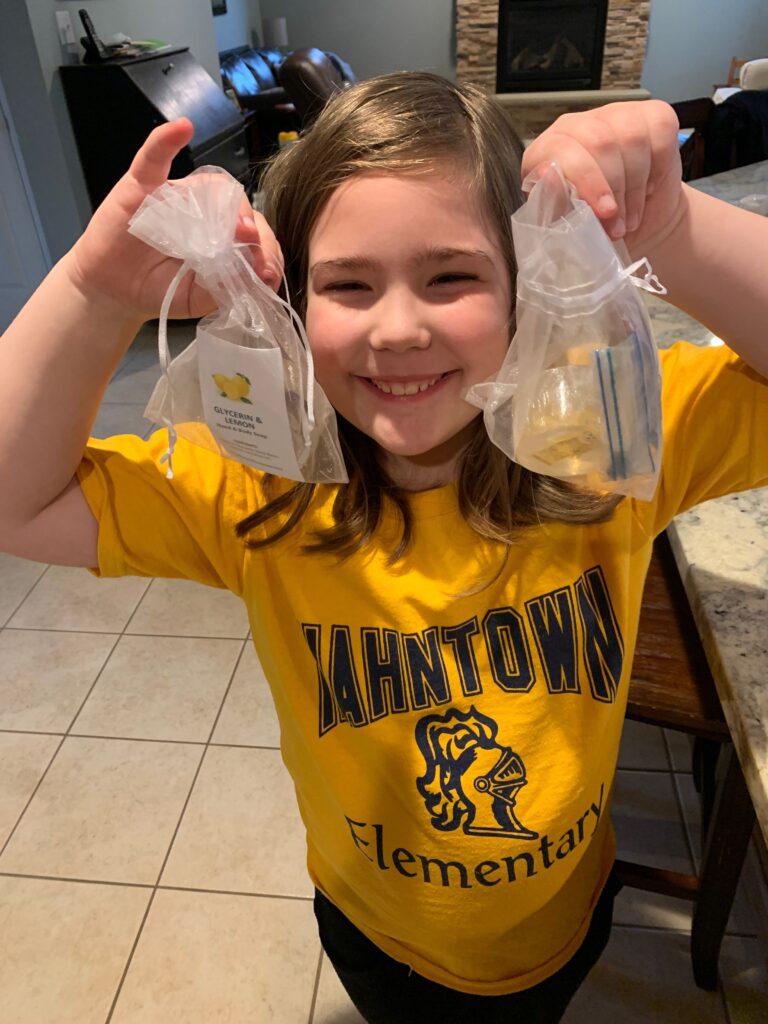
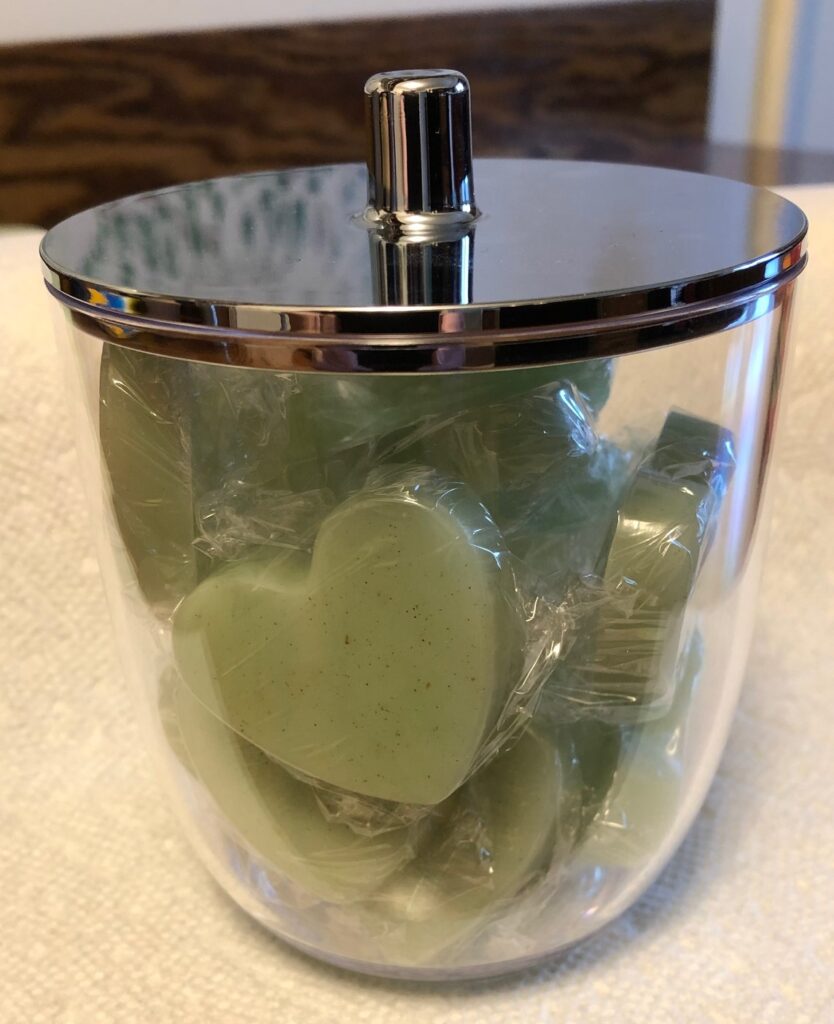
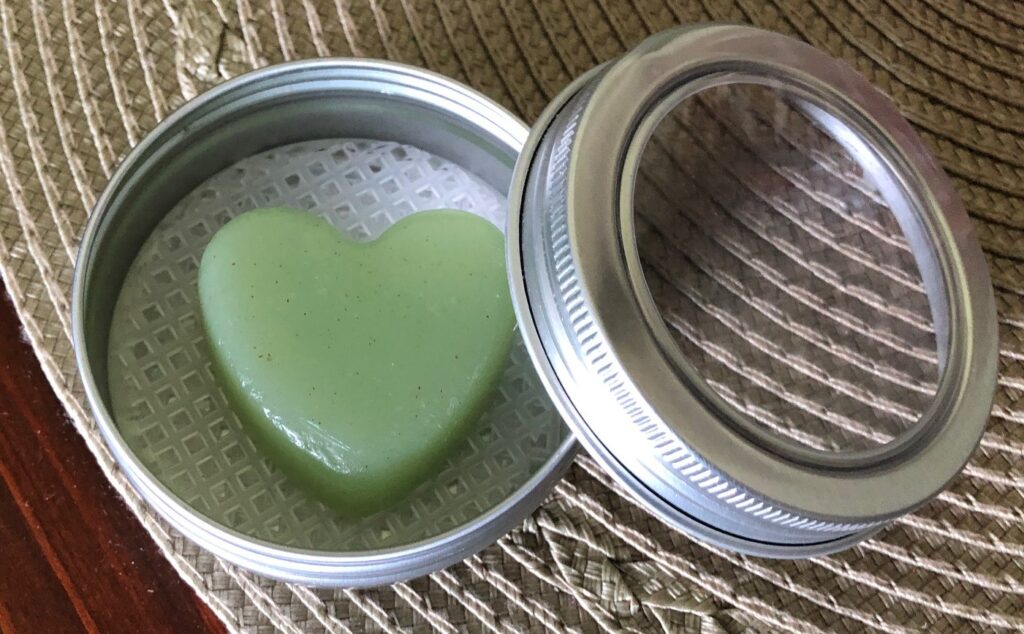
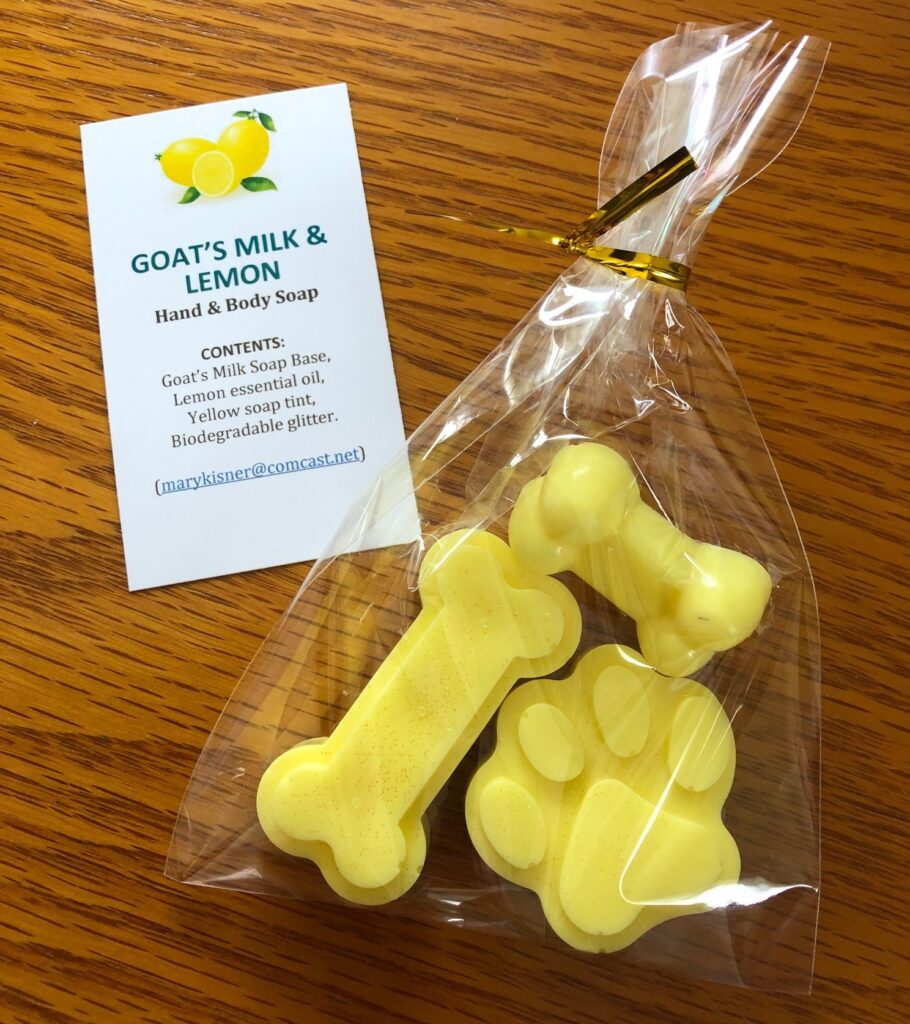
Now, I just need to package the soaps…maybe 3 or 4 to a gift bag…and I’ve got my gifts ready for those “gift exchanges” that seem to come up each year! Enjoy!

Please comment or email me directly at marykisner@comcast.net.