Rescuing Batting Scraps

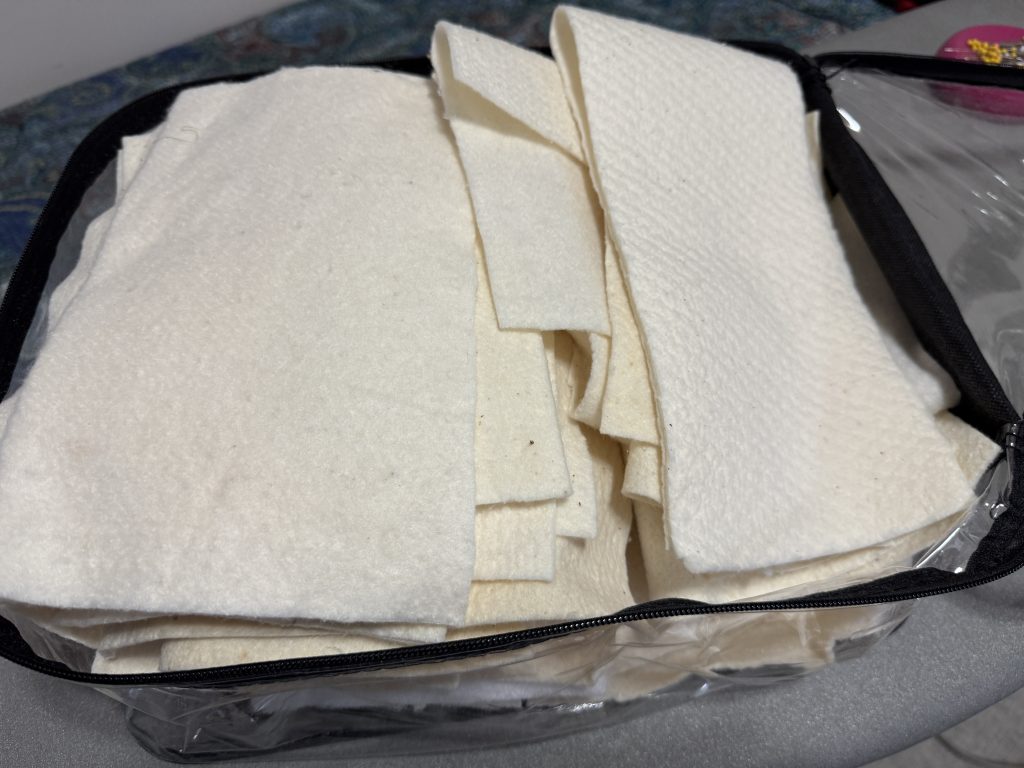
Sometimes my inspiration for new projects is triggered when I clean up from a previous one! When I finished making multiple sizes of the hot pad cozies in my last post, I had a pile of batting scraps left over. Usually, I stuff them into a clear tote I have on the shelf. These scraps are handy when I need just a small piece of batting for a small project. However, I was still thinking about the hot pad cozies and I knew I’d need 10″ to 12″ squares of batting to make more.

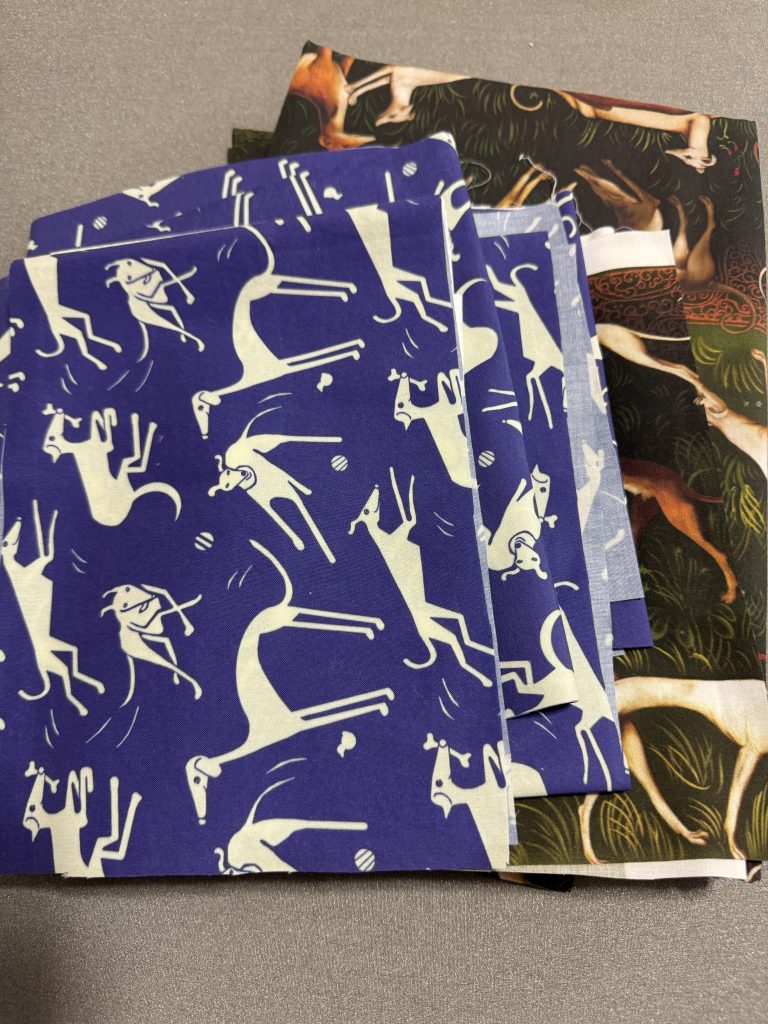
Luckily, that same day I was brainstorming with Toni…my friend with Nittany Greyhounds…about items that could be sold at the next conference. Why not hot pad cozies with greyhound fabric! This special-order fabric is adorable, with prints of greyhounds…but it is VERY expensive. I wondered if I had any scraps left from various projects to try my experiment. I found a pile in my stash I could play with!

Making the Batting Squares

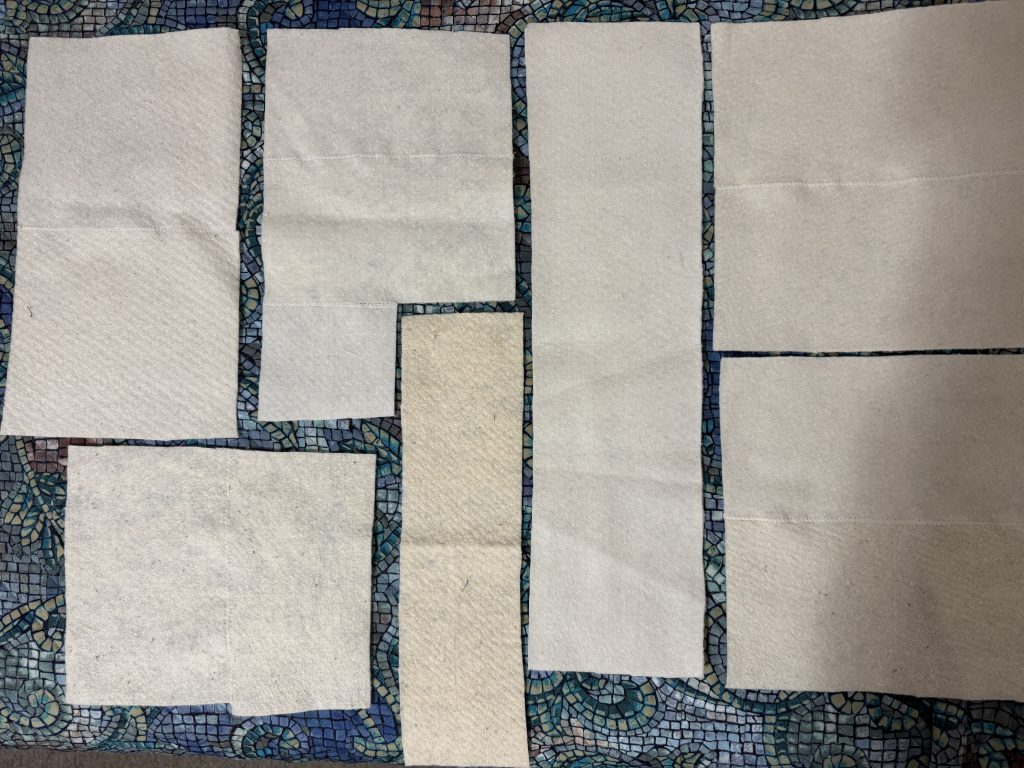
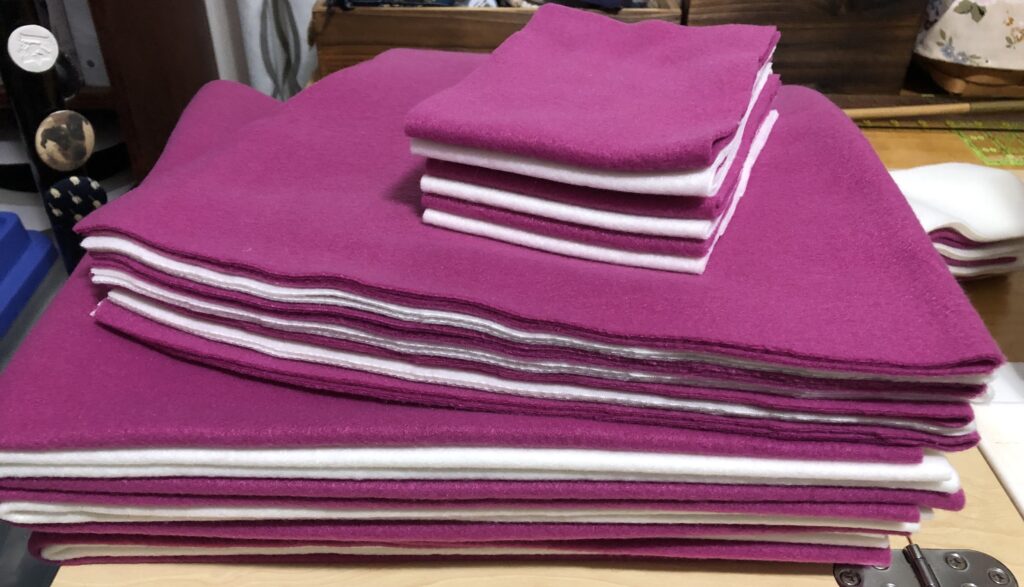
I was determined to try these hot pad cozies without buying anything new. That meant I needed to start with my pile of batting scraps. I started by laying out the pieces and pulling together those that could be stitched together to make 10″ squares.

All my batting pieces are natural cotton and they are all similar weight. They seem to be more “natural” on one side and whiter on the other.

First, I trim the edges that I’ll sew together so they’ll lay flat.

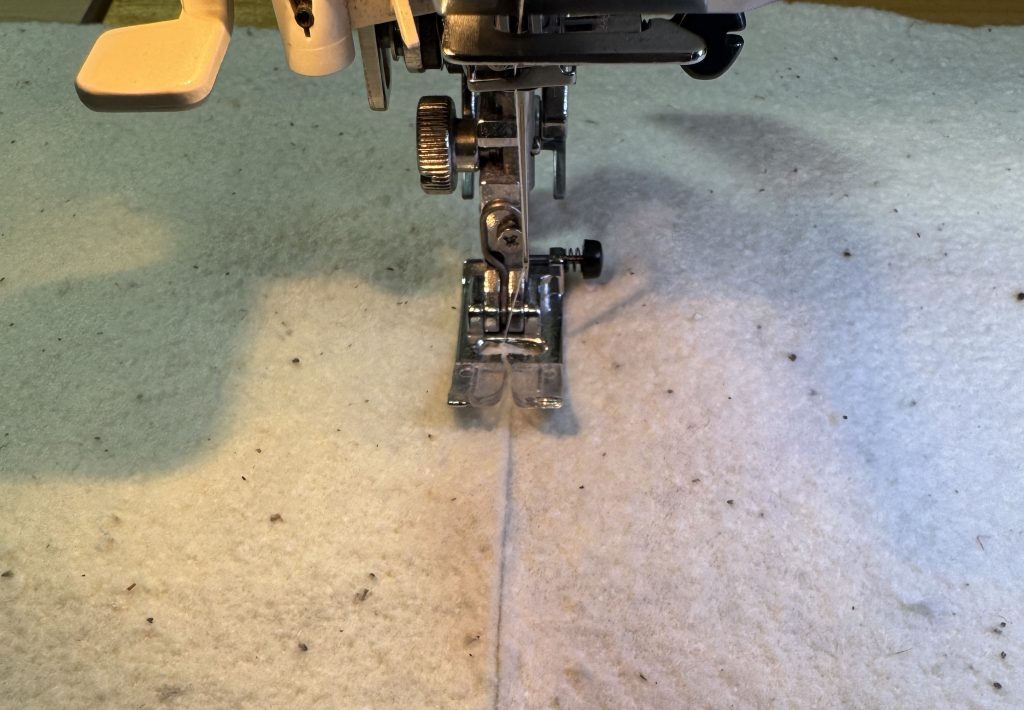
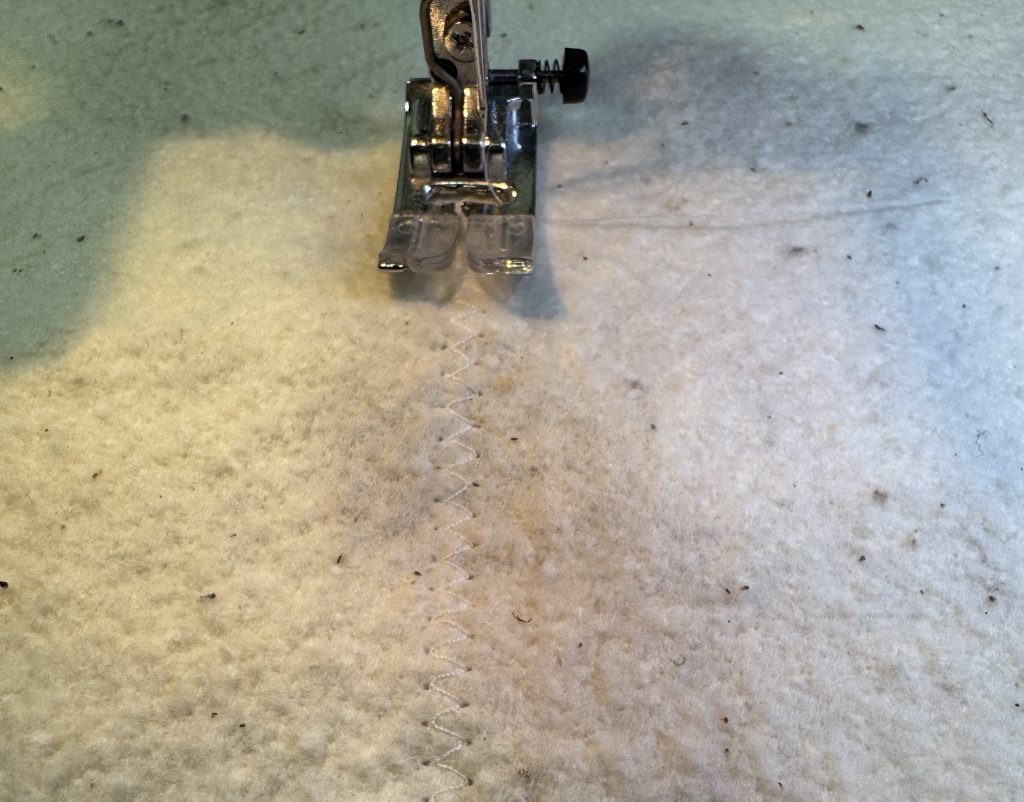
Next, using a zigzag seam, I sew the two sides together. If that doesn’t make 10″ I’ll add another strip to the width. If the total square doesn’t make the 10″ I’ll add another strip along the bottom.

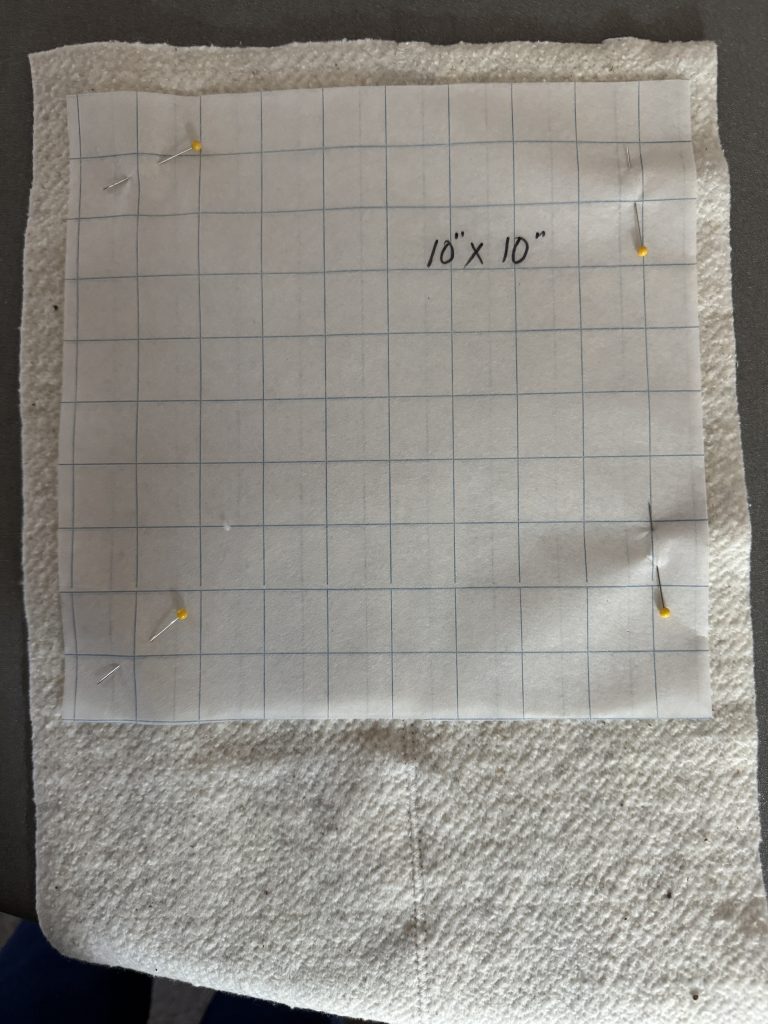
When I’ve pieced a large enough square, I put the pattern on and cut out the 10″ square.

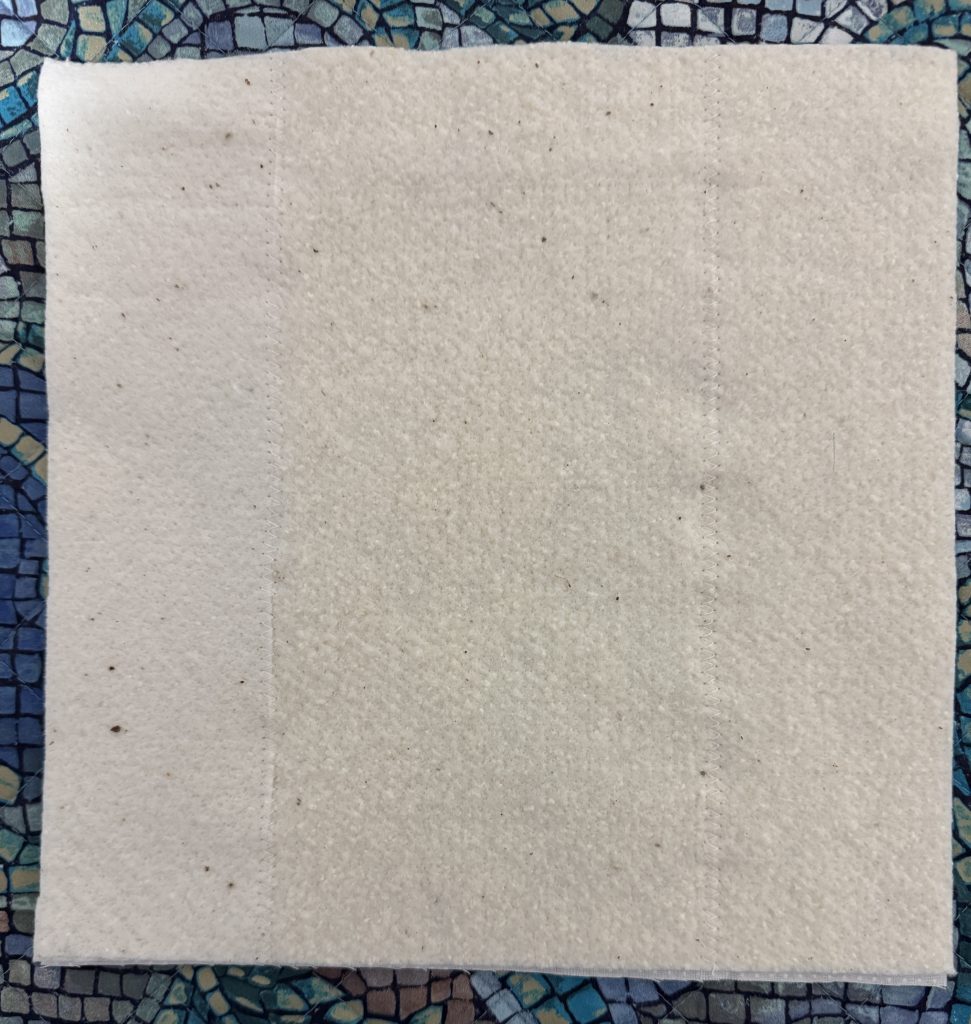
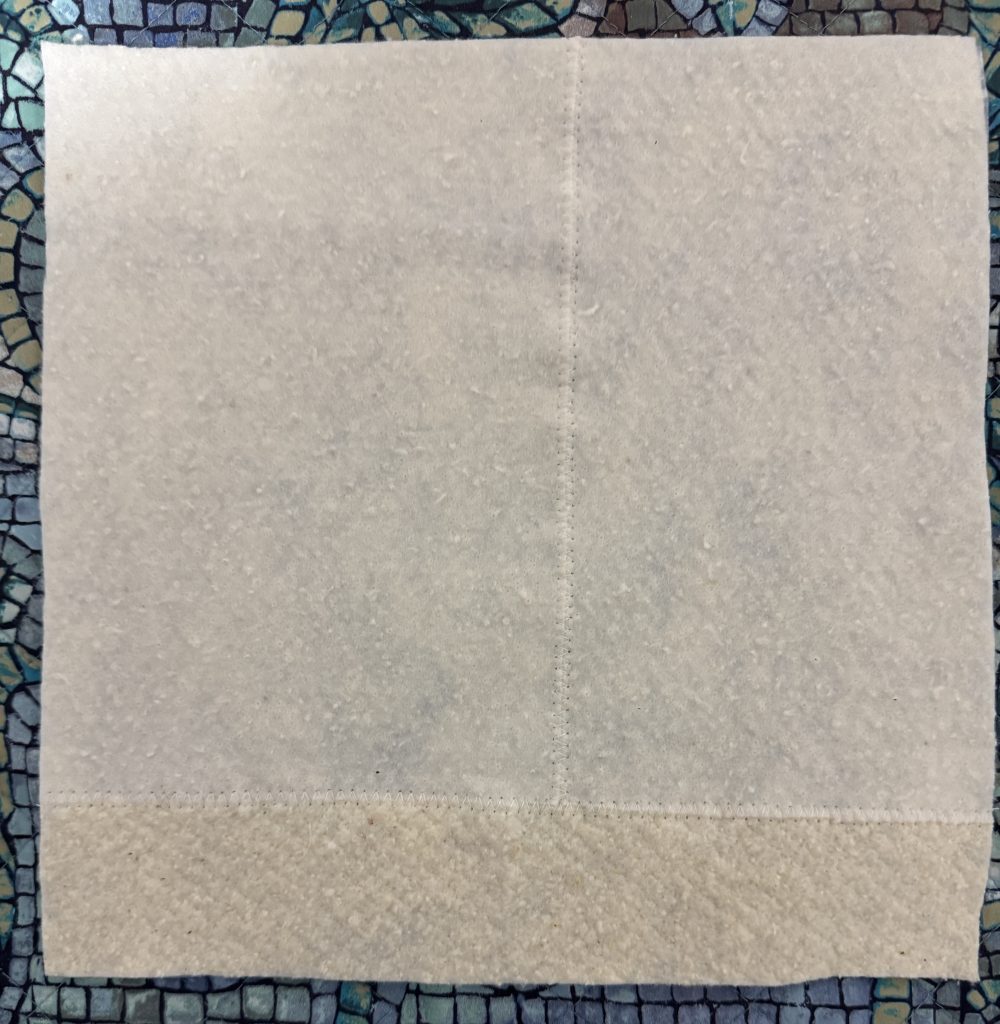
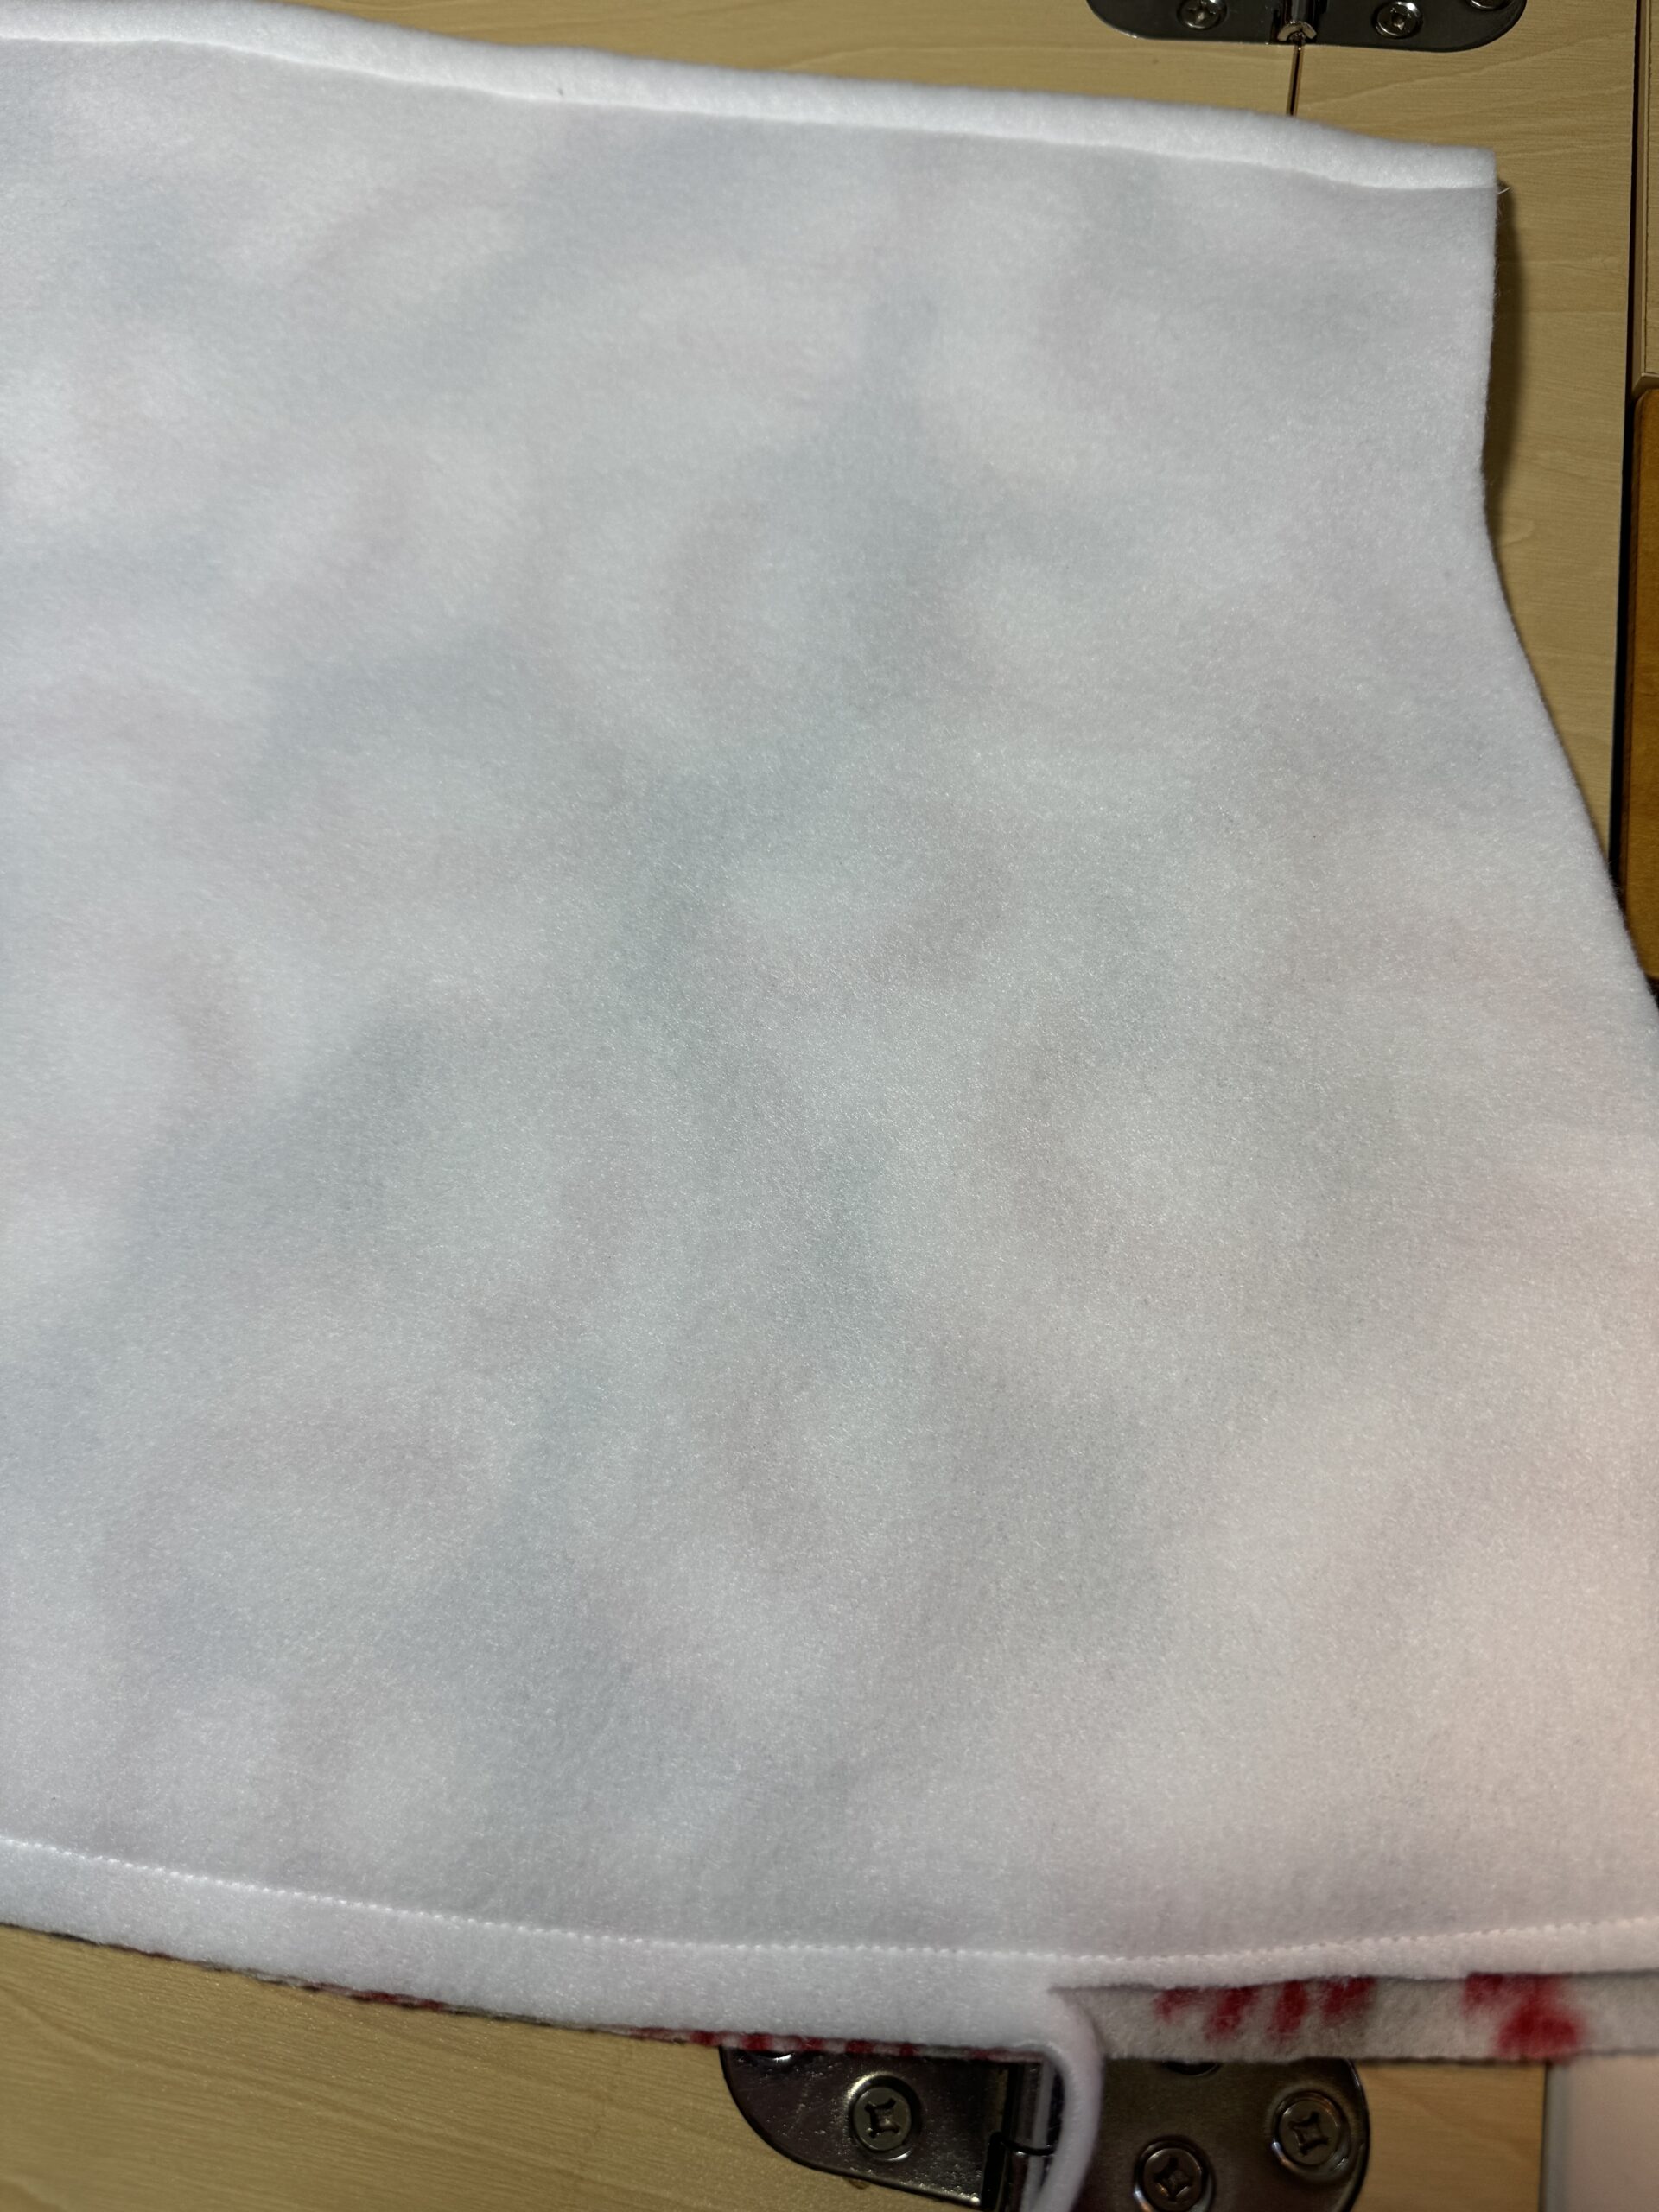
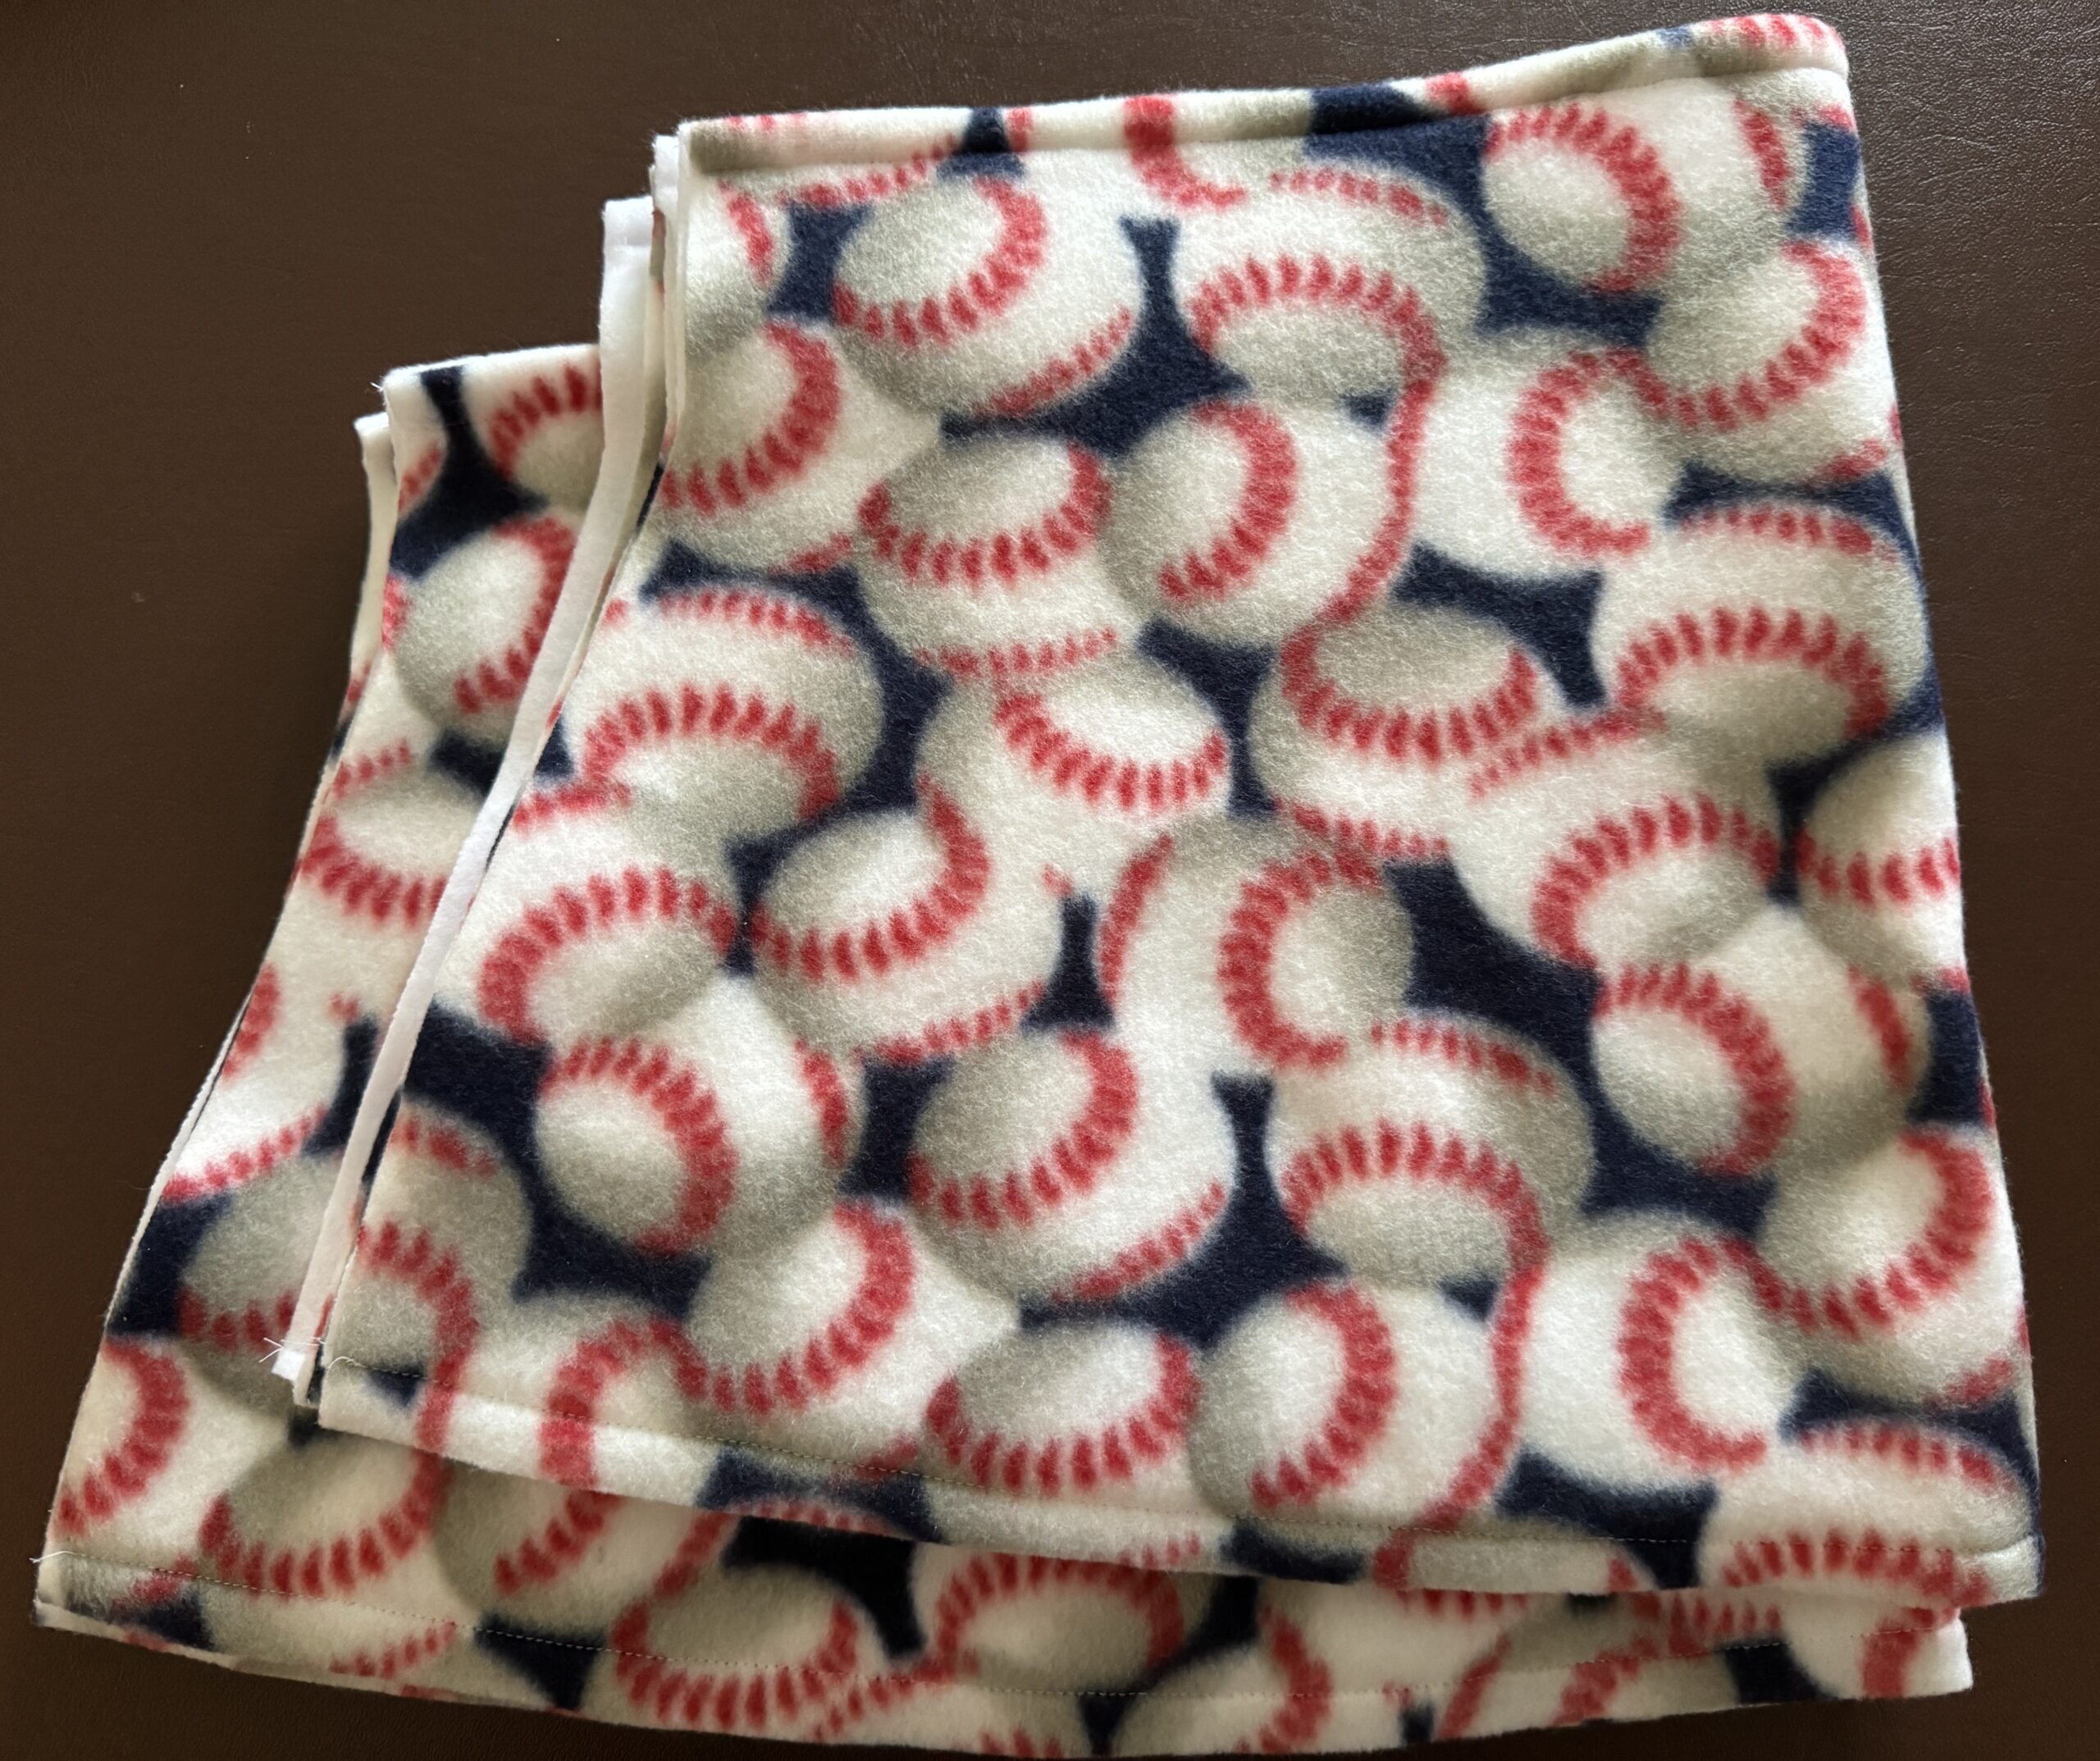
Here are two finished blocks of batting:

Making the Hot Pad Cozies

You can read the details about how to make these cozies at my previous post:

https://marykisner.com/making-three-sizes-of-hot-pad-cozies/

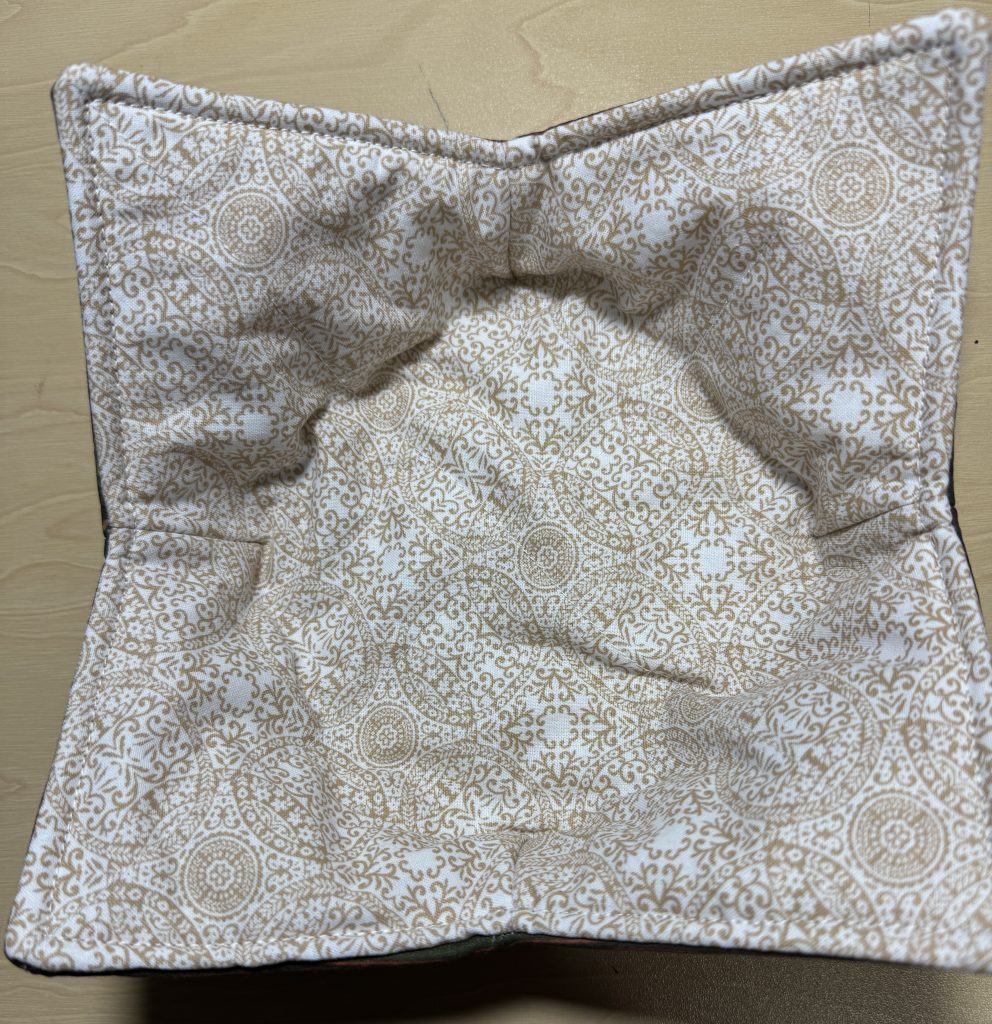
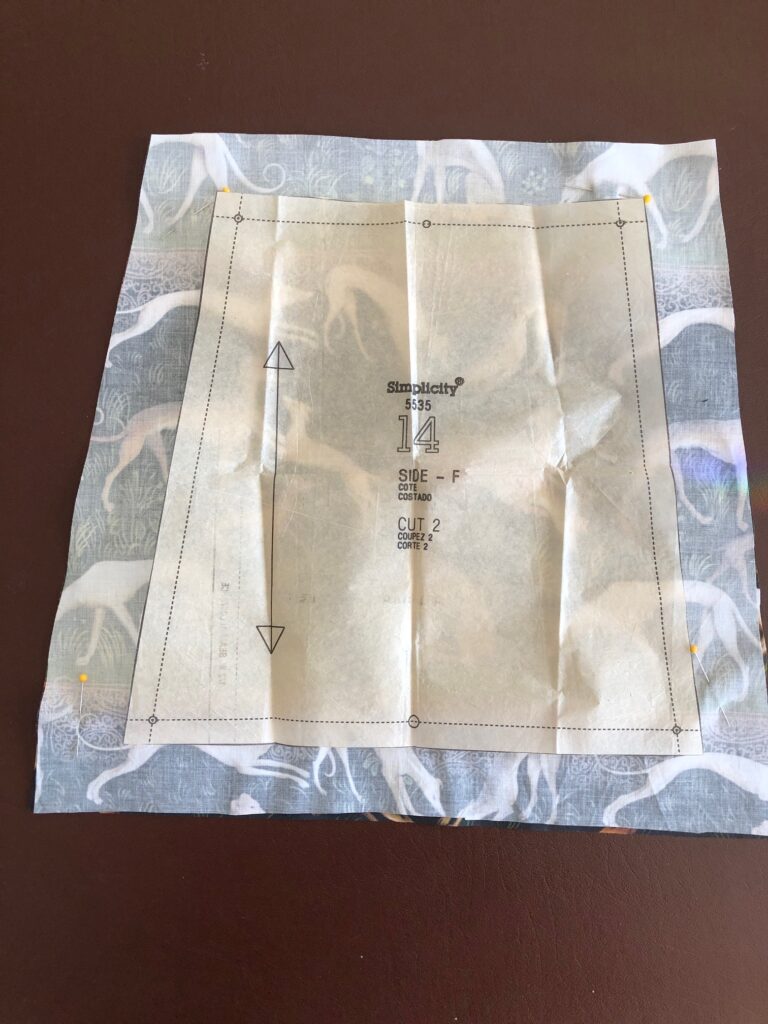
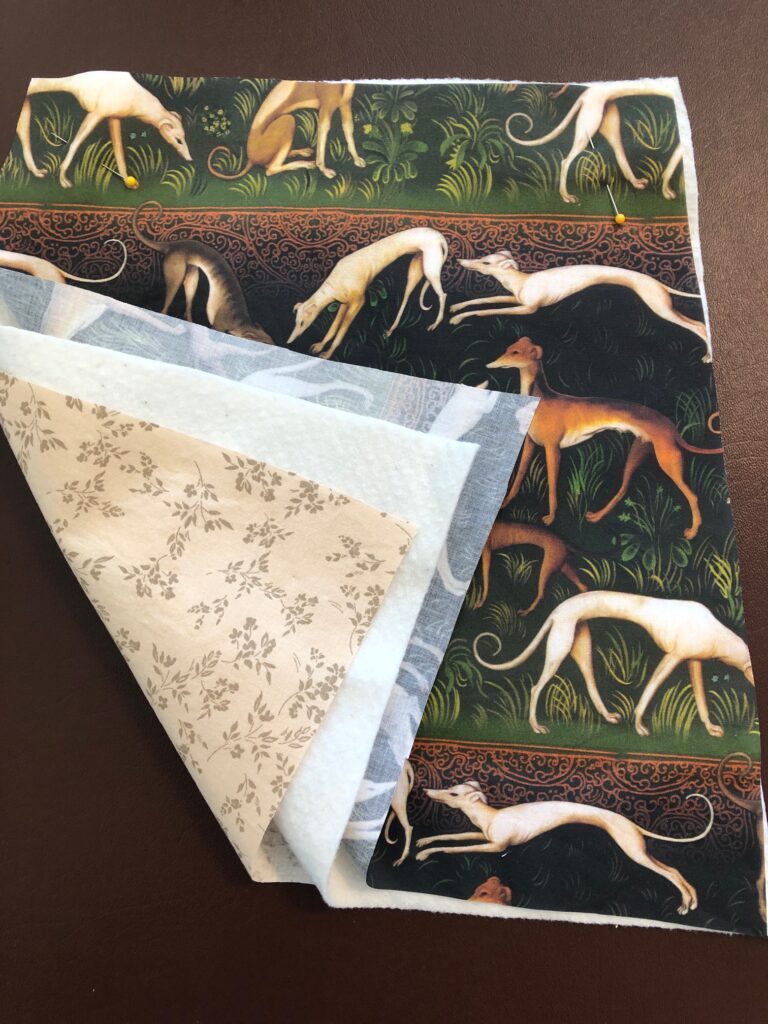
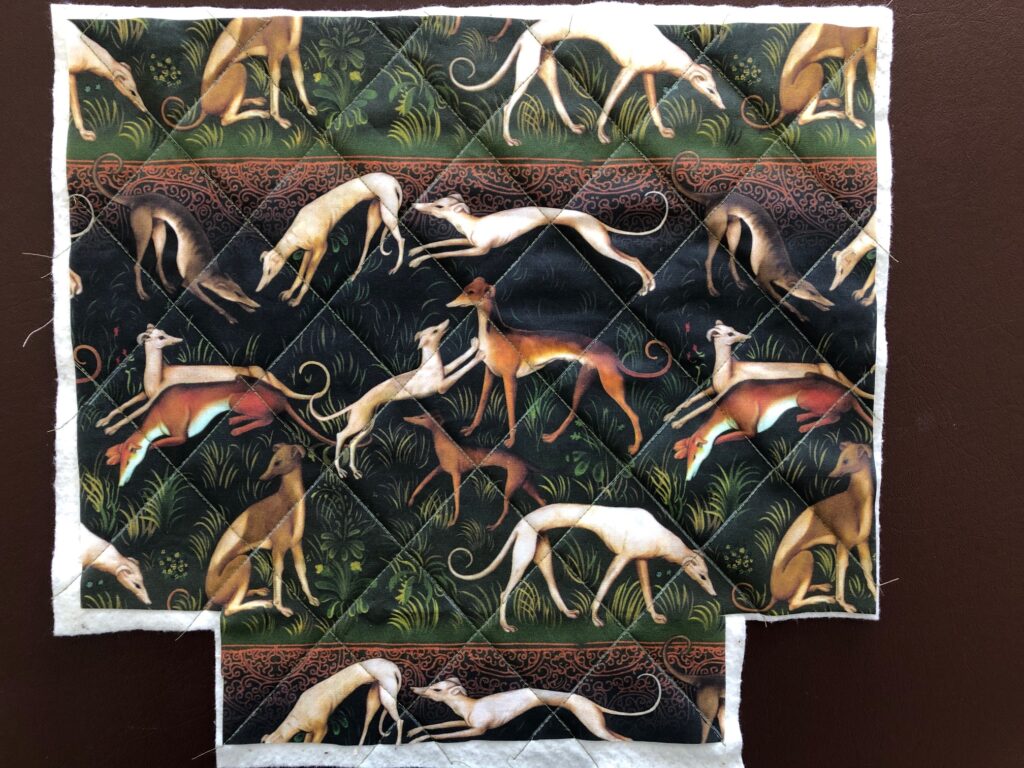
With enough batting squares made, I started cutting 10″ squares of greyhound fabric. I found scraps of coordinating fabric to make the reverse sides.

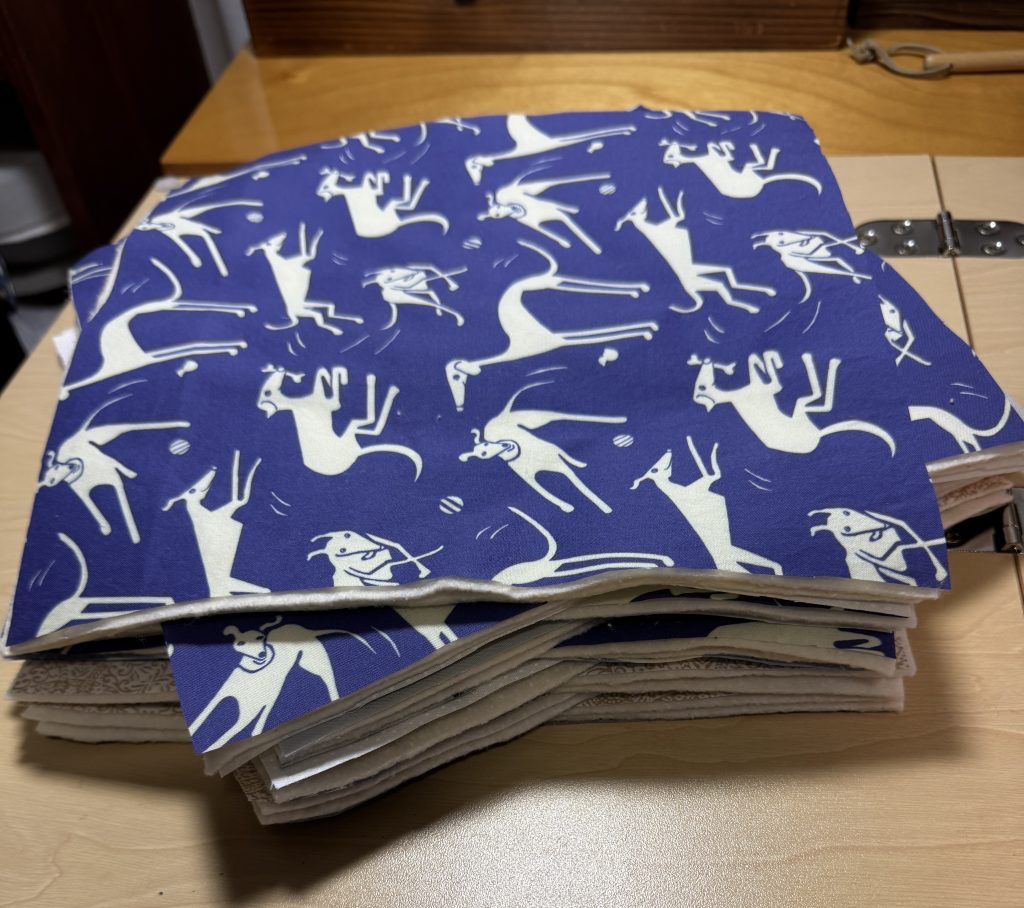
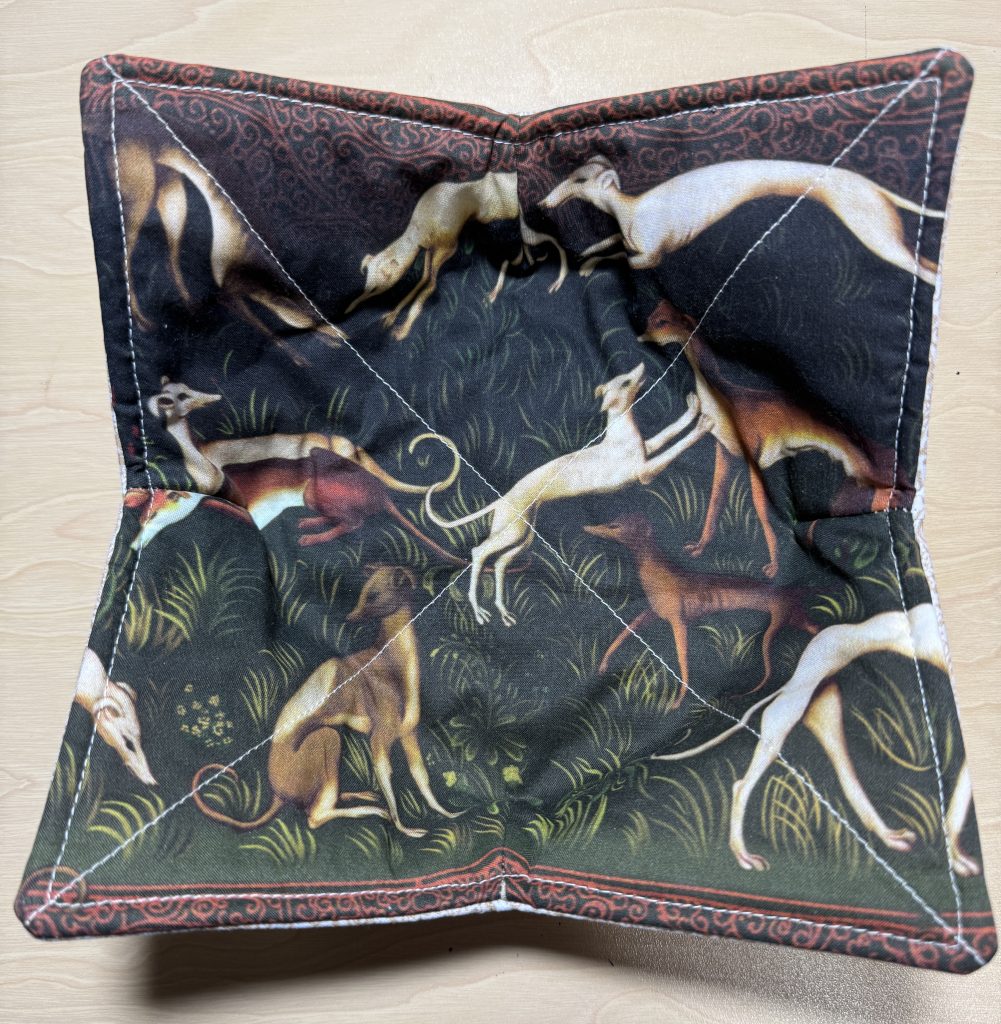
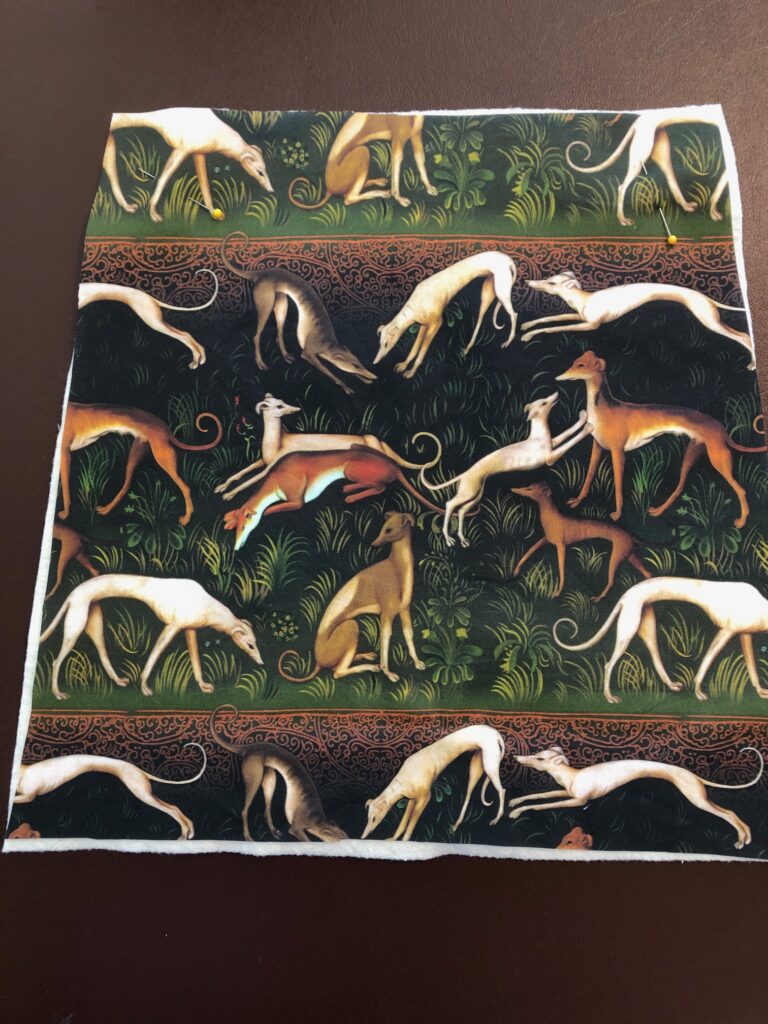
I started with one of each print, just to see which print worked best. The first one was a very large print of a greyhound. I barely had enough fabric to make just one square. I think the large print doesn’t work…too many extraneous body parts on the edges!

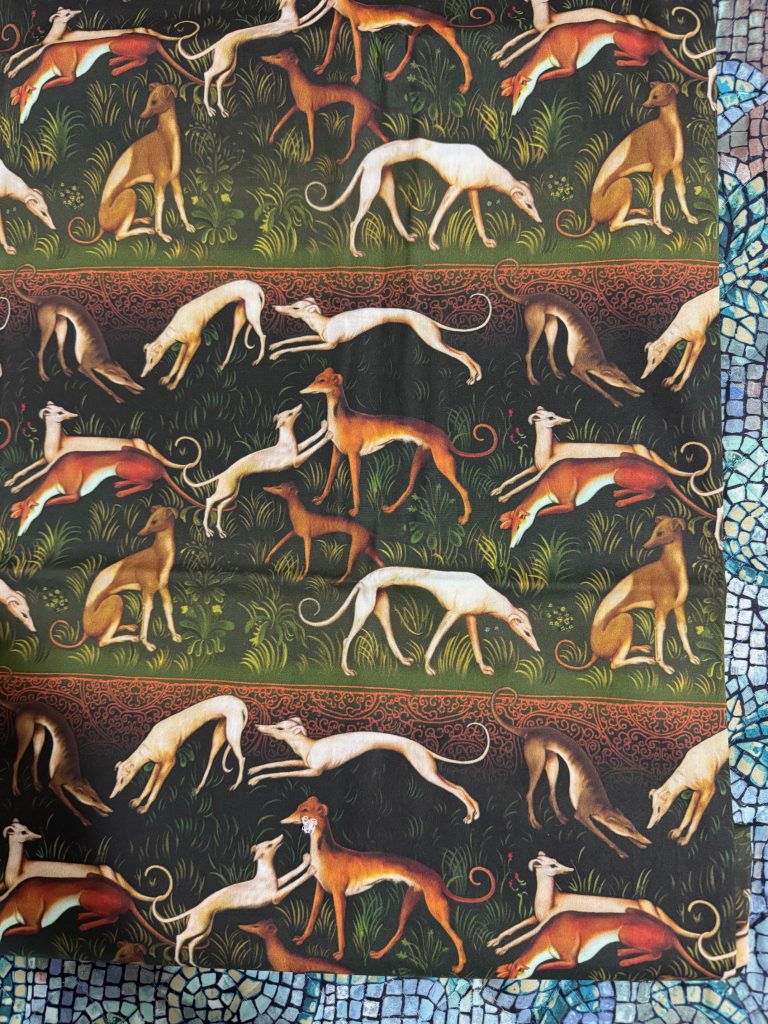
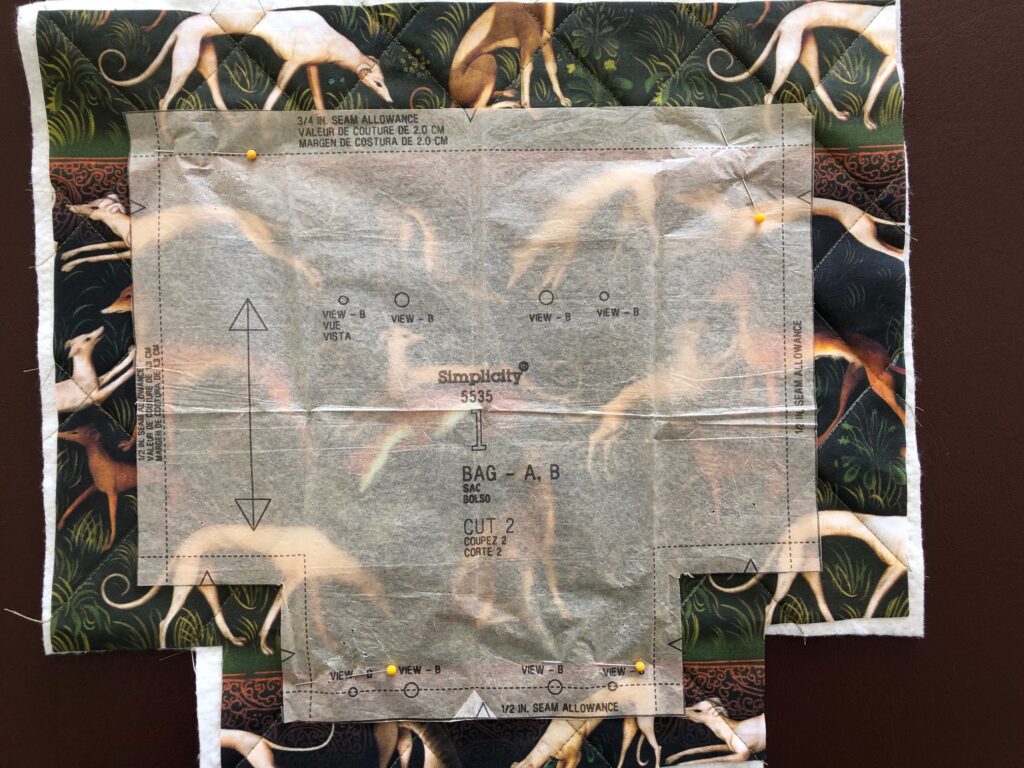
The second cozy I made used a border repeat pattern:

The pattern was wider than the print so it didn’t make good use of the fabric. I did not want to cut off too many heads.

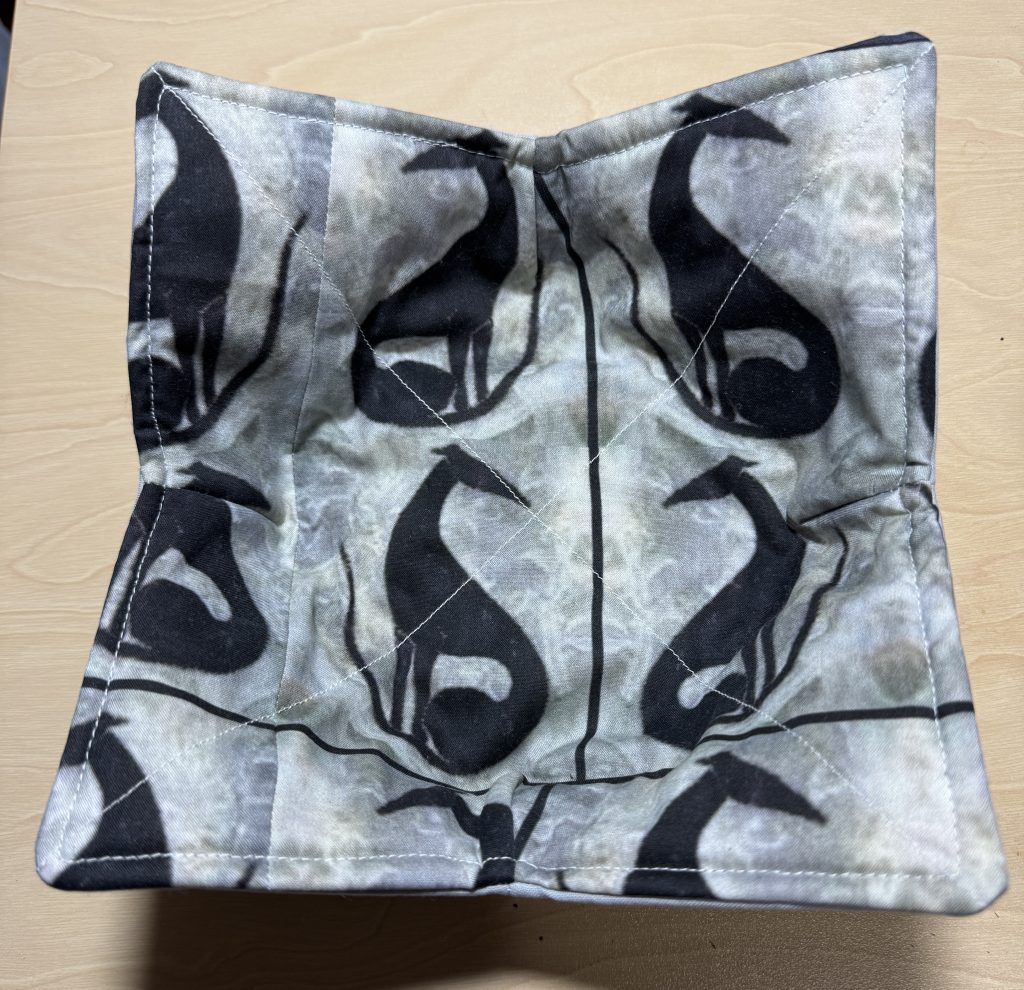
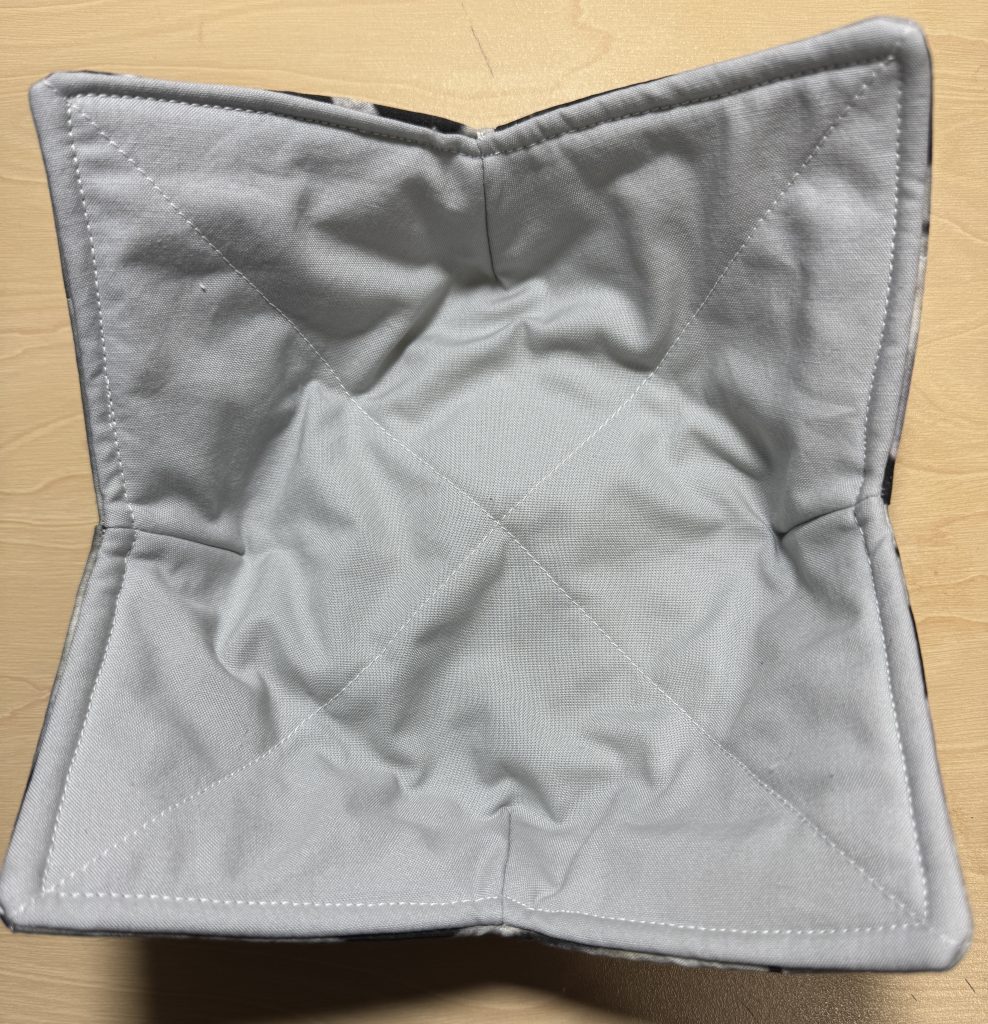
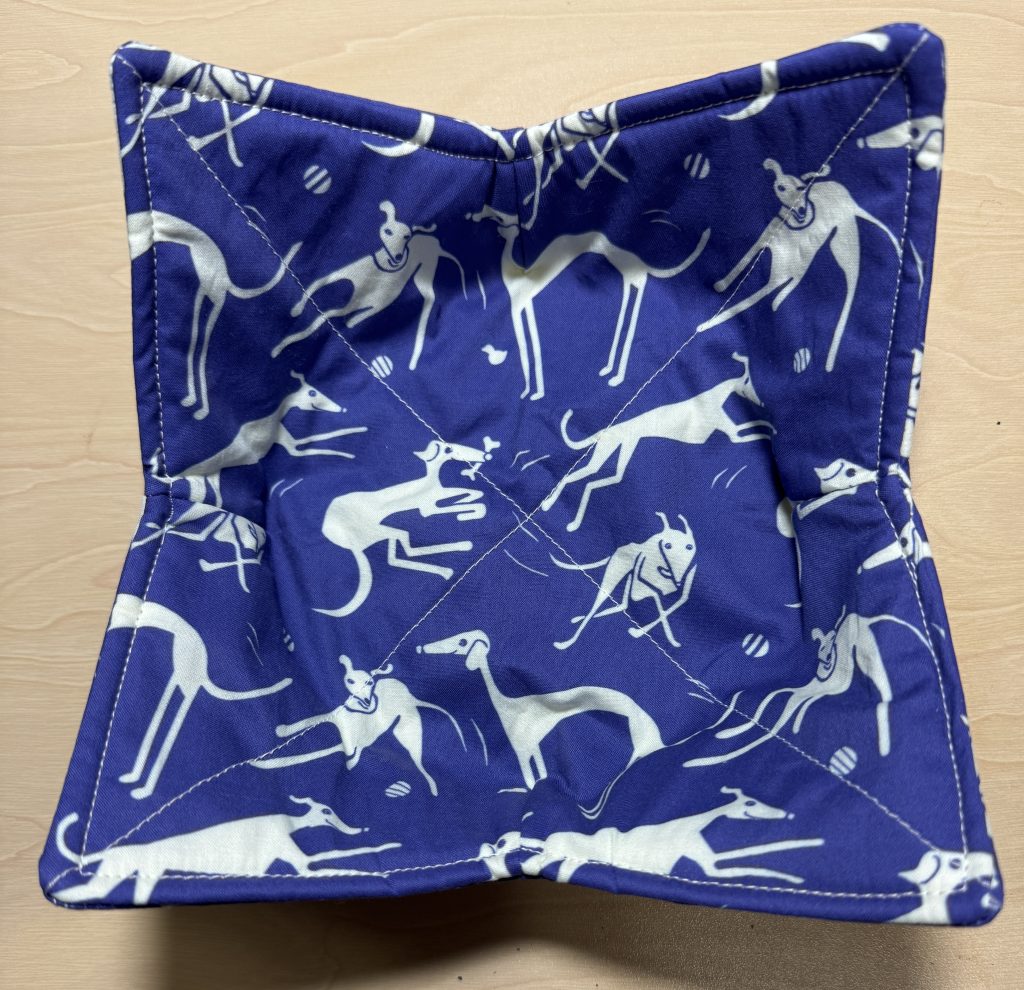
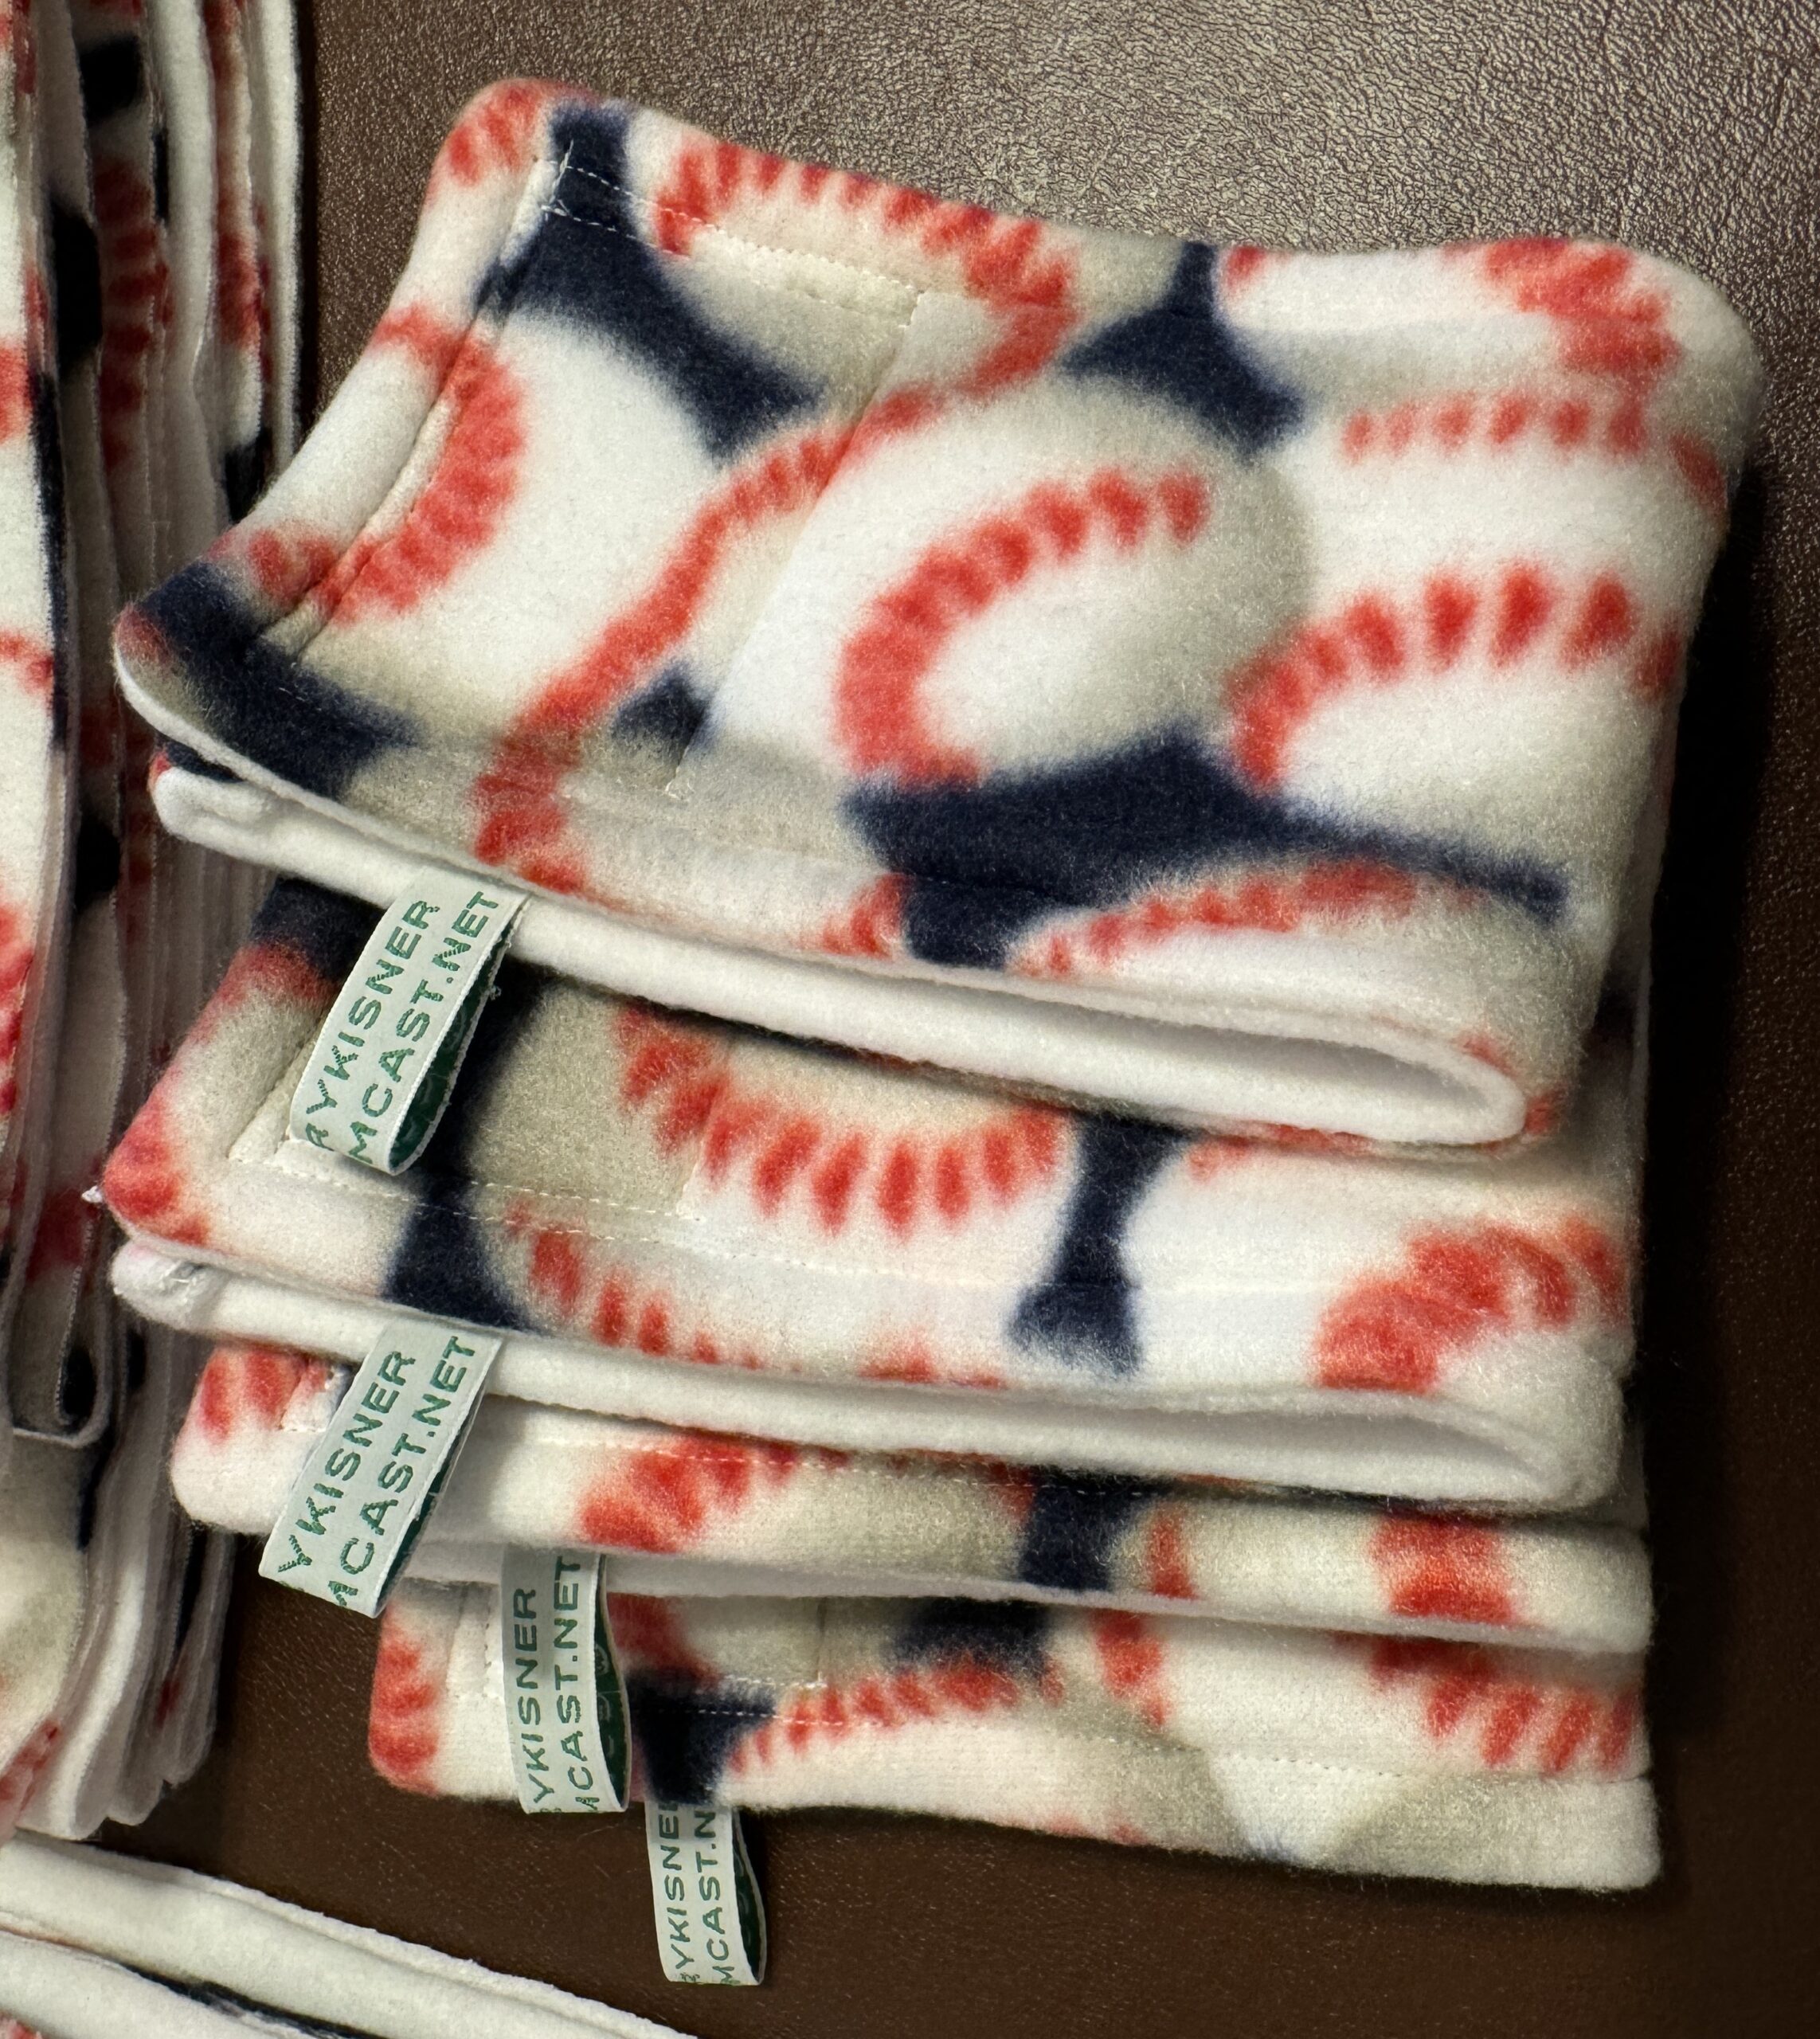
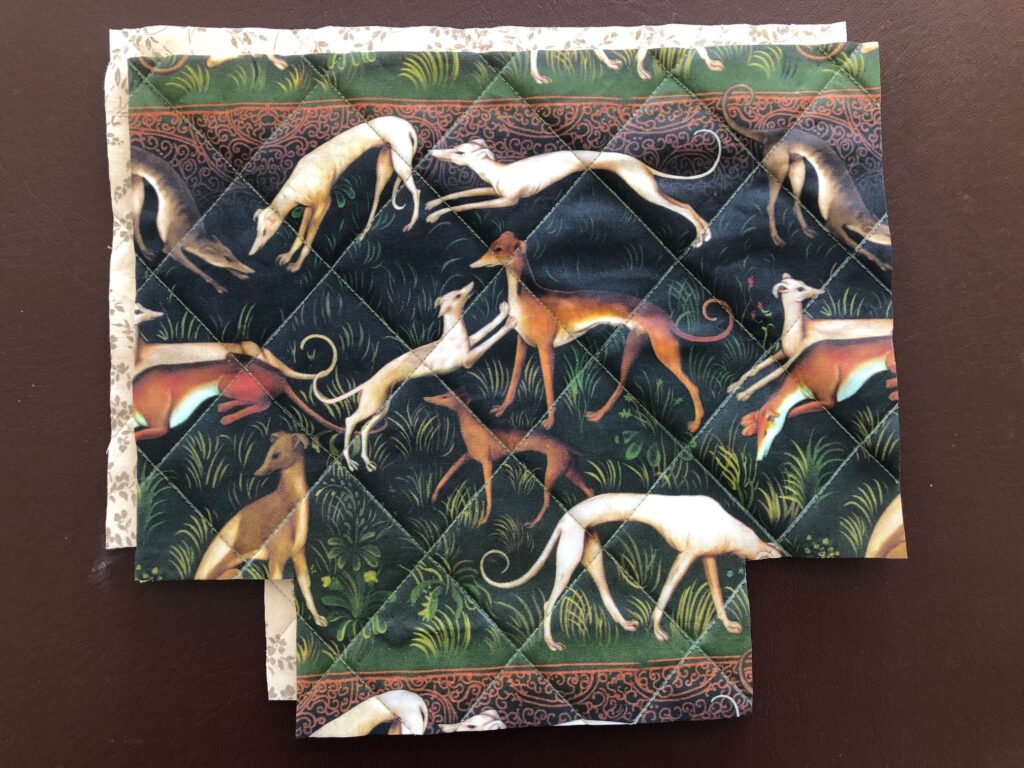
The third cozy I made used an all-over pattern of small greyhounds. I had enough fabric to use the same fabric for the lining; otherwise I’ll use white.

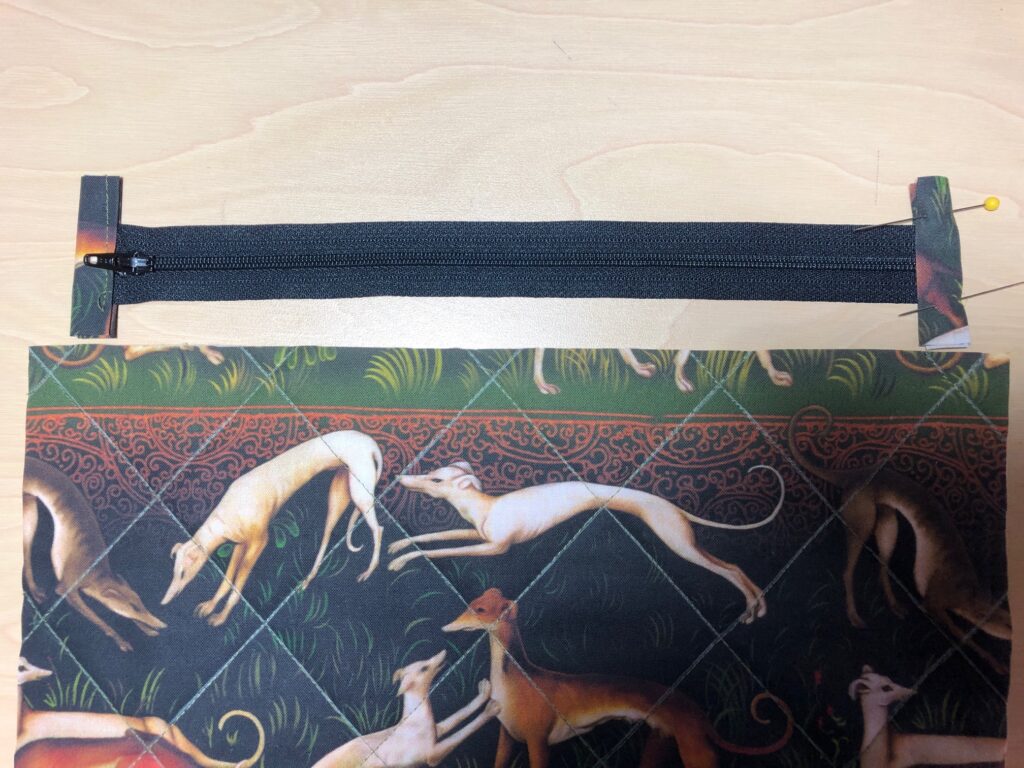
I think if we choose the greyhound fabric wisely, with a small overall print, we could make the best use of the expensive fabric.

For all the sewers out there…save your batting scraps! You never know when you’ll need them! Enjoy!

Time to Make More Belly Bands for Greyhounds

Nittany Greyhounds…a greyhound adoption group here in Centre County…has rehomed many greyhounds over the years. Since I’ve been involved with the group, one of the most useful things I’ve made for them is the Belly Band. It isn’t a fancy thing…made of sturdy denim and a piece of terrycloth, fastened with strong Velcro…but it can make the difference in a successful adoption. I’ve begun putting together a batch of belly bands and thought I’d repost the information from two years ago about WHY I make them. If you want to know the details of HOW to make a belly band, you can find the instructions at https://marykisner.com/belly-bands-for-greyhounds/ Feel free to share that tutorial with a greyhound adoption group near you.

From the original post:

What is a belly band? A new fashion statement for our beloved greyhounds? Haha…no! Picture this…you have just adopted a 2 yr. old male greyhound from your nearby adoption kennel. You are ready to make him comfortable in your home and take him off his leash. He wanders around the living room…the kitchen…your bedroom. You show him his kennel or cozy bed in the corner. You let him explore on his own while you take off your coat and put things away. Very quickly you realize that he is lifting his leg and marking the corners of the furniture and table legs. This is a natural response to a new environment, especially if you had other dogs in the house previously. AHHHH…now what?

Luckily, the adoption group predicted this might happen and had sent you home with a belly band, just in case. You had wondered what it was for. This simple denim band wraps around their abdominal region and gently keeps his private parts from being used until you can get him outside. Over the next few days as he gets more comfortable in your home you can train him that if he’s in the house he should not have to mark his territory. When you take him outside and remove the band THEN is the time to explore and mark his territory. The hope is that he won’t need the belly band for very long, but that depends on the dog.

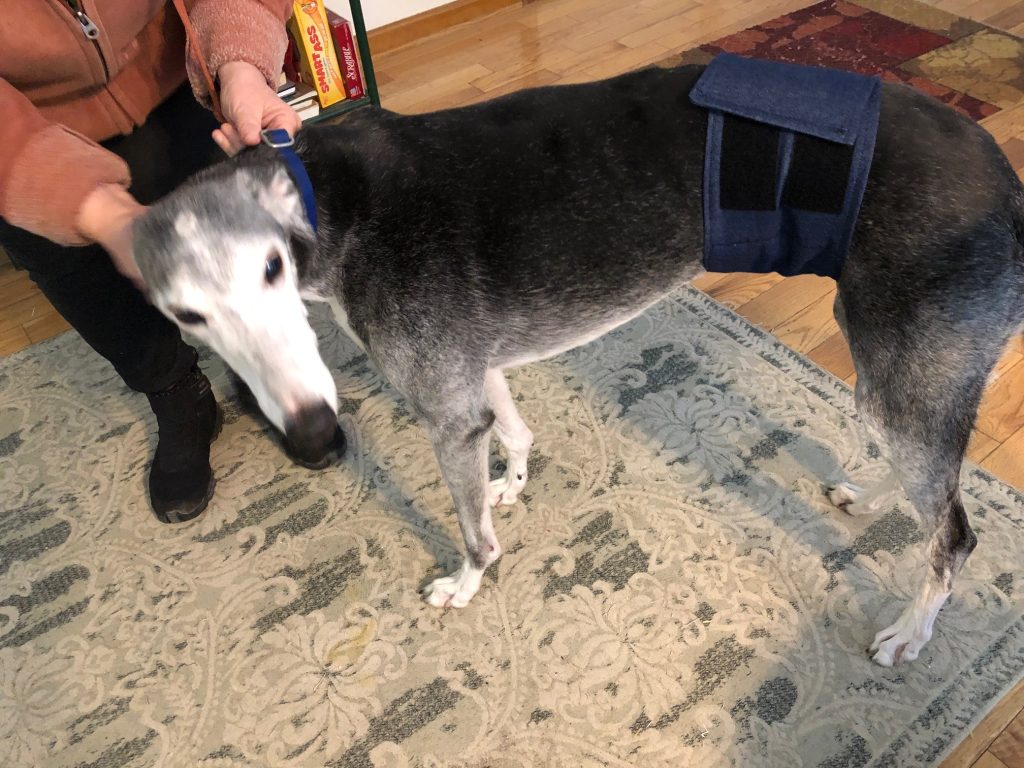
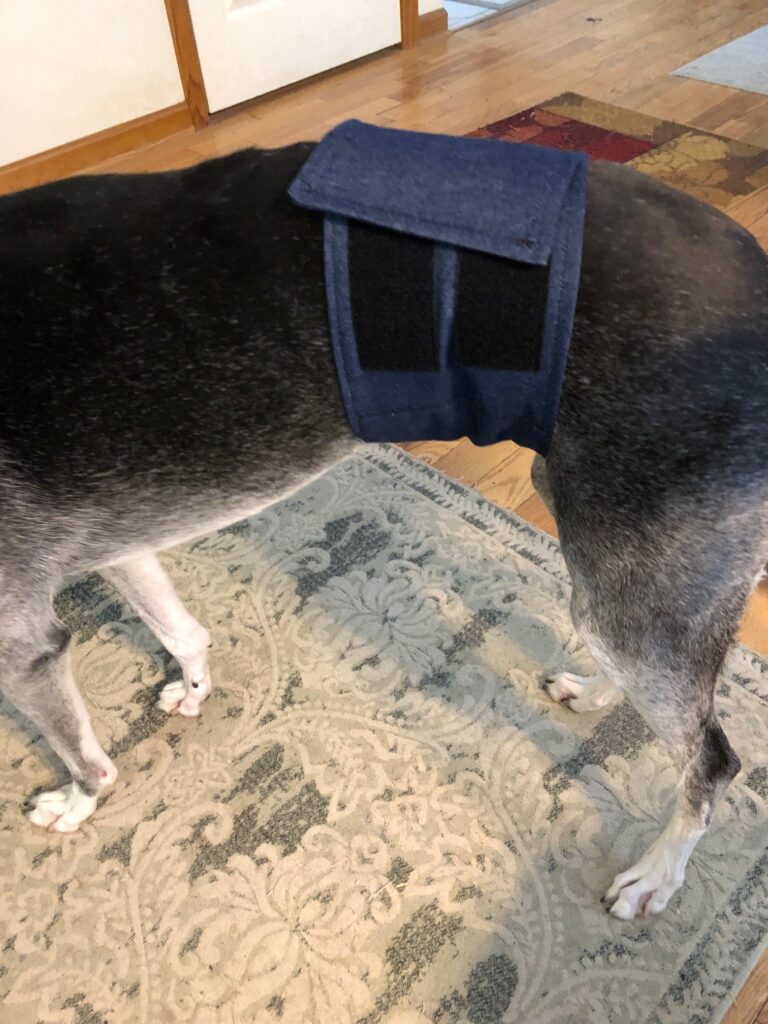
This band can wrap quickly around the dog’s abdomen and is sturdy enough to stay put. (The one in this picture was 27” long…we ended up making all the belly bands 29”).

(Note: The belly band has also been used with the females after being spayed. It keeps them from bothering their incision and stitches.)

So, a greyhound belly band is not a fashion accessory but an important tool to make an adoption successful! I’ll be making 10-15 belly bands over the next few days. Not exciting but so important to new greyhound owners!

How Long Does It Take to Make One Greyhound Coat?

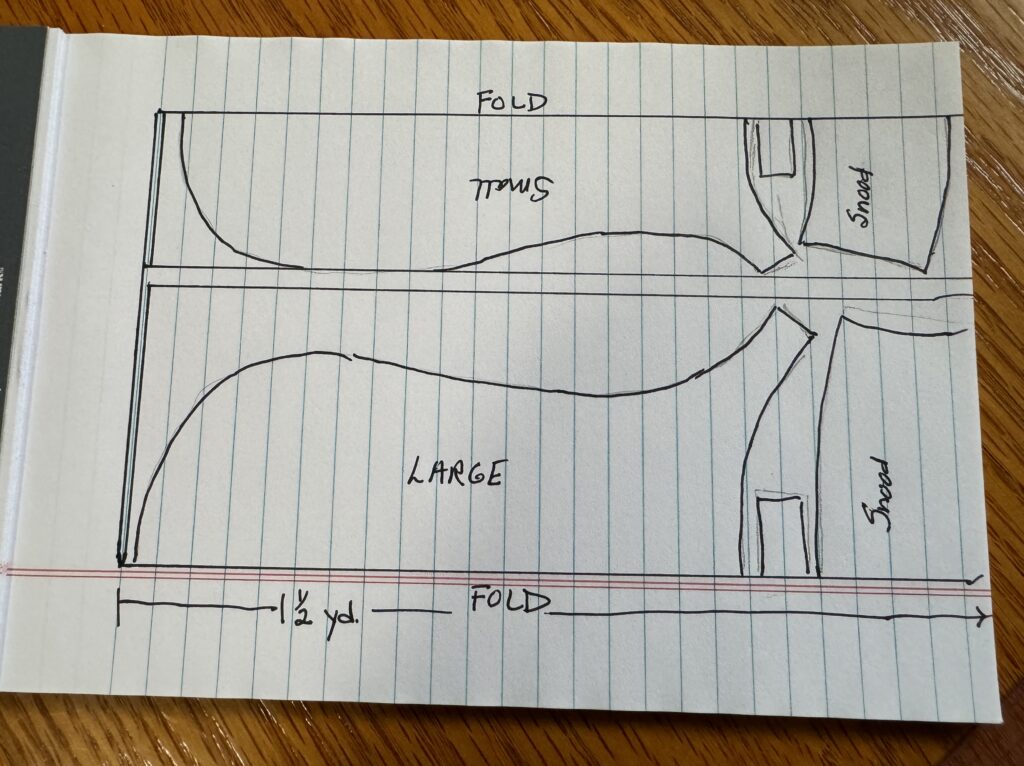
That’s a question I have not been able to answer over the last 20 years I’ve been making coats for Nittany Greyhounds. Usually, I make 4 coats at a time… occasionally two at a time. Because the way the pattern is laid out on the fabric, I can make two coats with 1 1/2 yards of fabric.

If I have a special order for 1 coat, large or small, I make two and give the other one to Nittany Greyhounds.

So, to answer the question of how long it takes to make one coat, first I had to think about how I make four coats.

Cutting out the Coats

I start with 3 yards of fleece for the outside of the coat and 3 yards of coordinating fleece fabric for the lining. That means I’m cutting out 8 coat shapes. I can do that in about 4-5 hours with breaks to let my cutting hand rest. My daughter have me the best scissors to cut out the bulky fabric, but of course my weak link is my hand!

I do all the cutting in one day and then put the assembling aside for another day. Even if I’m making only one customer coat, I cut out the second one at this time. What I’m left with is a stack of pieces ready for assembly.

Assembling the Straps and Snoods.

The straps need to be stitched along three sides, turned right side out and top stitched while attaching my label. Then a piece of Velcro Hook is sewed on one end (a piece about 3″ long of 2″ wide Velcro).

The snoods are next. They must be sewn right sides together at the neck edge, turned right side out and top stitched. Then the bottom edge that will attach to the coat is sewn and trimmed (it took me a long time to figure out that it was easier to trim at this stage, rather than when it’s attached to the body of the coat.)

Prepping the Body of the Coat.

The coat is sewed to the lining right sides together along the outside edge; then turned right side out and top stitched. The neckline of the coat is stitched and the lining is trimmed away from the seam.

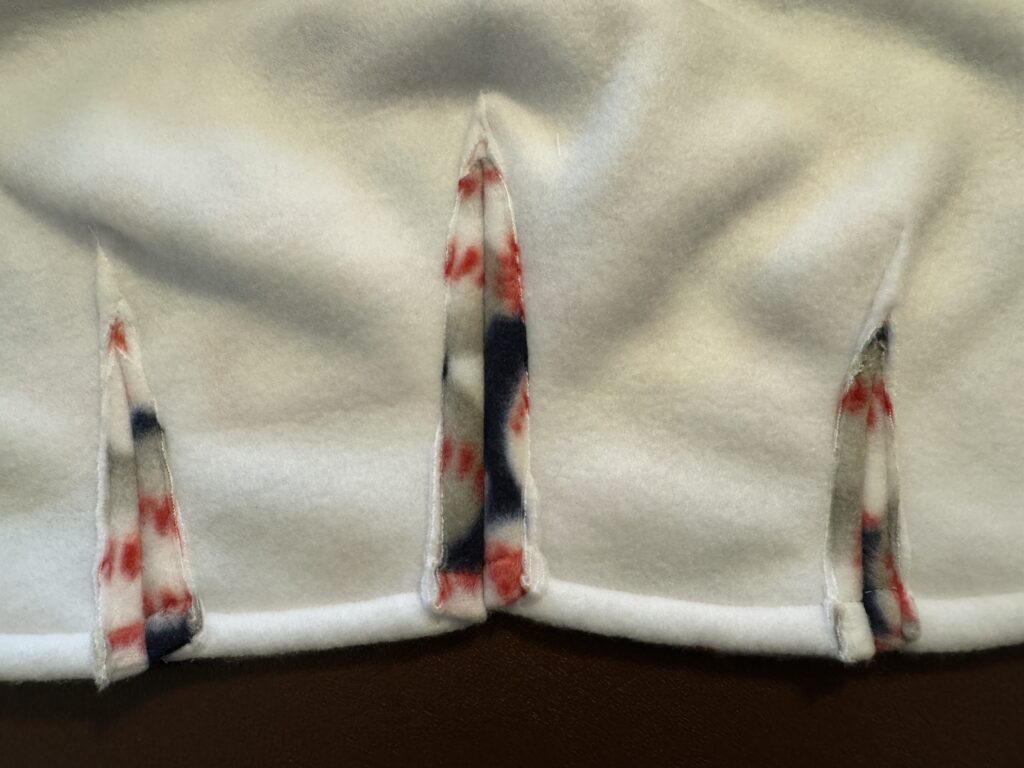
To give the flat coat some shaping I make three darts along the back edge so it will drape better over the dog’s tail. The coat is pretty long but does not seem to get in the way while the dogs run and poop (smile!). It does seem to keep them warmer in the winter.

Assembling the Coat

To assemble the coat, I sew the snood to the body of the coat (leaving a 3″ slot in the seam for the leash to go through) and stitch down the sides of the seam. The neck seam is done the same way. The strap is attached along the side of the coat.

Finishing the coats involve sewing the Velcro Loop to match the location of the Velcro Hook on the strap. It needs to be long enough so it’s adjustable to any size dog. This is usually a piece about 6-7″ long of 2″ wide Velcro.

Occasionally, there is enough fabric at the end of cutting to make on matching scarf (for the human). Not enough to make four, but someone might find it fun.

And the Answer Is…

OK, to answer the question, “How long does it take to make one greyhound coat?” It depends. If I’m up to it and I can focus on just one coat, I can finish it in about 4-5 hours. Of course, that assumes there is something interesting on TV to watch while I sew!

Beyond that, if there is anyone out there interested in volunteering to make coats, I’d be glad to share the pattern and walk you through how to make them. It is a well-appreciated volunteer activity!

You can contact me at marykisner@comcast.net or email Nittany Greyhounds at toni@nittanygreys.org.

Evolution of My Healing Salve Recipe

The recipe for my healing salve started as an experimental product for my greyhound friends…almost 3 years ago! I was asked to try to make a salve to soothe the greyhound paws…their feet were very sensitive to walking on gravel, ice and salted sidewalks. They also were prone to developing corns on their paws.

There were quite a few salves on the market, from the simplest DIY recipe from the American Kennel Club to very expensive salves with Hemp oil in them and everything in between. I’d like to think we would have choices to find the one that works for our dogs and is affordable.

In general, ingredients in these salves include Oils (like olive oil, coconut oil and almond oil), Shea Butter, and Waxes (like beeswax, carnauba wax and paraffin wax). In addition, Vitamin E oil helps healing and serves as a preservative for the mixture. Essential oils like Lavender or Rosemary can also help with healing. I’m not sure the dogs care about the smell one way or the other but it can’t hurt.

My first recipe was similar to the American Kennel Club one. You can read more about it at https://marykisner.com/make-your-own-dog-balm-and-protection-wax/.

About the same time, I was experimenting with Calendula-infused oil as a base for some salves, so naturally the dog paw salve started with that. If you’d like to learn more about making calendula-infused oil for topical salves, check out https://marykisner.com/making-calendula-infused-oil-for-topical-salves/ and about making calendula salve at https://marykisner.com/calendula-salve-for-summer-itches/.

Testing the Dog Paw Balm and Protection Wax

Samples of the first batch of Dog Paw Salve were sent out to some folks in the greyhound community to give it a try. We had positive feedback that the salve seemed to help the paws that were cracked and made corns softer and easier to remove. It even helped a few sore noses!

Enriching the Salve

To enrich the ingredients in the salve, I explored adding some essential oils that could help in healing the skin. While Tea Tree Essential Oil is often suggested for its anti-bacterial and anti-fungal properties, I had just been researching using Manuka Honey as a topical salve. That led me to learn more about Manuka Essential Oil. This essential oil has been shown to be more effective than Tea Tree Essential Oil and is easier on the skin.

You can read more about Manuka Essential Oil at https://marykisner.com/manuka-essential-oil-fact-sheet/.

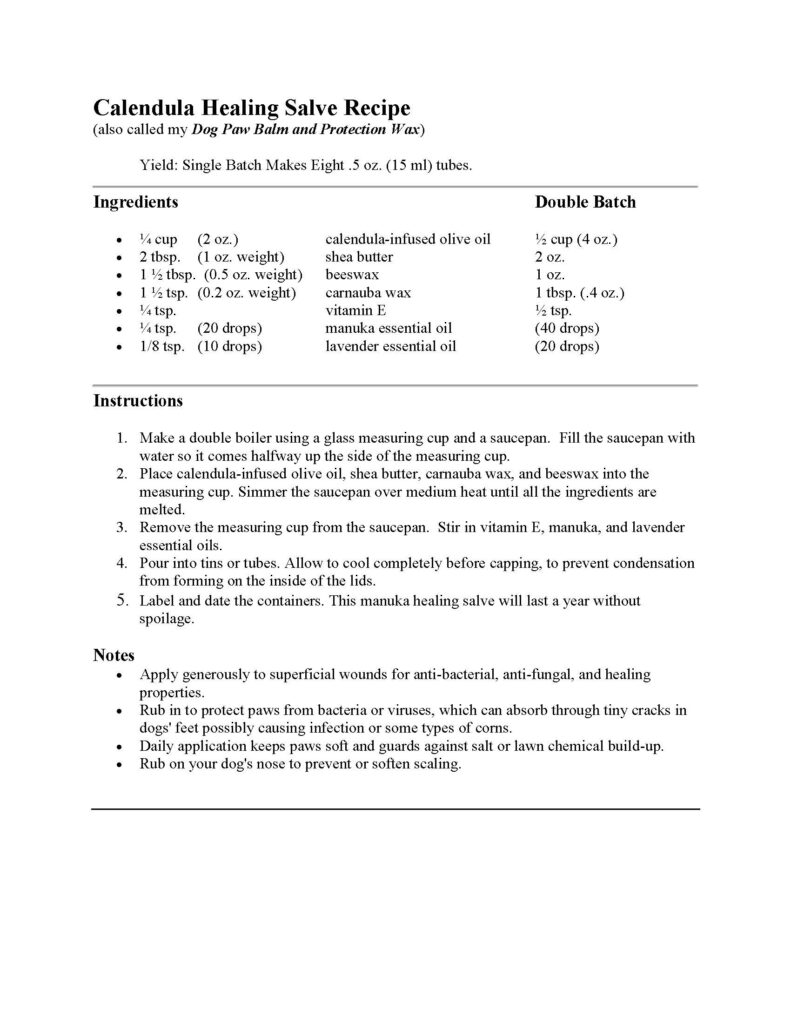
For the last year or two the recipe for my Calendula Healing Salve (also called the Dog Paw Balm and Protection Wax) has started with Calendula-infused oil and included Manuka and Lavender Essential Oils. The salve continues to help the paws of the greyhounds. Here is the recipe:

Necessary Changes Over Time

Of course, the side effect of folks rubbing the salve on their dog’s paws has been requests for the salve for their hands! I’ve also had requests to replace the calendula base with something else (a few folks are allergic to calendula and can’t use the products based on them) and some additional essential oils for a better scent.

Making the Lavender Healing Salve

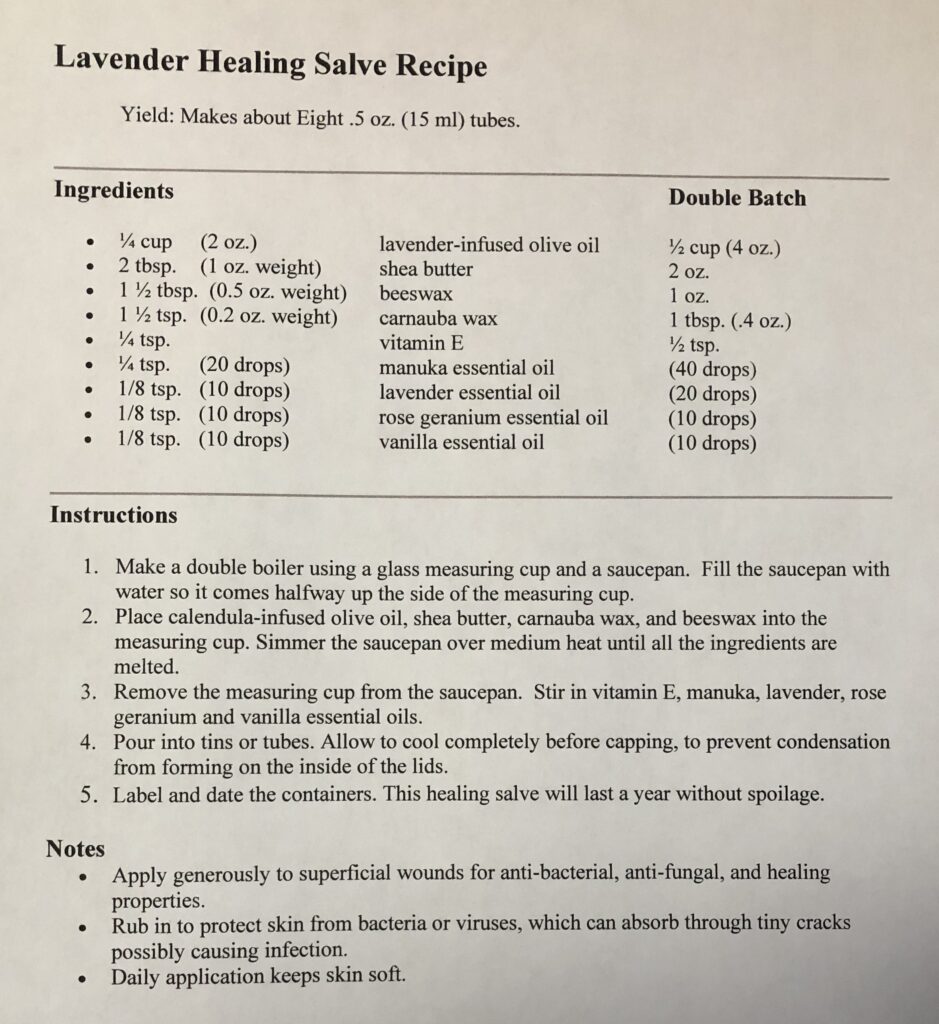
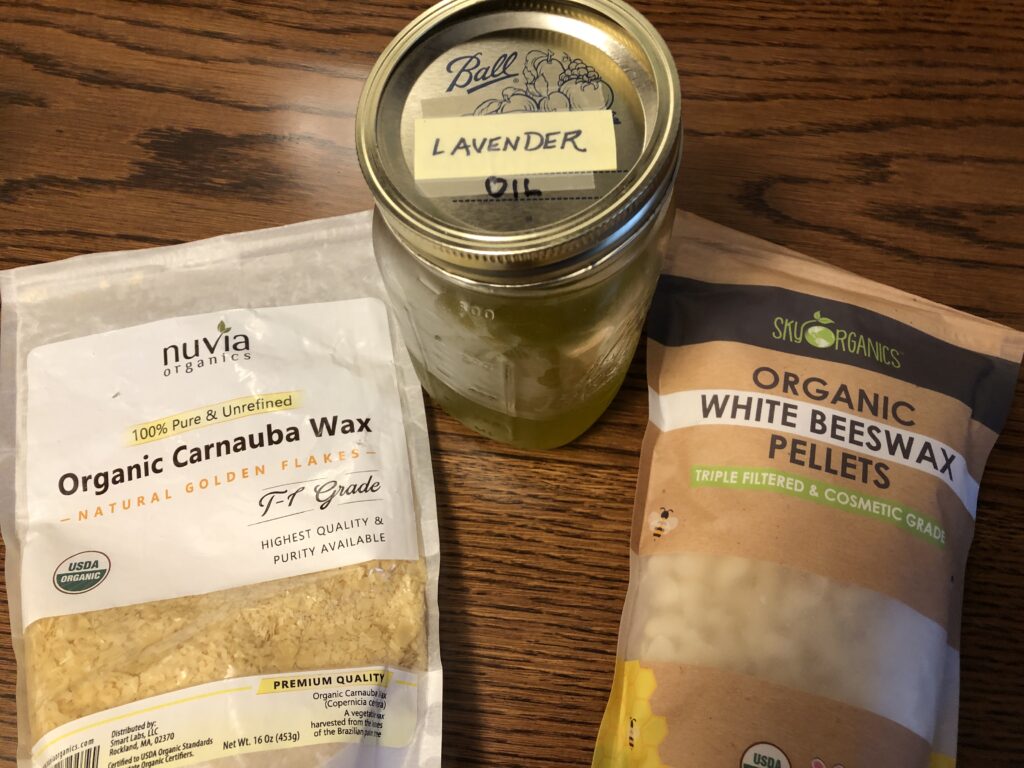
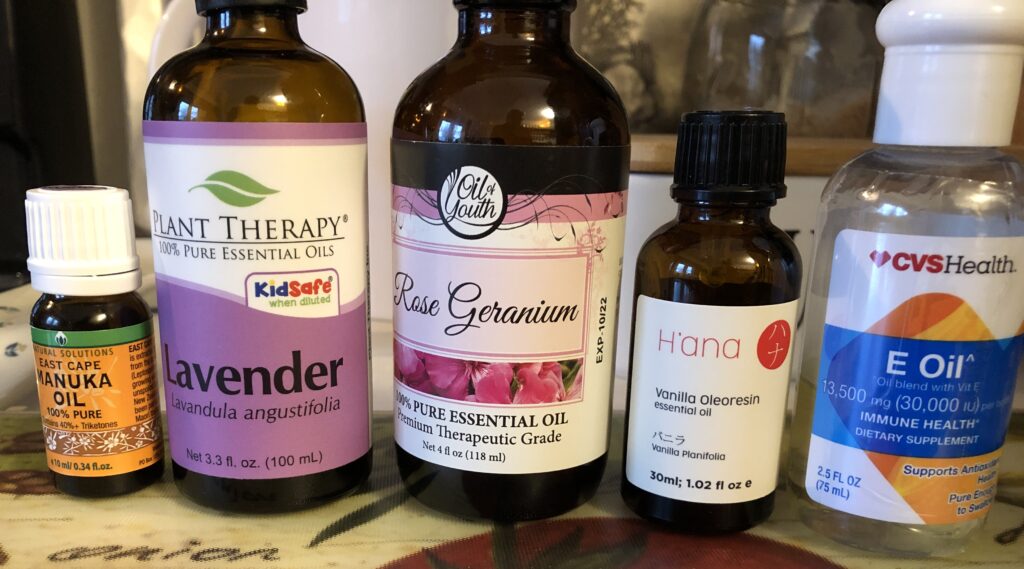
First, I made a big batch of the salve based on Calendula-infused oil to replenish my stash. Then I started over to make a batch of Lavender-infused oil. The rest of the ingredients will be the same as the recipe above. At the end, I added the essential oils of Rose Geranium and Vanilla to enhance the scent. This made a more pleasant salve for the rest of us! Here’s the new recipe:

Step 1: Make Lavender-infused Oil

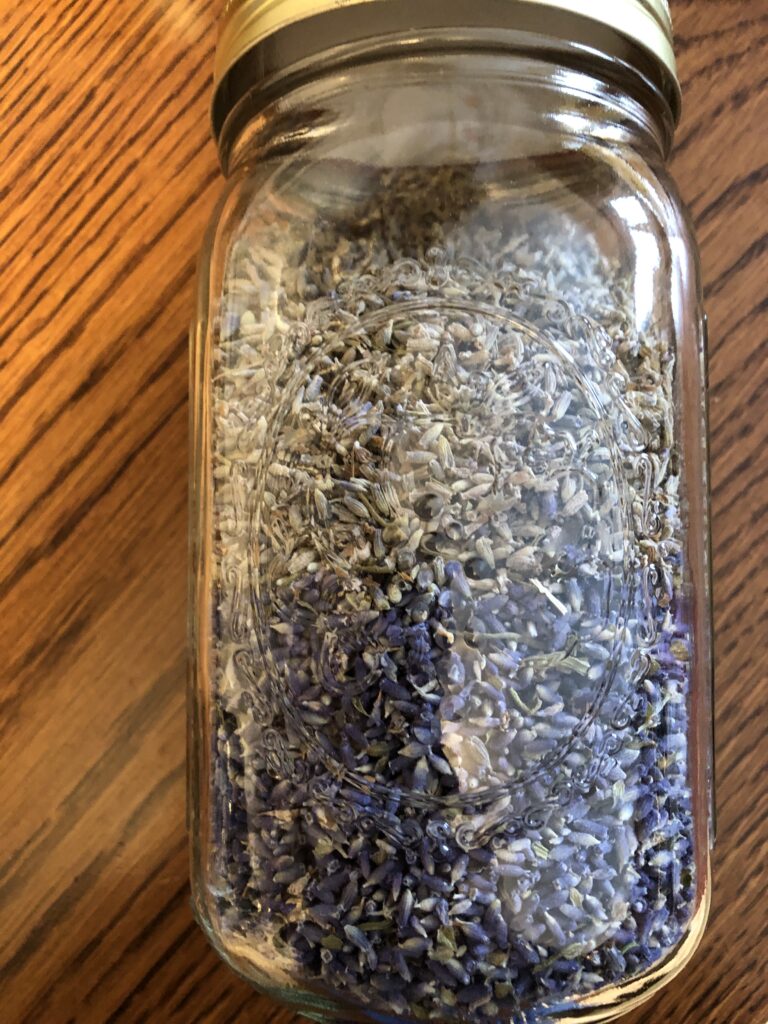
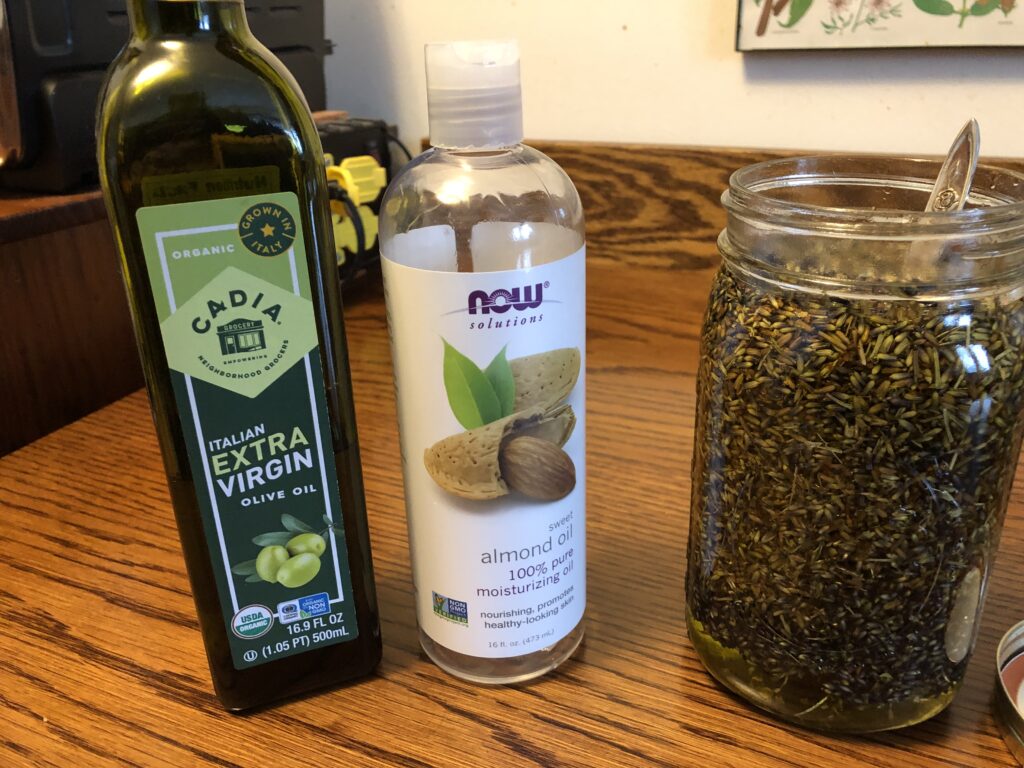
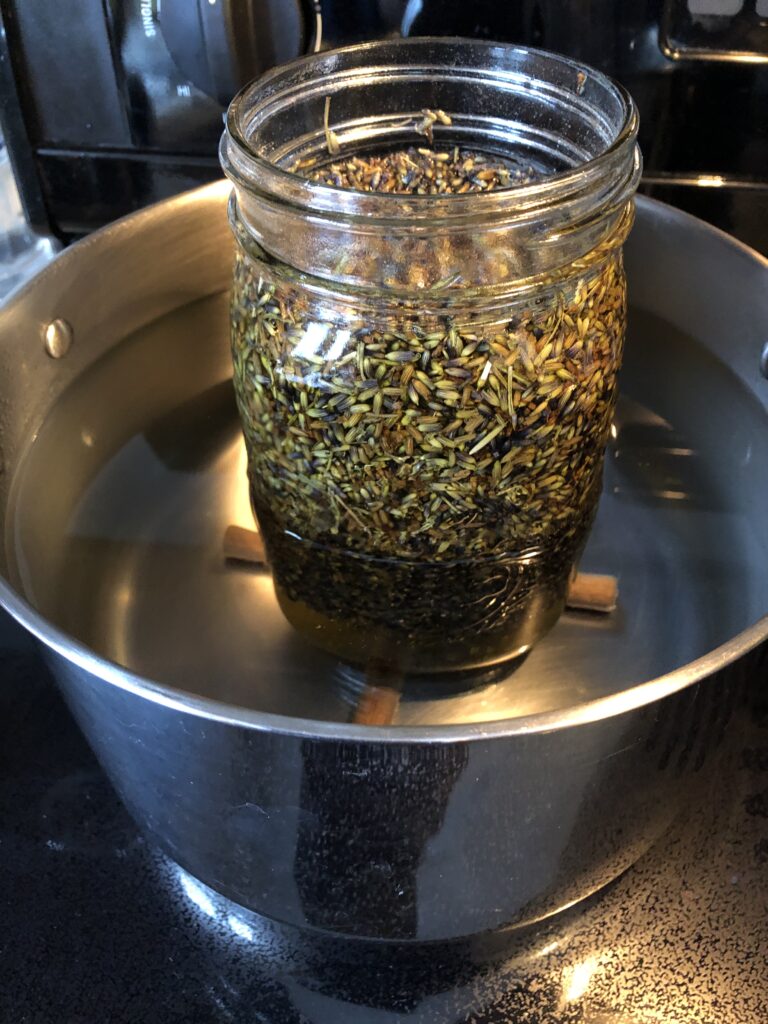
I had a jar of dried lavender buds…some came from my garden last summer. I poured olive oil and almond oil into the jar until the buds were covered. I set the jar in a pot of hot water on the stove. I brought the water up to not quite boiling and let it simmer for about 6 hours. I did have to add water to the pot several times, but all I had to do was stir it every now and then.

Step 2: The oil/lavender mixture had to be strained several times through cheesecloth. I was left with over 1 cup of lovely lavender-infused oil. I stored the jar in the refrigerator until I was ready to make this new salve.

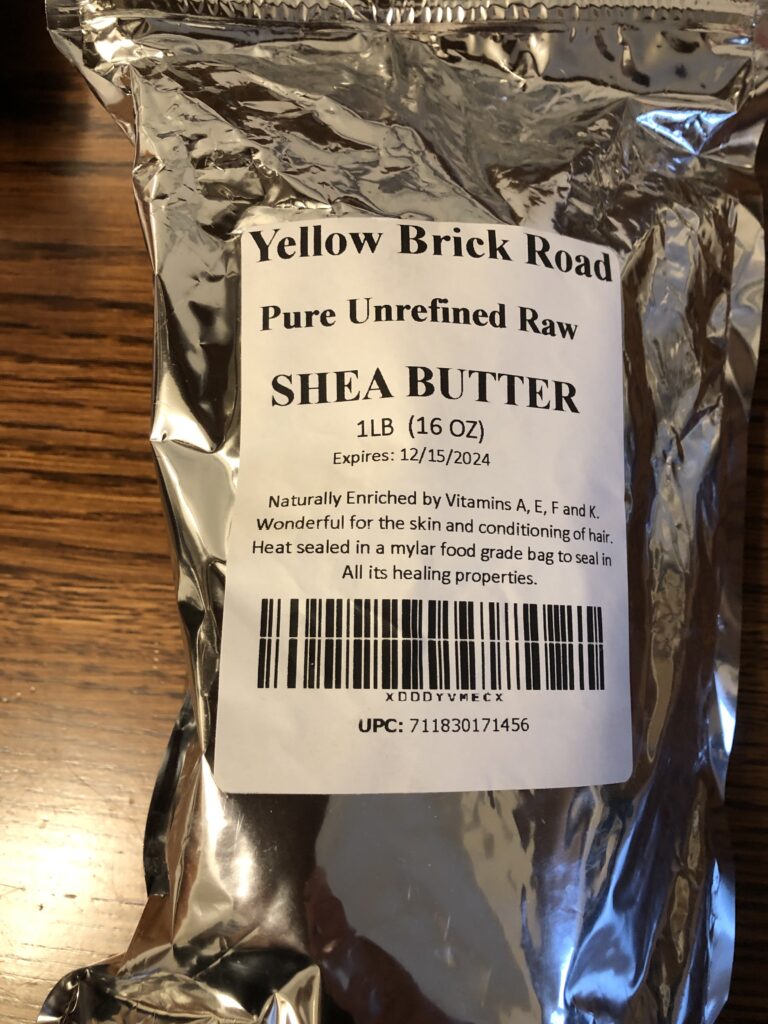
Step 3: To make the salve, collect the ingredients, a two-cup glass measuring cup and your scales. Measure everything into the measuring cup.

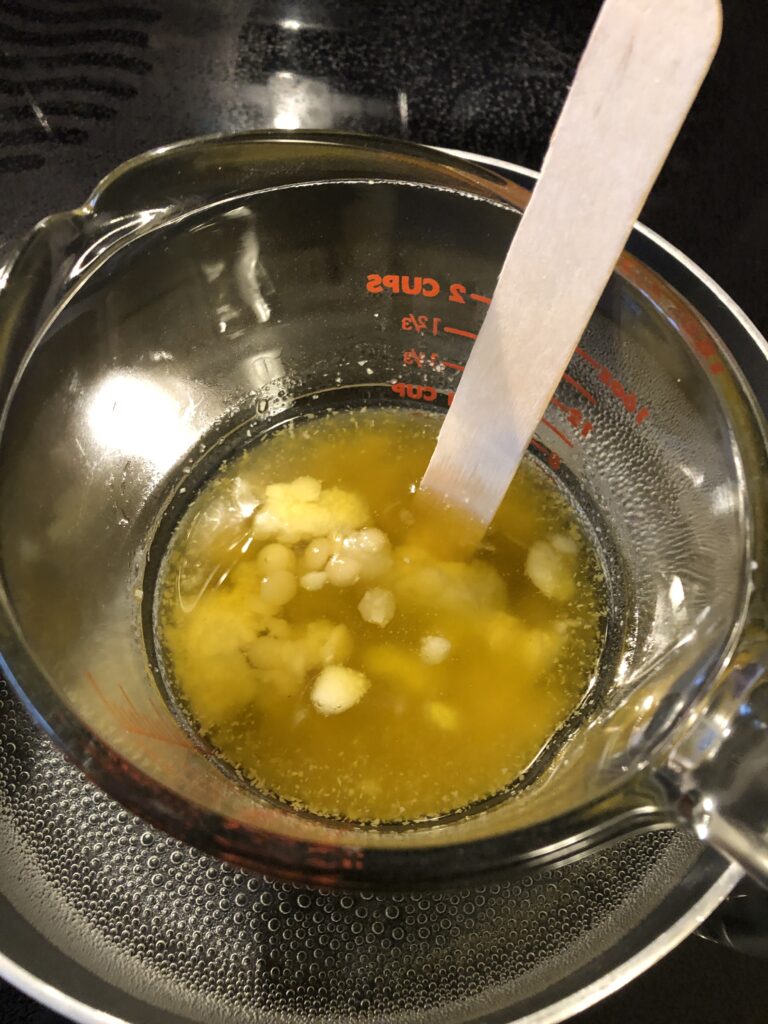
Step 4: Set the measuring cup into a saucepan with water on the stove. Bring the water just to boiling and let it simmer. The waxes, shea butter, and oil will gradually melt to a liquid.

Step 5: When all ingredients are melted, remove measuring cup from the pan. Add the liquid Vitamin E and Essential oils, stirring after each addition.

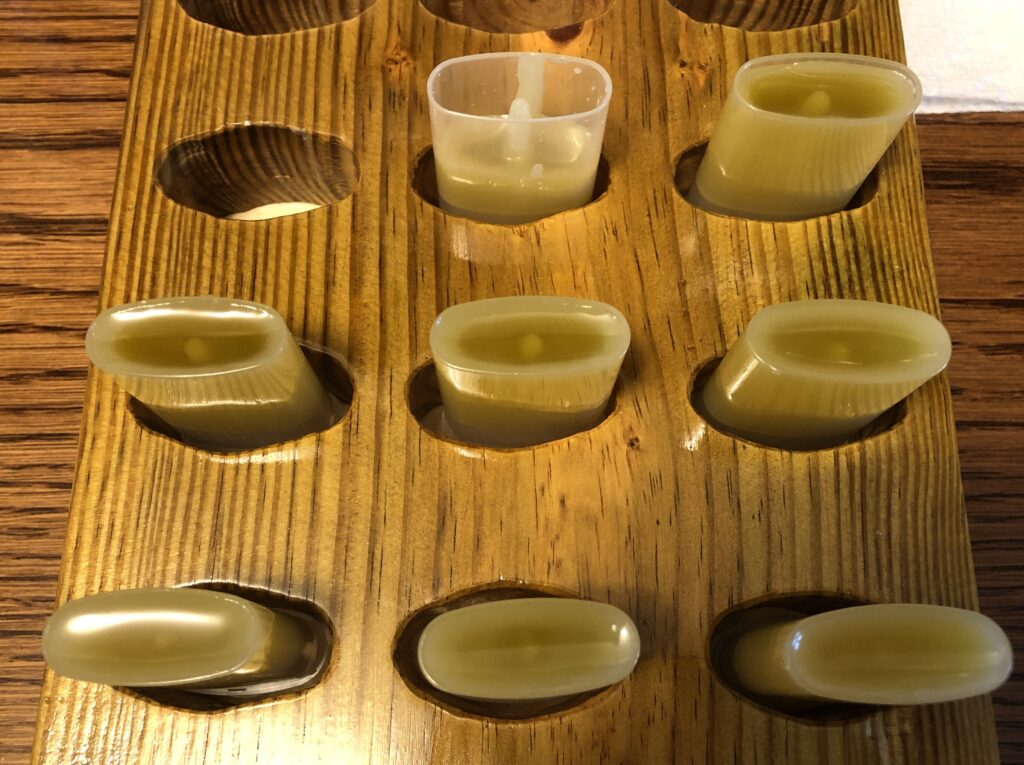
Step 6: Fill the containers by either pouring or using a disposable pipette. Let cool until firm.

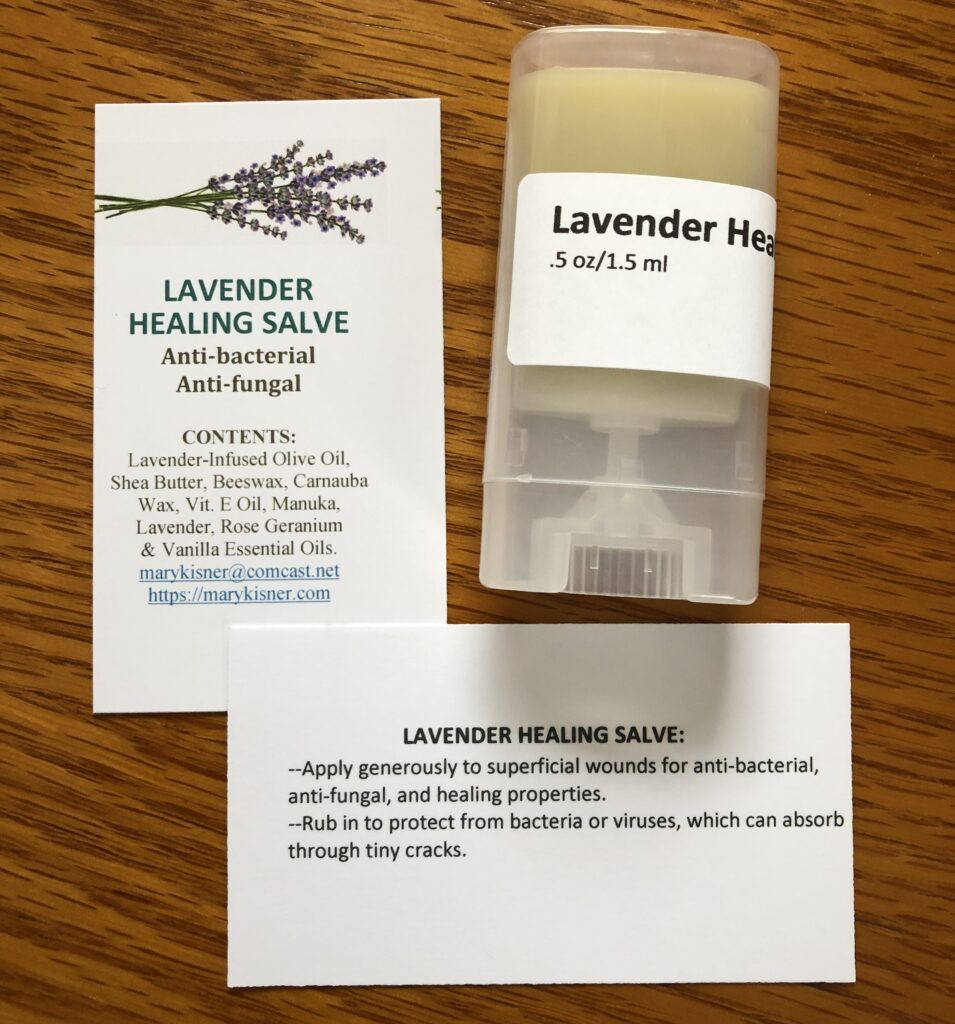
Step 7: When cool and firm, label each container. I make a point to make a card with ingredients and instructions so folks know what is in the product.

You can see my Dog Paw Balm and Protection Wax has evolved into my Calendula Healing Salve for dogs and people; while the Lavender Healing Salve is safe for dogs and people who have allergies to Calendula…it also smells pretty good! Try it yourself!

Make Your Own Travel Bag

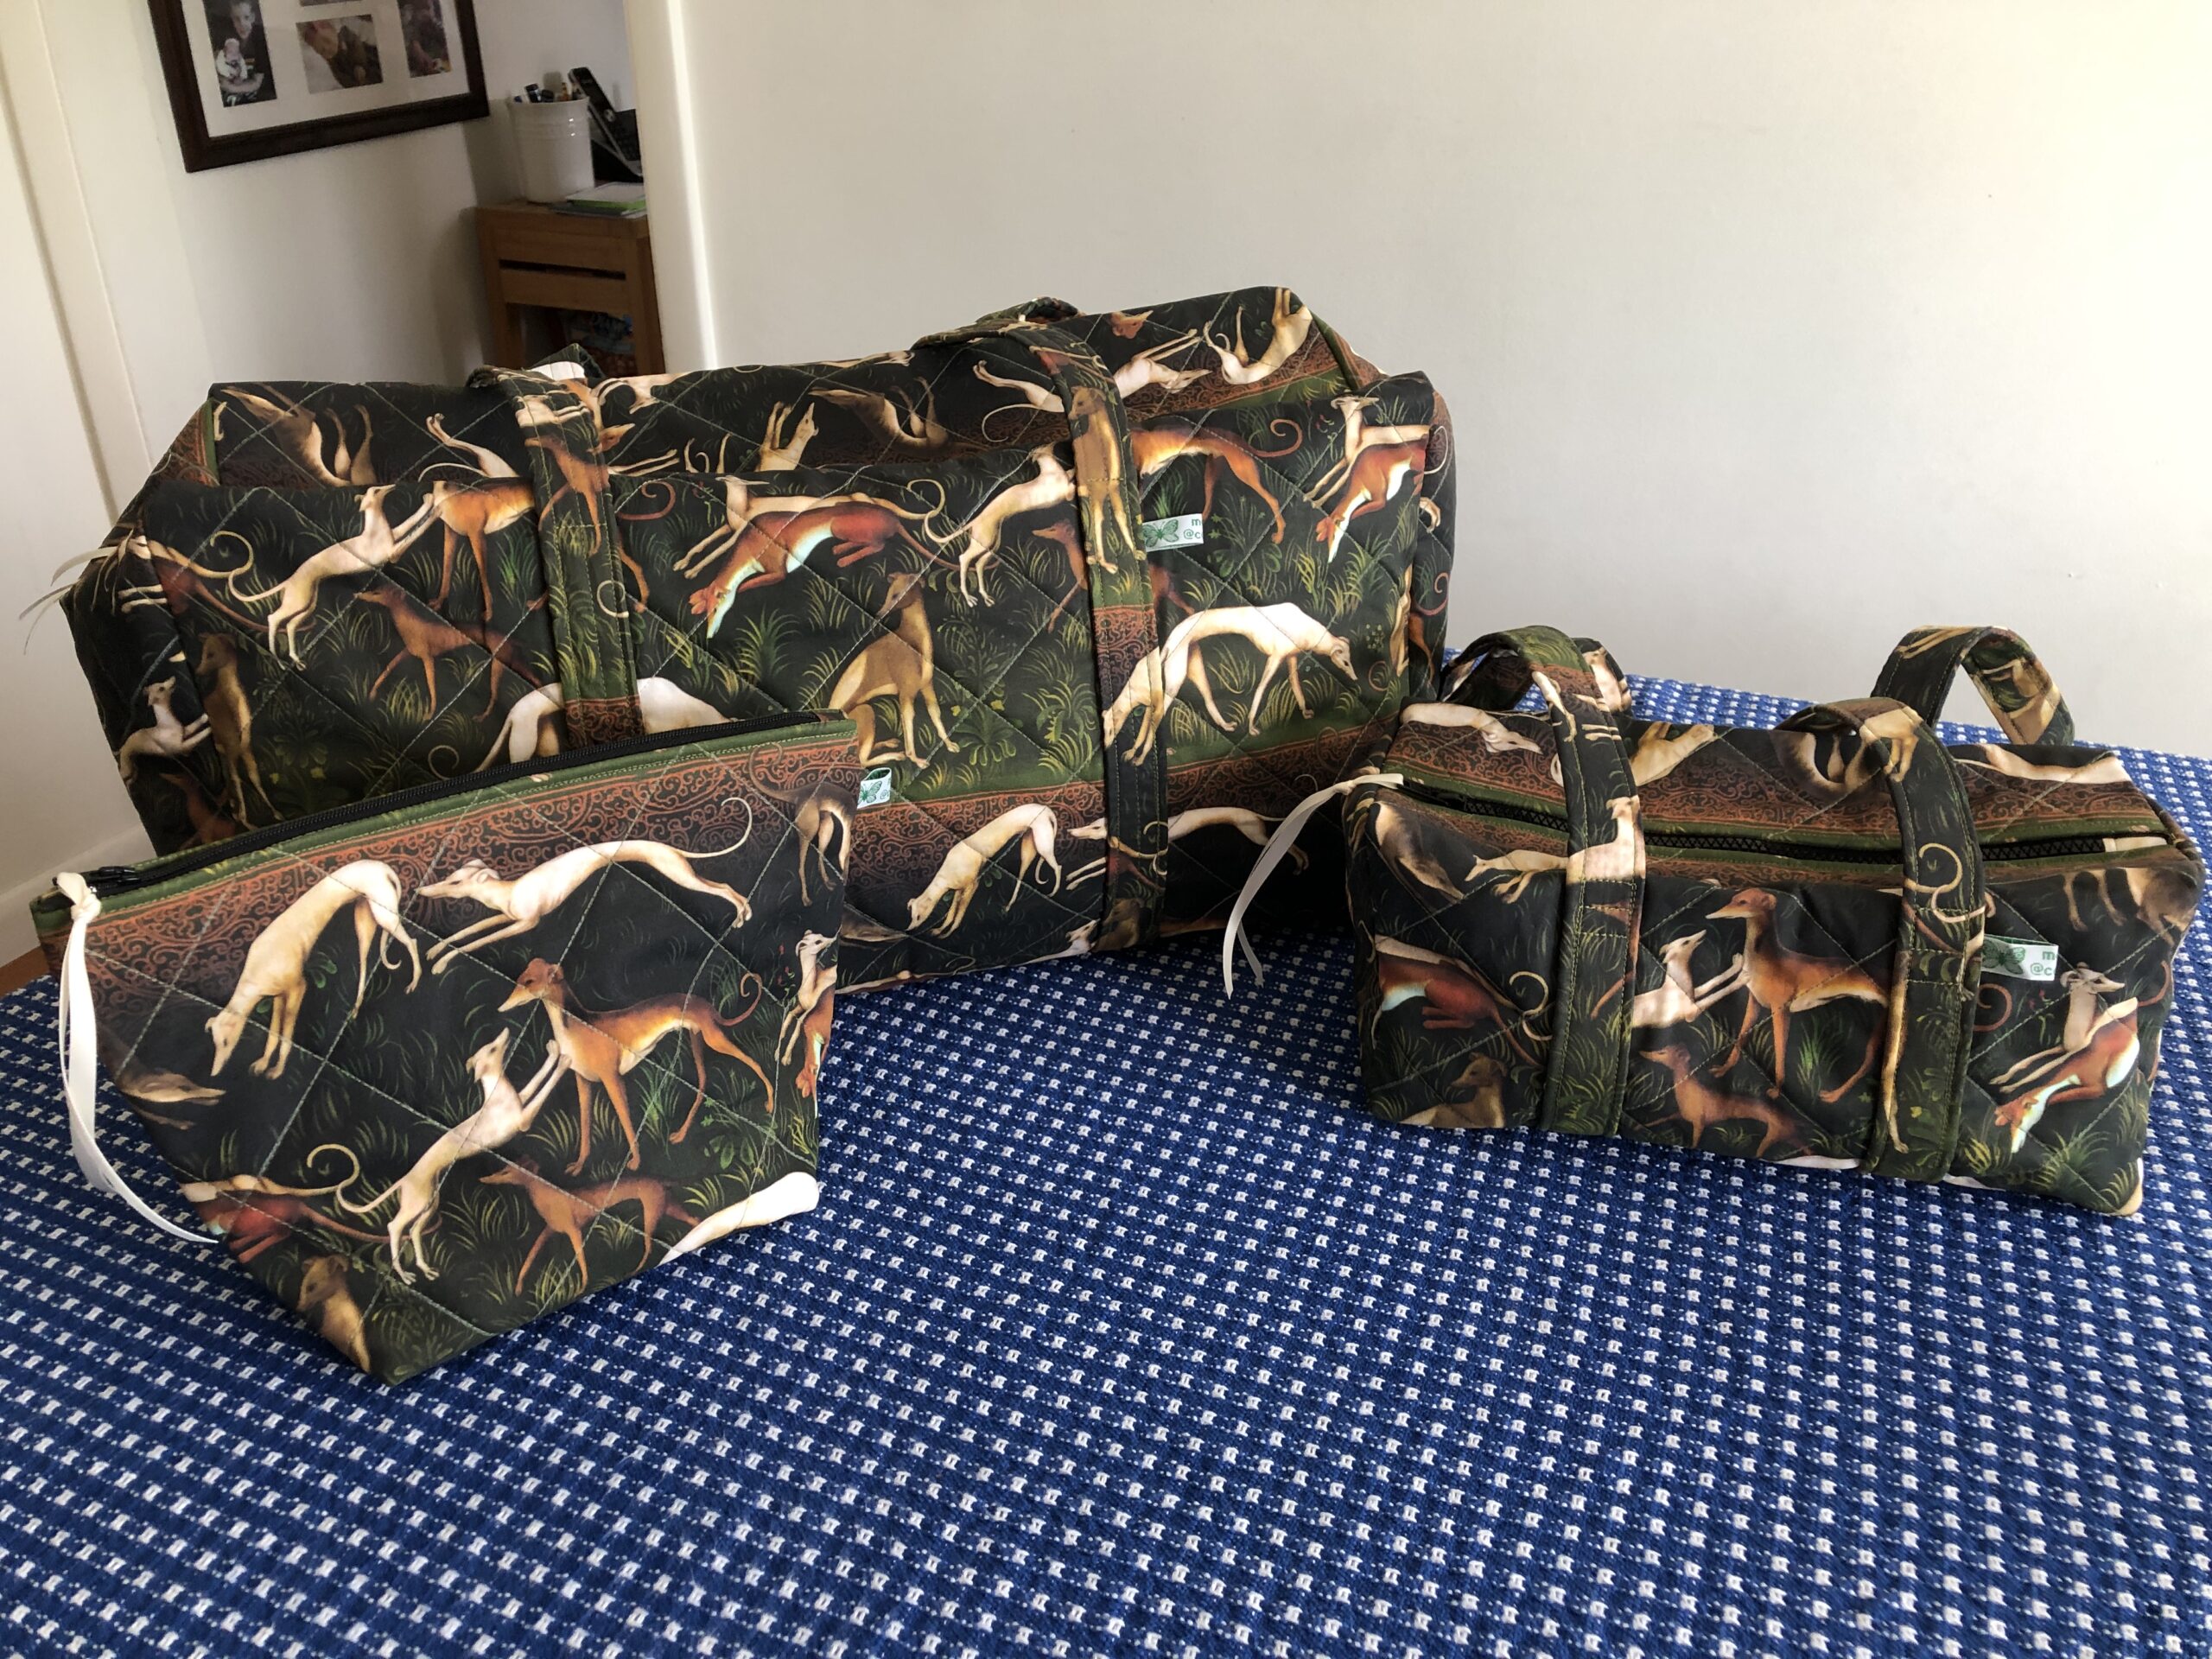
Duffle bags are easily the most common kind of bag to use when traveling or just the right size to transport stuff in your car. They are available with sports logos on the side or made of colorful prints; quilted cotton or waterproof fabric. For the last two weeks I’ve been making a set of three bags that will be auctioned off at a Greyhound Conference next weekend.

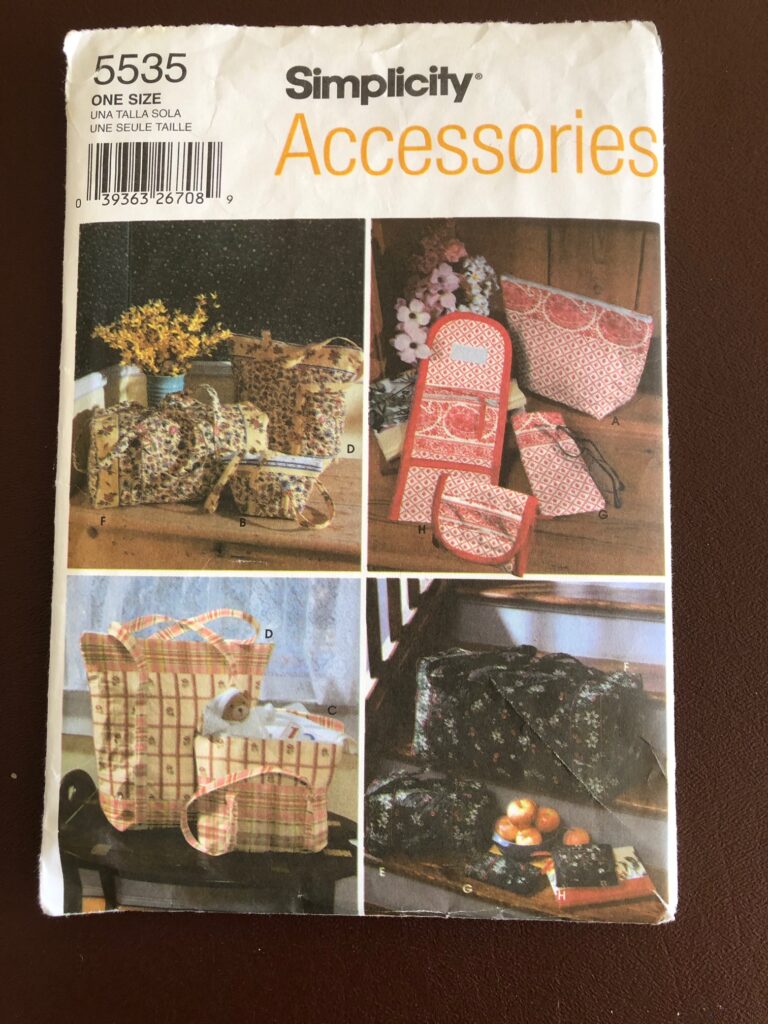
The request was for a large duffle bag, a small duffle bag and a small travel bag to be auctioned off as a set of luggage. The fabric needed to be prequilted before cutting out the final pieces. This is the pattern I’ve used several times:

Of course, no ordinary fabric would be appropriate, so a heavy cotton fabric printed with greyhounds was ordered from www.spoonflower.com. This site has many choices to choose from (not just greyhounds!) and the fabric is printed when ordered.

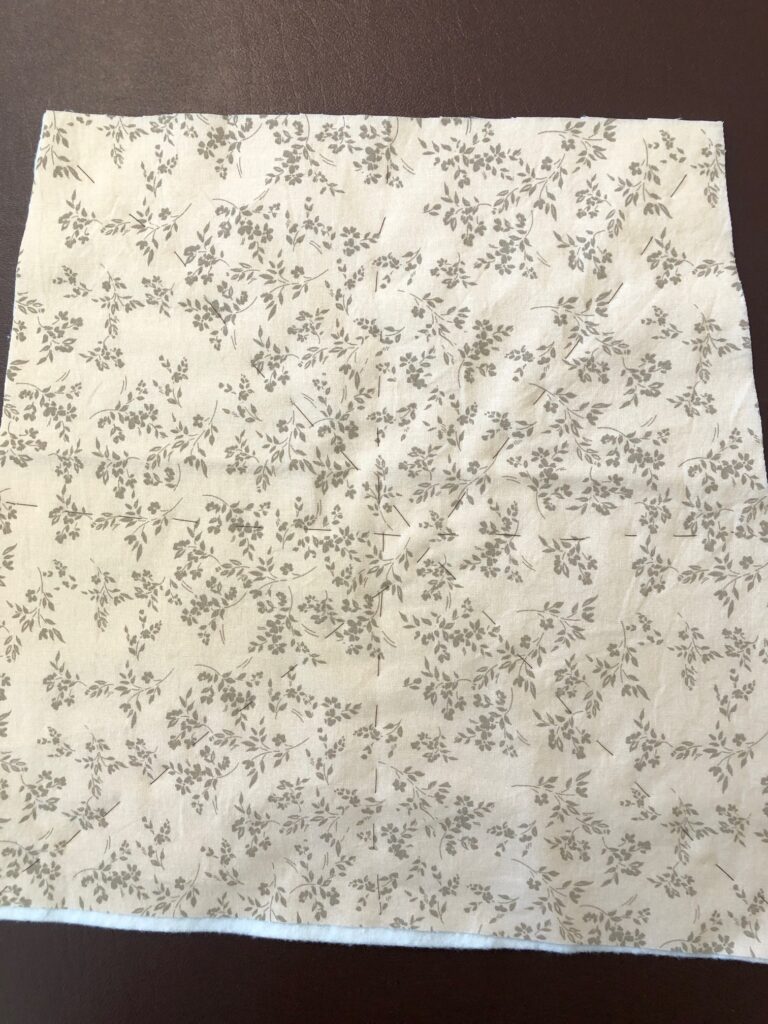
And here is the lining:

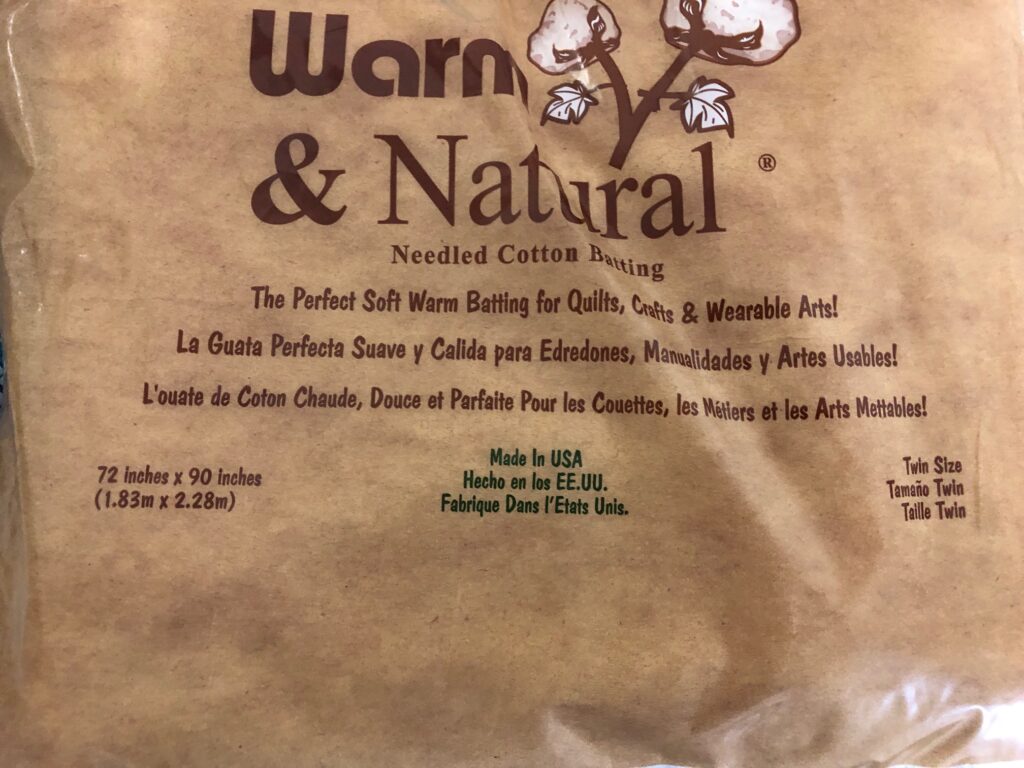
Finally, the batting I used was cotton and a twin-size package provided more than enough to make all three bags.

Making the Small Travel Bag

I will go through the steps to make the small travel bag. The same steps were followed to prep the fabric for the other two bags.

Step 1: Wash, dry and iron the fabric.

Step 2: Lay out each pattern piece but cut about 2″ larger all around of fabric, batting and lining.

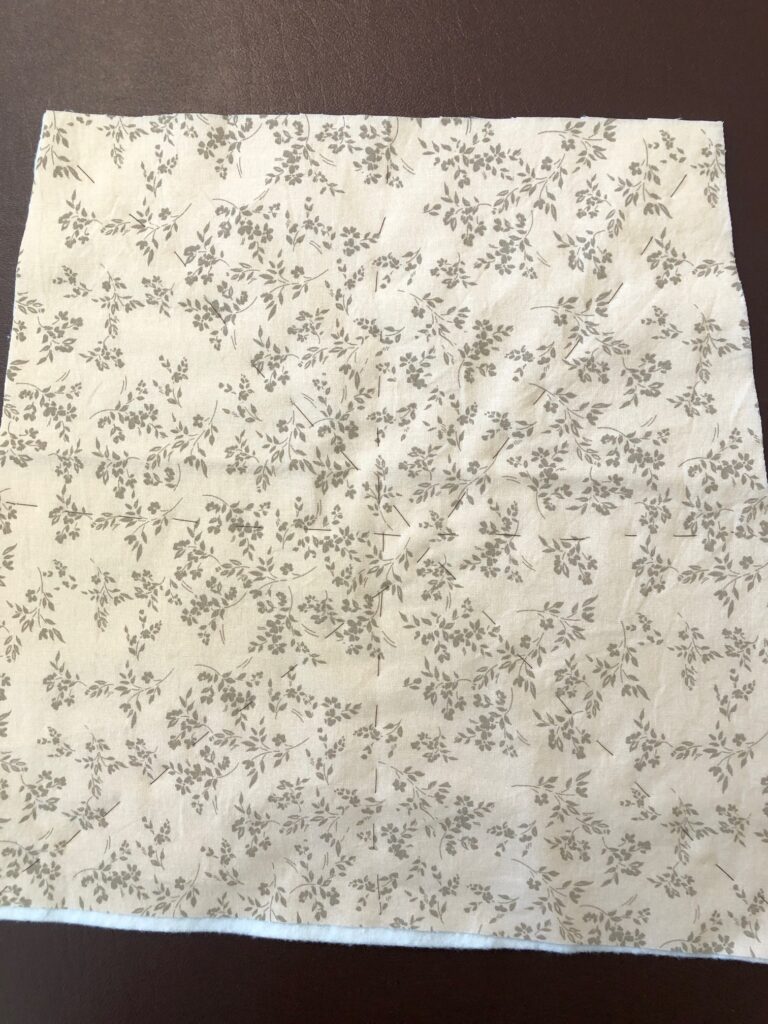
Step 3: Stack each piece into a quilt sandwich with the outer fabric, batting and lining.

Step 4: Baste the “sandwich” together to stabilize it as you quilt.

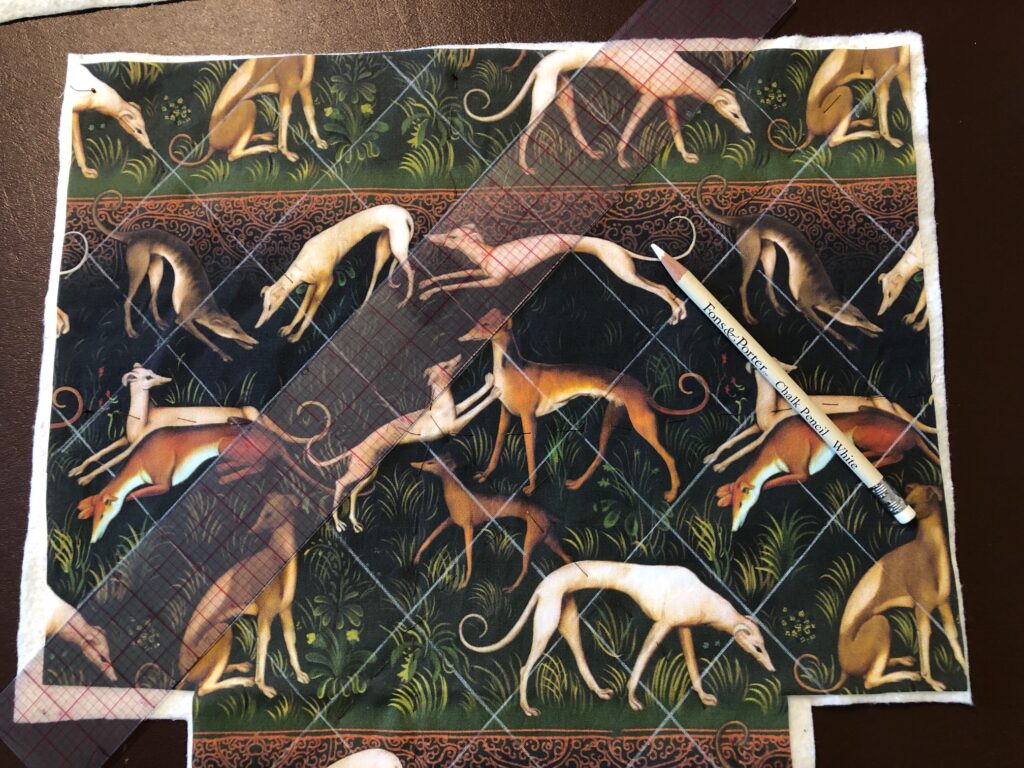
Step 5: Using a chalk pencil (that will disappear over time or with water) draw diagonal quilting lines to follow.

Step 6: When lines are drawn, stitch on the lines with a coordinating color thread. You can see why it’s necessary to start with fabric cut larger than the pattern…all that quilting tends to squish the fabric one way or the other. You need wiggle room.

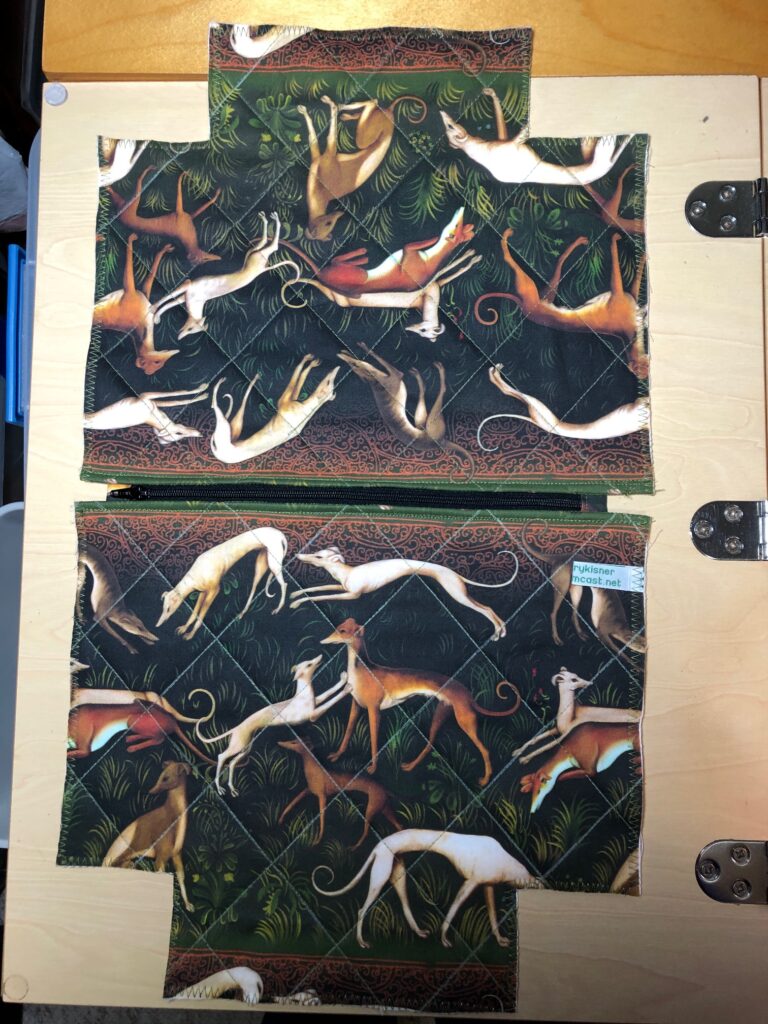
Step 7: Lay the pattern piece on the finished quilted piece and determine the placement on the design. Cut out the final piece.

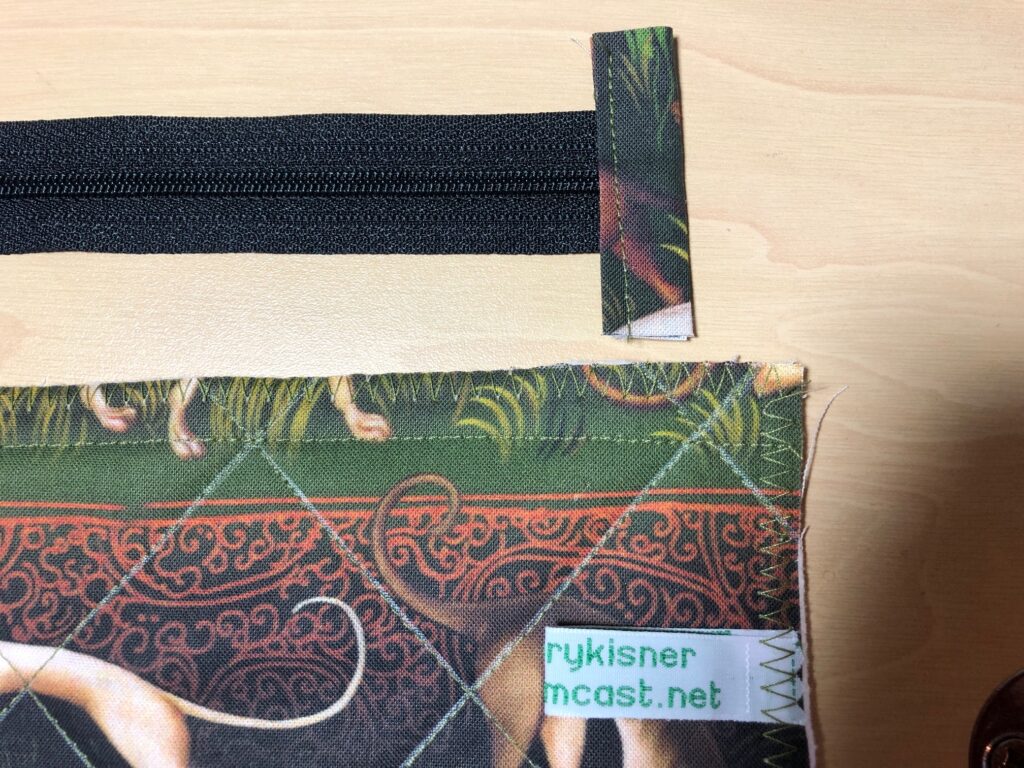
Step 8: Prepare the zipper. Cut out 2″x2″ squares of matching fabric to encase the ends of the zipper. Fold each square in half and then in half again, tucking the ends to the center.

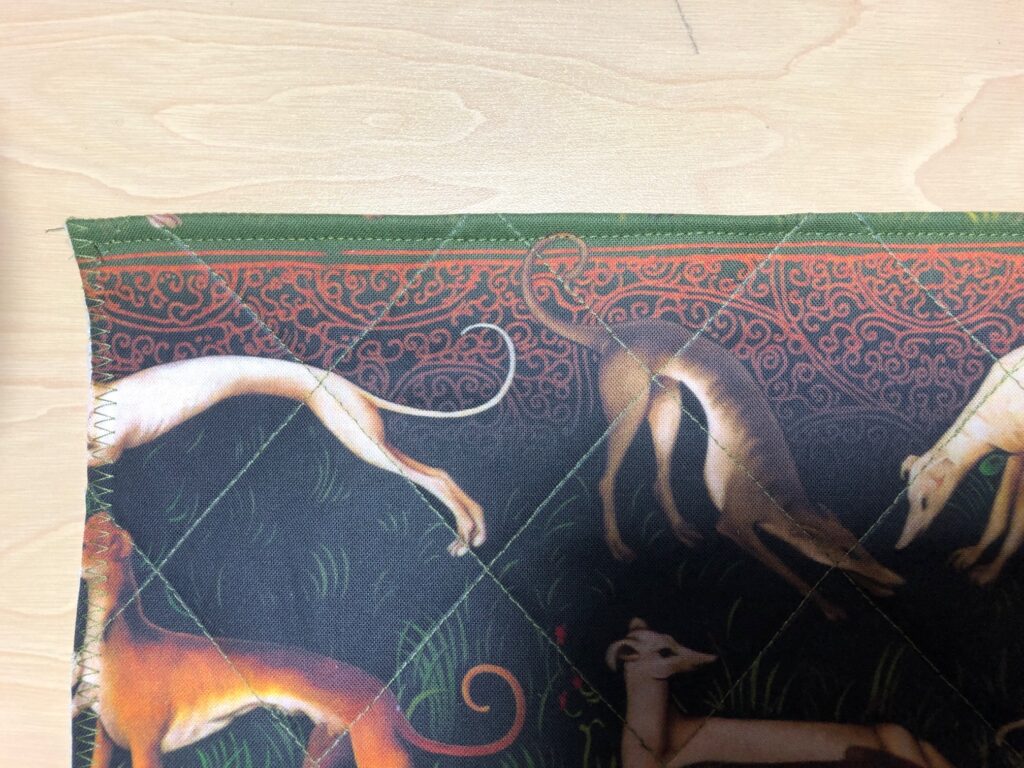
Step 9: Take time now to zigzag around each piece of the bag. Then, run a row of stitching 1/2″ from the top edge. This will be your fold line to stitch to the zipper. (The quilted piece ends up being very stiff and it’s hard to fold just 1/2″ neatly.)

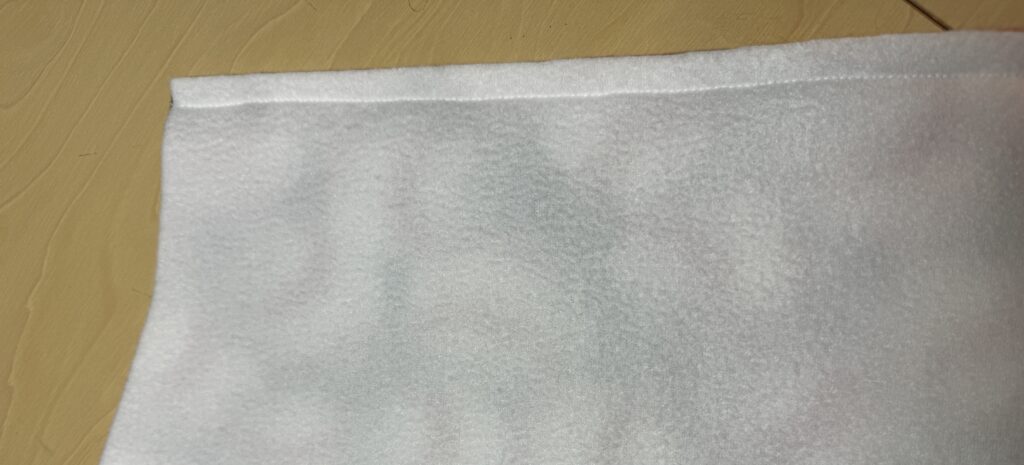
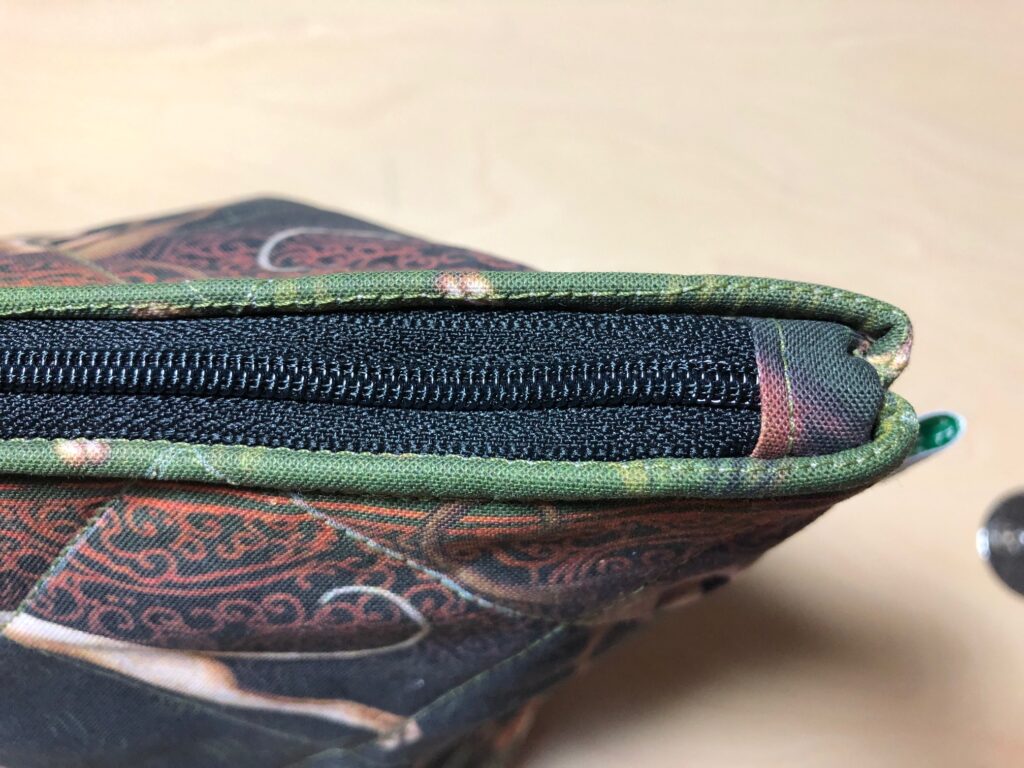
Here’s the folded top edge:

Step 10: Stitch both sides to the zipper.

Step 11: UNZIP THE ZIPPER! Fold the bag, right sides together and stitch the sides and bottom of the bag.

Step 12: Open the bag with your hands and sew the bottom corners closed.

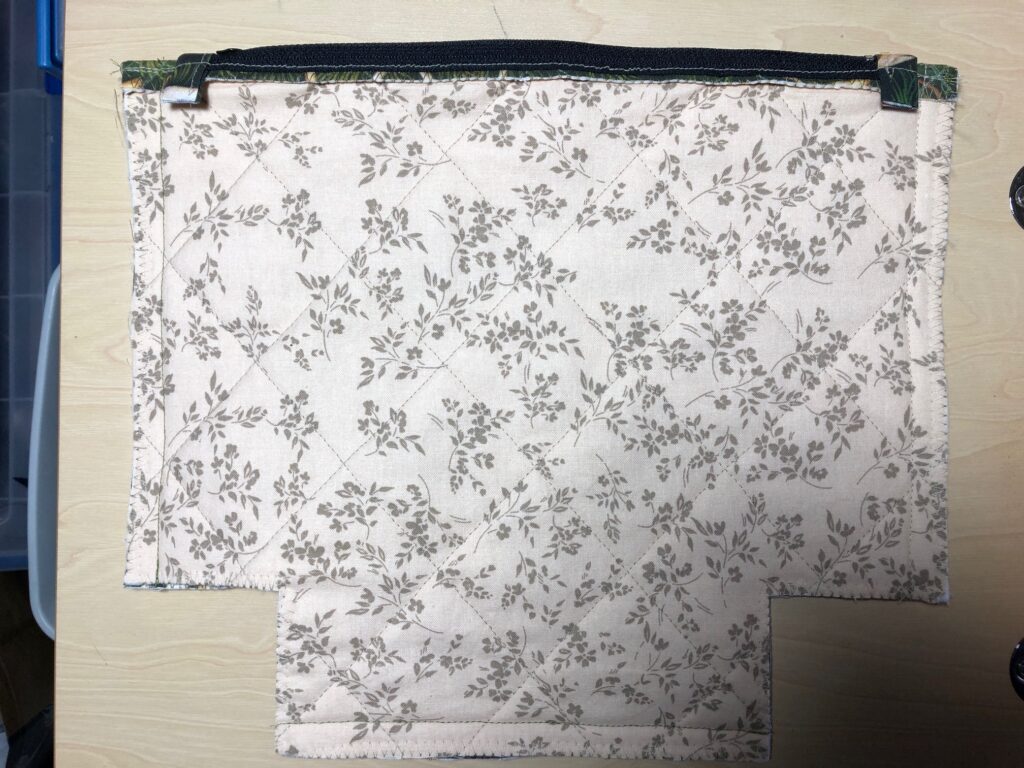
Step 13: Turn the bag right side out. You can see how nice the end caps on the zipper look.

Step 14: Finished Bag

The other two duffle bags follow similar instructions, with the added instruction about the handles and sewing the end pieces. I’ll write these specific instructions in a future post. At any rate, follow the directions with your pattern.

Making your own bags with a fabric of your choice makes for a very unique bag. For all you sewers out there…give it a try! Enjoy!

Belly Bands for Greyhounds

What is a belly band? A new fashion statement for our beloved greyhounds? Haha…no! Picture this…you have just adopted a 2 year old male greyhound from your nearby adoption kennel. You are ready to make him comfortable in your home and take him off his leash. He wanders around the living room…the kitchen…your bedroom. You show him his kennel or cozy bed in the corner. You let him explore on his own while you take off your coat and put things away. Very quickly you realize that he is lifting his leg and marking the corners of the furniture and table legs. This is a natural response to a new environment, especially if you had other dogs in the house previously. AHHHH…now what?

Luckily, the adoption group predicted this might happen and had sent you home with a belly band, just in case. You had wondered what it was for. This simple denim band wraps around their abdominal region and gently keeps his private parts from being used until you can get him outside. Over the next few days as he gets more comfortable in your home you can train him that if he’s in the house he should not have to mark his territory. When you take him outside and remove the band THEN is the time to explore and mark his territory. The hope is that he won’t need the belly band for very long, but that depends on the dog.

Making a Belly Band

I’d like to show you how I make these simple bands.

Materials:

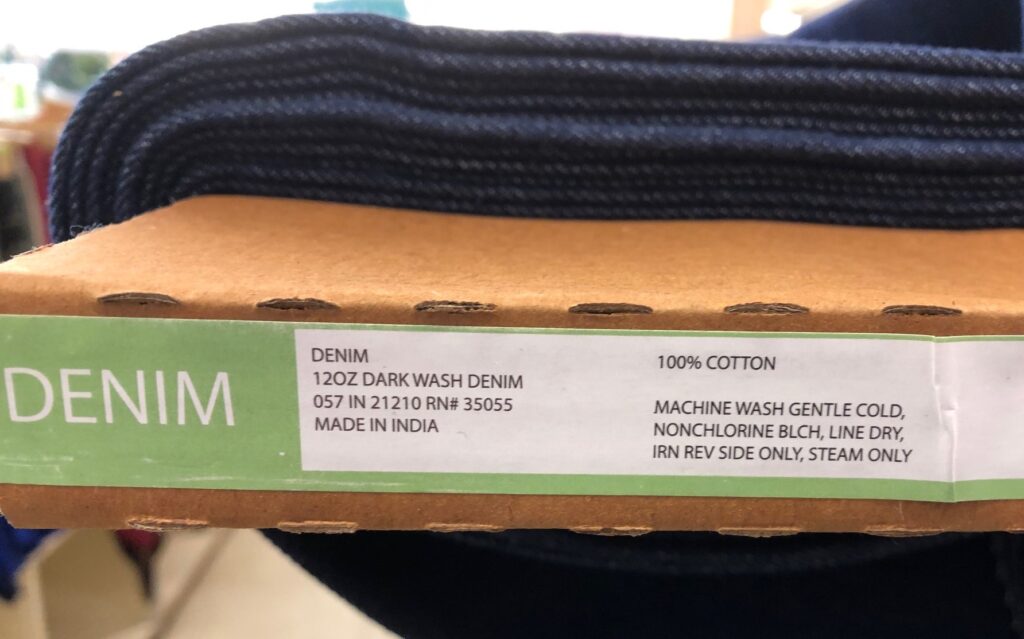
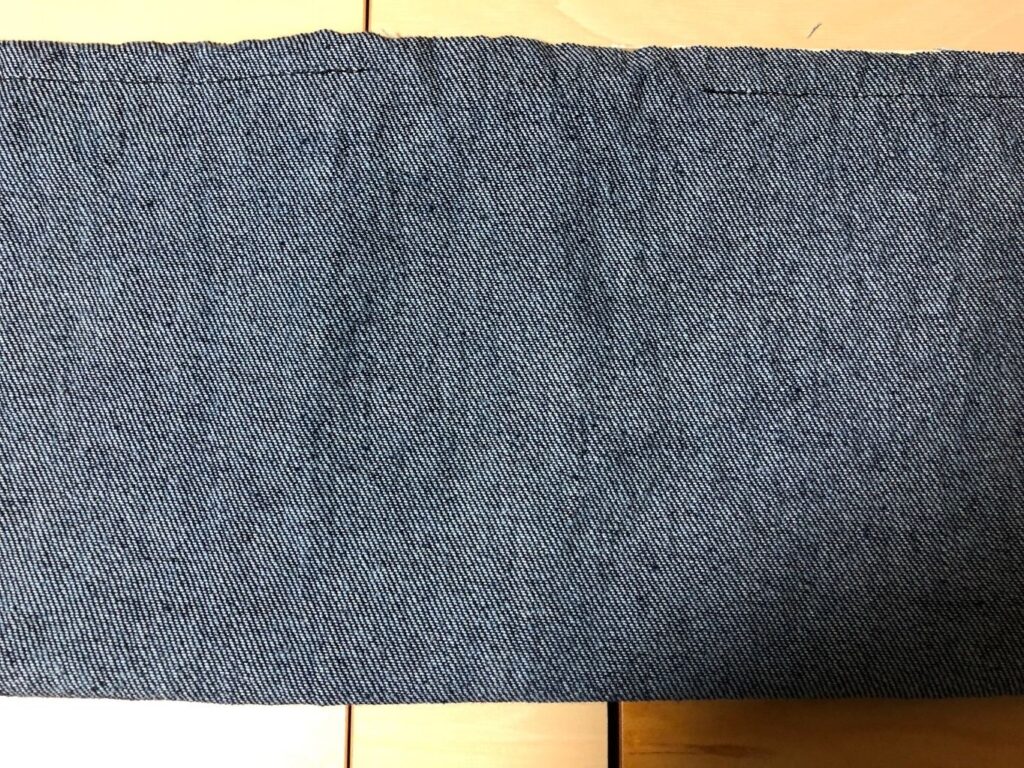
One piece of 12 oz. denim, 12″ x 29″ (all cotton, non-stretch)

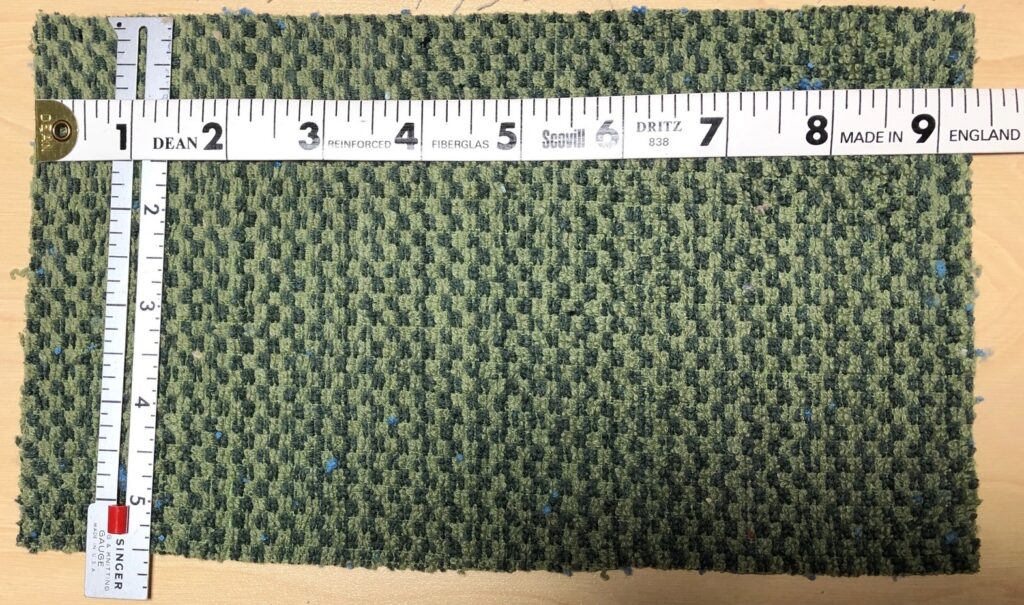
One piece of terry cloth, 5 1/2″ x 9″ (I cut up an old clean hand towel)

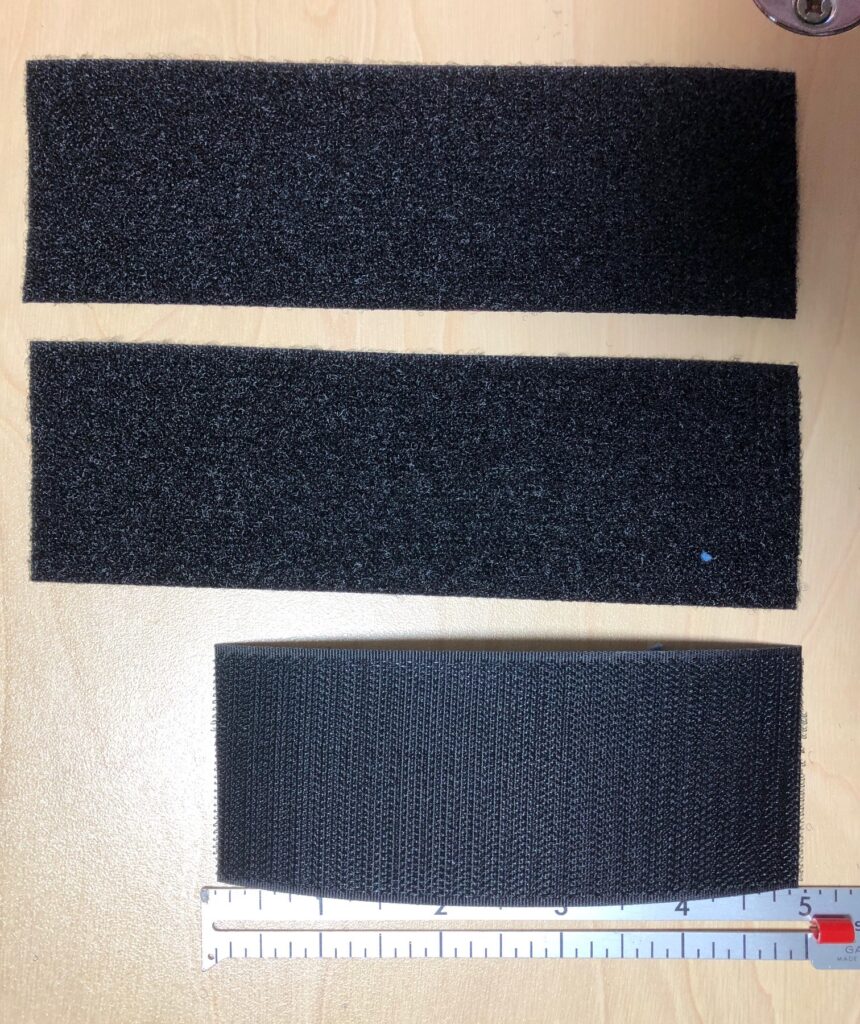
One piece of Velcro hook, 2″ wide x 5″ long (I buy my Velcro from https://www.calthread.com)

Two pieces of Velcro loop, 2″ wide x 8″ long

Note: Here is a picture of the end of the bolt of denim at JoAnn Fabrics. The retail price of this was $16.99/yard but was 30% off. Sometimes there is a coupon for 20% off Total, or $10 off $50. Look for the sales!
This will be trimmed to size when placed on the denim.
Hook and loop Velcro.

Instructions:

  1. Fold the fabric in half lengthwise, right sides together and stitch, leaving 3″ space for turning.

2. Turn right side out. Top stitch around the whole band.

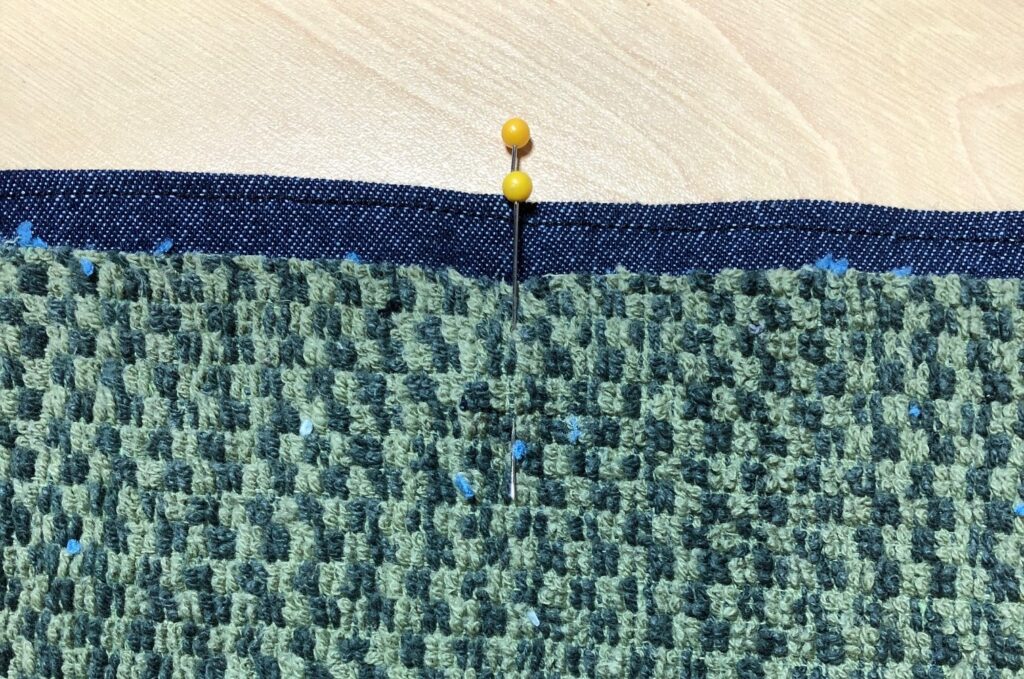
3. Find the center of the band and mark with a pin. Find the center of the terry cloth piece and mark with a pin.

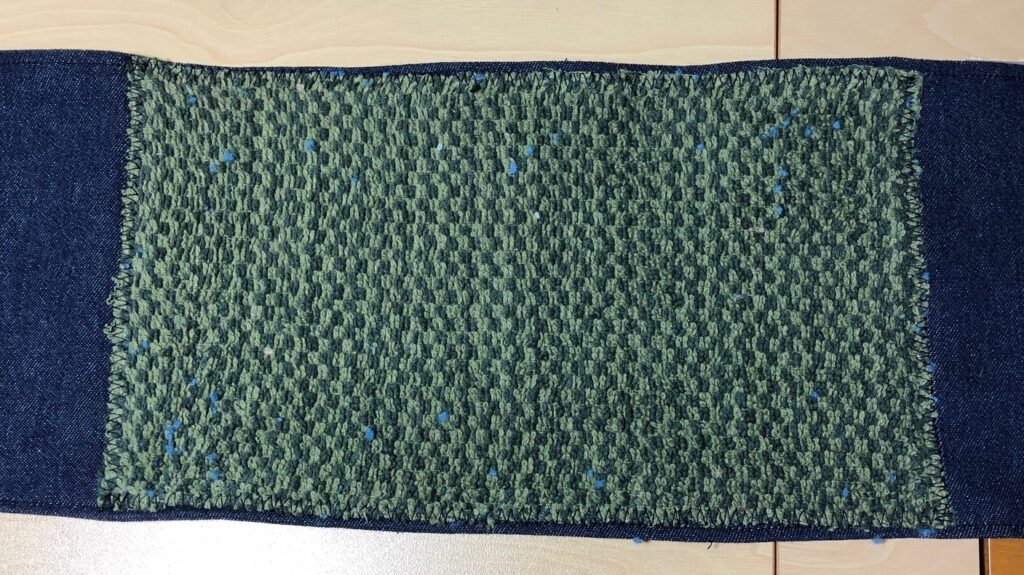
4. Place the terry cloth piece on the center of the band, matching the center points.

5. Trim the terry cloth piece to fit exactly the width or a little smaller than the band.

6. Zig zag stitch around the outside of the terry cloth piece.

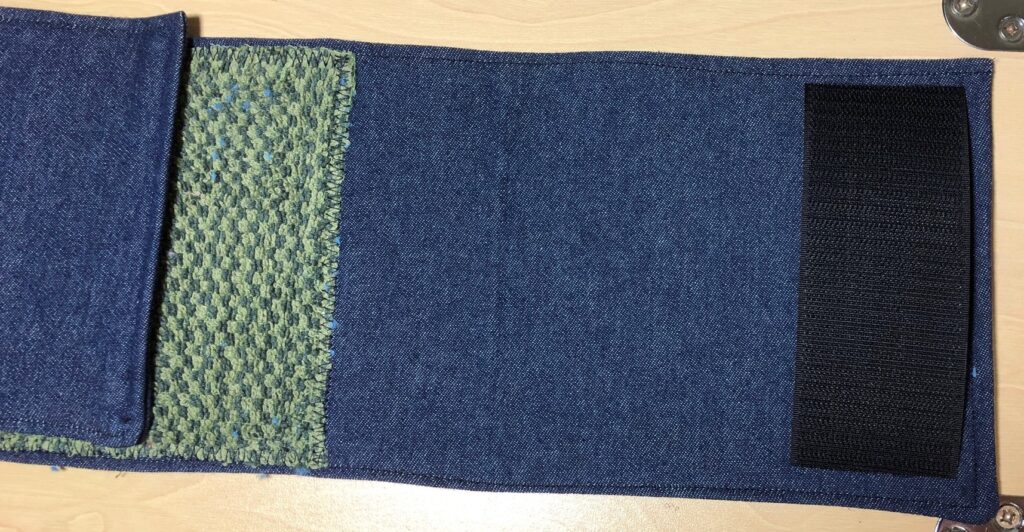
7. Place the 5″ piece of Velcro (hook) along one end of the band and stitch around it. A straight stitch works best.

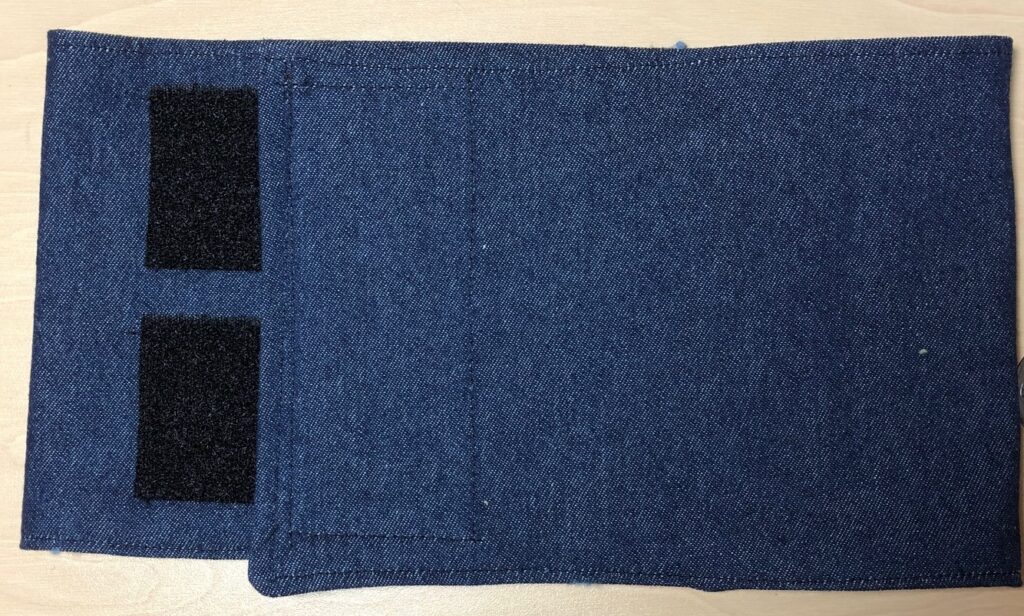
8. Notice that the opposite end of the band will be folded over and overlap with the Velcro hook. Place the Velcro loop pieces on the other end from the hook and stitch as below:

The Belly Band looks like this when folded up.

This band can wrap quickly around the dog’s abdomen and is sturdy enough to stay put.

(Note: The belly band has also been used by the females after being spayed. It keeps them from bothering their incision and stitches.)

So, a greyhound belly band is not a fashion accessory but an important tool to make an adoption successful! Give it a try or share this tutorial with your adoption group! Enjoy!

Please comment or email me directly if you have questions at marykisner@comcast.net.

Ongoing Work with Greyhound Coats

With the temperatures hovering near zero degrees at night around here, I’m motivated to keep working with greyhound coats. I thought I’d let you know some of my thinking about why the coats are made the way they are and where I get my supplies. When making one of something, it’s easy to source materials from the local fabric store. When making four of something a week, every week, it’s annoying to pay retail prices.

The Design of the Pattern

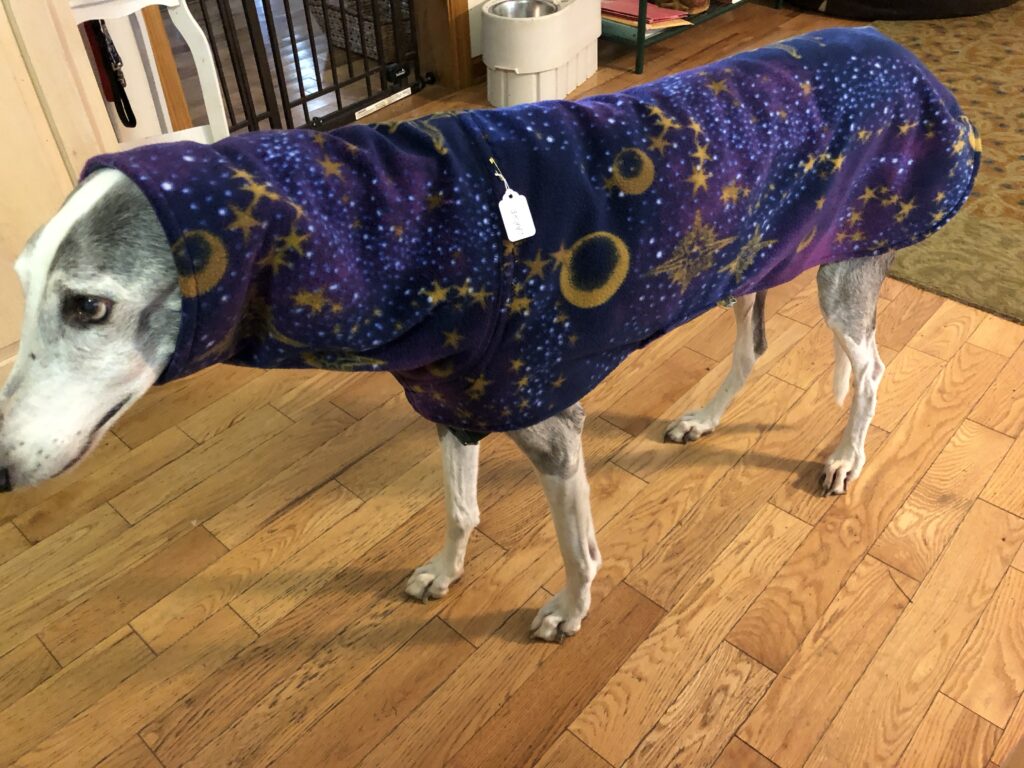
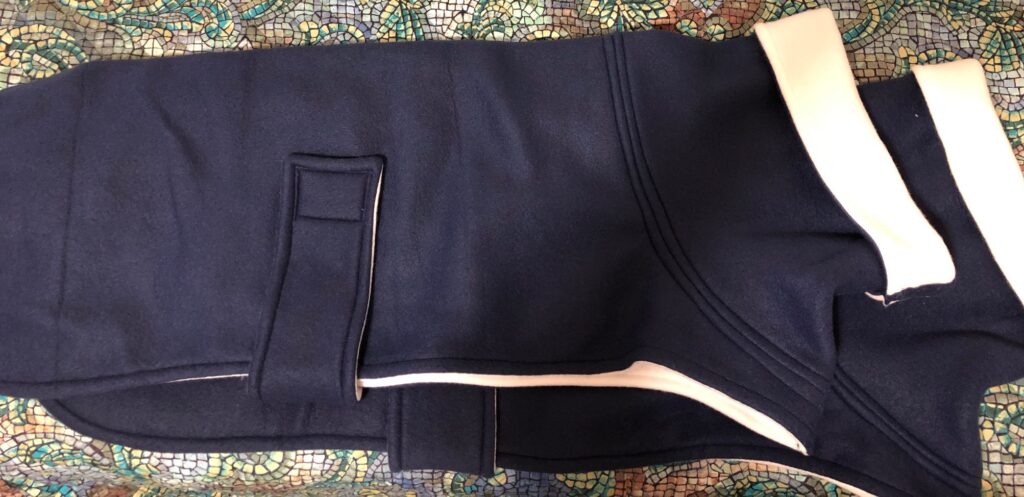
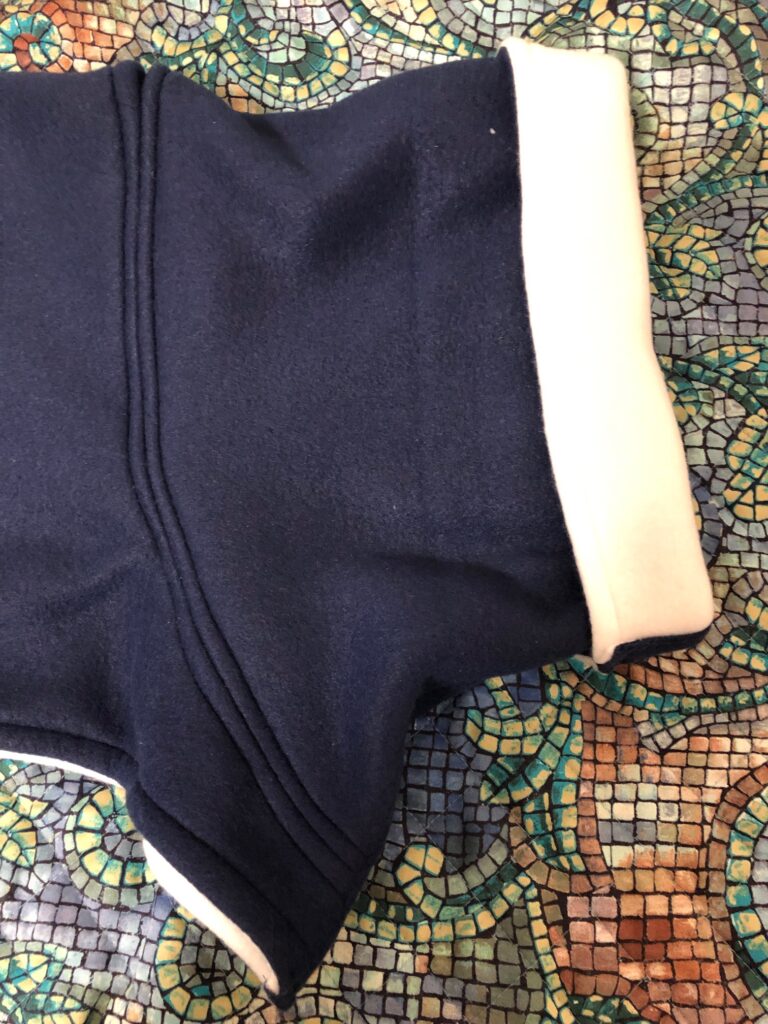
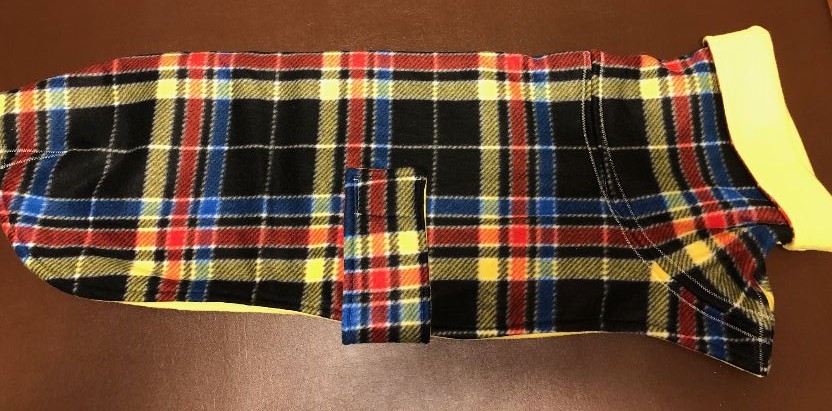
The coat is designed to use as little Velcro as possible, especially at the neck area. I don’t want the Velcro to touch their skin and cause irritation. The dogs have long necks and need the benefit of a “snood” or turtle-neck shape that could even cover their ears if necessary. The coat also needs to cover their rear end. This helps keep the coat positioned on their bodies and helps to keep them warm.

Look how long the neck is.
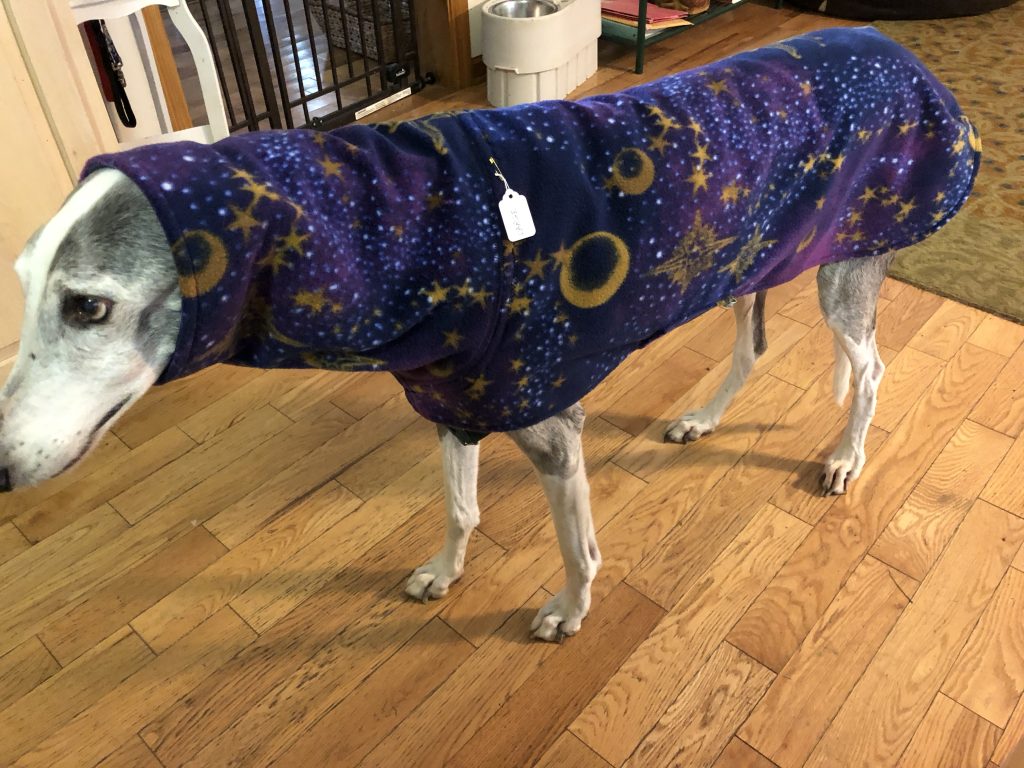
This dog is ready for a Pennsylvania winter!

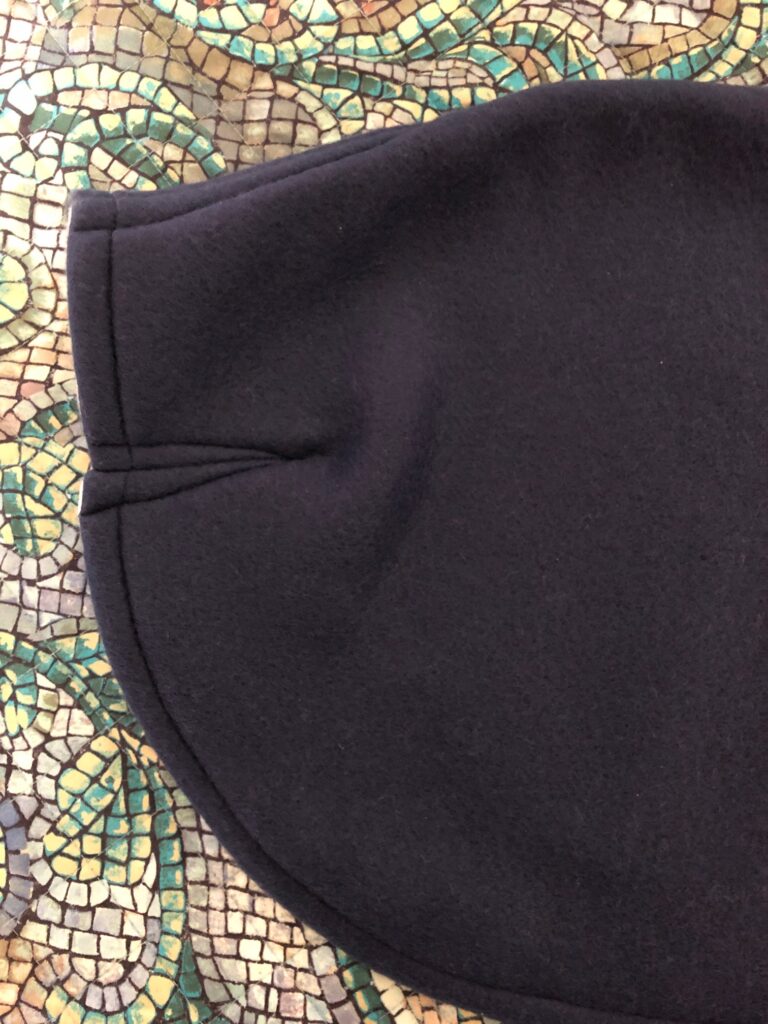
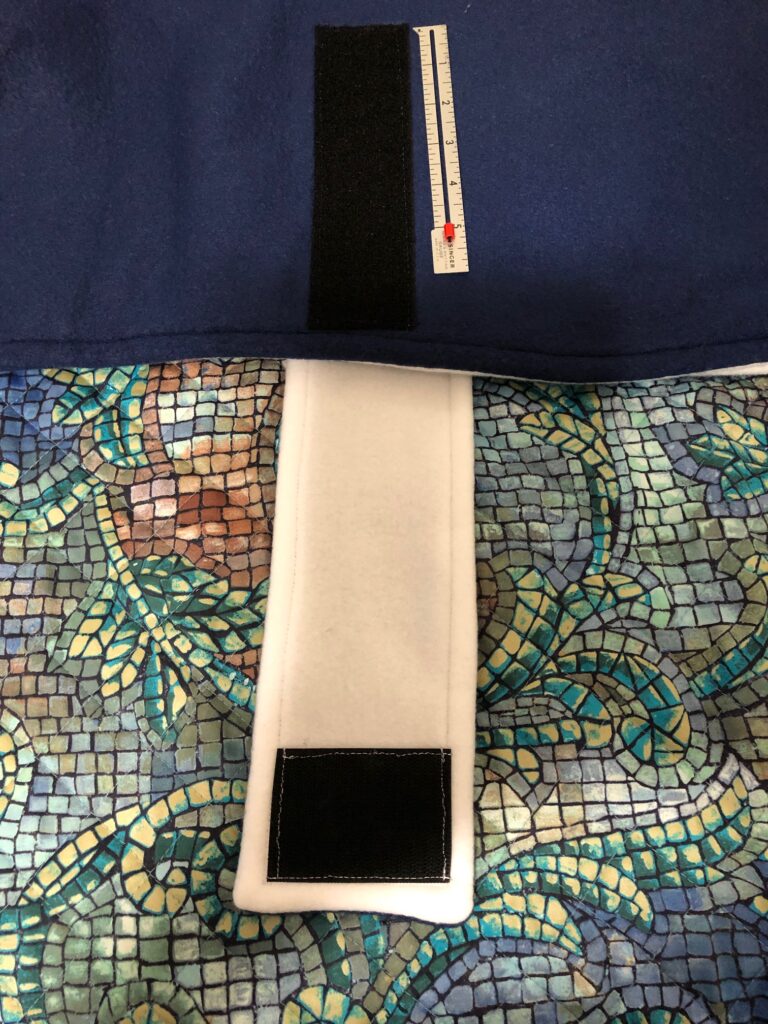
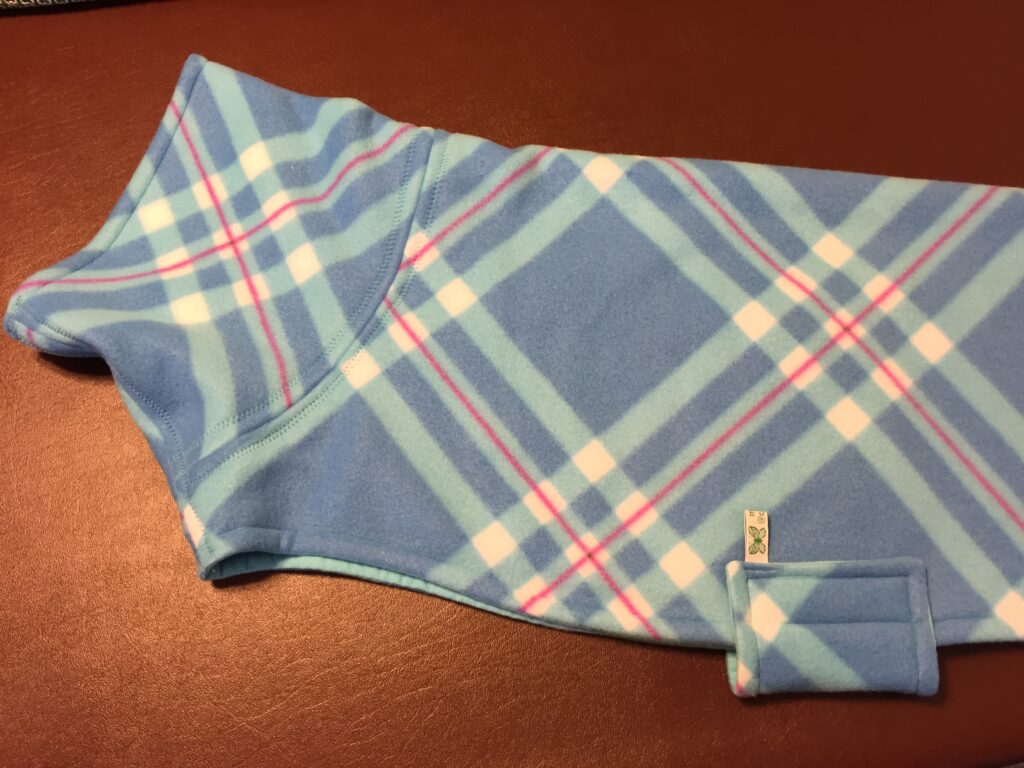
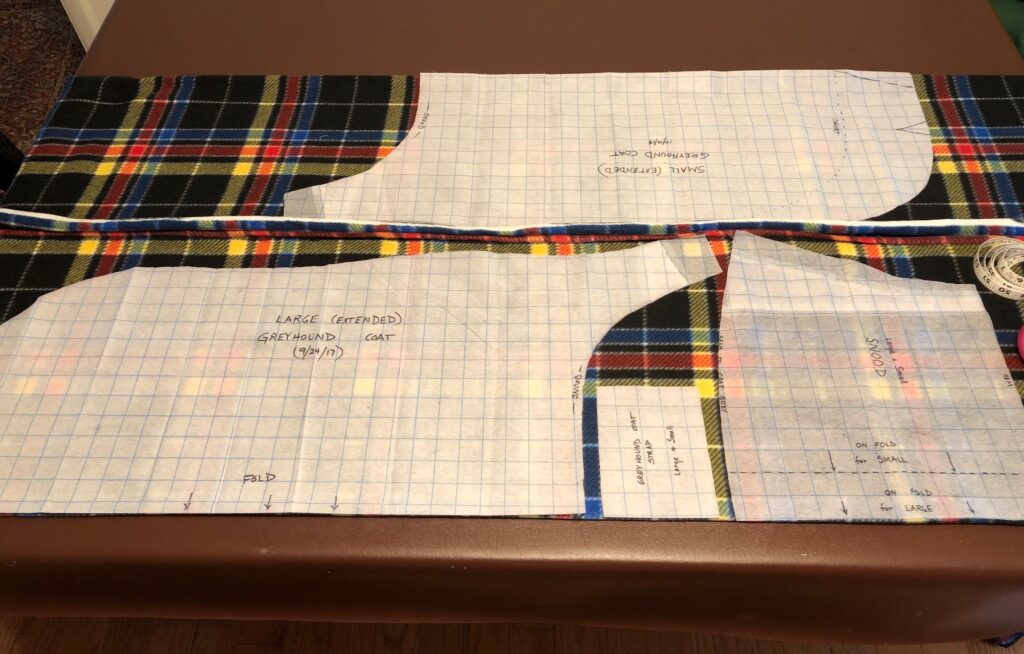
When you look at the coat flat, you can see the basic shape, including the long neck and the darts at the back end to give it shape. Finally, the strap needs to be adjustable, because these coats are made for an unknown dog, not a specific dog. If it were my dog, I could make the strap and Velcro the right length.

Close up of the neck piece.
The darts at the back give the coat some shape.
The length of the strap and the Velcro on the coat are more than enough to accommodate most dogs.

The Fabric

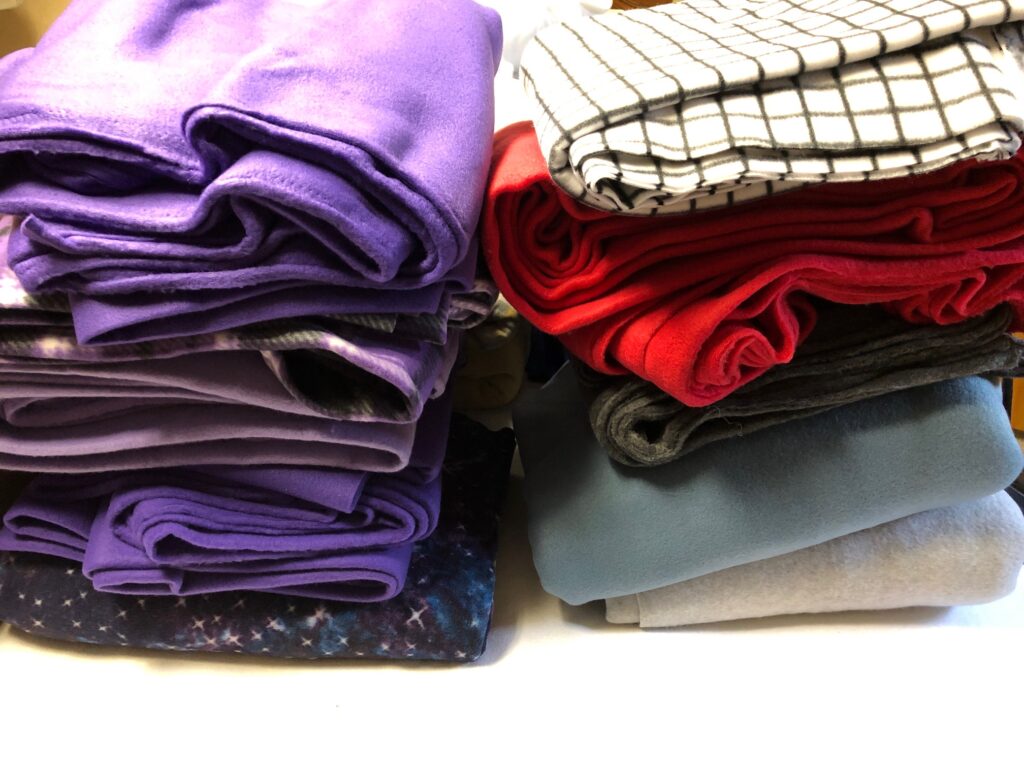
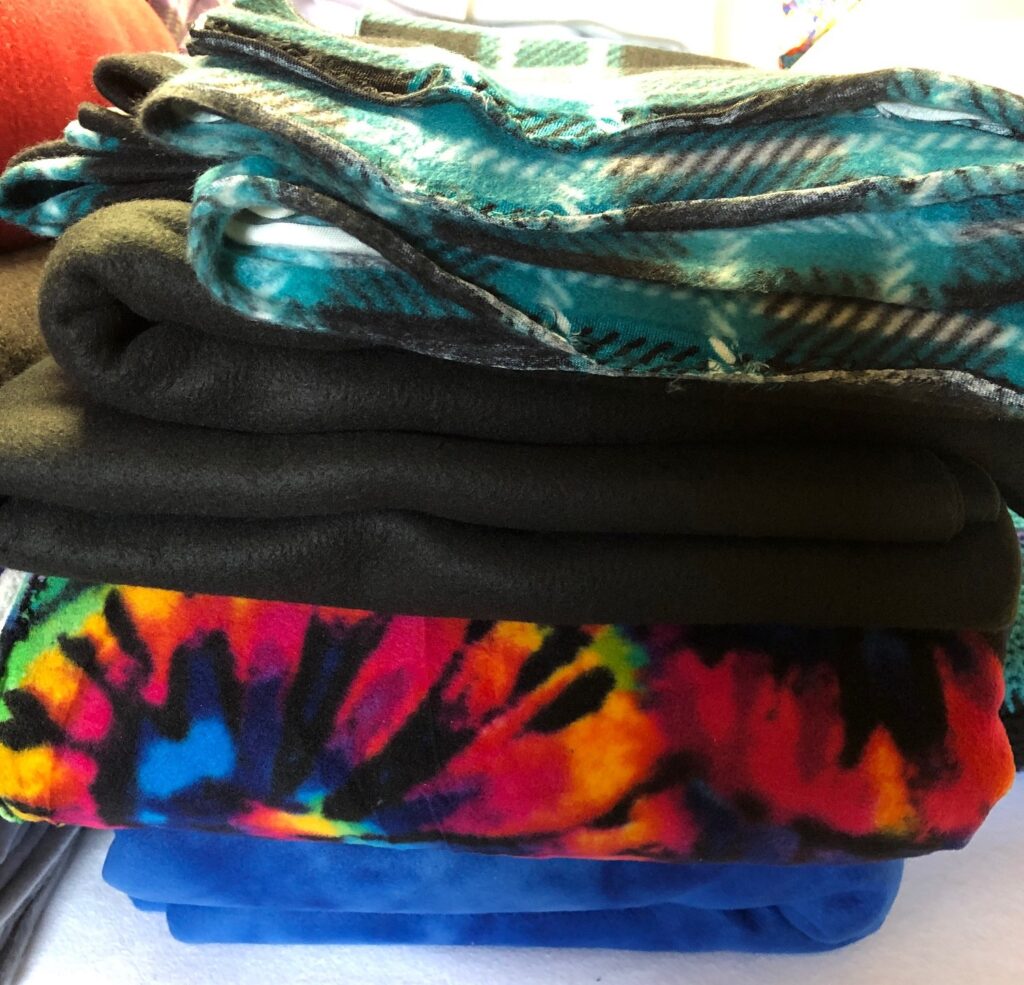
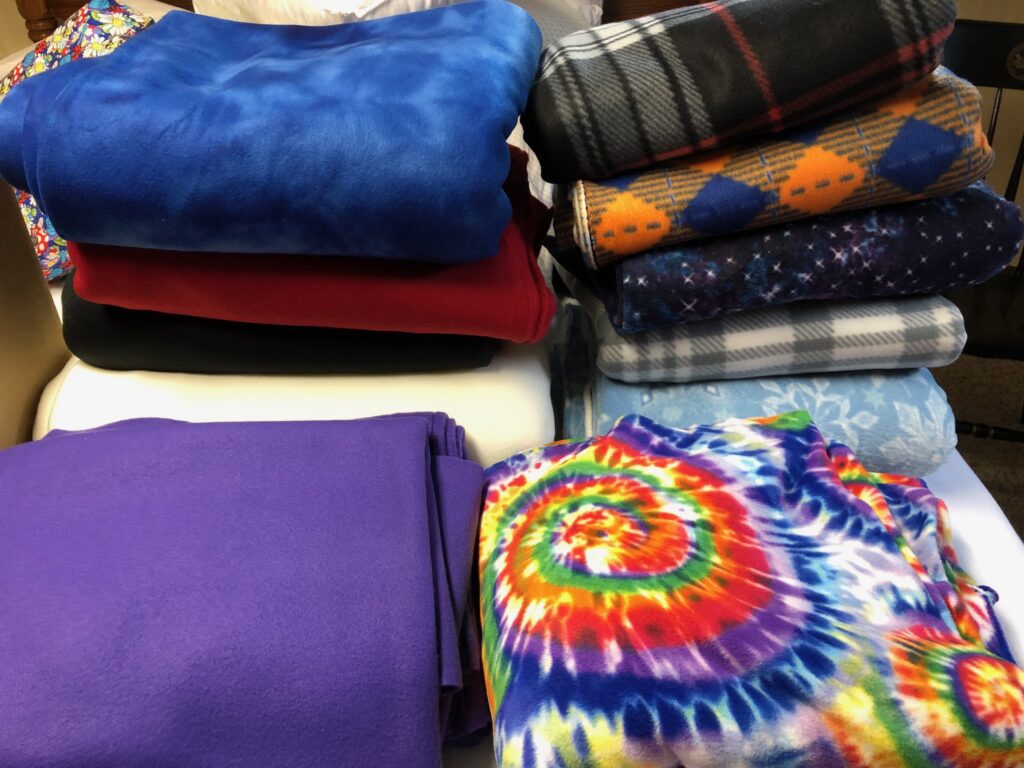
Each pair of greyhound coats (1 large and 1 small) takes 1 1/2 yards of fleece for the outside; another 1 1/2 yards for the lining. Most of the time, fleece is on sale at Joann Fabrics. If I pay attention, I can use a coupon that gives me an additional 20% off so I don’t feel so bad shopping there. I try to coordinate colors for the outside and lining. With three yards of each, I can make 4 coats (2 large and 2 small). I bring it all home and begin!

A few colors waiting for me!
I think the tie-dye fabric should be striking against the snow!

The Velcro

The Velcro is the weak link in supplies. It is hard to find 2″ Velcro, and I need twice as much loop version as hook version. Years ago, I found a wholesale company where I could buy it online from California. I believe their materials are all made in the USA. You can buy Velcro (1/2″ to 6″ wide), elastic, thread and more at their site. It’s a great resource if you are involved in any kind of bulk sewing, like for a scout troop or a church group. Their website is: https://www.calthread.com.

The Labels

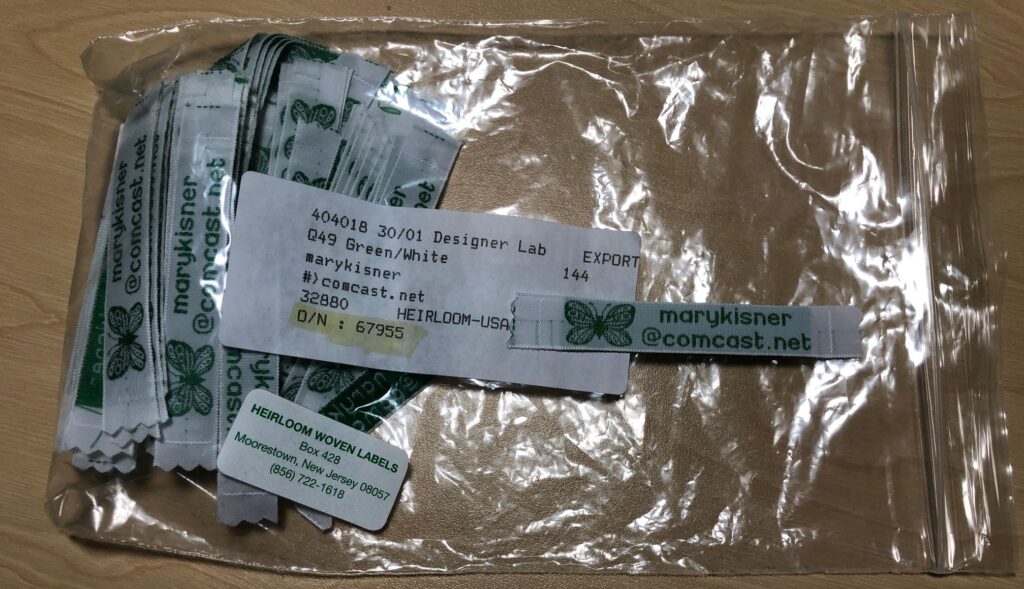
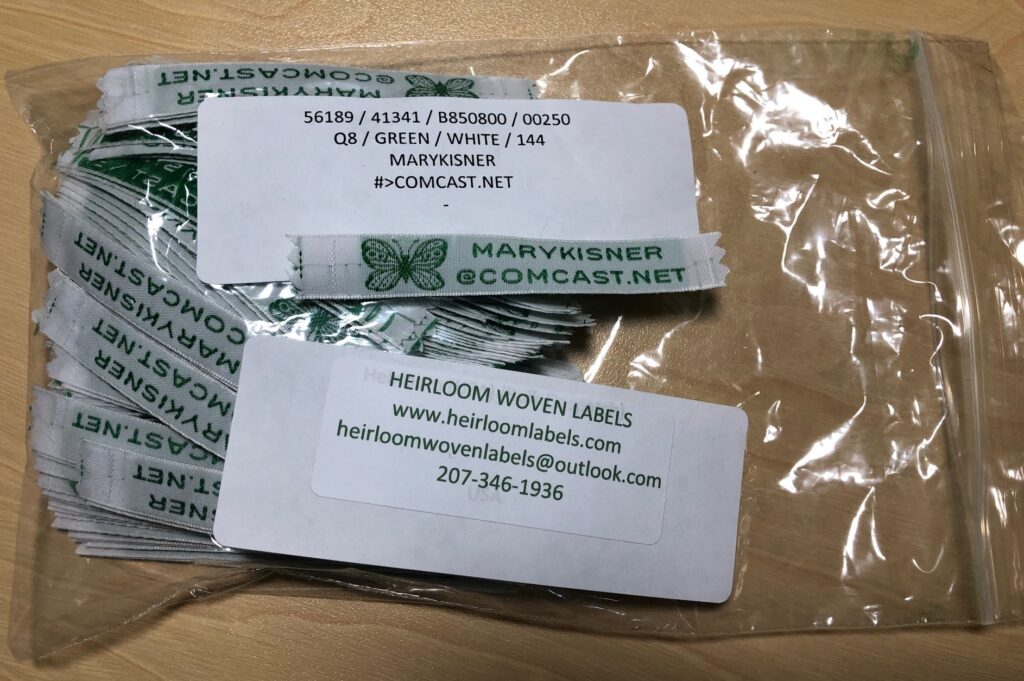
I also want to identify that I made the coat and how to contact me in case it needs a repair. To do this, I’ve begun using cloth labels from a site in New Jersey (https://heirloomlabels.com). It’s easy to order, affordable and doesn’t take long to receive. This last time, I didn’t get my order quite right…but I think it’s OK. People should still be able to find me. When I got my new order, I realized I had forgotten to make the text all lower case! So, of course, they did exactly what I asked for! Proofread carefully!

My original order.
My new order. All CAPS. Oops!

I attach the label to the base of the strap.

It wasn’t until I took this picture, that I realized I had forgotten to sew the labels to the strap on the coat I just finished! (Look at the pictures on the navy coat above!) Grrr!

In case you were wondering what I was doing between making stuff with essential oils and beeswax, this is it! Got to keep those dogs warm this winter! Enjoy!

Please comment or email me directly at maryjkisner@gmail.com.

Cozy Coats for Greyhounds

Today began a marathon to crank out some cozy coats for the greyhounds. All of a sudden, Nittany Greyhounds has a full house and adoptions are happening fast. My work with Nittany Greyhounds started years ago, when I was asked to make some coats for the greyhounds. The dogs arrive in Pennsylvania from around the country…and recently, even from Ireland! The group wanted to be able to offer a coat to new adopters but at that time finding a source for coats that fit the unique shape of the dogs was difficult, expensive or didn’t fit well anyway. So, I took on the challenge to make a coat that fit. Thus began my work volunteering with Nittany Greyhounds. Now, years later, we have a coat pattern that works! Let the shopping begin!

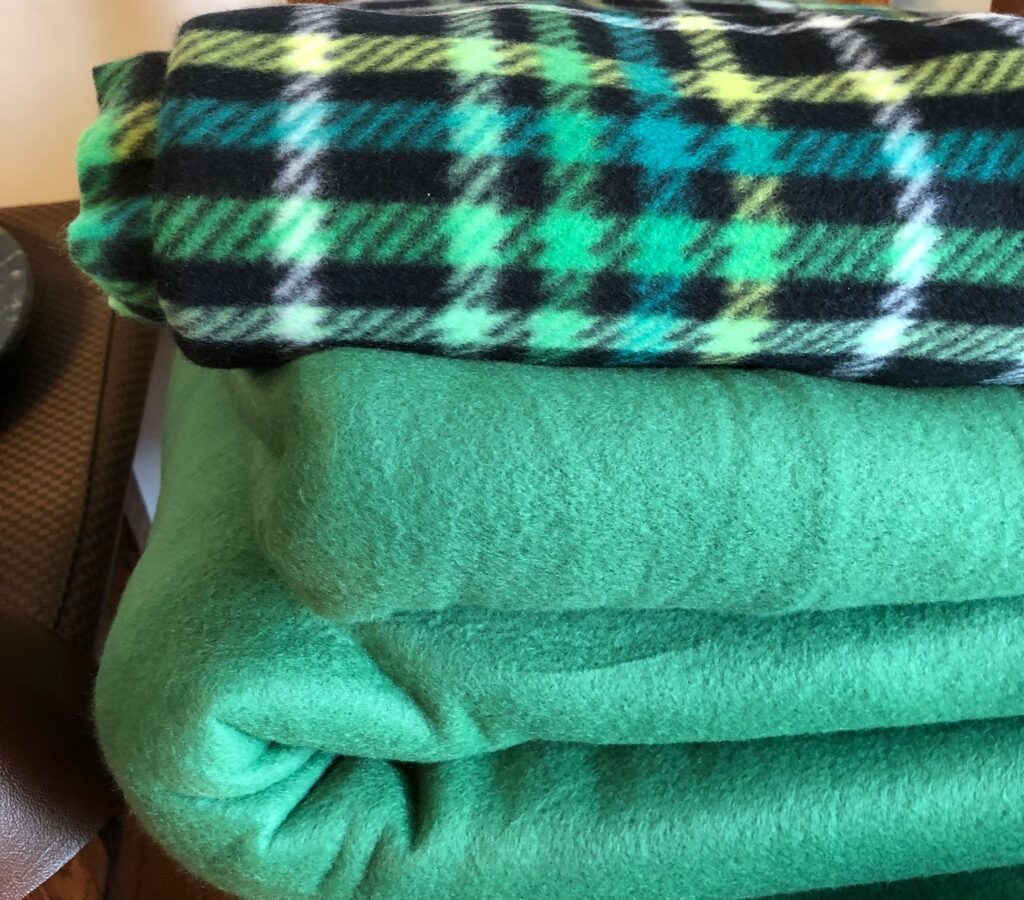
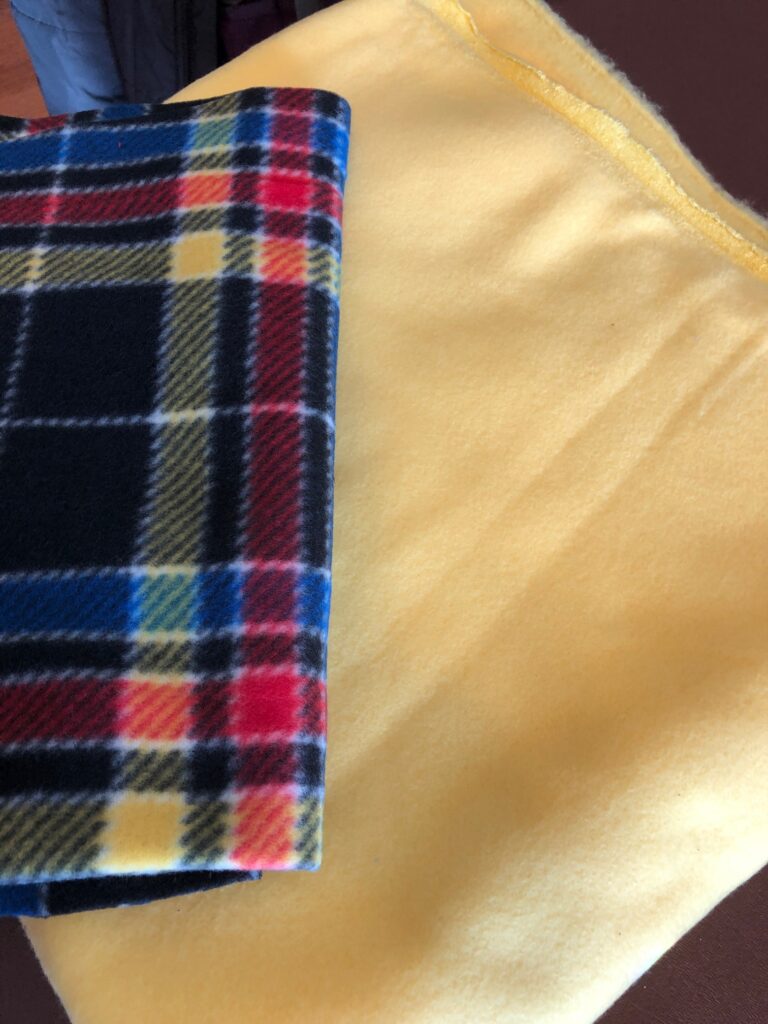
Toni and I spent a productive hour at JoAnn Fabrics to find a stack of cozy fleece.

At one point over the years we tried to make some of the small coats to look cute for the females, but because some of the females needed large coats and some of the males needed small coats, there was always a mismatch between the number of dogs and the number of coats in the right size. It was much more efficient to make coats in neutral prints and colors in both small and large sizes.

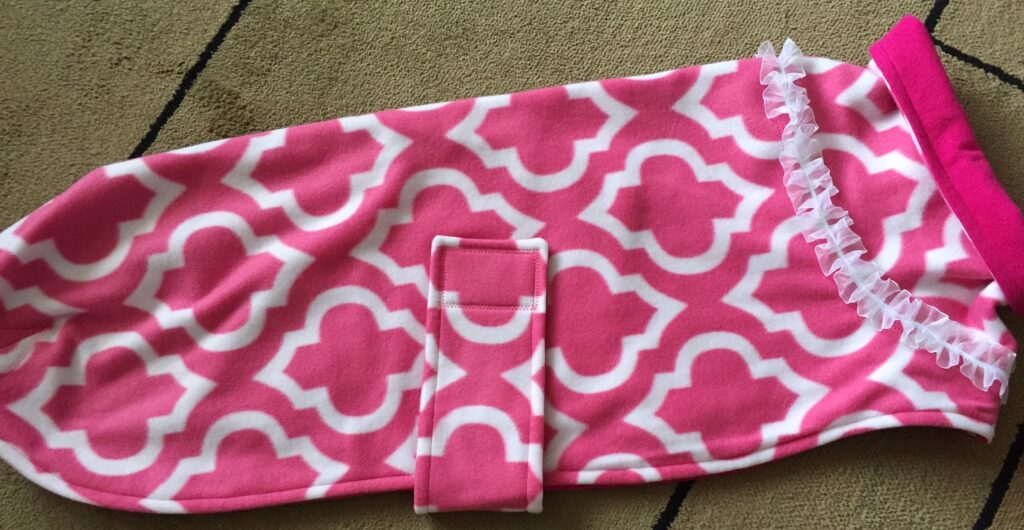
This coat would only work for a small female, if the owner didn’t mind frills!

At the beginning the coats had a shorter turtle neck…called a snood. (Not sure where that name came from.)

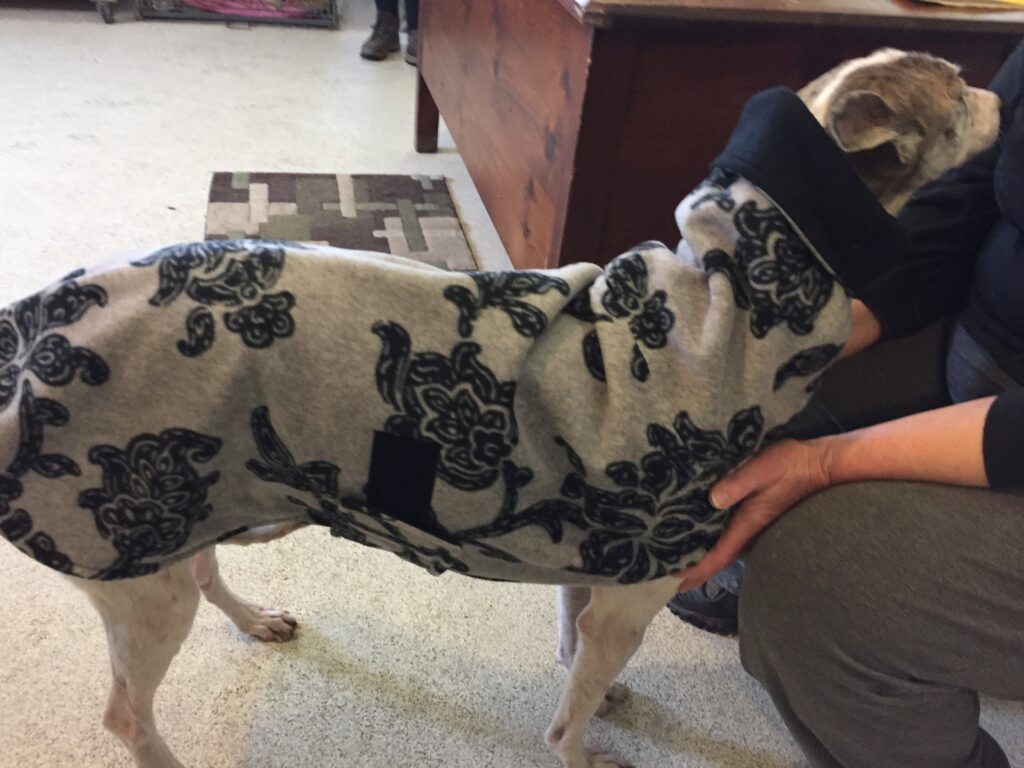
Over the years the “snood” kept getting longer to accommodate their long necks and sensitive ears. Now this “snood” can be pulled up over their ears for warmth if needed.

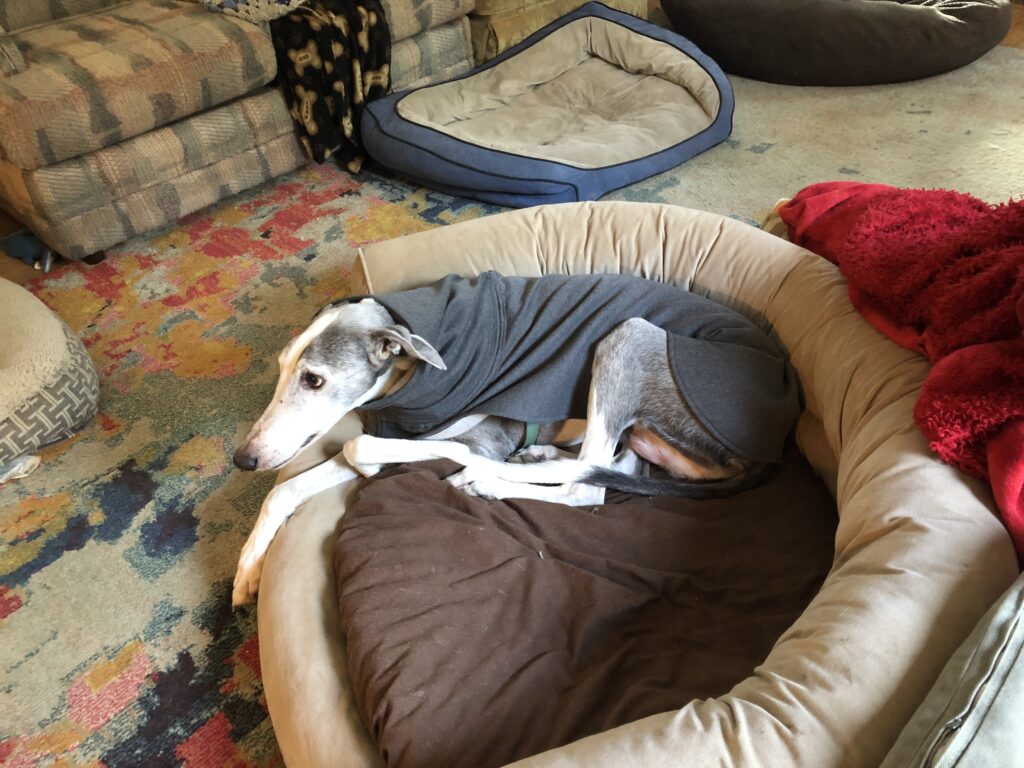
Since many of the dogs wear coats inside and out, we had to do some testing to see how the coat worked when they laid down. This coat looked good when the dog was standing, but scrunched up when he laid in his bed:

I had to change my fabric to all fleece AND I had to expand the pattern across the chest area.

You can see how my pattern has had to change over the years. This iteration has worked for a while so it’s probably time to lay the pattern on some new grid paper and cut out a new one!

Can’t you see a greyhound in this coat running across the snow this winter!

Time to get to work! Enjoy!

Please comment or email me directly at maryjkisner@gmail.com.

Greyhounds in Gettysburg Conference

I just spent the last four days in the company of wonderful greyhound owners, beautiful dogs and dedicated volunteers at the Greyhounds in Gettysburg conference! Just wanted to say, “Thank You” to all for making me feel welcome!

I was attending the conference to share our Hound Care products that will be sold through Nittany Greyhounds eventually. Our three products, that you may have learned about on this website, include a salve for the dog’s paws; a soothing aloe vera shampoo bar; and a natural bug repellent. You can read about the products under the Greyhound category on my Welcome Page or you can find an overview of the products at https://marykisner.com/greyhounds-still-in-my-heart/.
I’d like to give you an overview…from my perspective…of the conference. I was not able to see or participate in all of it, because I was a vendor for the products, so I felt I should interact with folks that came my way and were interested in these products. However, since I did not have a dog with me (like many vendors did) I also did not participate in their outdoor activities or attend the various sessions that were focused on issues of interest to dog owners. I’m sure Nittany Greyhounds will post some summaries of these activities.

Events

A few of the events I did attend was the parade and picnic at a nearby Outlet Mall on the first day. I’m always amazed how well-behaved a large group of greyhounds can be. It was a beautiful day and owners and dogs had a chance to catch up with friends. Here are a few pictures:

I think this is a Windsprite…which is like a hairy Whippet…a small sight hound.

Another event that was fun for owners and dogs was a Mexican-themed buffet and party. A band provided great music while we ate. I had a dog on the floor beside me, and another across the table. That one made me laugh! I’ll bet he thought if he stayed real still on the matching black tablecloth we might not notice his interest in the plates of food nearby! So cute!

Costume Contest

On Saturday, there was a costume contest. Owners and dogs that participated were dressed up and paraded around the Event Center. I got drafted to be a judge! Here are a few of the entries…with explanations as necessary:

I think this group said they represented, “Where’s Waldo?”
Maybe this was “Waldo?”
There was a Unicorn…
…a dinosaur…
…and a Greyhound Bus!
I think this was a reindeer…from a very dedicated knitter!
This dedicated owner and dog in matching “Punk” costumes made me smile. She said he/she really didn’t mind being dressed up.

Vendors

There were about 58 vendors at this conference. The focus for all of them was the greyhounds. Folks that could bake, sew, knit, craft with wood, take photographs, make jewelry, design t-shirts, etc. all geared their products to this audience. There was even an artist that worked with a 3D printer to make small statues customized to a specific dog. An amazing collection of crafts, products and services for the greyhounds and owners. Here are just a few pictures…there were so many I could make a scrapbook!

Leashes and collars galore!

My display was positioned right in front of the various fences that were used by Nittany’s volunteers for their own dogs. I felt like I was overseeing a Doggy Day Care. It was great! These well-behaved dogs slept most of the time. Their owners were all wearing bright orange t-shirts, so if the dogs saw one going by they checked to see if it was their “person.” If not, they went back to sleep.

They were an attraction to visitors and dogs walking by…all wanted to know if they were available for adoption (absolutely not!). All visitors were greeted warmly and eagerly awaited a pat on the head.

Finally, one of the last dogs I saw was this one…kind of shocking! Apparently, the owner is a groomer and wanted to attract attention! I guess it worked, but I’m not sure how this full-size pink poodle fit into the conference! Go figure!

Guess I’d rather remember this family of greyhounds!

A very special weekend for me surrounded by greyhounds!

Please comment or email me directly at marykisner@comcast.net.

I stand corrected! It’s a “leash” not a “brace”!!

Ok ok. If you have two greyhounds you have a “brace” of greyhounds. If you have more than two…like a whole bunch…it’s called a “leash”. Sorry if I offended anyone. At least a bunch isn’t called a “murder” (like crows) or a “herd” (like cattle) or “flock” (like chickens).

So…on Sunday I enjoyed spending time with a “leash” of greyhounds! Read all about it in my previous posting!

Enjoy! Mary