
Frequently when I visit Kathy and family, I come home with some interesting mending projects. I think our son-in-law enjoys providing me with a sewing challenge…just because he knows I’ll humor him and produce something different! I’m up for the challenge!
He works very hard with his contracting and landscape business and his work clothes show it. This time, I came home with three items…a stuffed toy their dog Daisy had ripped with her teeth (obviously not related to his work) and two pairs of work shorts with rips in embarrassing places.
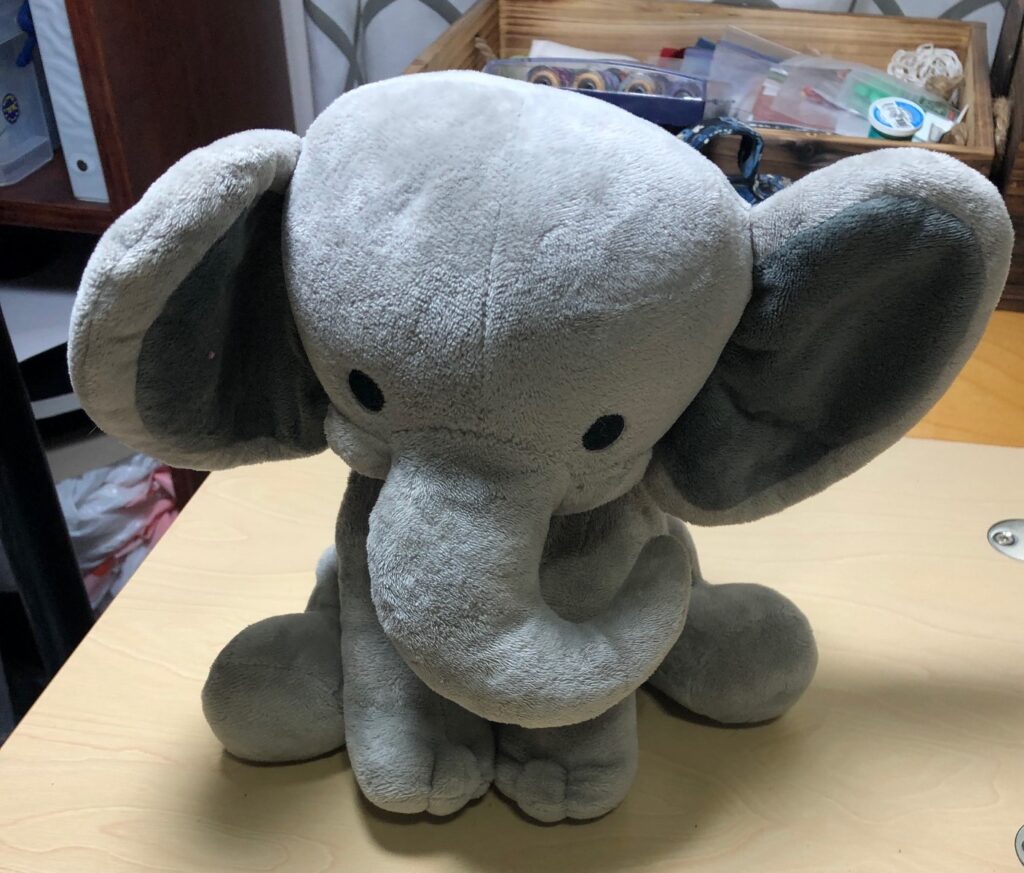
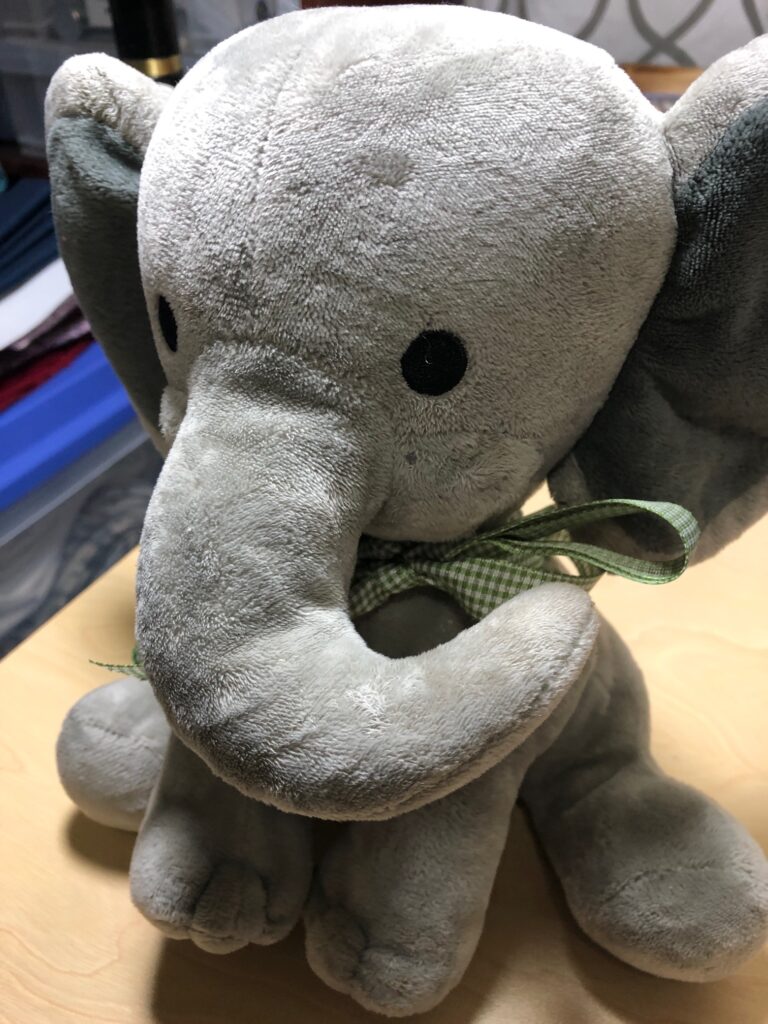
First, I worked on the dog toy. This elephant is really not a dog toy, but Daisy loves it and really doesn’t shred it; her teeth just seem to catch on the soft fabric.
The damage seemed to be right at the back of the neck. It looks like I had mended this item several times already!
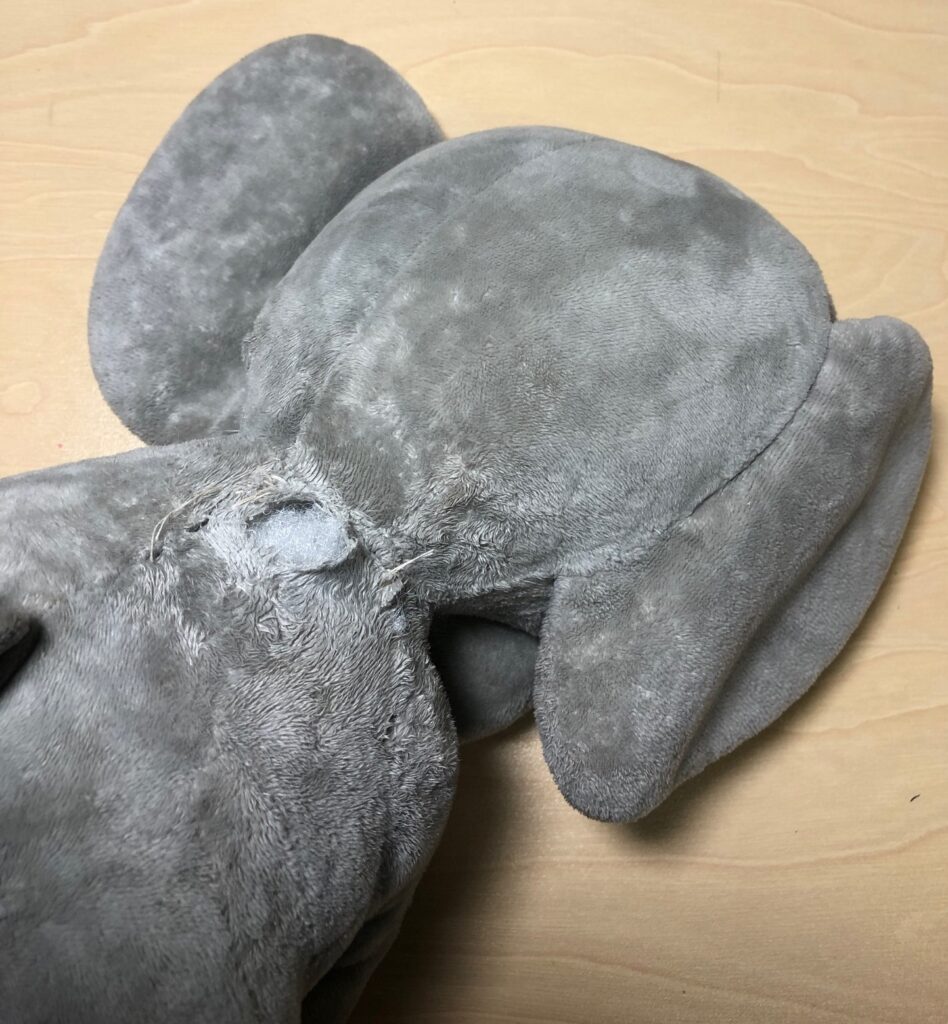
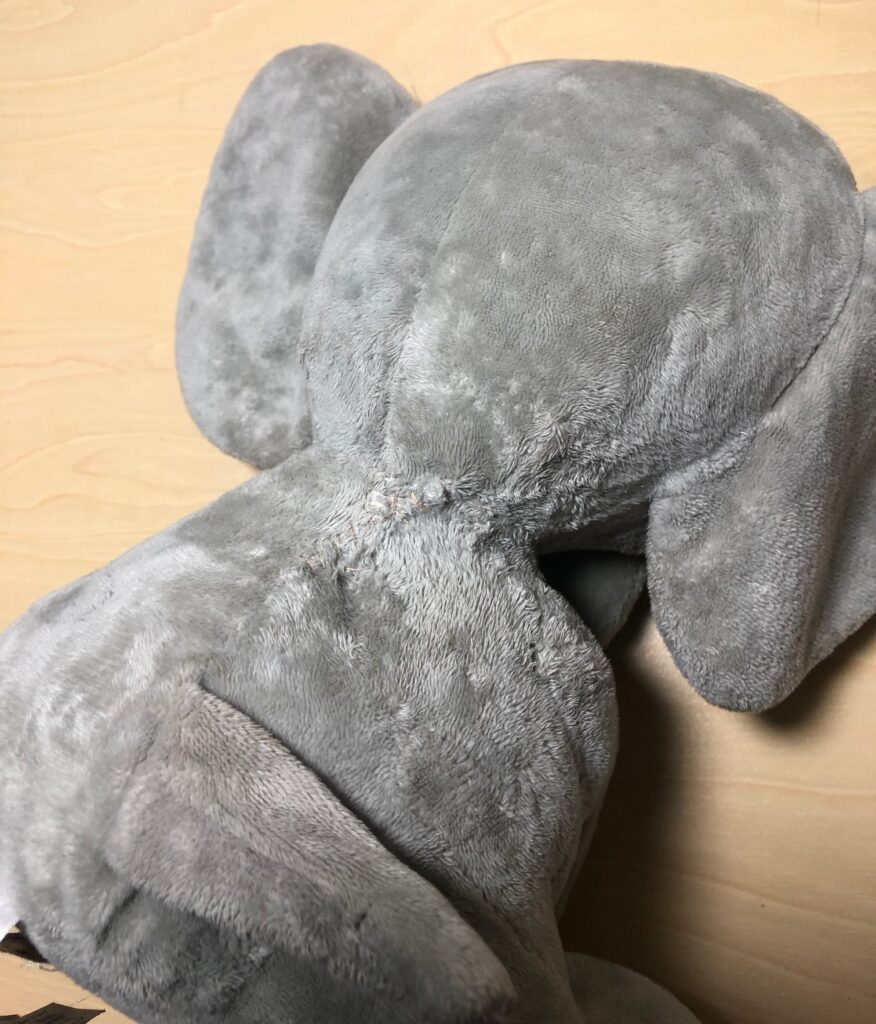
First, I just pulled the sides of the hole and sewed it shut…again…with some strong thread.
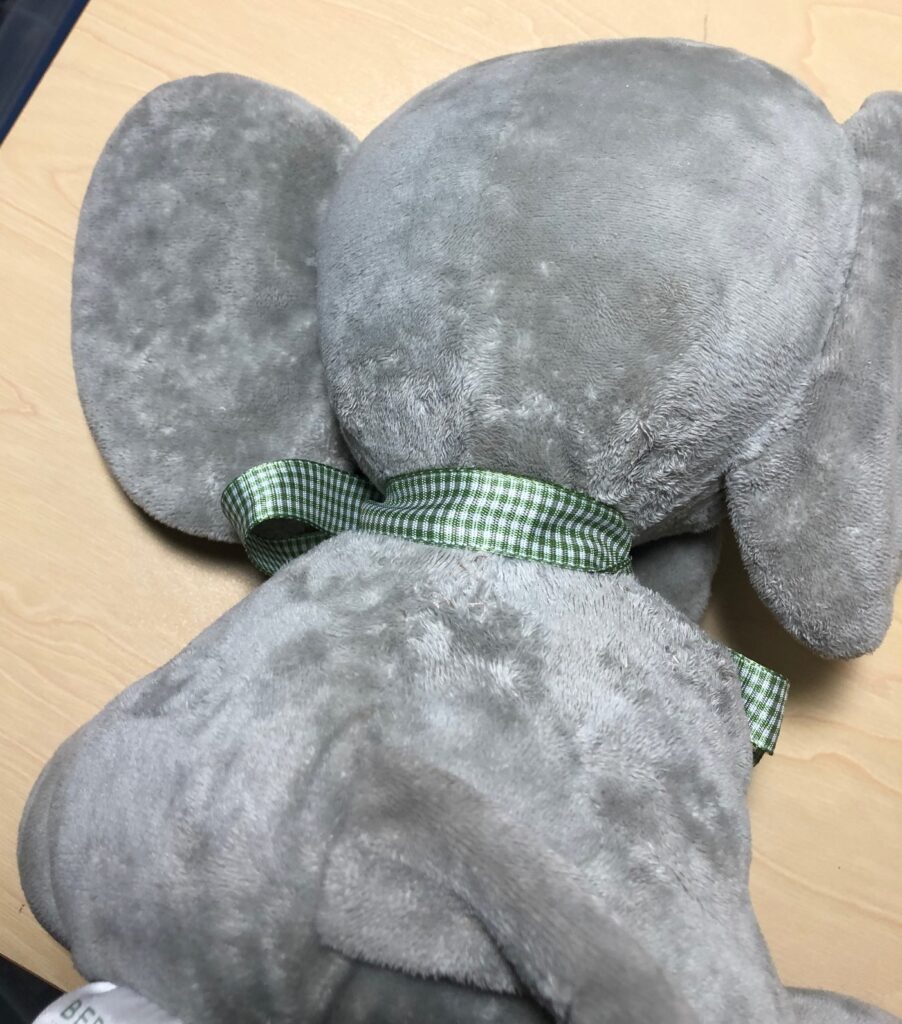
Then I added a double layer of pretty hefty ribbon around the neck, right over the repair. With double knots in the ribbon, the bow might come untied but the ribbon should protect my repair. Maybe the ribbon will give Daisy something new to play with.
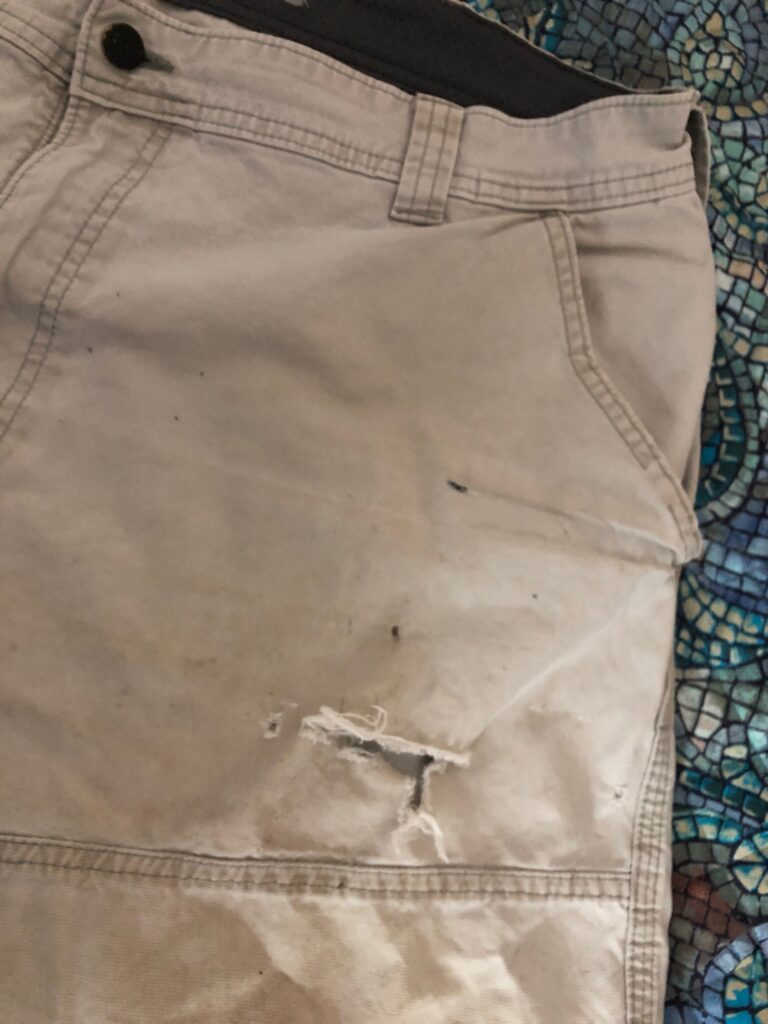
Now, on to the work shorts. The first pair had a big rip right in front.
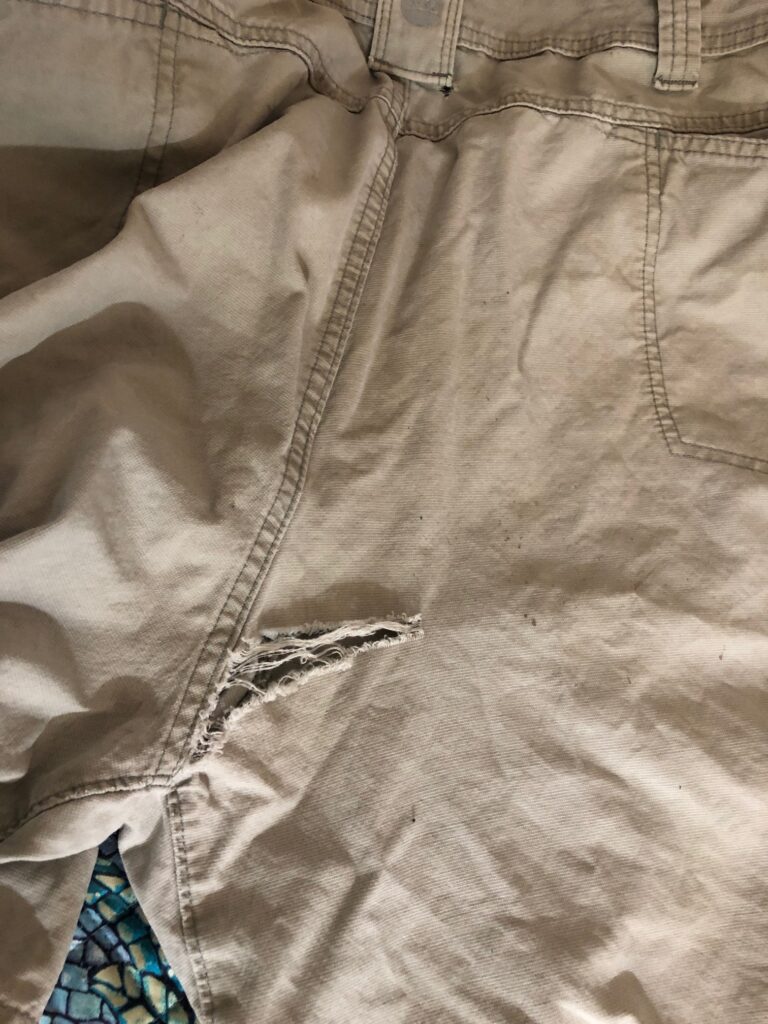
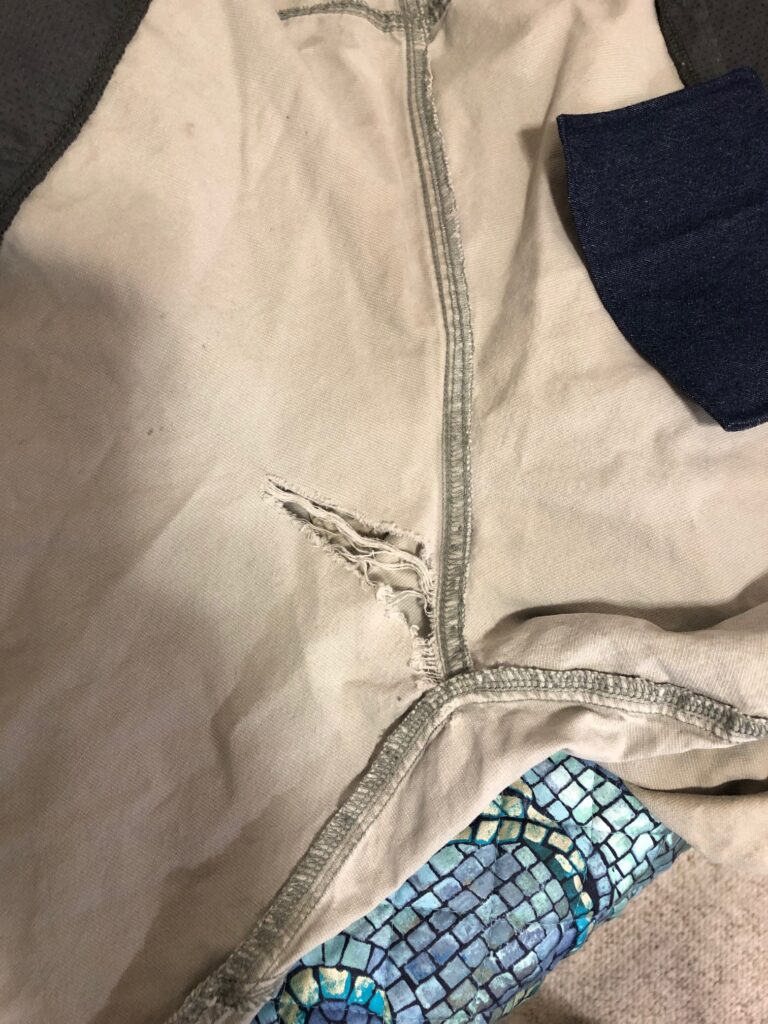
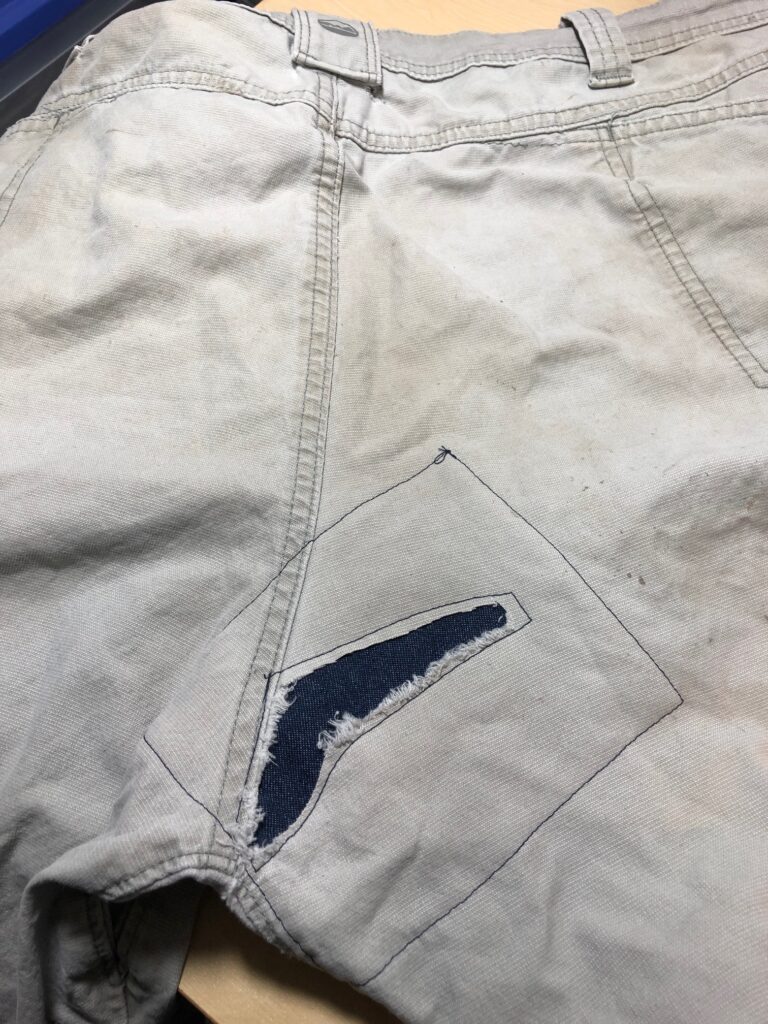
The second pair was pretty shredded through the crotch!
PAIR NUMBER 1
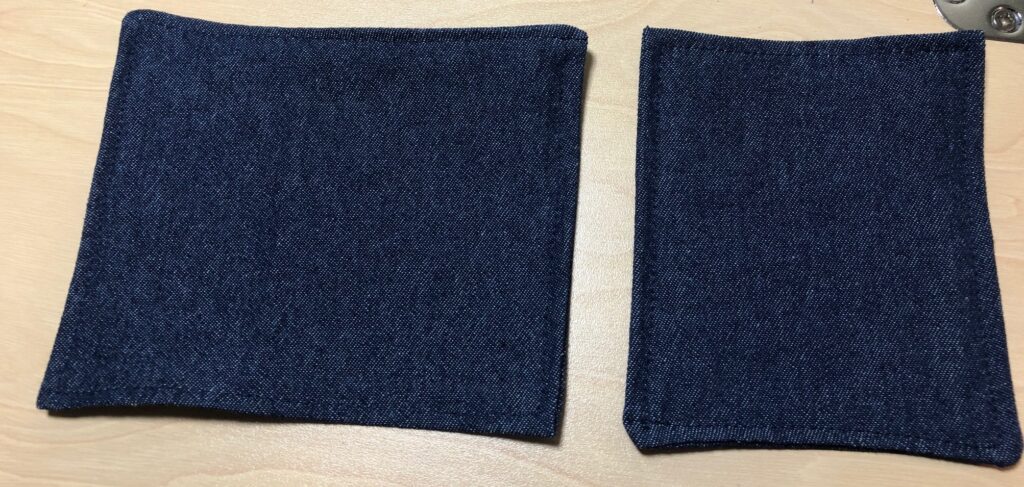
First, I prepared two patches that would cover the holes. I cut two pieces of lightweight denim, folded them in half (right sides together) and stitched around the open sides, leaving about 3 inches to turn them right side out.
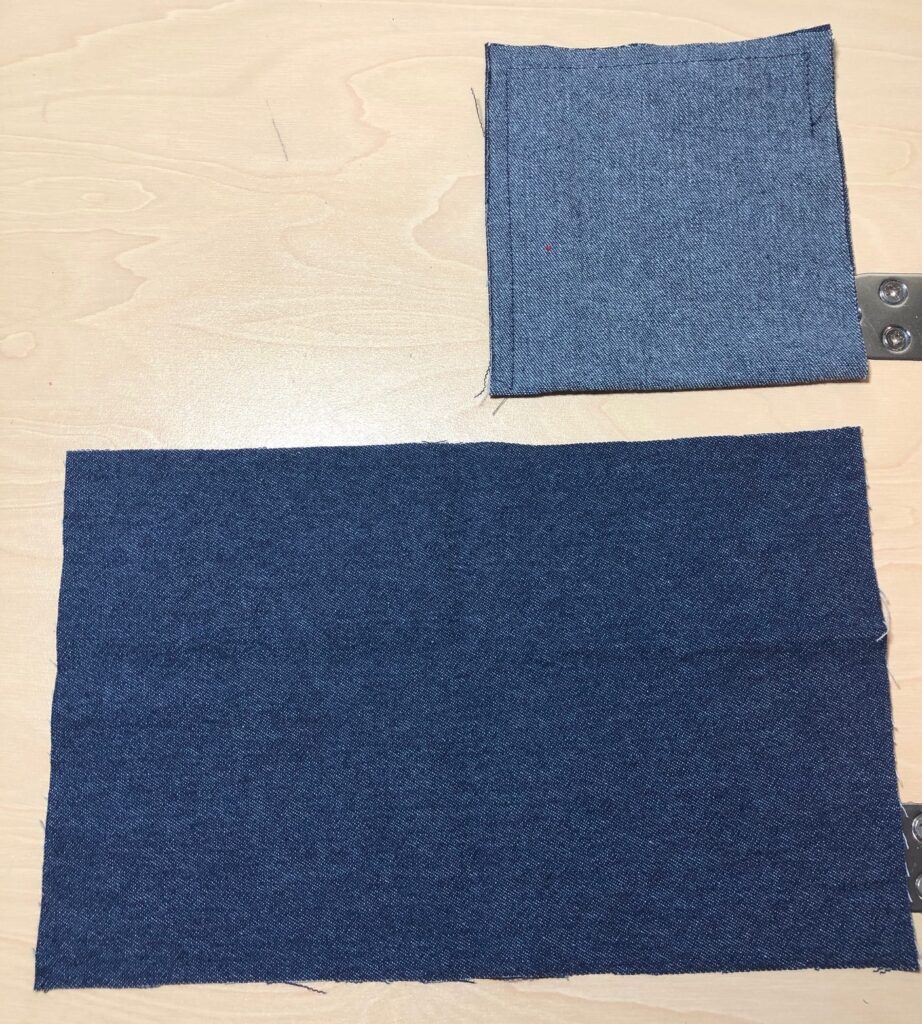
I turned them right side out and top stitched around both patches. Now the edges of the patches are finished and will not unravel when washed.

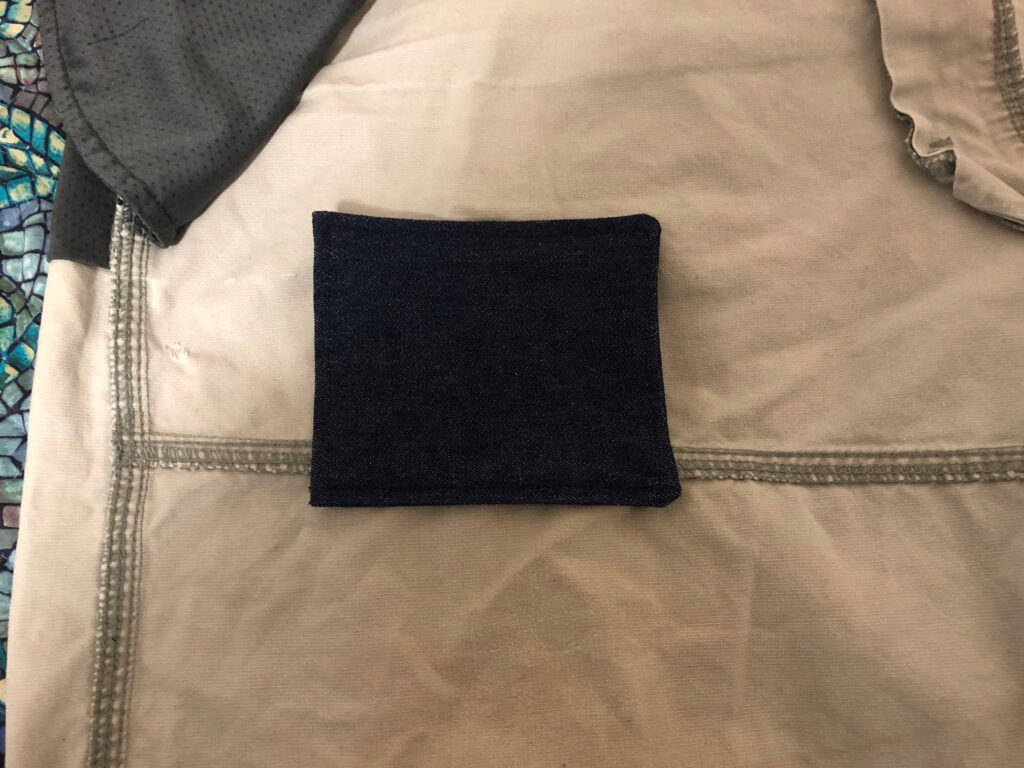
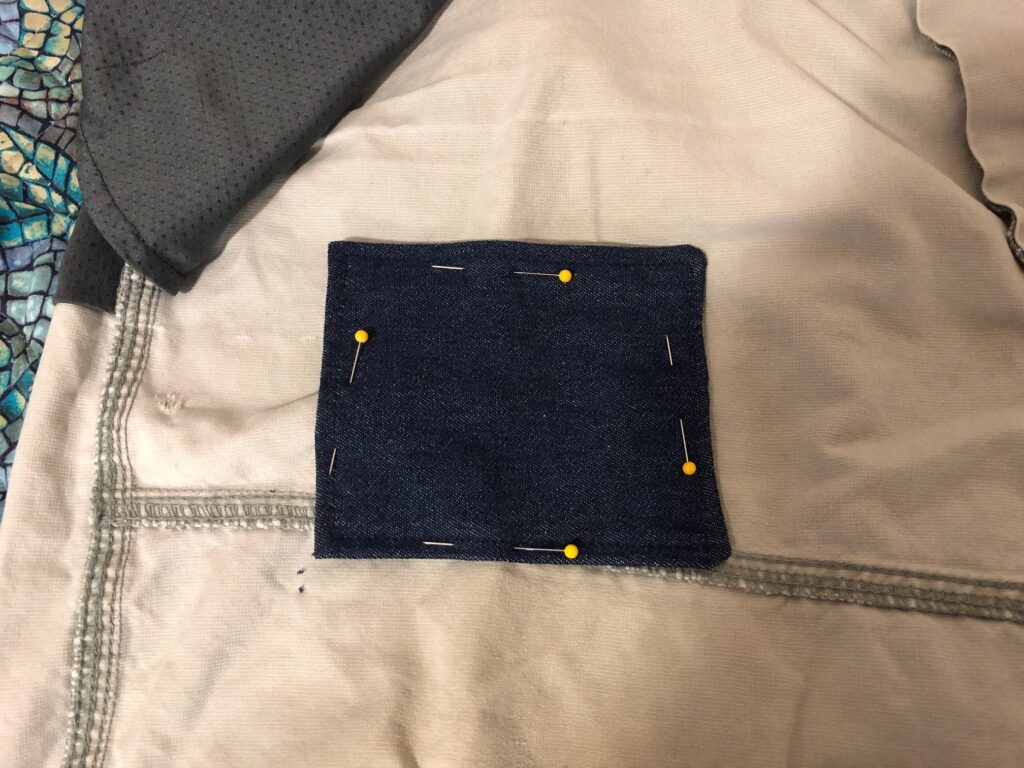
Starting with the smaller patch, I turned the shorts inside out and placed the patch over the rip, making sure it was covered by the patch.
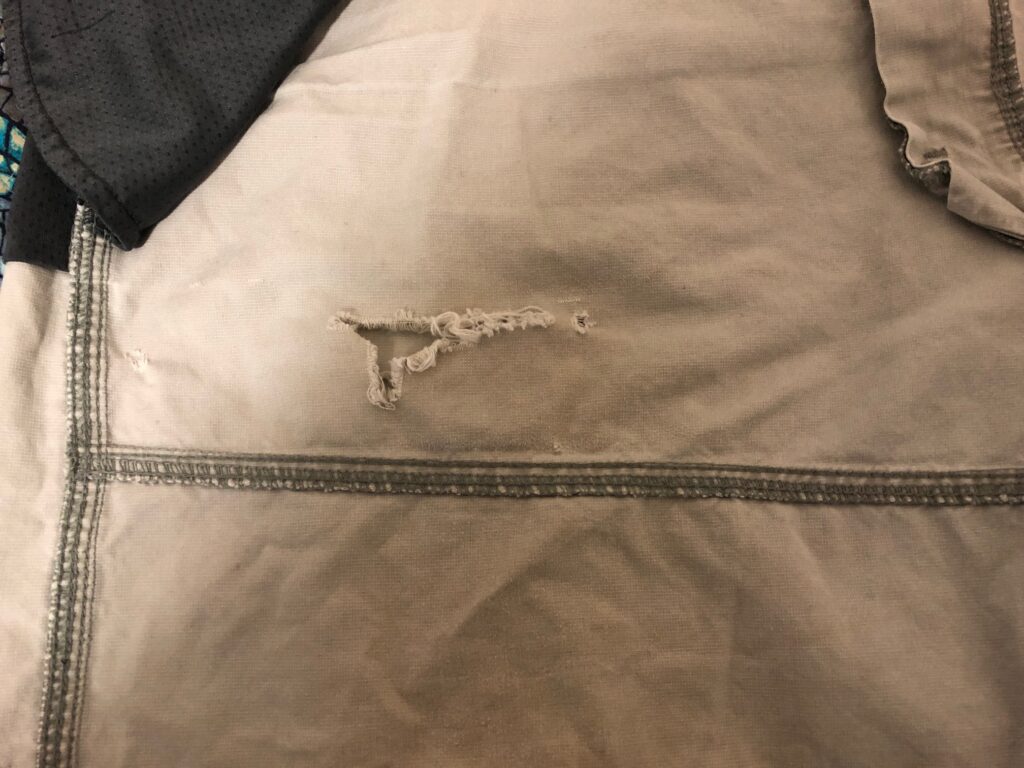

From the outside, you can see the patch through the hole. I trimmed the ragged edges around the rip so they wouldn’t bunch up under the outer patch.
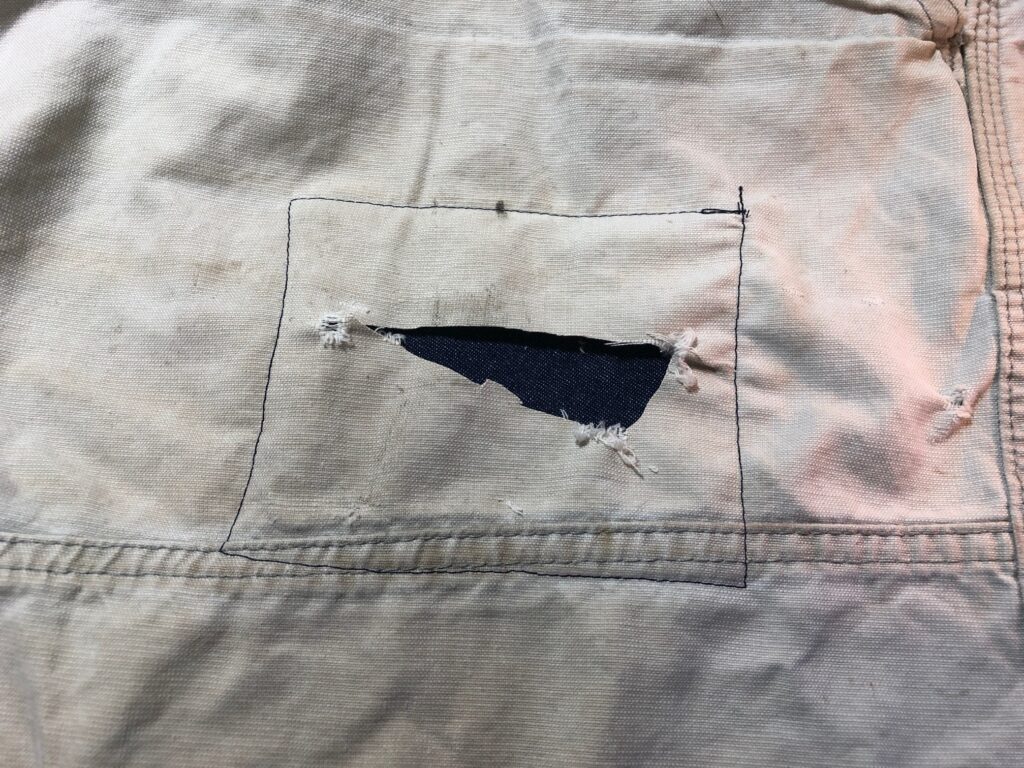
Then I stitched around the hole.

Now it’s ready for the outside patch. I could have just put another plain patch to match the shorts. However, where’s the fun in that! How about a big red heart! I turned the edge of the heart and stitched it before putting it on the shorts.

As long as it covers the hole it’s just fine.
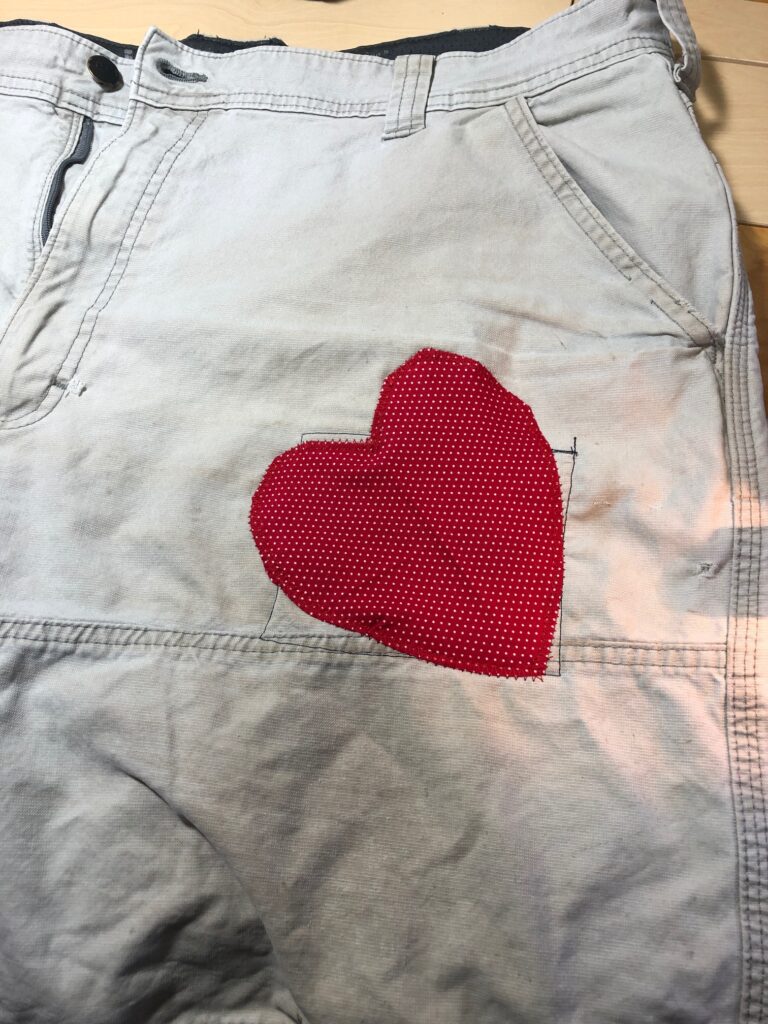
Do you think he’ll know I love him now?
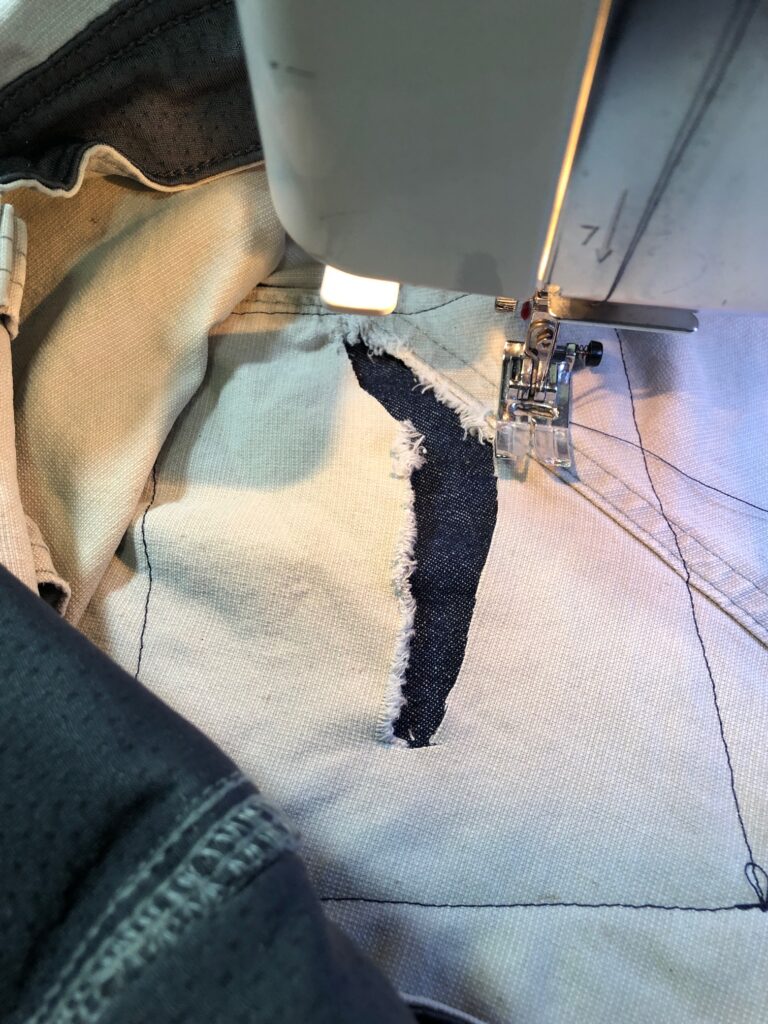
PAIR NUMBER 2
On the second pair of shorts, I follow the same procedure. It’s a little more awkward getting the patch and shorts under the sewing machine.
After sewing the patch on the inside, turn the shorts right side out and clean up the rip by trimming the shredded fabric.
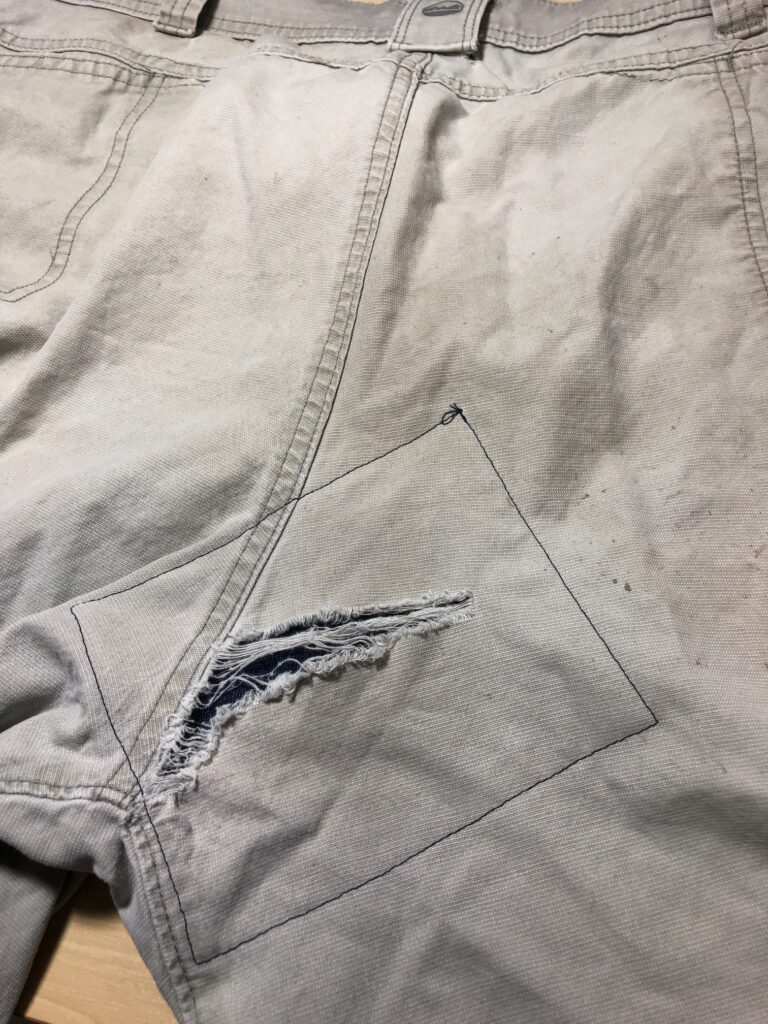
Then add a top patch of your choice (in this case, another heart!). I figure maybe it will embarrass him to go get some new work shorts! HaHaHa…actually he loves them and shows them off on the job! Go figure!
If these were good shorts, I would have used thread that matched the garment and I would have chosen a matching fabric for the patch. I guess I could have just thrown them away, but where’s the challenge in that!
So, that was my mending challenge of the week! Hopefully everyone will be entertained on the job!
Feel free to leave a comment or email me directly at marykisner@comcast.net! Enjoy!