
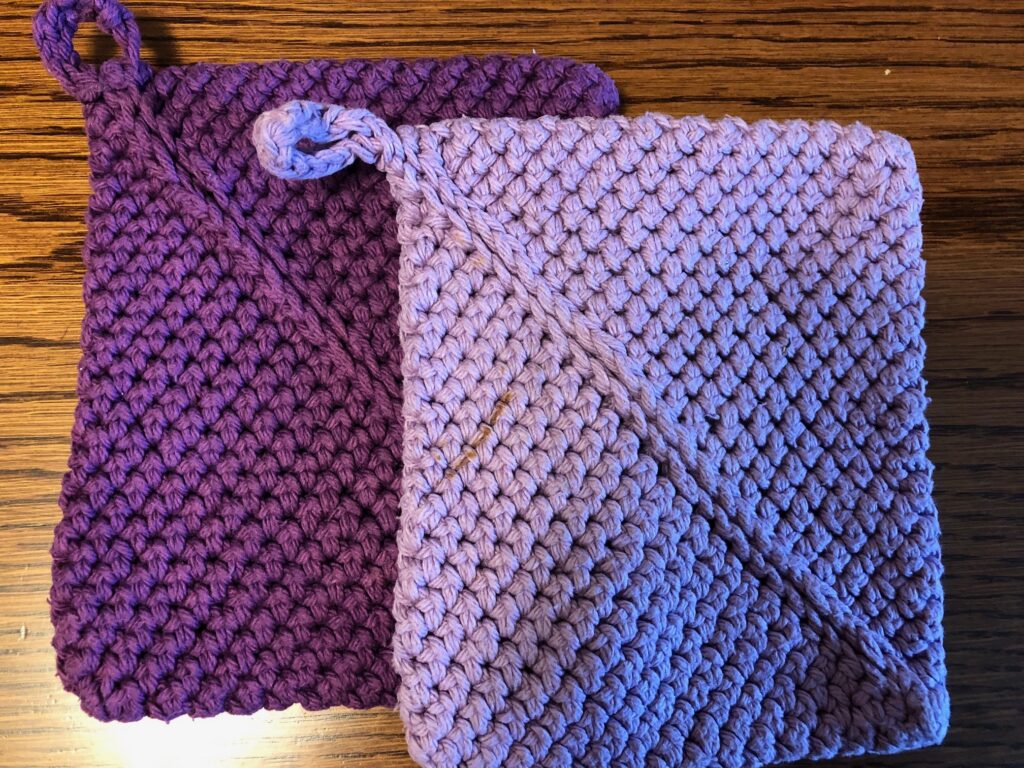
I haven’t thought about hot pads for many years. A dear friend made me crochet hot pads several times over the years and I love them! I really wanted to learn how to make more, but they always looked so complicated. I’m a single crochet kind of gal! She reassured me they were simple to make.
I finally looked up the instructions online. I found this link:
https://www.mielkesfiberarts.com/diagonal-hotpad/ that let me download a PDF of the instructions.
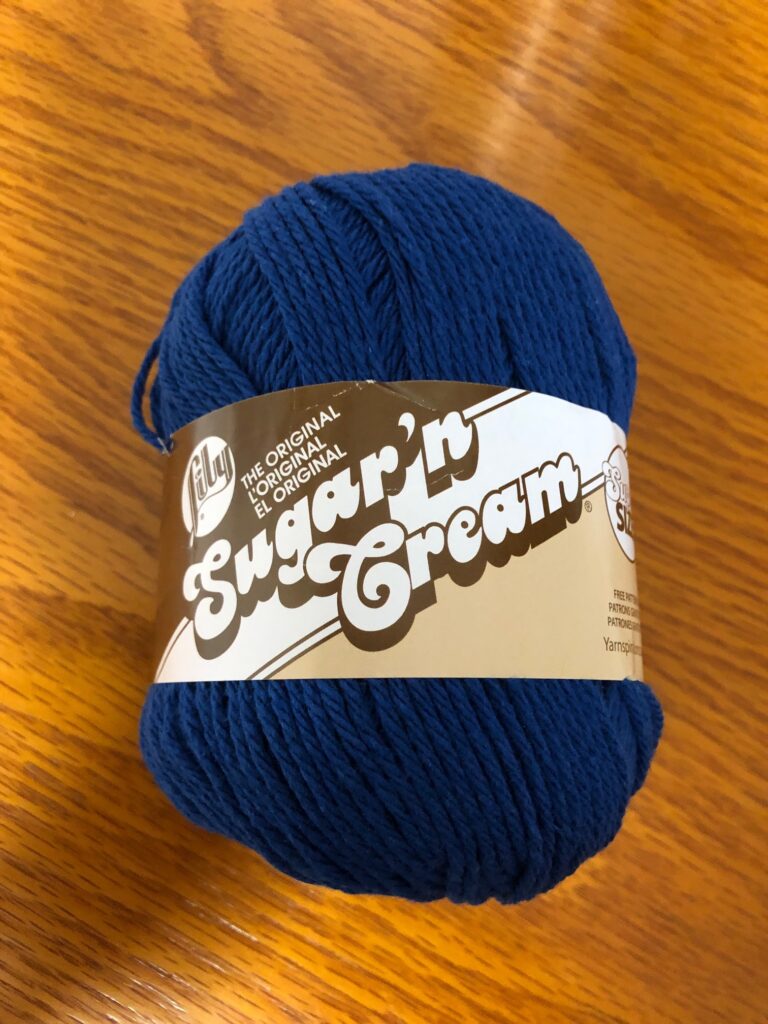
I stopped at JoAnn’s to pick up some yarn. The best yarn for these hot pads was 100% cotton…I didn’t want them to melt in a hot oven! The back of the skein says I should use a size H crochet hook. That worked for me but you could go smaller with the G or larger with the I hook.

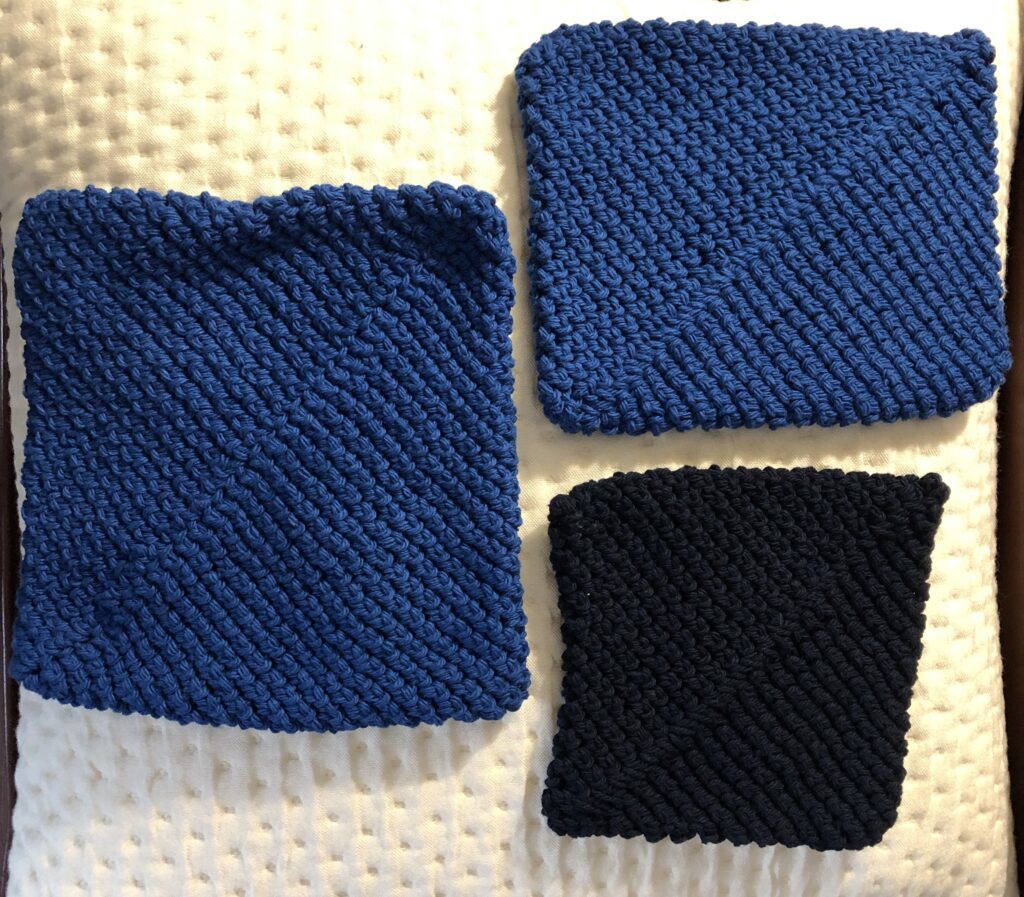
The instructions say to make a chain of 26 stitches. That made a pretty small hot pad! I tried 32 stitches and 36 stitches. I now have three sizes of pot holders!
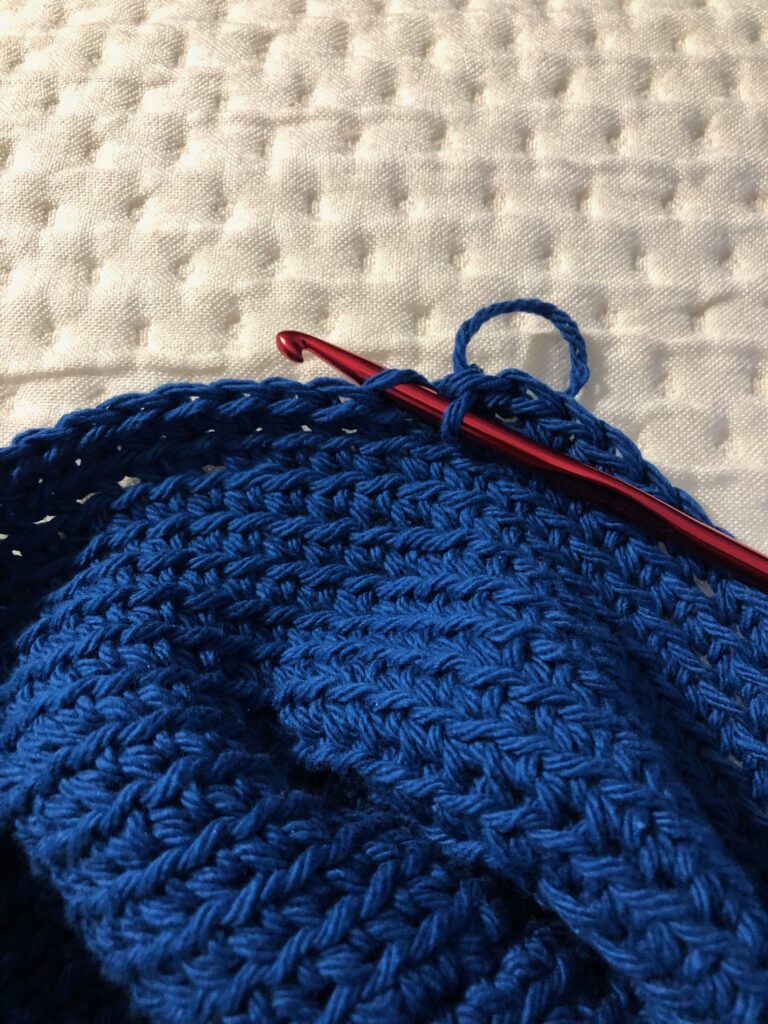
These hot pads look complicated but that first row of stitches is basically across the diagonal of the hot pad. The hardest part of the instructions was to crochet in the back of the stitch…so I took some pictures as I went along.
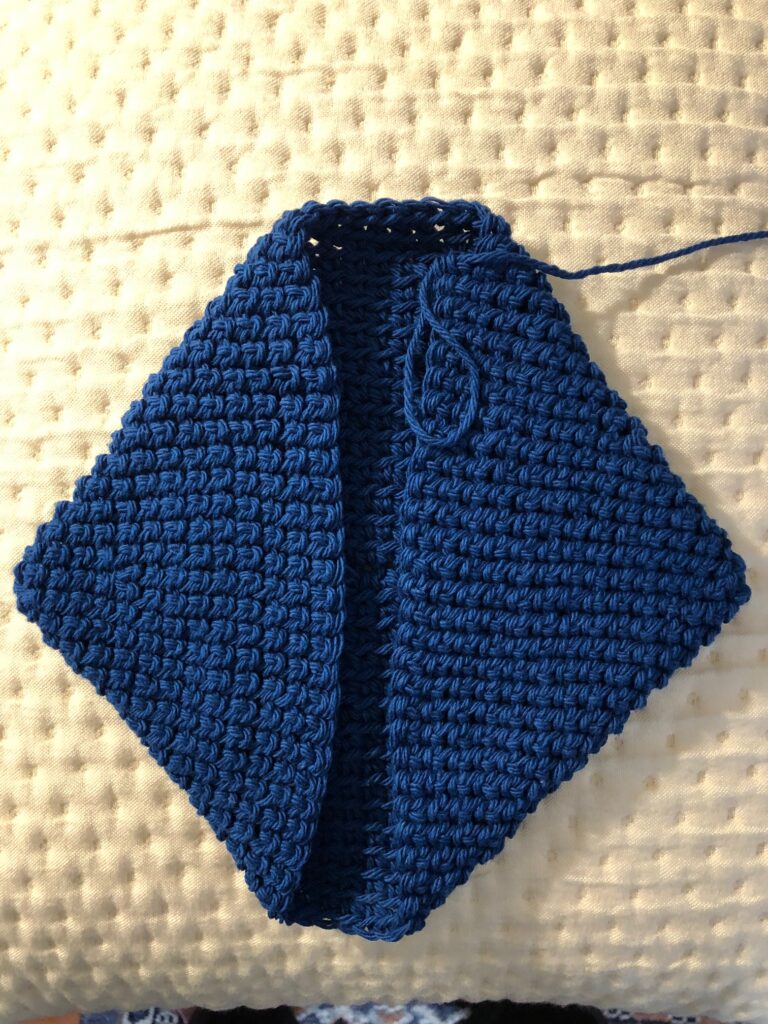
At first, it looks flat as you crochet around and around. Eventually, the ends curl toward the middle.

Here’s a close up of using the back of the stitch:
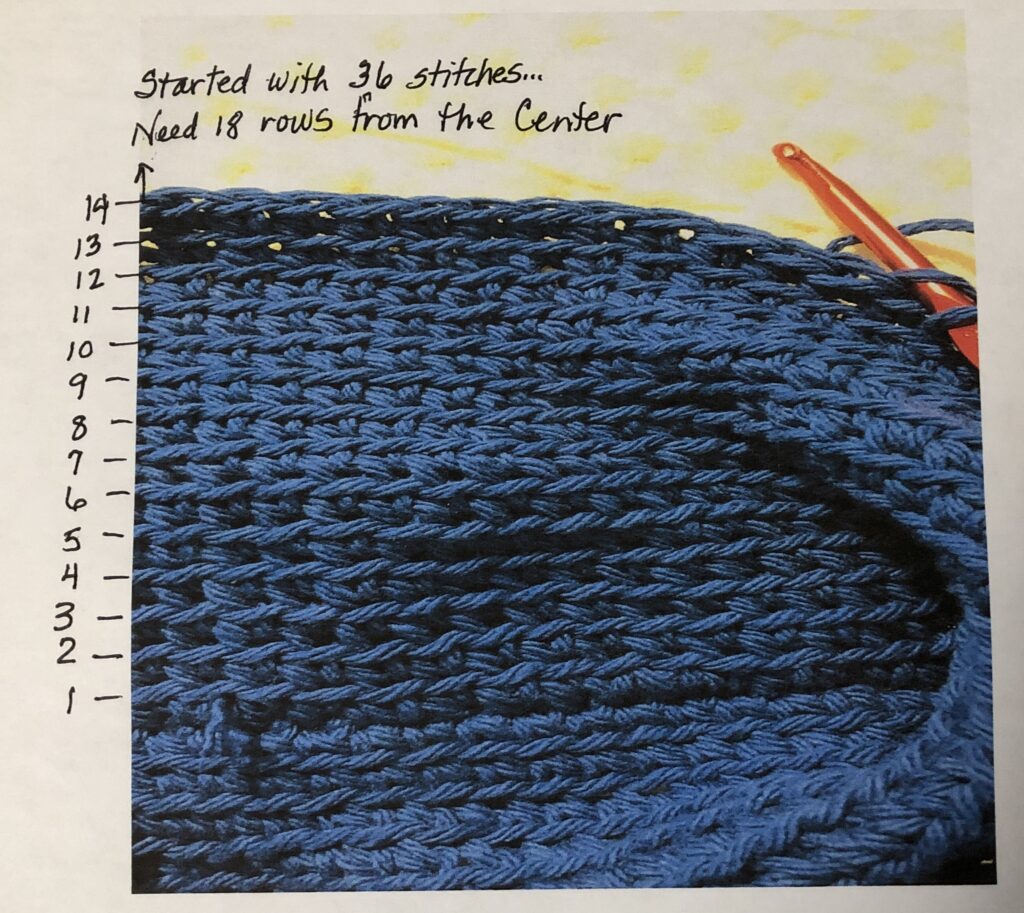
Finally, I couldn’t figure out when to stop! My friend explained I should have half as many rows as the number of stitches I started with. Very helpful information! So, by starting with 36 stitches, I should have 18 rows from my starting row:
Almost done!
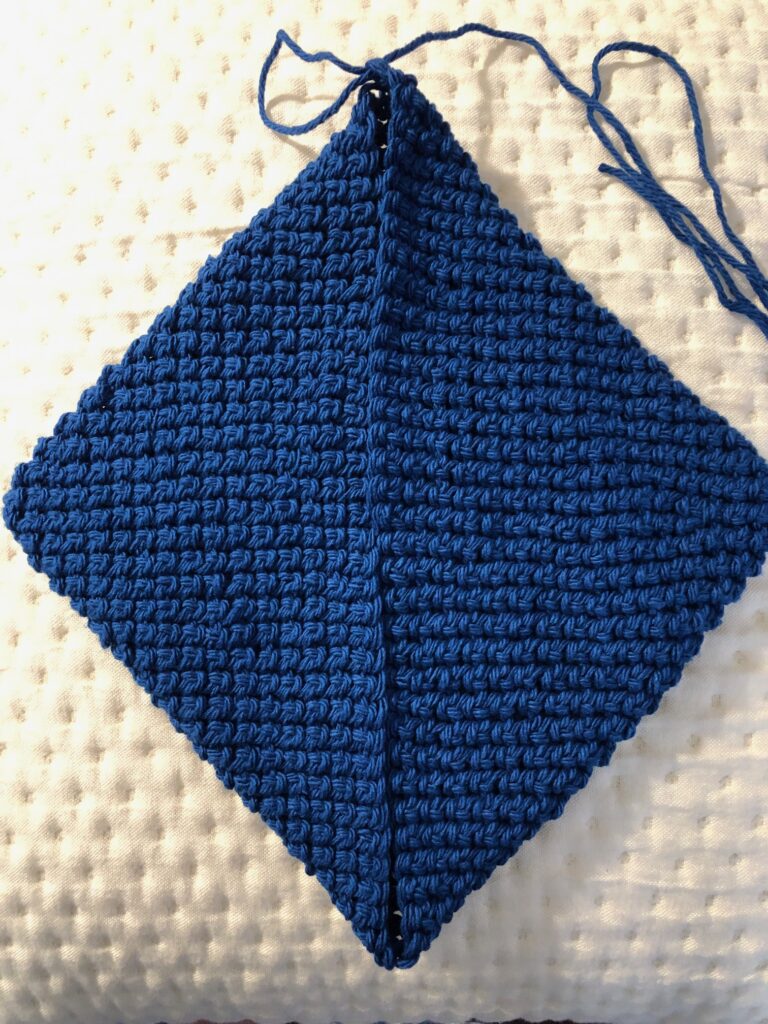
Ready to sew the diagonal seam together:
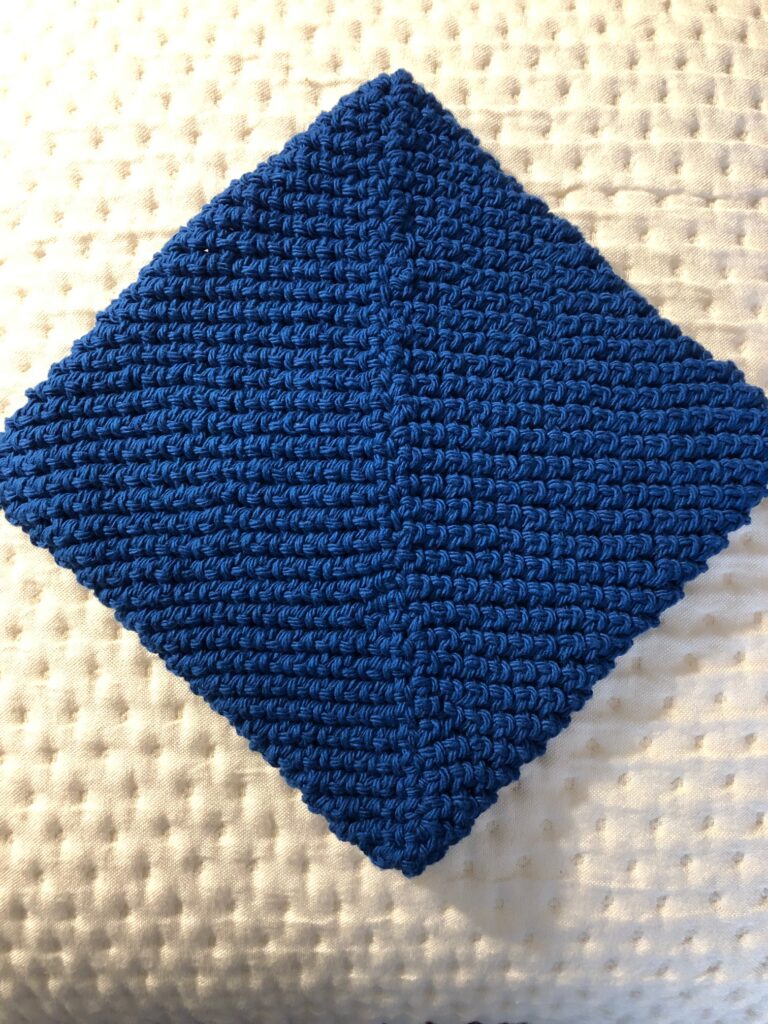
After making three different sizes, I think the most useful size for me starts with 36 stitches. Try it yourself! Enjoy!