
As a follow-up to my post about making garden signs from polymer clay, (see https://marykisner.com/polymer-clay-garden-signs/), I thought I’d take a minute to share what I ended up with.
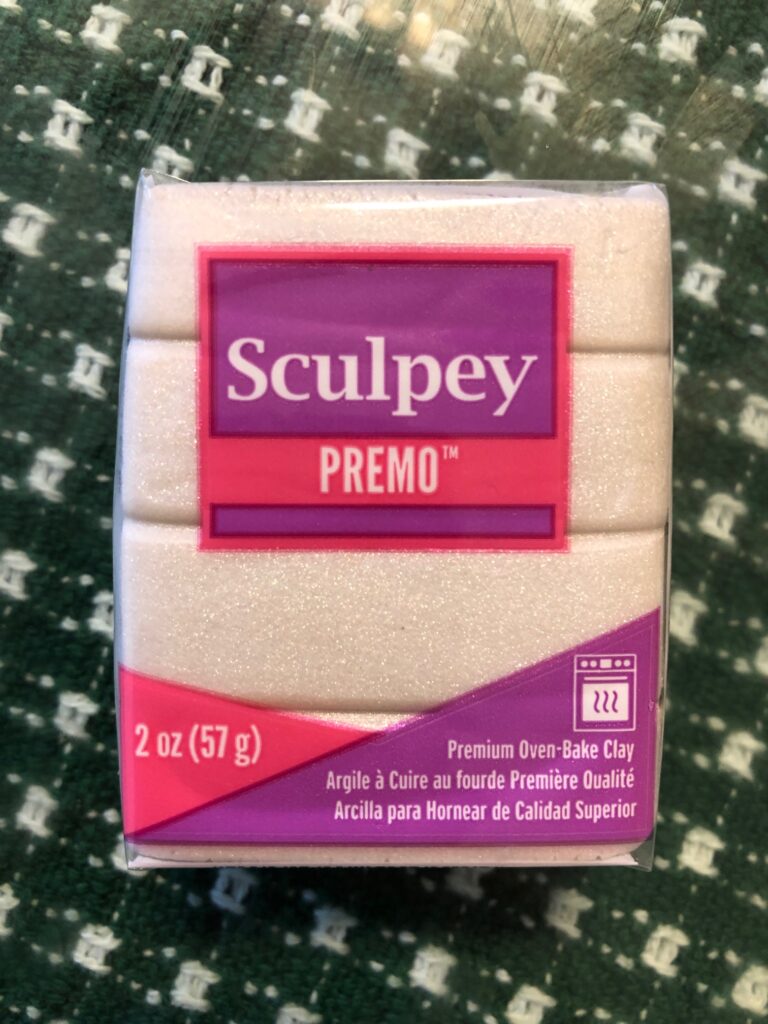
I was not happy with the colors of clay I used and the shapes I experimented with in that previous post. So, I pulled out the Pearl clay I had and started over.
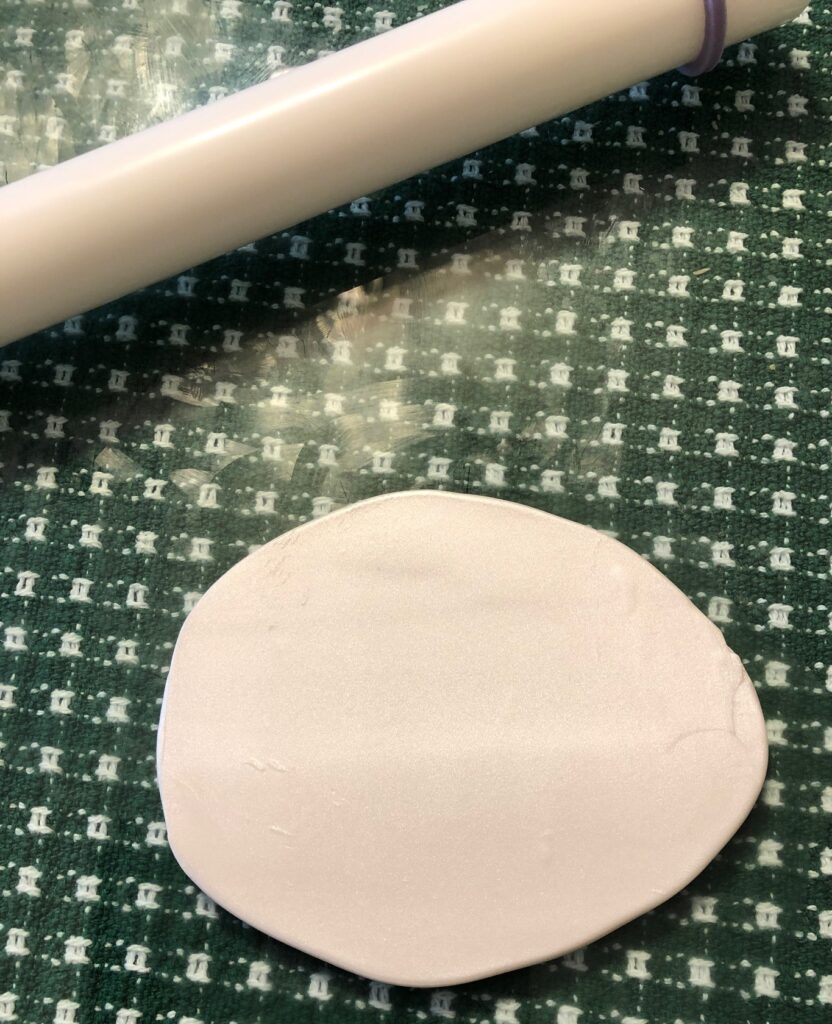
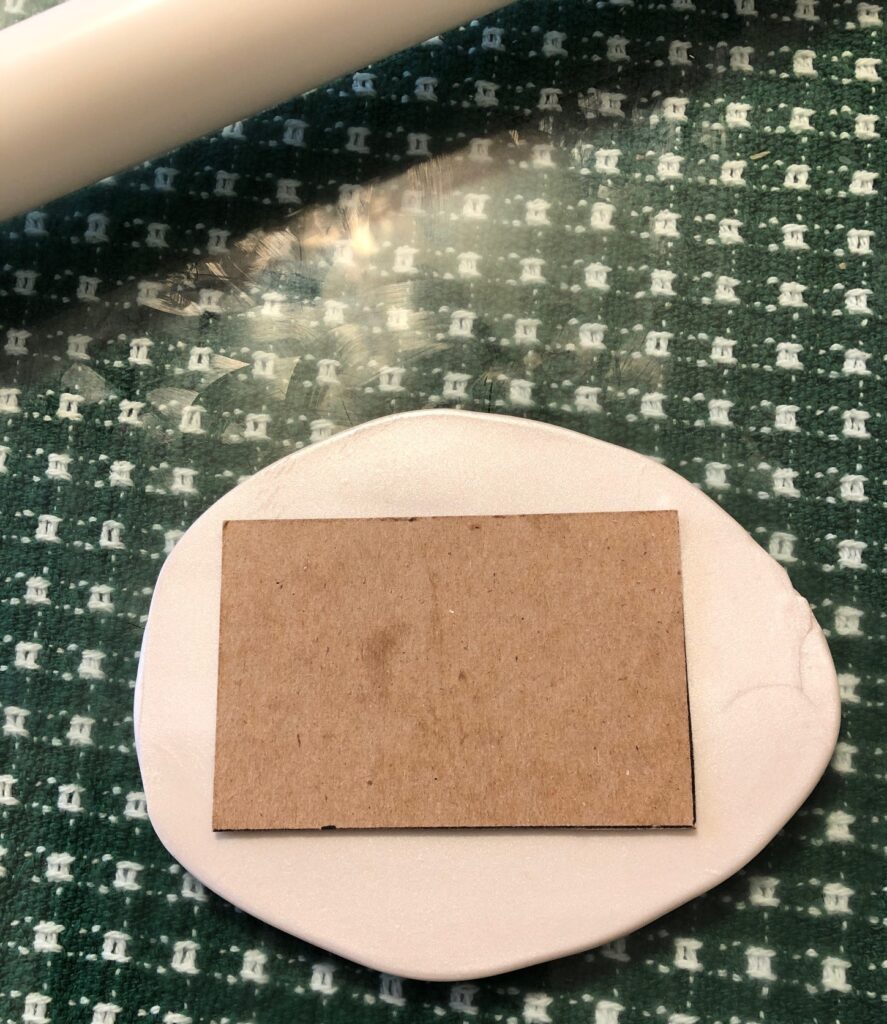
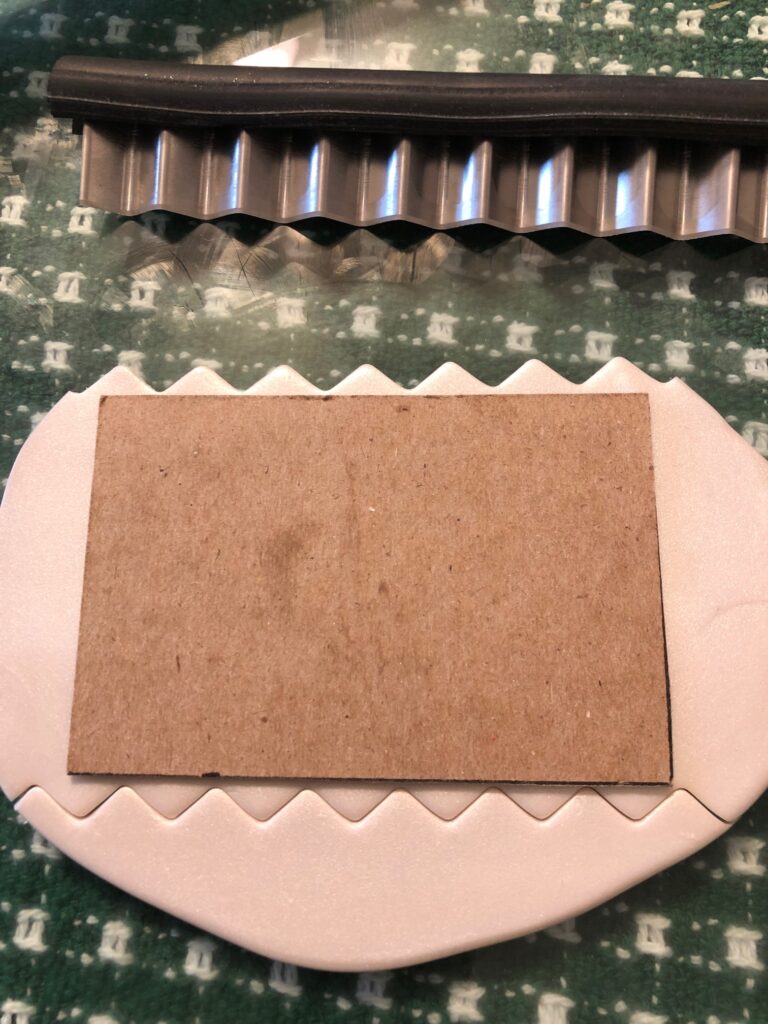
I decided to make rectangles that were 2″ x 3″. I did not have a cutter that size so I made a cardboard pattern from an old tablet back.
I rolled out a ball of clay and placed the pattern on it. Then I used a zig zag cutter and just cut around it, like this:
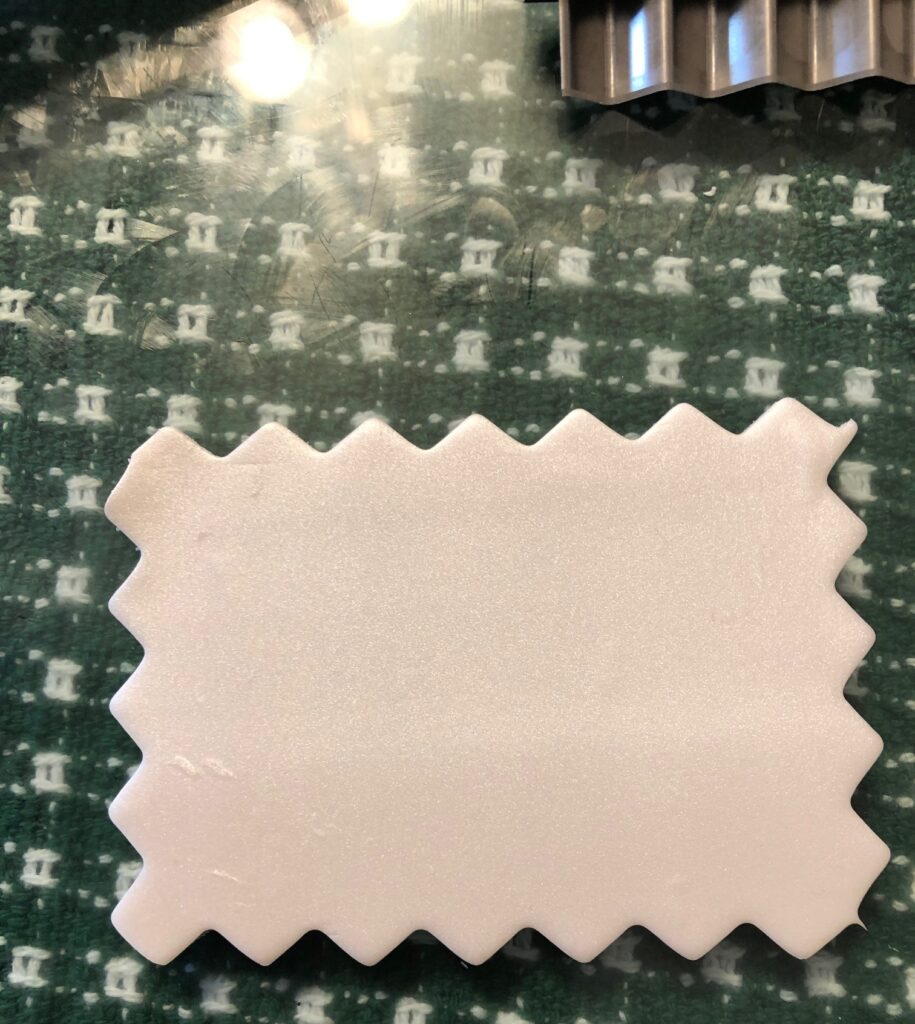
I made about 20 of these rectangular shapes. Some ended up closer to 1 1/2″ x 3″ and a few were round circles. They baked for 50 minutes at 265 degrees in my old toaster oven.
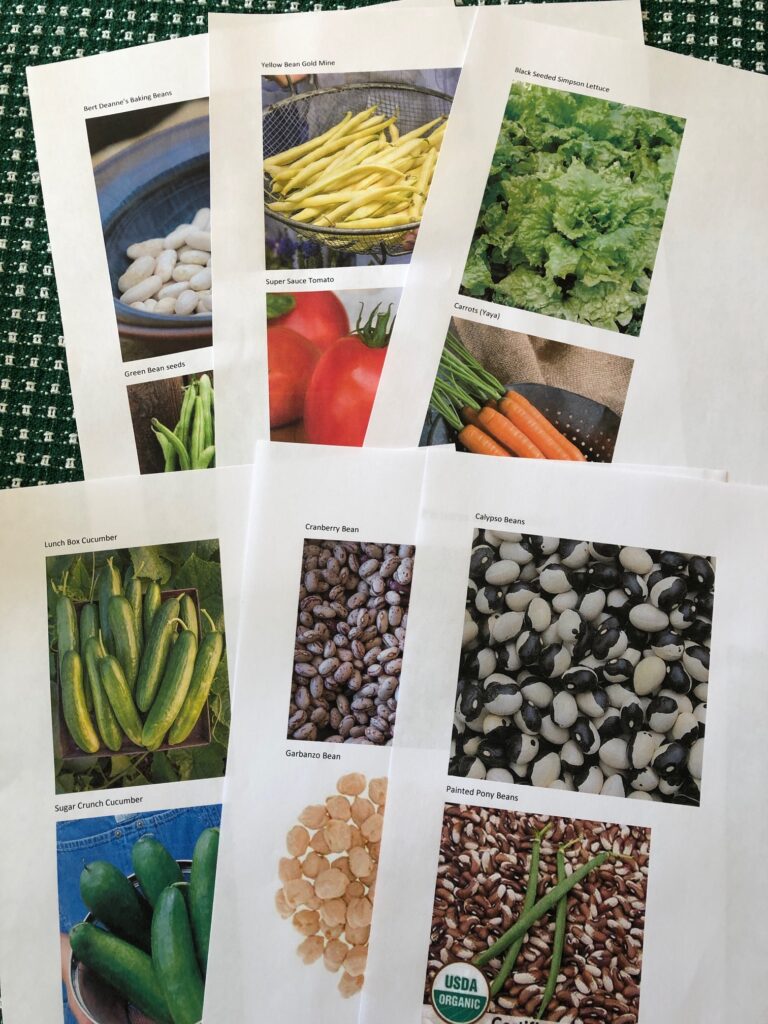
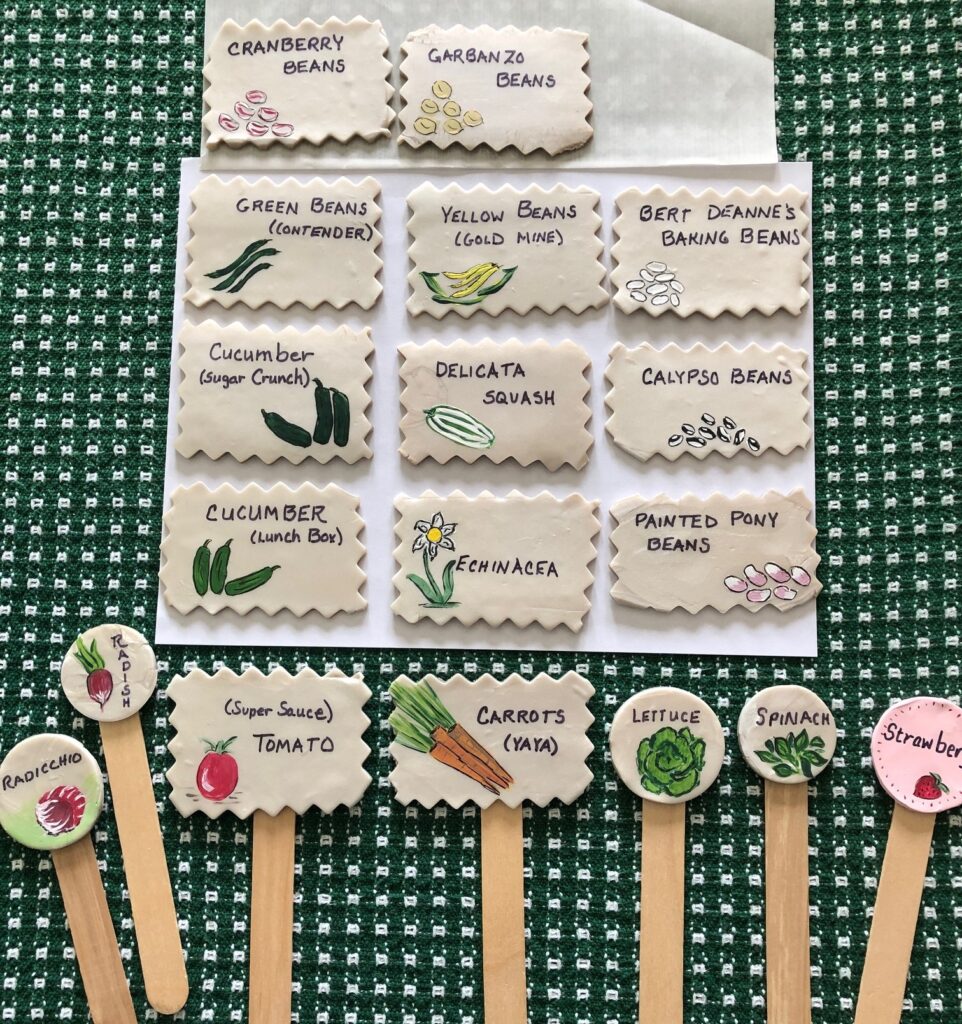
Next, I printed out pictures of the vegetables we are going to grow. Even though I know what the common vegetables look like, I wasn’t sure about the various beans we were going to try.
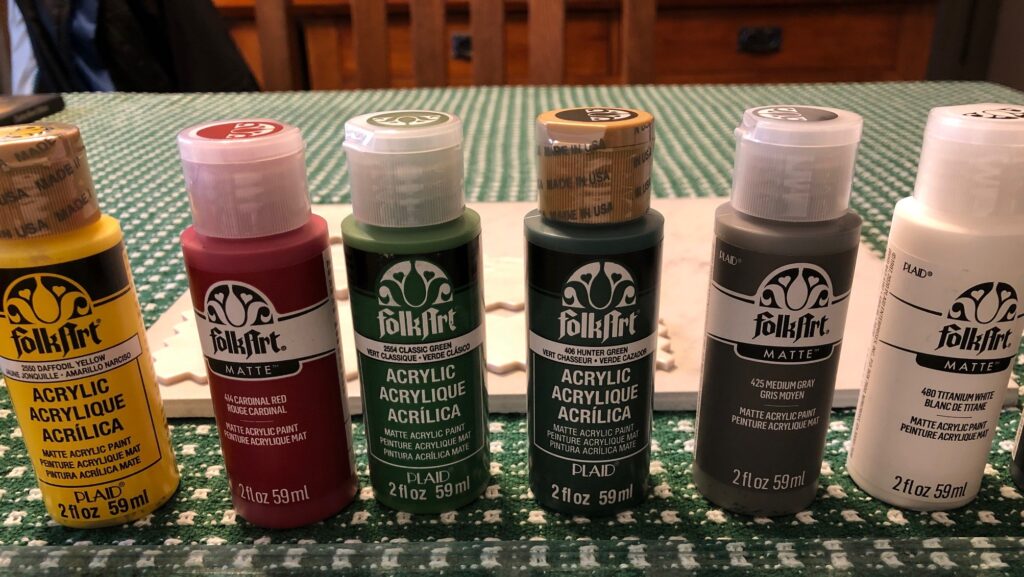
Then, I pulled out my various bottles of acrylic paint and brushes.
I started with two of the round circles to see if I could make a representative picture of a radish and a strawberry. Those two, plus the lettuce and spinach, will be in the planters on the patio so they didn’t need huge signs.
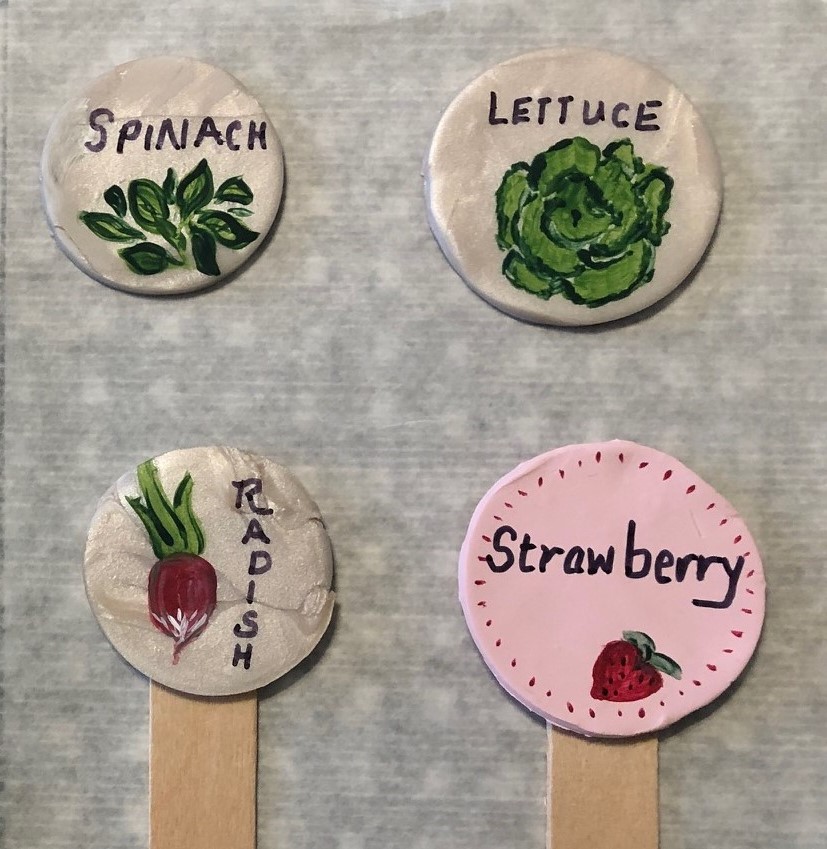
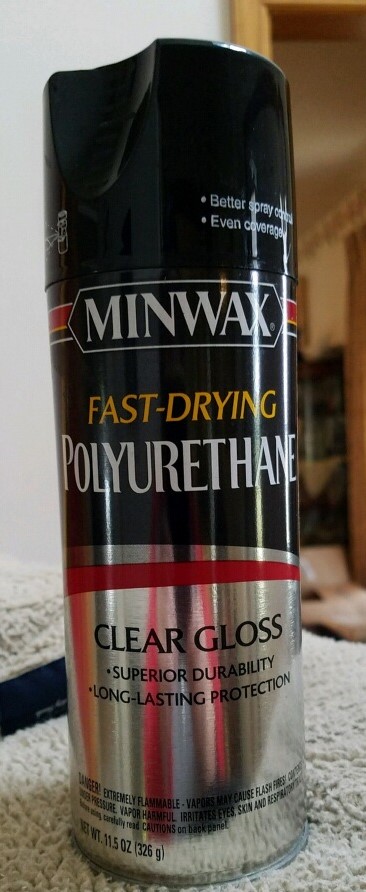
Luckily the paintings are pretty small, so they didn’t have to be perfect! I’ll glue the signs to the wide craft sticks and then spray them all with a polyurethane spray. Hopefully, that will help them weather the outside summer temperatures and moisture.
Here are all the finished signs:
NOW I’m ready for gardening season! Enjoy!
Please comment or email me directly at marykisner@comcast.net.