
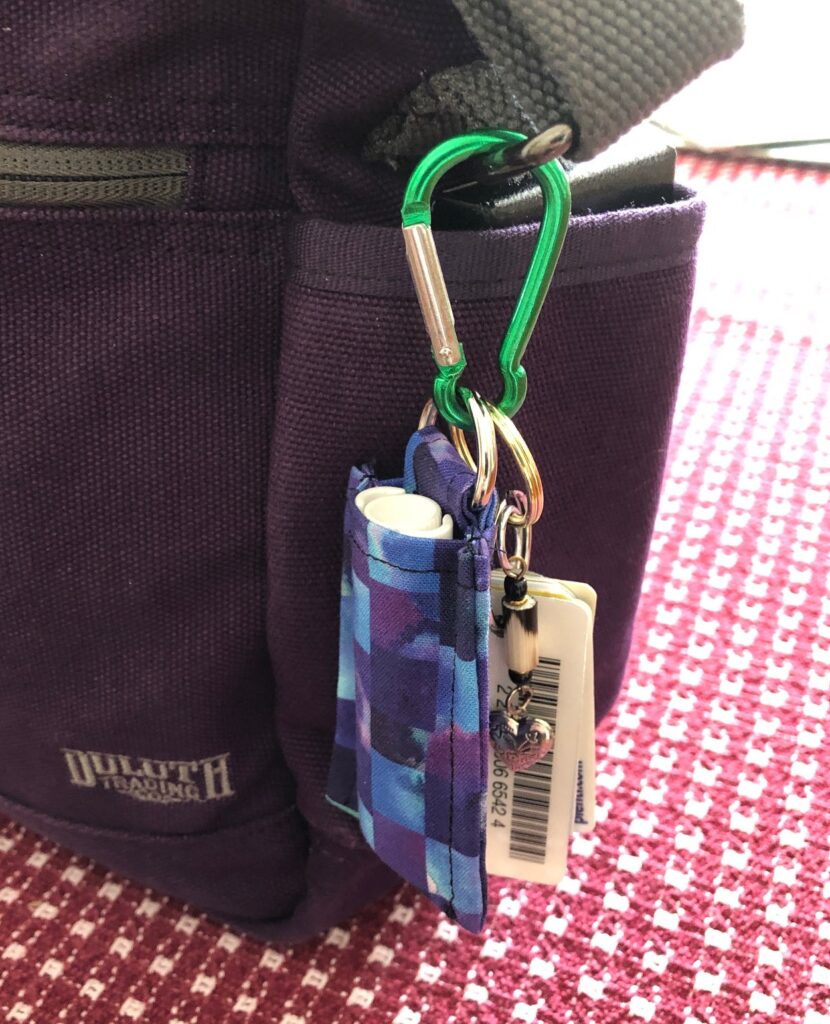
Now that I have a handful of lip balms to give away, I like to also hand someone the holder to put it in. I carry mine on my purse so I never have to dig for it. My grandkids have fastened them to their backpacks!
I first went to WalMart and Pinterest to get ideas. I bought a few to take apart. I basically experimented to find ways to end up with all the seams turned to the inside and still be possible with my sewing machine. After taking a few apart, I sketched out my pattern.
You might think I have a special pattern to make this holder. Ha! Let me show you what I use:
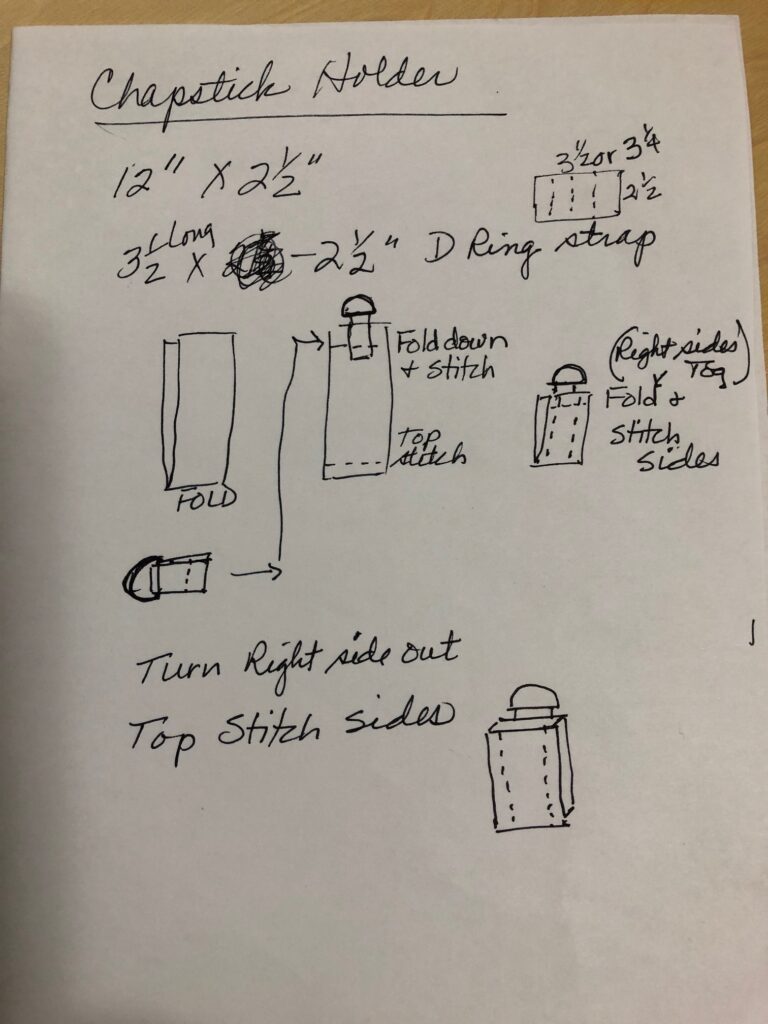
As I made a few samples I refined the process. So, here are the steps with pictures:
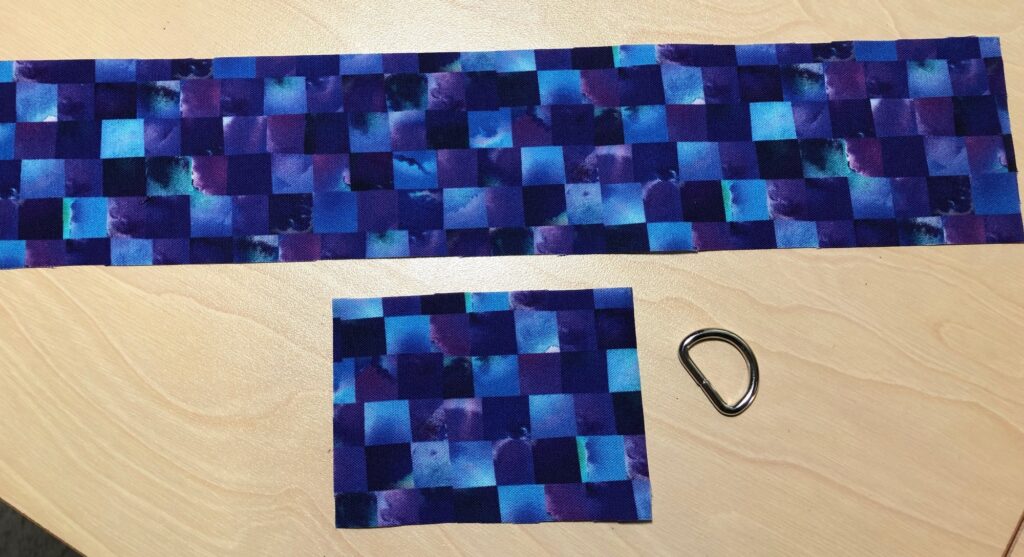
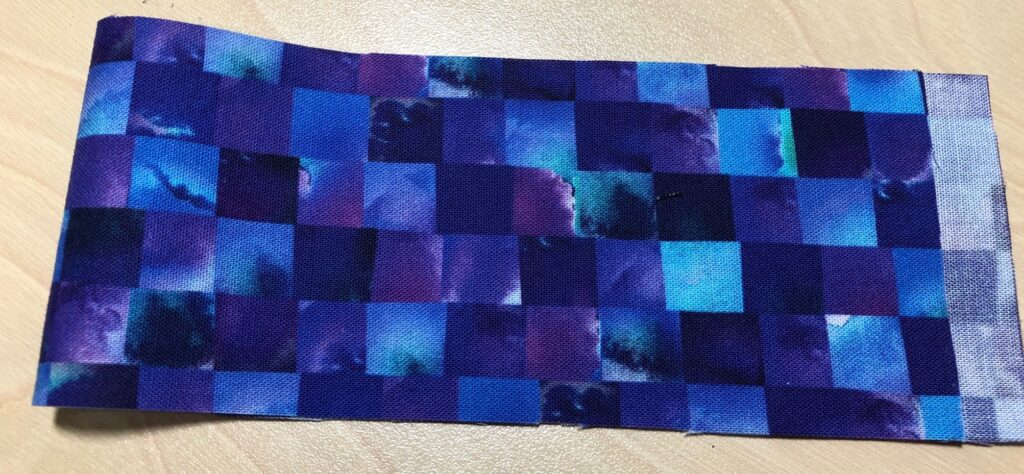
Step 1: Your materials
A piece of fabric 2 1/2″ by 12″; a piece of fabric 2 1/2″ by 3 1/2″; a 1/2″ D-ring
Step 2: Make the D-ring attachment
Using the 2 1/2″ by 3 1/2″ piece of fabric, fold the two ends to the center, then fold the piece in half. Top stitch the edges together.
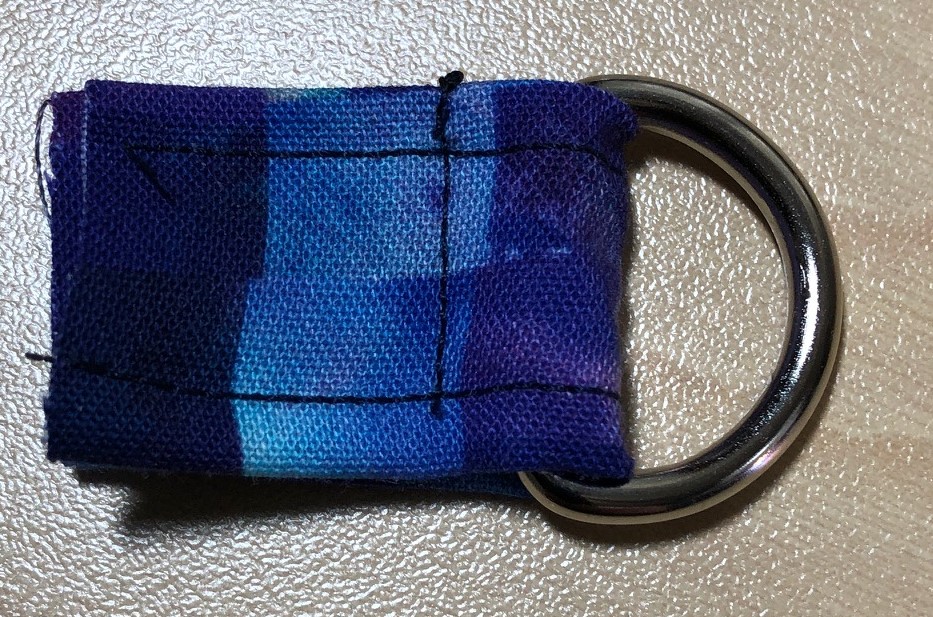
Step 3: Attach the D-ring
Insert the tab through the D-ring and fold in half. Stitch close to the D-ring (I had to use my zipper foot to get close enough).
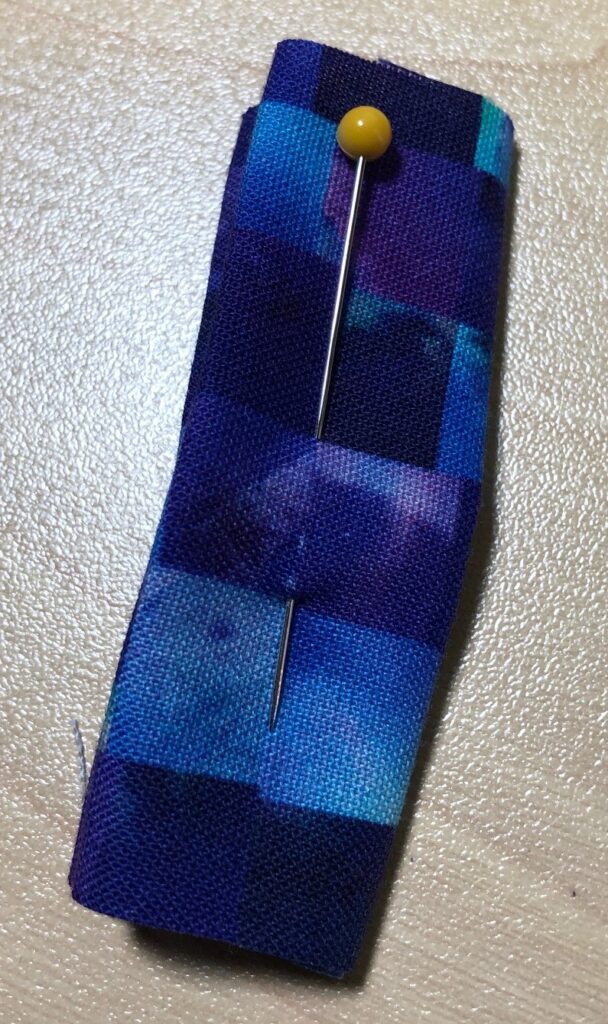
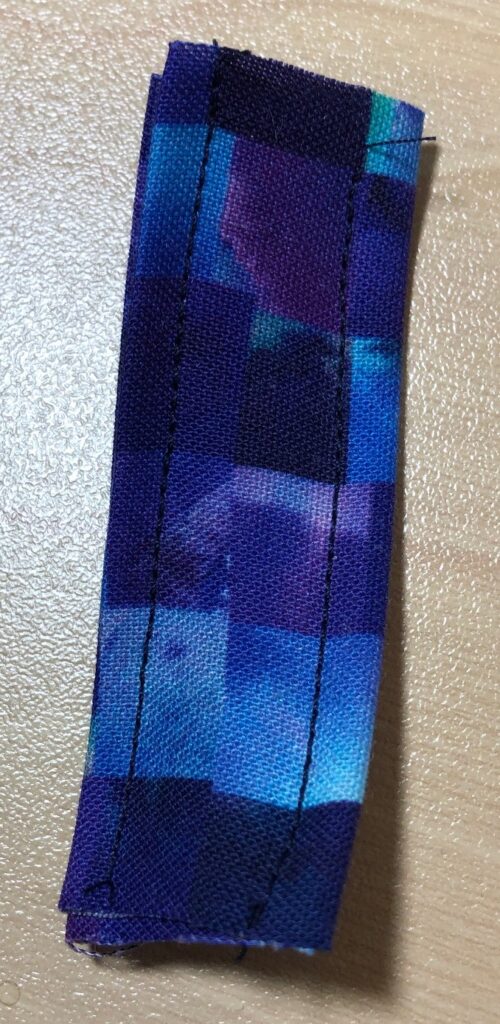
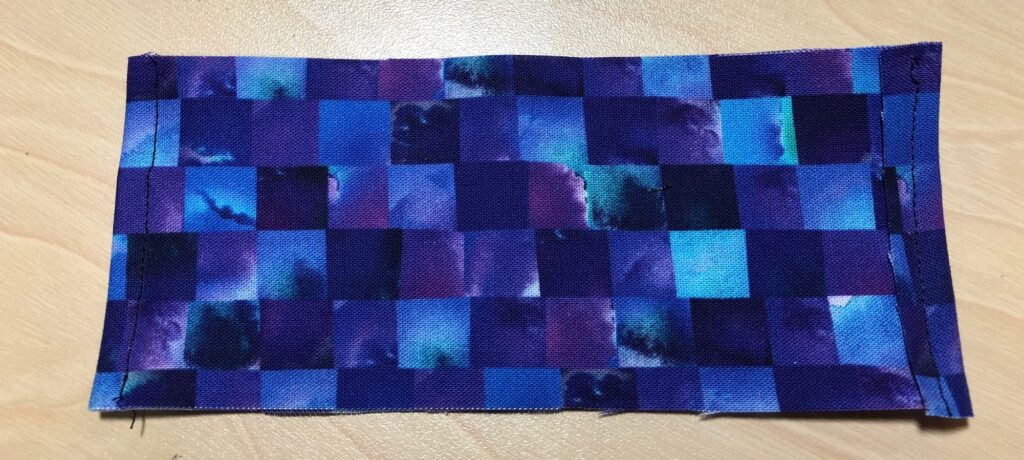
Step 4: Fold the 2 1/2″ by 12″ piece almost in half, leaving 1/4″ to fold over. Stitch the edge folded over and top stitch along the other folded edge.
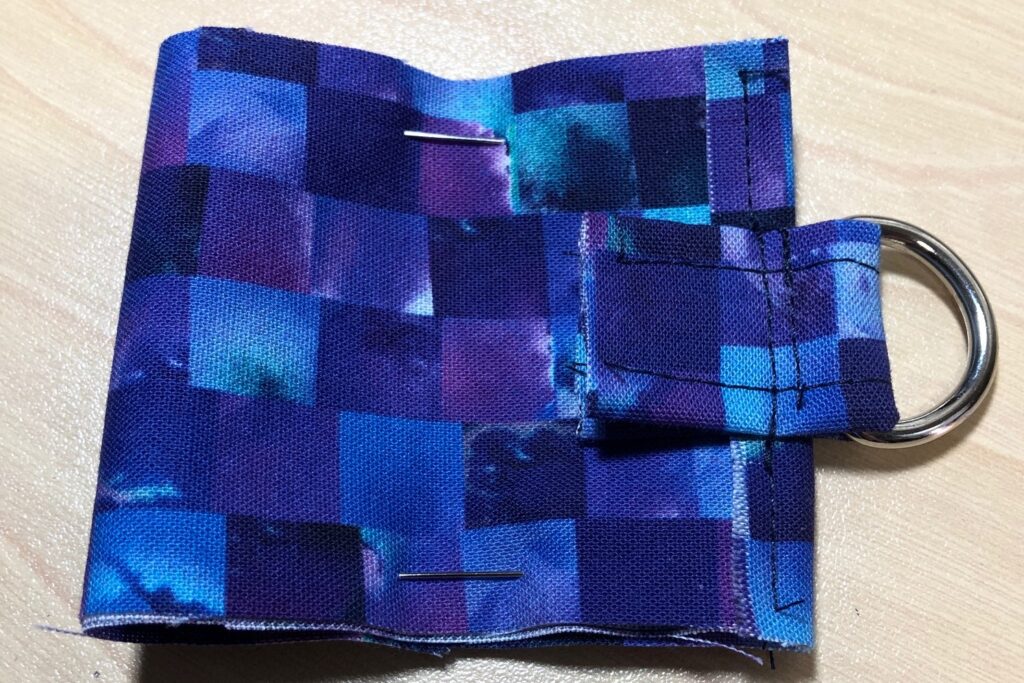
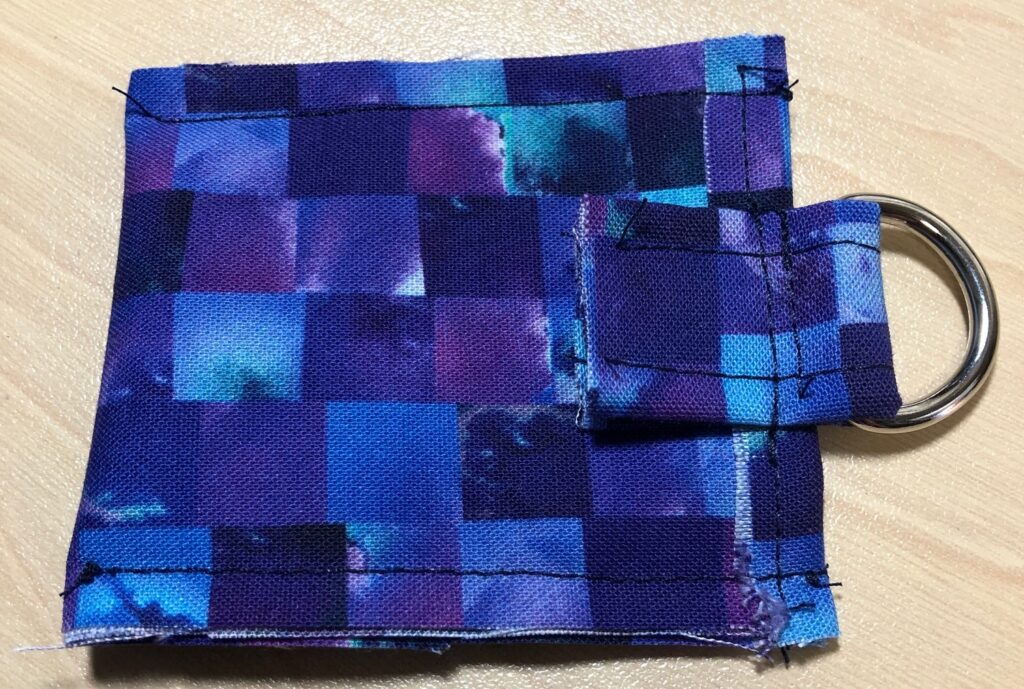
Step 5: Attach the D-ring tab to the folded edge (on the right, above), stitching close to the D-ring. This is the inside of the holder.

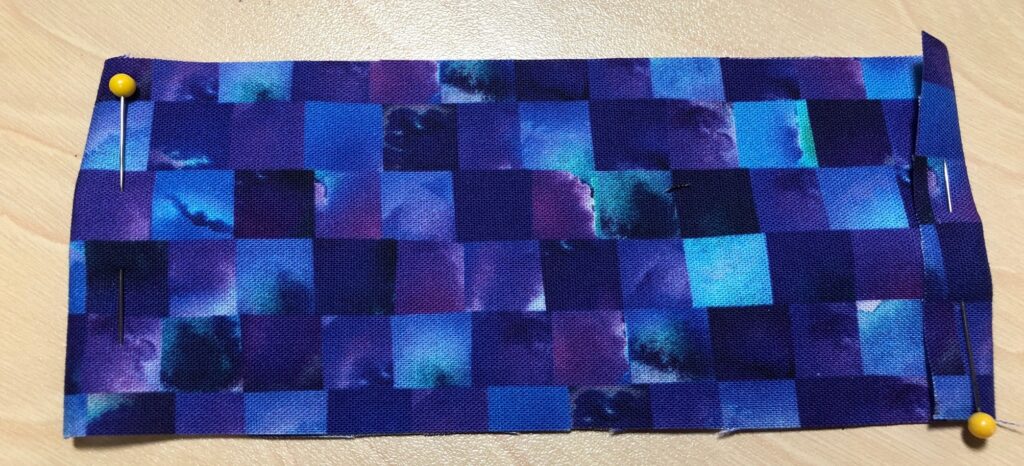
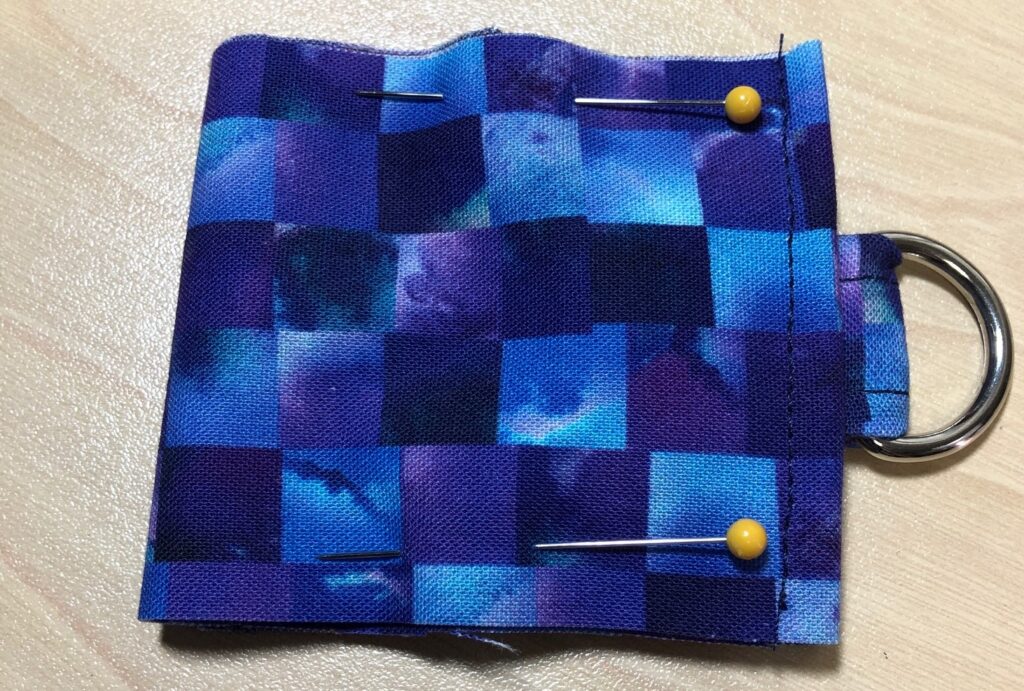
Step 6: Fold the holder in half, right sides together. Stitch the sides with a 1/4″ to 3/8″ seam.
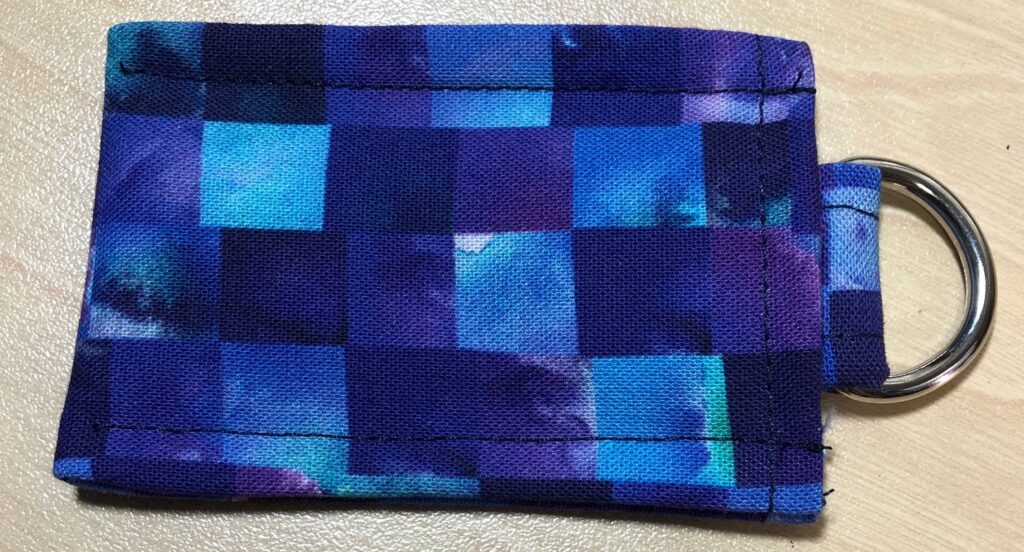
Step 7: Turn the holder right side out. I use a stick that came with my stuffing to help poke out the corners.
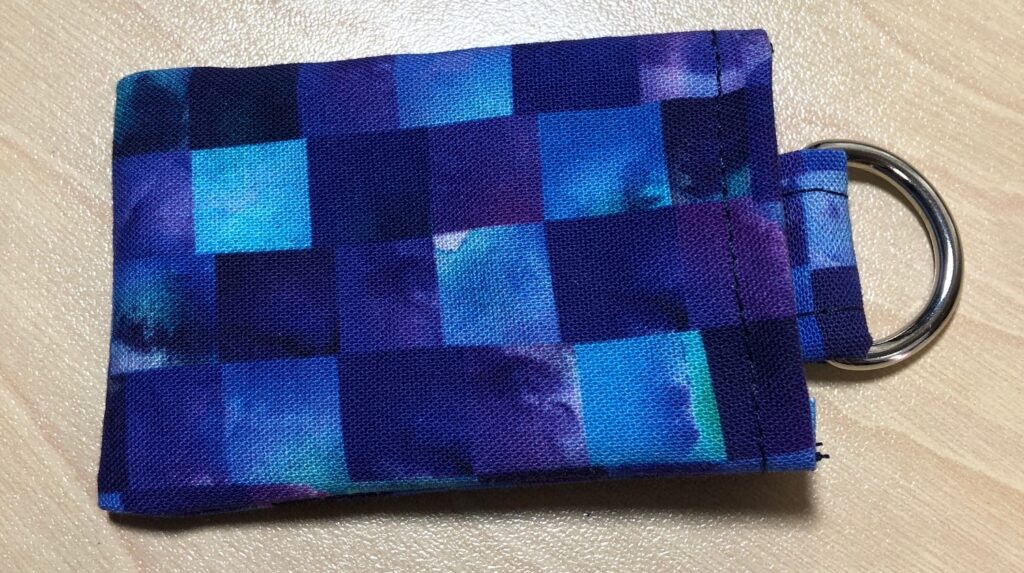
Step 8: Top stitch the sides with a 1/4″ to 3/8″ seam. (Depends on how big your lip balm is. Some lipsticks are larger around so the smaller seam is necessary).
I use a carabiner clip to attach my holder to my purse, and I include one with each holder I give away.
This works great to fasten my holder and all my grocery tags to the outside of my purse so I don’t have to hunt for them!
This same holder pattern could be enlarged to handle an essential oil roller ball or a small flashlight. Experiment!! Have fun! Enjoy!