
Duffle bags are easily the most common kind of bag to use when traveling or just the right size to transport stuff in your car. They are available with sports logos on the side or made of colorful prints; quilted cotton or waterproof fabric. For the last two weeks I’ve been making a set of three bags that will be auctioned off at a Greyhound Conference next weekend.
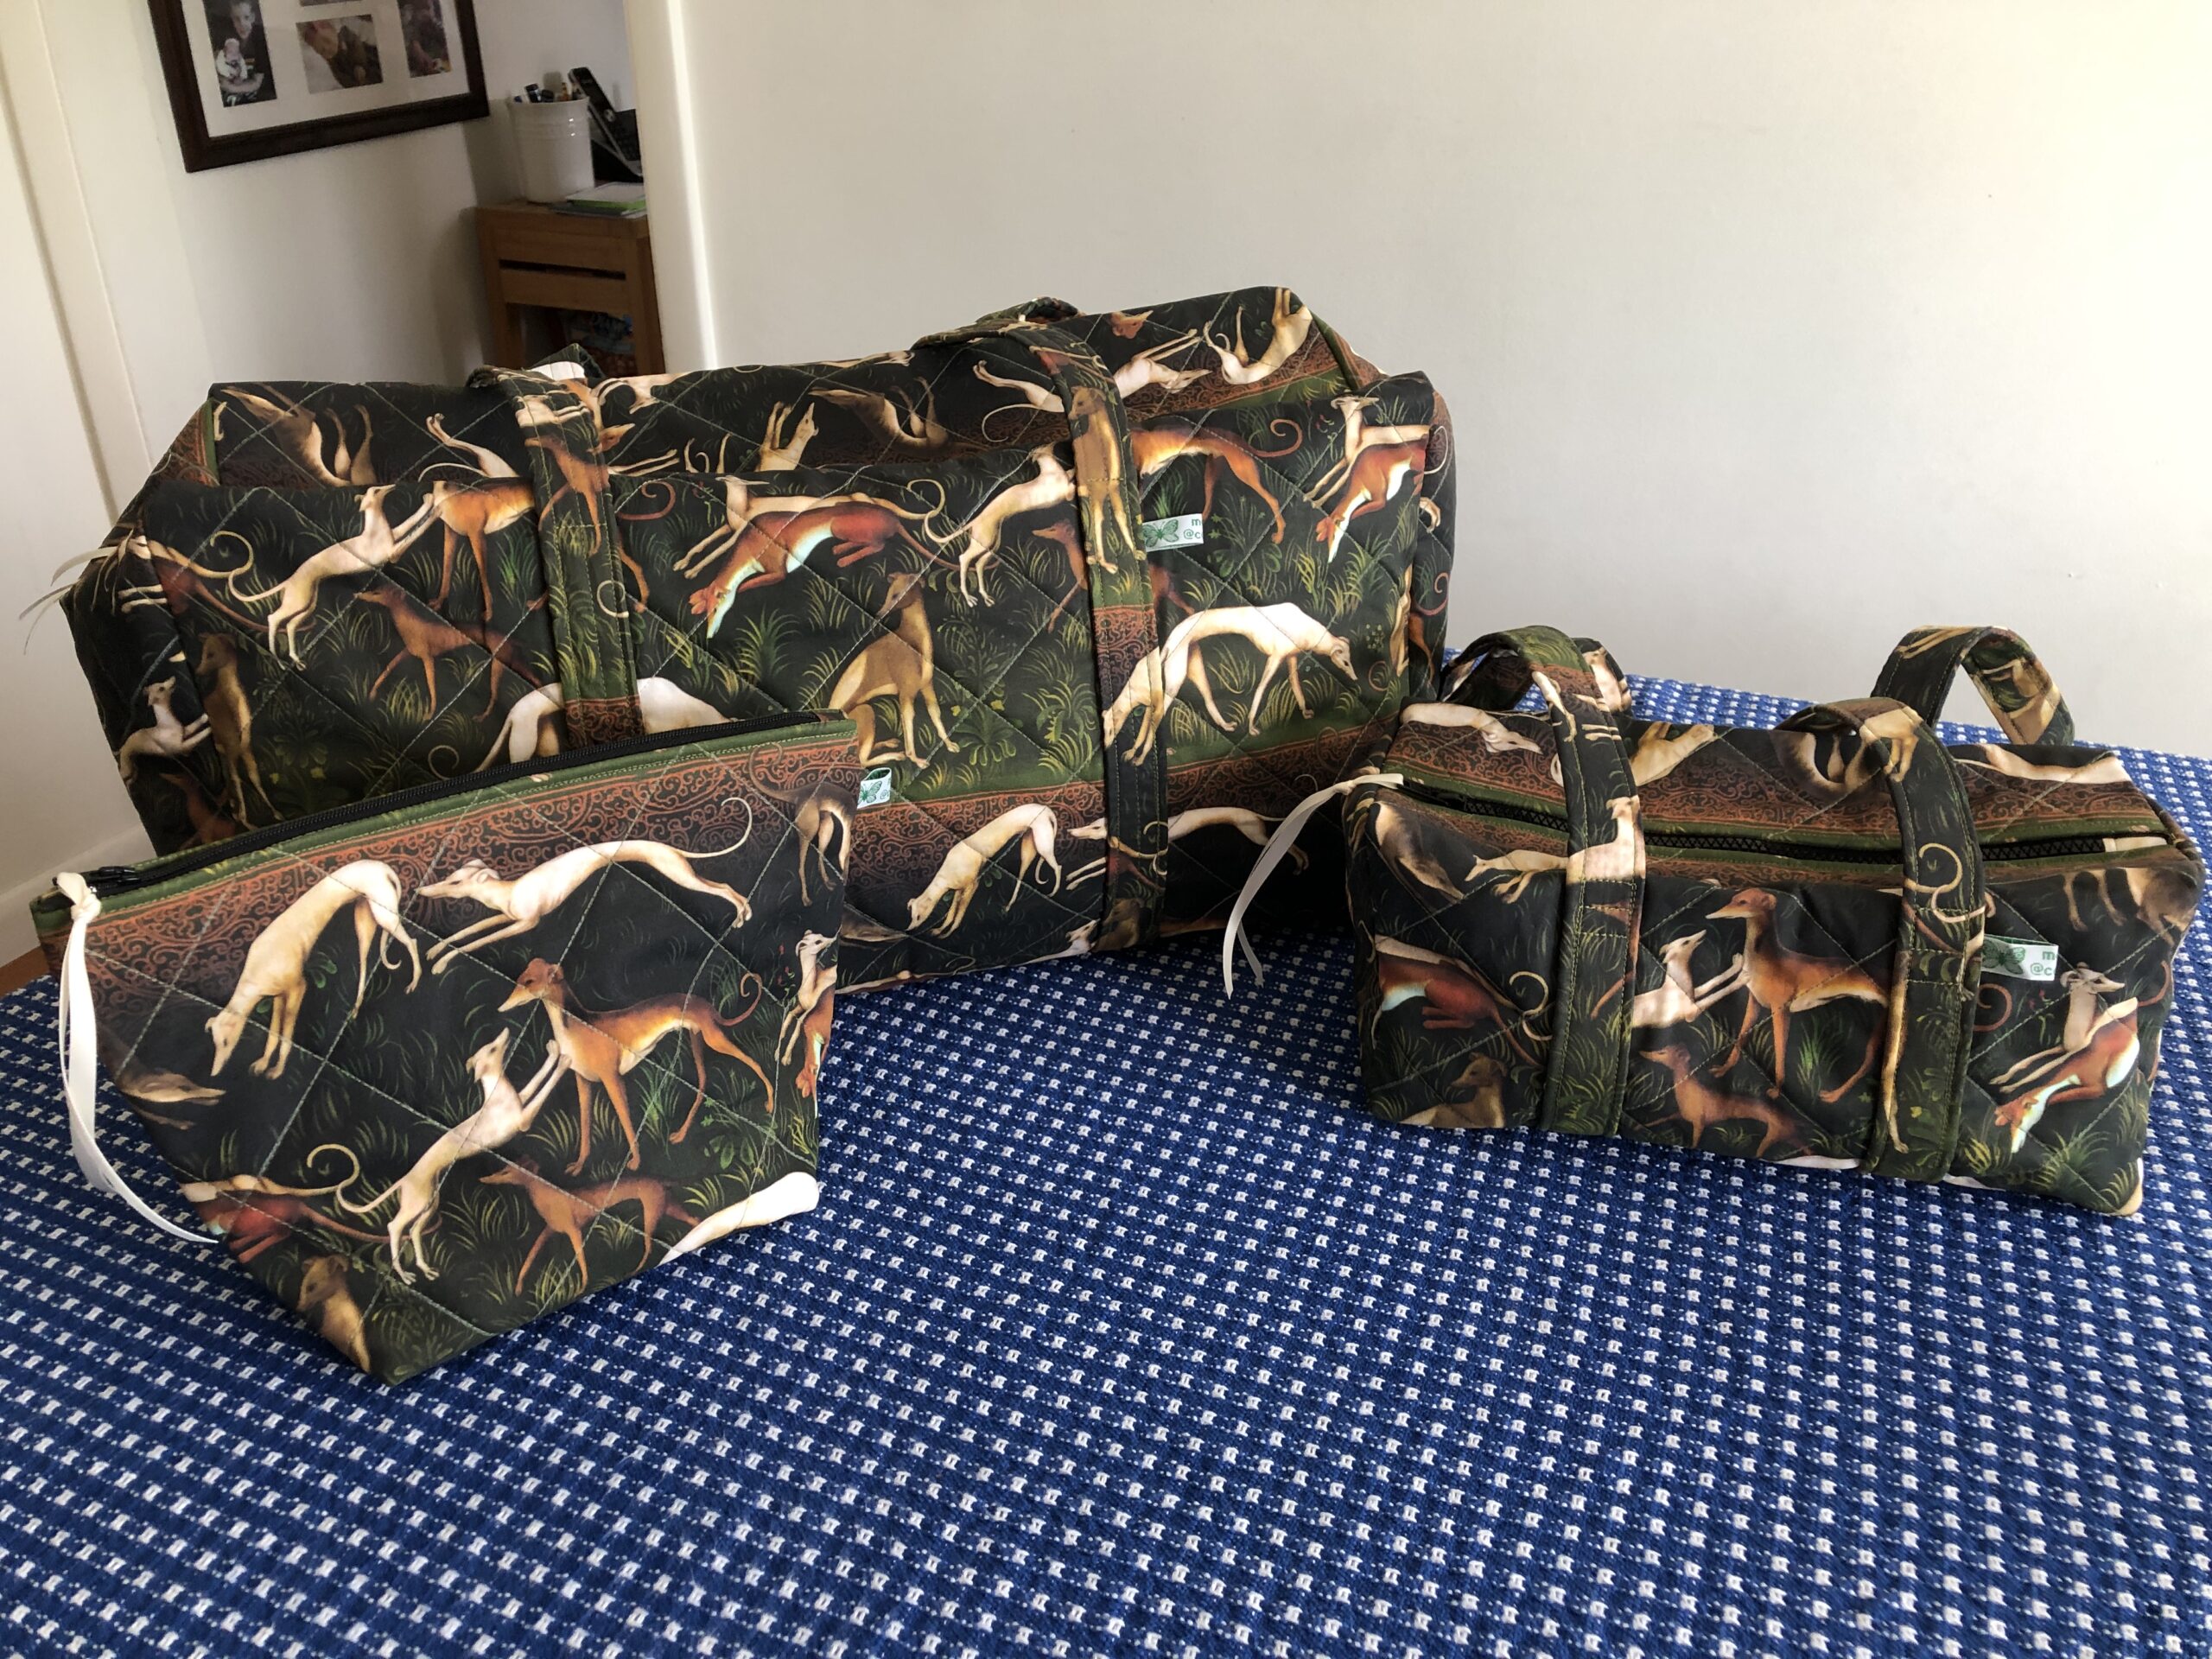
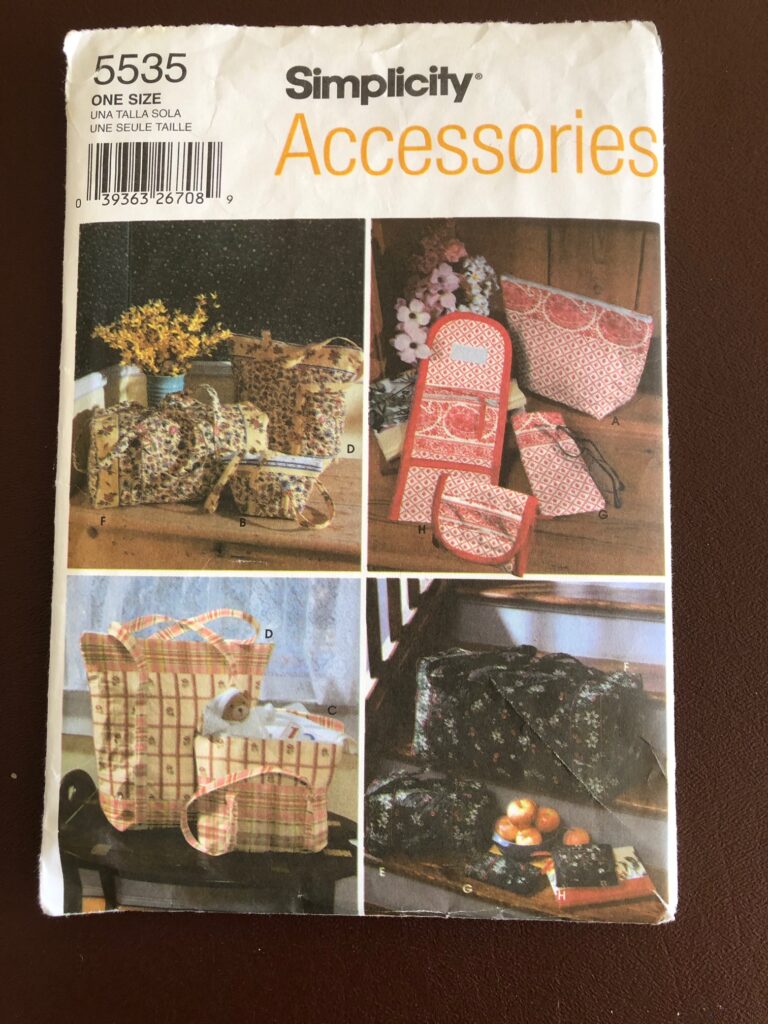
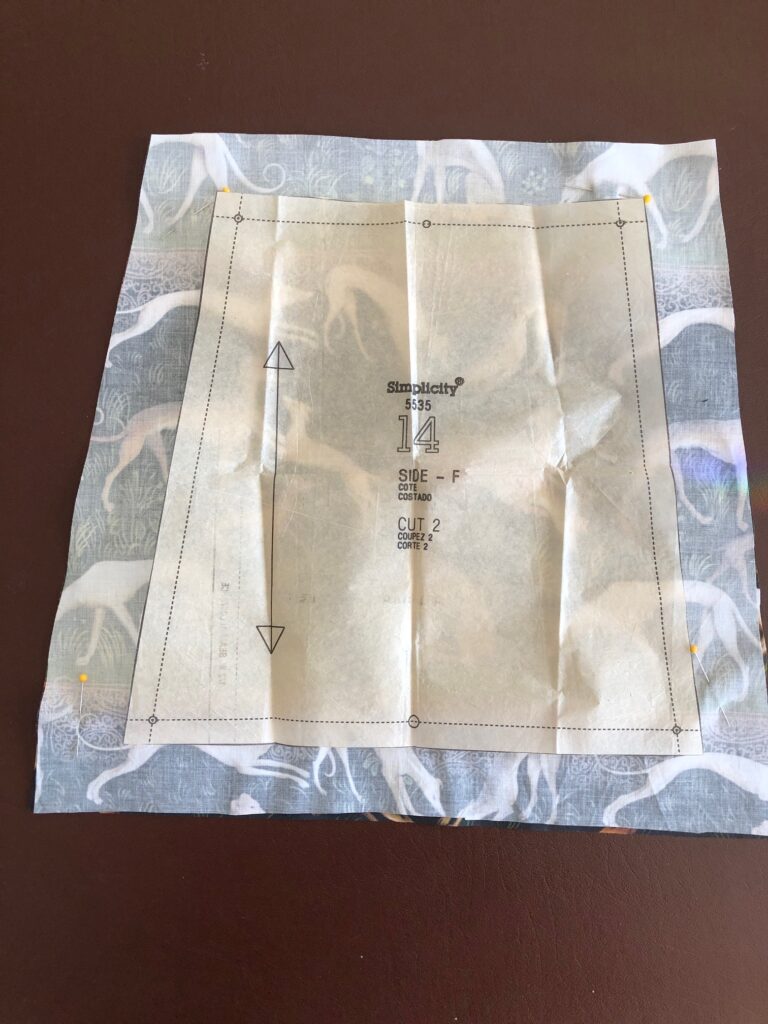
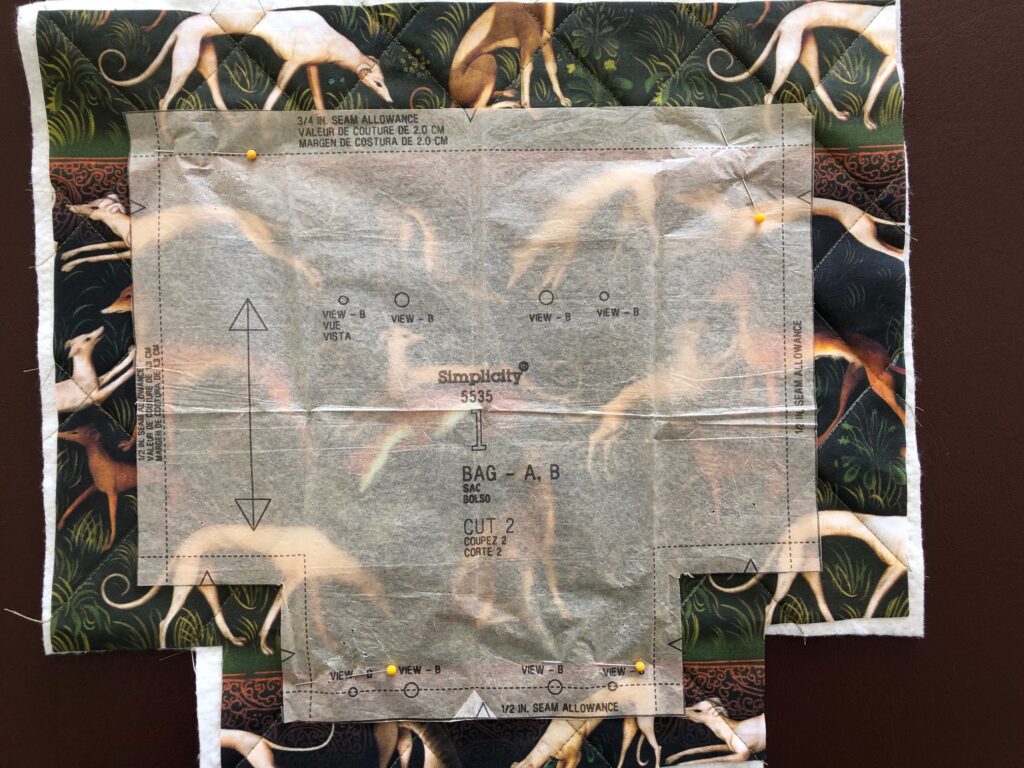
The request was for a large duffle bag, a small duffle bag and a small travel bag to be auctioned off as a set of luggage. The fabric needed to be prequilted before cutting out the final pieces. This is the pattern I’ve used several times:
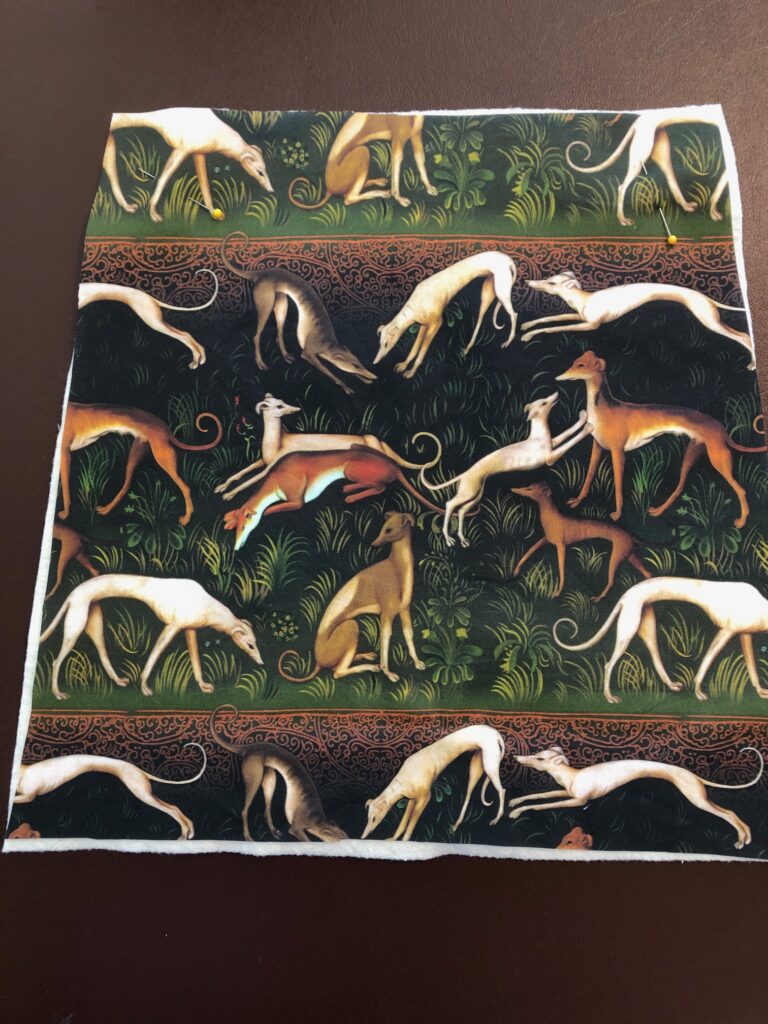
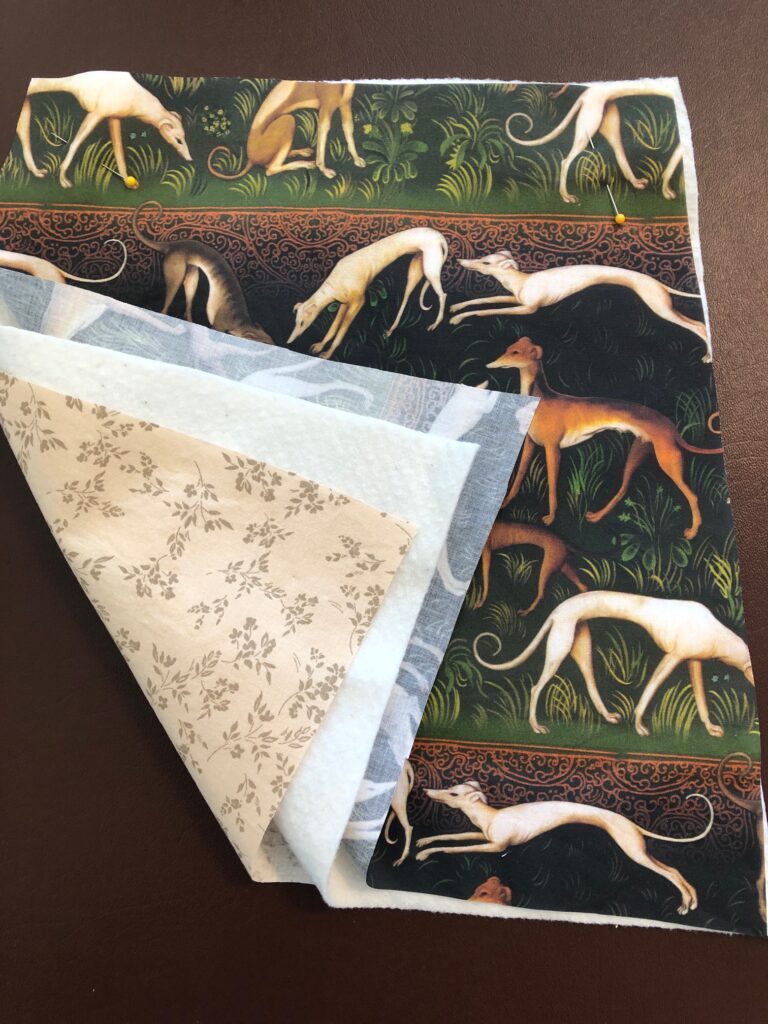
Of course, no ordinary fabric would be appropriate, so a heavy cotton fabric printed with greyhounds was ordered from www.spoonflower.com. This site has many choices to choose from (not just greyhounds!) and the fabric is printed when ordered.
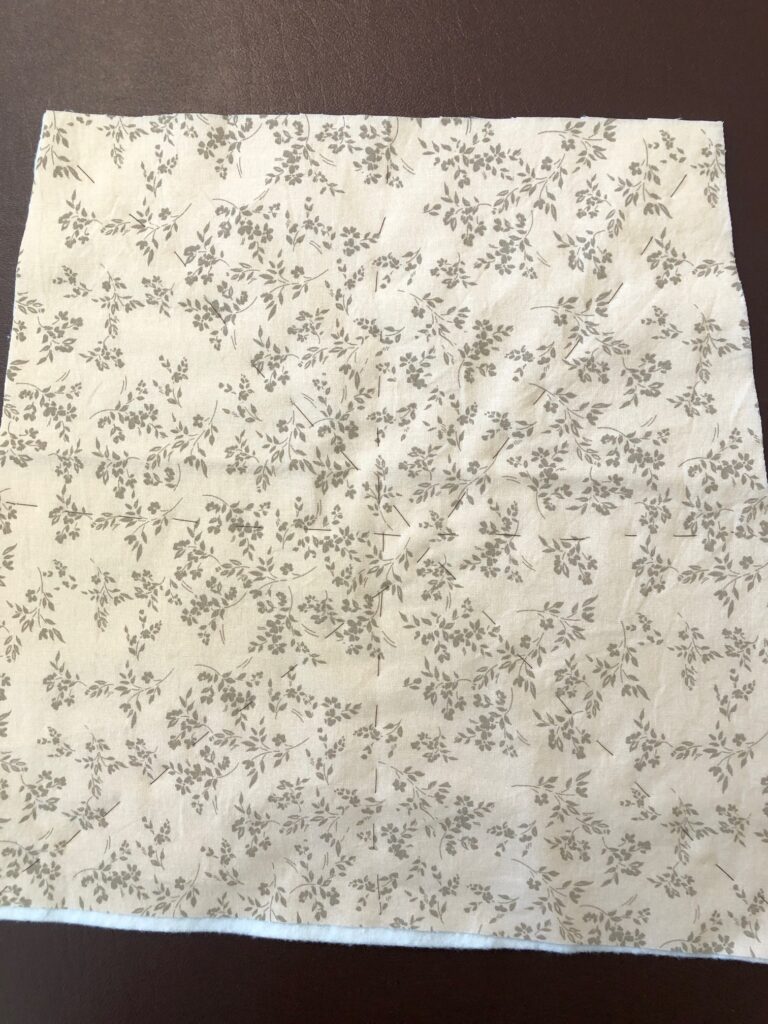
And here is the lining:

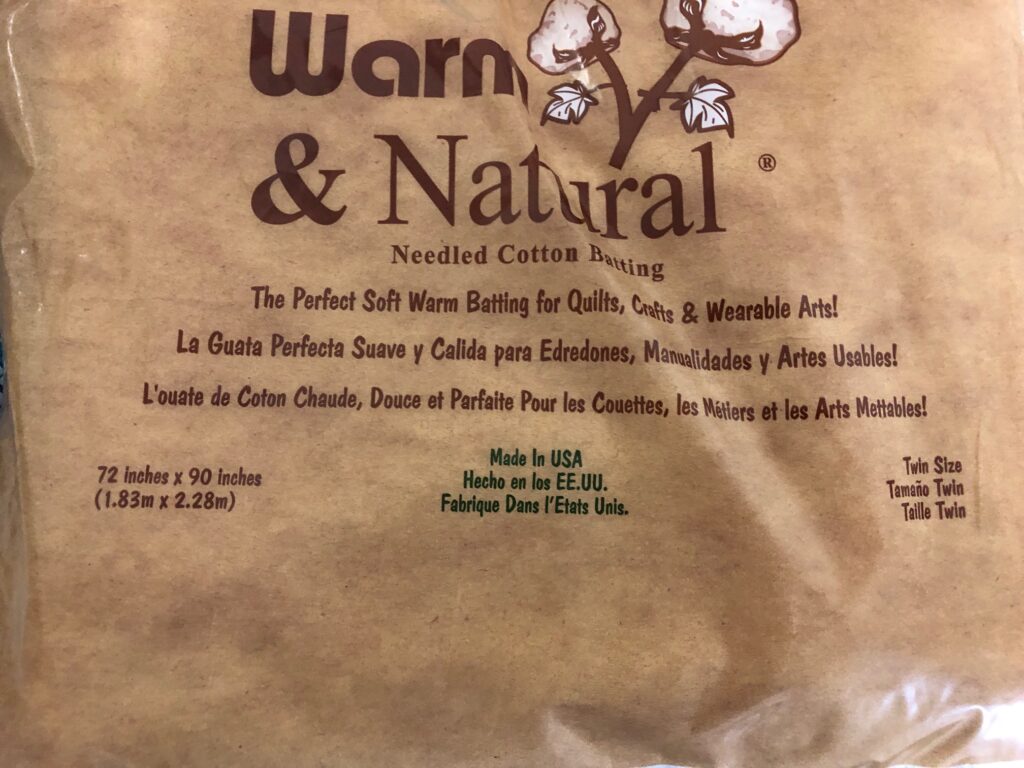
Finally, the batting I used was cotton and a twin-size package provided more than enough to make all three bags.
Making the Small Travel Bag
I will go through the steps to make the small travel bag. The same steps were followed to prep the fabric for the other two bags.
Step 1: Wash, dry and iron the fabric.
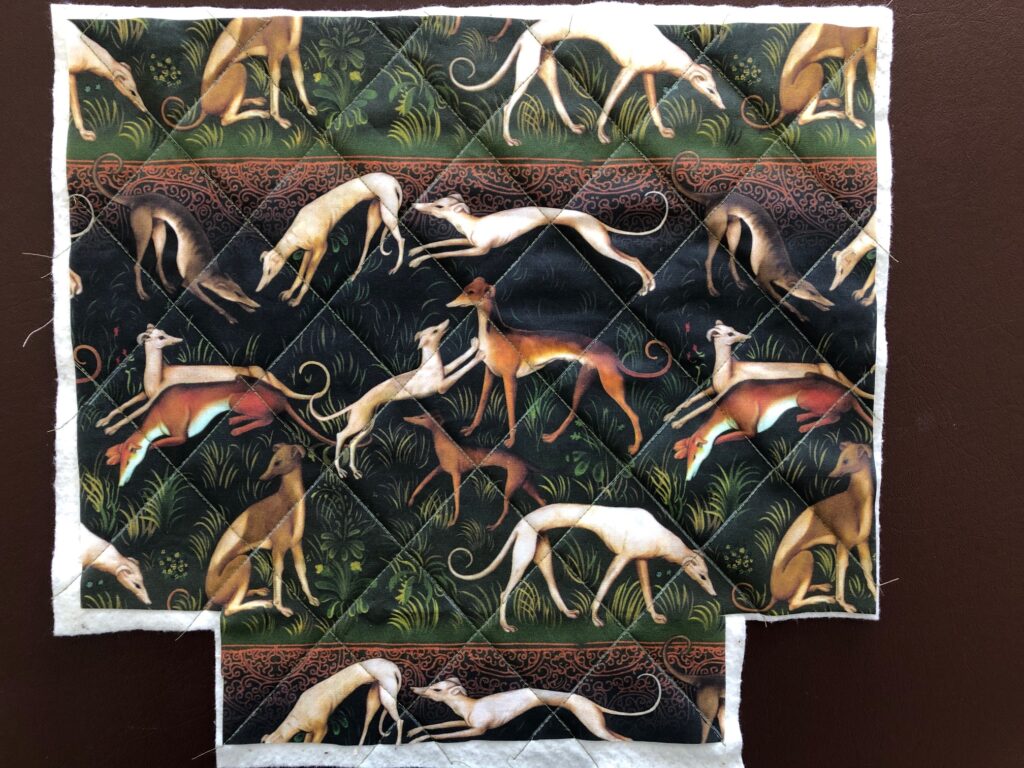
Step 2: Lay out each pattern piece but cut about 2″ larger all around of fabric, batting and lining.
Step 3: Stack each piece into a quilt sandwich with the outer fabric, batting and lining.
Step 4: Baste the “sandwich” together to stabilize it as you quilt.
Step 5: Using a chalk pencil (that will disappear over time or with water) draw diagonal quilting lines to follow.
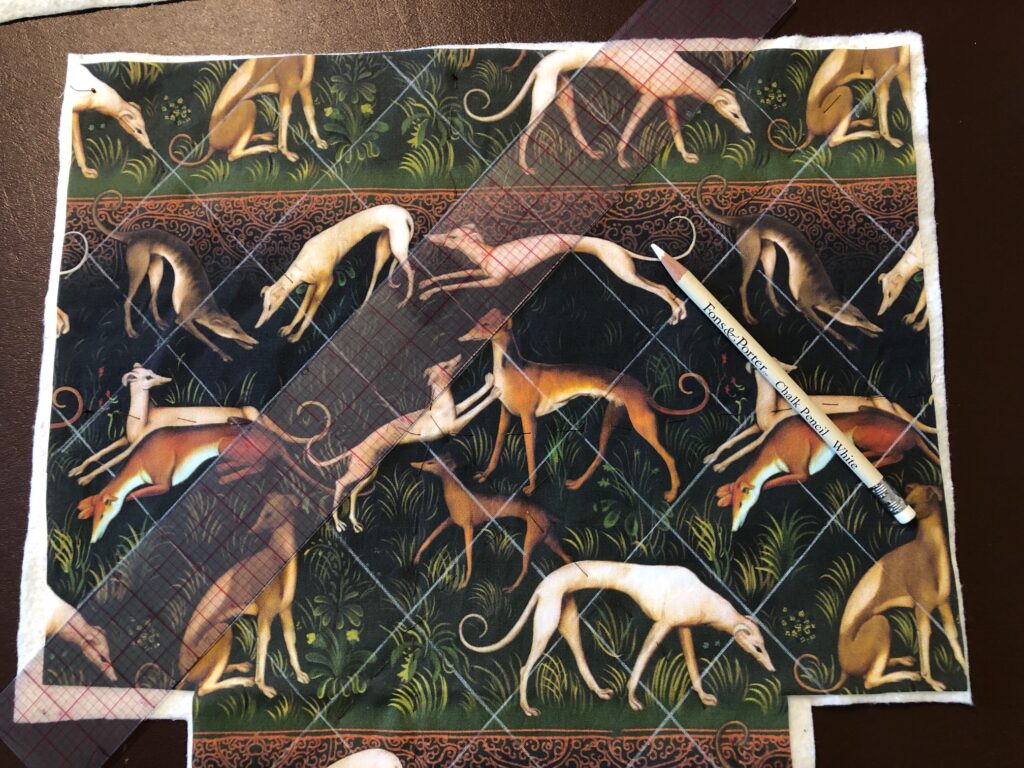
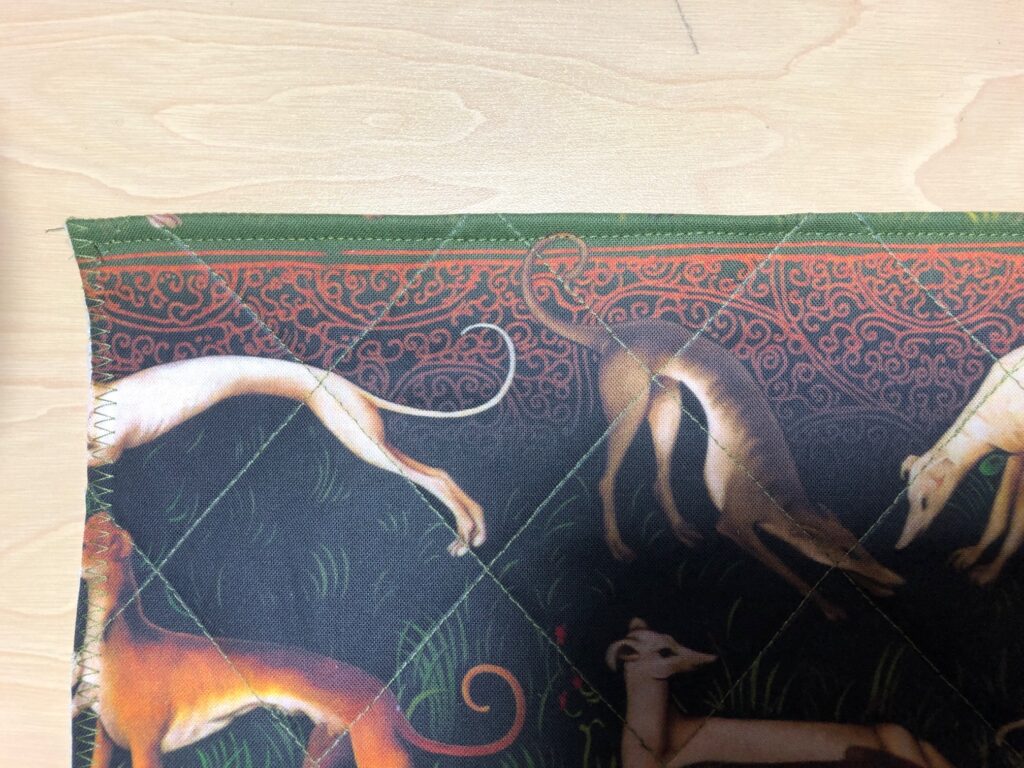
Step 6: When lines are drawn, stitch on the lines with a coordinating color thread. You can see why it’s necessary to start with fabric cut larger than the pattern…all that quilting tends to squish the fabric one way or the other. You need wiggle room.
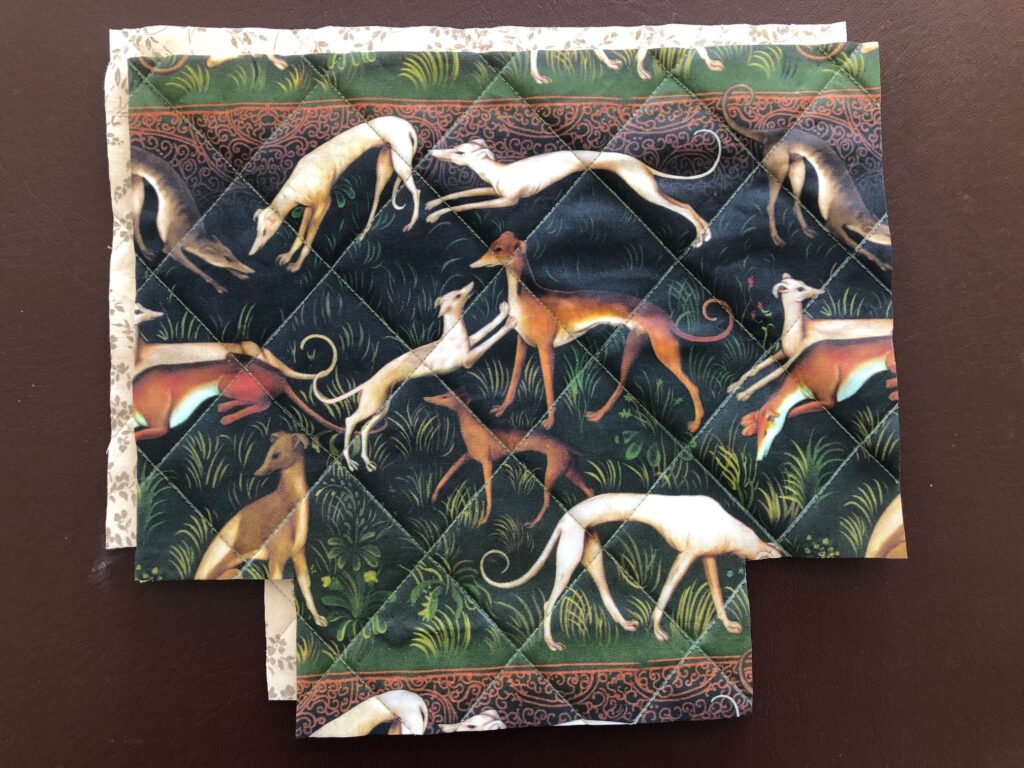
Step 7: Lay the pattern piece on the finished quilted piece and determine the placement on the design. Cut out the final piece.
Step 8: Prepare the zipper. Cut out 2″x2″ squares of matching fabric to encase the ends of the zipper. Fold each square in half and then in half again, tucking the ends to the center.
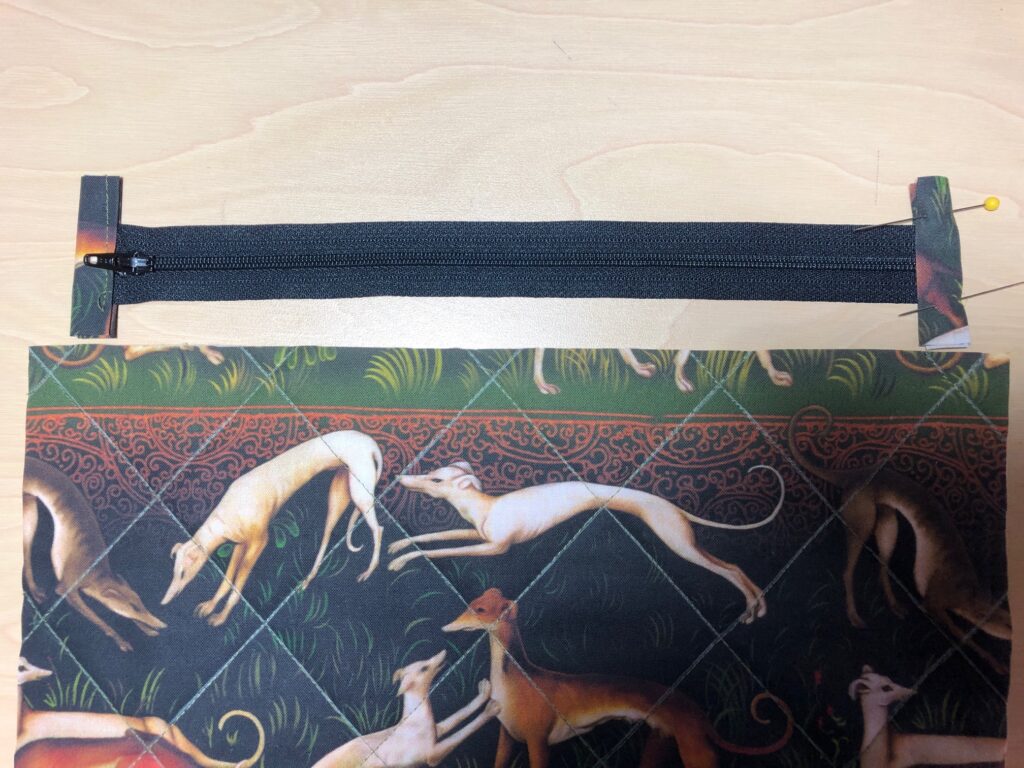
Step 9: Take time now to zigzag around each piece of the bag. Then, run a row of stitching 1/2″ from the top edge. This will be your fold line to stitch to the zipper. (The quilted piece ends up being very stiff and it’s hard to fold just 1/2″ neatly.)
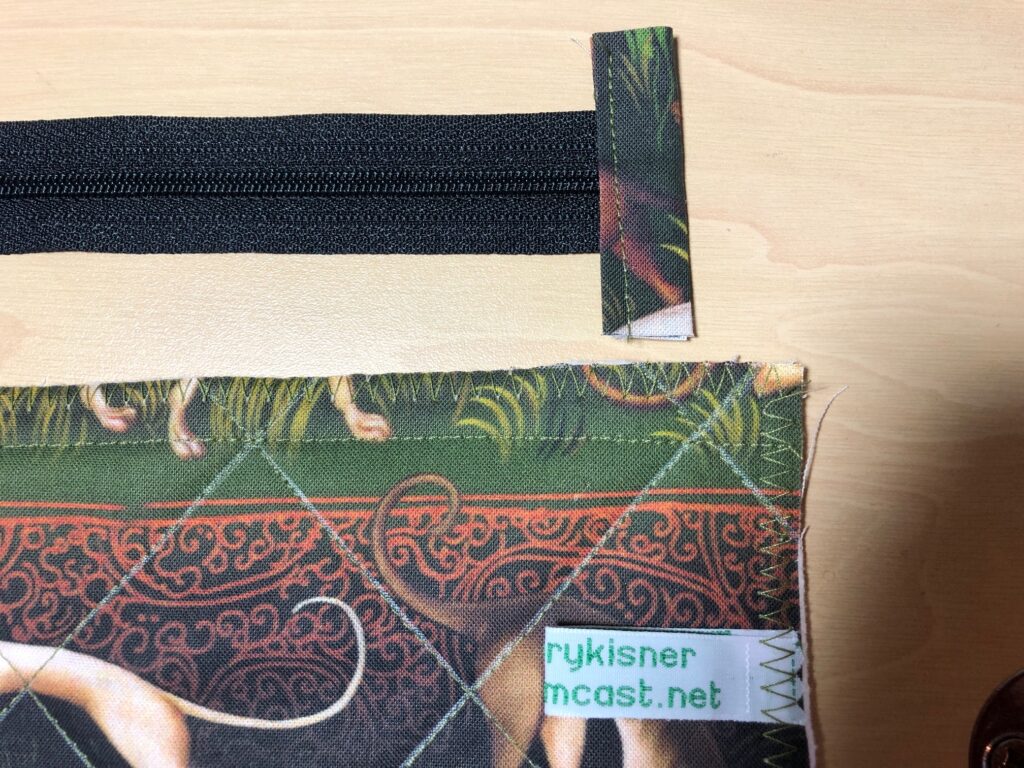
Here’s the folded top edge:
Step 10: Stitch both sides to the zipper.
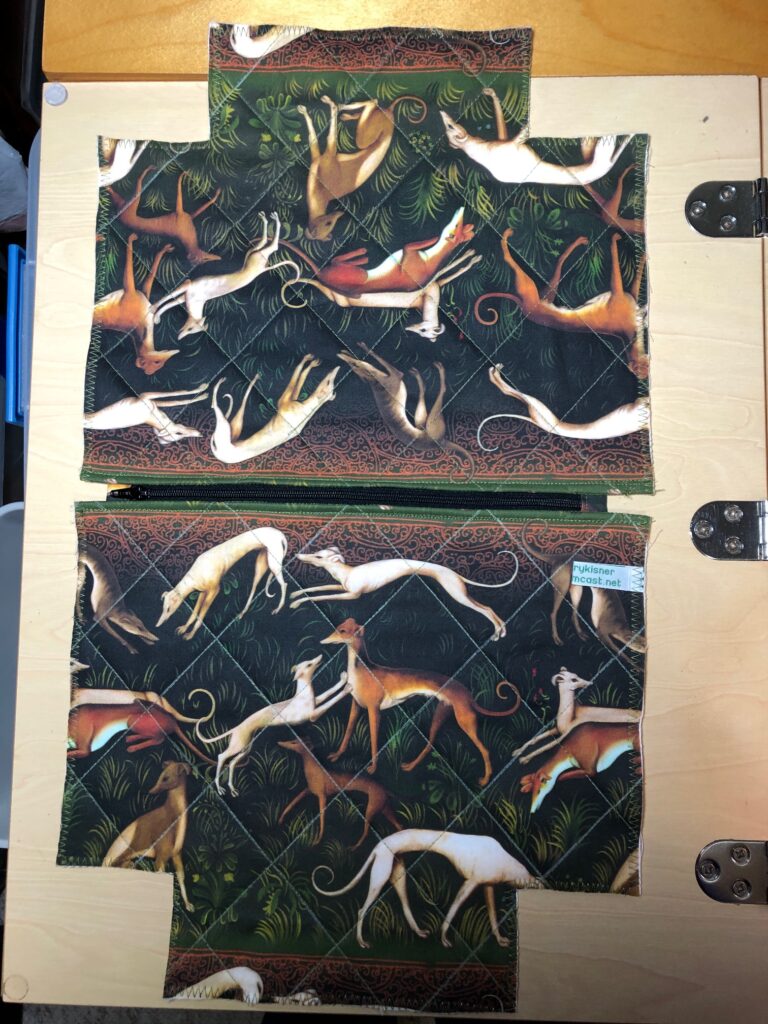
Step 11: UNZIP THE ZIPPER! Fold the bag, right sides together and stitch the sides and bottom of the bag.
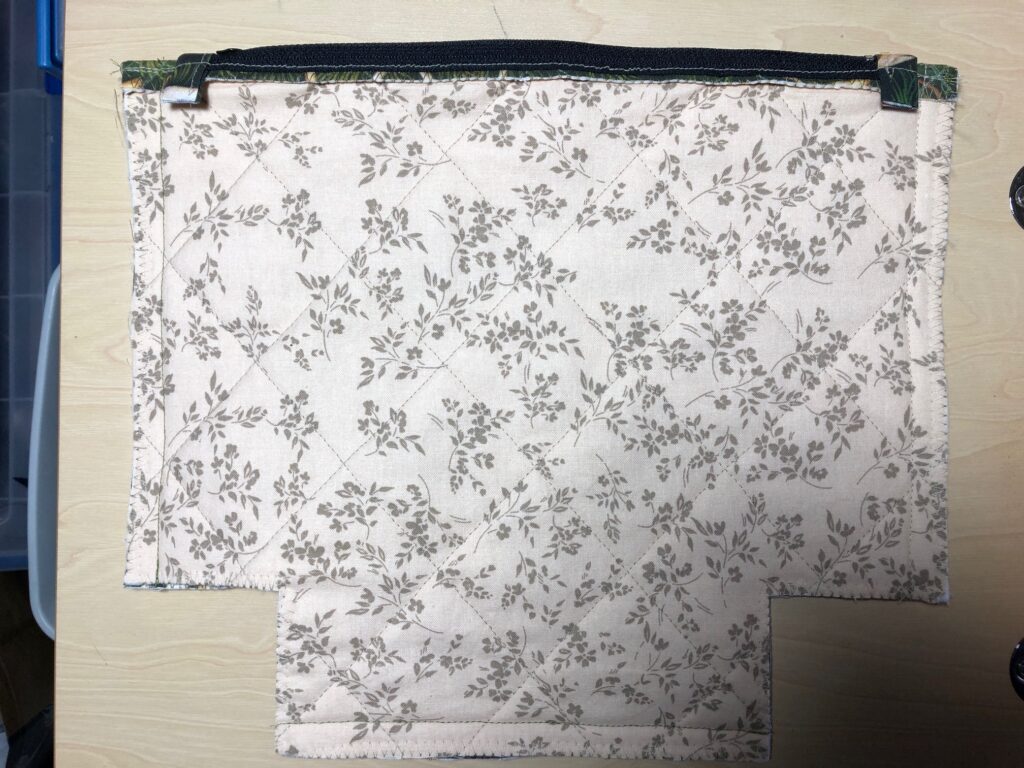
Step 12: Open the bag with your hands and sew the bottom corners closed.

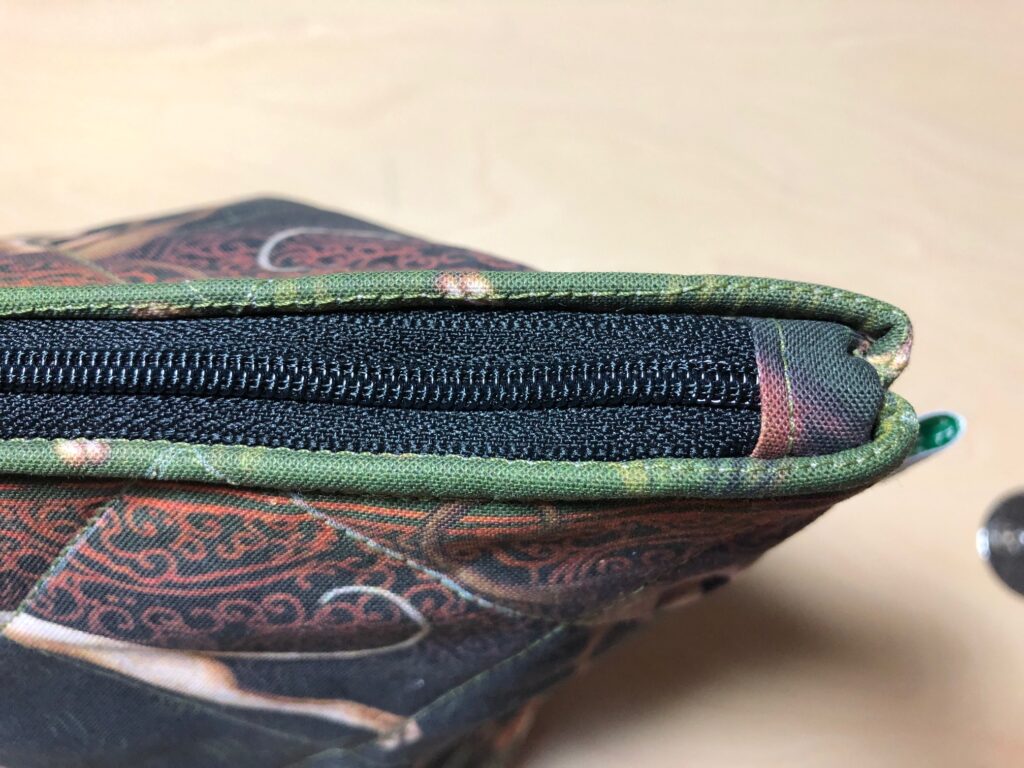
Step 13: Turn the bag right side out. You can see how nice the end caps on the zipper look.
Step 14: Finished Bag

The other two duffle bags follow similar instructions, with the added instruction about the handles and sewing the end pieces. I’ll write these specific instructions in a future post. At any rate, follow the directions with your pattern.
Making your own bags with a fabric of your choice makes for a very unique bag. For all you sewers out there…give it a try! Enjoy!