
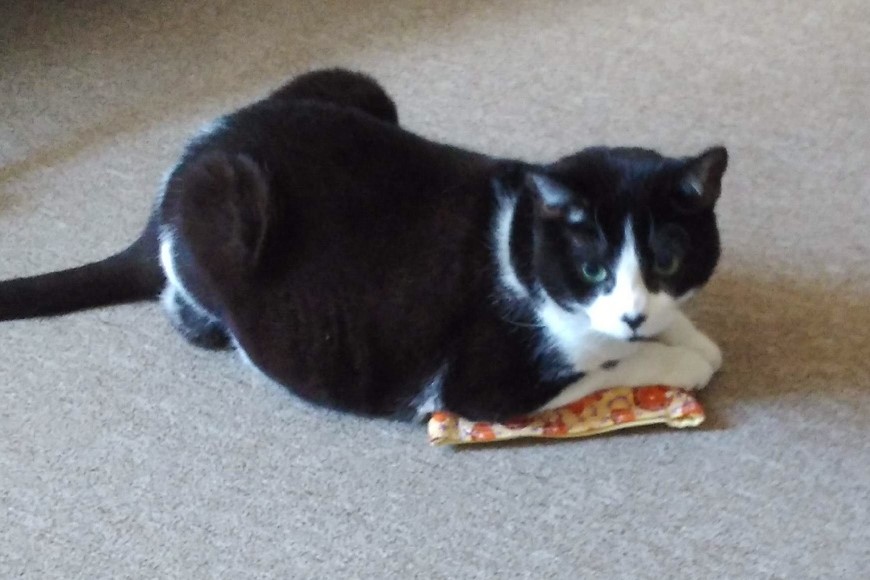
To give my hands a rest from peeling apples, making pizza sauce and canning relish this week, I worked on a simple sewing project for a friend’s cat. I don’t have a cat and can barely pet them because of allergies, but I can sew for them!
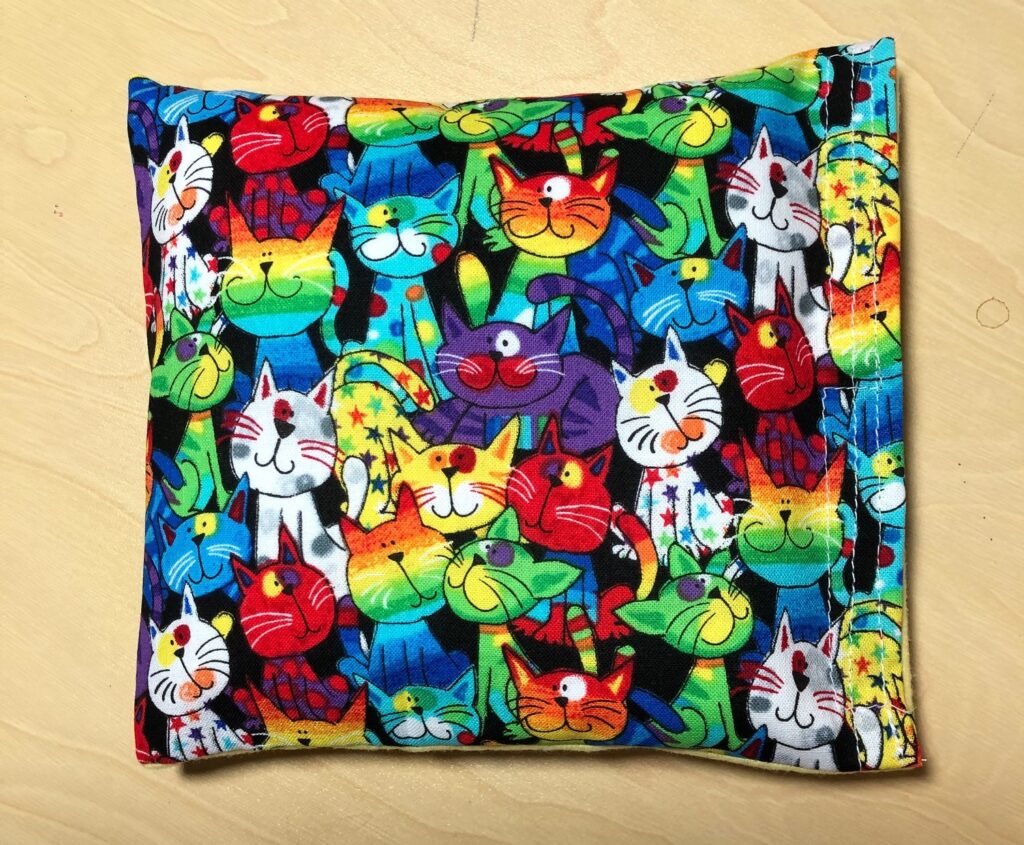
One thing my friend discovered was that her cat was endlessly entertained with a little catnip in a toy. A few years ago I made a small pillow with a removeable cover so a little catnip could be tucked between the pillow and the cover. More can be added as needed and the cover can be washed separately. It was time to make a new one!
I never had a pattern when I made the original one, so this time I actually measured and took pictures in case you’d like to make one yourself!
Making a Catnip Pillow
Materials
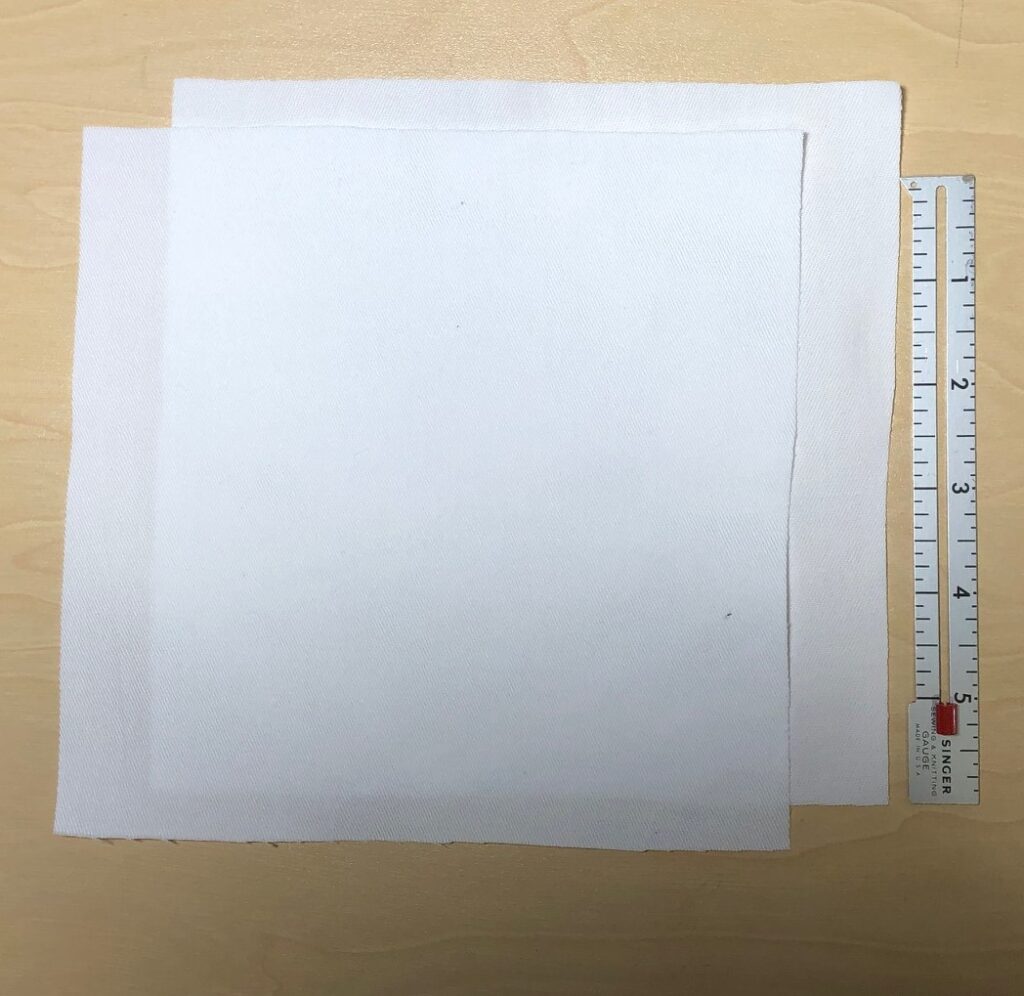
Making the Pillow
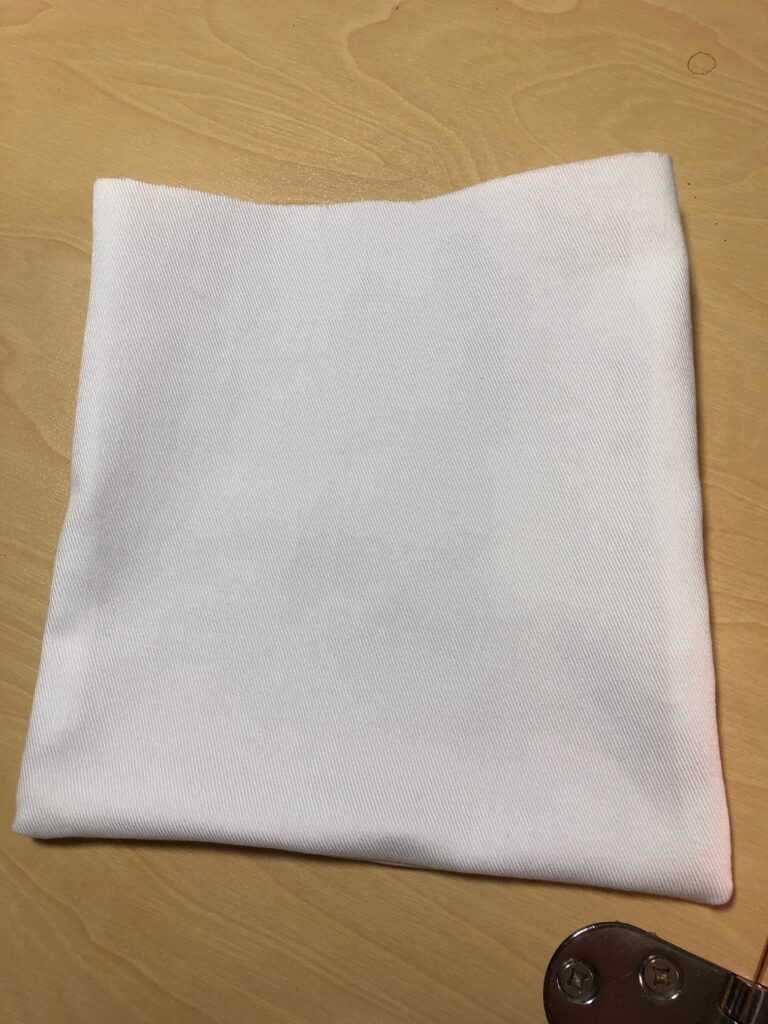
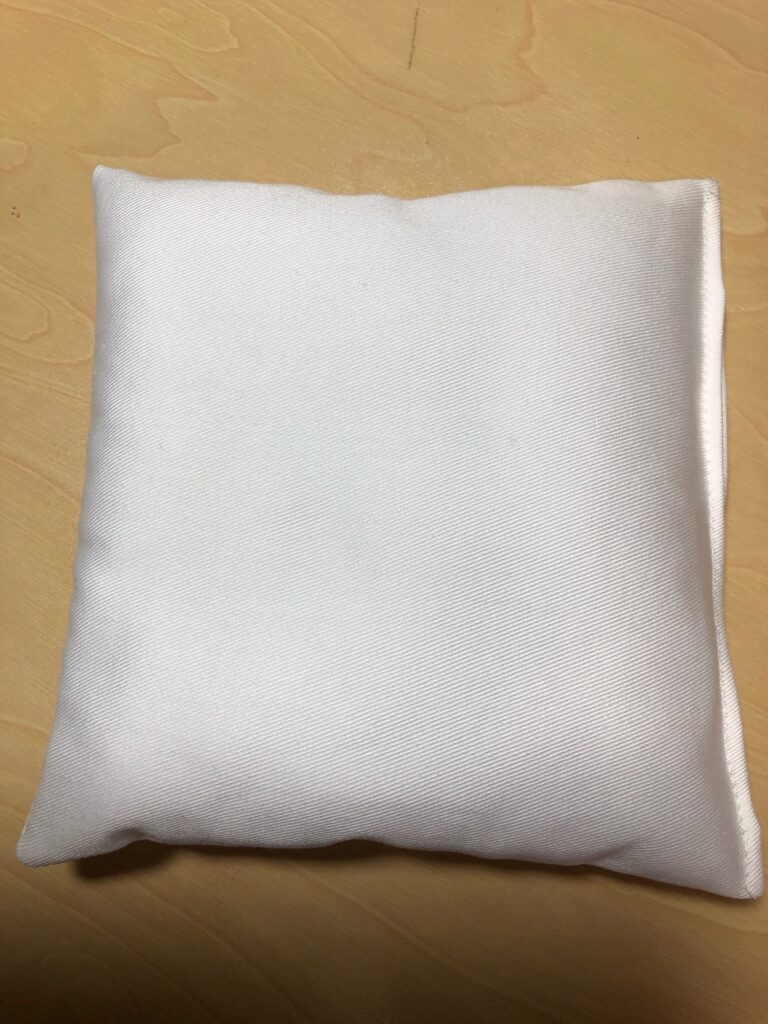
Step 1: Sew the pillow pieces, right sides together, leaving one end open. Turn the pillow right side out.
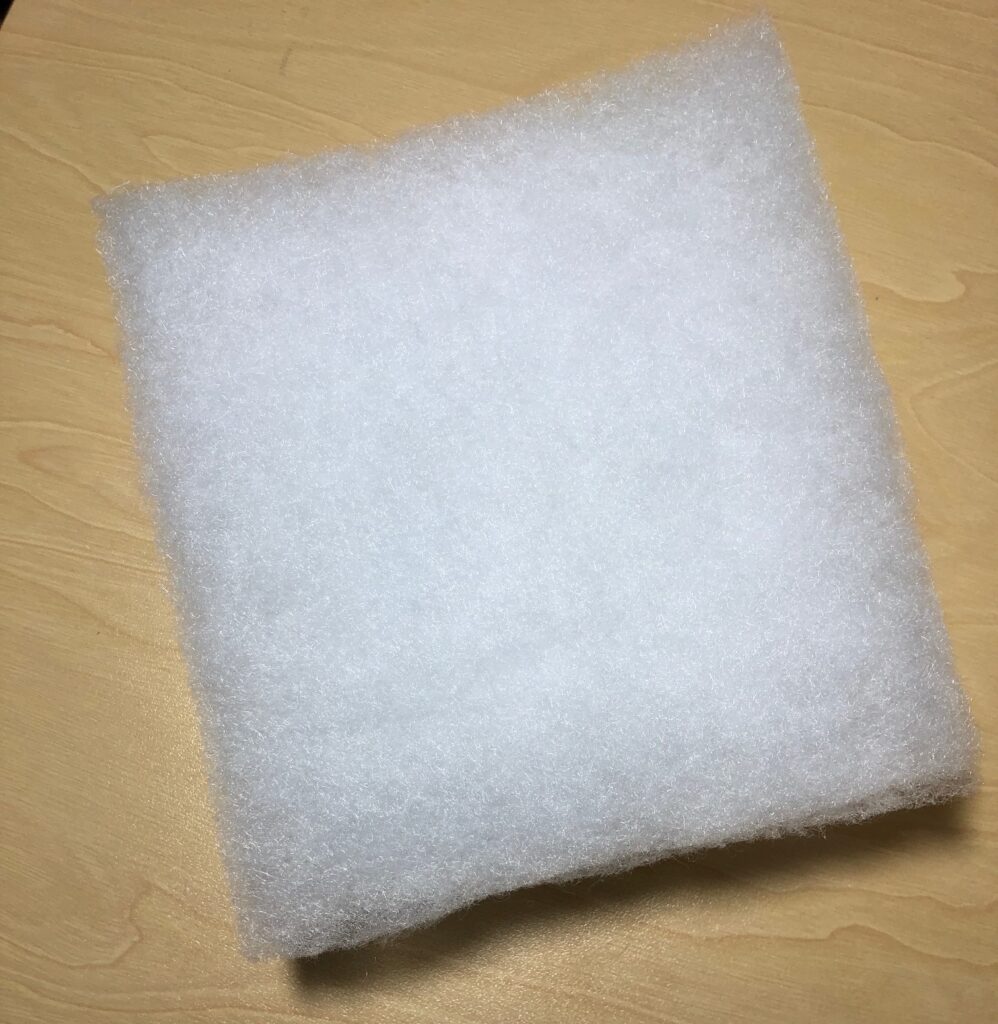
Step 2: Insert the stack of batting pieces or poly stuffing to make a soft pillow. Turn the raw edges and sew the pillow shut.
Step 3: Set the small pillow aside.
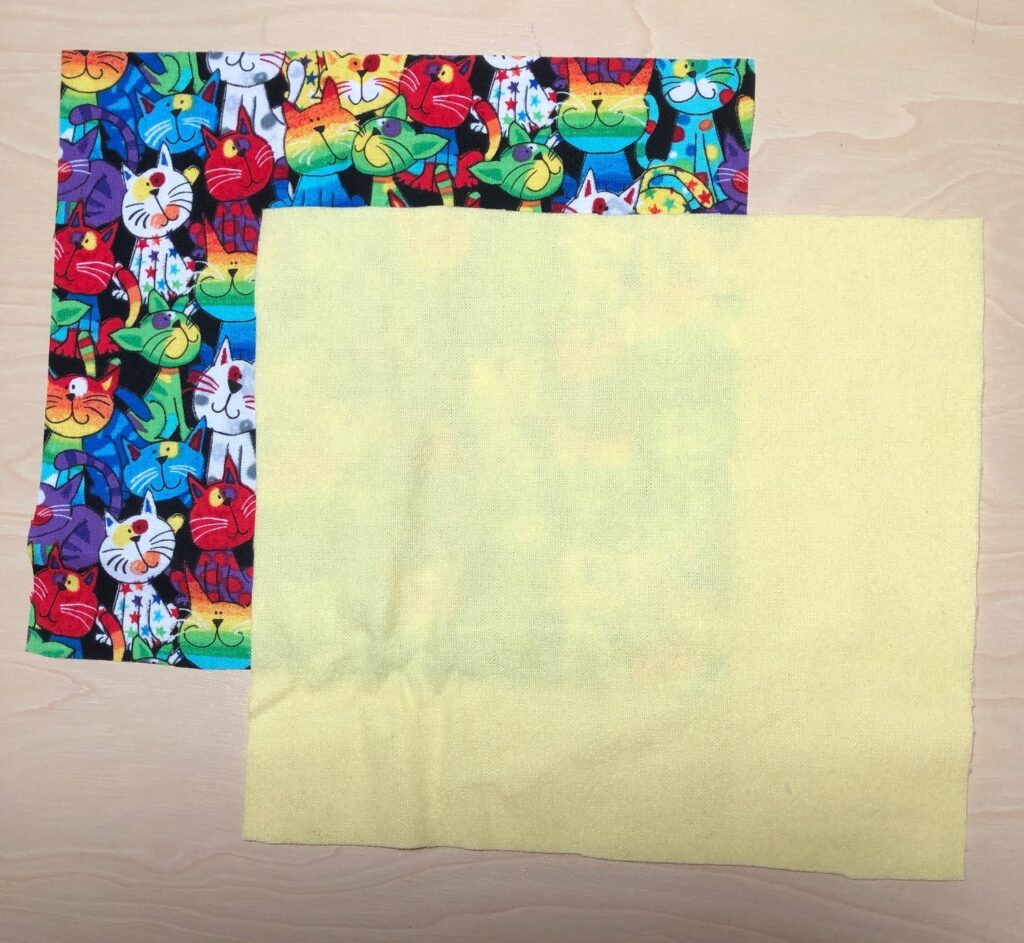
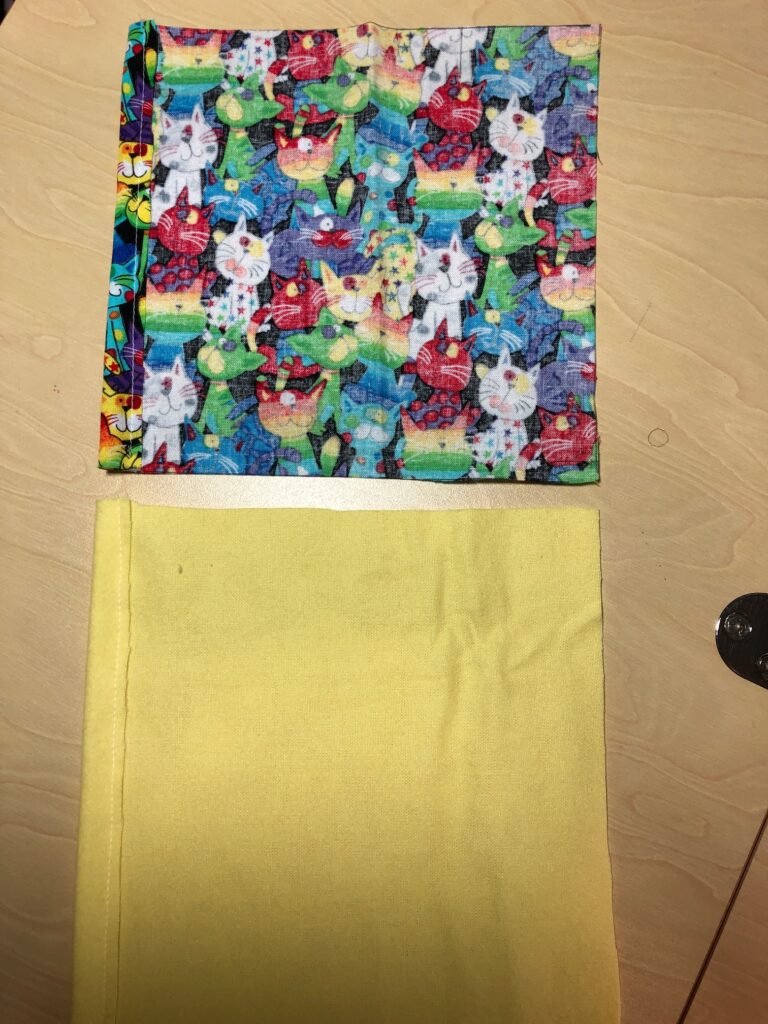
Making the Case
Step 4: On the short ends of the case fabric, fold 1/2″ and stitch.
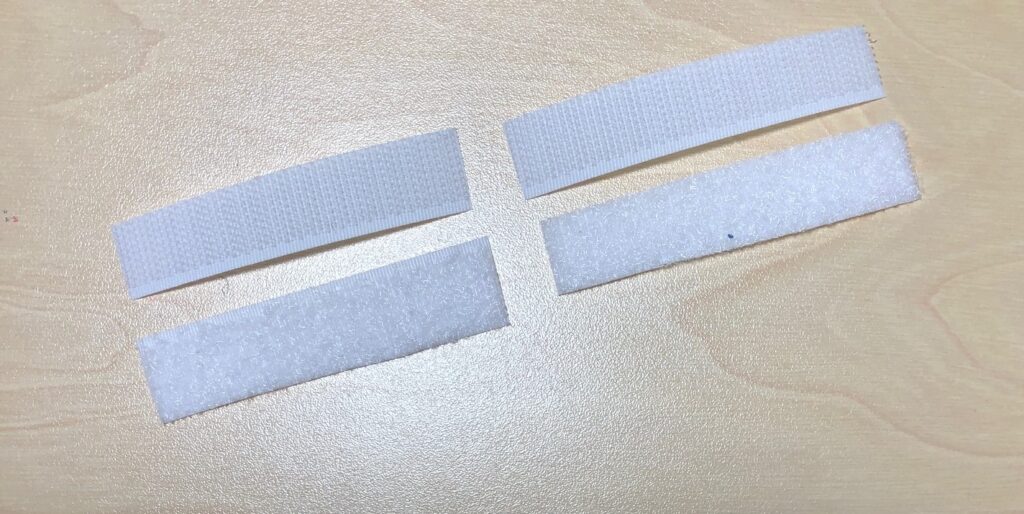
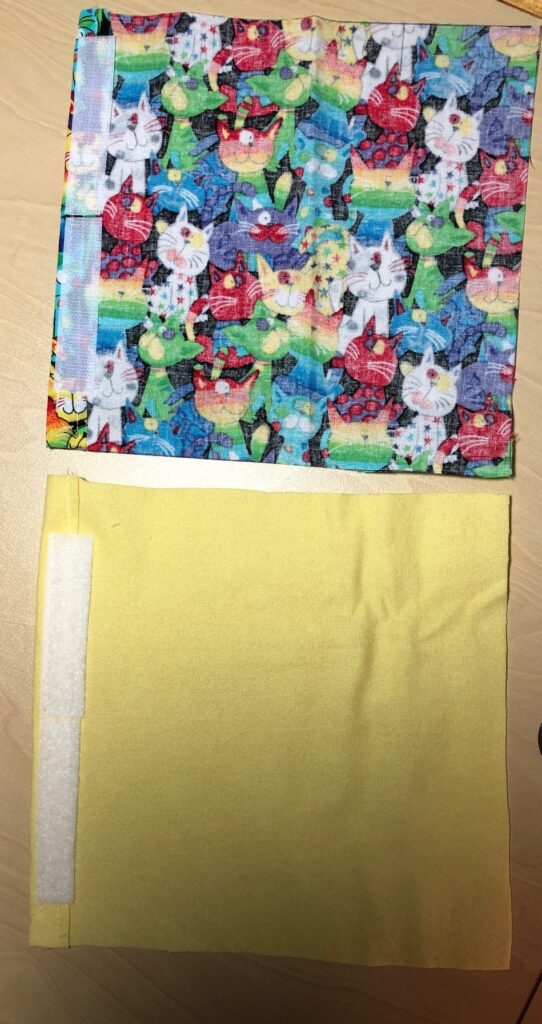
Step 5: Sew the Velcro strips on the wrong side of each piece…on top of the finished edges.
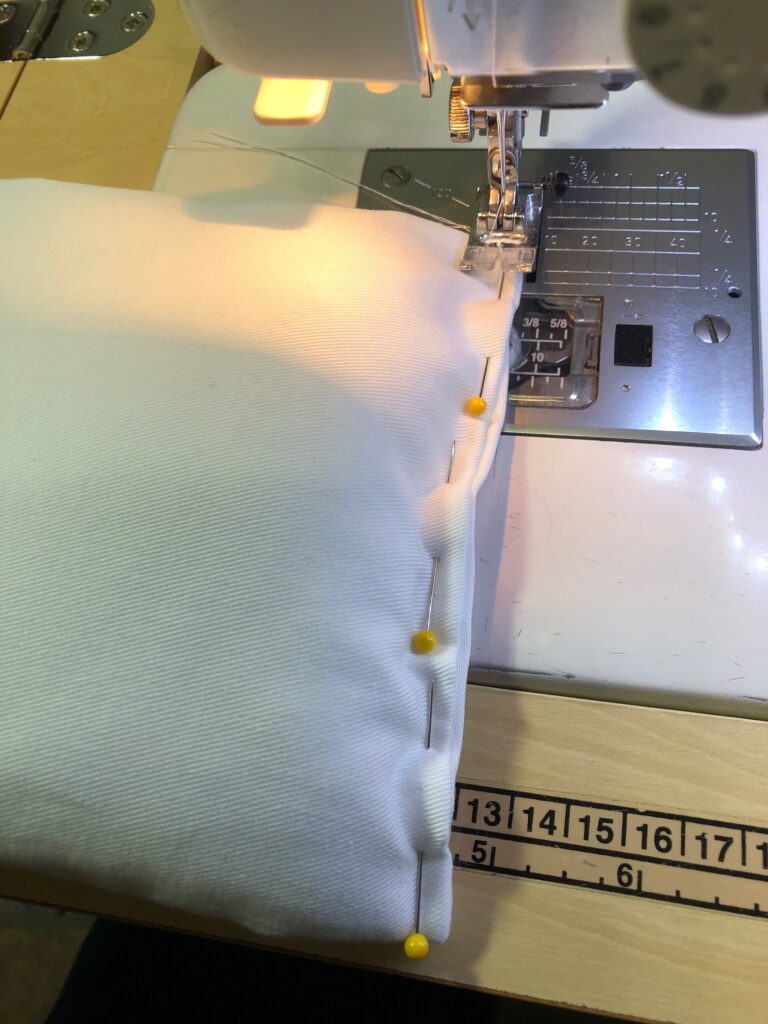
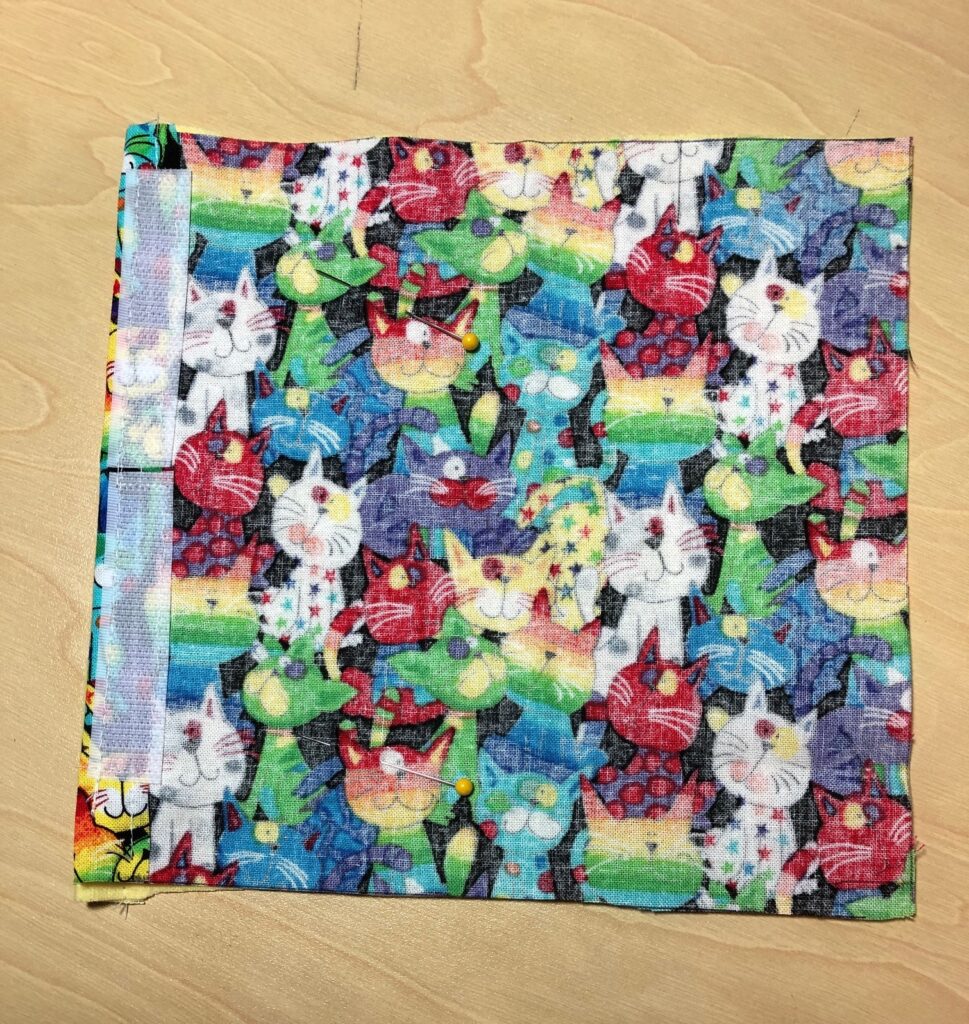
Step 6: With the case pieces, right side together, sew around the three sides, leaving the Velcro edges open.
Step 7: Turn the case right side out. Insert the pillow.
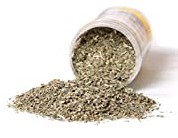
Step 8: Insert a small amount of powdered catnip between the case and the pillow, press the Velcro together and share with your cat!
Give it a try! Enjoy!
Please comment or email me directly at marykisner@comcast.net.