
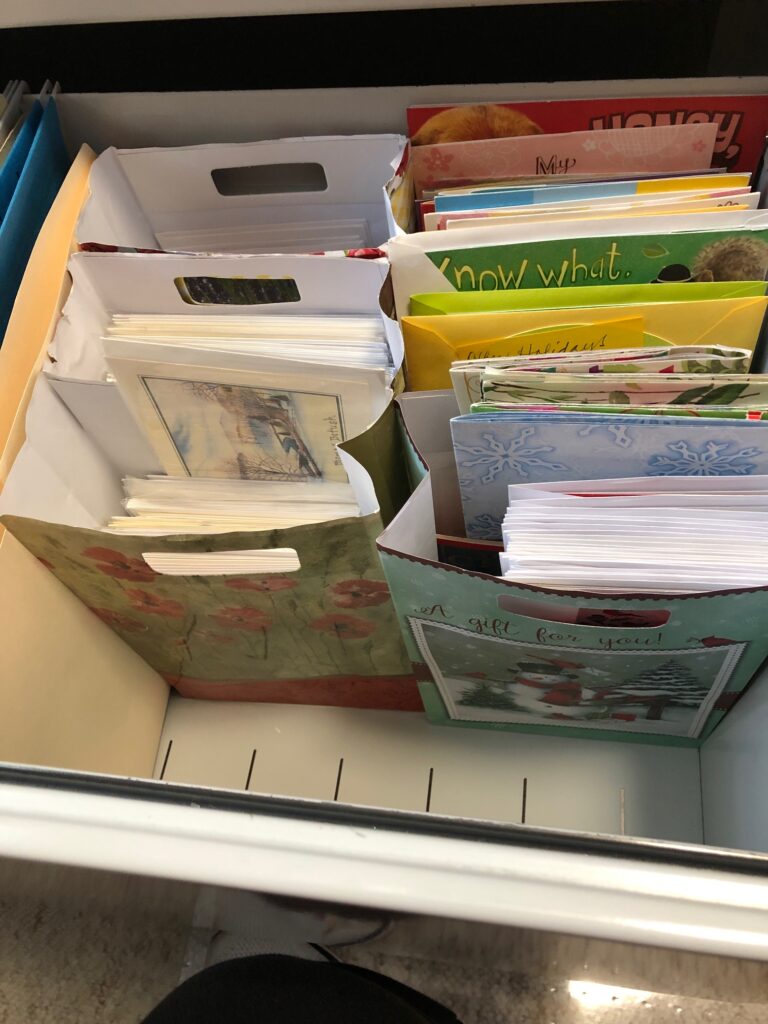
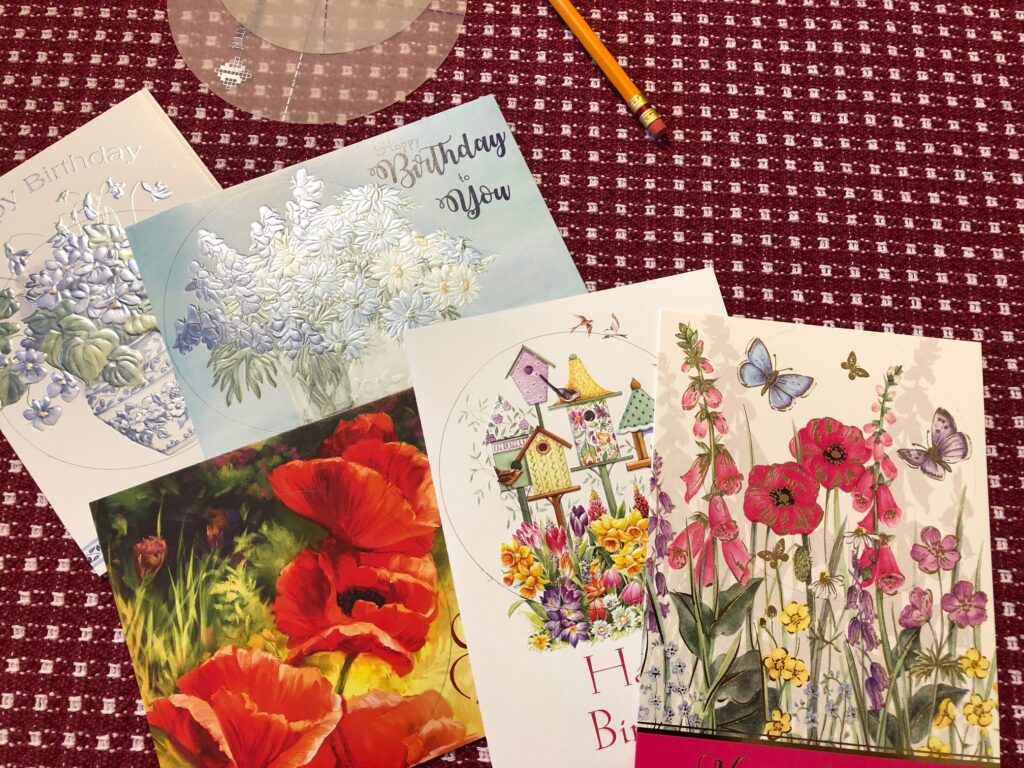
I have a file drawer jammed full with assorted greeting cards…that have arrived over the last year FREE from assorted charities and organizations. I have enough to send a birthday card, a get-well card, a thinking-of-you card, a thank you card and a card with a pretty picture where I can write my own message…to everyone I know for the rest of my life! And they keep coming! I can hardly wait for the influx of Christmas Cards to arrive.

I was ready to pitch them all until I went to a meeting of the Ladies Auxiliary of the Fire Company last week. One of our members mentioned she was almost out of Get-Well cards that she sends to our members and others as needed. Another woman said she uses cards to make placemats. My goodness! I have cards!! So, I came home and cleaned out the drawer.
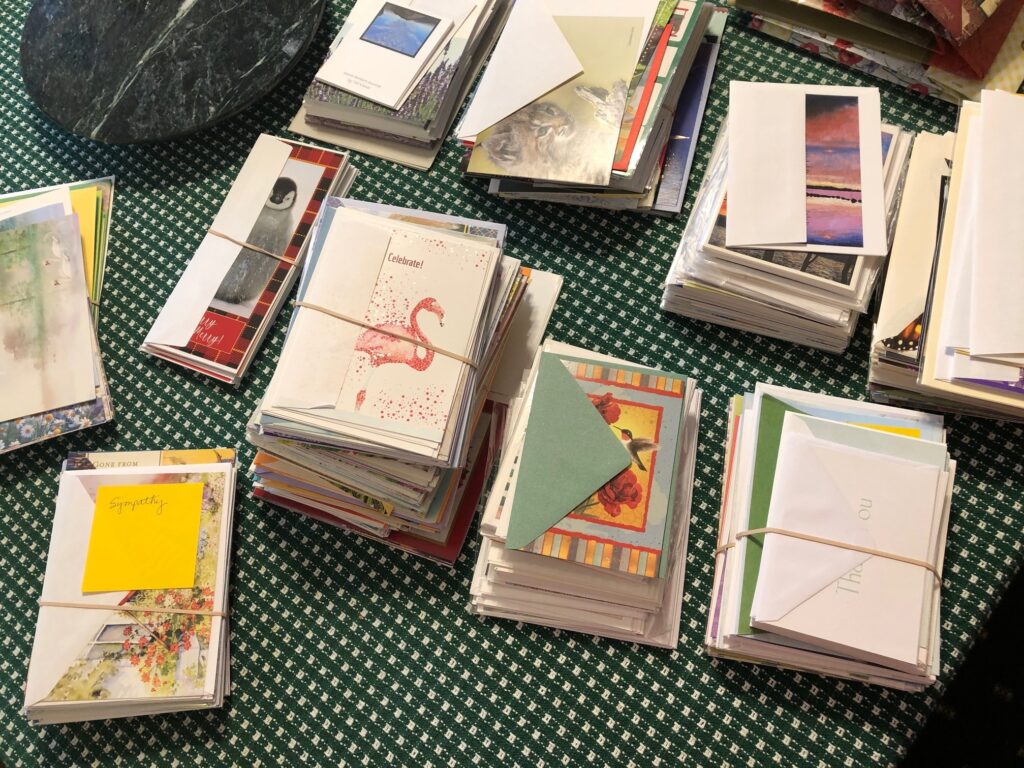
Mixed in with all the free cards are the ones I have purchased over the years. I try to pick up ones with photographs made by local artists and they are blank inside. I find these at almost every craft show I go to. Some are good to cheer people up; others are low key for folks that are sad. I put these cards back in the drawer.

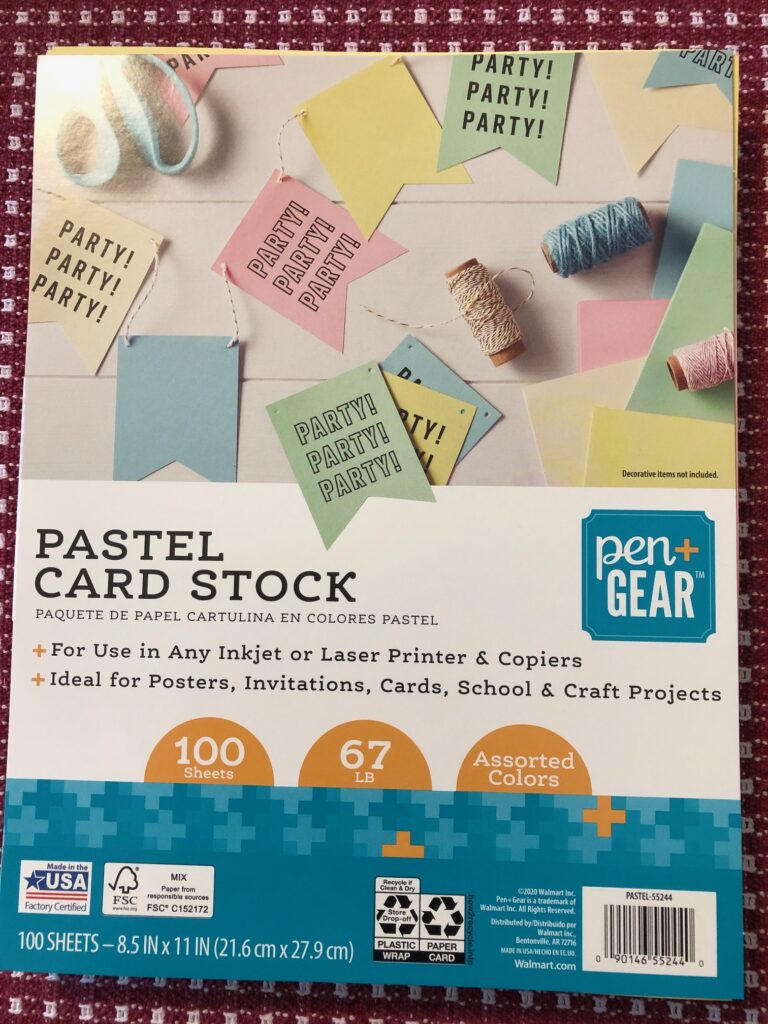
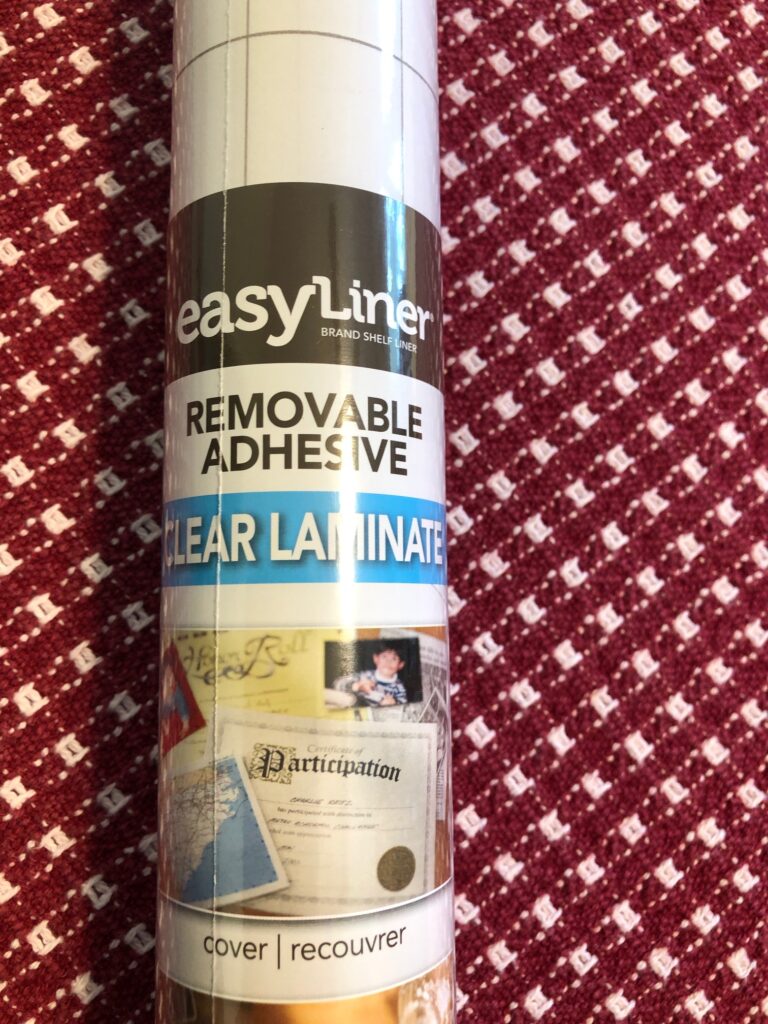
Next, I looked up making placemats using greeting cards and found one tutorial that used circles cut from the cards. They were mounted on card stock and laminated with clear Contact paper. So, I headed to WalMart.
I found the card stock in office supplies but couldn’t figure out where to find the sticky clear Contact paper. Office supplies? Nope. Craft supplies? Nope. I finally asked someone. It is with the home furnishing stuff…with the kitchen drainers, etc. Who knew Contact came in all different colors and patterns to use as drawer and shelf liners. Boy am I out of touch!
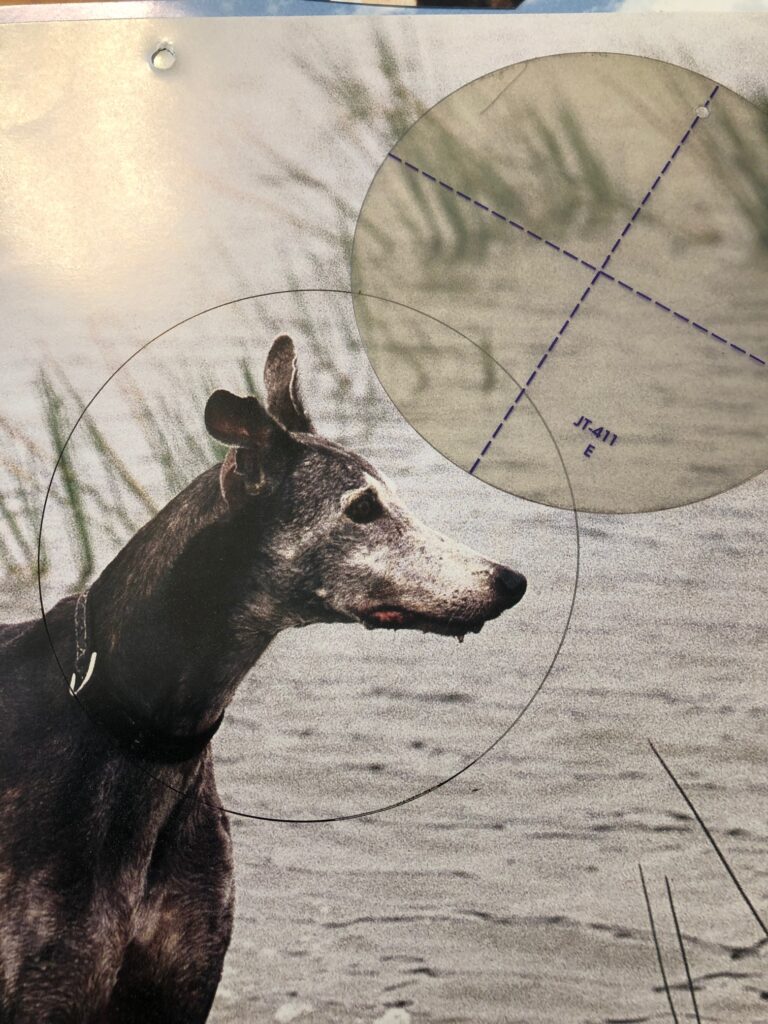
While I was sorting out cards, I picked out nine Birthday cards that had pictures of flowers. I used a circle template and drew around the flowers I wanted to use.
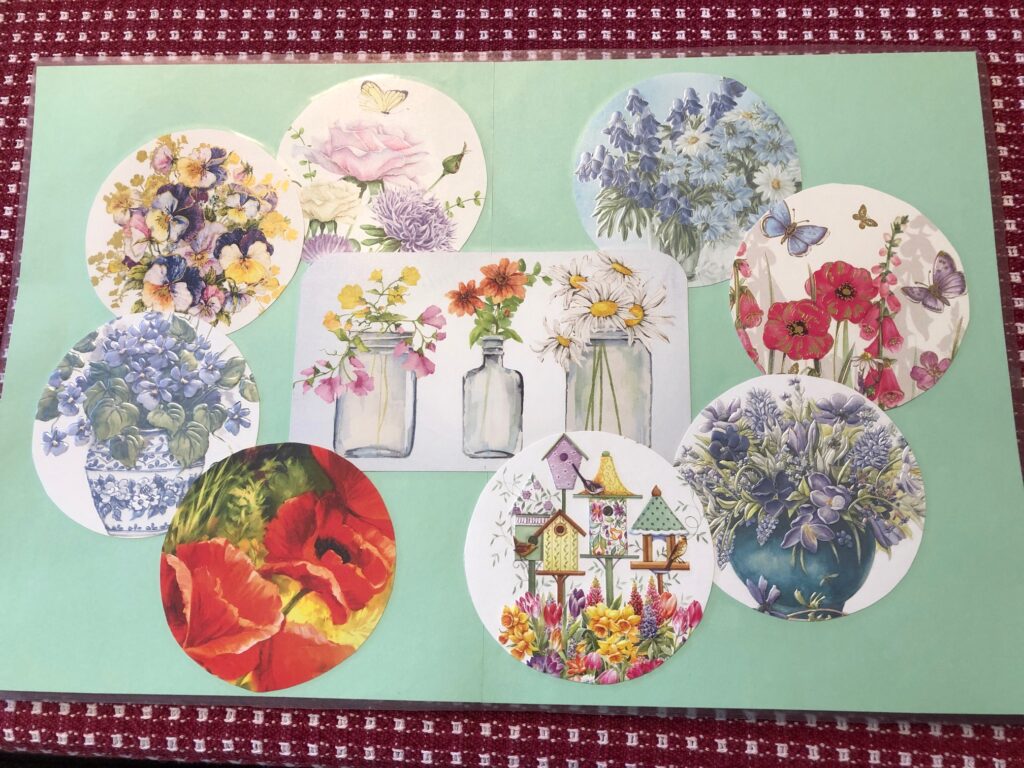
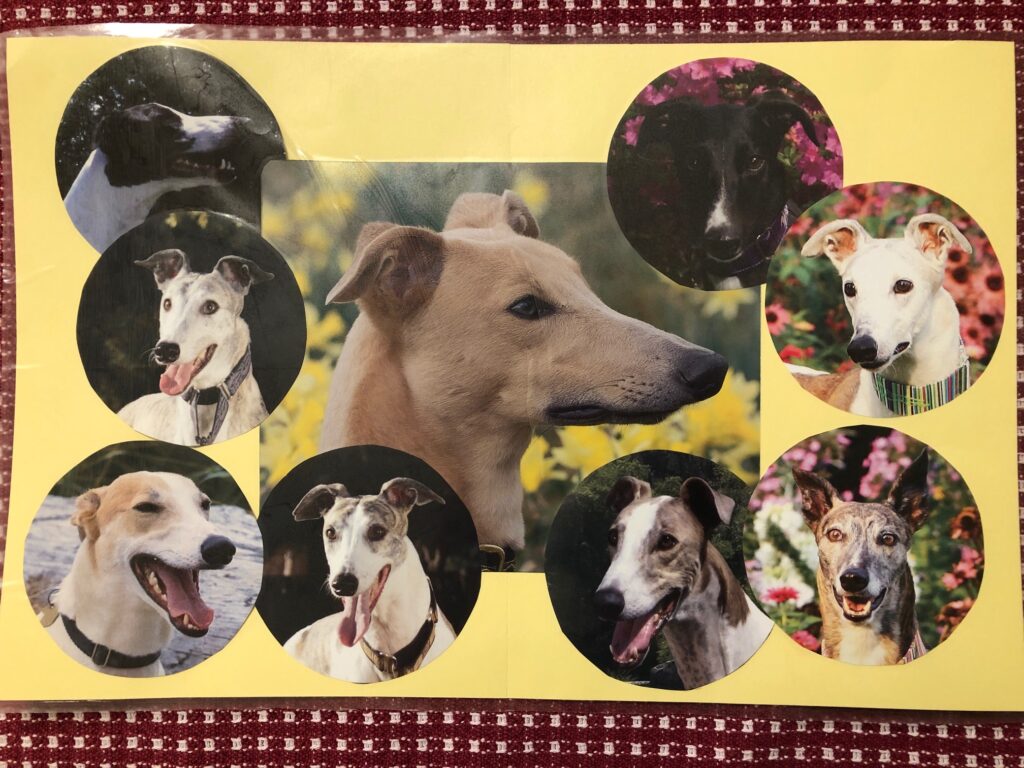
I cut out the circles and played with the arrangement. One card had a nice rectangular image, so I made that the center.
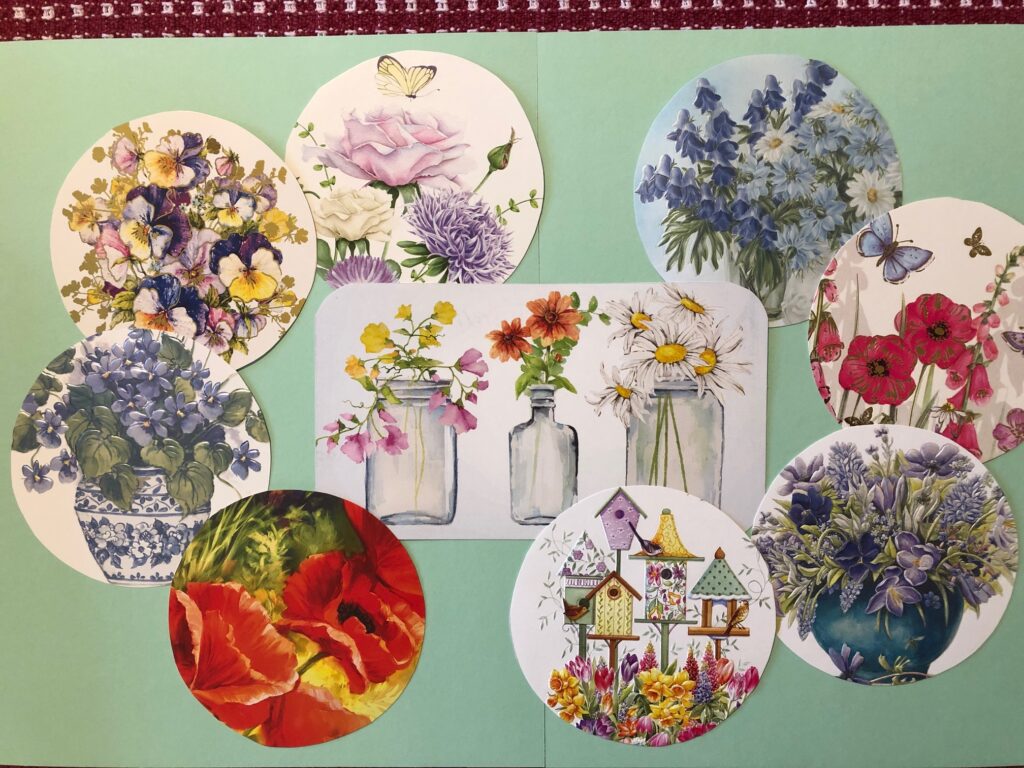
I used two 8 1/2″ x 11″ sheets of card stock and taped them together (on the back) as my base.
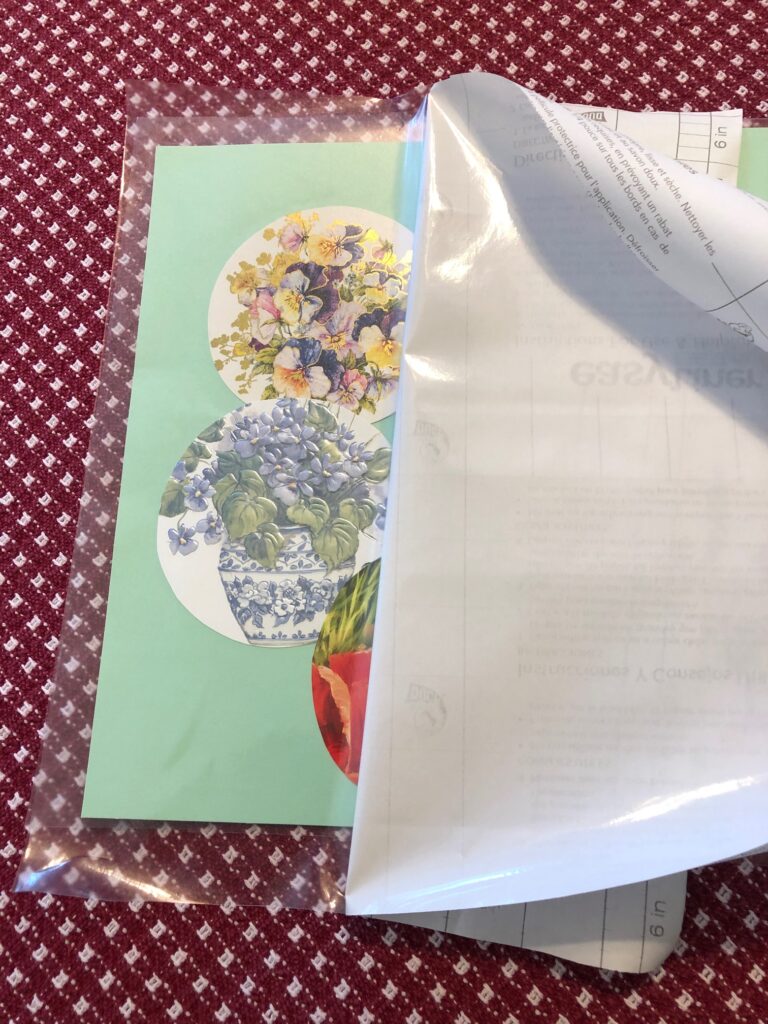
Once I liked the arrangement, I used glue stick to keep them from shifting while I used the Contact paper.
I did the back first. Then I flipped it over and attempted to do the front. No small challenge to get it started. Somehow, it seemed to work in spite of my technique with just a few wrinkles. I trimmed around the edge and I now have a pretty placemat.
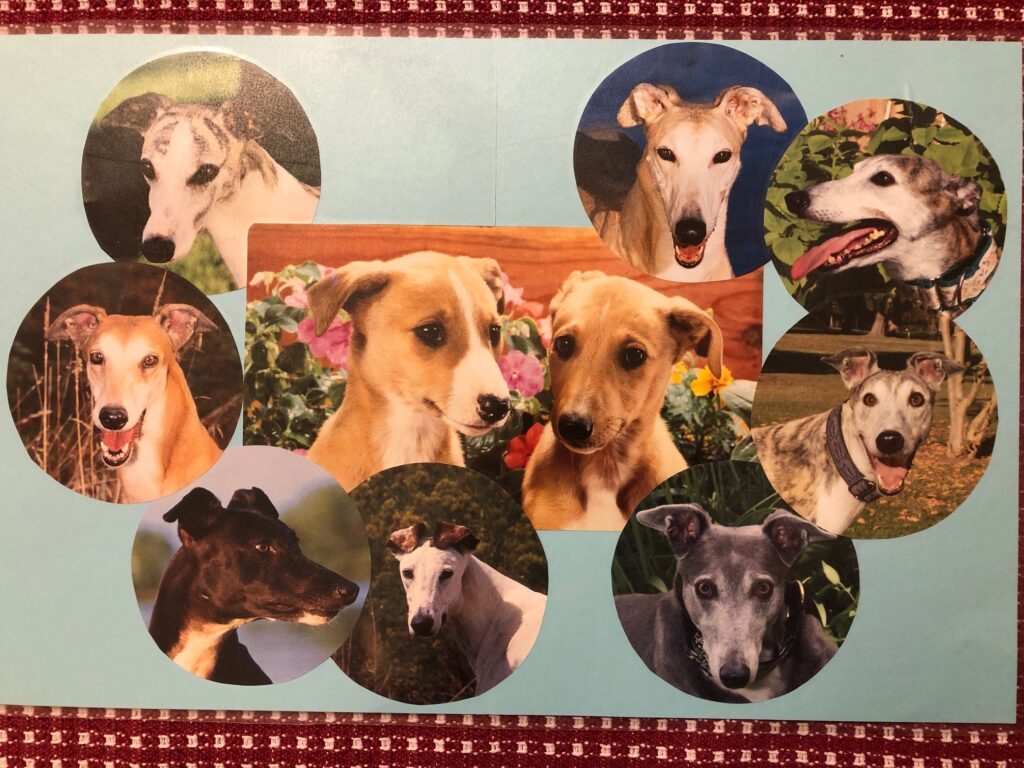
I was feeling pretty smug about my success and decided to try another one using pictures from a Greyhound calendar. (Just so you know…being SMUG is dangerous!!)
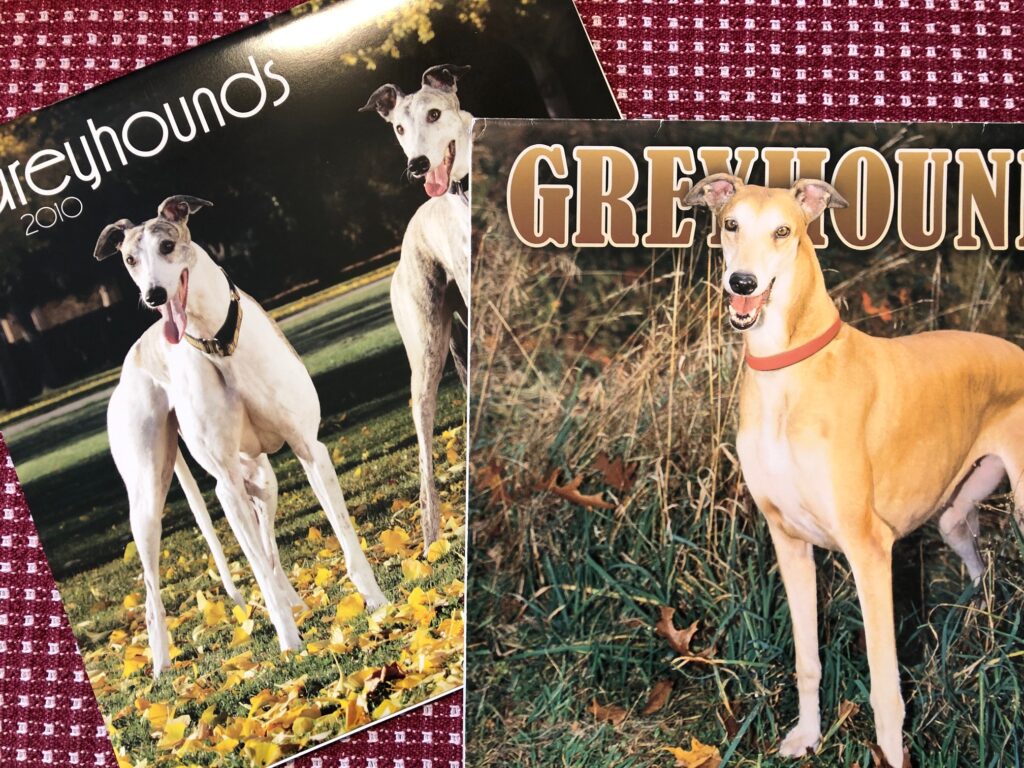
I ended up having enough pictures to make two placemats, with the larger pictures as my center focus. However, getting the Contact paper to go on smoothly was a real PAIN! It was determined to wrinkle and stick everywhere I didn’t want it to! From a distance, not too bad. Up close they were a wrinkled mess. I think the calendar paper was not as sturdy as the cards so they refused to stay flat. Anyway, I did it. Not sure if I’ll make any more, but I can say I tried!
So, if you are getting free cards in the mail and don’t use them, look for folks who do use them…or try making a placemat! If you have any tips about using clear Contact I could use them!! Enjoy!
Please comment or email me directly at marykisner@comcast.net.