I headed to the bookstore yesterday…just for entertainment purposes you know! Right inside the door were assorted craft books and kits that looked interesting. This kit caught my eye:
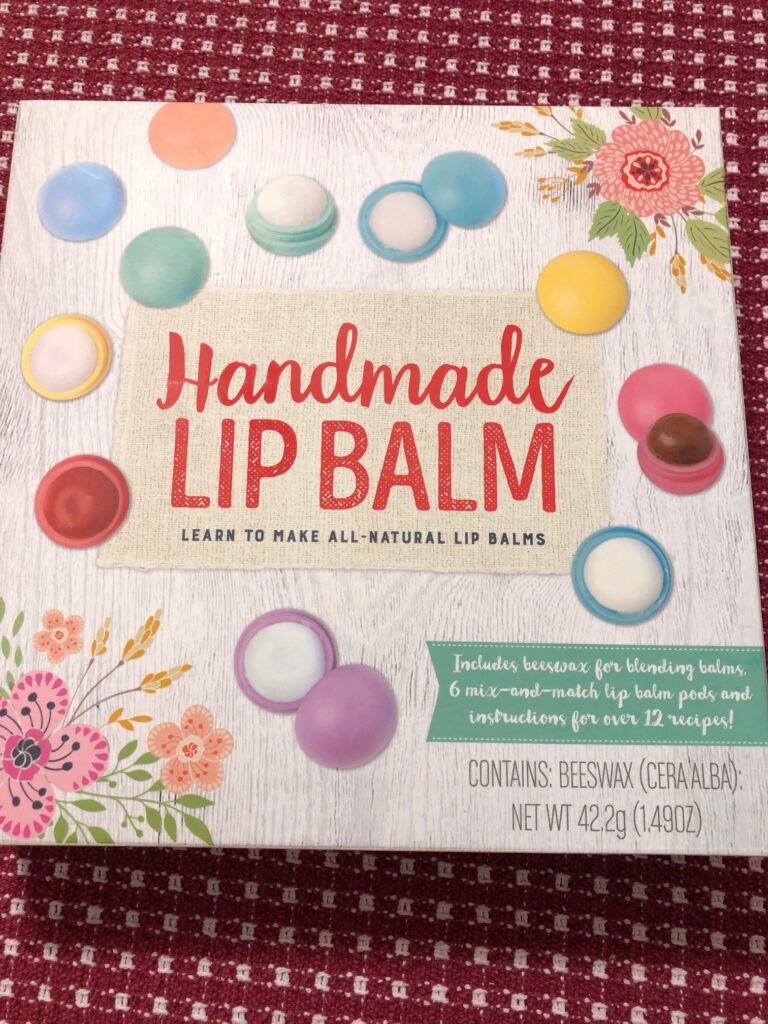
Now, I already make lip balm (details in the next post), but I thought this kit might be good to try with my granddaughters when they come to visit. I could not find any information on the box about appropriate age level for the kit, but if nothing else I thought maybe I could reuse the tiny containers. The kit cost $14.99.
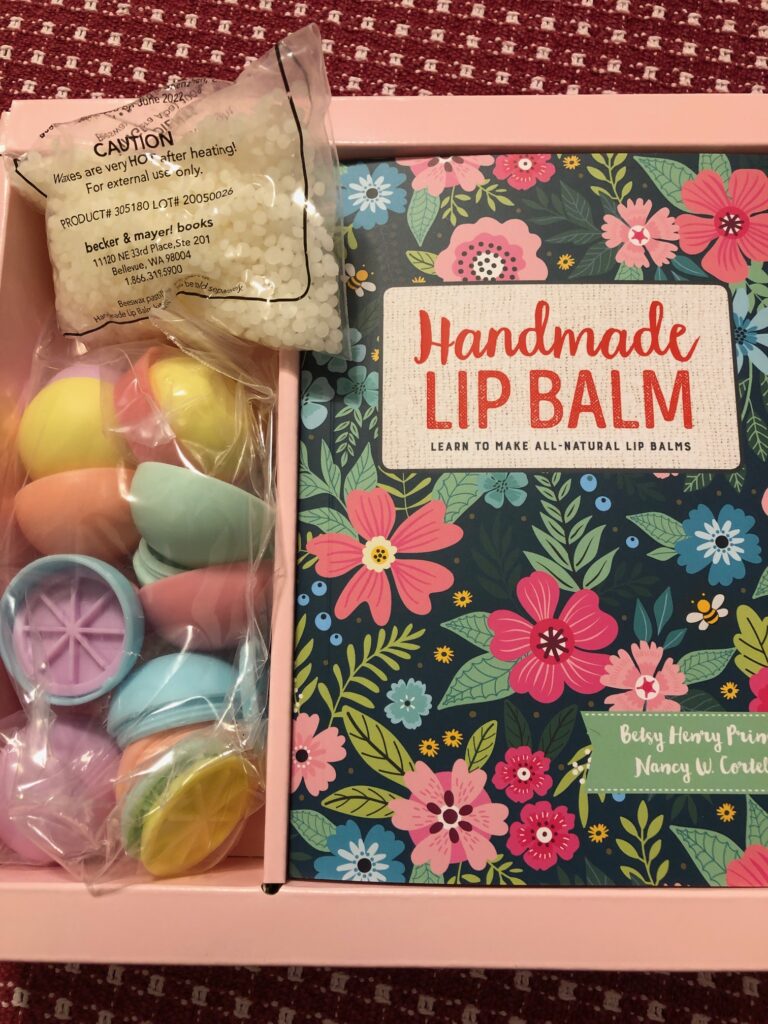
Inside, this is what I found:
A VERY tiny bag of VERY tiny beeswax pellets, 6 tiny egg shell-like plastic pieces, and an instruction manual.
The recipes also called for oil of your choice, a glass measuring cup, a stirring stick…which were not included, of course. There were 10 or so recipes with a list of other ingredients that could be added to the mix for flavor and coloring, like chocolate chips or essential oil. Seemed like a lot of extra supplies and work to make just one lip balm at a time.
I leafed through the manual and was instantly frustrated by the tiny type (must be old age!)
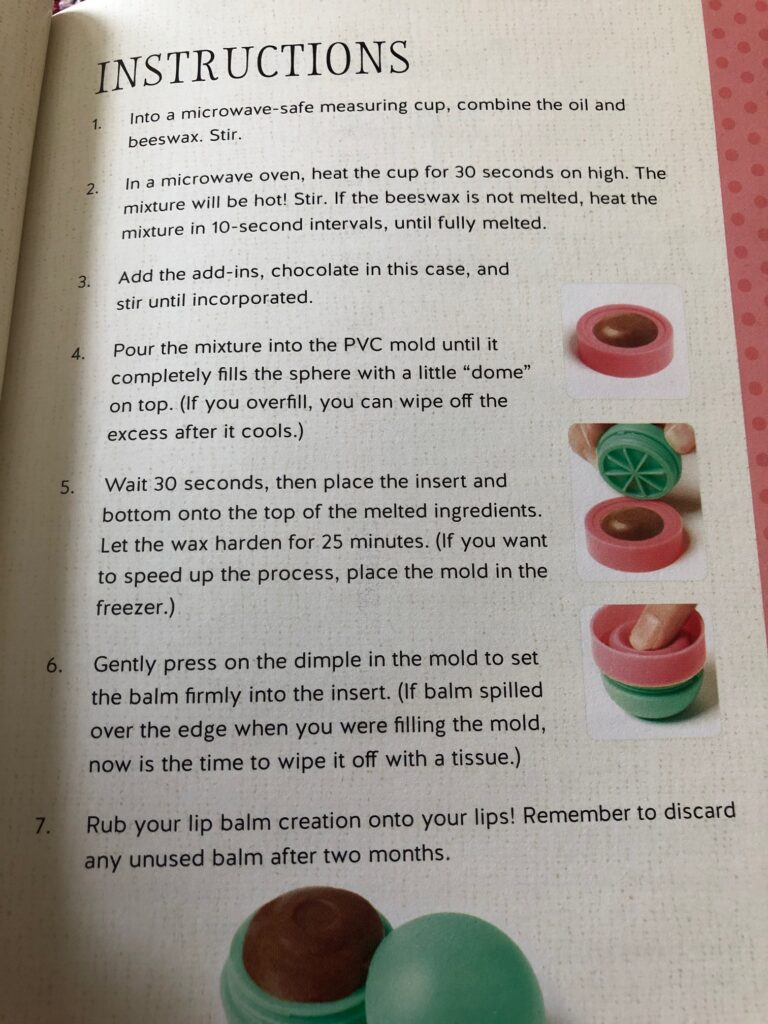
The measurements were in teaspoons and there was only one PVC mold. So basically, you melt enough ingredients to make 1 lip balm at a time with a wait/cooling time of at least 30 minutes.
So, I assembled the supplies and ingredients:
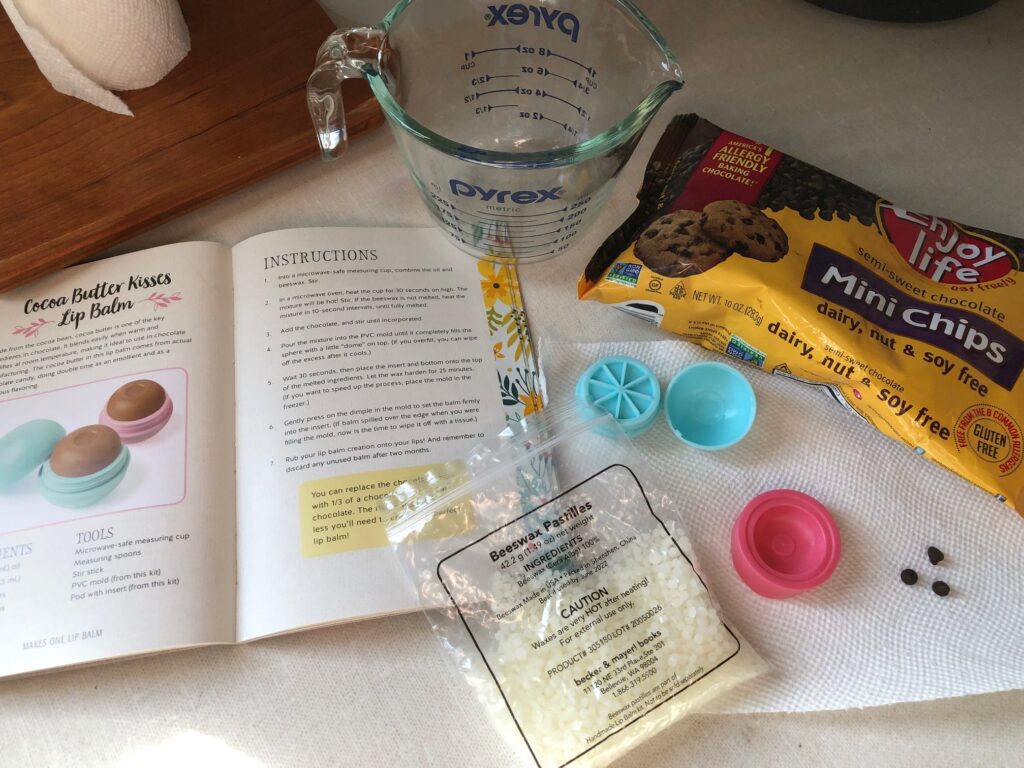
The only chocolate chips I had were vegan, but I assumed they would melt properly. I decided to use Almond oil for this experiment (forgot to take a picture of the oil and wooden stick!)
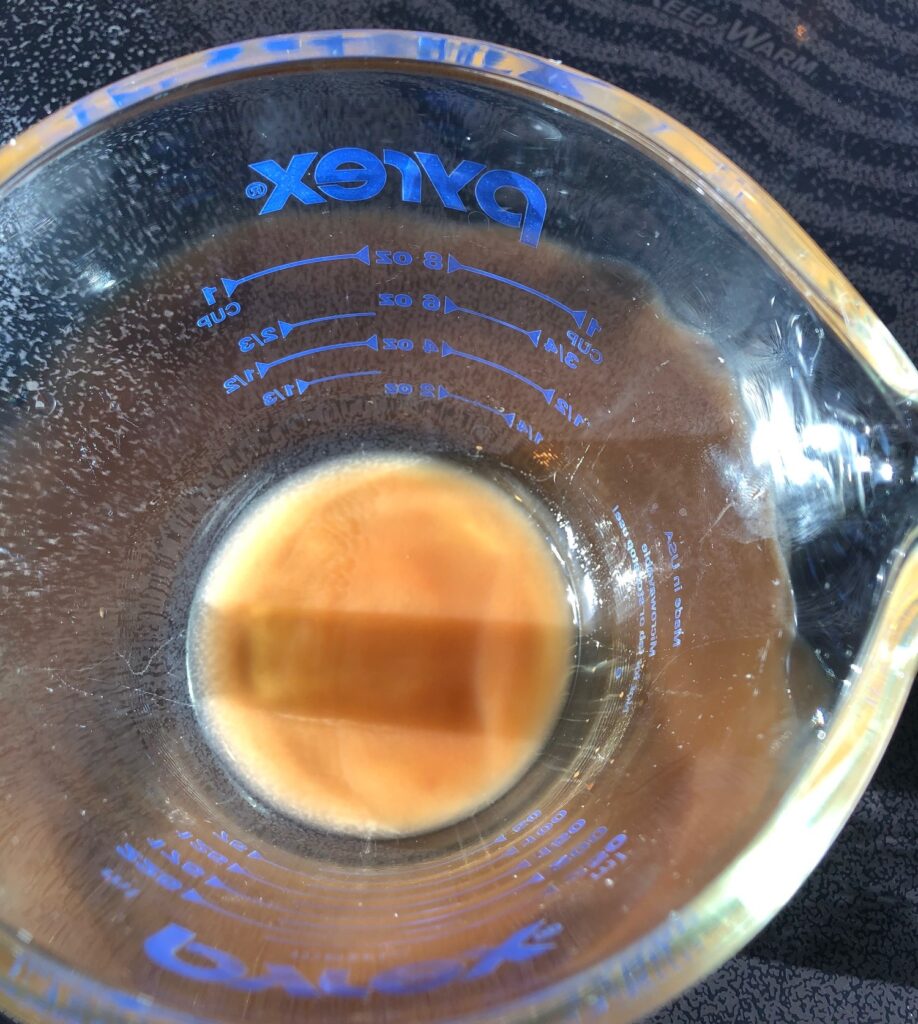
In my 1-cup glass measuring cup I put:
1 tsp. almond oil and 1/2 tsp. beeswax pellets.
I put the cup in the microwave, first for 30 seconds, and then 10 seconds at a time until melted. The glass gets hot…have a hot pad handy!
I added 3 tiny chocolate chips and stirred them in until melted.
I poured the mixture into the PVC mold.
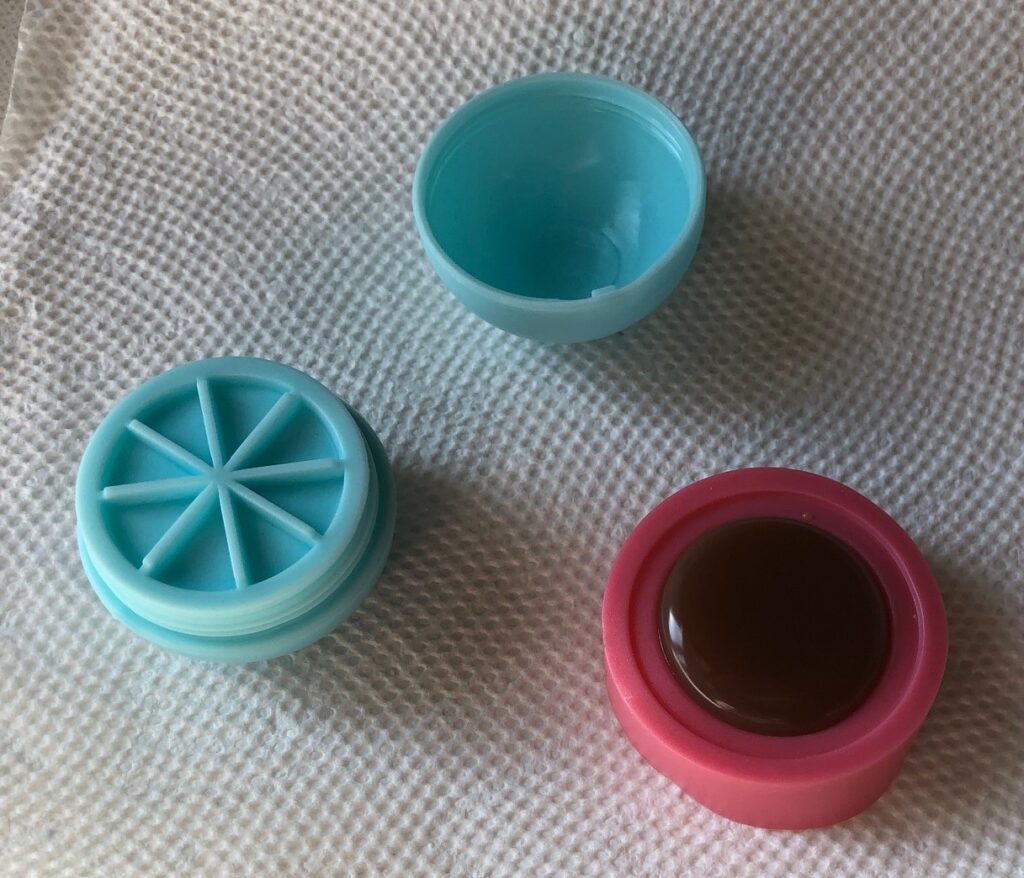
After 30 seconds I placed the bottom section of the holder with the grid insert over the mold and pressed gently.
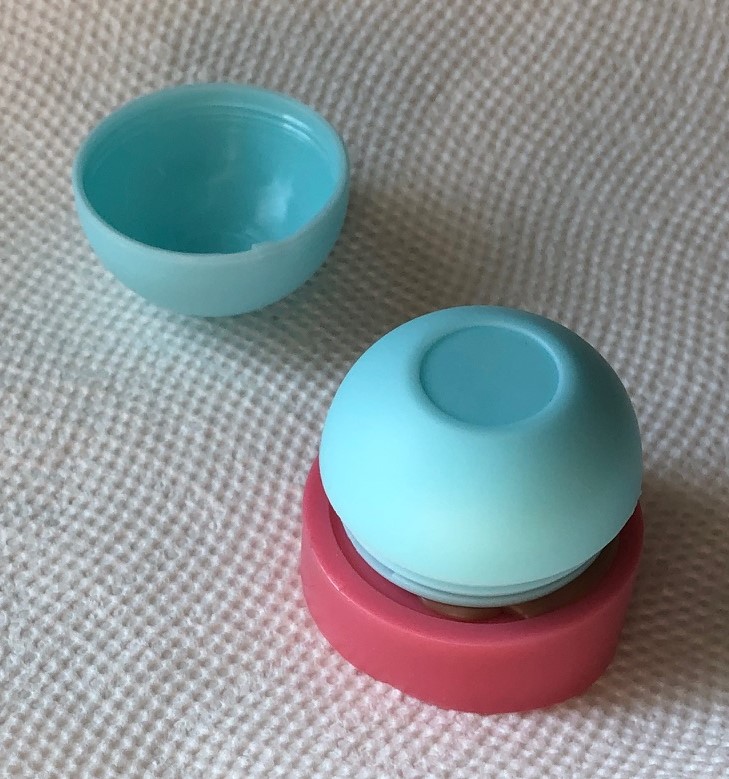
After 30 minutes, I flipped the mold over and pressed out the beeswax lip balm.
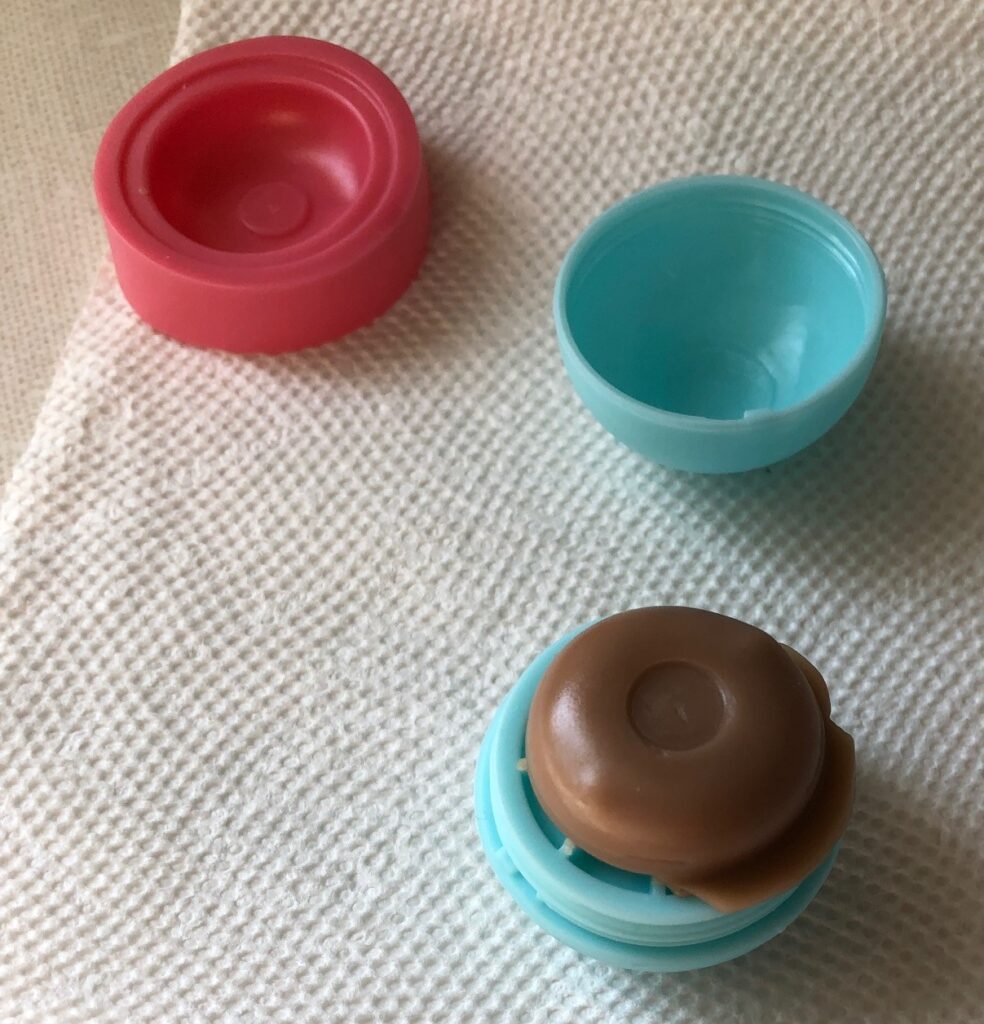
TA DA! My very own chocolate lip balm! Seemed like a lot of work to end up with just one! The plastic egg shell pieces don’t quite screw together tightly so I’m not sure I’d carry this in my pocket where it might warm up and melt a little!
Because of the hot wax and oil, I would recommend supervising the production and clean-up of these lip balms.
(Remember to wipe out the warm glass cup well with paper towels before trying to wash it. If the wax goes down a drain it WILL clog the drain as it cools!)
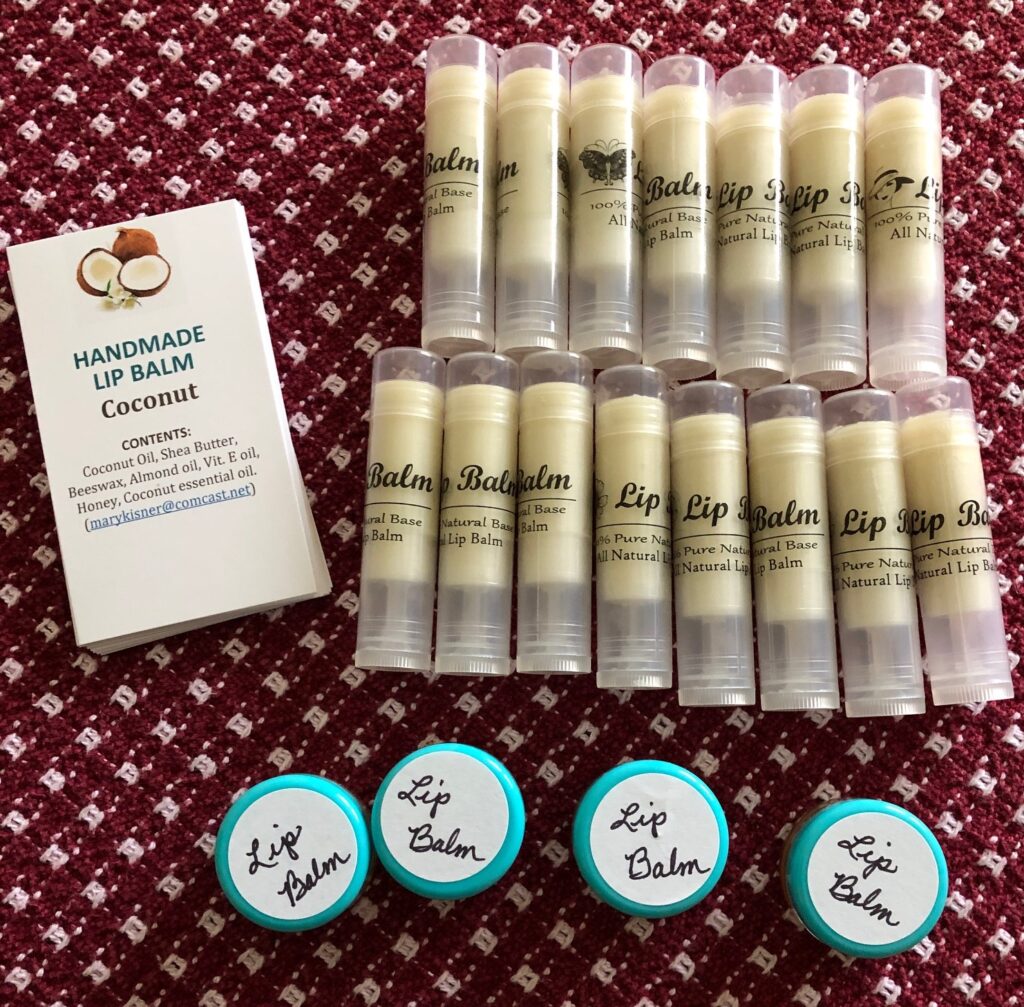
After making this single serving lip balm, I went ahead and made a batch of my own lip balm (check the next post!) Much more satisfying (to me) to have something to show for my time and efforts! Here’s one batch of my lip balm: