
This post is a continuation of Part 1 (See https://marykisner.com/tis-the-season-part-1-paper-soap-and-fabric/) Keep in mind that making gifts or decorations for the holidays is a great way to involve the whole family. Using clay (polymer or air-dry) is familiar to most folks. The youngest have used some kind of play dough since preschool. Older folks may not have worked with clay, but the physical manipulation of soft moldable stuff is similar to working with bread dough in the kitchen or even putty in the workshop.
The two kids of clay I’d like to share are Polymer Oven-Bake Clay and Air-Dry Modeling Clay.
Polymer Oven-Bake Clay
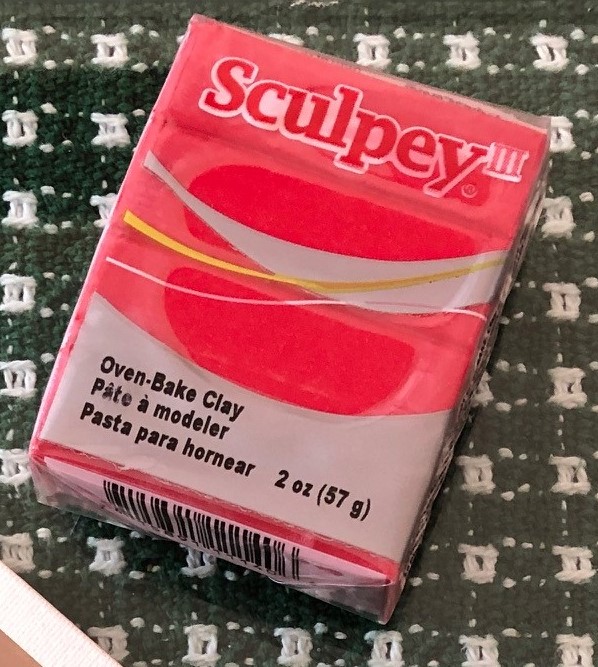
This clay comes in small, 2 oz. packages. There are several brands available and many colors. The Sculpey brand shown above is my preference because it’s a little softer to work with. The best thing about oven-bake clay is that it can be molded and remolded as desired until you like the finished product. Unused pieces of clay can be stored in a zip lock plastic bag and easily used another day. Once you have determined you are done making something, then it is baked in the oven (or toaster oven). When completely cooled, it is firm and unbreakable. At that point it can be painted or shined with mica powder as desired.
Young children can enjoy working with this clay and the final process of baking can be handled by an adult.
Basic Tools to Work with Polymer Clay
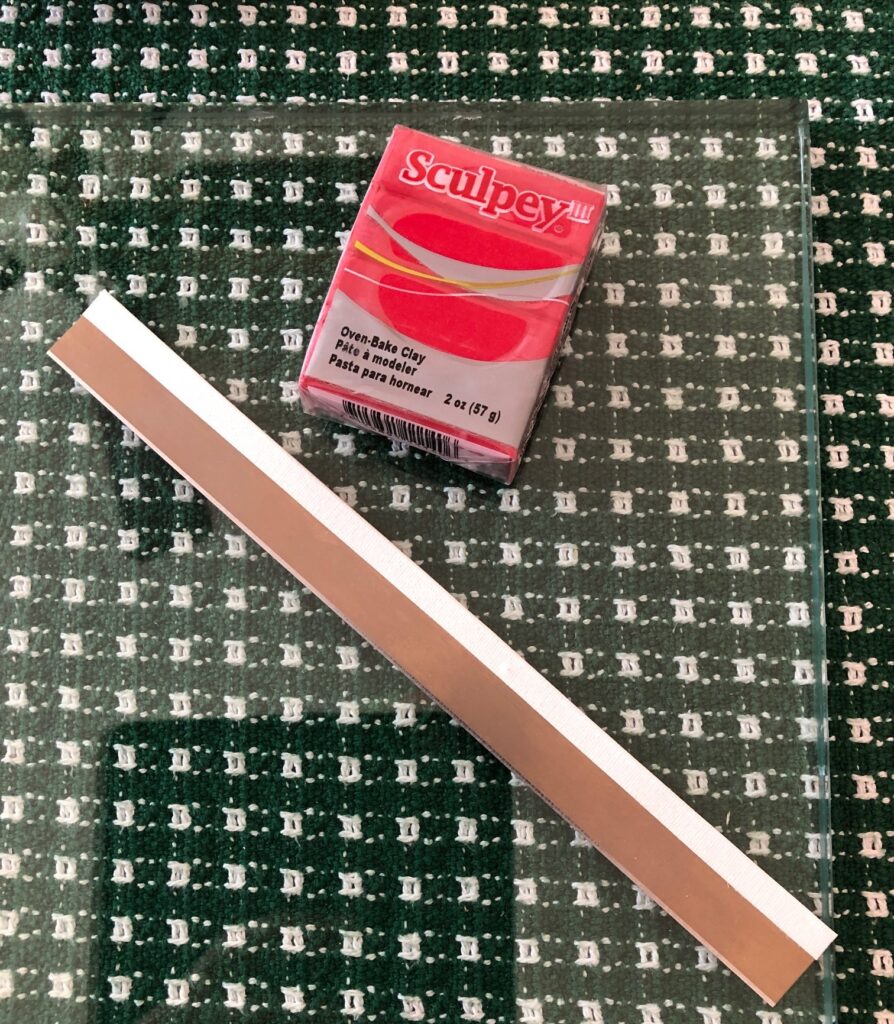
This clay will need to be worked on a firm surface. I have a piece of thick 3/8″ class that Bert got from the local glass business. I can use it right on top of my tablecloth. It gives me a firm surface that is easy to clean after working with the clay.
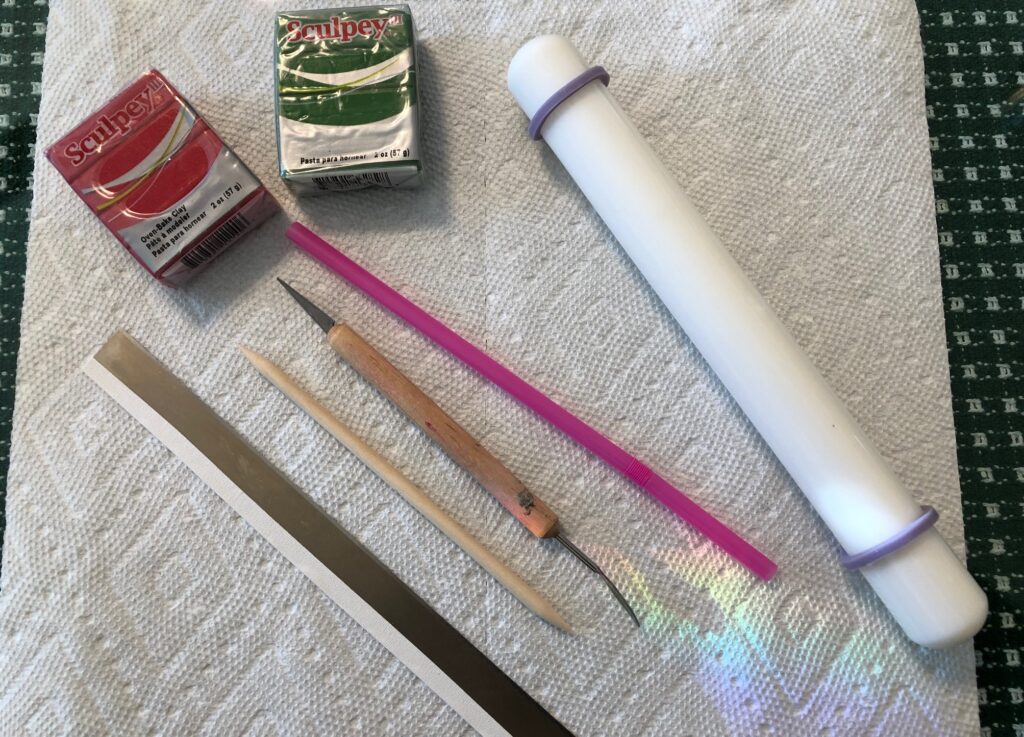
These are the basic tools you will need:
–a rolling pin or something easily washable
–a long blade to slide under pieces of clay to remove them from the work surface
–assorted hand tools to mark, poke or cut pieces of clay
–a plastic straw to make a hole just the right size to hang your project, if desired
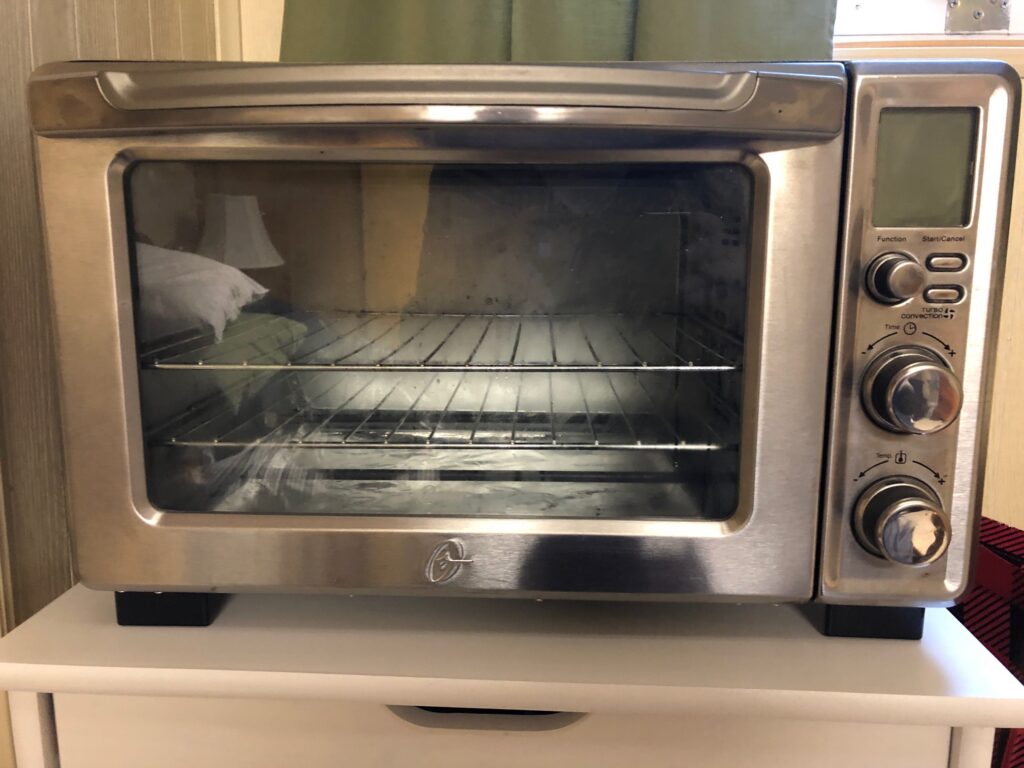
–an oven or toaster oven to bake the finished project. (I have an old toaster oven that is dedicated to baking this clay)
Making Flat Objects with Polymer Clay
To make flat objects with this clay, you will need to flatten it out with a roller of some kind. Then you may want to press a design into the clay. Almost any item with an interesting texture can be used to make a design. Here are just a few ideas:

Interesting designs on rollers that are used in working with fondant are available in the cake decorating section of a craft store. Many stamps that are also used with ink can press a design into the clay. Acrylic shapes often come in craft magazines. They can be peeled off the plastic and placed into an acrylic block. This is then used to press the design into the clay.
Cutting Out Shapes in Polymer Clay
Once you have a design pressed into the clay, choose a shape to cut out the final piece. (If you cut out the shape first, pressing the dough may change the shape…so press designs first.)
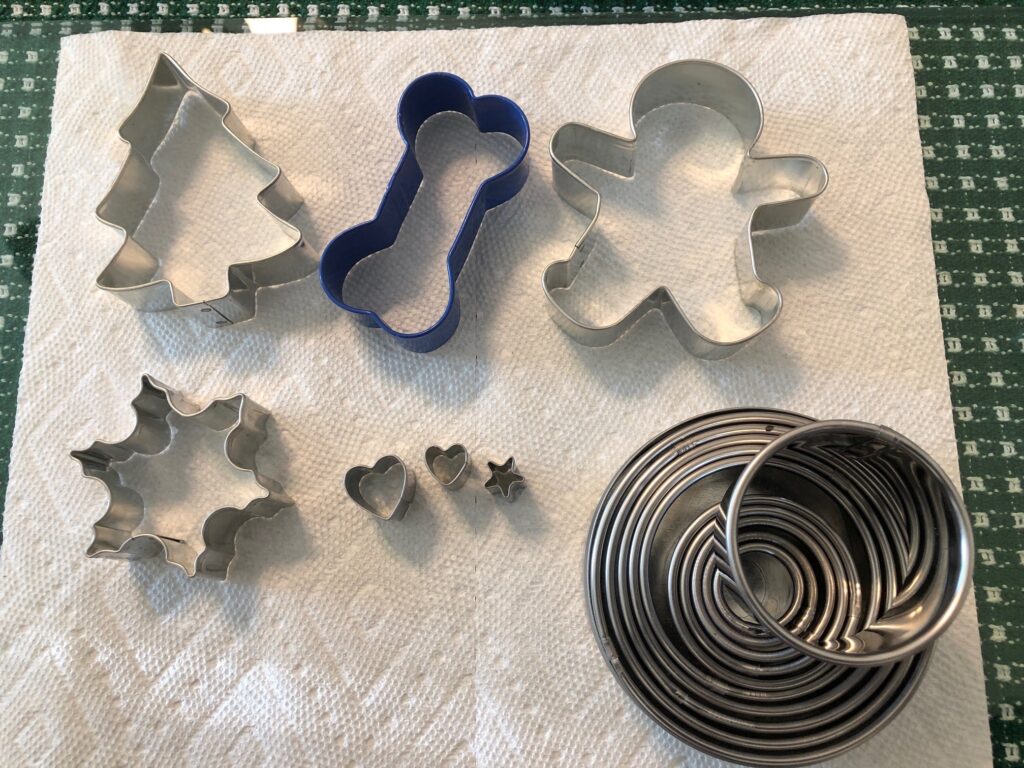
Now is a good time to pull out any cookie cutters you have. The metal ones are sharper and will give you a clean edge. The tiny cutters above can be used to make decorative holes…or cut clay pieces in a different color to glue on to the finished product after baking.
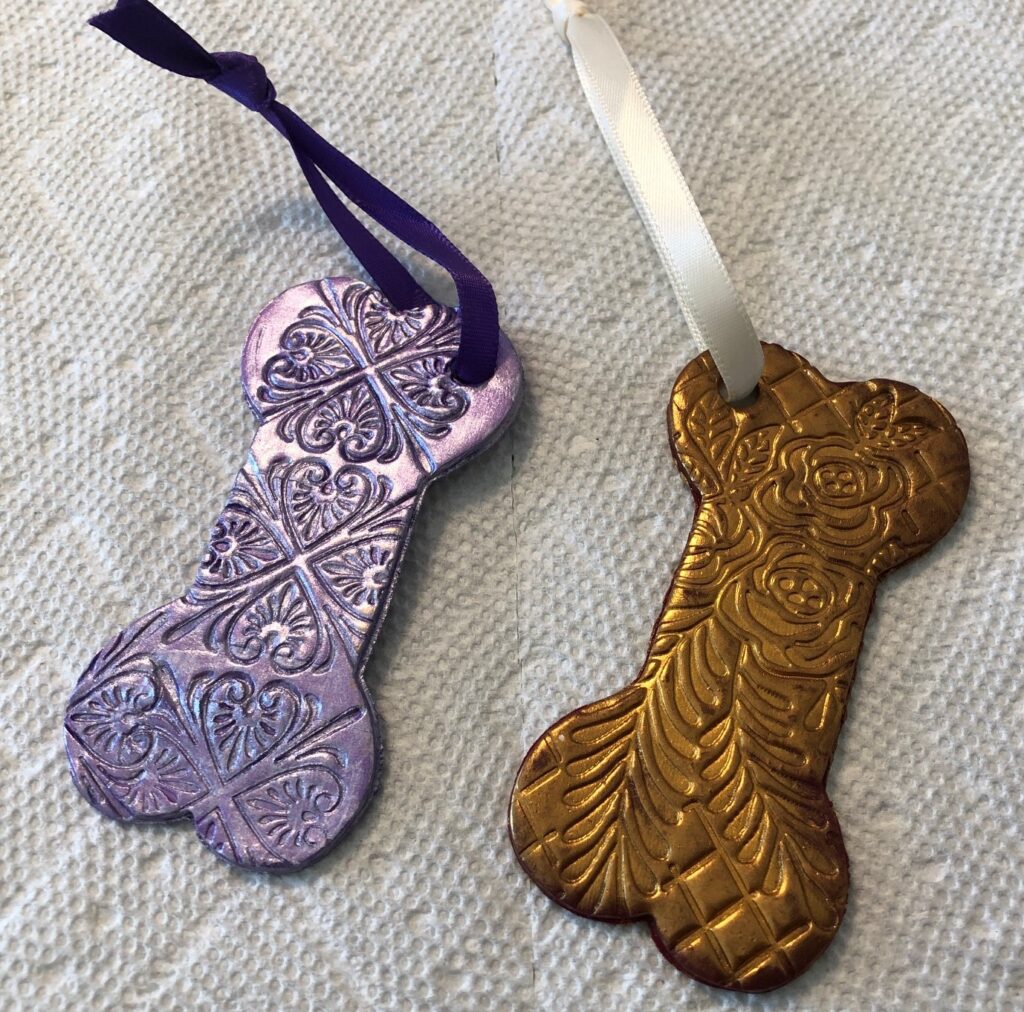
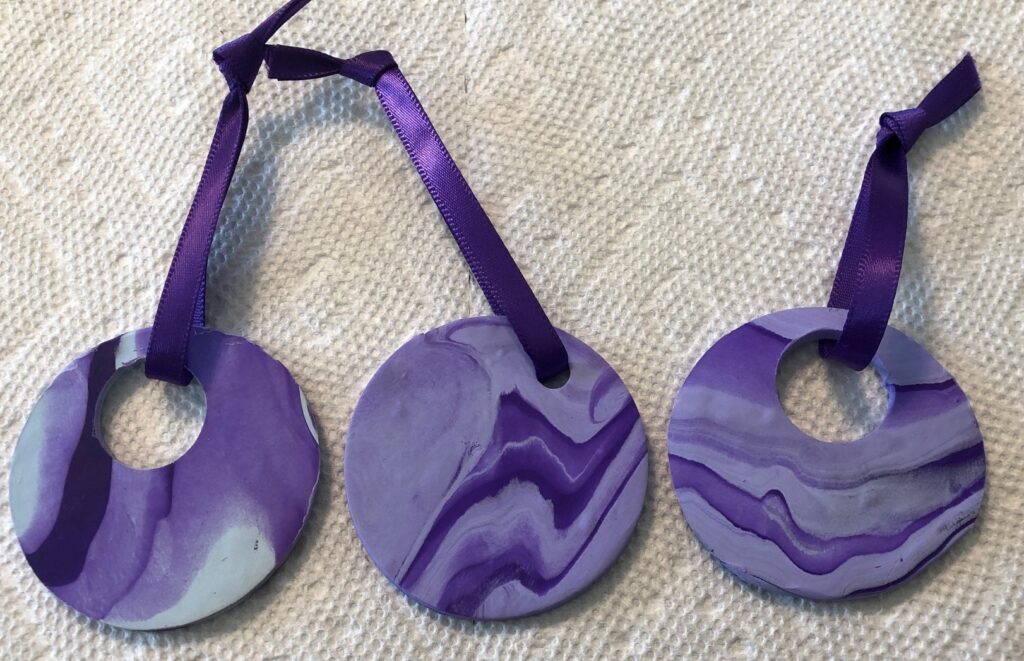
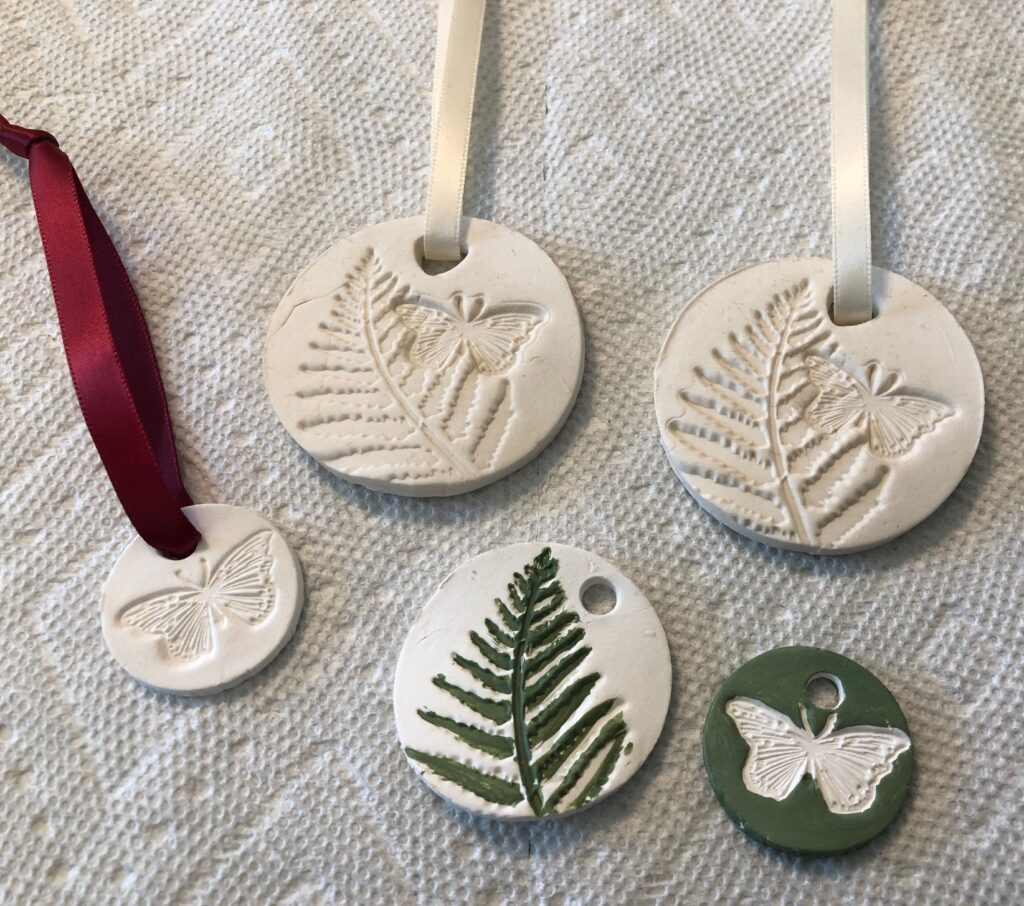
Samples of Flat Objects
Here are some examples of things I’ve made over the years. Most seem to end up as ornaments for Christmas.

Free Hand Clay Objects
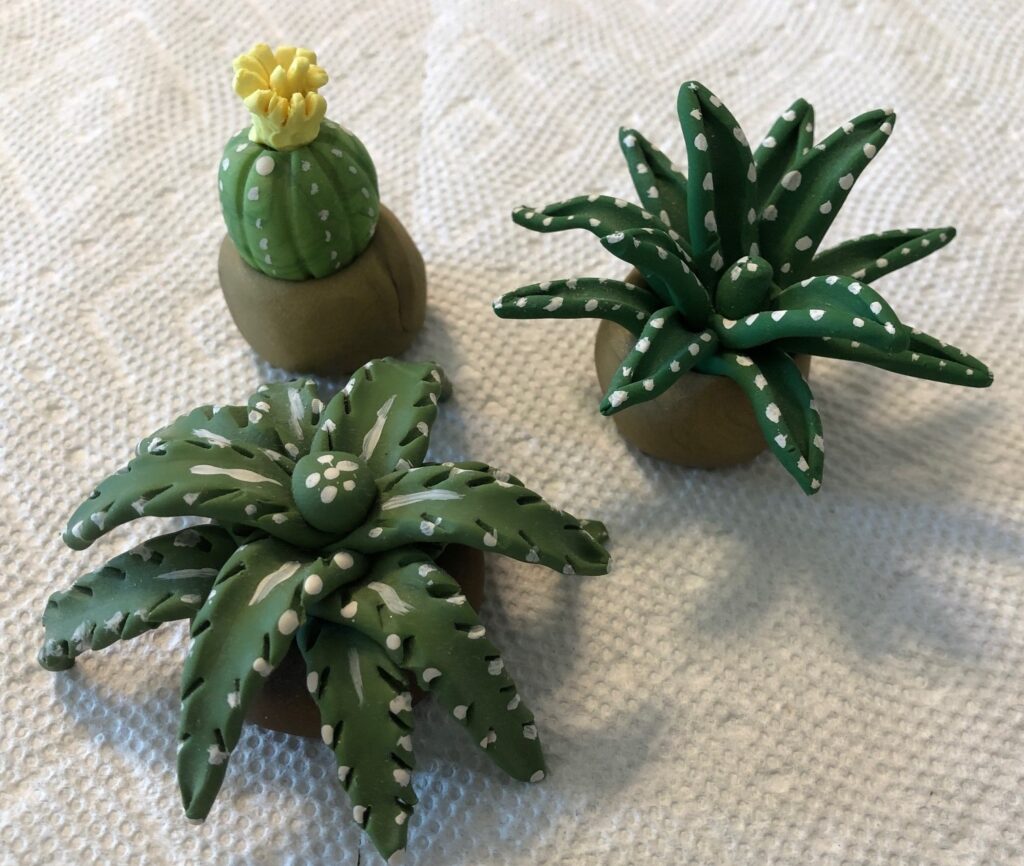
When I first started working with polymer clay, I found many ideas on Pinterest. I started with miniature plants. It looked so easy…not! My first few plants were probably all I’ll ever make, but they’ll last forever!
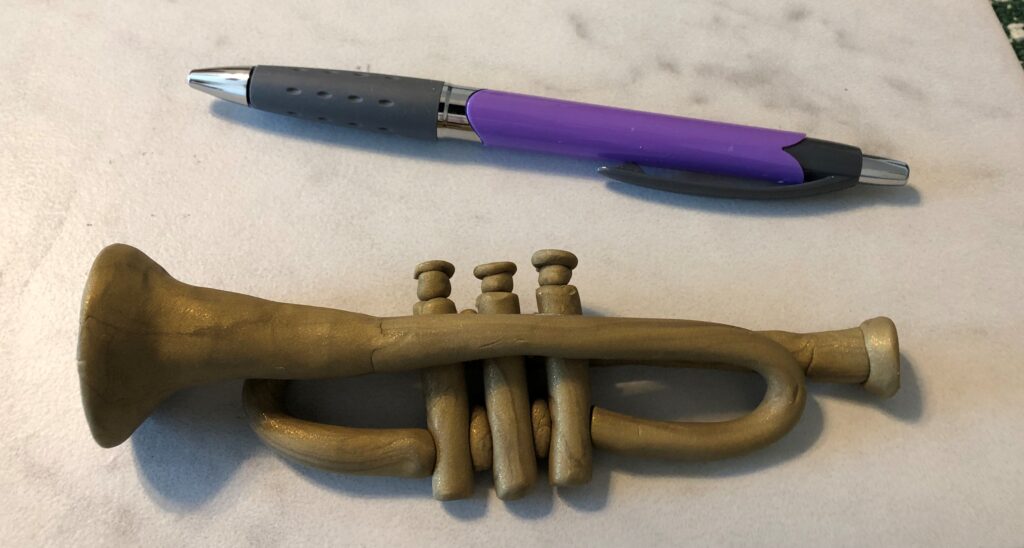
Then I thought I’d try a tiny trumpet and drums for my grandkids.

Making objects in the shape of an animal is definitely not my strength. However, if you can follow directions, you will find many great ideas on Pinterest. These step-by-step instructions will appeal to a generation of folks that were raised on LEGO instructions! Check out how to make a Turtle!

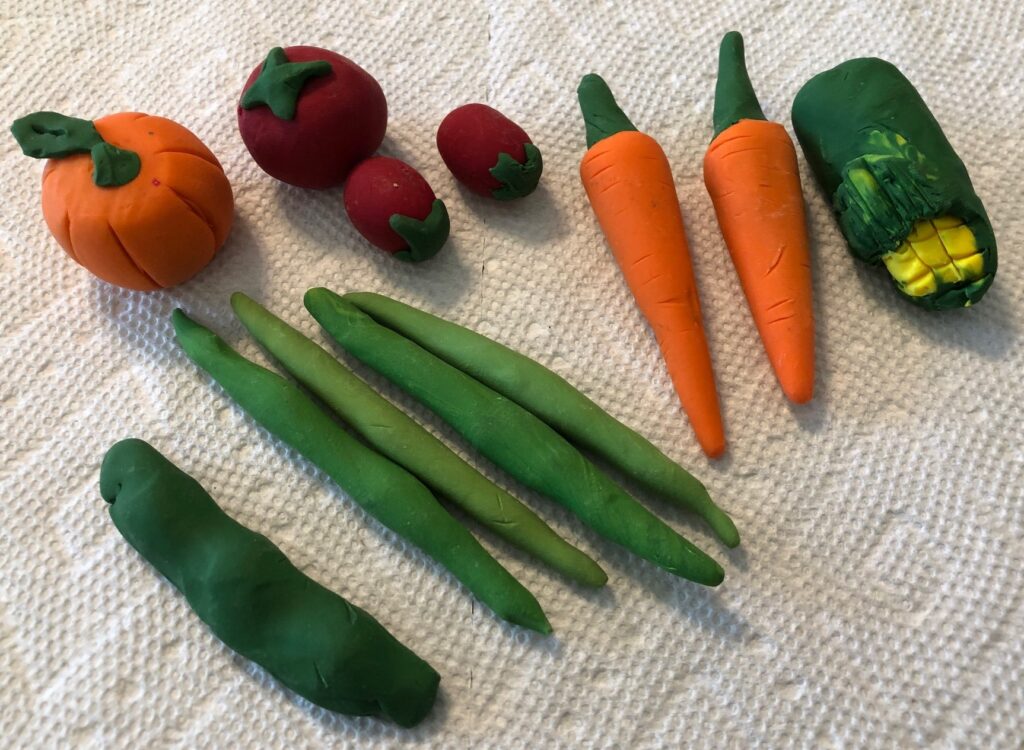
The best surprise was my Christmas present from my grandkids the year I was working with all this clay. I had given them an assortment of clay and tools and we had fun playing with them When Christmas rolled around, they gifted me my own crate of clay vegetables…perfect for a gardening grandma!
Air-Dry Modeling Clay
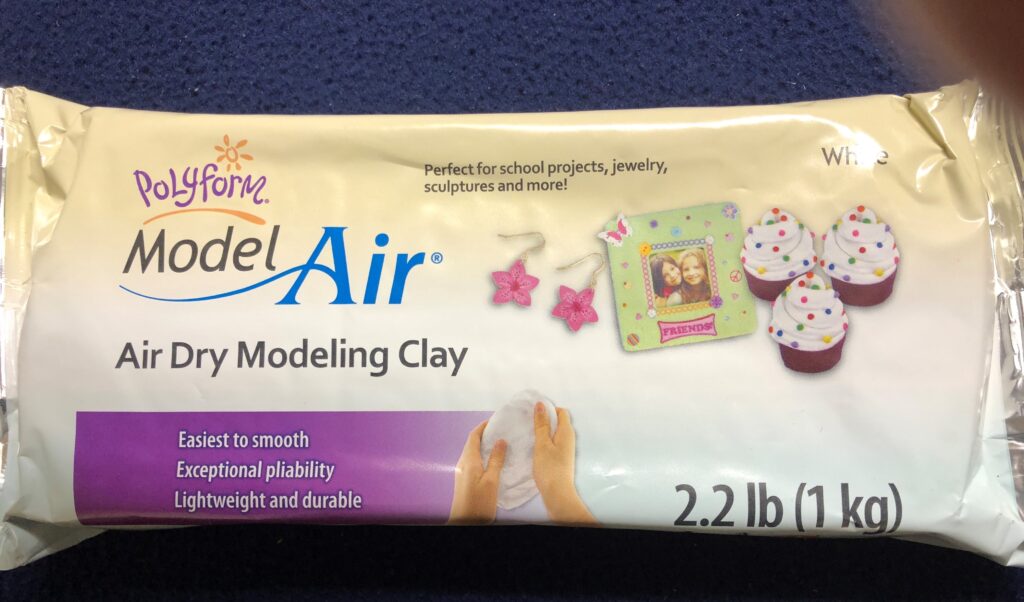
After working with Polymer Oven-bake Clay, I found working with Air-Dry clay difficult. It was not as forgiving and started to dry very quickly. It tended to crack easily, so pieces had to be thick enough. Solid objects took forever to dry completely.
So, my work with this clay focused on smaller circles of clay that could be quickly pressed with a design and left to dry. I did find that pieces had to be at least 1/4″ thick or more or they would not dry flat. I spent the day carefully turning each piece over as they dried.
The best advantage of using air-dry clay, was its ability to absorb essential oils. Now I had a way to capture my favorite oil scent to make my drawers and closets smell good. I also made a bunch of Christmas ornaments that could be soaked with the scent of the holidays to add to the Christmas tree. So, this clay has its uses.
Making clay objects or holiday decorations with kids and grandkids can be a fun way to get everyone involved. Skill levels can vary and everyone can participate. Enjoy!
Please comment or email me directly at marykisner@comcast.net.