
In the last post, I shared a kit that makes just one lip balm at a time. Great to know how to do it but I’d much prefer to spend almost the same amount of time and a few more ingredients to end up with more than one of something!
If I’m going to spend the day making bread, I’d sure rather have 6 loaves than just 3. I think it’s because I like to share a loaf with my neighbors! Same issue with lip balm, lotion bars and soap! Of course, that means I end up with stuff to share all the time. So be careful if you stop by, I might hand you a lip balm, a nifty bar of soap or a loaf of bread!
So, here’s the recipe to make a regular batch of Honey Lip Balm:
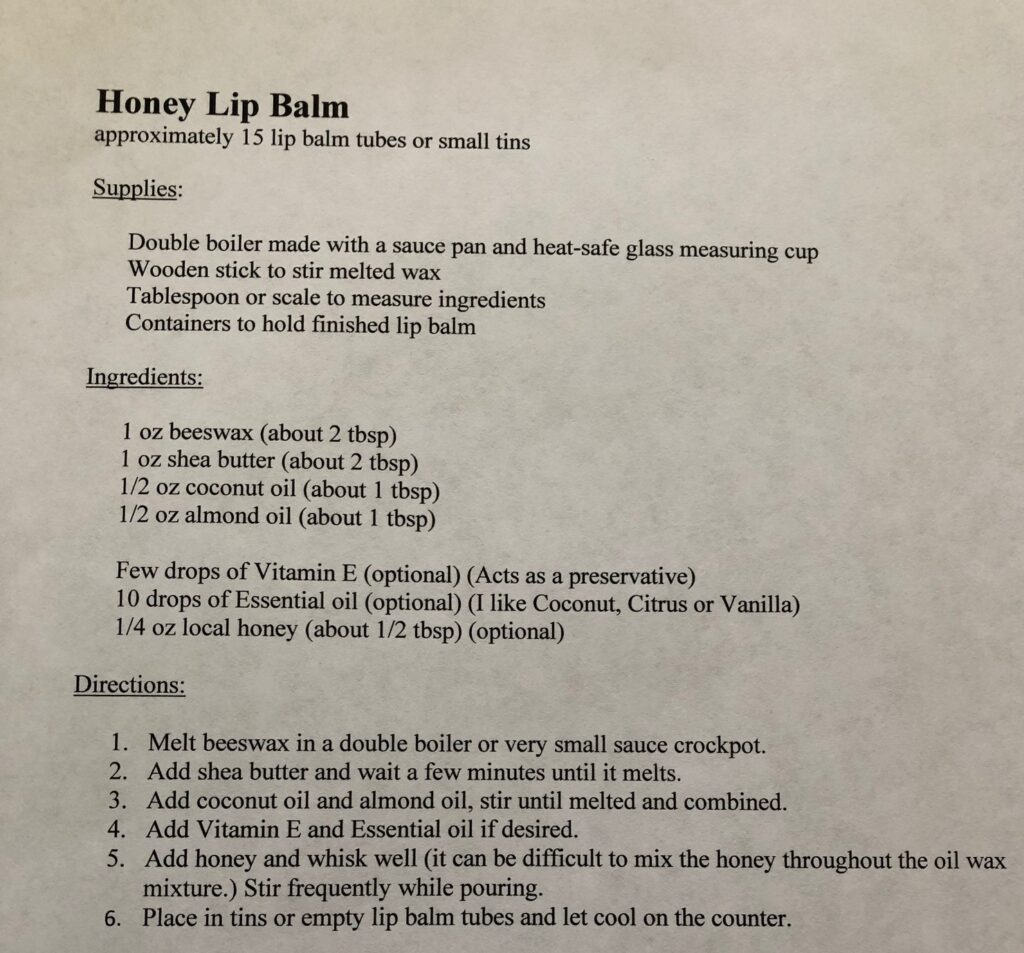
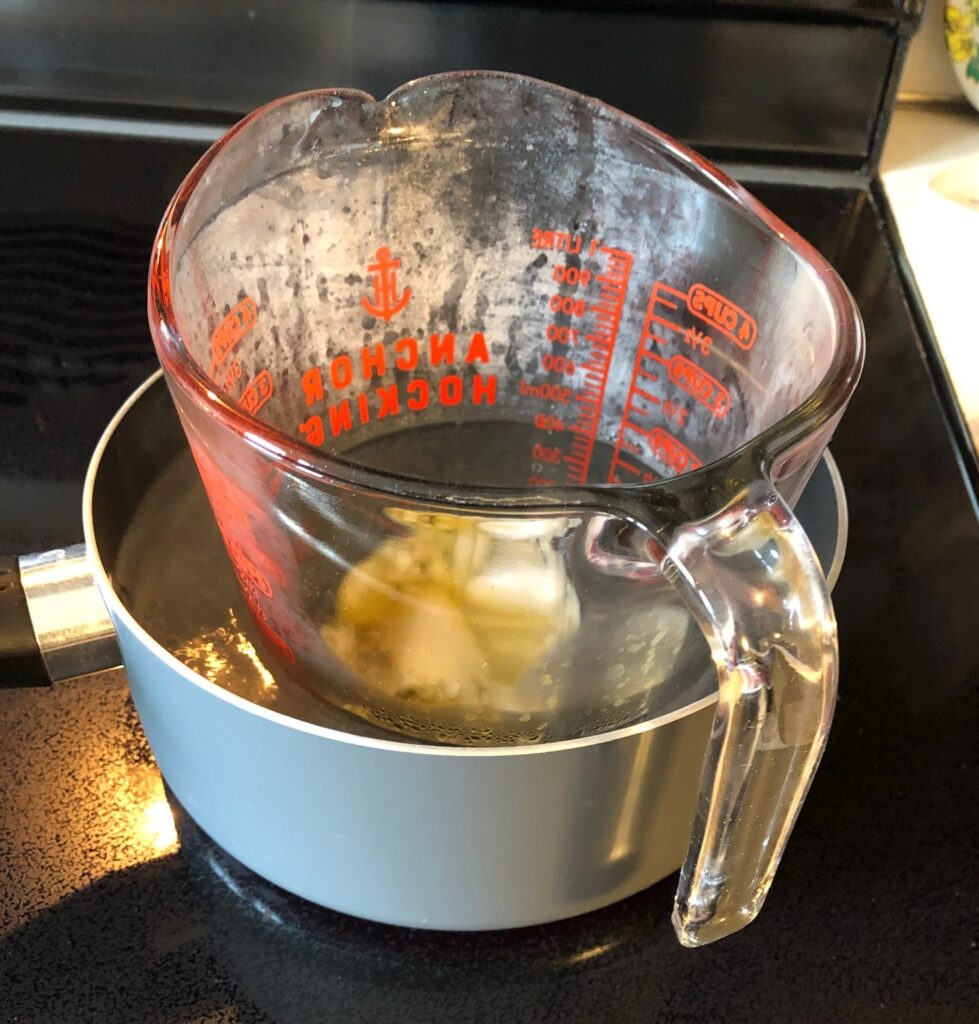
You will need a double boiler made with a sauce pan and a heat-safe measuring cup. This will melt the wax but keep it from getting too hot.
Some folks use the microwave, a few seconds at a time. It drives me nuts to open and close the door of the microwave every 10-20 seconds for several minutes and I can’t monitor the wax to make sure it doesn’t get too hot.
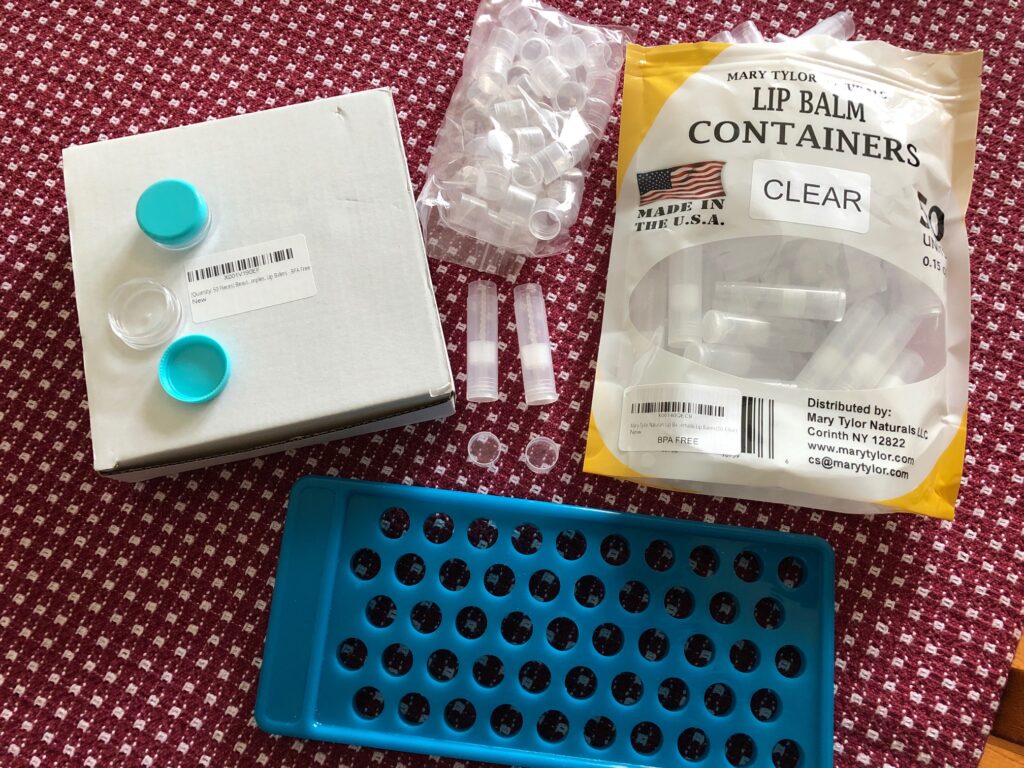
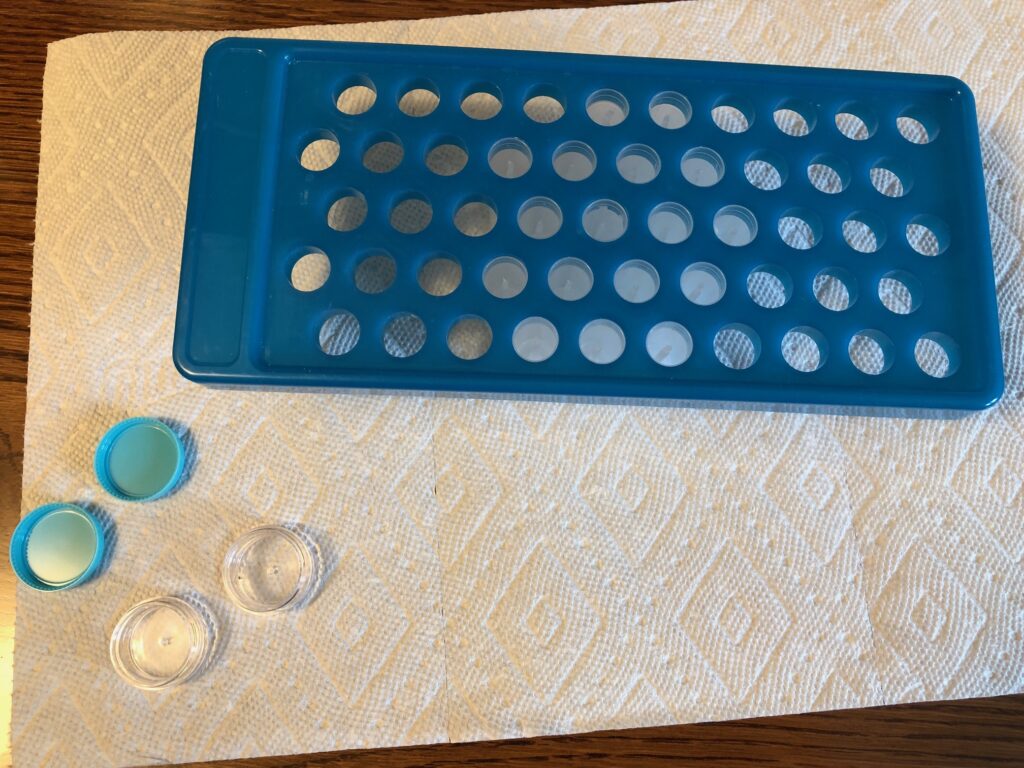
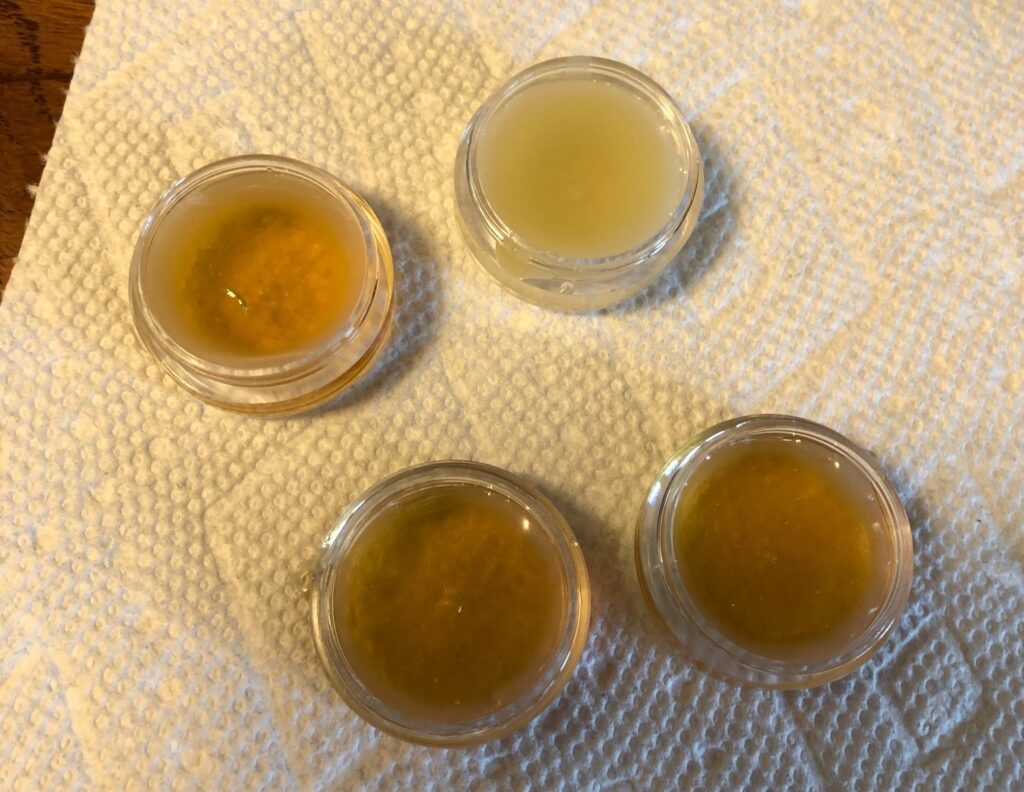
Before you start, decide what kind of container you want to put the finished melted lip balm into.
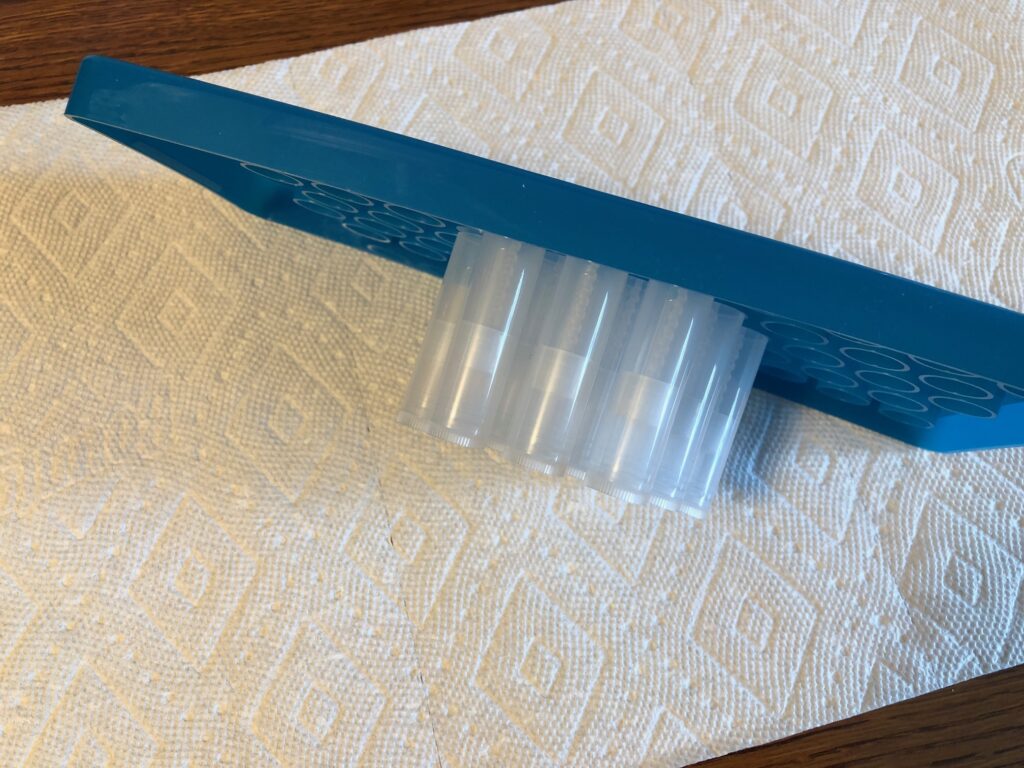
I purchased regular holders and I also have very small plastic containers. All can be purchased on Amazon. If you decide to use regular holders, make sure you also get the rack to hold them upright so you can pour directly into them.
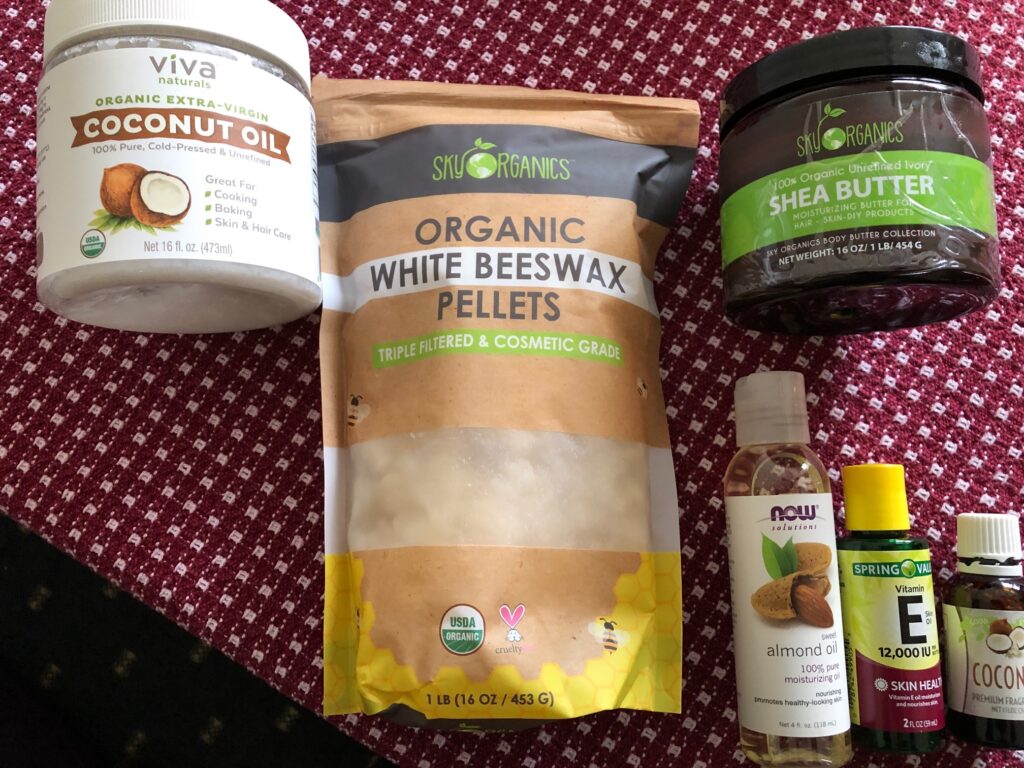
Next, assemble your ingredients. I use white beeswax pellets, coconut oil, shea butter and oil. In this project I chose Almond oil.
Optional ingredients include: Vitamin E serves as a preservative; the Coconut essential oil gives it some flavor (you could choose citrus or vanilla); and a tiny bit of honey is always nice. All three of these ingredients are optional.
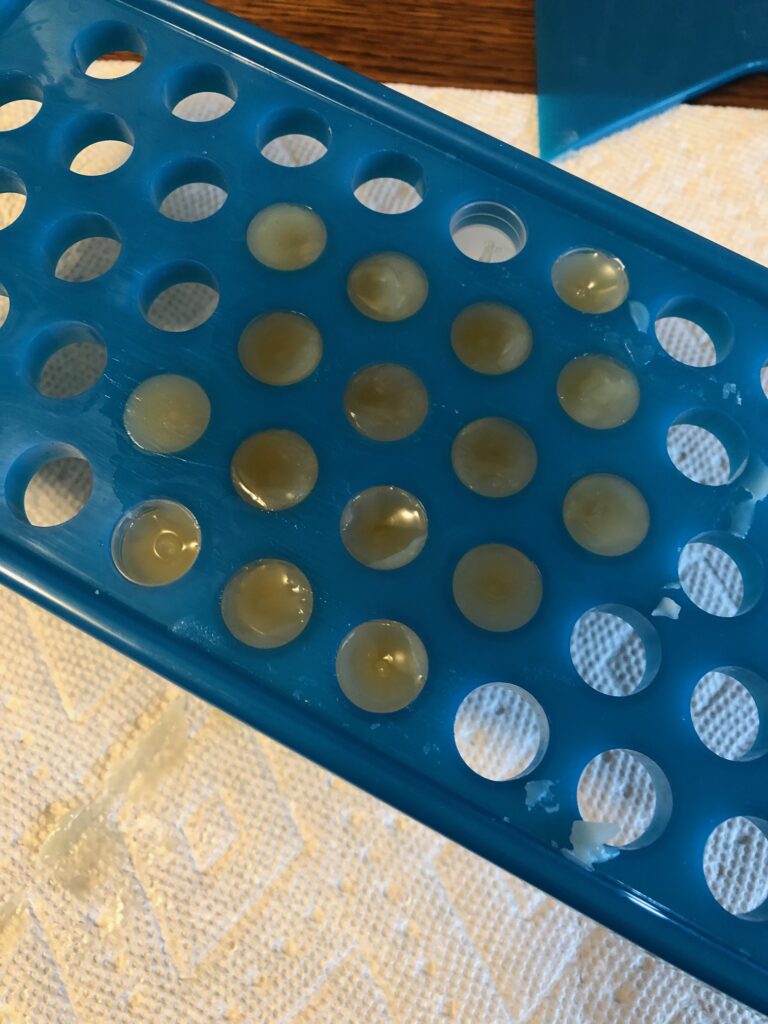
Before starting to melt the ingredients, attach the lip balm tubes to the holder, starting in the center so when the holder is flipped upright they are stable without having to be held. Open any small containers.

Measure the beeswax, coconut oil, shea butter and almond oil into the glass cup.
Place the cup into the sauce pan with several inches of water and bring the water to a gentle boil. Use the wooden stick to stir as needed.

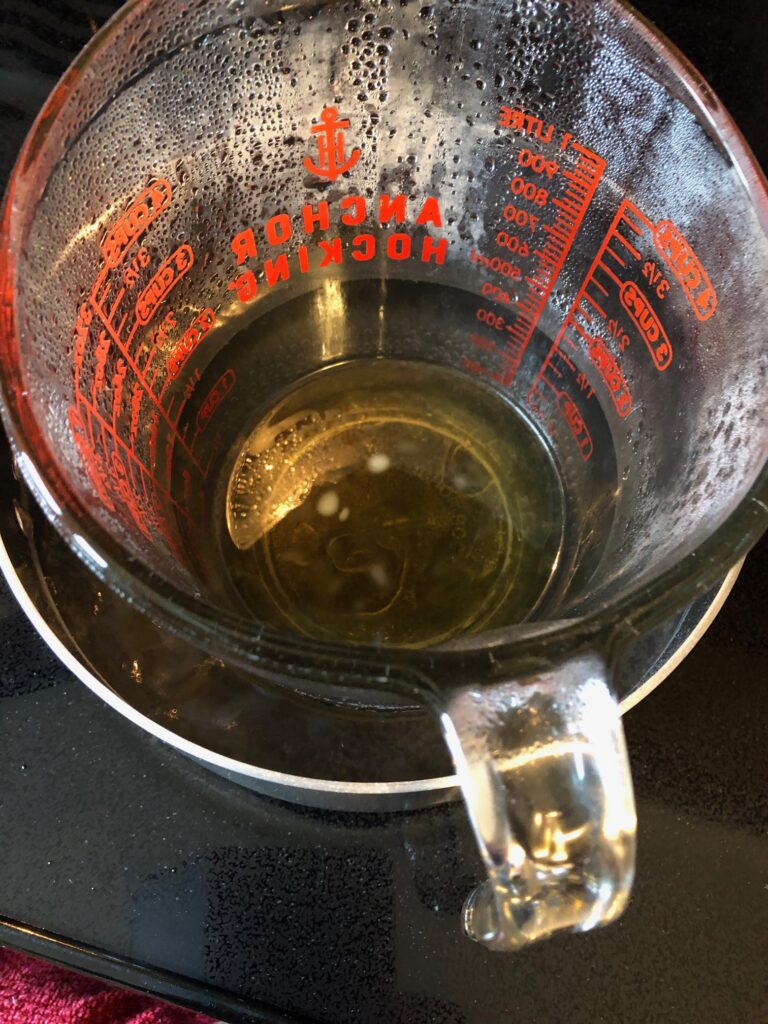
When completely melted, turn off the burner.
Add the Vitamin oil and the Essential oil if desired. Stir well,
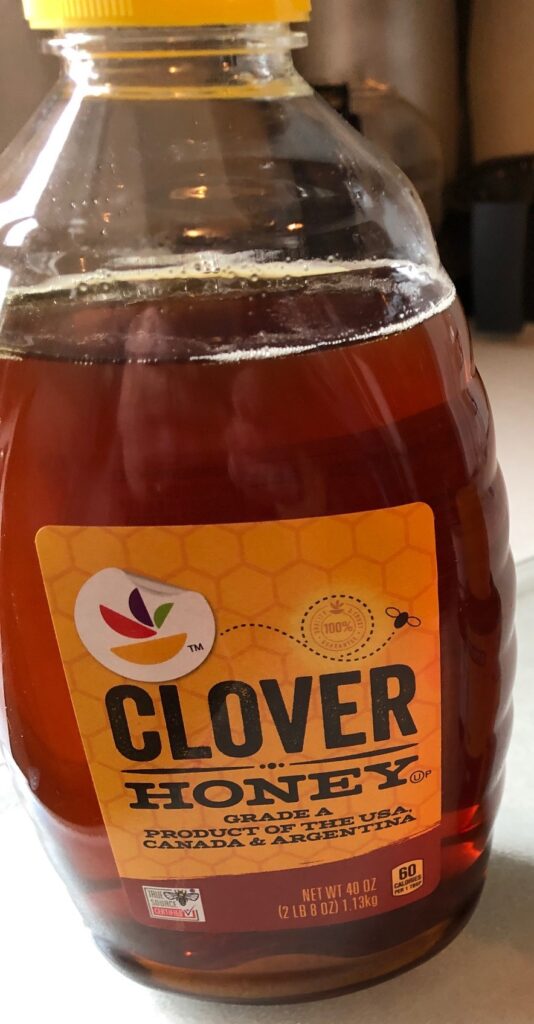
Add the honey. Mix thoroughly.
As you pour the wax into the holders, stop every now and then and stir again. The honey does not stay mixed easily.
While things are cooling, carefully wipe the wax out of your glass cup.
DO NOT POUR WARM WAX DOWN THE DRAIN. IT WILL CLOG YOUR DRAIN AS IT COOLS!
Once you have wiped out as much as you can, it is safe to put the cup in the dishwasher.
Let the holders cool for at least an hour. Use a paper towel to wipe off any drips around the holders.
The Lip Balm holders come with labels (or they are sold near the holders). Regular circular labels work well on the small round containers.
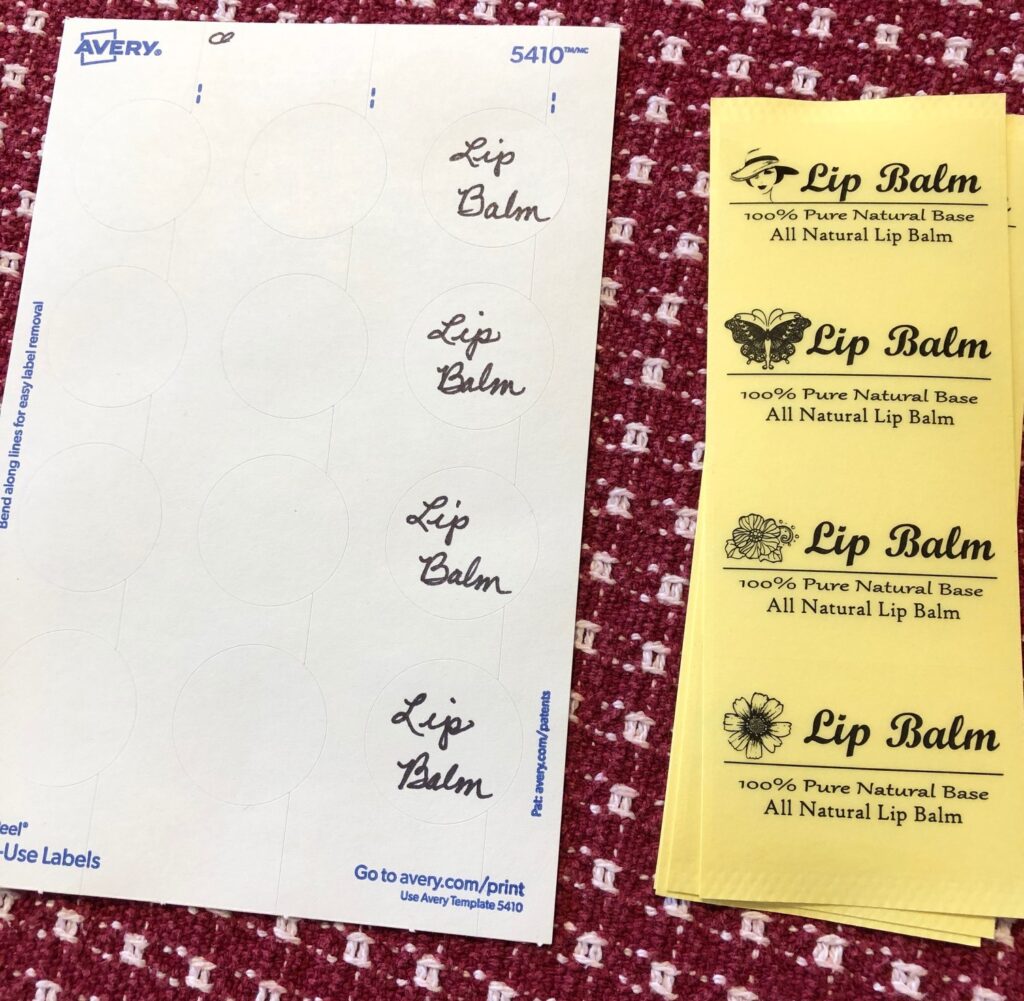
After I make a batch of any body product, I make a card to go with it listing the ingredients. Many folks are sensitive to certain ingredients and I don’t want anyone to have a bad reaction to something I make.
NOTE: If you decide to make things like this to sell at craft fairs, PLEASE do the research about legal requirements for labeling your products.
