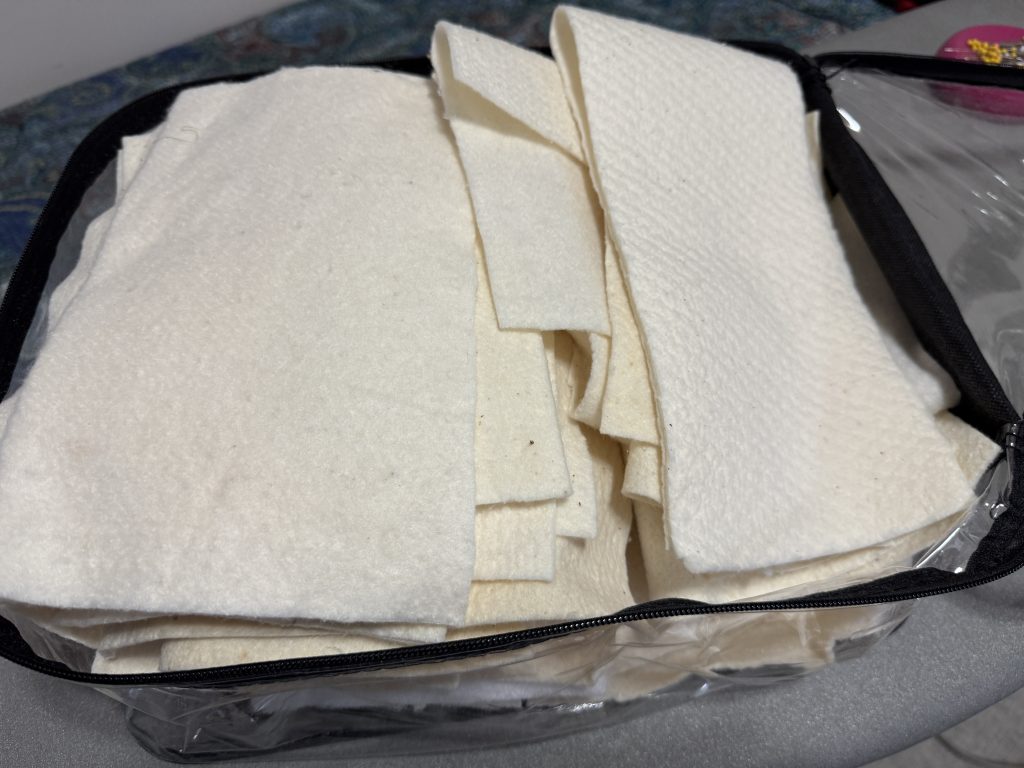
Sometimes my inspiration for new projects is triggered when I clean up from a previous one! When I finished making multiple sizes of the hot pad cozies in my last post, I had a pile of batting scraps left over. Usually, I stuff them into a clear tote I have on the shelf. These scraps are handy when I need just a small piece of batting for a small project. However, I was still thinking about the hot pad cozies and I knew I’d need 10″ to 12″ squares of batting to make more.
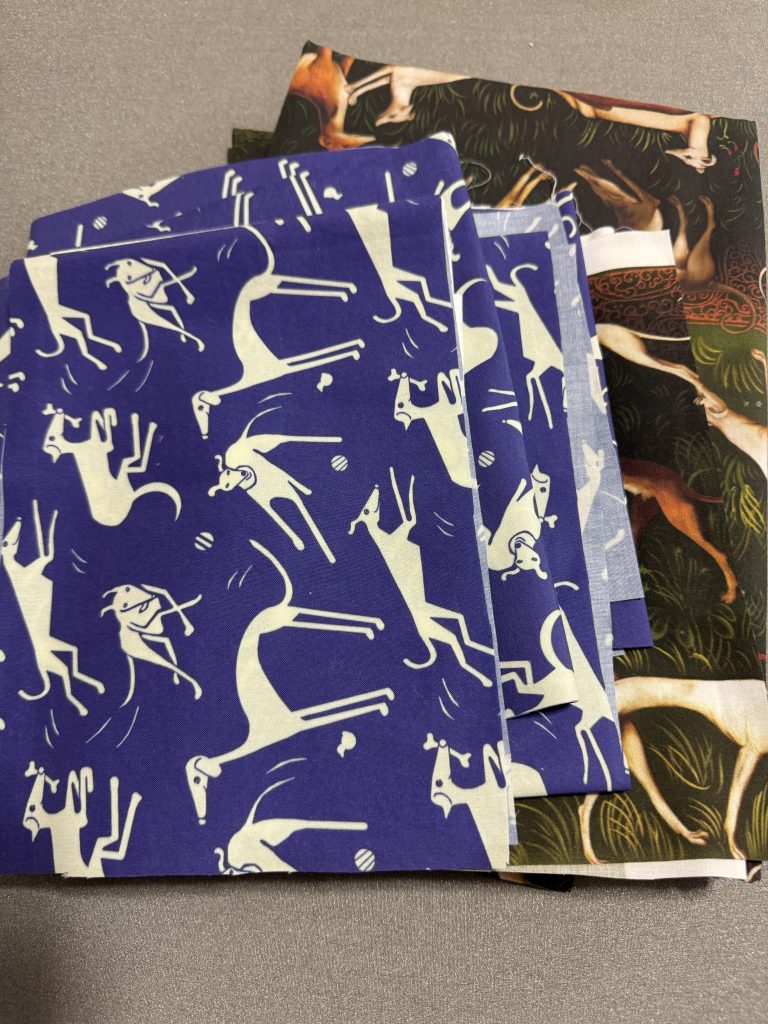
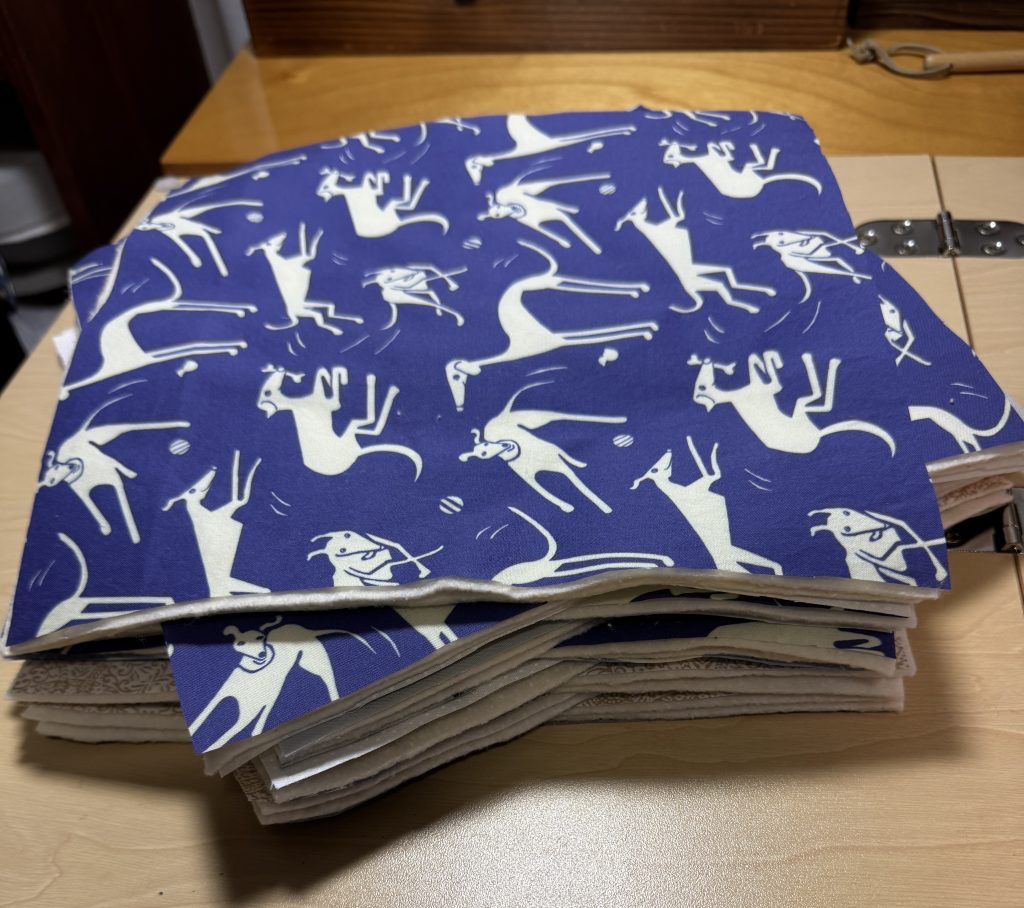
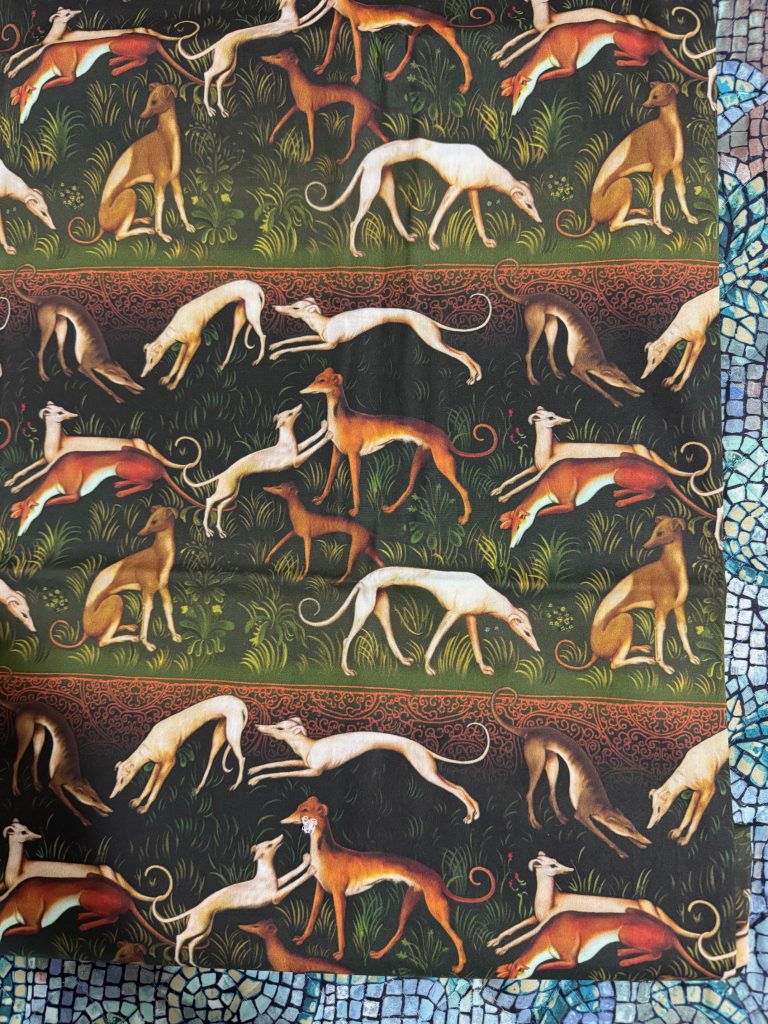
Luckily, that same day I was brainstorming with Toni…my friend with Nittany Greyhounds…about items that could be sold at the next conference. Why not hot pad cozies with greyhound fabric! This special-order fabric is adorable, with prints of greyhounds…but it is VERY expensive. I wondered if I had any scraps left from various projects to try my experiment. I found a pile in my stash I could play with!
Making the Batting Squares
I was determined to try these hot pad cozies without buying anything new. That meant I needed to start with my pile of batting scraps. I started by laying out the pieces and pulling together those that could be stitched together to make 10″ squares.
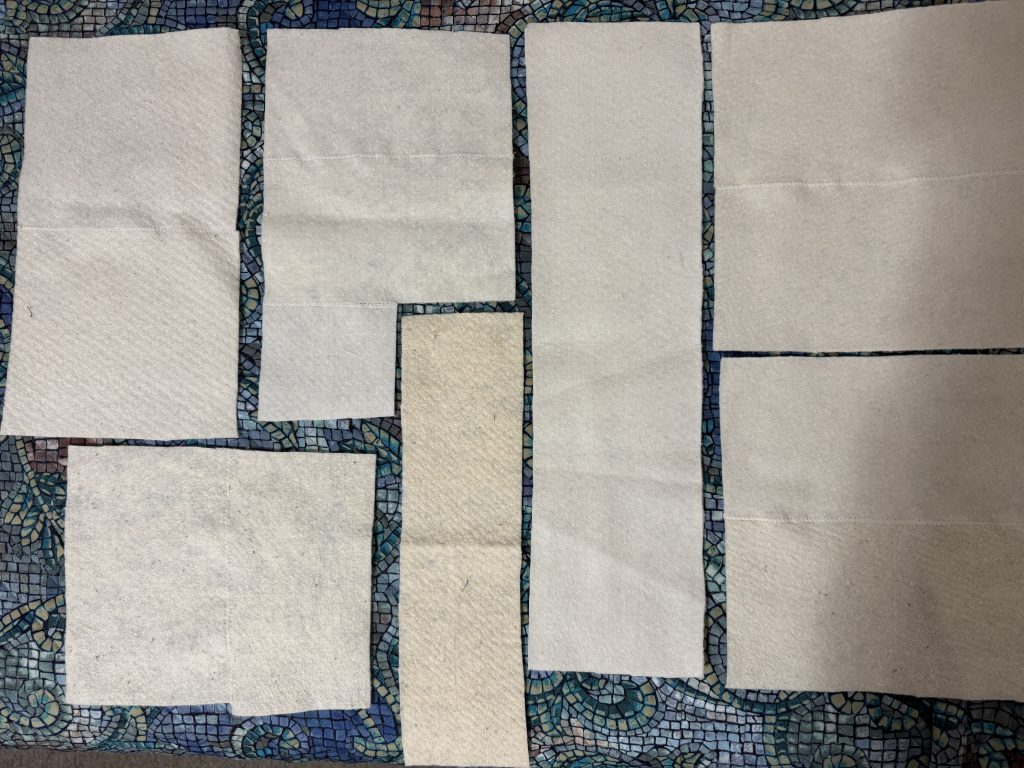
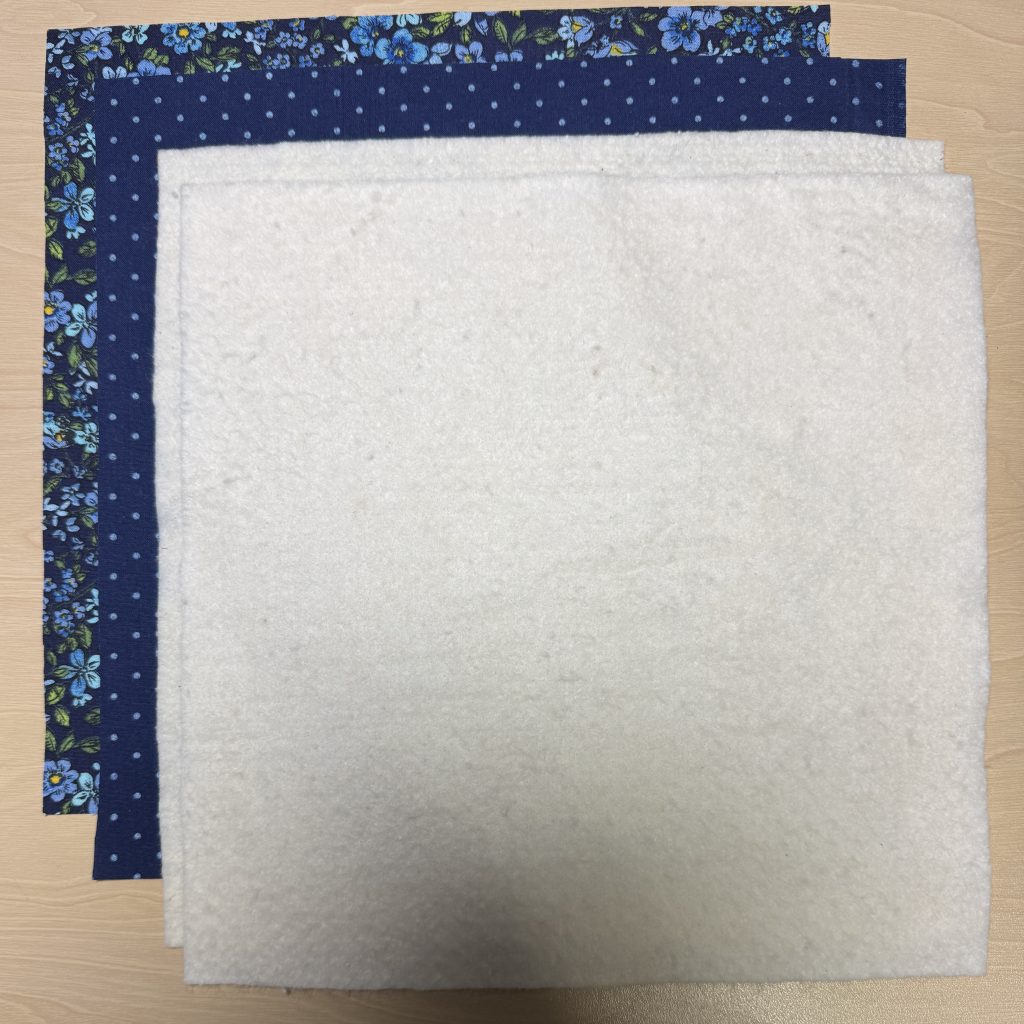
All my batting pieces are natural cotton and they are all similar weight. They seem to be more “natural” on one side and whiter on the other.
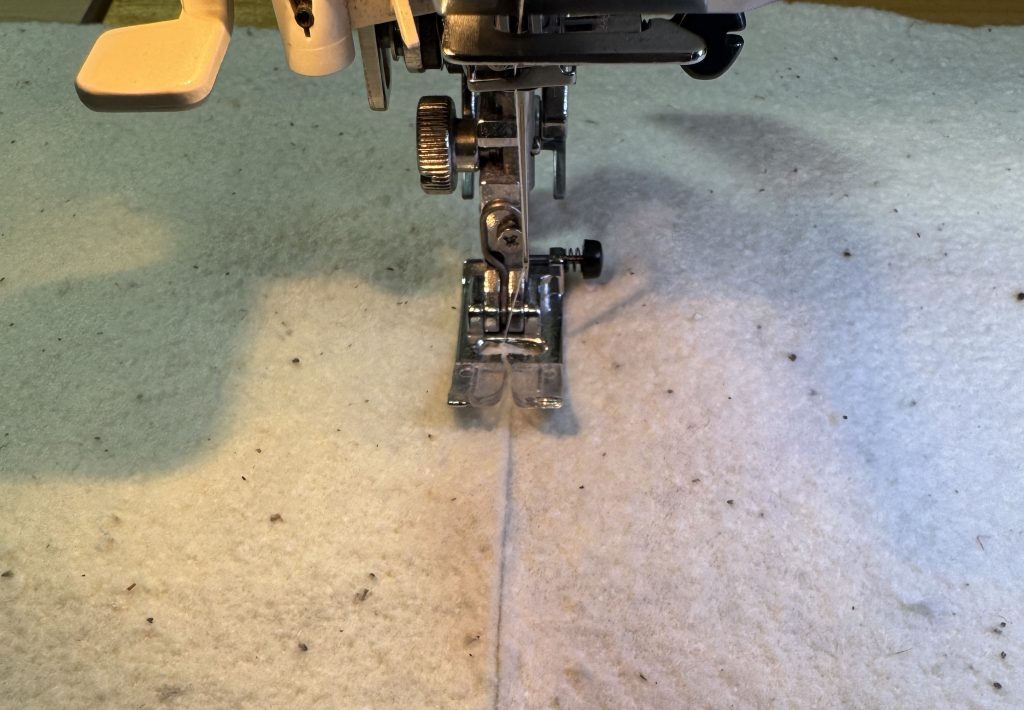
First, I trim the edges that I’ll sew together so they’ll lay flat.
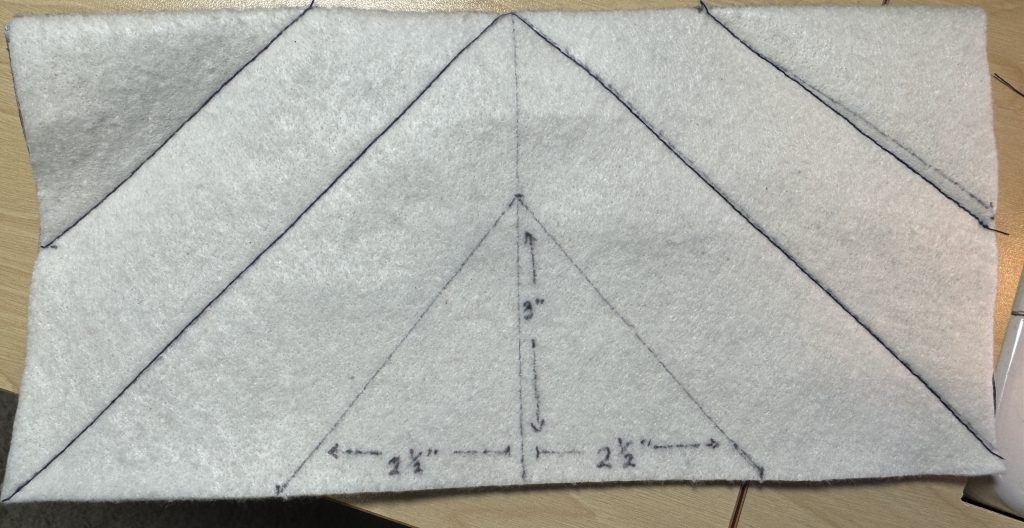
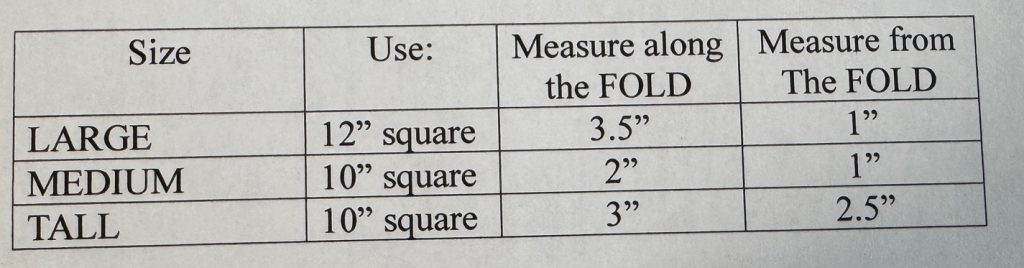
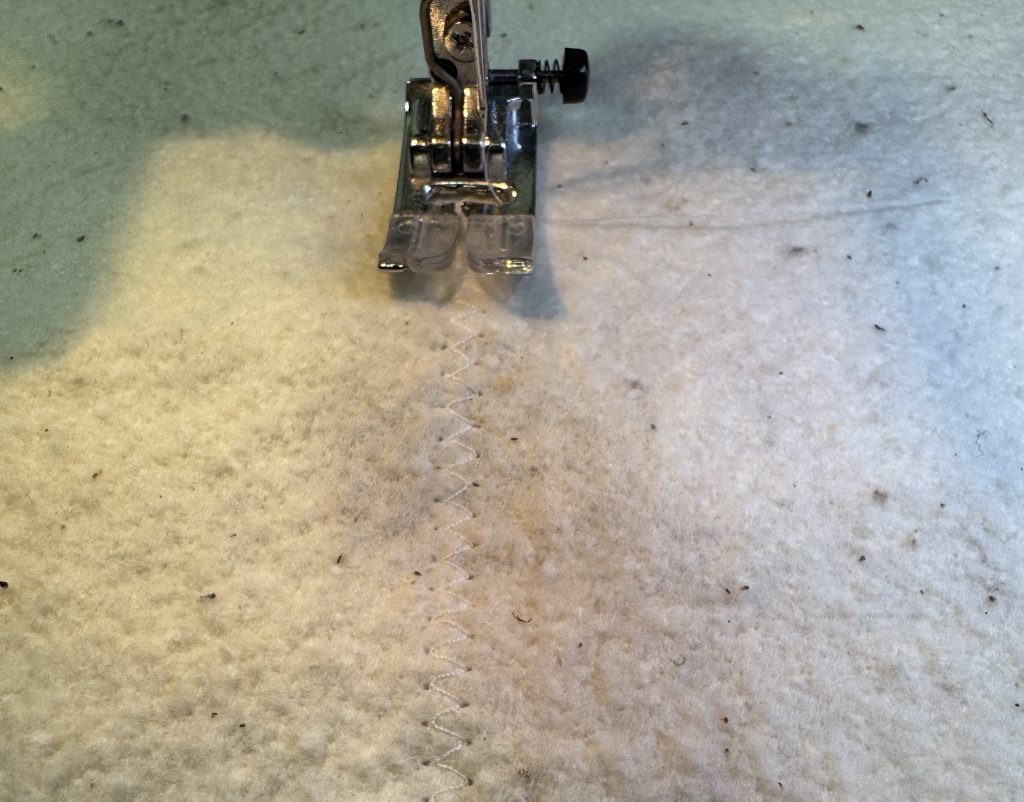
Next, using a zigzag seam, I sew the two sides together. If that doesn’t make 10″ I’ll add another strip to the width. If the total square doesn’t make the 10″ I’ll add another strip along the bottom.
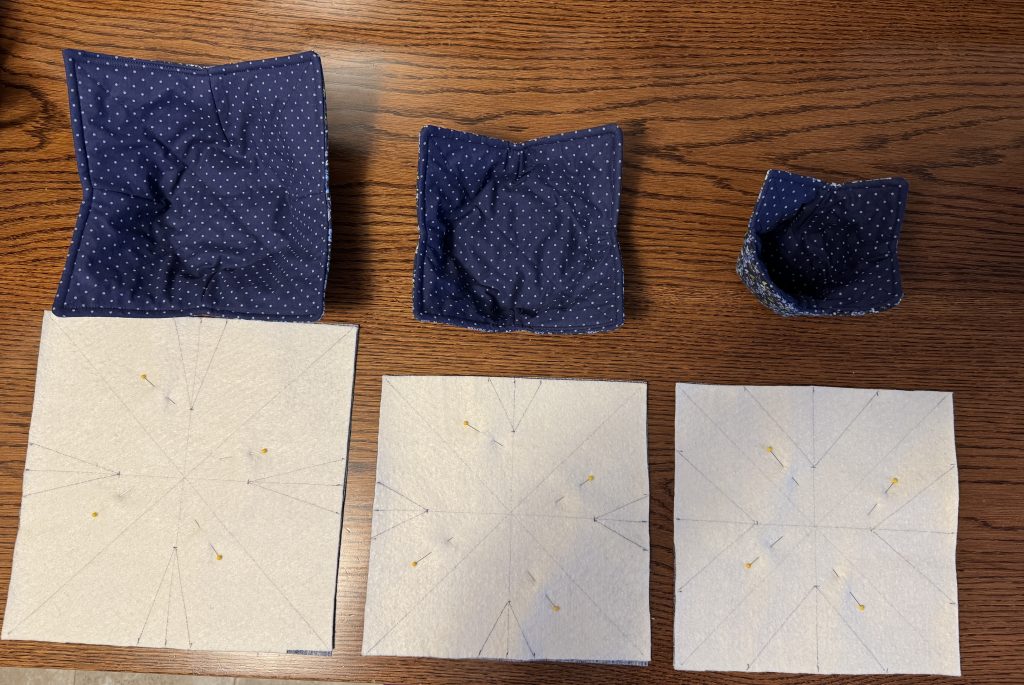
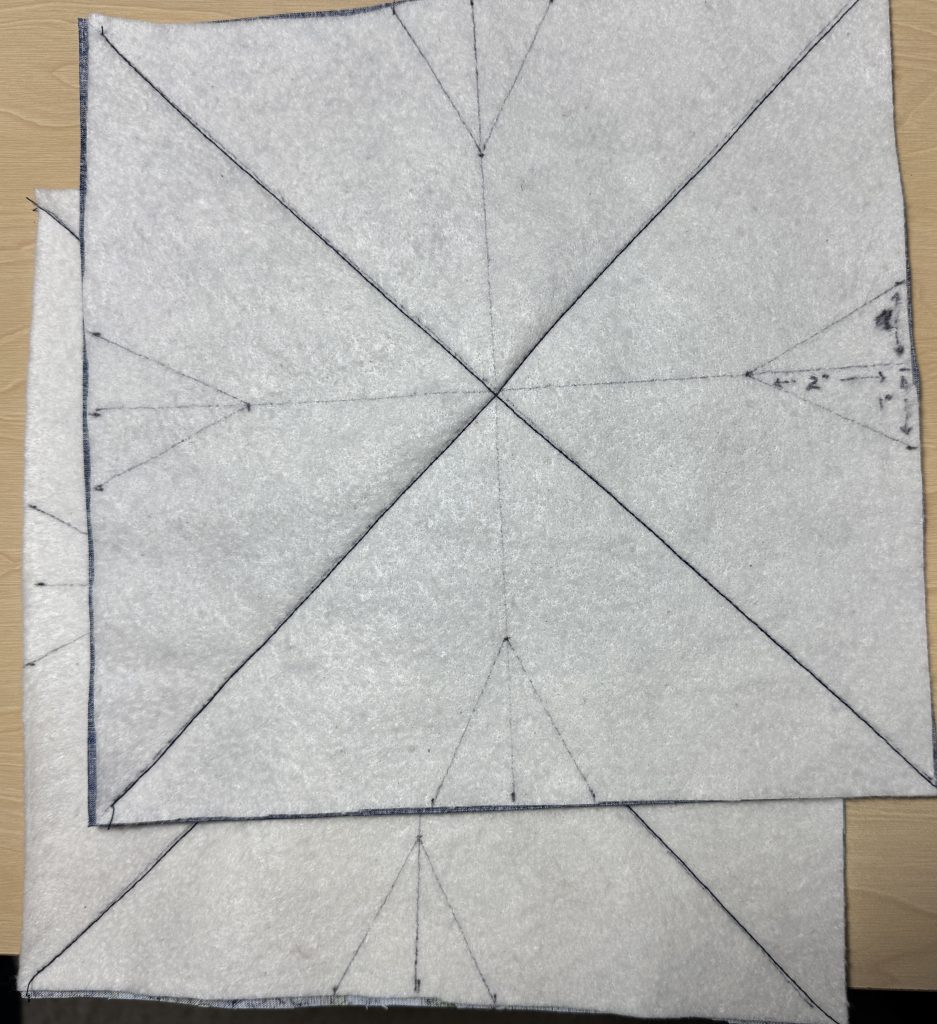
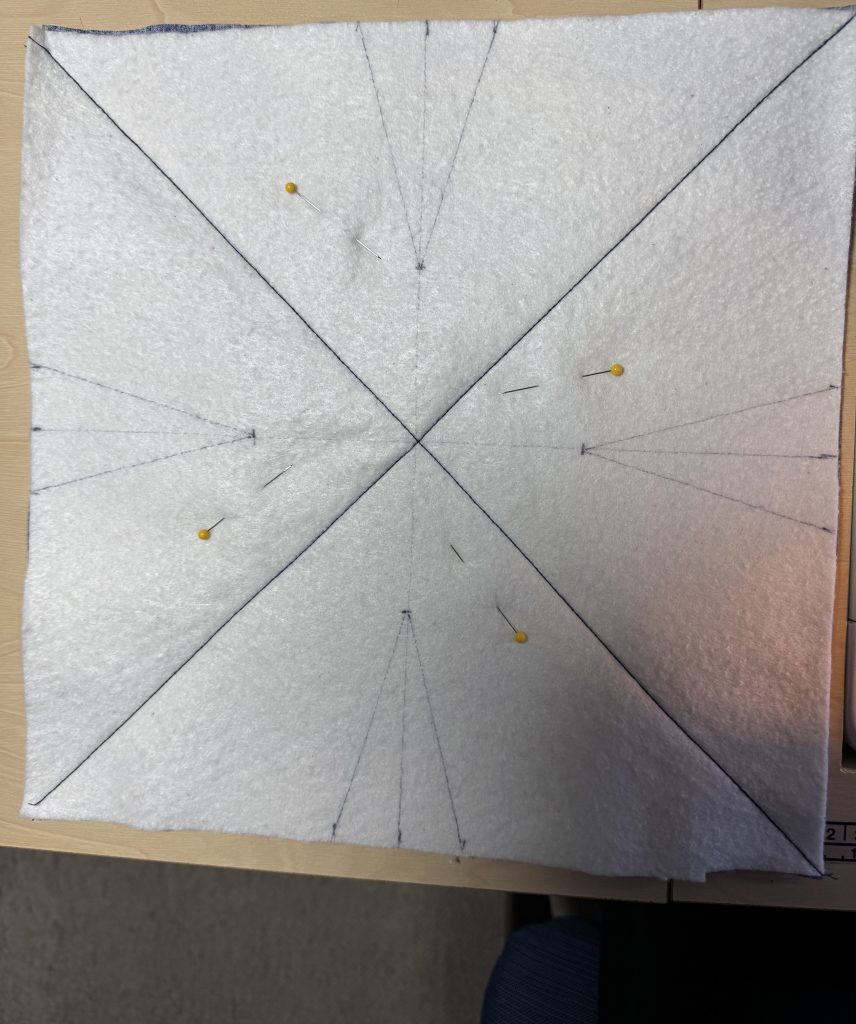
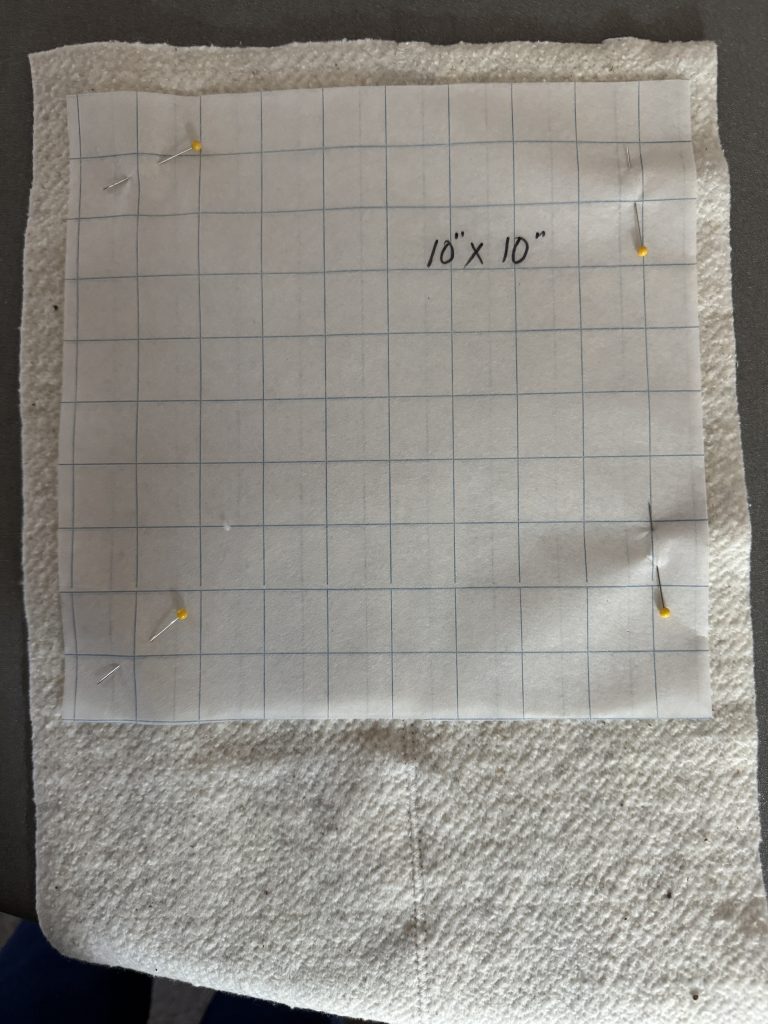
When I’ve pieced a large enough square, I put the pattern on and cut out the 10″ square.
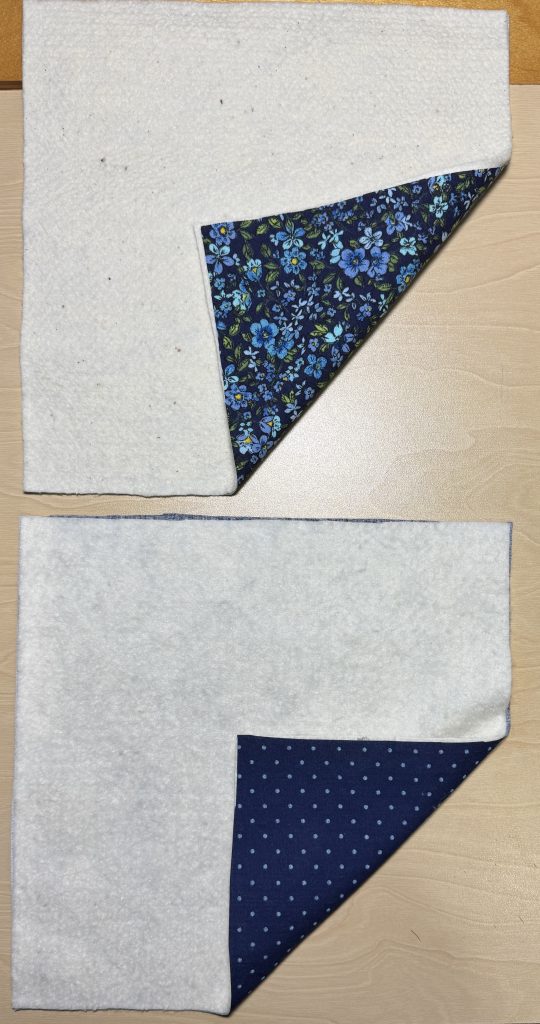
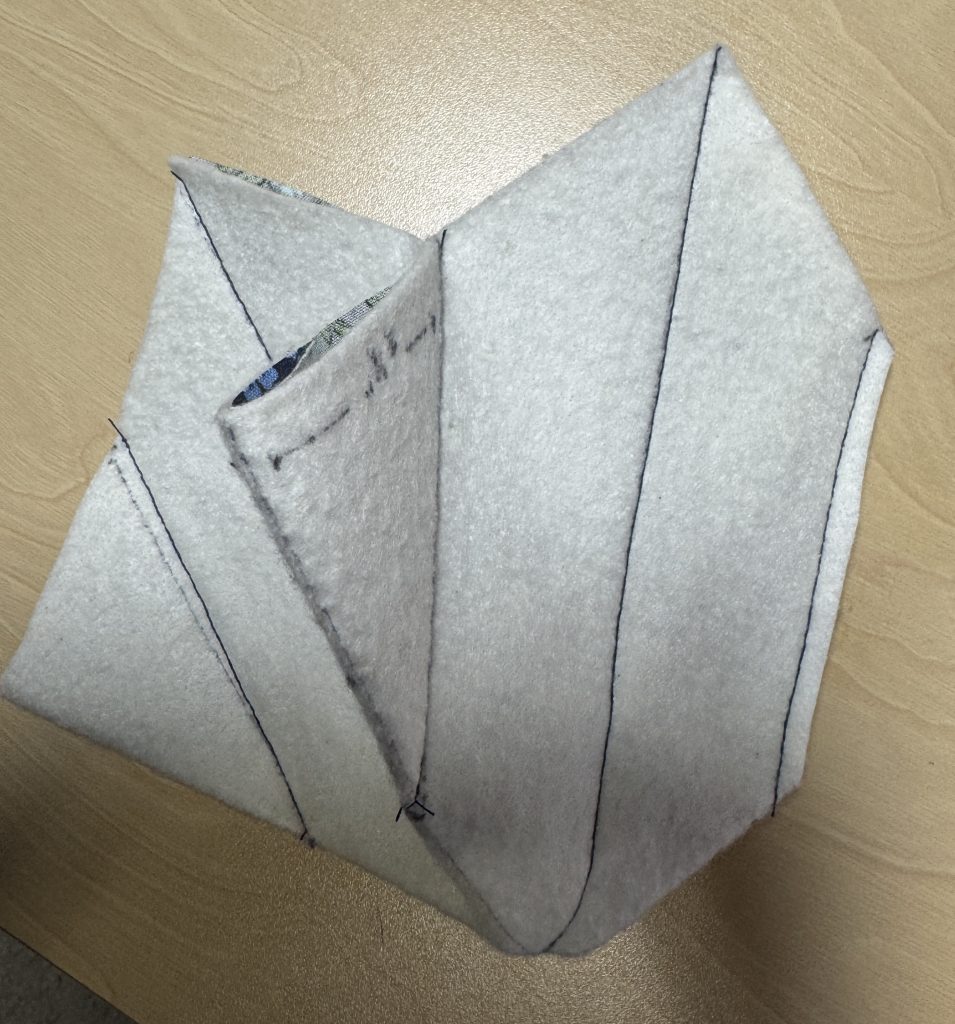
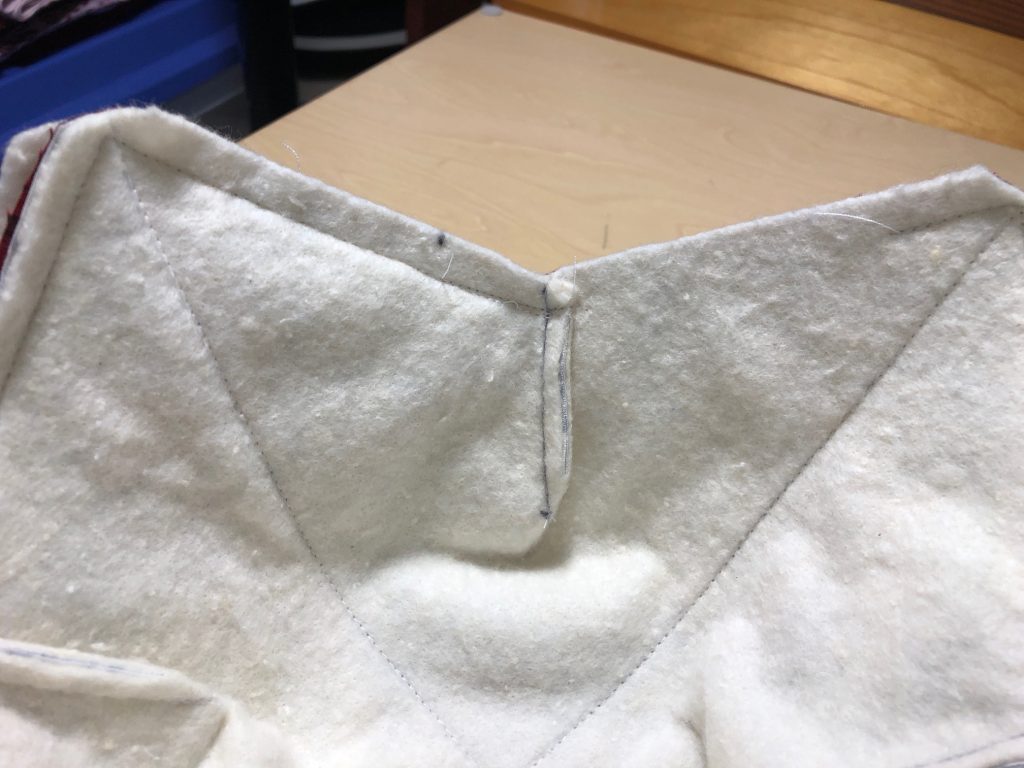
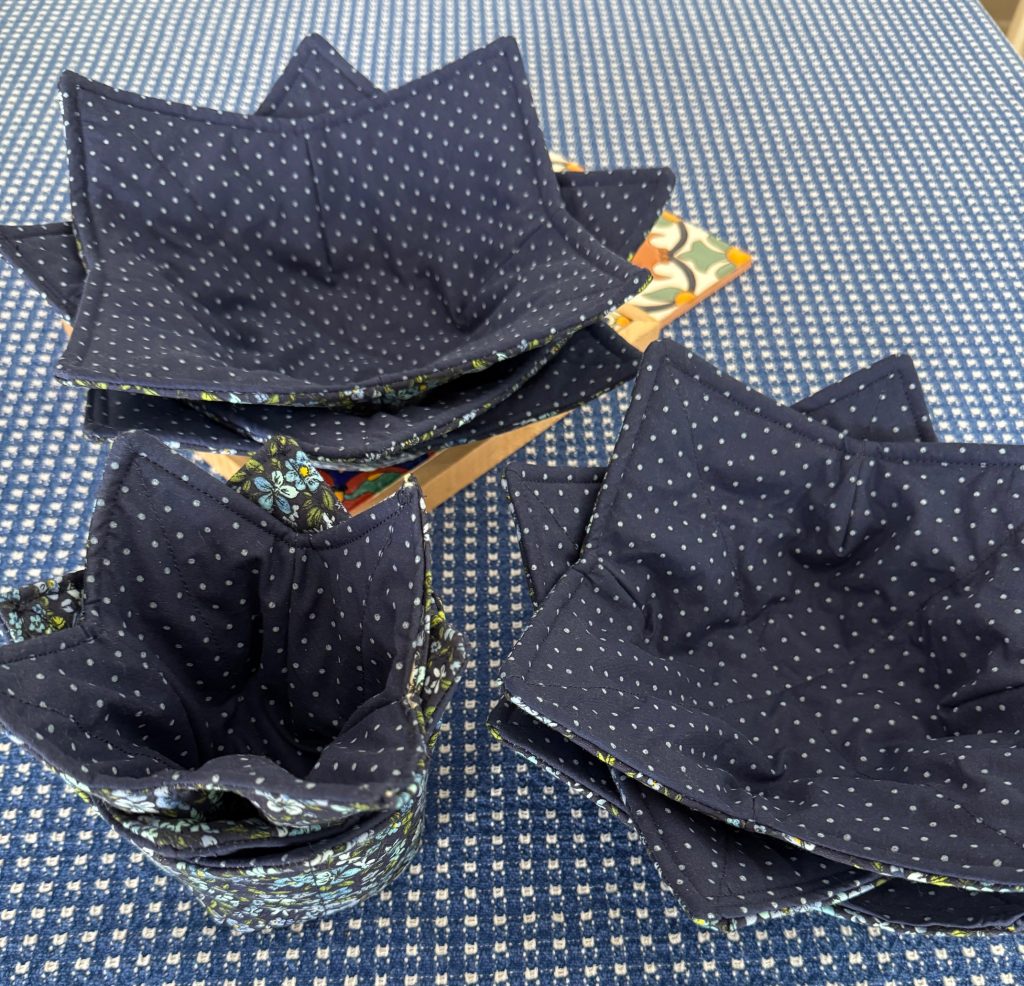
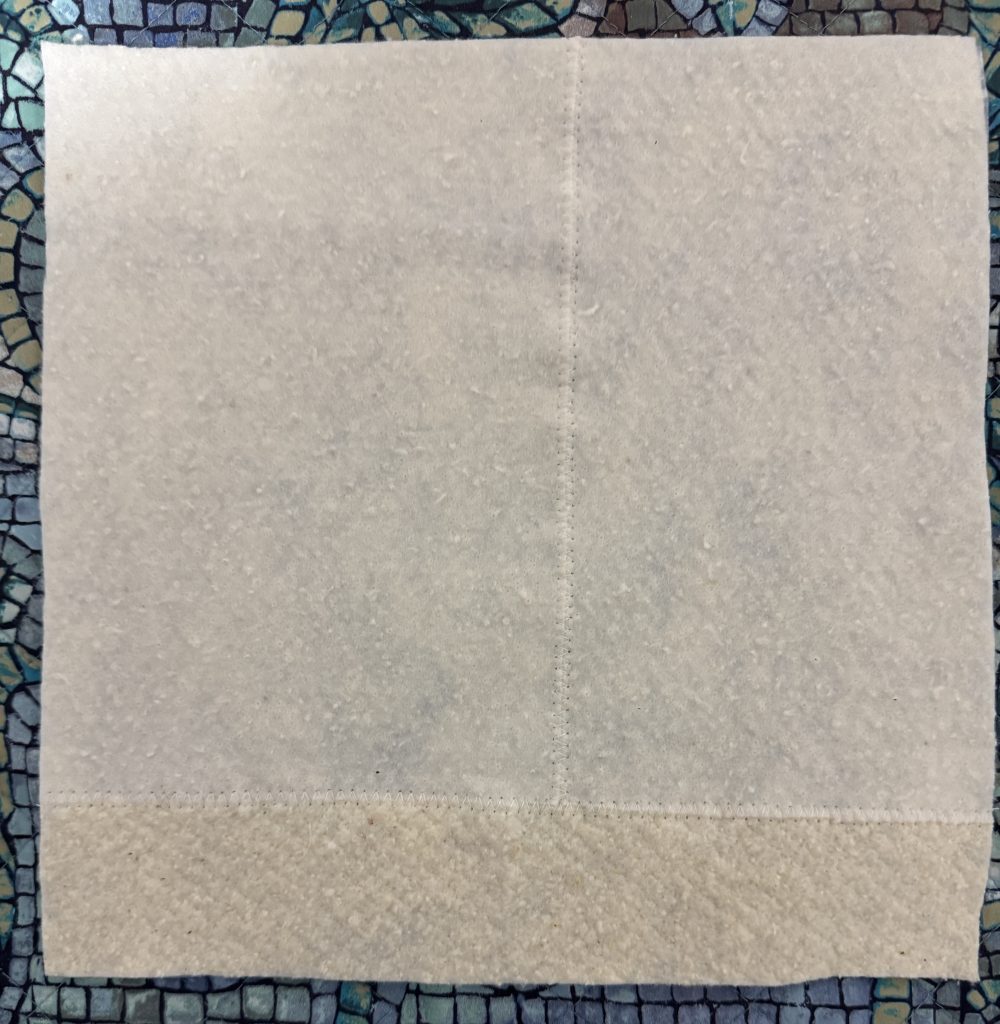
Here are two finished blocks of batting:
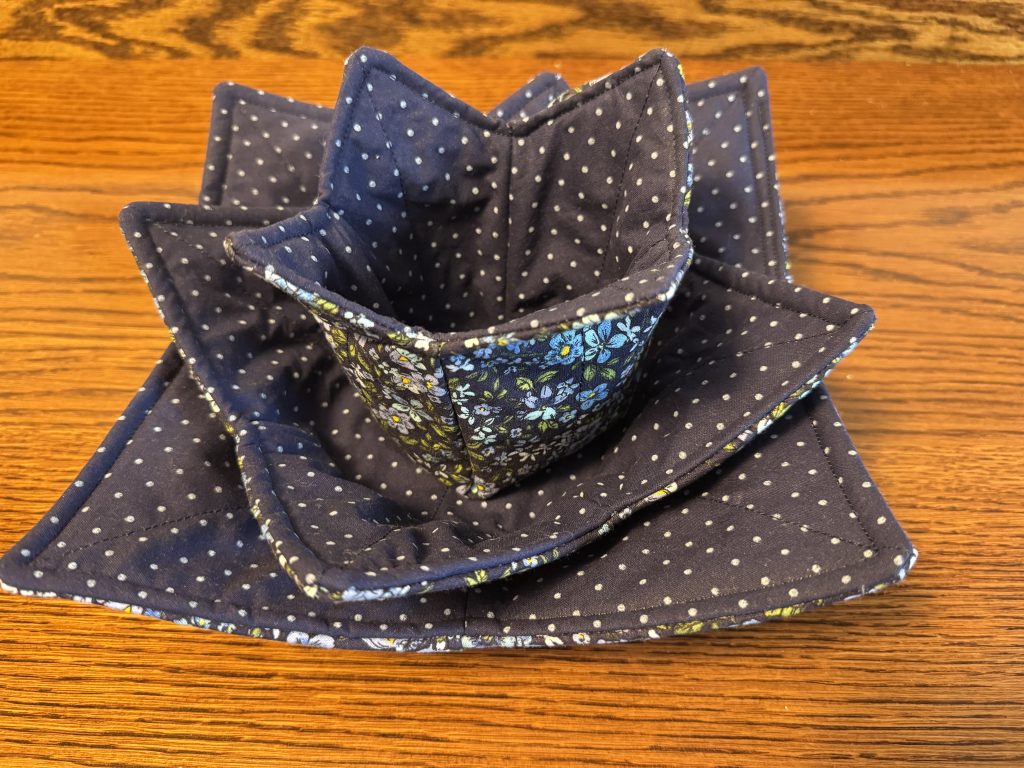
Making the Hot Pad Cozies
You can read the details about how to make these cozies at my previous post:
https://marykisner.com/making-three-sizes-of-hot-pad-cozies/
With enough batting squares made, I started cutting 10″ squares of greyhound fabric. I found scraps of coordinating fabric to make the reverse sides.
I started with one of each print, just to see which print worked best. The first one was a very large print of a greyhound. I barely had enough fabric to make just one square. I think the large print doesn’t work…too many extraneous body parts on the edges!
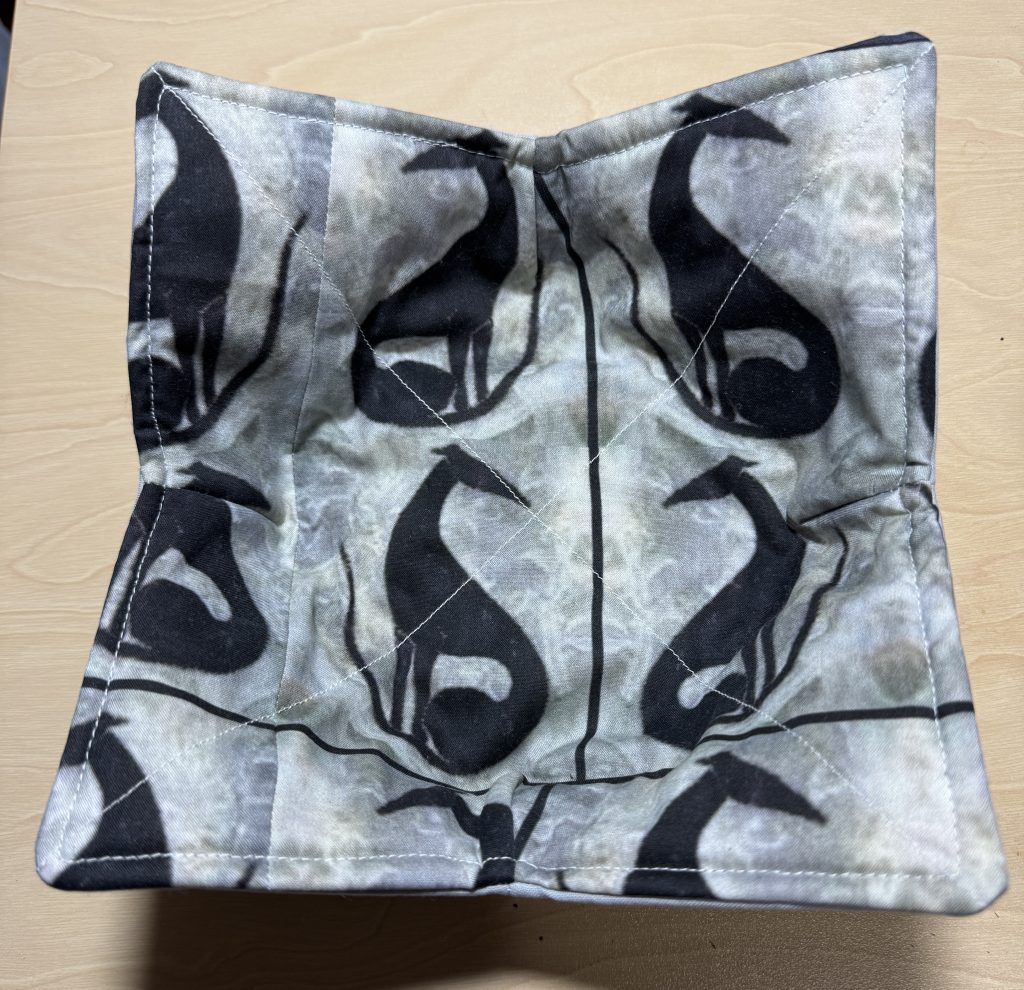
The second cozy I made used a border repeat pattern:
The pattern was wider than the print so it didn’t make good use of the fabric. I did not want to cut off too many heads.
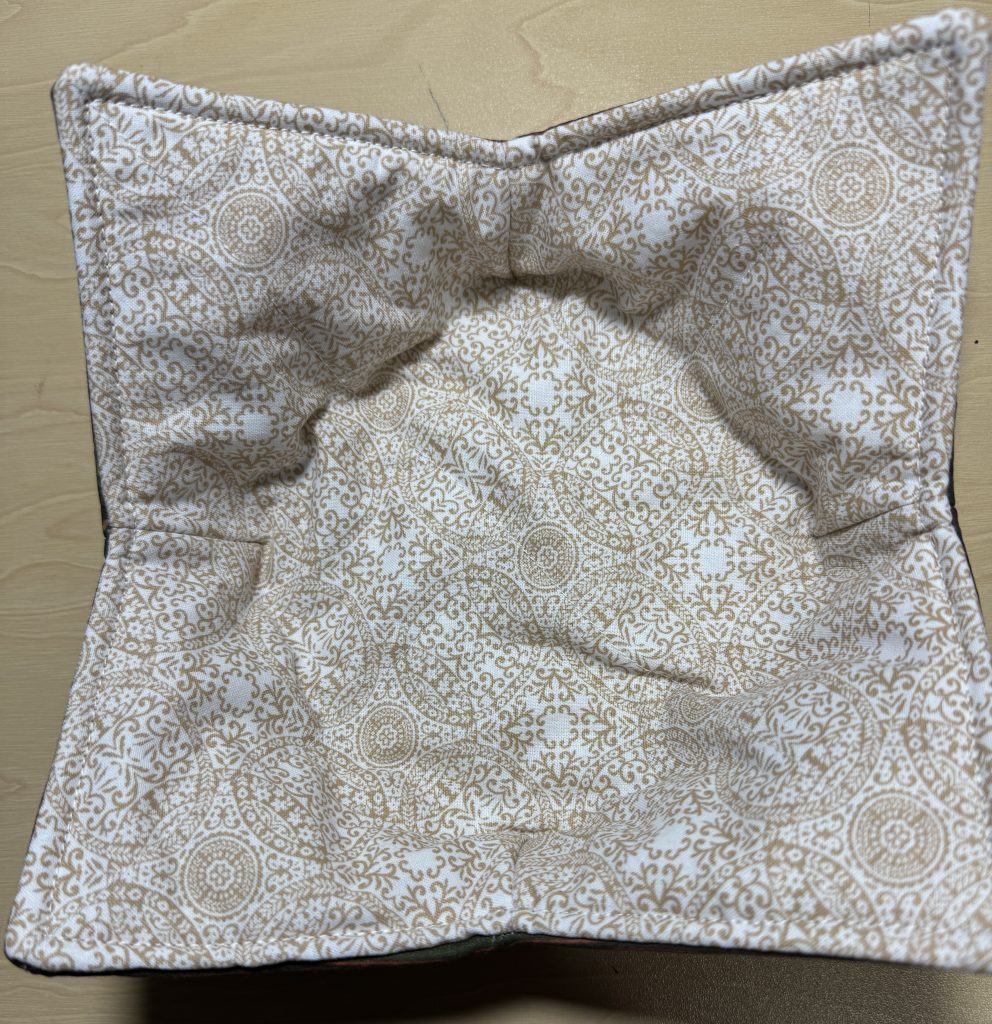
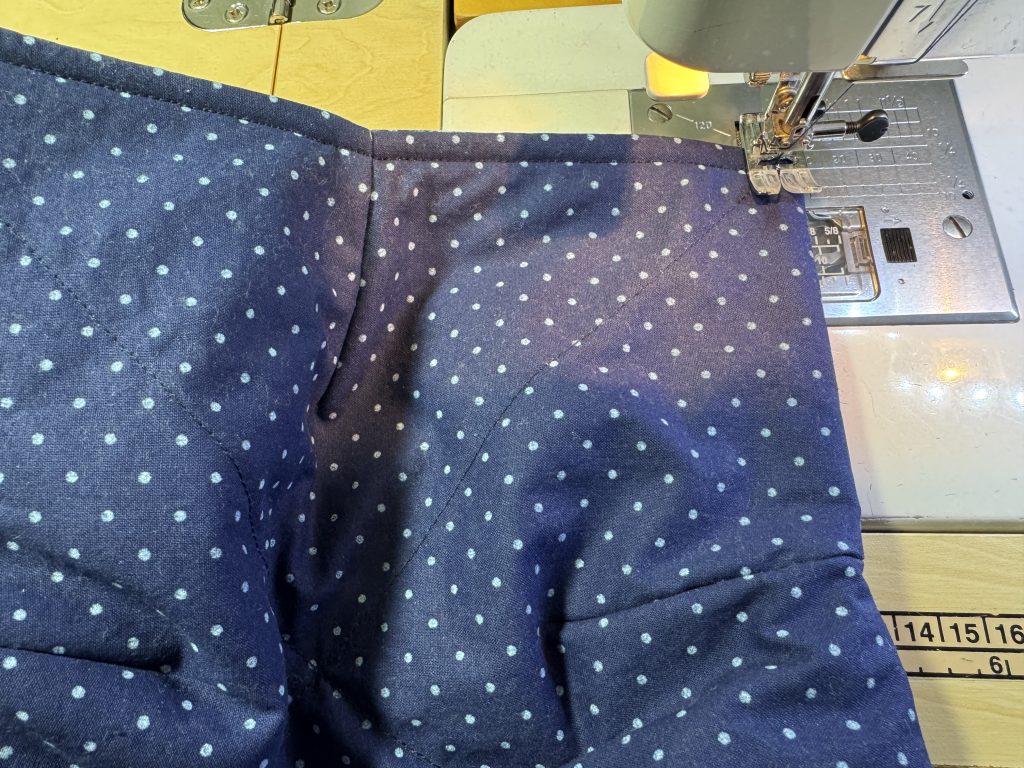
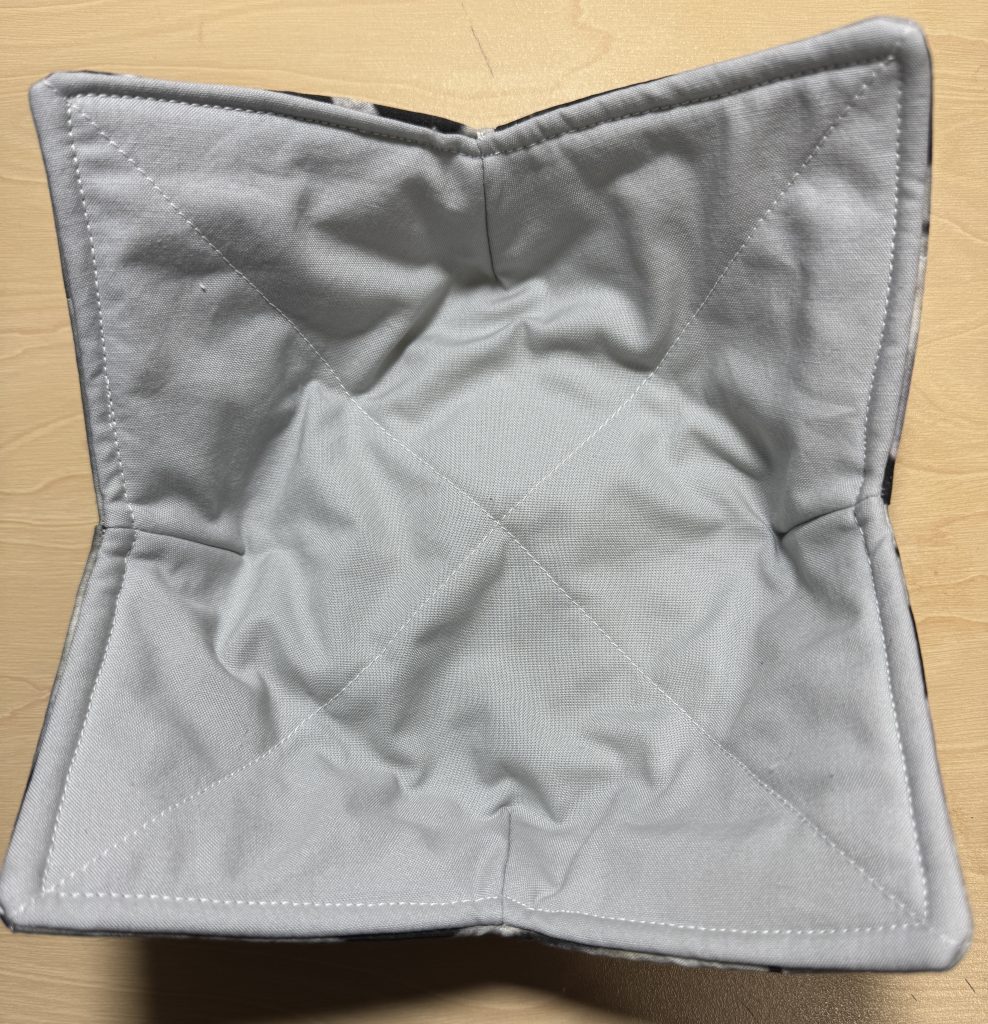
The third cozy I made used an all-over pattern of small greyhounds. I had enough fabric to use the same fabric for the lining; otherwise I’ll use white.

I think if we choose the greyhound fabric wisely, with a small overall print, we could make the best use of the expensive fabric.
For all the sewers out there…save your batting scraps! You never know when you’ll need them! Enjoy!