How to Make Gravy Like My Mother

My mother was the queen of depression-era cooking. Her meals weren’t fancy but they were frugal. She was married in 1935 and raised two kids during lean times while my dad was in college and finances were very tight. By the time I was born in 1946 our family was preparing to leave dad’s teaching job in New Jersey and move to State College and Penn State.

The lean times were finally in the past but my mother never let go of her efficient recipes and could make a meal out of a few leftovers. To this day, my favorite dish was her casserole that had some meat chunks, leftover vegetables and gravy topped with biscuits.

The Paul Bixby family around 1950

Somehow, I never watched how she made the gravy and I spent many years of my married life trying to duplicate those casseroles. I usually ended up with vegetable soup but could never seem to figure out how to make the broth into gravy. I often gave up and opened a jar of pre-made gravy or used a dry packet to make a cup of gravy.
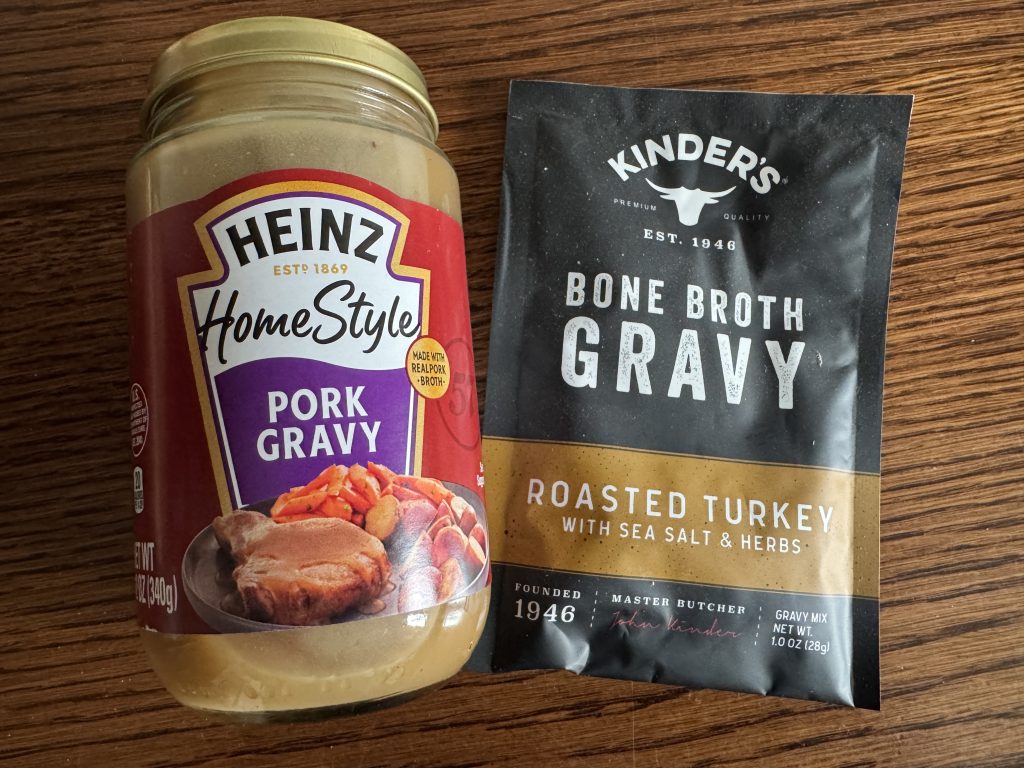
A few years ago, I finally looked up on the internet how to make gravy and I’ve enjoyed being able to produce a nice gravy with juice left from cooking a roast in the crock pot or roasting chicken in the oven. Last week, I made a delicious chicken vegetable soup and wanted to convert it to my mother’s familiar casserole. I’d like to share the simple recipe with you.

How to Make Gravy

Ingredients:

2 tablespoons butter (or coconut oil, vegetable oil, olive oil, margarine or bacon fat)

1/4 cup all-purpose flour (or 2 tablespoons cornstarch)

2 cups chicken, beef, turkey or vegetable broth (or pan drippings…strained to remove gristle or fat)

Instructions:

  1. In a medium-size saucepan, melt butter (or other fat) over medium high heat.
  2. Whisk in flour (or cornstarch) until well combined and no white specks remain. Cook 2 minutes.
  3. Slowly pour in broth and whisk well.
  4. Bring to a simmer and heat until thickened to desired consistency, about 2 minutes, whisking constantly.

Making Gravy Out of Soup Broth

I started with a big bowl of my homemade chicken vegetable soup.
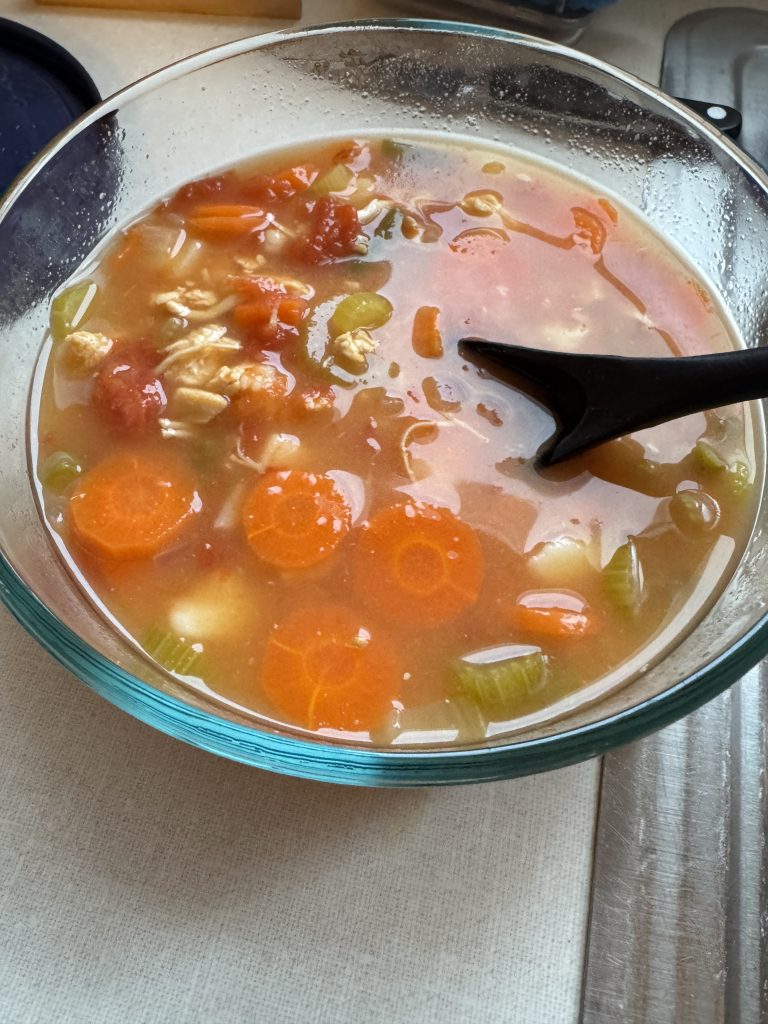
I pulled out my strainer and dumped the soup in to strain out the vegetables.
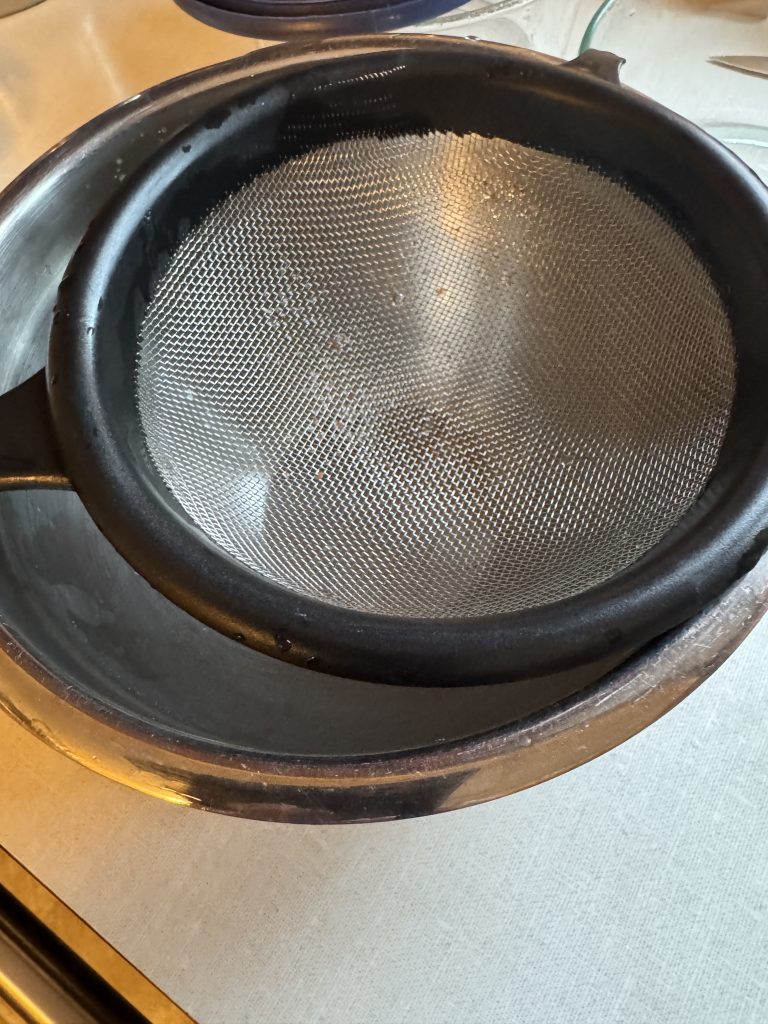
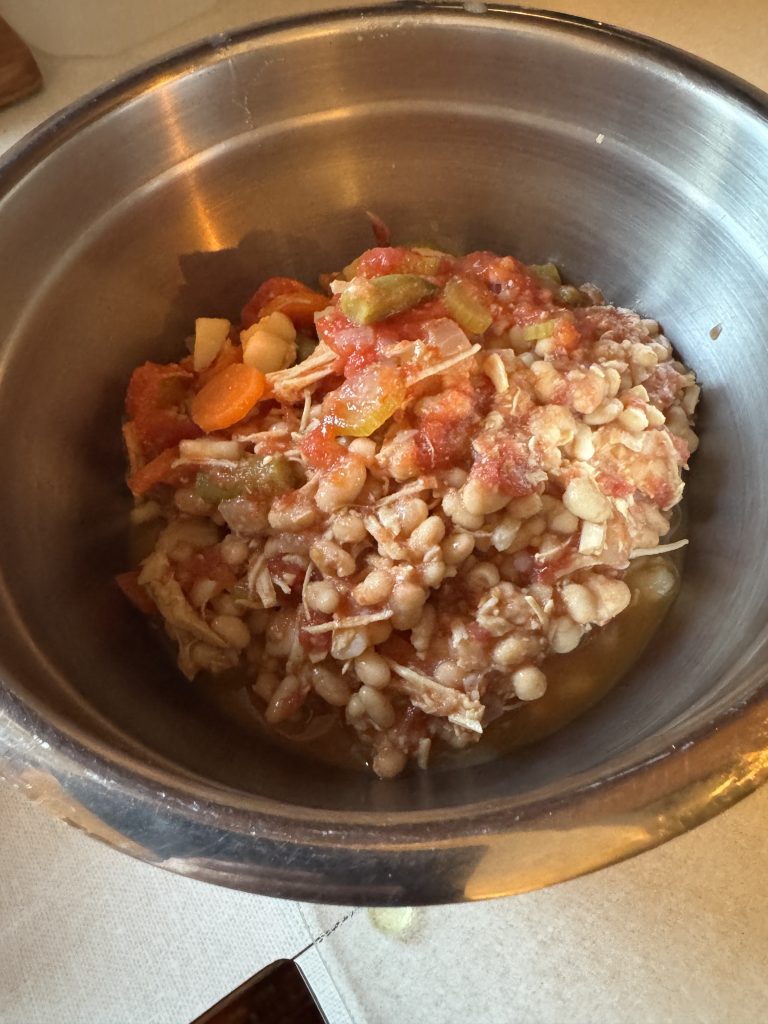
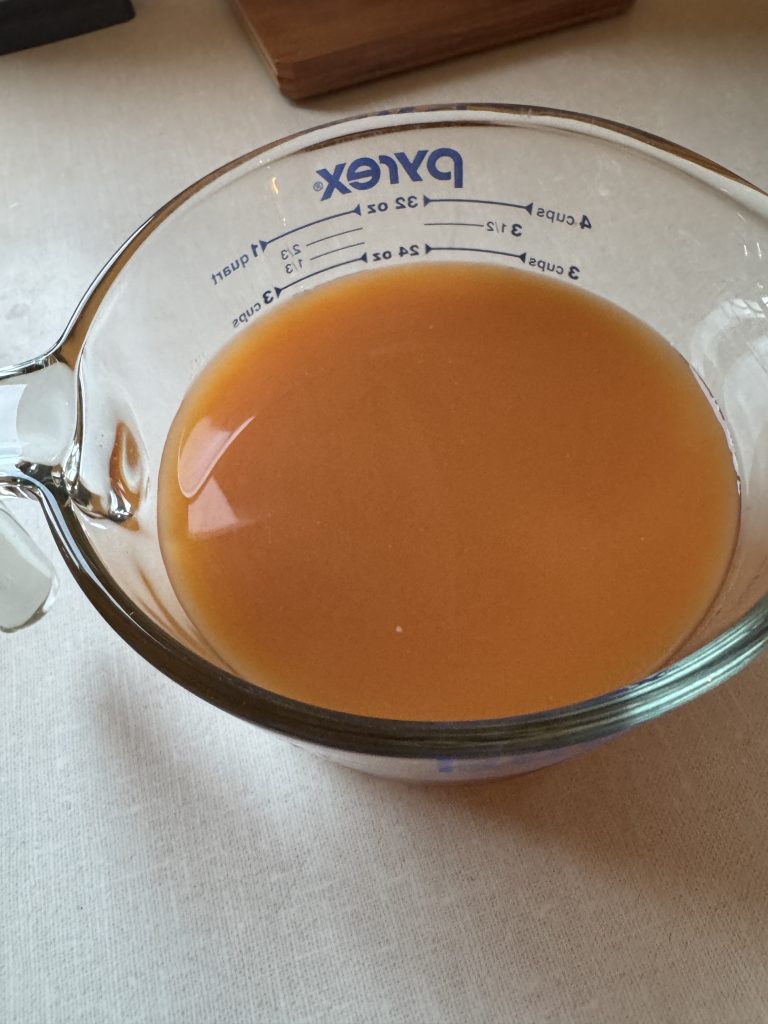
The recipe above is based on 2 cups of broth. You can see I had 3 cups of soup broth. So, I just increased the measurements of the fat and flour to make sure it would thicken properly.

I like to use coconut oil and all-purpose flour to make this gravy.

I measured out 3 tablespoons of coconut oil and melted it in the pan.
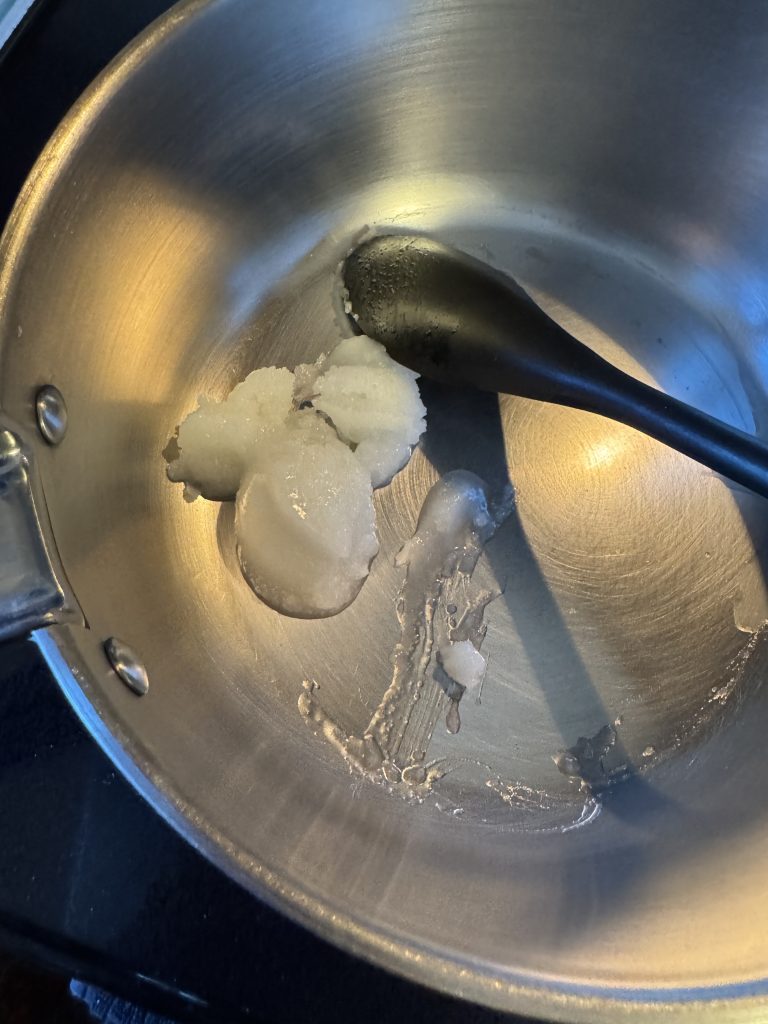
Then I added about 2/3 cup of all-purpose flour and stirred them together until all the flour was absorbed by the coconut oil.
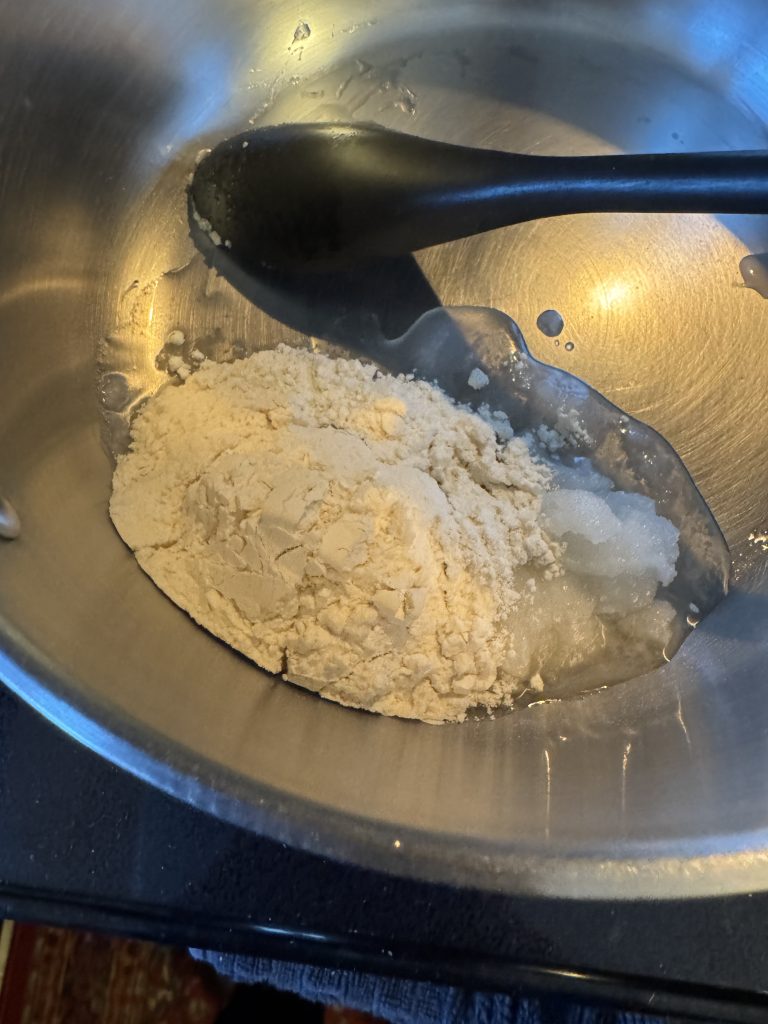
Then, I added the soup broth to the oil/flour mixture and whisked until it was all combined. On medium heat, I stirred until it came to a boil, turned the heat down and stirred until it thickened…about a minute or two.
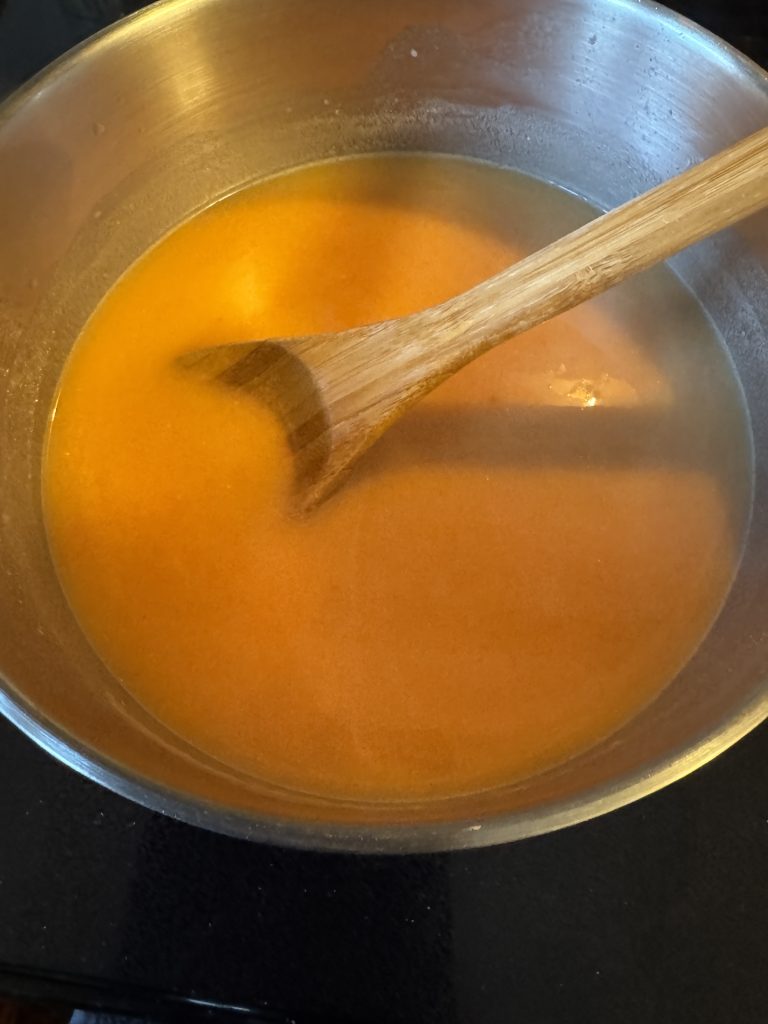
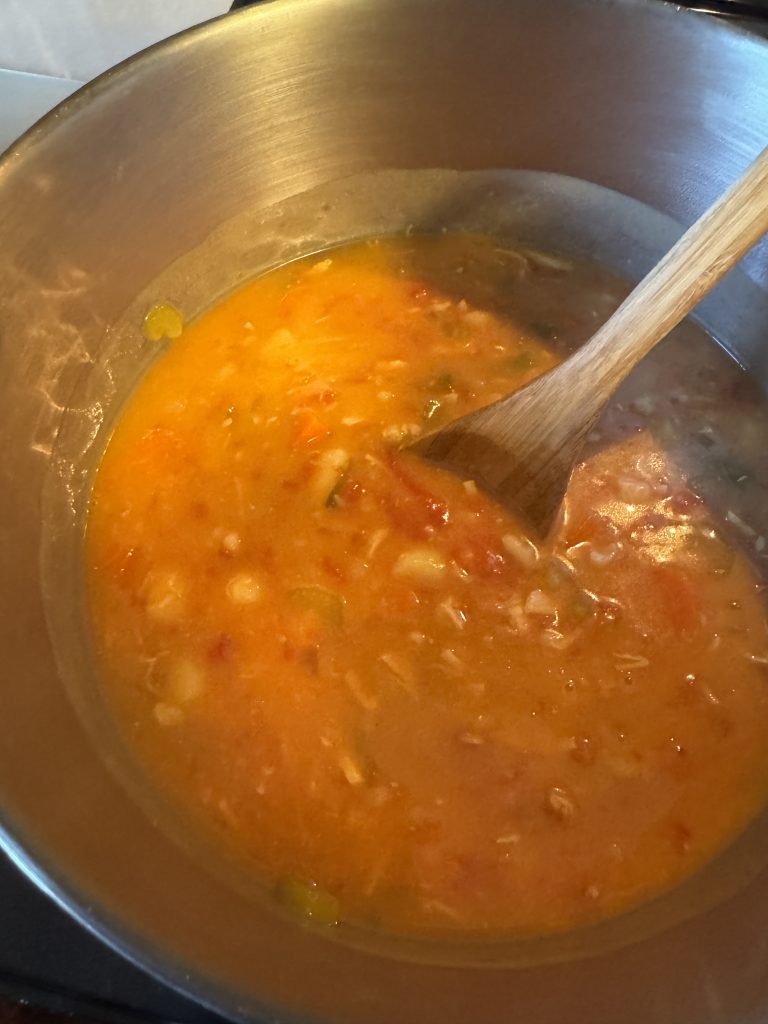
Finally, I added the gravy back to the vegetable soup and had the base for a chicken vegetable casserole!
Now for the biscuits! Of course, I had to try Bisquick like my mother used. She reminded me back then that in her high school Home Economics class she had memorized the ingredients to make biscuits from scratch and had usually done so. By the time I was born, she was thrilled to use Bisquick…such a time saver!

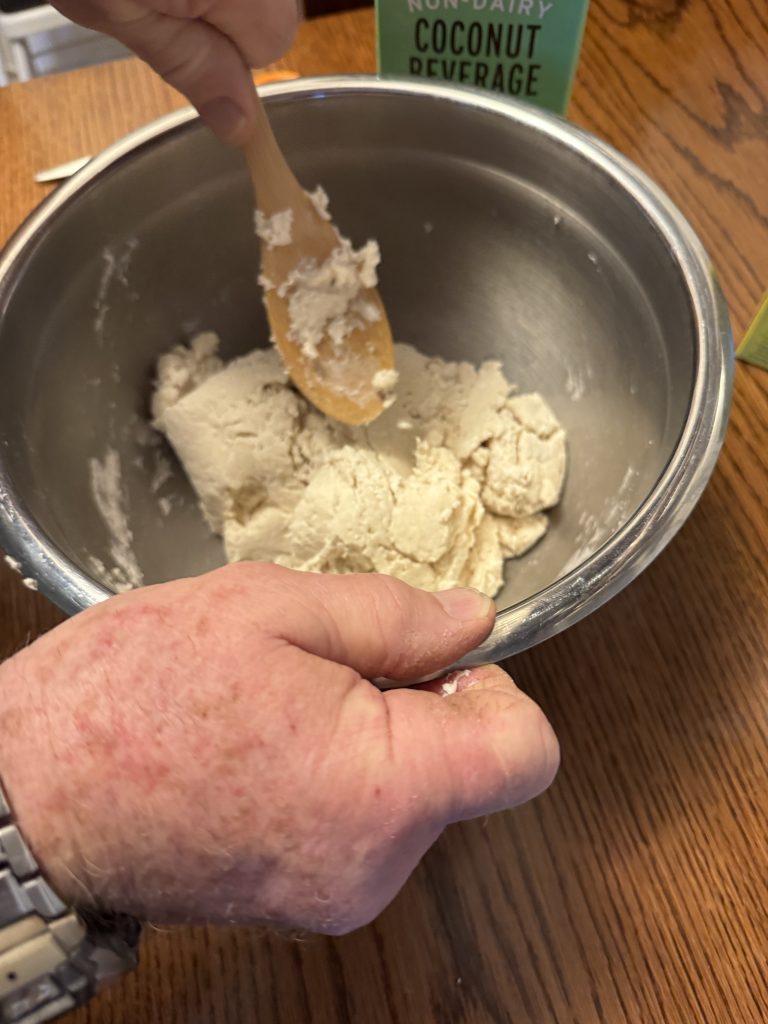
Luckily, I could use coconut milk (or almond milk) to make the biscuits. Of course, with the arthritis in my right hand, I had Bert mix up the biscuits. I just formed them into biscuit shapes and put them on a cookie sheet.
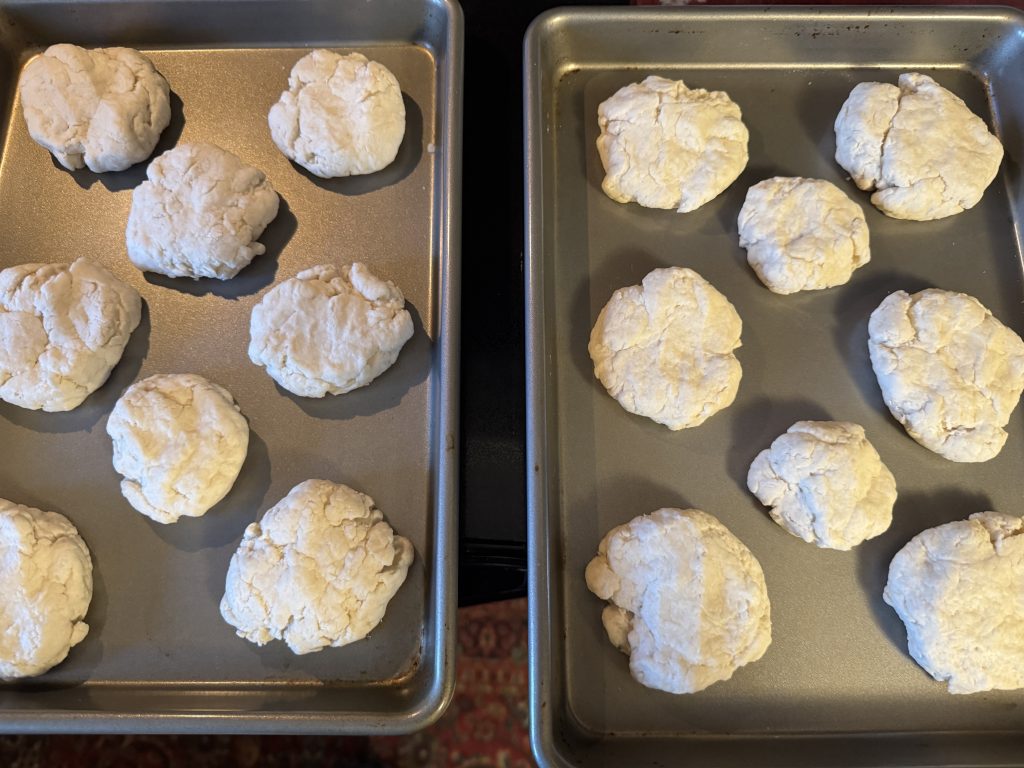
My mother would have spooned the raw biscuits on top of the gravy and vegetables and baked the casserole in the oven. I broke up a biscuit and spooned the hot gravy and vegetables on top of the biscuit. Worked for me!

Save this recipe and make your own gravy anytime! Enjoy!

Blog Milestone

Hello all my Blog friends! Just wanted to take a minute to thank you for reading my blog these last 4 years! I have just reached 402 blog entries and have enjoyed sharing quite a variety of projects with all of you!

I have updated the PDF of all my entries on the Welcome page to include all 402 entries. There really is no handy way to search the list (because I didn’t set up an index at the beginning) so if you download the PDF to your computer you’ll have to scan down the list to see what would be interesting.

You can download it here:

I’ve tried to make the titles pretty clear. If you want to check one entry out, just click on the hotlink on the right of each entry and you should go directly to the post. (If it does not go to the post, let me know…it’s probably just a missing letter or dash!) The search bar on the Welcome page is a little cumbersome…I’m sorry about that…but if I touch on a topic I’ve written about before, I try to put the links to the older posts in the new one.

I’ve wondered if anyone really tries to make anything I write instructions for and occasionally I get feedback from readers. However, I have discovered I use my own posts if I want to make something…all the instructions are right there! Not all the recipes I try are delicious; not all the projects are lovely…but I’m reminded what worked and what didn’t. Feel free to save and share any instructions that are helpful to you. Thanks for reading!

Mary

Making a Playing Card Holder

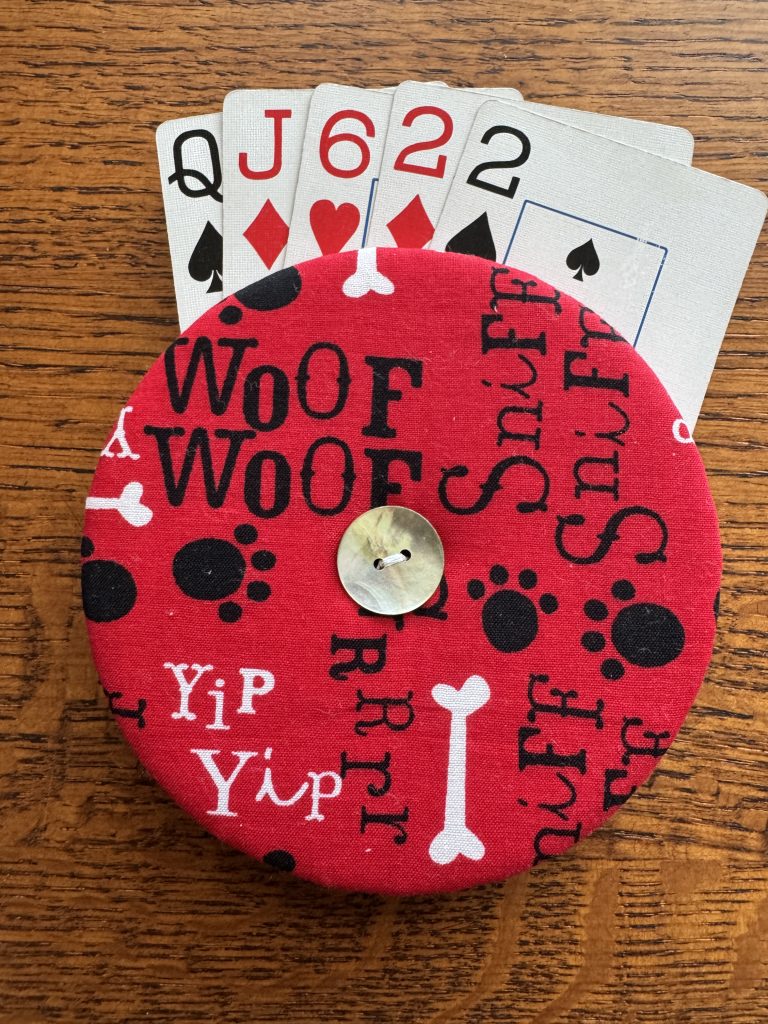
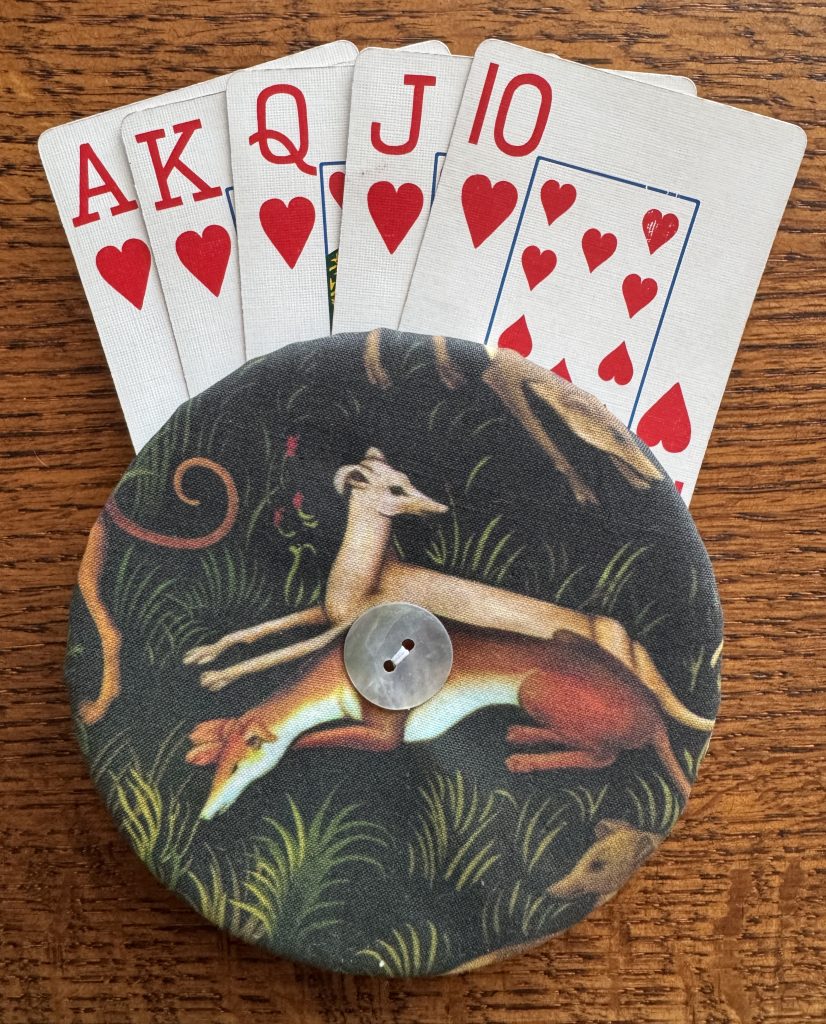
Playing card games can be fun for young and old. We probably started our kids with Go Fish and progressed to Rummy. Part of learning the rules of the game was learning how to hold the cards in their hands. Of course, it got easier as they grew up…their hands got bigger! Now, for us older folks, various arthritis issues sometimes makes it difficult to hold a handful of cards. I was asked if I could try to make some card holders with greyhound fabric for an upcoming conference, but I started with some animal fabric scraps I had…I didn’t want to waste the expensive fabric! Here’s a picture of a finished card holder in the greyhound fabric (of course with a winning hand!):

I had never seen or used a card holder so I started with Pinterest. I found quite a few places that had them for sale but I explored the DIY sites that would show me how they were made.

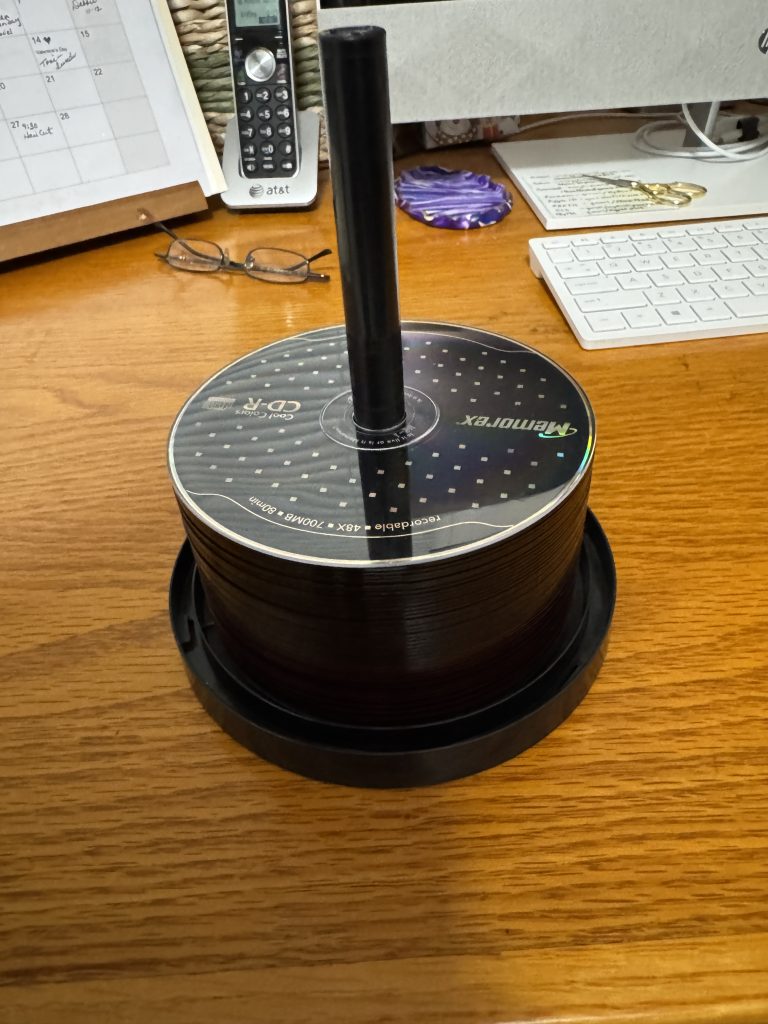
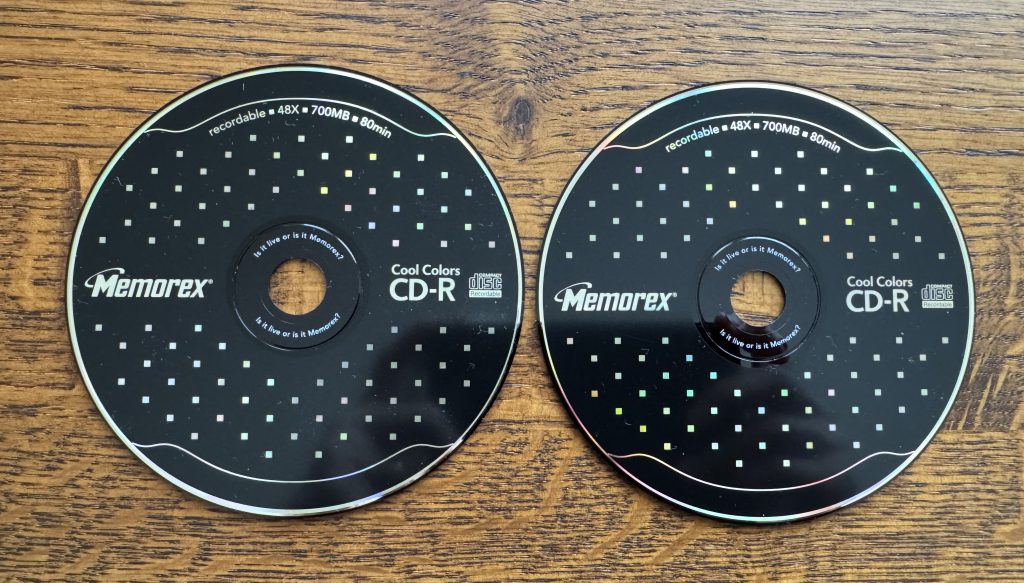
Handmade card holders seemed to be based on recycling a CD. Luckily, guess what I had in my office closet! I haven’t used a CD since small jump drives became available. What a great resource to recycle!

Making a Pattern

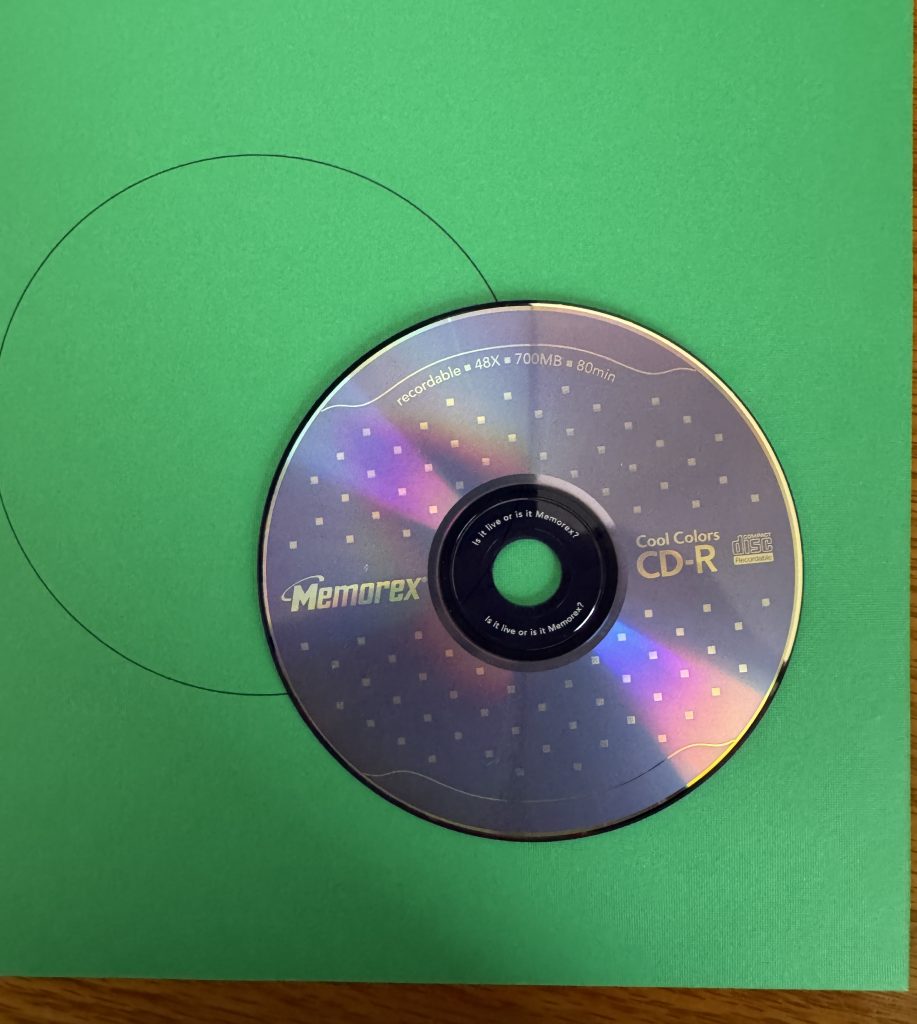
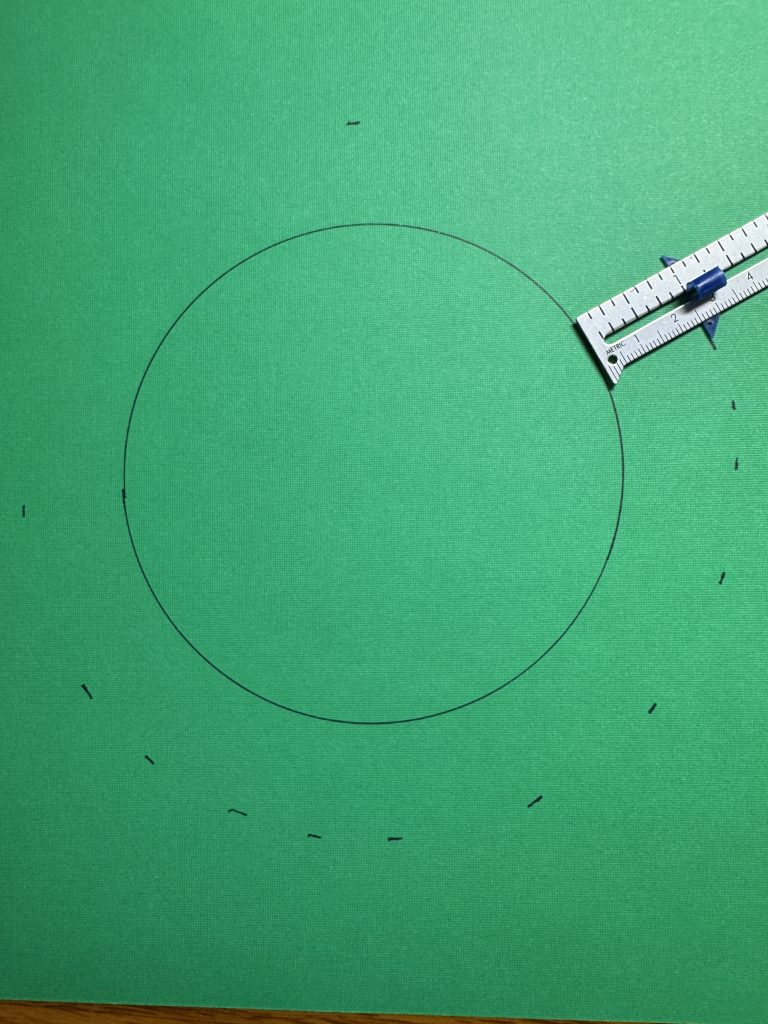
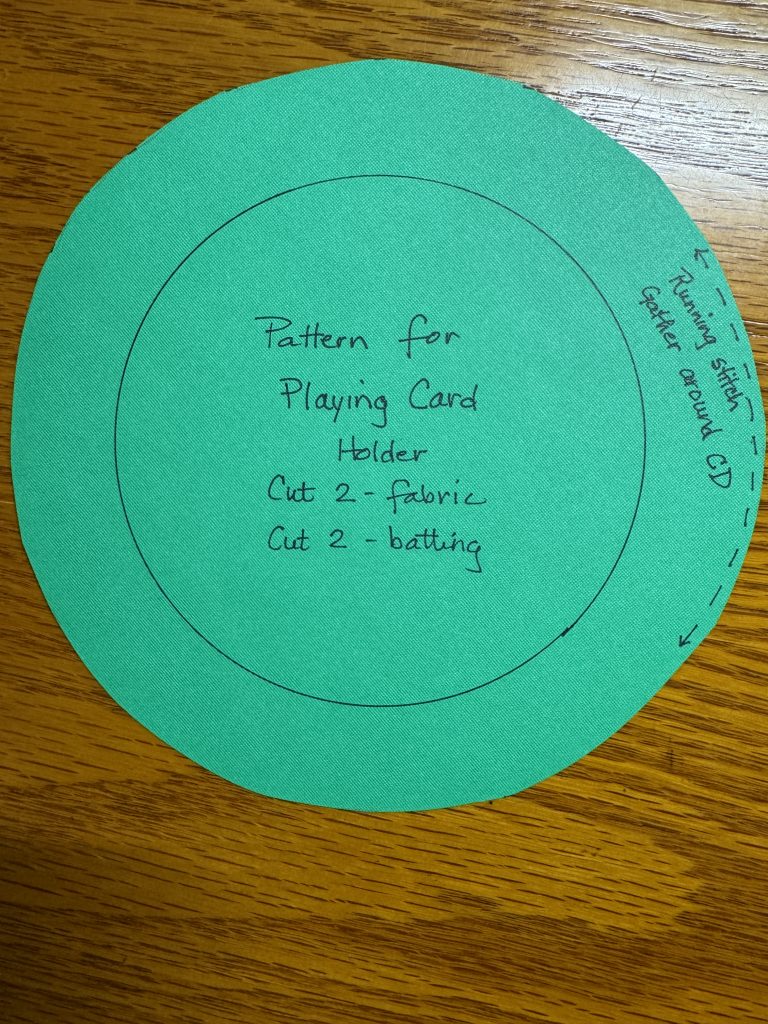
I needed a pattern to cut out the fabric circles. It needed to be the size of the CD with an additional 1″ of fabric all around. I found a piece of heavy paper and traced around the CD. Then, I added 1″ all around by marking 1″ about every inch and connected the dots with a pencil. Good enough!

Cutting the Fabric and Batting

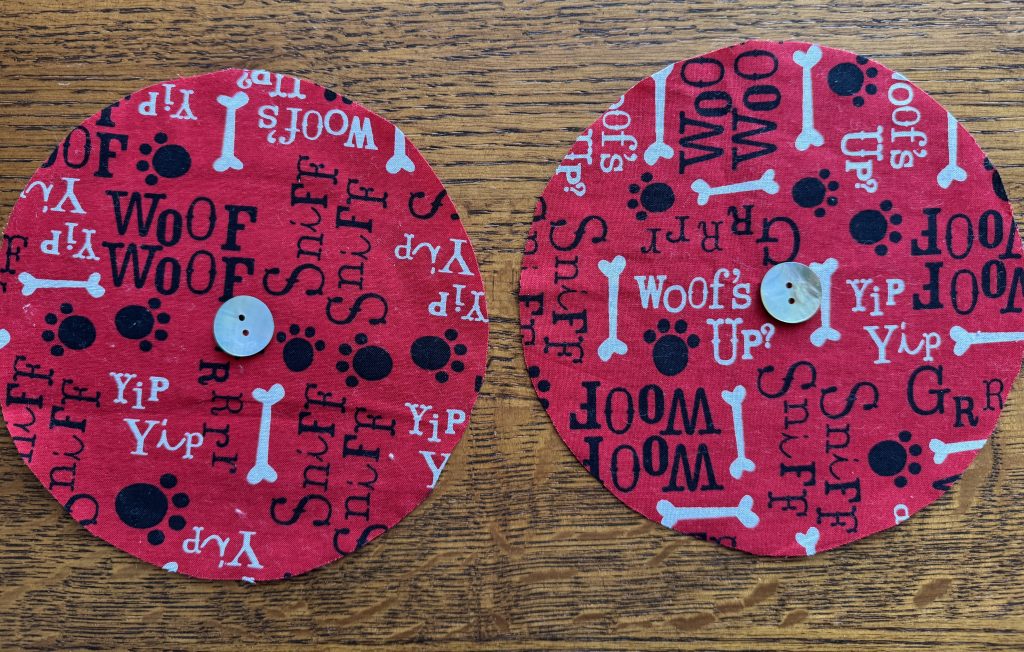
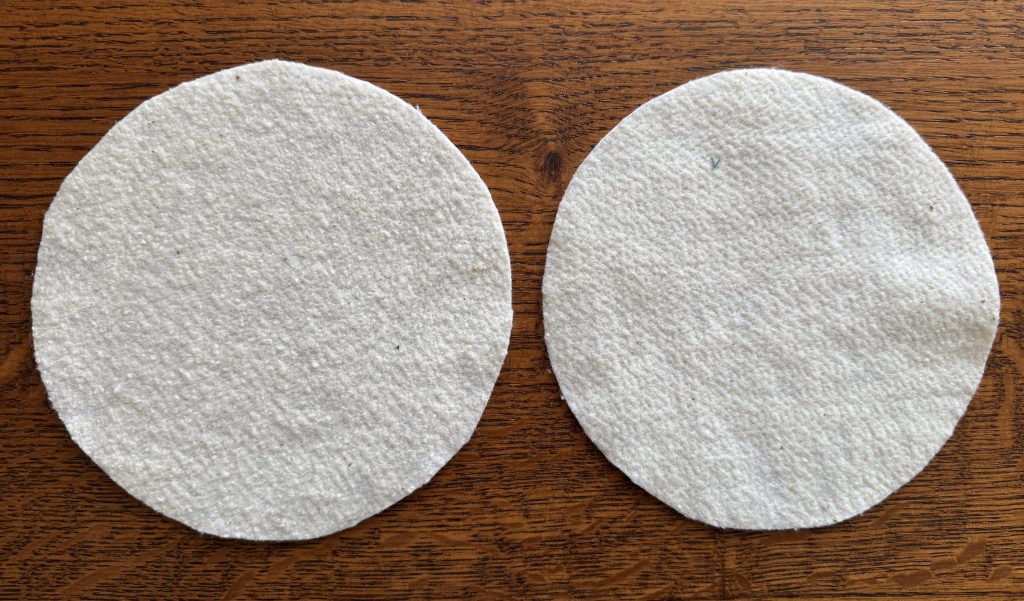
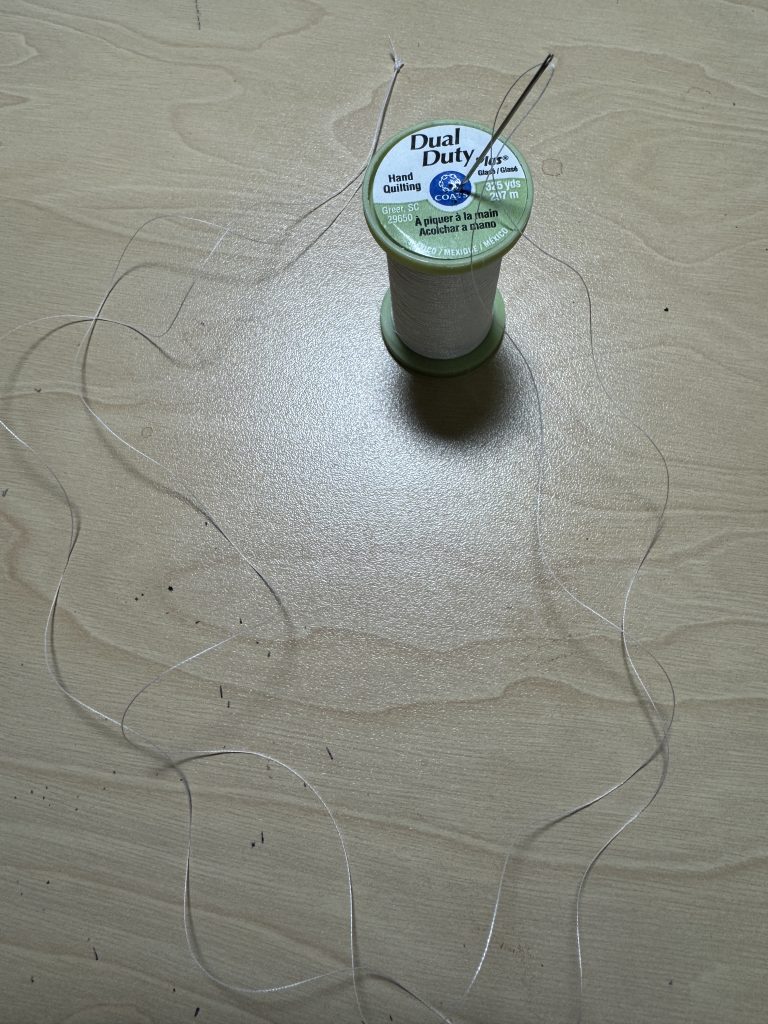
My instructions are using scraps of fabric appropriate for my grandkids. For each card holder, you will need two circles of fabric, two circles of batting, two CDs, two buttons (about 3/4″) and a sewing needle with sturdy thread (I used about 48″ of hand quilting thread, doubled in half and knotted. You don’t want to gather the fabric as you sew.)

Assembling the Card Holder

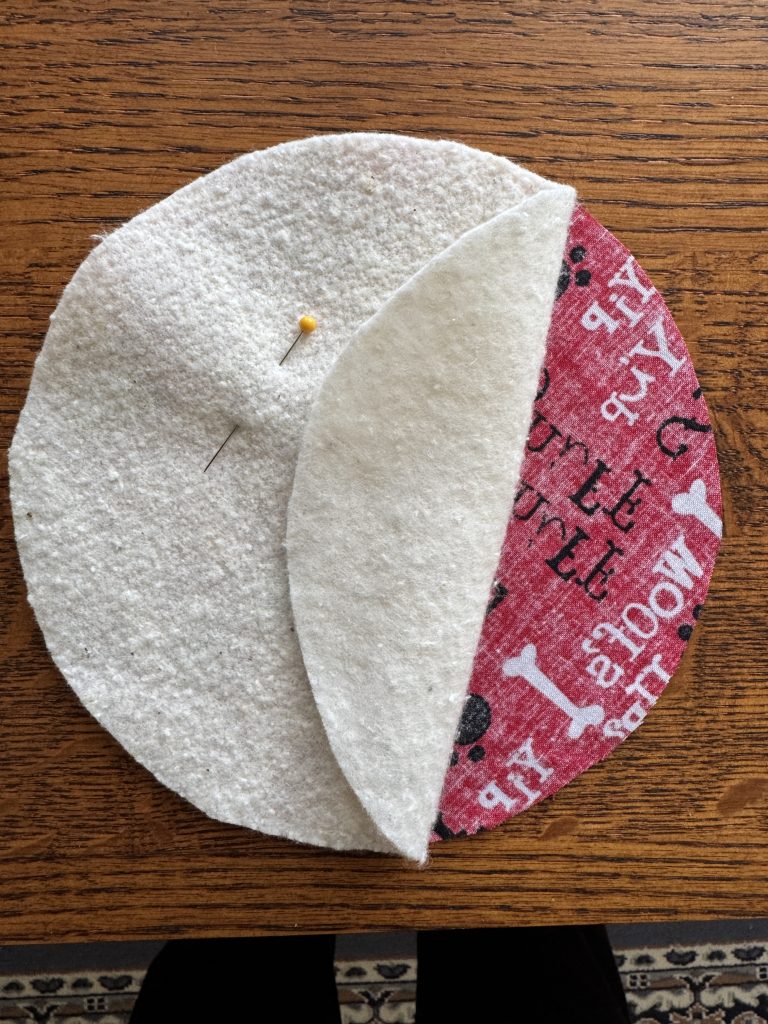
  1. Place a circle of batting to the wrong side of the fabric circle.

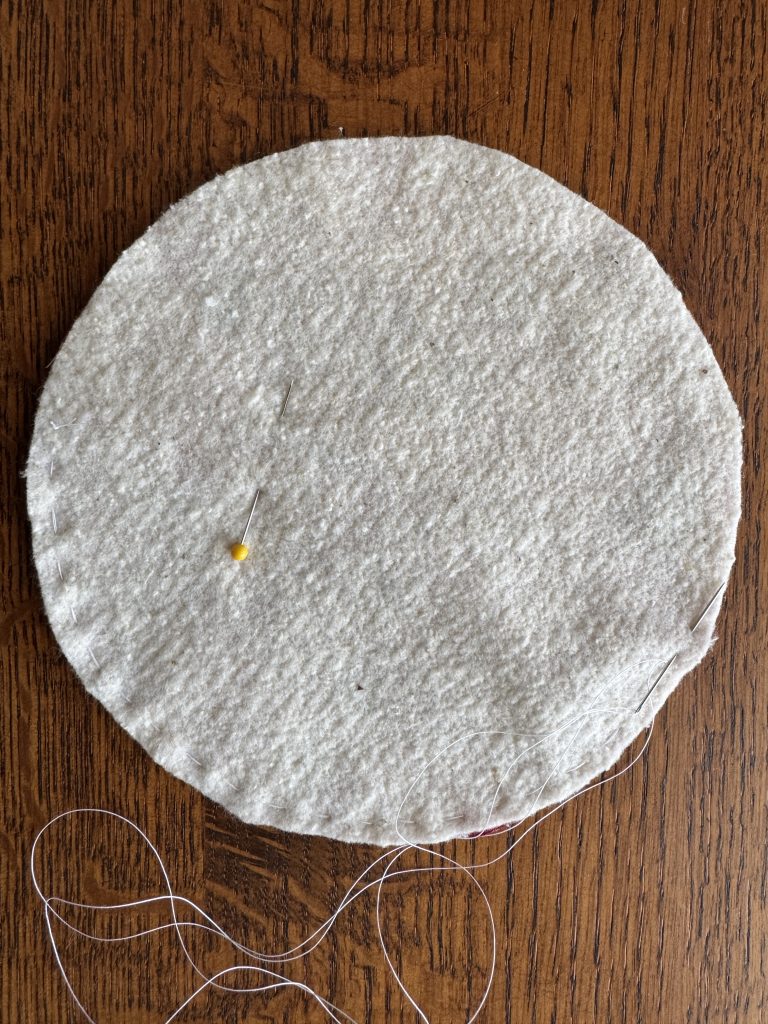
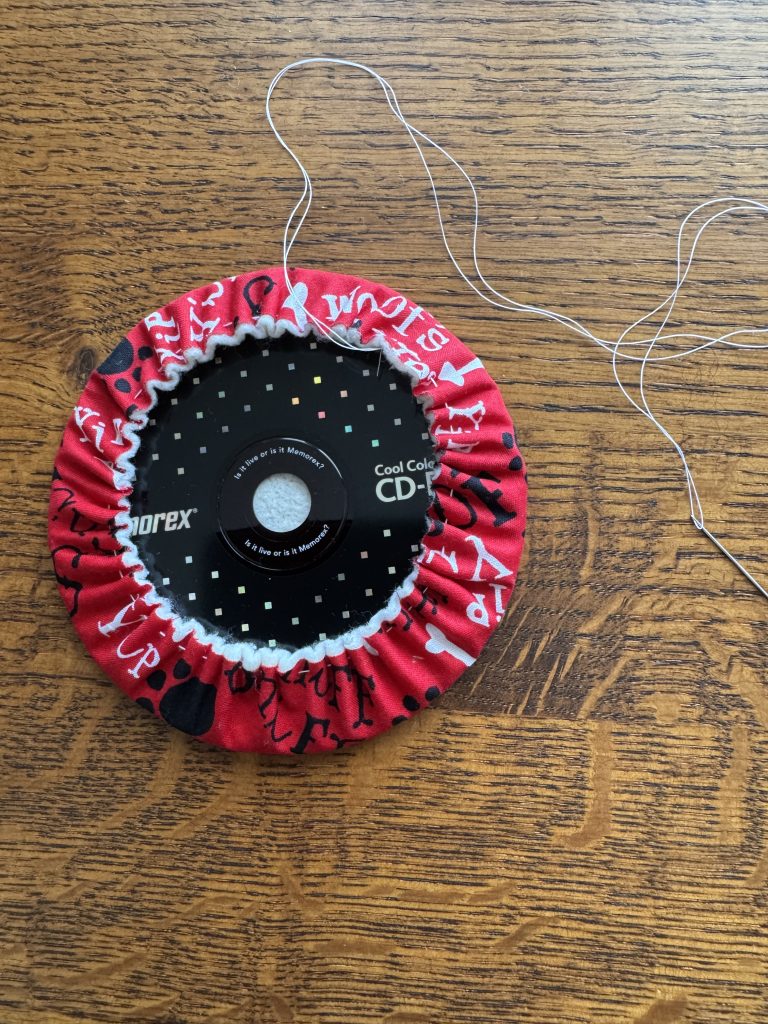
2. Hand stitch with a long running stitch around the circle, about 1/4″ from the edge…DO NOT finish with a knot or cut the thread off.

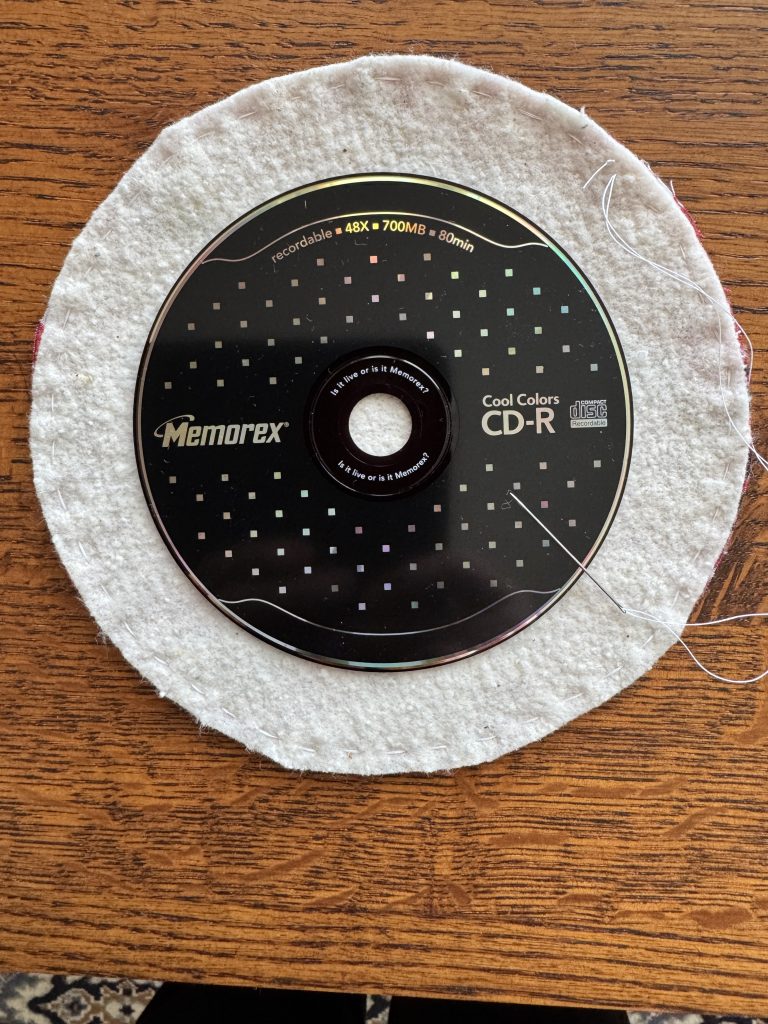
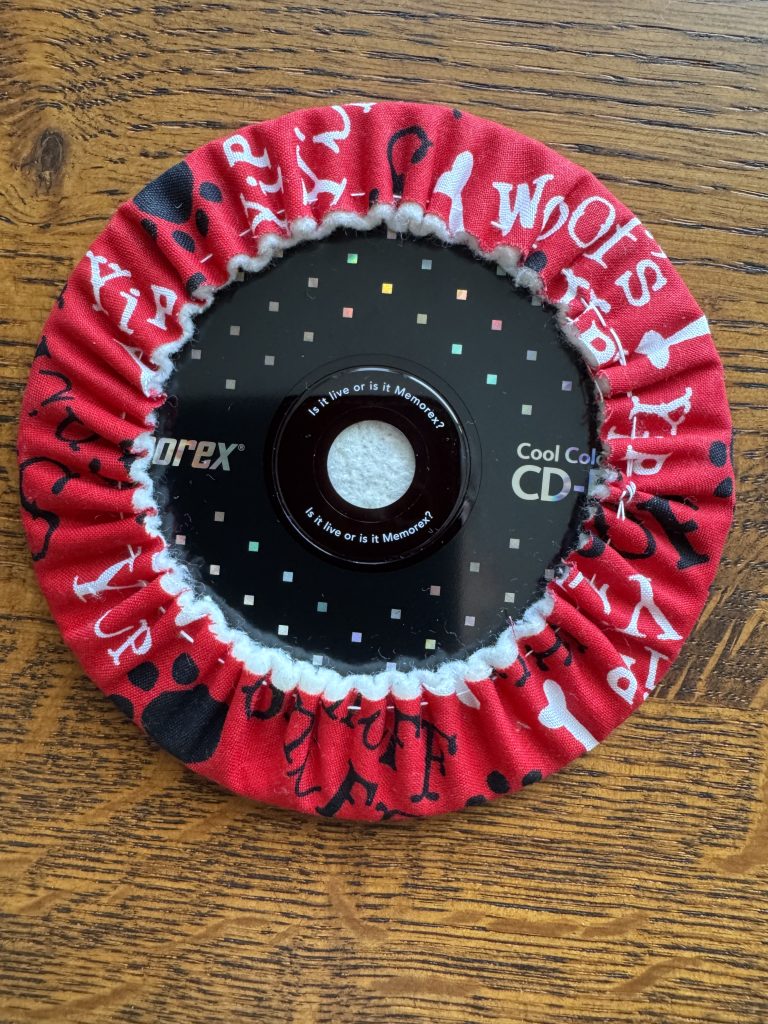
3. Place the CD in the center of the circle on a hard surface. Press down on the CD with your left hand and with your right hand pull on the needle and thread to gather the edges around the CD all at once. A firm hard pull will gather most of the circle around the CD. With your fingers, help distribute the gathers and tie off the thread.

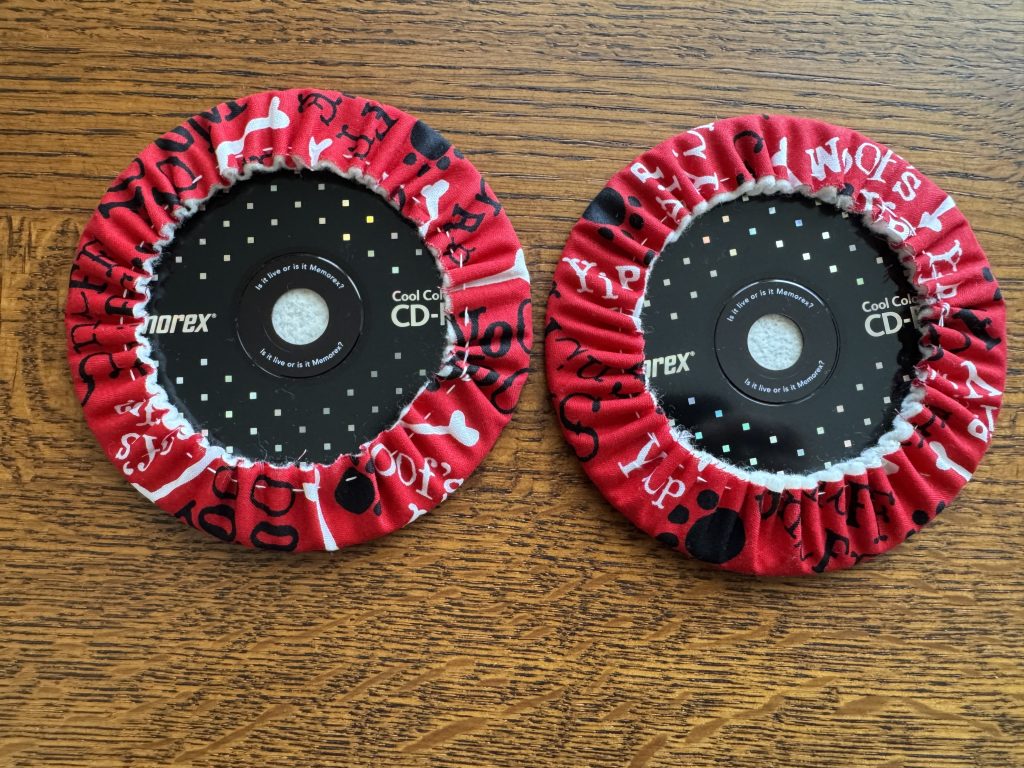
4. Repeat with the second circle, batting and CD.

5. Place the two finished circles together, gathered edges touching.

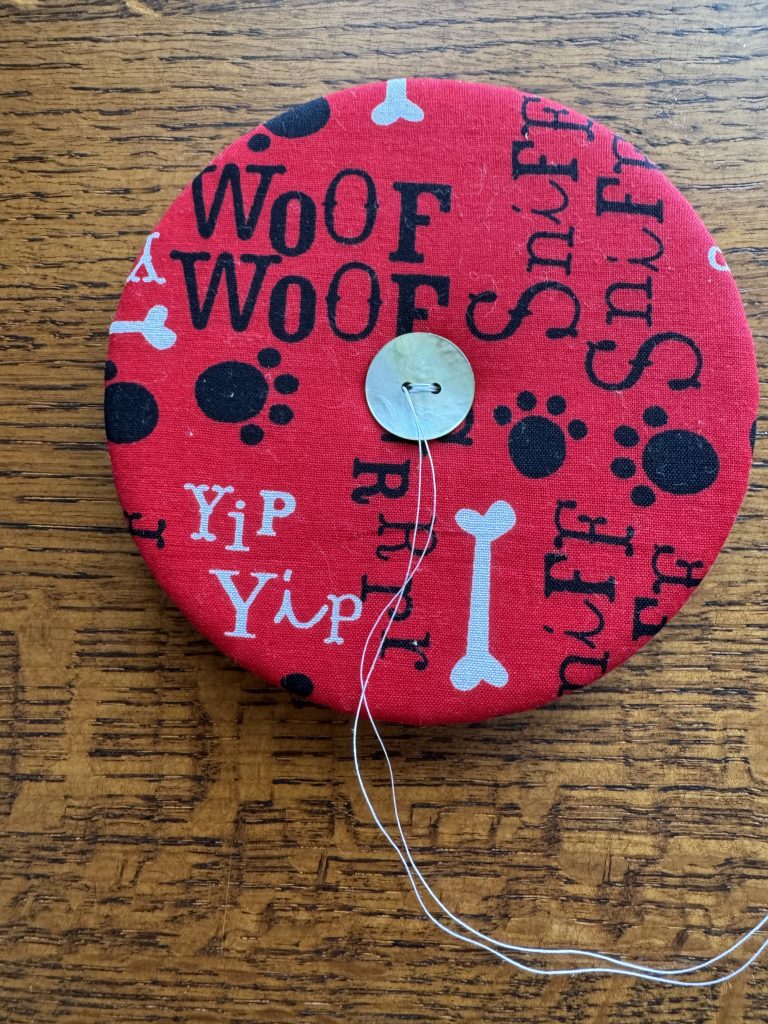
6. Sew a button through each side, sewing the two circles together snugly.

Your card holder should easily hold 5-10 cards. Great for young and old alike! Enjoy!
Making the Most of 4 Yards of Fabric

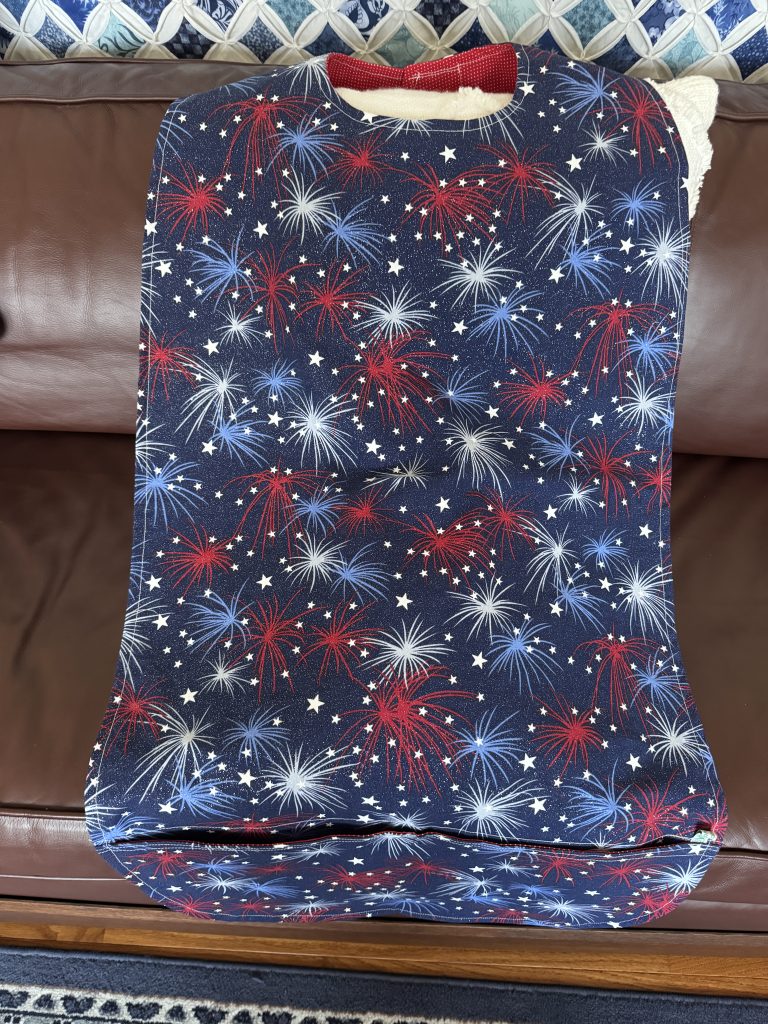
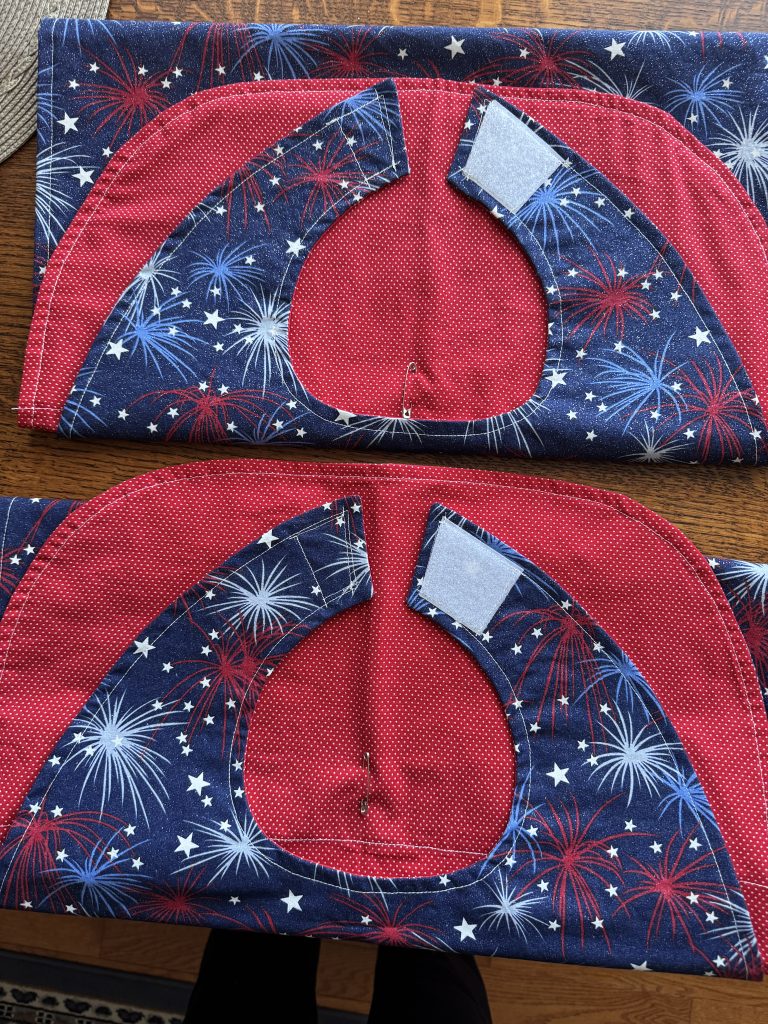
My latest sewing project involved making another adult bib for a friend. My pattern makes an especially LONG bib with a pocket at the bottom to collect crumbs while a person is sitting. Usually, I don’t try to make two of the same fabric, but this time I decided to see if I could squeeze two side-by-side on the fabric.

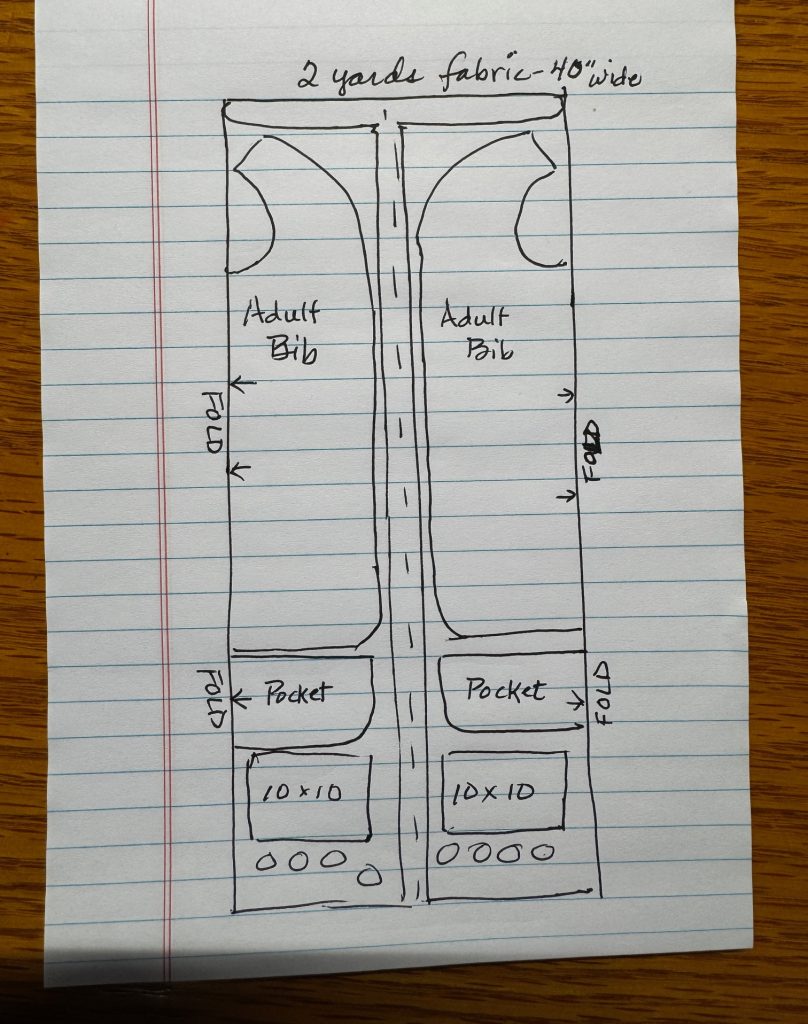
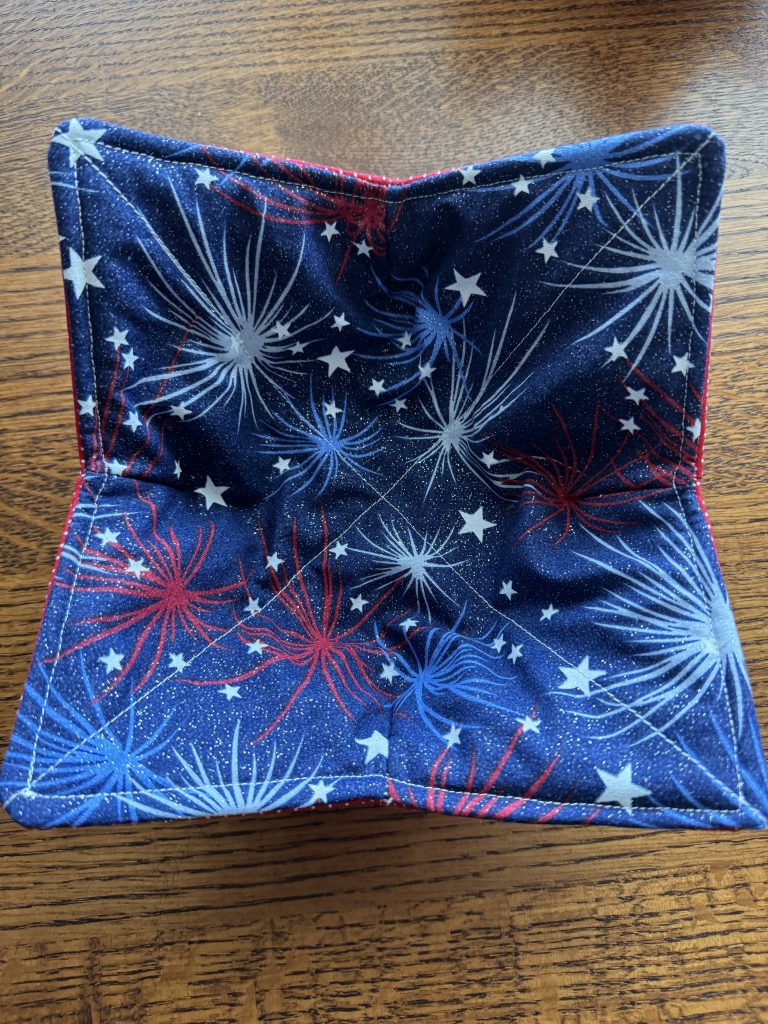
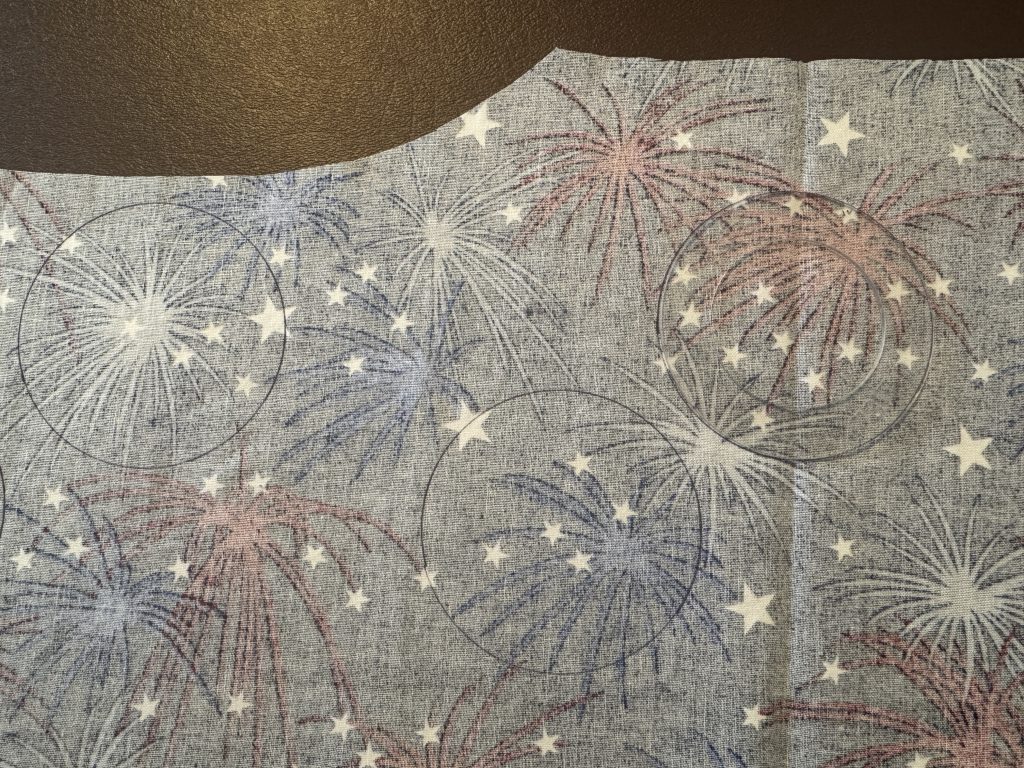
I bought two yards of fireworks fabric and two yards of plain red with tiny dots for the lining. After washing the fabric, I ironed it so I had a crease down the middle. Then I opened it up and folded the selvage edges to the middle, giving me two long folded edges. I ended up having enough fabric left over to make four bowl cozies and 8 refrigerator magnets. This was a fun day!
Here’s a sketch of how I laid out the pattern pieces:

I was pleased to be able to make two bibs that used up 1 1/2 yards of fabric and lining.

I wrote an overview about making adult bibs at https://marykisner.com/adult-bibs-are-not-just-for-nursing-homes/

It appears I have not written a step-by-step set of instructions to make this long adult bib yet. If you’d like me to do that, please send me an email (maryjkisner@gmail.com) and I’ll put that together next.

With the 1/2 yard (18 inches) of fabric I had left after cutting out the bibs, I decided to cut out four 10 x 10″ squares out of both fabrics to make bowl cozies. You can read about making these bowl cozies at https://marykisner.com/making-three-sizes-of-hot-pad-cozies/

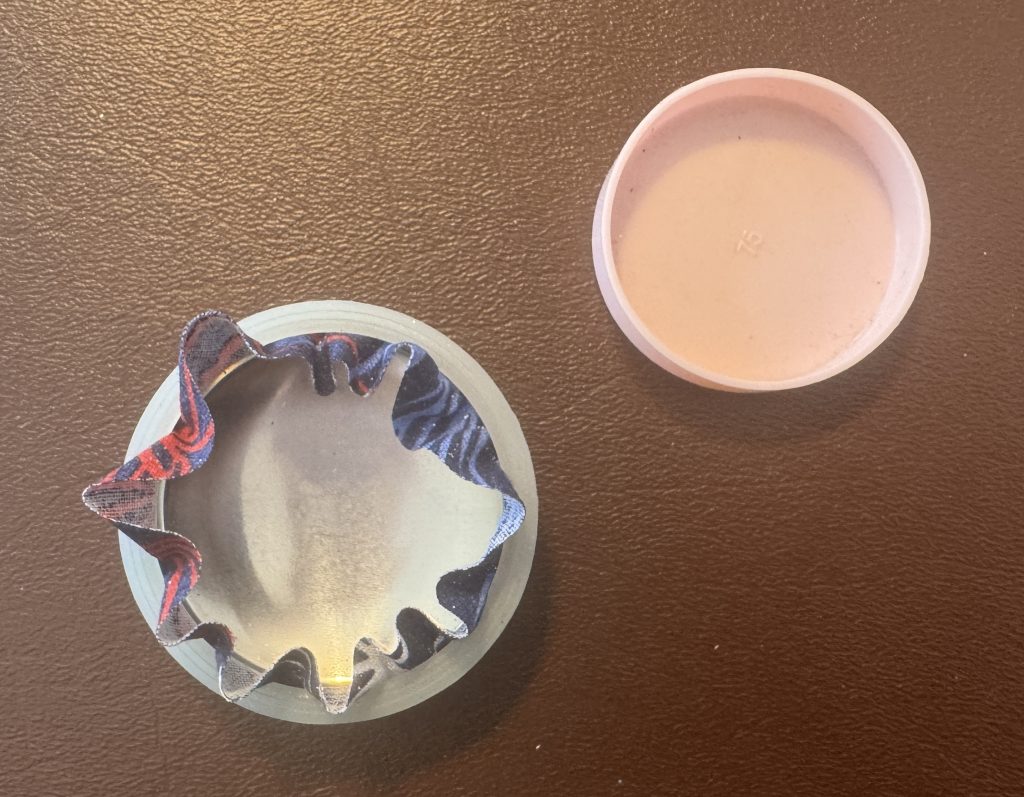
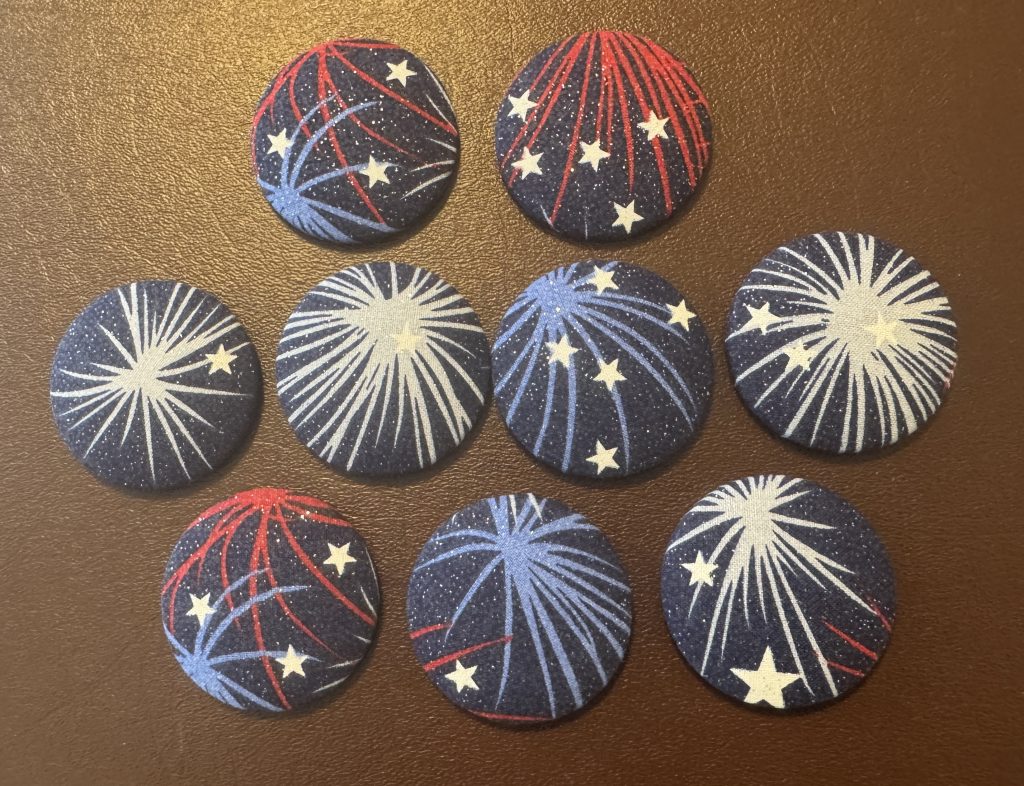
Finally, with the few inches of fabric I had left, I pulled out my supplies to make refrigerator magnets. You can read more about making these covered button magnets at https://marykisner.com/more-than-just-a-refrigerator-magnet/

I had not made these in quite a while, so I was glad I had saved all the assorted tools and supplies. The fireworks fabric made nice magnets.

I was so pleased to be able to share all these additional goodies with my friend…2 bibs, 4 bowl cozies and 8 magnets! Such fun!
Discovering Air Plants

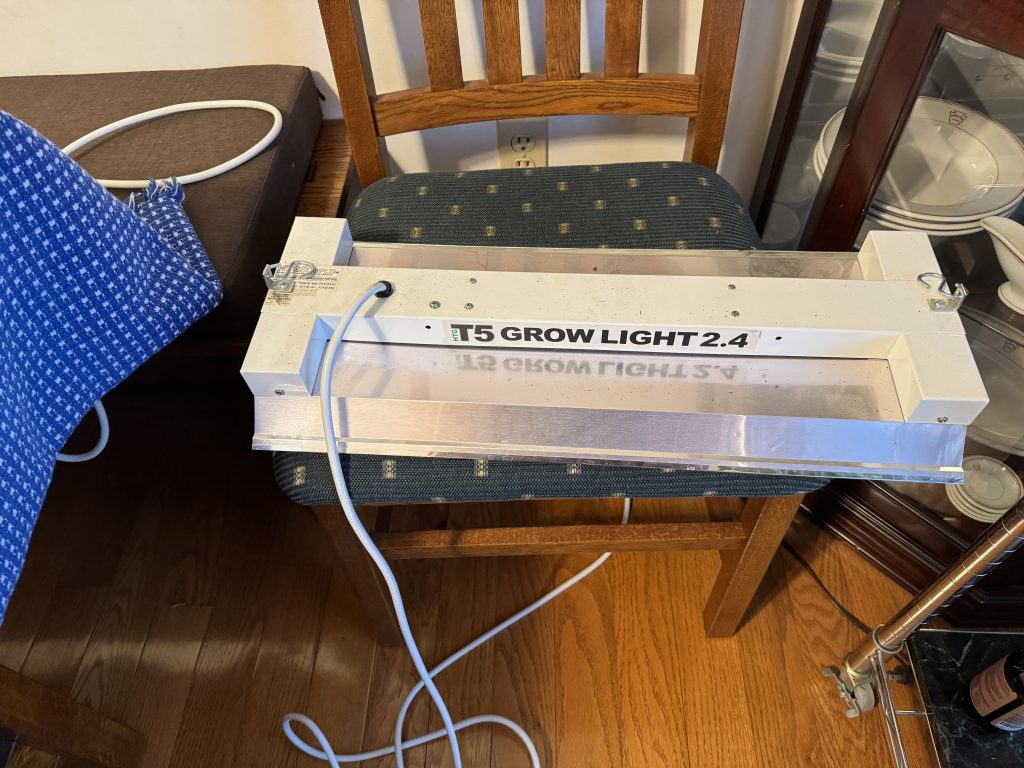
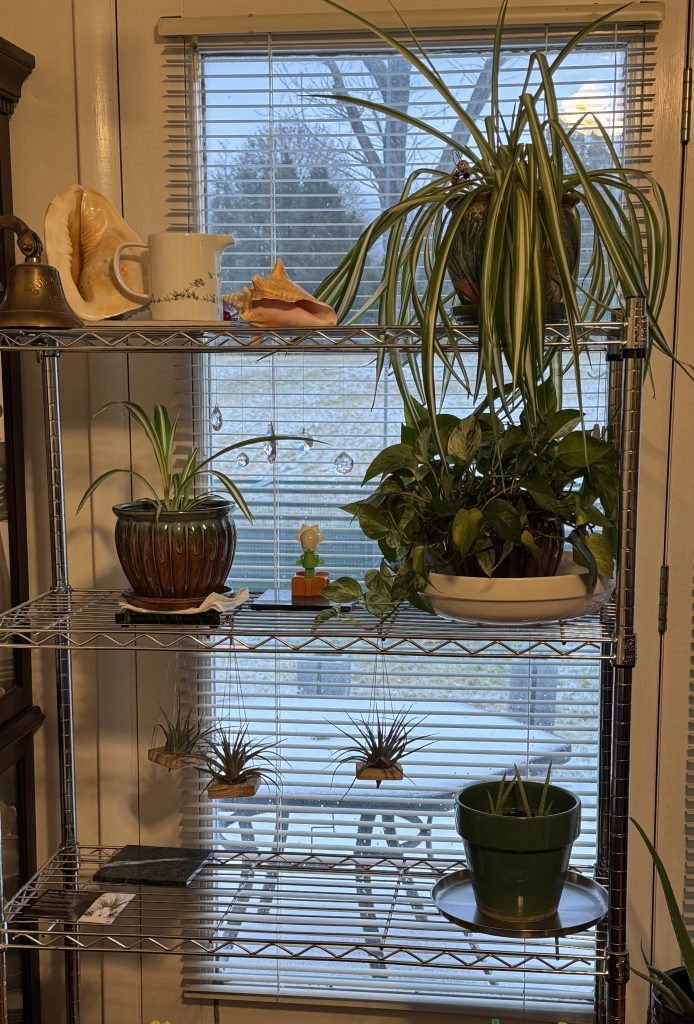
It was time! Time to repot some plants, rearrange some other plants and put away the grow lights. It’s also too soon to even think about outside planting. First, I had to dismantle the grow lights that I used for the microgreens. They will be stored until I need them again.

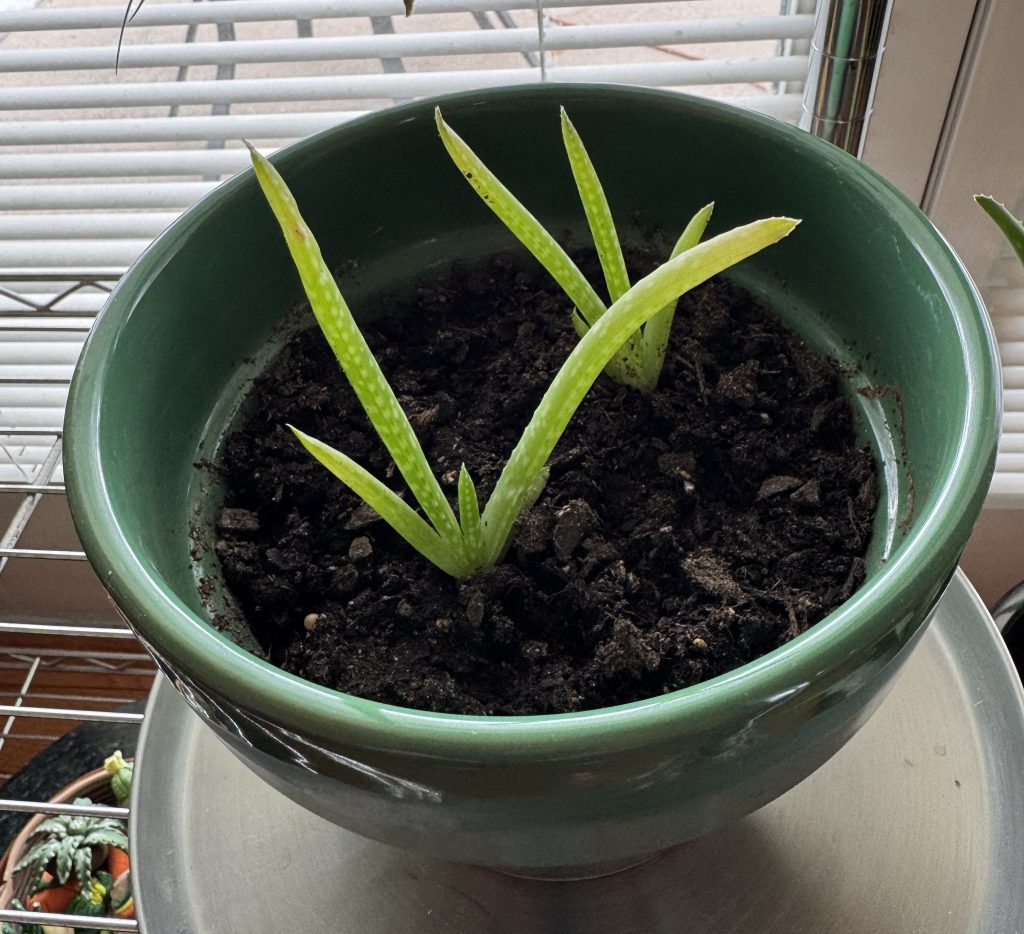
Bert started by repotting the aloe vera. It was in a tiny 4″ pot and had two baby plants trying to hang on in the crowded space. That gave the mother plant room to grow and the babies their own pot.

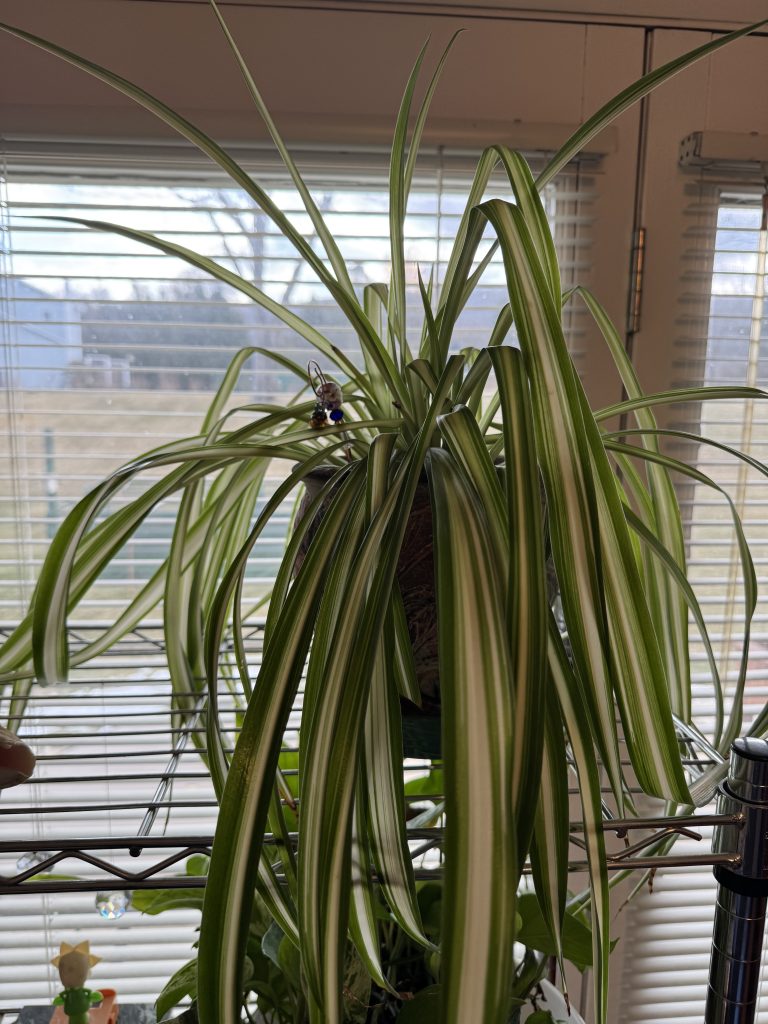
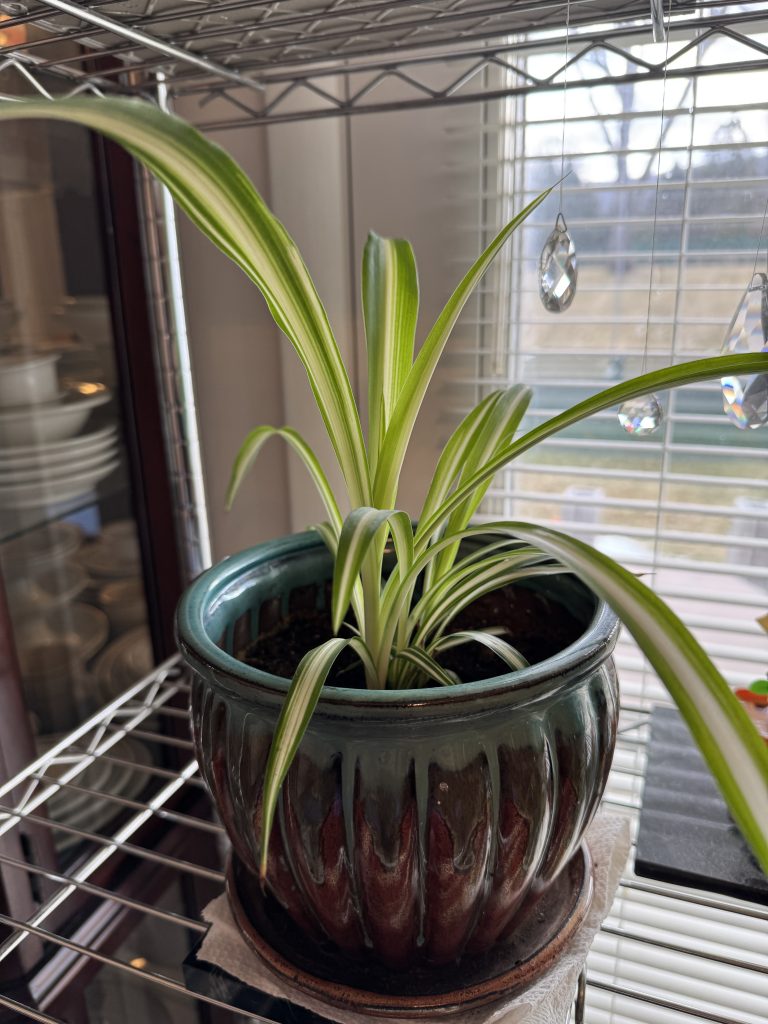
The spider plant is determined to send out long shoots that will make new plants. Bert keeps cutting them off (he really doesn’t like the spider plant…too unorganized…it’s the engineer in him!) We did let one baby grow and it’s now in its own pot. I’m sure the main plant feels stymied but we’ll keep it a while longer.

I saw an article in a magazine about “air plants” and wondered if they would give us the feel of the small spider plant but grow differently. The article confirmed that they grow slowly and have interesting blooms. Air plants, otherwise known as Tillandsia, are native plants to the southern United States, Mexico, Central and South America, and have the ability to thrive in the warm temperatures, despite neglect. (That last statement is very important!)

With over 650 types of Tillandsia, these unique-looking plants survive without soil or water. Air plants use their specialized leaves to obtain from the air the water and nutrients they need to survive. The roots of the air plant are simply used for attaching themselves to rocks, trees, shrubs and the ground. They are easy to maintain but need a humid environment. So, I can either soak them in water once a week and/or mist them daily. (Not sure that can be called neglect…)

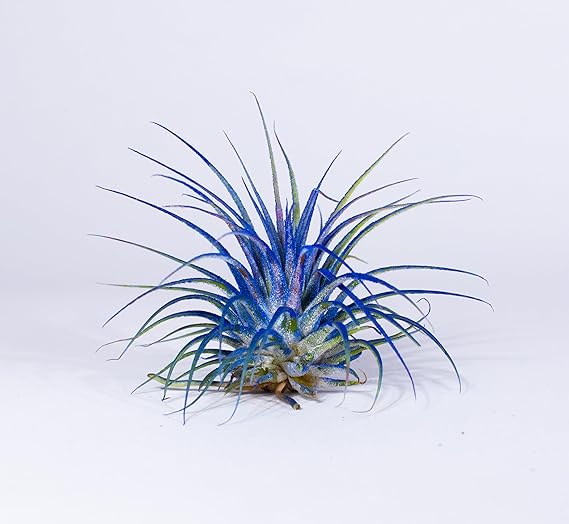
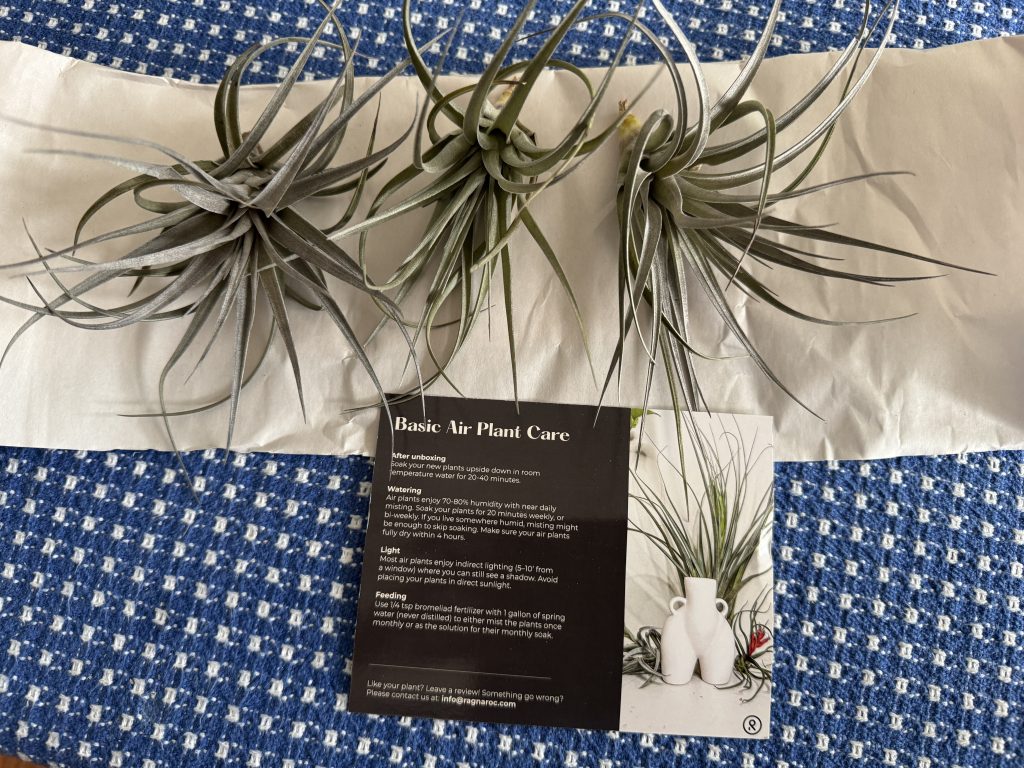
Bert thought they sounded interesting so he went on Amazon and ordered three plants. We saw pictures of pink ones and blue ones and learned that the color is applied and slowly fades away. They really didn’t look REAL.

This is what we ordered:

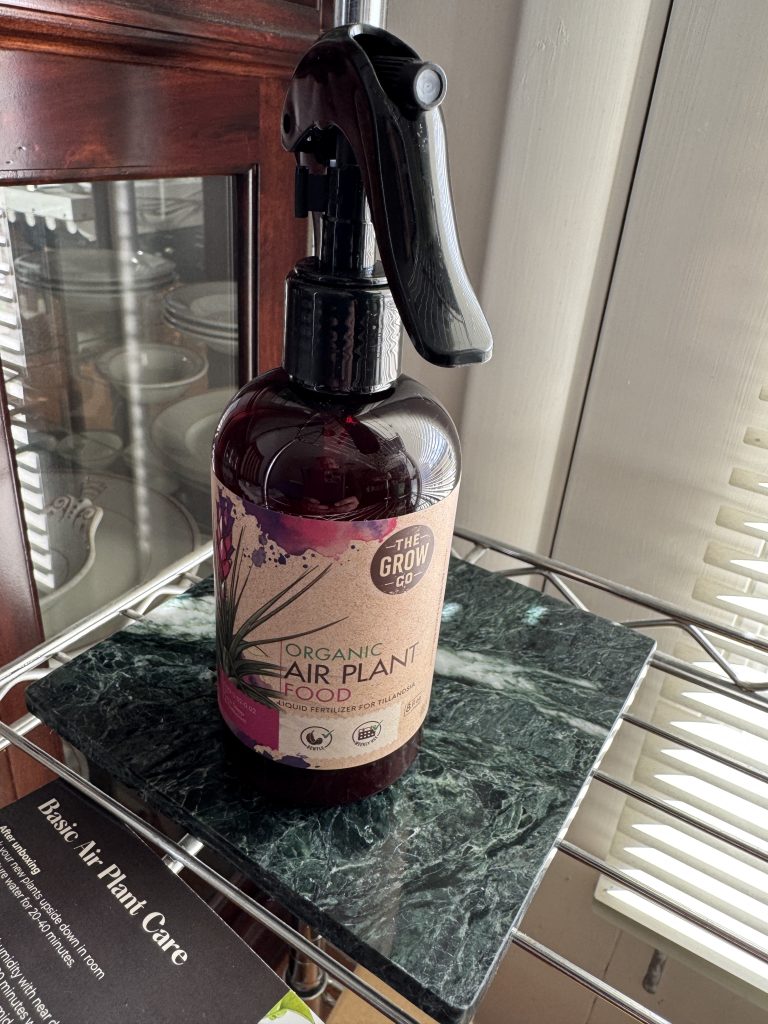
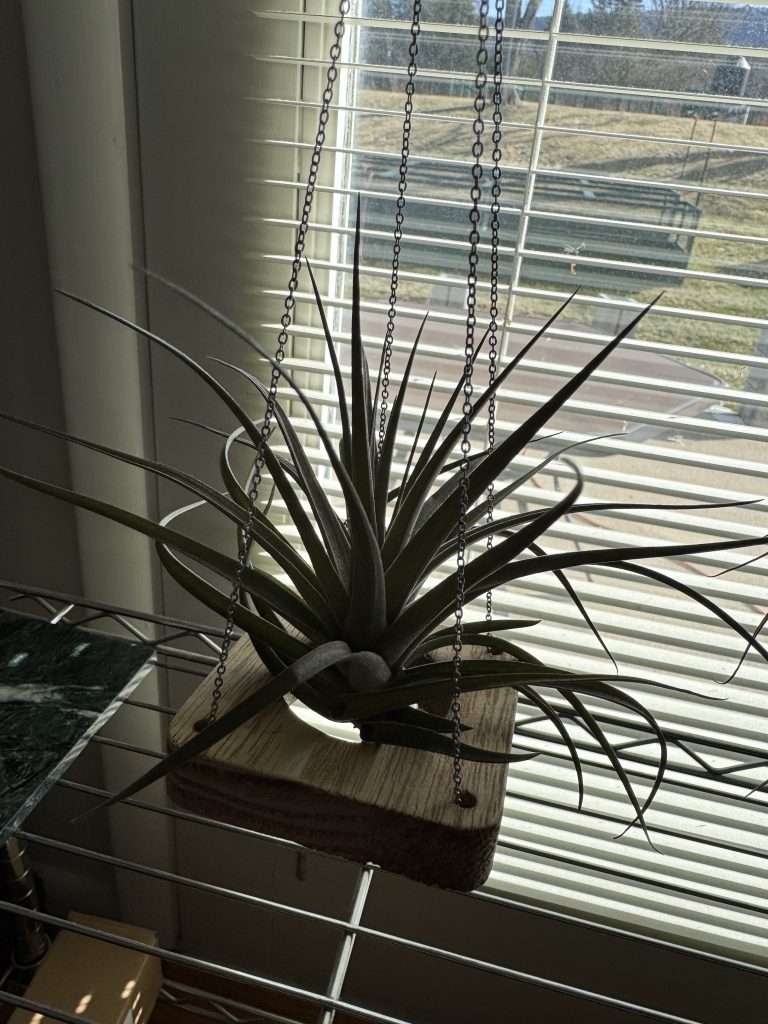
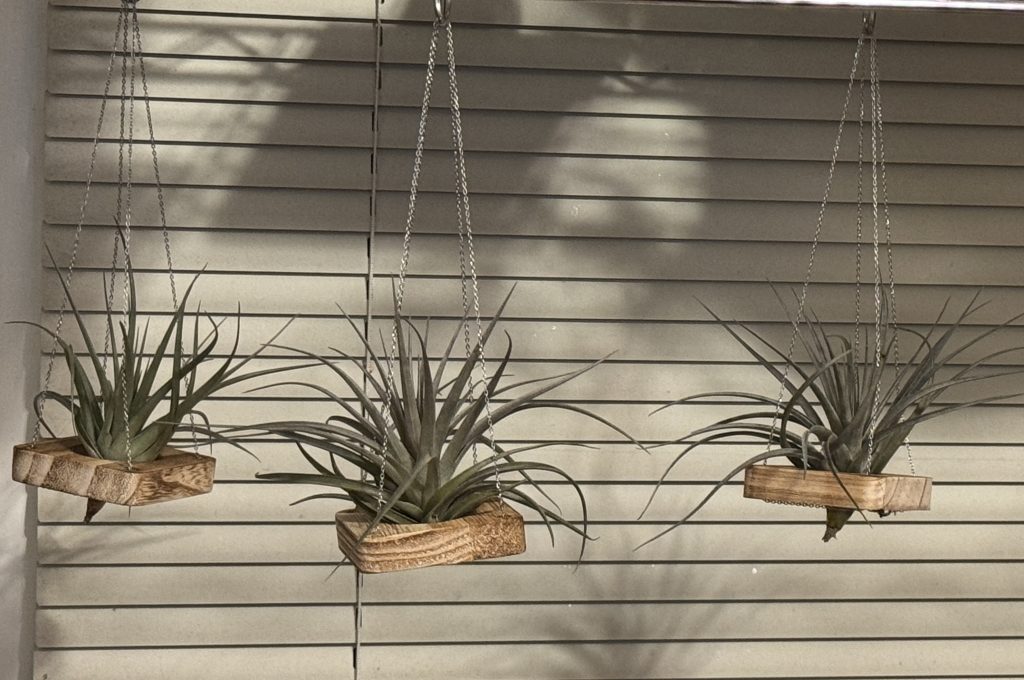
He also ordered a spray bottle of fertilizer and tiny hanging holders for the plants.

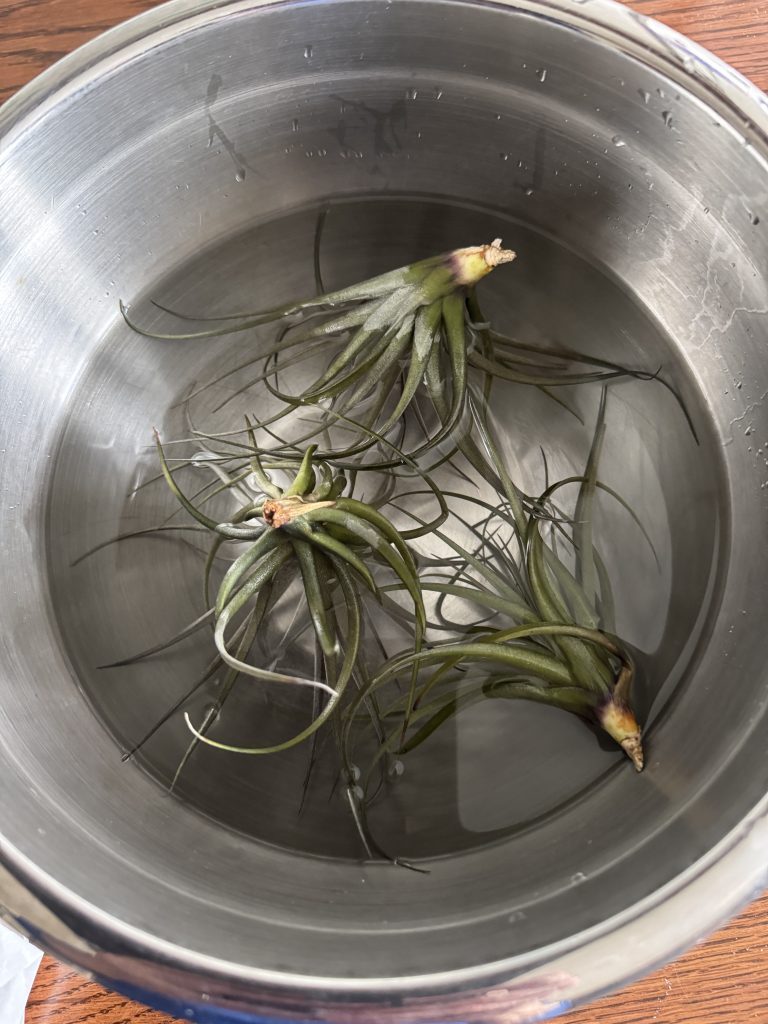
I followed the instructions that came with the plants that said to soak the plants first in room temperature for 20 minutes.

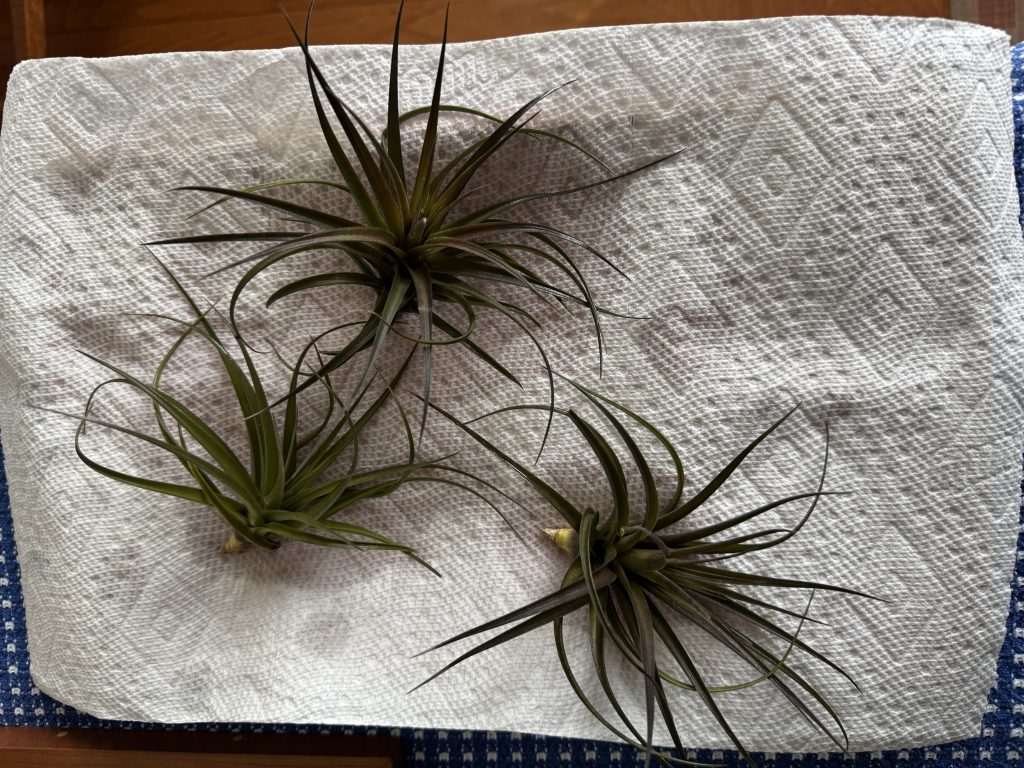
I laid them out on a paper towel while I got the holders ready.

I can see I might need to rearrange the plants on the shelves at some point, but at least now I can mist the air plants. We’ll see if I can remember to mist them every day!

Carrots for 9 Months

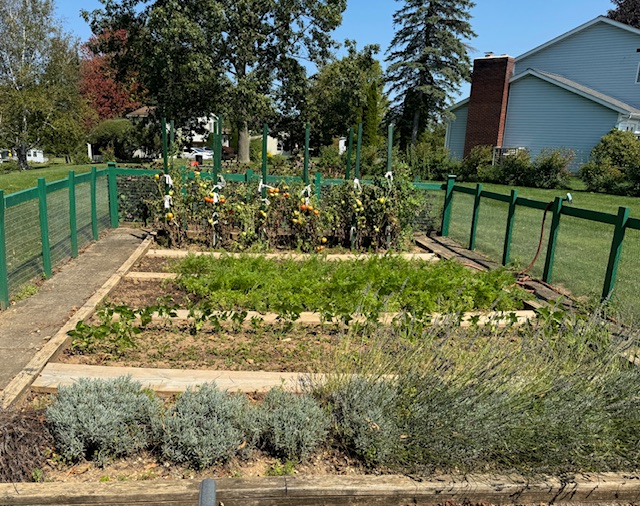
Those of you that follow this blog may remember last fall when we had harvested most of the produce in the garden. We had a few tomatoes left to pick (in the last section) and the carrots were still in the ground (middle section). We had begun trimming the lavender in the first section.

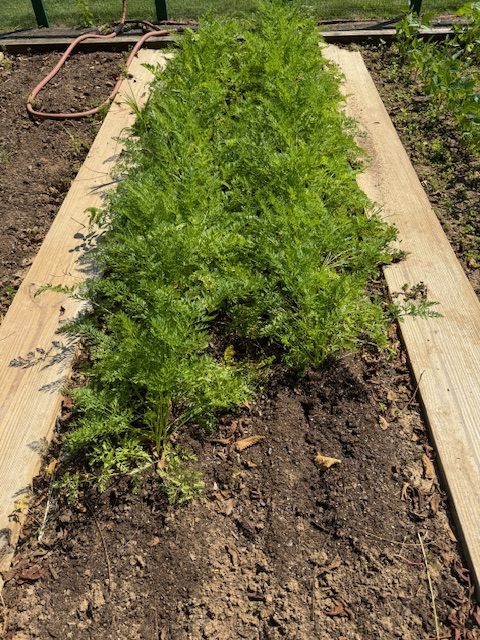
By September, the only plants left were the carrots. We planned to leave them in the ground as long as possible.

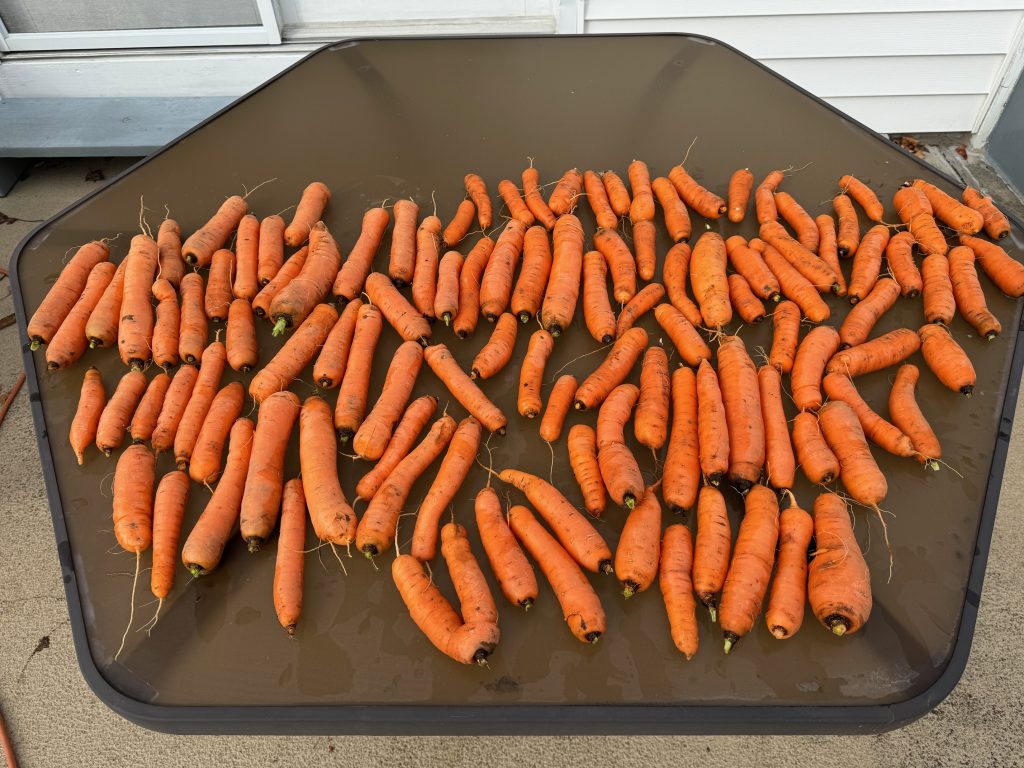
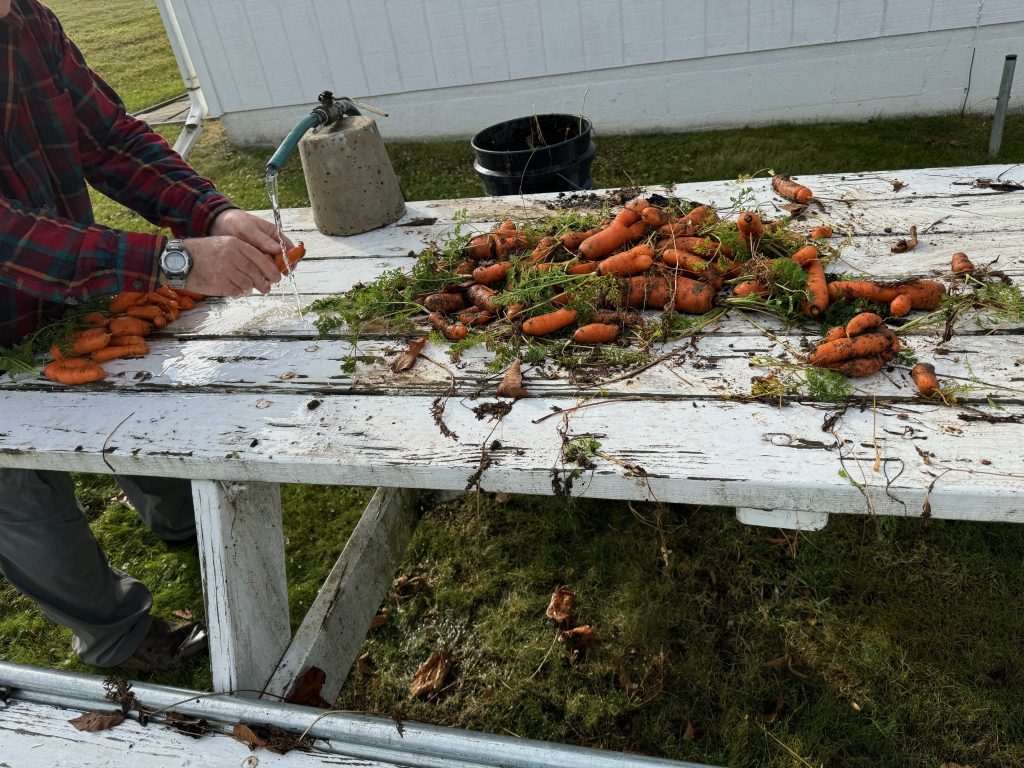
In late October, we dug up all the carrots. They were beautiful!

The extra little carrots with tops were rinsed off and given to a friend’s pet rabbits.

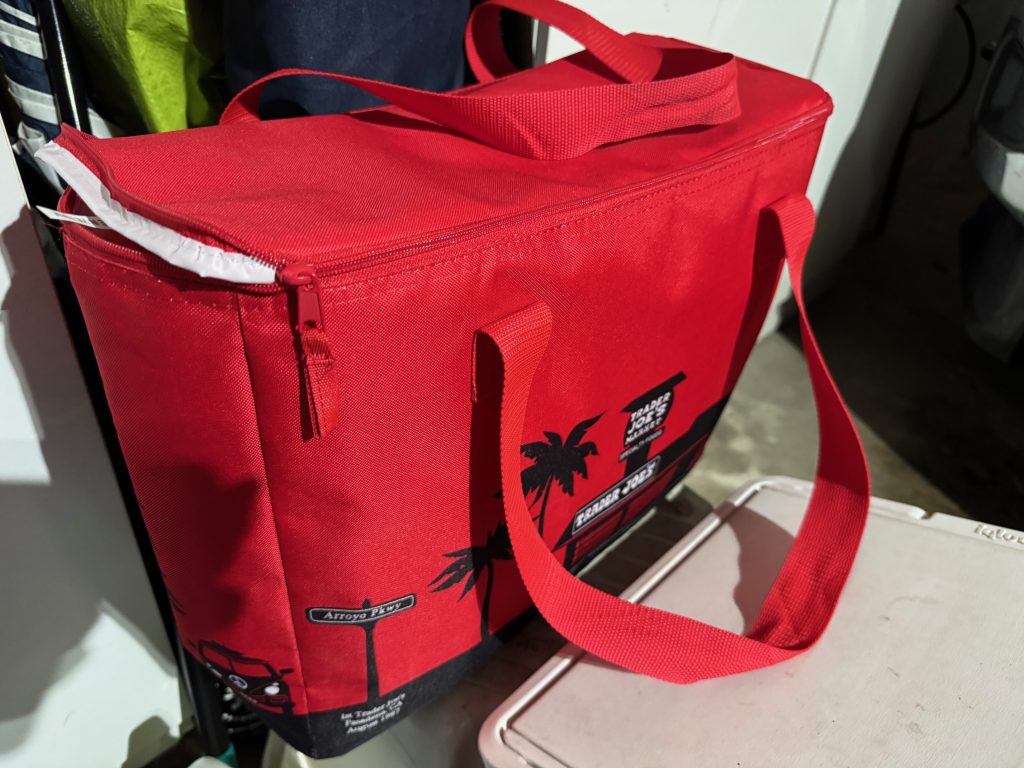
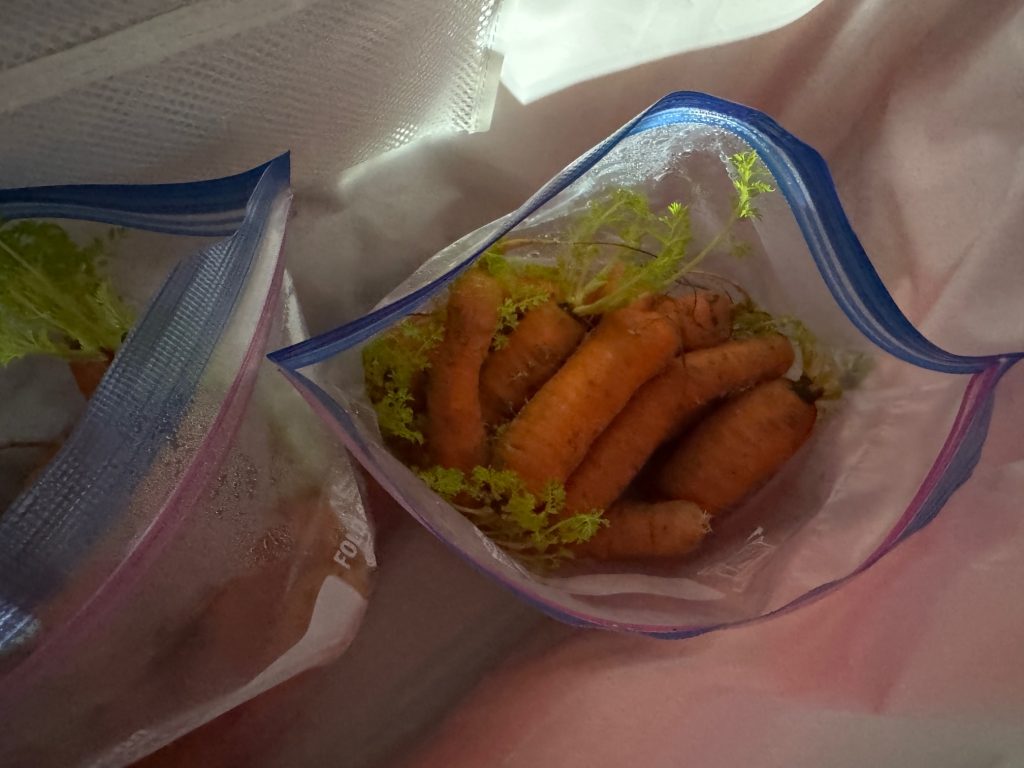
When the carrots were dry, we put them into gallon zip bags without closing them and put them in a large insulated bag. This sat in the garage for months and when we wanted carrots, I could just grab a few for dinner or salads.

During the cold freeze a few weeks ago, the garage got below freezing for several days so I set the bag of carrots in the kitchen. When it warmed up, I moved the bag back to the garage…sort of a traveling “root cellar.”

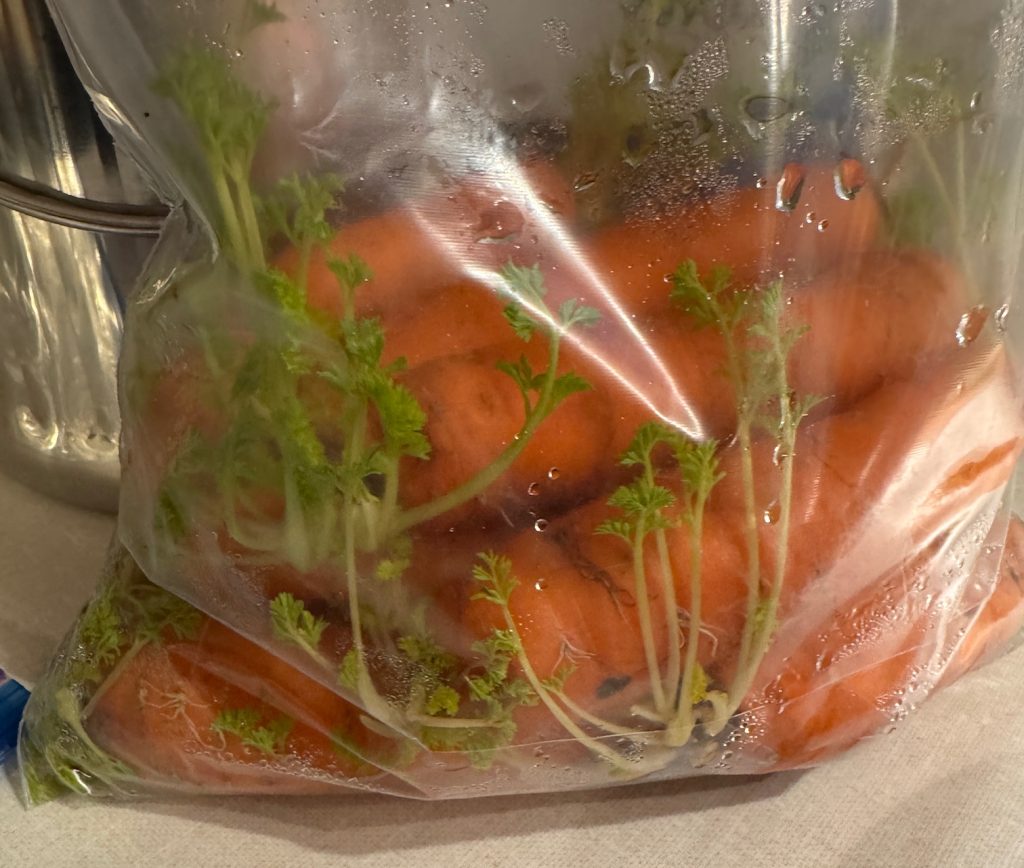
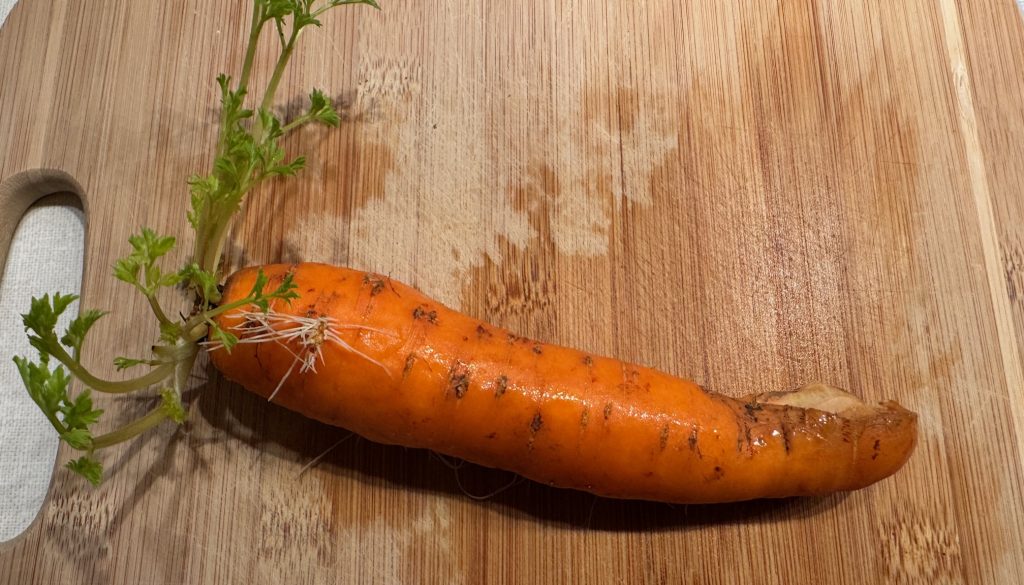
Yesterday, we wanted cooked carrots for dinner. I grabbed a bag of carrots out of the insulated bag. Too funny…they were starting to grow!!

So, I’ll begin by trimming up all the carrots. They should keep another month or so in the refrigerator. They’ll be ready for salads and dinners.

After 4 months in the garage, they are still tasty, crunchy and very orange!

It’s very nice to be reminded how much we enjoy the garden produce all year long! Our canned 4-bean salad, pizza sauce and pickle relish are frequent treats all winter!