Making ANZAC Biscuits

What in the world is an ANZAC biscuit? These cookies (or “biscuits” as they are called in the UK and Australia/New Zealand) are considered a traditional cookie to honor ANZAC day in Australia, New Zealand and Tonga.

“Anzac Day is a national day of remembrance in Australia, New Zealand and Tonga that broadly commemorates all Australians and New Zealanders ‘who served and died in all wars, conflicts, and peacekeeping operations’ and ‘the contribution and suffering of all those who have served.’ Observed on 25 April each year, Anzac Day was originally devised to honour the members of the Australian and New Zealand Army Corps (ANZAC) who served in the Gallipoli campaign, their first engagement in the First World War (1914-1918).” (See more at https://anzacspirit.com.au/blog/the-traditions-of-anzac-day/)

Several sources online suggested wives and mothers would mail these cookies to their soldiers in ANZAC, because without eggs and being quite sturdy, they traveled and kept well. Other sources said, “contrary to legend, Anzac biscuits weren’t sent to our troops serving overseas in WWI. However, they were commonly sold at church fetes and galas to raise funds for the war effort. They didn’t get their name until peacetime, with the first Anzac recipe appearing in about 1919.”

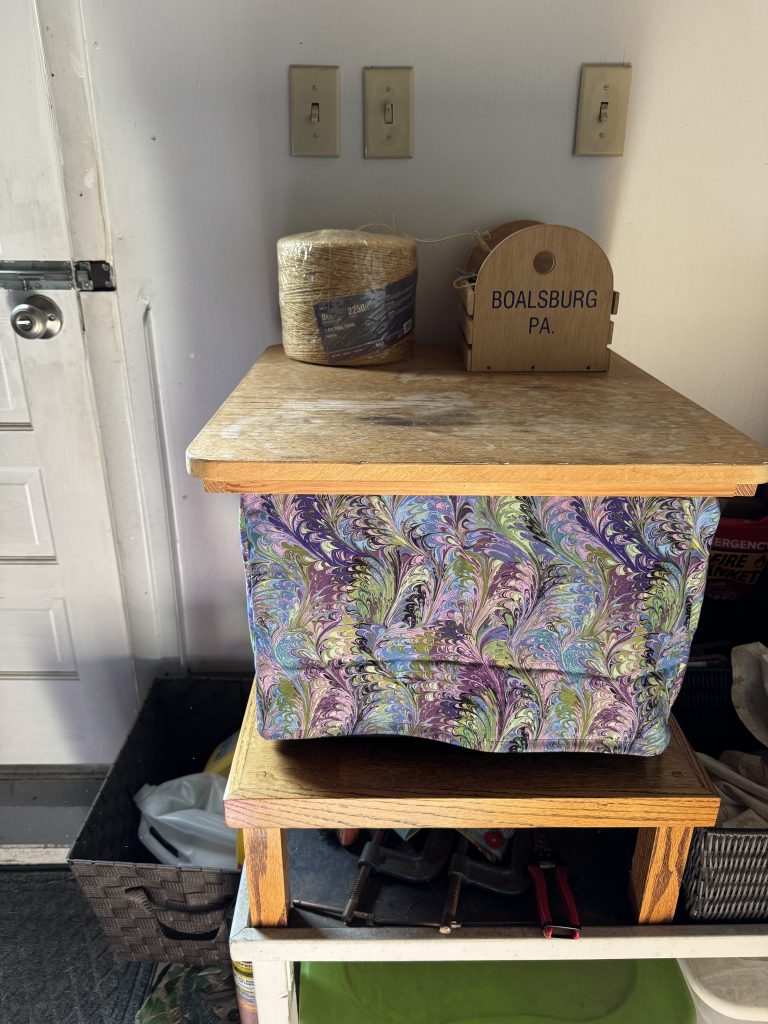
You can see, the history of the Anzac biscuits has been around for over 100 years! Whether they were popular because they traveled well, or they made a good baked item to raise funds, I might have to bake some to sell at our Boalsburg Fire Company Auxiliary Yard Sale in a few weeks (September 19-20, 2025). If I include the recipe and a little history, they might generate some interest and sales!

Because they were popular in Australia, they are called biscuits…like cookies are called in the UK. However, they are basically a simple Oatmeal Coconut Cookie. They are sturdy, travel well and taste good!

Here’s the recipe I followed. I added vanilla and cinnamon to my recipe just because!!

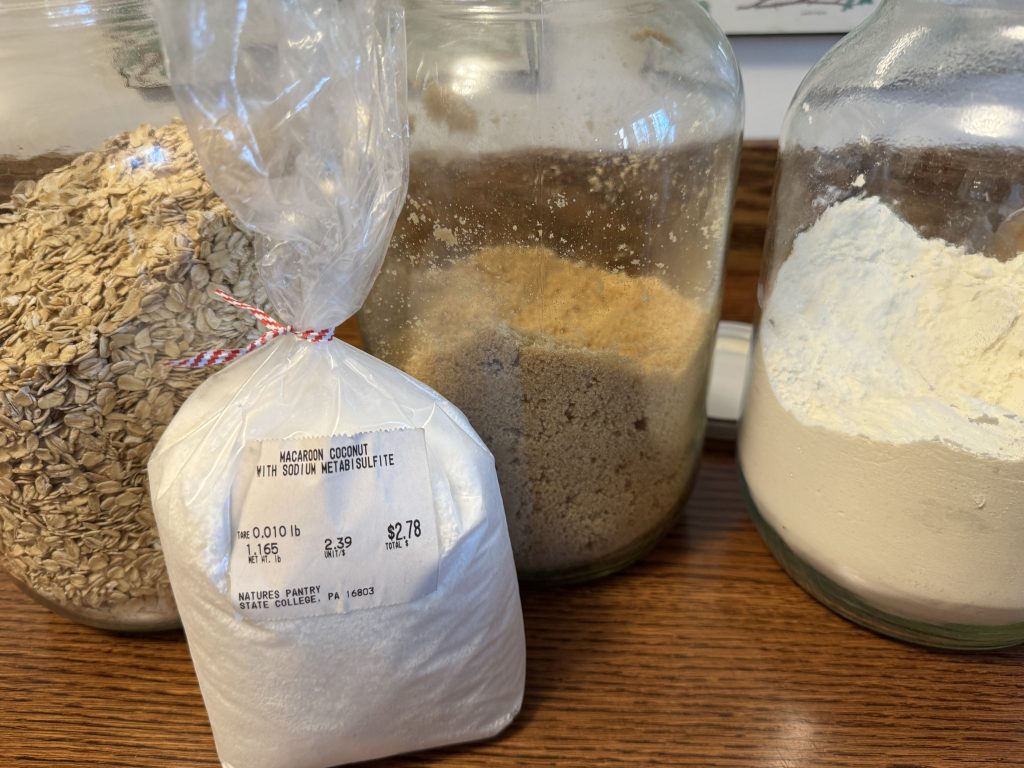
The ingredient list is pretty simple. After making 2-3 batches and reading several variations of the recipe at various sources, I think you could add other ingredients of your choosing…walnuts, chocolate chips, etc.

Making the ANZAC Biscuits

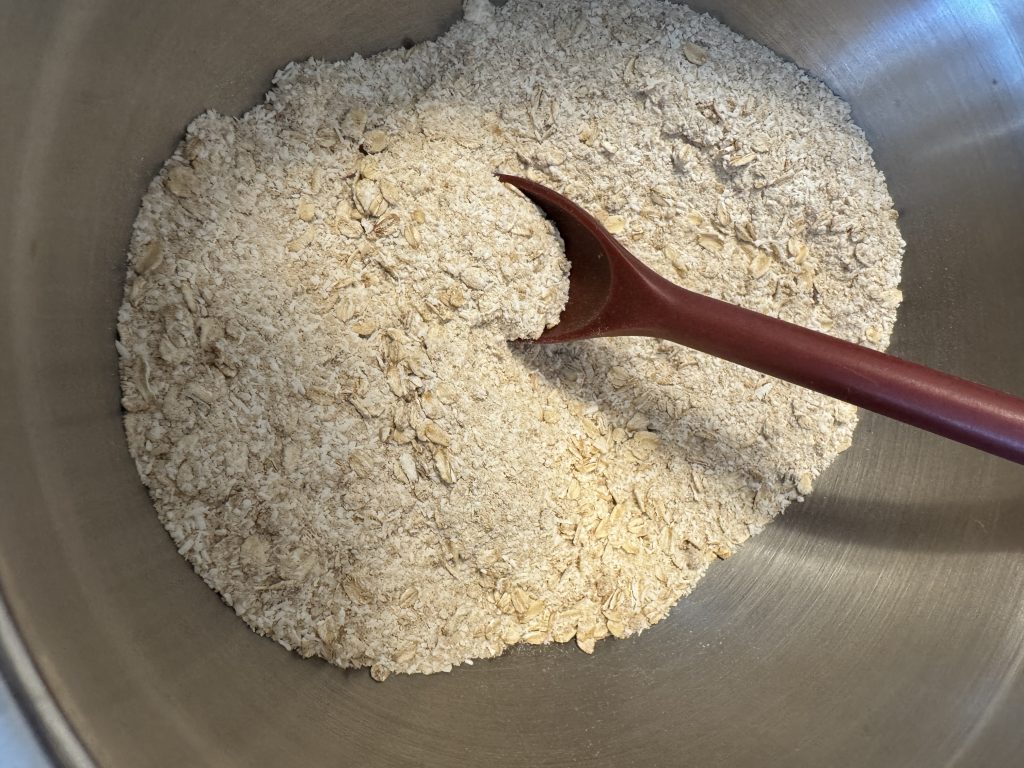
  1. Assemble the dry ingredients in a bowl and mix thoroughly.

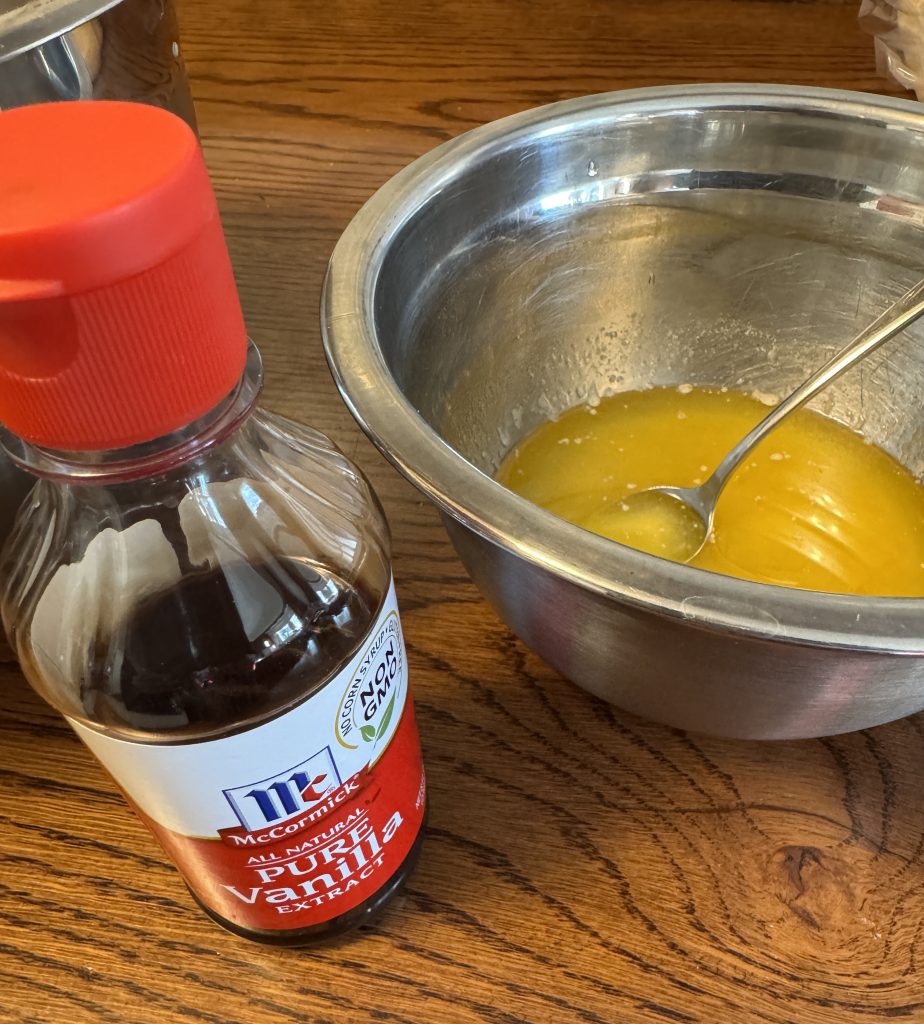
2. Melt one stick of butter and add 2 Tbsp of honey and mix well. (This is when I added the vanilla.)

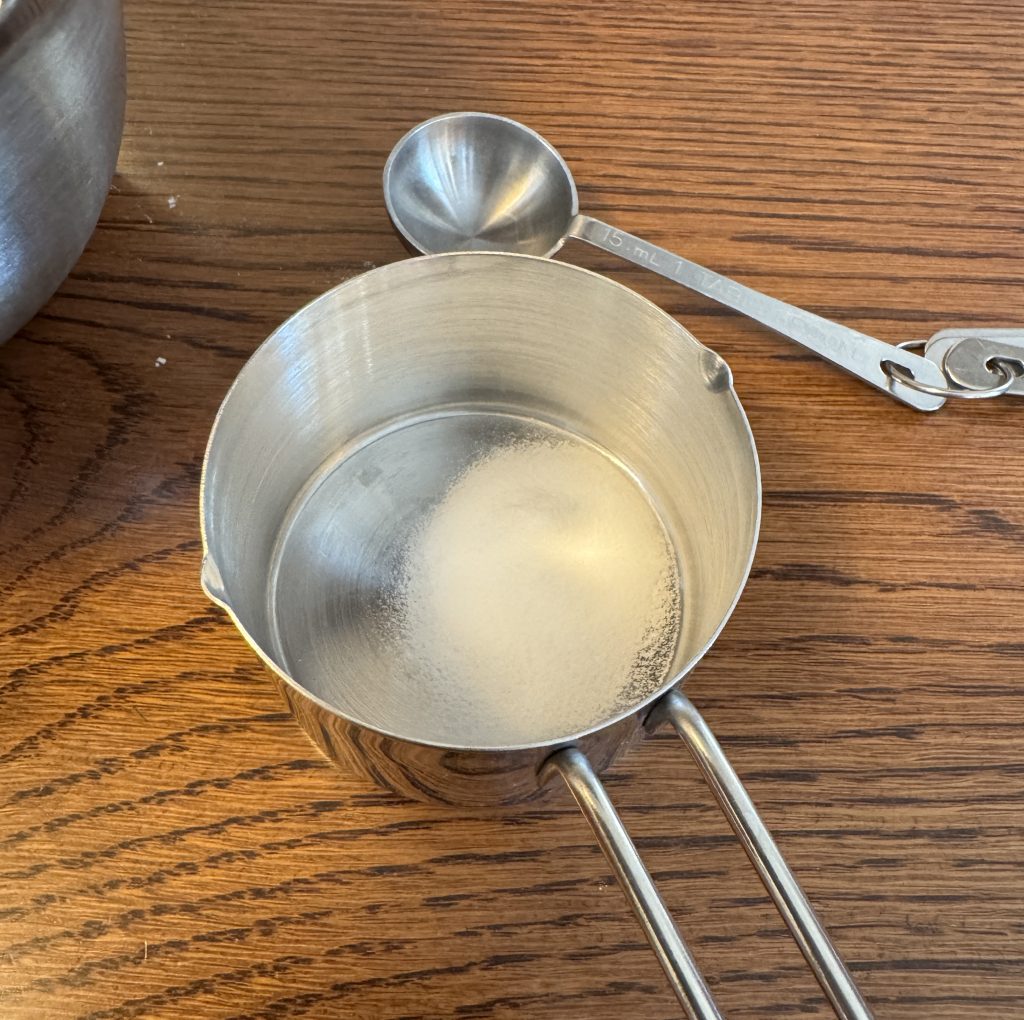
3. Put the baking soda in a small cup and add 2 Tbsp boiling water. This was a real pain in the neck…next time I’ll add the baking soda and water to the melted butter and just mix it up.

4. Combine the wet ingredients and the dry ingredients to make a moist batter. Scoop about a tablespoon or two into your hand and form a ball. Place on cookie sheet and flatten gently with your fingers. They will spread and flatten as they cook.

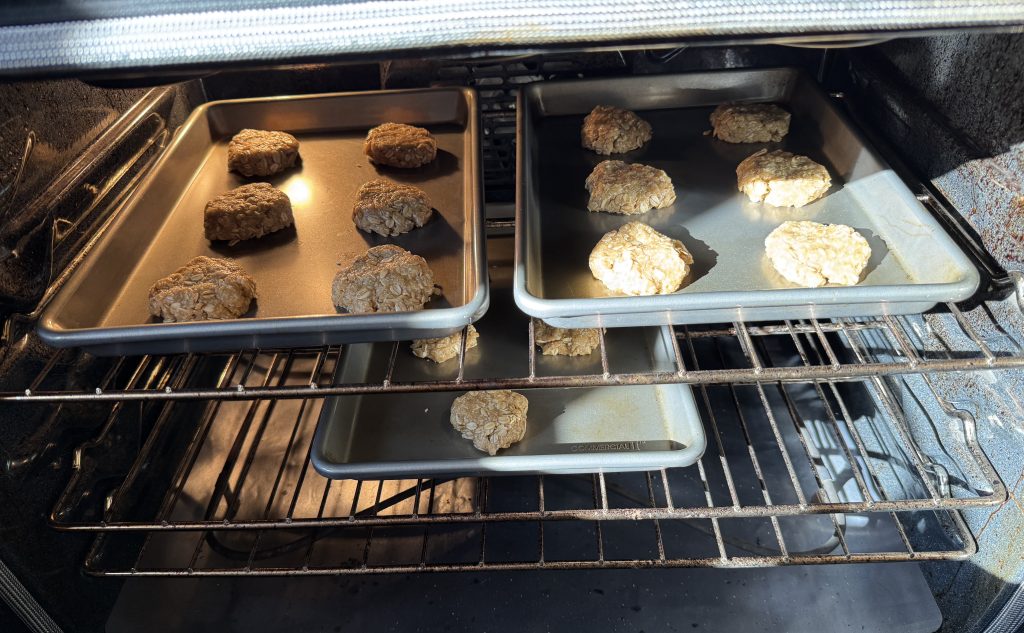
5. Bake at 325 degrees for 12-14 minutes (to make a firm chewy cookie) or about 15-18 minutes to make them a little crunchy. Rotate trays as needed halfway.

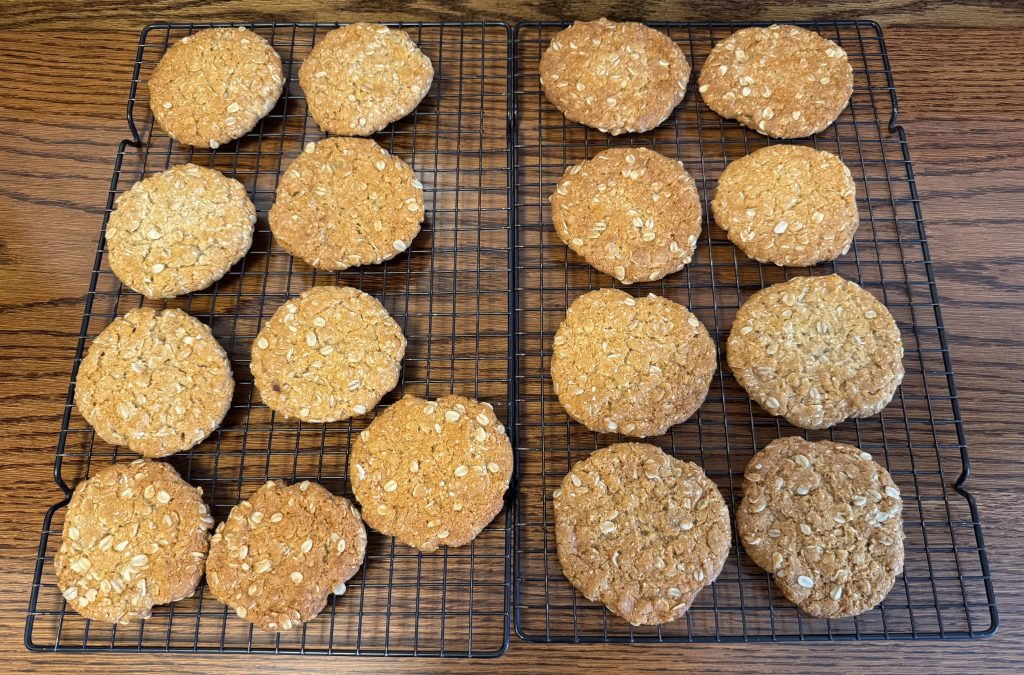
This batch made 14-16 cookies…each 3-4 inches across! They can be made smaller and the recipe can be doubled. Might be the perfect cookie to sell at our bake sale! Enjoy!

If you have questions or comments, please email me directly at maryjkisner@gmail.com. Thanks.

Making a Reusable Nylon Grocery Bag

I know it’s hard to believe, but 10-15 years ago it was not common for most folks to bring their own reusable grocery bags to the store. I did have a collection of off-white canvas bags back then but they ended up being used all over the house for other things…like library books or beach towels. However, they are still available for sale on Amazon.

Plastic bags (single use!) were everywhere and stores printed store names on the bags for advertising. Many of the first reusable grocery bags also had store names and colorful pictures on them. I had quite a collection of those, but I was always uncomfortable taking my Giant bag into Wegmans and my Trader Joe’s bag into Giant (why, I don’t know!). I ended up with quite a pile of store-specific bags cluttering up the car. Recently, I bought 5 matching bags with the Penn State logo on them…no store name (even though I got them at Wegmans!) I’m happy using them everywhere!

Then, around the same time as reusable grocery bags became popular, the trend was to always carry a thin nylon tote bag that would fit in my pocket…just in case I needed one. They were very thin often with uncomfortable handles. I could never get them folded up back into their little pouches and they never quite made it back into my purse! Very frustrating!

Finally, years ago I decided I could make my own nylon tote bags…even a bunch of them…to use as reusable grocery bags. I have carried at least one in my purse since then. I made them in four colors and ended up giving most of them away. Recently, I gave some garden vegetables to my brother and his wife in one of the bags I had in my purse. When I came home to grab a replacement to put in my purse, I realized I had only 3 left! Yikes! Time to find my stash of fabric to make some more!

All this time, I’ve had a bin under a guest bed with my stash of rip-stop nylon fabric.

This is considered a utility fabric with a strong thread running through the fabric. If you get a tear in the fabric it doesn’t run like a nylon stocking. That’s why it’s called “rip-stop” nylon. Here’s a closeup of the fabric…I hope you can see the grid of strong threads:

This fabric is available at Amazon in many colors. It comes in precut 2-yard pieces for about $11. (I can make four tote bags out of 2 yards of fabric.)

Figuring Out the Pattern

Keep in mind, I’ve made a LOT of tote bags in the last 20-30 years. I just couldn’t remember EXACTLY how I made the rip-stop nylon ones…and of course I never did have a pattern. Luckily, I still had three tote bags left so I measured a bag. Then I made this drawing. Don’t you just love how I make a pattern! (smile)

The bag measured 19″ from the bottom fold to the top…allowing 2″ for the top hem.

The top hem was 2″ finished.

The handles were 2″ wide by 18″ so they were cut 5″ wide by 18″.

Then I checked inside to jog my memory…it appears I sewed up the side seams first and then folded down the top. Every seam was stitched and then folded over and stitched again, just to keep the fabric from unraveling (funny…it doesn’t tear but it will unravel!).

Finally, the bottom measured 5″, so I’ll remember that when I make a new one.

Making a New Grocery Bag

In my stash, I discovered I had already cut some of the fabric into 18″ wide strips along the fold. I decided to start with the red fabric.

Following my hand-drawn diagram above, I cut a 19″ piece measured from the fold and an additional piece 5″ (which was 2 pieces) for the handles.

Making the Handles

With right sides together, I stitched along one end and down the length, leaving the bottom open.

Then I used a stick to turn the handle right side out.

Finally, I top stitched all around the handle, folding in the open end.

Making the Bag

I stitched the side seams of the bag; then folded each seam over and stitched again. It could be zigzagged if you prefer.

With the bag inside out, take one corner and flatten it out, matching the seam with the bottom fold of the fabric. Check by putting a pin along the seam and turning it over to make sure it lines up with the bottom fold.

Now, lay a ruler along the flat corner. My measurement of the old tote bag showed the bottom was 5″ across. Lay the ruler with the center at 2 1/2″ with the ends at 0 and 5″ and mark the fabric:

That is your stitching line.

Cut off the point of the corner, leaving enough to fold and stitch the cut edge.

Repeat with the other corner.

This is what the bottom of the tote bag looks like when it’s inside out.

Turn the bag right side out and stitch the top of the bag with a 1/4″ to 1/2″ fold.

Fold the top of the bag down 2″ and stitch again.

The bag is now ready for the handles.

Find the center point along the top edge. Measure 2″ on each side and mark. That’s the inside mark for the handles.

And…the bag is done!

The little strip of leftover fabric was just enough to make a little case for the bag.

Now I just need to whip up a few more so I won’t feel bad if I end up giving them away! Try it yourself! Enjoy!

If you have comments or questions, please email me directly at maryjkisner@gmail.com.

Garden Update August 15, 2025

What a difference two weeks makes in our garden! Two weeks without any measurable rain, hot temperatures and produce ripening every day keeps us busy! Bert waters everything every day, but it’s hard to keep all the plants happy without a good soaking rain. When it’s dry like this, plants must think fall is coming and everything ripens faster. Of course, that means my focus is on the produce that needs to be processed.

We’ve cooked and canned the first round of tomatoes…about 42 tomatoes made 13 pints of cooked tomatoes:

The zucchini plants are still producing so I’m trying to catch them when they are still small (obviously I missed one!). I’ve made a batch or two of my zucchini chocolate chip cookies (see the recipe at https://marykisner.com/marys-zucchini-chocolate-chip-cookies/) and I’ve found a good zucchini bread recipe. I’ll post about that soon.

Now, for a tour of the garden. The onions are definitely ready to harvest. So far, we’re digging them up as we use them. They’ll probably keep better for a few weeks right there in the dirt!

The next batch of lettuce is ready to eat and the radishes are doing fine!

The “Raindrop” tomatoes have done very well, but the plants are not looking very healthy. We’re not sure if they are just stressed from the hot, dry weather or if they have a fungus. Either way, the tomatoes are still ripening just fine!

The pumpkins are doing well…EXCEPT they were being eaten by something!

Check out this pumpkin…almost half-munched away!

The one pumpkin Bert put up on a stand seemed to be safe!

Bert set up a trap with a small pumpkin as bait and within a day he caught a HUGE groundhog! The groundhog must have thought we planted those pumpkins just for his own salad bar! After that groundhog was dispatched, Bert set the trap again. So far, no other groundhogs have been caught!

Up in the garden, the lavender still looks pretty stressed.

The tomatoes are doing well. I can see I’ll have my work cut out for me when they all ripen!

The carrots are quietly doing their thing. We’re always surprised when we finally dig them up in the fall!

The zucchini keeps producing…we’ll see how long that will continue!

Finally, the echinacea has given up and gone to seed. Oh well, hopefully next year they’ll last a little longer!

That’s what’s happening around here. While Bert is watering and keeping up with the garden outside, I seem to be doing a lot of dishes! That’s OK. Harvest season doesn’t last very long and if I need something we don’t grow, someone at the Farmer’s Market probably has it! Enjoy!

If you have comments or questions, please email me directly at maryjkisner@gmail.com.

Making a Cover for My Dehydrator

My Excalibur Dehydrator has been an important and useful tool for me over the last 10-15 years. It is basically a low-tech appliance with few moving parts, but it is safe to dehydrate foods without having to monitor the oven at low temperatures or the food over many hours. It is a large box-sized appliance (about 20″ x 18″ x 12″ high). I do not use it often, but when I do I want it near the kitchen where I prep the food to be dehydrated. Here is a picture from the instruction manual. It does have 9 trays, but the food shown in the picture is not realistic. They do not recommend dehydrating so many different kinds of food at the same time!

A few weeks ago, I showed pictures of dehydrating shredded zucchini…the shreds needed to be spread out so they would dry properly. The trays shown above are much too crowded.

Anyway, the dehydrator is stored in our garage, right outside the kitchen door. When not in use, it is covered with a cloth cover I made many years ago, then covered with a custom board Bert made that has a hole for the temperature dial so it doesn’t get squished. The board keeps the whole dehydrator safe from being bumped and we find we store stuff on top. Packages from UPS often appear there when delivered!

This original cover was made from plain cotton and must have gotten snagged or just worn through with holes! Yikes! Time for a new cover!

To make a new cover, I needed to measure the dehydrator. Pretty funny…trying to get my tape measure to stay put so I could take a picture of it just right!

So I ended up measuring the old cover instead. The new cover didn’t need to be snug. I wanted to be able to just slip it on to keep the dust out.

The measurements became this pattern:

Once I found a piece of fabric big enough to make the cover, I cut the pieces out as measured above:

I stitched the 4 side pieces to the top and tested it on the dehydrator inside out before I sewed up the side seams. (I obviously didn’t go to a whole lot of trouble to iron the pieces before I started sewing!)

Once the side seams were sewed (and zigzagged for strength) I tested the fit again before I hemmed the bottom edge.

And right side out, it works great. Guess I could break out the ironing board if necessary!

Remember, I said we store the dehydrator under a board with a hole to accommodate the dial on the top. Believe it or not, that board has prevented damage to the dial for 15 years!

Now, this space is ready for UPS to drop off packages, etc. I feel better that the dehydrator is now covered! Enjoy! If you have questions or comments, please email me directly at maryjkisner@gmail.com.

Garden Update August 2, 2025

Garden produce is now beginning to take over the kitchen table and it looks like more is to come! Every day involves watering, picking what’s ready and processing when the pile gets big enough! I’ve added a fourth activity…giving away what I can’t use to any neighbor that walks by! (smile)

Now that I’ve tried out quite a few recipes with shredded zucchini, I think the rest will be shredded or cut into cubes and frozen or dehydrated. They will be great additions to soup and baked goods all winter! Very soon, the large tomatoes will be cooked and canned into something I can use all winter. I should not have to buy cans of diced/cooked tomatoes for many months!

Here’s what the garden looks like today!

The latest planting of radishes is popping up. The lettuce is ready to harvest.

We’ve been using onions and soon will dig them all up (or dump them out)!

More “Raindrop” tomatoes are ripening every day! They are tasty!

The pumpkins are turning orange!

The lavender is still attracting bees, but it is sure having trouble standing up!

The Bodacious tomatoes are ripening first, while the SuperSauce are finally starting to turn color.

Bodacious

SuperSauce

The carrots are hanging in there!

The green and yellow beans are DONE and gone! Looks like the zucchini plants will spread out into the space.

The zucchini is producing at least 3-4 a day!

And of course, the Echinacea is nuts! The bees love them!

So that’s what is happening in our back yard (and kitchen). Enjoy! For questions or comments, please email me directly at maryjkisner@gmail.com.