Making a Batch of Greyhound Coats

This has been a quiet week spent making a batch of greyhound coats. It has been over a year since I made even one coat and while I have a great set of patterns, I do not have written-out instructions. Over the years I’ve perfected some short cuts that made assembling the coats so much easier. I’m going to include a few of those short cuts with pictures so I can capture them for future reference. I’ll file this post with the patterns so I don’t forget!

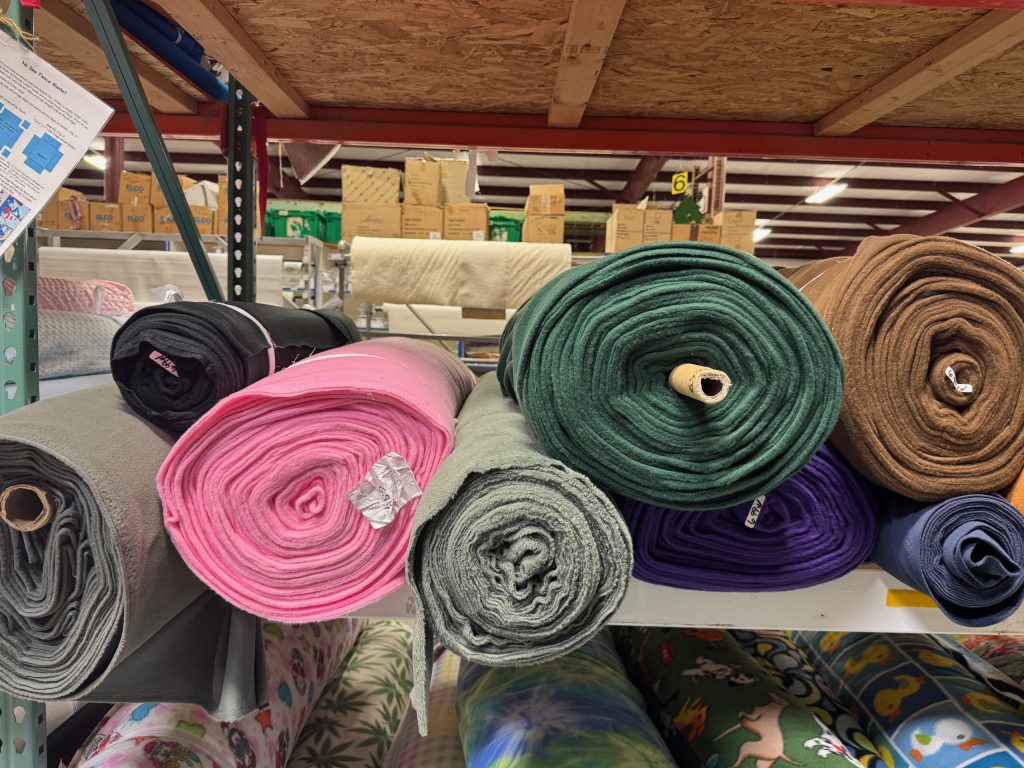
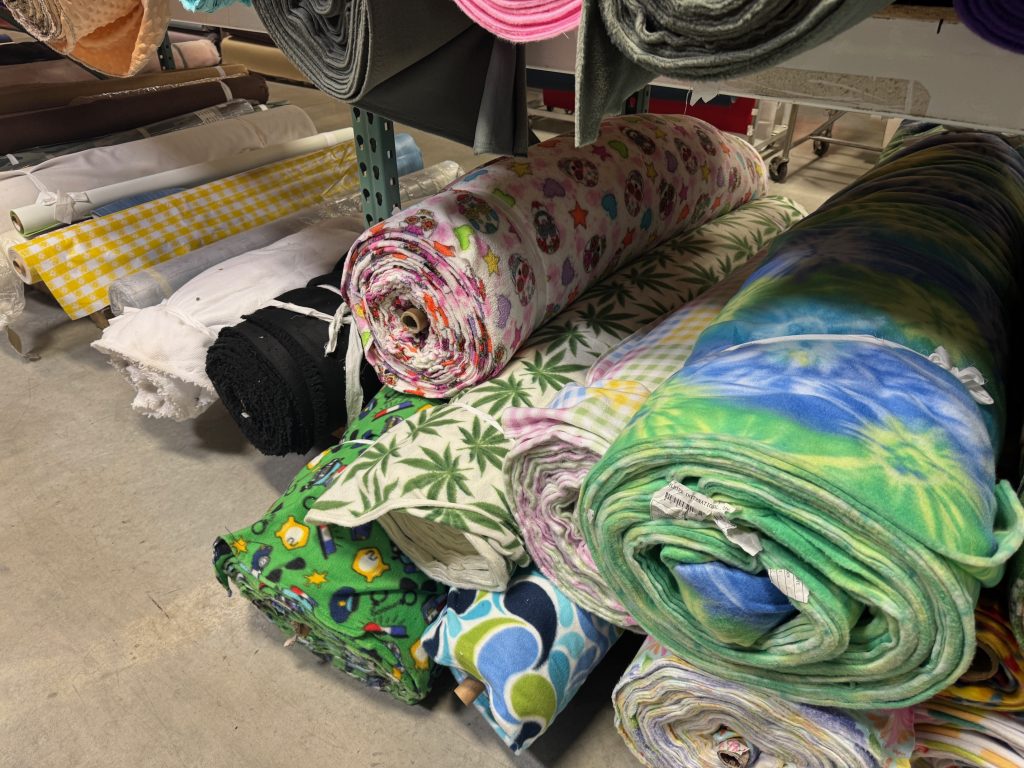
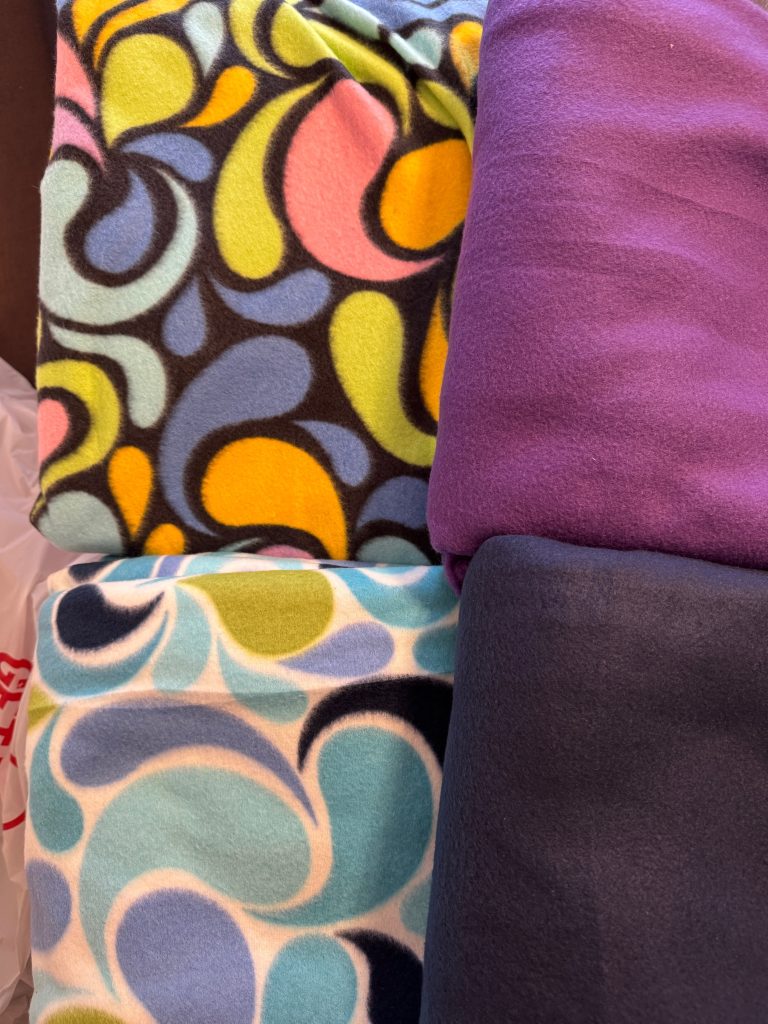
Here are the four colors of fleece I purchased at Surplus City last week…described in my last post at

https://marykisner.com/finding-fleece-at-surplus-city/

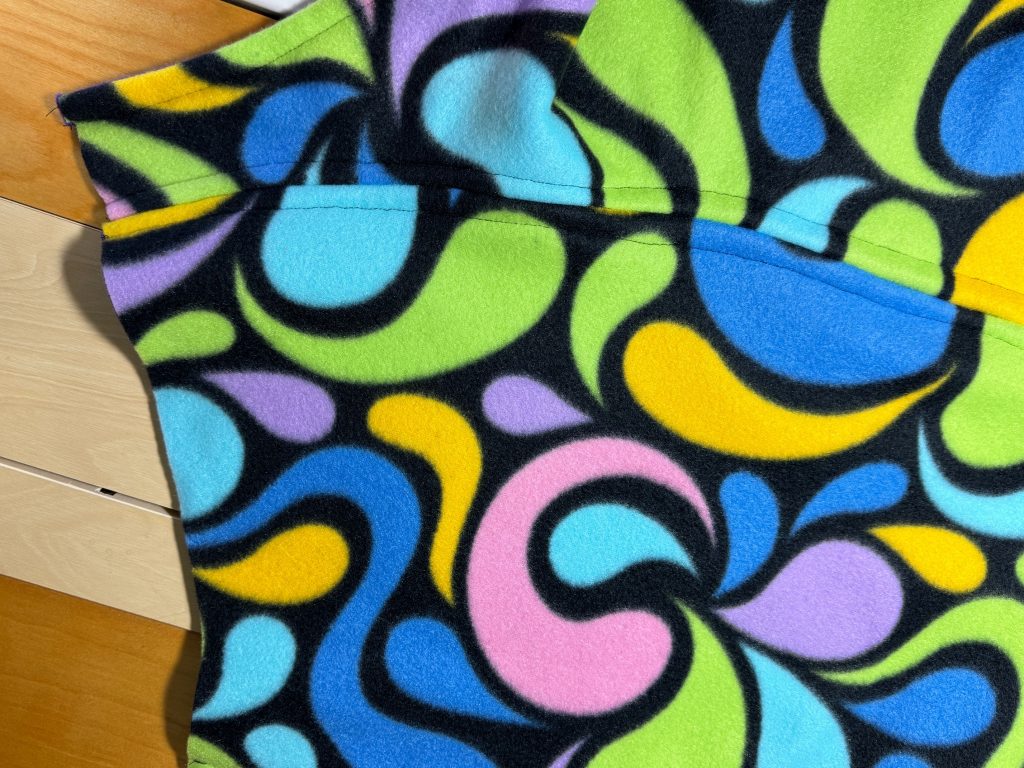
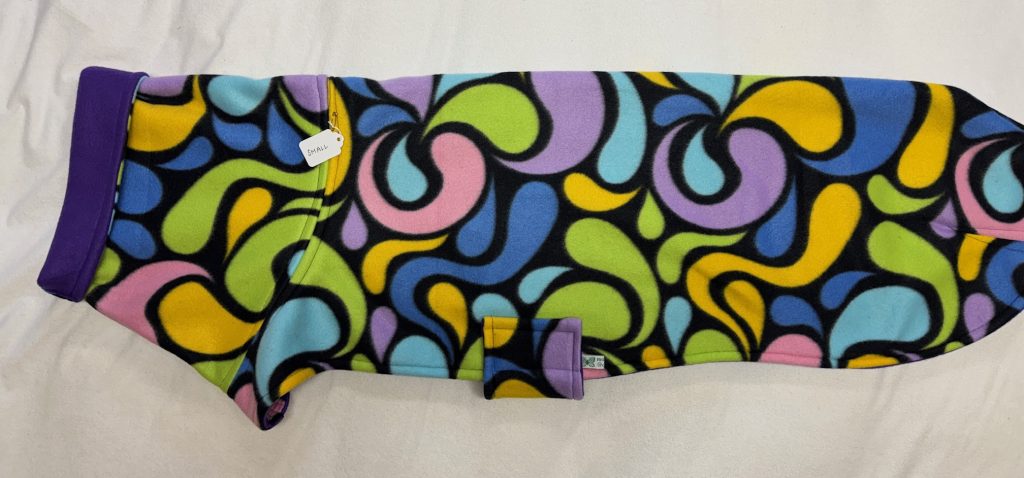
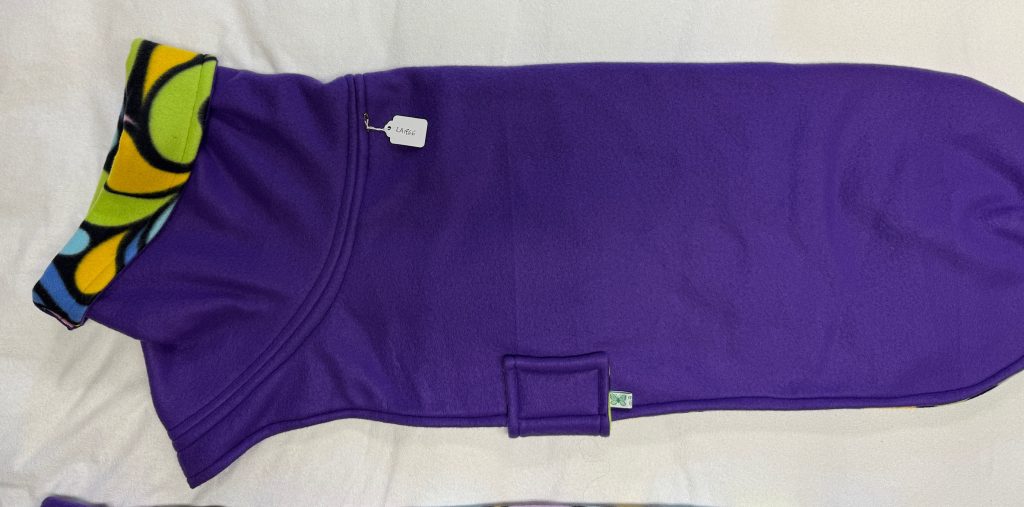
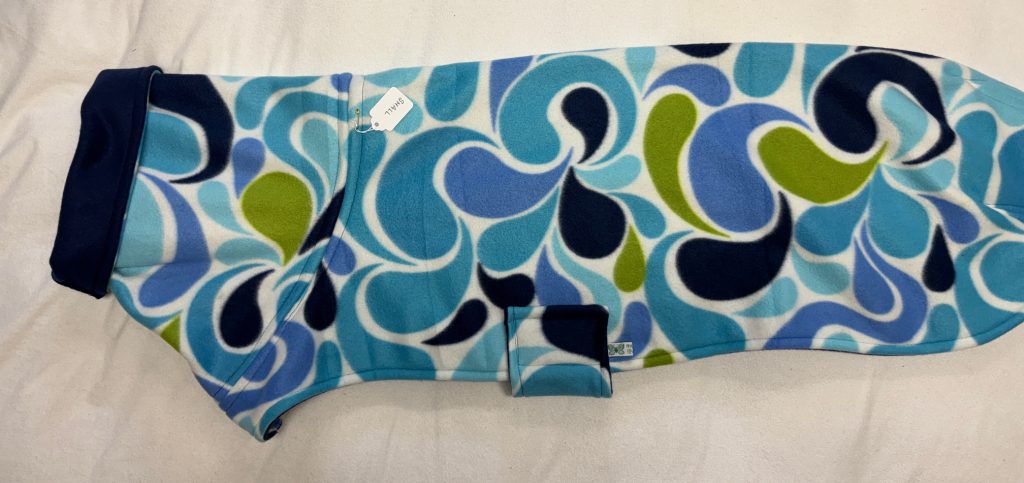
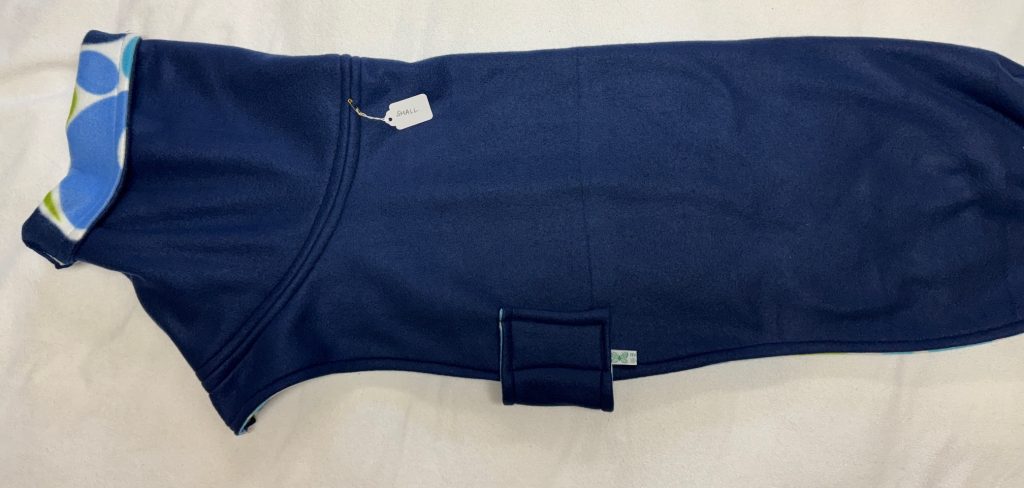
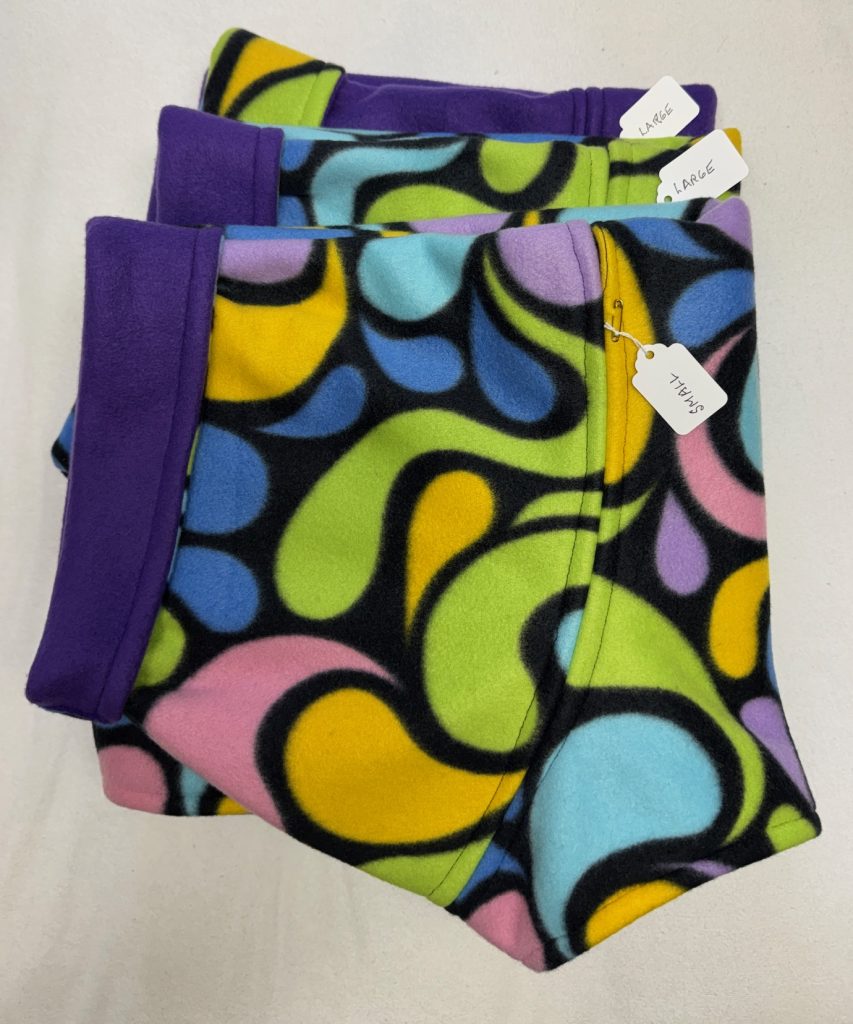
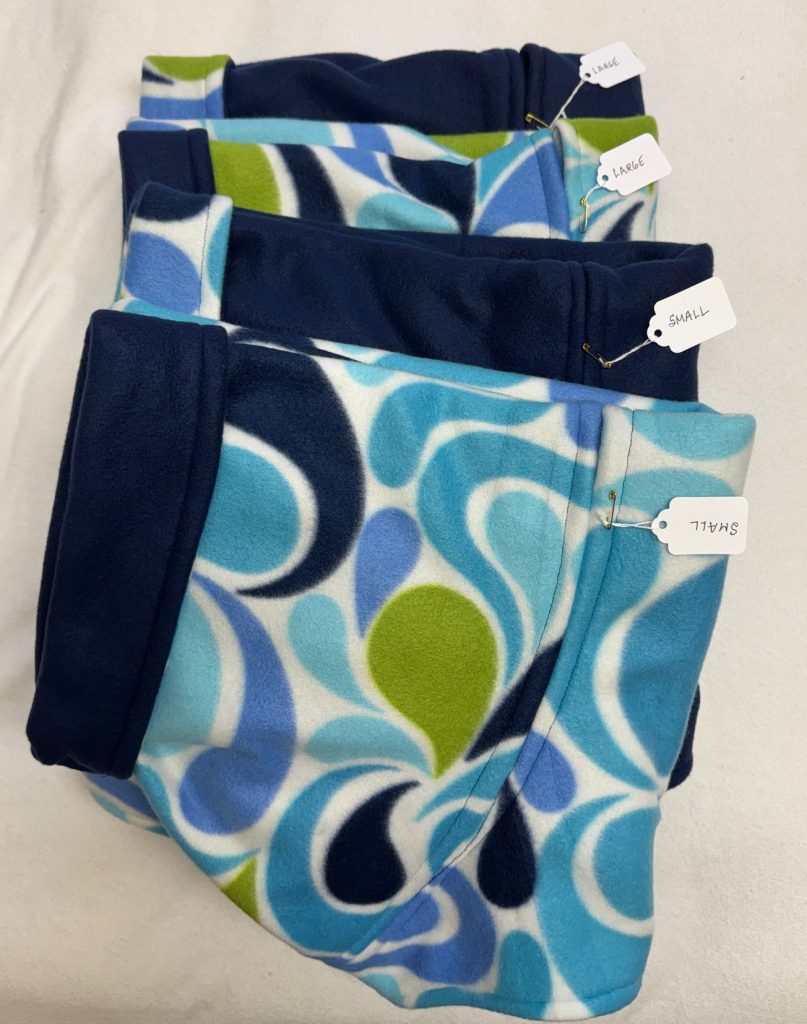
Considering my fabric options, the solid purple went OK with the paisley at the top. Dark navy fleece looked good with the light blue paisley at the bottom. I decided to make 4 coats of each pair of colors…some with the paisley design on the outside and some with the solid color on the outside.

Cutting out the coats

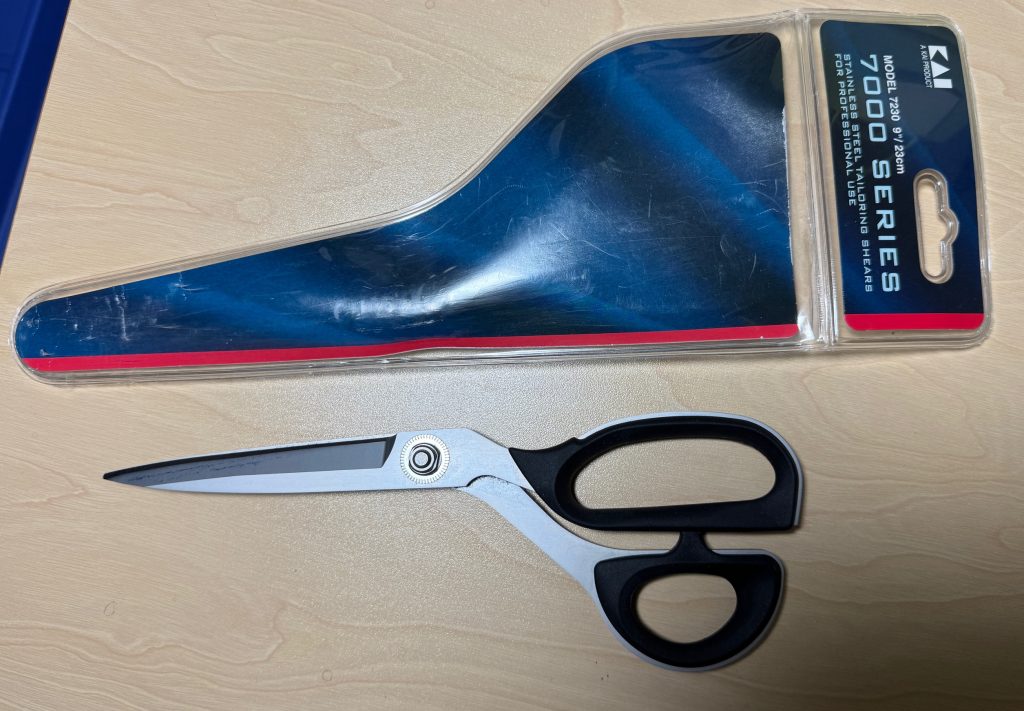
Cutting out the coats is a tedious process and cutting out 8 coats and 8 linings is just about the limit for my hand in one day. Thank goodness my daughter gave me a wonderful pair of scissors for Christmas a few years ago. They are a little larger and very sharp. They cut through the fleece like butter!

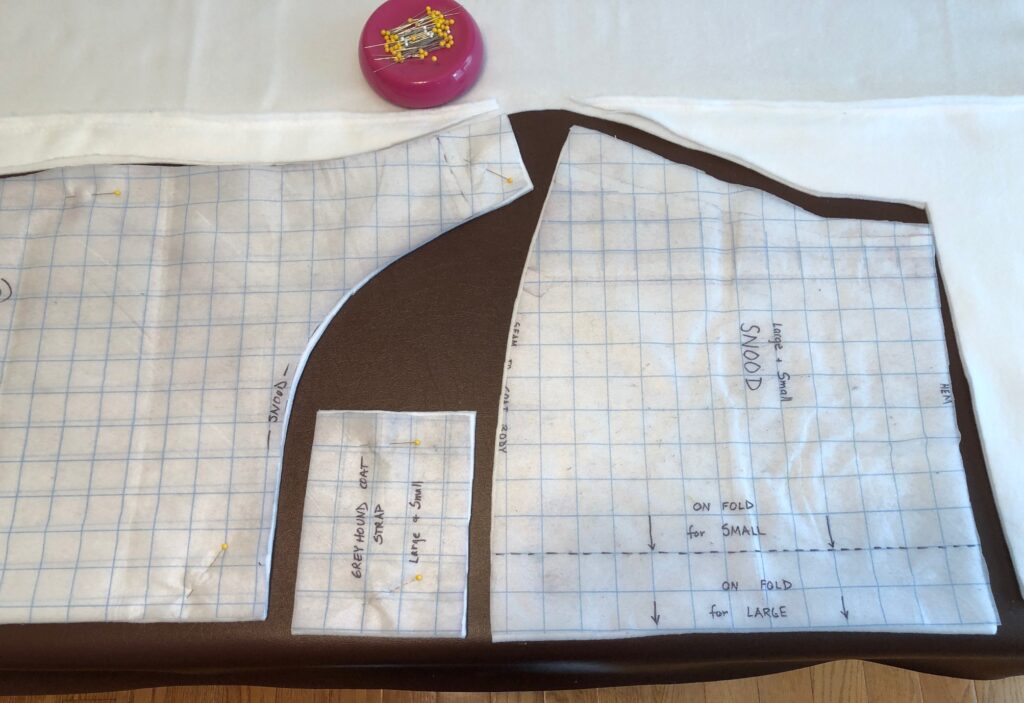
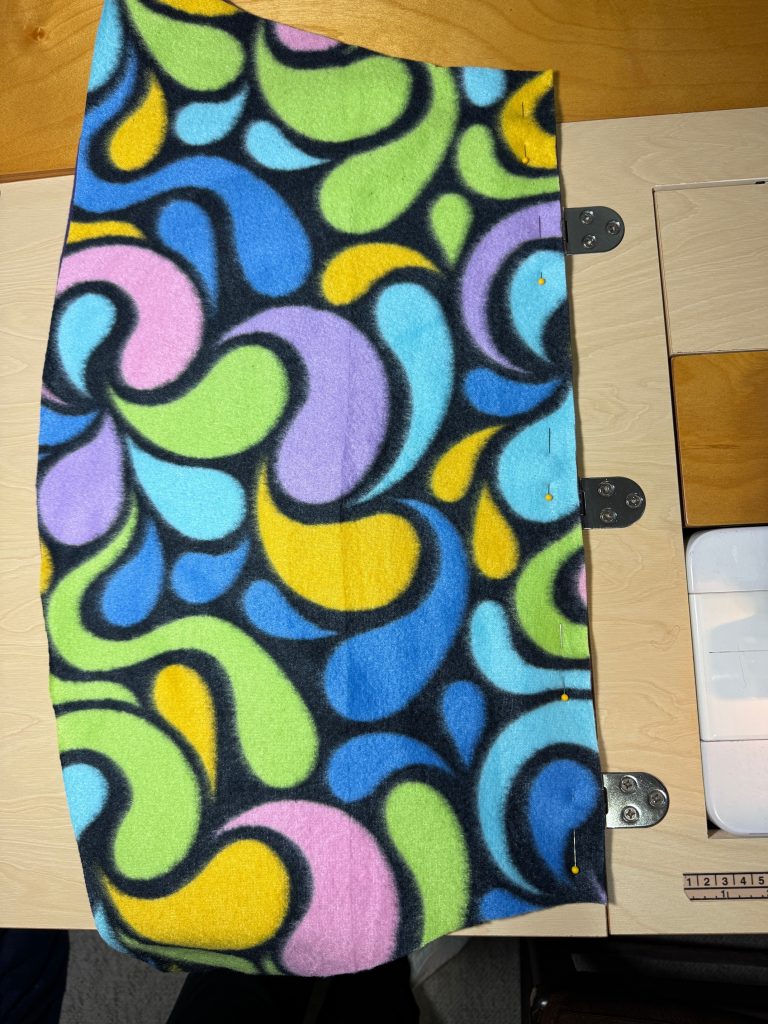
After cutting out all the pieces (16 times!) I stacked the pieces for each coat. Here’s a picture of how I lay out the pattern pieces (shown on a different fabric). By folding the fabric selvedges to the center, I can cut out a large and a small coat on each 1 1/2 yard of fabric:

ASSEMBLING THE COATS

(This includes more detailed pictures for my file. Scroll ahead to see the finished coats!)
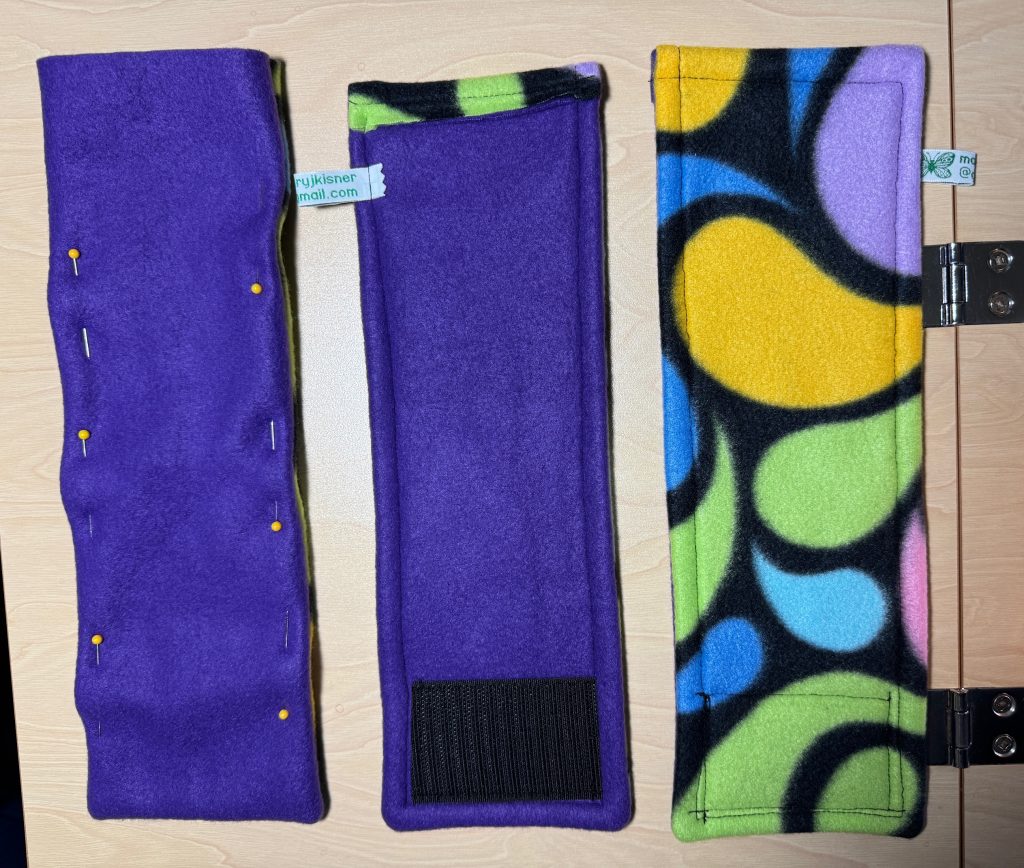
Making the Straps

I always begin by making the straps. This includes sewing my label and the Velcro hook piece to each strap. These will remind me what color is the outside of a particular coat! The paisley has become the outside of this first coat. (I can’t figure out why the purple fabric photographs as blue sometimes!)
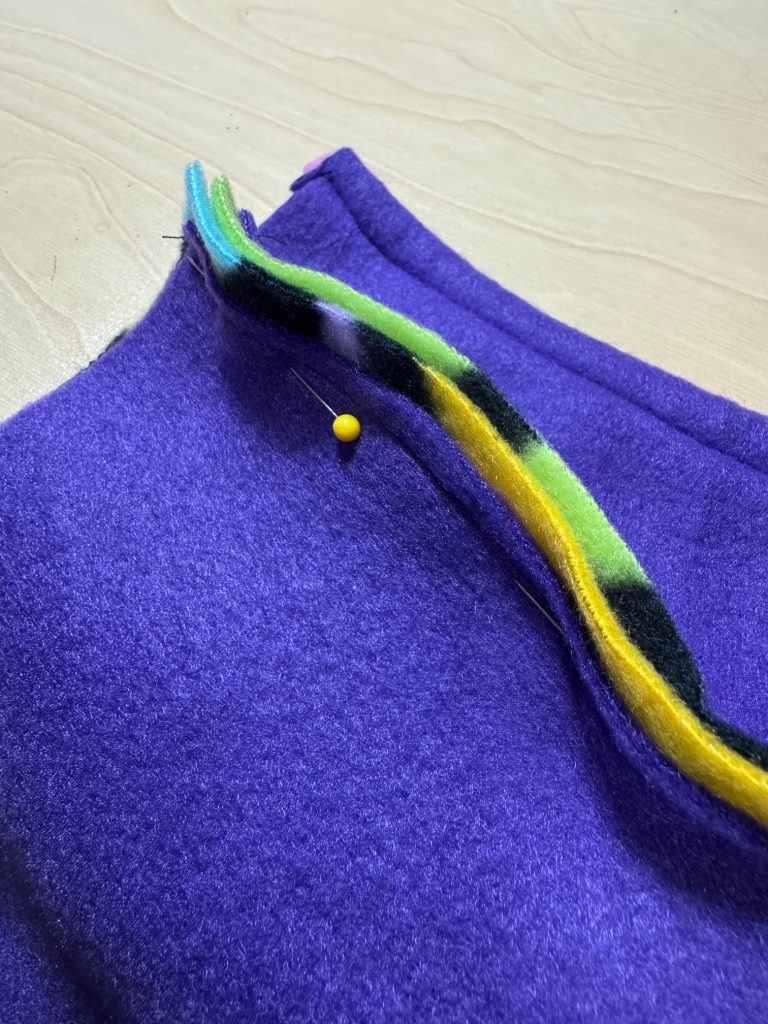
Making the Snood

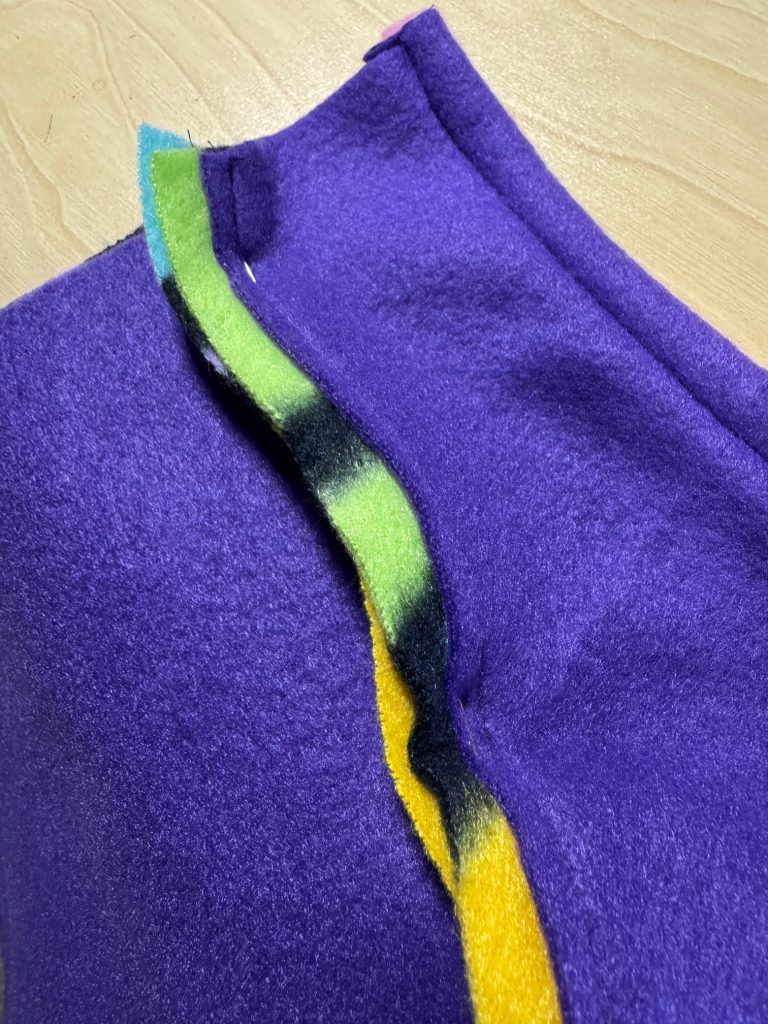
Working with just the snood pieces, I sew them together at the top, wrong sides together:

Then I turn the snood right side out and sew the bottom edge together. When I trim the seam, I have finally made the commitment to which side is the outside and which is the lining. Trimming the seam is one of my short cuts to make finally assembly much easier.

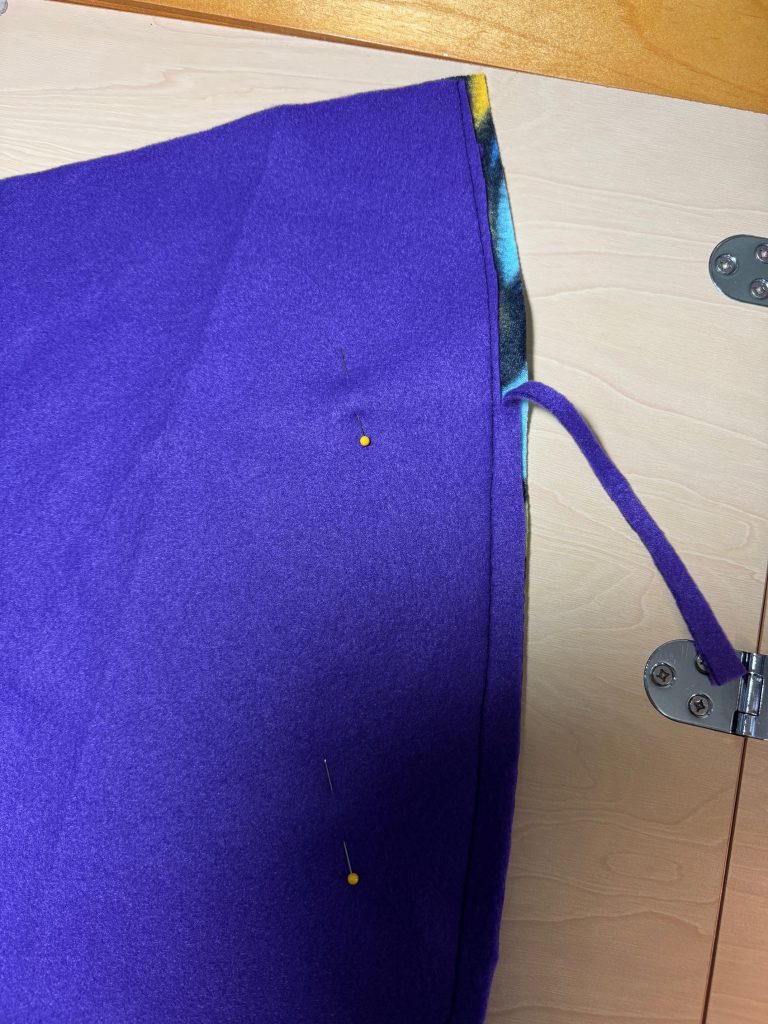
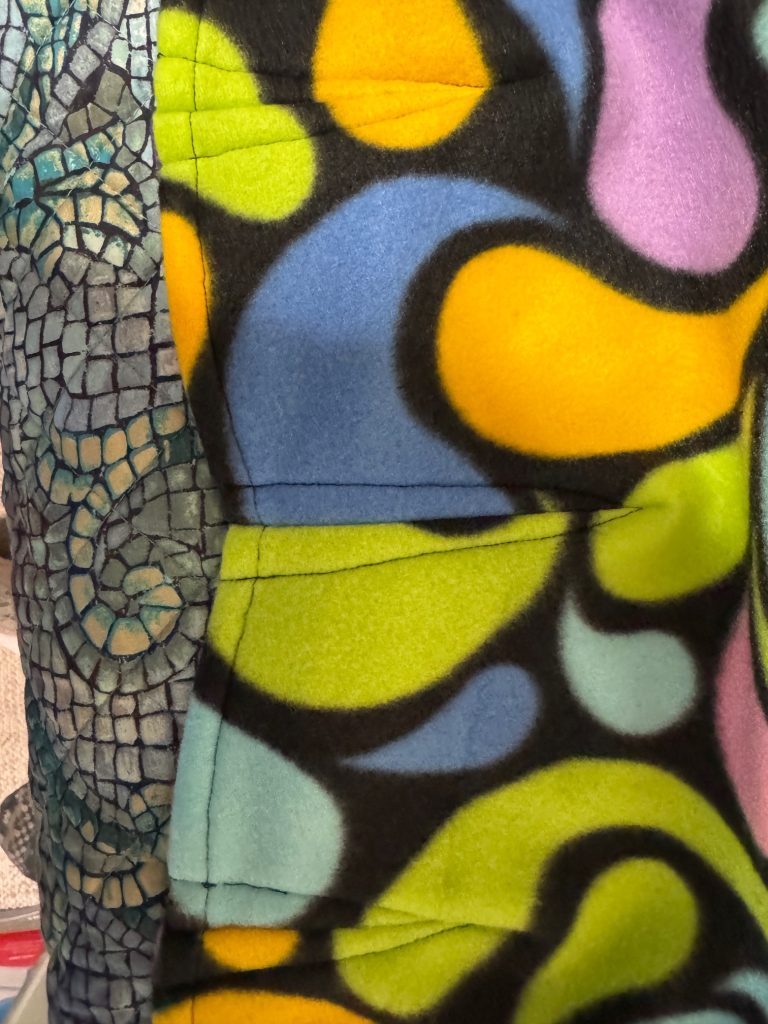
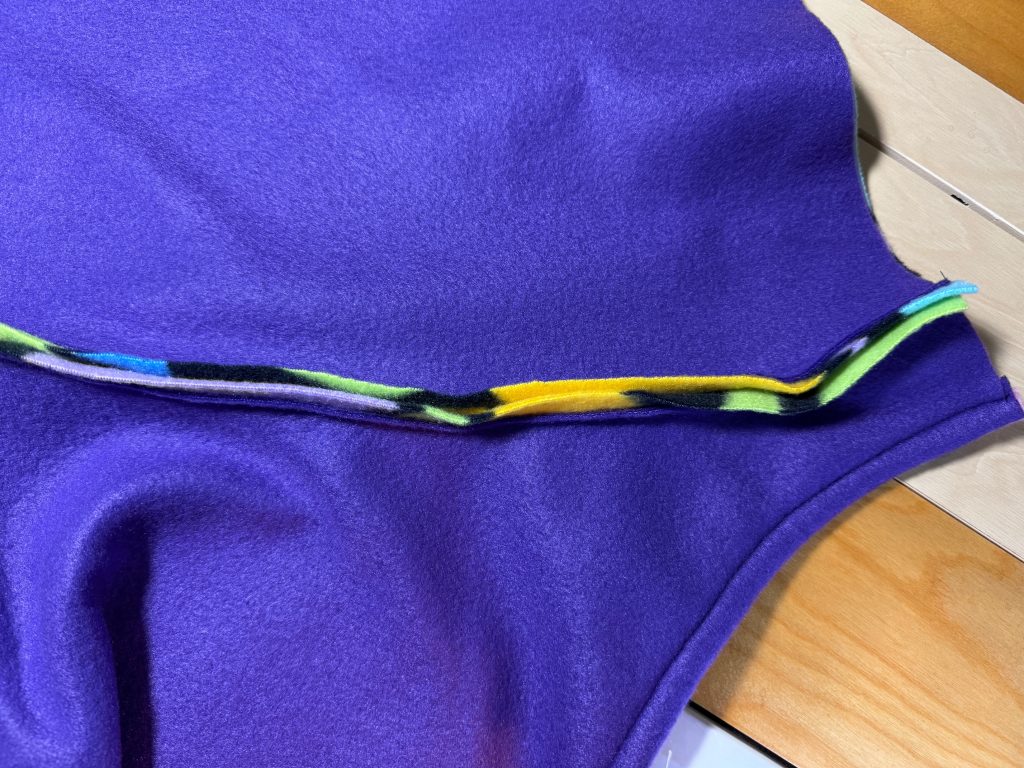
Making the Body of the Coat

Sewing the body pieces, right sides together and then turning the coat right sides out, the ‘outside’ has not yet been determined. After I sew and trim the neck seam, I have finally committed to which side is the ‘outside.’ Trimming the neck seam is another short cut to make final assembly easier.
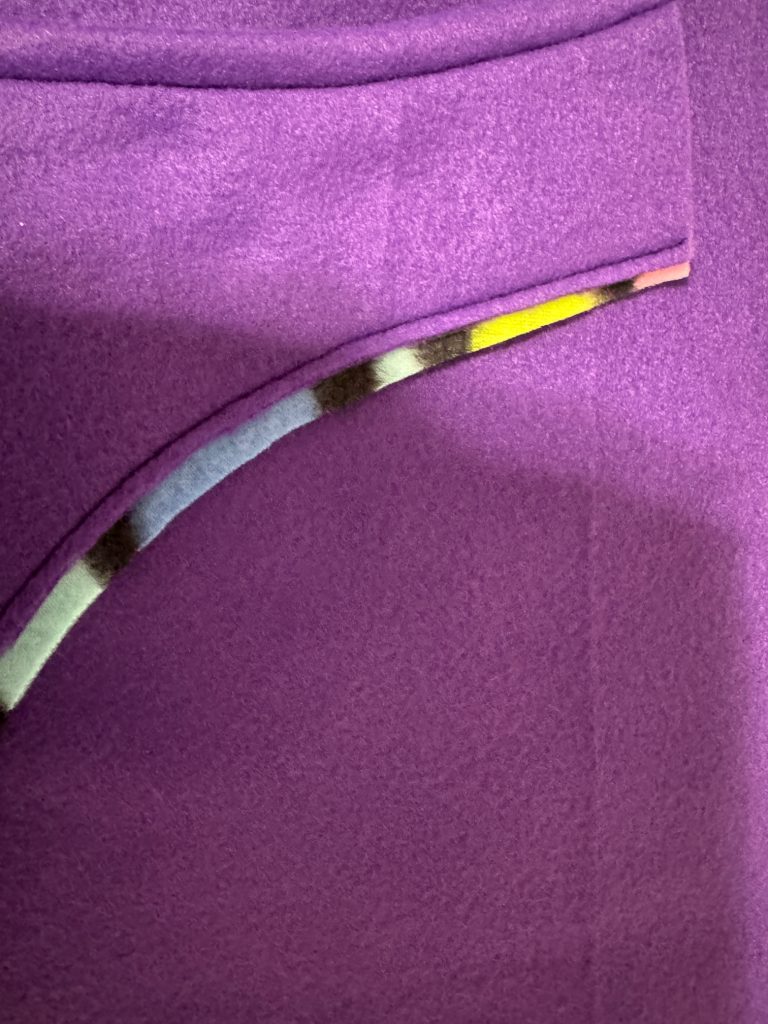
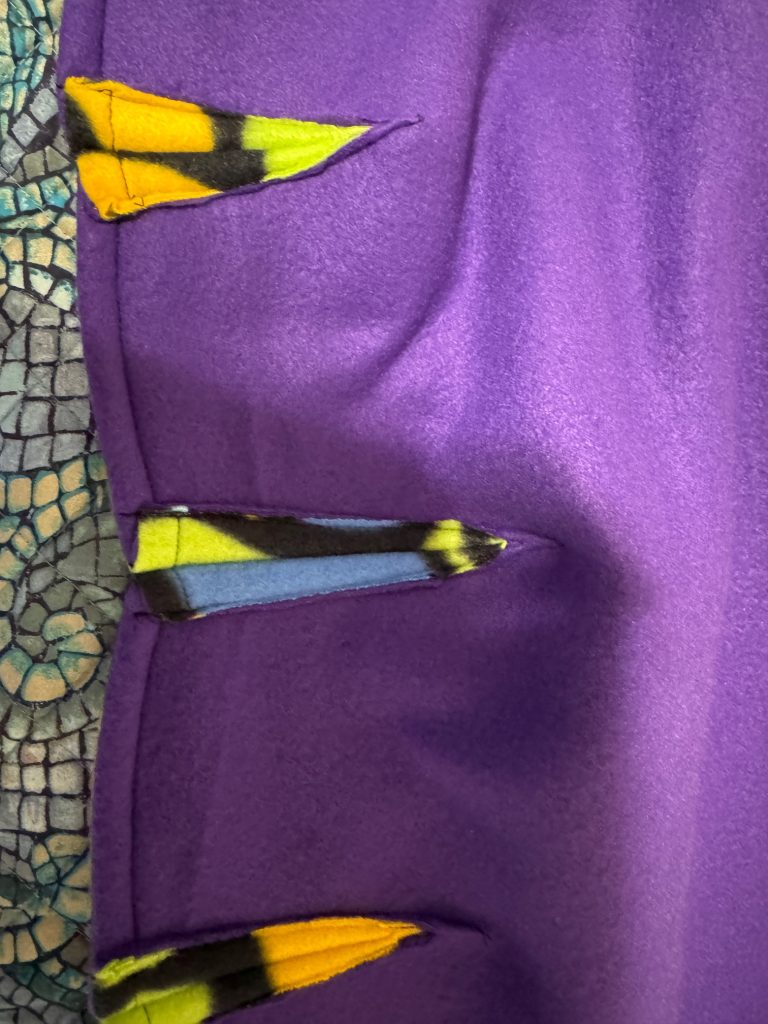
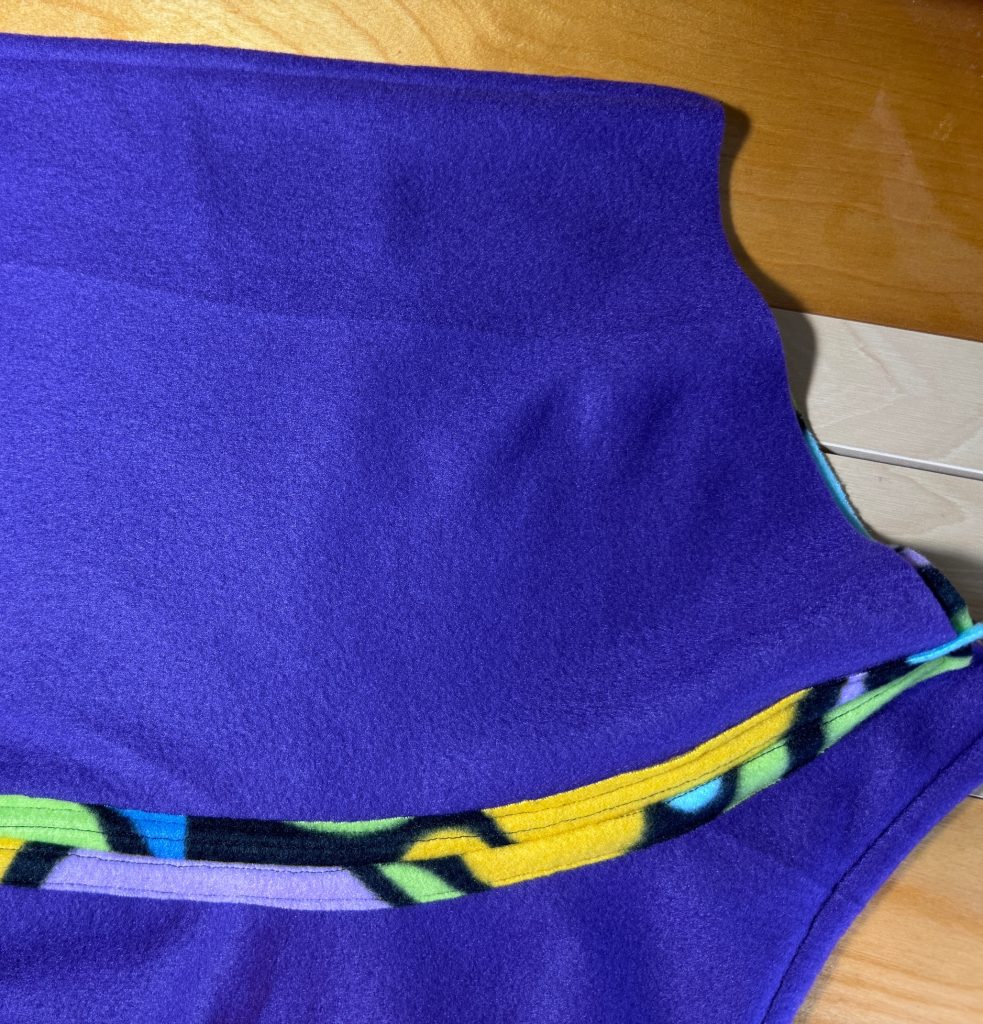
Making the Darts

Before I attach the snood to the body of the coat, I need to make the darts that shape the back end of the coat. This is why it matters that I don’t make a mistake and put the darts with the wrong side out!

By the time I sew the snood to the body of the coat, I have stabilized and trimmed both edges and assembling the coat is so much easier.

I will keep a copy of this post handy with the patterns for the coat. You never know when I’ll need to refer to it in the future.

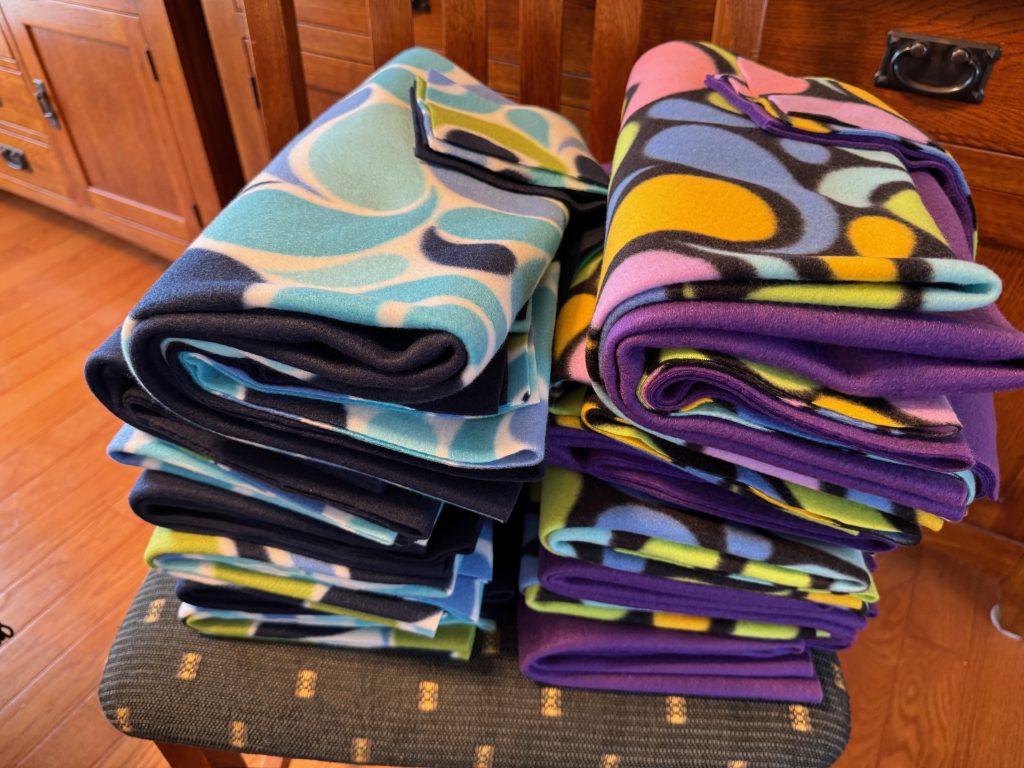
Take a Look at the Final Coats

Here are the coats, stacked and ready to deliver to Nittany Greyhounds!

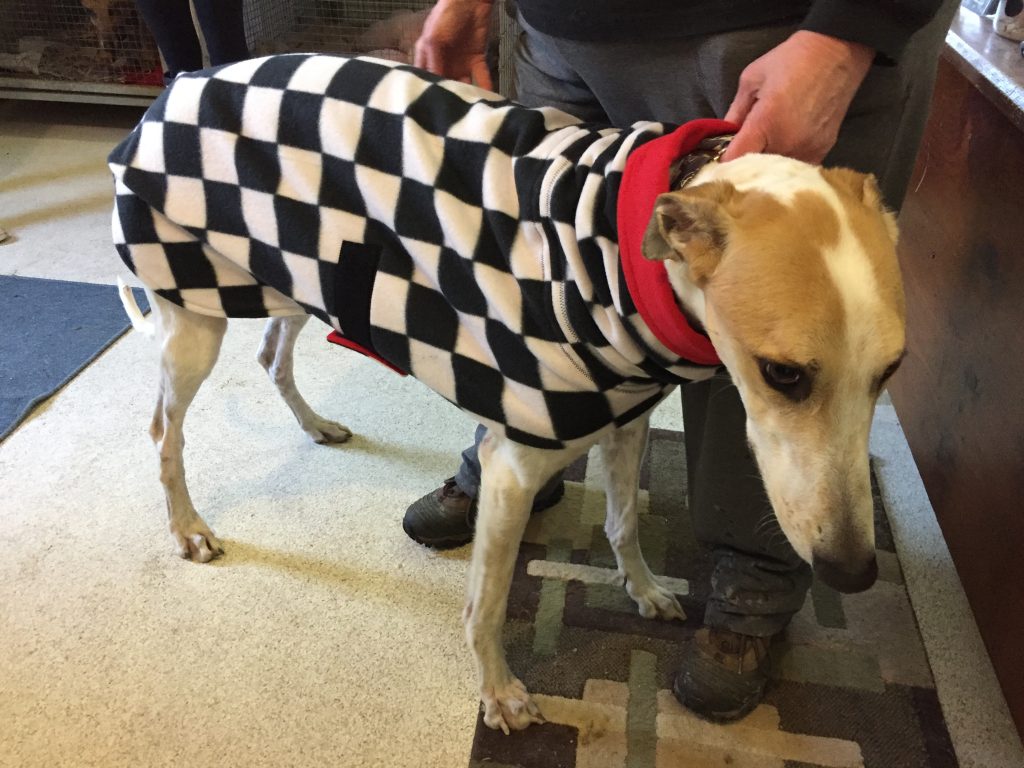
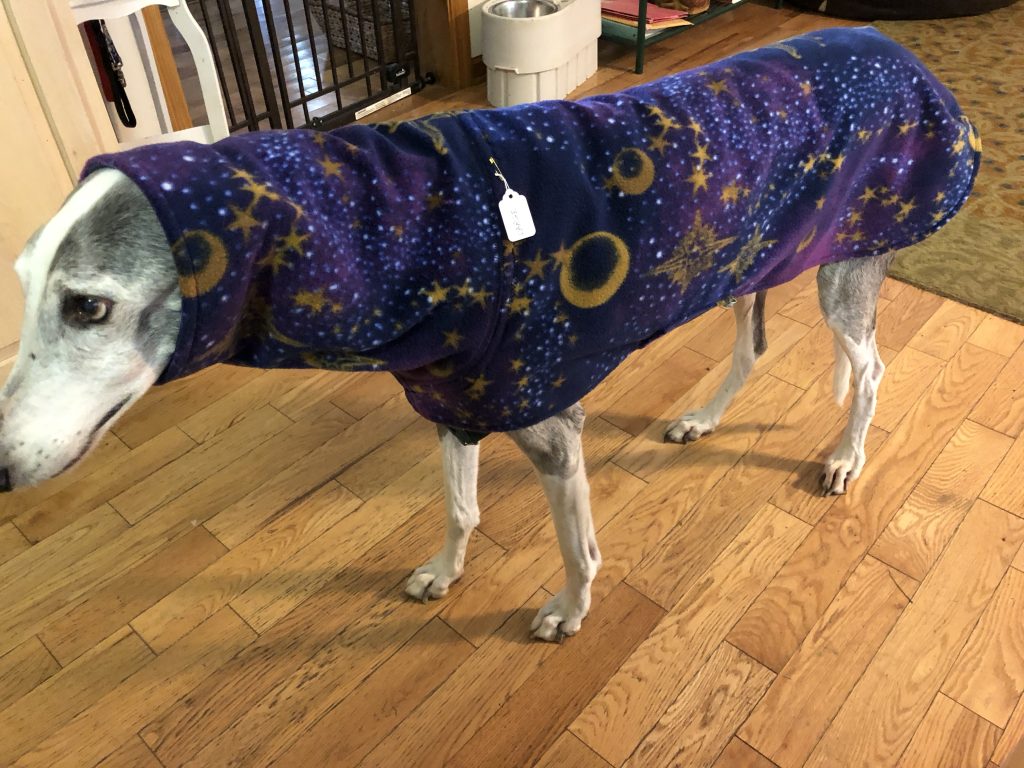
And finally, I found a model at the kennel to try out a coat!

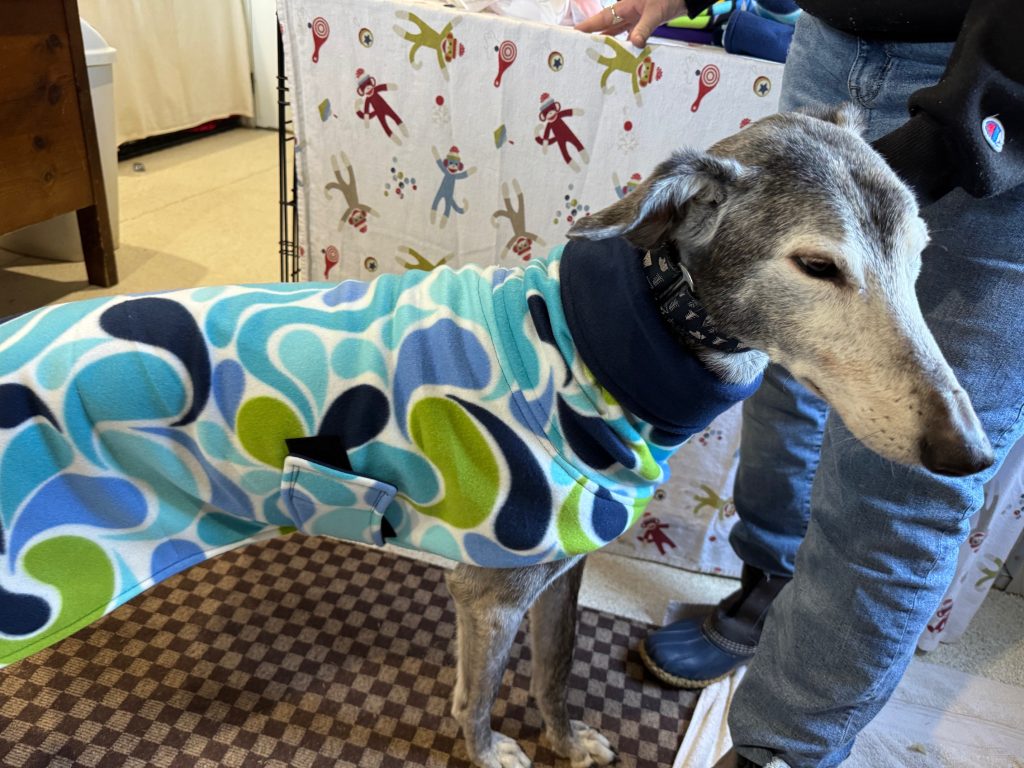
That’s what I did this week. I hope a few greyhounds are cozy and warm! Enjoy!

Finding Fleece at Surplus City

My volunteer work making coats for adopted greyhounds has dwindled over the last year to an occasional special-order coat. Fleece fabric by the yard has been difficult to find, now that JoAnn Fabrics is out of business. Making many greyhound coats required an ongoing source of affordable fleece. Of course, Amazon has fleece fabric by the yard, but at $16.90/yard it’s incredibly expensive. To make 4 coats I need 6 yards of fabric, 3 yards for the outsides and 3 yards for the linings. It would cost over $100 just for the fabric alone!

Recently, I had an email from a greyhound owner asking if I still made coats. I had to share my difficulty finding fabric. Finally, today Bert and I took a drive to Surplus City…about 40 minutes from here…down I-99 toward Altoona, PA. They used to carry lots of giant rolls of fabric, many of them fleece. I was hoping to see what was available and how much it would cost. I figured I’d pick up some fabric…if it was available and affordable!

The rolls of fleece were limited, compared to how much they had several years ago. The fleece was pretty thin but at $6.99/yard I could at least make a few lightweight coats. They would work for spring or fall weather but would not be warm enough for a cold Pennsylvania winter! Here are the shelves of fleece rolls:

Some pretty weird colors, but I finally decided to buy 3 yards each of these colors:

I really thought I was picking colors that would go well together, but the lighting was not very good. I think the prints could be the outside or the lining of the solid colors. I’ll have to wash them before working with them…they were pretty dusty.

So, at $6.99/yard I bought 12 yards of fabric…enough to make 8 coats! How about that! I’ll offer to make one for the person inquiring about a coat and make the rest for Nittany Greyhounds. That made me happy today!

Maybe there’ll be a few cozy greyhound coats for spring!

If you have comments or questions, please email me directly at maryjkisner@gmail.com.

Using My Own Blog Info for Projects

I apologize for my silence for the last two weeks! It’s been a long slog of VERY cold weather and the lack of sunshine has been tough. We’re finally getting a few 20-degree days and occasional sunshine, so things are looking up. I have not been very motivated to do much except make bracelets and listen to music.

I wanted to share how my own blog posts have helped me think about projects I’ve done and what I’d like to try next. I also realized how nice it was I had pictures to remind me HOW I did things and if the results were worth it! I’d like to share 5 projects I worked on these last two weeks and how they pulled me through my mid-winter funk!

#1: Making Cinnamon Apple Cake

I had a few apples that needed to be eaten, cooked or pitched soon. Bert suggested I make an Apple Cake…but if you’ve followed along, I’ve made 4 different cakes and not all have been delicious. So, to help me remember, I looked up the four posts that described them. You can see them here:

https://marykisner.com/maple-bourbon-apple-cake/

https://marykisner.com/making-french-apple-cake/

https://marykisner.com/making-german-apple-cake/

https://marykisner.com/making-cinnamon-apple-cake/

After reading those four posts and looking at the pictures, we decided we liked the cinnamon apple cake the best, so that’s what I made last week.

#2: Making Sweet Potato Yeast Bread

Next, I wanted to bake bread…my go-to-activity when it’s really cold and snowy! In the freezer I found mashed sweet potato (in a 1-cup container) and a bag of whole wheat flour that I had ground a few months ago. I found my post about making Sweet Potato Yeast bread (https://marykisner.com/making-sweet-potato-yeast-bread/). It made 3 small loaves…just right to go with homemade soup during the snowstorm!

When I got done, I remembered I had earlier made Vegan Sweet Potato Buns and could have made them instead. I’ll do that next time I feel like baking! Check out that recipe here: https://marykisner.com/making-vegan-sweet-potato-buns/

#3: Making Nail Serum for a Friend

While we were snowbound, I had a text from a friend who asked if I still had any of my nail serum and cuticle butter left. It’s been a while since I made both, so I sorted through my bins of stuff to see if I had any left.

I did have a bunch of tiny cuticle butter containers left but no nail serum (in rollerball containers). I pulled out the blog post for the recipe to make more nail serum. I ended up making a few. You can read about it here: https://marykisner.com/essential-oils-and-nail-care/

#4: Sharing Links about the Greyhounds

This last week I also had a query from a greyhound owner about whether I still made coats for greyhounds. I had to explain my dilemma about making the coats. I have not made coats for at least a year. I was basically burned out and was turning my attention to my bracelets. I am still able to do custom orders for coats, but now that JoAnn Fabrics is out of business, affordable fleece fabric is hard to find. I have found a few offerings on Amazon, but they are mostly solid colors and very expensive. To buy the fabric (in one color) to make one coat could cost $45-60. Then, my time to make the coat and mail it to a customer is another $50. I just don’t see that being feasible.

I ended up sharing with the greyhound owner the six blog posts I’ve written about my work with the greyhounds:

https://marykisner.com/greyhounds-in-my-heart/

https://marykisner.com/cozy-coats-for-greyhounds/

https://marykisner.com/ongoing-work-with-greyhound-coats/

https://marykisner.com/belly-bands-for-greyhounds/

https://marykisner.com/time-to-get-back-to-making-greyhound-coats/

https://marykisner.com/more-about-making-greyhound-coats/

As I’ve mentioned many times, I’m willing to share my patterns for the coats and teach someone else how to make them. We worked hard to design them so they fit well. I’m proud of how cozy they are. Of course, my work with Nittany Greyhounds was a volunteer job so there isn’t much money in making them although Nittany always paid for the fabric. I have seen coats being sold on Etsy for $75-100. I just can’t see it’s a lucrative activity without a good source of affordable fleece. So far, I have found few people who even know how to sew.

#5: Designing a New Bracelet for Well-Being

Finally, around all the baking, nail serum making and greyhound conversations I was thinking about designing a new bracelet for general well-being. Most of my specialty bracelets start with the idea that the best thing I can make will help a person stay balanced and is focused on keeping their chakras strong and aligned. The chakras are the energy centers in the body and when one is blocked or weak from illness, stress or environmental conditions my focused intentions always target bringing a person’s energy back into balance. The various stones have their own vibrations that help that intention.

The latest bracelet I’ve made is based around two sets of the chakra stones, plus smoky quartz, clear quartz and black onyx. Those last three stones provide grounding, clarity and inner strength for whatever issue a person is facing.

Then I made a key chain accessory to go with the bracelet so well-being can be carried with you. Making that set was fun and kept my mind busy as the snow piled up!

Here is the description that I include with each bracelet. The key chain accessory just has fewer beads but still has the two sets of chakra stones.

So, that’s what I’ve been doing! Silence doesn’t mean I’m not doing stuff. I may just be revisiting posts to try something again. I hope you are staying warm (or cool) depending where you live!

If you have comments or questions, please email me directly at maryjkisner@gmail.com.

A Mystery: Mom’s Charm Bracelet with No Stories

Yesterday I wrote about how the charms on a charm bracelet could prompt recall of memories. I truly think I should consider making a new charm bracelet for myself…just in case my memory slips a little. I might be about to jog my memory by thinking about individual charms like my sewing machine, a kitchen mixer or my greyhound charm. You can read about the charms at https://marykisner.com/preserving-memories-with-a-charm-bracelet/

While I was thinking about various charms for that post, I remembered a charm bracelet that had been tucked in with my mother’s jewelry. I hadn’t thought about it in years, and she passed away in 1988. the bracelet and charms fit into a tiny box. I vaguely remember she picked up these charms on one or more of my parent’s overseas trips…one charm in each place/country they visited. She never really told me about them, plus I was home with two toddlers and just couldn’t relate at that time. When she passed, all chance of asking about them was gone. Of course, my dad lived another 22 years, but of course that little box was tucked away…out of sight, out of mind! The lesson here is…if you have an assortment of charms in your jewelry box that have a memory attached, consider writing down what they mean to you…otherwise, you’ll be passing on a mystery to someone else!

I carefully emptied the box to take pictures of the charms. I know most of their travels were to and from Southeast Asia, but I’m sure they had stops along the way. These charms were silver (or tin?) and many were quite delicate. I don’t know if they were arranged in any specific order or if she had a favorite.

The mystery is…I have no ‘stories’ or ‘memories’ to go with the charms. I don’t know what countries they are from. I’ll share the pictures below. If you recognize a charm that represents a specific country I’d love to hear about it! Otherwise, imagine the stories I could make up using these charms to tie an adventure together! Any fiction writers out there?

My favorite charm in the whole pile…this very delicate bike with a seat for a passenger! I know I saw those in the Philippines…in 1955-56!

Please email me directly if you have comments or questions (maryjkisner@gmail.com) I also post links to this article on Facebook and you can comment there. Enjoy!