This last week has been intense while I’ve been tracking all the food I’m eating and testing my blood sugar four times a day! Next week I meet with a specialist to discuss everything about the meds I’m taking and the food I should be eating to manage my blood sugar. So far, I’m doing well at tracking and I can see the immediate results of the benefits of low-carb eating on my blood sugar. My health care providers (April and Laura, who both read this blog…smile) would be very proud of me! You are my inspiration to tackle this issue!
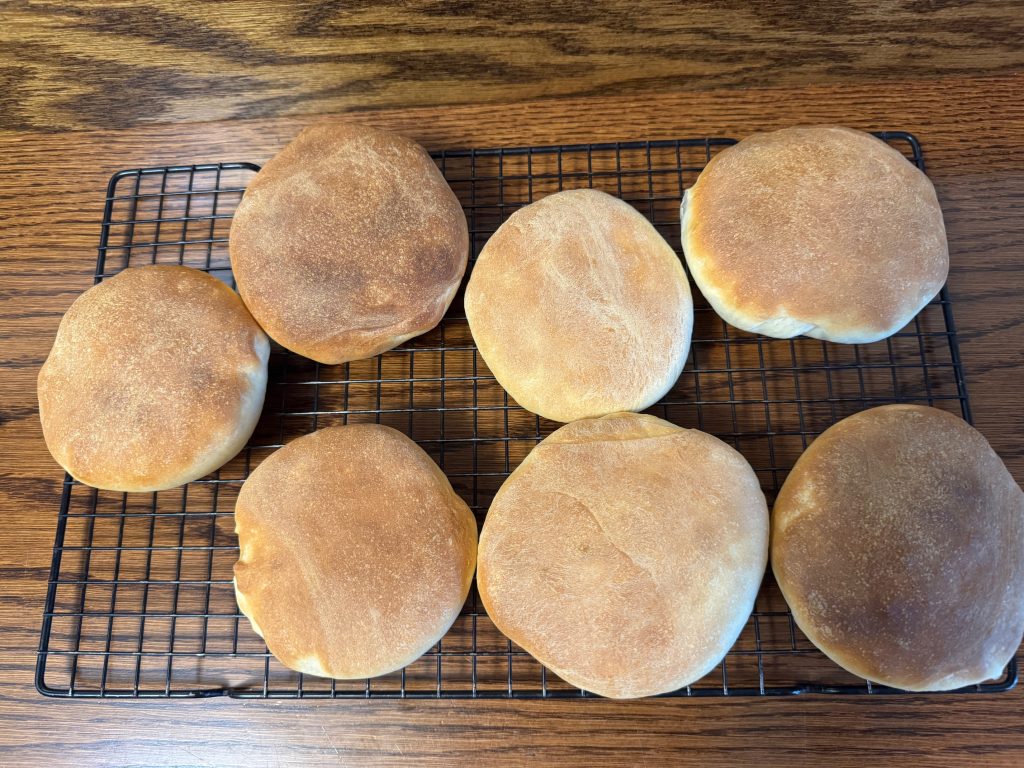
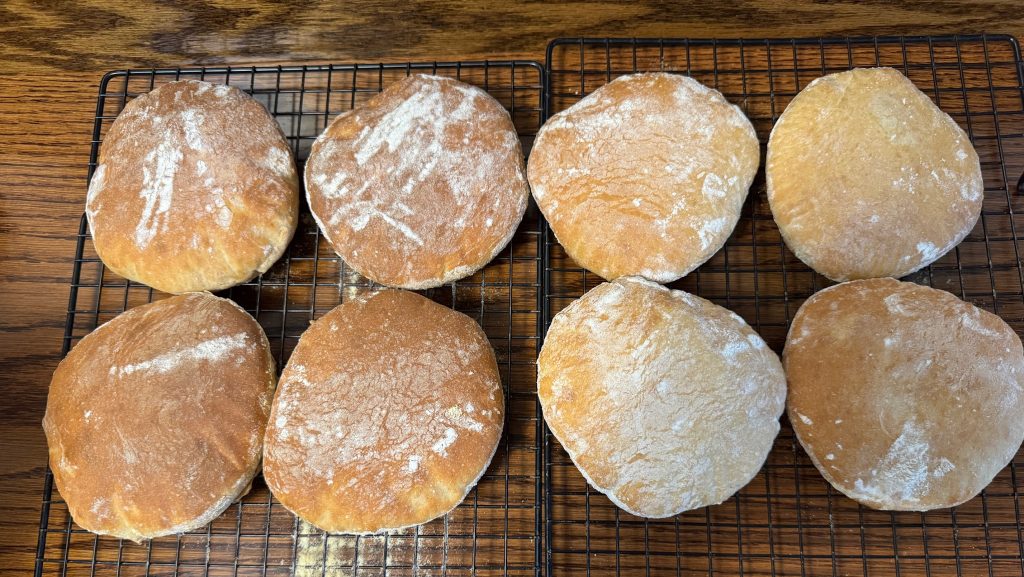
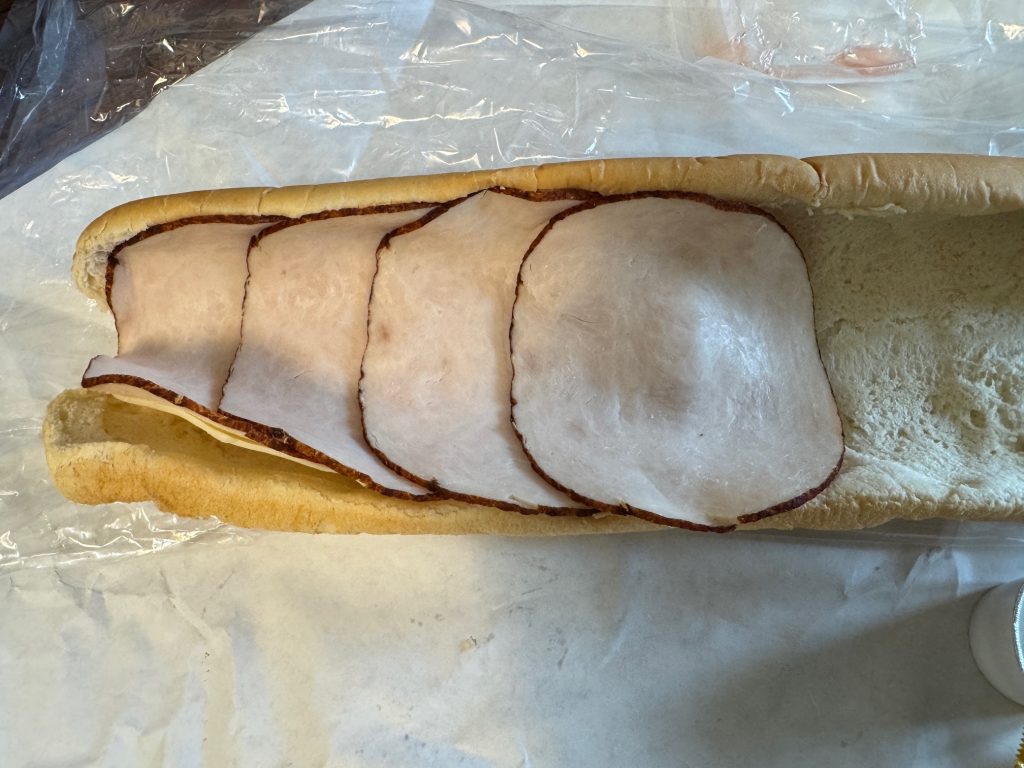
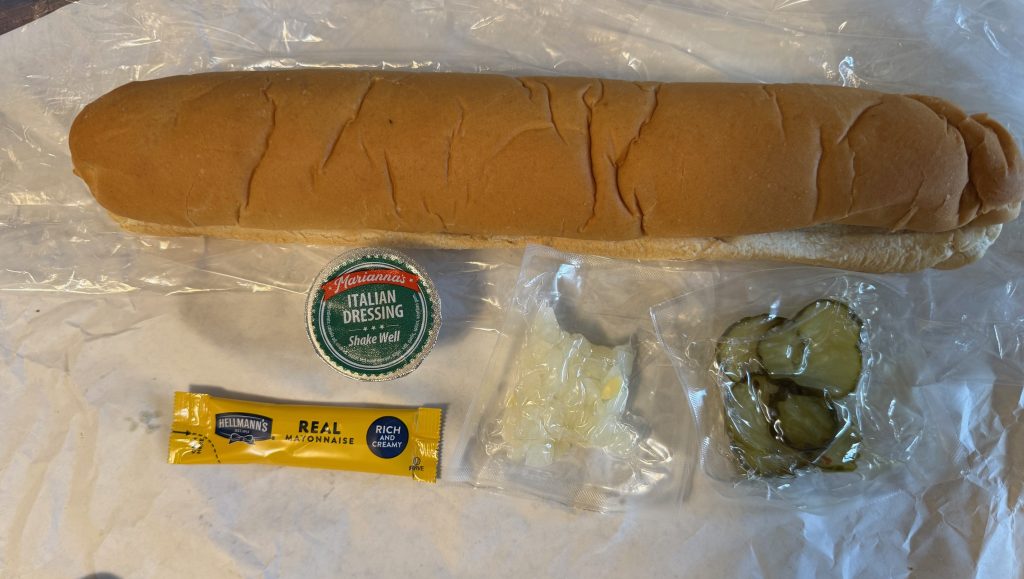
Several weeks ago a young neighbor girl came to our door selling hoagies as a fund-raiser for her school. We always try to help. Of course, the hoagies arrived yesterday afternoon! I knew I could not consider the bun part of my new food plan! So, I opened the package to see what I could salvage for supper.

The meat and cheese were in the bun, with all the other components shrink-wrapped and laid inside. Very easy to deal with.

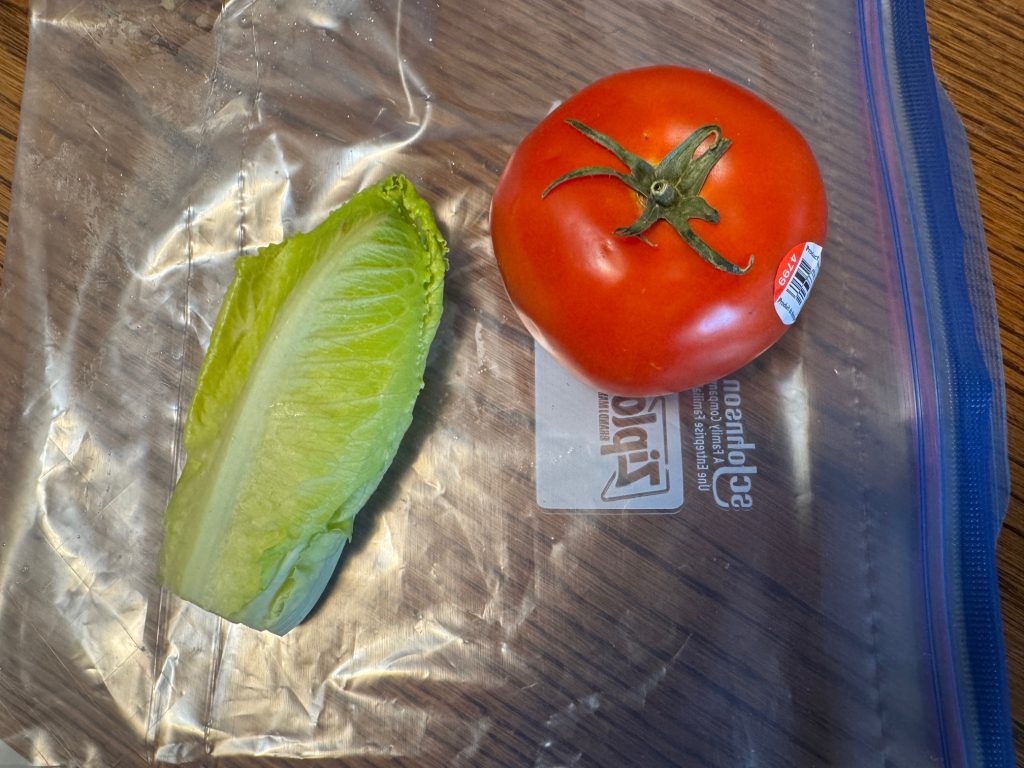
I started by putting the lettuce and tomato slices in my salad bowl. I usually like more tomato and lettuce in a salad, so I added some:
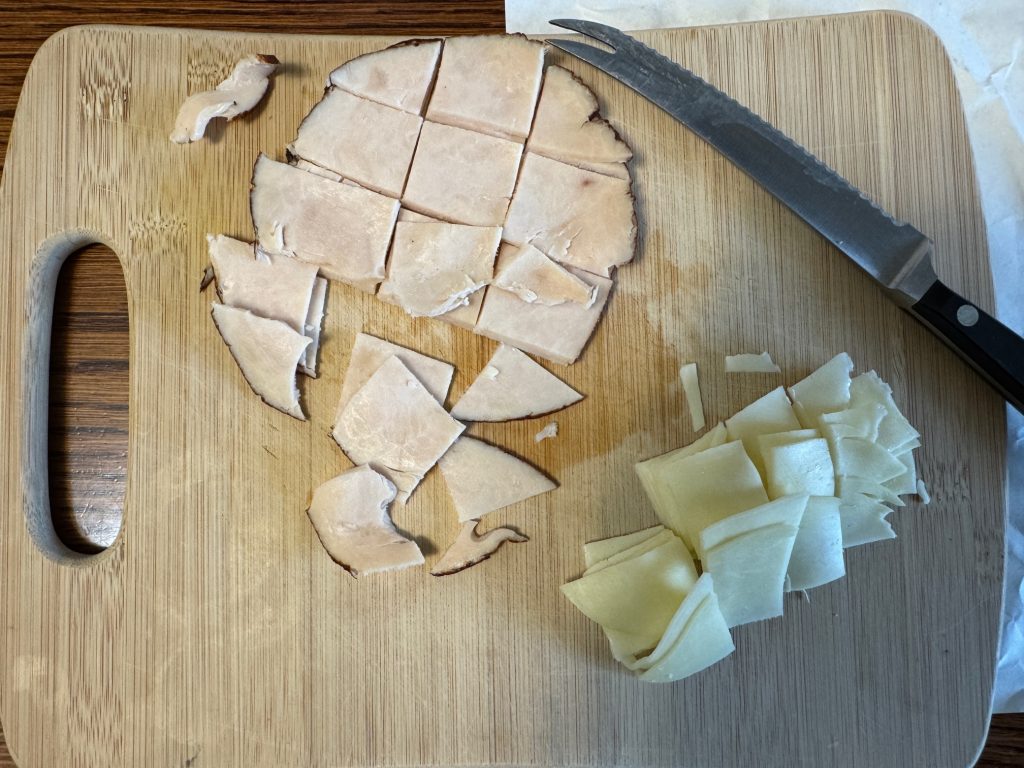
I set aside the mayo, dressing, pickles and chopped onion…Bert often uses my onions! Then I chopped half of the turkey and cheese. The other half went into the fridge for my next salad!
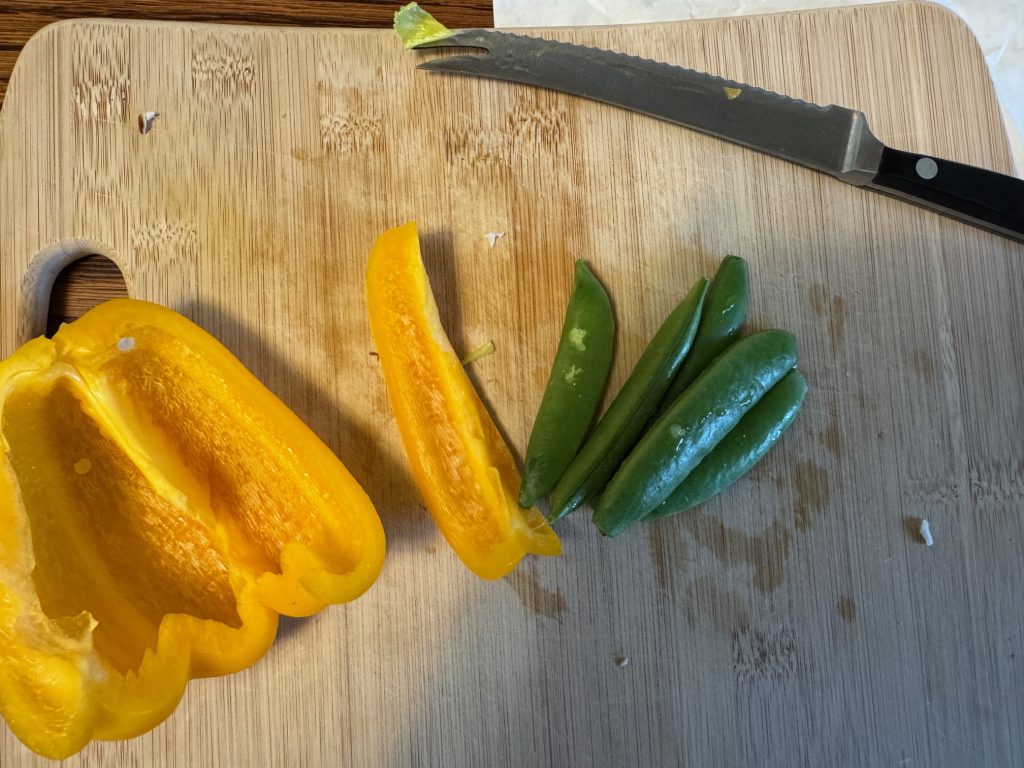
Finally, I wanted more vegetables in my salad, so I added some chunks of yellow sweet pepper and a few sugar snap peas.
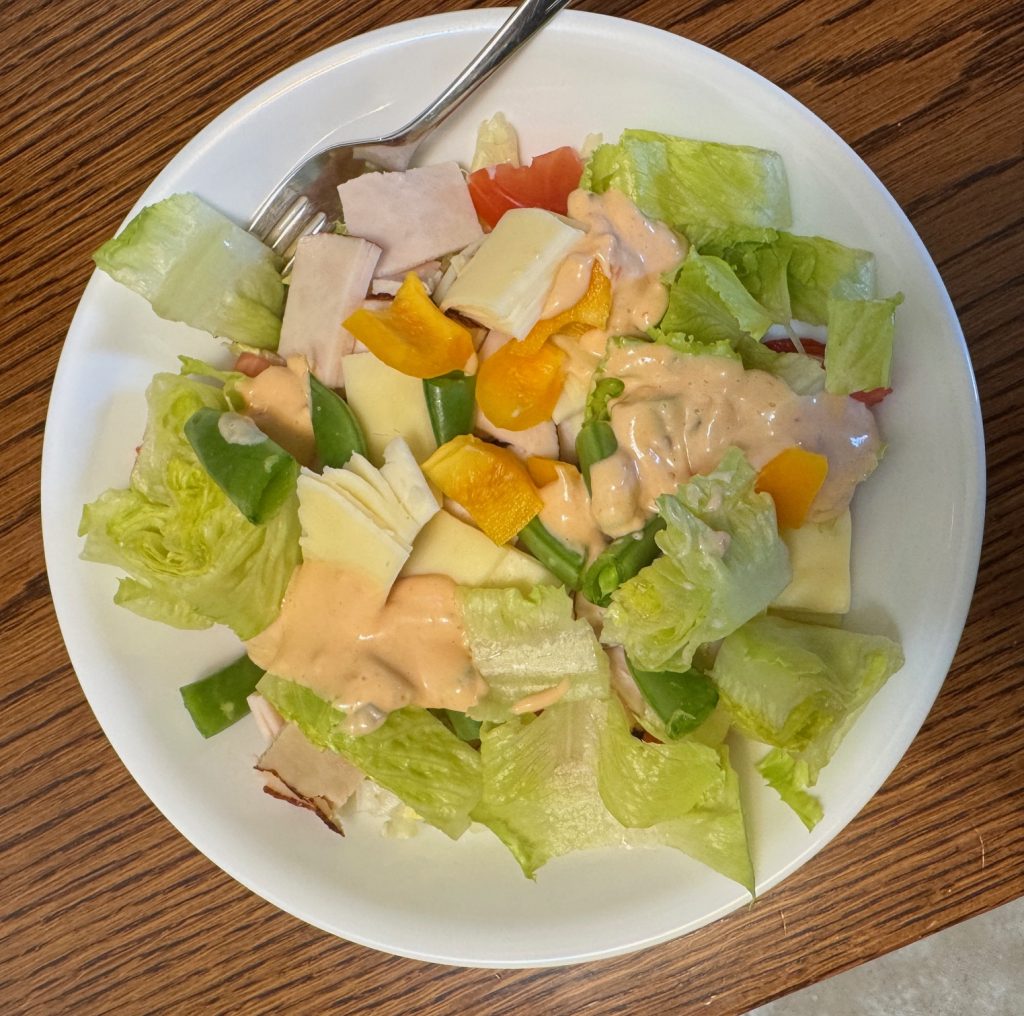
This all made a great salad!
So, what happened to the rest of the hoagie? The other half of the meat and cheese went into the refrigerator.
The mayonnaise also went into the refrigerator. Bert liked the idea so he deconstructed his hoagie and added my onions, pickles and dressing to his salad. We were left with two buns. Bert ripped them apart and put them near the bird feeders. They are visited by various animals during the night. So, no waste!
This is helping me think about the challenges of eating at a restaurant. Most places have some kind of garden salad. I should be able to order a plain hamburger or meat entre and put it on top of a salad, right? I usually bring my own dressing so that works!
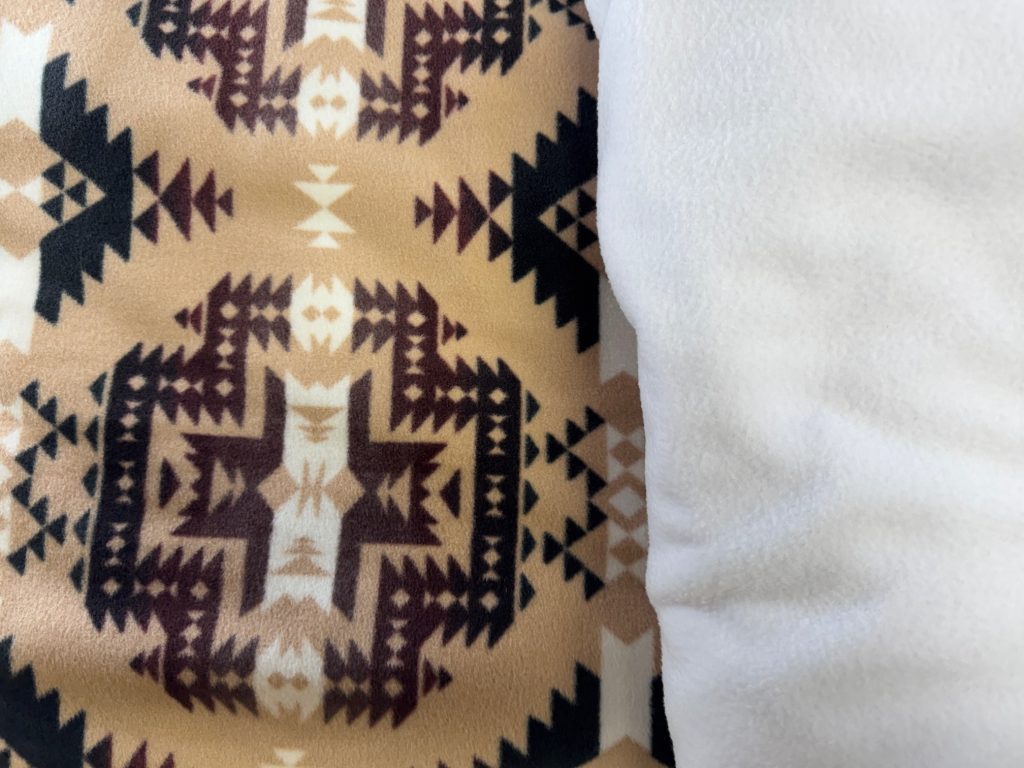
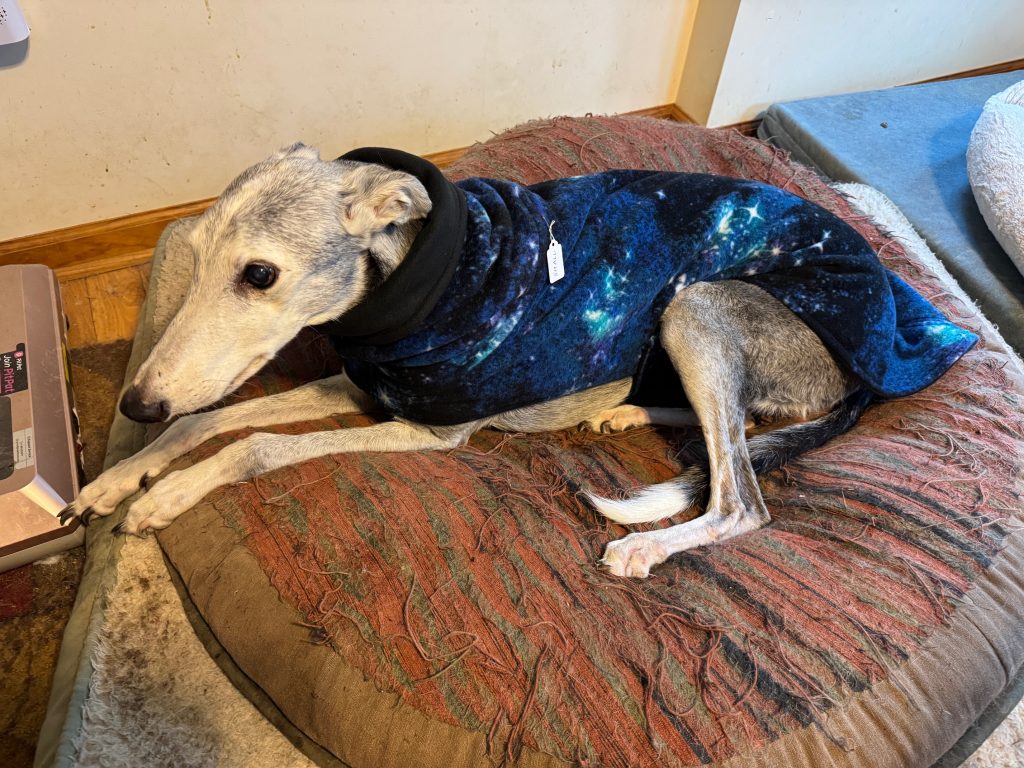
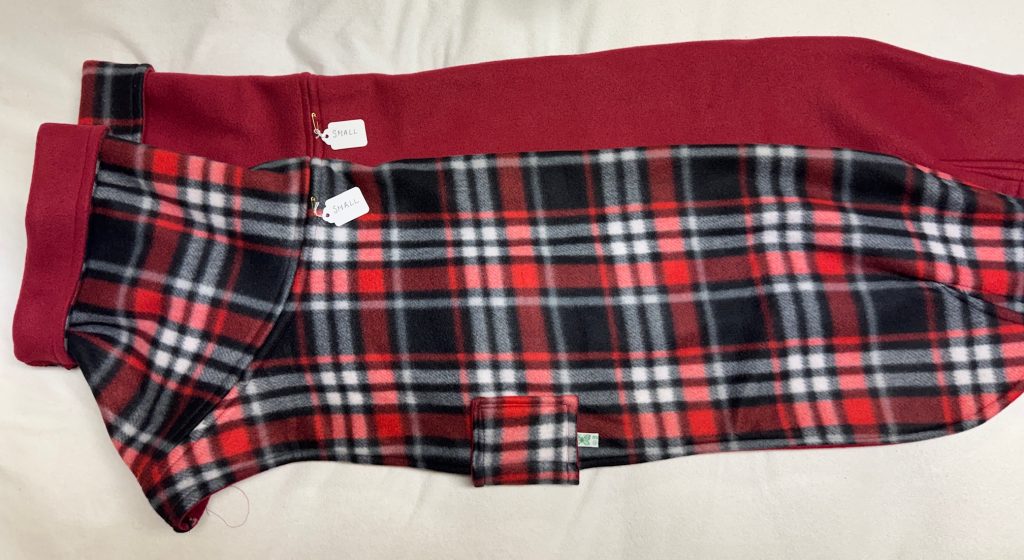
Anyway, while I’m staying out of the kitchen, I seem to be able to really crank out greyhound coats. It keeps my hands busy and Nittany Greyhounds is grateful for the coats! Enjoy!
If you have comments, questions or ideas for low-carb meals, please email me directly at maryjkisner@gmail.com.