Making Almond Flour Crackers

This week I’ve been experimenting with a simple cracker recipe from the King Arthur Baking website. I needed a low-carb cracker that would go with my other low-carb meals and not mess up my blood sugar. Now that I’m wearing a continuous glucose monitor, I can watch in real time what happens when I indulge in ANY food combo! Very enlightening!

I know that eating a handful of nuts (mostly cashews and almonds) leaves my blood sugar stable. Even peanut butter doesn’t raise the numbers too much. But, put that peanut butter on a thin wheat cracker and the numbers go off the chart! Very frustrating. So…I figured if I could make an almond flour cracker, I could have a little more variety in my diet. Almond flour is gluten-free and low in carbs.

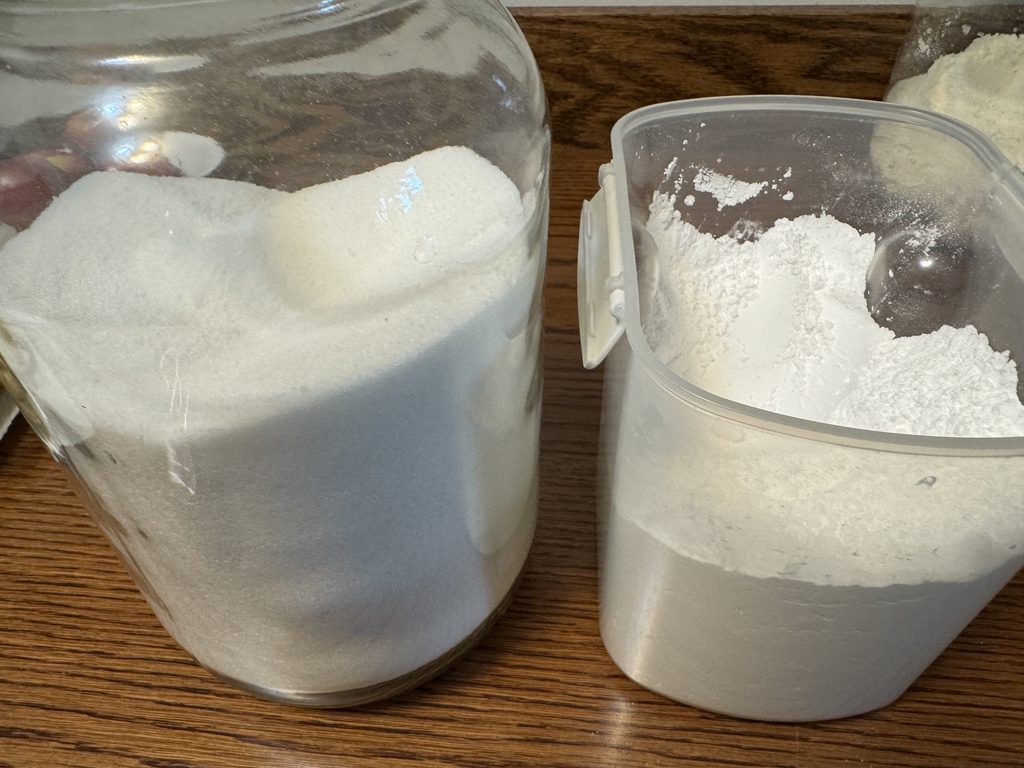
I ordered 3 1-lb bags of almond flour from the King Arthur Baking website. Then I picked up a 2-lb bag at the grocery store. After trying to measure the flour out of the bag, I finally found some containers to dump the flour into. Much better!
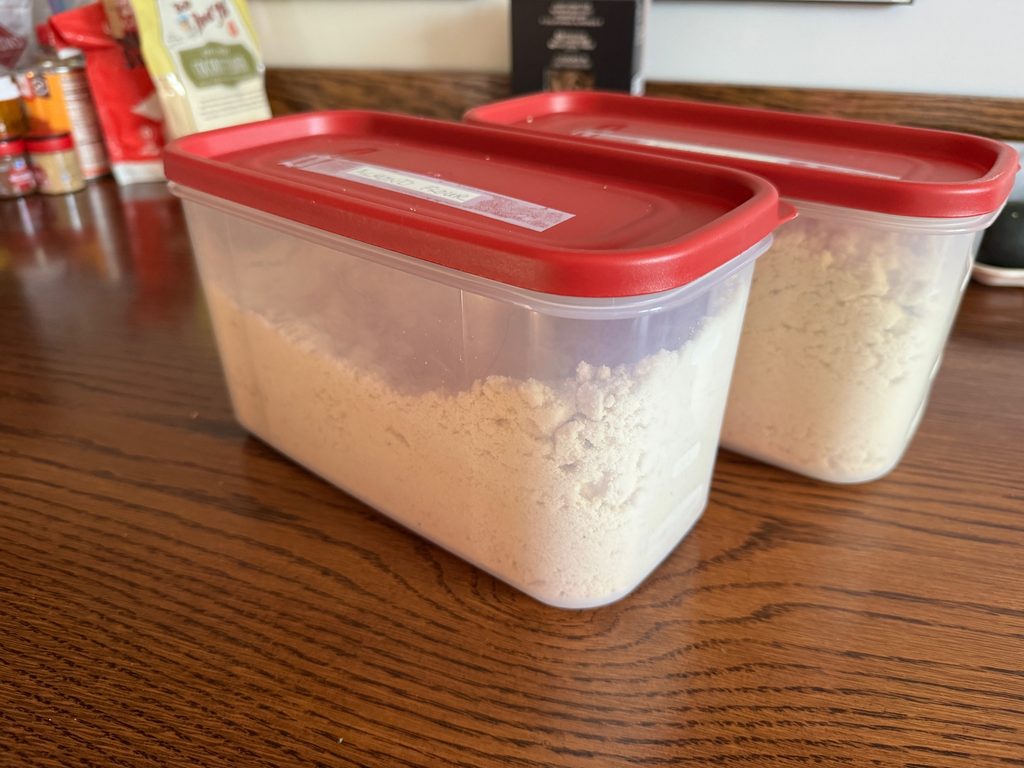
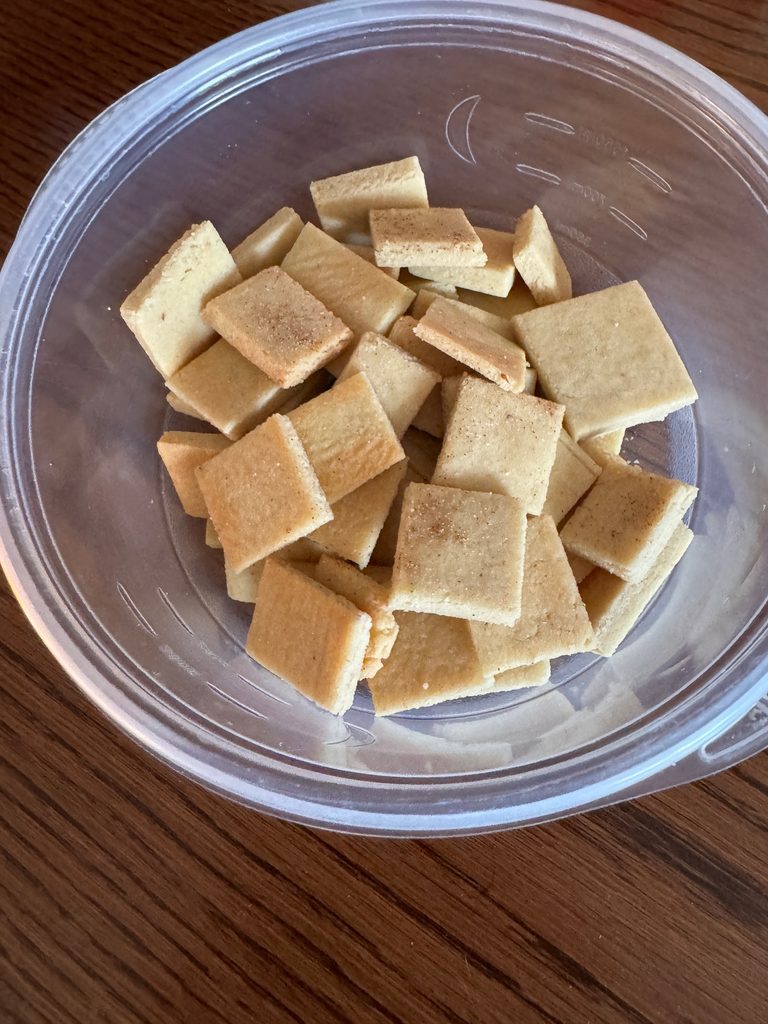
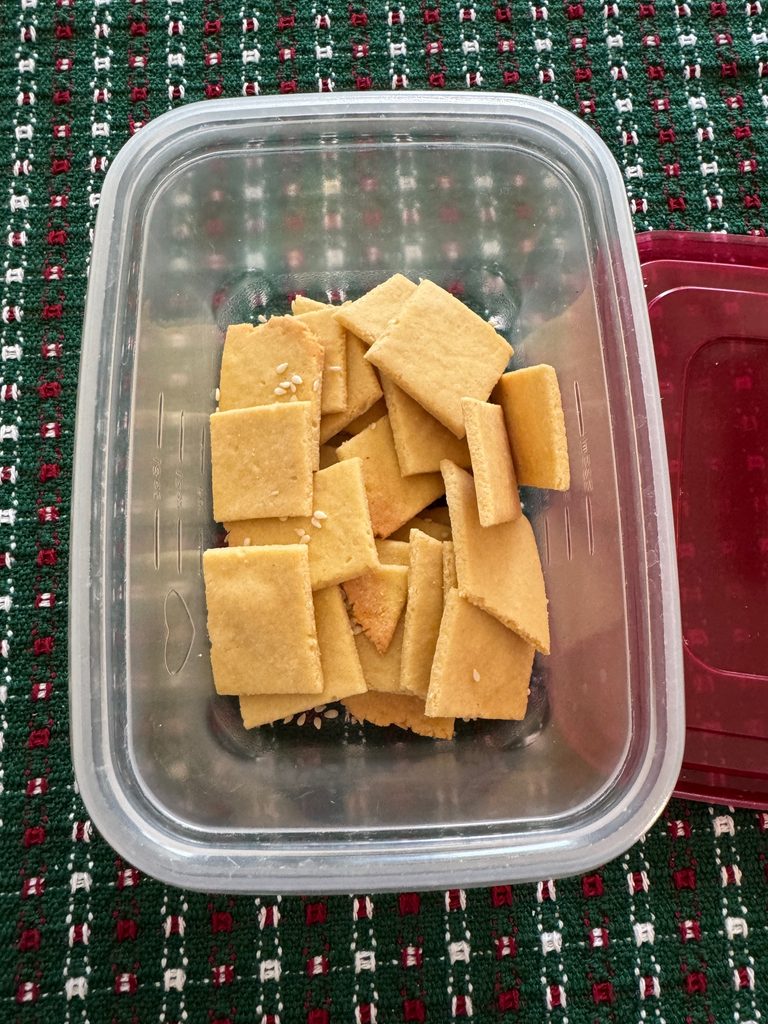
The recipe was pretty straightforward. I ended up making 3 batches over several days and finally got something I could call a ‘cracker.’ I may try one more time and bake them a little longer. I’m not sure I will ever get that cracker ‘crunch’ but it works!

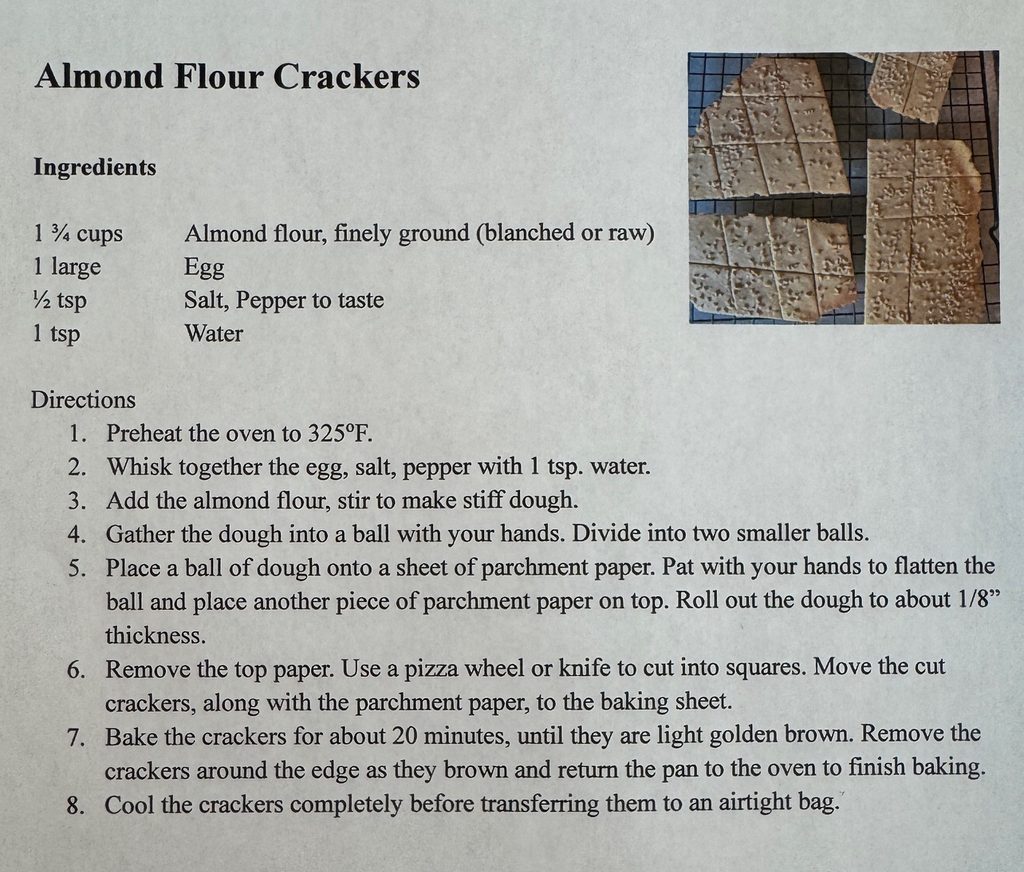
Here is the original recipe with my notes. Final version at the end!
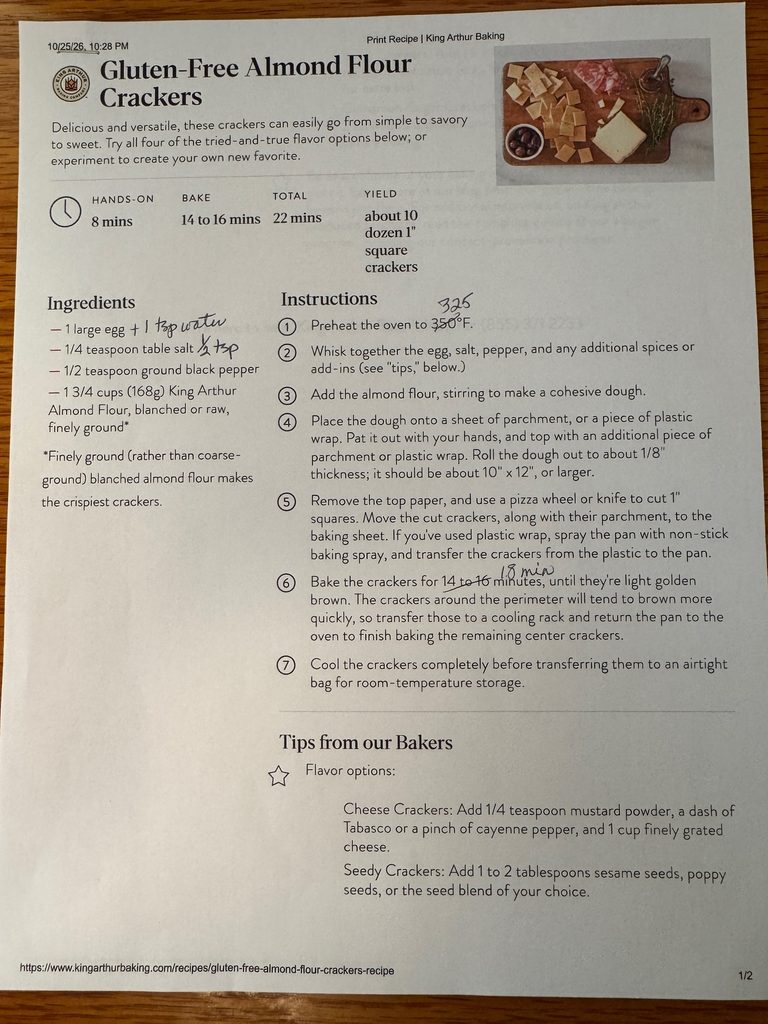
The ingredients were simple:

Almond flour, Salt & Pepper and one egg.

The first batch was much too thick and had no flavor. The second batch I increased the salt and sprinkled a little cinnamon/sugar on top but they were still too thick and the topping could not be tasted. Bert can use them as croutons in his soup…or not! By the last batch I had decreased the oven temperature, baked them longer, and split the batch into two so I could roll them thinner. Still not a lot of flavor but hot out of the oven they were somewhat crunchy. The last batch I sprinkled sesame seeds on top just before I put them in the oven. They didn’t stick and fell off as I took them off the cookie sheet! Guess I’ll need to mix them into the dough. Phooey.

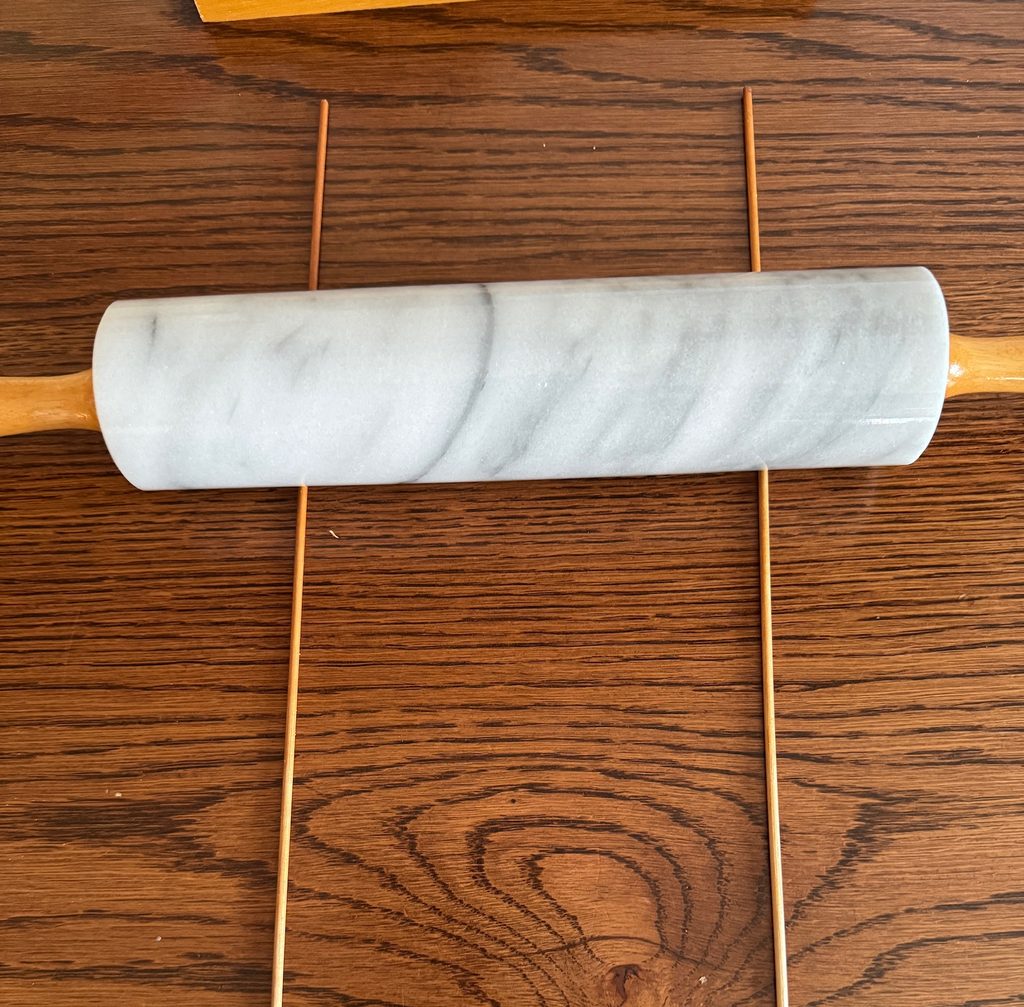
The best idea came from Bert on how to roll them to 1/8”. He got me two 1/8” dowel rods to guide the rolling pin. It worked great! So…here’s how it went:

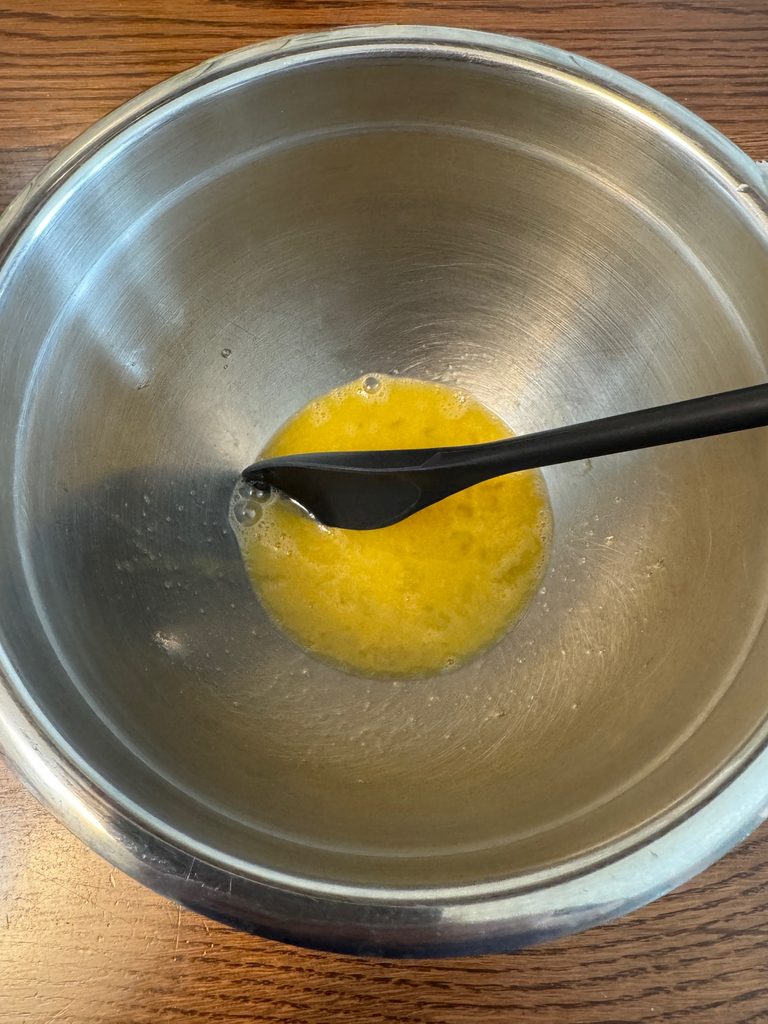
  1. Whisk the egg in a bowl. Add a teaspoon of water and the 1/2 tsp. of salt. Add pepper if desired.
2. Add the almond flour to the egg mixture, stir and gather the dough into a ball.
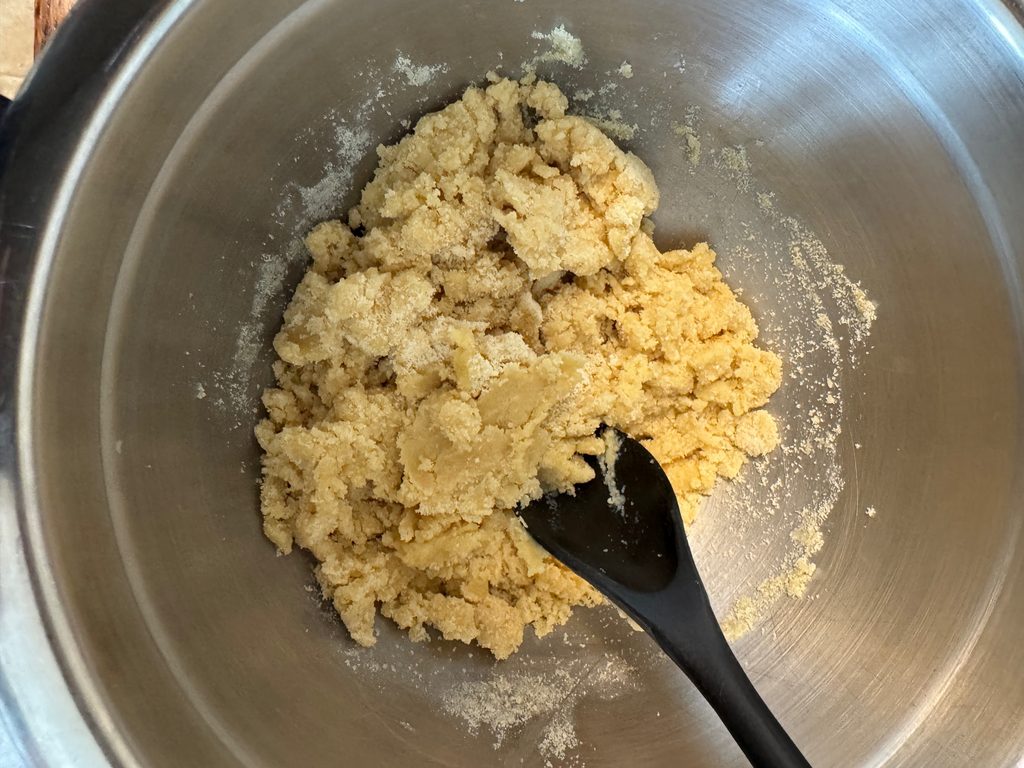
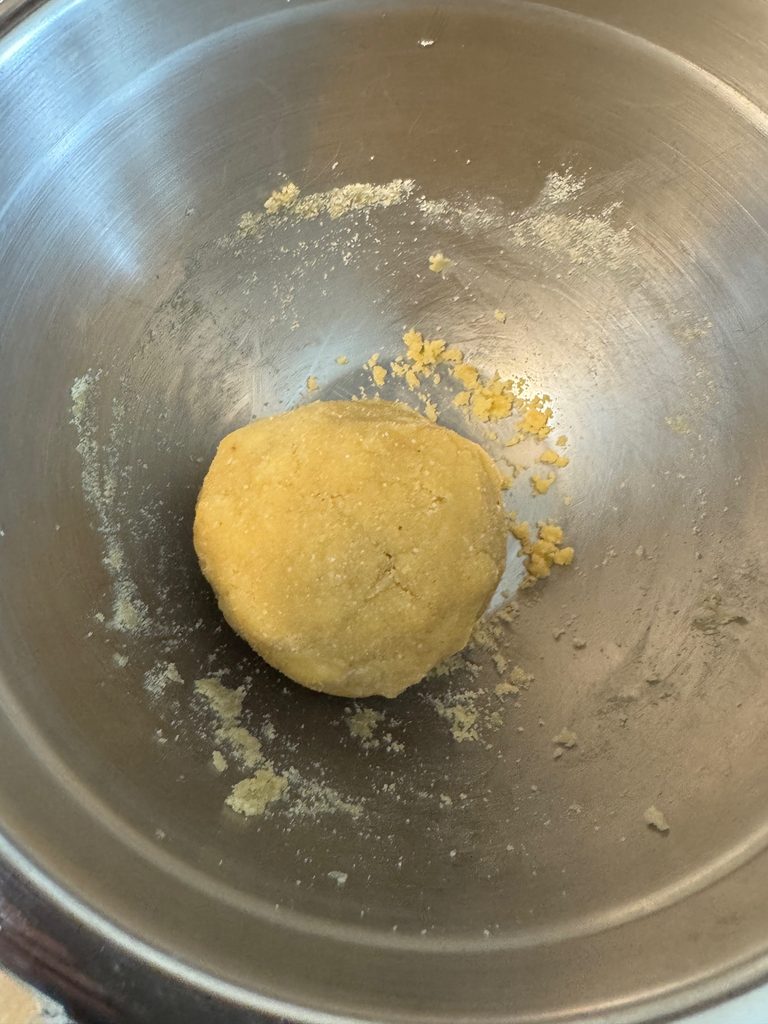
3. Divide the ball into two and flatten the dough with your hands. Roll out each smaller ball of dough between two sheets of parchment paper.
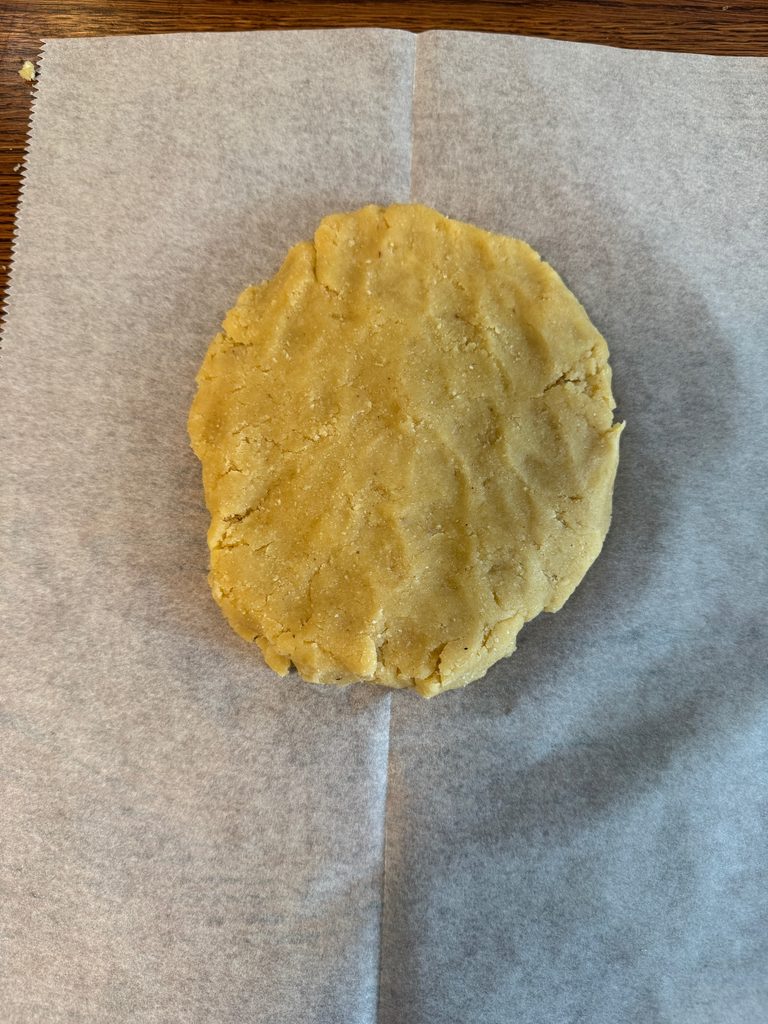
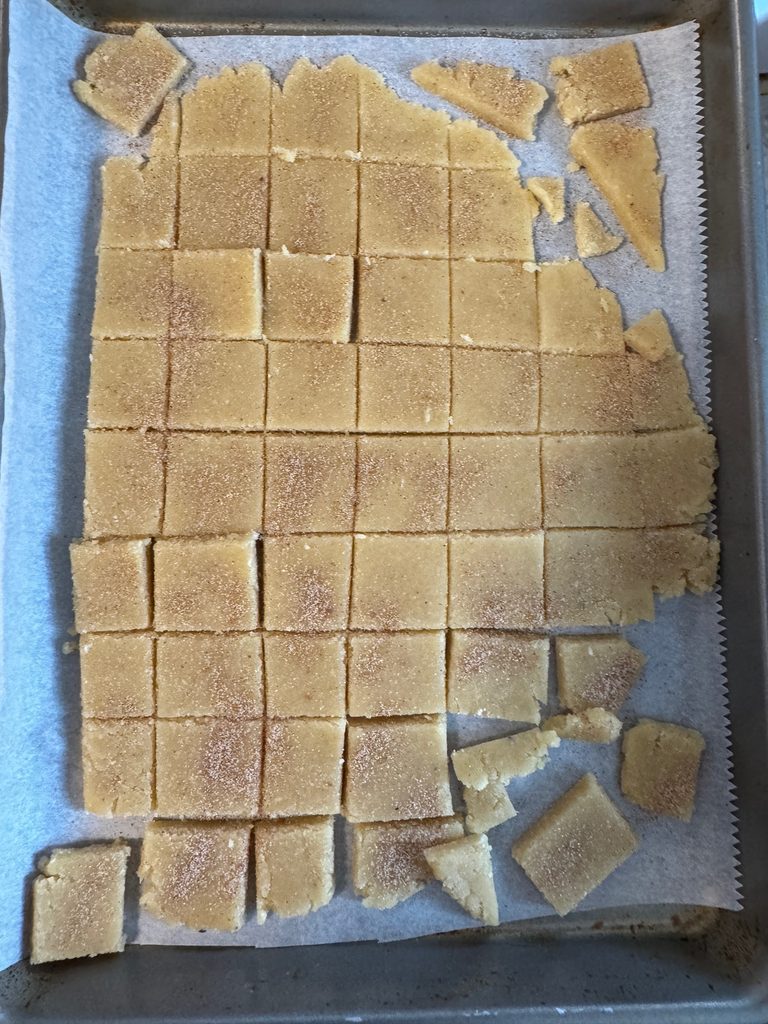
First and second try…they are pretty thick!
4. Third try: These 1/8″ dowel rods worked great to guide my rolling pin!
5. Using a pizza cutter, cut the rolled-out dough into desired cracker shapes. Lift the bottom sheet of parchment and place directly on the baking sheet. I trimmed the parchment paper to fit my sheets.
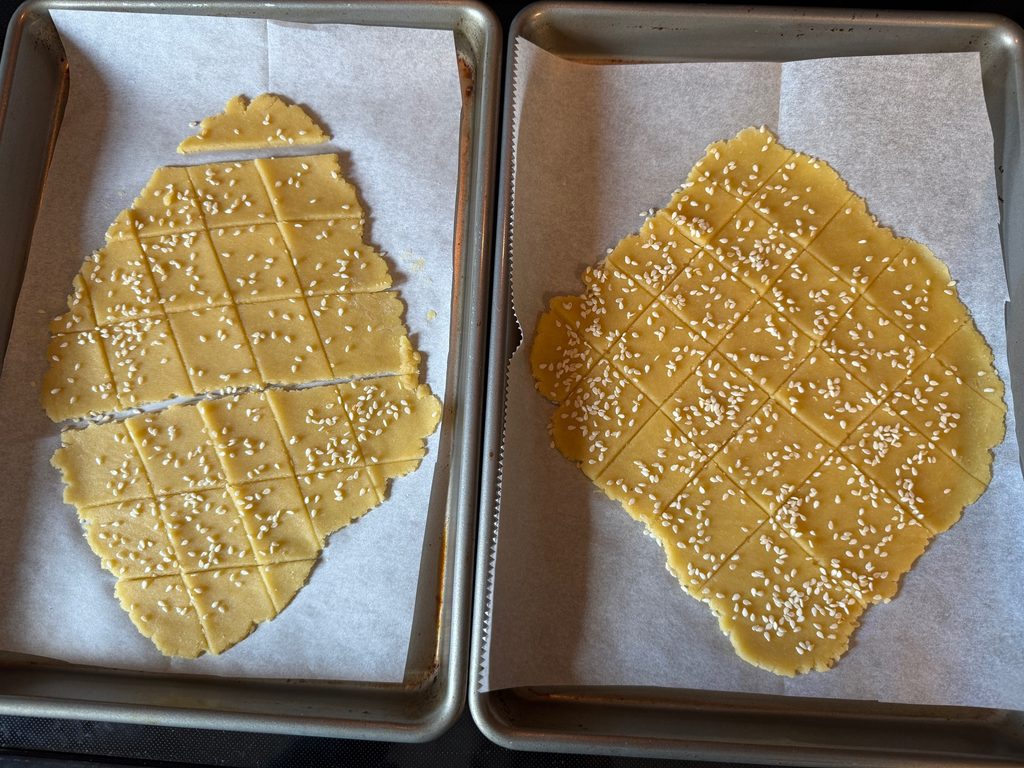
6. Bake at 325 degrees F for about 20 minutes. Remove the browned ones around the edge as needed and return the pan to the oven until they are all browned. Let cool on a cooling rack before storing in an airtight container.

These looked like they woul be crunchy!
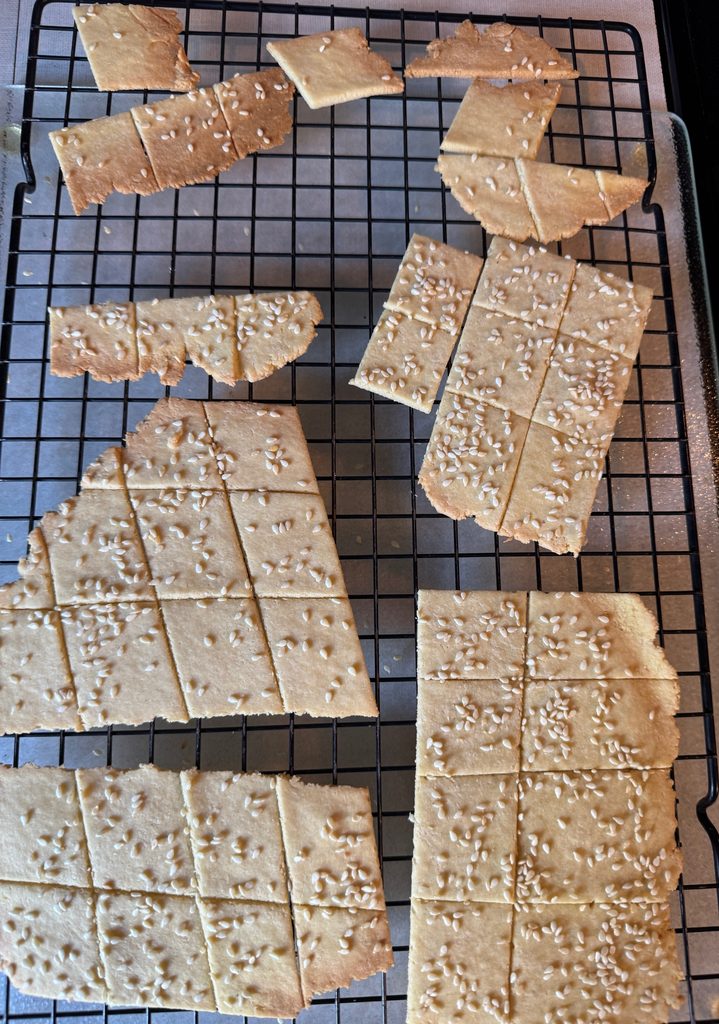
Too bad the sesame seeds didn’t stick!
So, here’s the final recipe with my modifications. Give it a try! Enjoy!
If you have comments or questions, please email me directly at maryjkisner@gmail.com.
Learning About Making Mozzarella Cheese

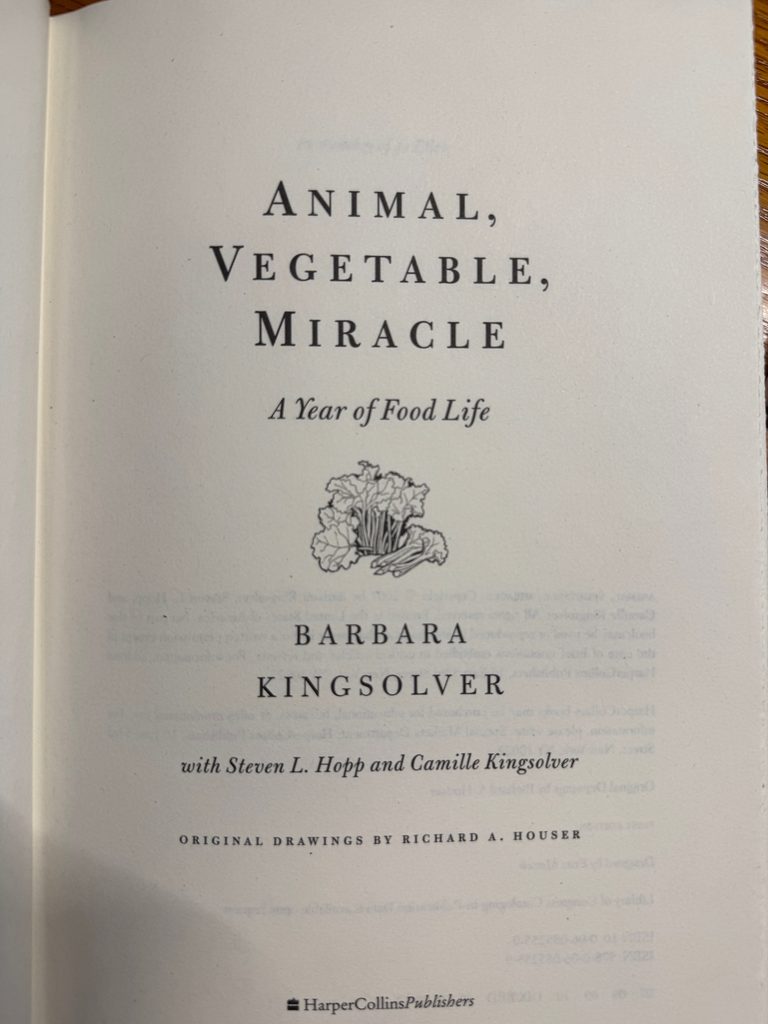
This is a story about me…when I get bored! I go crazy when I’m bored! It’s not like I have nothing to do…I could always dust or do laundry (frown) but last week I was really in the mood to learn to make something different. I turned to a book that I’ve read and re-read many times over the last 15 years called Animal, Vegetable, Miracle: A Year of Food Life by Barbara Kingsolver. It was published in 2007 and each time I read it I’m inspired to try something new in the garden or make something from scratch.

The book is a description of the family (Barbara, husband Steven, daughters Camille and Lily) moving from Arizona to Southwestern Virginia. While working on restoring a farm property, they embraced the rural lifestyle. After settling in to their homestead, they decided to embark on a year-long challenge of trying to eat only foods in season and within a designated area of miles and write about it. While Barbara wrote about the challenge of finding local foods in season and feeding the family, Steven added information about the challenge of local farmers trying to compete with large companies and encouraging folks to choose food closer to home. Daughter Camille contributed recipes throughout the book, based on her interests with nutrition and young Lily became quite the entrepreneur raising chickens and selling eggs to the neighbors.

For me, it came about the time everyone was talking about how far our food travels and encouraging us to eat local. Our kids were out on their own, but I’ve always been interested in cooking from scratch and even ground my own wheat from a local farm and practiced making my own bread. I still make my own bread and the kids and grandkids request I bring my Oatmeal Bread when we visit!

About the same time, I was interested in reading about how the Kingsolver family learned to make bread and added homemade pizza to their menu. The description of the whole family making the mozzarella cheese always sounded like fun. This last time through the book (and remember I was bored!) I thought, why couldn’t I try that now! It sounded so EASY! Haha!

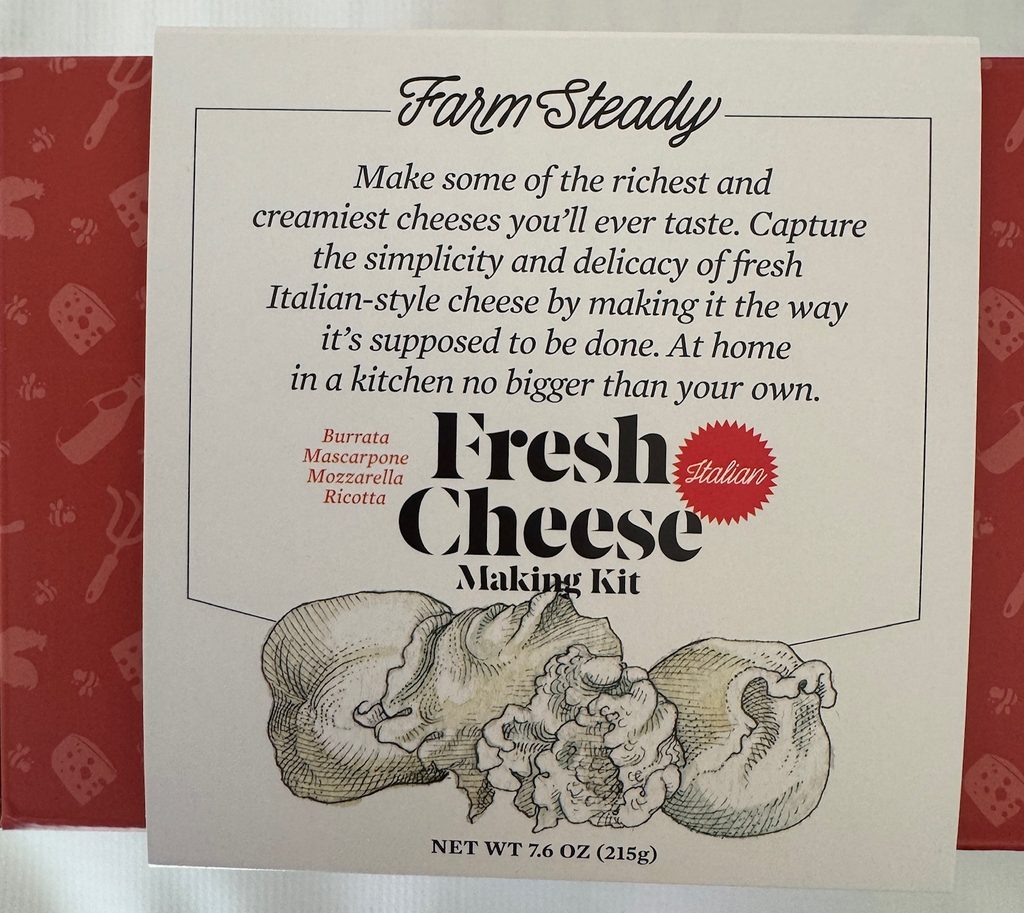
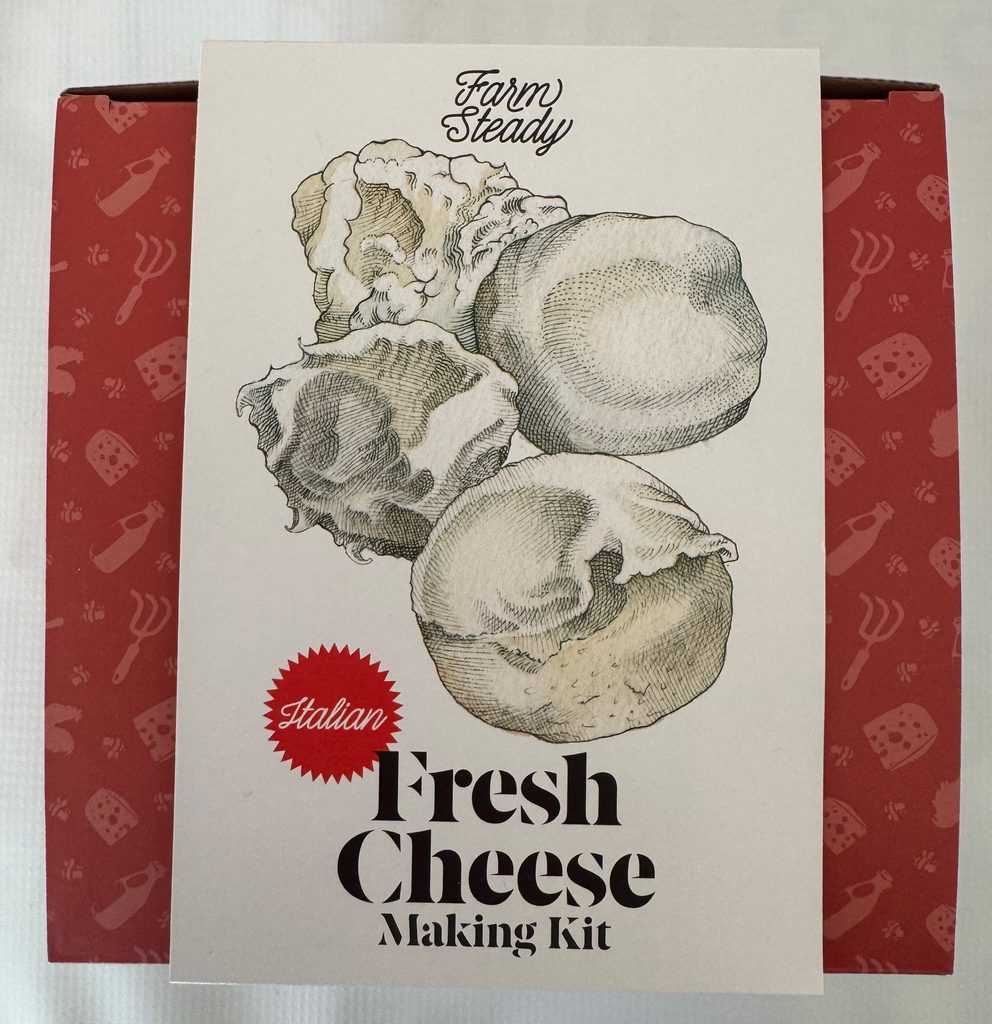
Of course, there’s a kit to come to the rescue! So, while I was bored, I started assembling tools and tried to read about how to make my own mozzarella cheese. I ordered this Kit (arrived in 3-4 days):

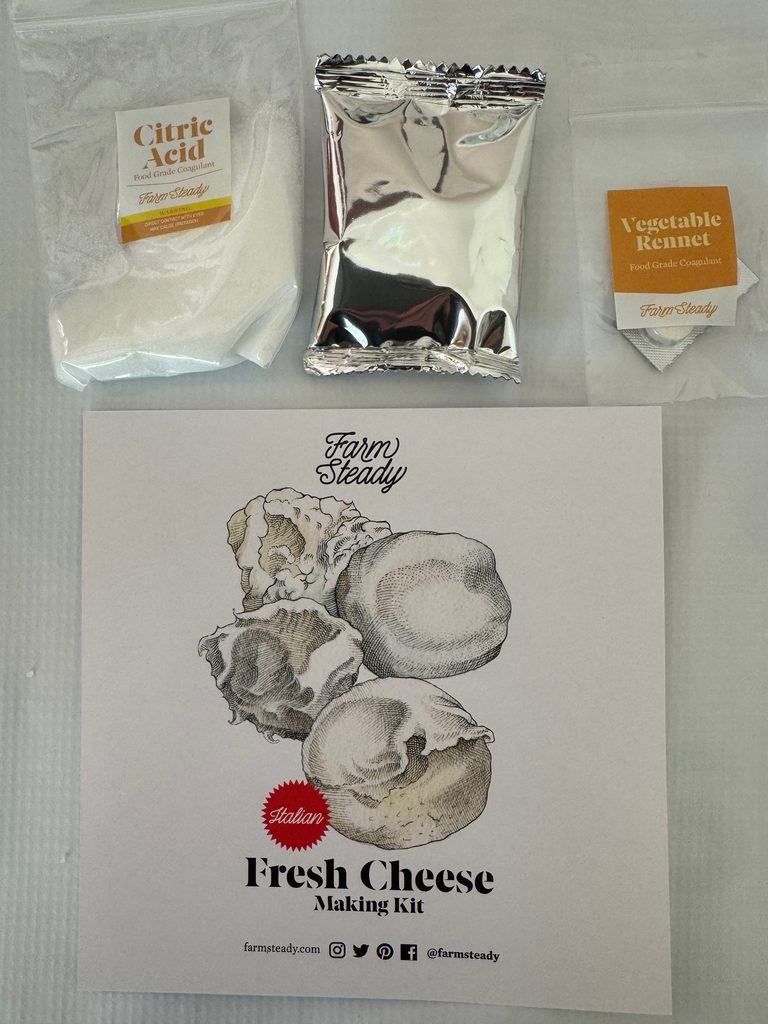
In the box were the essential ingredients and tools.

Citric Acid, Vegetable Rennet, Salt…

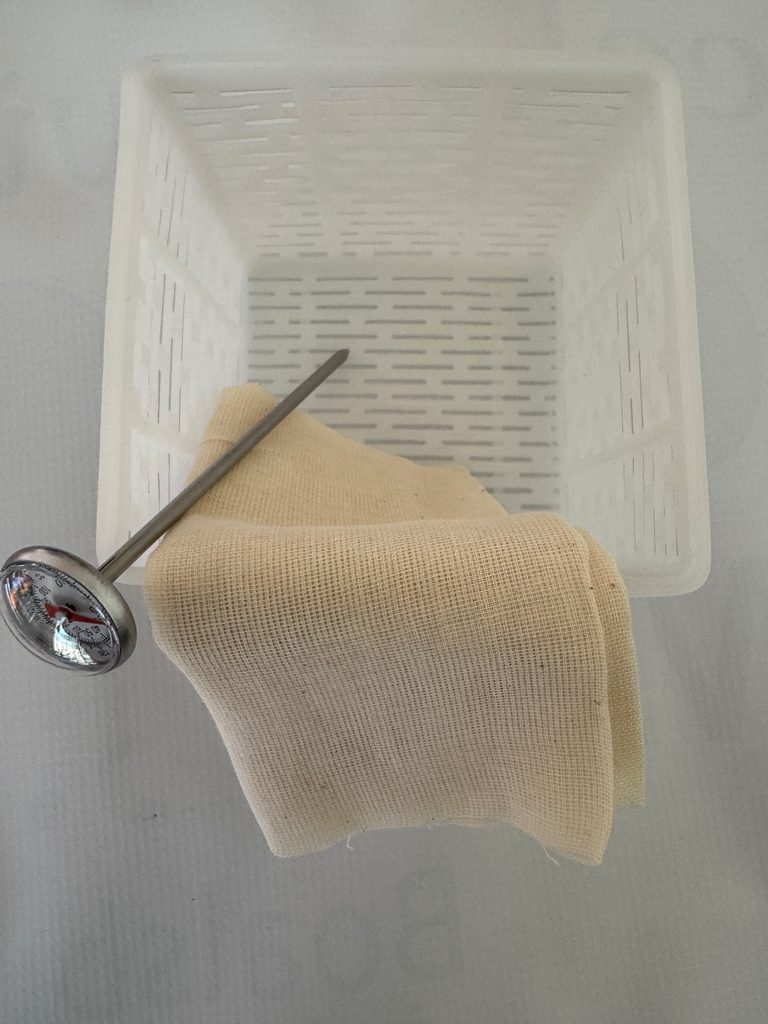
…a small plastic strainer, a TINY thermometer and a piece of cheese cloth.

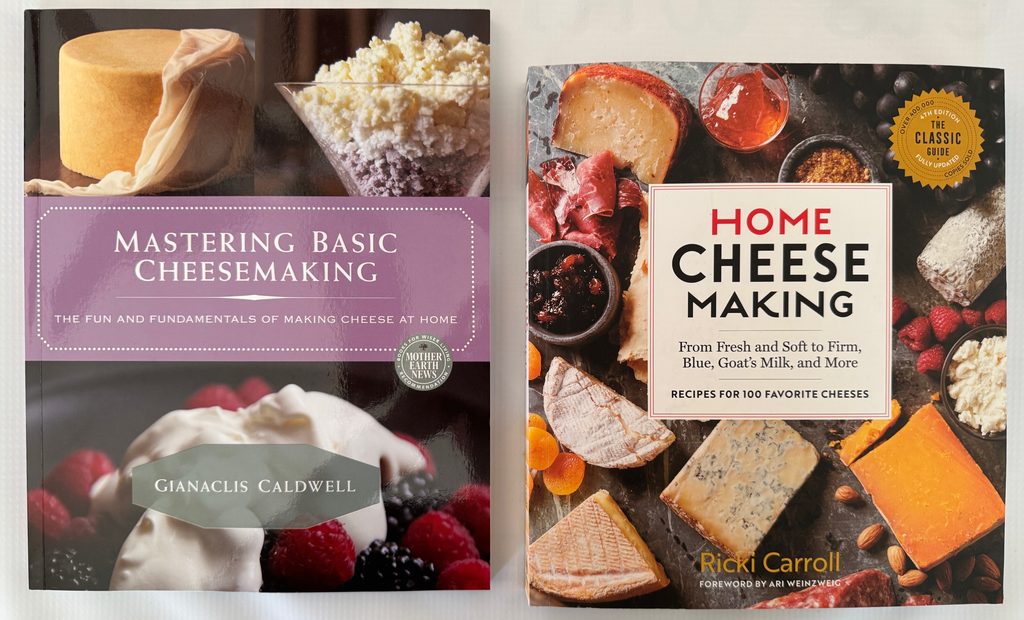
Instructions were online. While I was waiting for the kit to arrive, I ordered these two books to read. They took another 3-4 days to come.

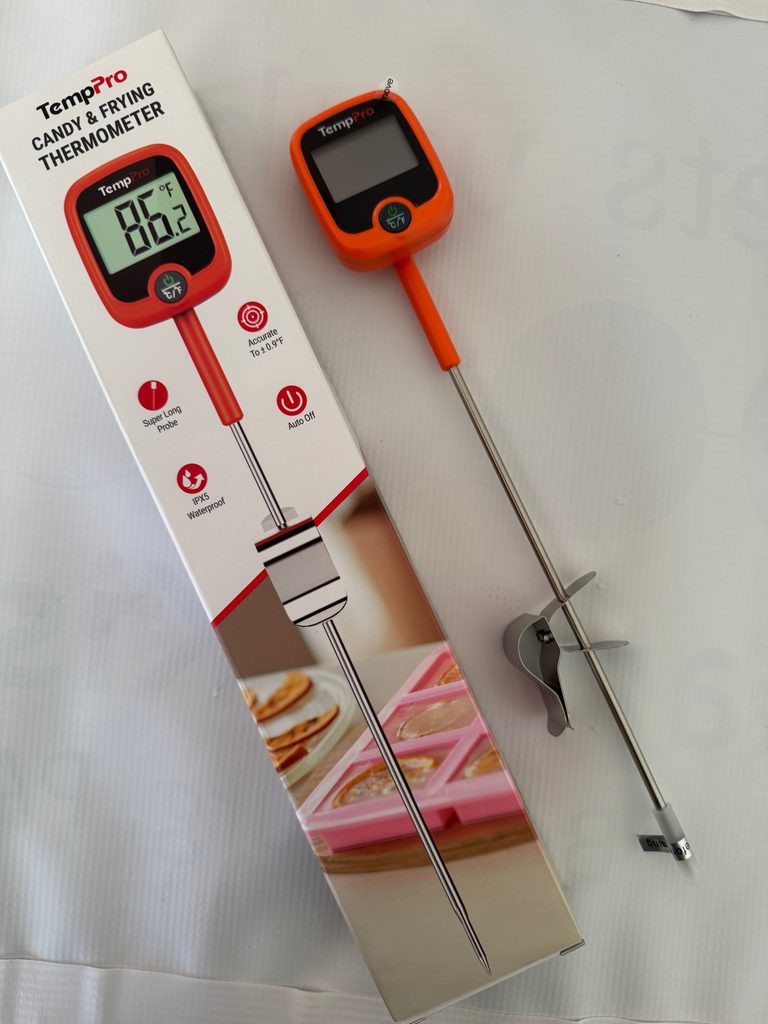
I asked Bert to find me a different thermometer that was big enough so I could SEE the read-out.

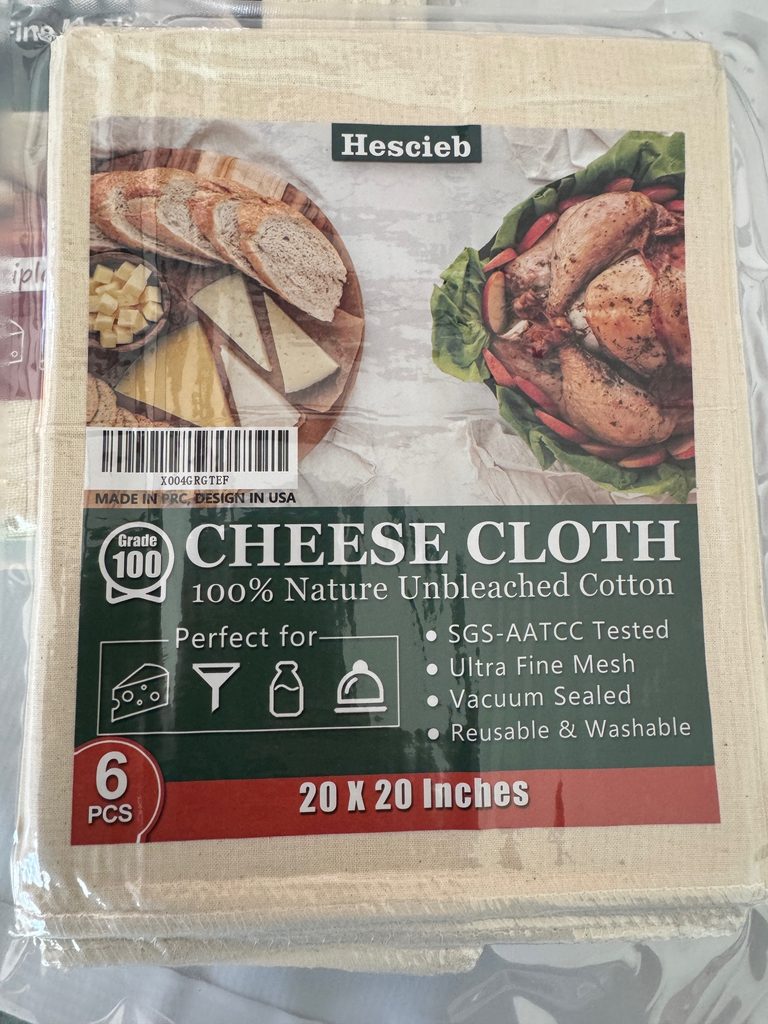
I added a package of cheese cloth just in case I needed more.

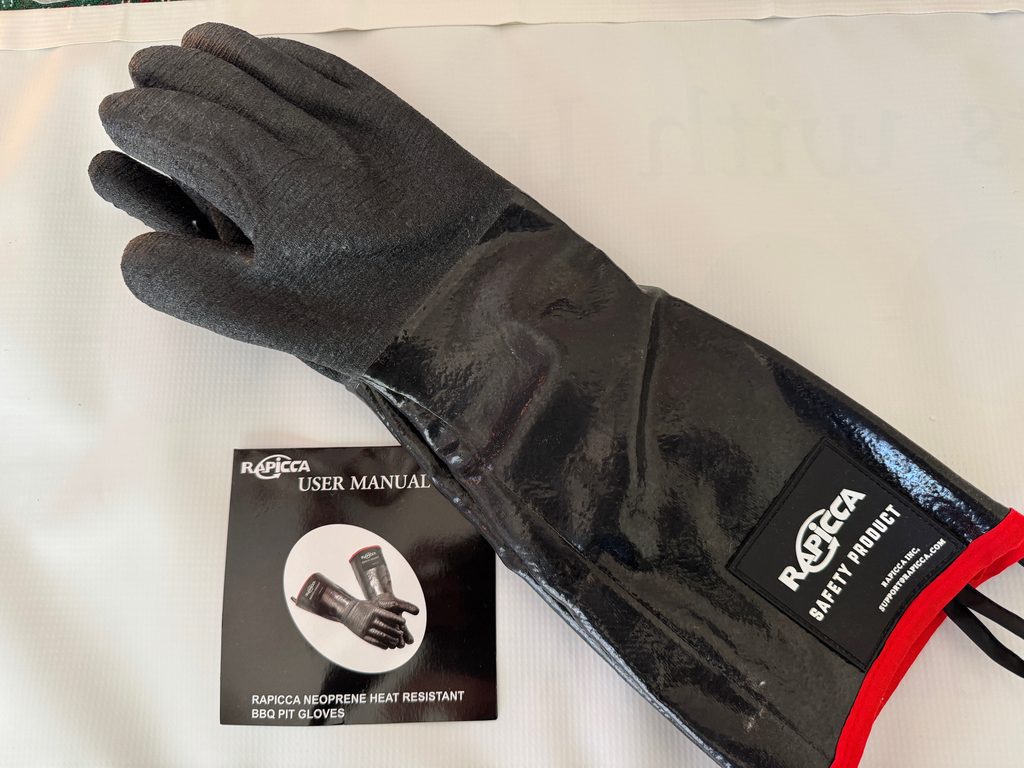
And then, of course, the instructions said I would need to handle the hot ball of cheese to stretch it and work with it. Soooo…I ordered heat safe gloves! Geez…I could put my hands in a barbeque grill and not get hurt. However, they are so padded I can’t imagine being able to do anything with a hot ball of cheese!

Now, I have a pile of ingredients and supplies but no idea what to do with them! I have never seen someone actually make mozzarella cheese!

I guess my next step is to find some demonstrations on YouTube and clarify what needs to happen. Until I know what to do, I won’t buy any regular milk (not ultra-pasteurized). Now that I’m totally overwhelmed, I’ve also run out of time! I’ll have to keep reading and learning so the NEXT time I’m bored I’m ready and know what to do.

I have about 29 bracelets to make to fill out my inventory for a November 14 craft show nearby. After that I may have time to try making mozzarella cheese. If you know how to do it and have any advice, I’d love to hear it! Hopefully, someday I’ll be able to post a successful ball of cheese! Enjoy!

Please email me directly with comments or questions maryjkisner@gmail.com.
Making Highland Shortbread Final Recipe

My second batch of Shortbread was a learning experience, mostly about ingredients. I wanted to find a traditional Scottish shortbread recipe that was simple to make and still used authentic ingredients. Since there were really only three major ingredients…flour, butter and sugar…I could see how just a few changes could affect the final product…or not! My one adjustment to all the recipes was to start with melted butter instead of cutting it into the flour. By starting with melted butter, I found regular granulated sugar worked just fine and dissolved easily (which was the point of using the fine ‘castor sugar’ in the first place).

Basically, some recipes called for all-purpose flour and 1/4 cup of corn starch, or finely-milled flour with some rice flour added and powdered sugar instead of granulated. Since I was starting my batch with melted butter (which really wasn’t “traditional” compared to cutting the butter into the flour with a pastry cutter, I wanted to keep the rest of the ingredients plain and simple.

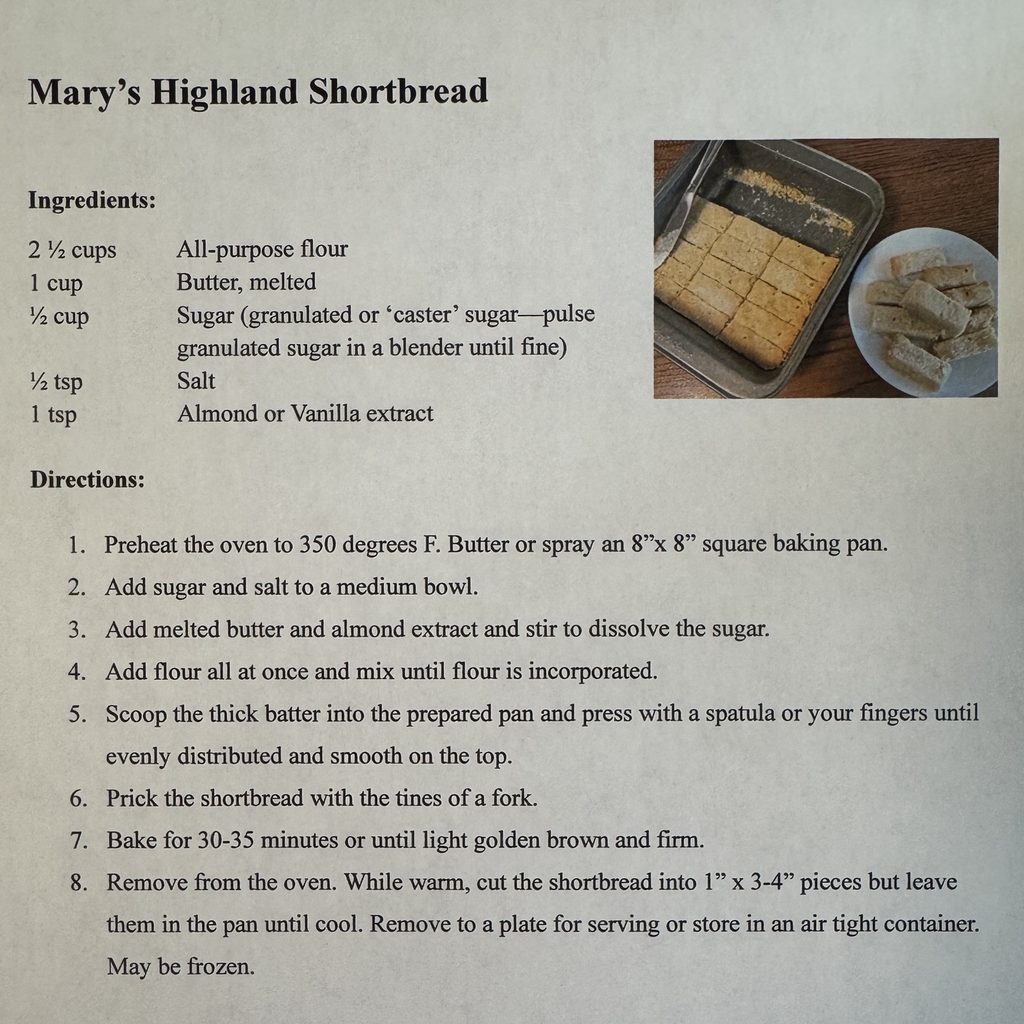
Here is my final recipe for Shortbread:

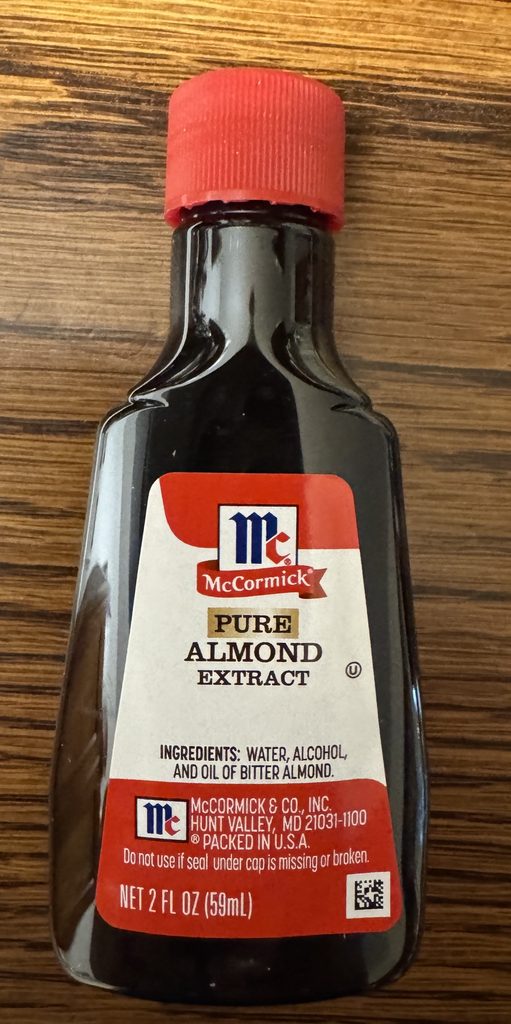
Finally, the last ingredient I added was Almond extract (vanilla would be good also.) Some traditional recipes suggested caraway seeds or candied citrus peels for flavor. Not what I had in mind!

So, here are the steps to make this batch of shortbread. I made a double batch so I could share them at a meeting, but it was still pretty simple.

Making Mary’s Highland Shortbread (see the recipe above for ingredients for a single batch):

  1. I preheated the oven to 350 degrees F. and prepared a 9″ x 13″ cake pan with spray oil.
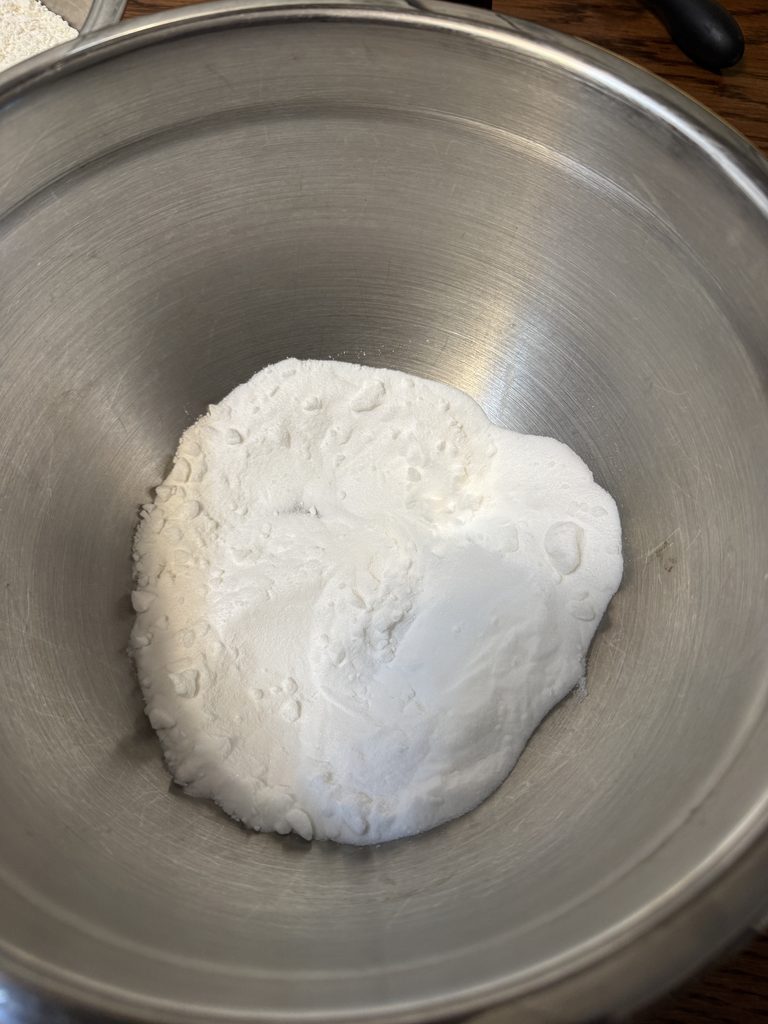
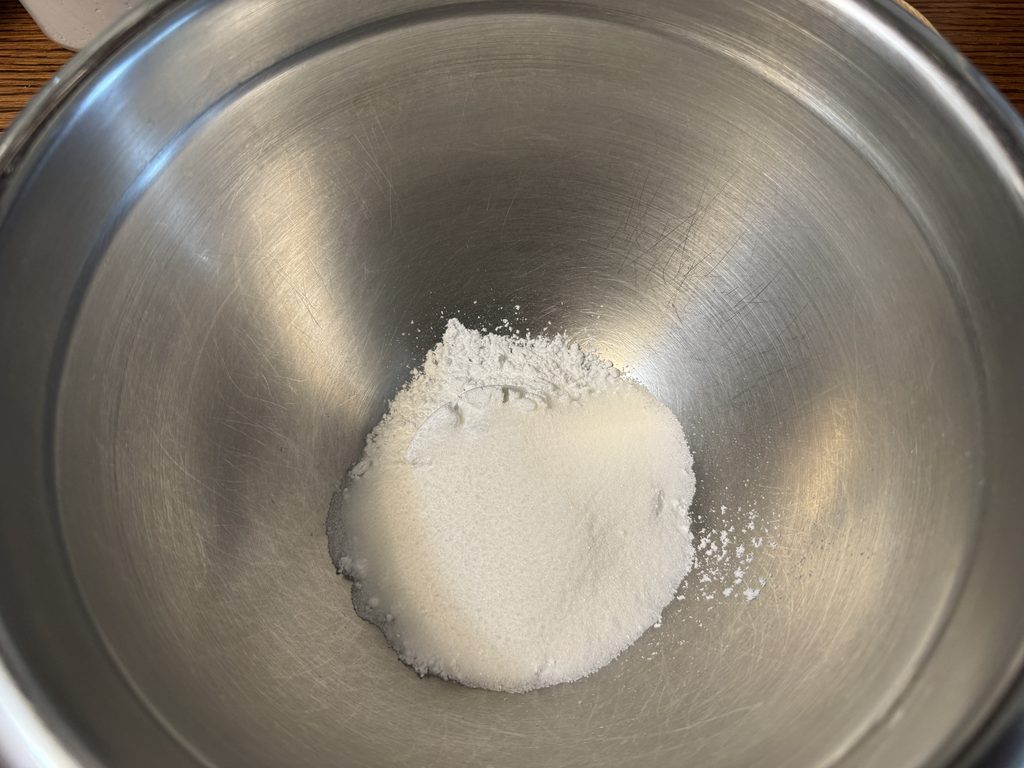
  2. I measured out the sugar and salt into a medium bowl.

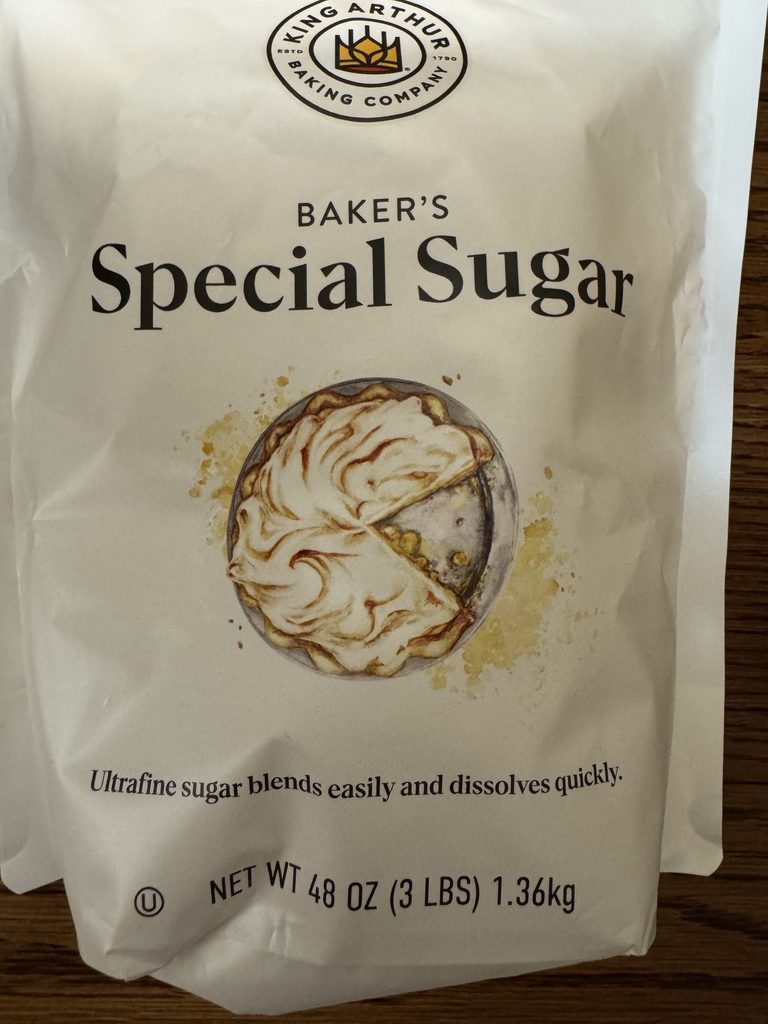
I did buy some ‘castor sugar’ from King Arthur’s website, but I don’t think it was necessary. In the future I’ll use regular granulated sugar.

It was pretty lumpy but dissolved easily in the melted butter. Regular sugar would also melt in the hot butter.

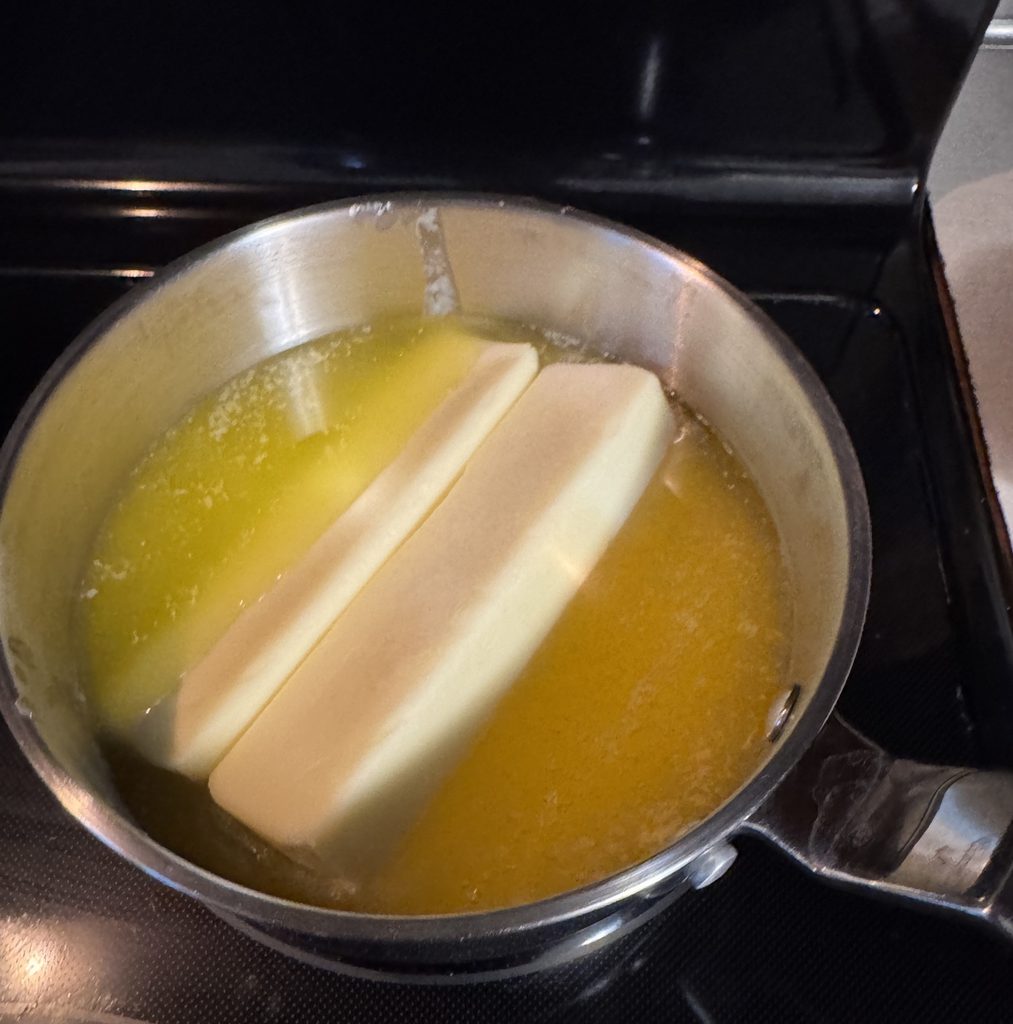
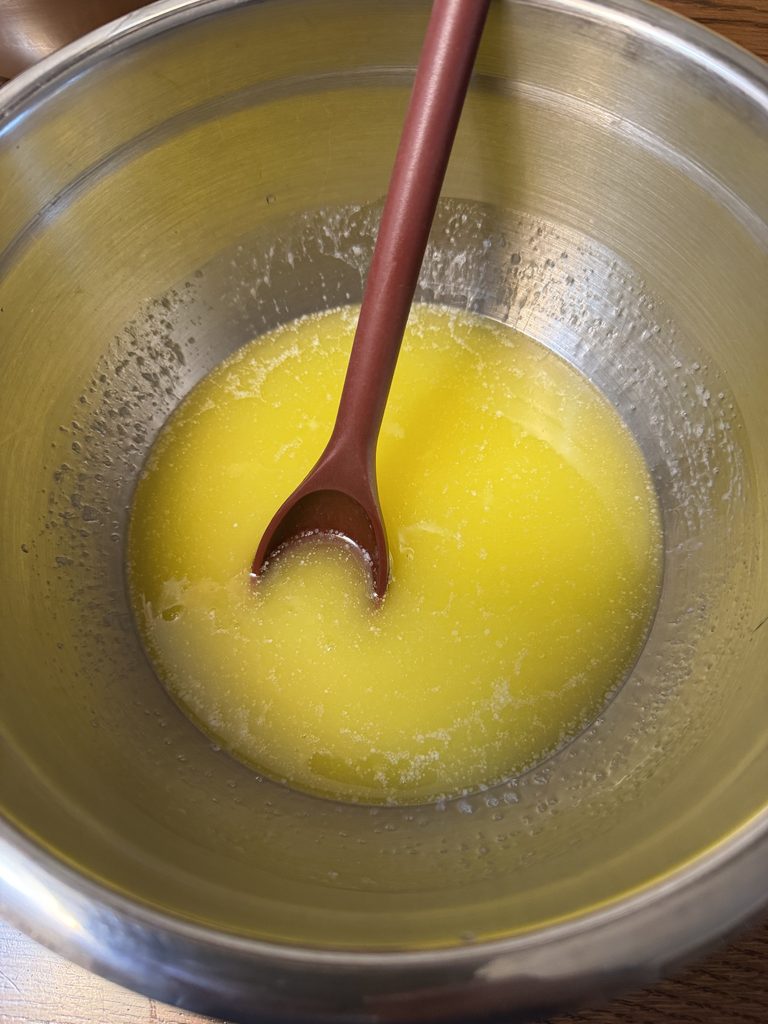
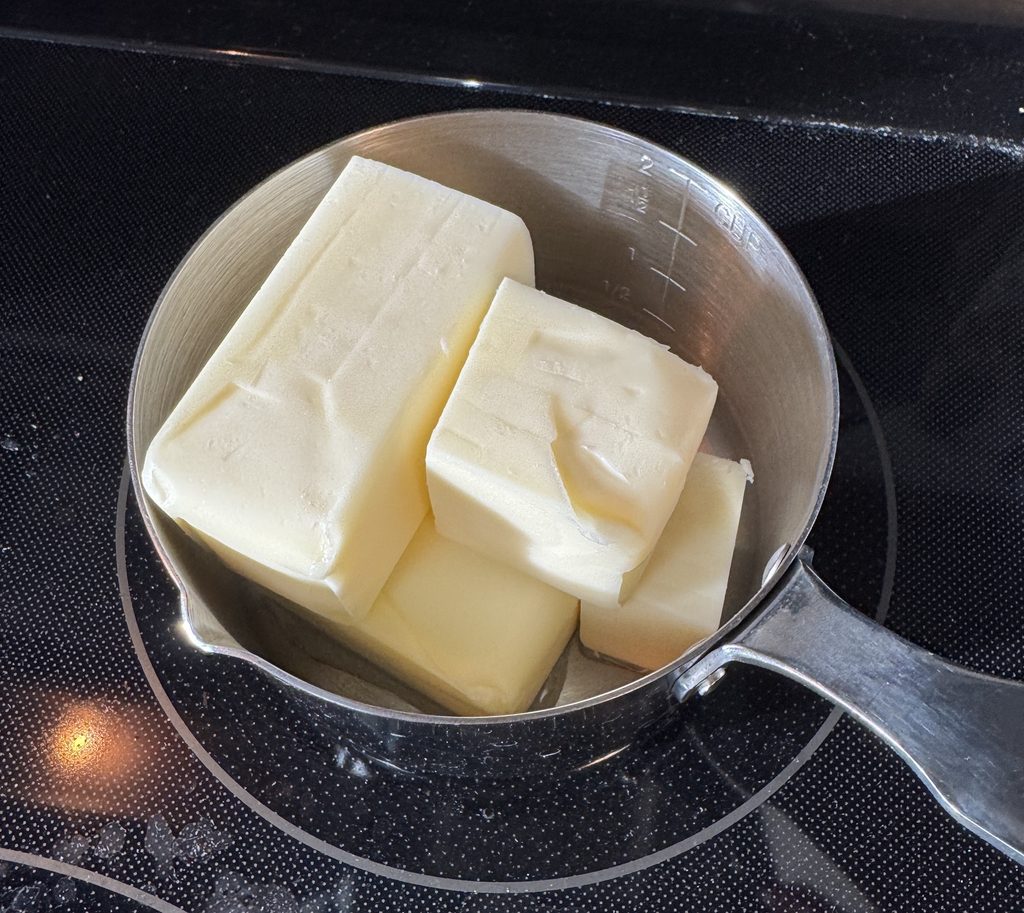
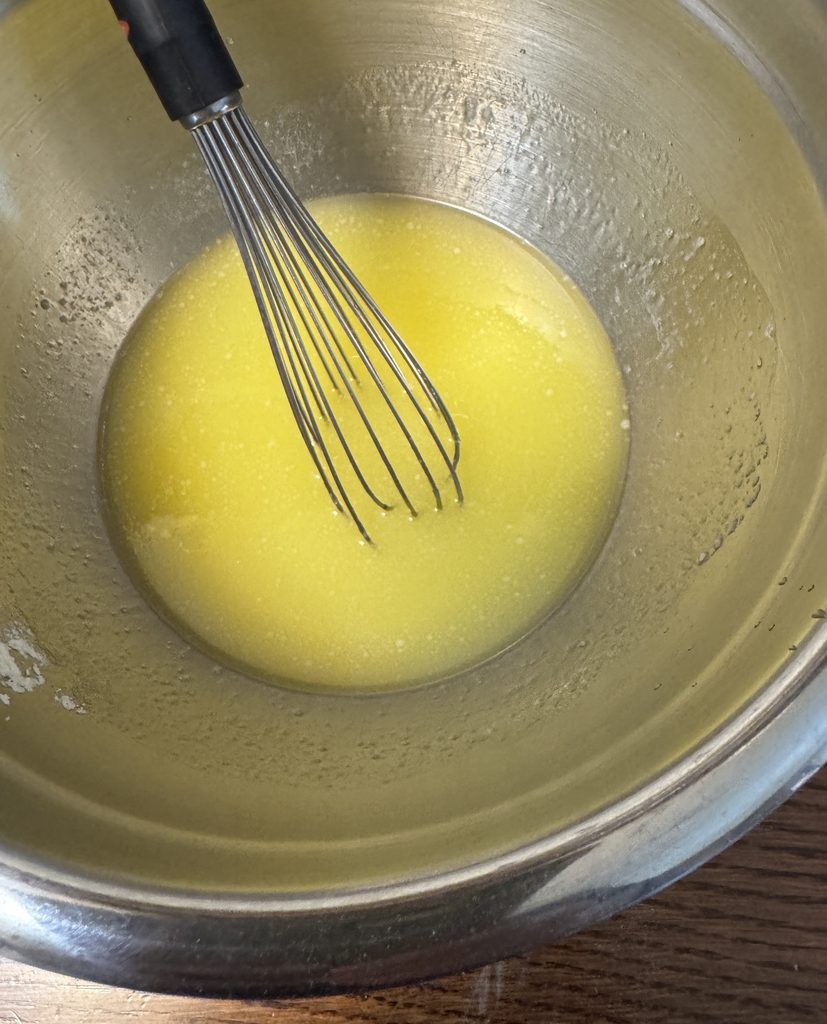
3. I melted the butter and added it to the sugar and salt. It stirred up easily.

I added the Almond extract to the melted butter/sugar mixture.

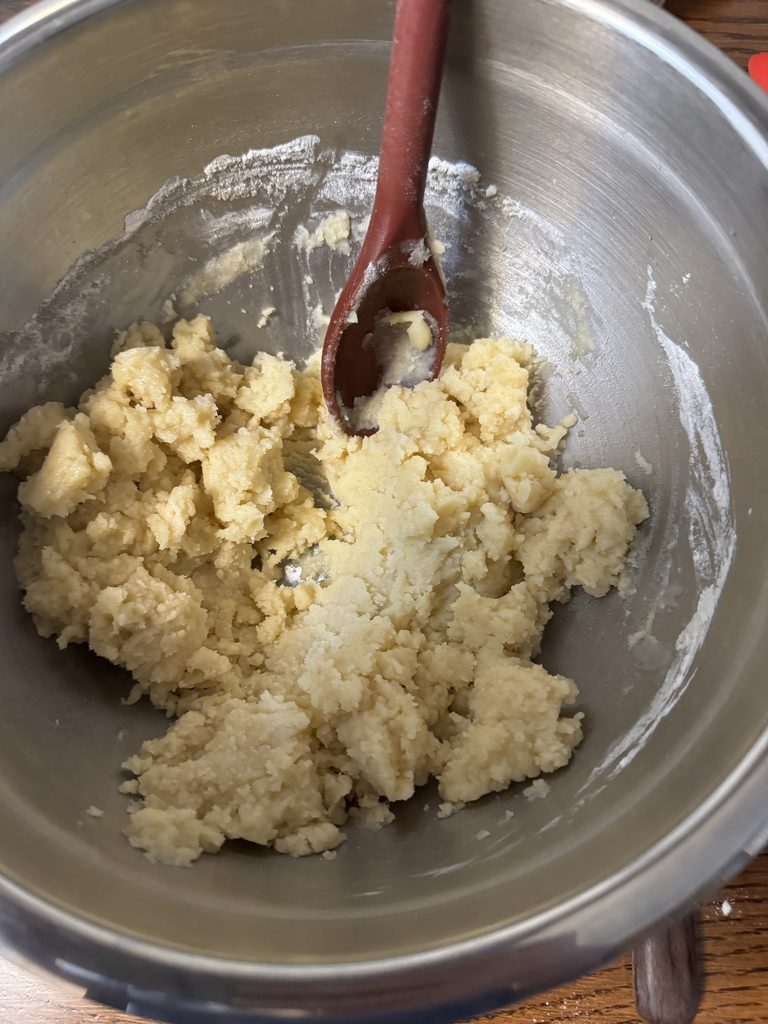
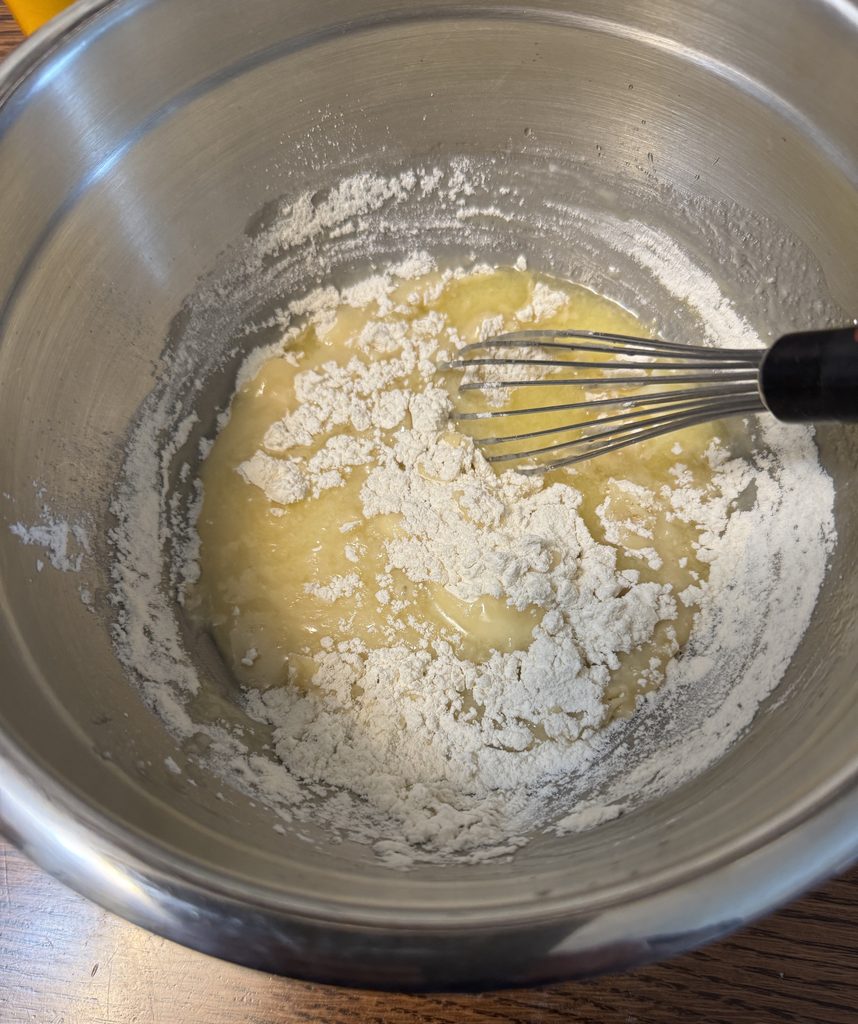
4. I measured out the flour and added it to the butter/sugar mixture. This made a very stiff dough but was easy to mix by hand.

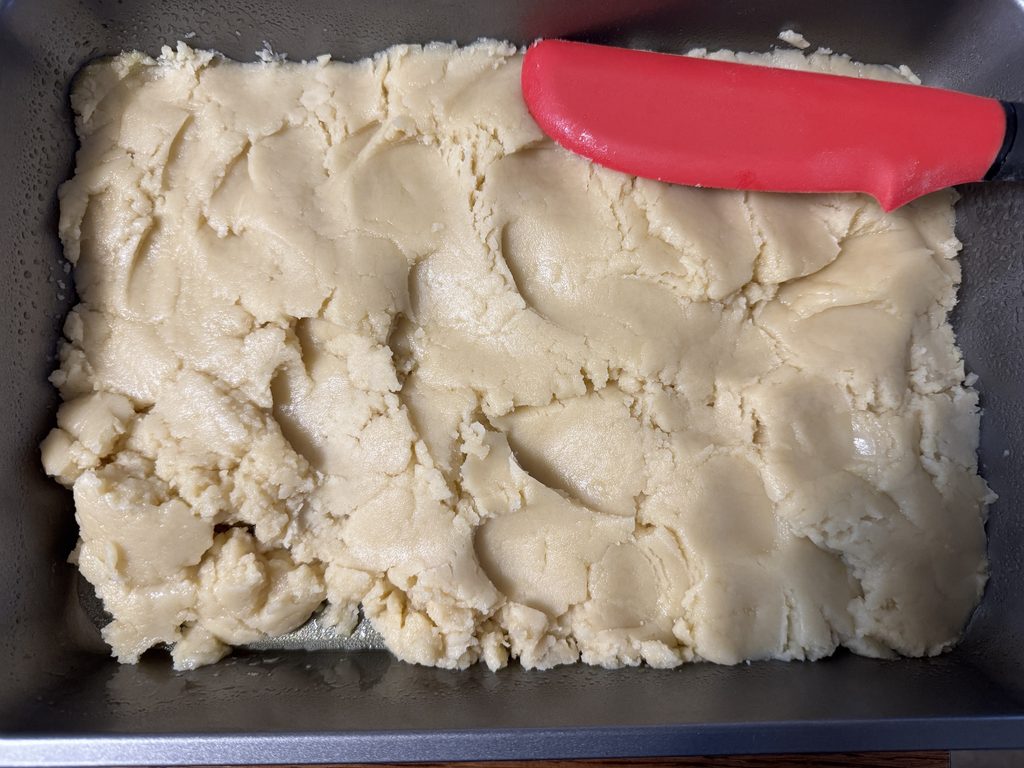
5. I scooped the thick batter into the prepared pan and pressed the pile into the corners and flattened the top with a spatula.

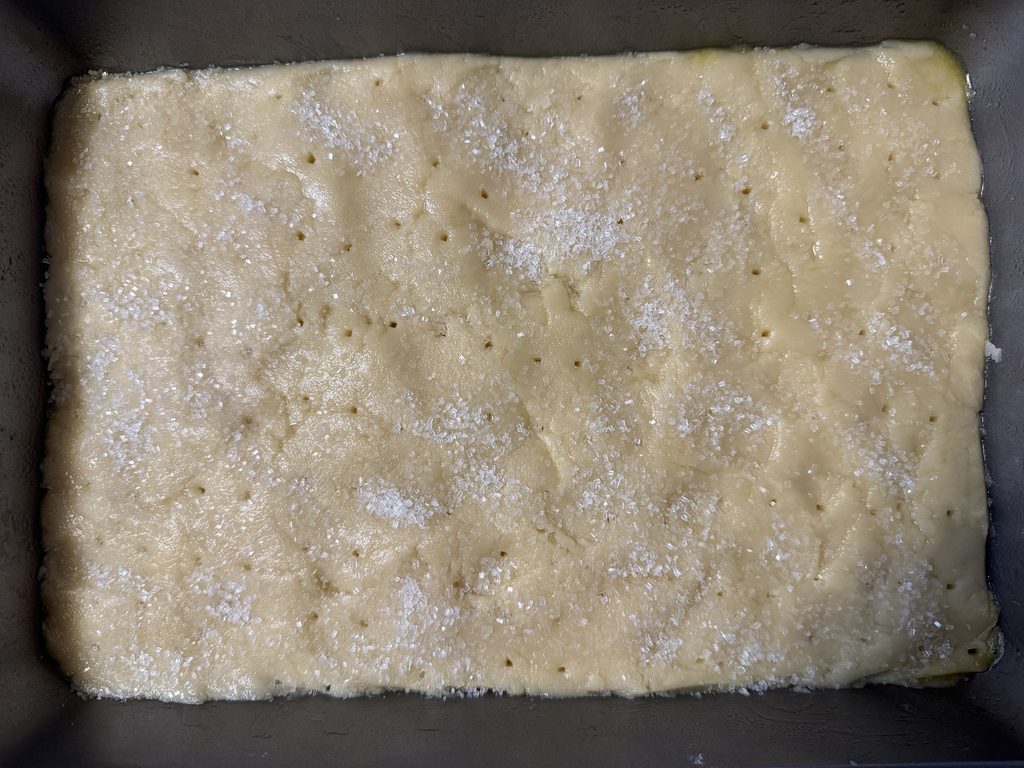
6. I pricked the top with a fork and actually sprinkled some coarse sugar on top just for fun. Certainly not a necessary part of the recipe!

7. Bake for 30-35 minutes or until golden brown and firm.

8. While warm, cut the shortbread in the pan with a table knife into 1″ x 3-4″ pieces but leave them in the pan until cool.

9. When cool, remove the pieces to a plate for serving or store in an air tight container. May be frozen.

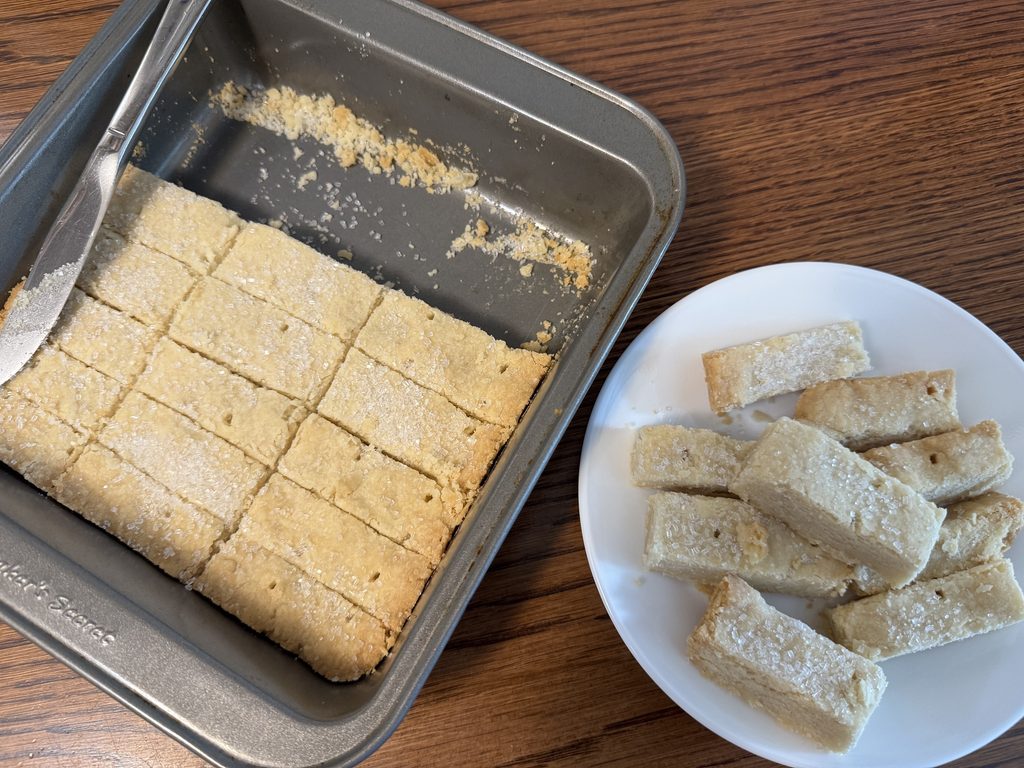
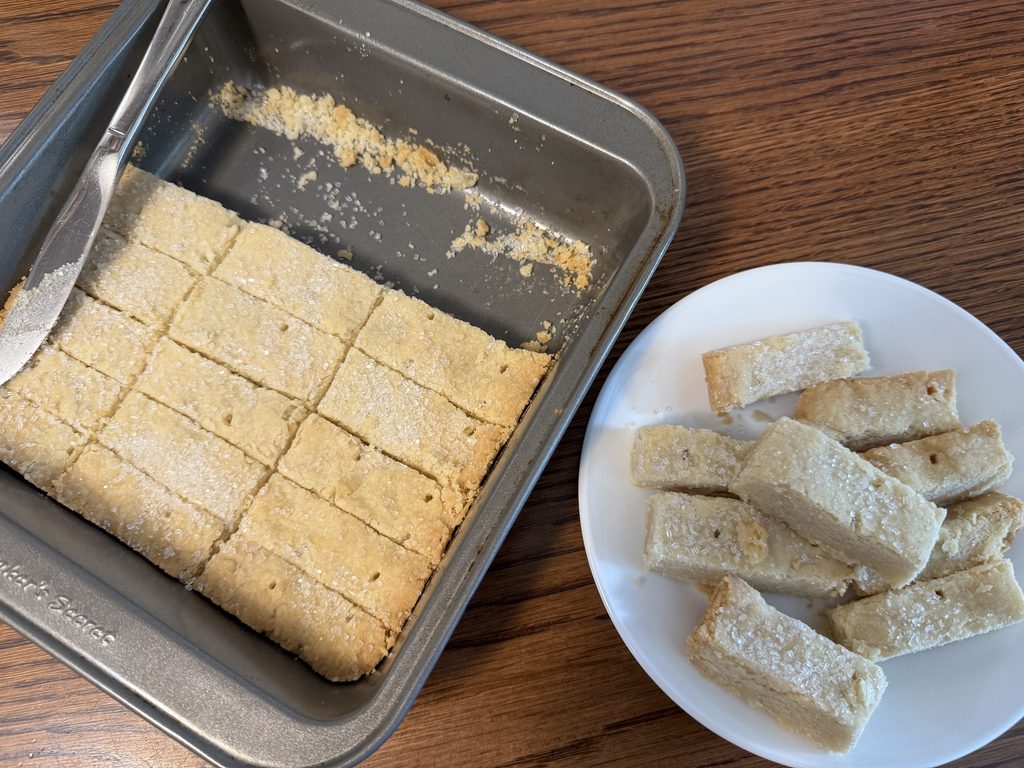
Regardless what size pan you use the final pile of shortbread looks pretty yummy!

Making Highland Shortbread First Try

I was just reading a novel set in the Scottish Highlands and came across this recipe online. I had to give it a try. My maternal grandfather’s line did go back to the Irish coastal region and my mother always said his lineage was ‘Scotch-Irish’ but I don’t recall ever tasting shortbread like this! I’m thinking I could add a batch of this shortbread to the offerings at our next bake sale…next to the pile of scones I bake!

Just a thought…this was my first try. They tasted good. However, I did another search for ‘authentic shortbread’ and found another recipe. I’ll try it next. Stay tuned for my second try.

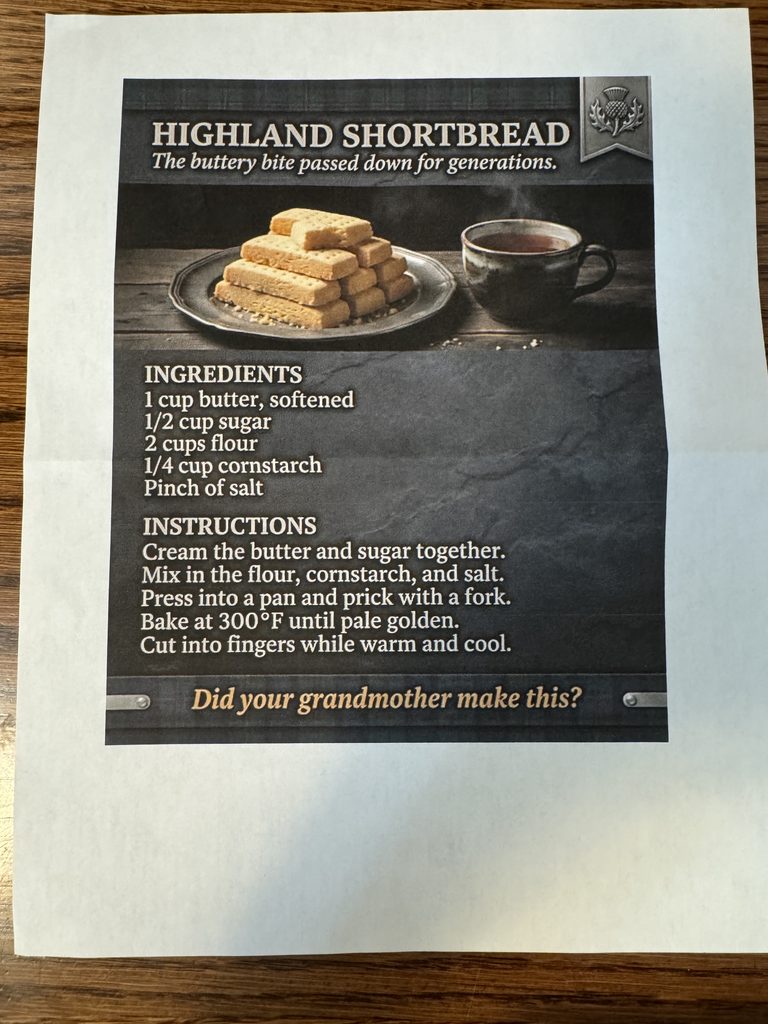
This recipe appealed to me because I could melt the butter instead of having to cut it in to the flour.

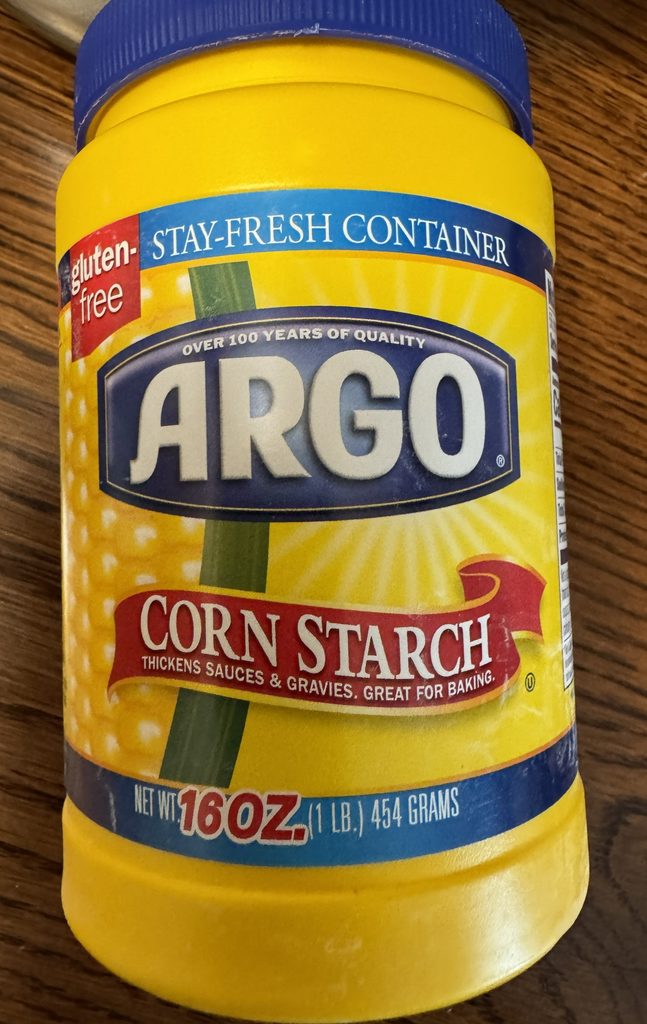
The recipe called for cornstarch, sugar (or a mix of regular and powdered sugar) and flour.

First, I measured out the cornstarch, sugar, salt and flour.

Then, I added the dry ingredients to the melted butter.

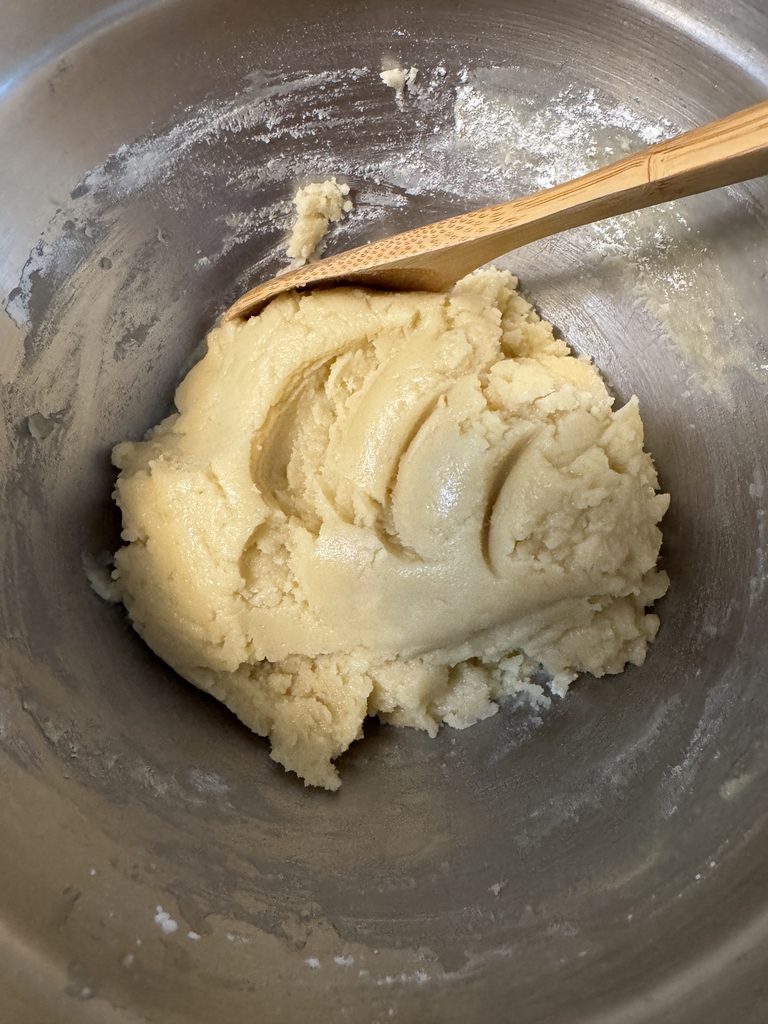
This made a nice dough, easy to mix.

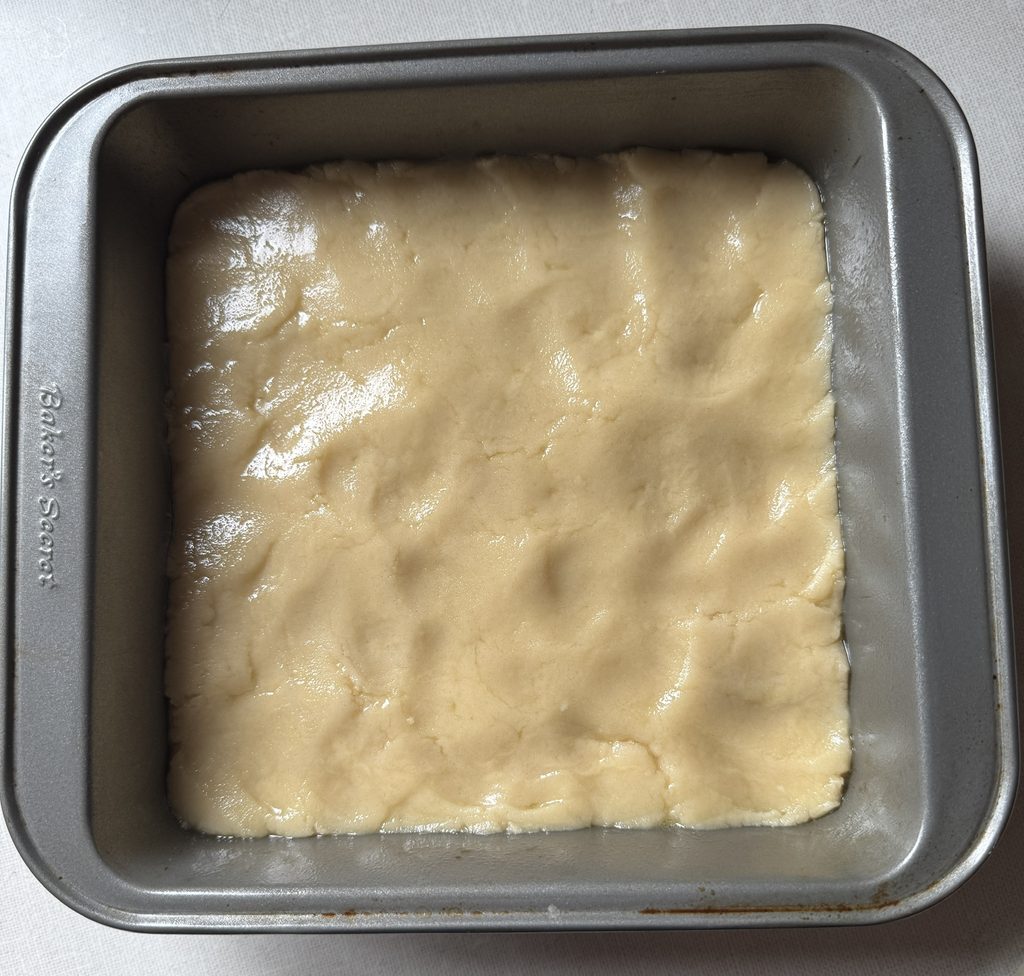
I patted the dough into an 8″ x 8″ pan that was sprayed with oil.

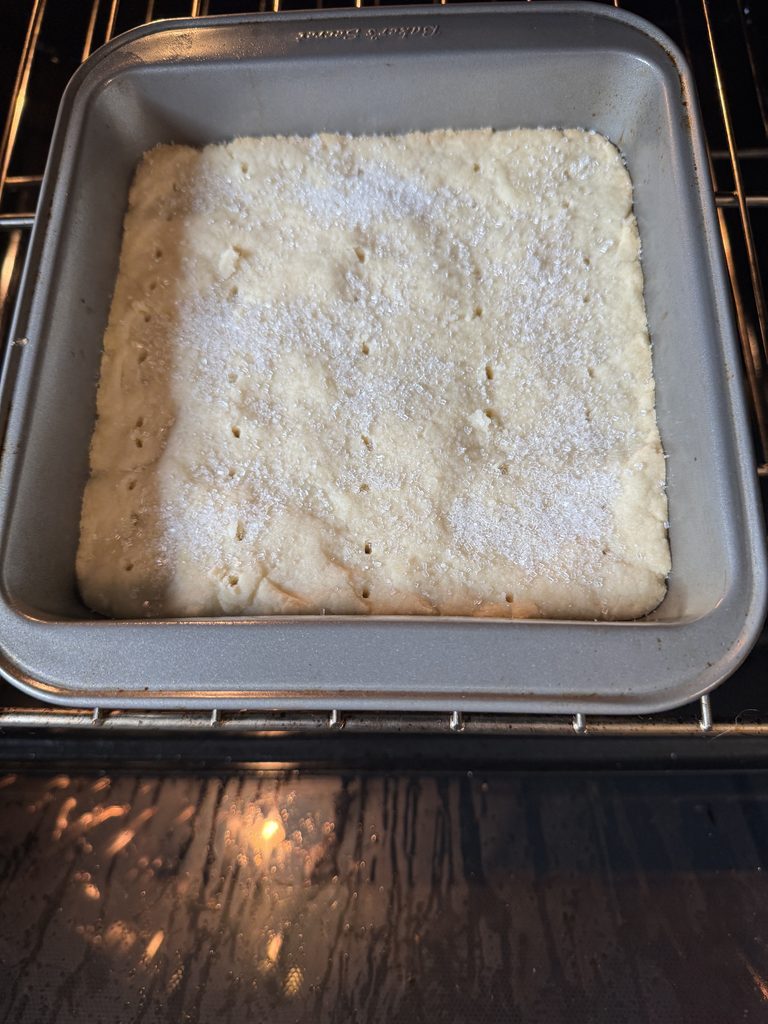
About halfway into the baking, I realized I had forgotten to poke holes in the dough, so I pulled it out of the oven, poked holes and sprinkled coarse sugar on top (I had forgotten to do that too!).

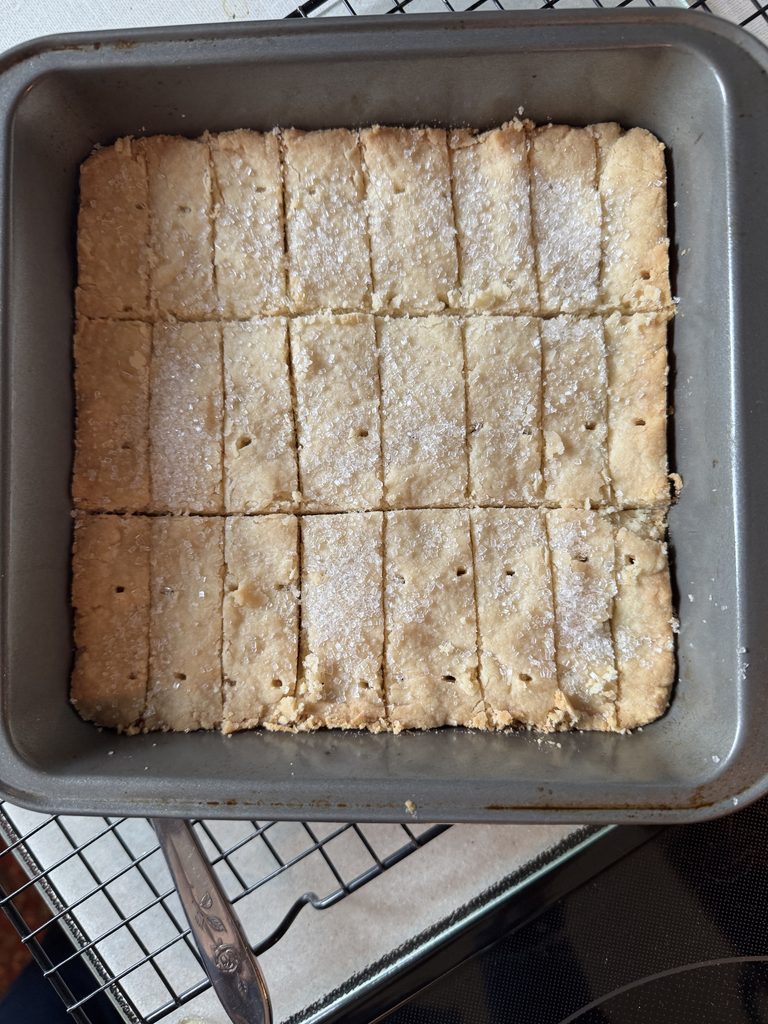
It baked about 45 minutes at 300 degrees F. After removing it from the oven, I cut the pan into small finger-sized servings with a table knife and let it cool in the pan.

When completely cool, I scored the servings again. They easily lifted right out of the pan. They were delicious! I shared them with Kathy’s family last weekend. They were a hit! I still plan to try the other ‘authentic’ recipe, which cuts the butter into the flour and uses regular sugar that’s been buzzed in the blender to make it finer. I’ll post that next…after I try it! I think some form of shortbread will make an appearance at the next bake sale! Enjoy!

If you have comments or questions, please email me directly at maryjkisner@gmail.com.